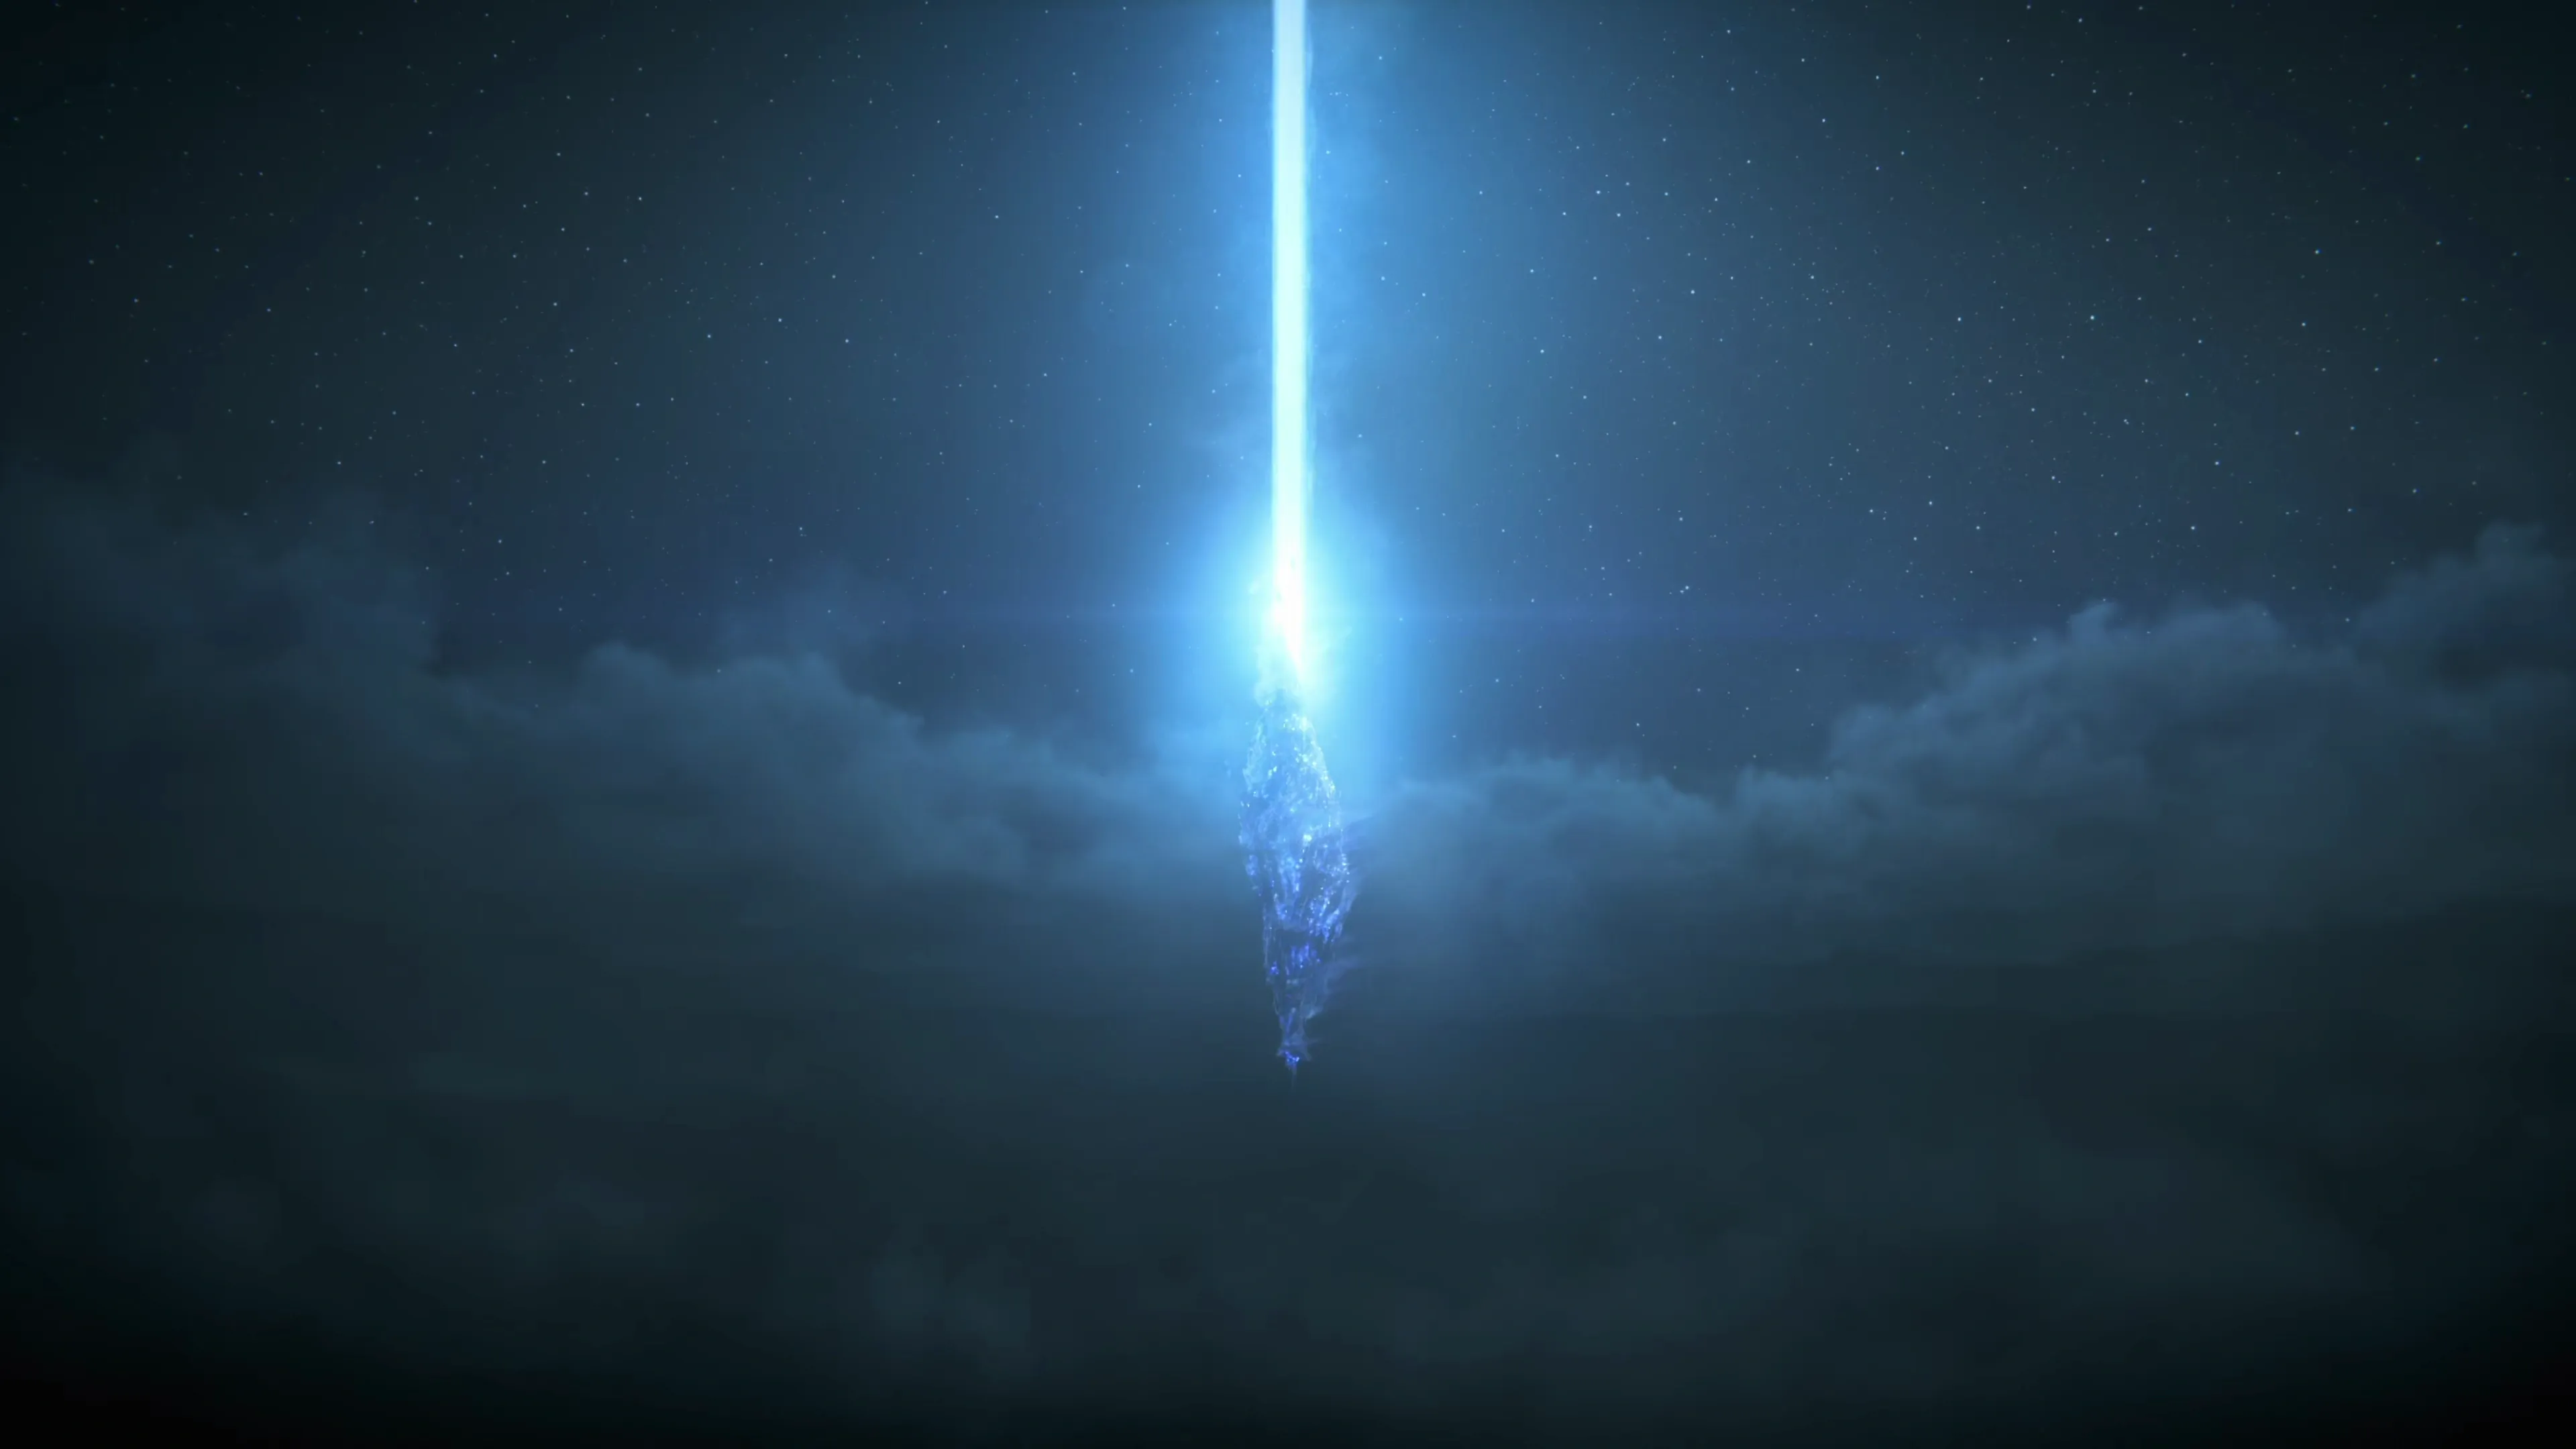
Of Gods and Men
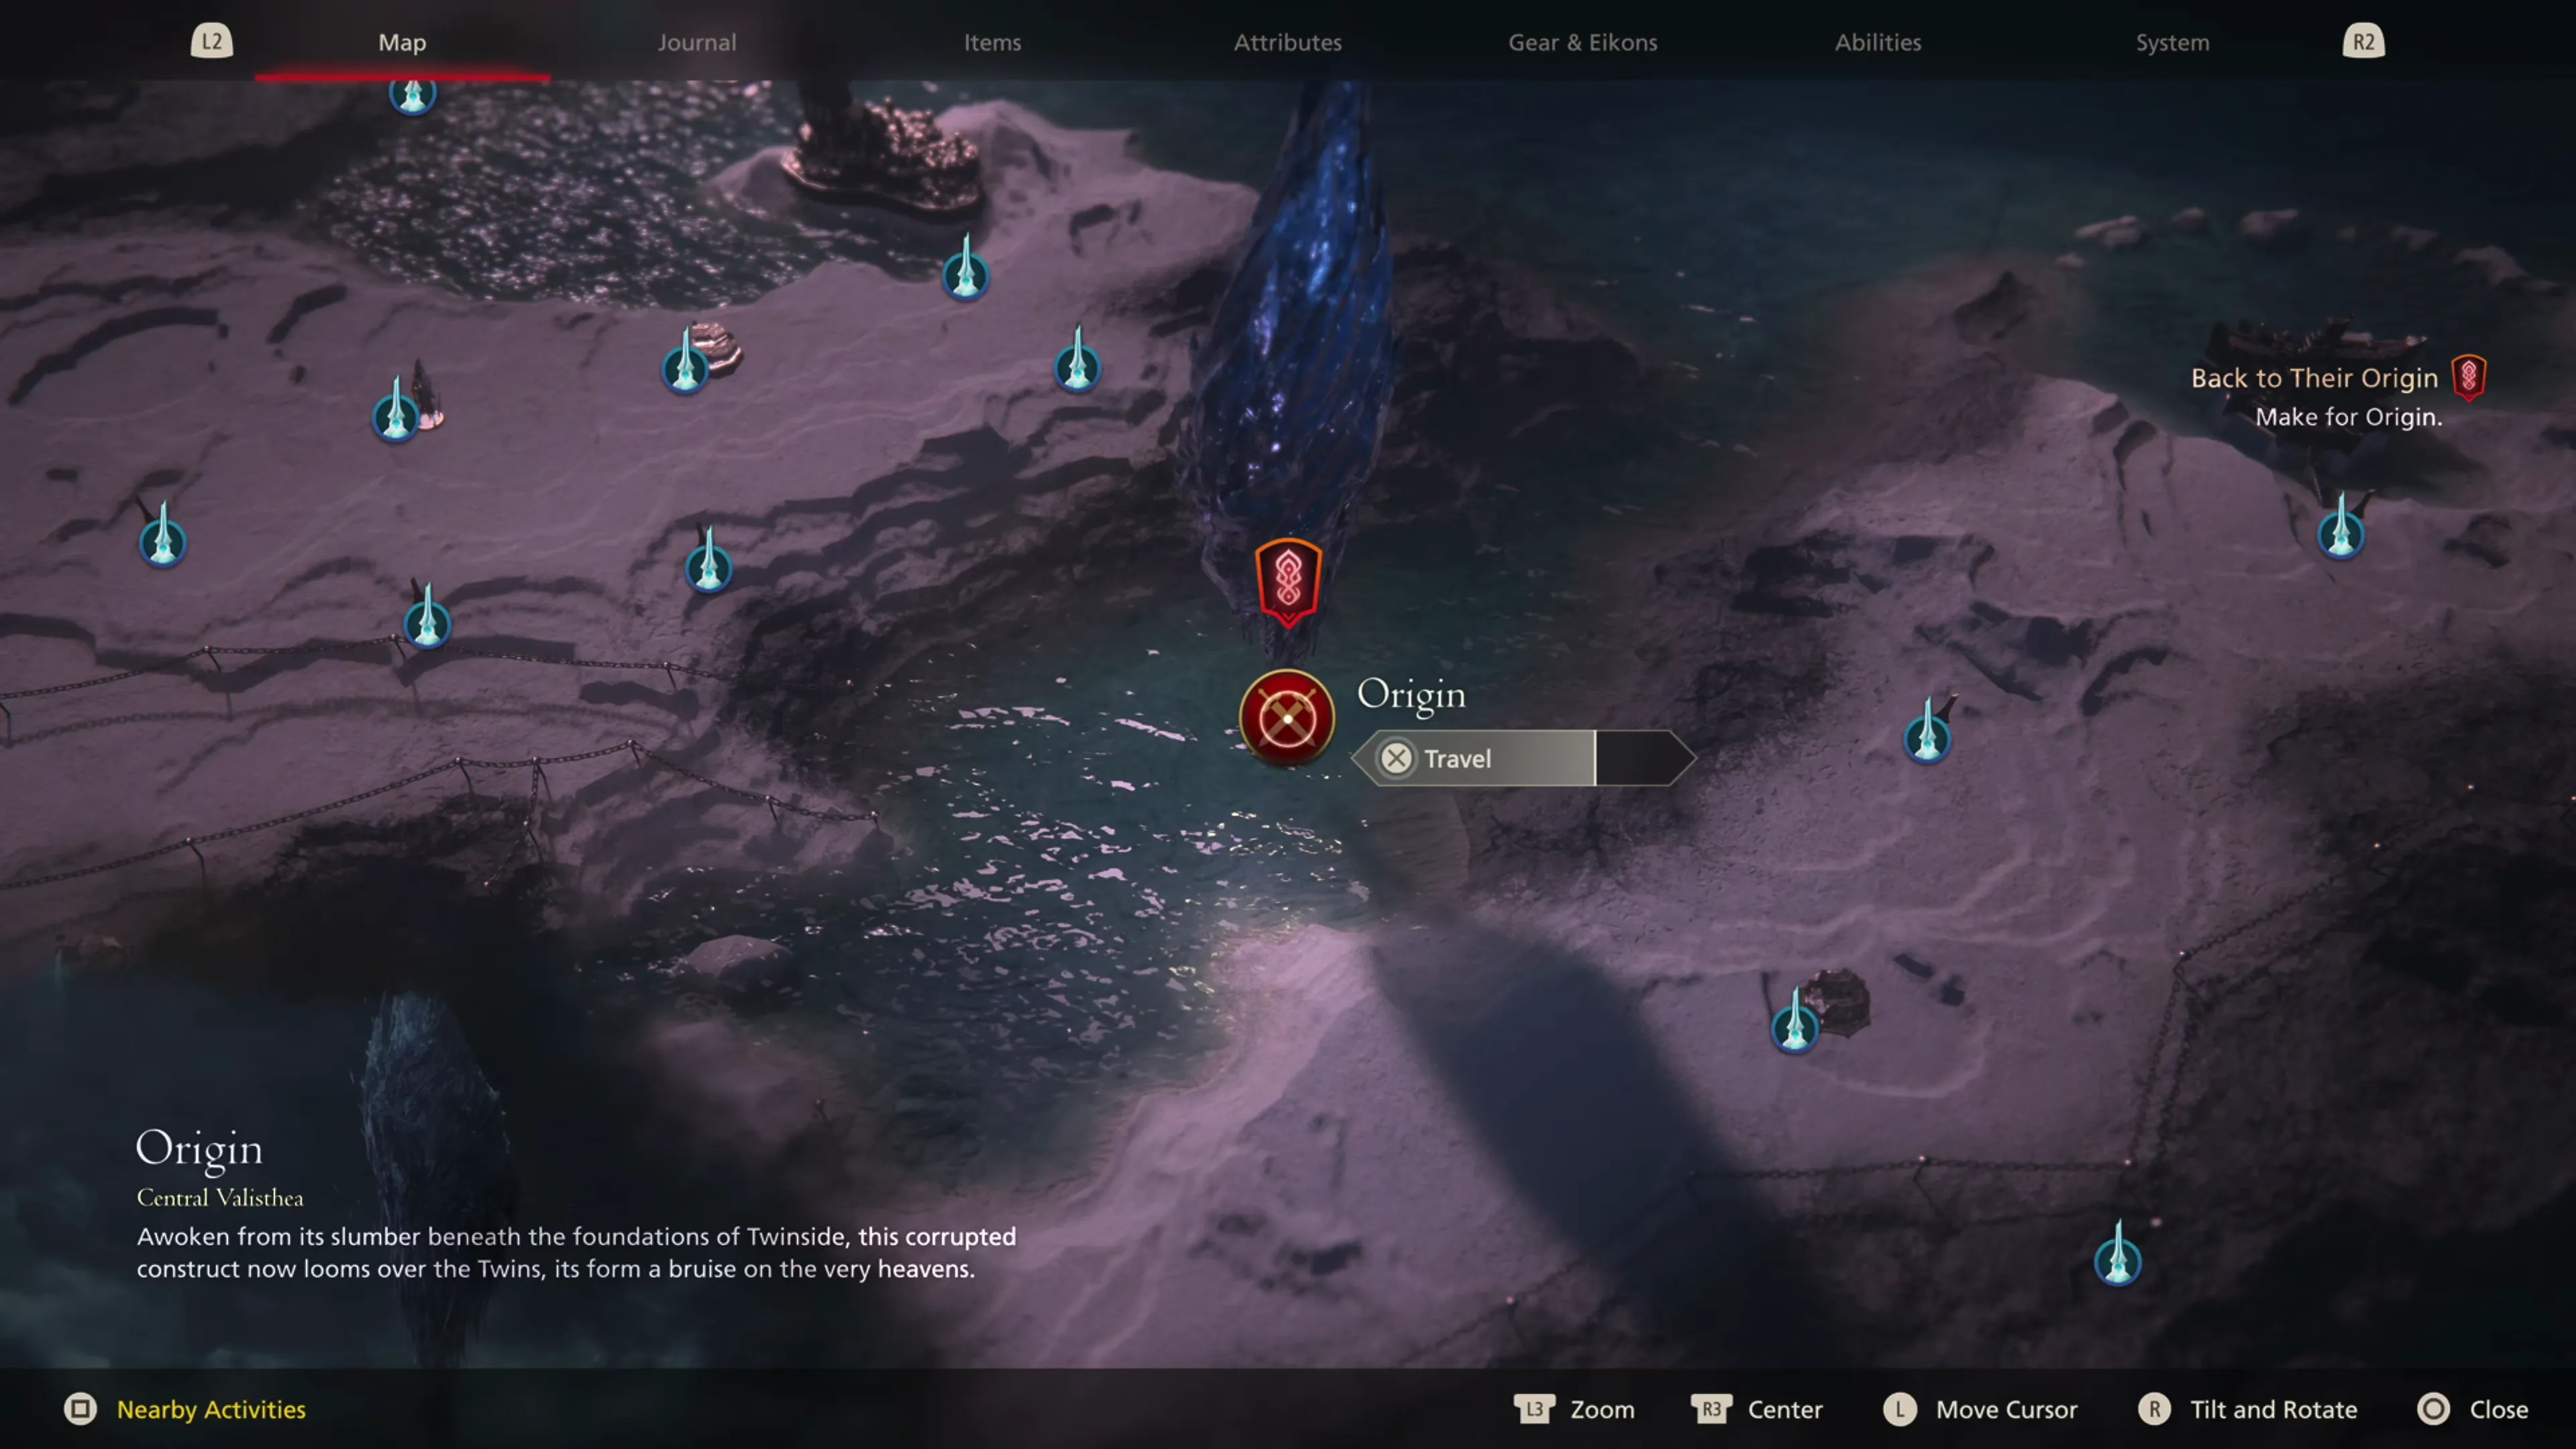
“Back to Their Origin” is the Main Scenario Quest that begins the last chapter of the game, and it’s where you complete all of the Optional Quests and Side Quests. Use the navigation arrows to go back to the previous section if you haven’t finished all of the endgame content.
This chapter, titled “Of Gods and Men,” begins when you select “Origin” in Central Valisthea from the world map.
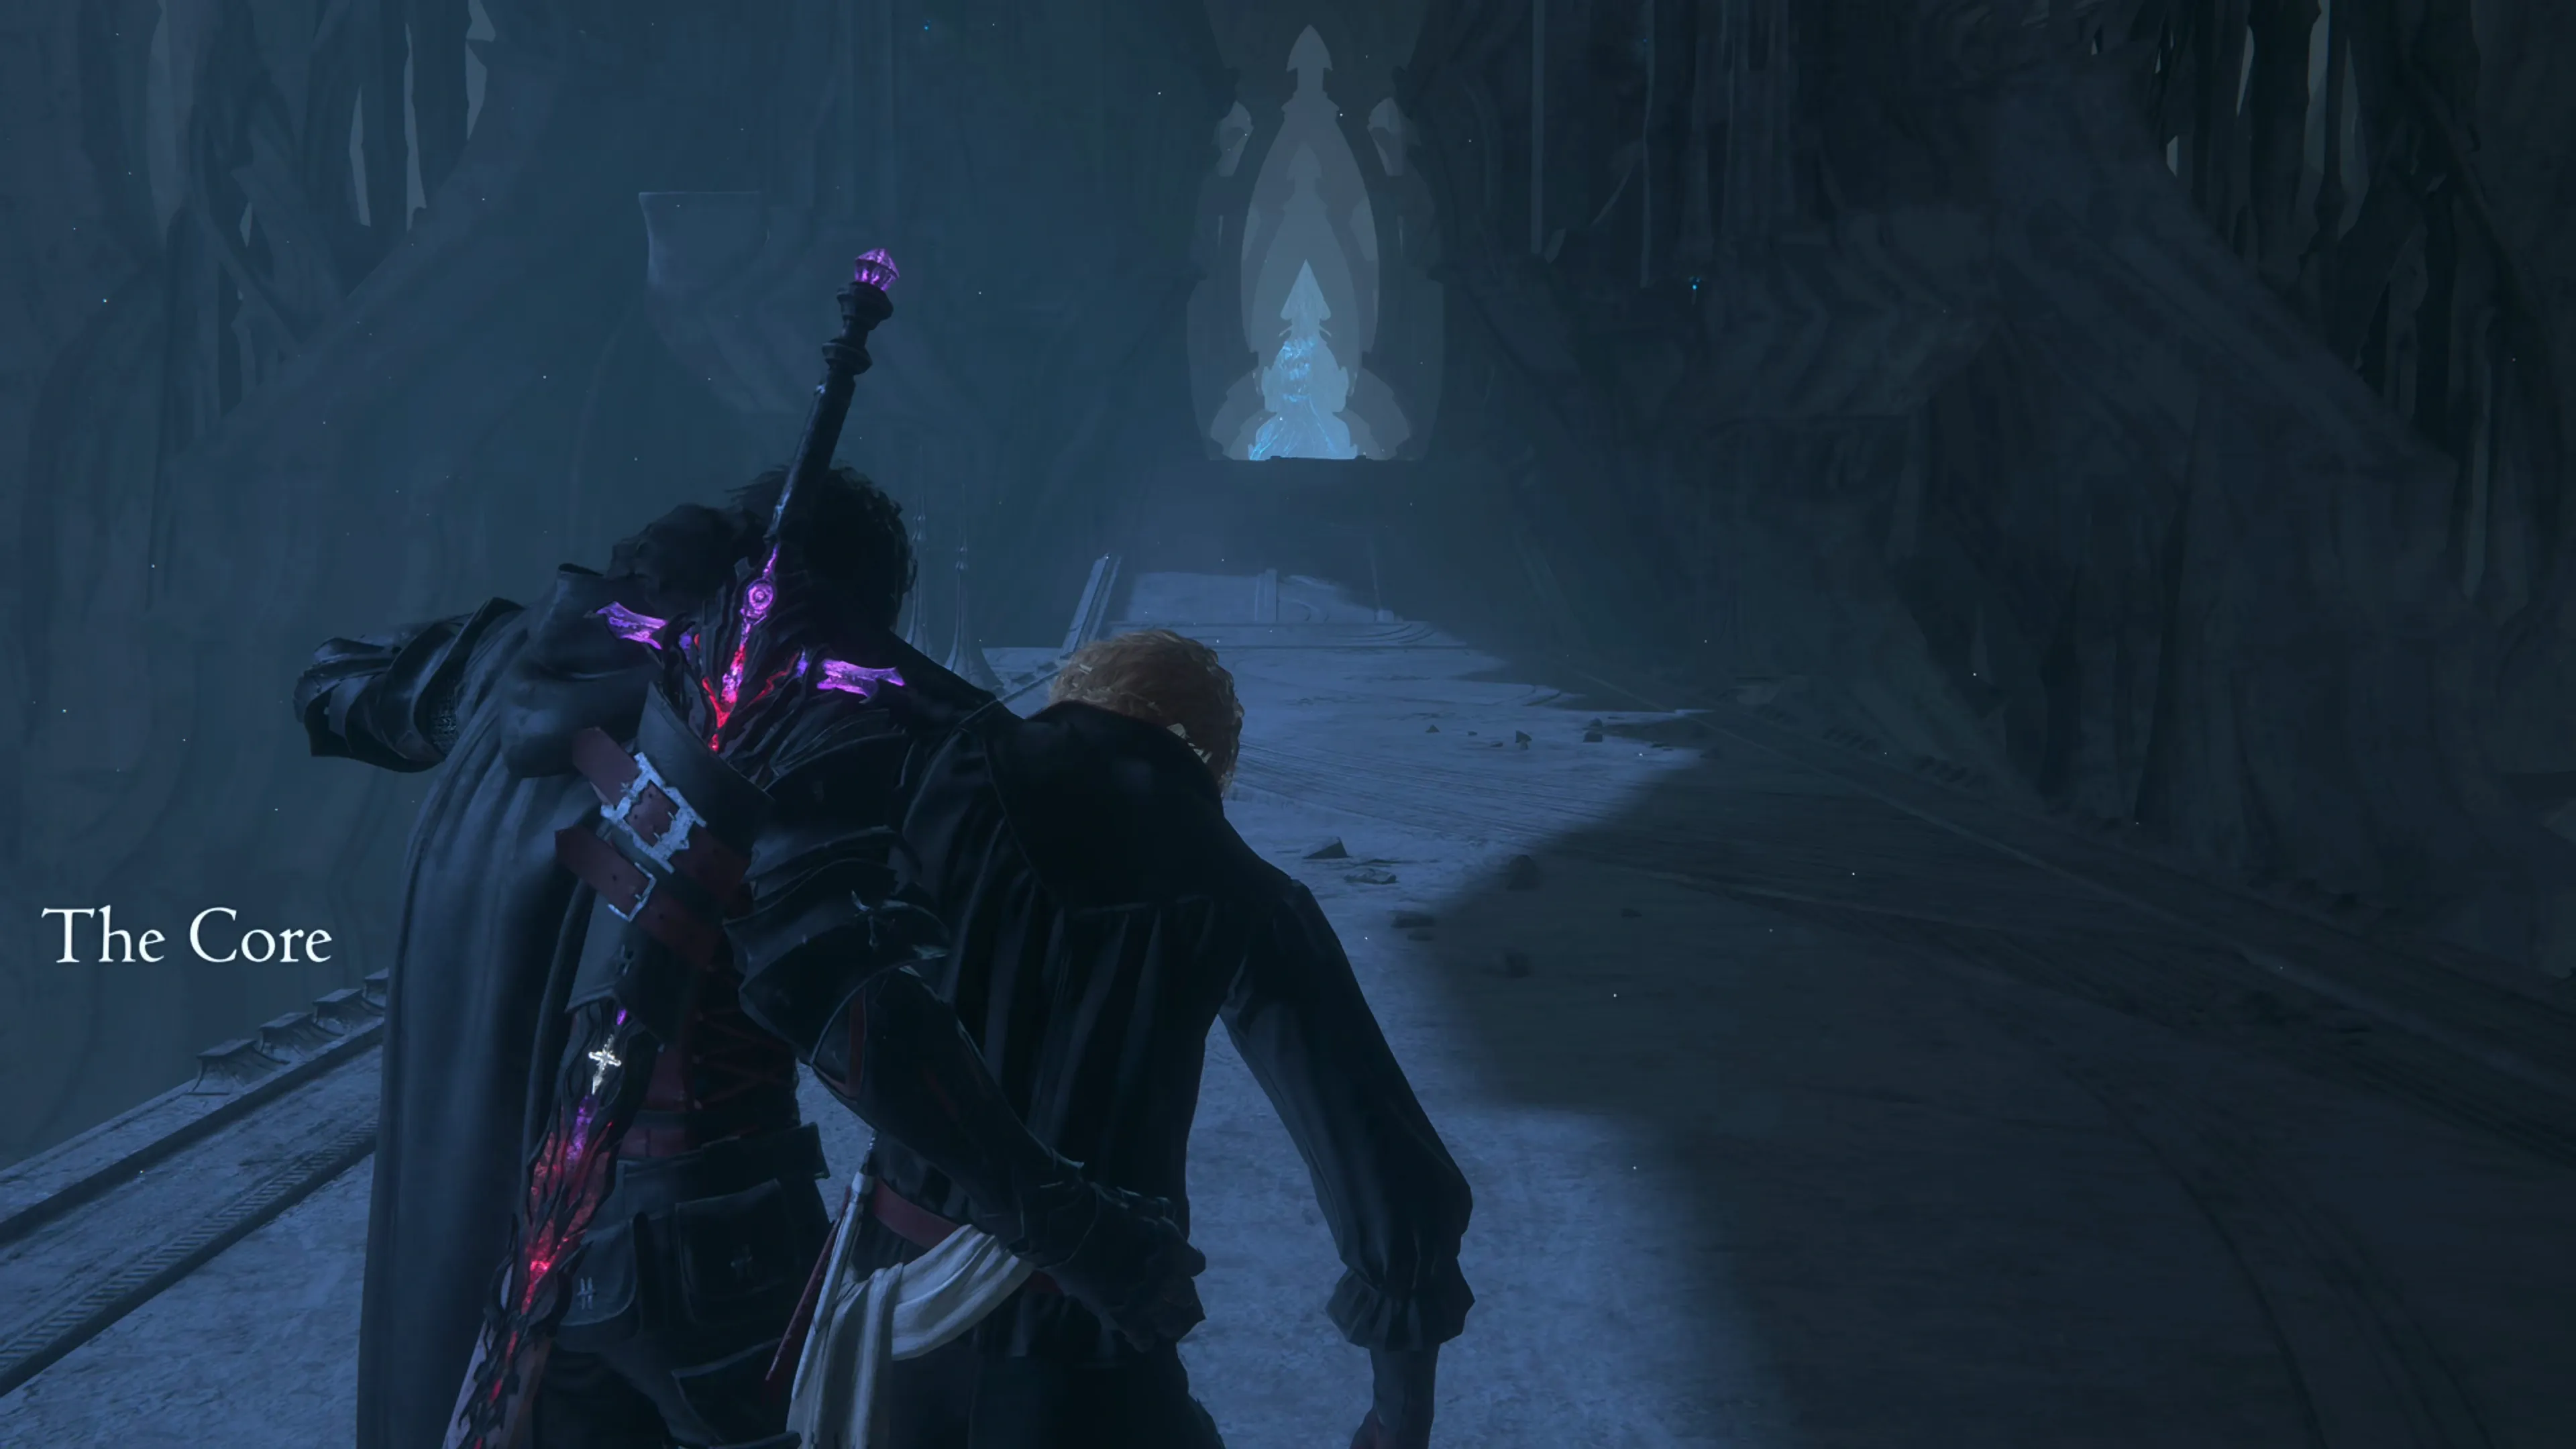
 Origin - The Core
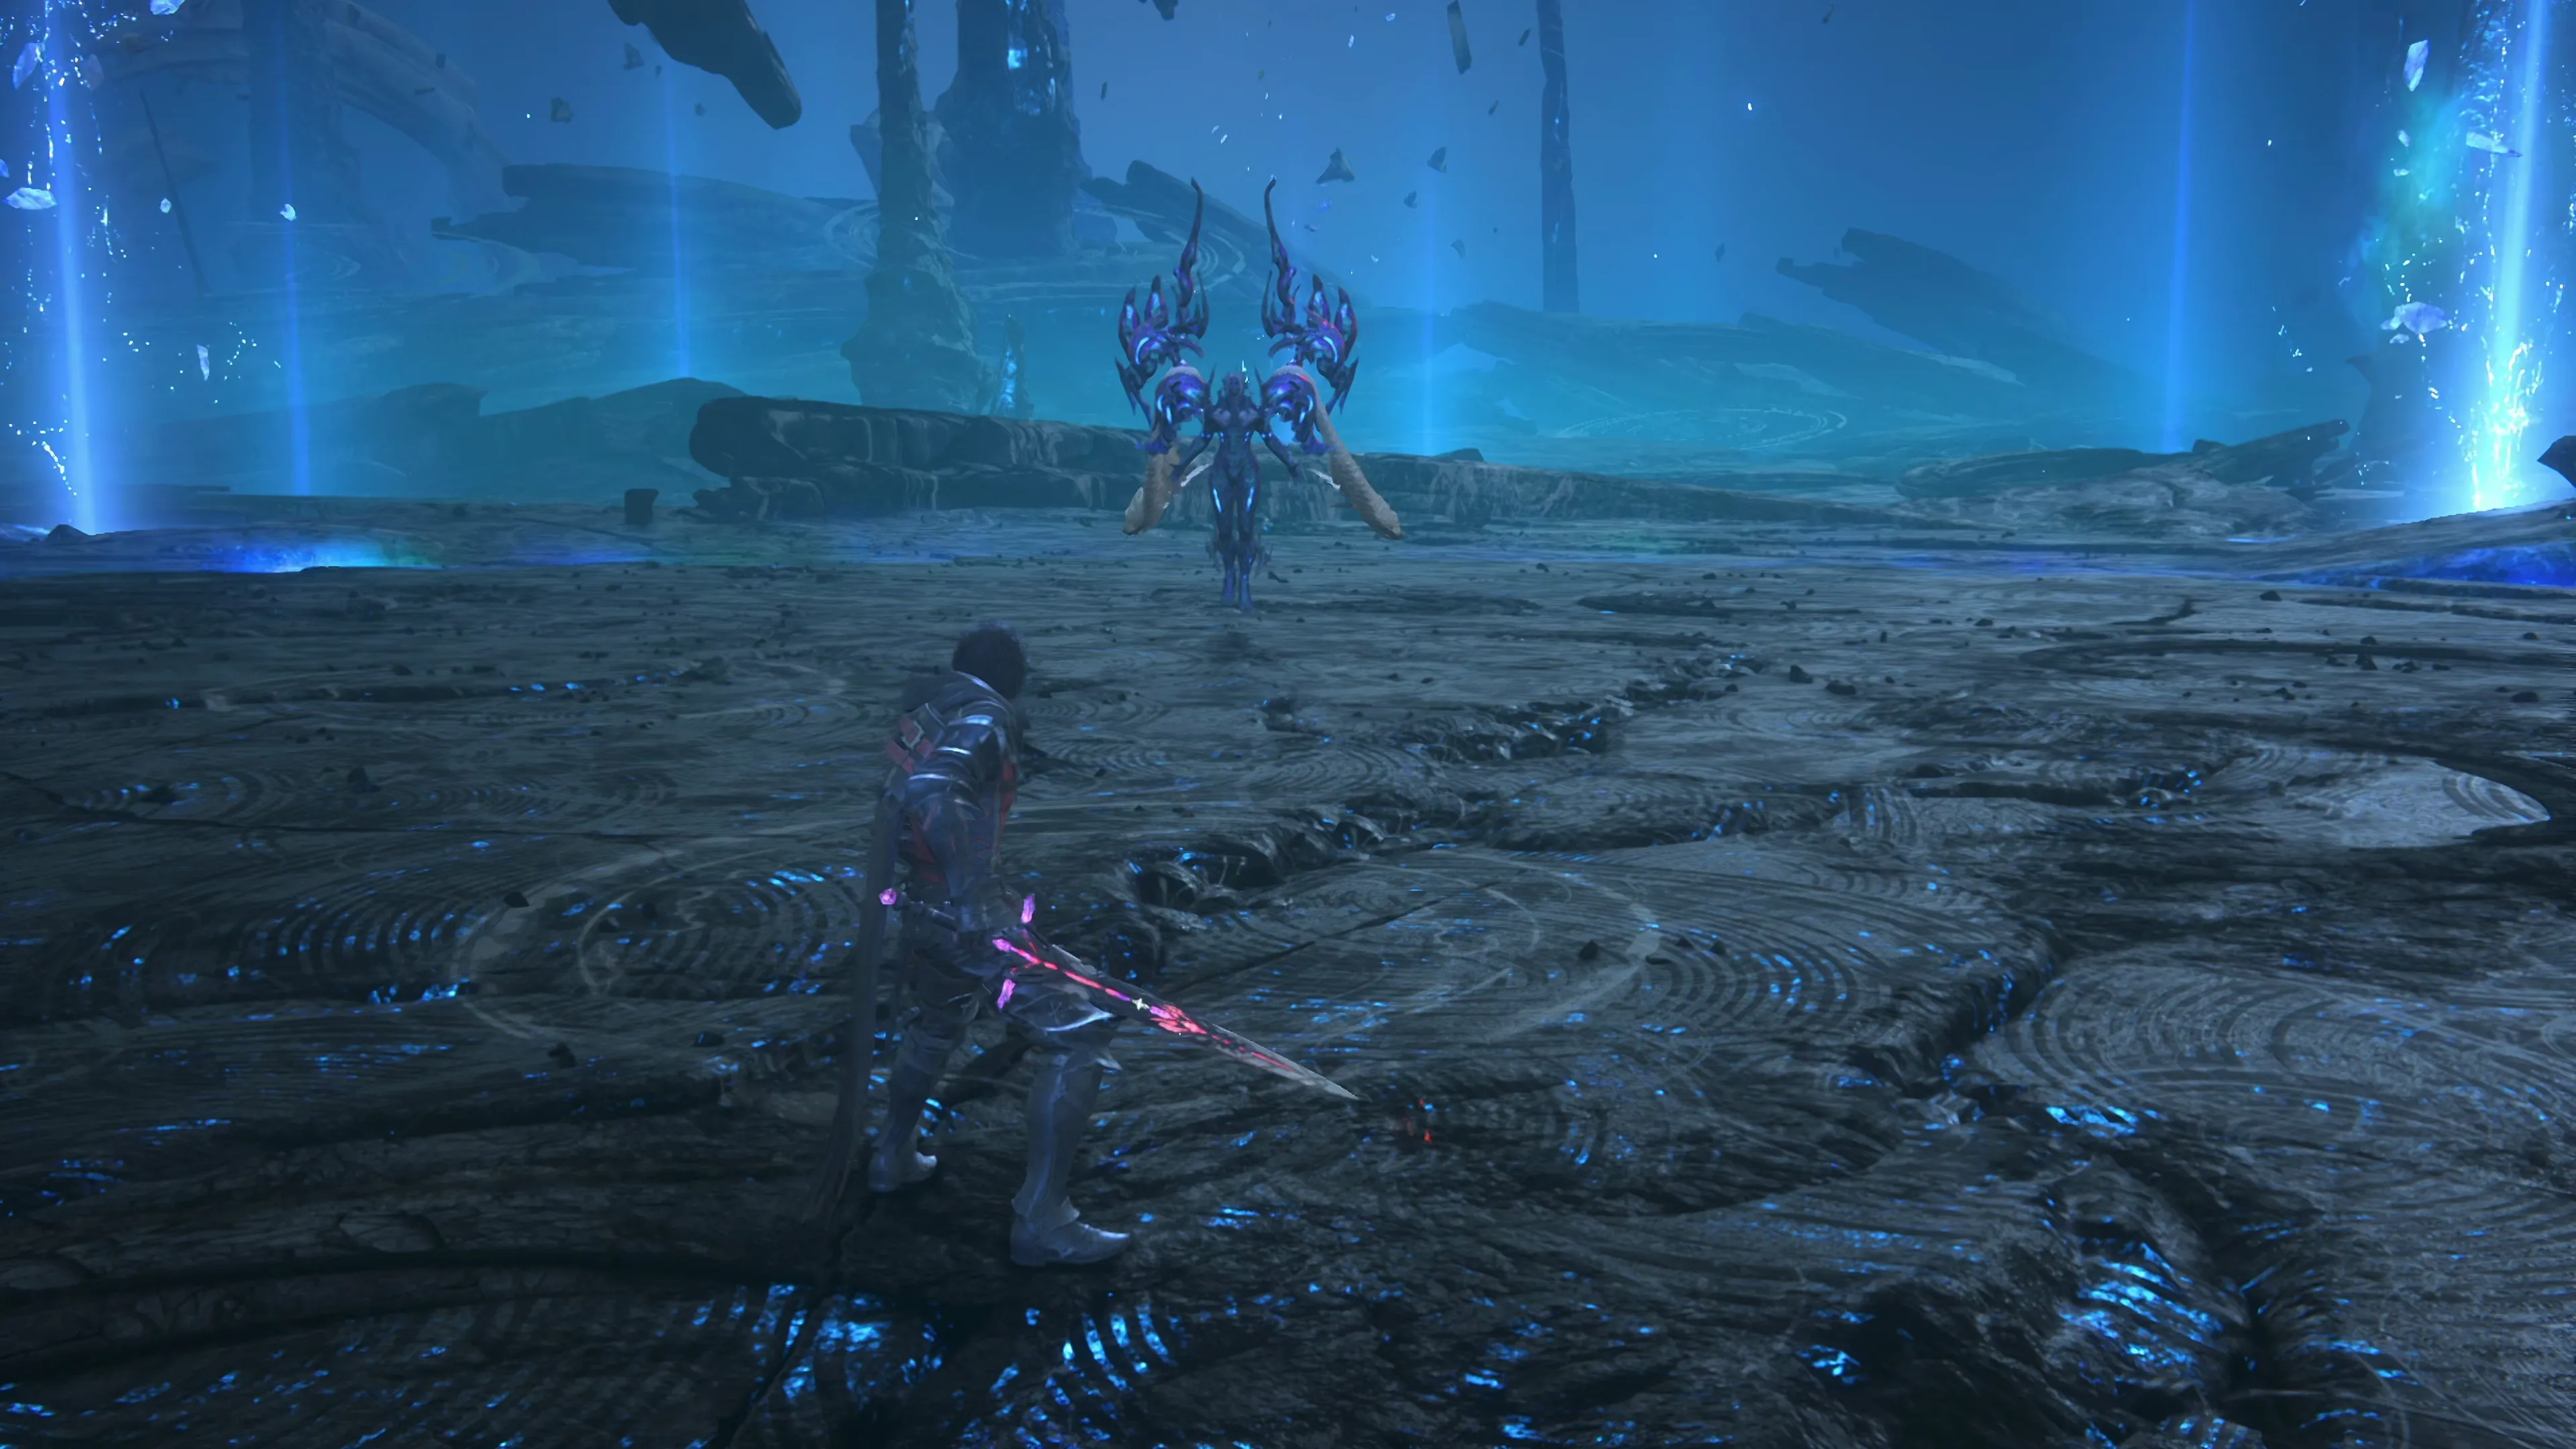
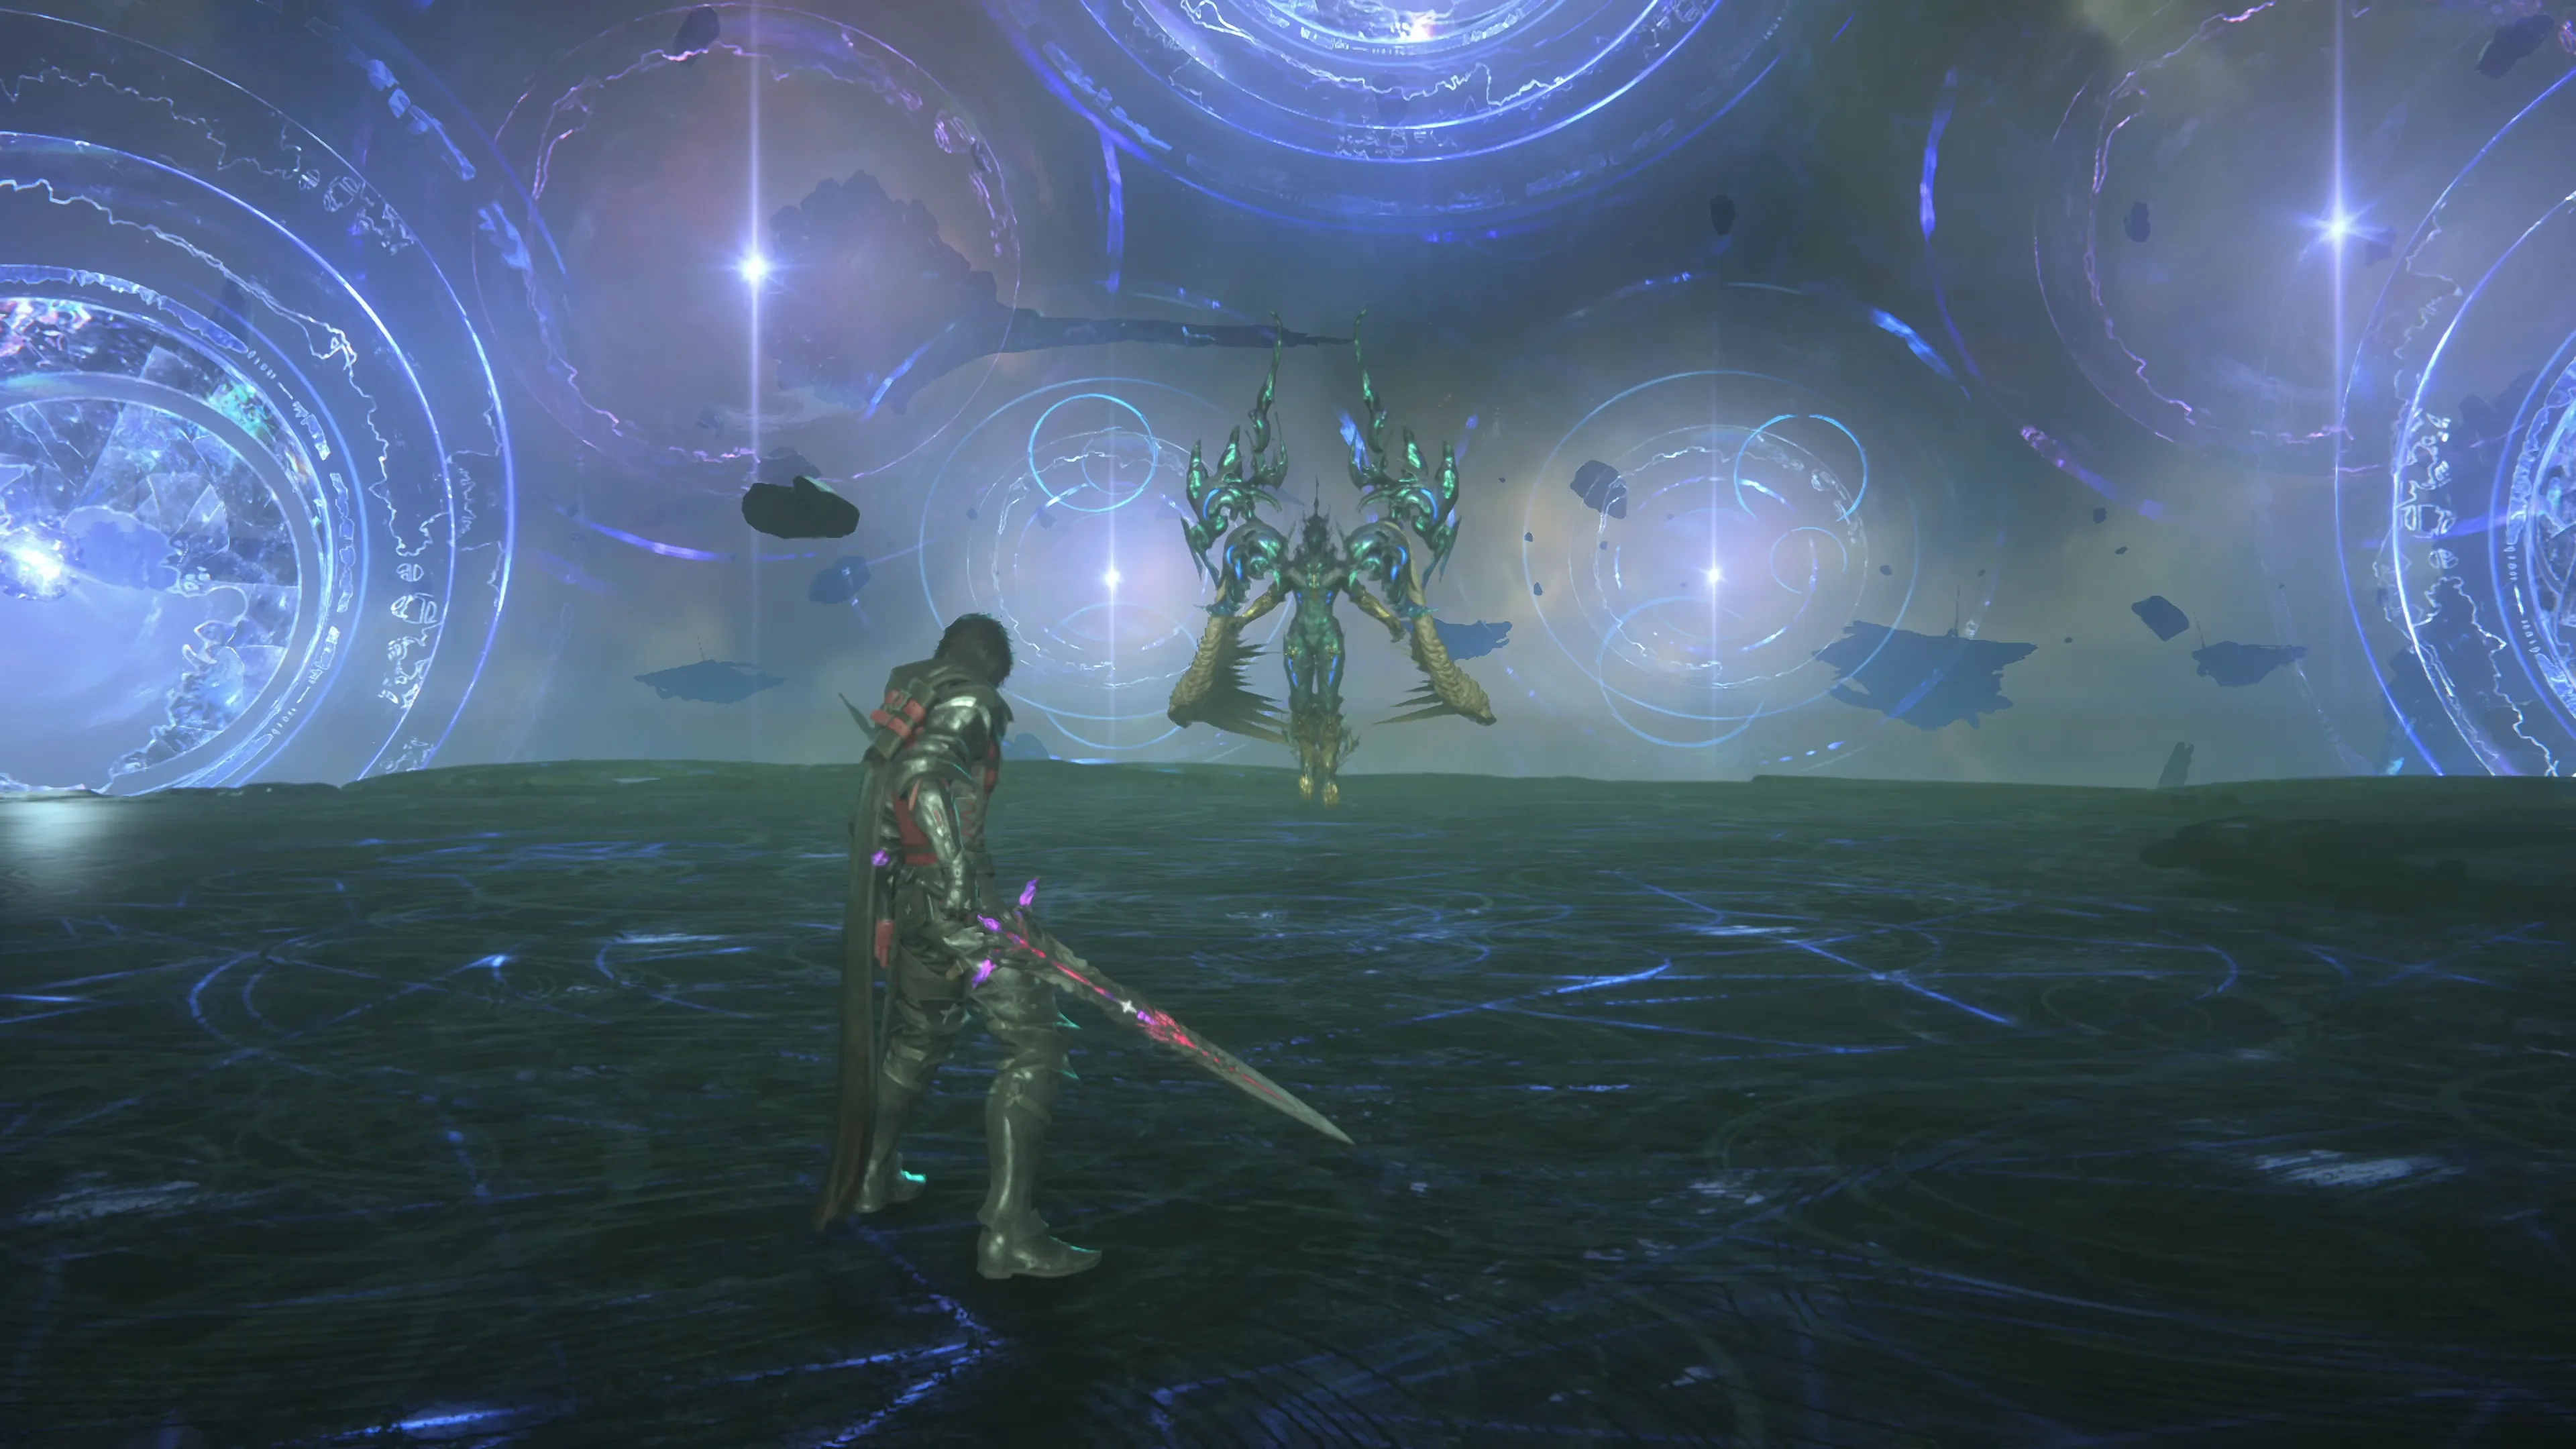
There are quite a few cutscenes that begin before Clive, Joshua, and Dion reach Origin, the large crystal structure floating above the Twins. There is a cinematic battle that takes place between Ifrit, Phoenix, Bahamut, and Ultima Prime. Clive and Joshua will find themselves inside the “Core” once the battle has concluded.
Helpful Hint
You’re coming up to the game’s final. Take some time to review your Gear and Accessories to make sure you have the appropriate items equipped, and consider swapping your consumables around. For example, there’s no better time to make use of the ![]() Last Elixir if you haven’t done so already. After you’re done checking your gear over, continue up the steps…
Last Elixir if you haven’t done so already. After you’re done checking your gear over, continue up the steps…
It’s time for the showdown against Ultima.
Final Boss Battle
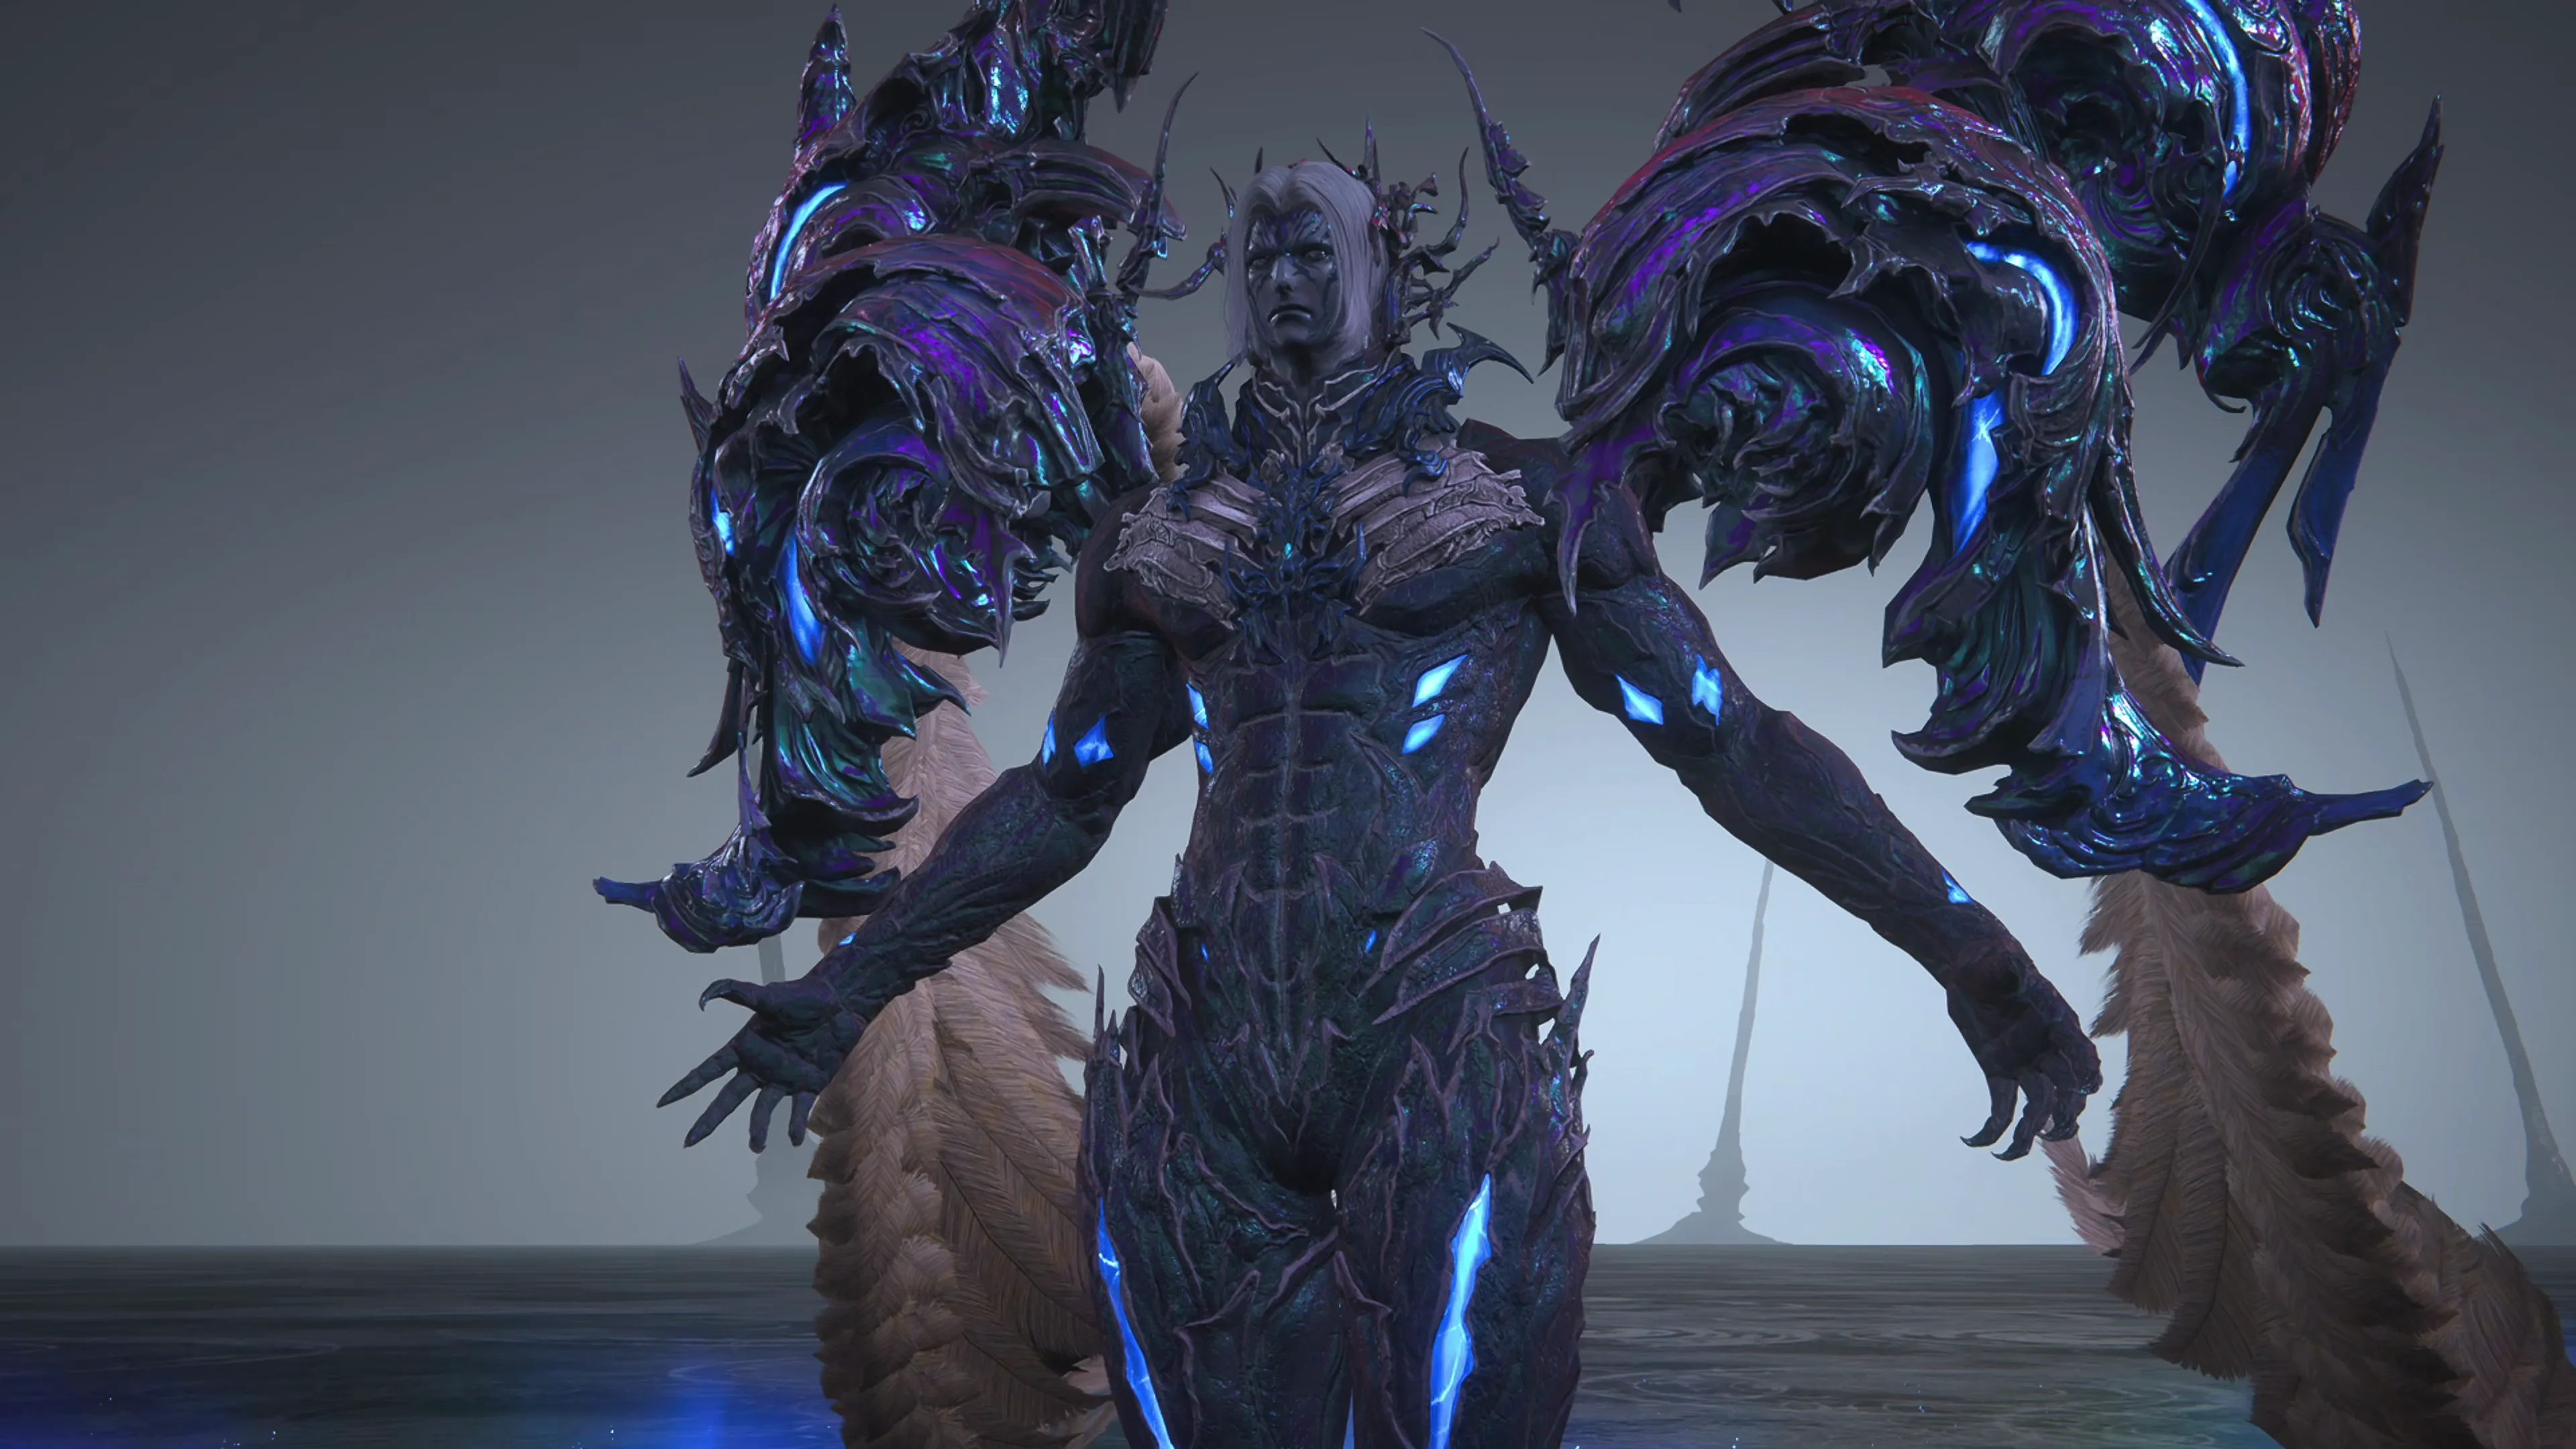
This is another multi-phase fight, although it’s worth noting that Ultima does not have much HP during Phase 1 and Phase 2 of the battle, so those two sections have been combined. At some point between 50-70% HP, a short cutscene will trigger, and the battlefield will shift to a blue color (indicating that you’re in “Phase 2”). Here are the moves you may see during these two phases:
![]() Magic Shots:
Magic Shots:
This is the first attack that Ultima will use. He will summon a collection of glowing, white magic orbs above his head, which will slowly launch in a stream towards Clive. This is a deceptive attack because the first couple of magic orbs may not contact Clive directly, and may land to his left or right, meaning if you dodge too early, you’ll get hit by the magic orbs that follow afterwards. Make sure you only dodge when Clive is about to get hit.
![]() Physical/Magic Attacks:
Physical/Magic Attacks:
Ultima has two styles of physical attacks that he will use. The first is a lunge across the battlefield; he will fly back briefly before thrusting towards Clive. The second attack involves him slashing with his arms a few times. Just dodge each of the attacks, one after the other.
![]() Ultima:
Ultima:
Ultima can use “Ultima” magic, in which he will slowly suck Clive in towards himself, before blasting a large area of effect magic. Run away from him while this is being cast to escape the blast zone. This attack has a lengthy recovery period (extra wings, see below*).
![]() Flare:
Flare:
Ultima will summon five large, glowing red orbs which will rotate inwards towards the center where Clive was standing when the spell is cast. You have to dodge the glowing red orbs and get out of the large blast area, which is quite wide. It extends out to where the fire trails are that are left behind by the moving orbs. This attack has a lengthy recovery period (extra wings, see below*).
![]() Holy:
Holy:
Ultima will summon a large spell right where Clive is standing. Not only do you have to get out of the large circle, but there will be safe and unsafe zones outside of the circle as well that you need to have Clive dodge into to stay safe. This attack has a lengthy recovery period (extra wings, see below*).
![]() Meteor:
Meteor:
Ultima will summon quite a few Meteors, which will all land wherever Clive is standing. Slowly rotate around the battlefield to stay out of each Meteor’s blast radius while making sure you don’t accidentally land in the blast radius of one of the other Meteors. This attack has a lengthy recovery period (extra wings, see below*).
![]() Jump:
Jump:
This attack is just like the Knights who would jump up into the air and slam down on Clive’s location. Ultima’s attack behaves the same way.
![]() Magic Volley:
Magic Volley:
Ultima will rotate around the outside of the battlefield and fire magic bolts towards Clive. Dodge the opposite way that Ultima is spinning. This attack behaves just like Benedikta’s rotating magic attack.
![]() Magic Swords:
Magic Swords:
A circle of magic will form around Ultima, followed by six smaller magic circles outside of the larger one. After a short time, magic swords will emerge through the ground, dealing damage if Clive is standing in any of the circles.
![]() Magic Rift:
Magic Rift:
Ultima will slash the ground with magic in a line across where Clive is standing. Jump out of the rift before it explodes.
![]() Smite:
Smite:
This is an attack that appears across all phases of the fight. Ultima will briefly begin charging Smite before teleporting to Clive’s location. As soon as Ultima disappears, he will reappear right next to Clive, so get ready to dodge the split second you see him reappear.
* Extra Wings: All of Ultima’s most powerful spells have a lengthy recovery period. He grows four additional wings, which will slowly disintegrate after he casts these spells, giving you a lengthy window to get some damage in on him.
Unfortunately, your Zantetsuken gauge will be reset during the next phase, and the next phase of the fight will be completed with Ifrit instead of Clive, so don’t be shy about using all of your abilities quickly. As mentioned above, Ultima does not have much HP, especially if you have the powered-up gear from the DLC or side quest content, so you should aim to get through these first two phases.
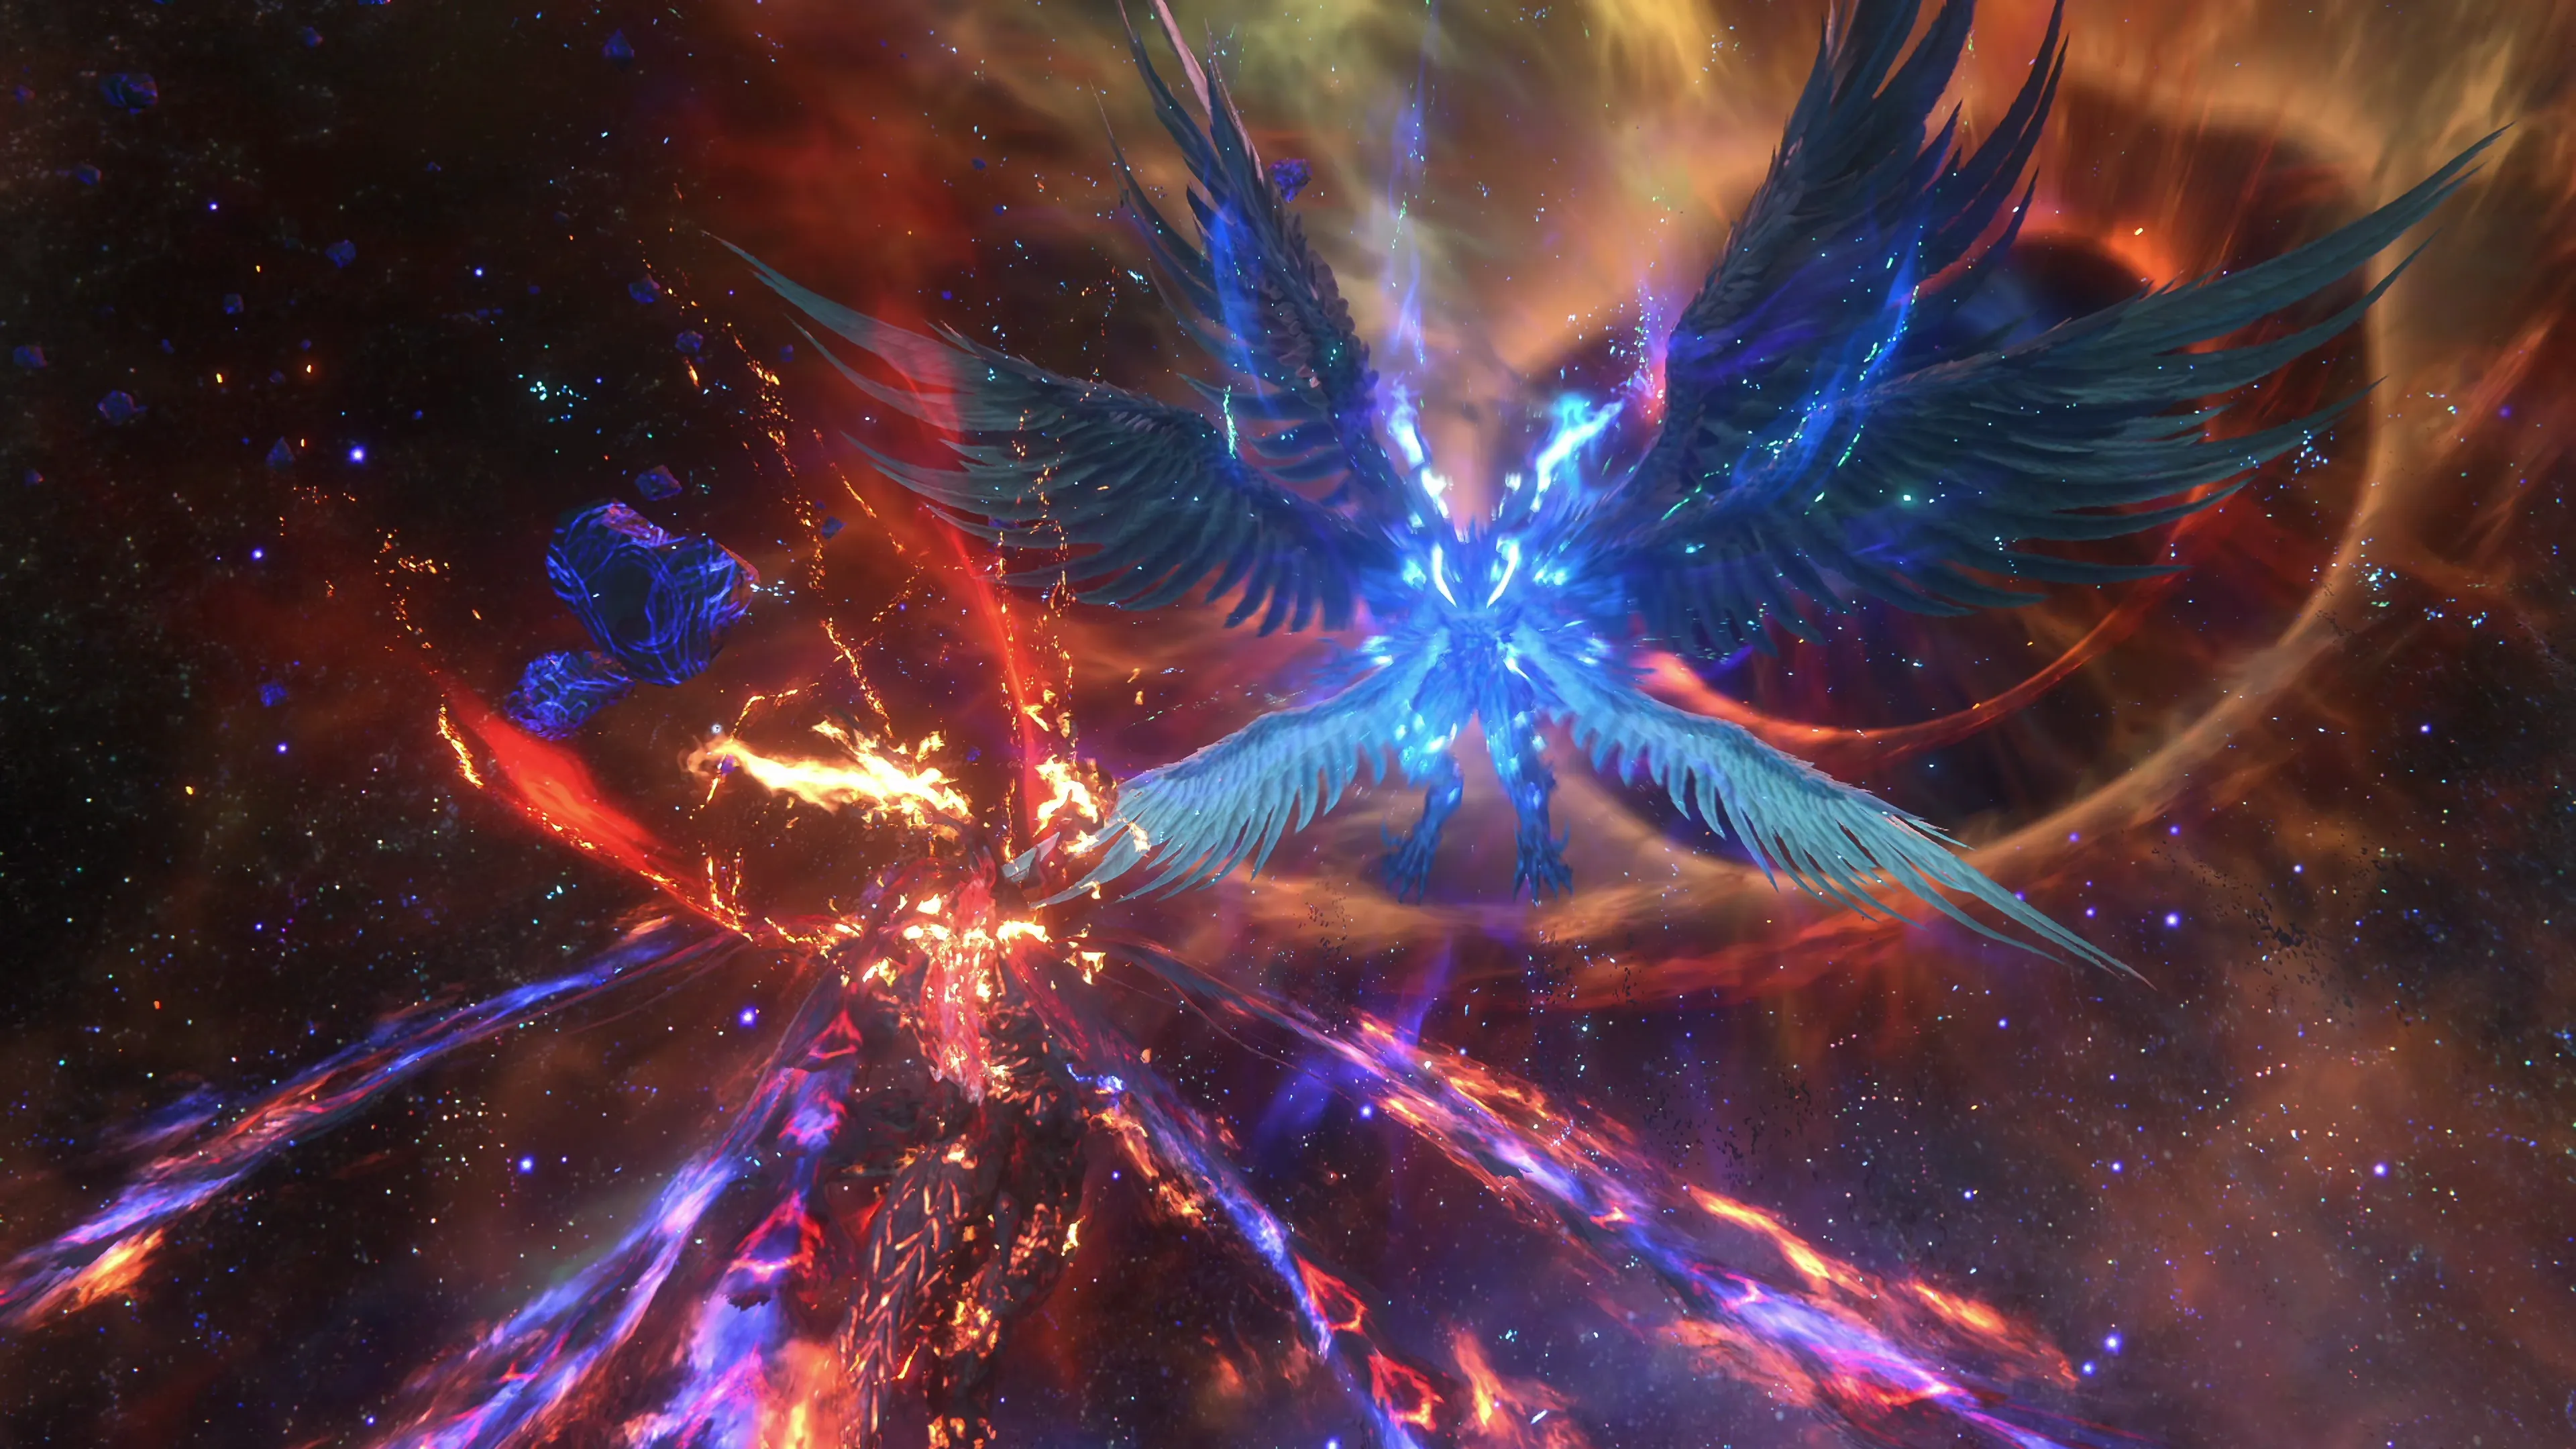
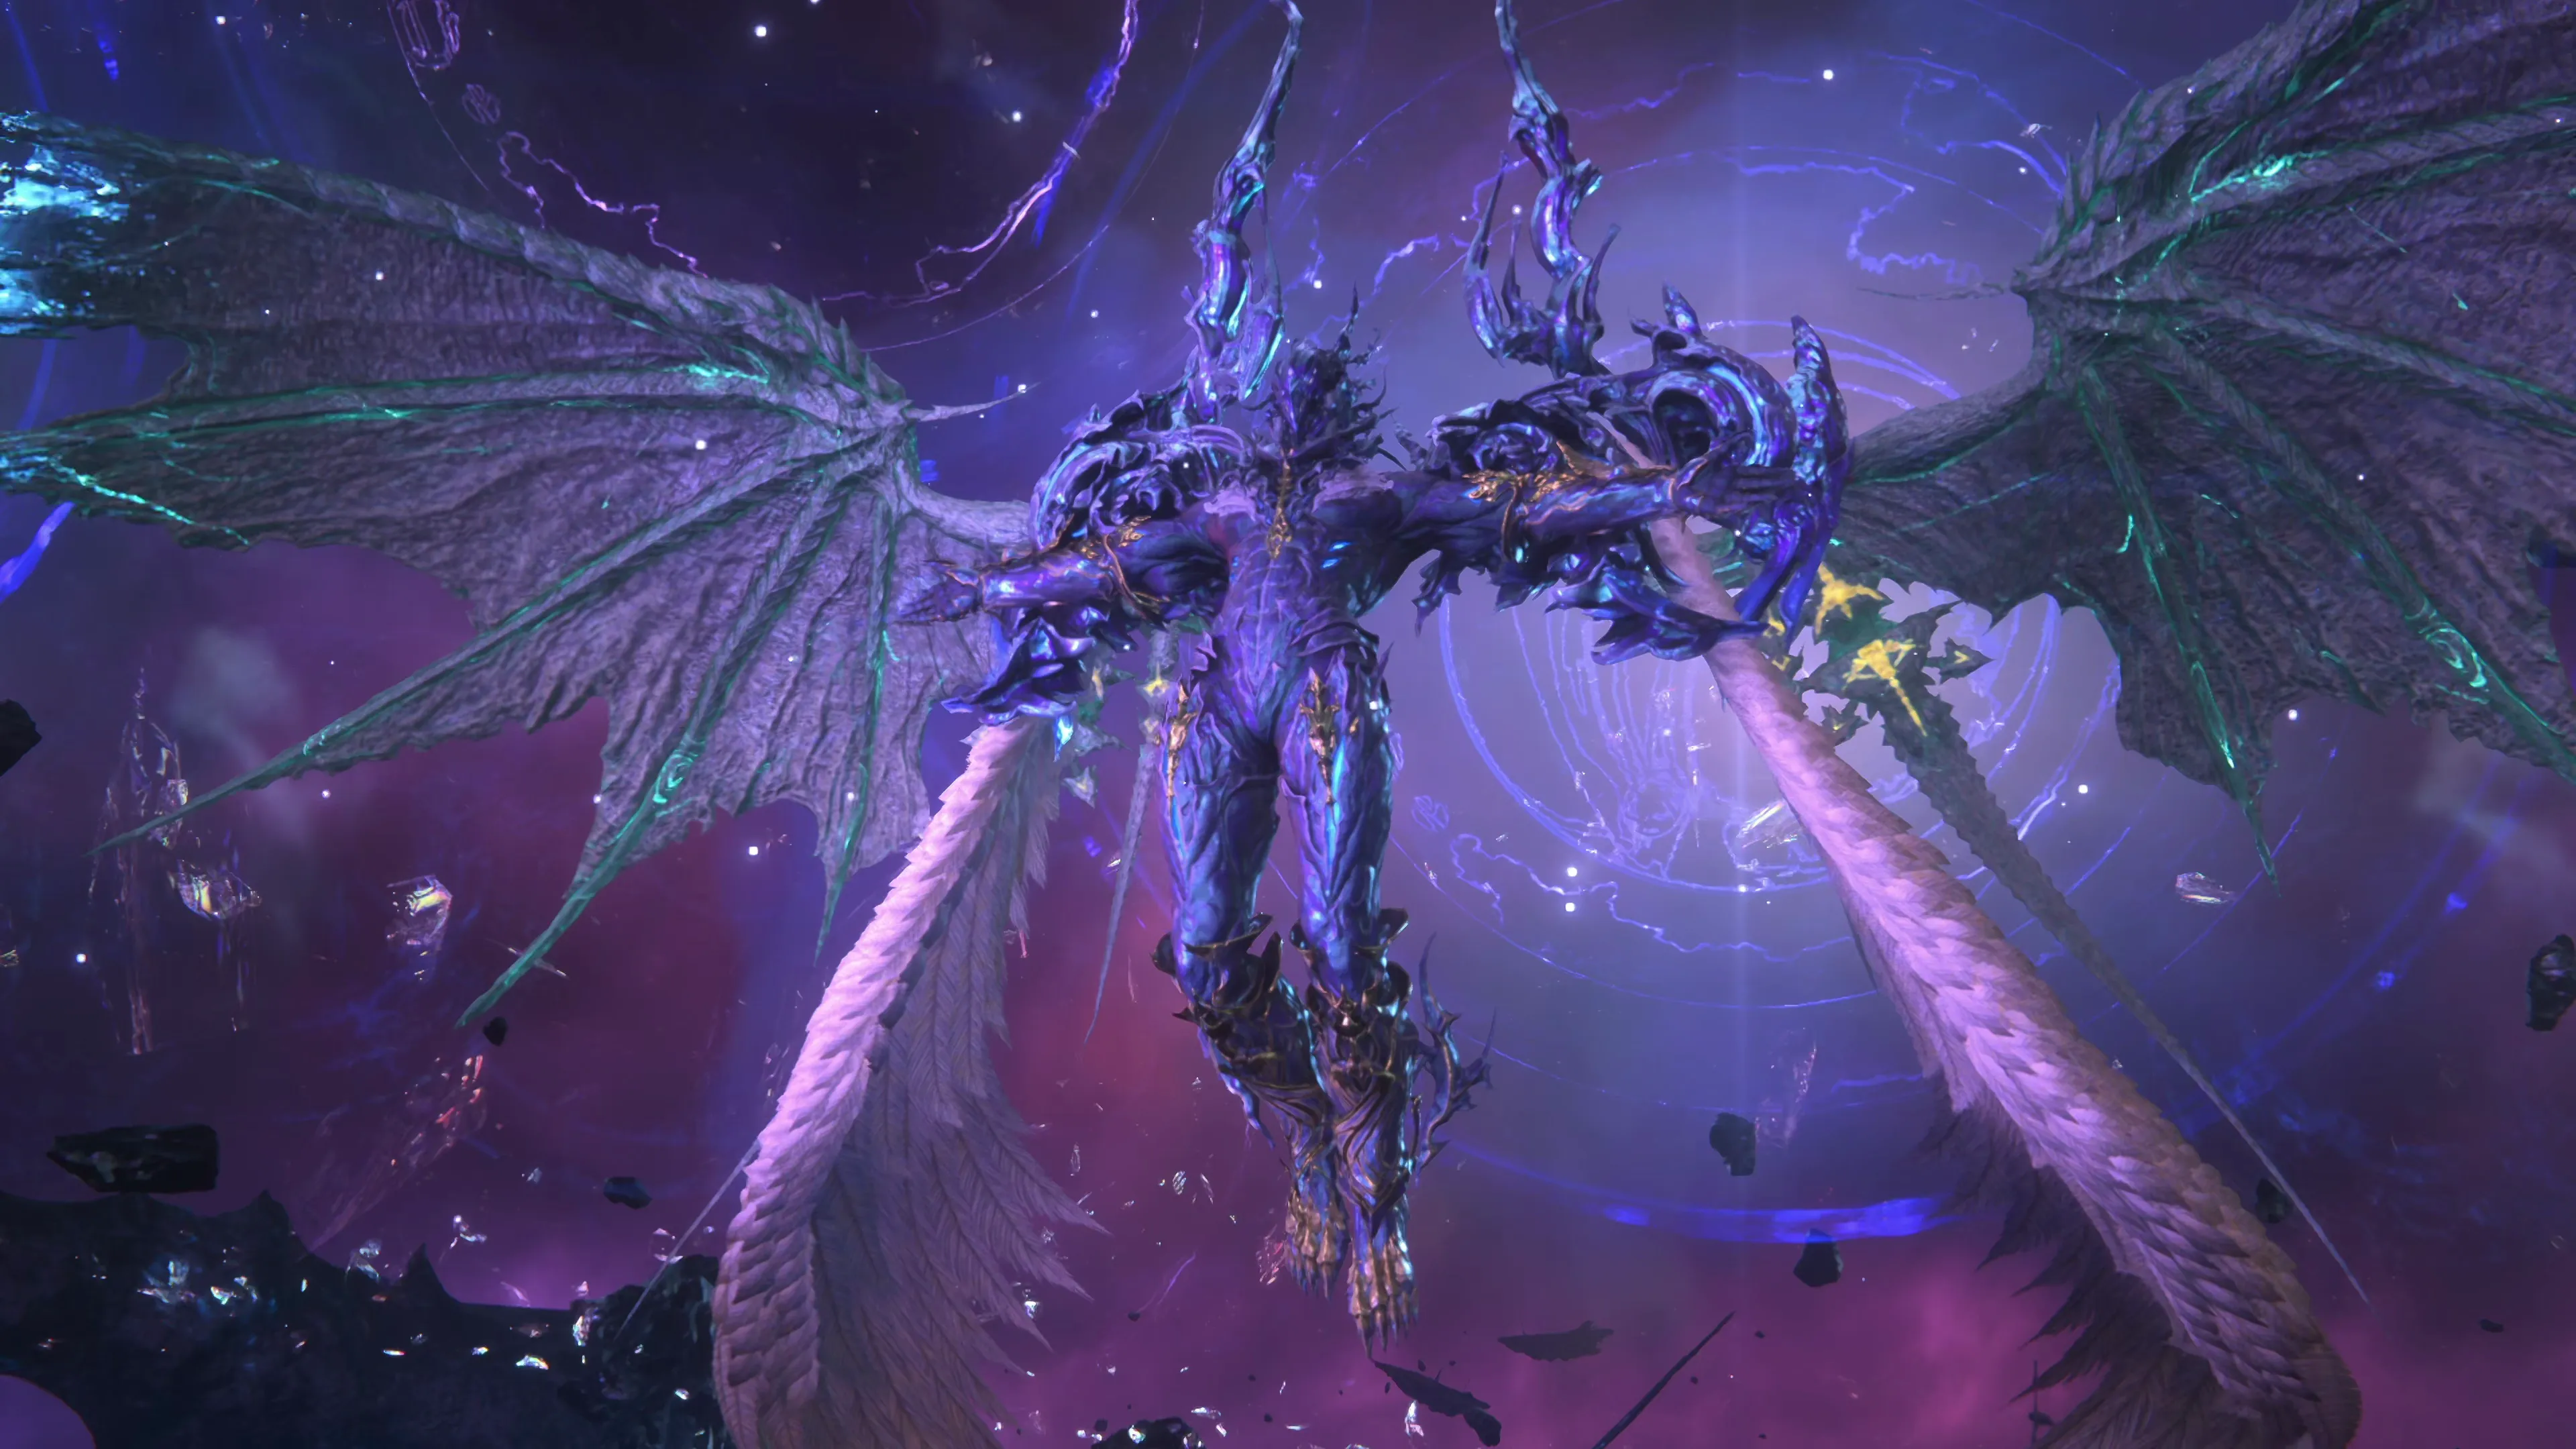
Phase 3 - Ultima Risen
This is another “Eikons in space” battle similar to the fight between Ifrit Risen and Bahamut. Remember that, while floating, Ifrit’s strongest combo is three regular attacks (with ![]()
![]()
![]() ) followed by a
) followed by a ![]() Backdraft (two presses of
Backdraft (two presses of ![]()
![]()
![]() ).
).
Because of the light show and with how much is happening on the screen, it can be difficult to tell when Ultima Risen is about to attack you. However, the game gives you a clue, as either Ultima itself or the magic that Ultima is casting will provide you with a color or flashing trigger letting you know when you should dodge.
Here are the attacks that he will use in this phase:
![]() Physical Attack Combo:
Physical Attack Combo:
He will quite often start with a somersault before slashing at Ifrit either 2 or 3 times. You’ll know when the combo is finished because Ultima shouts during his last attack. Note that you can counterattack Ultima Risen after each physical attack by dodging with ![]()
![]()
![]() button and then pressing
button and then pressing ![]()
![]()
![]() directly after the dodge, but just be ready to dodge his next attack right afterwards.
directly after the dodge, but just be ready to dodge his next attack right afterwards.
![]() Magic Missiles and Giant Magic Orb Combos:
Magic Missiles and Giant Magic Orb Combos:
Ultima Risen will launch mini Magic Missiles towards Ifrit. These are difficult to dodge because of how many of them there are, but be ready to dodge as soon as they switch direction and hone in on Ifrit’s location. Ultima will quite often use this attack in combination with Giant Magic Orbs, which he will launch at Ifrit as well. These have to be dodged quickly as they launch towards Ifrit’s location (dodge to the side or straight through).
![]() Lunge:
Lunge:
Ultima Risen will fly a short distance away before lunging directly at Ifrit like a missile. He will immediately follow this attack up with a Circle of Magic Orbs.
![]() Circle of Magic Orbs:
Circle of Magic Orbs:
Ultima will summon two circles of Magic Orbs, which will slowly rotate out from his position. Be ready to dodge them as they get close.
![]() Smite:
Smite:
This attack behaves the same way that it did in the previous phase. Be ready to dodge as soon as Ultima Risen disappears.
![]() Aureola:
Aureola:
Ultima Risen will launch four rings of magic outward from its location, which will inflict damage on Ifrit if they hit him once they expand to his position. To help you dodge this attack, the rings change color from purple to yellow when they are about to make contact, so wait until they turn yellow before dodging.
![]() Antistrophe:
Antistrophe:
Ultima Risen will begin charging a purple blast of magic. He will aim this magic at Ifrit’s location three times, so be ready to dodge three times in a row. A blast of energy will radiate outward from Ultima just before the attack is about to go off, signifying that you should dodge.
![]() Stellar Xyston:
Stellar Xyston:
Ultima Risen will summon two beams of magic on its left and right sides, and will begin rotating. You’ll have to dodge as the magic beam passes over Ifrit’s position.
![]() Pulsar:
Pulsar:
This attack is similar to “Stellar Xyston,” except a whole ring of magic beams will be summoned, which will slowly rotate around Ultima Risen in a somewhat random and unpredictable fashion. This attack is challenging to dodge because it’s tough to determine where the beams are going and when they’re going to hit Ifrit; however, the best strategy is to continue moving to the right (or left) and focus on dodging beams in that one direction as they get close.
![]() Dimachairos:
Dimachairos:
Ultima will summon a large beam of light with both hands in front of it. He will then split his two hands from front to back, so as you dodge to avoid the first attack that comes from straight on, you’ll have to watch for him dragging one of the Dimachairos beams across your position again.
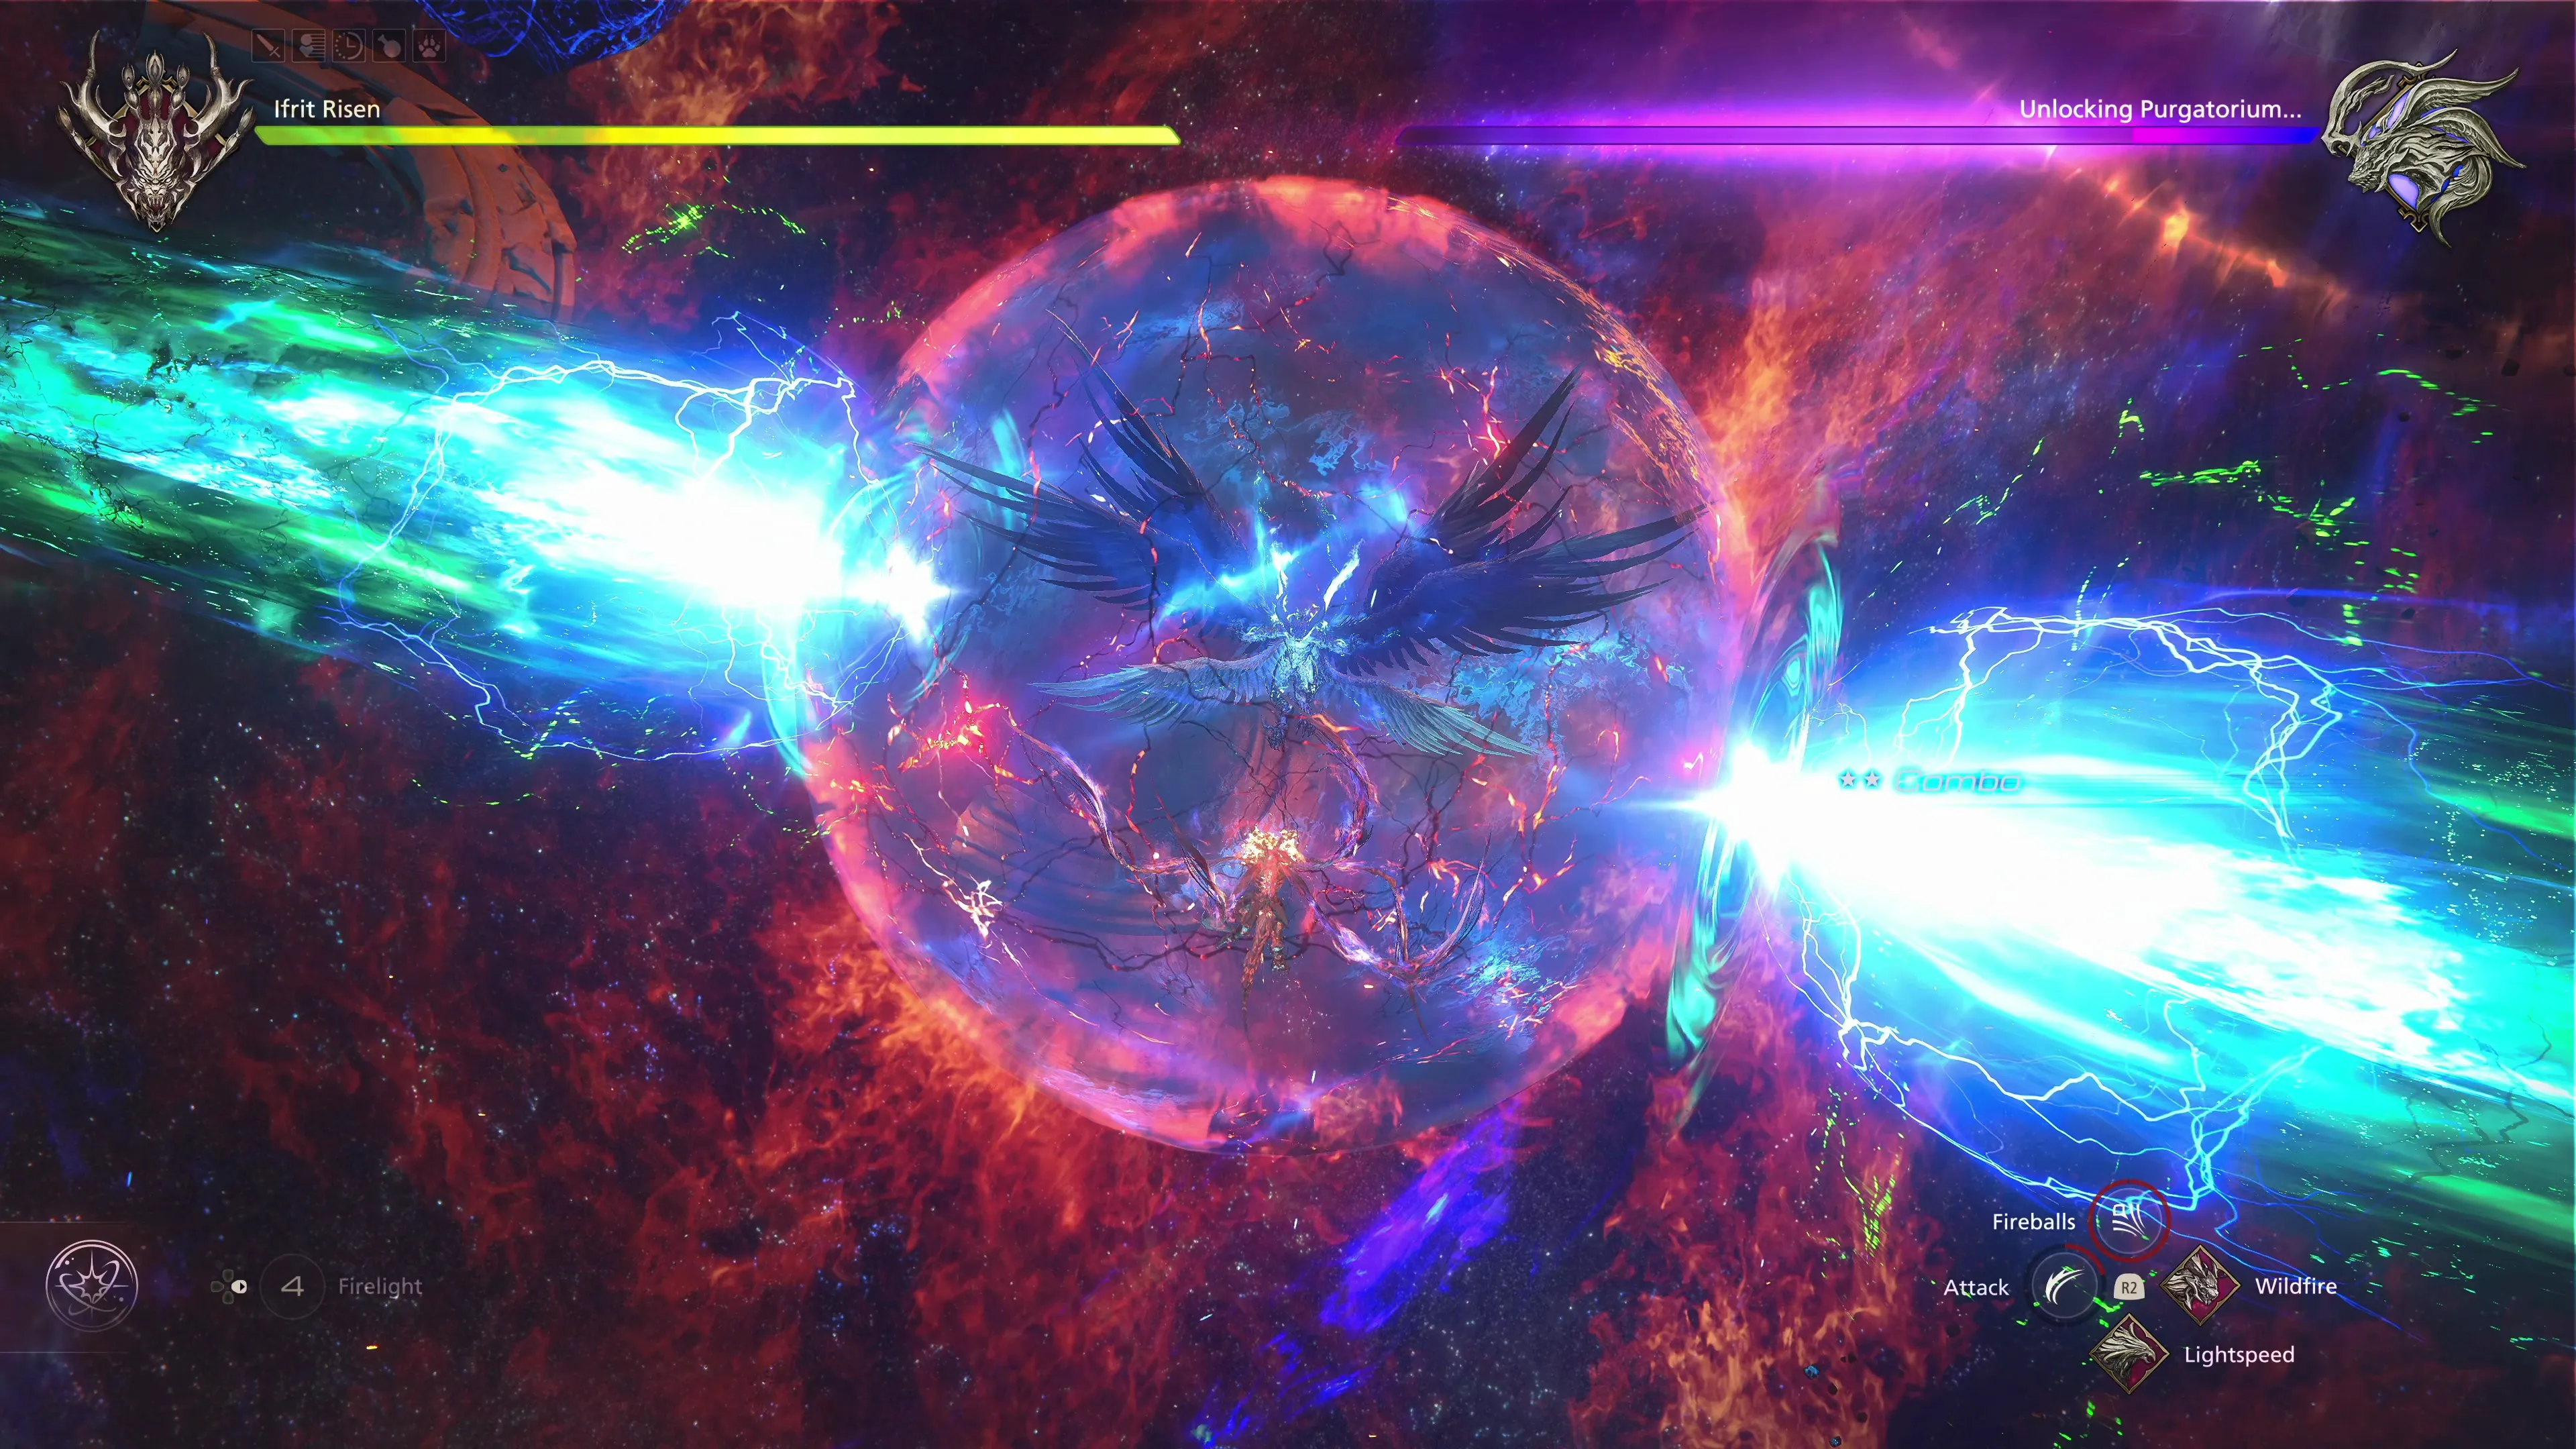
![]() The Rapture:
The Rapture:
Ultima Risen will use this attack after it has been staggered. The attack causes a massive explosion around its position, so you need to be quick to use ![]() Wildfire to get as far away from it as possible.
Wildfire to get as far away from it as possible.
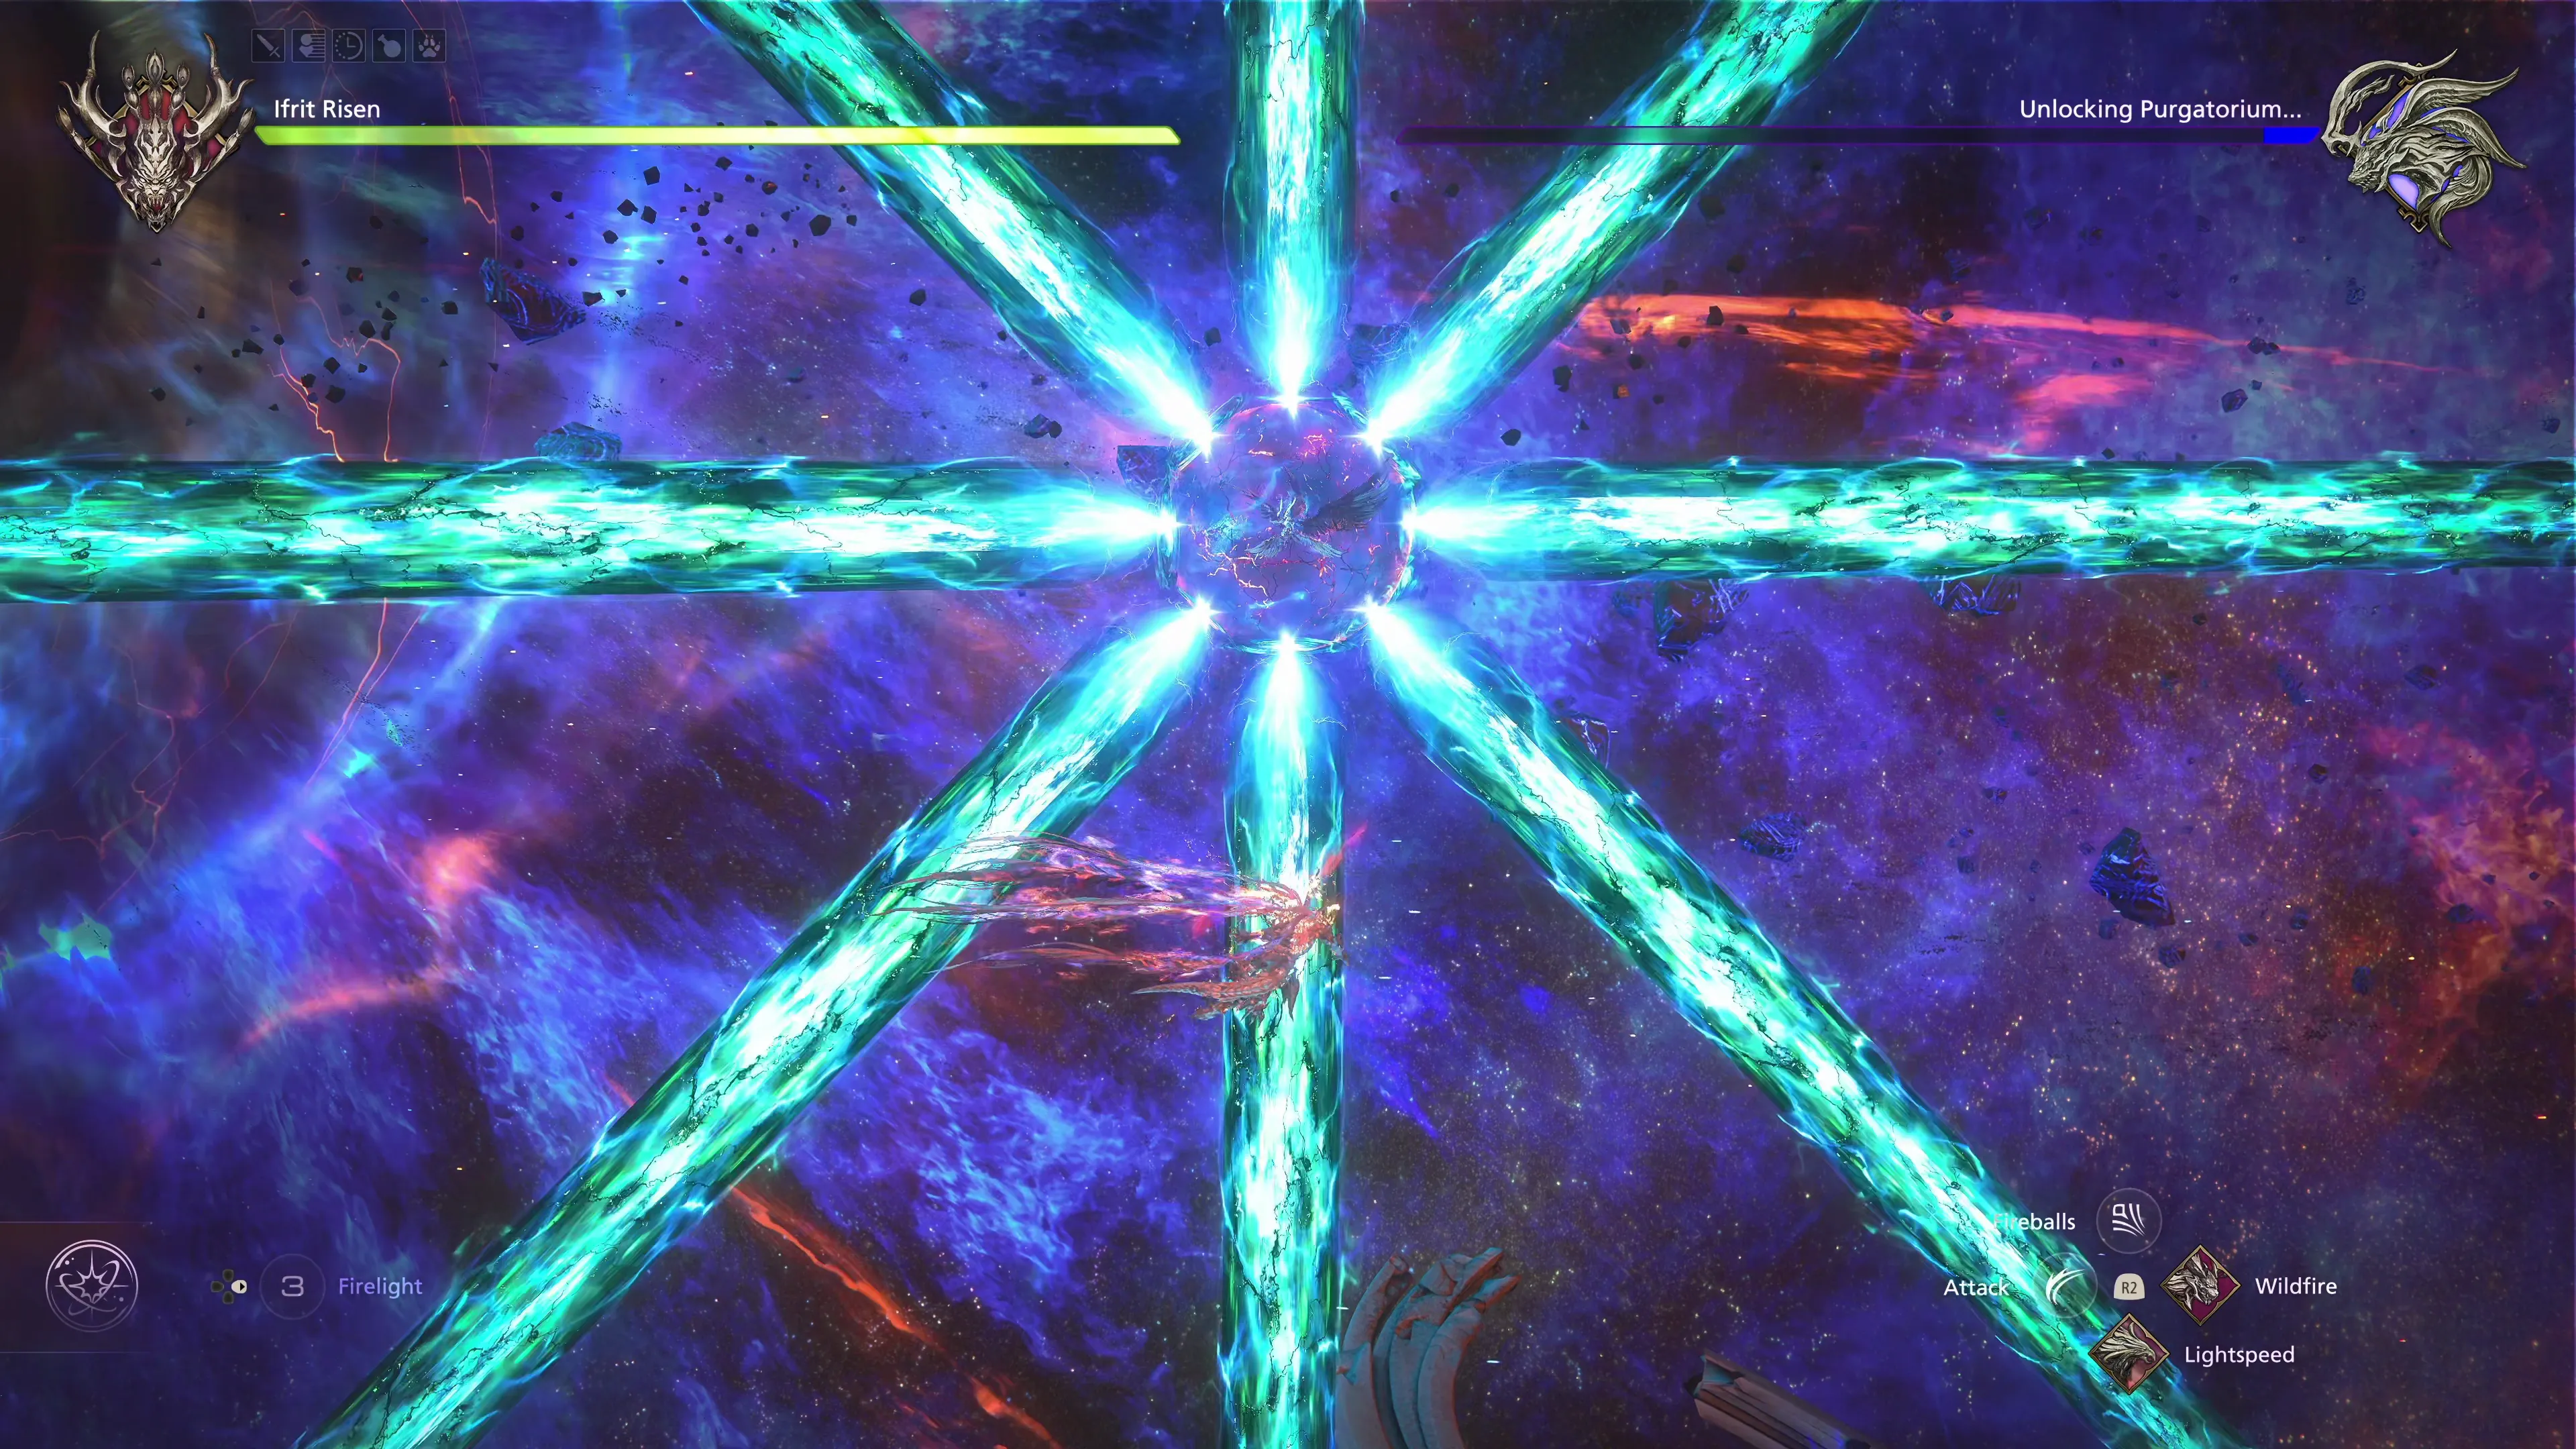
During this phase, Ultima Risen will enter an “Unlocking Purgatorium” state and shield itself from damage. This sequence is similar to Leviathan’s “Troubled Waters” phase, except you have a lot more time to break through Ultima Risen’s shield, so take your time and make sure you’re focusing on dodging attacks first and foremost. You’ll have to watch out for Magic Missiles, Magic Orbs that are expelled from the shield, and Stellar Xyston attack, as well as an Aureola right when the shield is activated.
Once this phase is over, it’s back to fighting Ultima as Clive.
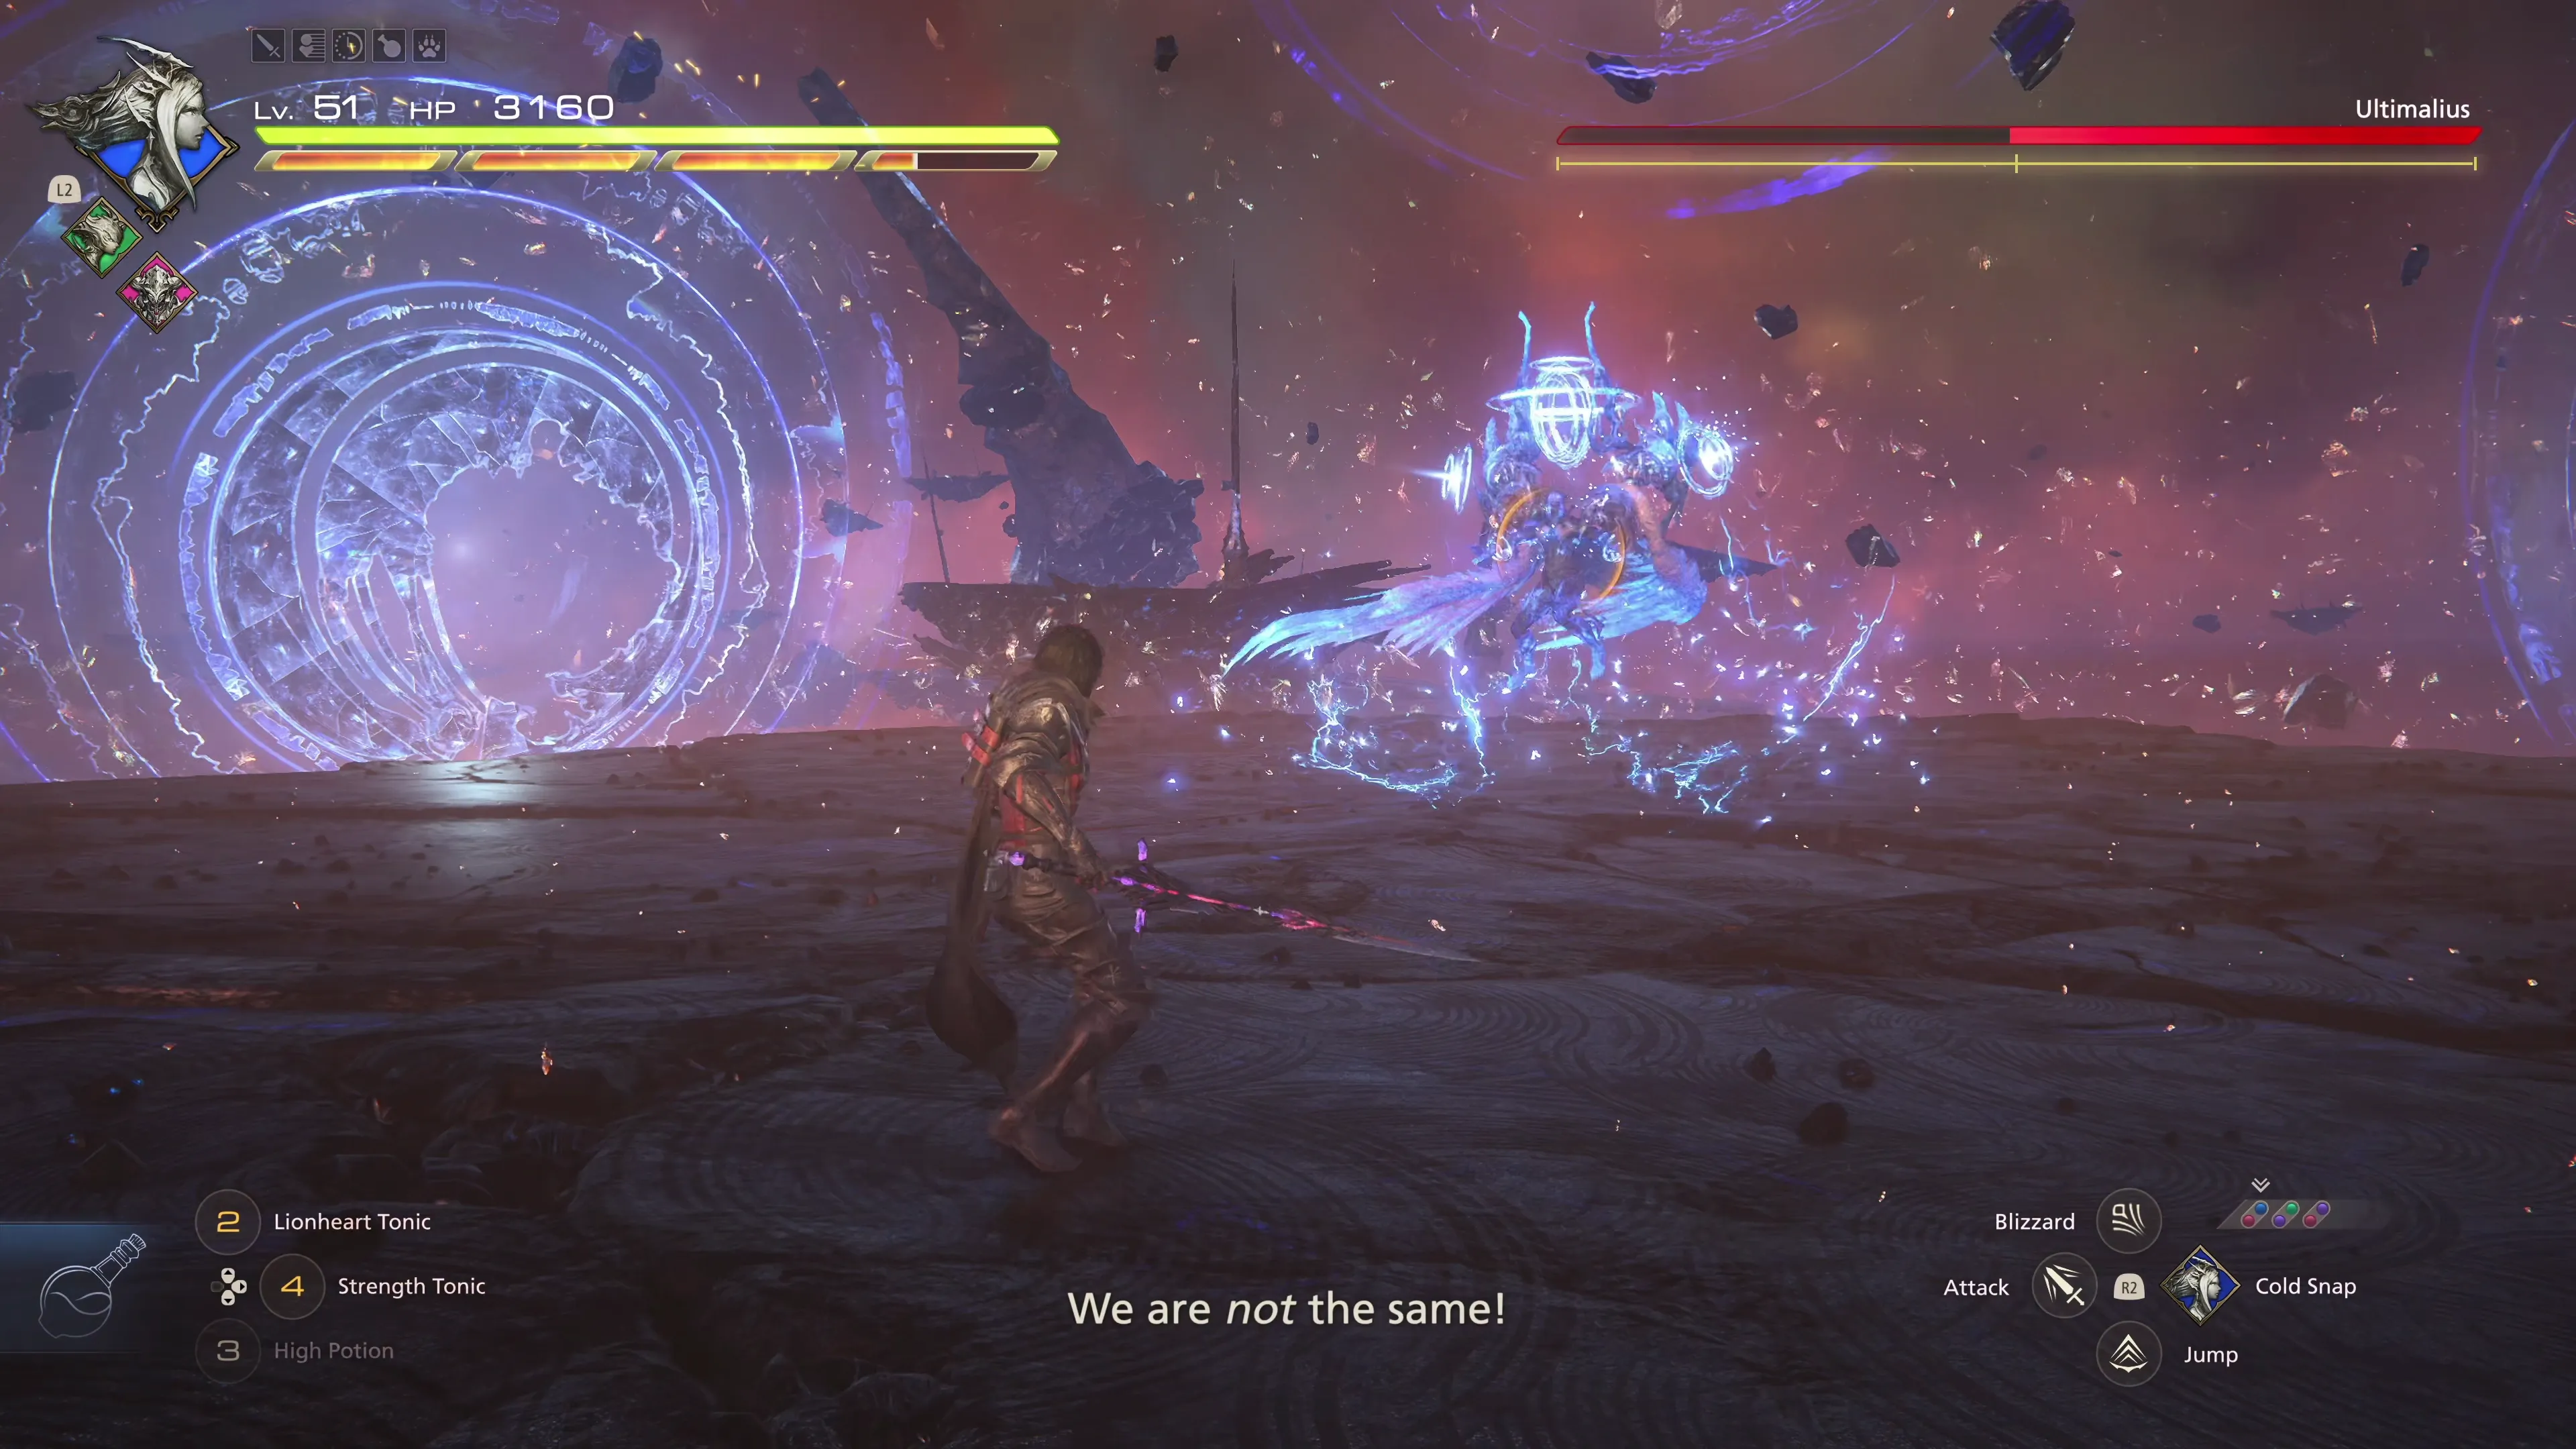
Phase 4 - Ultimalius
This version of Ultima will have access to many of the same attacks you saw during Phases 1 and 2, but he also has a brand new arsenal that you’ll have to contend with. During the first portion of the fight, he will use abilities that call upon the powers of Garuda/Earth, Ramuh/Thunder, and Titan/Earth.
![]() Fulmen and Fulgur:
Fulmen and Fulgur:
Ultimalius will summon a bunch of electric spears, which will form magic circles on the ground that you can’t stand in. While this attack is going on, Ultimalius will either attack Clive with a regular “Lunge” or a “Deadly Embrace.”
![]() Divine Embrace:
Divine Embrace:
This attack behaves just like Clive’s “Deadly Embrace.” Ultimalius will use a claw-like appendage to drag Clive to his location. Thankfully, you can dodge away from Ultimalius’ next attack if you do get captured by the claw.
![]() Euroclydon:
Euroclydon:
This attack is just like Benedikta’s Talon attack. A bunch of claws will slam on the ground, attempting to hit Clive, followed by one massive claw at the end of the sequence.
![]() Cataclysm:
Cataclysm:
Ultimalius will slam the ground at Clive’s location, and then hit the ground two more times. Each time he slams the ground, a larger and larger circle of damage will be triggered. Keep dodging away until the attack is over, unless you were able to ![]() Cold Snap the first slam.
Cold Snap the first slam.
A short cinematic will take place at approximately 75% HP, where Ultimalius will battle it out using their Wind, Thunder, and Earth abilities. From then on, Ultimalius will begin using Shiva/Ice, Bahamut/Light, and Odin/Darkness style abilities, which include:
![]() Boreal Rhapsody:
Boreal Rhapsody:
This attack may as well be called Blizzaga, as it behaves the same as other enemies you’ve faced. Large chunks of ice will be summoned to fall on the ground, and the spots that will be hit will illuminate a light blue color.
![]() Severance:
Severance:
This ability is just like Odin’s “The Lord’s Measure” attack. A bunch of lights will stream in lines across the battlefield. Don’t stand in any of the lit-up spots, or Clive will take damage. This attack covers nearly the entire battlefield, but you should hopefully be able to find an open spot.
![]() Exaflare:
Exaflare:
This is a new ability based somewhat on Bahamut’s ![]() Flare Breath ability. Ultimalius will breathe out a stream of light energy in a line from left to right and then from right to left in front of him, aiming at Clive both times. This attack can be challenging to dodge, and the areas of the ground that this attack hits will light up and eventually explode.
Flare Breath ability. Ultimalius will breathe out a stream of light energy in a line from left to right and then from right to left in front of him, aiming at Clive both times. This attack can be challenging to dodge, and the areas of the ground that this attack hits will light up and eventually explode.
Another short cutscene will take place at around 50% HP, involving another shootout between Ultimalius and Clive, and then we move on to the fifth and final phase of the fight.
Phase 5 - Ultimalius Limit Break
The music change gives you a good indication that this will be the most challenging portion of the fight. Many of the attacks you’re used to return with slight modifications that make them more challenging to deal with, and Ultimalius will also take on the power of Phoenix during this phase of the fight:
![]() Magic Rift (Updated):
Magic Rift (Updated):
Ultimalius will strike several spots on the ground now instead of just one.
![]() Magic Swords (Updated):
Magic Swords (Updated):
Even more swords will be summoned, but there will still be safe spots around Ultimalius to stand.
![]() Flames of Creation:
Flames of Creation:
Ultimalius will summon a gigantic magic orb, which will slowly smash into the battlefield. Stand on either the left side of the battlefield and wait until the magic orb gets close and starts crashing into the ground before running to the opposite side to escape damage.
![]() Ashes to Ashes:
Ashes to Ashes:
This is a two-part attack. Ultimalius will launch a barrage of missiles down onto Clive’s location, which needs to be dodged, and then will dive down onto the ground, requiring a second dodge.
![]() Empyrosis:
Empyrosis:
Ultimalius will summon the power of Phoenix, dealing damage to Clive if he’s too close. In fact, this attack will launch Clive up into the air, and he’ll get hit by a second attack as well, but if you manage to dodge the first part, once Ultimalius slams back down to the ground, a ripple of fire will shoot out from where he lands that will need to be dodged.
Magic Shots, Smite, Holy, Flare, Meteor, and Ultima all return and are unchanged.
The fight will conclude when Ultimalius gets down to about 5% HP. You’ve just completed the final boss for Final Fantasy XVI! Note that this fight does have a Medal of Valor associated with it, but this is an incredibly challenging fight to try to complete without getting hit.
0
0
Achievement/Trophy
“Fulfill a legacy.” The  Falling Star Achievement/Trophy is earned as soon as you complete the “Of Gods and Men” Main Scenario Quest.

You have quite a few cutscenes to watch after the fight. Congratulations, you’ve defeated Ultima and completed the story portions of Final Fantasy XVI! There is still quite a lot of additional content to look forward to if you’ve enjoyed the game so far. Check out the Endgame Content page next for more information.