
Walkthrough
Note that the sections of this walkthrough are broken up into the various chapters and overviews given by Marquis Halim Ondore IV.
These walkthrough sections are full of spoilers. Do not read ahead if this is your first time playing through the game.
Section 3 Index
Completing a few more side quests and Hunts before heading south to Jahara – the Land of the Garif, including the Lost Cactoid and Desert Patient side quests.
The plains have gone from dry to rainy and are now flooded and there are Withered Trees that can be pushed over to obtain access to the Starfall Field. The final destination is the Ozmone Plain.

A few more optional Esper battles become available. Aside from that, this chapter involves heading straight through to Jahara.

Gaining entry into the secluded village and initiating a number of cutscenes after speaking to the Great-Chief in the Elderknoll.
Completing a few optional Hunts and then traveling through the Sunlit Path on the way to the Golmore Jungle.
The team will be interrupted by a magical barrier that impedes passage. Fran will unveil a secret passageway leading to the hidden village of her people; the Viera.
Receiving a very cold ‘welcome’ to the village by Jote as the team searches for Fran’s sister, Mjrn. The team will decide to search for her in the Henne Mines.

Returning to Jahara and completing a few Hunts and side quests before continuing on to the Henne Mines.
Using a Chocobo to reach the Henne Mines using a secret passageway. There is a spot in the Mines that can be used to grind LP and EXP before venturing on to defeat Tiamat, the final boss of the dungeon. This section also includes a return to the Eruyt Village.
Defeating the Elder Wyrm and traveling through the Paramina Rift on the way to Mt Bur-Omisace.
Wrapping up a number of side quests and Hunts available while Lord Larsa is in the party before heading up to the Temple Grounds and the Hall of the Light.
Traveling through the Paramina Rift on the way to the Stilshrine of Miriam.
Activating the Stone Braves to reach the Ward of the Sword-King, defeating the optional Esper Mateus, and obtaining the Sword of Kings.
Defeating Judge Bergan in the Hall of the Light in the Mt Bur-Omisace Temple and obtaining the Stone of the Condemner.
More side quests and Hunts to complete before traveling up to the Mosphoran Highwaste.
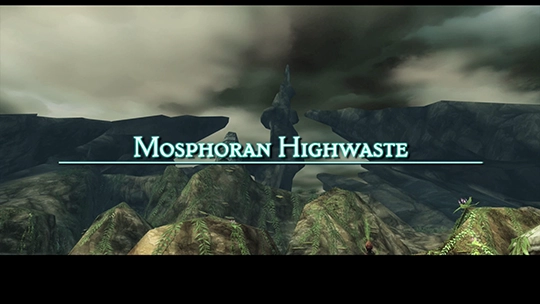
The team begins traveling discretely towards Archades by heading up the Mosphoran Highwaste through to the Salikawood. There are a number of Hunts and side quests that can be initiated and completed along the way.
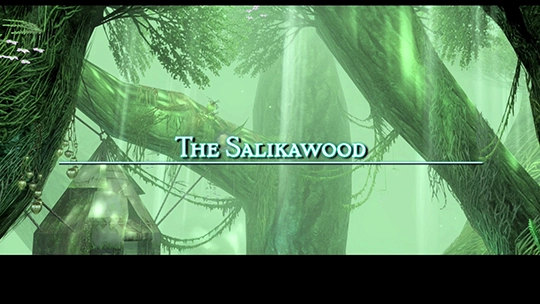
Venturing through the woods and defeating an optional boss battle to defeat King Bomb and open up the path to the Necrohol of Nabudis. There are a number of side quests that be completed before moving on to the Phon Coast.
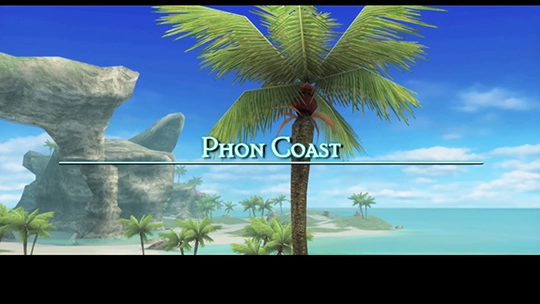
Locating the Hunter’s Camp, completing a few more Hunts and obtaining some optional Espers before heading on to the Tchita Uplands.
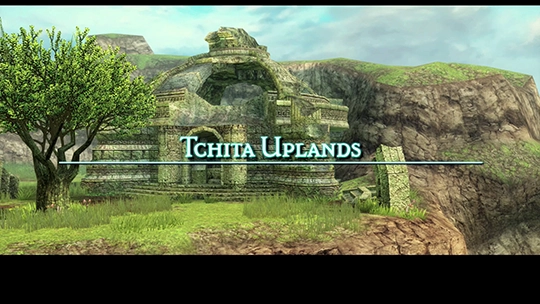
Heading through the Tchita Uplands (and potentially obtaining a Diamond Armlet) on the way to the Archades.
Defeating the Mandragoras and opening the Pilgrim’s Door on the way up to Old Archades.
Meeting up with Jules in the Alley of Muted Sighs and enlisting his help to gain access to Archades proper.
Completing a few side quests and picking up all the Pinewood Chop to gain access to all areas of Archades. Balthier rejoins the party when they make way for the Draklor Laboratory.
Battling your way through the 66th, 67th, 68th and 70th floors of the Laboratory to confront Doctor Cid in the Energy Transitarium at the end of Chapter 16 / Section 3.