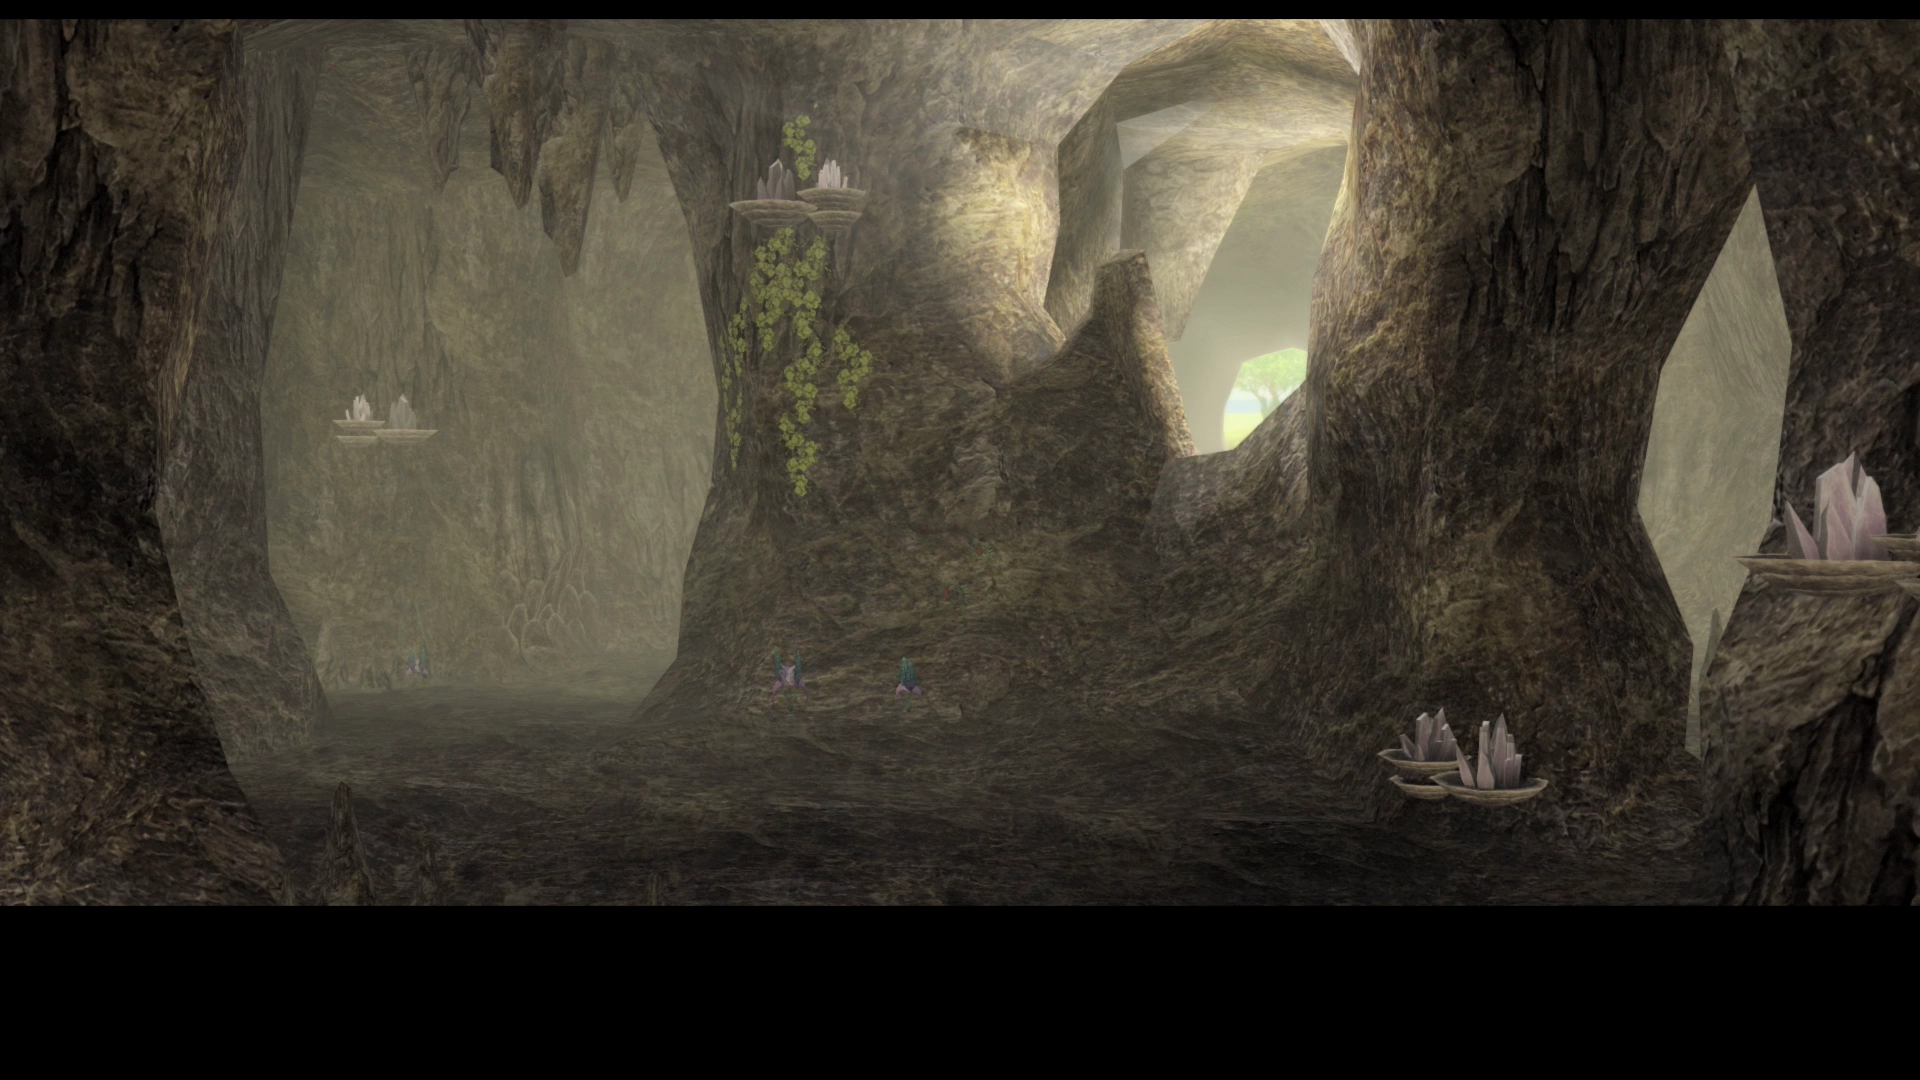
Sochen Cave Palace
“A giant underground complex in Archadia, consisting of natural caverns and the abandoned ruins of an ancient palace. Many of its ways and passages remain uncharted on current maps. From the style of the carvings adorning some of the walls, it is thought that the complex was built at some point during the Galtean Alliance, though no records of its construction remain.
A survey mission was initiated to chart the many corridors here, but a particularly nasty infestation of creatures has significantly hampered progress.”
Doubt Abandoned
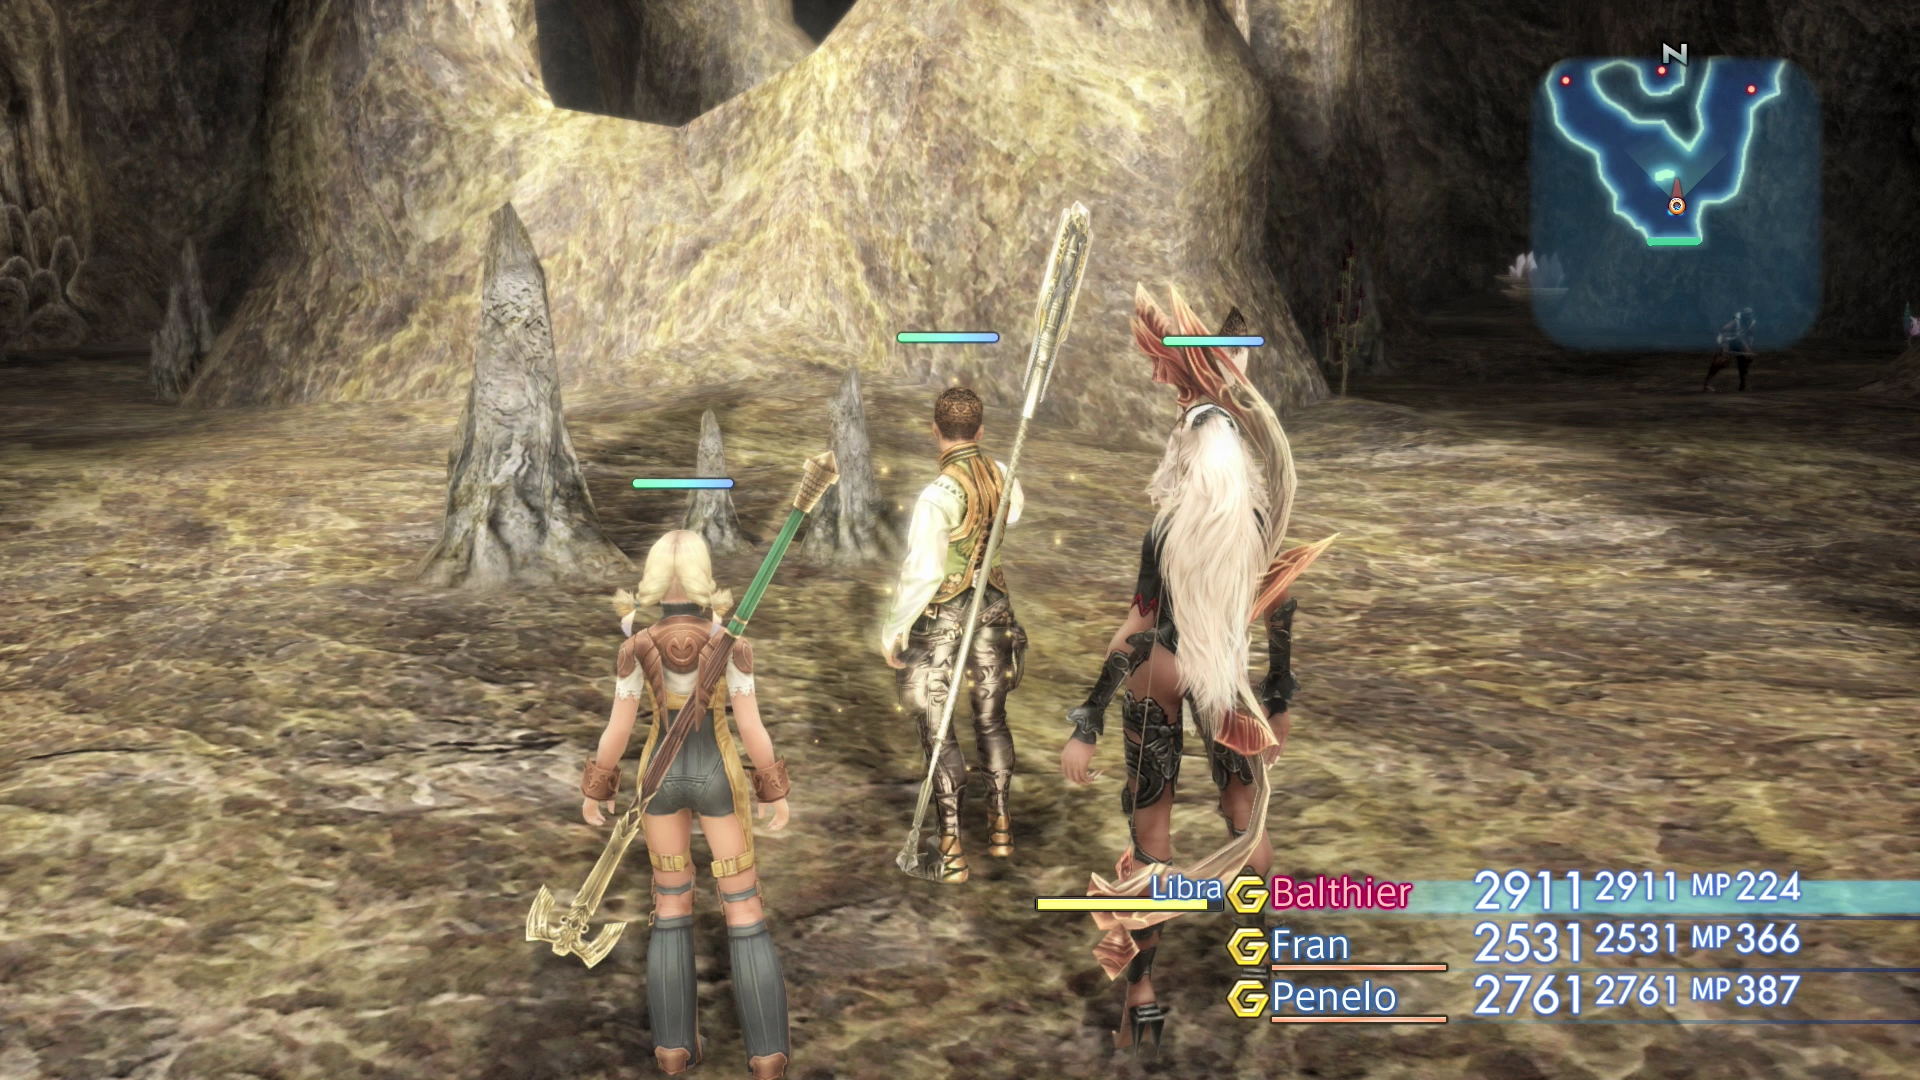
Traps litter nearly every room of the palace. This is another area of the game where you are going to want to have ![]() Libra activated for the duration of your visit. Set up a Self >
Libra activated for the duration of your visit. Set up a Self > ![]() Libra Gambit to keep it active or have one of your characters equip a
Libra Gambit to keep it active or have one of your characters equip a ![]() Bangle accessory.
Bangle accessory.
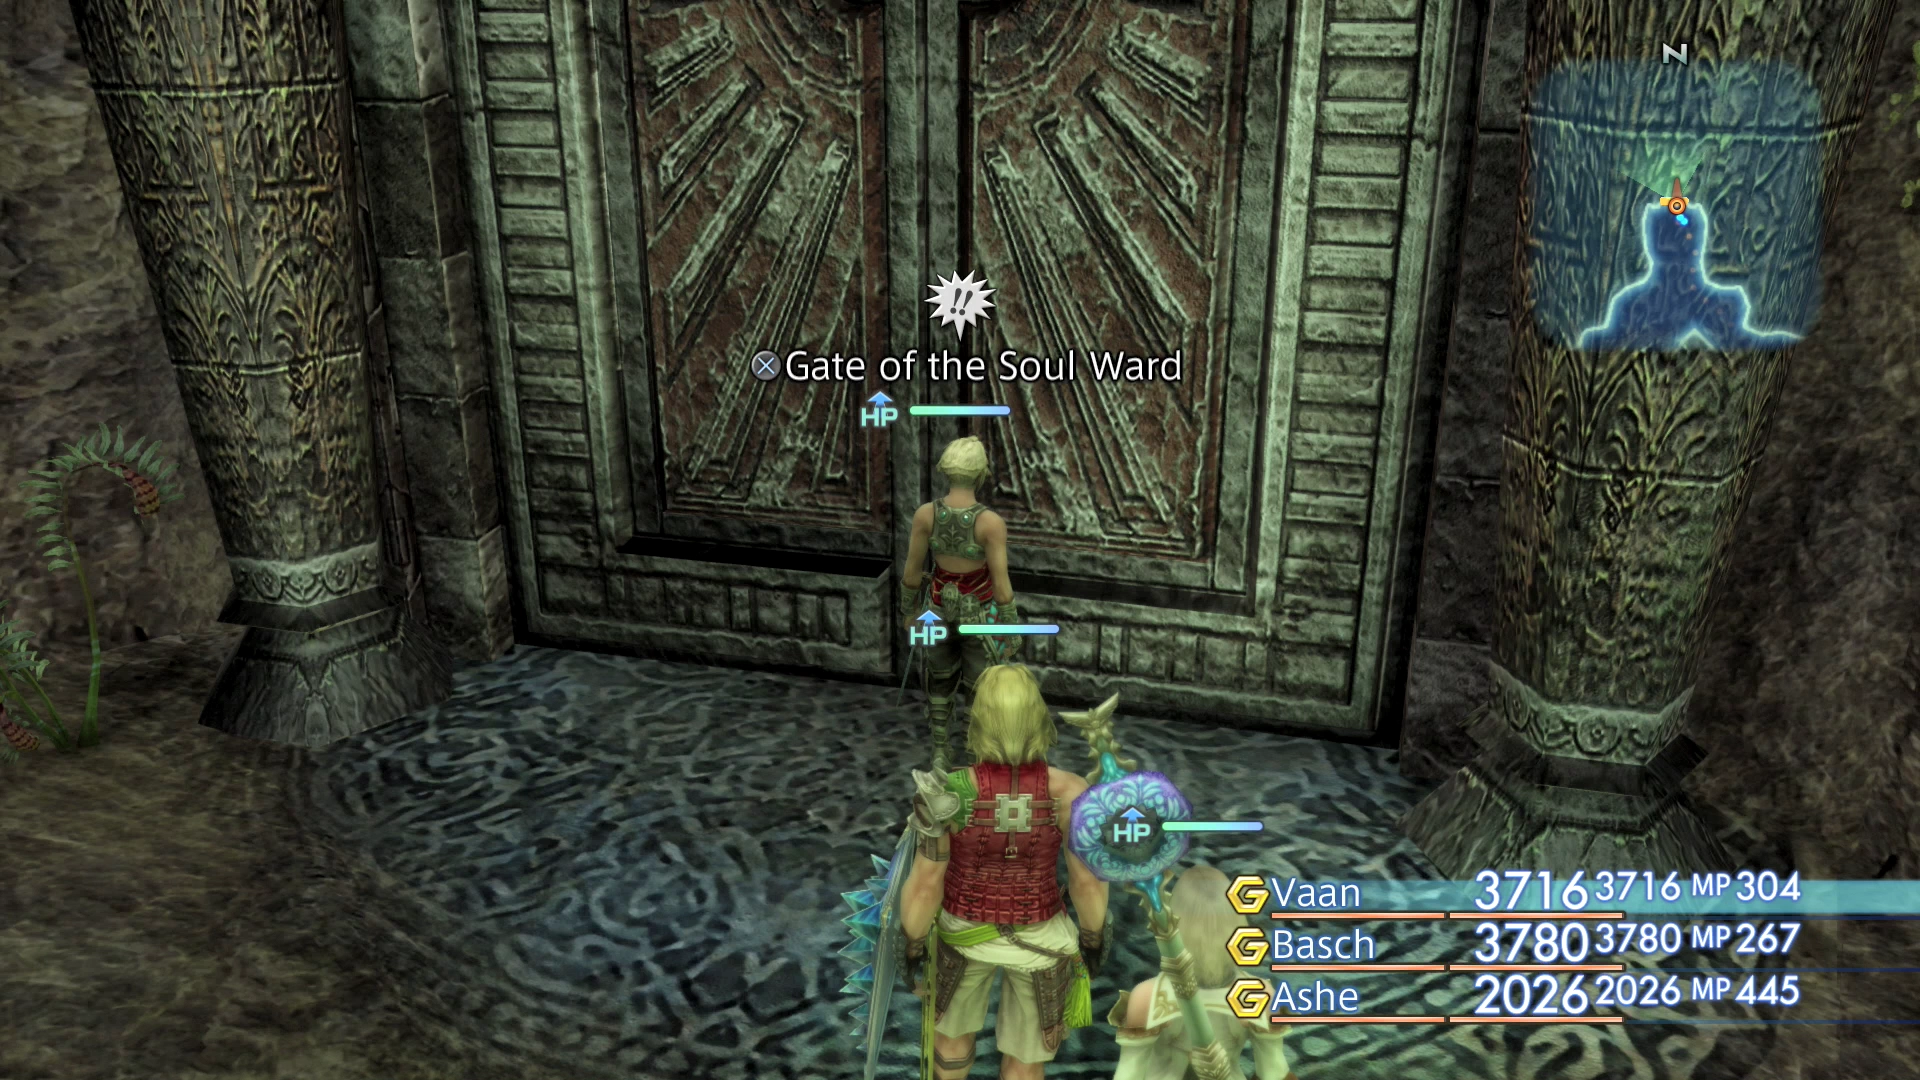
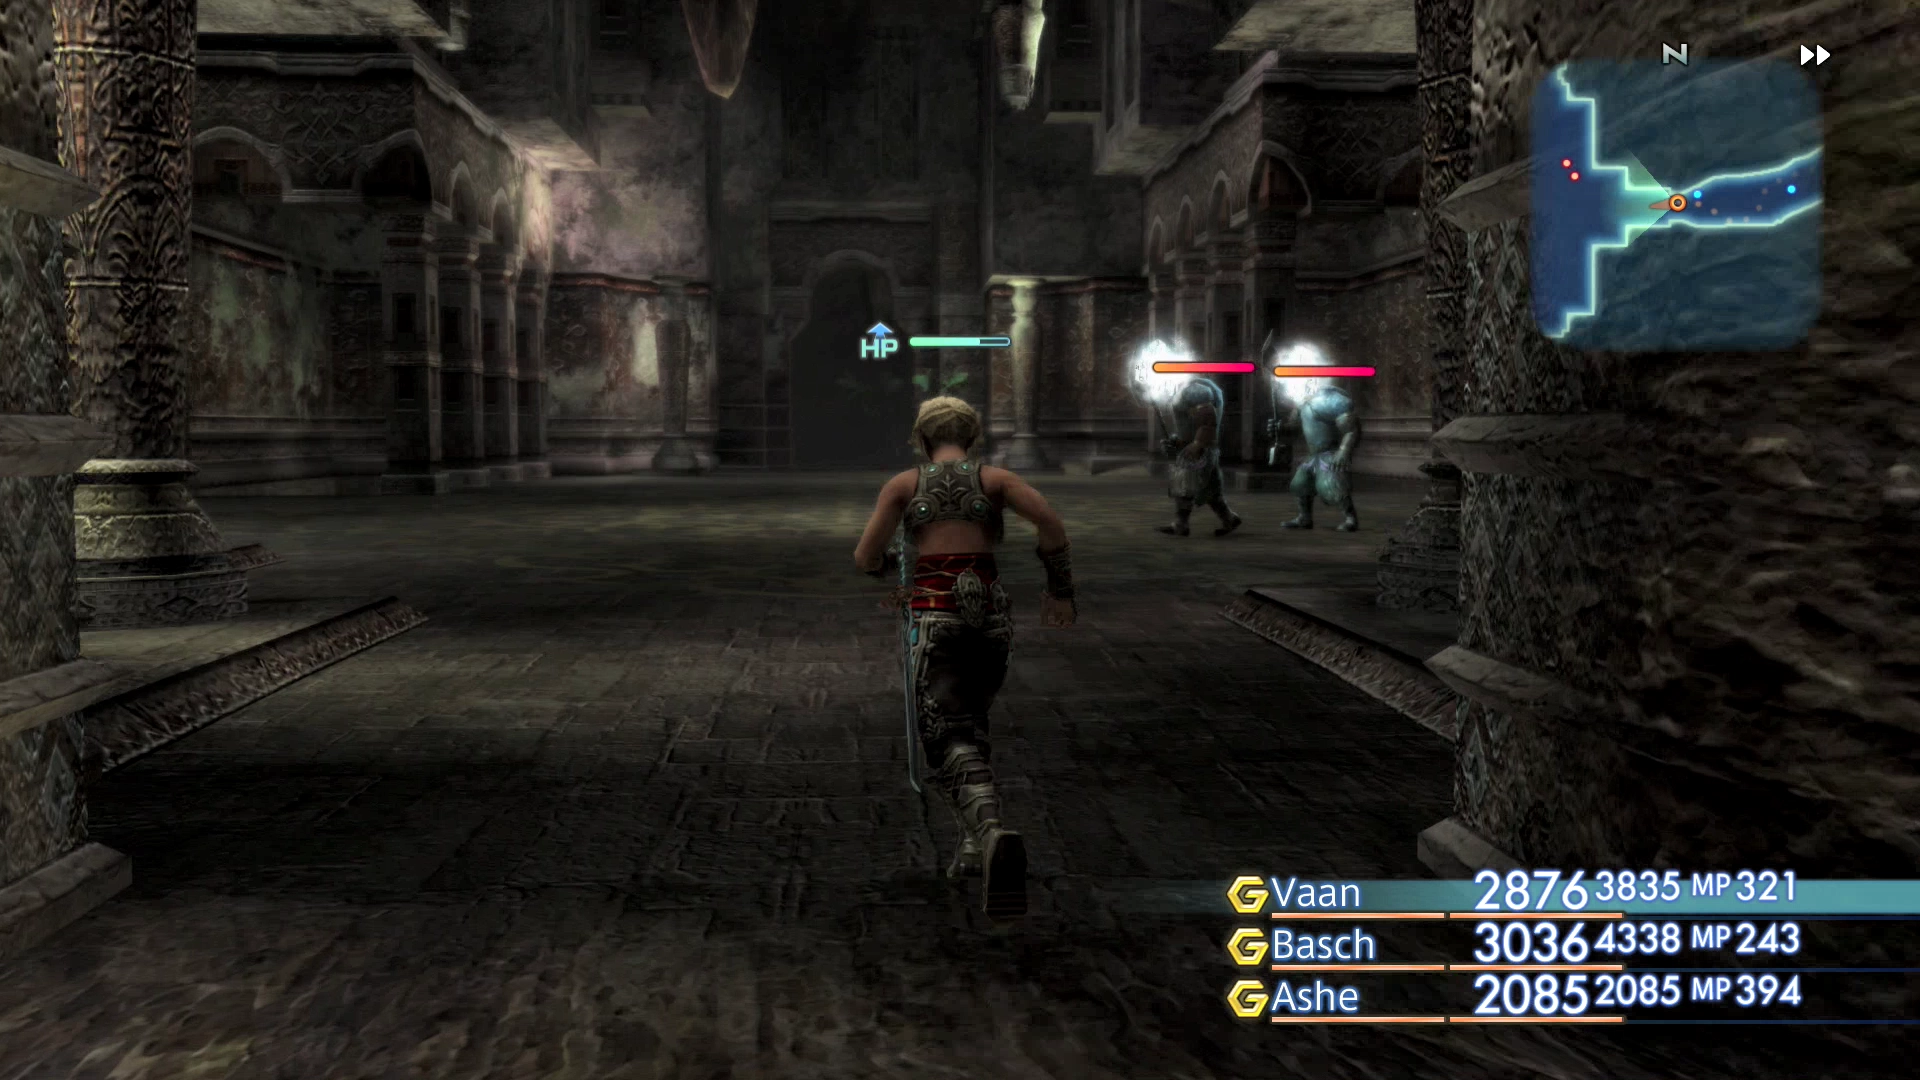
Continue northward through the Doubt Abandoned area (the entrance) and into the next zone. Vaan will be given an option to use the Soul Ward Key on the Gate of Soul Ward, but you should prepare your party in advance, as there is an upcoming boss fight in the next room.
Hall of Lambent Darkness
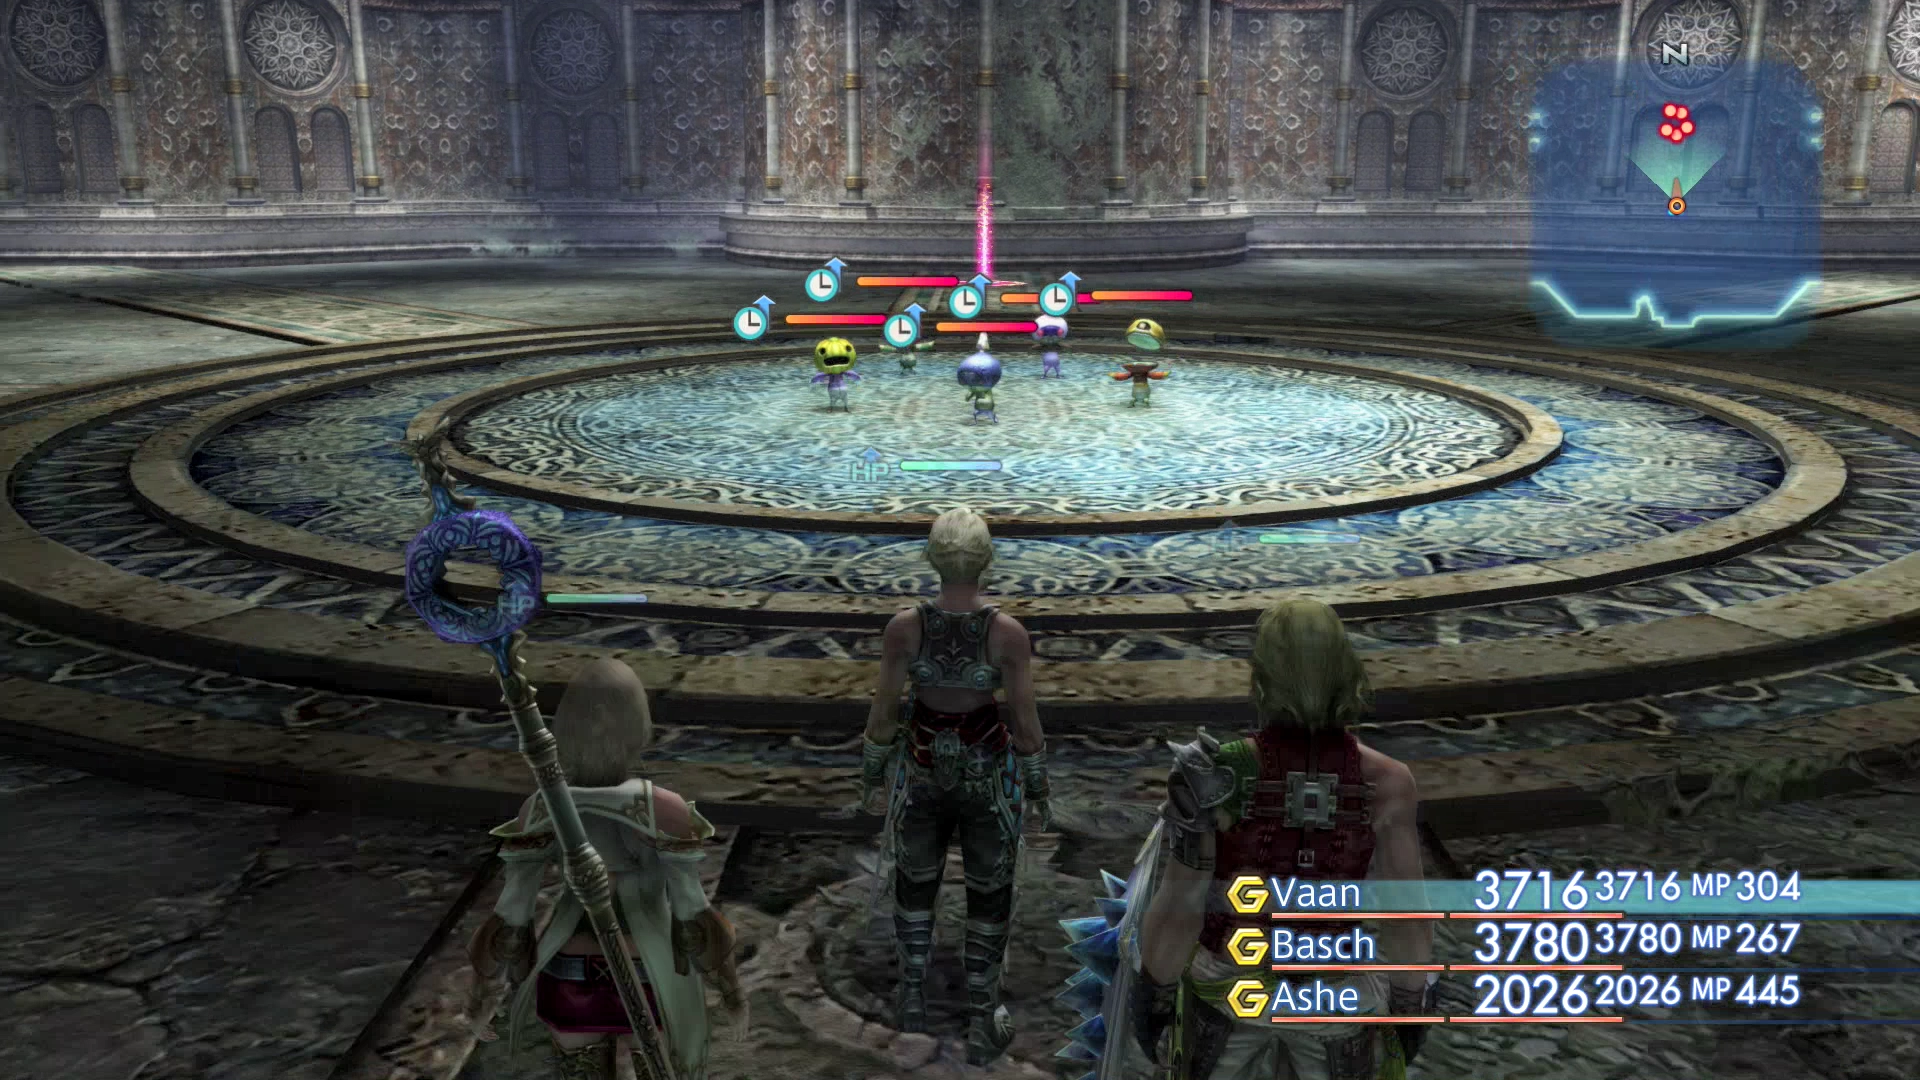
Boss Battle
HP: 9,069 HP (each)
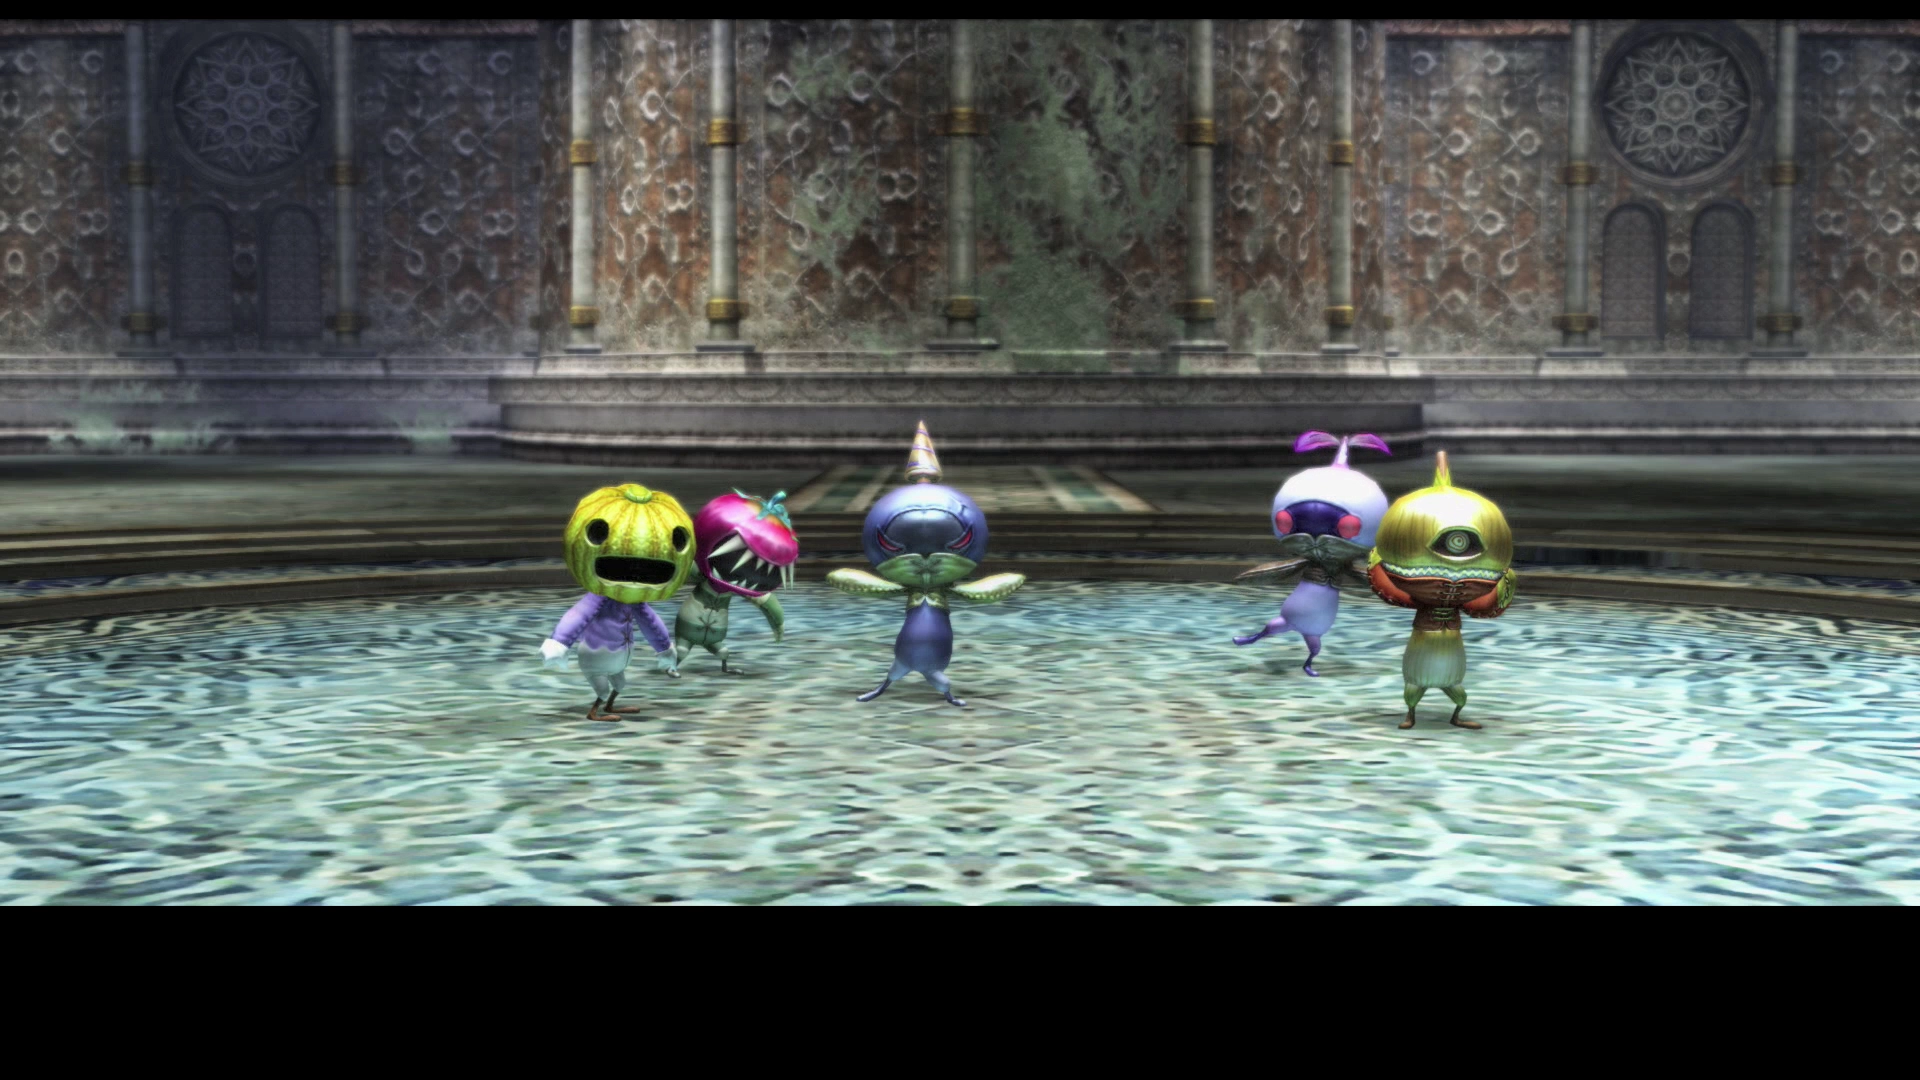
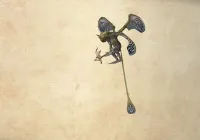
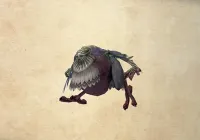
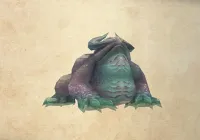
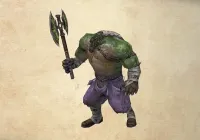
This boss battle includes 5 Mandragoras: the Mandragora Prince, the Alraune King, the Onion Queen, the Pumpkin Star and Topstalk. The battle is only difficult if you are attacked by all five Mandragoras at the same time – it is very easy if you take one or two down separately.
They have an assortment of status effects which they will impact you with, including Blind, Sleep, Slow, Disable, Silence and Sap. Equip your party members with accessories that prevent these statuses if possible, such as ![]() Black Belt and
Black Belt and ![]() Nishijin Belts.
Nishijin Belts.
The individual statuses are easy enough to take care of with ![]() Esuna Gambits on two or more of your characters, but you don’t want to get caught in a situation where you have multiple party members impacted by a status. Use
Esuna Gambits on two or more of your characters, but you don’t want to get caught in a situation where you have multiple party members impacted by a status. Use ![]() Remedies and other healing items if needed.
Remedies and other healing items if needed.
Make sure that you attempt to ![]() Steal from all the Mandragoras as you can get some great items that sell for plenty of Gil.
Steal from all the Mandragoras as you can get some great items that sell for plenty of Gil.
This battle is not too difficult overall. Use Quickenings and Espers if you are having trouble as they are extremely effective due to the number of enemies they can hit.

You now have the option of returning to the Archadian Wayfarer who gave you the Bill for this “Hunt” back in the Tchita Uplands. Return to The Chosen Path or The Nameless Spring (whichever zone you went through to meet up with the Archadian Wayfarer) and speak to him one more time.
The rewards include 1,000 Gil and 3 ![]() Remedies. Hardly worth traveling all the way back to retrieve.
Remedies. Hardly worth traveling all the way back to retrieve.
Travel back to the Hall of Lambent Darkness and use the doorway on either the right or left side of the room to continue northward.
The Acolyte’s Burden
Continue northward until you reach a blue Save Crystal. This Save Crystal is actually a hidden Crystalbug enemy, but as you have done previously, kill this Crystalbug to make the real Save Crystal appear and then save your game.

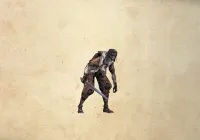
Head east into the next area, walking past the Desiccated Corpse, into the Mirror of the Soul zone.
Mirror of the Soul
The Mirror of the Soul area of the Sochen Cave Palace is an extremely large and cavernous area where it’s easy to get lost. Use the maps of this area to help you navigate through this section.

Travel slightly north and then as far east as possible until you reach a small alcove that contains a green Urn with the map of the Sochen Cave Palace.
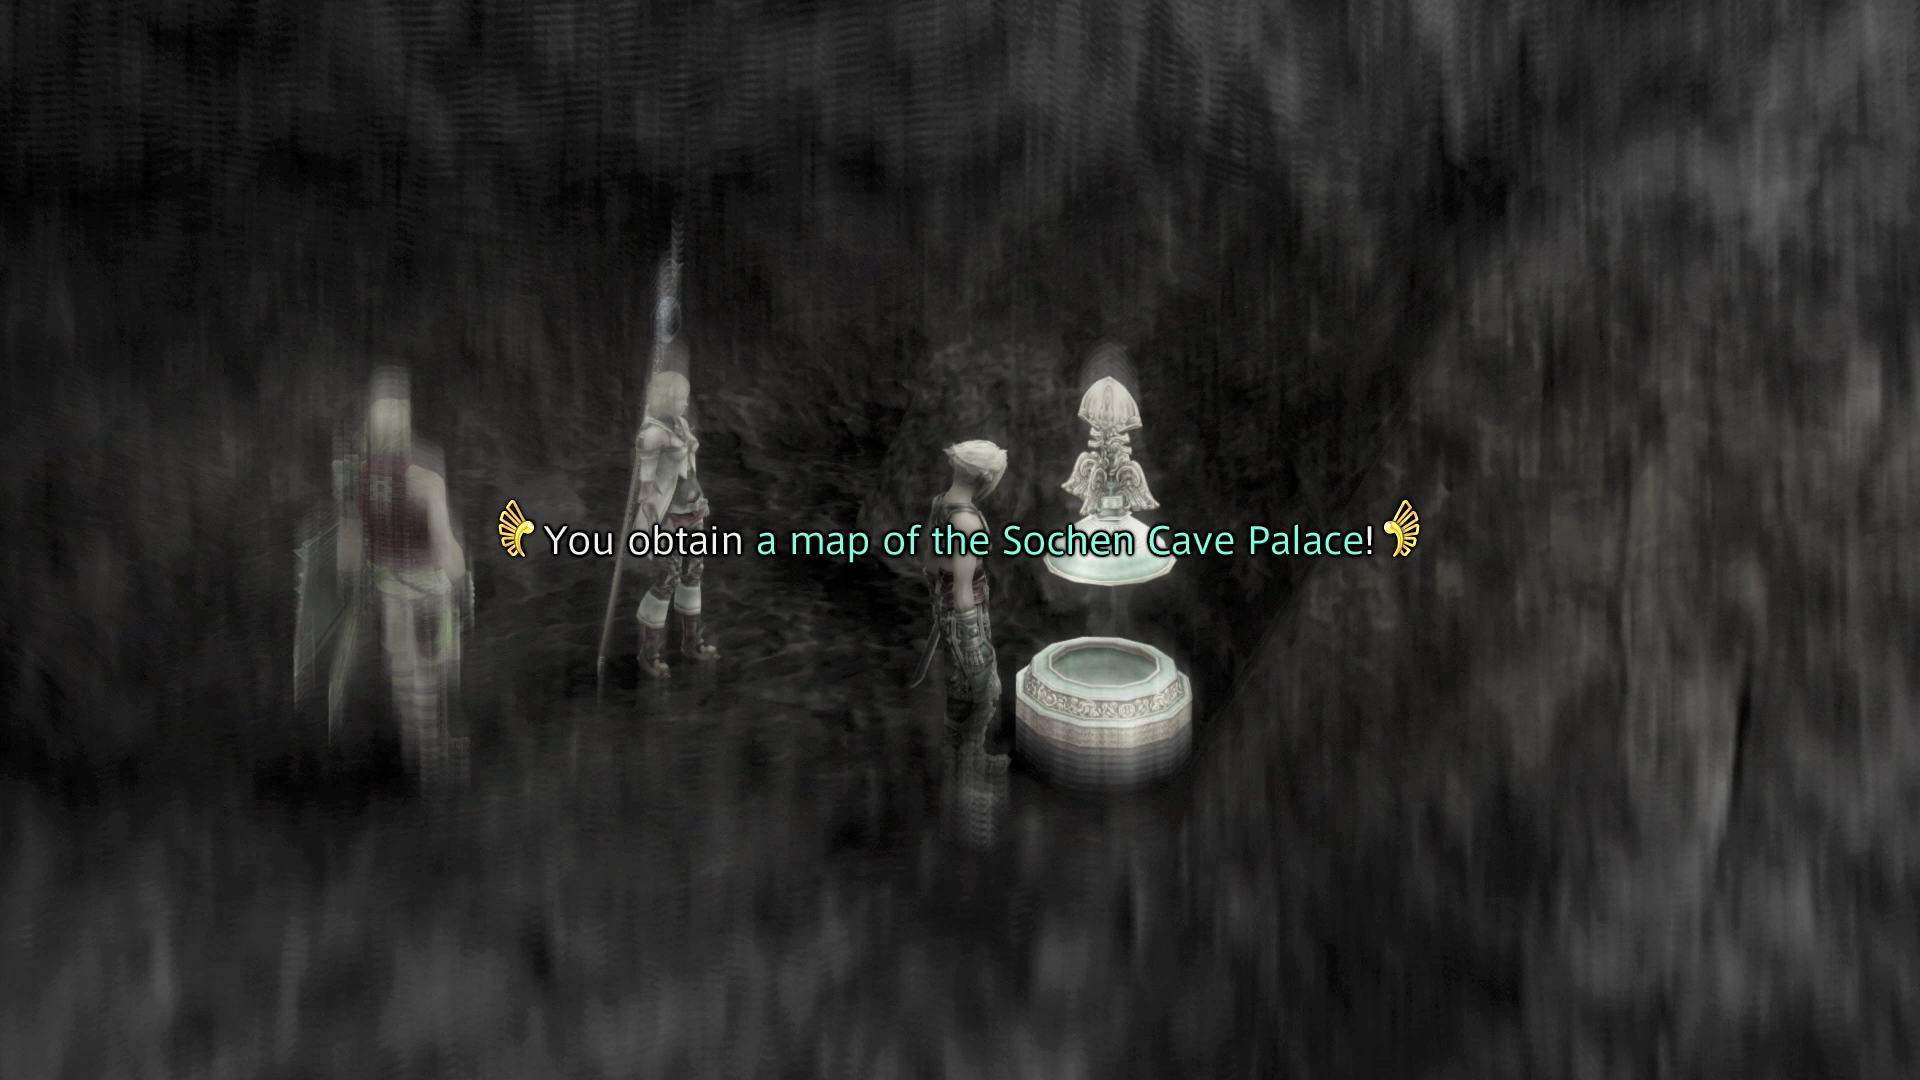
Have a look at the map and familiarize yourself with the doorway patterns in the Mirror of the Soul area and the Falls of Time area. Continue north through the easternmost pathway into the Falls of Time.
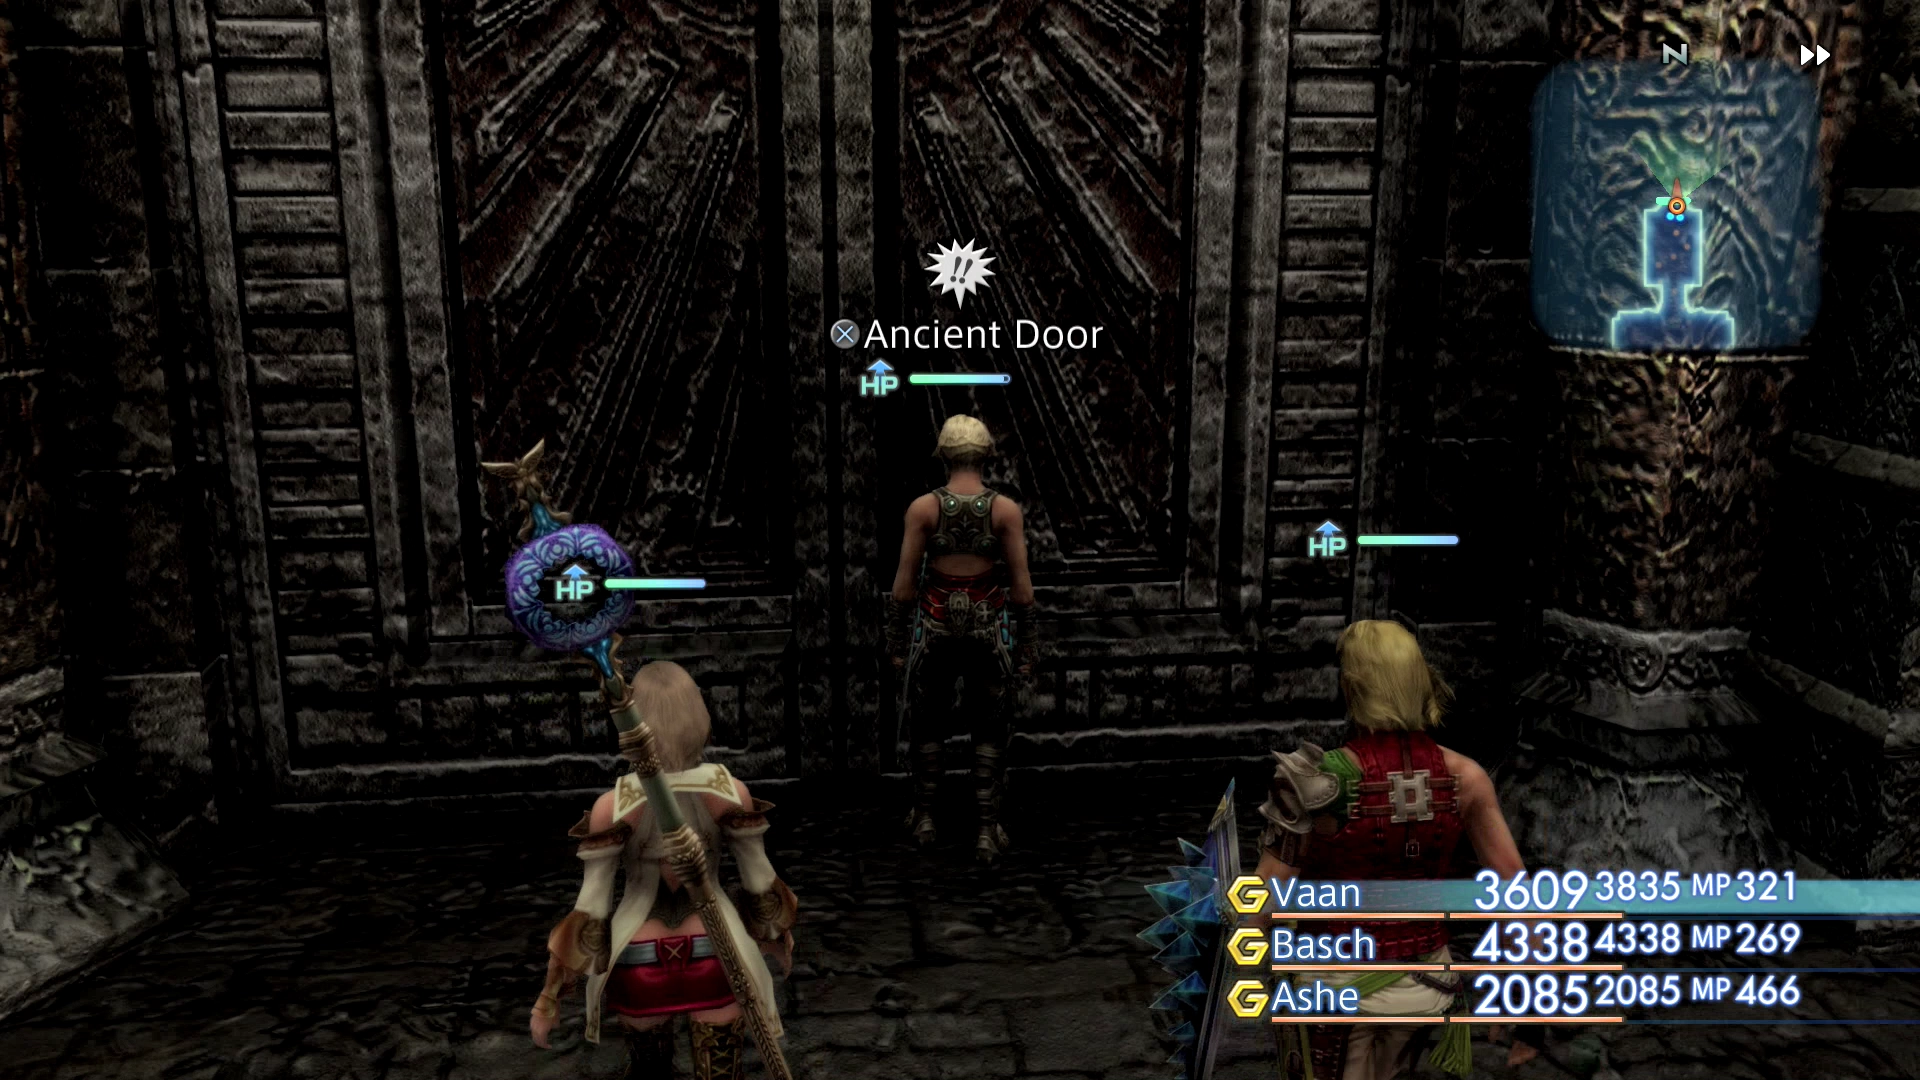
Opening the Pilgrim’s Door in the Falls of Time
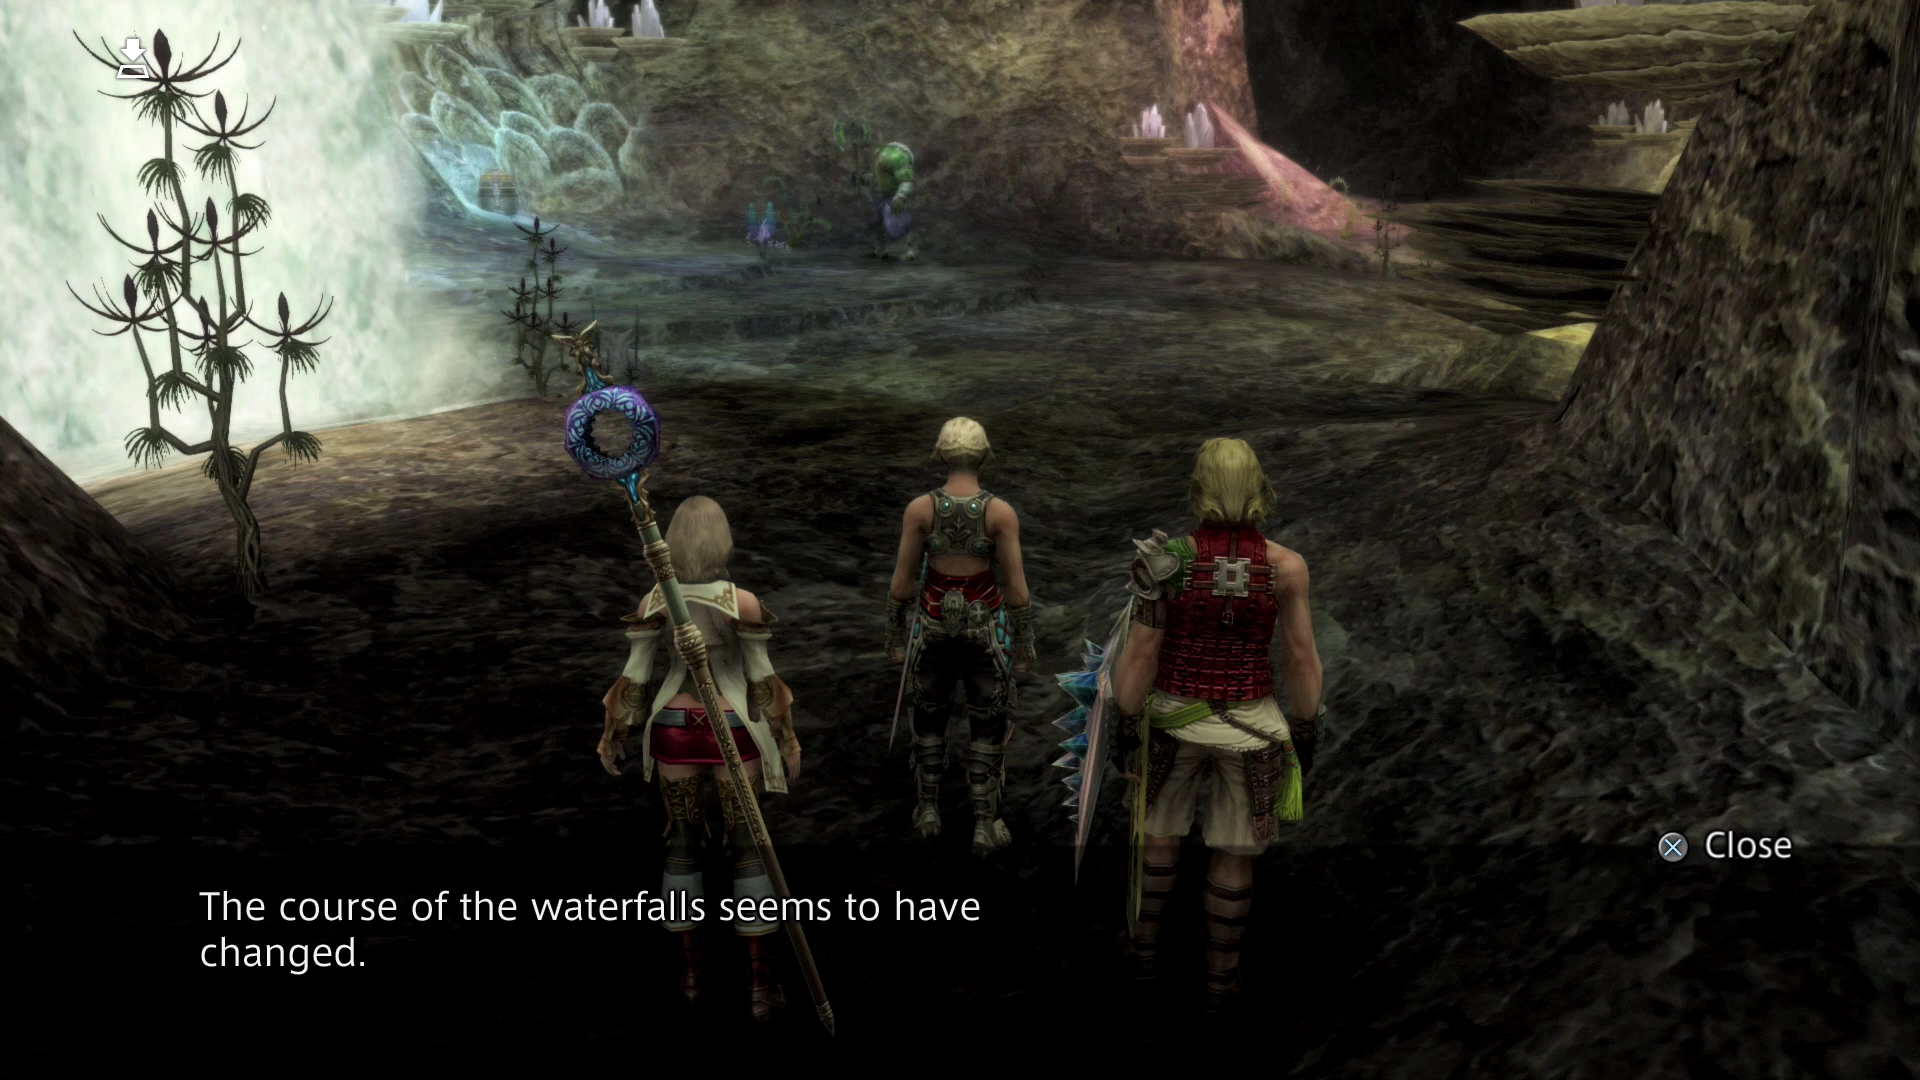
There is a doorway in the center of the Falls of Time area on the south side called the Pilgrim’s Door. This next section of the guide involves solving the puzzle to reach the Pilgrim’s Door.
Each time you pass through the doors leading into the Falls of Time the waterfalls will activate or deactivate, meaning that you need to take a very specific pathway in order to reach the Pilgrim’s Door with no waterfalls blocking your path.
Use the map below to help you find the right path:
Sochen Cave Palace Map (Pilgrim’s Door Puzzle)

I have labeled the pathways on the top level: A, B, C, D, E; and the pathways on the bottom level: 1, 2, 3, 4, 5. Use this to help you navigate using the descriptions below.
Starting off in the Falls of Time room on the far right side, you need to travel south back in to the Mirror of the Soul room using the path on the far right (5) and then circle around to the path on the far left side back into the Falls of Time (1).
Go north again through the path on the far left side into Destiny’s March (A) and then go south through the second path on the right back into the Falls of Time (D).
Go through the second path on the right leading south again from the Falls of Time (4) back into the Mirror of the Soul. Circle around and take the second path from the left back into the Falls of Time (2).
Finally, go through the second path from the left heading north back into Destiny’s March (B) and take the third path from the left back down into the Falls of Time (C). The Pilgrim’s Door will unlock – it is labeled (3).
Warning
If any of your characters are wearing the ![]() Diamond Armlet it will affect the contents of the various chests outside the Pilgrim’s Door and when you get inside. Make sure none of your characters are wearing a Diamond Armlet when you open the treasure chests!
Diamond Armlet it will affect the contents of the various chests outside the Pilgrim’s Door and when you get inside. Make sure none of your characters are wearing a Diamond Armlet when you open the treasure chests!

There are two treasure chests outside the Pilgrim’s Door; one contains the ![]() 1000 Needles Technick (indicated by the Number 1 on the map below) and the other contains a
1000 Needles Technick (indicated by the Number 1 on the map below) and the other contains a ![]() Sakura-saezuri sword. The treasure chest behind the Pilgrim’s Door contains a
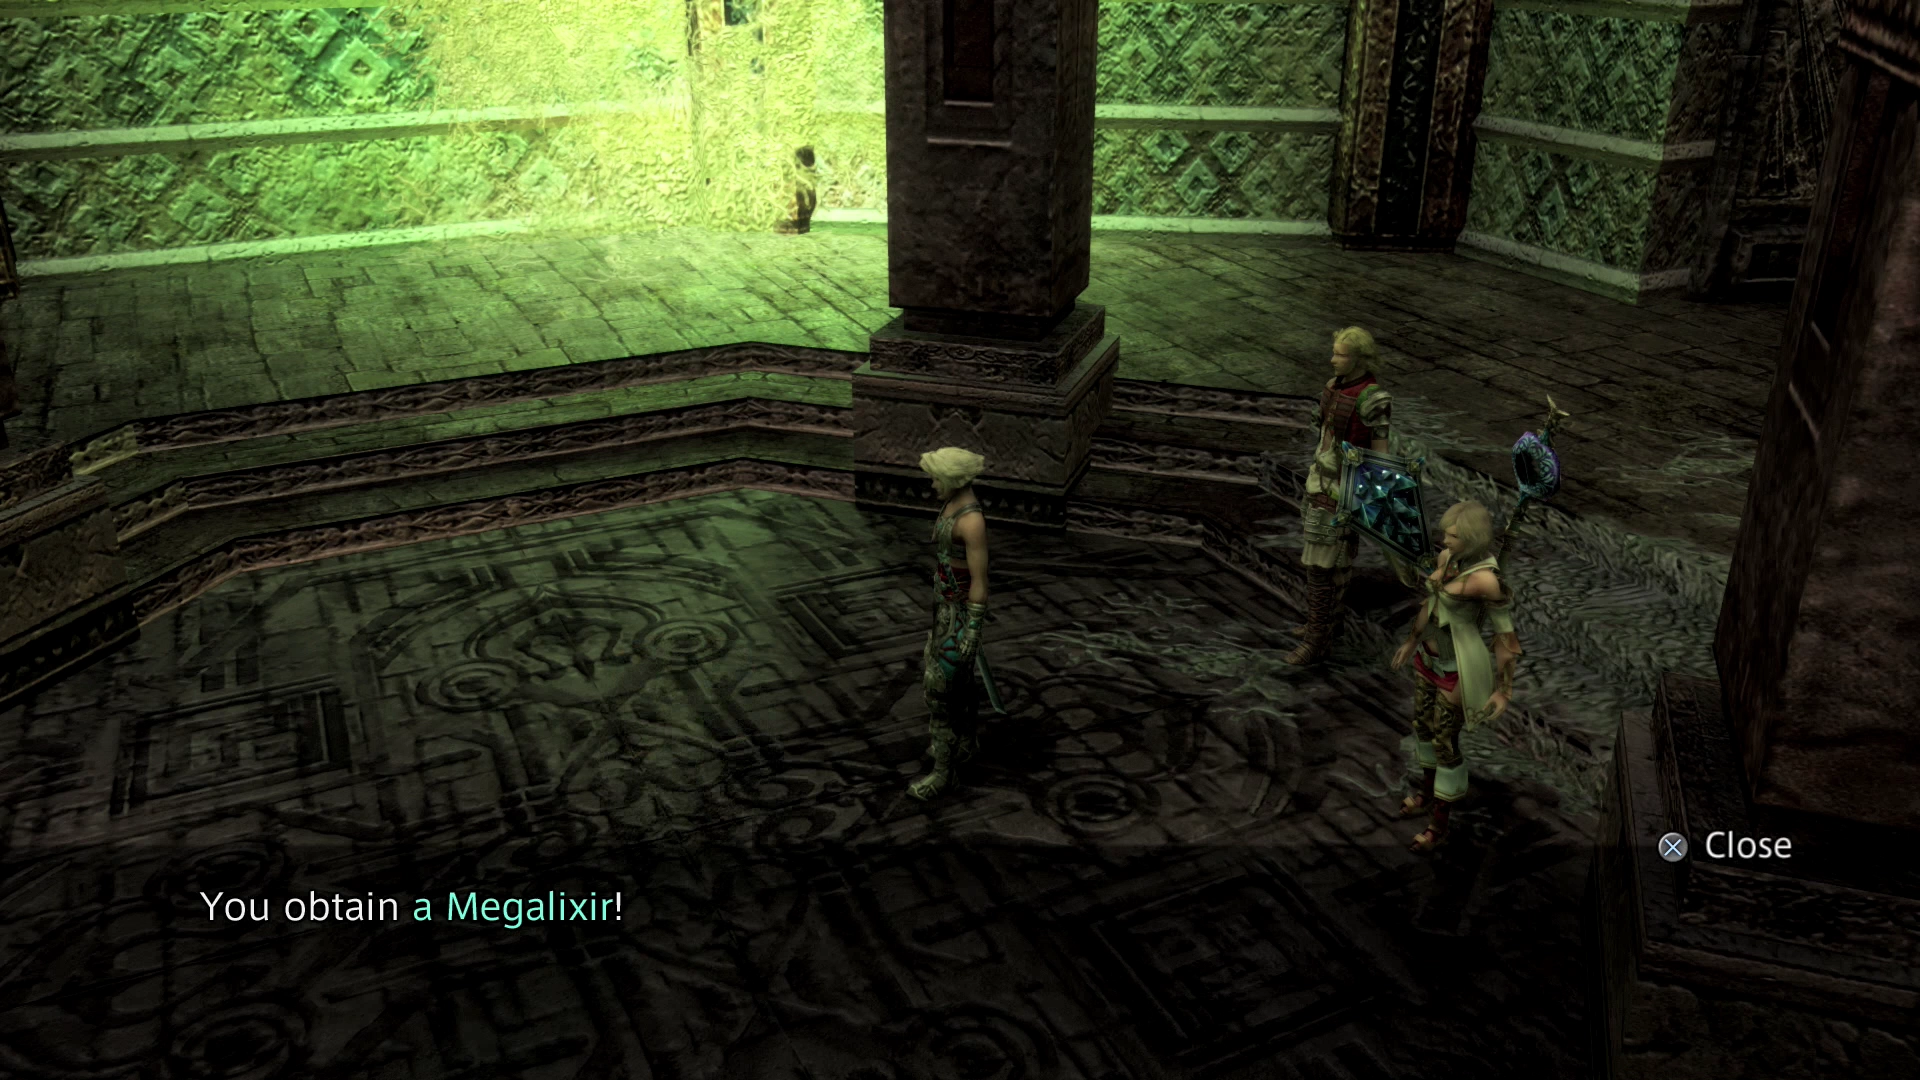
Sakura-saezuri sword. The treasure chest behind the Pilgrim’s Door contains a ![]() Megalixir.
Megalixir.
These chests contain different items in the original PlayStation 2 version of the game and they are also different items if you have the ![]() Diamond Armlet equipped.
Diamond Armlet equipped.
There is a 100% chance that the item will be a ![]() Knot of Rust if you open the chest with the Diamond Armlet equipped. De-equip the Diamond Armlet if you have it in your possession. Without the Diamond Armlet, the chest will contain either an
Knot of Rust if you open the chest with the Diamond Armlet equipped. De-equip the Diamond Armlet if you have it in your possession. Without the Diamond Armlet, the chest will contain either an ![]() Iga Blade or a
Iga Blade or a ![]() Koga Blade.
Koga Blade.
There is another short side quest that you can begin to open the Ascetic’s Door in the Destiny’s March area, but there is no point to doing this yet as you cannot enter the door at the end of the hallway that the Ascetic’s Door leads to until later on in the game.
This side quest involves defeating Hell Wyrm. You can check that page if you want more information about opening the Ascetic’s Door at this time but you can’t do it now yet either way.
Travel north into the next area to initiate a boss fight.
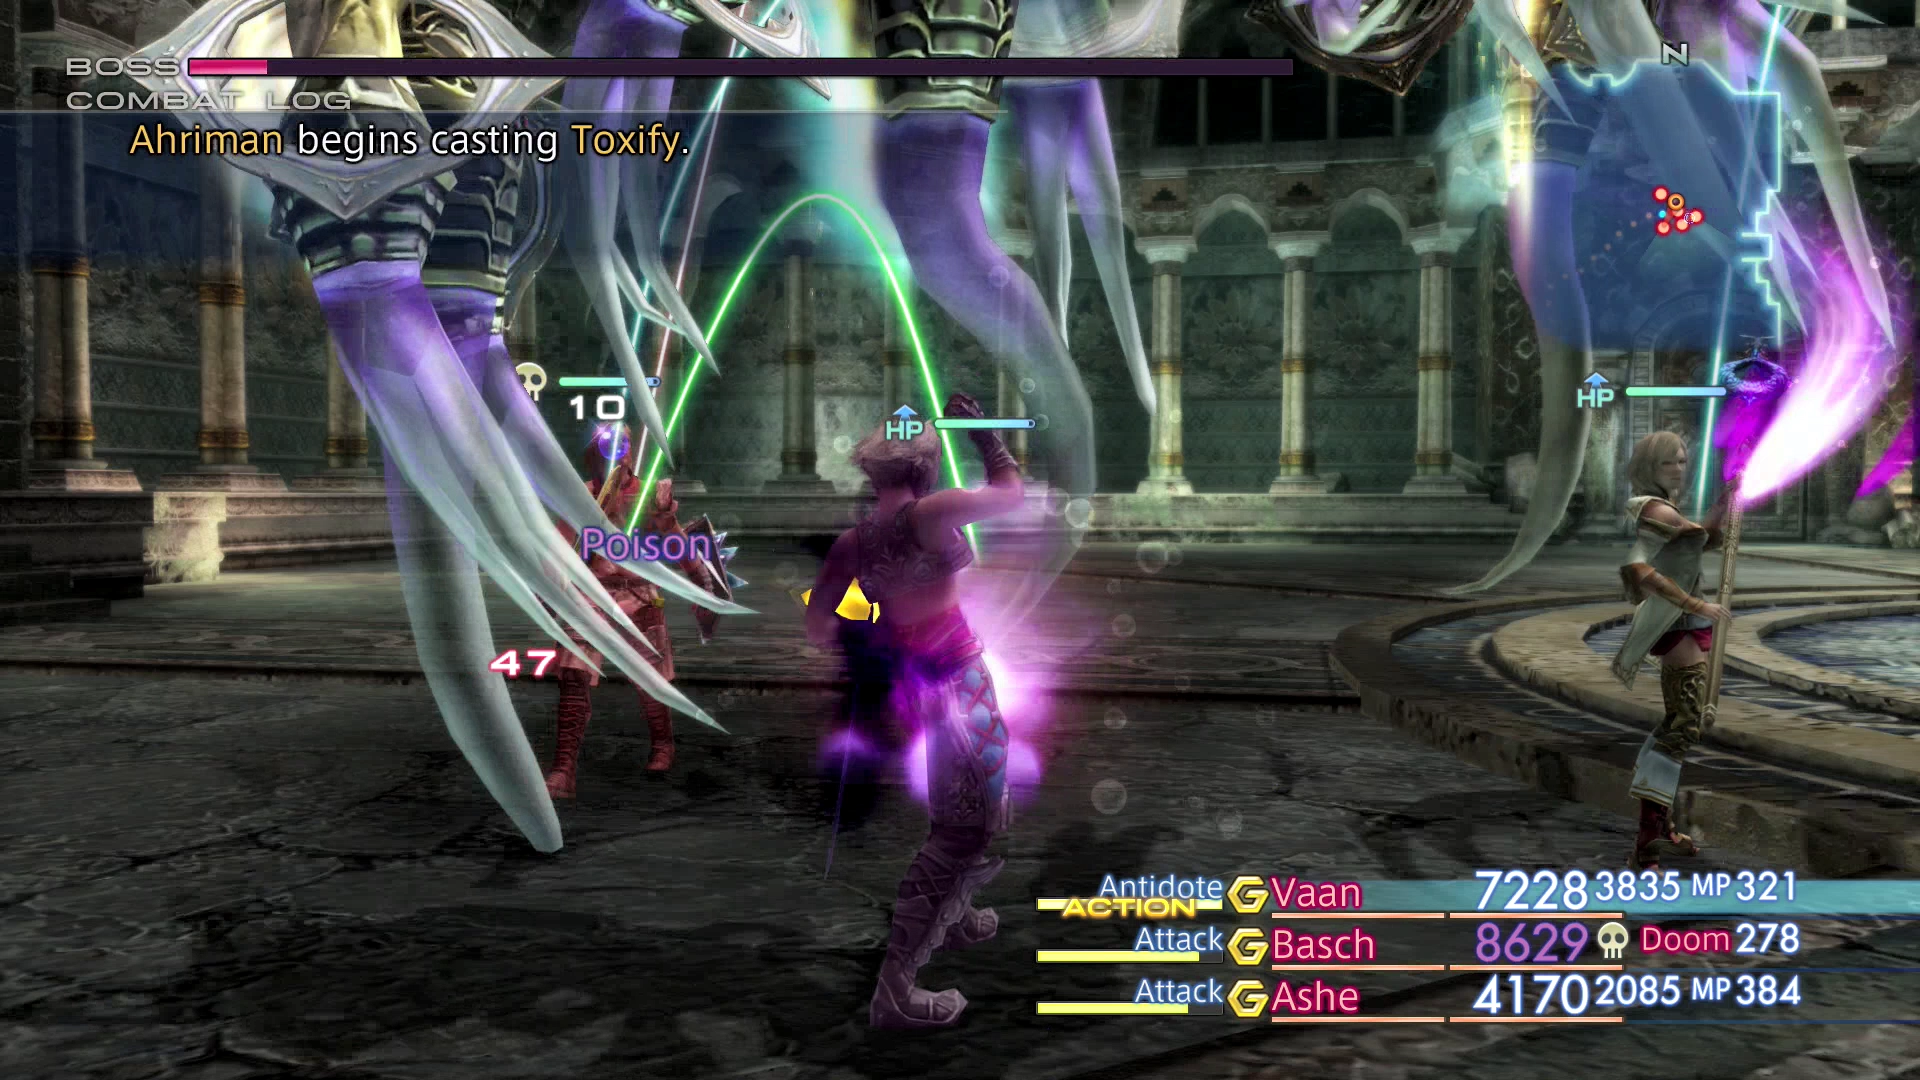
Hall of Shadowlight
Boss Battle
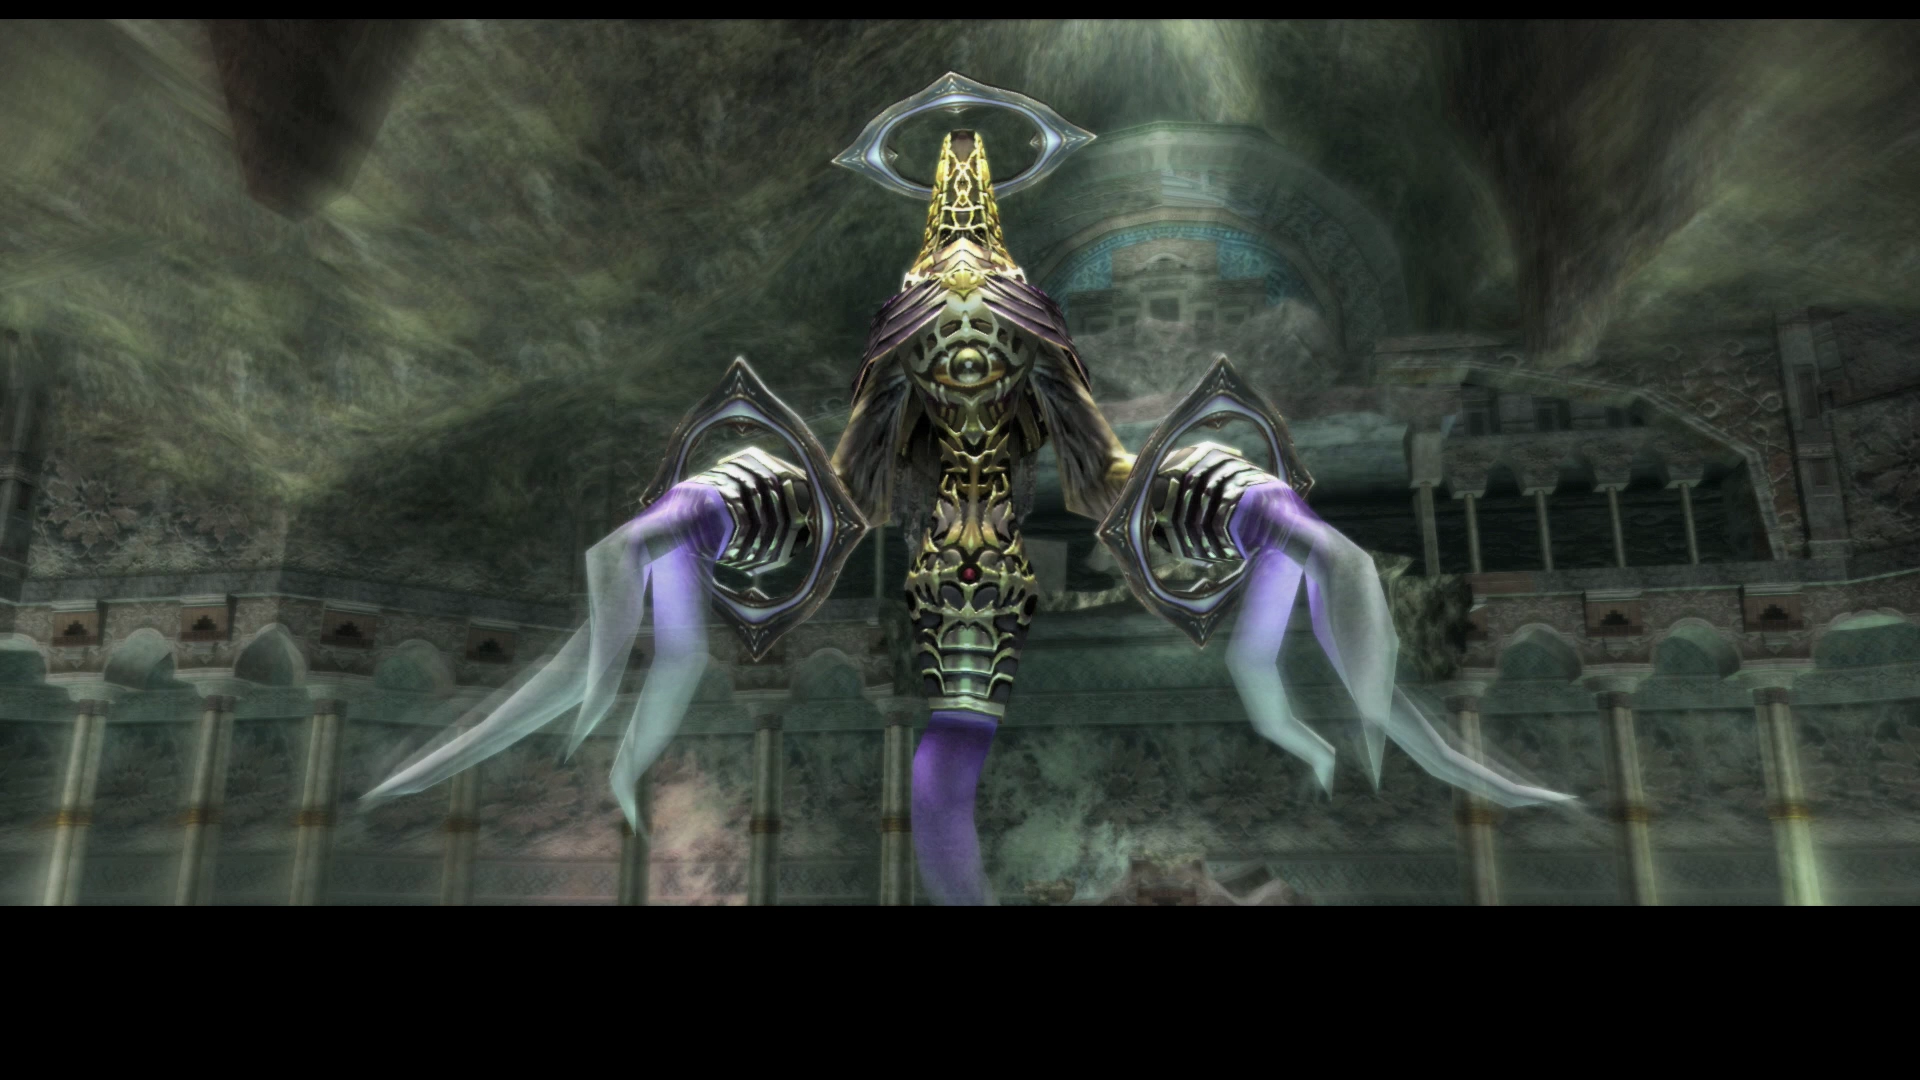
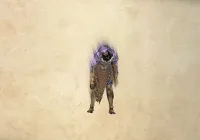
Level: 38
HP: 62,149
Steal: ![]() Sky Jewel (55%),
Sky Jewel (55%), ![]() Death Powder (10%),
Death Powder (10%), ![]() Maduin Gear (3%)
Maduin Gear (3%)
Equip one of your party members with the ![]() Thief’s Cuffs accessory as this is one of the few bosses that you can obtain
Thief’s Cuffs accessory as this is one of the few bosses that you can obtain ![]() Death Powder from. You will need two Death Powders in order to create the
Death Powder from. You will need two Death Powders in order to create the ![]() Ultima Blade later on in the game.
Ultima Blade later on in the game.

You will have to deal with the Immobilize status effect, so have an ![]() Esuna Gambit queued up or equip your characters with the
Esuna Gambit queued up or equip your characters with the ![]() Germinas Boots (called Jackboots in the original version) accessory to make them immune to Immobilizega.
Germinas Boots (called Jackboots in the original version) accessory to make them immune to Immobilizega.
Ahriman’s attacks are fairly limited – it will primarily focus on Magick attacks so make sure that you keep ![]() Shell up and active on all of your party members for the duration of the fight. It will also use an attack called “Divide” part way through the fight which will cause it to spawn a mirror image of itself. The mirror image will be capable of attacking but they are fairly weak overall.
Shell up and active on all of your party members for the duration of the fight. It will also use an attack called “Divide” part way through the fight which will cause it to spawn a mirror image of itself. The mirror image will be capable of attacking but they are fairly weak overall.
Take the pathway leading east after the battle out of the Hall of Shadowlight.
Sochen Cave Palace Map

Note that you cannot access the Hall of the Wroth God yet.
Temptation Eluded
The pathway leads back around to the west and then through to the north.
Follow the path into the next area.
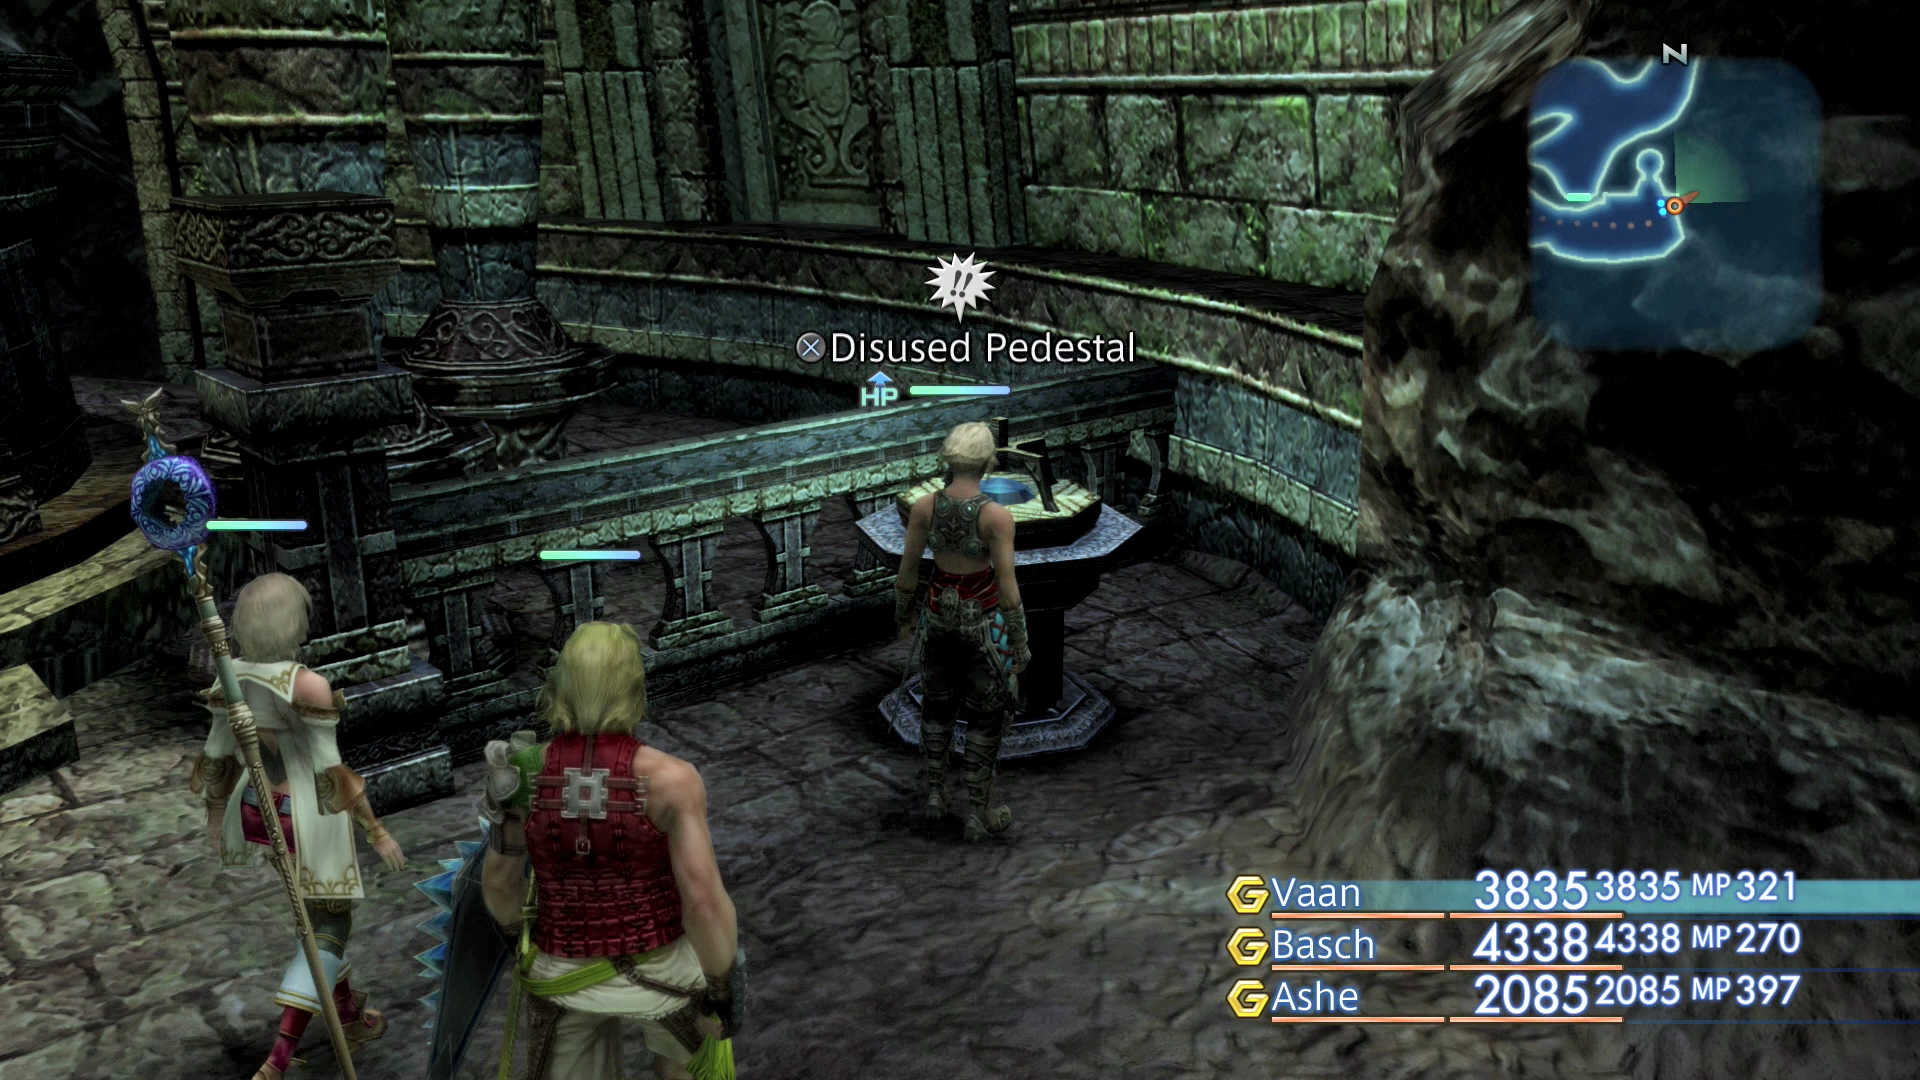
Chamber of the Chosen
There is a “Disused Pedestal” to the right of the elevator shaft which you need to activate before you can ride the elevator up.
Skybent Chamber
Use the orange Save Crystal to save your game and proceed into the next section of the game – entering Old Archades at the outskirts of the Imperial City.