The Stilshrine of Miriam
“An ancient shrine deep within the Jagd Ramooda. Like Raithwall’s tomb, this, too, was constructed in the time of the Galtean Alliance, originally to honor the ancient god of swords and martial. It is said that a Gran Kiltias of long ago selected the Stilshrine to house the relics of Dynast-King Raithwall, though why he would choose this site, and not a temple of his own sect, is unclear.”
The Stilshrine of Miriam is accessible by way of the Paramina Rift. The entrance is located in the southern section of the Silverflow’s End.


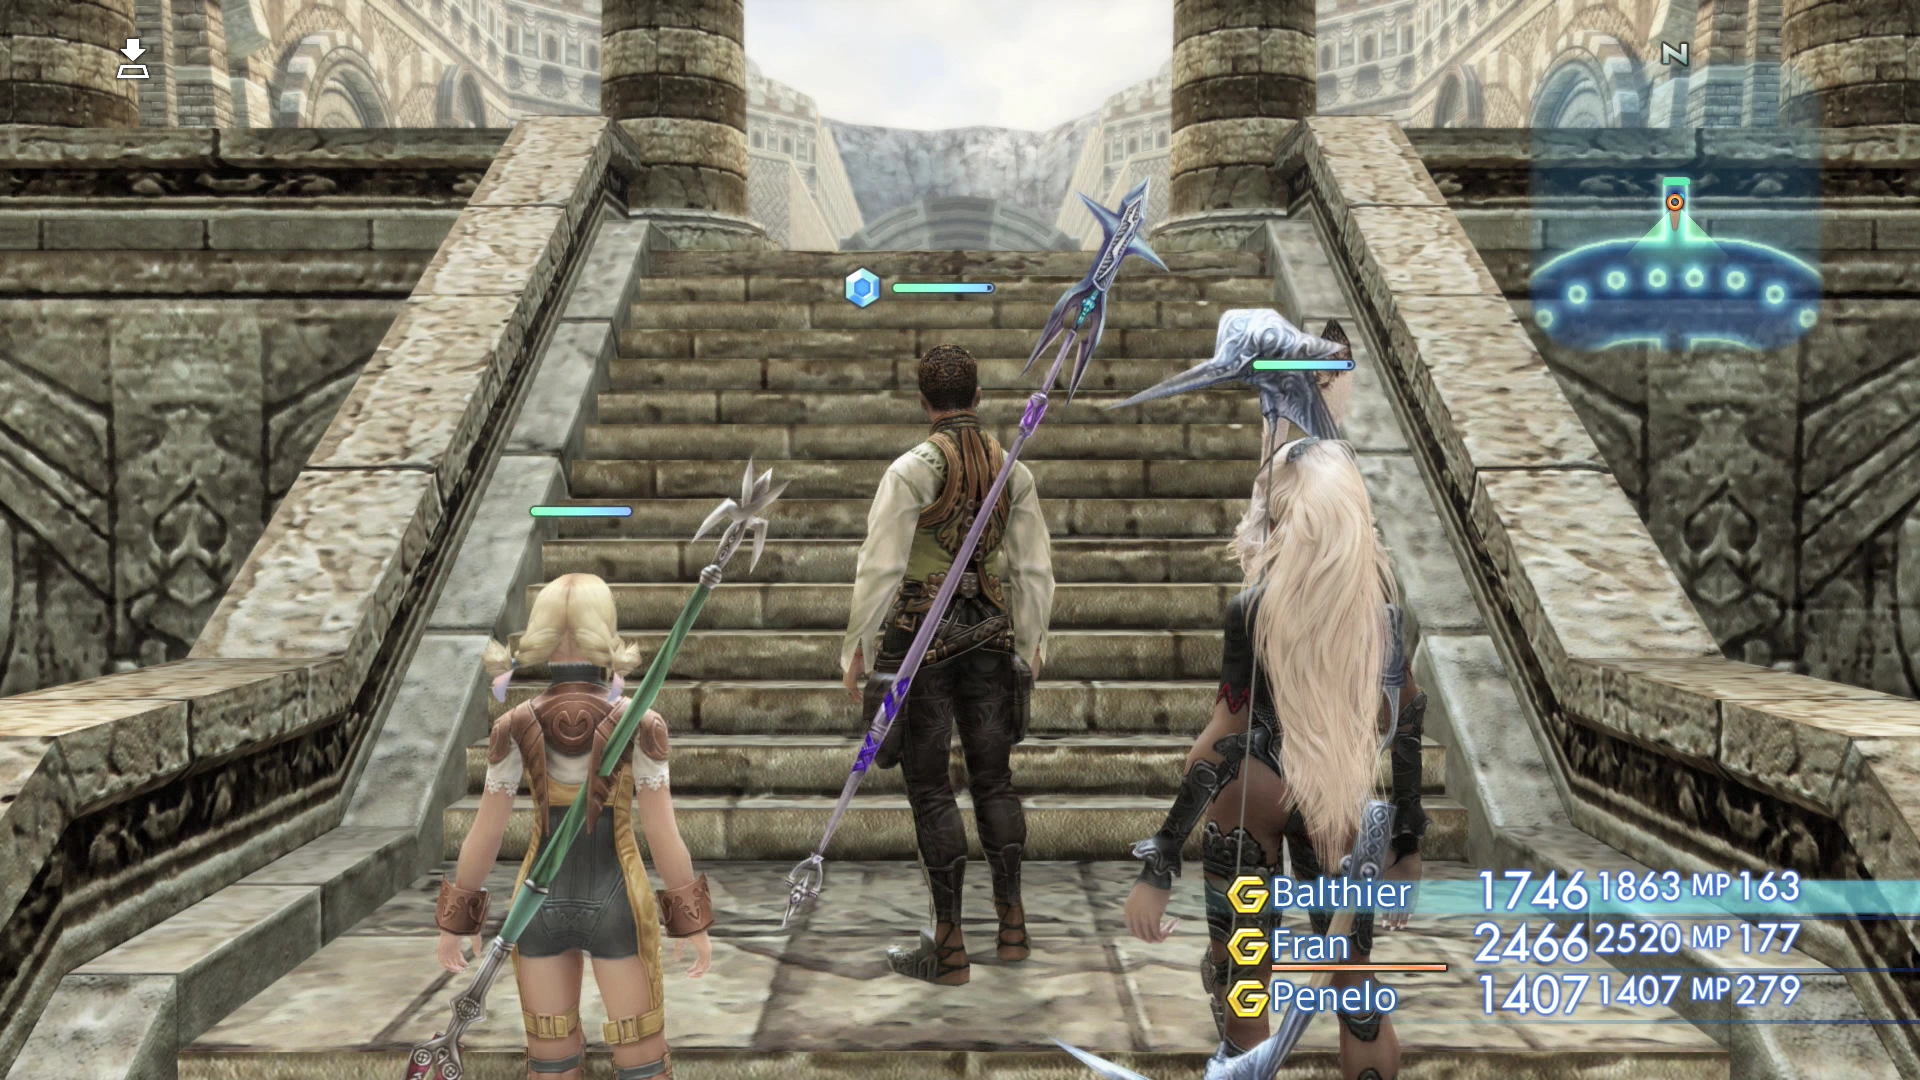
Walk of Sky
The first section of the Stilshrine is a straightaway that leads to the south towards the entrance to the shrine itself. Travel towards the entrance and into the next area.
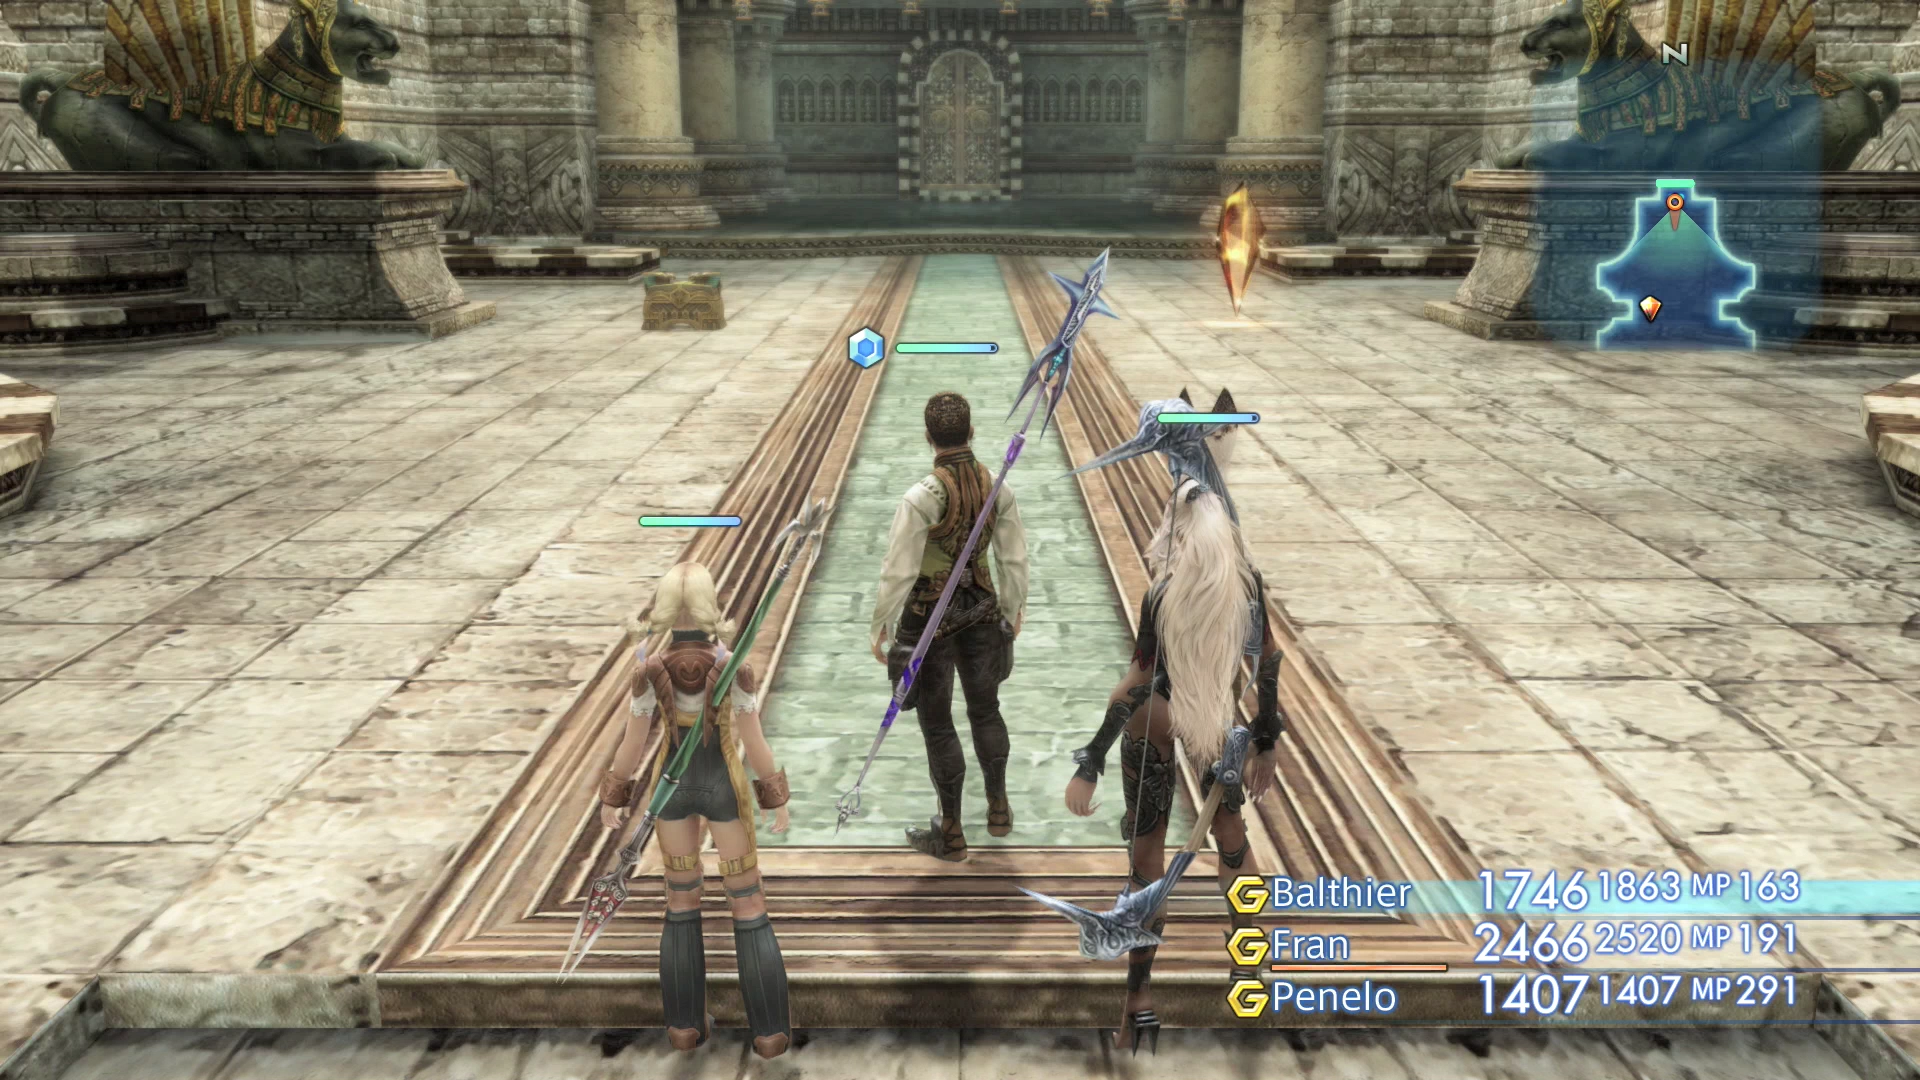
Walk of Mind
This area contains an orange Save Crystal. Use it to save your game and heal you character’s HP and MP. The orange Save Crystal will allow you to warp back to this area later on.
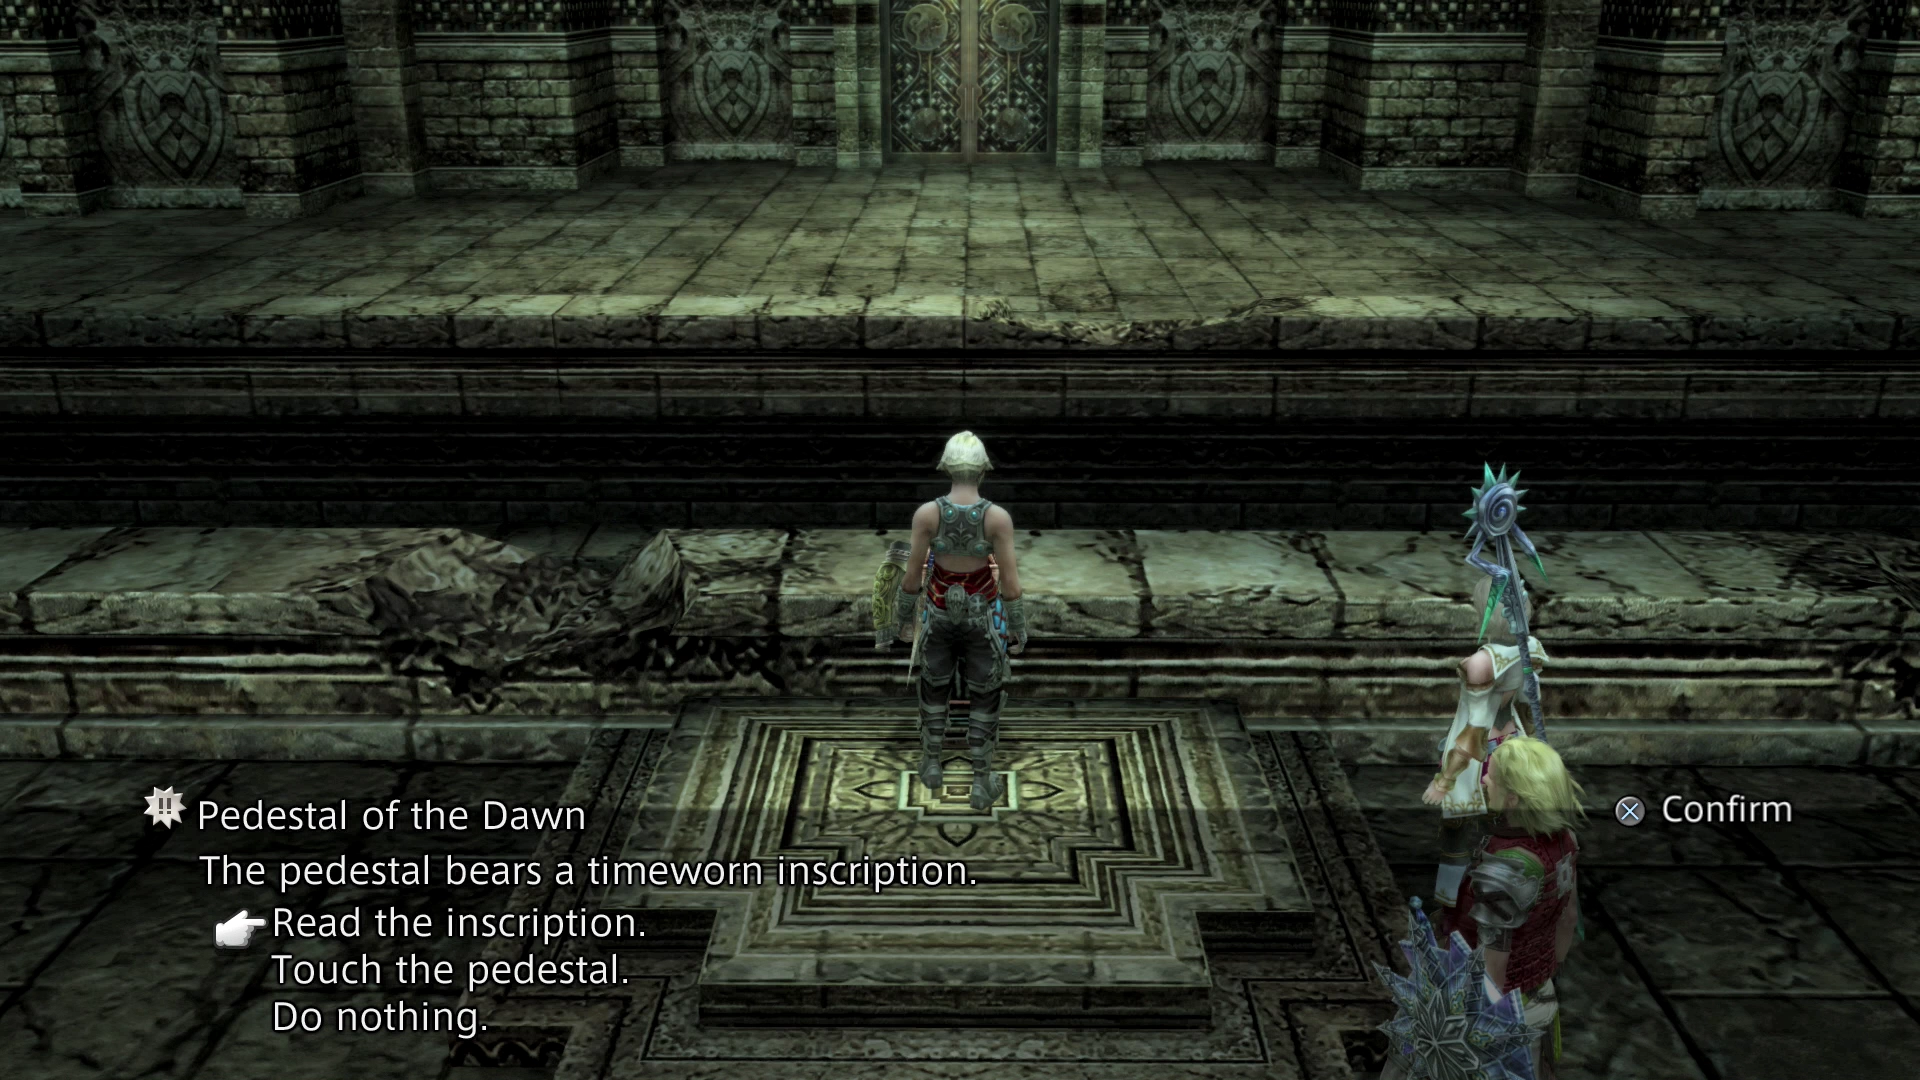
Ward of Measure
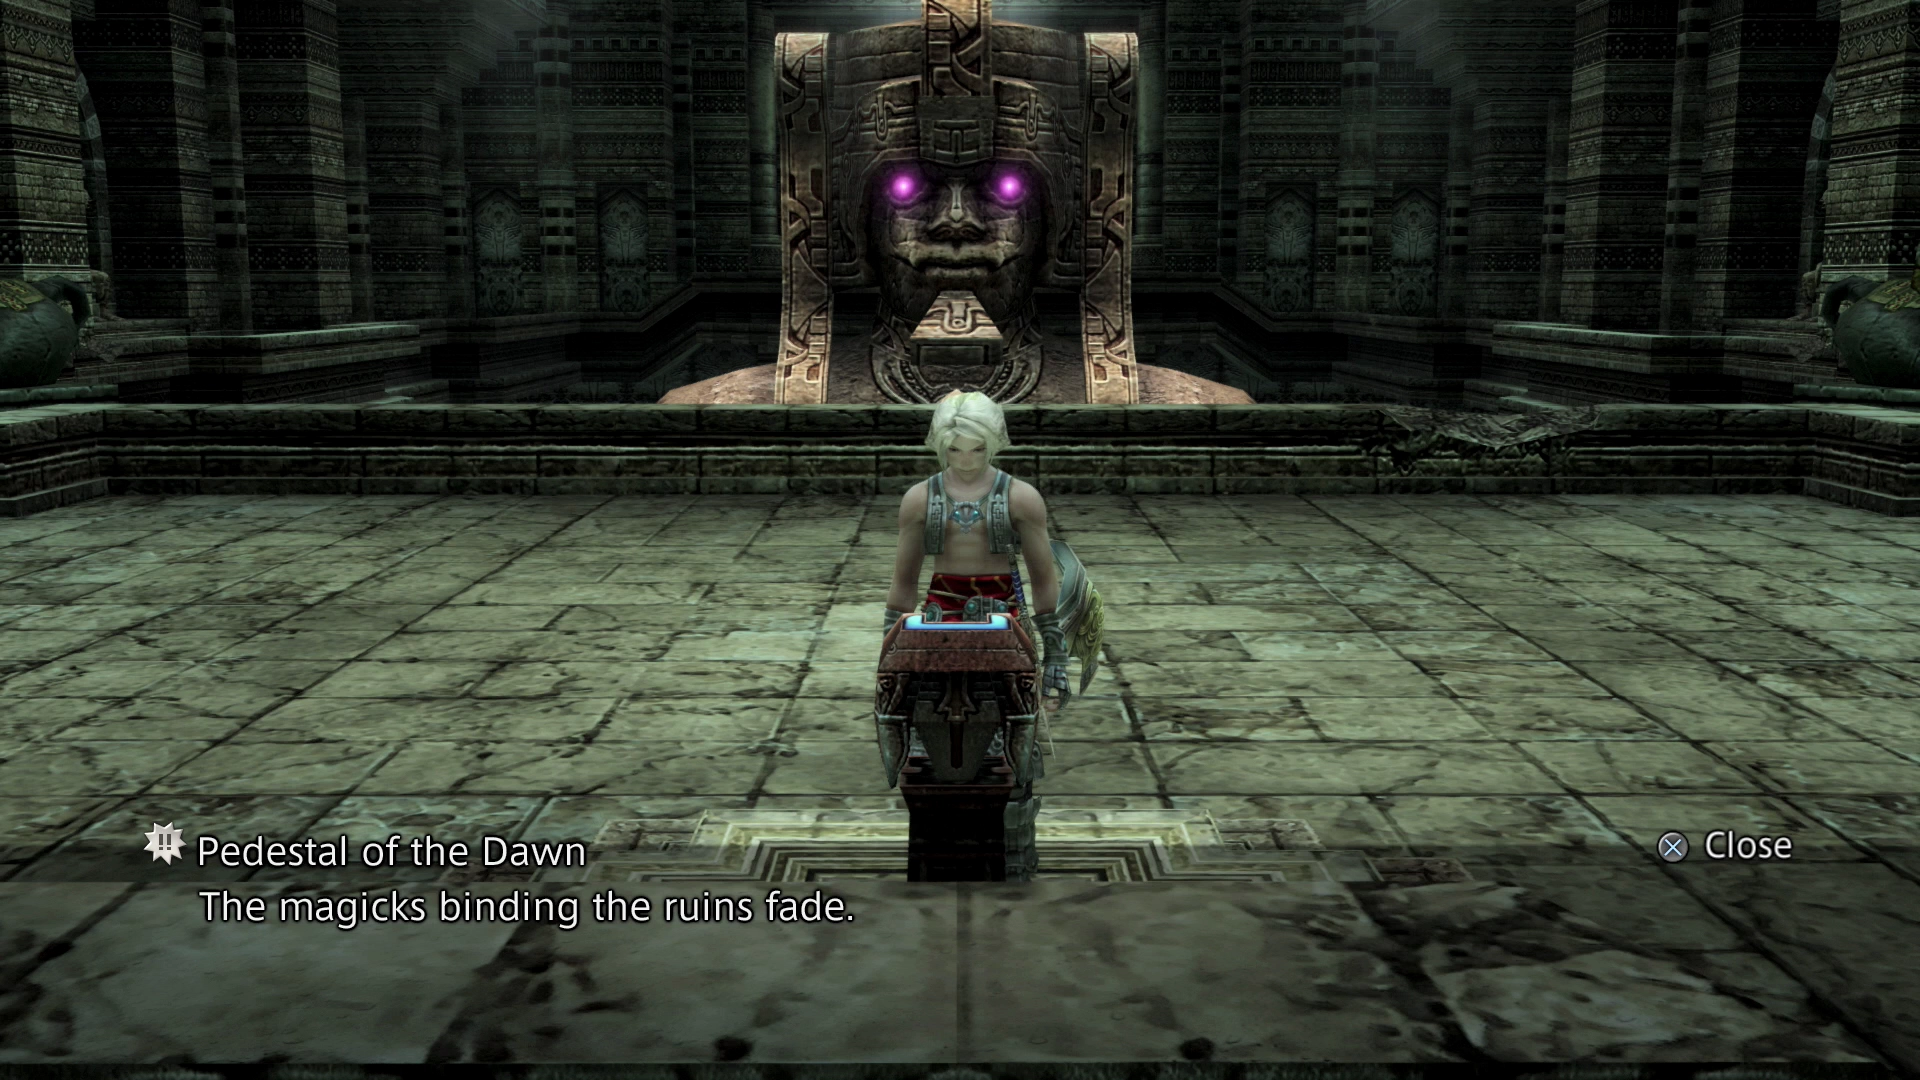
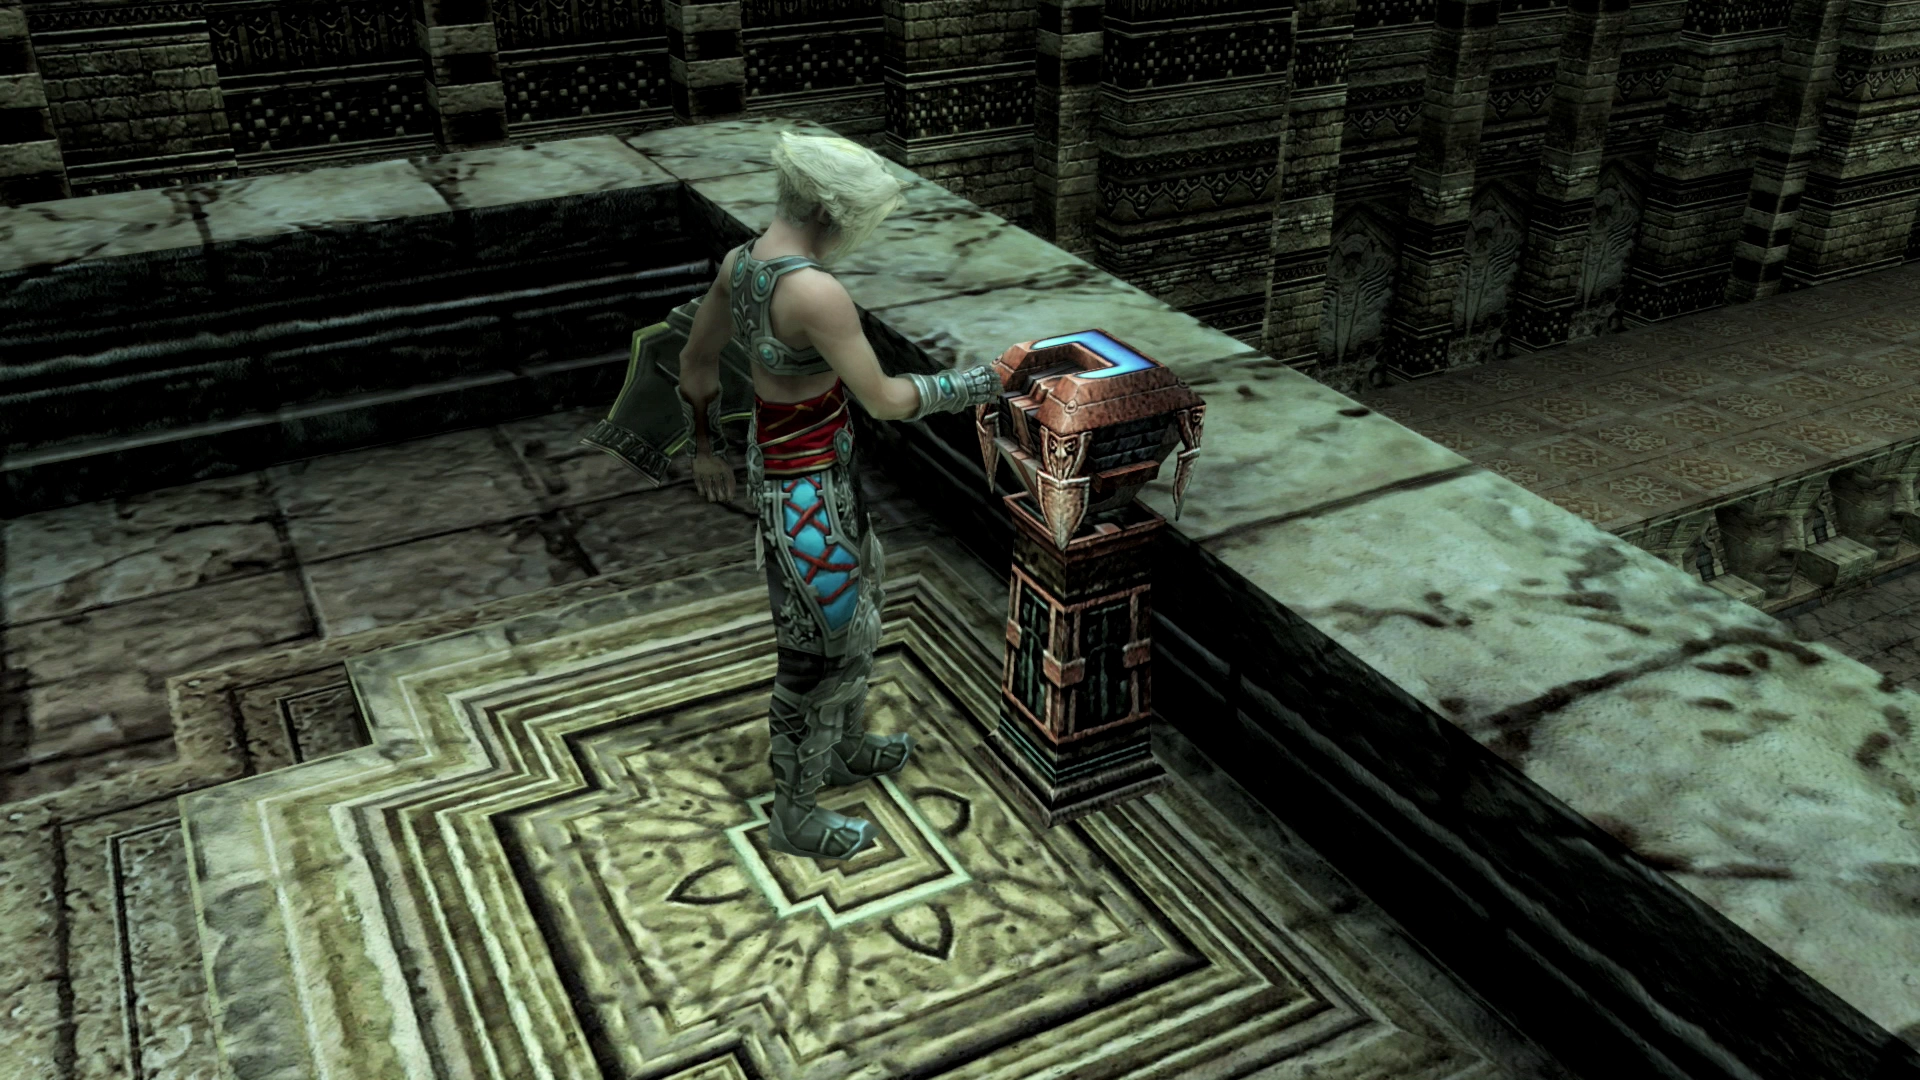
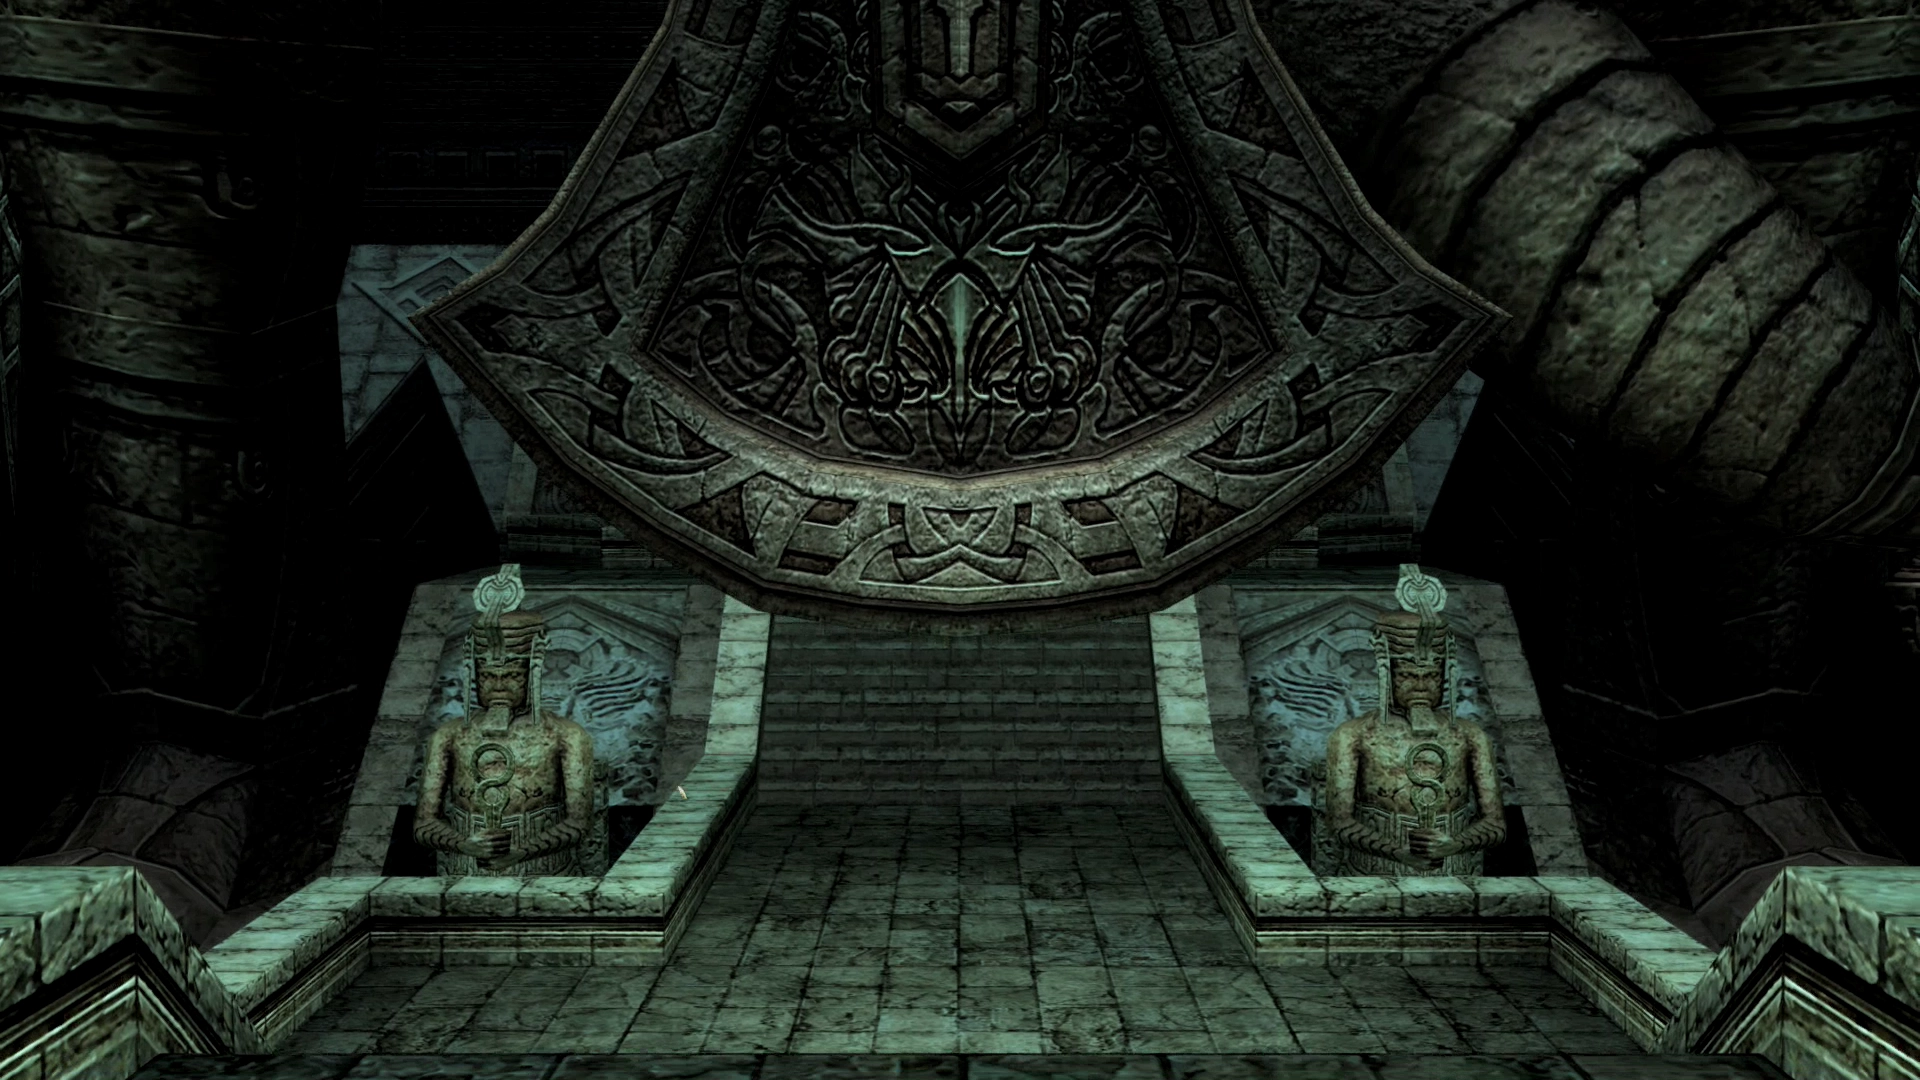
You have now entered the Stilshrine of Miriam proper. There is a pedestal called the Pedestal of the Dawn on the opposite side of the hole in the middle of the room in front of the large stone statue’s face.
Walk over to the pedestal and examine it – you will be given three options: read the inscription, touch the pedestal or do nothing. If you read the inscription, it reads “Treaty-Seeker: Relic held, this pedestal embrace.”
In order to activate the pedestal one of your party members will need to equip the ![]() Dawn Shard as an accessory – ideally, you should be equipping it to a party member who is not dependent on MP for attacks or healing (your tank or physical damage-dealing party members are ideal).
Dawn Shard as an accessory – ideally, you should be equipping it to a party member who is not dependent on MP for attacks or healing (your tank or physical damage-dealing party members are ideal).
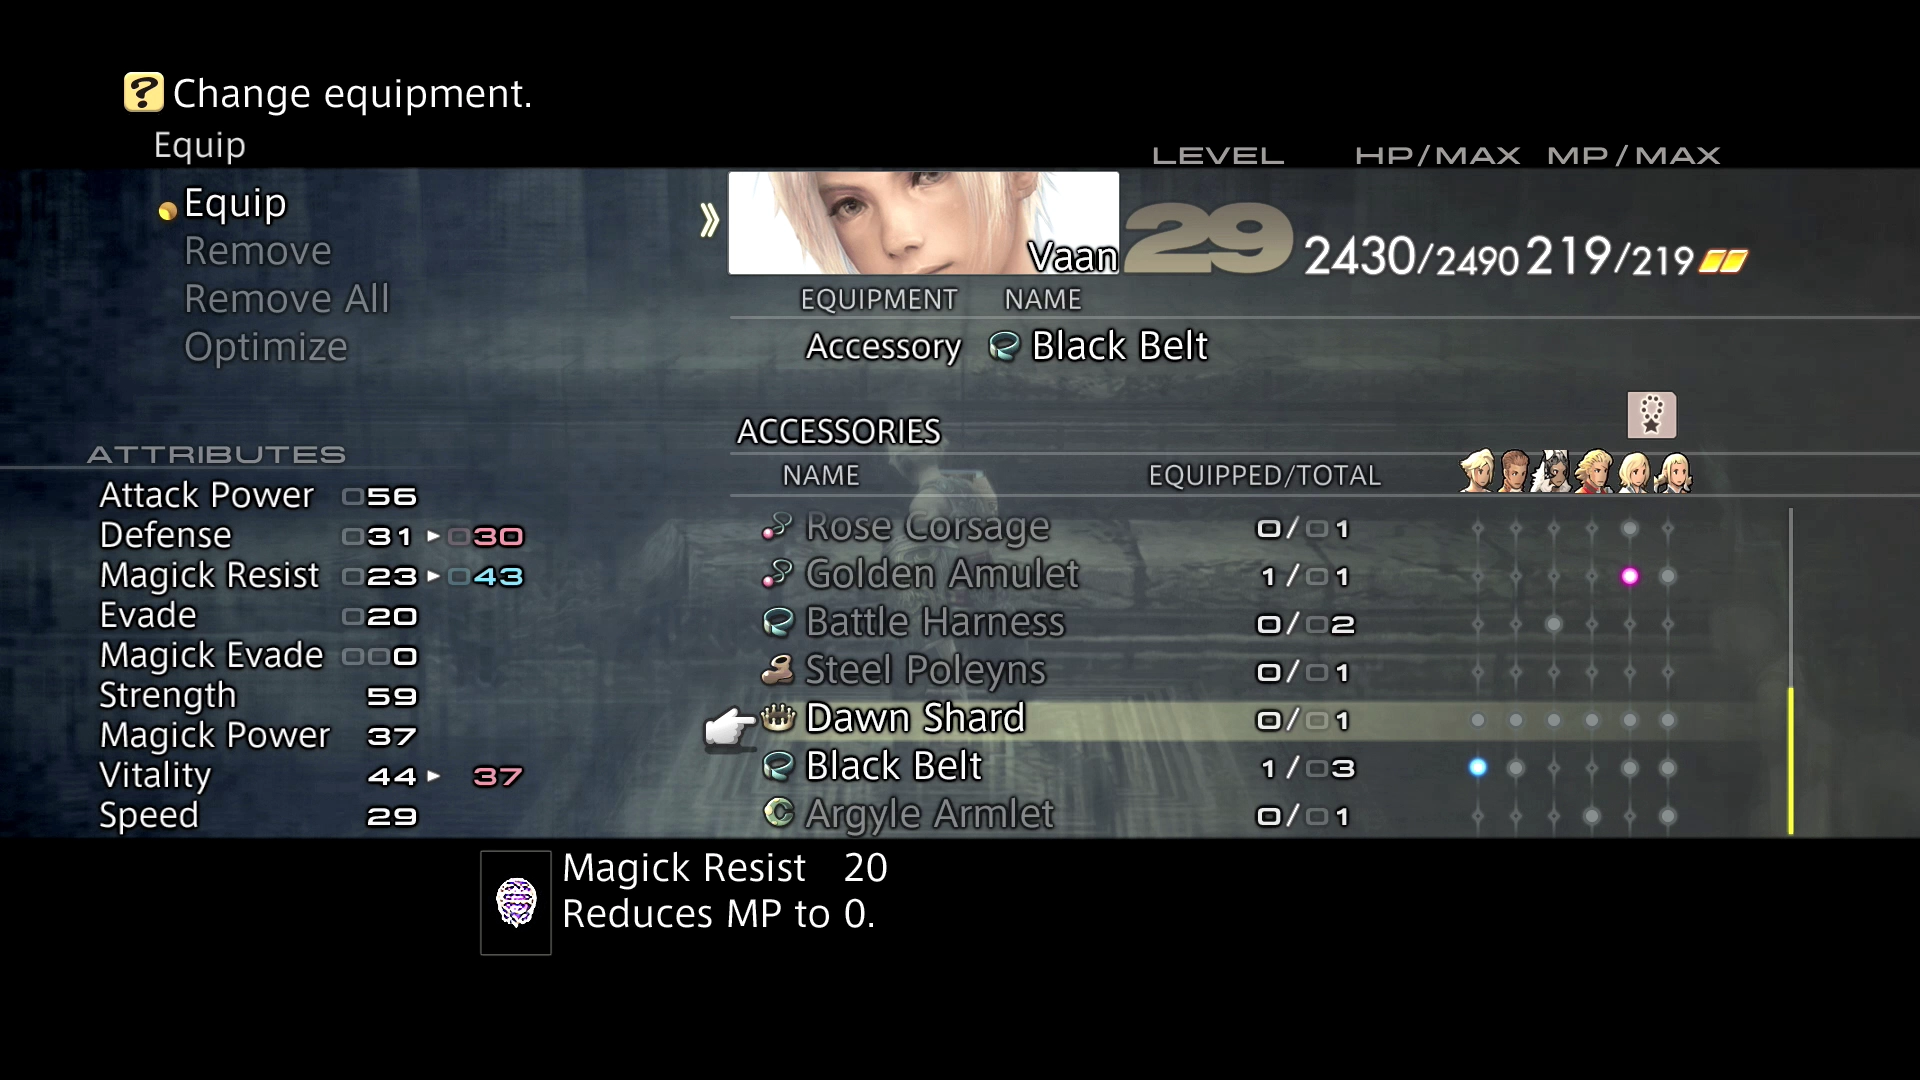
Touching the pedestal without the Dawn Shard will cause three Zombie enemies to appear. The pedestal will warp you to another area of the Stilshrine.
Ward of Velitation
Make sure that you un-equip the ![]() Dawn Shard accessory from whomever you equipped it to. There is a large Miriam Guardian that will approach you as soon as you arrive in the Ward of Velitation; it is fairly easy to defeat and does not require any special strategies.
Dawn Shard accessory from whomever you equipped it to. There is a large Miriam Guardian that will approach you as soon as you arrive in the Ward of Velitation; it is fairly easy to defeat and does not require any special strategies.
There is a trap blocking the treasure chest in the corner of the room but you can grab it without setting off the trap if you use the ![]() Float spell on your party members.
Float spell on your party members.
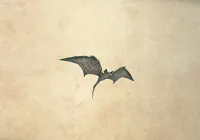
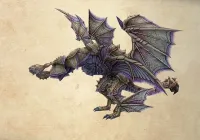
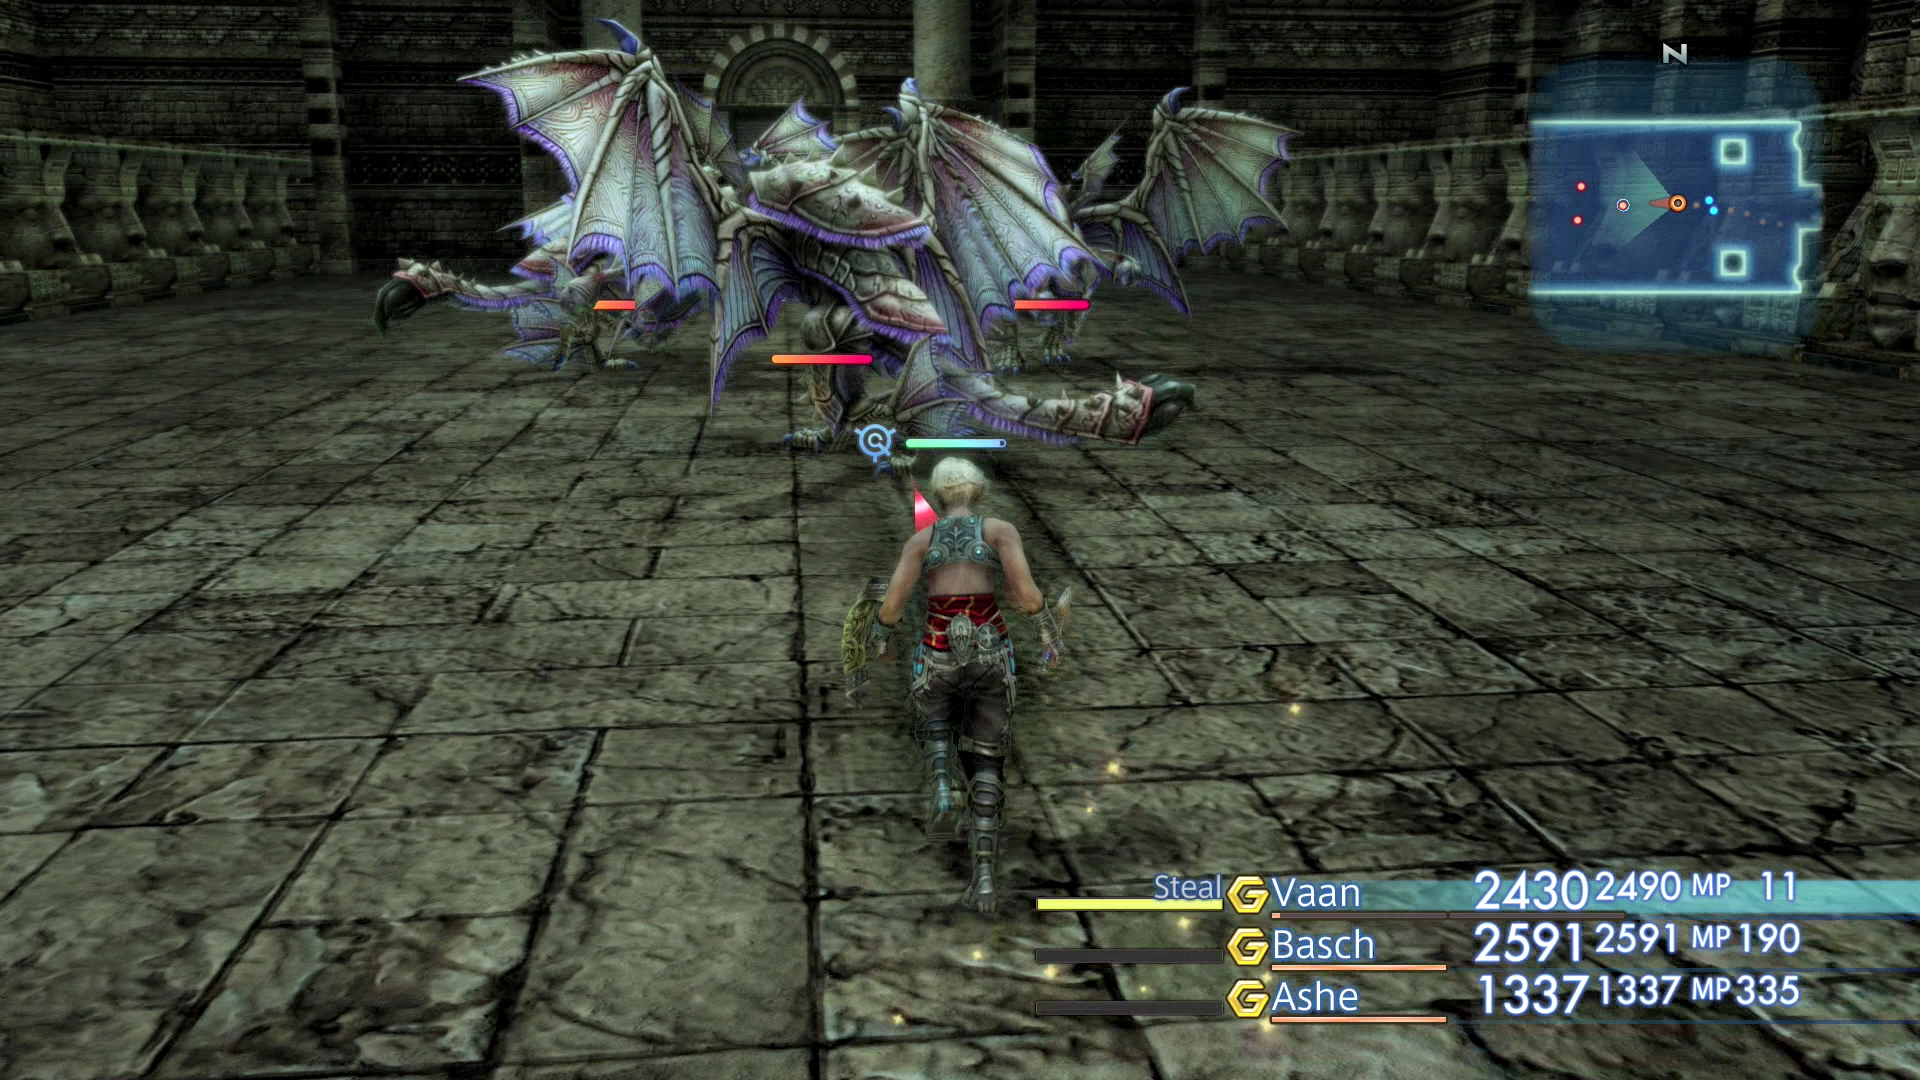
Continue west through the room full of Dragon Aevis enemies, past the Miriam Facers and into the next room.
Walk of Torn Illusion
Continue up the stairs and defeat the next Miriam Face at the top of the staircase. Go around the north side or the south side of the upper level to find a Pedestal of the Dawn.
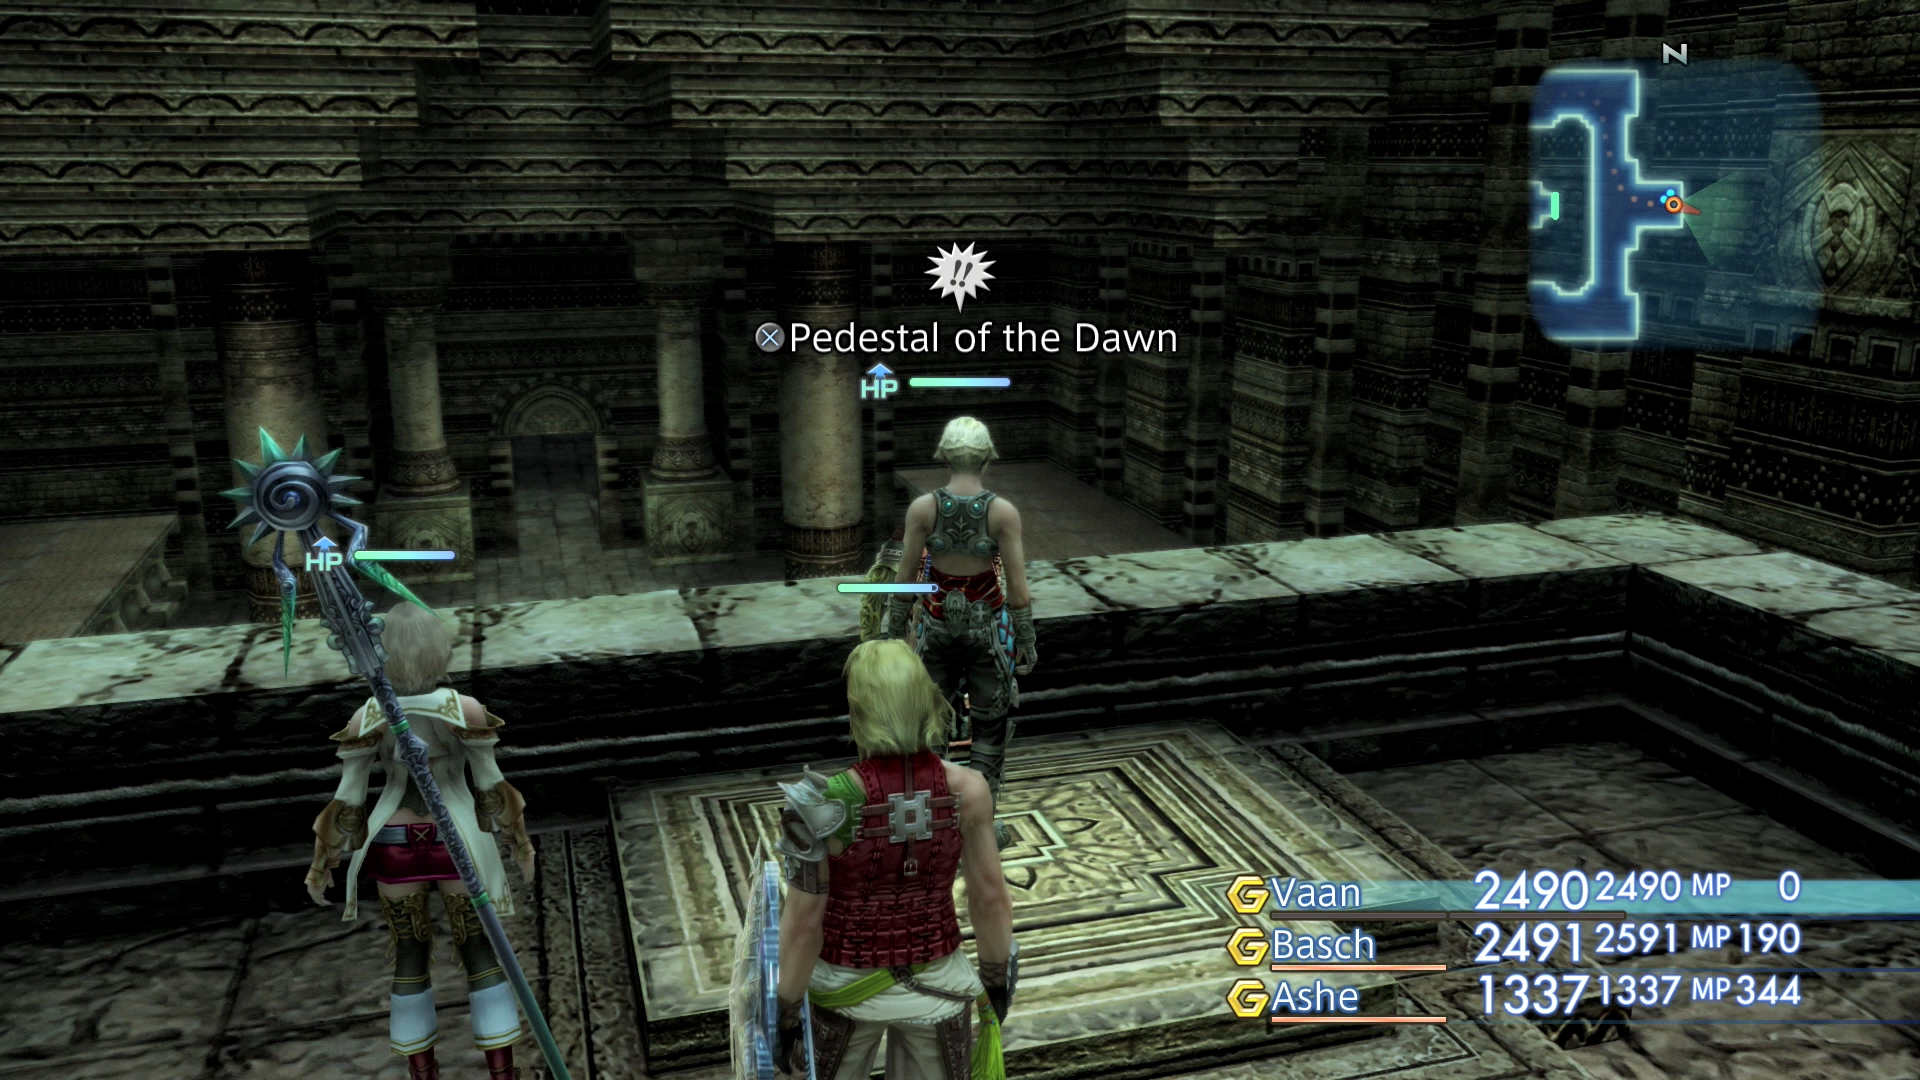
Once again, you will need to equip the ![]() Dawn Shard in order to activate the pedestal. Activating this pedestal will drop the staircases in the earlier room.
Dawn Shard in order to activate the pedestal. Activating this pedestal will drop the staircases in the earlier room.
Travel back down into the Ward of Velitation. Go down either of the pathways that appeared on the north or south side of the room and head east.
Walk of Revelation
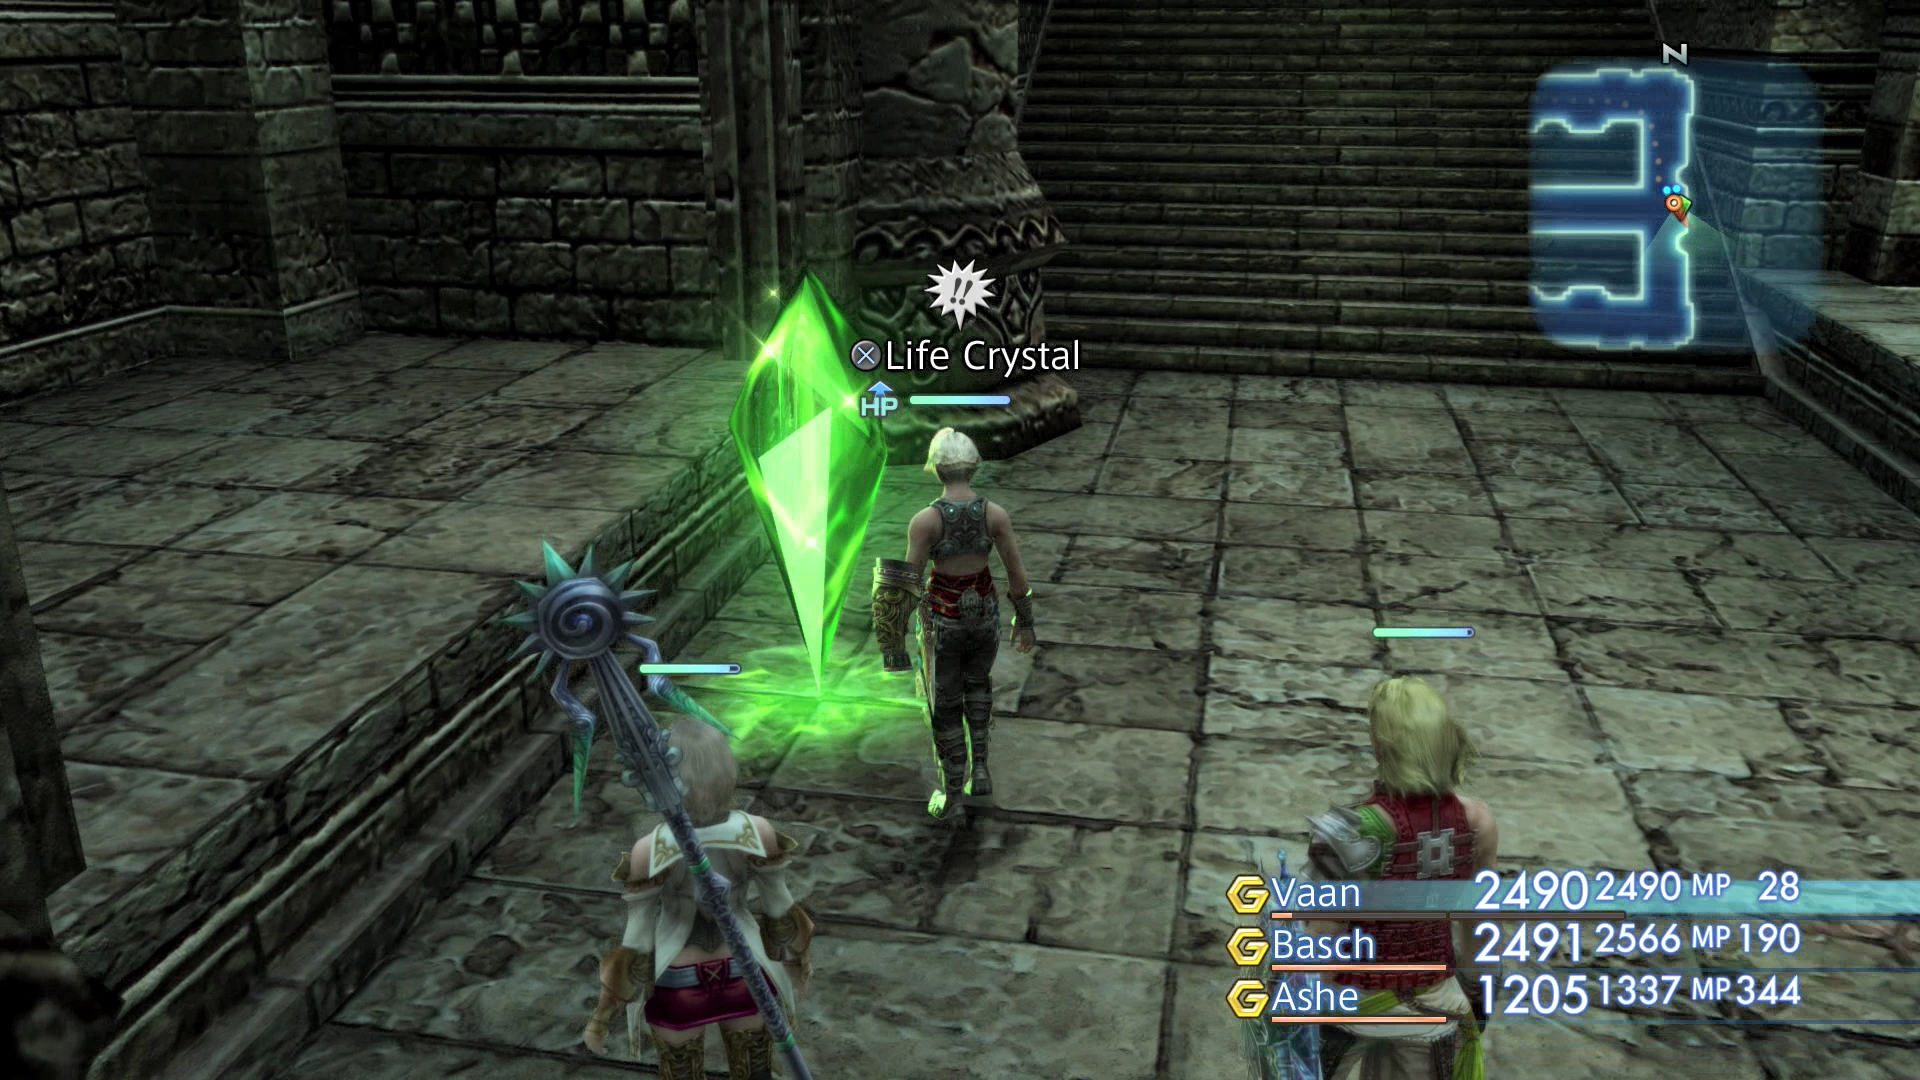
Keeping heading east and down the stairs. There will be something that appears to be a Save Crystal at the bottom of the stairs. This “Save Crystal” is actually a “Life Crystal,” which will turn into a Crystalbug enemy once you examine it. This enemy is easy to defeat though and an actual Save Crystal will appear once you have defeated it.
Continue down the stairs to the west and into the next room.
Ward of the Sword-King
Travel down the first pathway dealing with the two Blood Gigas enemies as you pass. There is a T-intersection at the end of the hallway with one path leading north and the other leading south. The pathway north leads to a dead-end so take a left and head south.
There is a secret room located on the western wall before you head down the staircase southward. Start off by defeating the Darkmare nearby.
After that approach and touch the wall on the west side of the room. The wall will disappear revealing a large staircase leading into another area.
Before you travel into the next area you should take the time to cast ![]() Float on all of your party members. There are traps in this area that can inflict both Confuse and Berserk status effects which can be devastating to your party members. The Float spell allows you to walk over traps without triggering them.
Float on all of your party members. There are traps in this area that can inflict both Confuse and Berserk status effects which can be devastating to your party members. The Float spell allows you to walk over traps without triggering them.
Warning
Note that in the Zodiac Age version of the game, the ![]() Float Magick spell only becomes available once you reach the Tchita Uplands, so you will not have access to it at this stage of the game. That said, many of the traps have been removed in order to accommodate for this.
Float Magick spell only becomes available once you reach the Tchita Uplands, so you will not have access to it at this stage of the game. That said, many of the traps have been removed in order to accommodate for this.
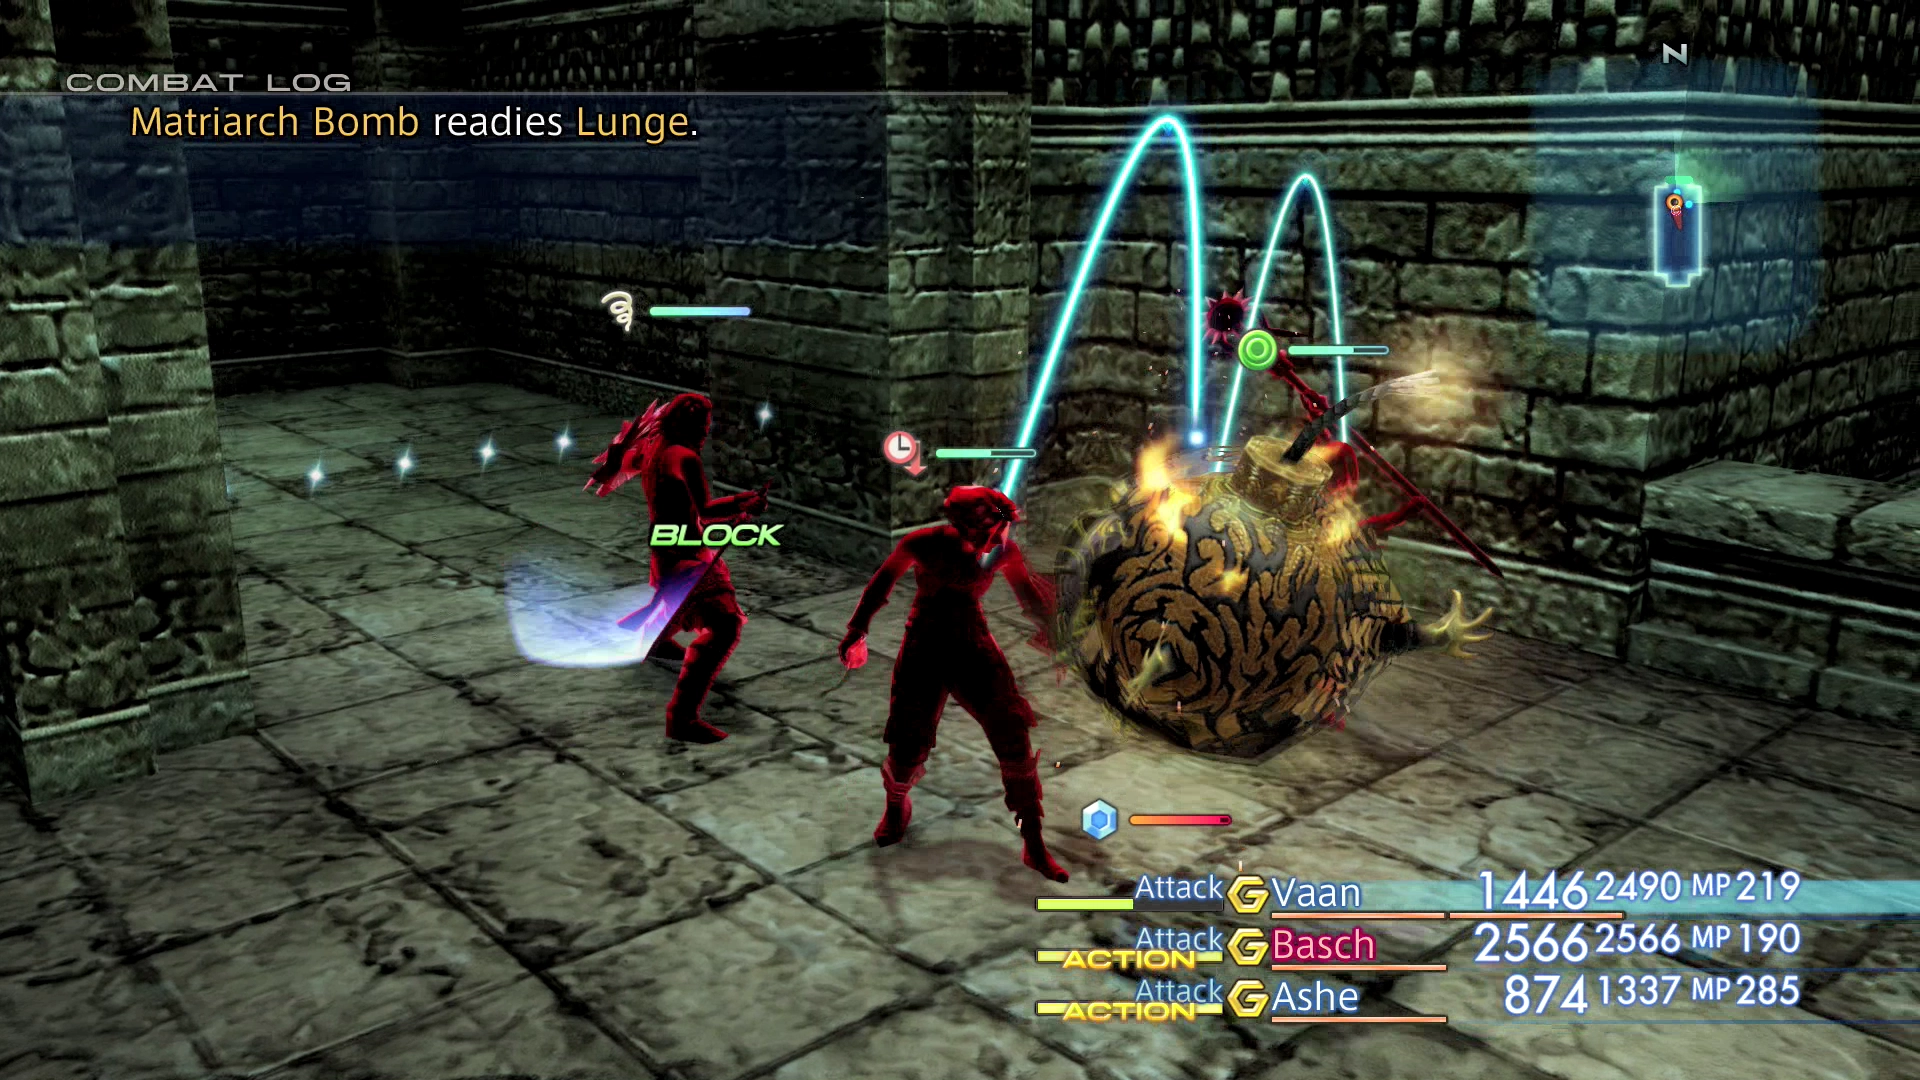
Follow the stairwell along, defeating each of the Oiling enemies as you pass, until you reach the next area. The last room has a few more Oiling enemies and it has a 20% chance of also spawning a rare enemy called a Matriarch Bomb.
Make sure that you still have the Float status effect from the Float spell active as the combination of trap status effects and the Matriarch Bomb’s attacks can be particularly devastating. Focus your attacks on bringing the Matriarch Bomb down first.
The chest at the top of the hallway will either contain a ![]() Dark Matter item or a
Dark Matter item or a ![]() Shell Shield.
Shell Shield.
The Shell Shield is the better and rarer item. You could reset your game and restart from the most recent Save Crystal if you are dead set on obtaining it. The ![]() Shell Shield is quite powerful as it automatically enables the
Shell Shield is quite powerful as it automatically enables the ![]() Shell Magick spell status effect. That said, you may already have a Shell Shield if you managed to complete Hunt 08: A Scream from the Sky (Wyvern Lord).
Shell Magick spell status effect. That said, you may already have a Shell Shield if you managed to complete Hunt 08: A Scream from the Sky (Wyvern Lord).
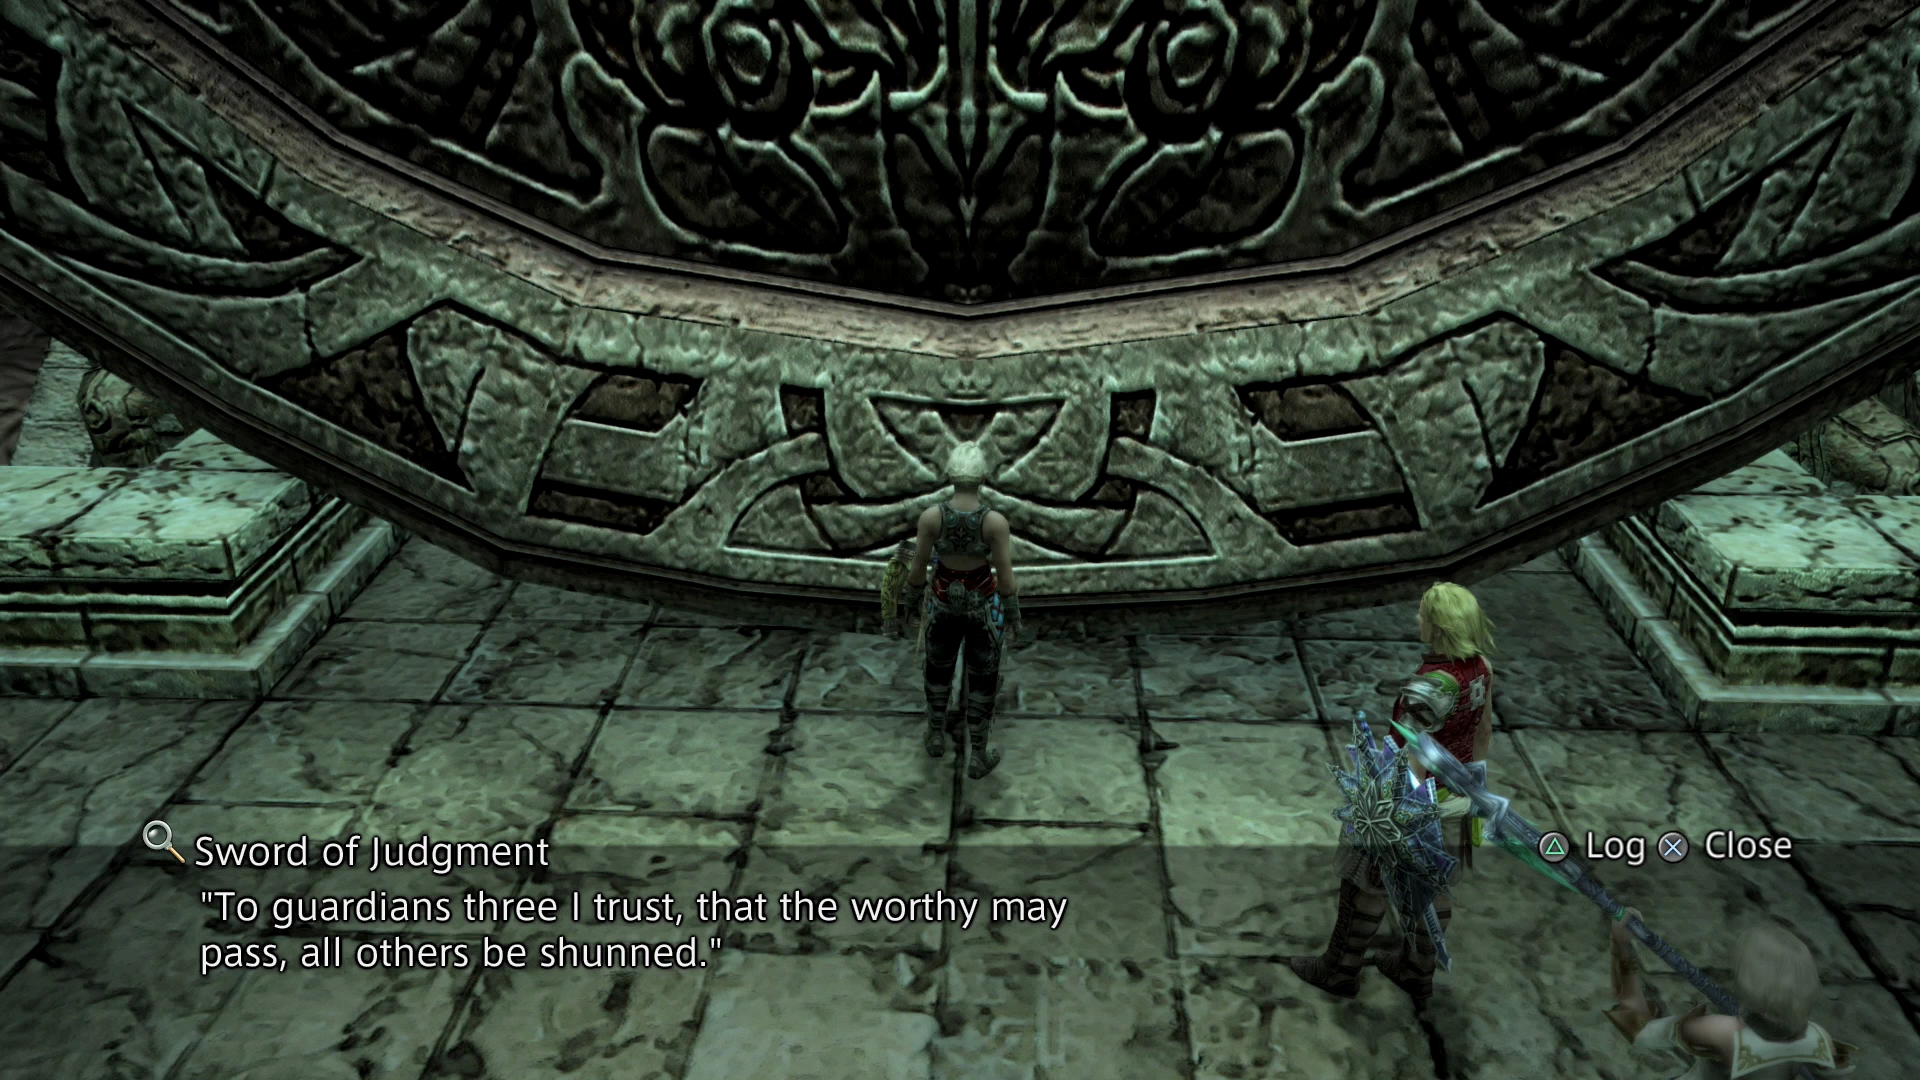
Head back to the Walk of the Sword-King area and continue south down the stairs. Defeat the two Blood Gigas enemies at the bottom of the staircase and then examine the large sword blocking the pathway.
(Sword of Judgment in game text: “The statue bears an inscription that seems to have been left by King Raithwall: ‘To guardians three I trust, that the worthy may pass, all others will be shunned’.”)
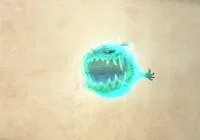
Travel north through the doorway that opens and examine the Way Stone in the center of the room and choose to “touch the device.”
Ward of Measure
You will now find yourself back at the entrance to the Stilshrine of Miriam. There are two sets of staircases on the west and east side of the room.
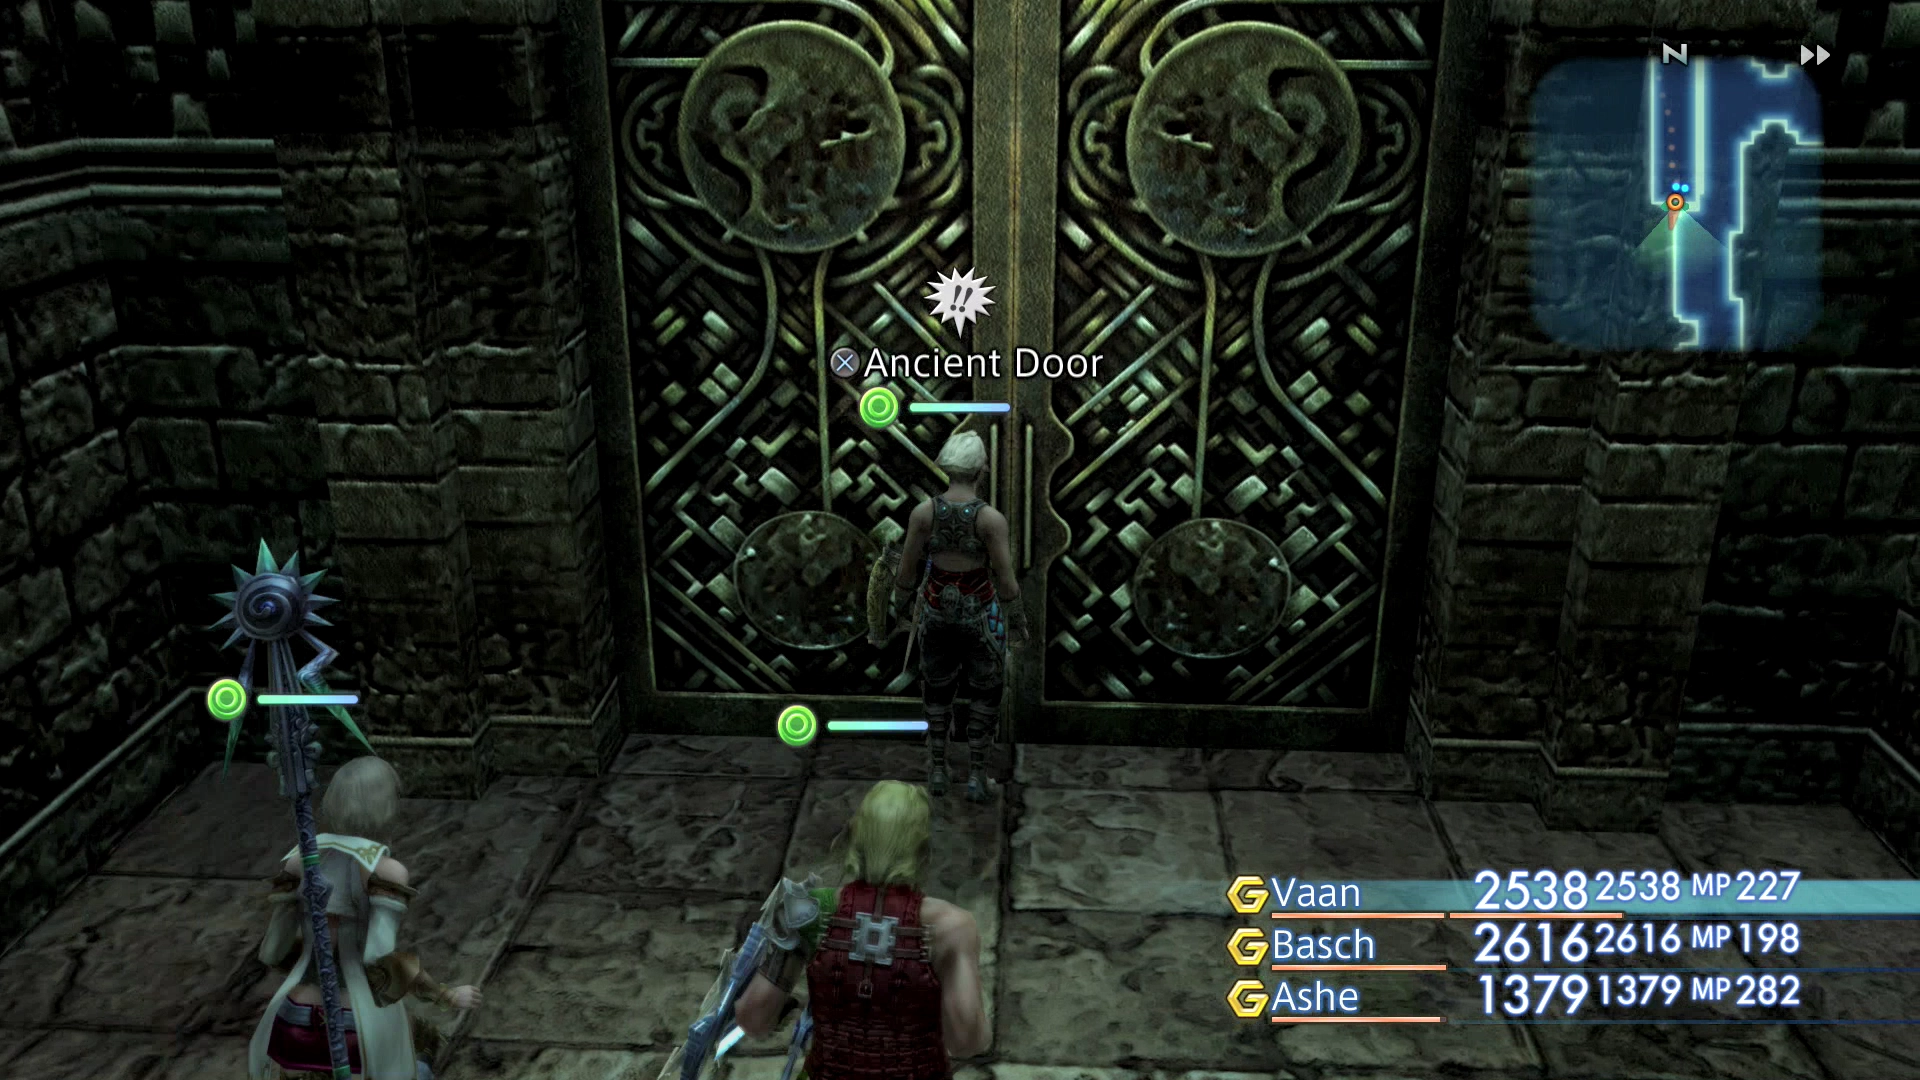
Take the stairwell on the west side of the room, as it is now open, examine the Ancient Door at the bottom, and choose to “touch the door” to open it.
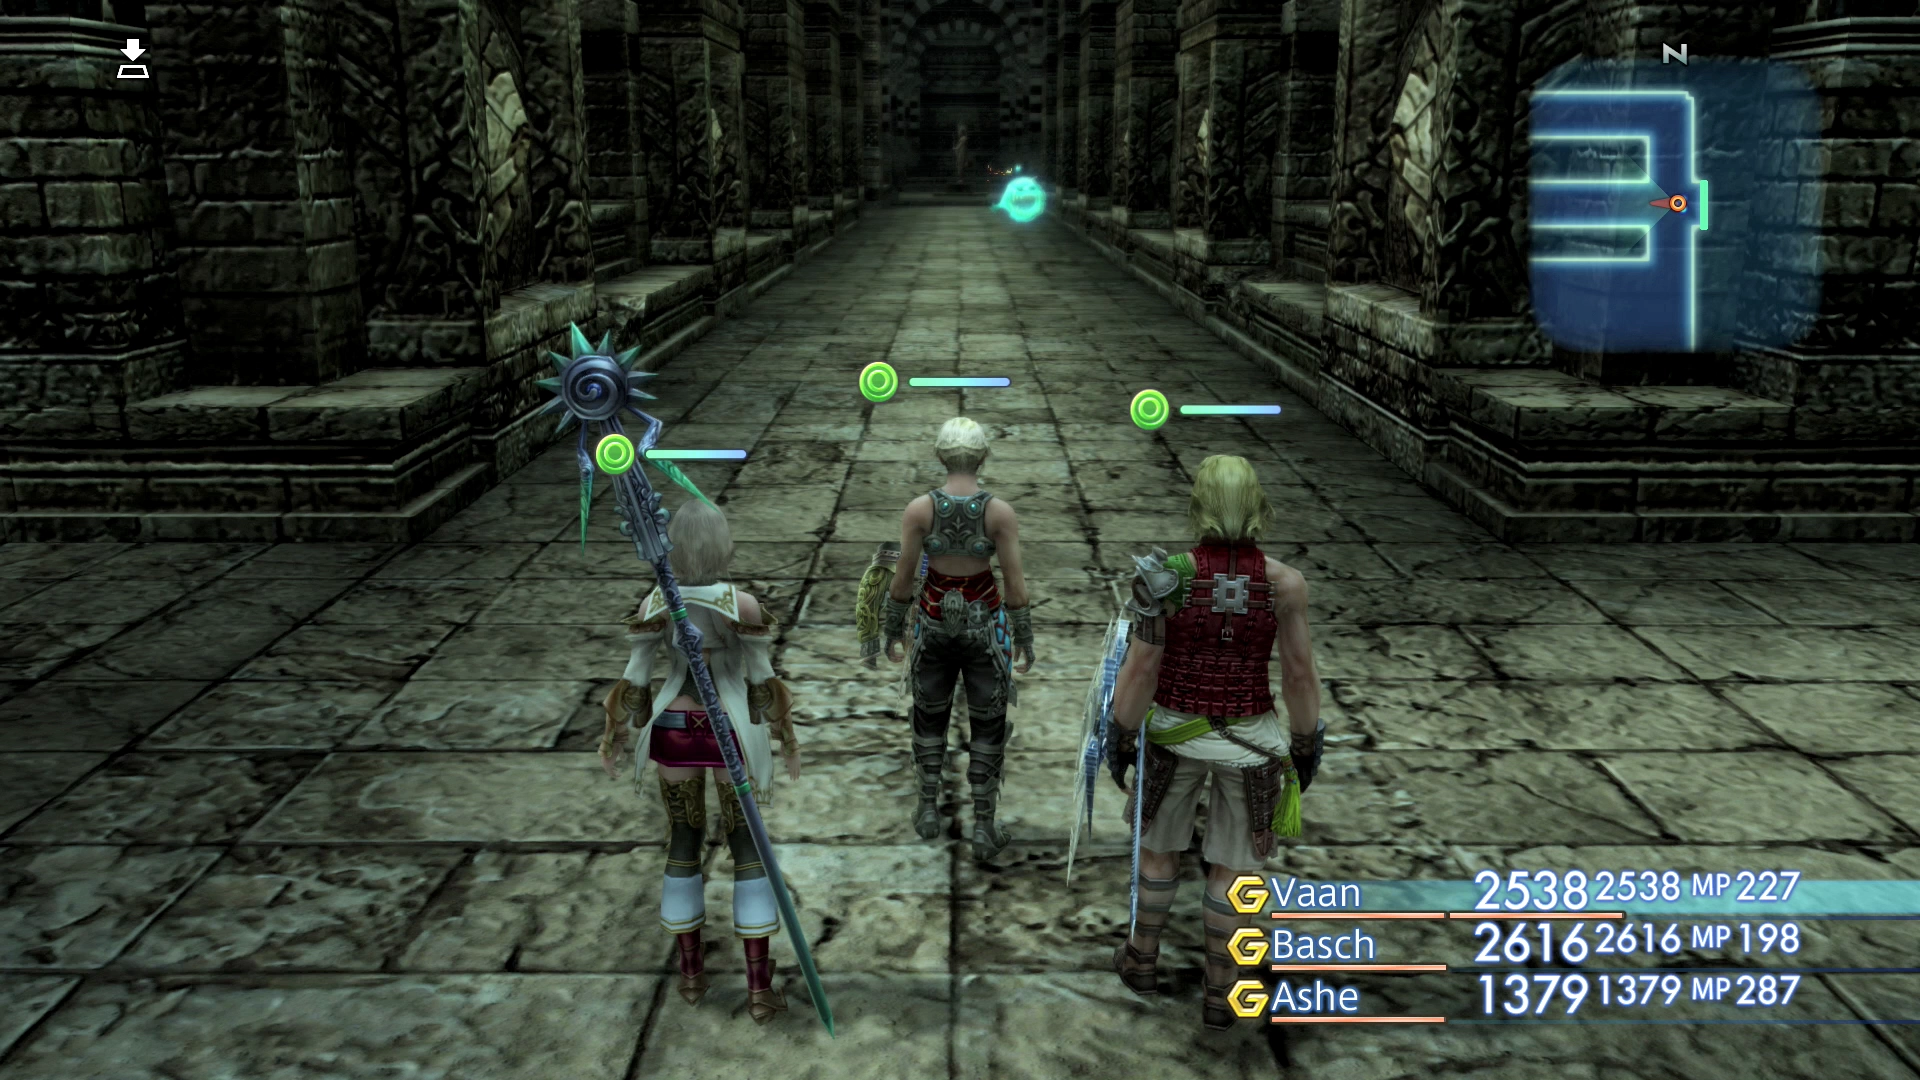
Cold Distance
Defeat the Miriam Guardian near the entrance and take the passageway on the right into the next room.
Helpful Hint
At this point you should make sure that each of your party members activates the Accessories 10 license or that they begin saving enough LP in order to activate it. Each of your party members will need to be able to equip a ![]() Nishijin Belt for the dungeon’s final boss.
Nishijin Belt for the dungeon’s final boss.
Walk of Prescience
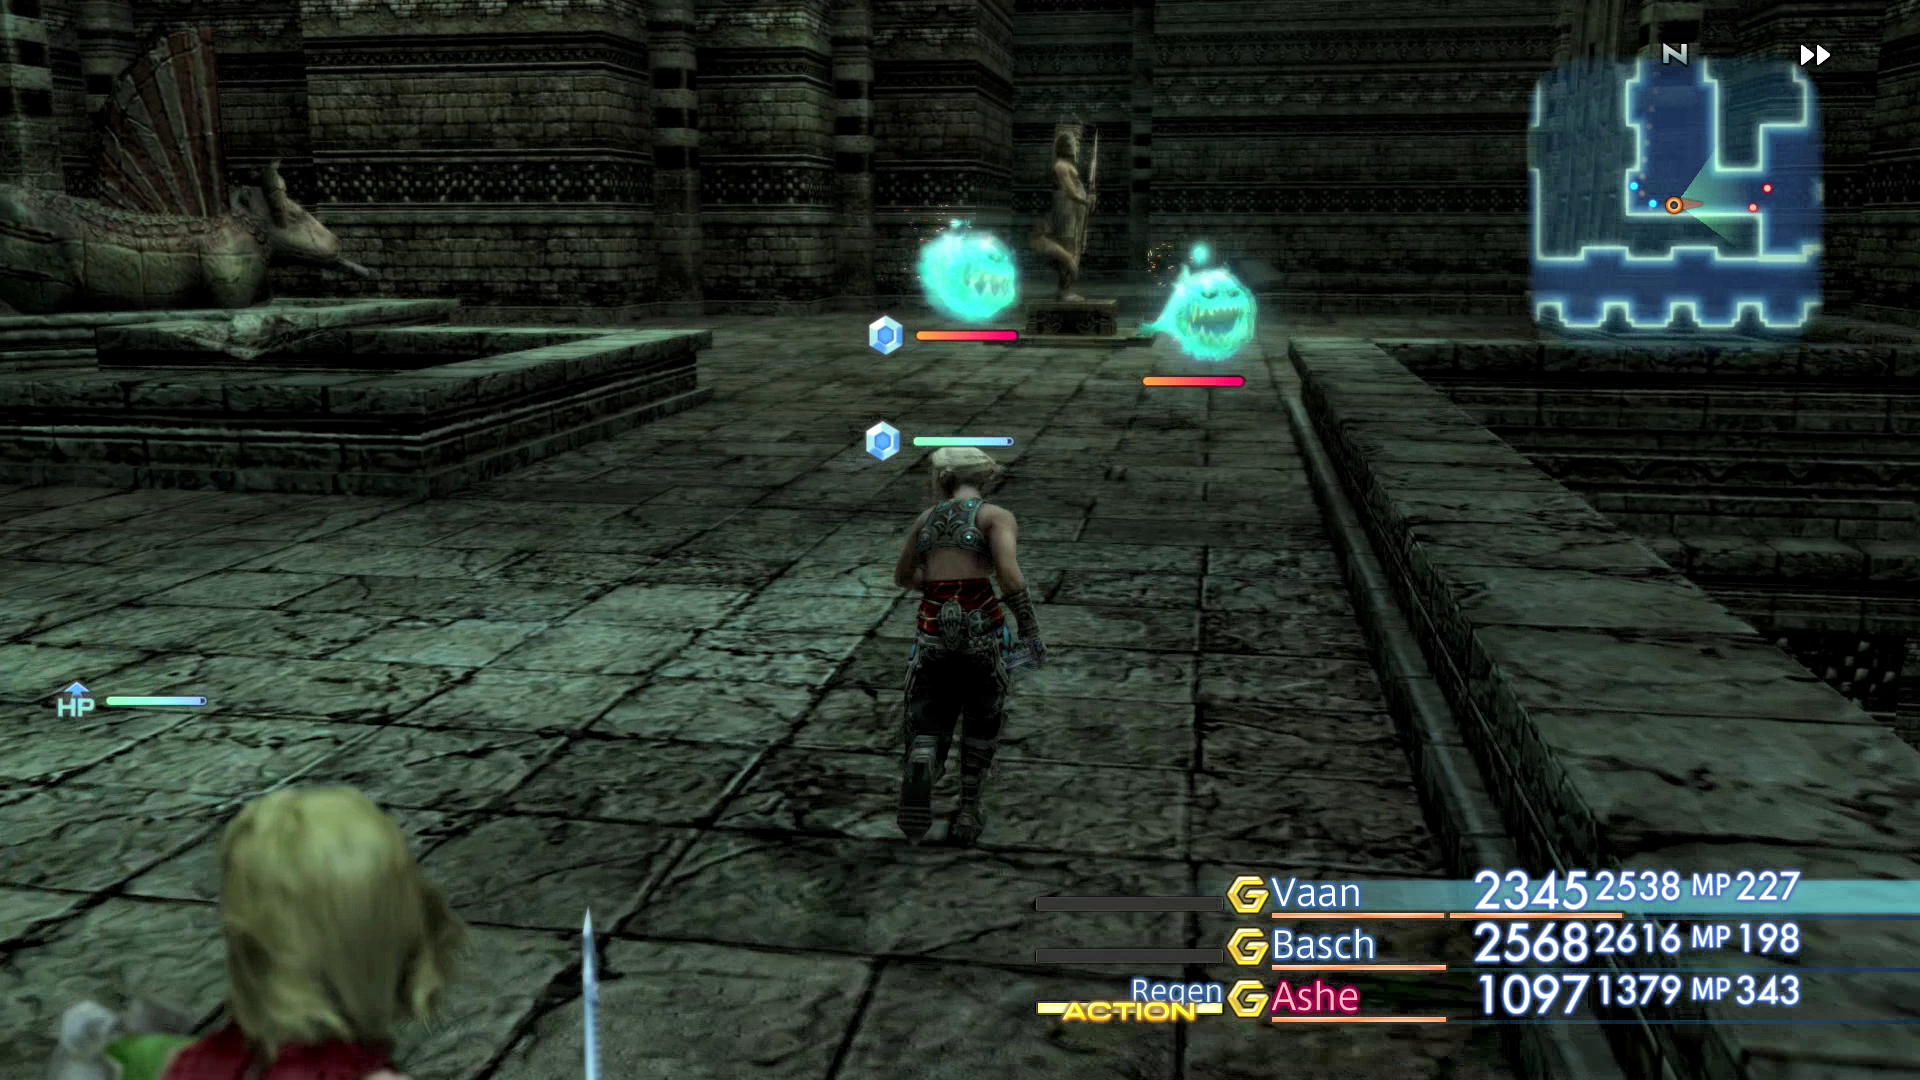
There are a number of blue bomb enemies in this area called Balloons. They can be particularly troublesome as they explode when they get too large. Focus your attacks on only one Balloon when you are attacking them and take them down as quickly as possible.
Make sure that you have a few ![]() Raise or
Raise or ![]() Phoenix Down Gambits set up in case your party members are KO’d and have a few healing Gambits set up as well.
Phoenix Down Gambits set up in case your party members are KO’d and have a few healing Gambits set up as well.
This room has three separate walkways which all lead west. Take the northernmost pathway and follow it around the room. You will have to defeat a few Balloons and a few Facers.
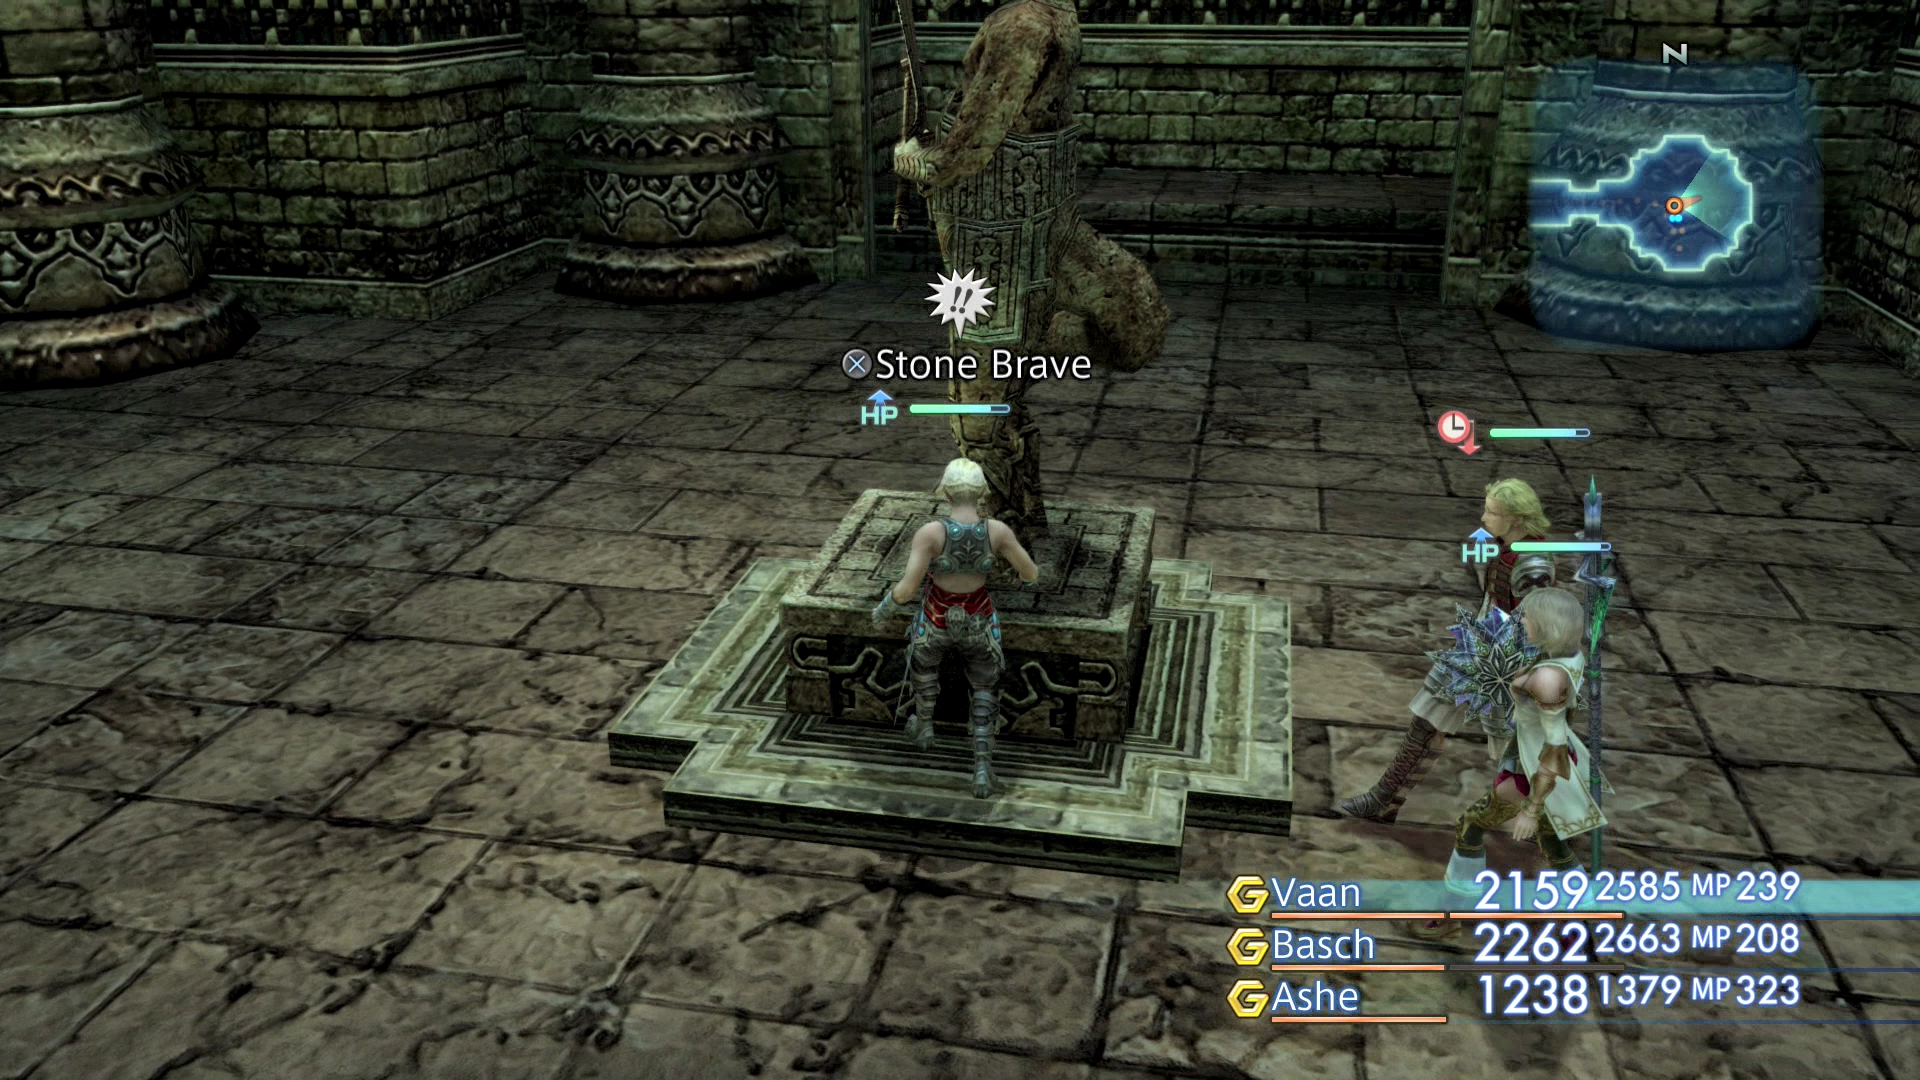
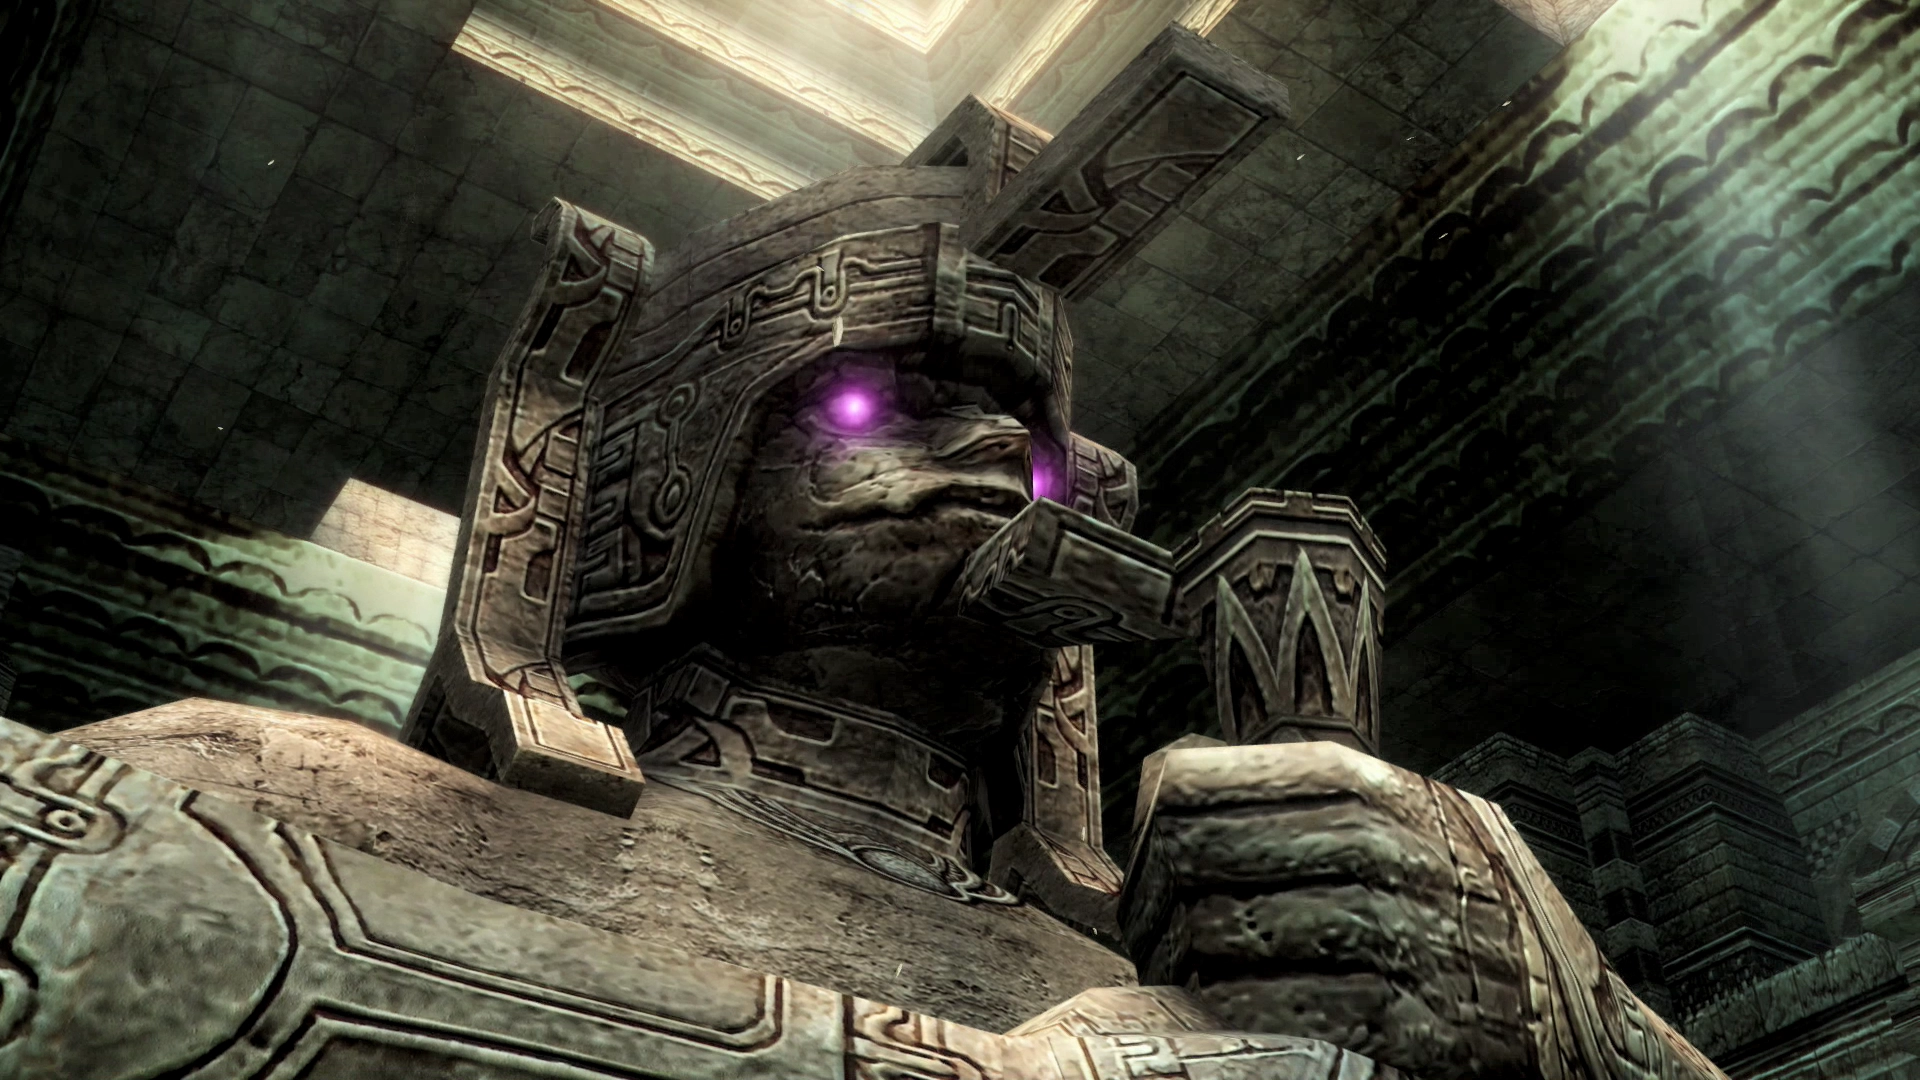
There is a statue at the end of the pathway on the west side of the room called a “Stone Brave.” Examine the statue, which is currently facing south, and you will “discover a mechanism in the statue’s base. The statue looks as though it can be rotated.”
Examine the statue one more time and choose to rotate the statue so that it is facing the large colossus in the center of the dungeon by turning the statue counterclockwise.
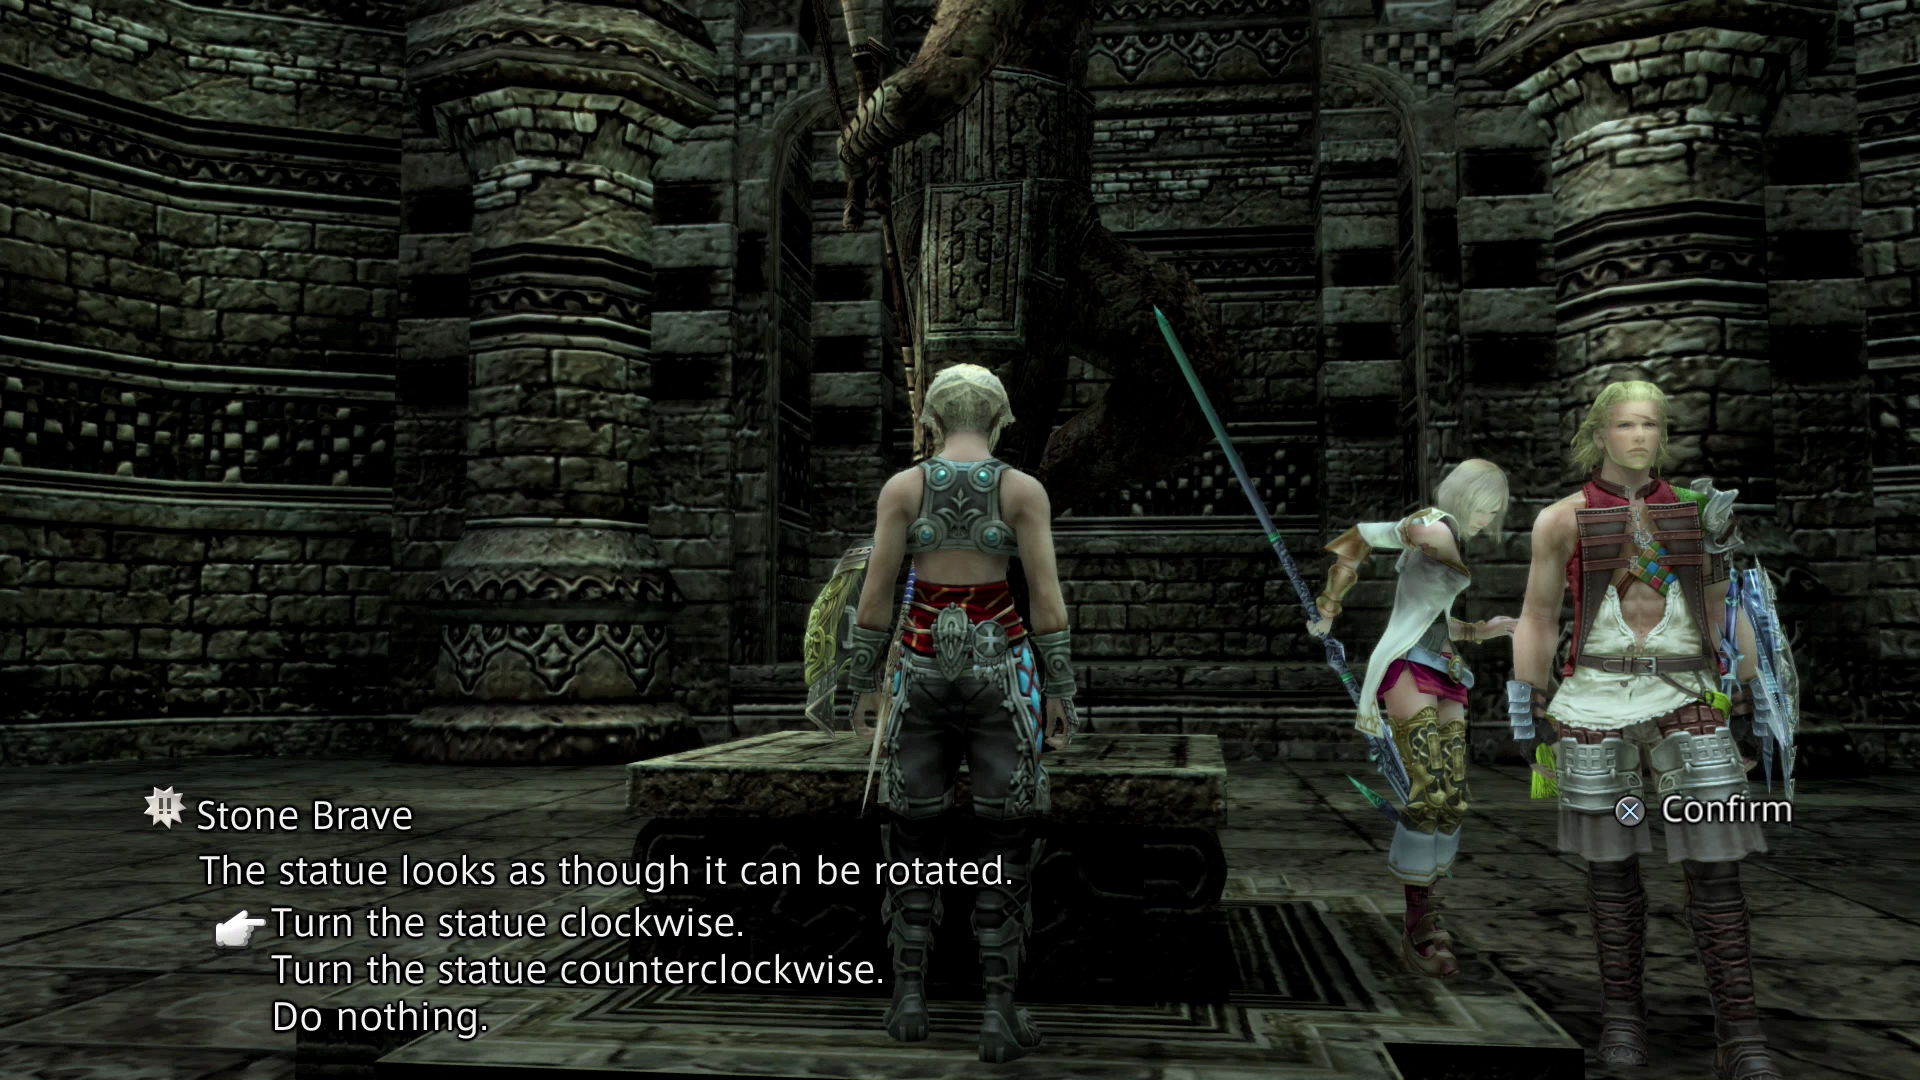
You can confirm whether you have rotated the statue properly by taking a look at its eyes. The eyes of the statue will glow a bright pink when it is facing the proper direction. Go down the stairs to the south and into the next room.
Walk of Reason
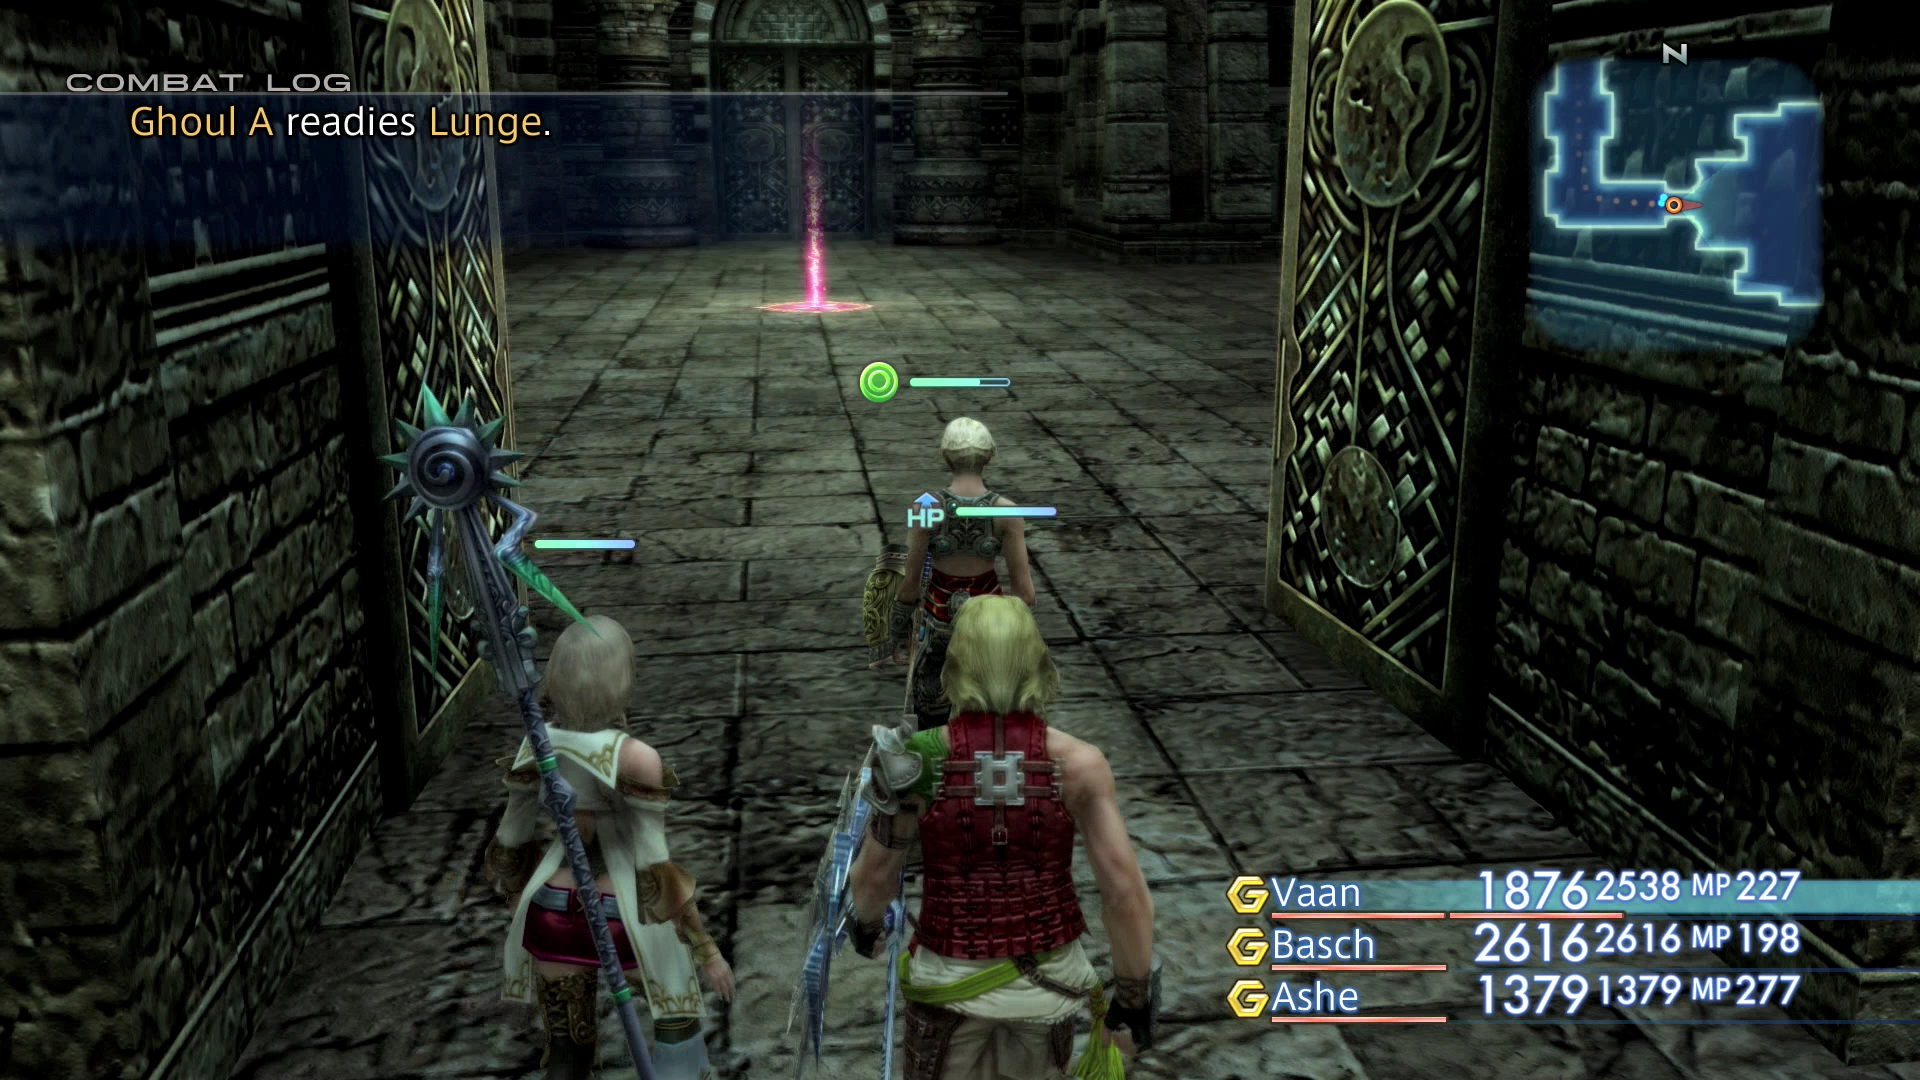
Follow the pathway and proceed through the next Ancient Door. Defeat the Ghouls and Zombies in this area while dodging the trap at the center of the room and then proceed through the next Ancient Door on the east side of the room.
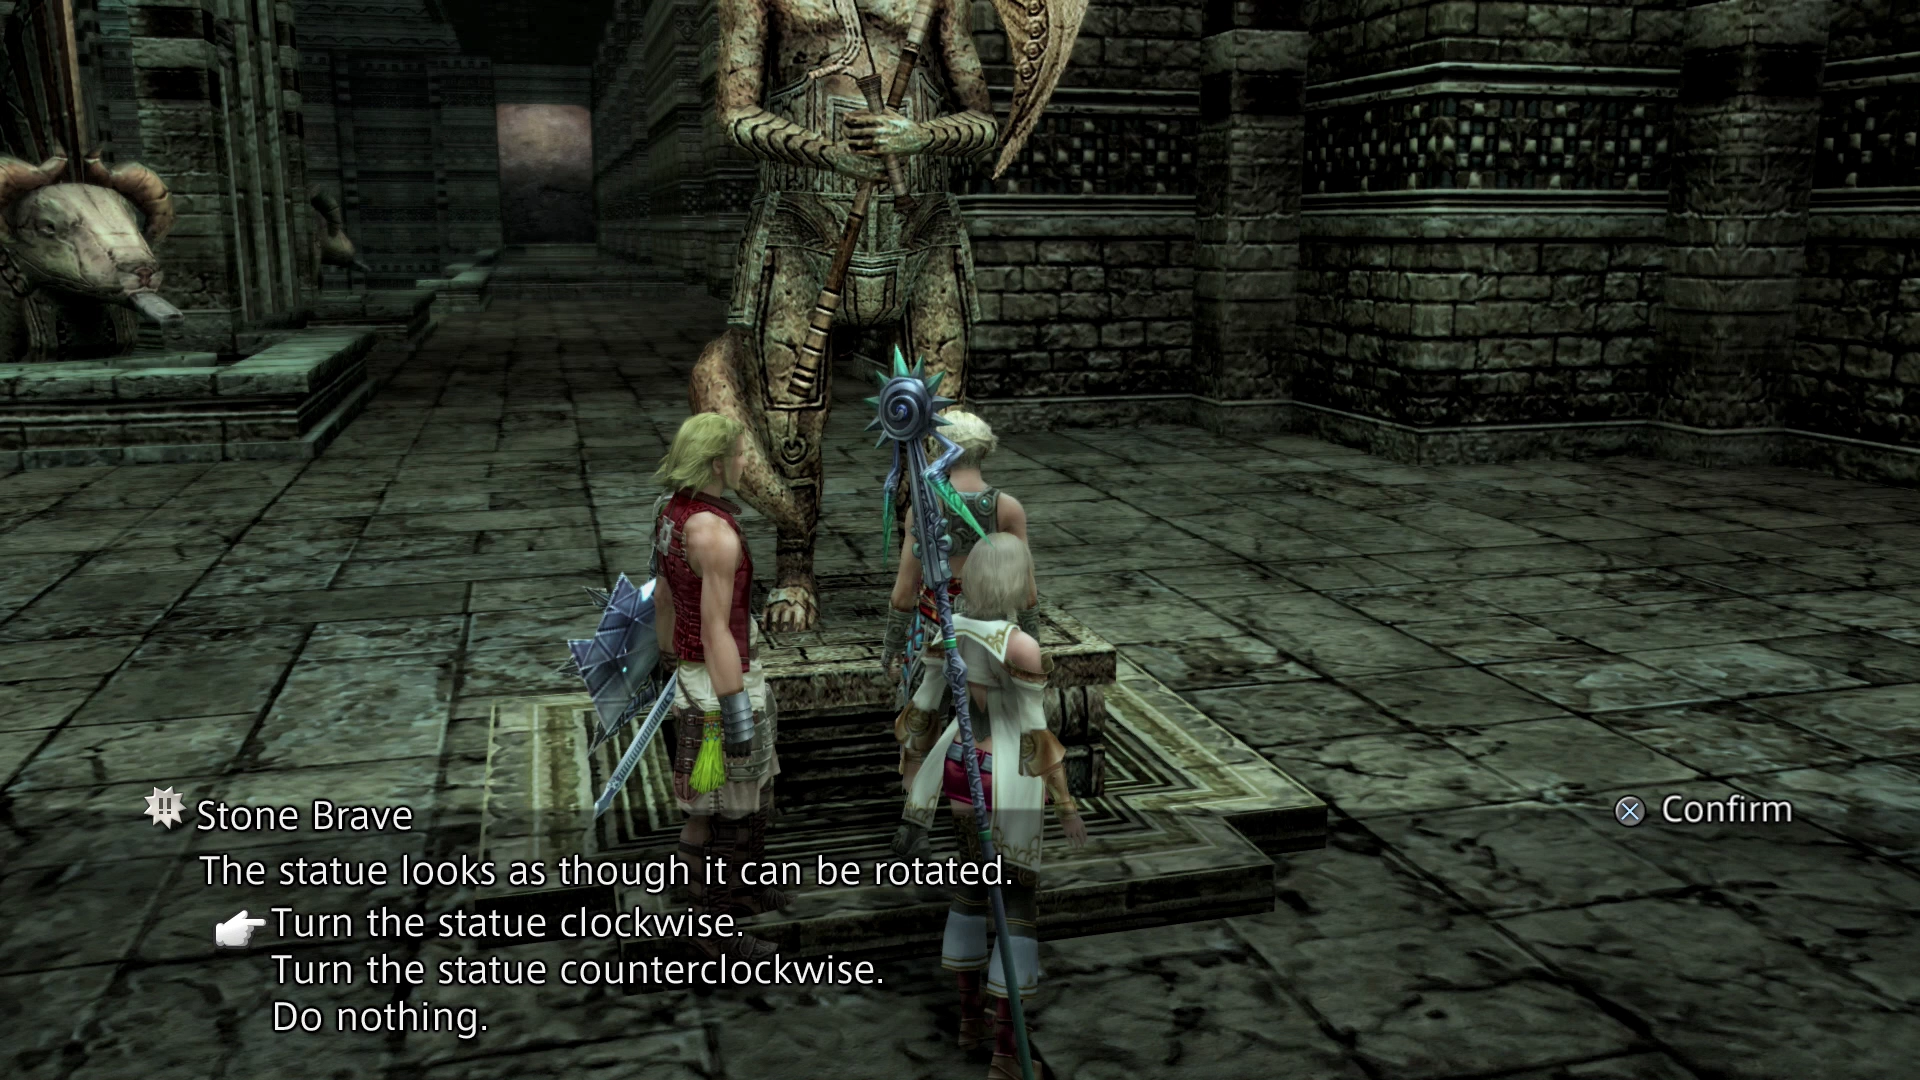
You can follow the southernmost pathway if you’d like – it leads to a few treasure chests. Your next target location though can be reached by heading directly east and then slightly south to find the next Stone Brave statue.
The second Stone Brave needs to be rotated Counterclockwise once in the original version (or rotate twice either way in the Zodiac Age version) as well so that it faces to the north.
Again, you can verify whether it is facing the proper direction by viewing its eyes and making sure that they glow (bright pink).
Travel east away from the statue and then continue north leading back to the Cold Distance room at the center of the dungeon.
Cold Distance
Follow the pathway around, dealing with the Miriam Guardian as you pass it, and approach the doorway on the eastern wall. There is an upcoming boss fight which is a fairly easy battle, but one can never be too cautious.
It is advisable to take the stairway north leading back up to the entrance of the dungeon and heading back out to the Walk of Mind to use the orange Save Crystal to save your game.
Ward of Steel
In preparation for the upcoming fight, you should equip your party members with light-armor and non-metallic items if possible. Guns and bows are both ideal. The boss is not too difficult, so don’t go out of your way if you do not have these items readily available.
Boss Battle
Level: 27
HP: 15,138
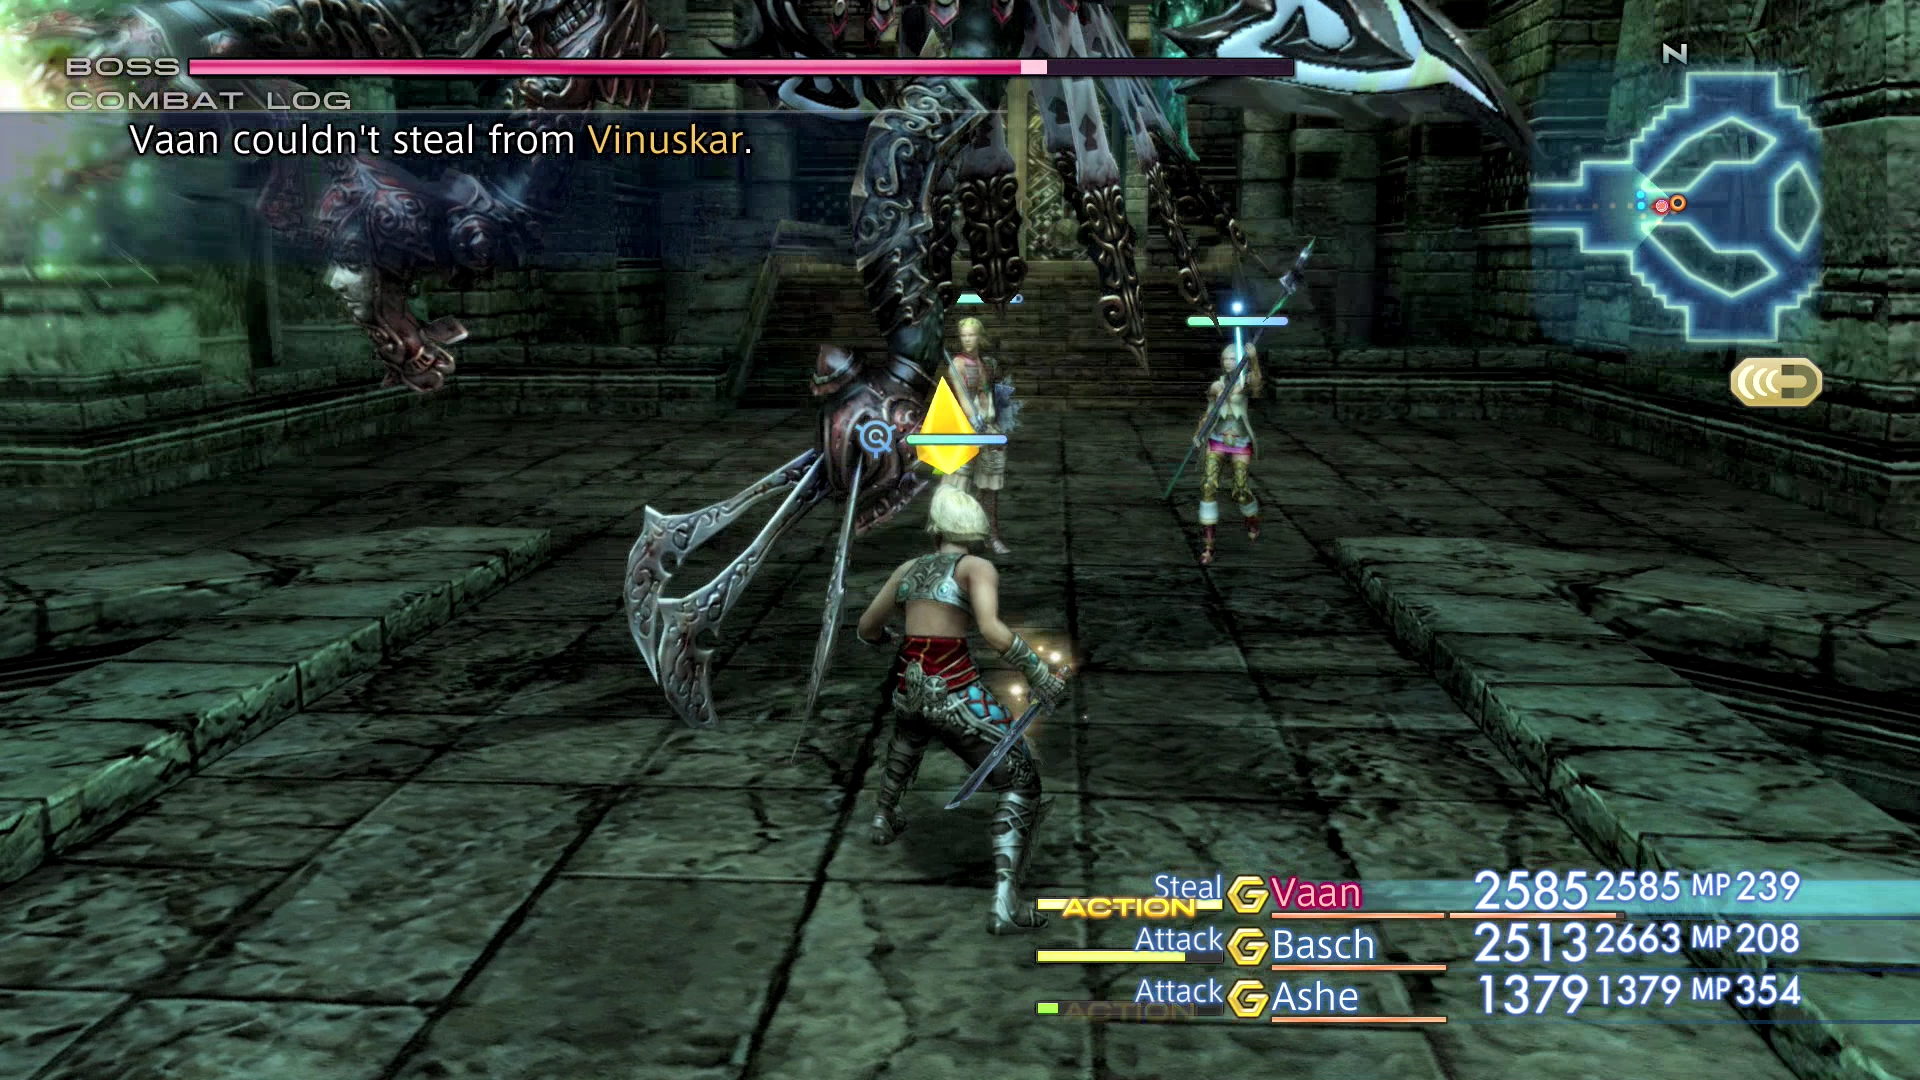
Steal: ![]() Knot of Rust (55%),
Knot of Rust (55%), ![]() Thief’s Cuffs (10%),
Thief’s Cuffs (10%), ![]() Damascus Steel (3%)
Damascus Steel (3%)
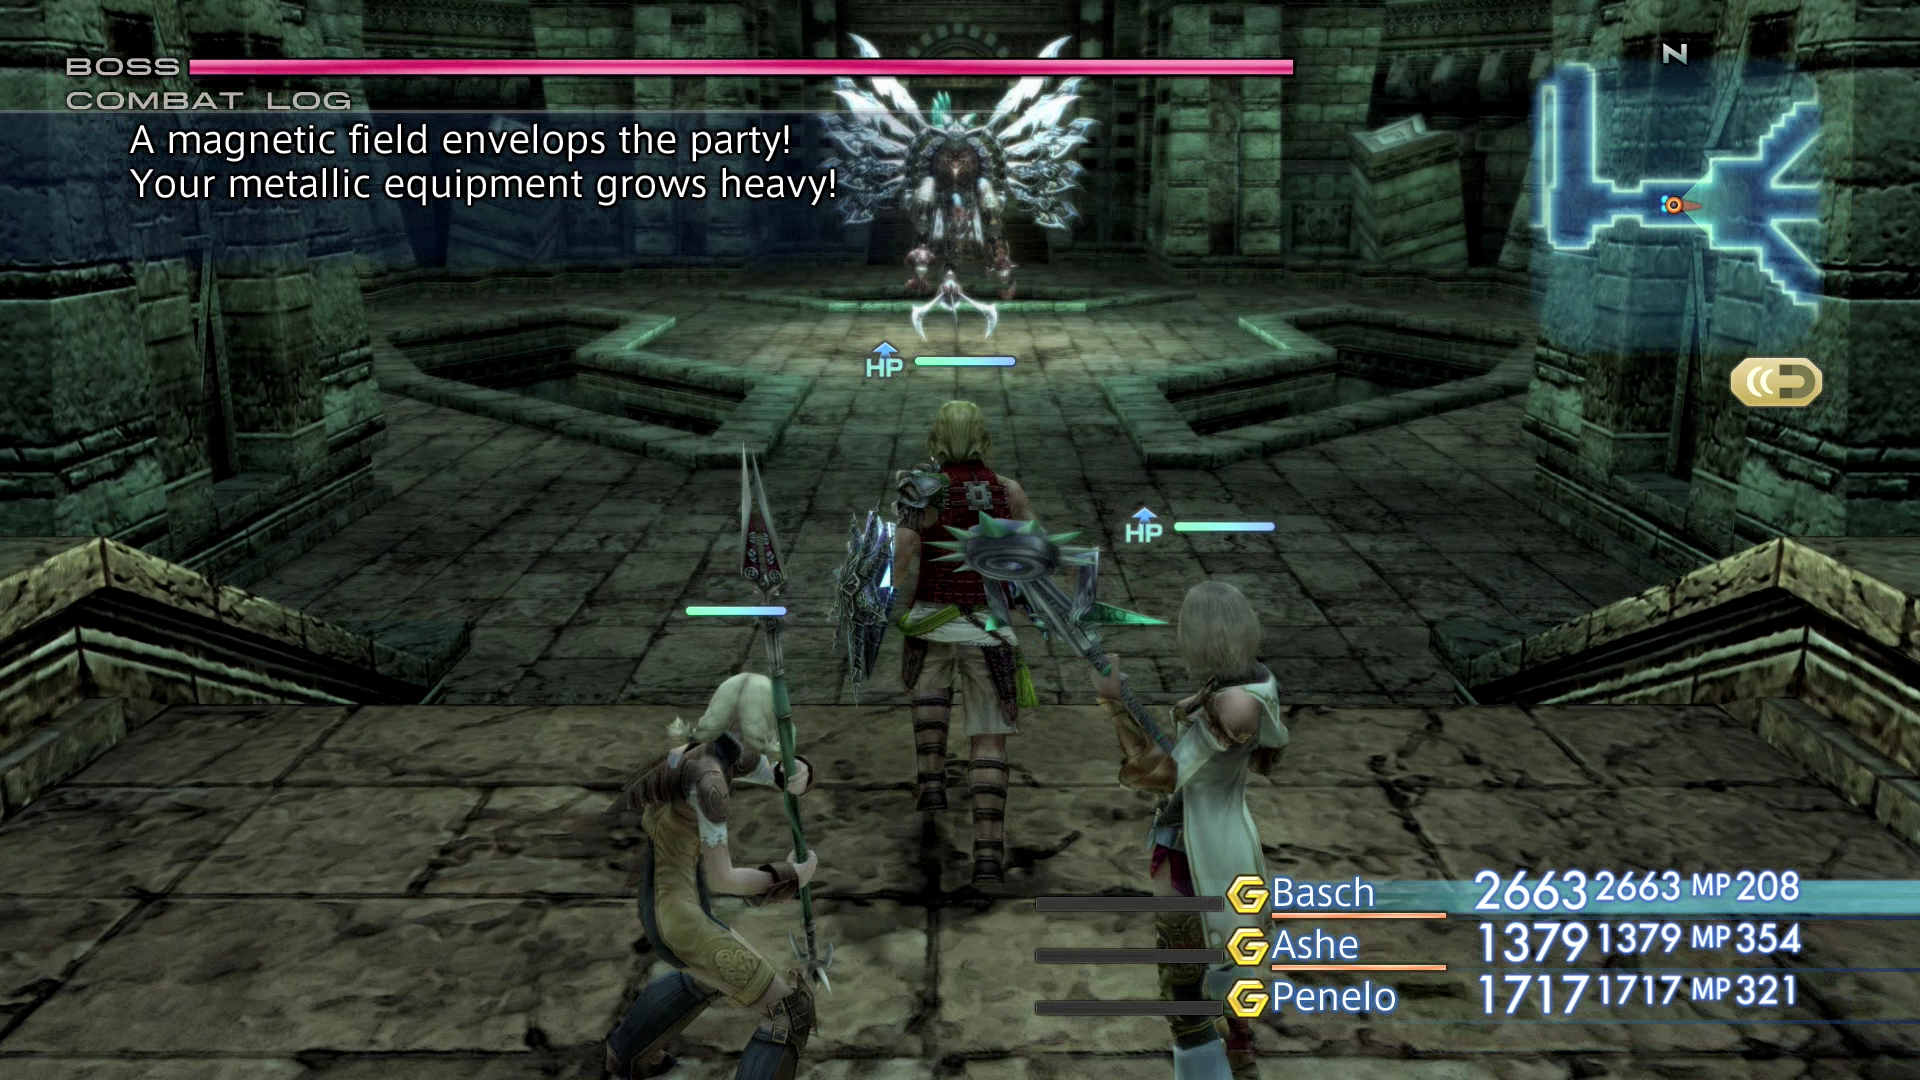
This boss has fairly low HP, especially compared to some of the more recent fights you have been involved in. Vinuskar will cast a magnetic field that will impact any of your party members with metallic items, such as heavy armor, shields, swords, etc.
It will effectively cause these party members to behave as if impacted by a ![]() Slow spell. It is not completely debilitating though and Vinuskar can easily be defeated even if a couple of your party members are affected by the field.
Slow spell. It is not completely debilitating though and Vinuskar can easily be defeated even if a couple of your party members are affected by the field.
Equipping light armor to your party members will ensure that they get quite a few regular attacks in and will make easy work of this fight. Have some curative spells or items ready to counter its Sword Dance attack which can affect all party members (usually for around 500 HP). Vinuskar can also inflict the Petrify, Slow and Confuse status effects, so have ![]() Esuna set up with a Gambit.
Esuna set up with a Gambit.
You can find a video of this battle in the Zodiac Age version below.
There is a treasure chest in the center of the room that contains a ![]() Sage’s Ring - an important accessory for later in the game due to its ability to absorb Holy Magick.
Sage’s Ring - an important accessory for later in the game due to its ability to absorb Holy Magick.
Go through the doorway on the east side of the room to find the third and final Stone Brave statue. Rotate this statue Counterclockwise as well to face it to the west.
Once done successfully, and assuming that the other two Stone Brave statues were rotated properly, a note will appear on the screen indicating that “the Colossus has undergone some change….” There is also a green Urn to the south of the statue that contains the map of the Stilshrine of Miriam.
Return to the entrance of the dungeon and save your game. A short cutscene will play as you exit the Ward of Steel where the Colossus in the center of the dungeon will raise the large sword blocking the way past.
Travel back to the Way Stone in the Ward of Measure and use the Way Stone to warp back down to the Ward of the Sword-King.
Ward of the Sword-King
Travel directly south, down the stairs and this time, instead of examining the Sword of Judgment that used to block the path, walk underneath the newly opened pathway. Open the Ancient Door at the end of the walkway.
Hall of Worth
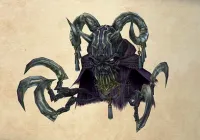
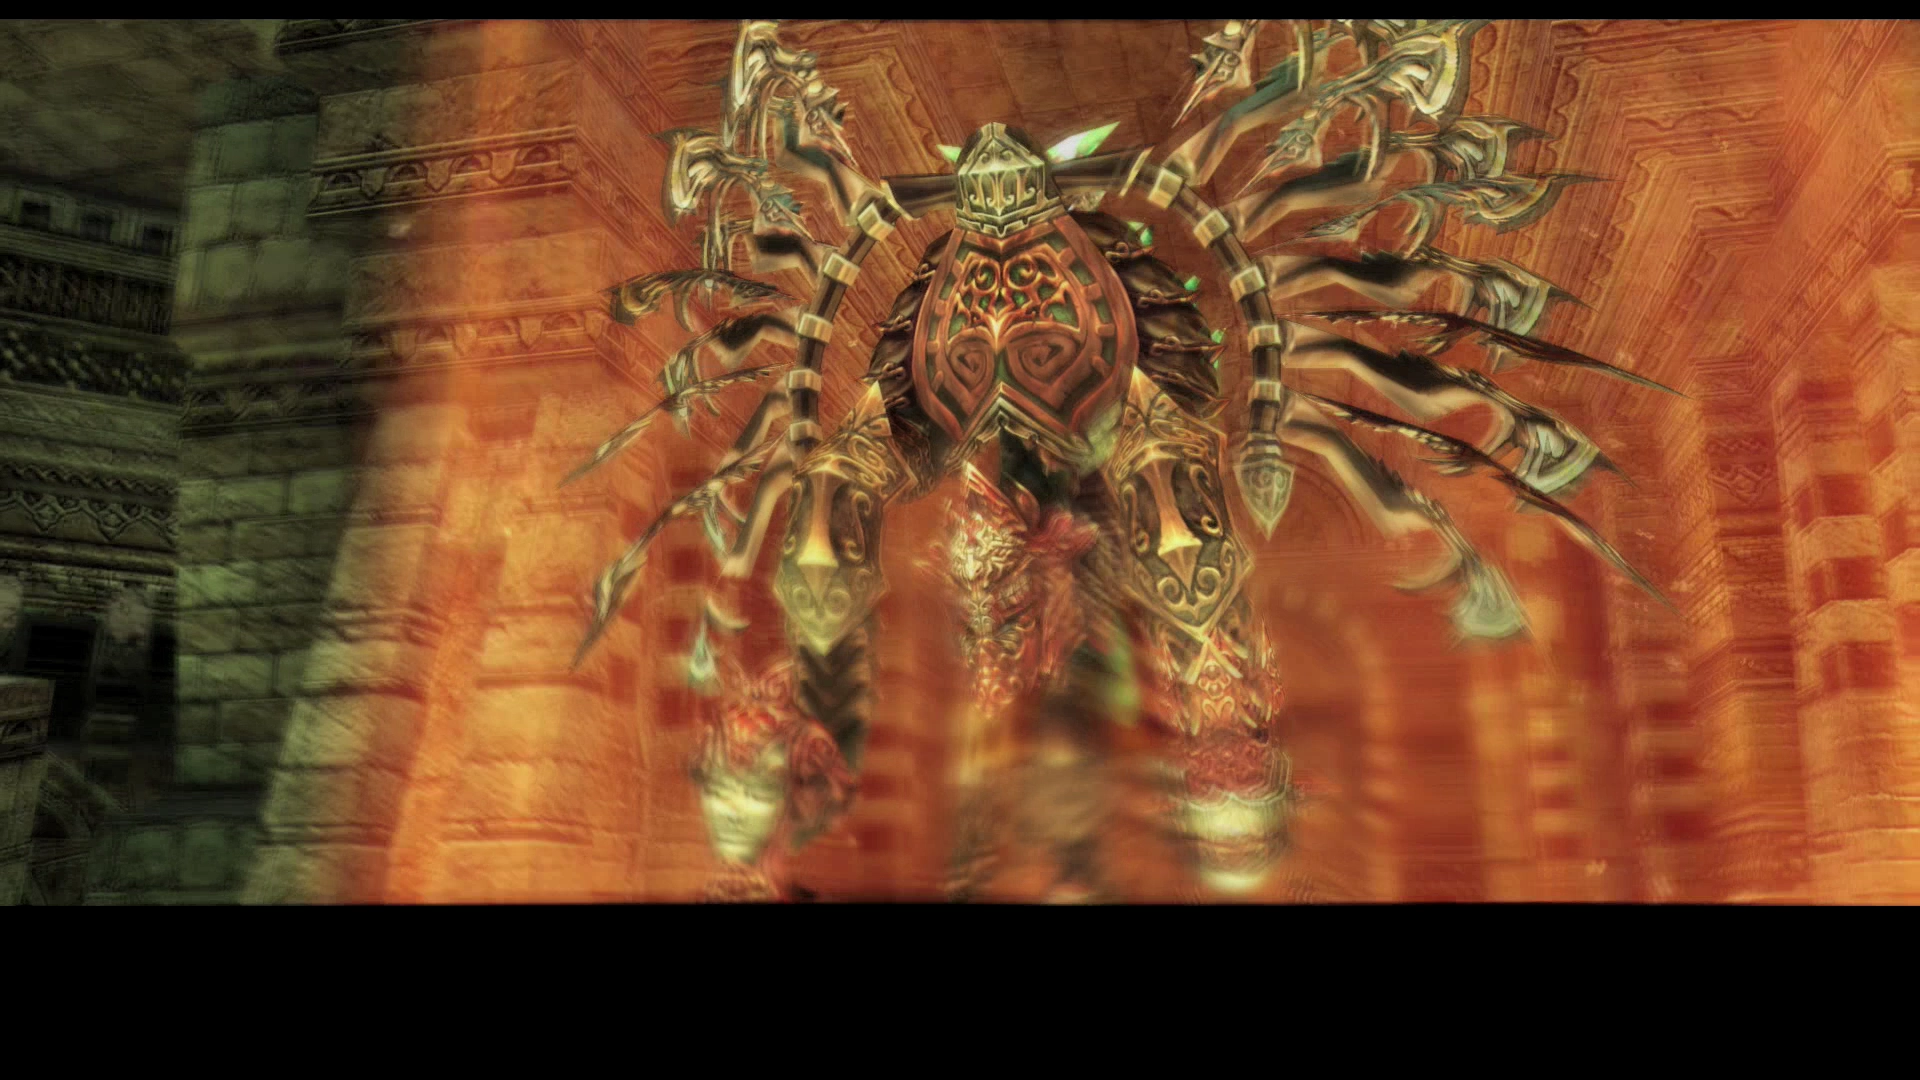
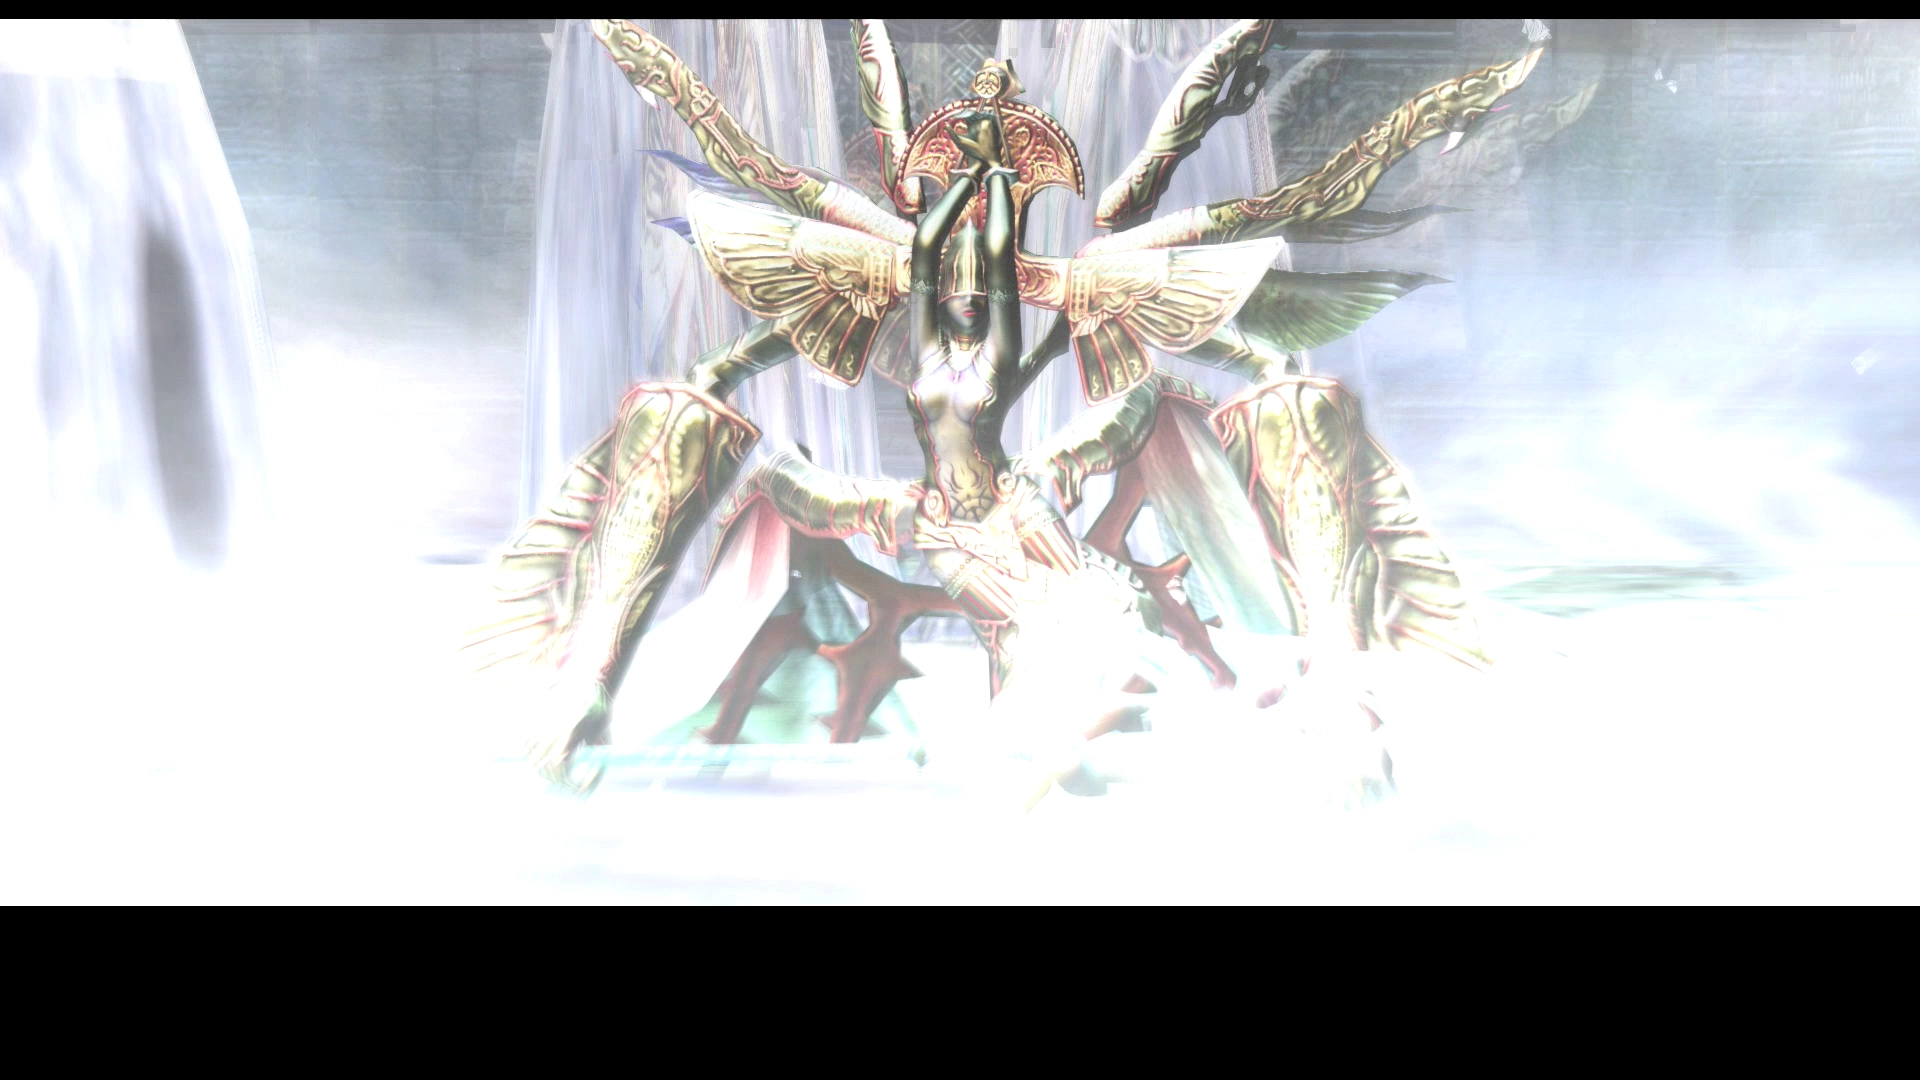
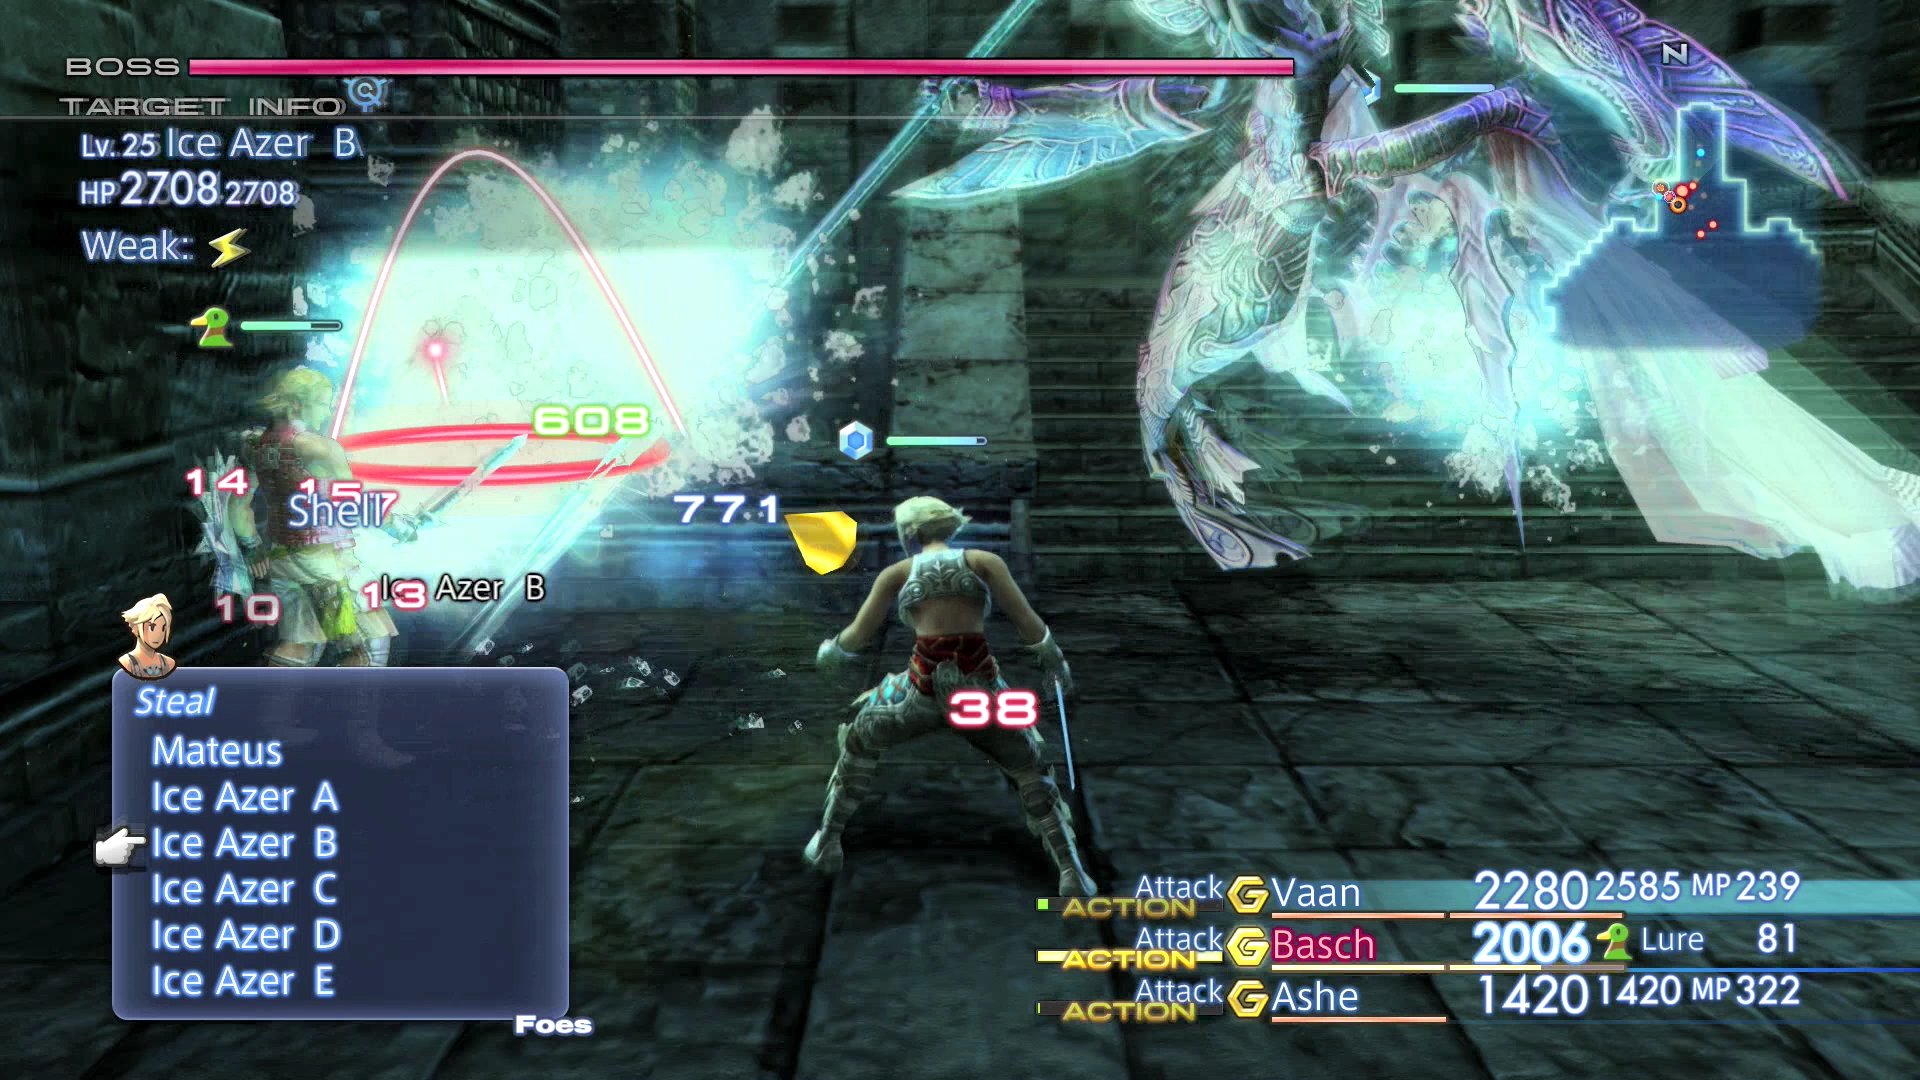
A boss fight against a new Esper will begin as soon as you enter the hall. This fight is not to be taken nearly as lightly as the previous boss fight against the Vinuskar and will require the use of a few strategies.
Equip each of your party members with the ![]() Nishijin Belt accessory which you should have purchased for them at Mt Bur-Omisace (note: you can go back there and purchase three if you have difficulty defeating this boss).
Nishijin Belt accessory which you should have purchased for them at Mt Bur-Omisace (note: you can go back there and purchase three if you have difficulty defeating this boss).
You should also equip one or more of your party members with an ![]() Ice Shield. Remove any Gambits that any of your characters have set up that has them using Magick based attacks.
Ice Shield. Remove any Gambits that any of your characters have set up that has them using Magick based attacks.
Boss Battle
Level: 30
HP: 34,259
Steal: ![]() Pisces Gem (55%),
Pisces Gem (55%), ![]() Elixir (10%),
Elixir (10%), ![]() High Arcana (3%)
High Arcana (3%)
Mateus will begin the battle by casting ![]() Reflect on itself and by summoning five Ice Azer enemies to help it in battle. Start off by defeating each of the Ice Azer enemies as they will spam your party with Sleep spells and
Reflect on itself and by summoning five Ice Azer enemies to help it in battle. Start off by defeating each of the Ice Azer enemies as they will spam your party with Sleep spells and ![]() Blizzard Magick.
Blizzard Magick.
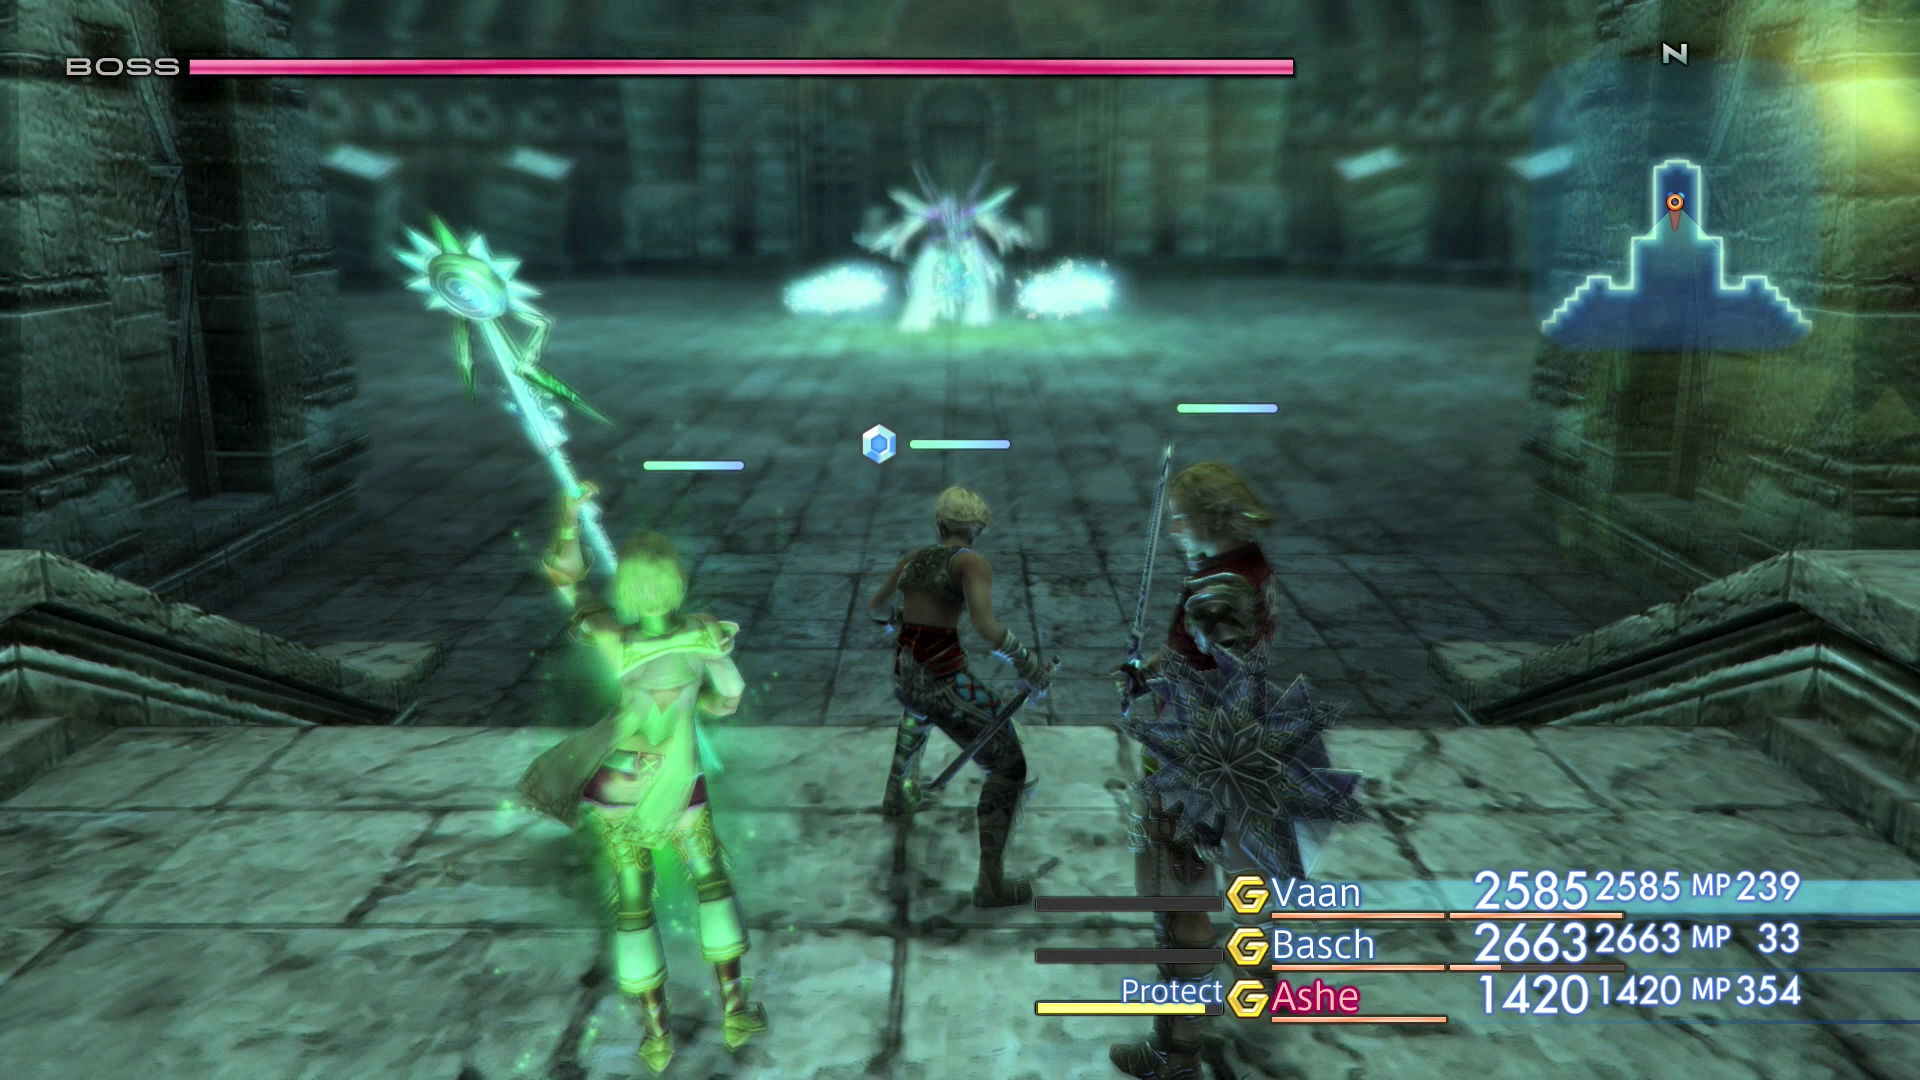
Use ![]() Protect,
Protect, ![]() Shell and
Shell and ![]() Haste on your party members if you have enough MP. Protect will reduce the amount of damage done by Mateus’ regular attacks,
Haste on your party members if you have enough MP. Protect will reduce the amount of damage done by Mateus’ regular attacks, ![]() Shell will reduce the damage done by the Ice Azers until you have defeated all them and
Shell will reduce the damage done by the Ice Azers until you have defeated all them and ![]() Haste will greatly increase the amount of damage done by your party members.
Haste will greatly increase the amount of damage done by your party members.
Mateus is not weak to any negative status effects (except for ![]() Oil which will not help you in this fight). The Ice Azers are susceptible to
Oil which will not help you in this fight). The Ice Azers are susceptible to ![]() Thunder and
Thunder and ![]() Thundara Magick, but you risk hitting Mateus with Thundara spells which will then be reflected at the caster.
Thundara Magick, but you risk hitting Mateus with Thundara spells which will then be reflected at the caster.
You can use Quickenings or summon Belias to do a fair bit of damage to Mateus and the Ice Azers if you are running into problems. Use ![]() Decoy and an
Decoy and an ![]() Ice Shield to have the boss and the Azers focus on your strongest team member. Mateus will do more damage once its HP gets low.
Ice Shield to have the boss and the Azers focus on your strongest team member. Mateus will do more damage once its HP gets low.
You can find a video of this battle in the Zodiac Age version below.
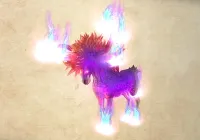
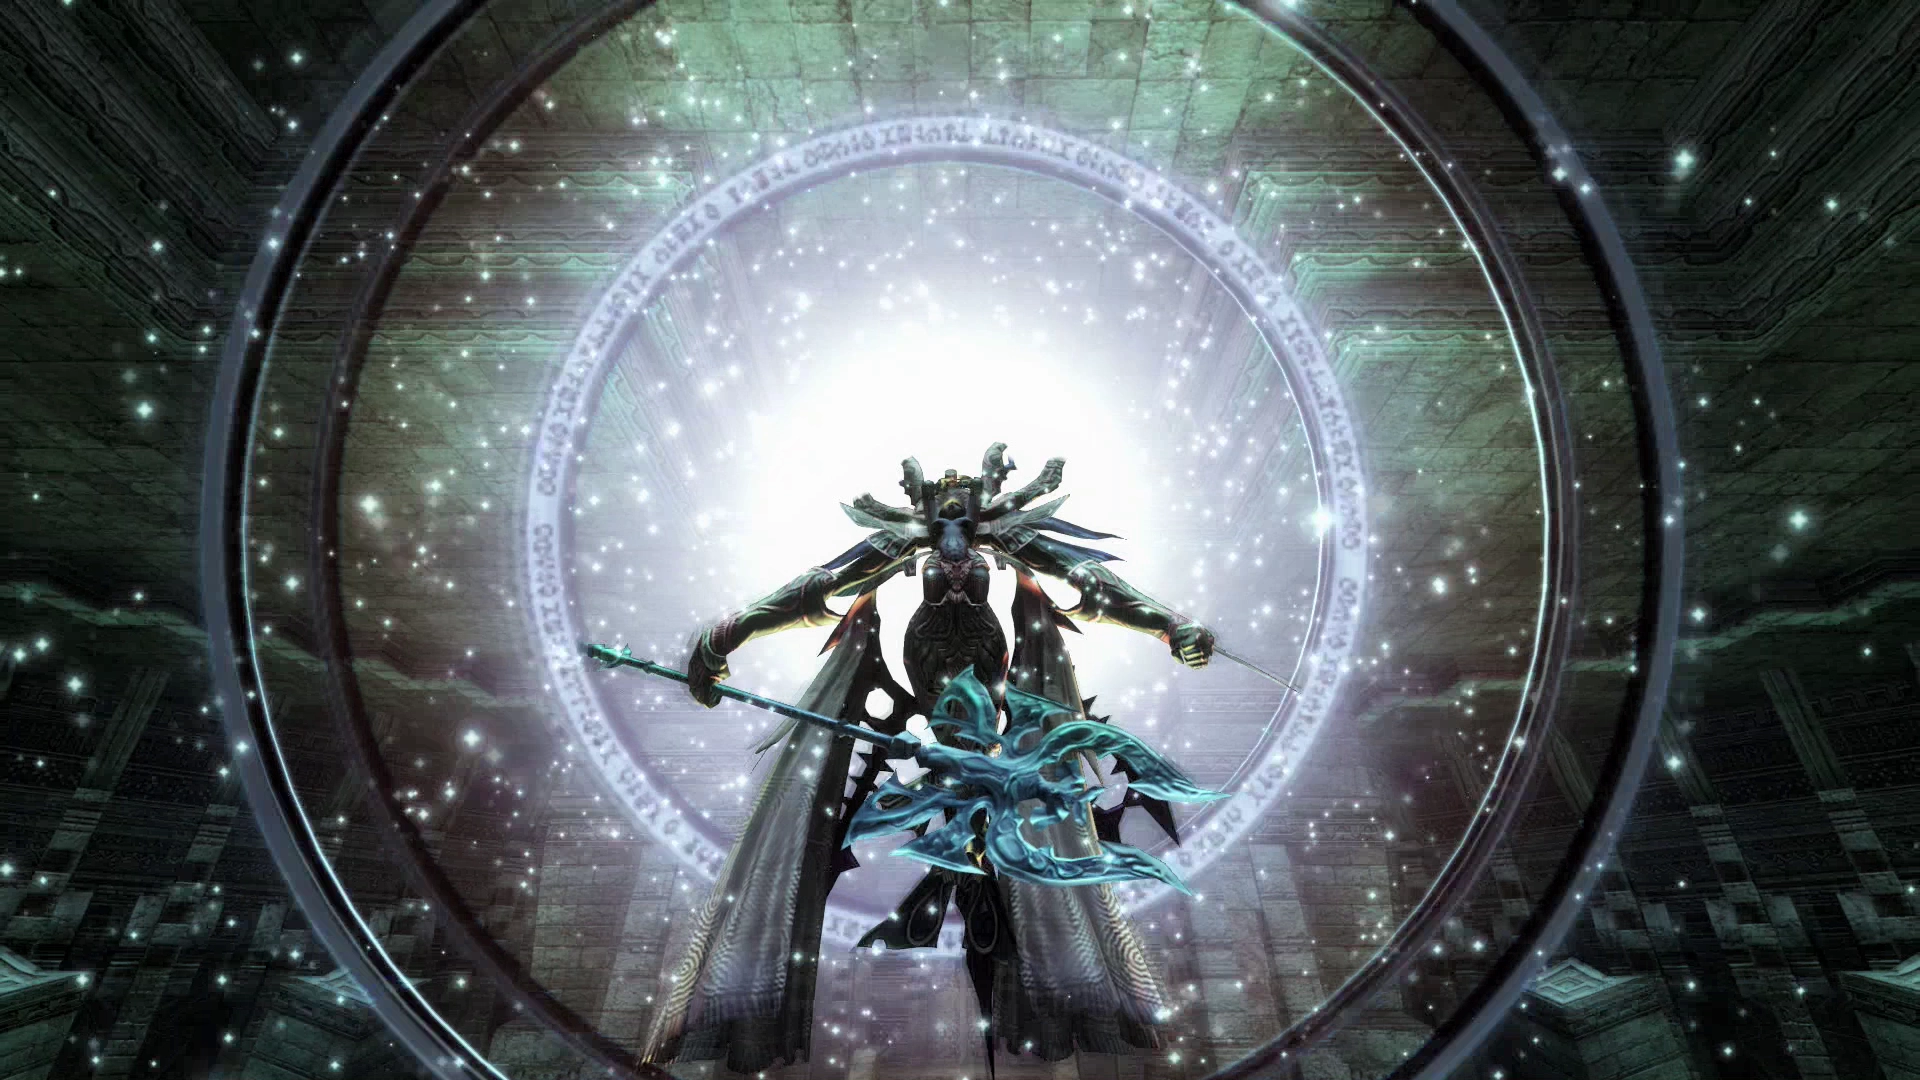
You will obtain Mateus, the Corrupt, as an Esper at the conclusion of the battle. Go south through the Ancient Door and into the next room.
Stilshrine of Miriam Map

Vault of the Champion
Approach the altar to initiate another short cutscene.
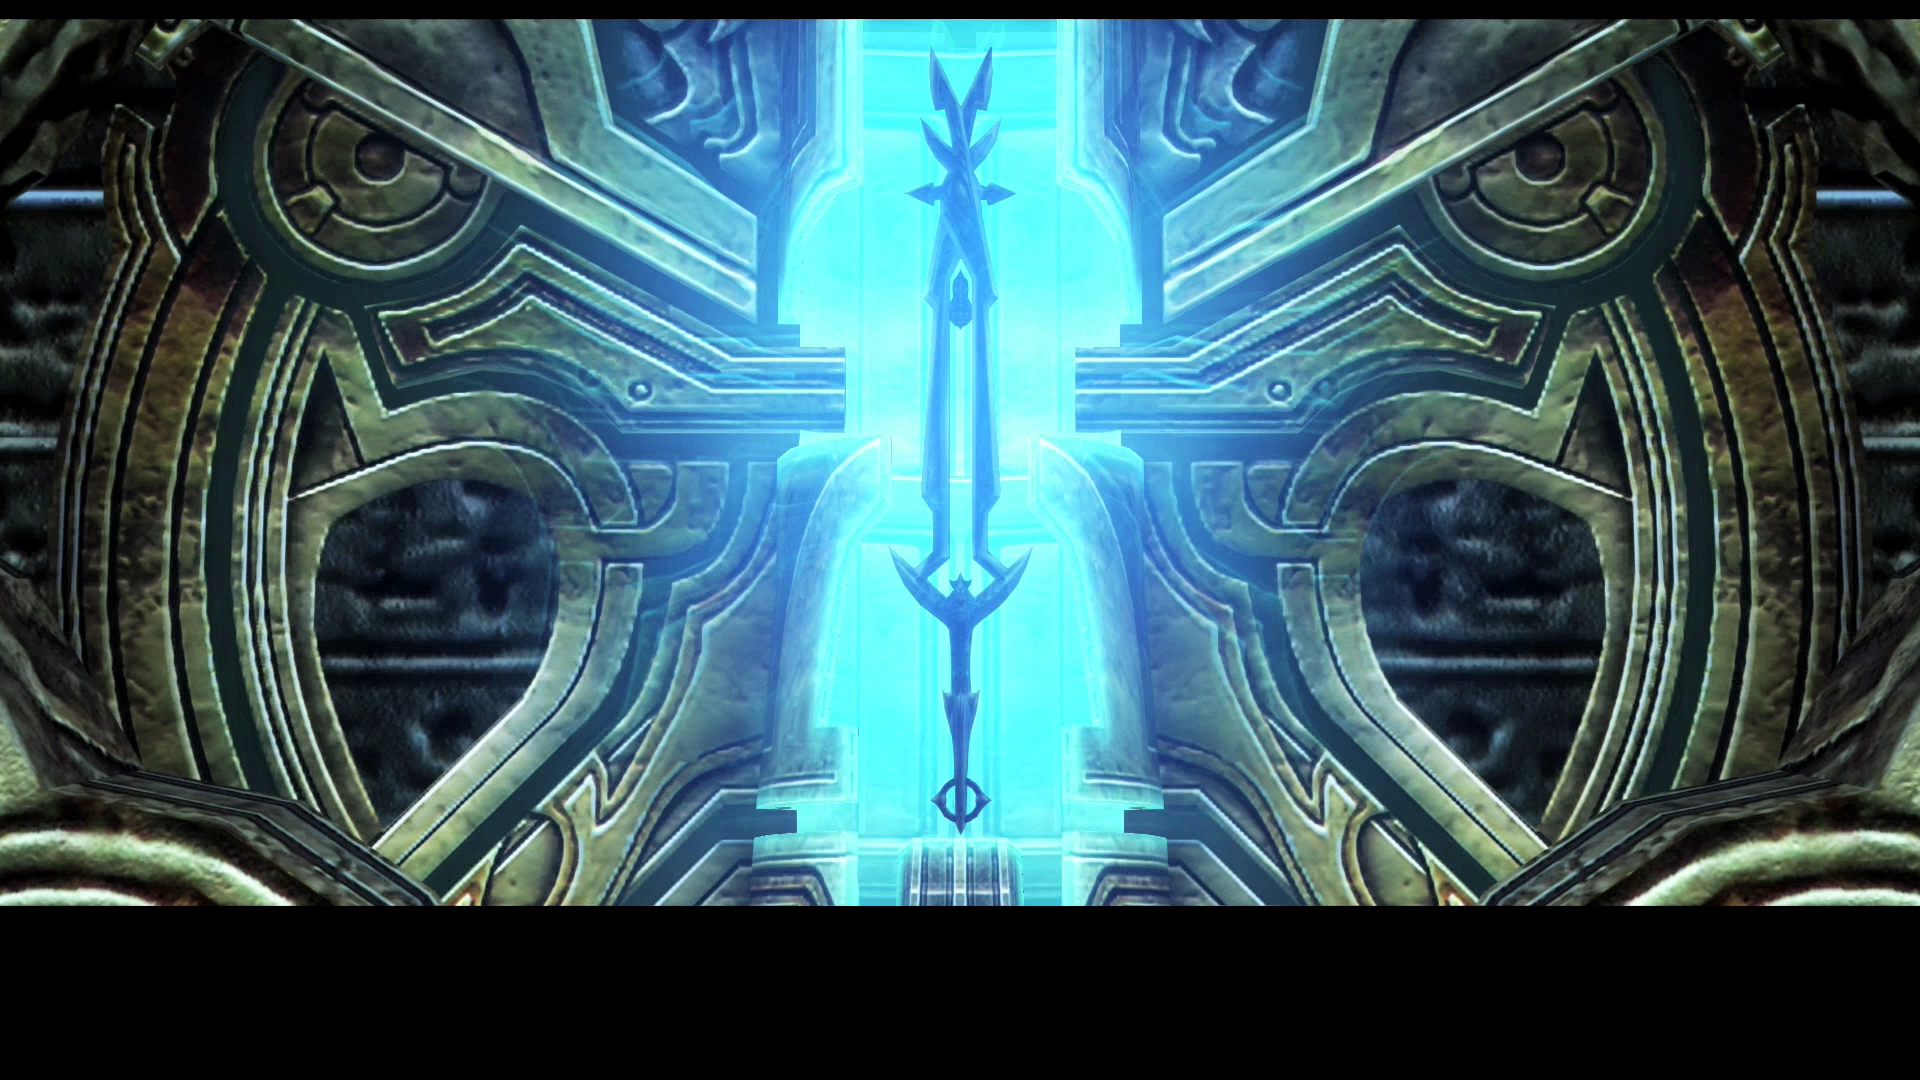
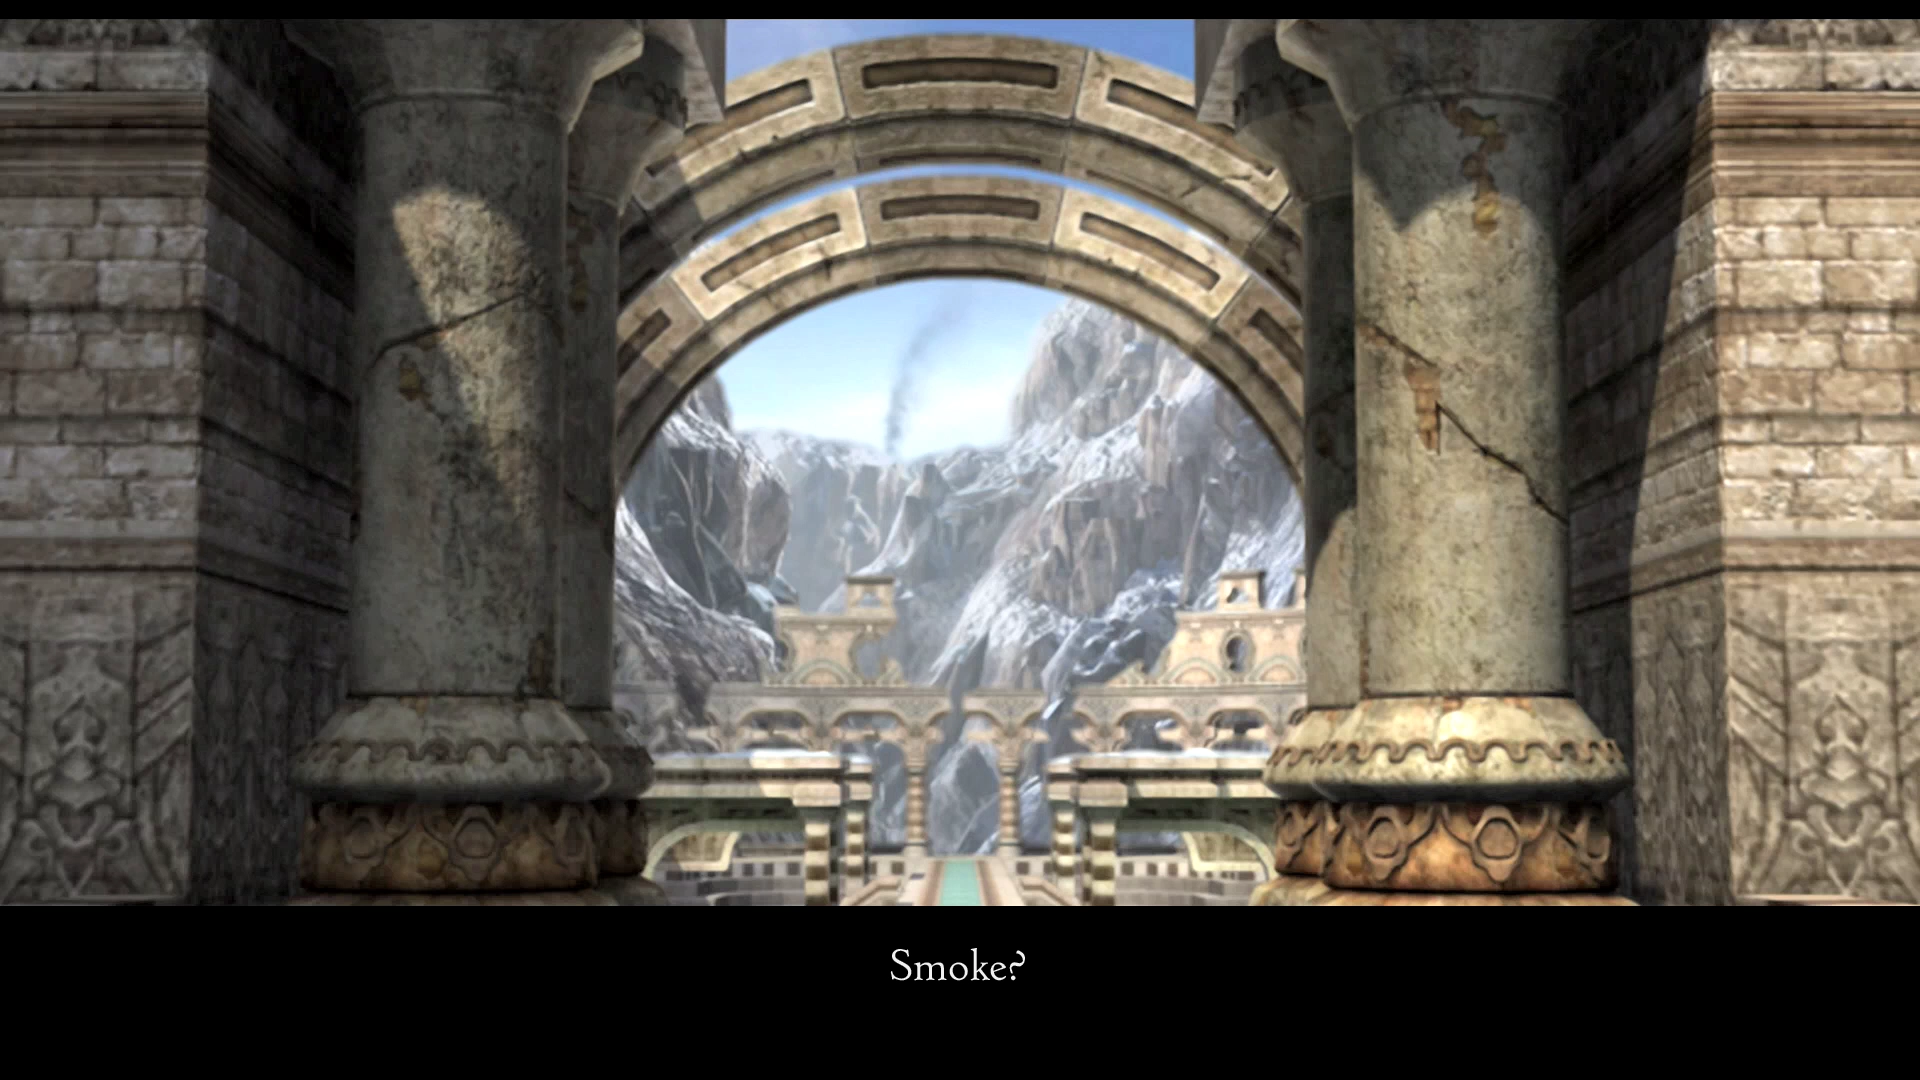
This cutscene involves Ashe retrieving the Nethicite Destroying Sword, the ![]() Sword of Kings. Ashe and Vaan will have a brief chat about the apparitions once again. Exit the Stilshrine and another cutscene will play at the entrance – it’s déjà vu!
Sword of Kings. Ashe and Vaan will have a brief chat about the apparitions once again. Exit the Stilshrine and another cutscene will play at the entrance – it’s déjà vu!

The team will see smoke back at Mt Bur-Omisace after the ship passes. You must now travel back to Mt Bur-Omisace and back up to the temple.