The Henne Mines
“Crystal mines in the mountainous region of Bancour still producing a great variety of Magicite, even as other mines around them close, their veins dry and spent.
The Archadian Empire possesses mining rights here, making this a key location for their acquisition of the stones, bypassing intermediaries and fluctuating markets.”
Return to the Ozmone Plain and back to the Sunlit Path area just outside the Golmore Jungle (to the east). Speak to the Imperial Soldier to the south.
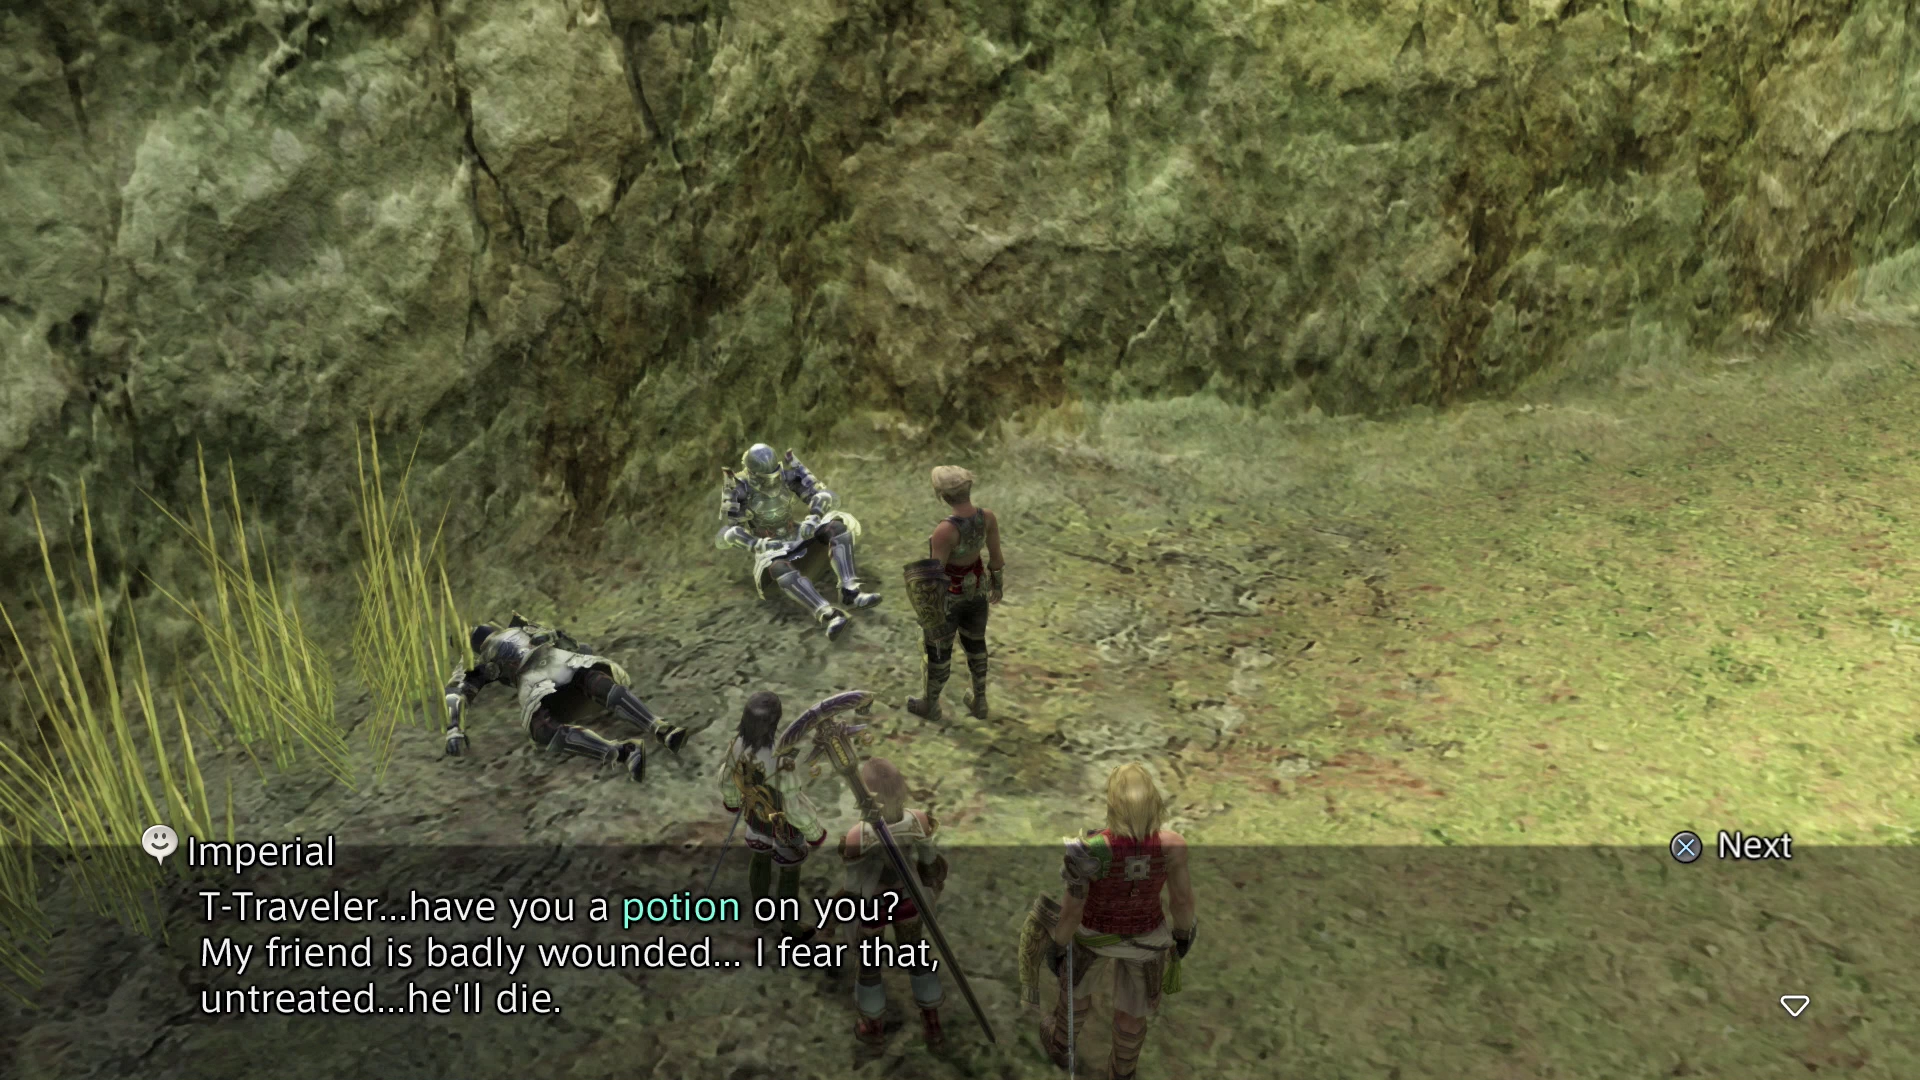
He will ask you for a Potion for his friend who is badly wounded. Offer to give him the ![]() Potions and he will lend you the use of his Chocobo. Talk to him again to mount and borrow the Chocobo. Exit the zone to the west.
Potions and he will lend you the use of his Chocobo. Talk to him again to mount and borrow the Chocobo. Exit the zone to the west.
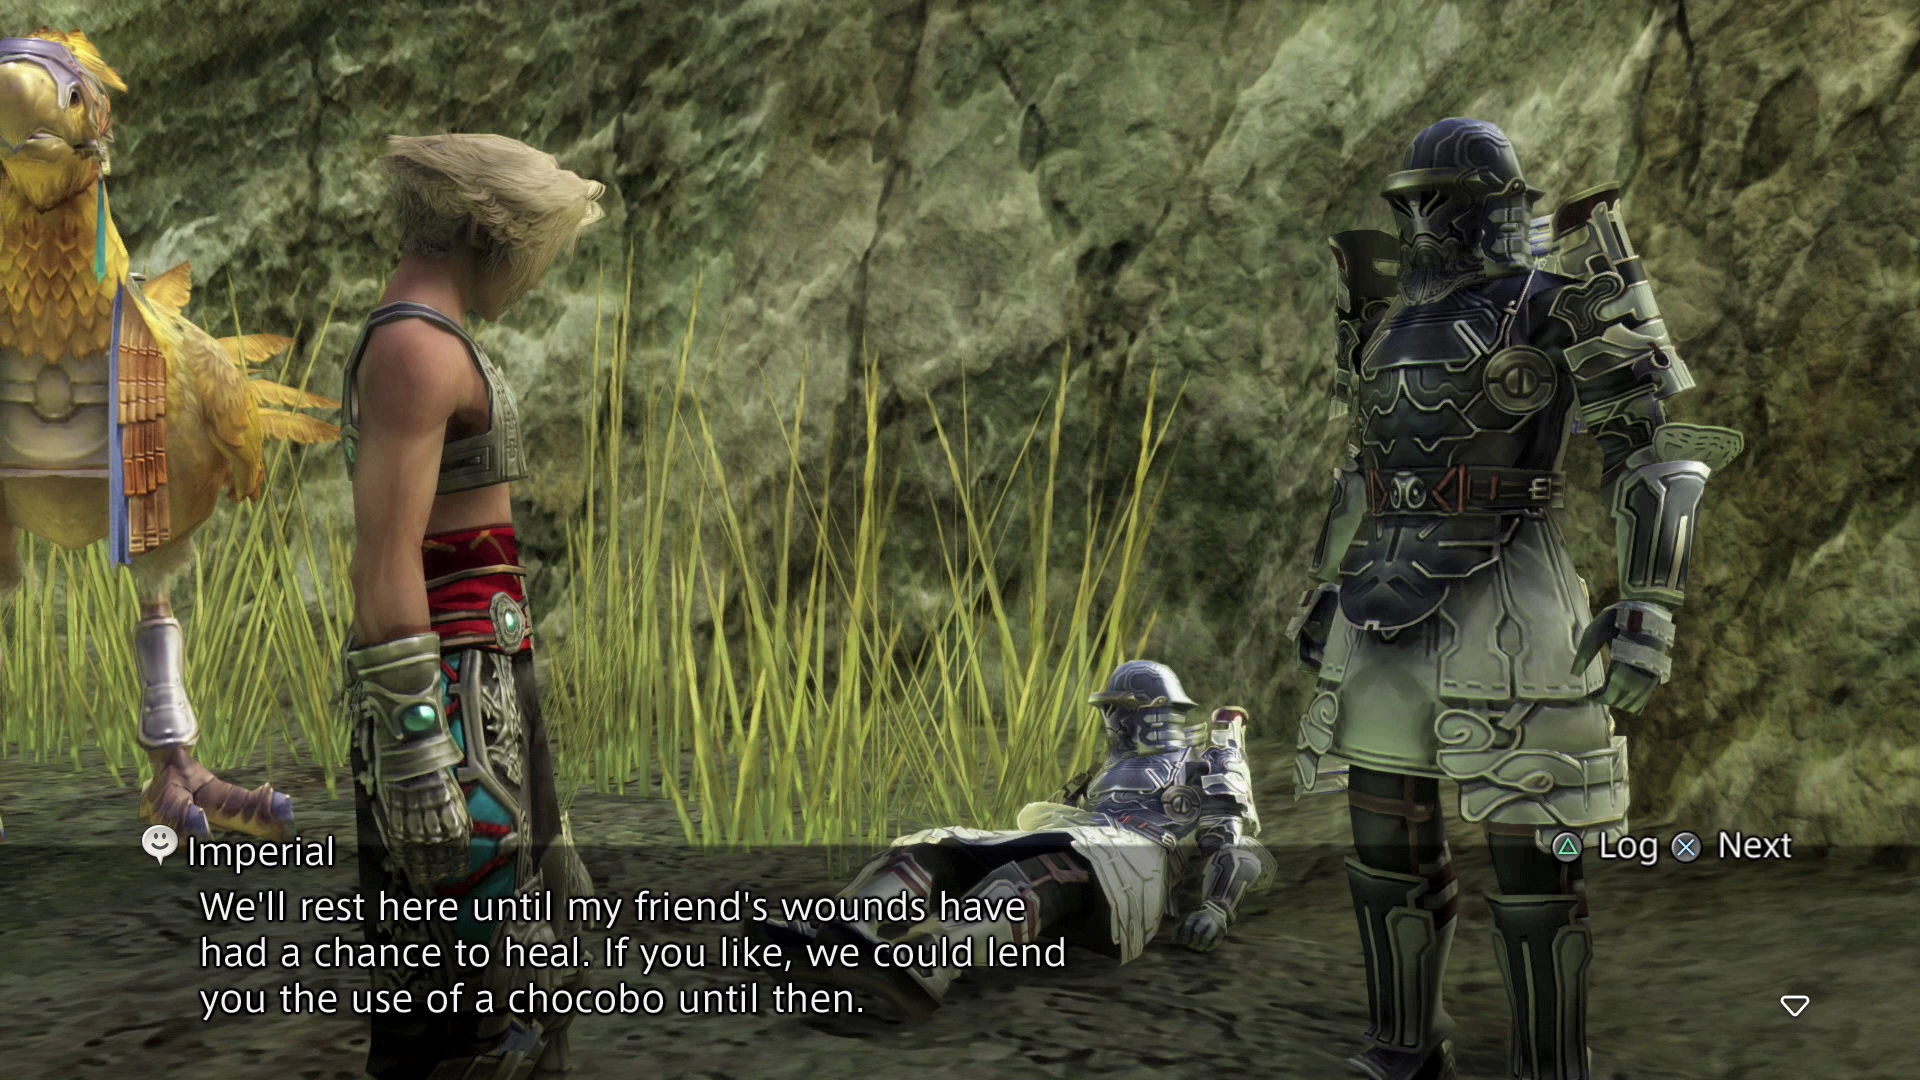
Ozmone Plain - Field of Light Winds
Immediately to your left (southward) is a grassy area with a Chocobo standing nearby. You can walk through the tall grass in this area while you are mounted on a Chocobo. Follow the pathway to the south and into the next area.
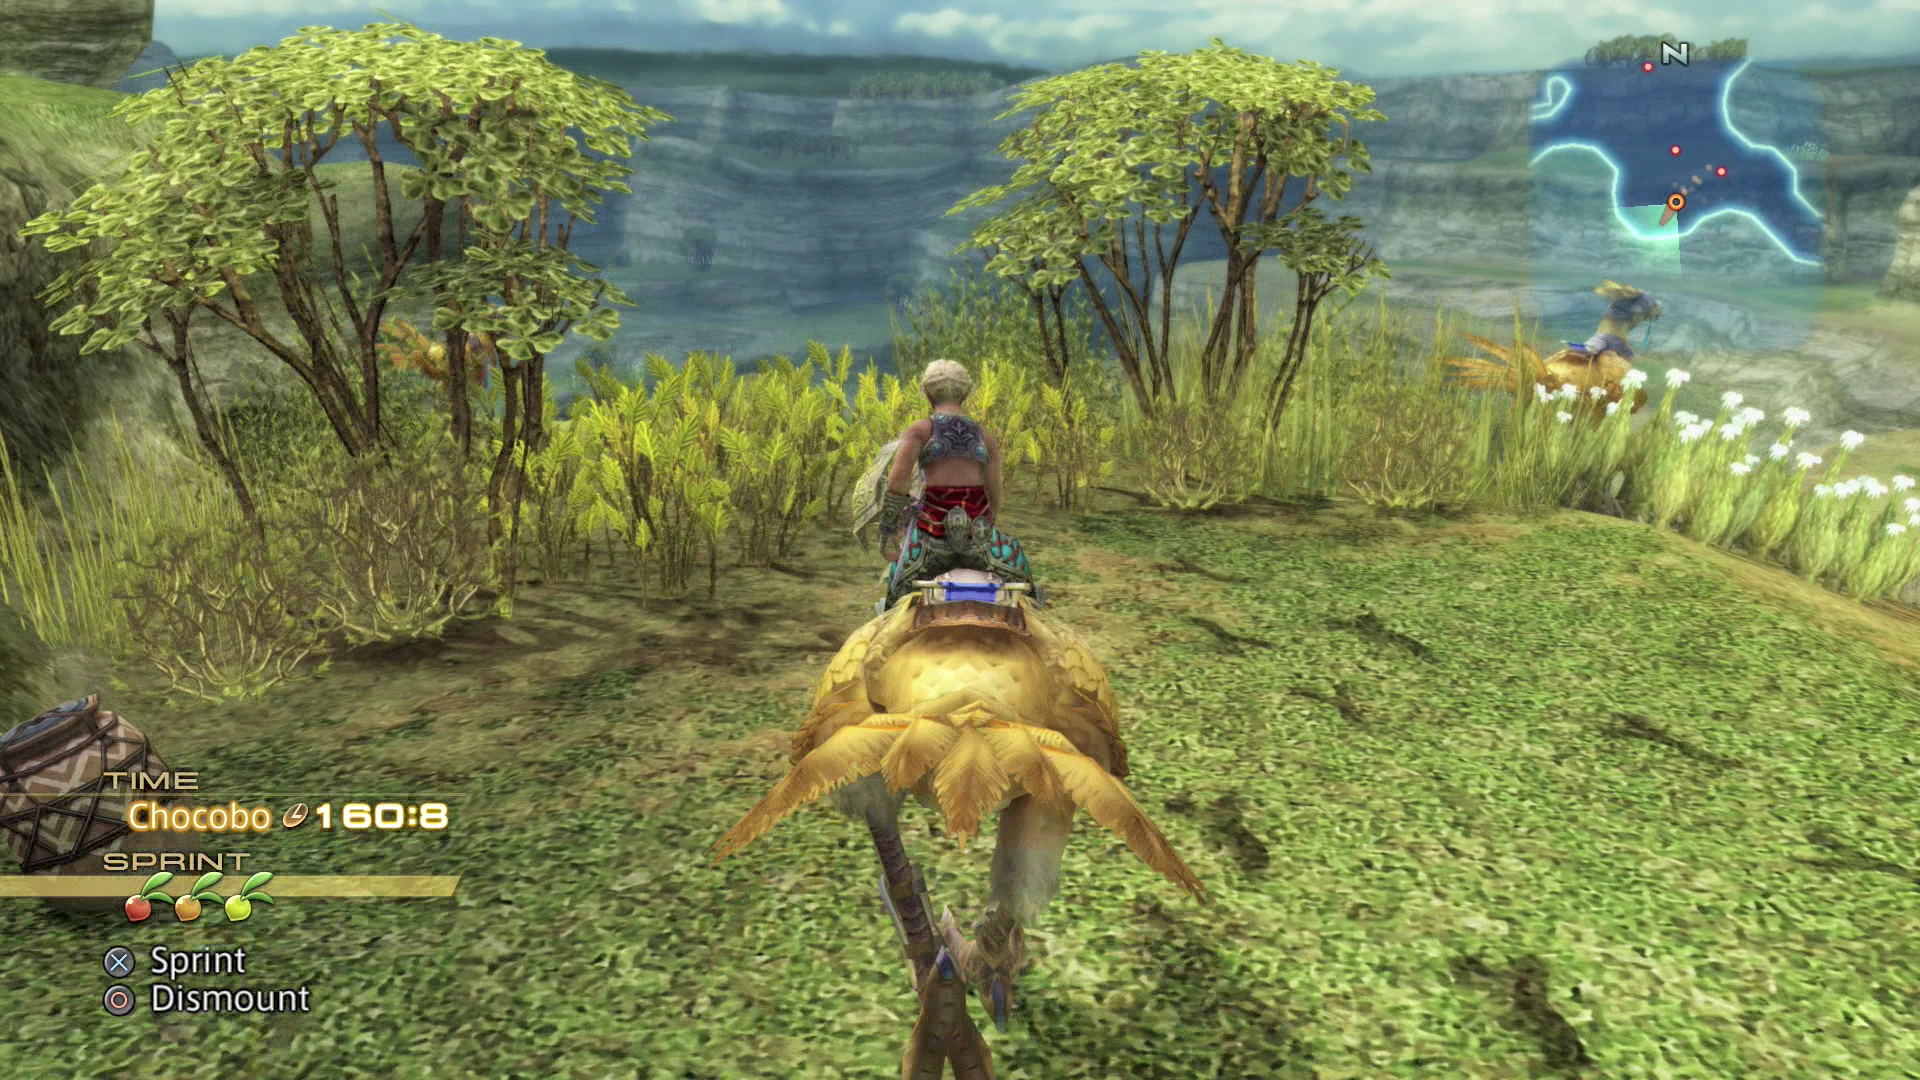
Ozmone Plain - The Shred
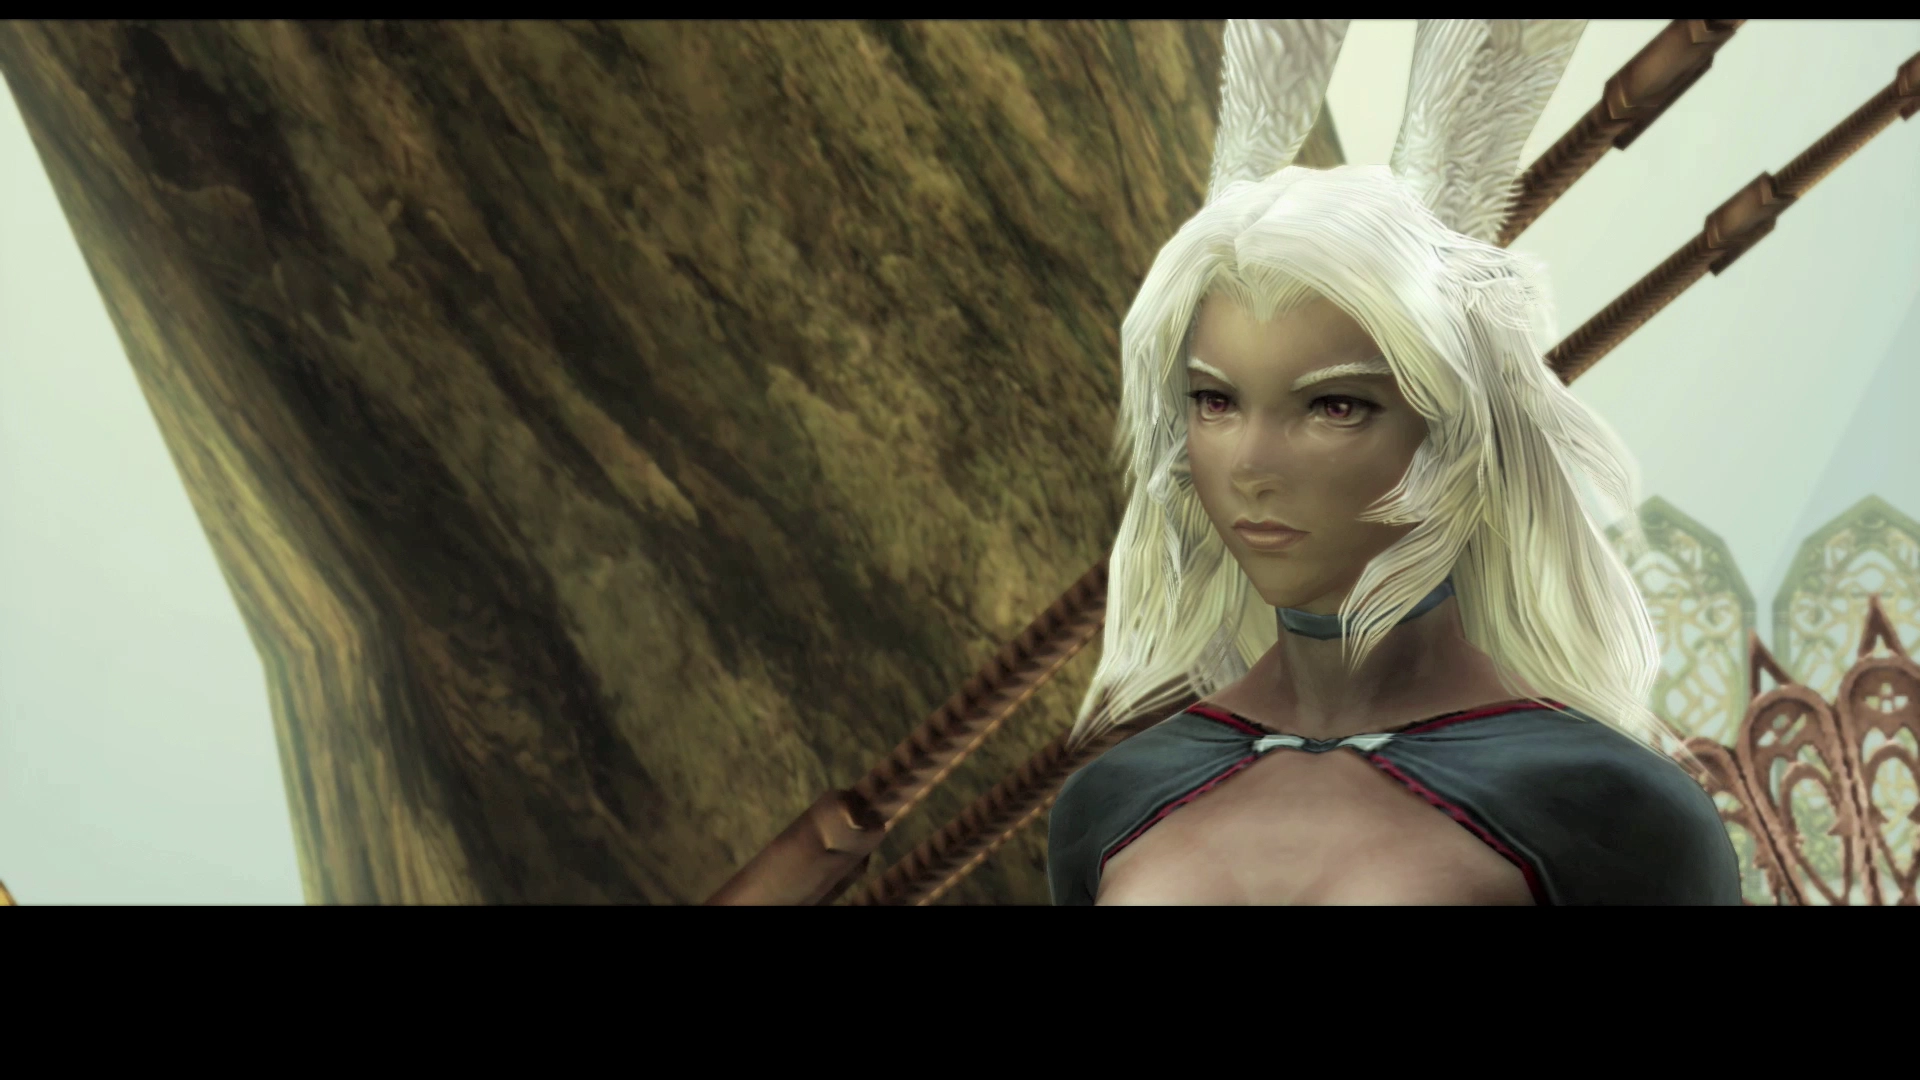
The entrance to the mines is located to the southeast. Approach the area and another short cutscene will take place.
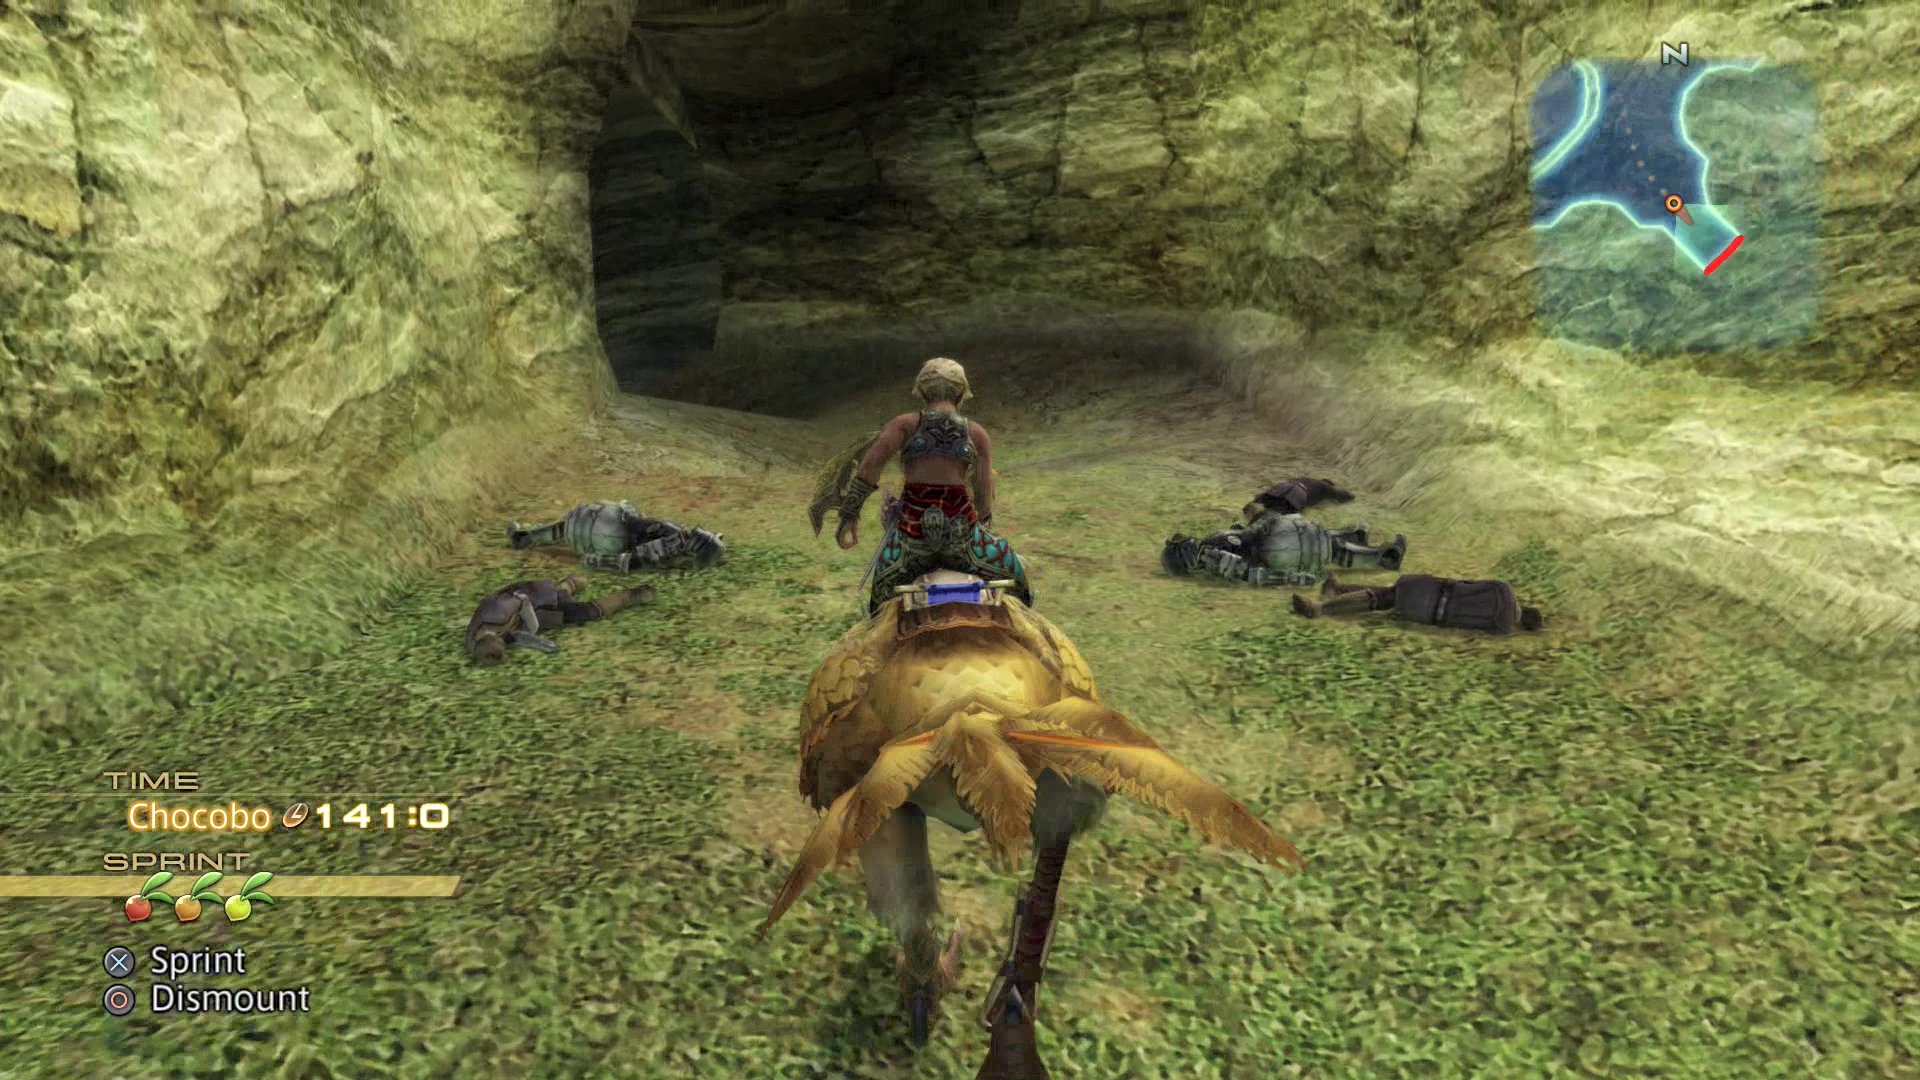
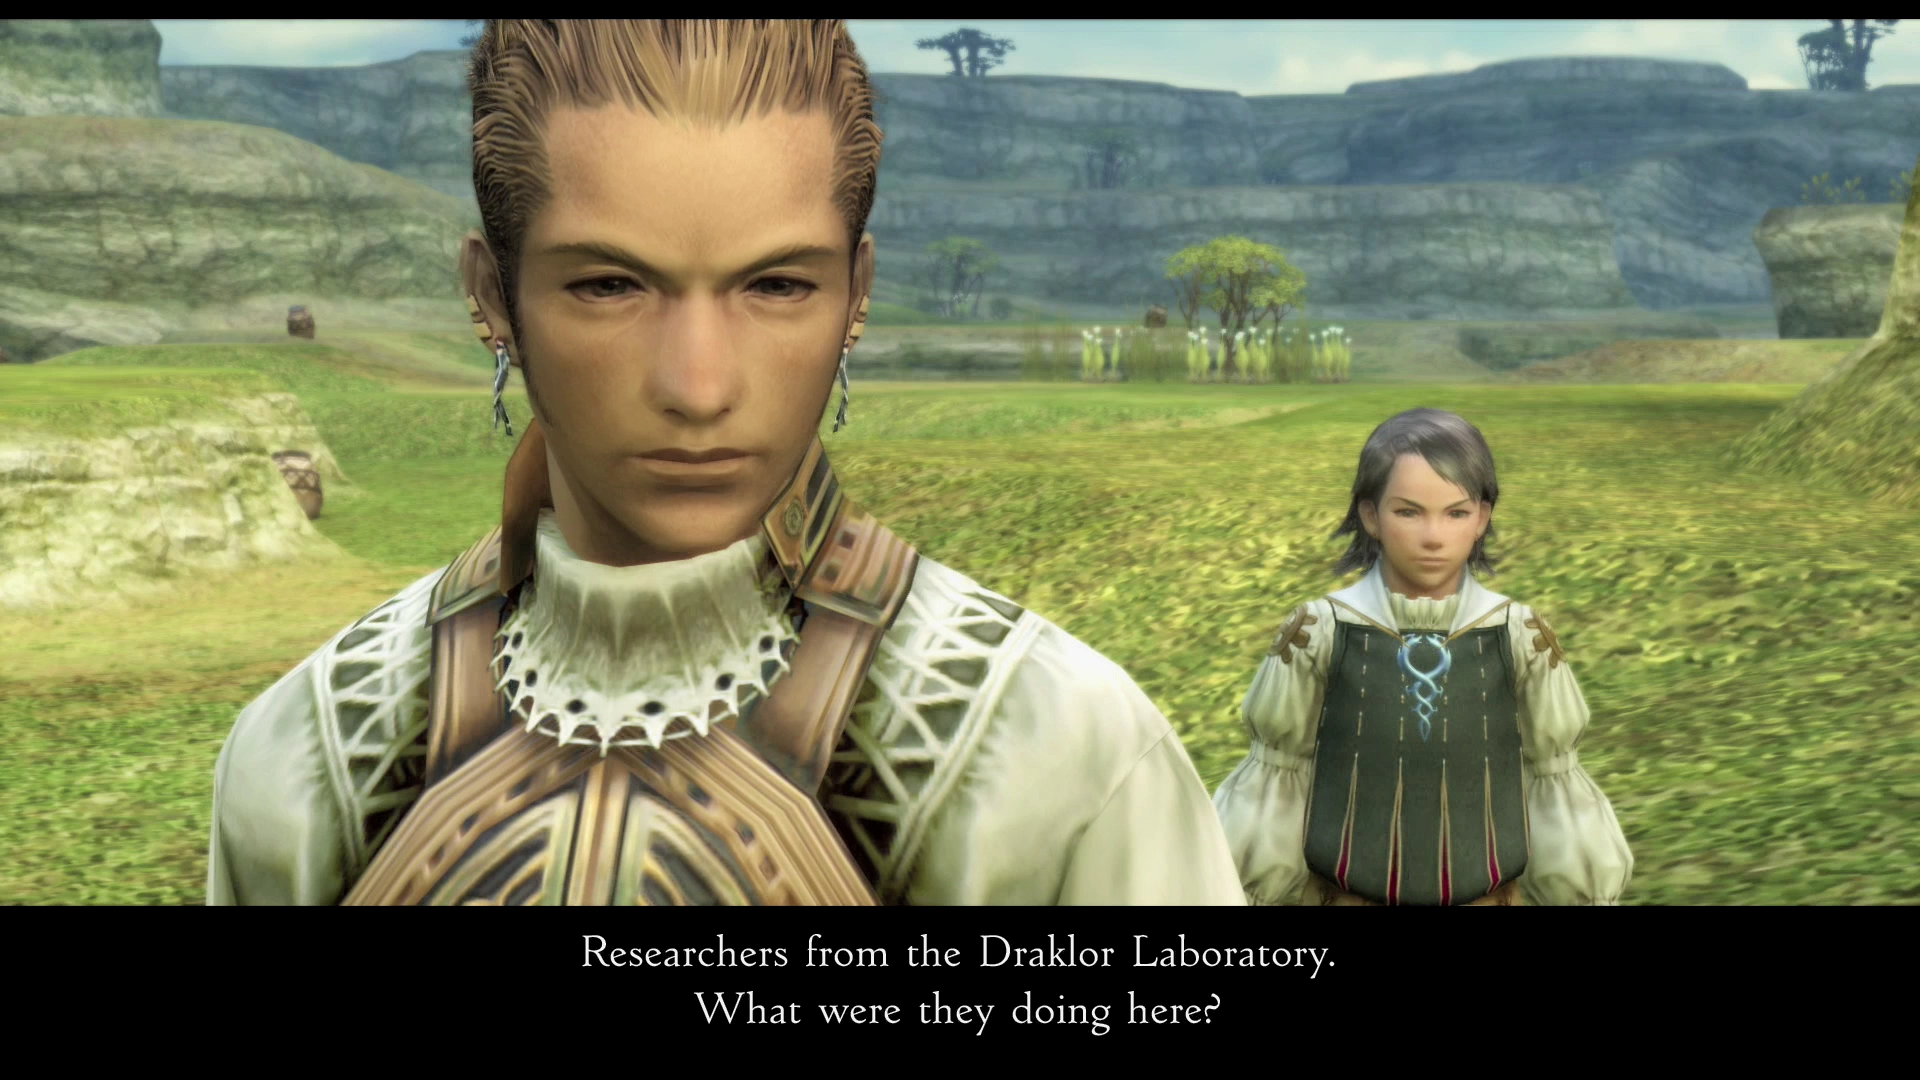
Larsa will explain that the fallen are researchers from the Draklor Laboratory. Dismount from the Chocobo using the button and enter the mine.
The Henne Mines - North Entrance
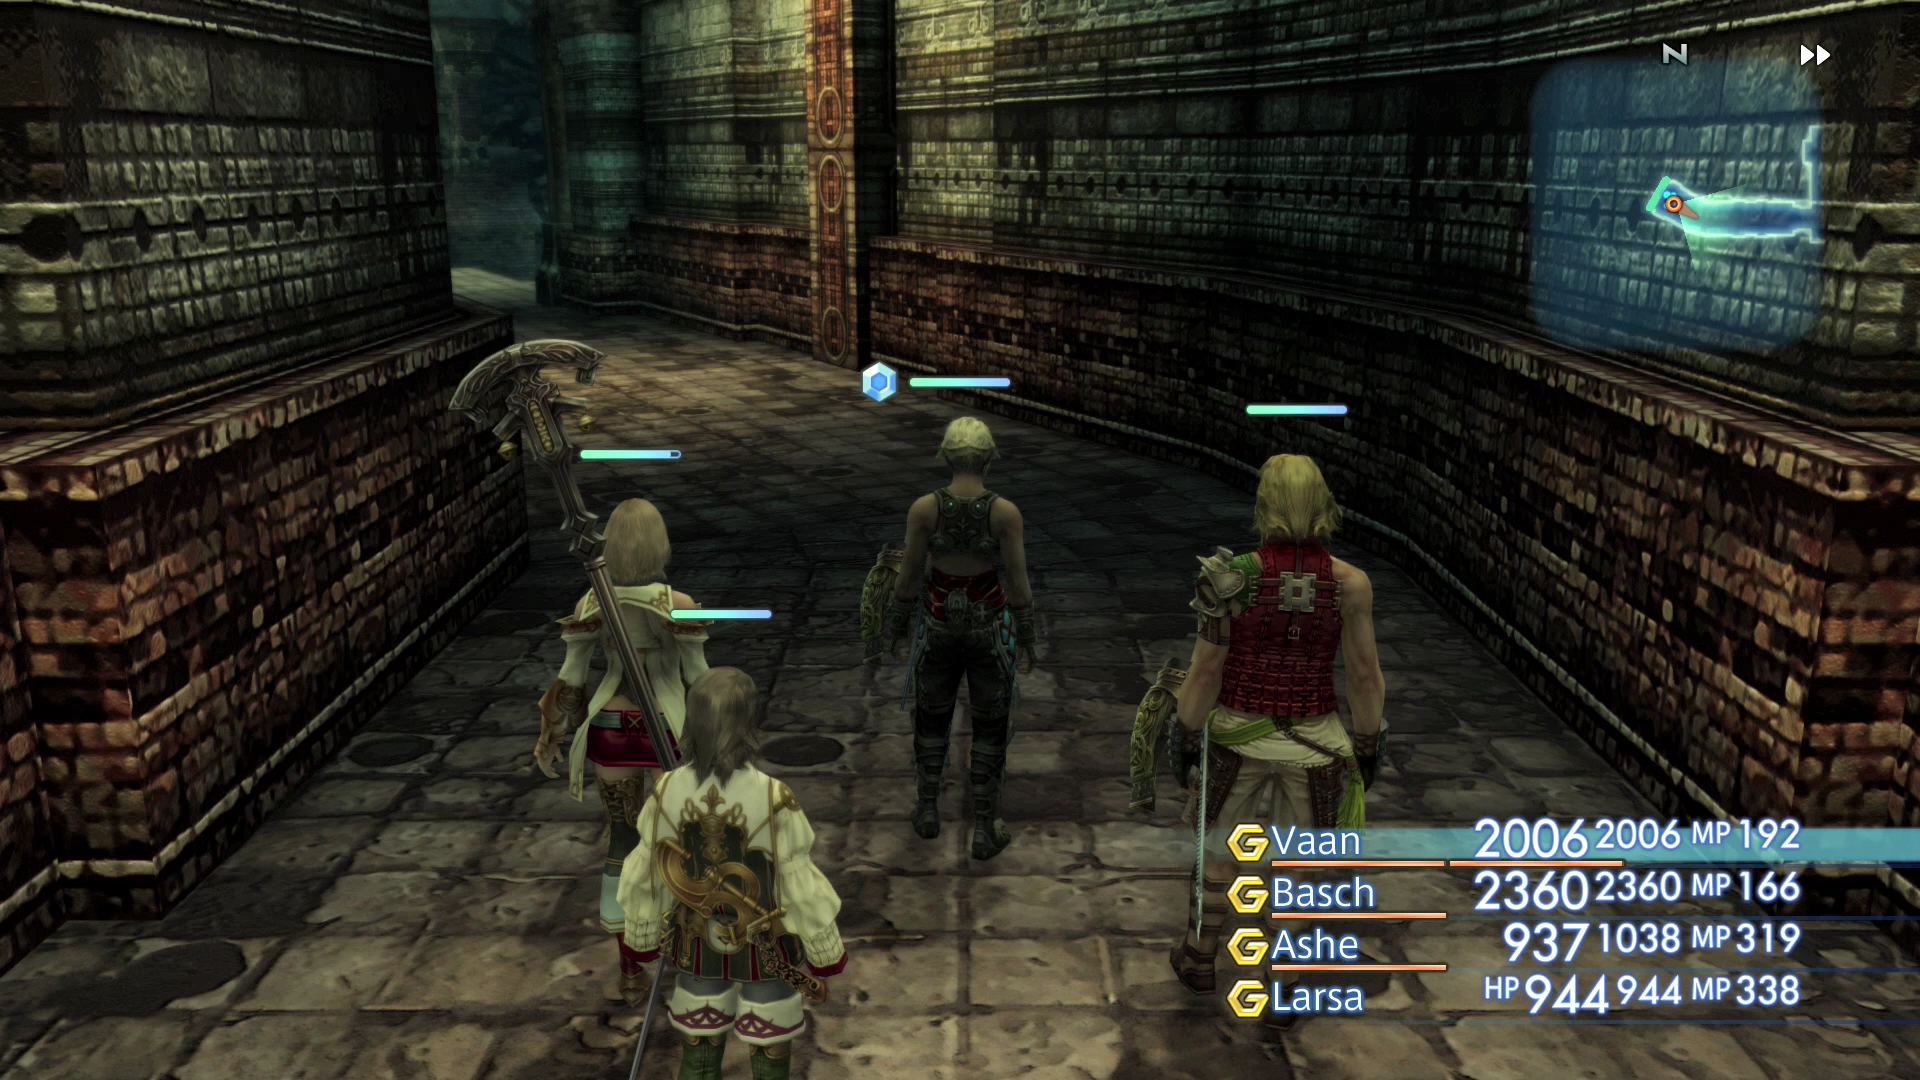
Make your way to the east once you enter the Henne Mines. Go down the stairs and onto the tracks and keep an eye out on the left side for a pillar with a blue Gate Switchboard on it. Examine the Switchboard and choose to “Press the Switch.”
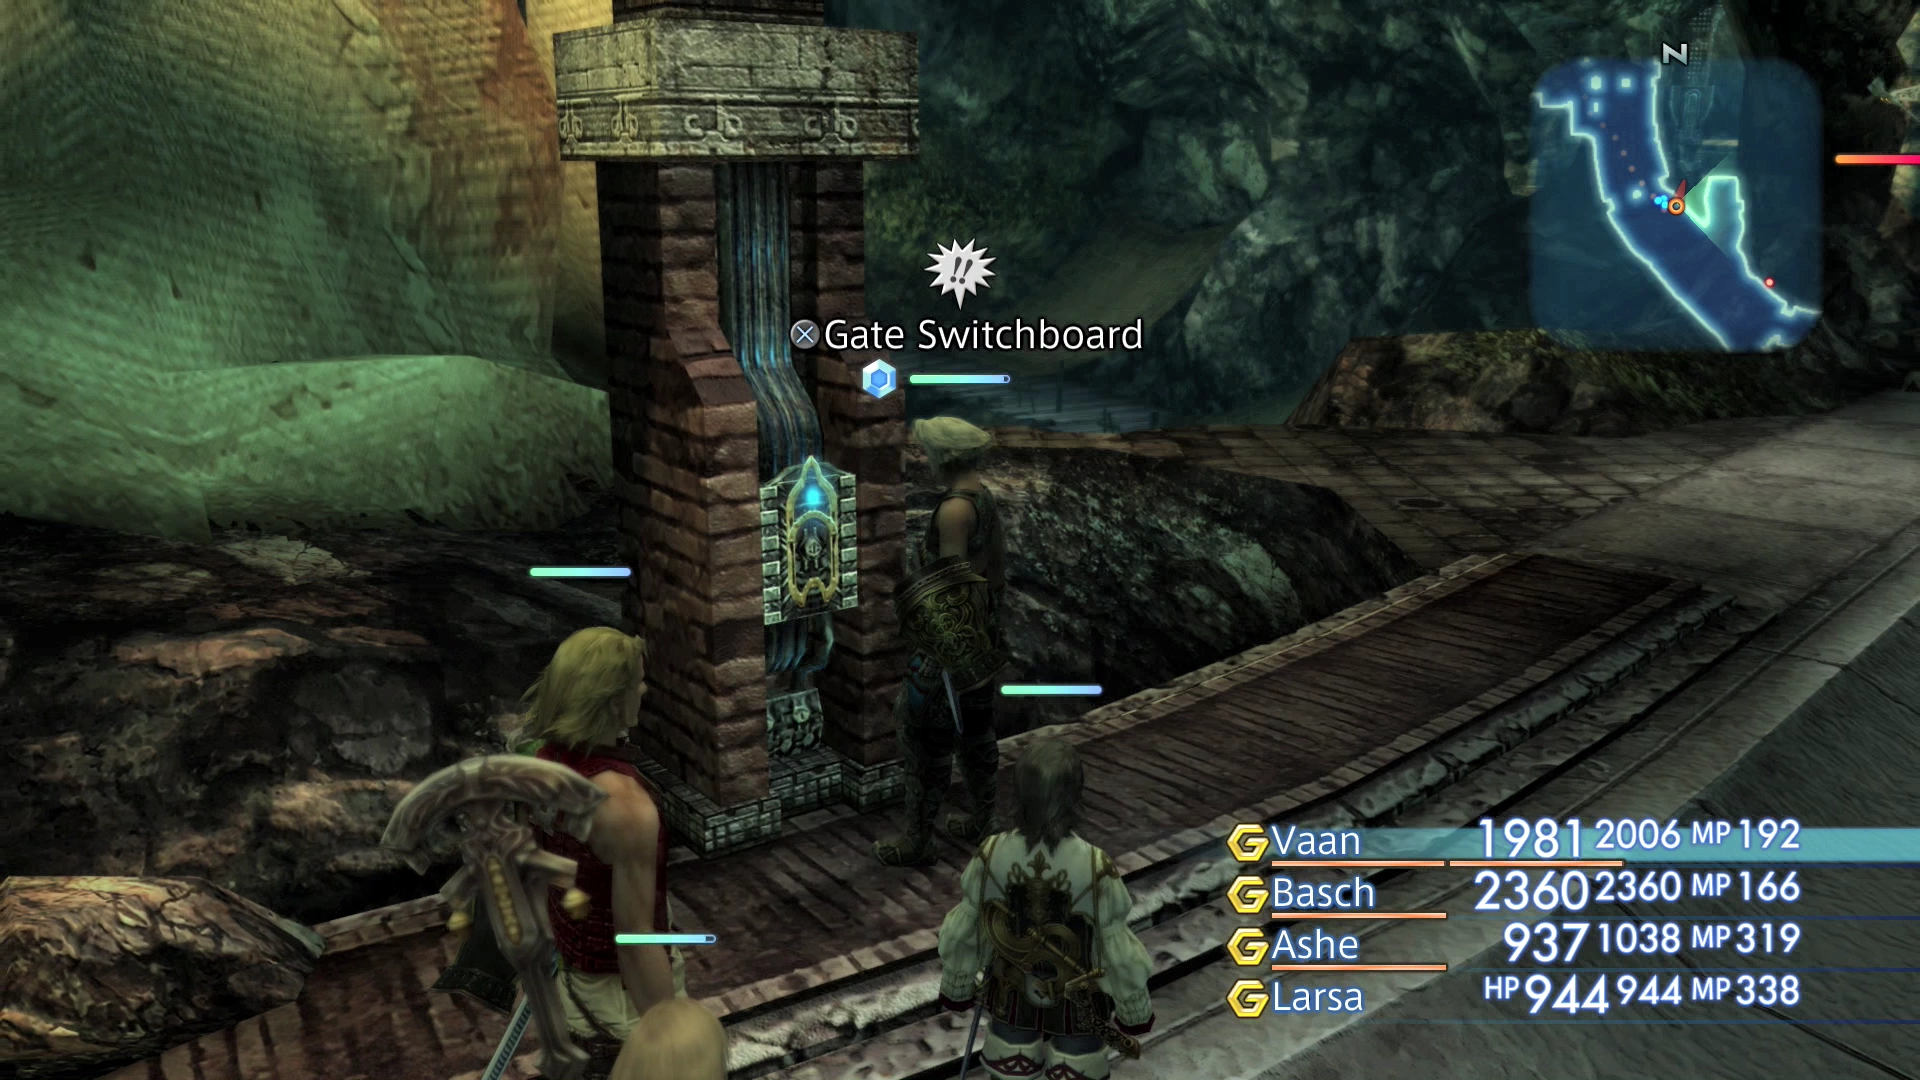
These Gate Switchboards are used to open and close the doors throughout the Mines – the color of the Switchboard “phosphor” corresponds with the gates currently closed. In other words, if the switch is blue, the blue gates will be closed. Continue south into the next area.
Pithead Junction A
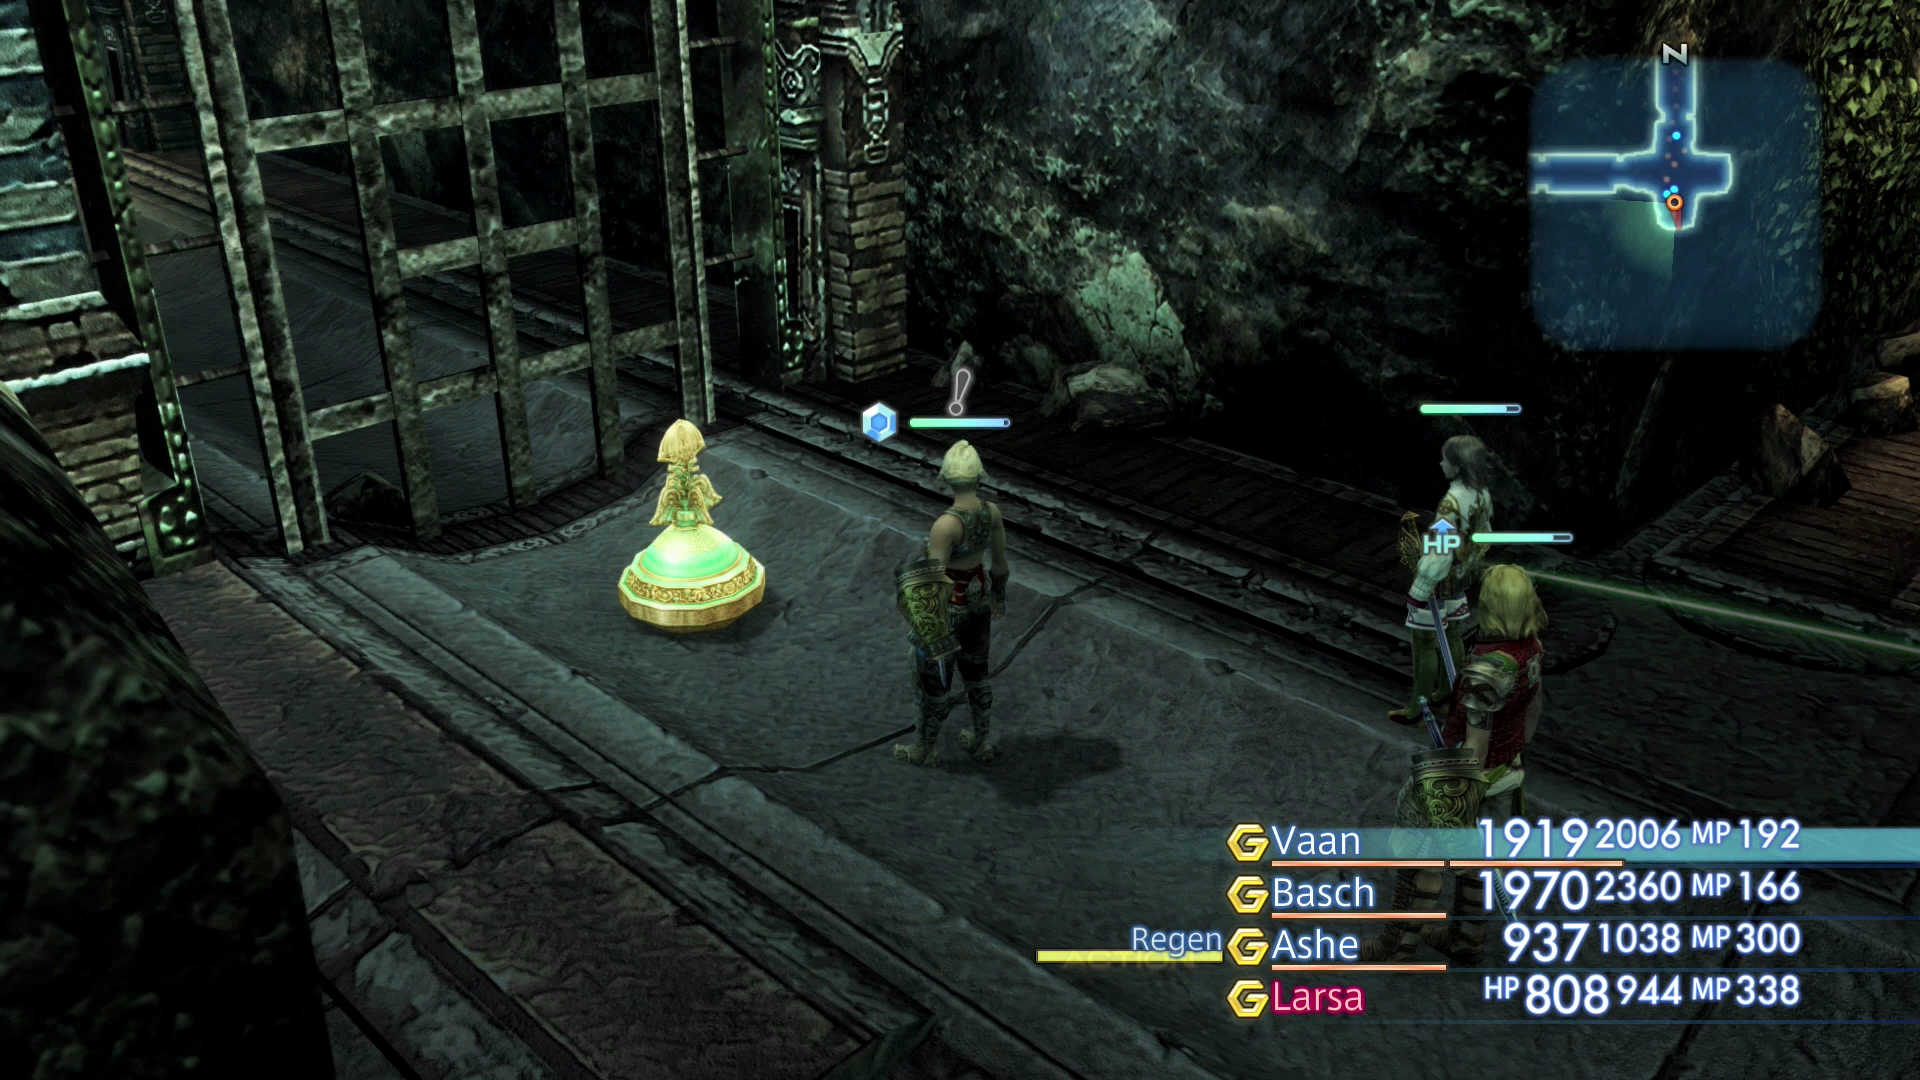
Walk forward up into the next room and flip the red switch next to the Wounded Imperial. A large group of Jelly enemies will fall from the roof but you can run away from them if you are quick.
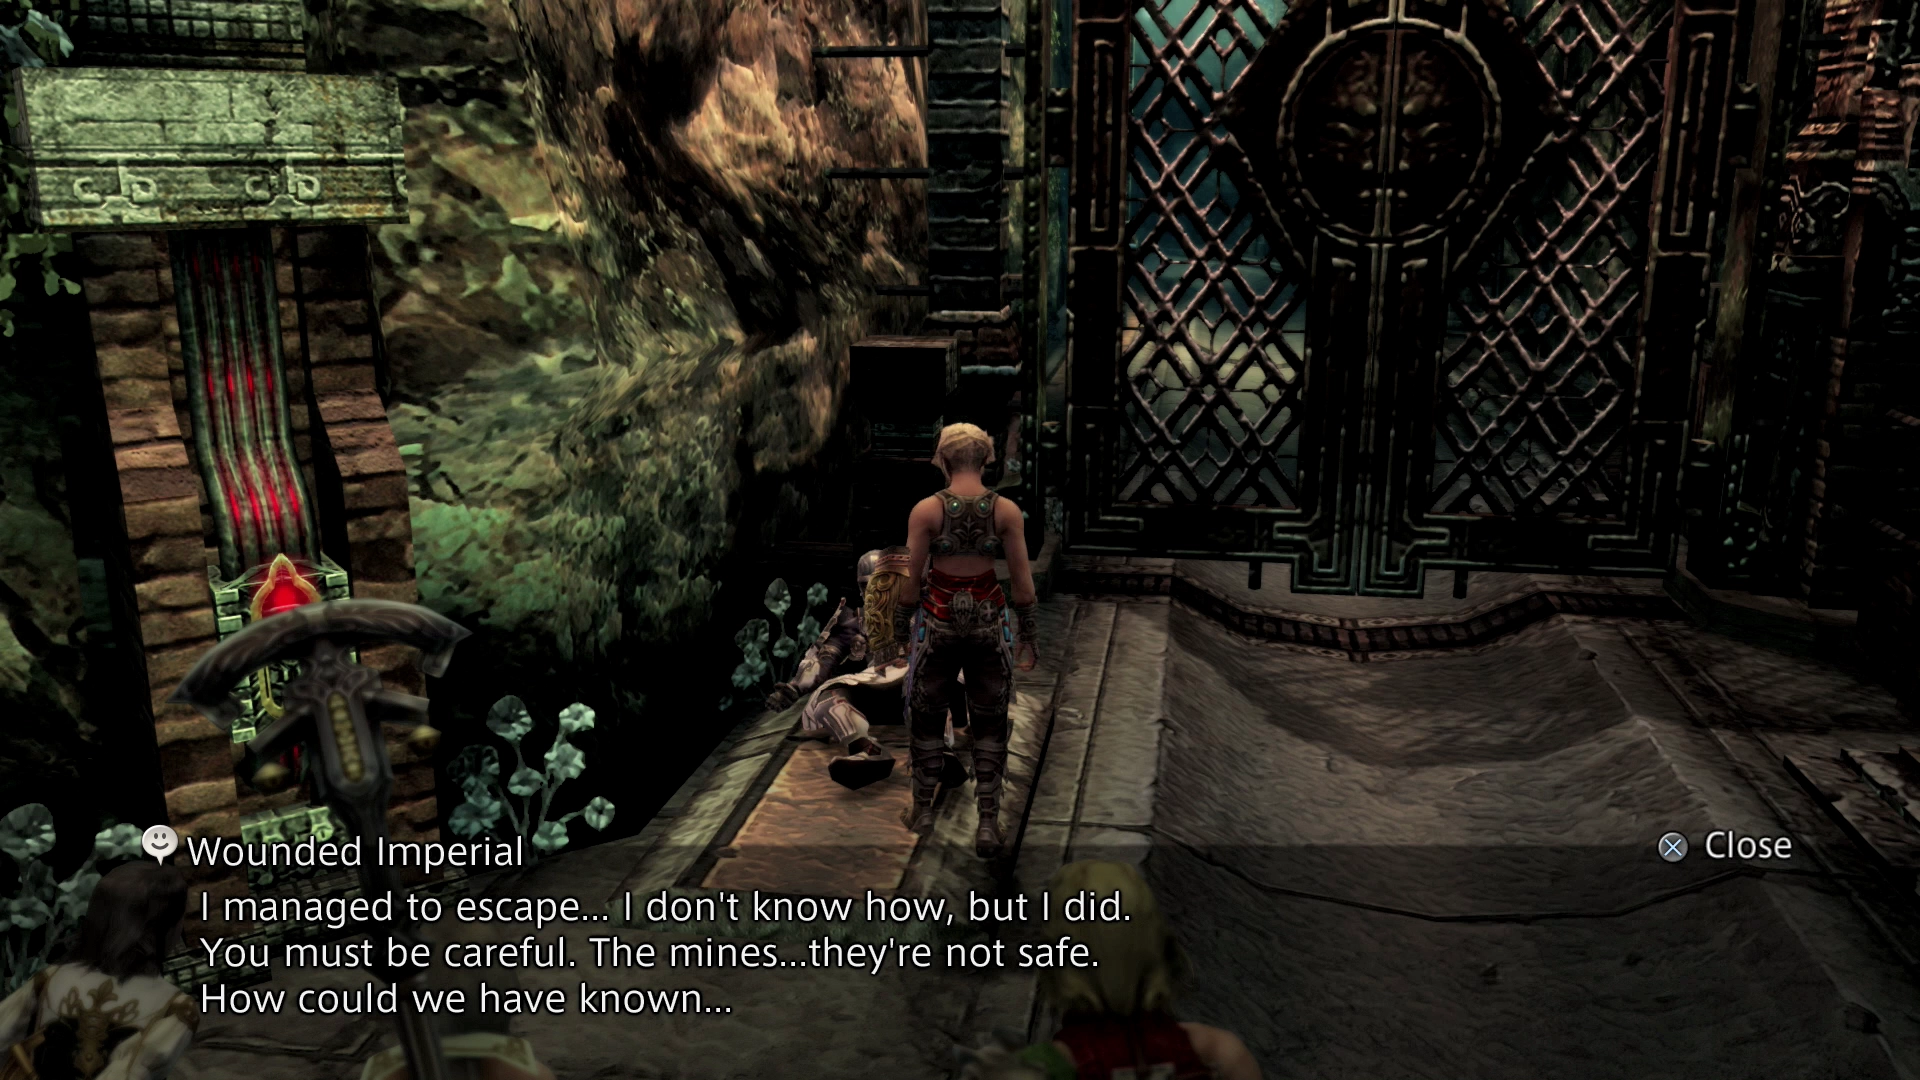
Take the pathway to the left of the switch that opens up to the east.
Phase 1 Shaft
Follow the pathway east and then south around the corner. At the end of the pathway you will find a green Urn which contains the map of the Henne Mines. Travel back to the room with the switch and the Wounded Imperial.
Pithead Junction A
This time you will have to defeat all the Jelly enemies that fell from the ceiling. Jellies are weak to fire-based Magick so switch to ![]() Fire /
Fire / ![]() Fira if you are having trouble defeating them.
Fira if you are having trouble defeating them.

Flip the switch again (which is now blue) and take the west exit away from the Junction. No more Jelly enemies will drop this time.
Phase 1 Shaft
Follow the pathway west as it curves around to the south. Take the exit on the right side (west) of the screen.

Phase 1 Dig
Use the map to help you navigate through this area:

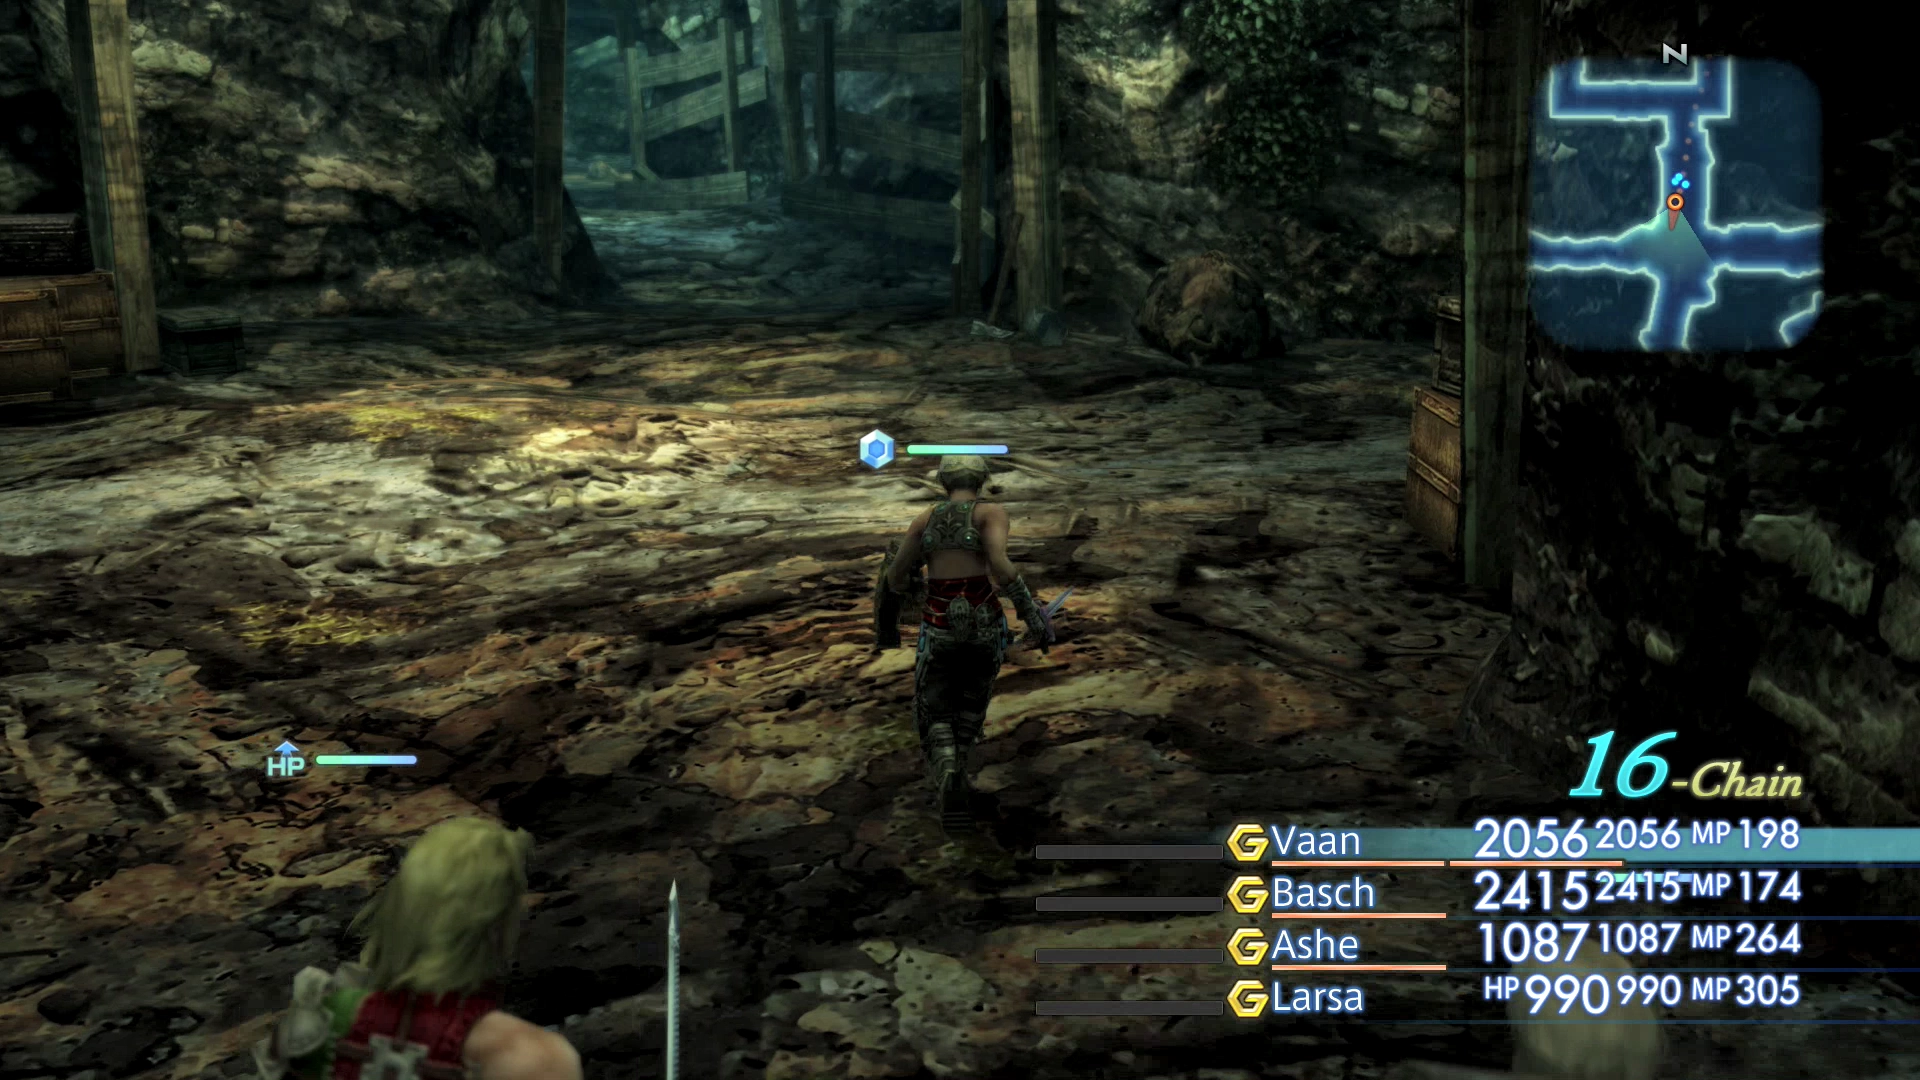
Follow the pathway through the tunnels and through to the east. There is no harm in defeating all the enemies in this area in order to level up your party and make sure you visit the room in the northeast to pick up ![]() Bonecrusher Technick.
Bonecrusher Technick.
Crossover A
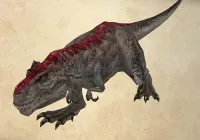
This is the first time you will encounter Tyranorox enemies (that look like large T-Rexes). They are very easy to outrun but they are not too difficult to defeat so you shouldn’t have to flee from them. They are weak to wind-based Magick like the ![]() Aero Magick spell.
Aero Magick spell.

Travel north from the entrance to this area. The pathway to the right (east) is blocked off by a gate, so take the north pathway following the tracks.

Crossover B
The two treasure chests to the south in this area are actually Thunderbug enemies in disguise. They are not difficult to defeat.
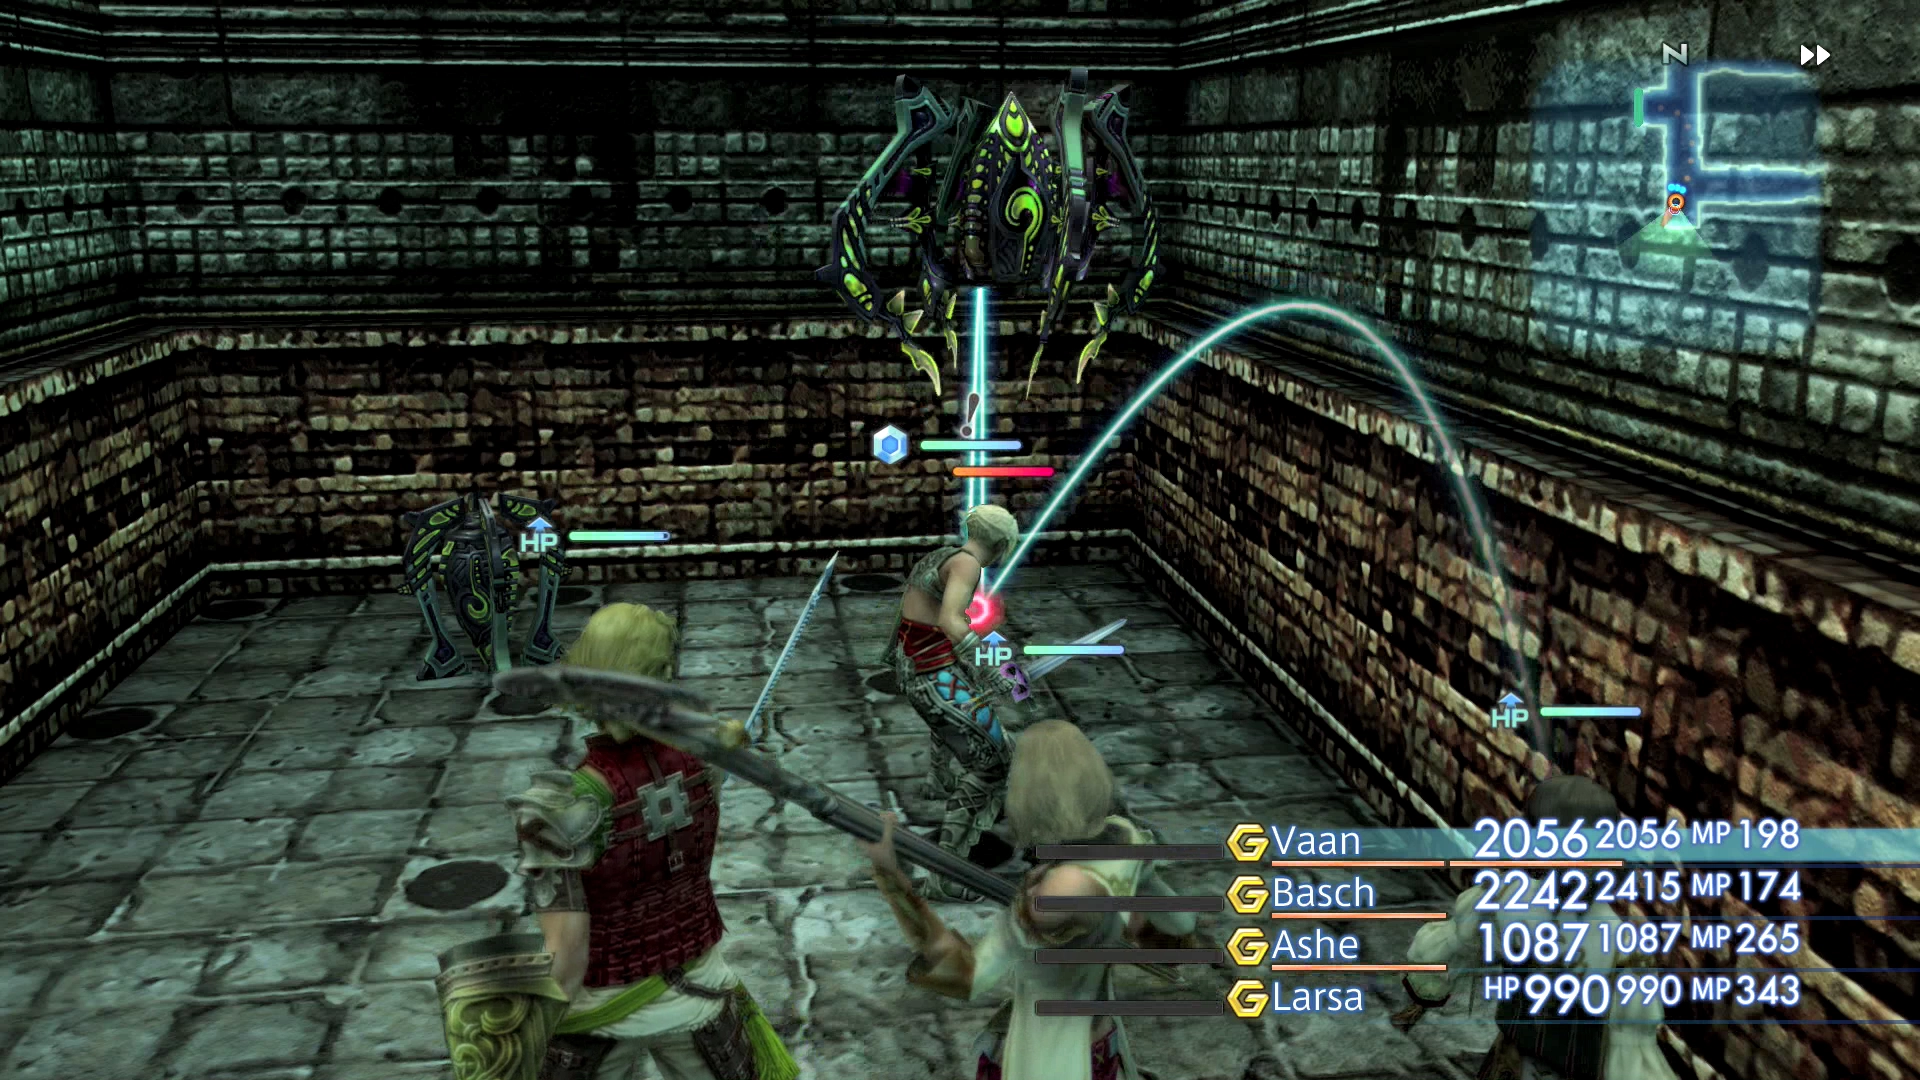
Follow the path to the east and then to the south to reach Pithead Junction B.
Pithead Junction B
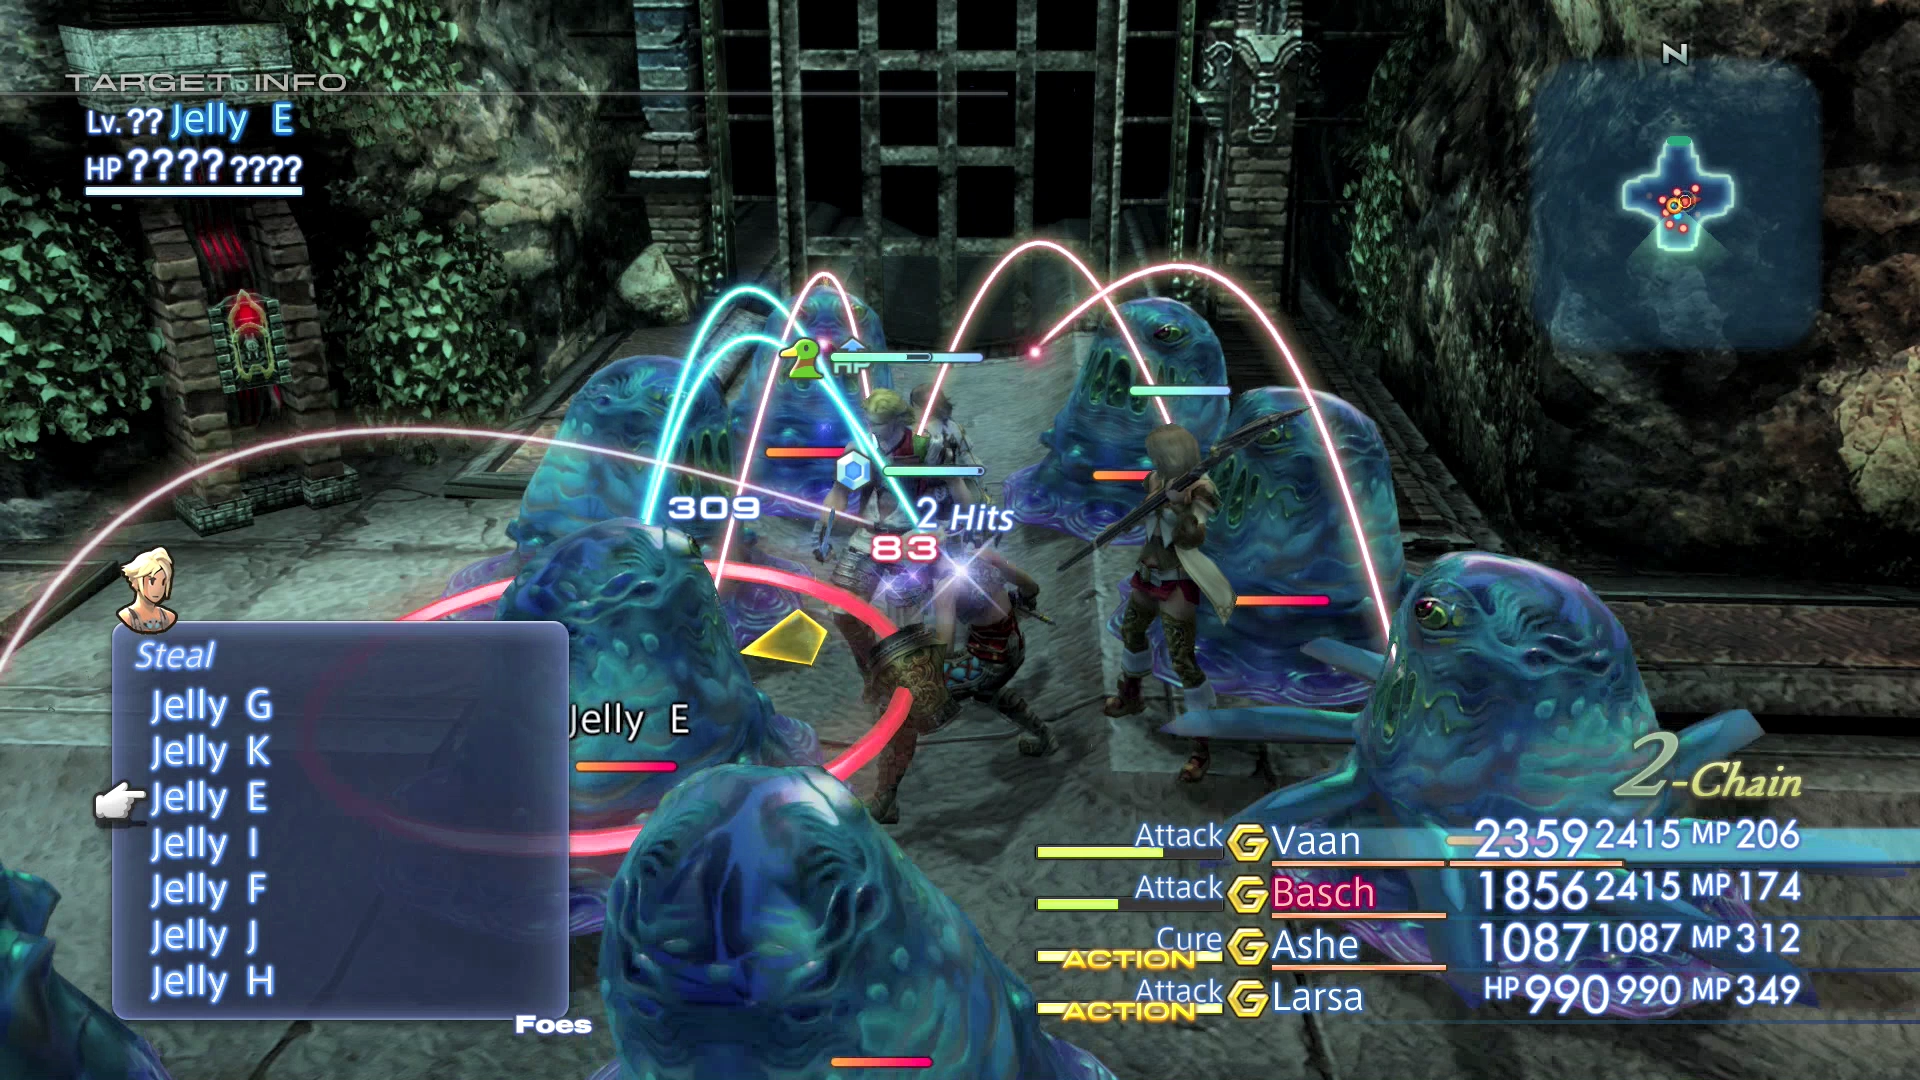
Once you pull the red Gate Switchboard you will be ambushed by a ton of Jelly enemies so be prepared for a lengthy fight and be prepared to flee out the west exit in case the fight gets ugly (as in, if party members start dying).
Take the exit to the west after they are defeated back into Crossover A.
Crossover A
Travel through this area heading northward again back into Crossover B.
Crossover B
There are a few new gates blocking your path that have been activated. Travel around taking the southern pathway past the Thunderbugs and then northward through the newly opened gate.
Staging Shaft
Save your game at the orange Save Crystal. There is a boss fight in the room to the north, but you should consider taking this opportunity to do some grinding and power leveling as this is one of the last sections of the game where this tactic is truly effective and impactful.
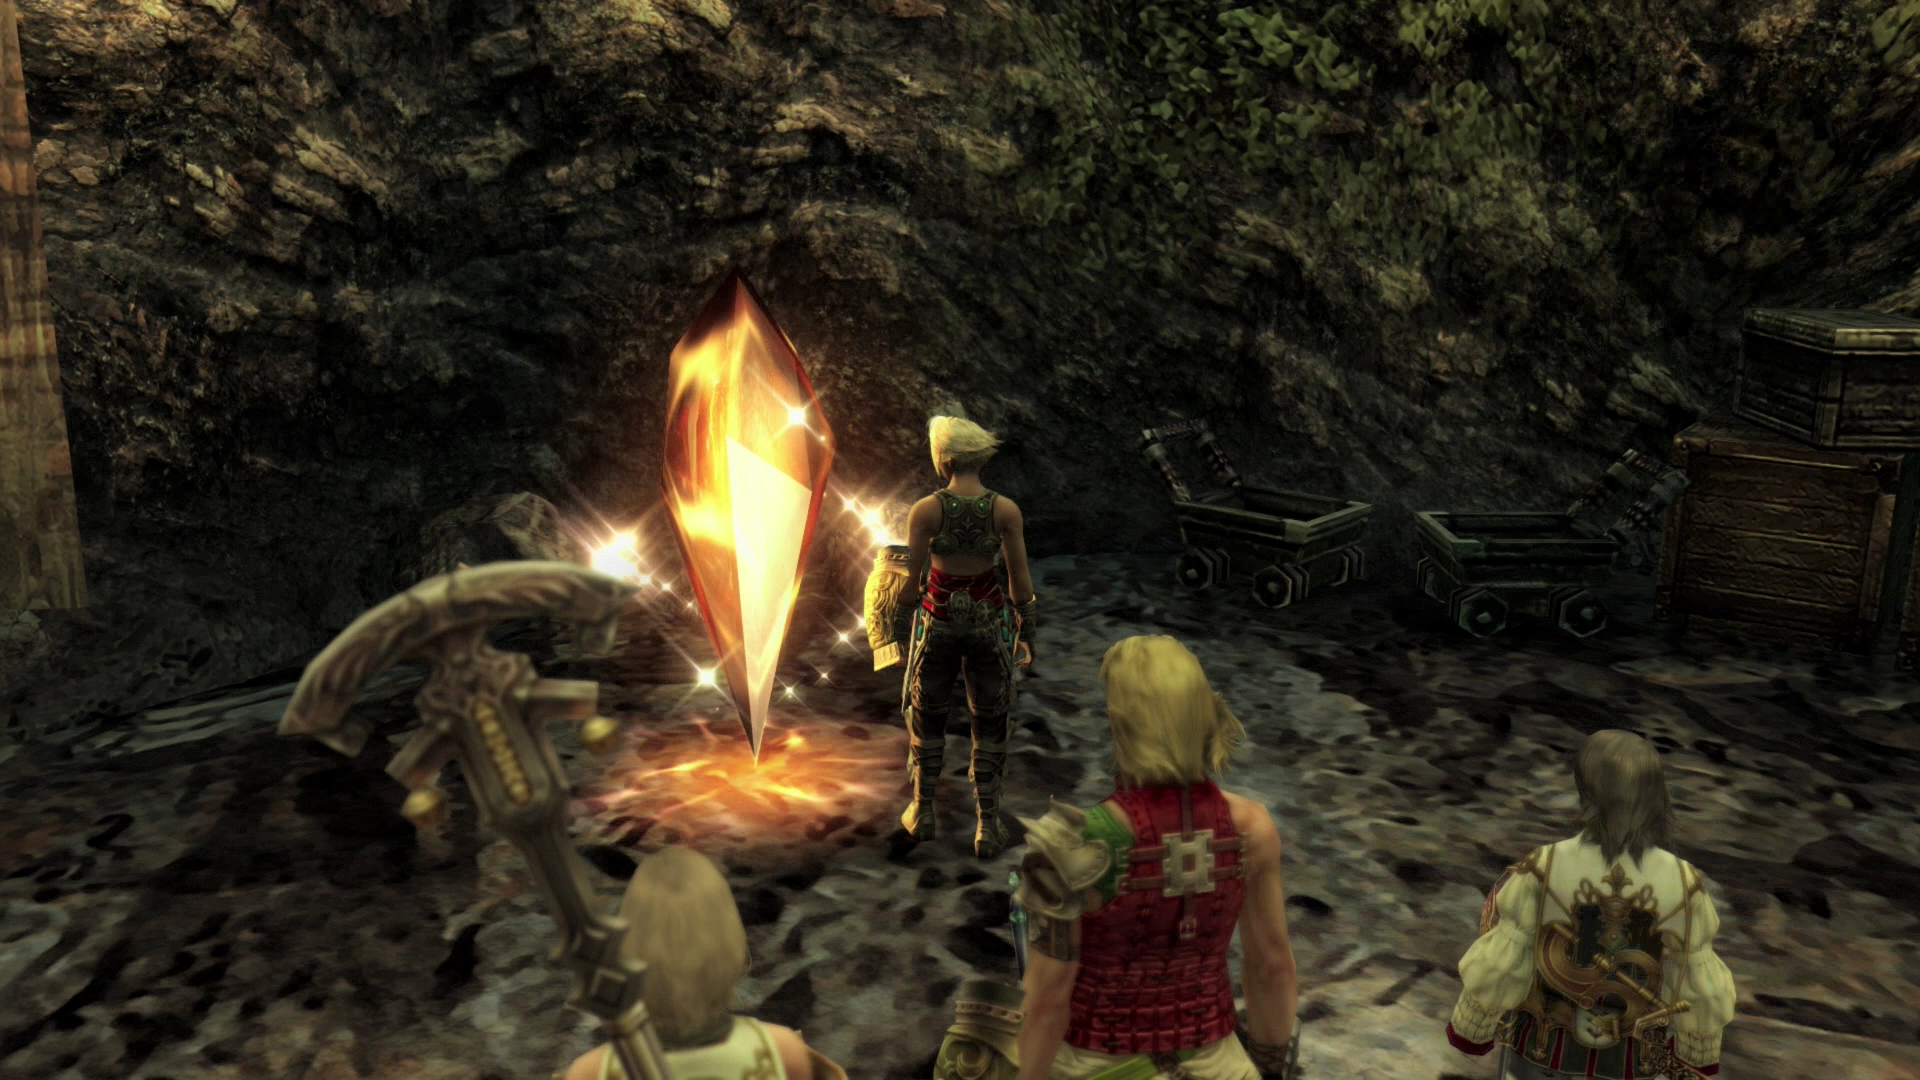
The Pithead Junction B room, where all the Jelly enemies dropped from the ceiling, is a great place to grind levels, build enemy chains and get a ton of great loot. By moving two screens/zones away, which can be done by traveling through Crossover A and Crossover B and then returning, you can reset the switch and another collection of Jellies will drop.
These Jelly enemies can be chained together very easily. The phials of ![]() Yellow Liquid items that they drop sell for 531 Gil each and the more Jellies you chain together the more often they drop Yellow Liquid.
Yellow Liquid items that they drop sell for 531 Gil each and the more Jellies you chain together the more often they drop Yellow Liquid.
It is very easy to stack up 99 of these items to take back and sell. Just teleport back to Rabanastre when you have stacked up 99 of them and sell them to any of the shop owners. Check out the Power Leveling / Grinding page for more information.
Helpful Hint
You can purchase more ![]() Teleport Stones from the Clan Provisioner in the Muthru Bazaar area of Rabanastre in the original version of the game. You can purchase
Teleport Stones from the Clan Provisioner in the Muthru Bazaar area of Rabanastre in the original version of the game. You can purchase ![]() Teleport Stones by riding one of the Airships out of the Aeroports and stopping by one of the shops while in flight in the Zodiac Age version of the game.
Teleport Stones by riding one of the Airships out of the Aeroports and stopping by one of the shops while in flight in the Zodiac Age version of the game.
Make sure that your party is prepared with proper Gambits before initiating the Gate Switchboard to drop the Jellies. Have a tank set up to take most of the hits (check out the Party Setup page in the Tips and Tricks section for more information). Here is a video demonstration in the original version.
A video of this technique in the Zodiac Age version is included below.
Take the pathway to the north out of the Staging Area once you are done with the Jellies.
Ore Separation
There is a short cutscene as the group enters the next room and you will immediately be thrown into battle against a large dragon named Tiamat.
Boss Battle
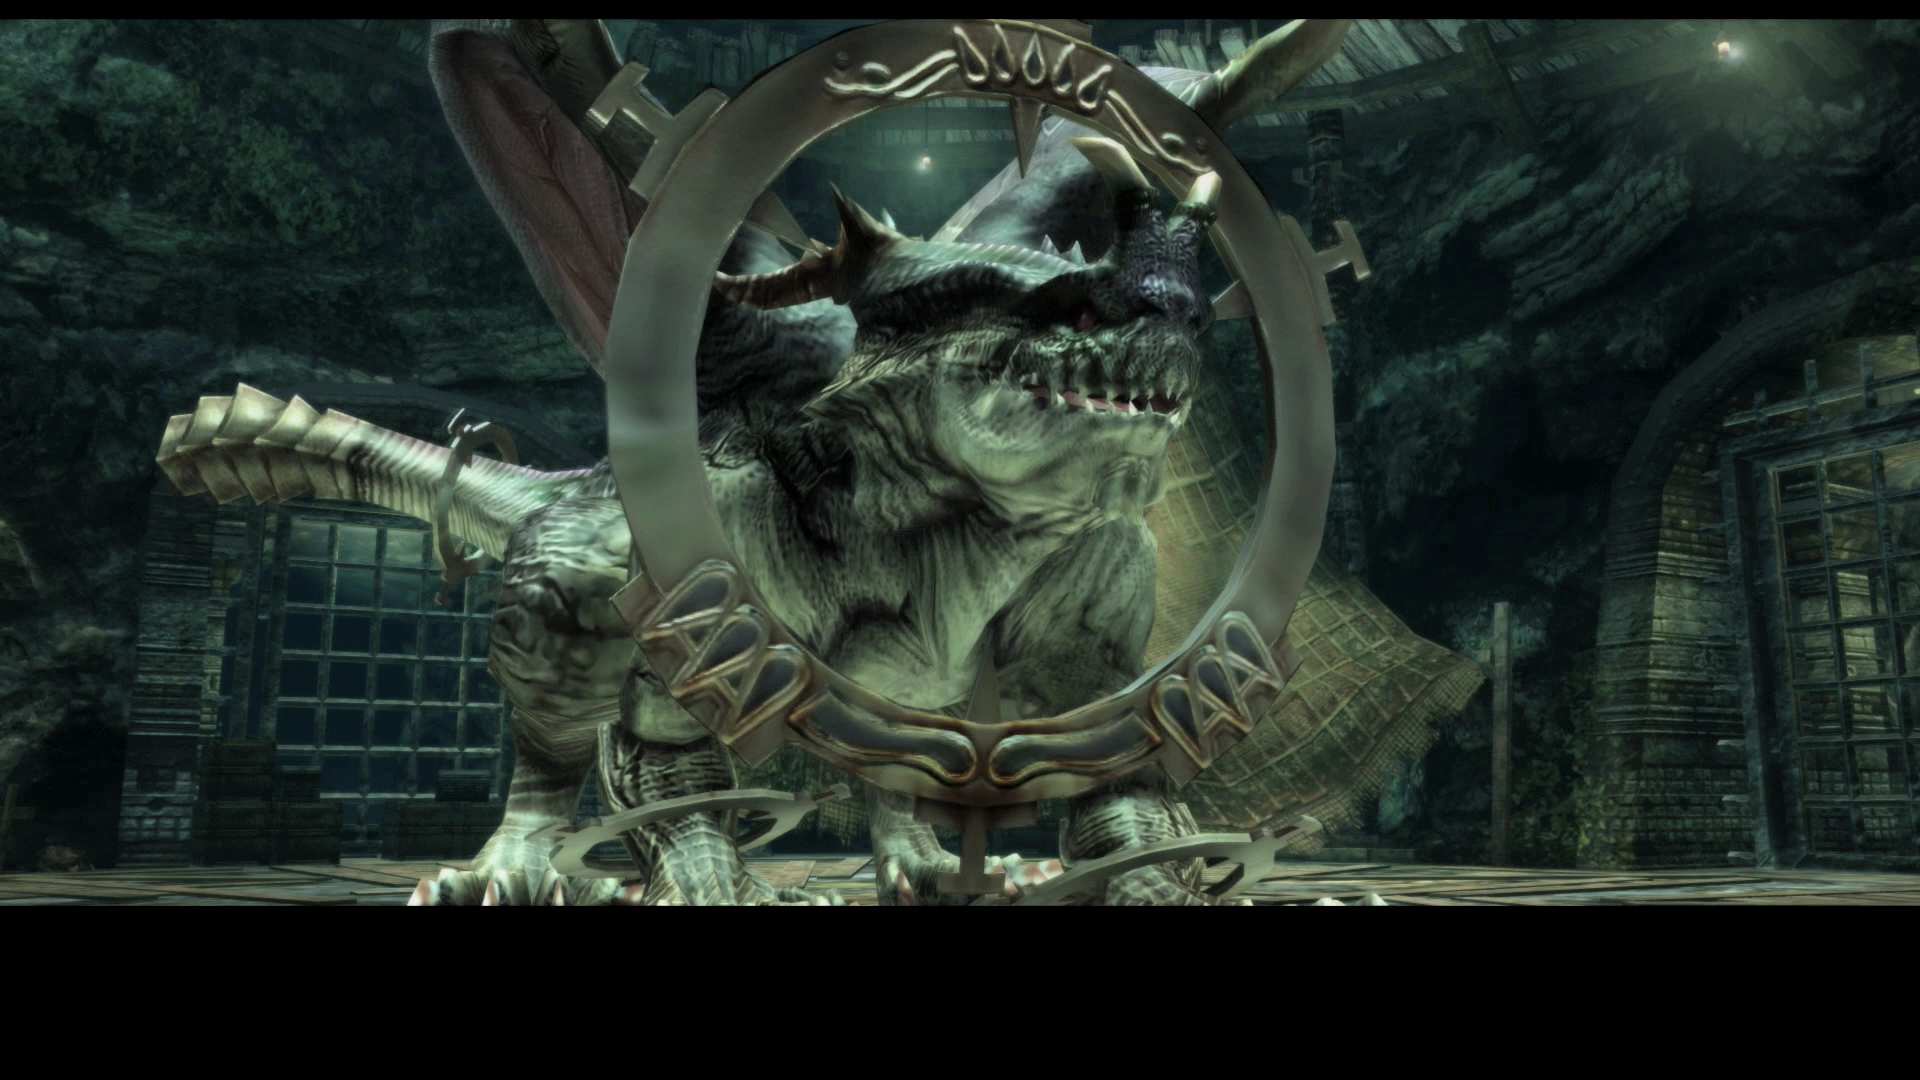
Level: 25
HP: 49,993
Steal: ![]() Hi-Potion (55%),
Hi-Potion (55%), ![]() Ring Wyrm Scale (10%),
Ring Wyrm Scale (10%), ![]() Leo Gem (3%)
Leo Gem (3%)
Start off by equipping your party members with the ![]() Black Belt accessory if you have them and if you have the Licenses to use them. Tiamat will cast Disablega from time-to-time, preventing them from taking any action (all they can do is move around), which can be cured by
Black Belt accessory if you have them and if you have the Licenses to use them. Tiamat will cast Disablega from time-to-time, preventing them from taking any action (all they can do is move around), which can be cured by ![]() Esuna as a last resort, but is much easier dealt with by equipping a few
Esuna as a last resort, but is much easier dealt with by equipping a few ![]() Black Belts. It can also inflict the Sap status effect which can be cured with an Esuna.
Black Belts. It can also inflict the Sap status effect which can be cured with an Esuna.
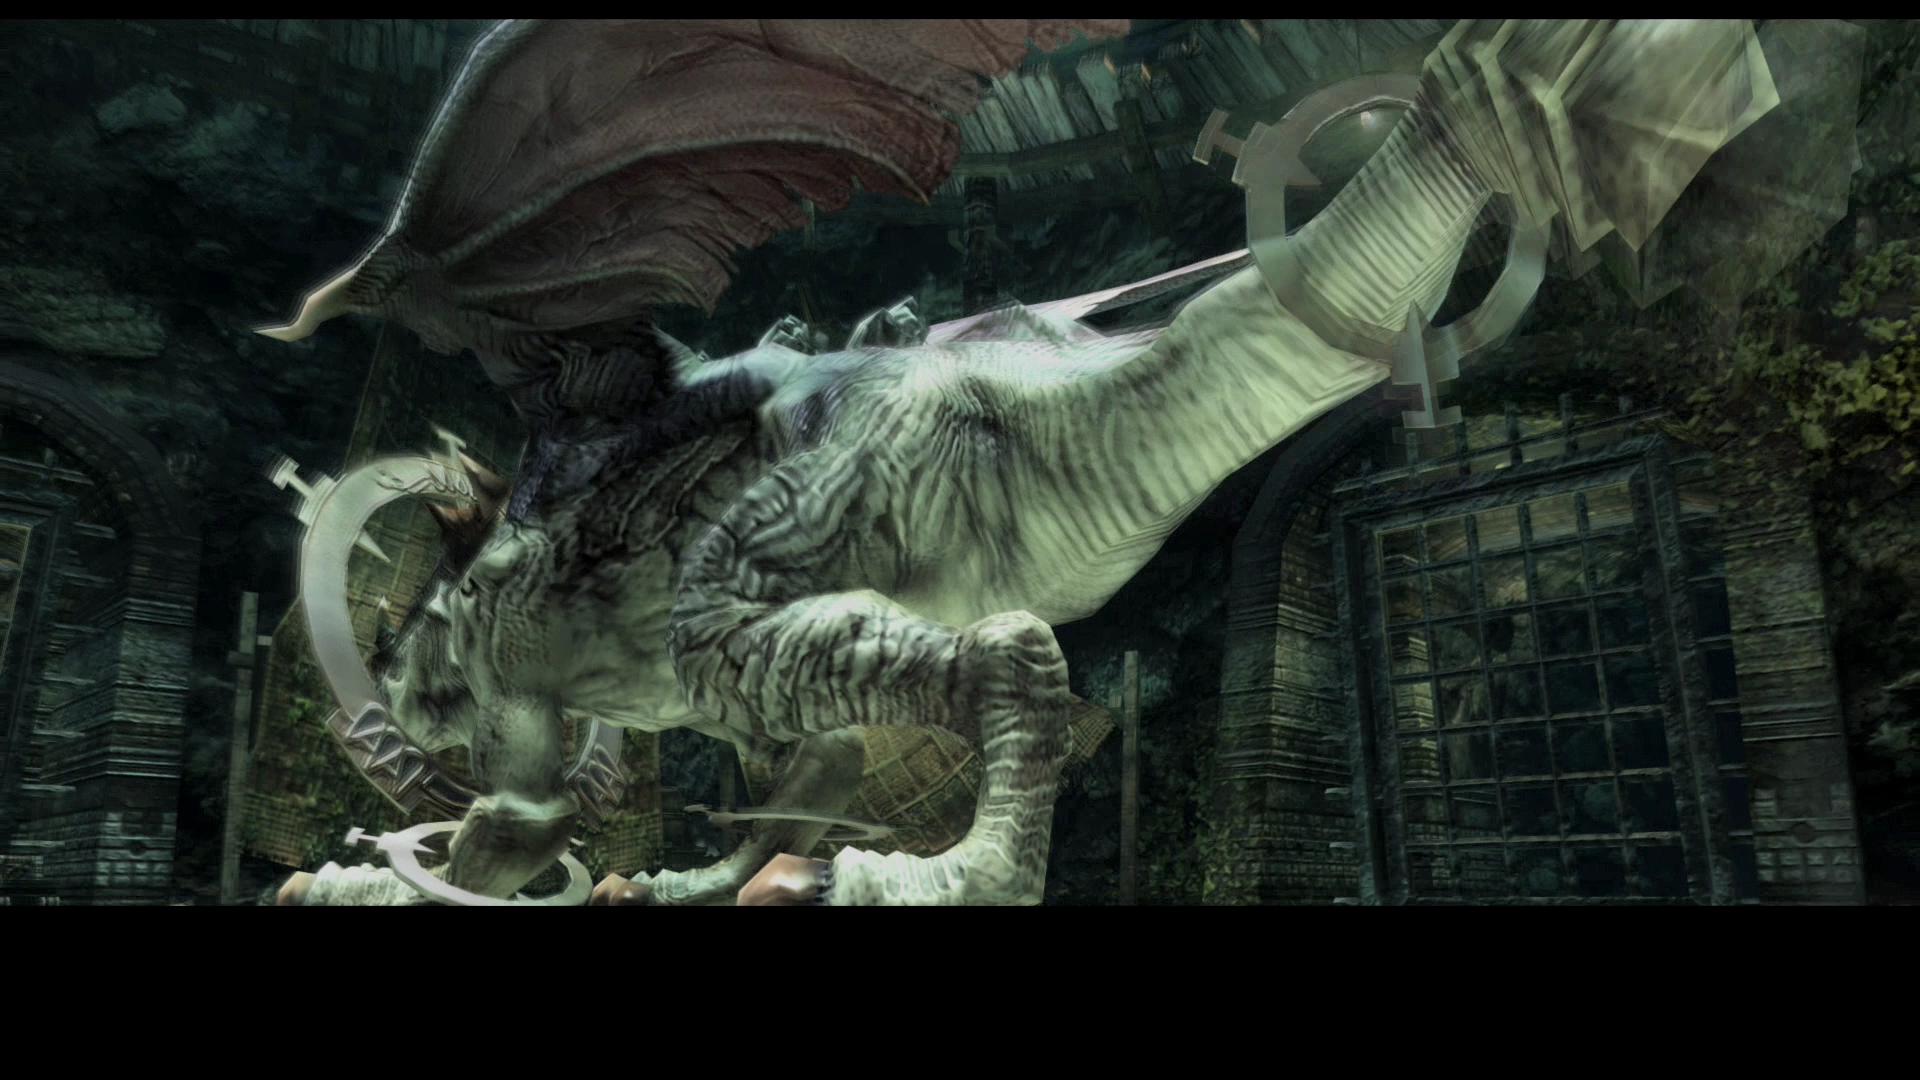
Tiamat has a number of heavy attacks. Make sure to rely heavily on having an effective tank with ![]() Decoy cast at all times and one character focused on healing spells. You should also ensure that
Decoy cast at all times and one character focused on healing spells. You should also ensure that ![]() Protect (and
Protect (and ![]() Shell, but to a lesser extent) stay active on that character for the duration of the battle.
Shell, but to a lesser extent) stay active on that character for the duration of the battle.
Tiamat’s defensive stat will be boosted once it reaches critical HP so be prepared for the fight to take longer than expected.
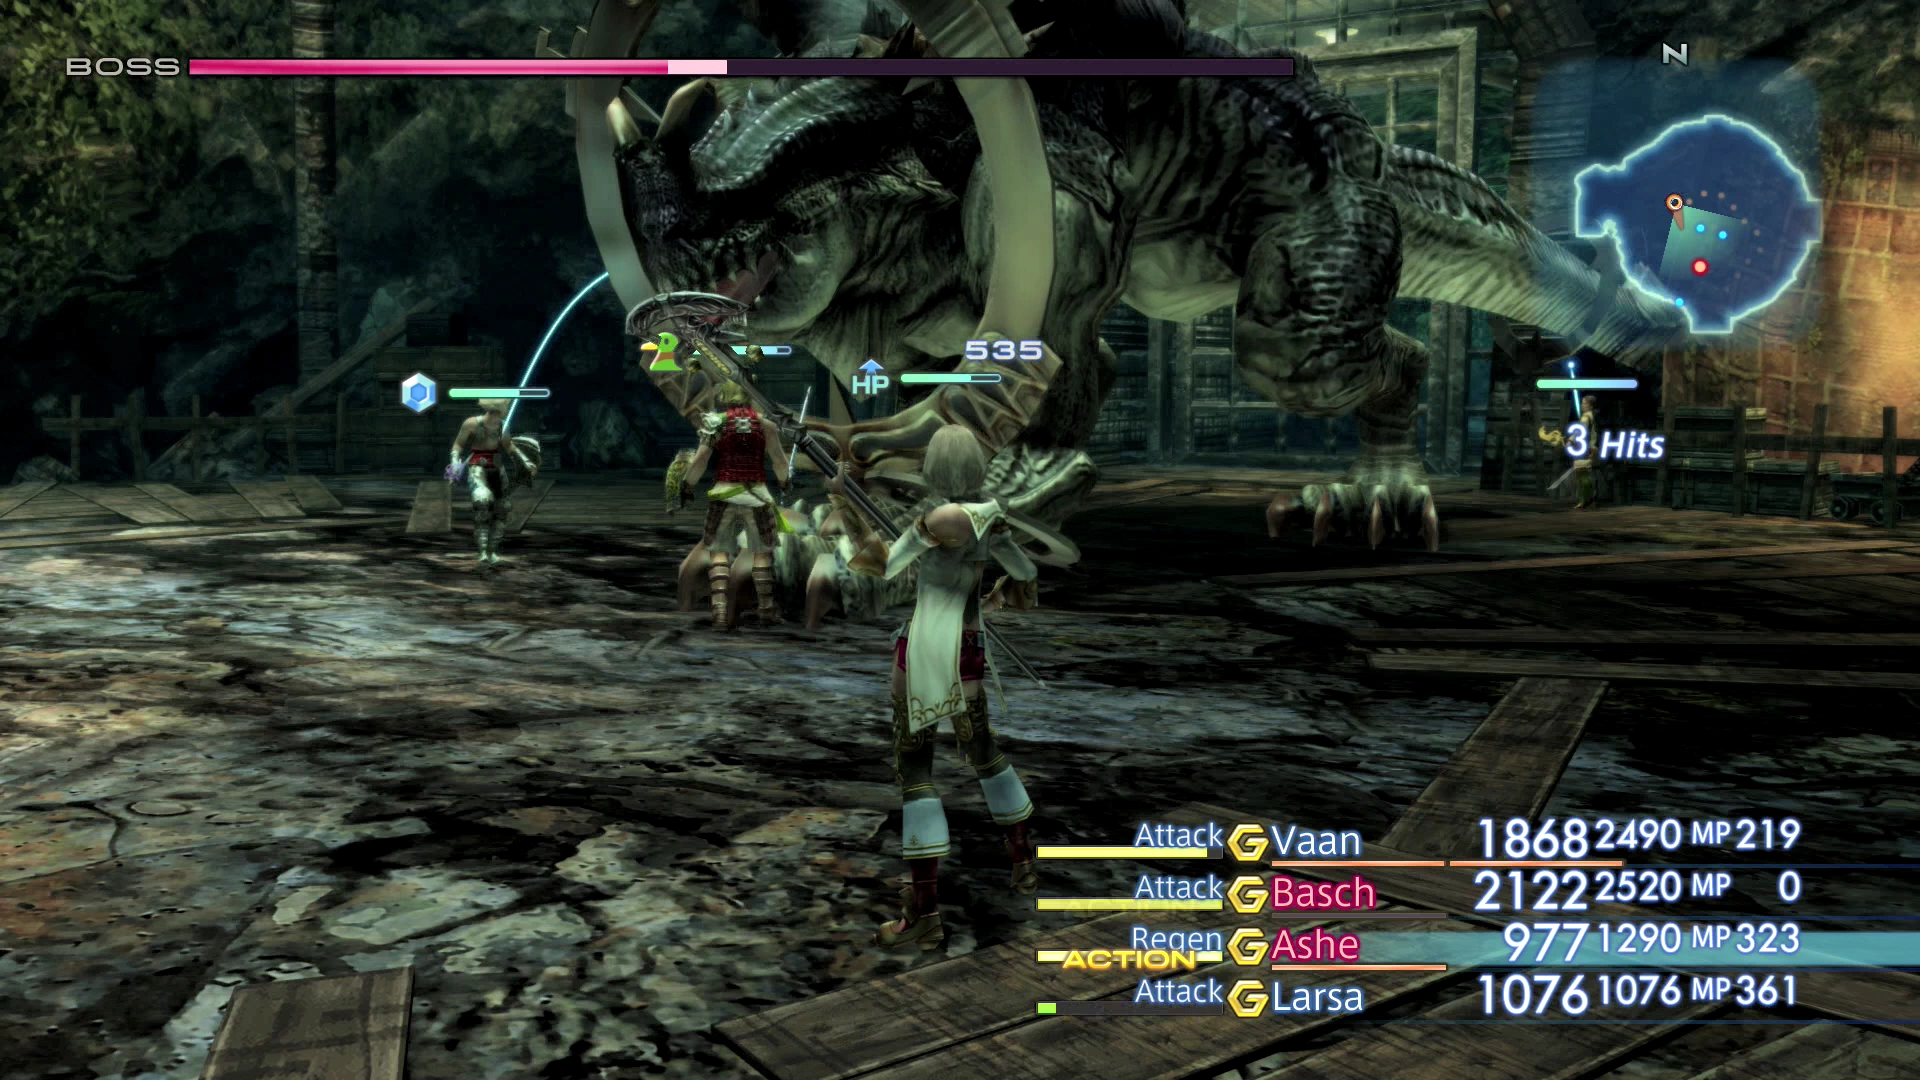
You can find a video of this battle in the Zodiac Age version below.

There are a few more cutscenes that follow once Tiamat is defeated. Mjrn will appear with some Manufactured Nethicite and will appear to have been possessed by it. The group will return to Eruyt Village where the story continues.
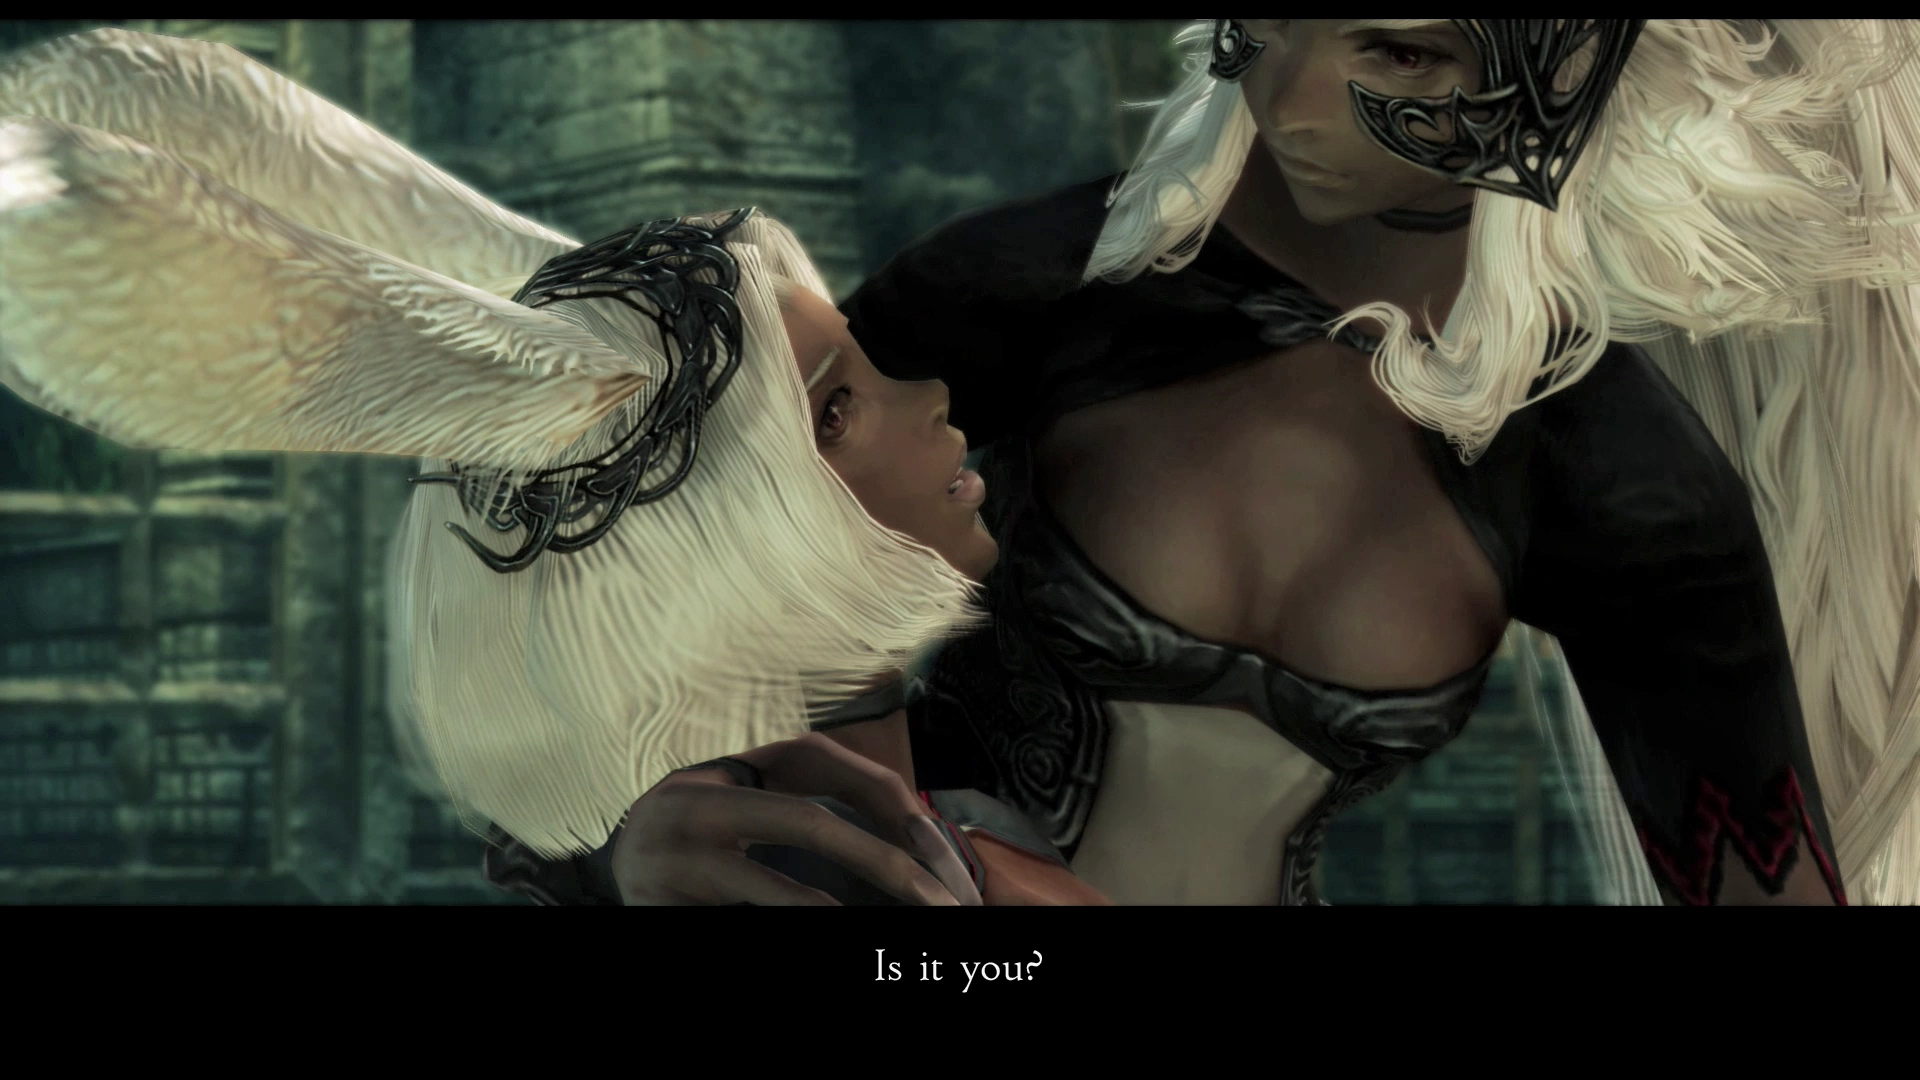
Eruyt Village
There are a few more side quests that you can do after you receive Lente’s Tear which are detailed on the next page. Use the orange Save Crystal to warp back to Rabanastre.
