
Grinding and Power Leveling
Final Fantasy XII introduces a new “Chain” mechanic that allows you to build up a chain by killing the same type of enemy over and over again. This does not necessarily mean that the enemies have to have the same name. For example, in the Lhusu Mines area, Skeletons, Skull Defenders and Dark Lords all count as “skeleton-type” enemies that can be chained together.
Chaining enemies together causes them to drop better loot. As you chain enemies together, the loot icon that appears will change from a regular item bag to a silver item bag, to a gold item bag and finally to a large gold loot bag. The loot table changes as follows:
| Item Type | Regular | Silver | Gold | Large Gold |
|---|---|---|---|---|
| Common | 40% | 45% | 50% | 55% |
| Uncommon | 25% | 30% | 35% | 40% |
| Rare | 3% | 6% | 8% | 12% |
| Very Rare | 1% | 2% | 3% | 5% |
You can also use this tactic to quickly stack up both Gil and EXP points. There are three locations where grinding and chaining is most beneficial:
Chain Enemy Locations
1) Lhusu Mines
The first location is in the Lhusu Mines. Continue traveling through the mines until you reach the Shunia Twinspan. You can chain the different Skeleton-type enemies on this bridge – they all count towards the same chain even though they are labeled as different types of Skeletons. As you chain them together, you can slowly stack up Bone Fragments which are worth a fair amount when sold to one of the vendors (193 Gil a piece).
Exit the Shunia Twinspan after you have killed all the skeletons back into Transitway 1 and then back to the Oltam Span. Moving two zones away will reset the enemies on the Shunia Twinspan. Just make sure to hold ![]()
![]()
![]() to Flee so that you don’t accidentally kill any of the enemies in the other zones.
to Flee so that you don’t accidentally kill any of the enemies in the other zones.
2) Ogir-Yensa Sandsea
The second chain/power leveling location is at the entrance to the Ogir-Yensa Sandsea (Platform 1 – East Tanks). Kill the Alraune enemies in the area as they drop Succulent Fruits which can be sold for 363 Gil each. The more Alraune that you chain together, the higher the percentage chance that they will drop more Succulent Fruit. Just make sure not to kill any other enemies.
You can exit back into the Dalmasca Westersand area without resetting the chain (head through The Western Divide and into the Windtrace Dunes to reset the Alraunes). Just make sure not to use the orange Save Crystal or it will reset your chain level.
3) Henne Mines
The last area that you should chain enemies in is the Henne Mines. Save your game once you reach the Save Crystal in the Staging Shaft and then head back southeast to Pithead Junction B. Press the switch to cause a large amount of Jelly enemies to drop from the ceiling.
These Jelly enemies can be chained together very easily. The phials of ![]() Yellow Liquid items that they drop sell for 531 Gil each and the more Jellies you chain together the more often they drop Yellow Liquid.
Yellow Liquid items that they drop sell for 531 Gil each and the more Jellies you chain together the more often they drop Yellow Liquid.
It is very easy to stack up 99 of these items to take back and sell. Just teleport back to Rabanastre when you have stacked up 99 of them and sell them to any of the shop owners.
Make sure that your party is prepared with proper Gambits before initiating the Gate Switchboard to drop the Jellies. Have a tank set up to take most of the hits (check out the Party Setup page in the Tips and Tricks section for more information). Take the pathway to the north out of the Staging Area once you are done with the Jellies.
These three areas are where it is most economical during a regular playthrough of the game. The strategy guide on this website will point this out to you as you reach each of these areas of the game with tips and strategies on how to successfully get a chain going.
Achievement/Trophy
 The Unrelenting Achievement/Trophy is obtained after you defeat 50 enemies of the same type in a row and achieve a 50-chain. You can see how many enemies you have chained together as there will be an indicator on the screen.
Monographs / Grimoires
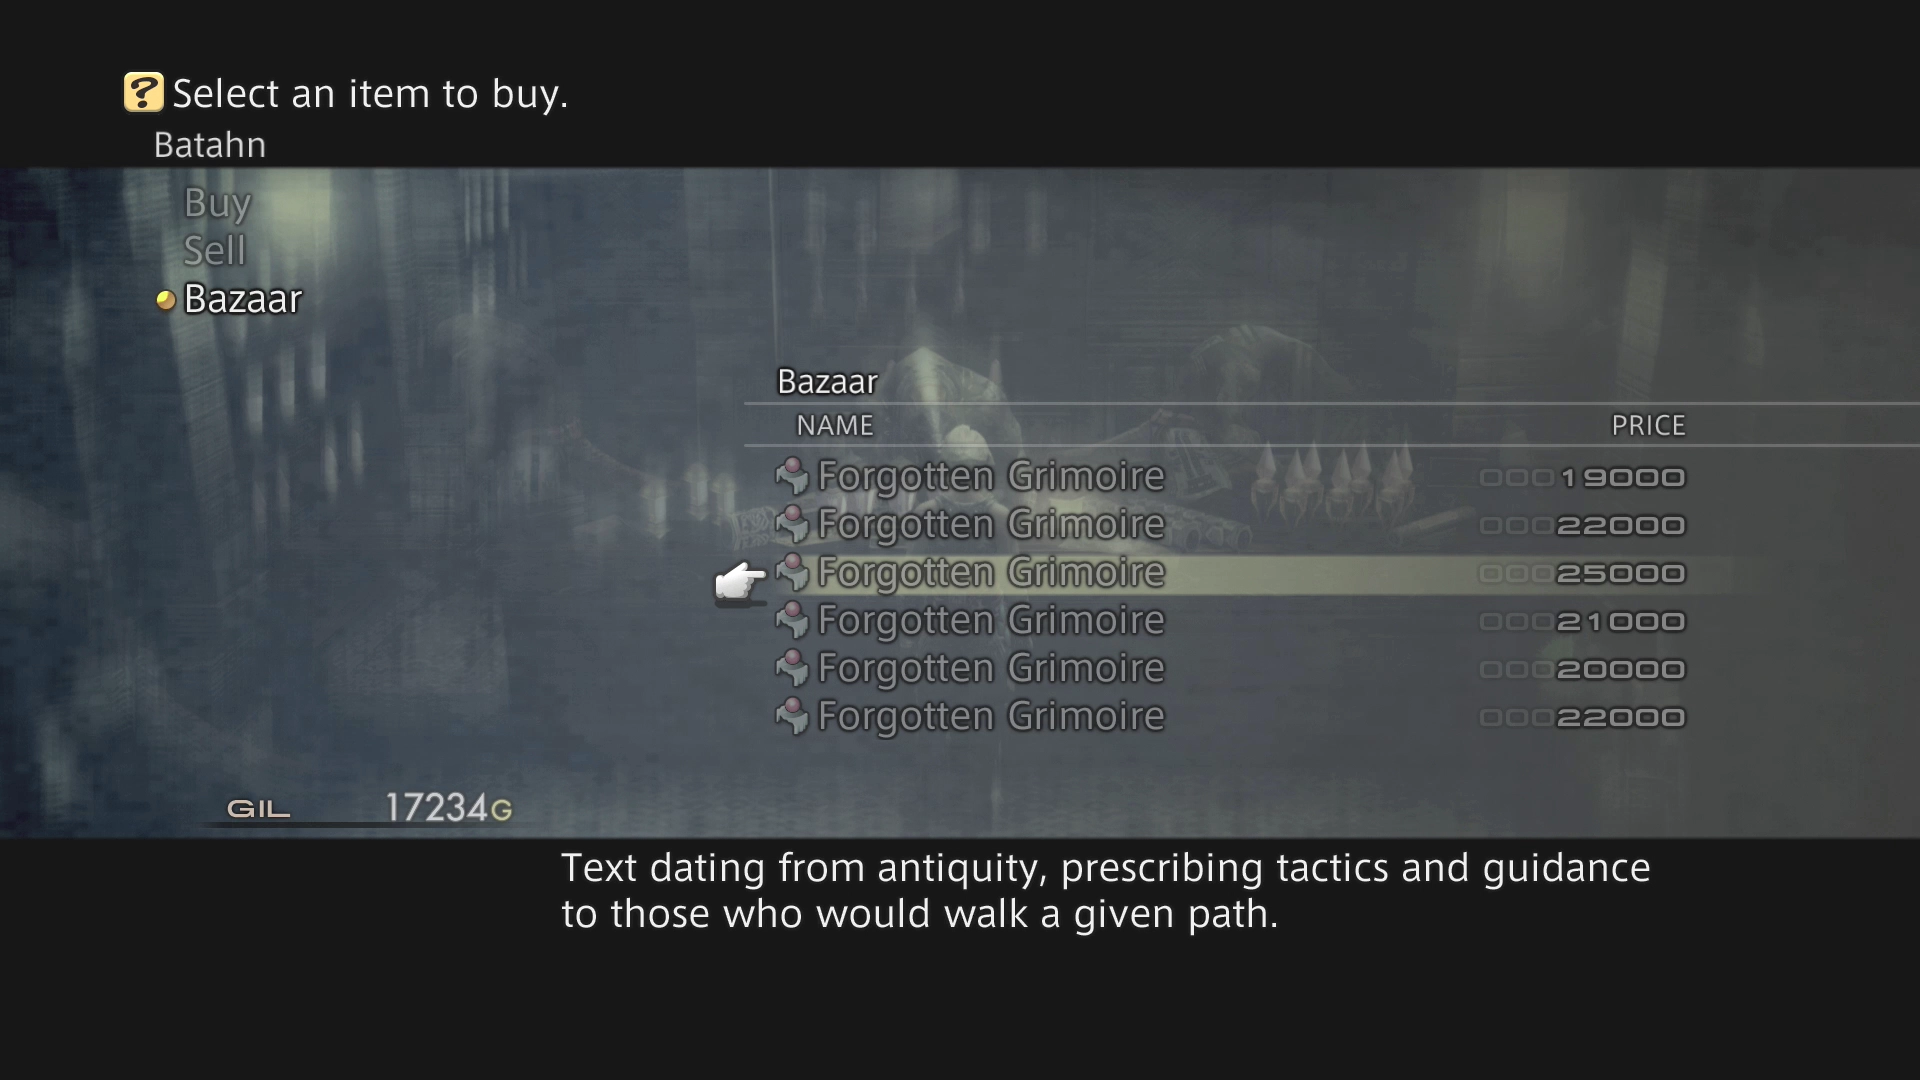
The last important thing to note is that you should make every attempt to begin purchasing the various Monographs/Grimoires that are available for sale. Each of the Grimoires becomes available for purchase from the Bazaar and increase the quality of loot you receive from destroying specific types of enemies. You can make them appear in the Bazaar by following the steps below:
- Talk to the Weapon shop owner 30 or more times to activate a Forgotten Grimoire that costs 19,000 Gil (
 Knight’s Monograph which causes additional loot to drop from Giant and Insect-type enemies)
 - Read the Notice Board in the Sandsea 20 or more times to activate a Forgotten Grimoire that costs 20,000 Gil (Warmage’s Monograph which causes additional loot to drop from Amorph and Undead-type enemies)
- Talk to the Magick shop owner 25 or more times to activate a Forgotten Grimoire that costs 21,000 Gil (Mage’s Monograph which causes additional loot to drop from Fiend-type enemies)
- Talk to the Armor shop owner 15 or more times to activate a Forgotten Grimoire that costs 22,000 Gil (Scholar’s Monograph which causes additional loot to drop from Construct-type enemies)
- Read the Notice Board in the Sandsea 40 or more times to activate a Forgotten Grimoire that costs 22,000 Gil (Dragoon’s Monograph which causes additional loot to drop from Dragon and Plant-type enemies)
- Talk to any shop owner 100 or more times to activate a Forgotten Grimoire that costs 25,000 Gil (Sage’s Monograph which causes additional loot to drop from Elemental-type enemies)
These Grimoires will increase the value of the loot dropped by various enemies throughout the game. Chaining enemies remains a successful tactic for stacking up quality loot throughout the game so don’t hesitate to use this tactic outside the three areas mentioned above.