
Ogir-Yensa Sandsea
“A desert region in the west of the Jagd Yensa, most of it covered in fine-grain sand that ebbs and flows like water, compared from antiquity to a sea. Abandoned drilling rigs can be found here and there, dotted about the ever-shifting terrain.
In the past, the Rozarrian Empire sought to draw rich oils from the ground here, but relentless attacks from the Urutan-Yensa, who consider the Sandsea to be solely theirs, drove them away. Men are now a rare sight inside the desert borders.”


Make your way west from The Western Divide where the team first lands and head straight into the Ogir-Yensa Sandsea. There is another short cutscene that takes place once you get a few steps into the zone involving Vaan as he sets his eyes on the Ogir-Yensa Sandsea for the first time.
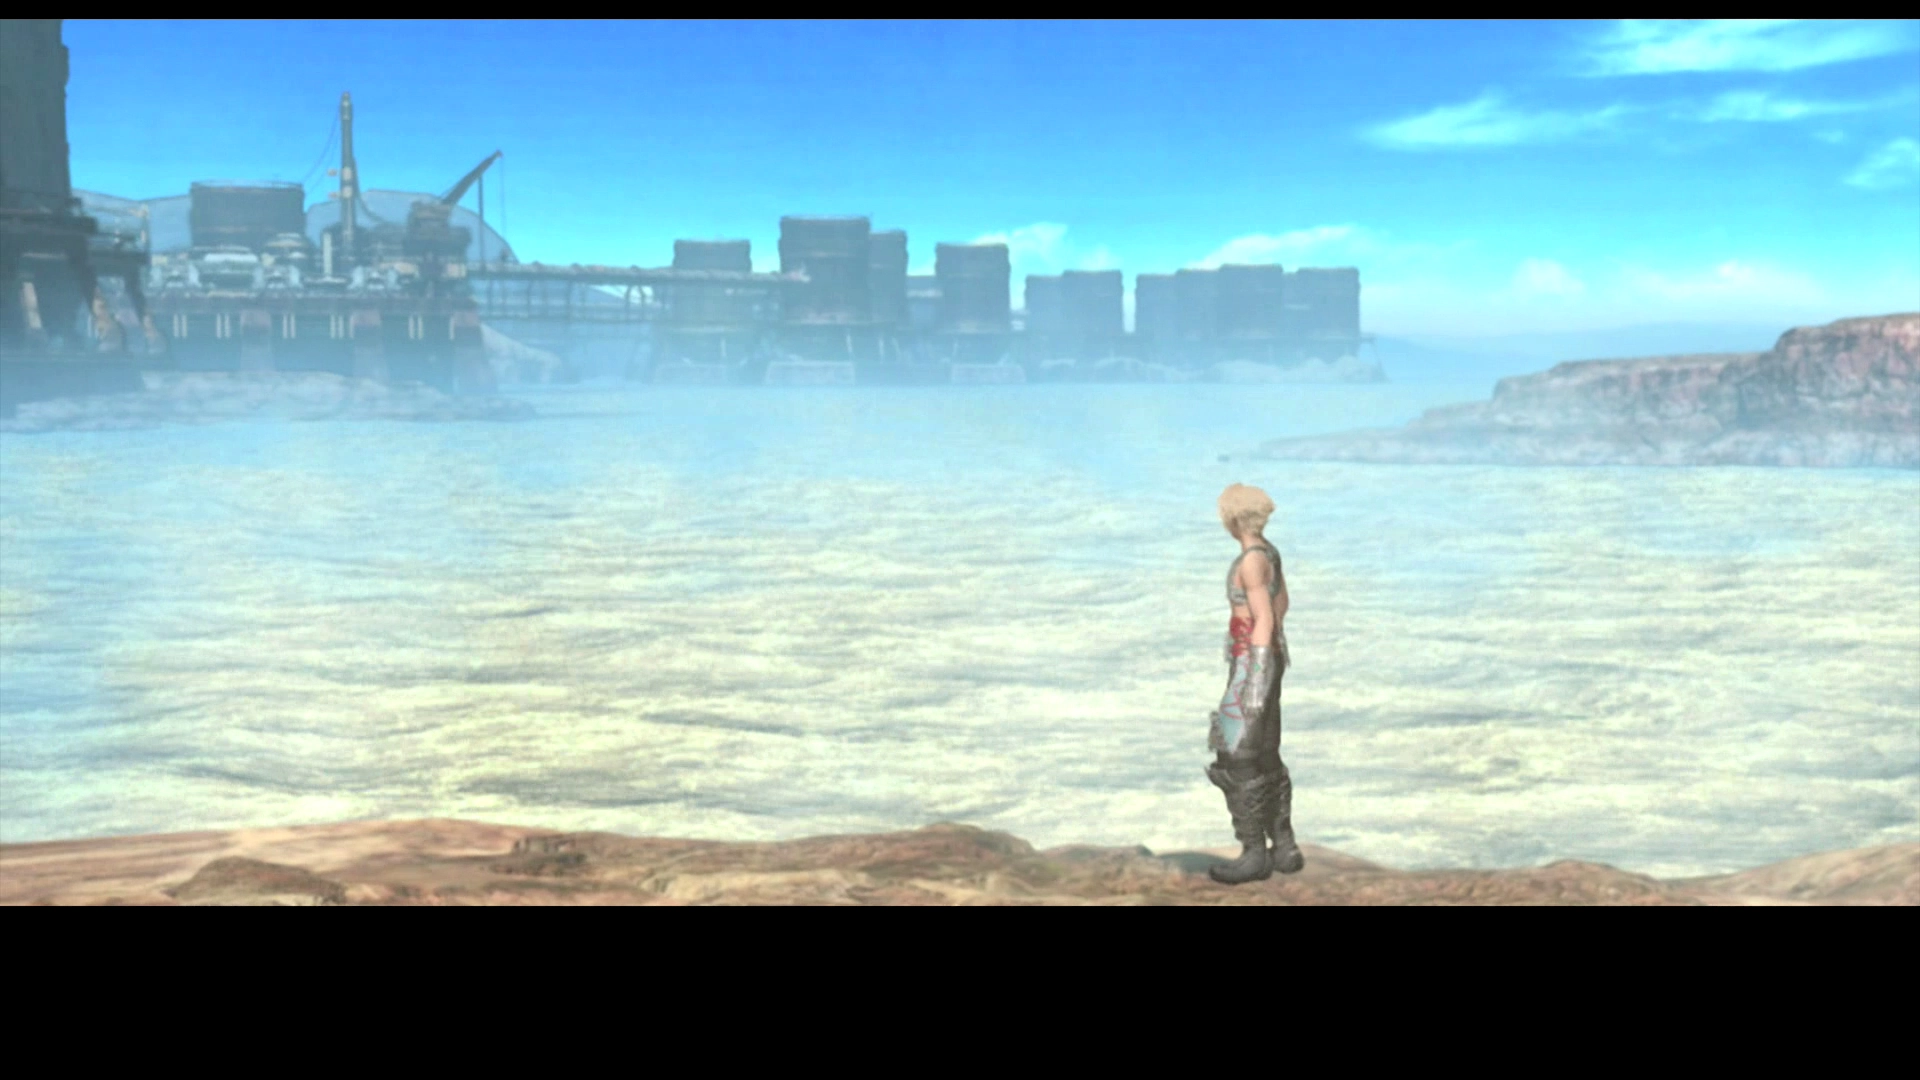
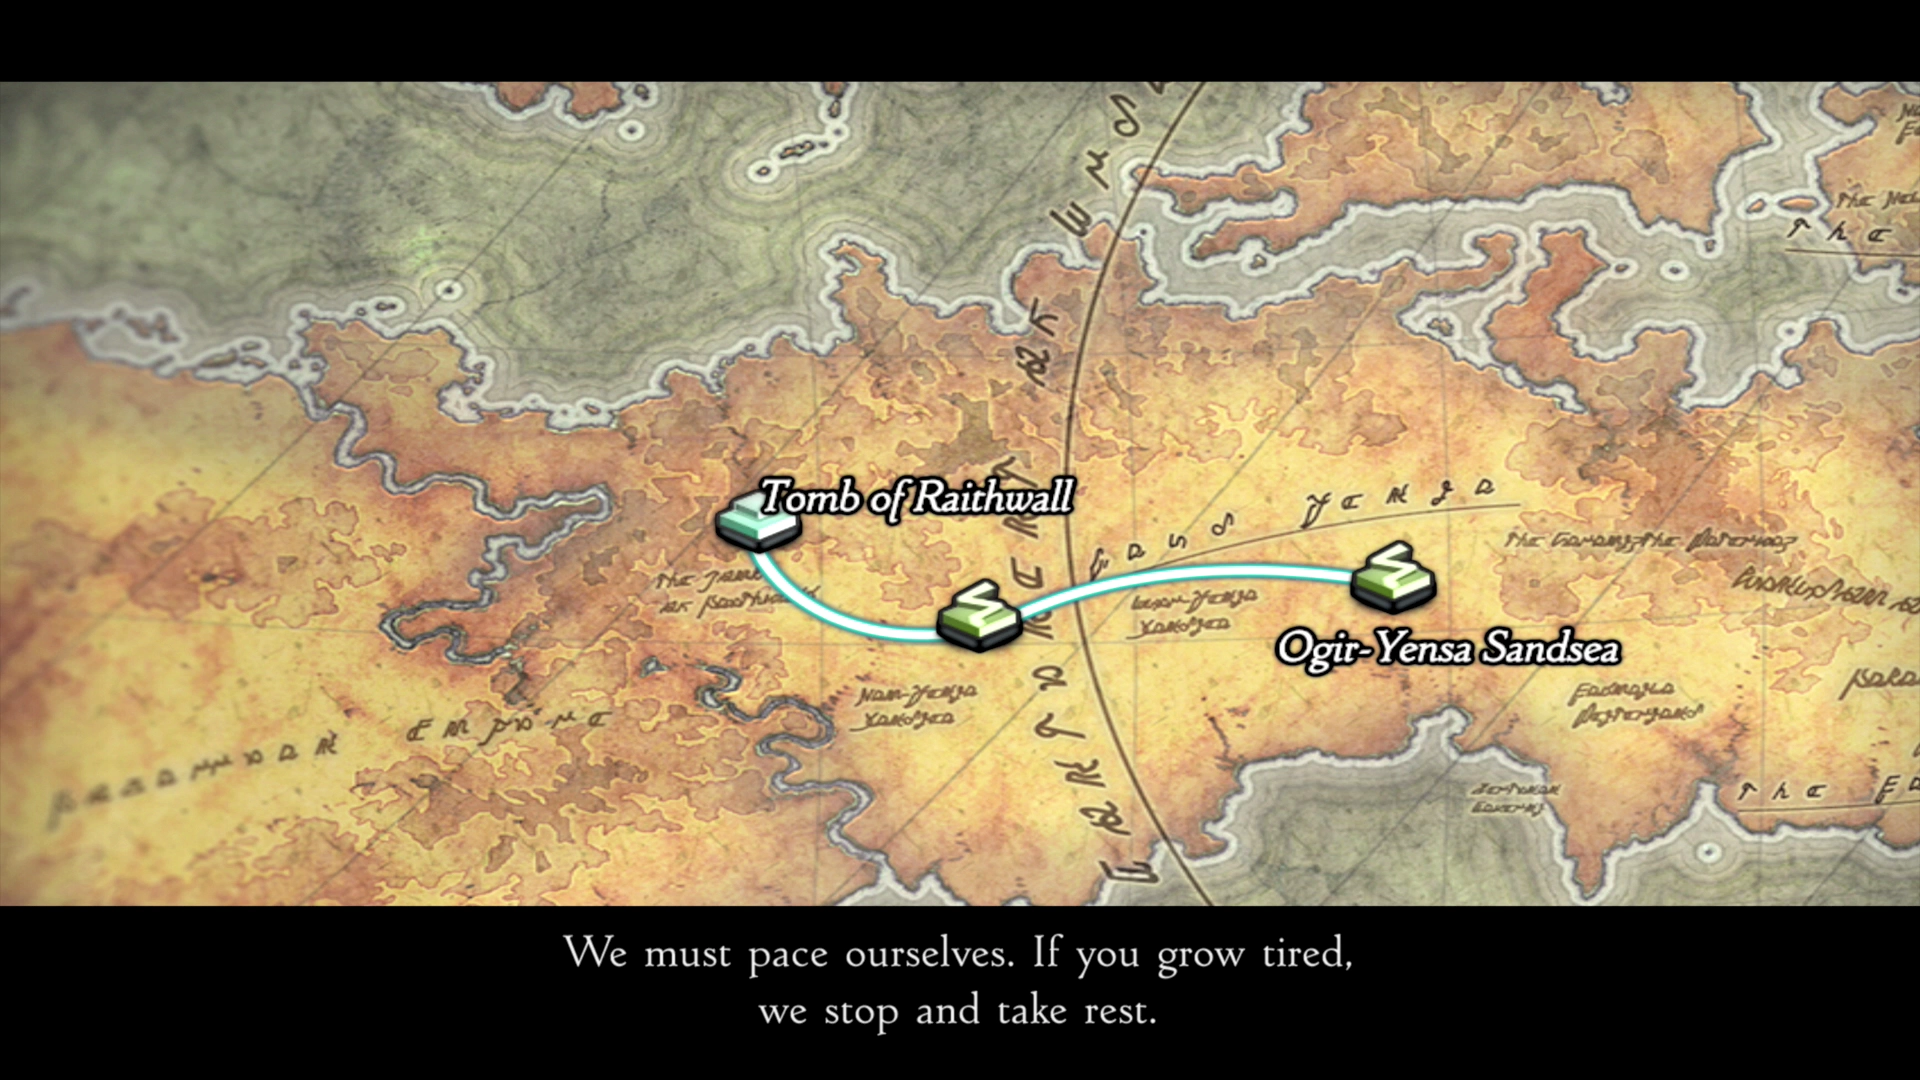
Following that, Basch will give a quick explanation of where the team are headed (through the Ogir-Yensa, then the Nam-Yensa and on to King Raithwall’s Tomb).
This is another area of the game that is full of traps so make sure that you set up a Gambit to keep ![]() Libra on one of your characters all the time. Check out the Libra Gambit overview in the Gambits section for more information (linked below):
Libra on one of your characters all the time. Check out the Libra Gambit overview in the Gambits section for more information (linked below):
Gambits Section
How to set up a Gambit that keeps Libra active on one of your party members at all times, revealing hidden traps on the ground before you step on them.
Platform 1 – East Tanks
In The Zodiac Age version of the game, both the map of the Ogir-Yensa Sandsea and the map of the Nam-Yensa Sandsea are located at the top of the first platform. You should also search the area to the right of the first platform on the ground for a treasure chest that contains the ![]() Infuse Technick.
Infuse Technick.
This opening area of the zone is another location where you can do some quick power leveling / grinding and farm for loot to get some quick Gil. The Alraune enemies (that look like small, walking tomatoes) drop ![]() Succulent Fruit loot which can be sold for 363 Gil. You can build up a big chain in this area to get a large stack of Succulent Fruit to sell very quickly.
Succulent Fruit loot which can be sold for 363 Gil. You can build up a big chain in this area to get a large stack of Succulent Fruit to sell very quickly.
Travel as far as the top of the large structure before leaving the zone and then travel back to the Save Crystal and past it into the next zone. Traveling two zones away will reset the Alraune enemies on Platform 1 – East Tanks. Just make sure that you do not touch the Save Crystal in the Western Divide zone as this will reset your enemy chain.
Check out the video below for a demonstration of how to do this. Scroll lower for the Zodiac Age version.
A video of this technique in the Zodiac Age version is included below.
Make sure you grab the treasure chest at the top of the platform that contains ![]() Sleep Magick and then travel up the tanks and take the platform west into the next area.
Sleep Magick and then travel up the tanks and take the platform west into the next area.
Platform 1 - Refinery
Another quick cutscene will take place as you enter the Refinery. Basch and Vaan will have a short discussion about the refinery, the Rozarrians and their battle with Archadia. Vossler will appear behind the party and will once again join the team as a guest.
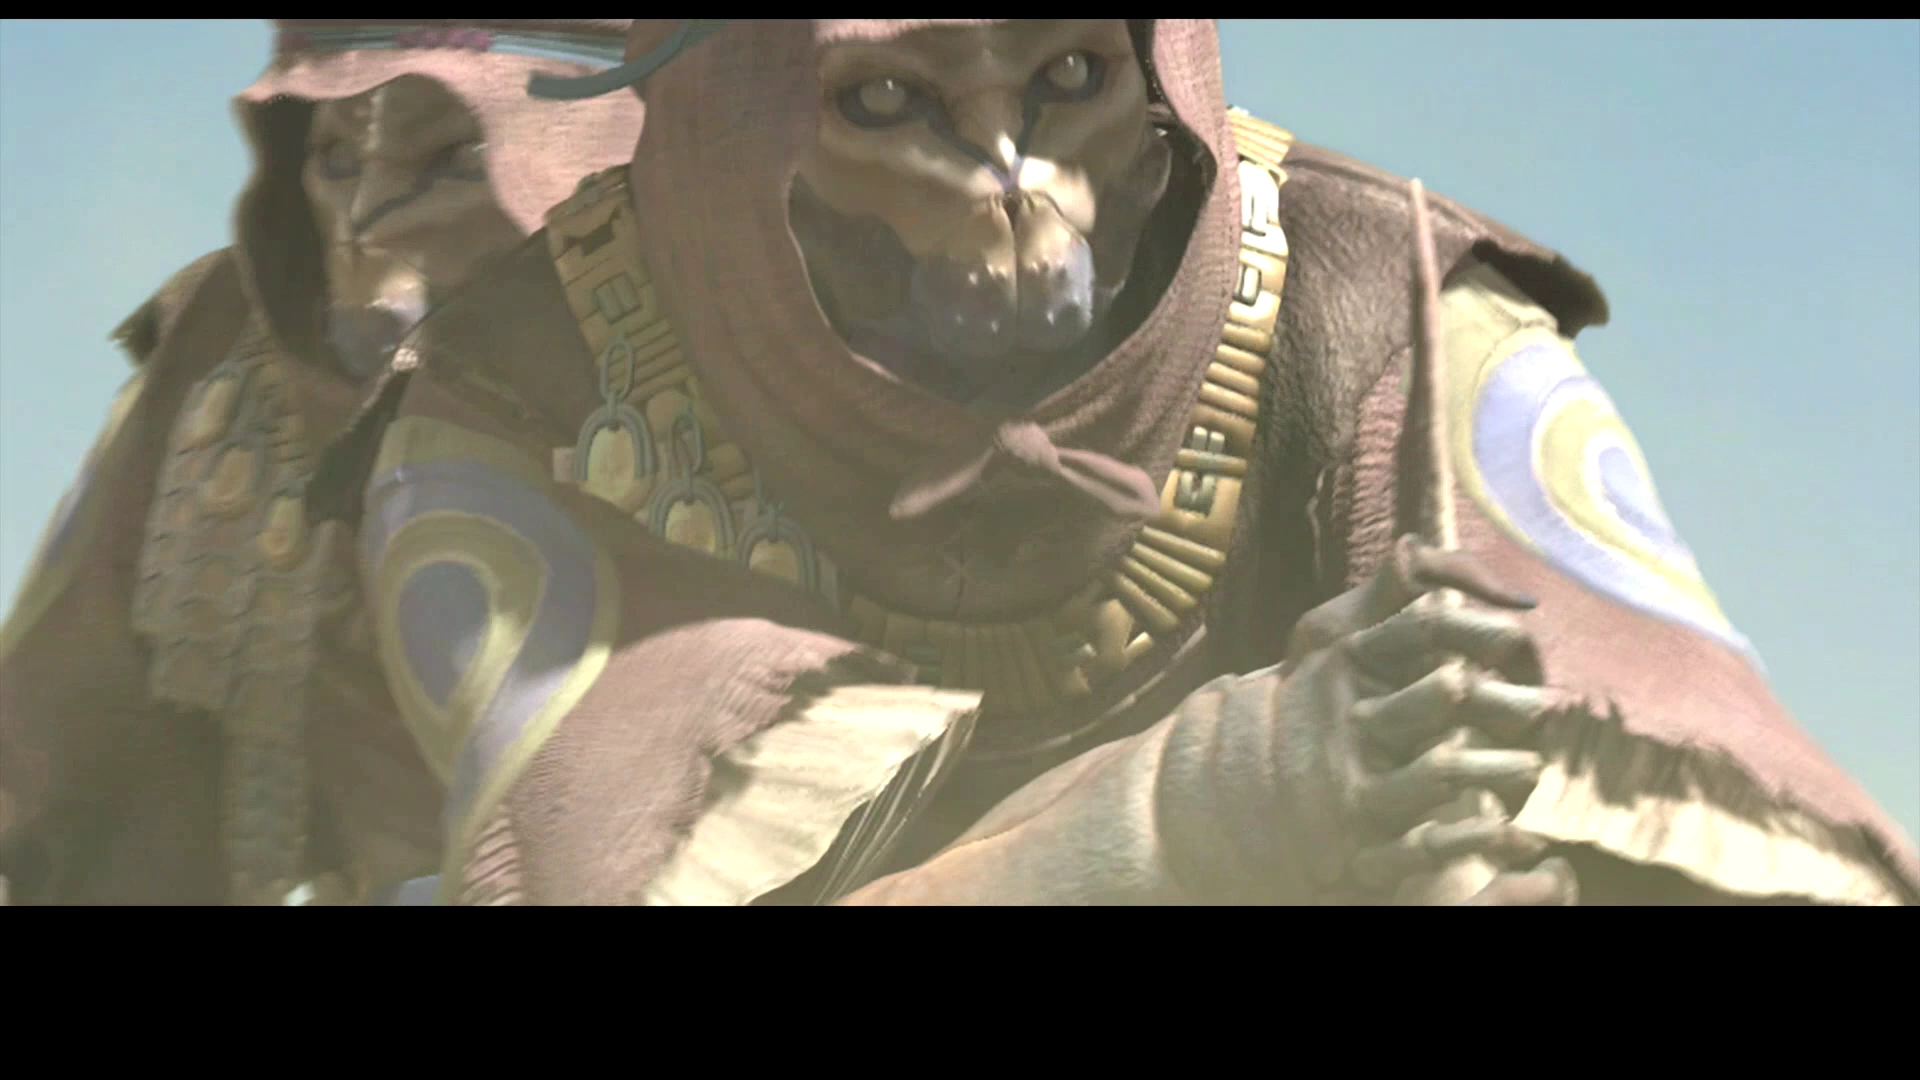
There is also a video of the Urutan-Yensa traveling through the area. You would think with the way that Balthier and Fran panic that they are extremely difficult to defeat, but they are actually quite easy.
Travel over to the platform to the west once you take the ramp back down into the sand. You will find an Urn which contains the map of the Ogir-Yensa Sandsea at the top of the platform (again, unless you are playing the Zodiac Age version of the game, in which case you would have found it earlier). Continue westward until you reach the platform that splits into three different pathways.
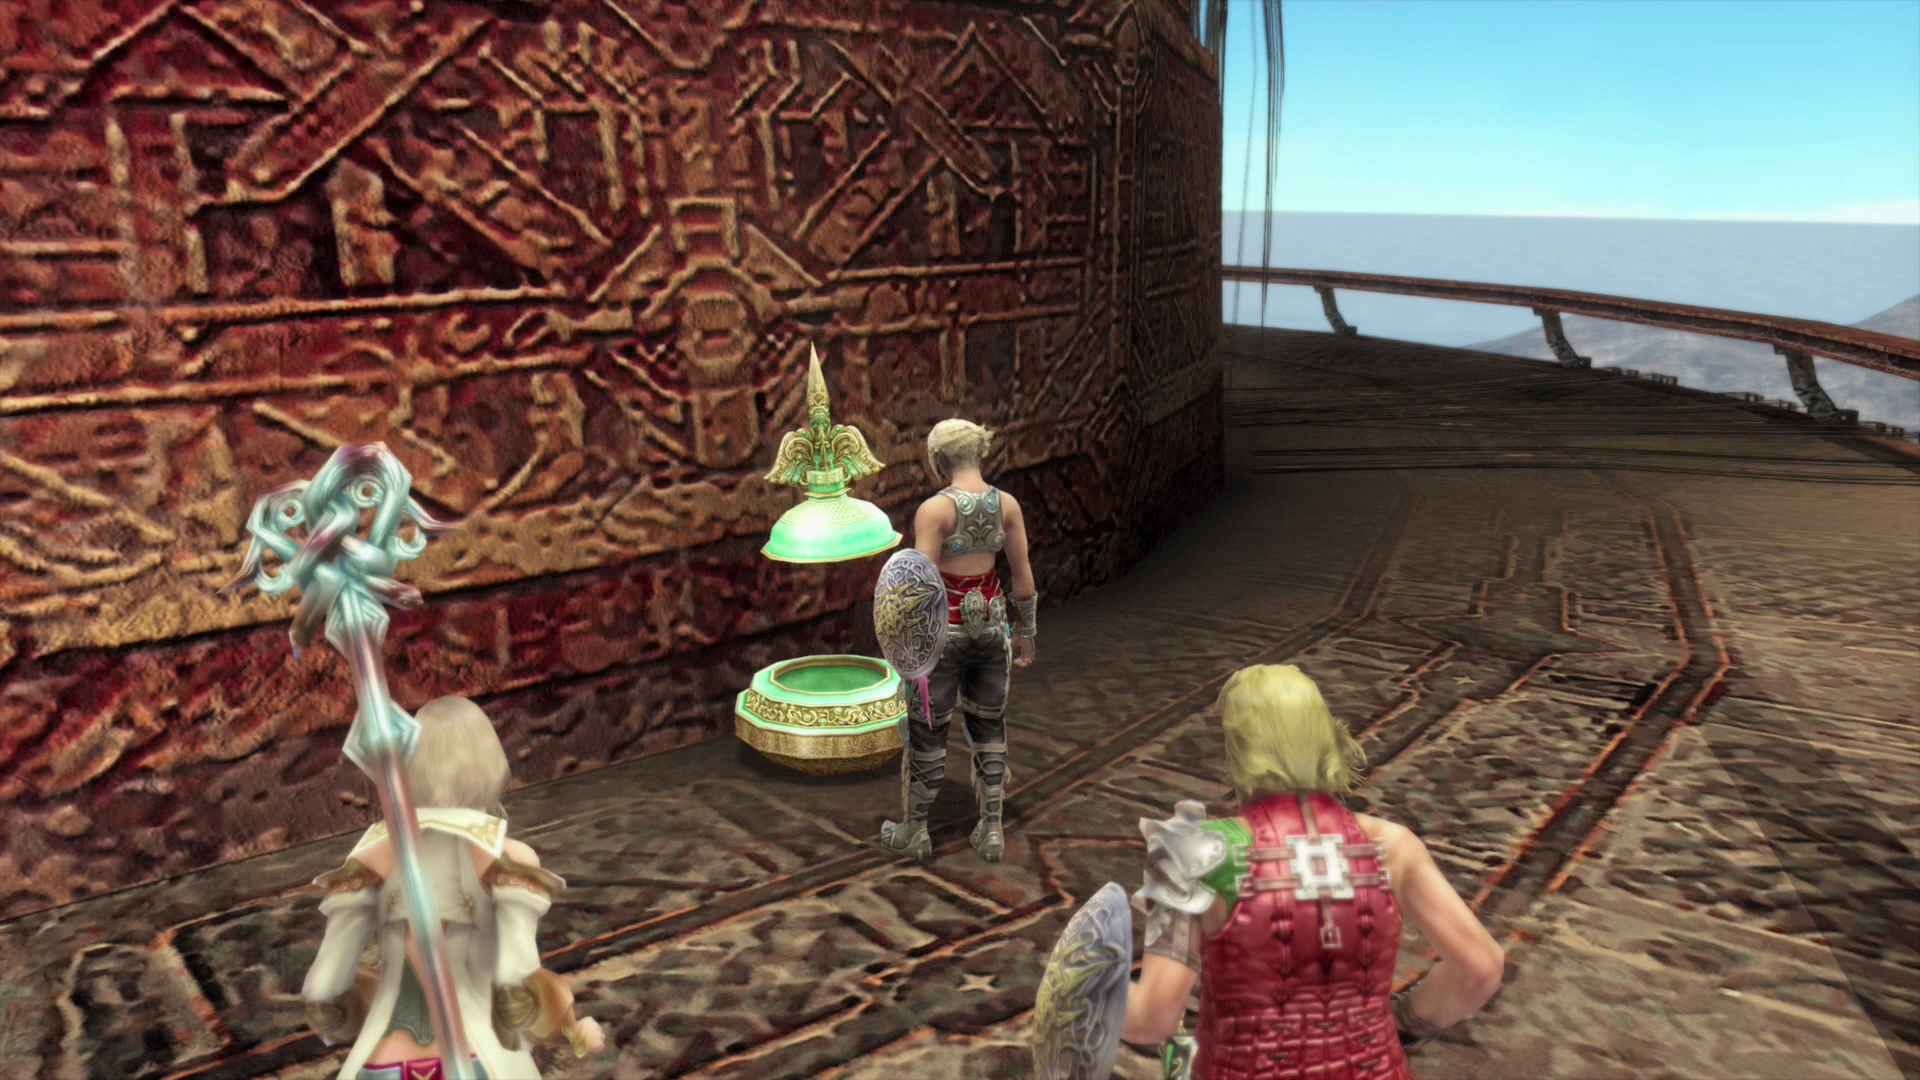
There is a treasure chest at the top of the large oil structure on the northeast side of the zone that contains a ![]() Golden Amulet. Make sure you grab it before you leave the area.
Golden Amulet. Make sure you grab it before you leave the area.
You can actually take all three pathways in order to reach the Nam-Yensa Sandsea and there are two pathways that can be used to continue eastward (as can be seen on the map below).
You need to make your way to Platform 2 – Refinery to enter Nam-Yensa from there, not the Yensa Border Tunnel to the south. They both eventually lead to the same area but there is a short side quest that you can do if you take the northernmost pathway into Nam-Yensa.
There are also several pathways in the Sandsea that lead to the Zertinan Caverns. These Caverns contain some fairly difficult enemies, even if you are over level 20, so it is recommended that you avoid them for now.
Make sure you travel to the northwest section of the zone to find another treasure chest that contains ![]() Reflect Magick.
Reflect Magick.
Altogether, there are four pieces of loot that you should obtain before leaving the area and they are marked by numbers in the map below:
Take the pathway leading directly west to the “Central Junction” if you prefer to take the shortest route. You can also take the pathway leading southwest to the “Platform 1 – South Tanks” area, go through the “South Tank Approach” and into the “Yensa Border Tunnel” to purchase any items you may require.
As mentioned above though, use the northern passageway to enter the Nam-Yensa Sandsea.
Ogir-Yensa Sandsea Map

Navigate to the next walkthrough page once you have reached the entrance to the Nam-Yensa Sandsea coming from the “Platform 2 - Refinery.”