
Mt. Gagazet
The Mt. Gagazet portion of the game takes place after the team has traveled through the Calm Lands.
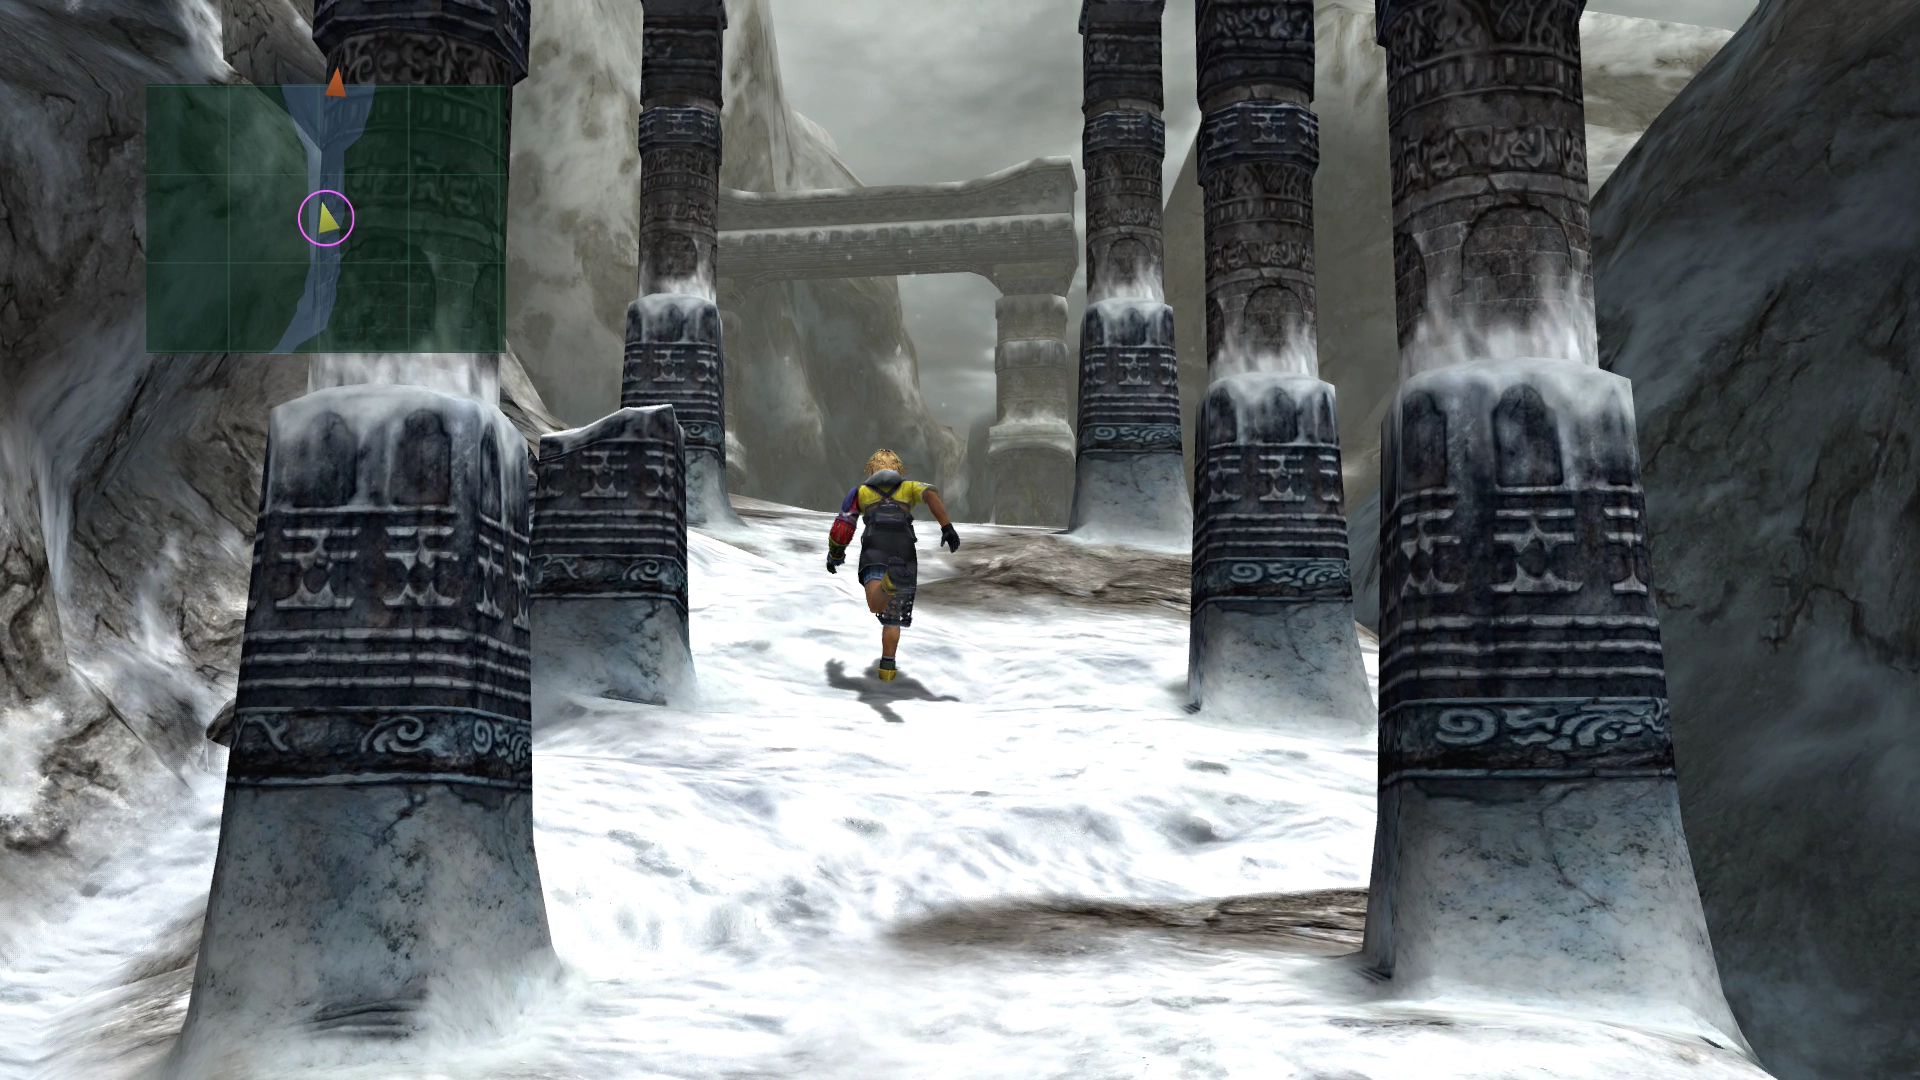
Gagazet - Mountain Gate
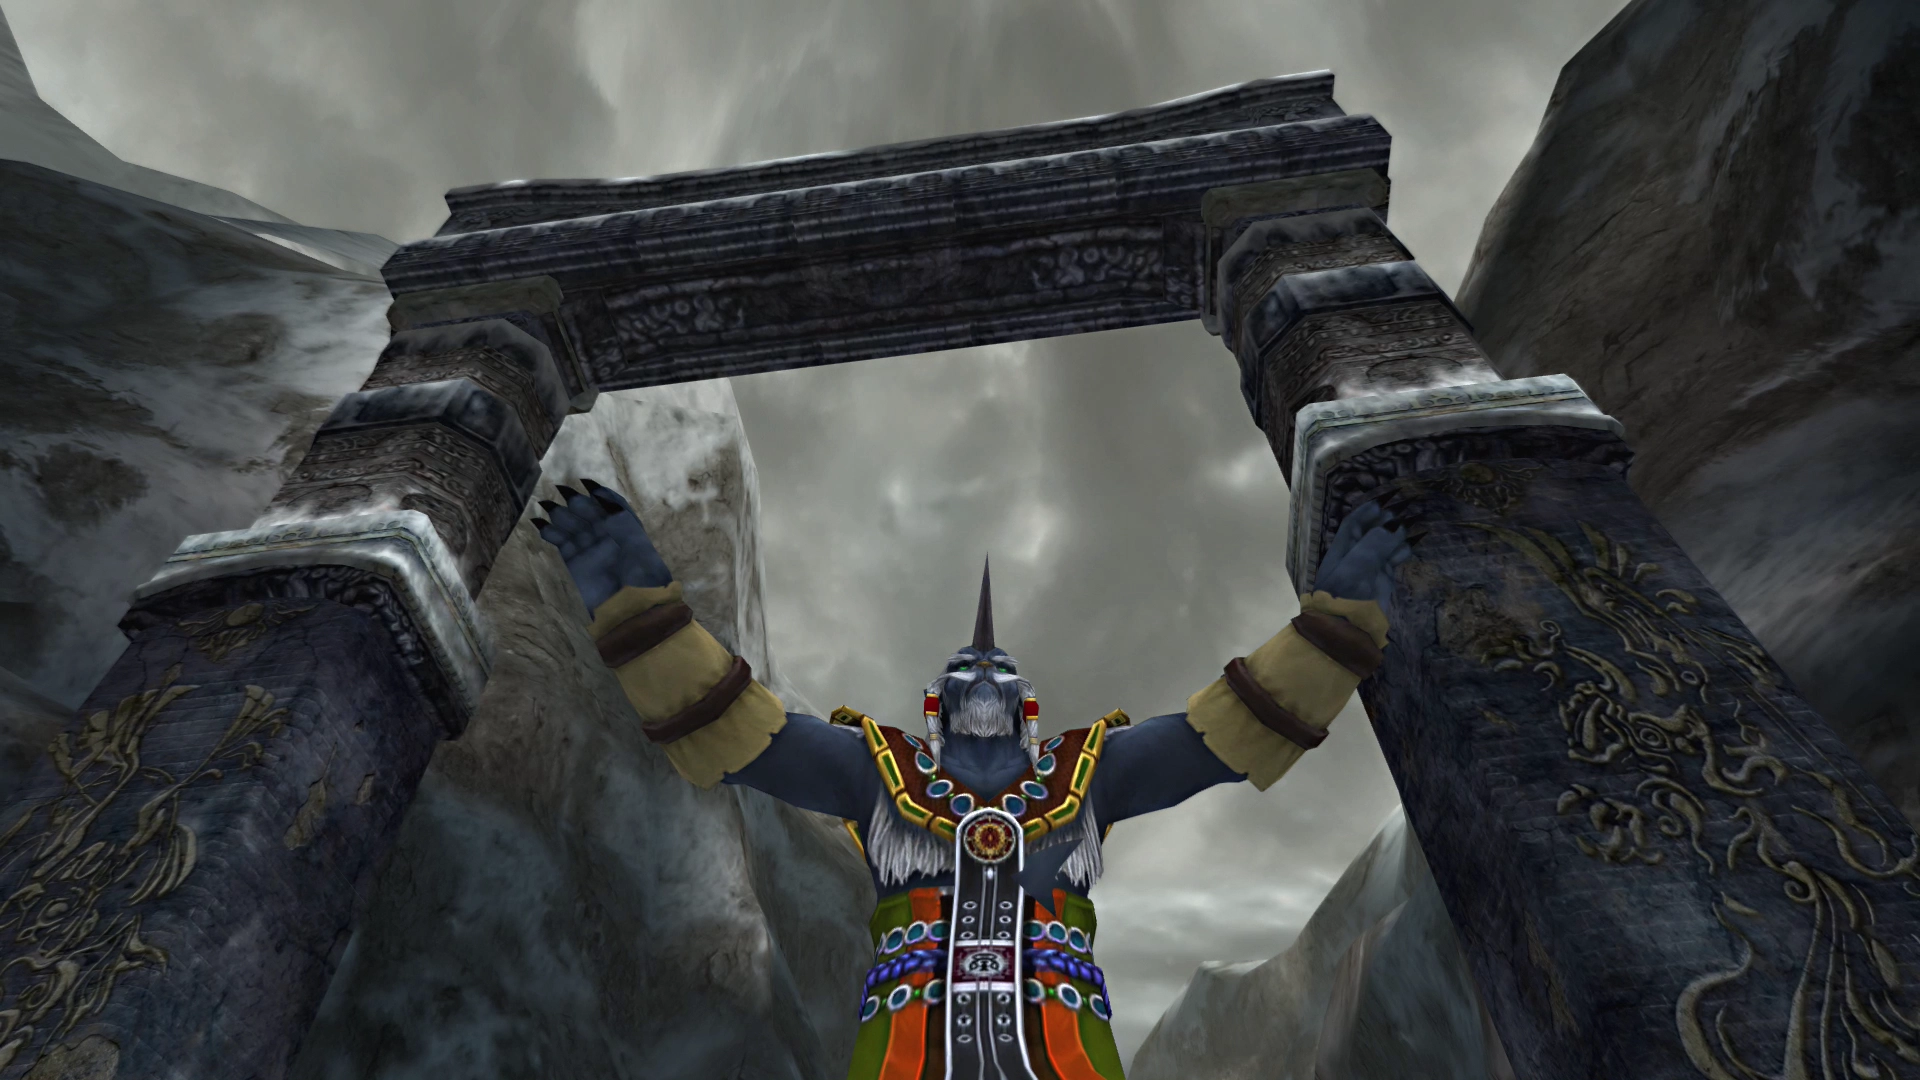
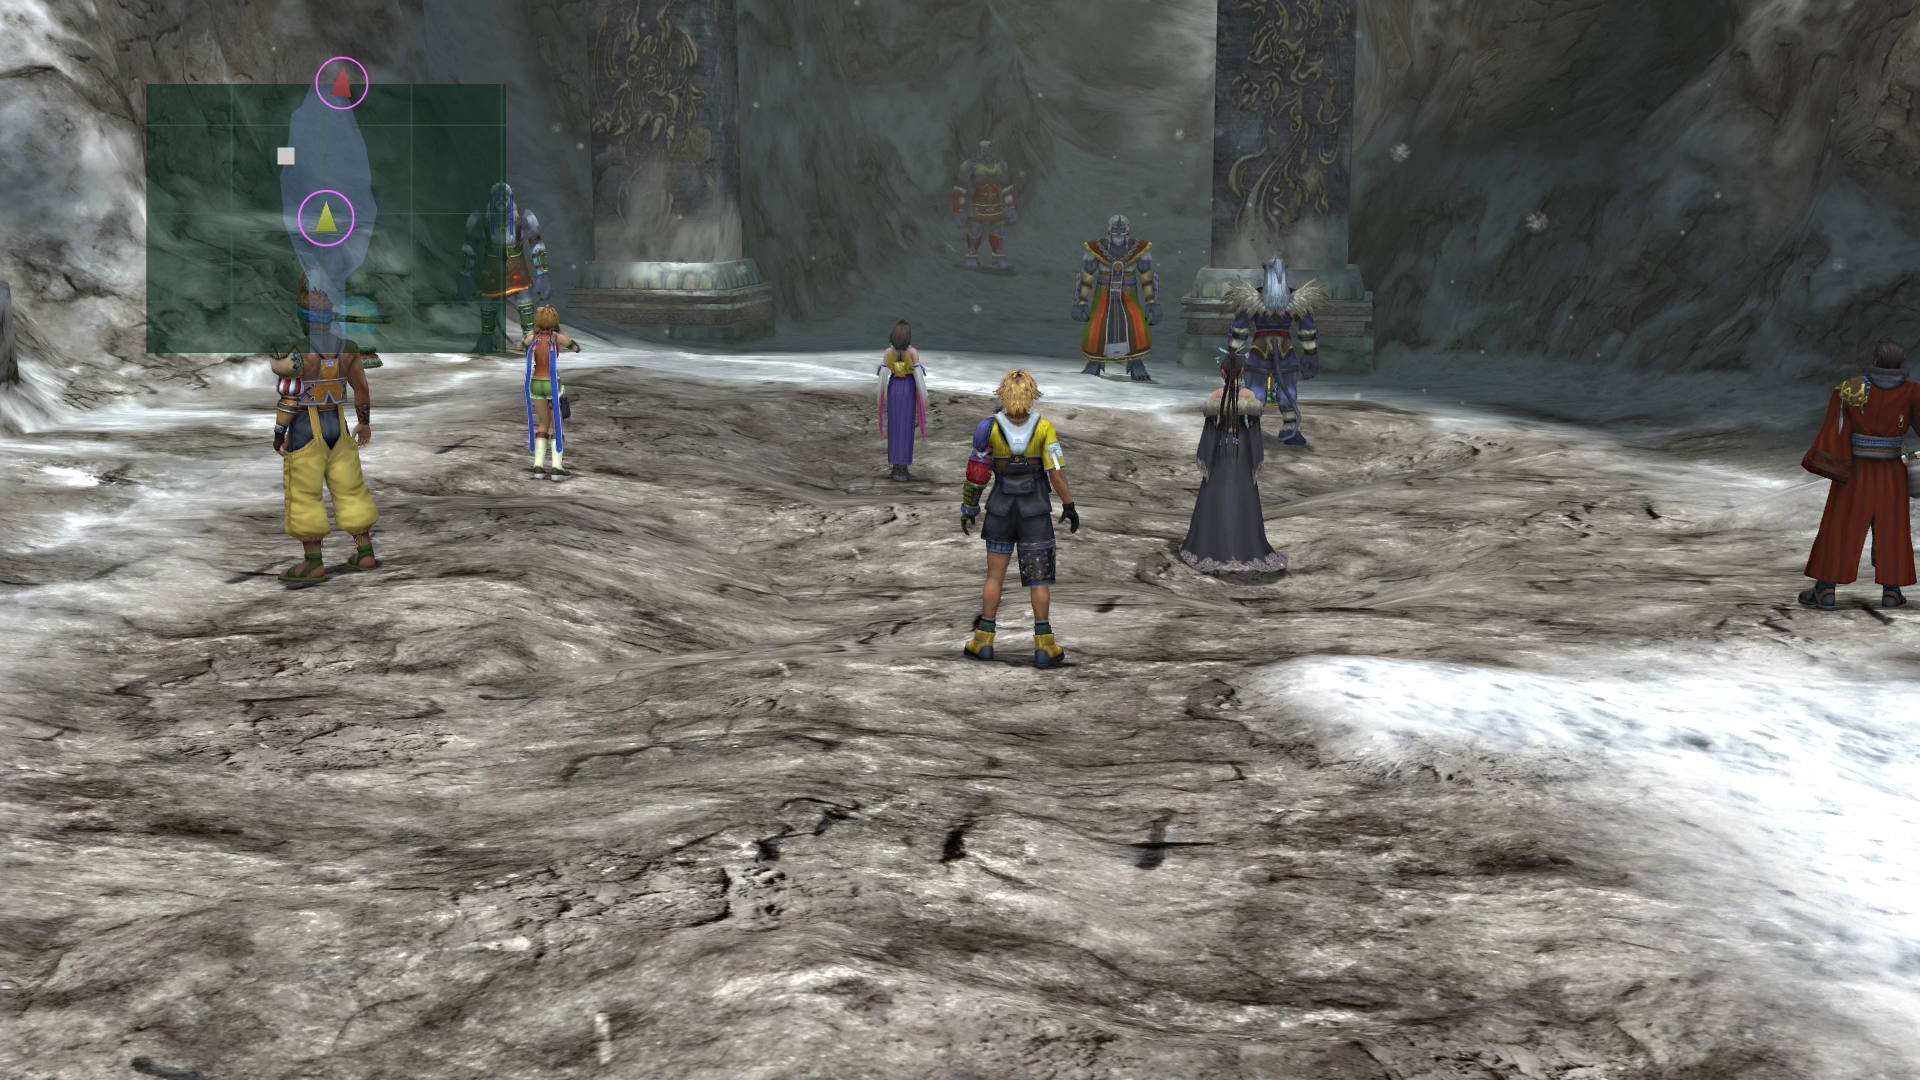
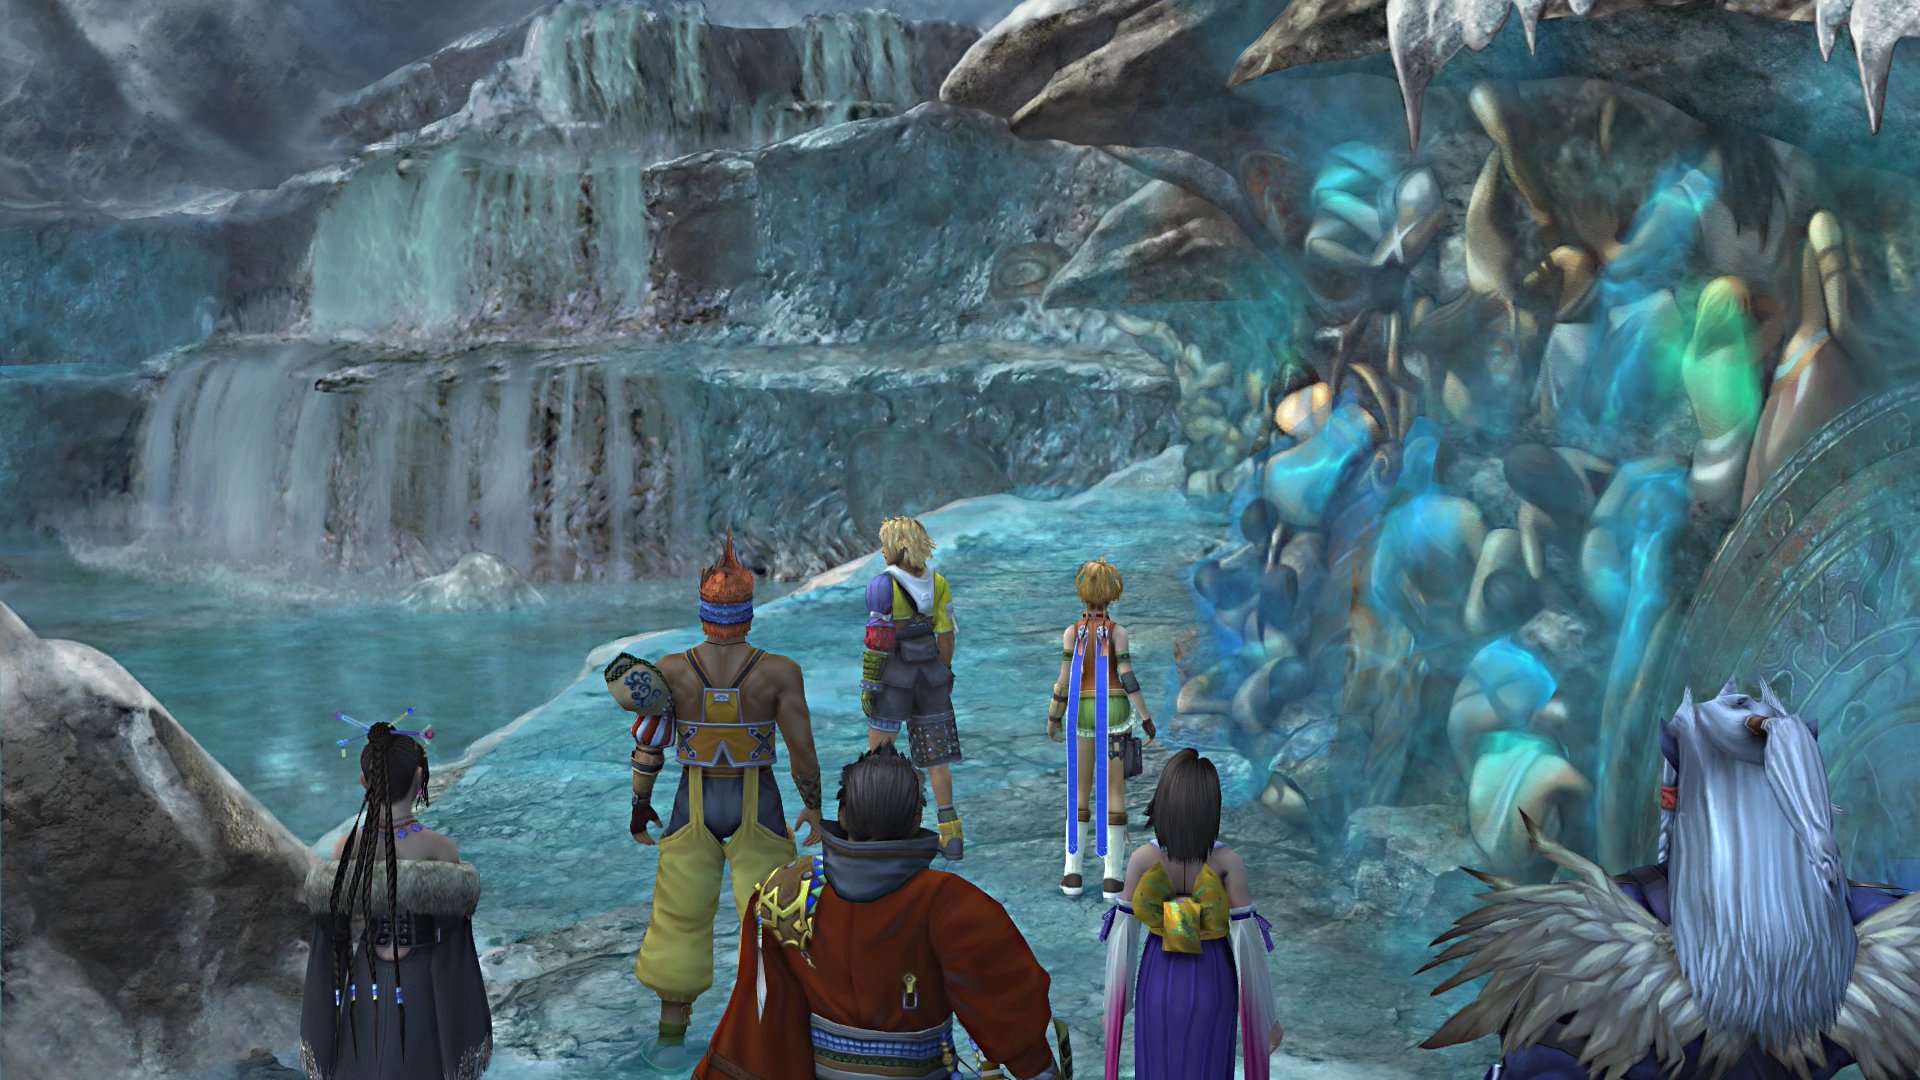
There are a few more cutscenes once you work your way up the pathway towards Mt. Gagazet. The first cutscene involves Lord Kelk Ronso and the other Ronso of Mt. Gagazet attempting to prevent the traitorous team from entering the mountain.
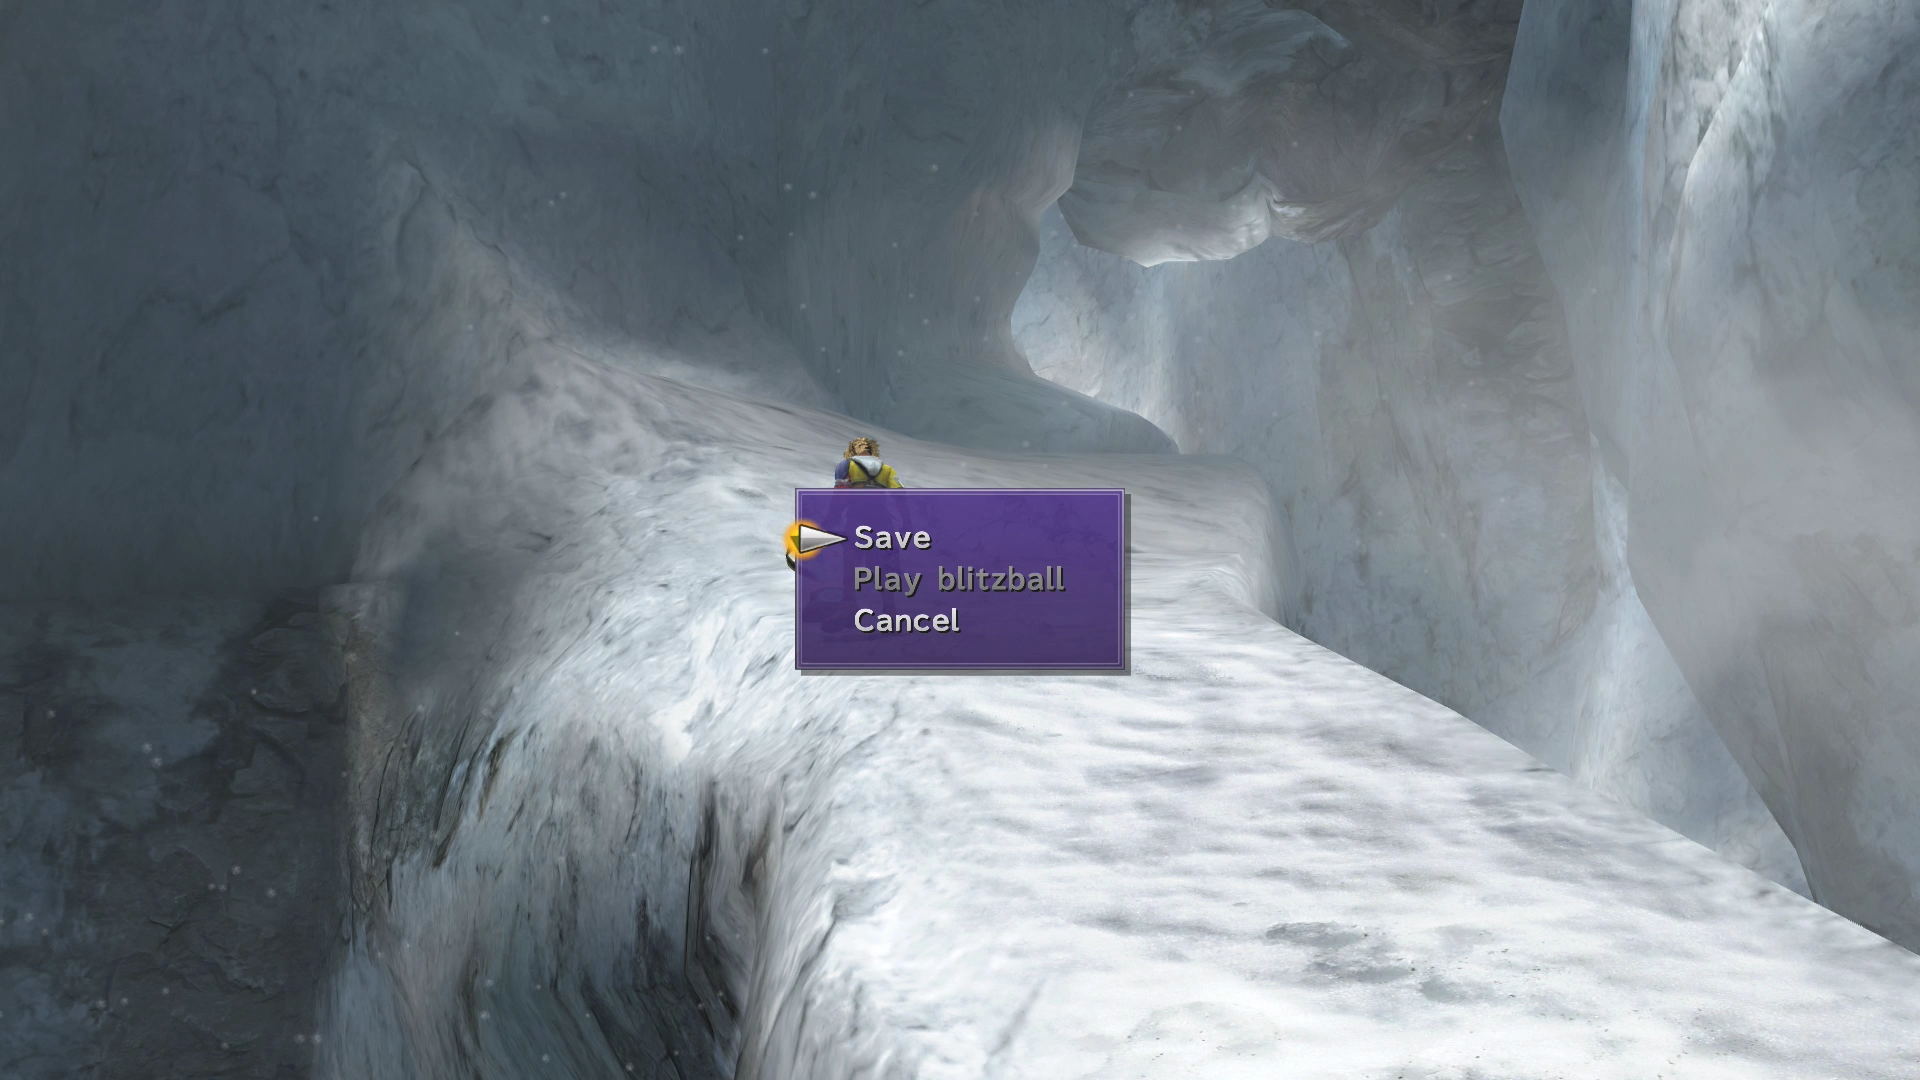
Once the scene has concluded, you will have access to the ![]() Save Sphere. Save your game before you continue.
Save Sphere. Save your game before you continue.
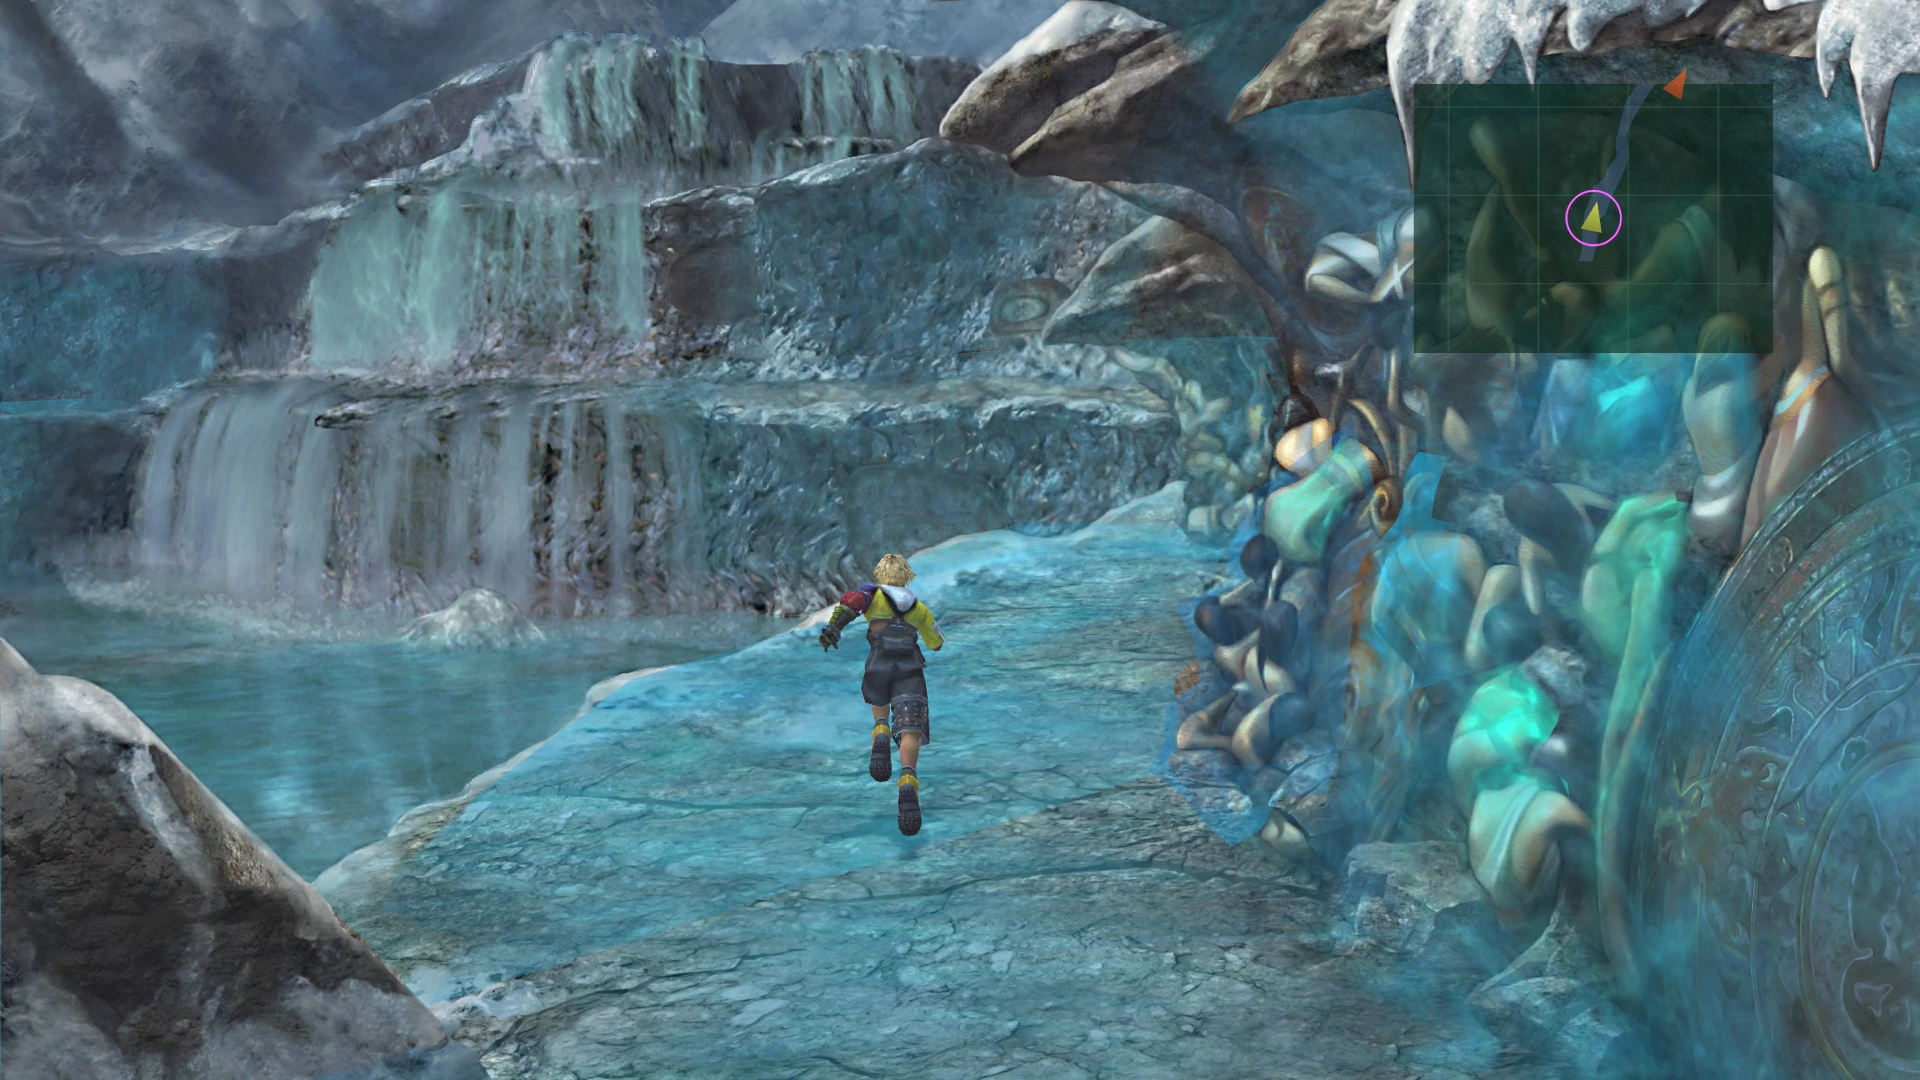
Mountain Gate Map


One last reminder… There is an upcoming fight in the next area of Mt. Gagazet with only Kimahri participating. This fight can be challenging if you have not been using Kimahri as a core member of your team and if you have not been leveling up his Sphere Grid.
You may want to take this time to backtrack and fight some random battles with Kimahri, either in the Cavern of the Stolen Fayth or back in the Calm Lands.
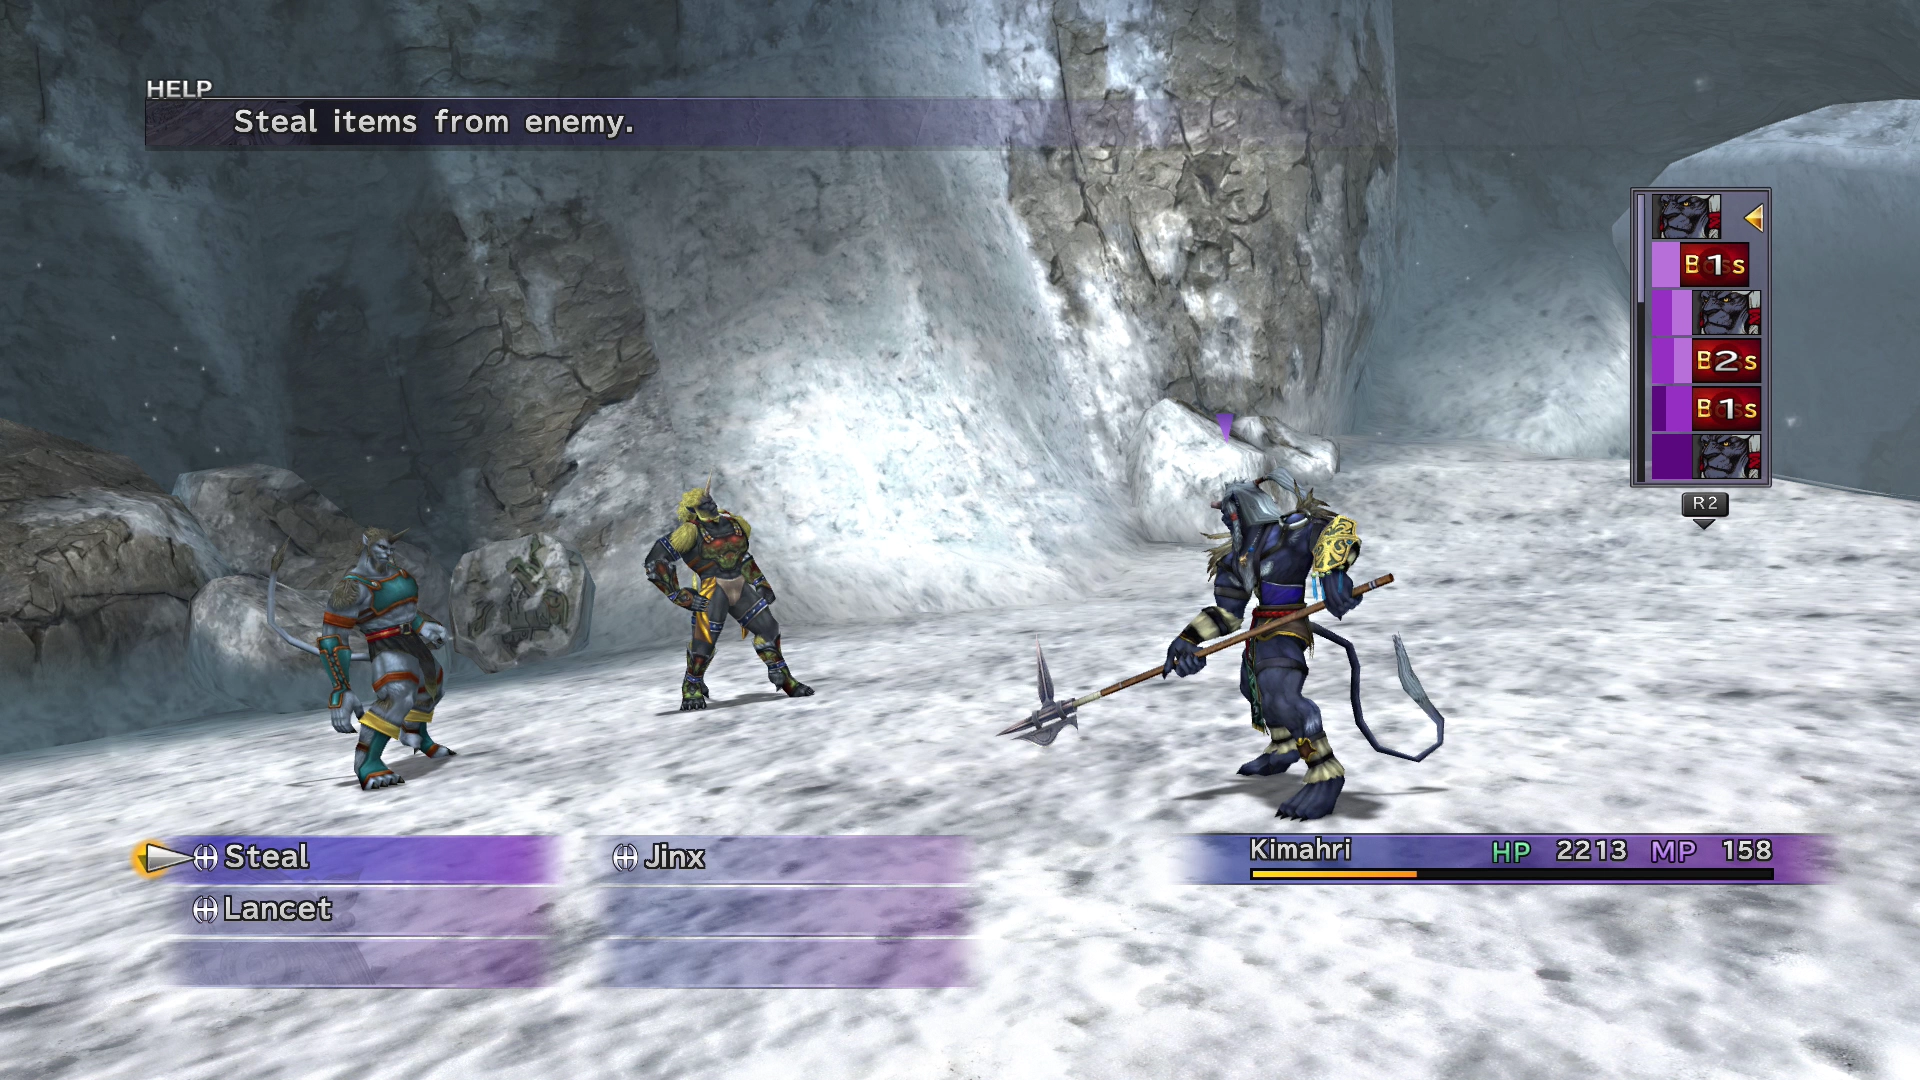
You should also make sure that Kimahri has learned either the ![]() Steal command or the
Steal command or the ![]() Mug ability before you continue. You can do this by either using a
Mug ability before you continue. You can do this by either using a ![]() Special Sphere to teach him the Steal command or you can use a
Special Sphere to teach him the Steal command or you can use a ![]() Skill Sphere to teach him the Mug command (assuming that Rikku has already learned this ability).
Skill Sphere to teach him the Mug command (assuming that Rikku has already learned this ability).
You can steal up to eight ![]() Lv. 3 Key Spheres from Biran and Yenke, depending on how lucky you get. The rewards from this fight are one of the very few places where you can obtain the rare Spheres, so it is highly recommended that you have Kimahri learn to
Lv. 3 Key Spheres from Biran and Yenke, depending on how lucky you get. The rewards from this fight are one of the very few places where you can obtain the rare Spheres, so it is highly recommended that you have Kimahri learn to ![]() Steal or
Steal or ![]() Mug.
Mug.
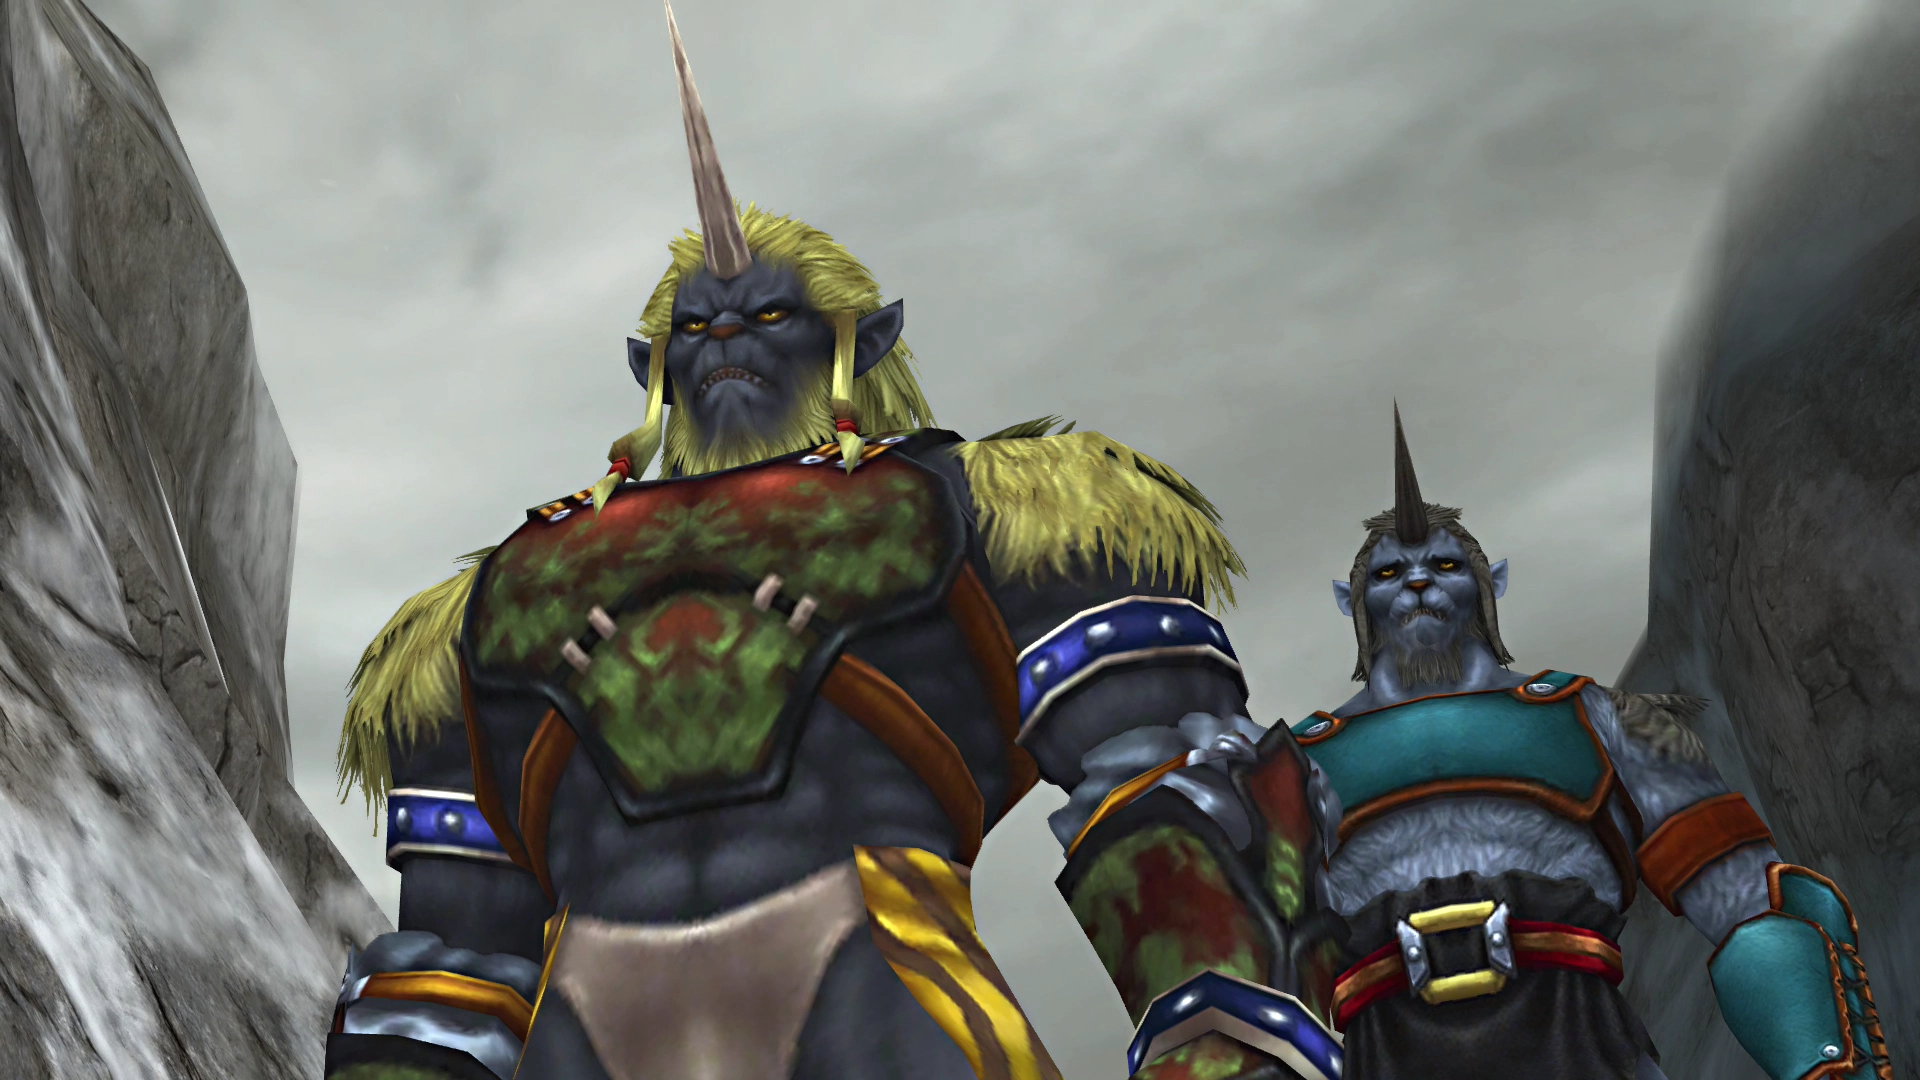
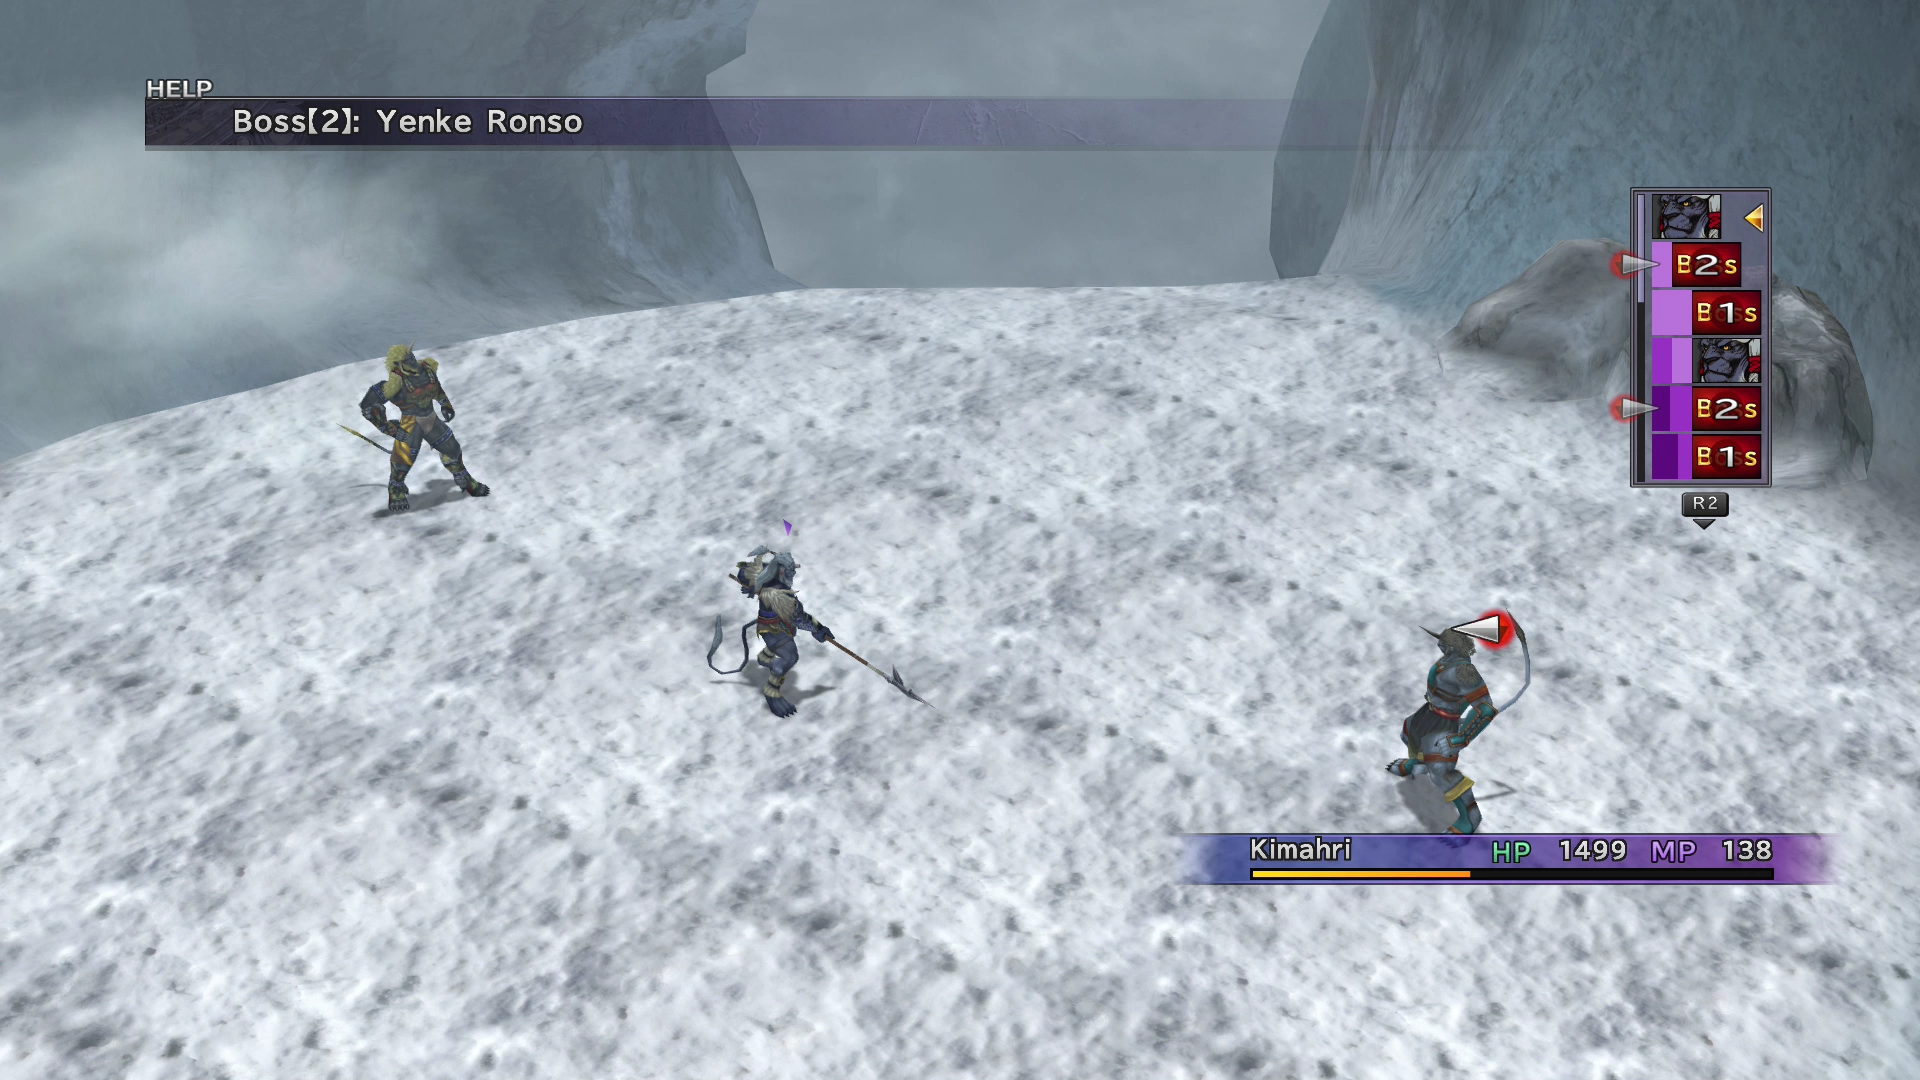
Boss Battle
In Game Description of Biran Ronso: Blocks attacks on Yenke with Guard, except when separated after performing a Bulldoze. Casts Mighty Guard just once after losing HP. Kimahri can learn many techniques.
In Game Description of Yenke Ronso: Blocks attacks on Biran with Guard, except when separated after performing a Bulldoze. Casts “White Wind” just once after losing HP. Kimahri can learn many techniques.

HP: Varies based on your level.
Biran and Yenke both have several ![]() Lancet abilities that Kimahri can learn from both of them:
Lancet abilities that Kimahri can learn from both of them:
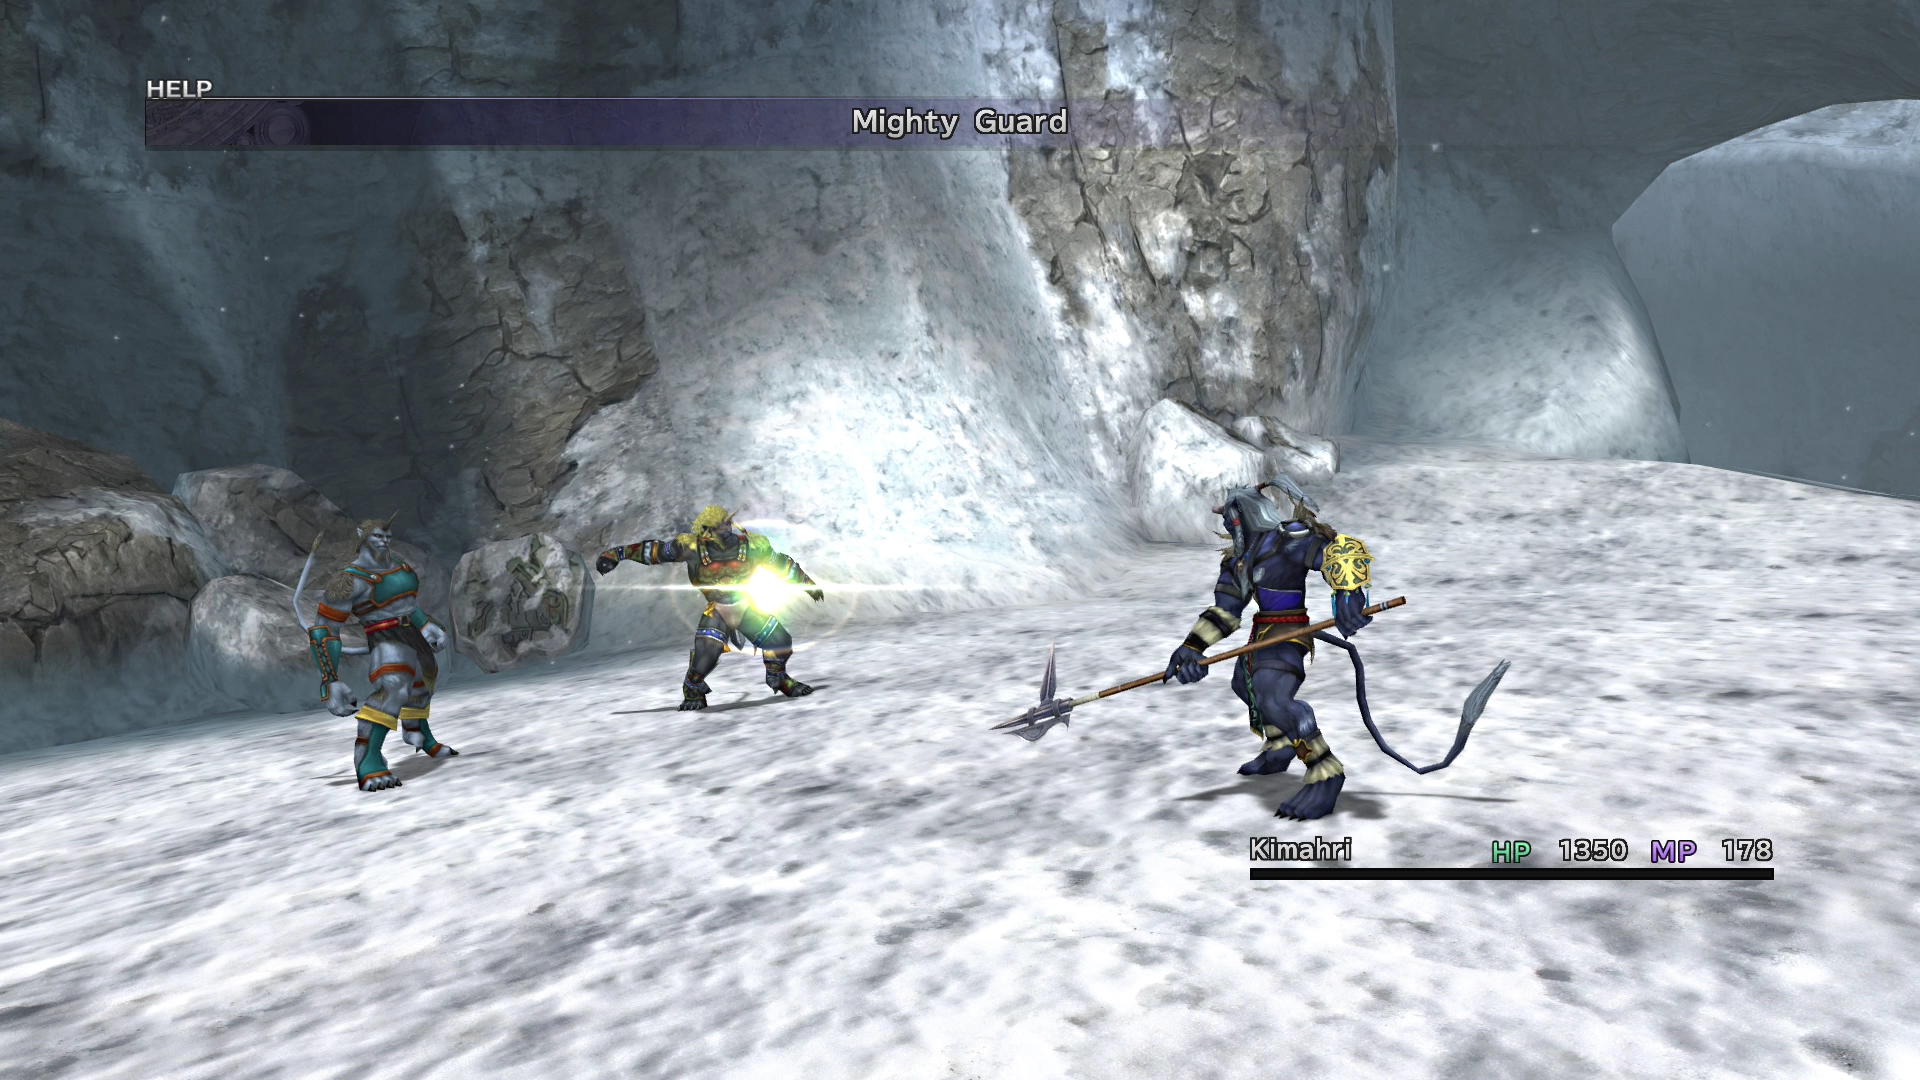
Biran: “Thrust Kick,” “Self-Destruct,” “Doom,” and “Mighty Guard” (after he has used it once)
Yenke: “Aqua Breath,” “Stone Breath,” “Fire Breath,” and “White Wind” (after he has used it once)
Use Kimahri’s ![]() Lancet ability to learn any of the abilities that you do not currently have. Check out the Overdrive section for more information on Lancet and Kimahri’s Overdrive ability, Ronso Rage.
Lancet ability to learn any of the abilities that you do not currently have. Check out the Overdrive section for more information on Lancet and Kimahri’s Overdrive ability, Ronso Rage.
All the regular attacks you use against either Biran or Yenke will be ineffective, as they both permanently use the Guard command on one another. Guard causes regular attacks to deal 1⁄4 of their regular damage. Use ![]() Lancet and Ronso Rage after you have picked up all the abilities above to slowly bring them down. The two Ronso will no longer use Guard on one another if they are on opposite sides of Kimahri (after either of them uses the Bulldoze ability).
Lancet and Ronso Rage after you have picked up all the abilities above to slowly bring them down. The two Ronso will no longer use Guard on one another if they are on opposite sides of Kimahri (after either of them uses the Bulldoze ability).
Make sure that you take the opportunity to use the ![]() Steal command or
Steal command or ![]() Mug ability (if you had Kimahri learn either of them before the fight) to steal as many
Mug ability (if you had Kimahri learn either of them before the fight) to steal as many ![]() Lv. 3 Key Spheres as you can.
Lv. 3 Key Spheres as you can.
If you defeat Biran first, Yenke will remain under the Haste status effect for the remainder of the fight. If you defeat Yenke first, Biran will remain under the Berserker status effect. While he is under the Berserk status effect, you will not be able to learn any new abilities from Biran, so make sure that you have picked them all up first before you KO Yenke (if you KO him first).
Steal:
Drops:
 Return Sphere (common)
- Friend Sphere
Return to the ![]() Save Sphere in the previous area and save your game.
Save Sphere in the previous area and save your game.
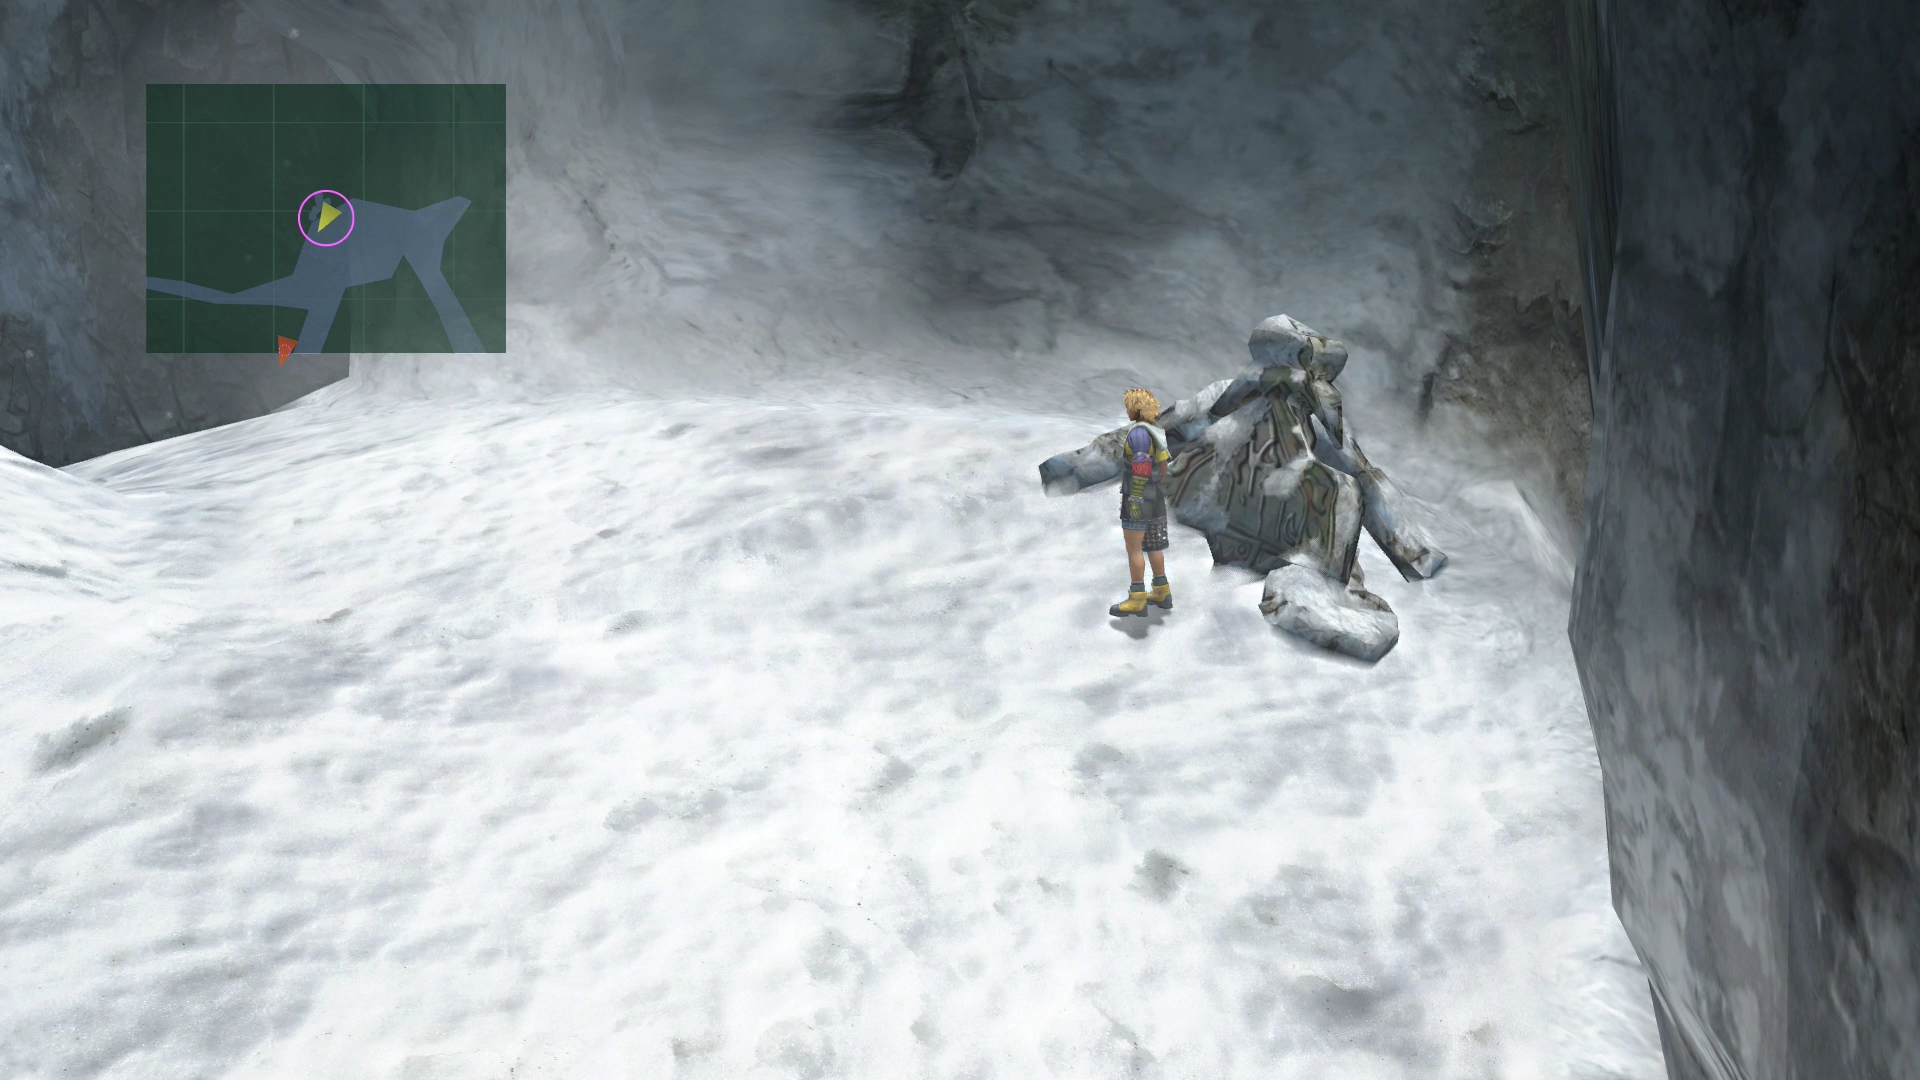
Gagazet - Mountain Trail
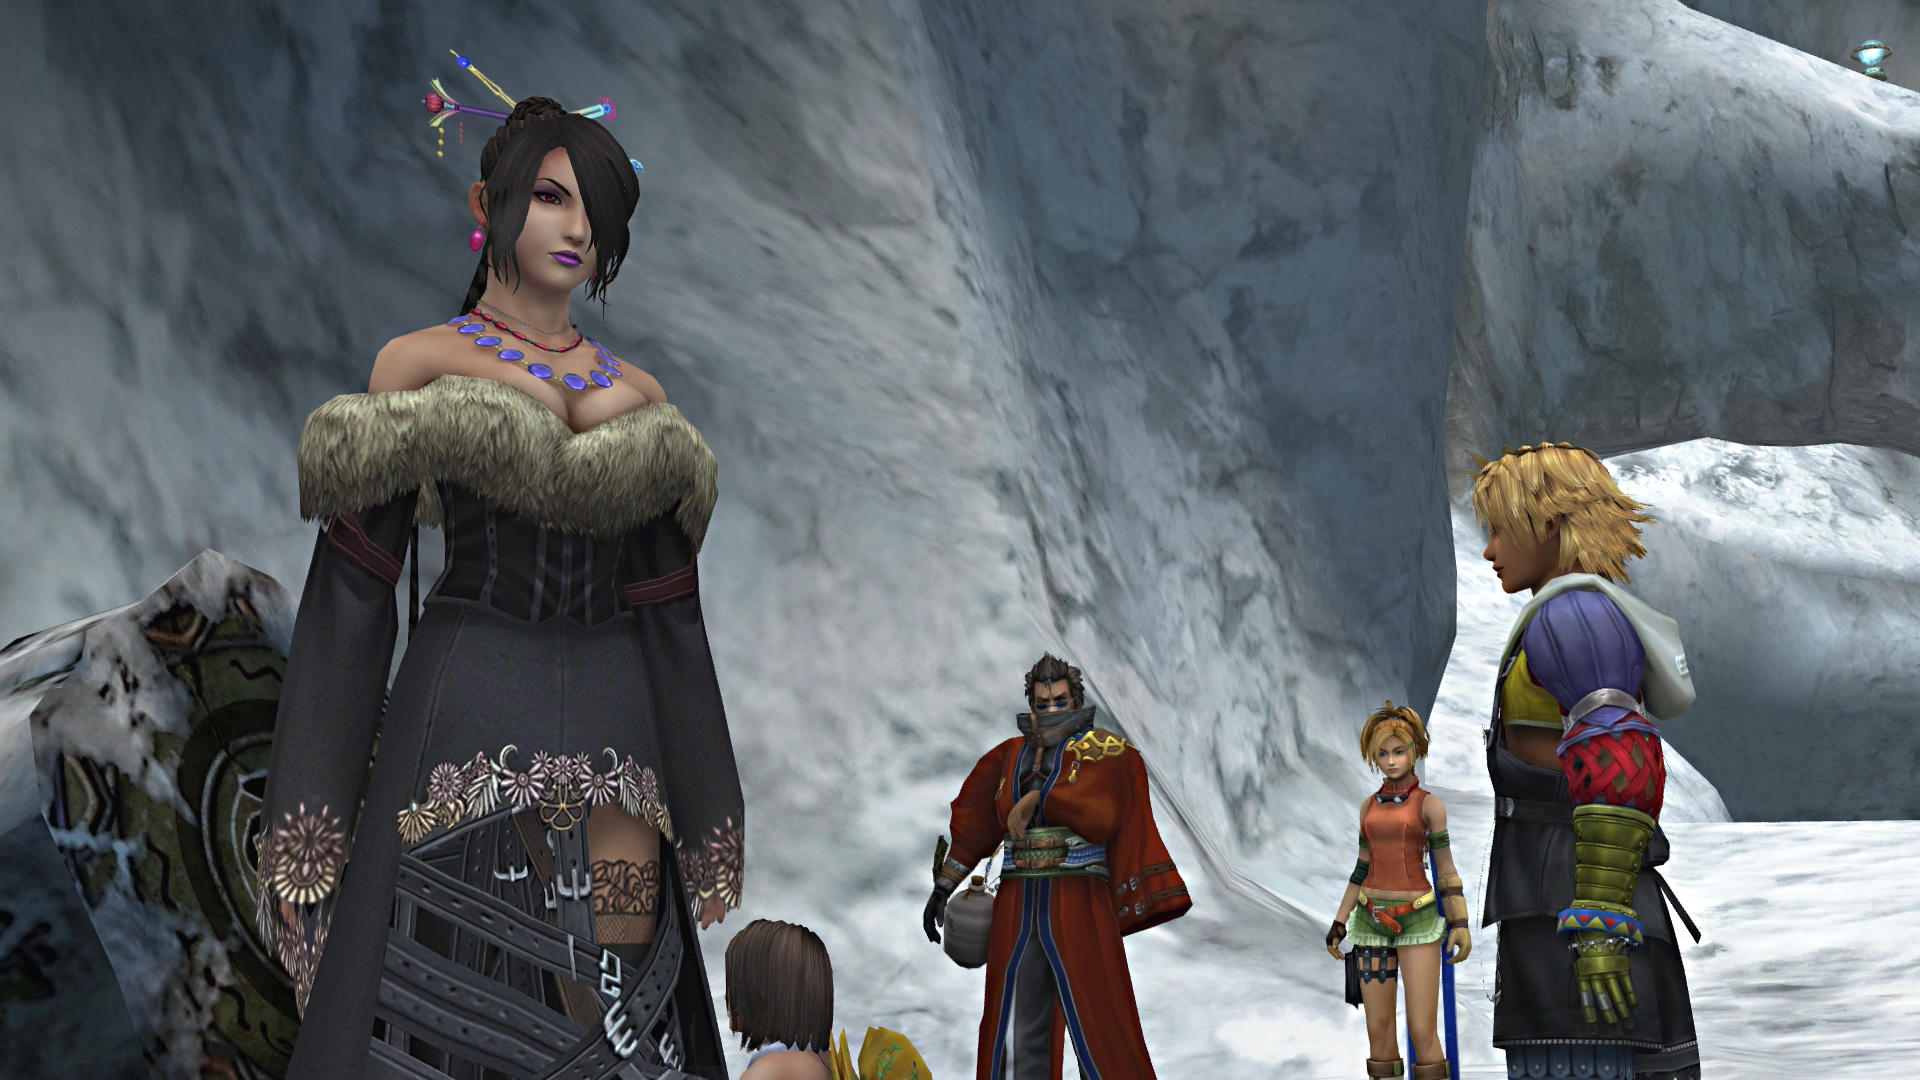
Continue down the pathway for another cutscene. This one involves the Ronso tribe sending Yuna and her guardians off.


Helpful Hint
Try using ![]() Steal on Mech Leader enemies in this area to stock up on
Steal on Mech Leader enemies in this area to stock up on ![]() Frag Grenades and
Frag Grenades and ![]() Lv. 3 Key Spheres. Both are valuable ingredients for the Mix Overdrive, used in recipes such as
Lv. 3 Key Spheres. Both are valuable ingredients for the Mix Overdrive, used in recipes such as ![]() Frag Grenade and
Frag Grenade and ![]() Trio of 9999.
Trio of 9999.
Mountain Trail Map (Part 1)

| 20,000 Gil | |
| 3 | Jecht Sphere |
| 5 | Wantz |
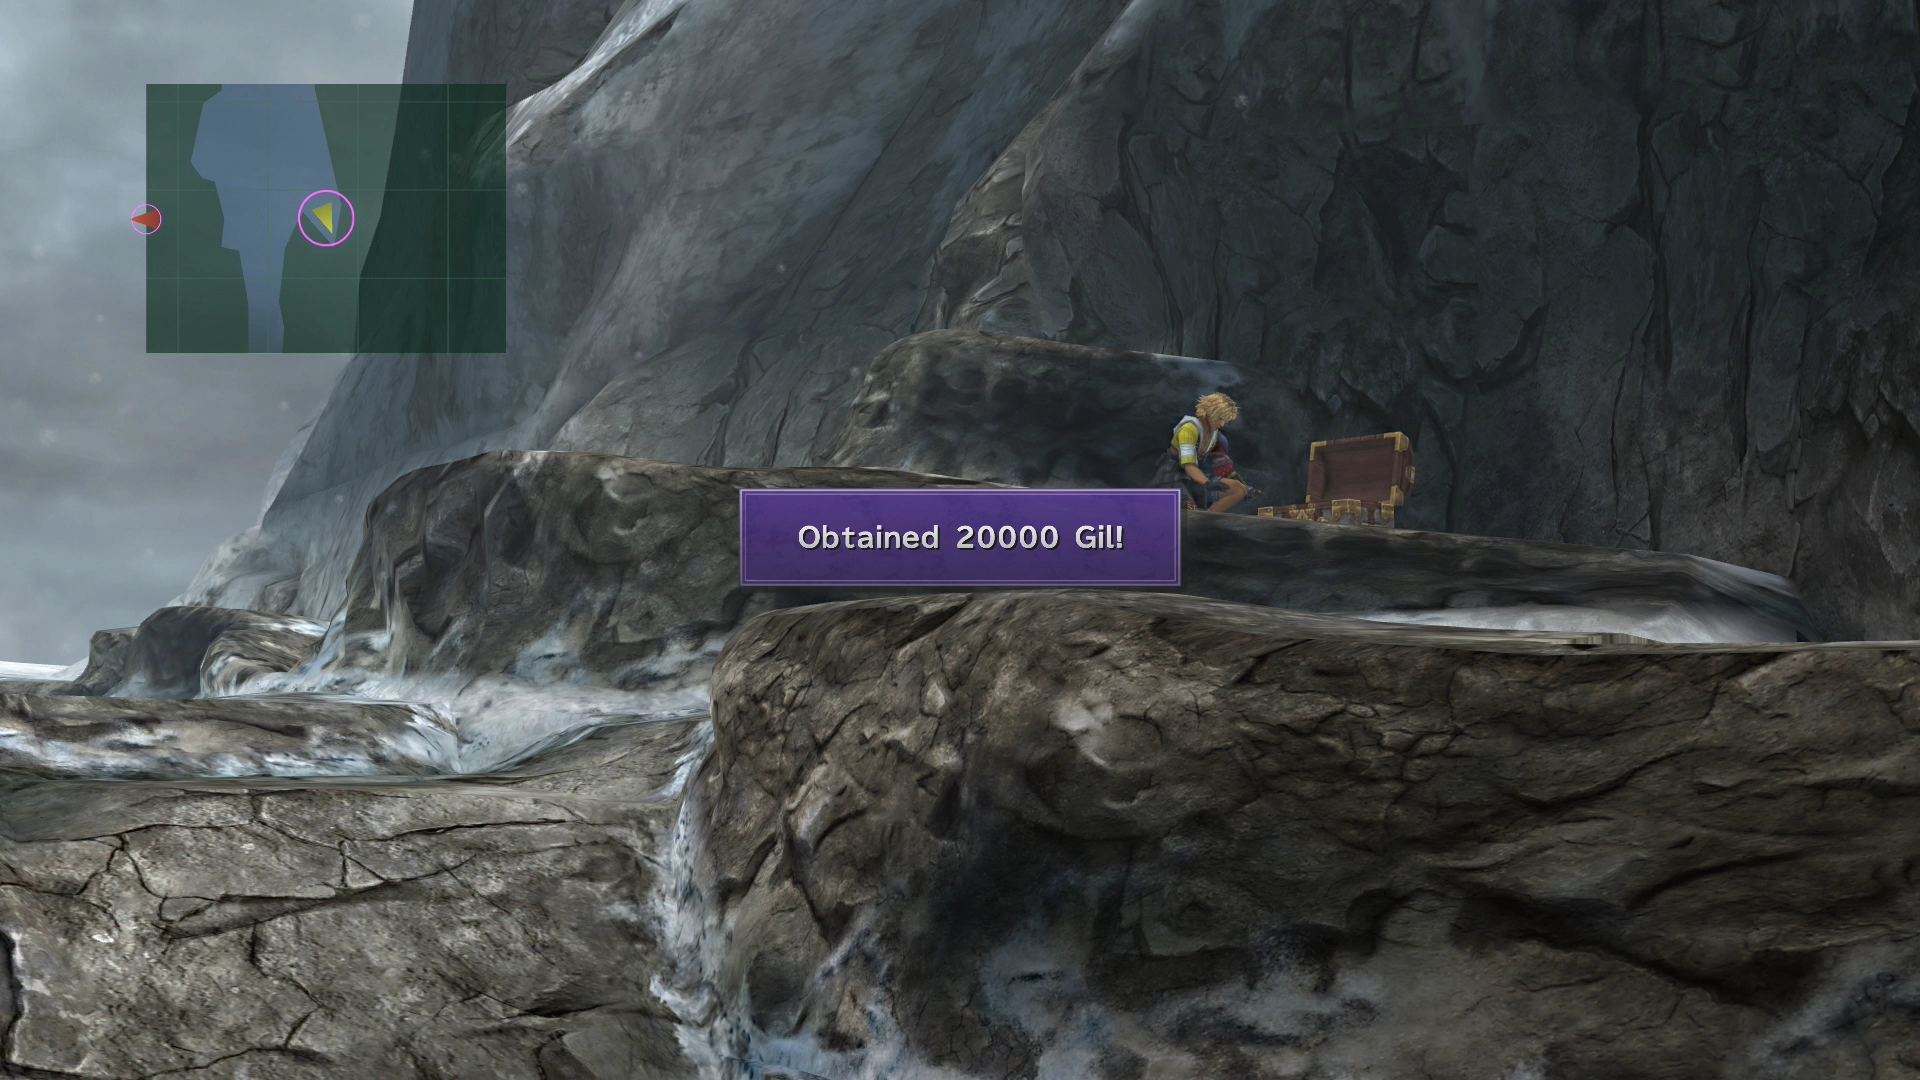
There is a treasure chest just off to the right of the start of the mountain trail. It contains 20,000 Gil.
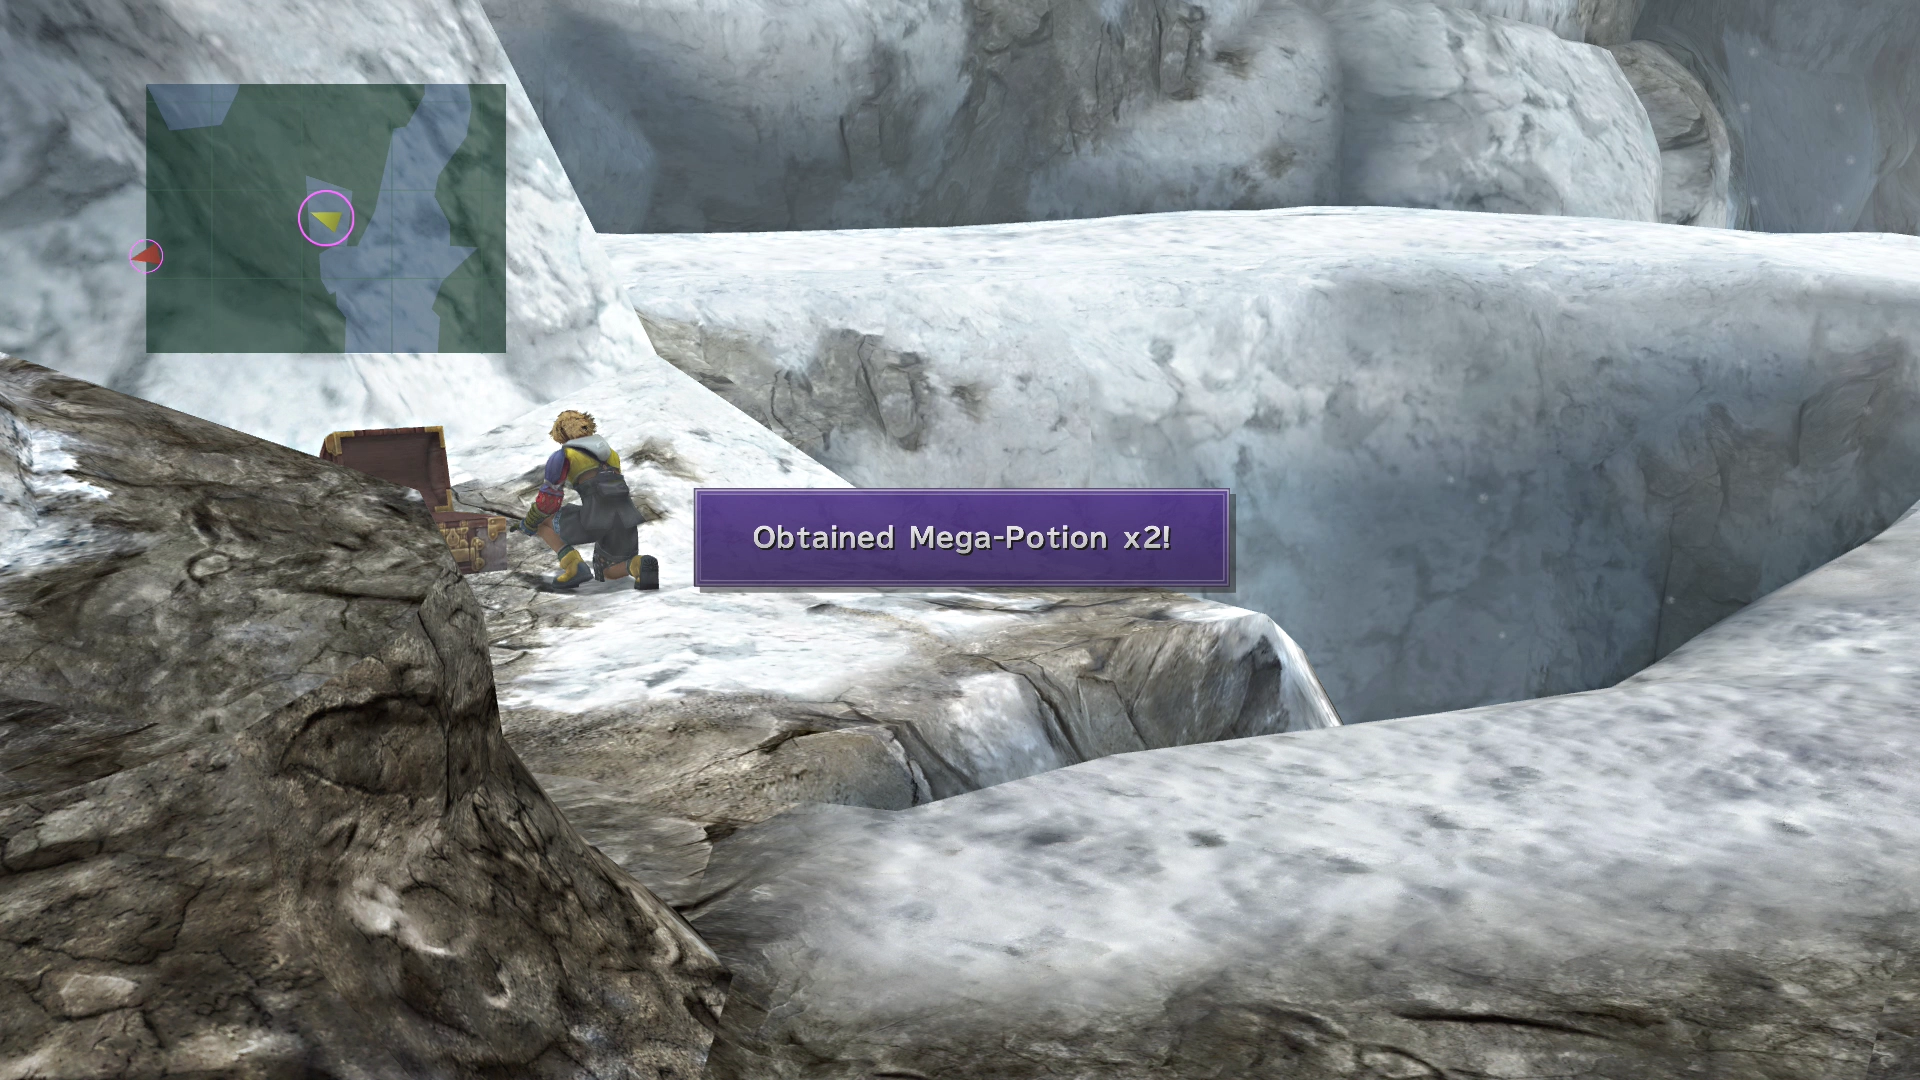
There is a small plateau on the left side with a treasure chest that contains two ![]() Mega-Potions.
Mega-Potions.
Warning
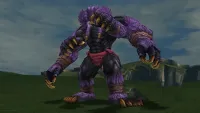
You may run into an enemy called a Bashura in this area (shown in the screenshot below). They can be particularly troublesome once they get their defenses up and use “Psych Up,” as they will start countering all of your attacks.
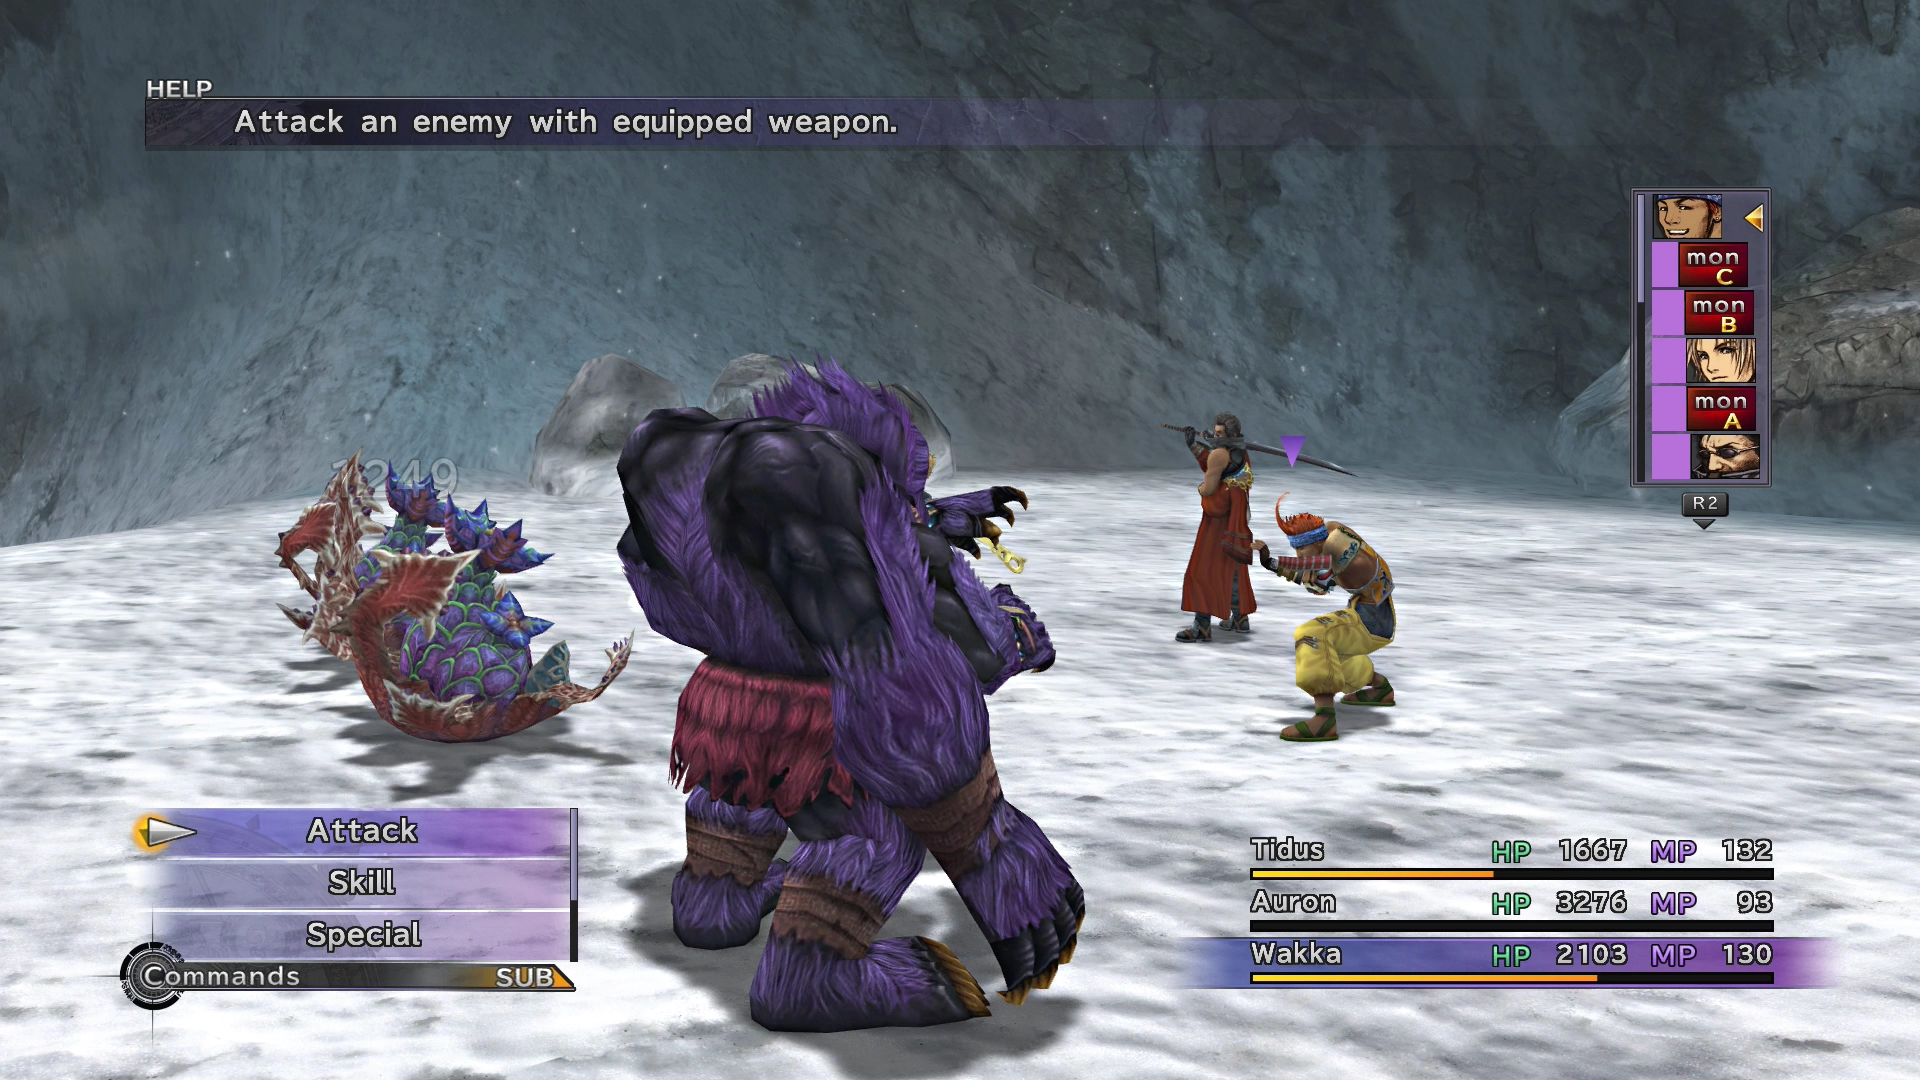
They have a lot of HP (17,000), so a good strategy to use against them is to have a character cast ![]() Bio (Lulu or someone else if they have also learned it). Each ‘tick’ of Bio (each time they have a turn in battle), it will hit them for over 4,000 damage.
Bio (Lulu or someone else if they have also learned it). Each ‘tick’ of Bio (each time they have a turn in battle), it will hit them for over 4,000 damage.
Now it’s time to start making your way down the path. Lulu will tell you about the grave markings as you pass by the first one. Each of them marks the way for guardians who have failed in their pilgrimage. You will have to battle a few fiends after each grave marker as well.
The pathway through Mt. Gagazet is pretty linear.
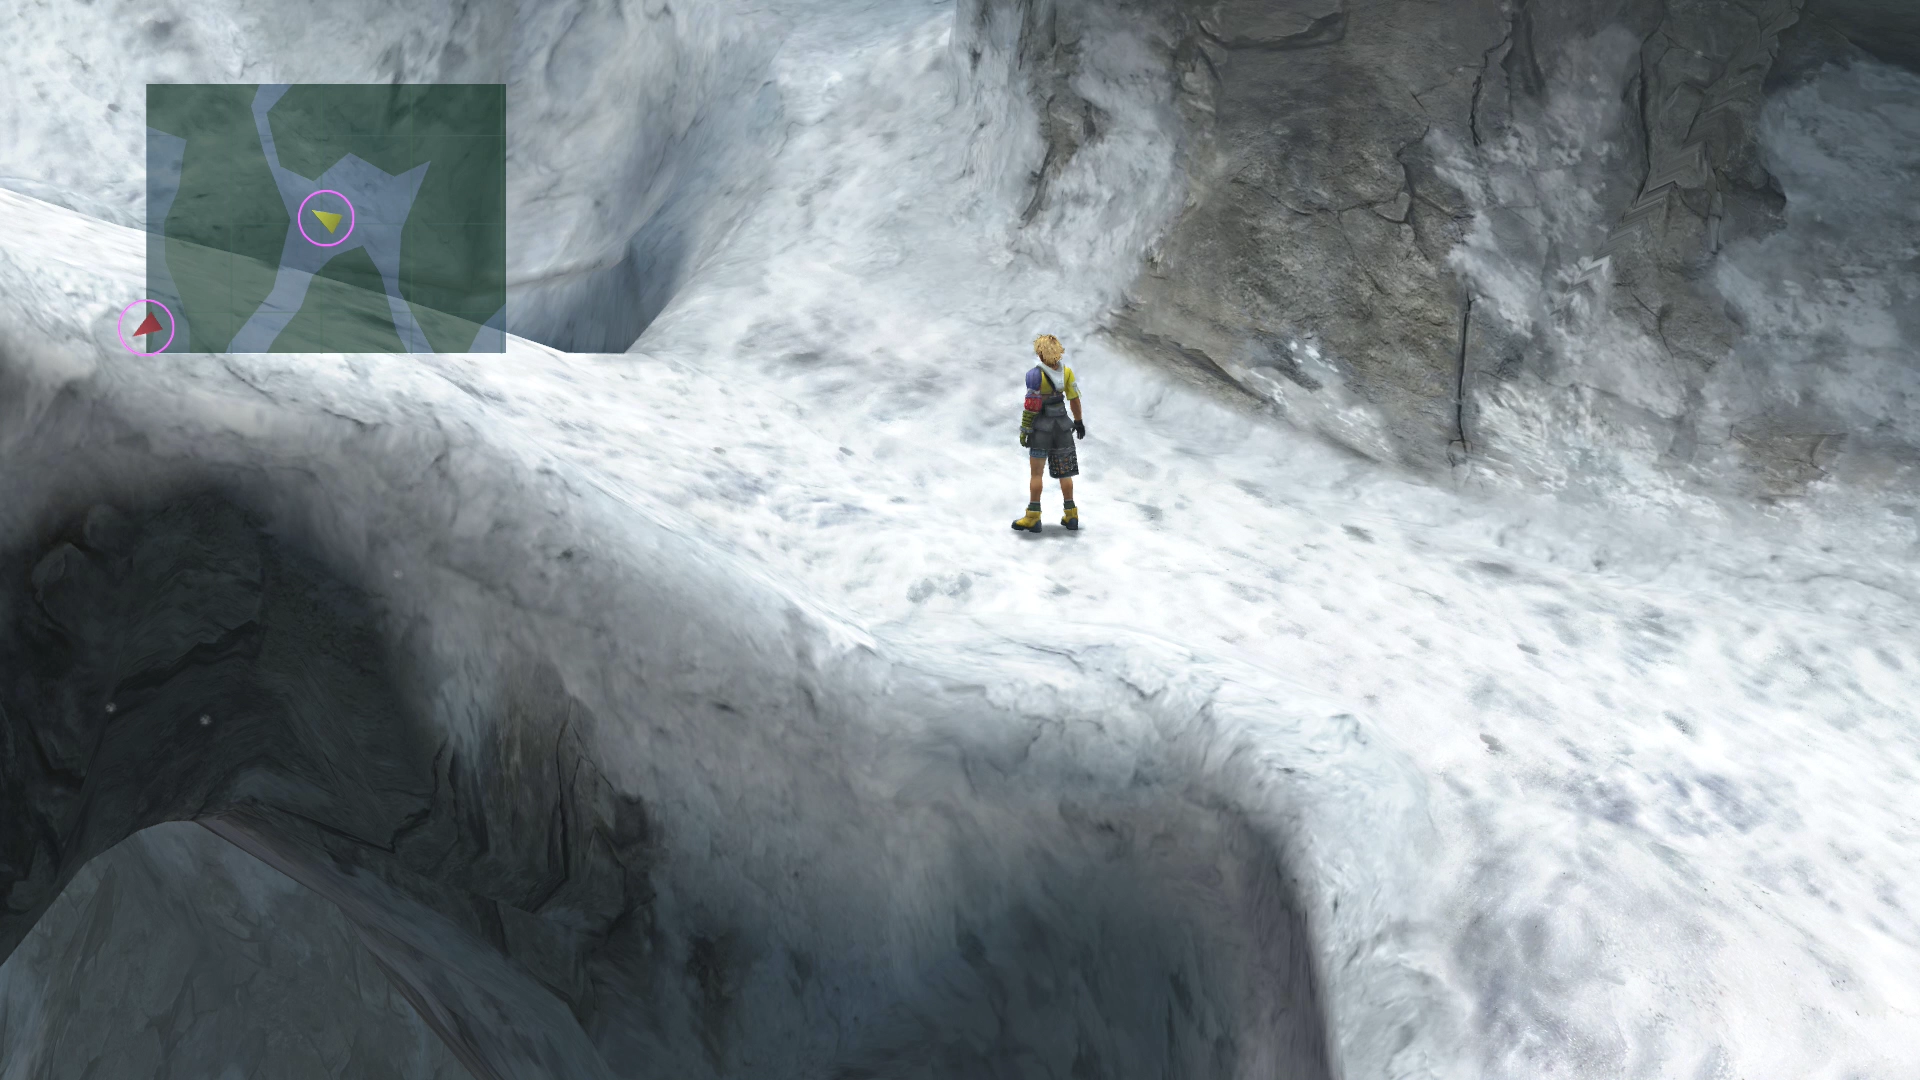
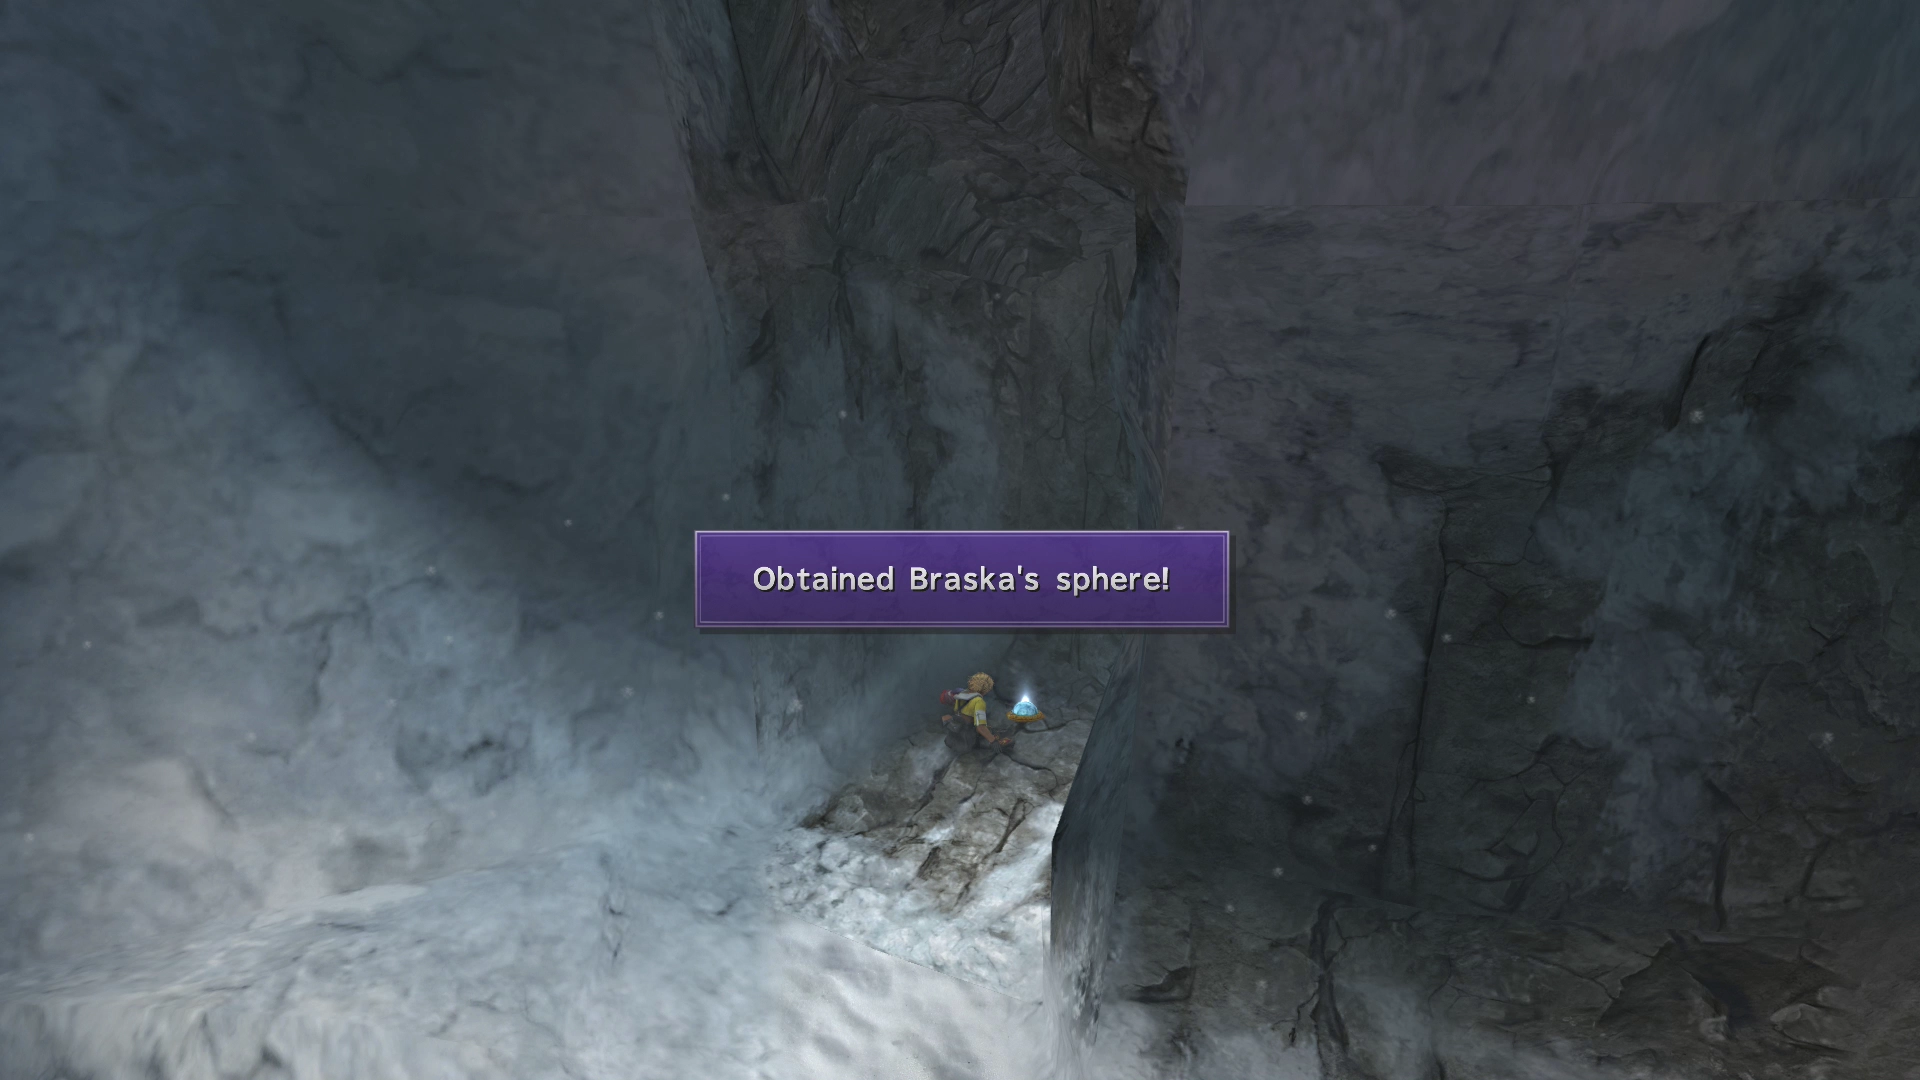
There is a trail that branches off to the north partway through the pathway. Following it northward will lead you to a Braska’s Sphere (similar to a ![]() Jecht Sphere). The Sphere contains a flashback sequence involving Jecht, Auron, and Lord Braska.
Jecht Sphere). The Sphere contains a flashback sequence involving Jecht, Auron, and Lord Braska.
Helpful Hint
Finding all these Spheres is part of the Jecht Spheres side quest and is also part of the requirements to obtain Auron’s new Overdrive abilities.
This ![]() Jecht Sphere was the last one you needed to obtain if you traveled back to Besaid Island after defeating Spherimorph in the Macalania Woods. If you haven’t returned to Besaid Island yet to pick up the Jecht Spheres, you may wish to reevaluate and revisit the side quest page (using the link above) to go and get them now.
Jecht Sphere was the last one you needed to obtain if you traveled back to Besaid Island after defeating Spherimorph in the Macalania Woods. If you haven’t returned to Besaid Island yet to pick up the Jecht Spheres, you may wish to reevaluate and revisit the side quest page (using the link above) to go and get them now.
There is another short cutscene involving Lulu and the group at the second grave marker. She will explain that the summoners who die on the mountains are not sent to the Farplane. Many of the fiends in the area are likely summoners who failed in their mission.
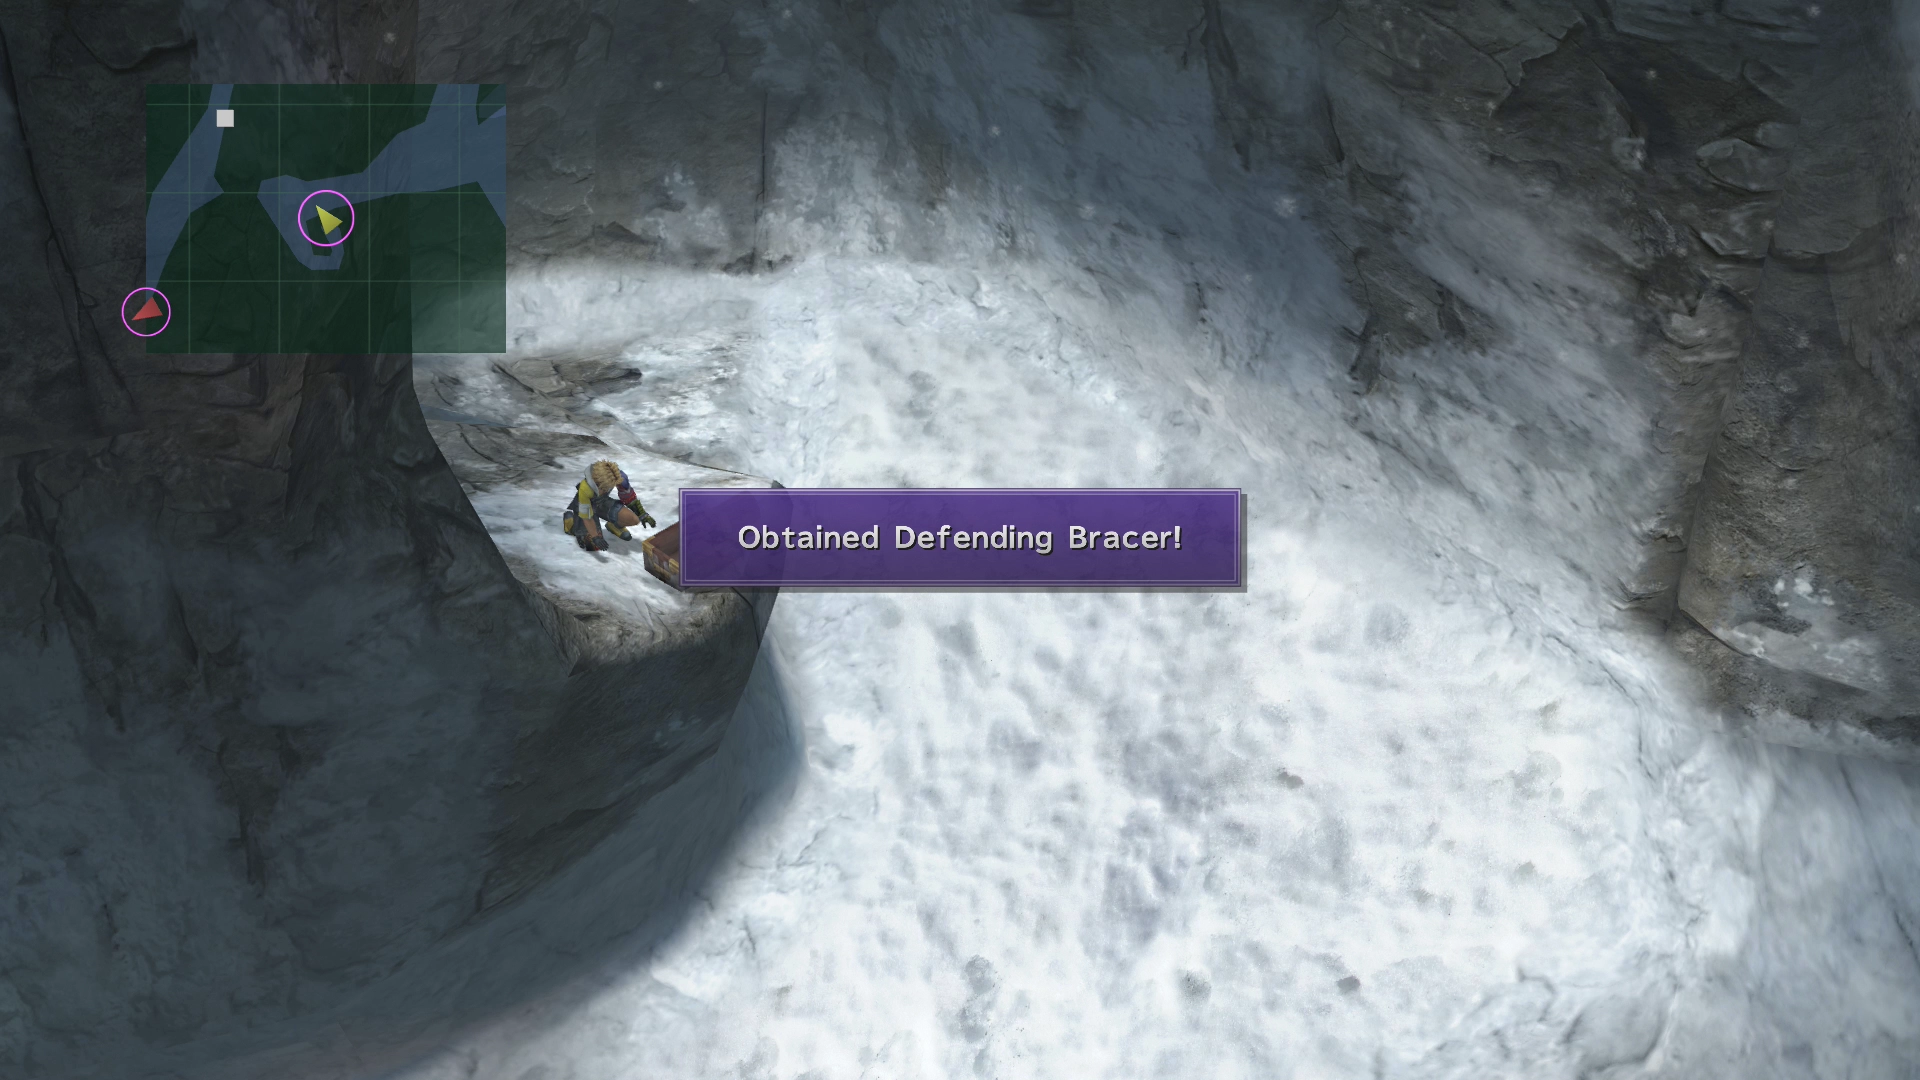
Go westward once you reach the next Y-intersection (shown in the screenshot below). There is a treasure chest at the end of the trail that contains a ![]() Defending Bracer for Auron.
Defending Bracer for Auron.
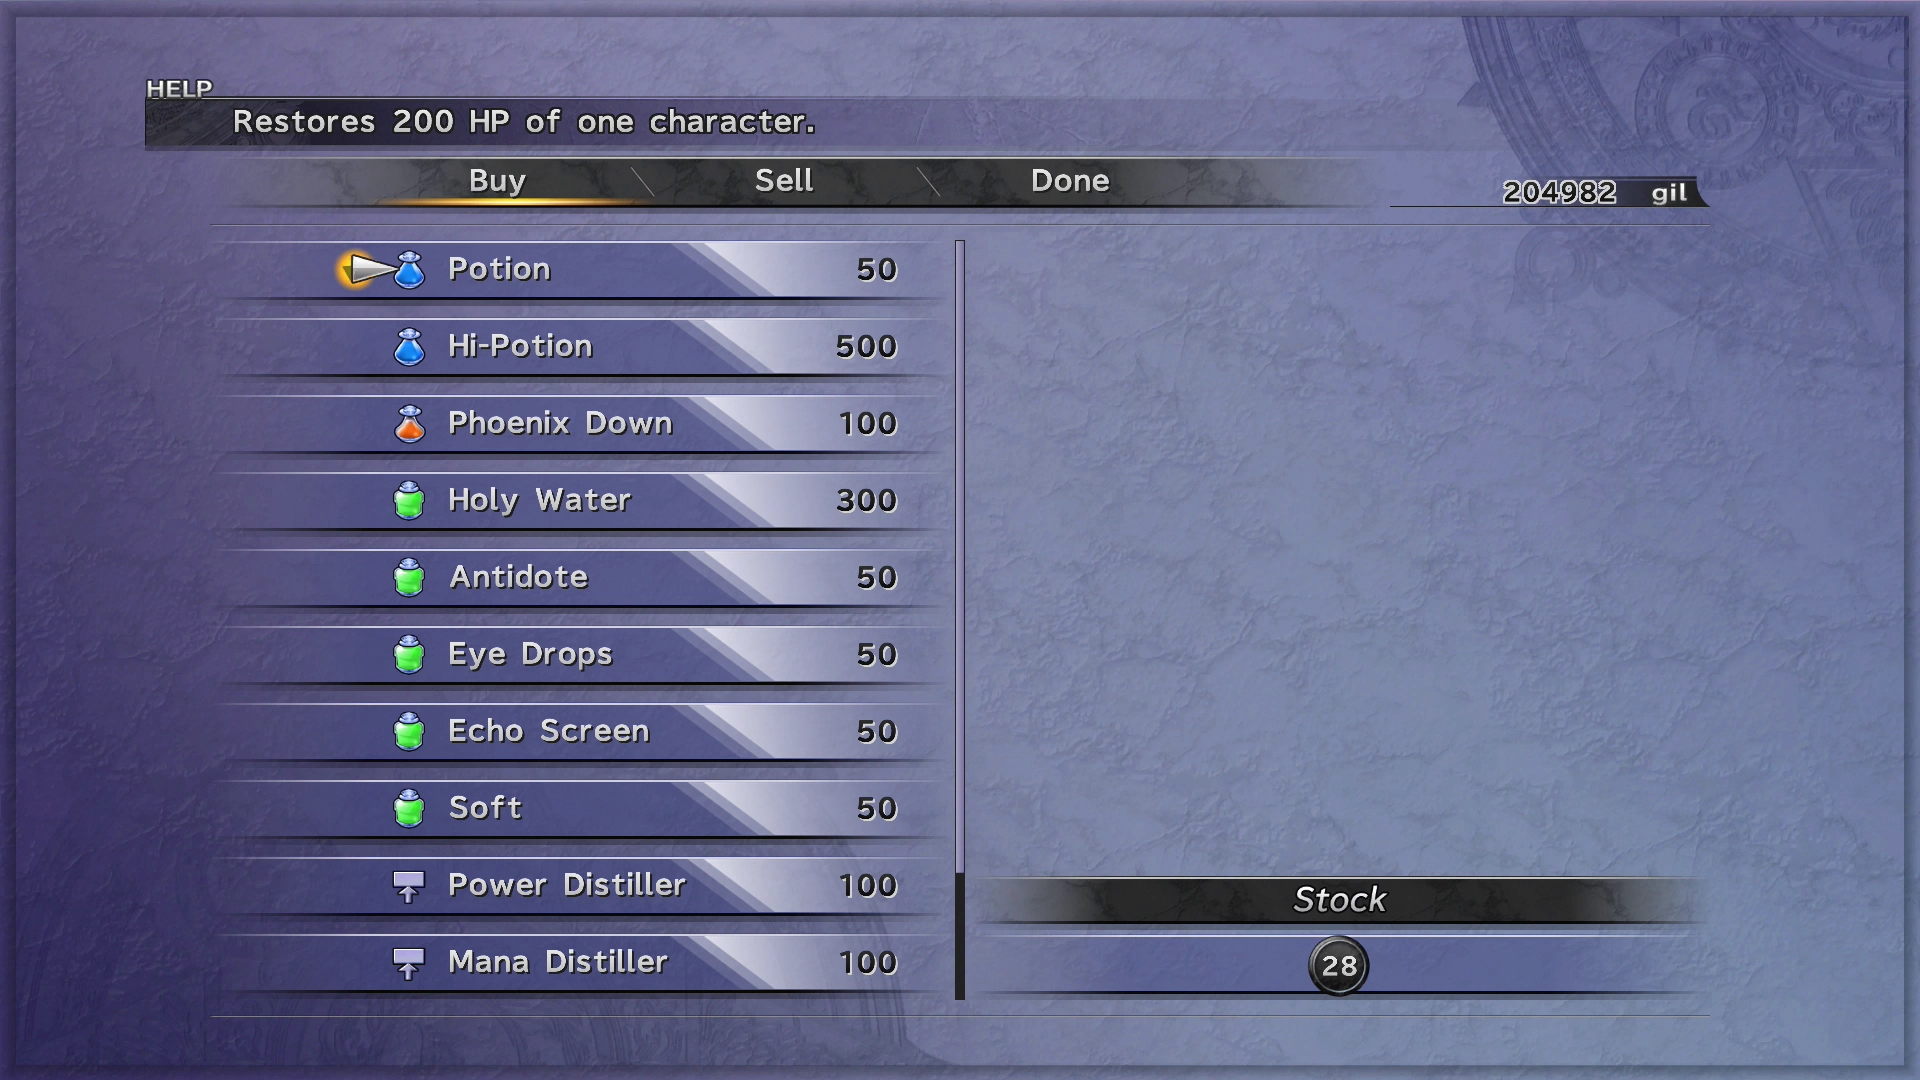
There is a man named Wantz that you can speak to along the way. Wantz is O’aka XXIII’s brother. Speak to him to purchase any items that you need. He sells a very strong weapon for Lulu called ![]() Booster Cactuar (abilities include
Booster Cactuar (abilities include ![]() Magic Booster,
Magic Booster, ![]() Magic +10% and
Magic +10% and ![]() Magic +5%) and a great weapon for Rikku called
Magic +5%) and a great weapon for Rikku called ![]() Survivor (
Survivor (![]() Alchemy and
Alchemy and ![]() Strength +10% with two additional customizable ability slots).
Strength +10% with two additional customizable ability slots).
Helpful Hint
It likely hasn’t impacted you up until this point in the game, but there is actually a limit to the number of weapons and armor that you can carry during your travels through Spira. To free up space, you should consider selling any of the weaker or duplicate weapons and armor that you have picked up.
If you are a completionist, you may be worried about parting ways with irreplaceable items, but don’t worry. Weapons and armor in Final Fantasy X are not unique, and you can replace any of them. In fact, except for treasure chests and boss battles, most of the weapons and armor you acquire are acquired by random chance. Sell some of your items before you venture past Wantz.
Warning
Wantz will appear later in the game in Macalania Woods, but he will only appear if you speak to him when you pass through this area. Wantz’s second shop includes weapons and armor with four empty slots, such as ![]() Tetra Shield,
Tetra Shield, ![]() Tetra Ring, etc. which are essential items for the endgame content.
Tetra Ring, etc. which are essential items for the endgame content.
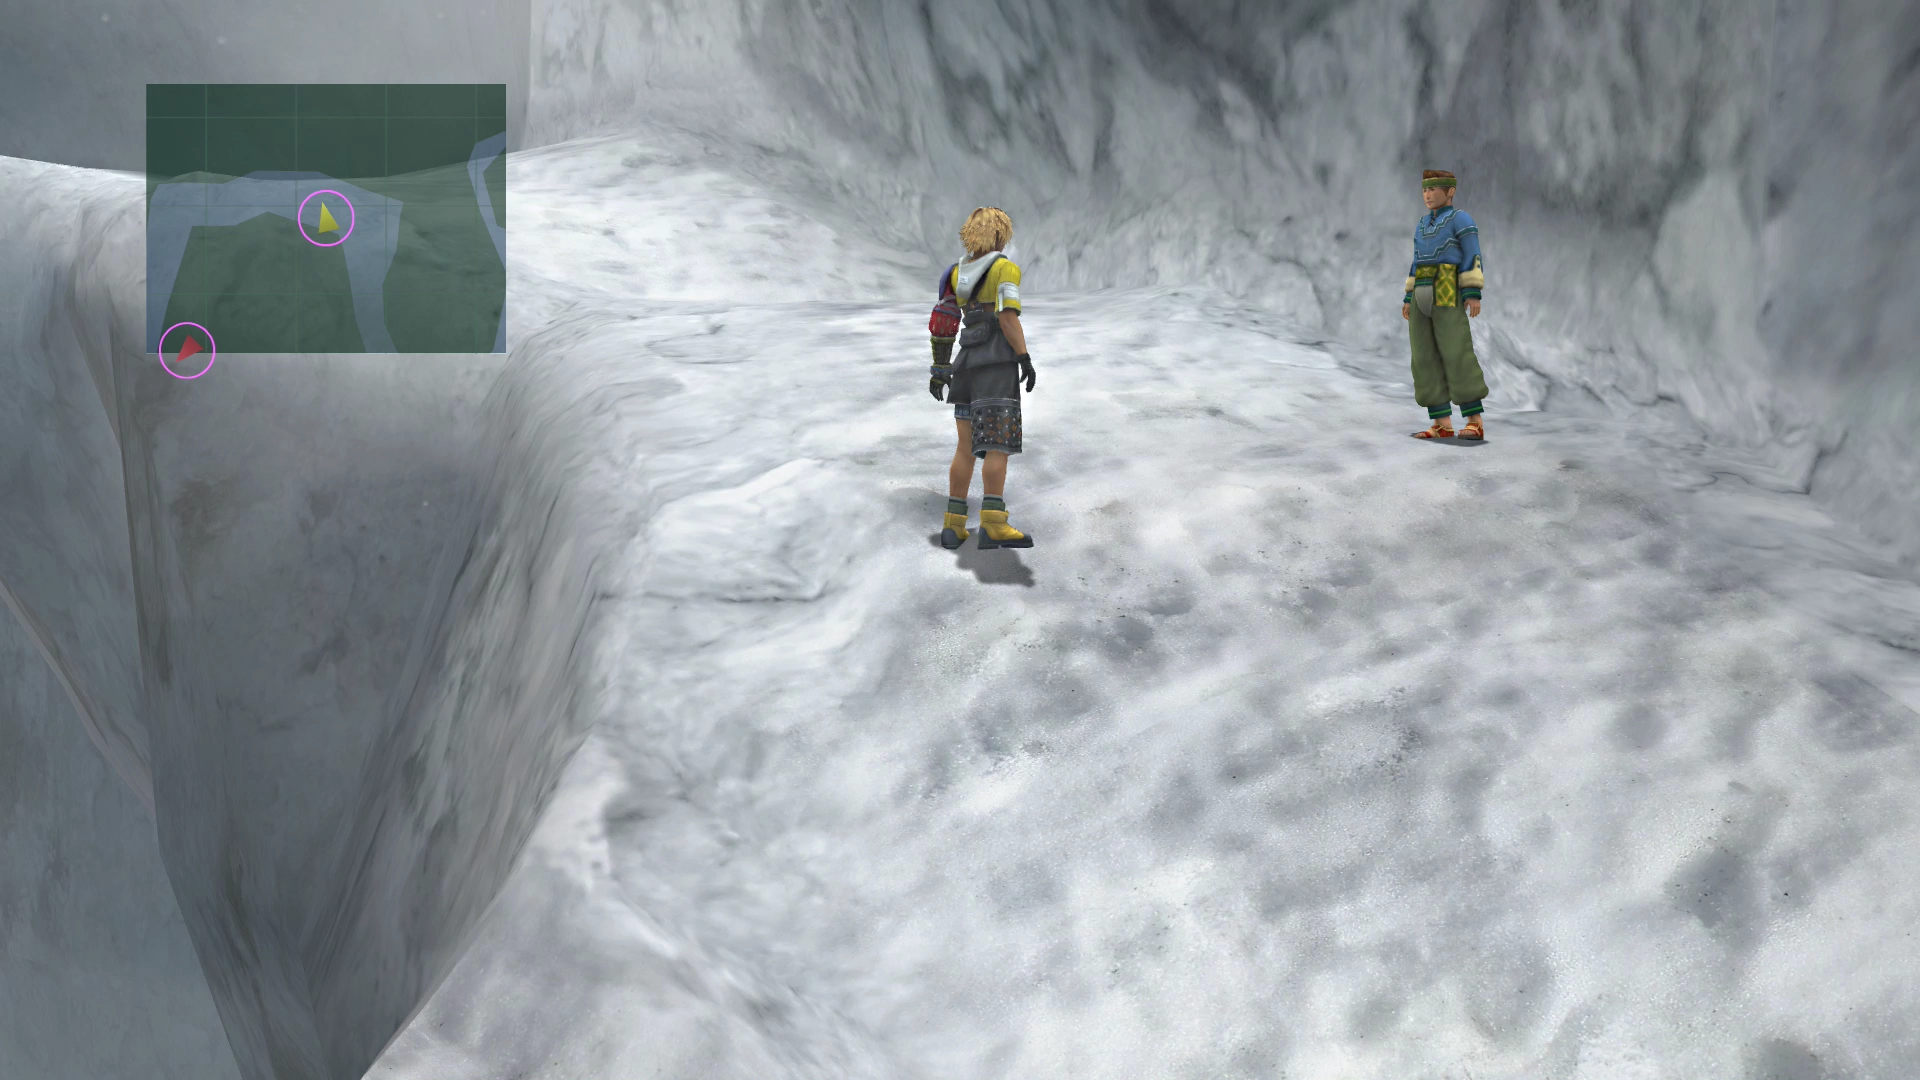
Make sure you speak to Wantz on your way through Mt. Gagazet!
You will also want to purchase a fair bit of ![]() Holy Water. You can use 30 of them to add the
Holy Water. You can use 30 of them to add the ![]() Zombie Ward ability to your armor through customization, and you will need this ability for an upcoming boss fight.
Zombie Ward ability to your armor through customization, and you will need this ability for an upcoming boss fight.
Take a left down another secret pathway when you approach the area shown in the screenshot below.
Mountain Trail Map (Part 2)

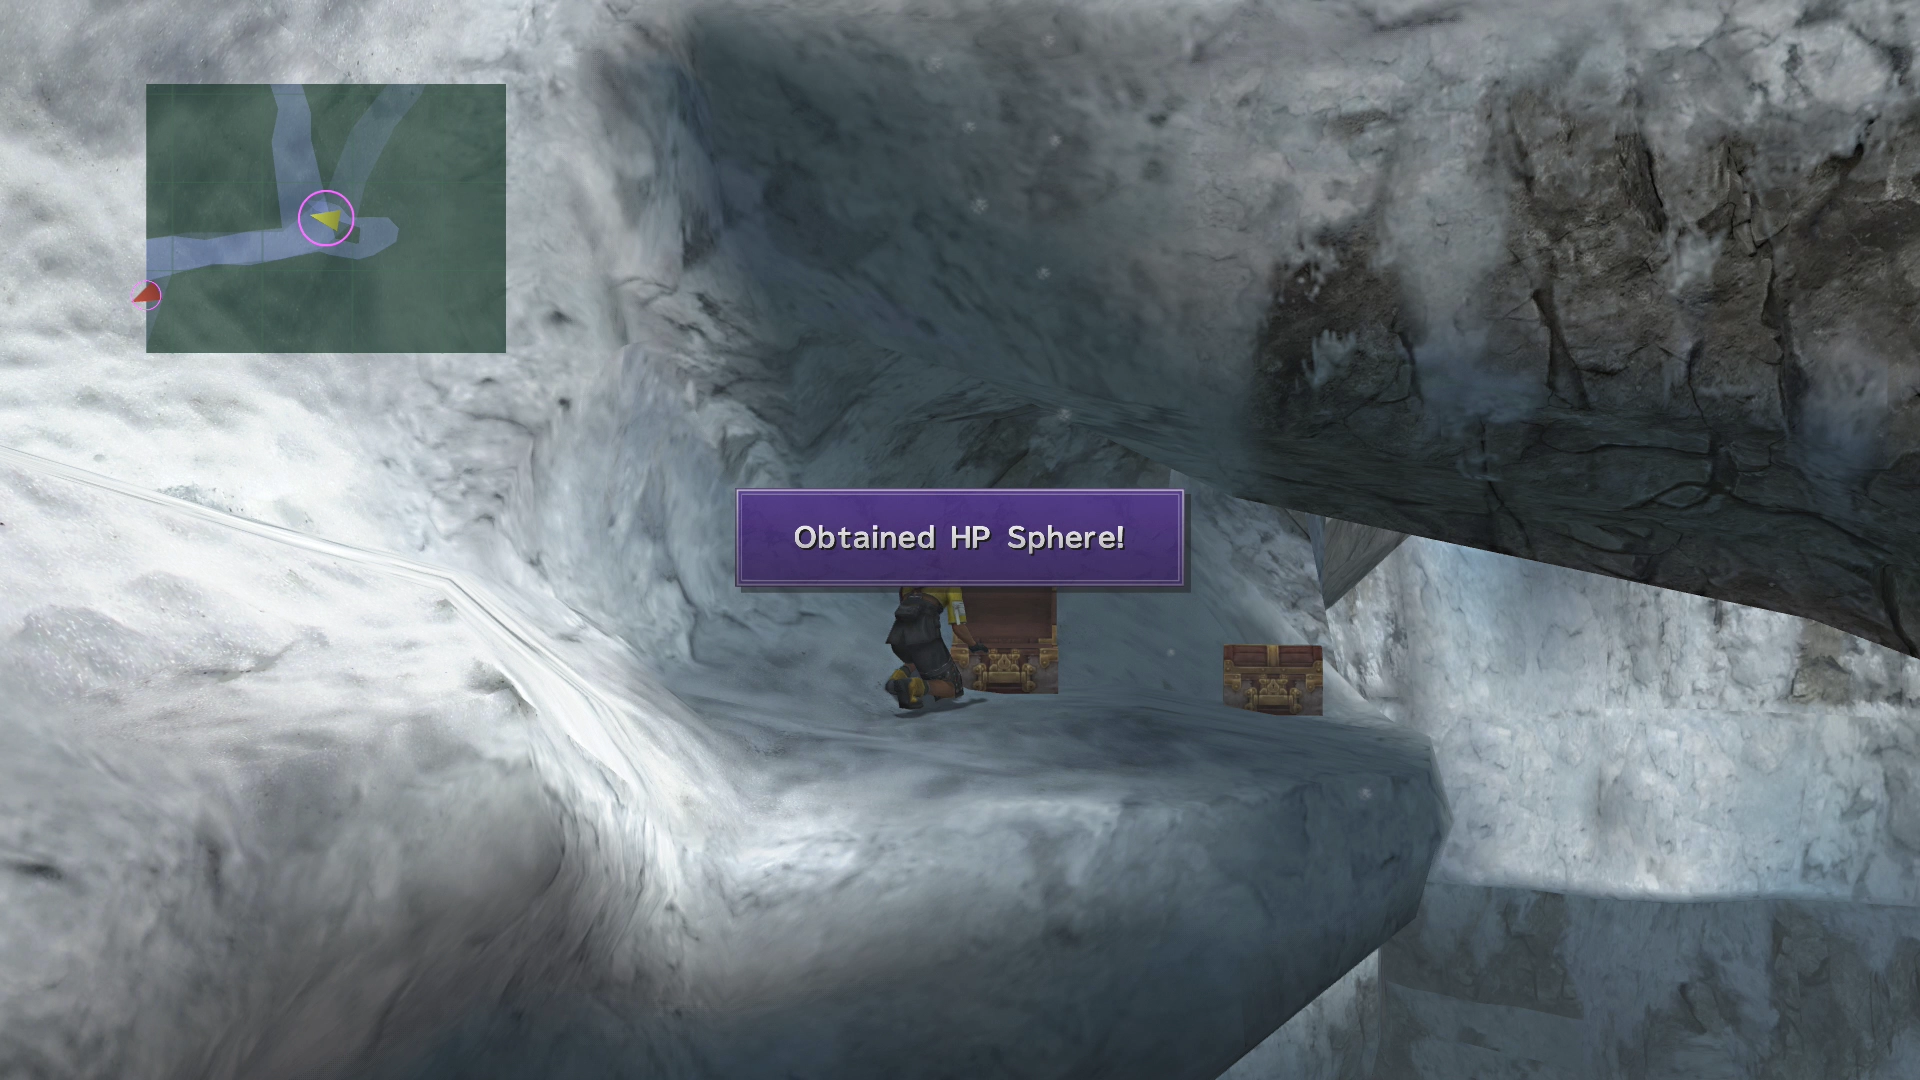
There are two treasure chests down below, one of which contains a ![]() Lv. 4 Key Sphere while the other contains an
Lv. 4 Key Sphere while the other contains an ![]() HP Sphere.
HP Sphere.
There is another gravestone up ahead. Lulu doesn’t have much to say about this one if you inspect it. There is a pathway that juts westward, but there is nothing at its end, so ignore it and proceed southwest.
There is a ![]() Save Sphere at the end of the pathway, which you can use to save your game.
Save Sphere at the end of the pathway, which you can use to save your game.
A boss fight is coming up in the next area, so you should prepare your party now. Make sure that you purchased some ![]() Holy Water from Wantz (O’aka XXIII’s shop) and, if possible, that you have added the
Holy Water from Wantz (O’aka XXIII’s shop) and, if possible, that you have added the ![]() Zombie Ward ability to some of your armor and equipped it.
Zombie Ward ability to some of your armor and equipped it.
You will also want to have enough ![]() Phoenix Downs to last the battle (30 to be on the safe side). If you have been having difficulty with the previous bosses, you should pre-charge all of your characters’ Overdrives, as the upcoming boss is often described as the most challenging boss in the game.
Phoenix Downs to last the battle (30 to be on the safe side). If you have been having difficulty with the previous bosses, you should pre-charge all of your characters’ Overdrives, as the upcoming boss is often described as the most challenging boss in the game.
Make sure that Yuna has learned Dispel Magic, as it will come in very handy during this next boss battle.
Gagazet - Prominence
Continue forward to initiate the fight.
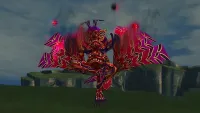
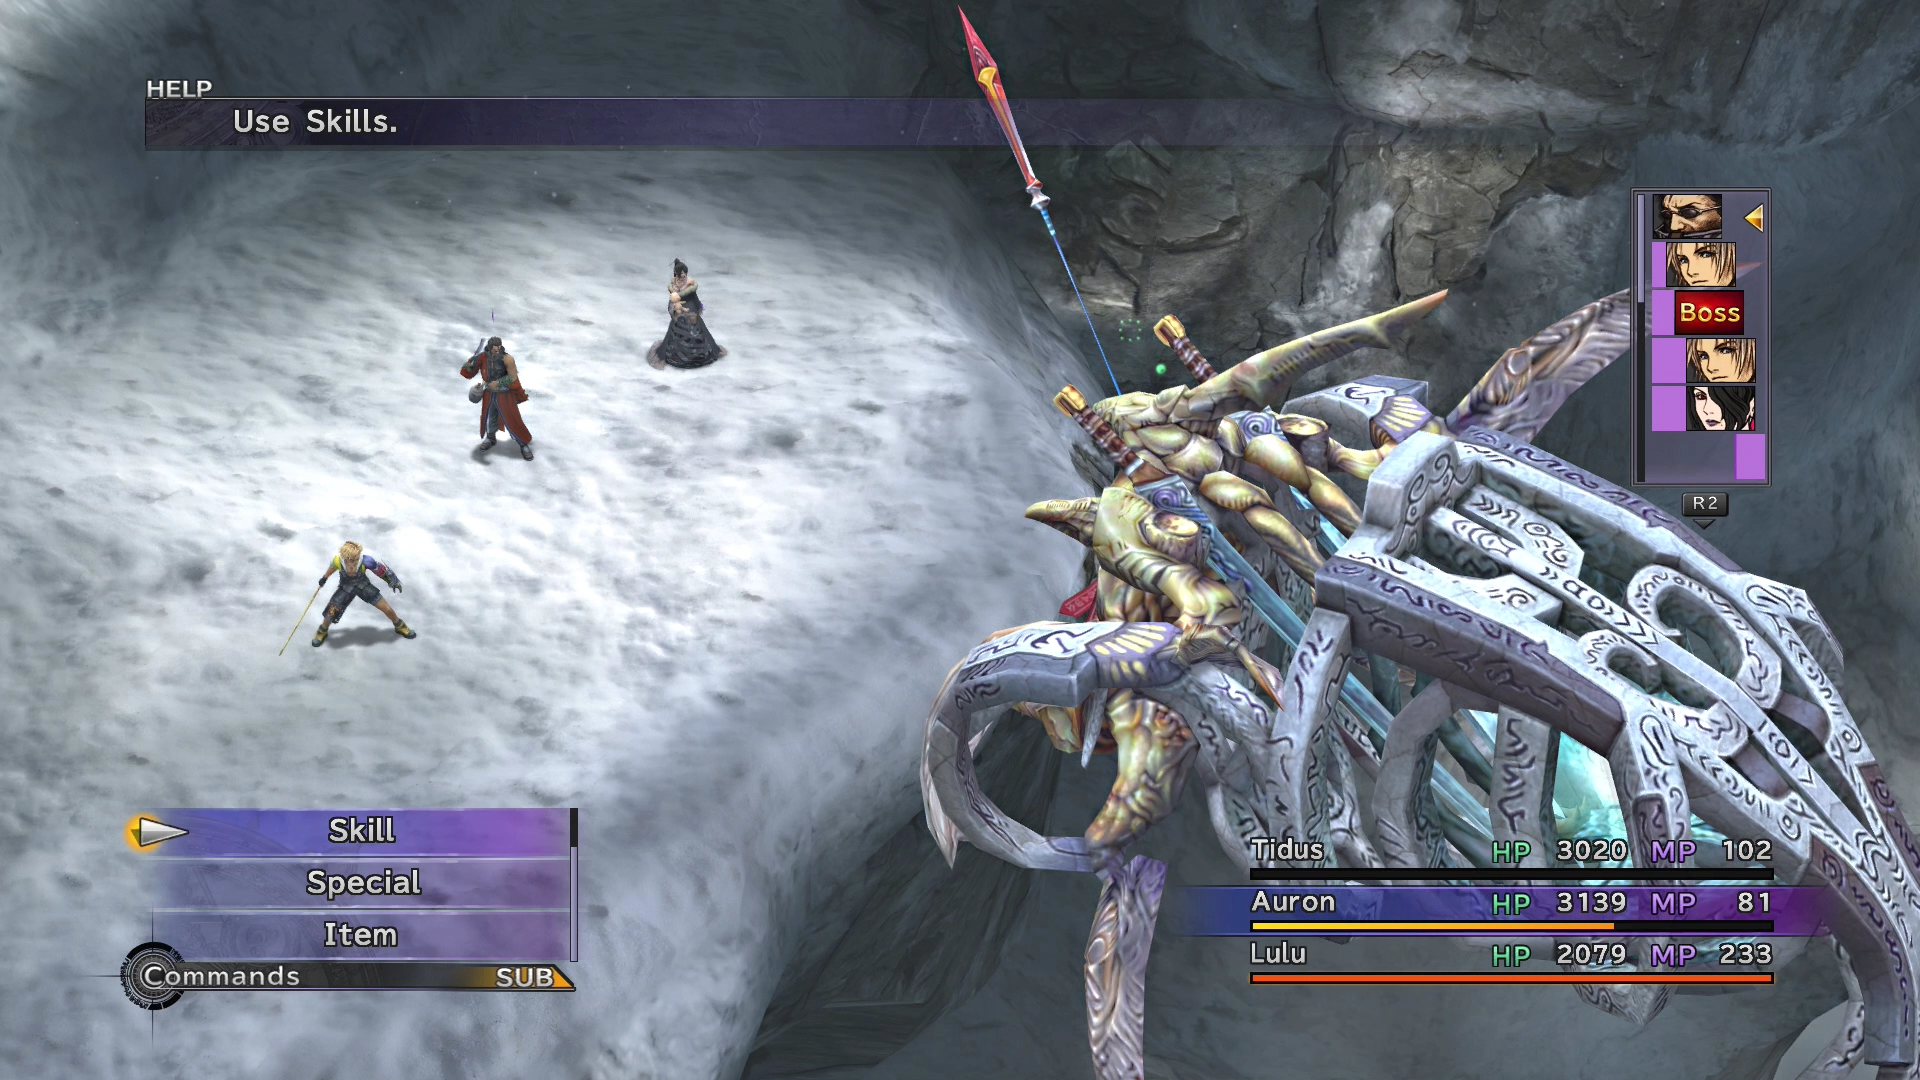
Boss Battle
In Game Description: Predict the Mortiorchis’s actions by watching Seymour’s attacks. His Lance of Atrophy causes zombie, and Mortiorchis follows with Full-Life. Together they unleash Total Annihilation.
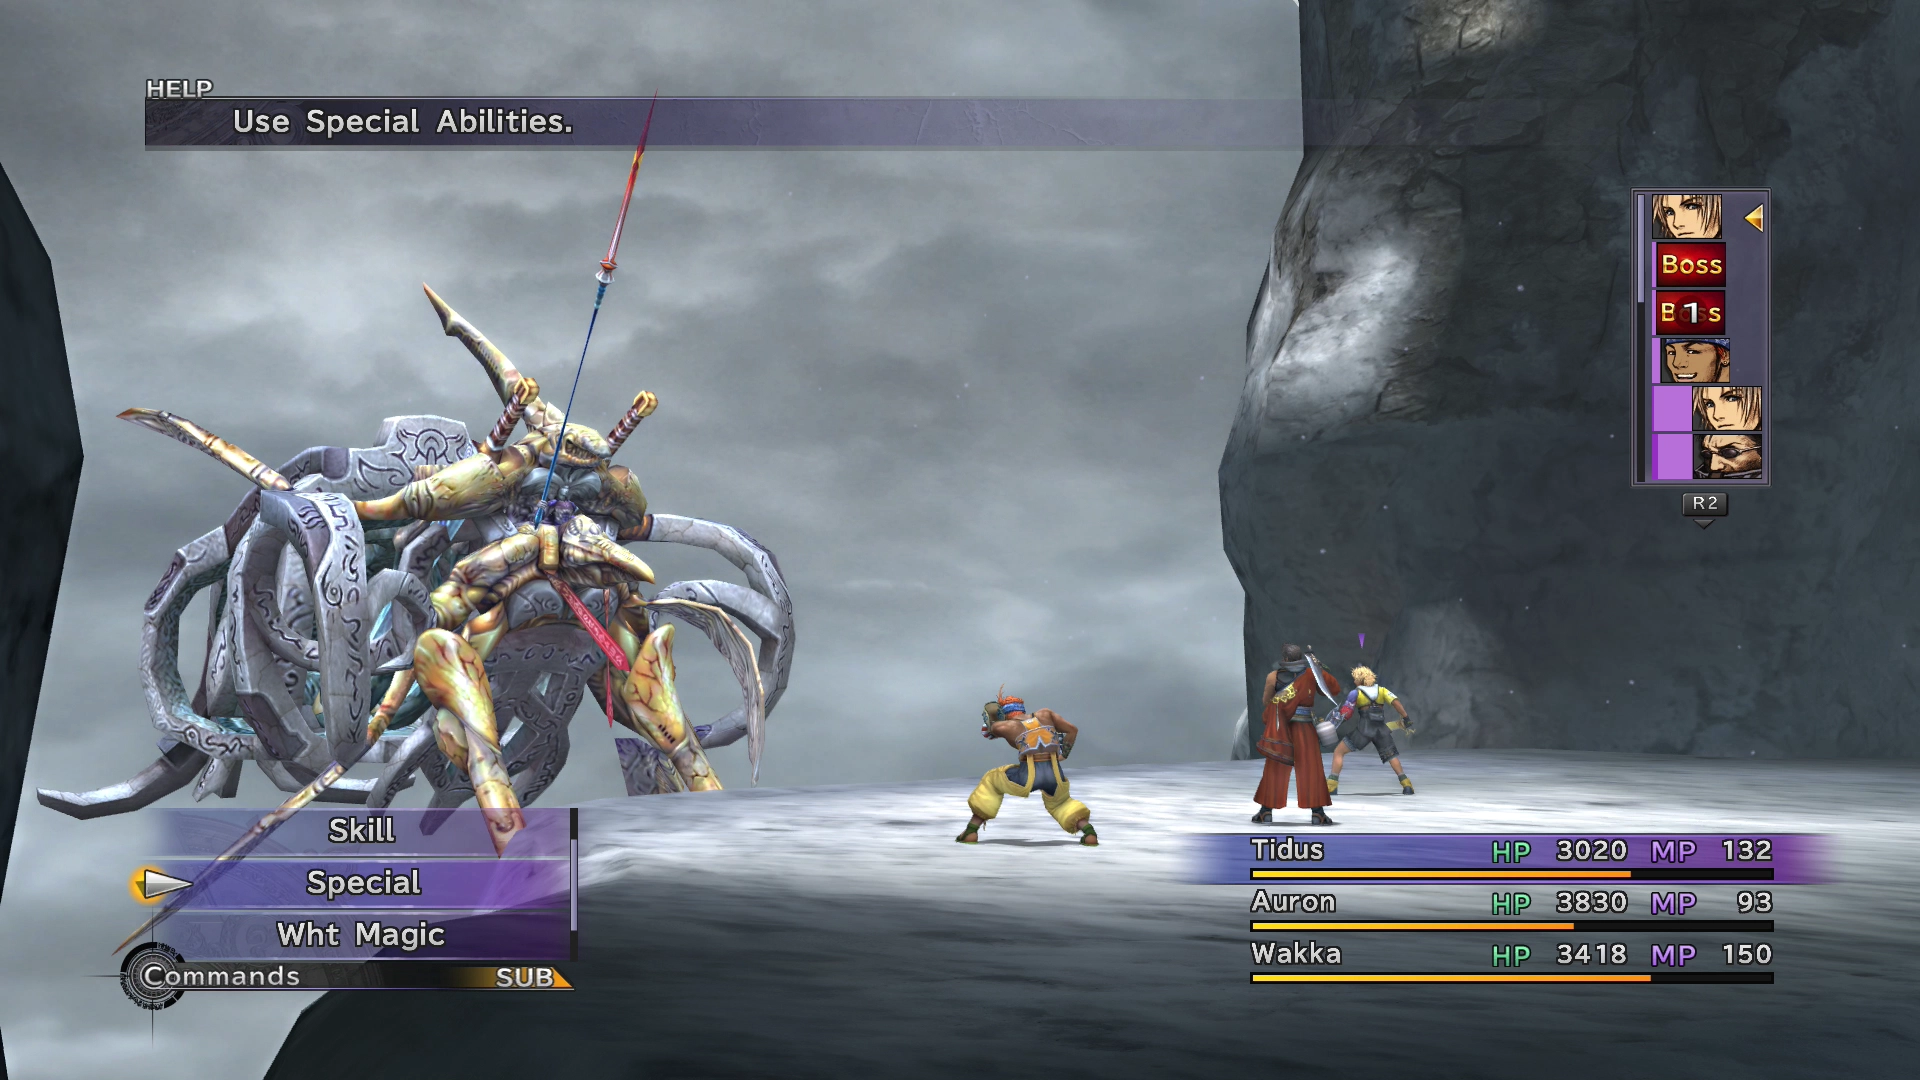
HP: 70,000
It’s another showdown with Maester Seymour! Kimahri and Yuna will be able to use Trigger Commands during this fight. Kimahri will gain +10 strength, while Yuna will gain +10 Magic Defense.
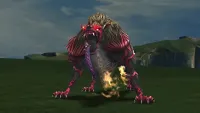
Seymour will summon Mortiorchis, which is similar to his sidekick during your last battle with him at Bevelle.
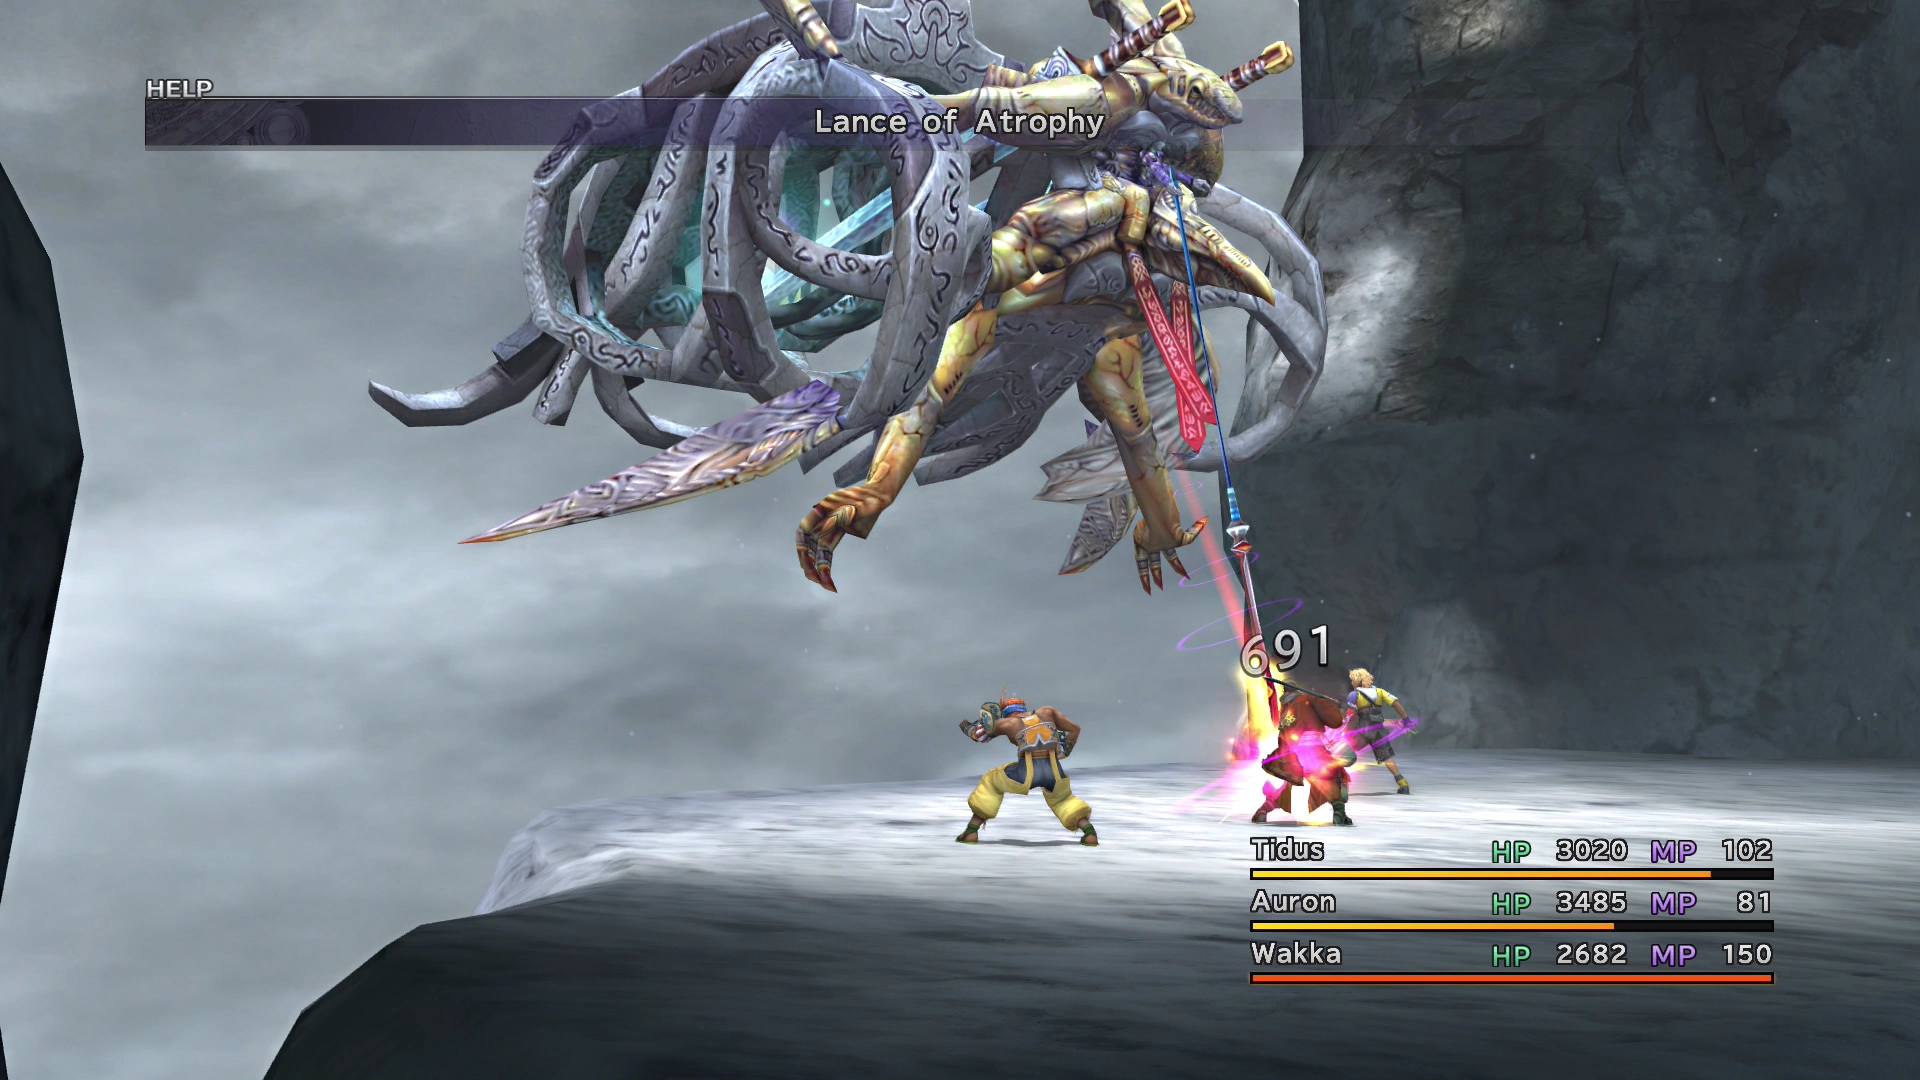
He will also use an ability called “Lance of Atrophy,” which could potentially inflict the Zombie status on one of your characters. Equipping armor with the ![]() Zombie Ward ability, as mentioned above, will help to prevent this.
Zombie Ward ability, as mentioned above, will help to prevent this.
You should immediately use ![]() Holy Water,
Holy Water, ![]() Remedy, or cast
Remedy, or cast ![]() Esuna on a character inflicted with the Zombie status, as Seymour Flux will cast Full-Life on a character with Zombie, killing them instantly. Full-Life would normally revive a character with full HP, but the Zombie status reverses the effects of healing, so it knocks the character out instead.
Esuna on a character inflicted with the Zombie status, as Seymour Flux will cast Full-Life on a character with Zombie, killing them instantly. Full-Life would normally revive a character with full HP, but the Zombie status reverses the effects of healing, so it knocks the character out instead.
Seymour Flux will banish Aeons just as he did before, so you should only use them as a last resort or as a last-ditch effort if you are struggling with the fight. Have Lulu cast ![]() Bio on Seymour early on in the battle, as it will add up to a very significant amount of overall damage, and make sure to use
Bio on Seymour early on in the battle, as it will add up to a very significant amount of overall damage, and make sure to use ![]() Hastega on your party.
Hastega on your party.
Yuna should cast ![]() Dispel on Seymour when he casts
Dispel on Seymour when he casts ![]() Reflect or
Reflect or ![]() Protect on himself so that you can continue to inflict reasonable amounts of damage. If you are fast enough to cast Dispel and remove his Reflect status, he may even cast
Protect on himself so that you can continue to inflict reasonable amounts of damage. If you are fast enough to cast Dispel and remove his Reflect status, he may even cast ![]() Flare directly on himself, and will cause damage to himself.
Flare directly on himself, and will cause damage to himself.
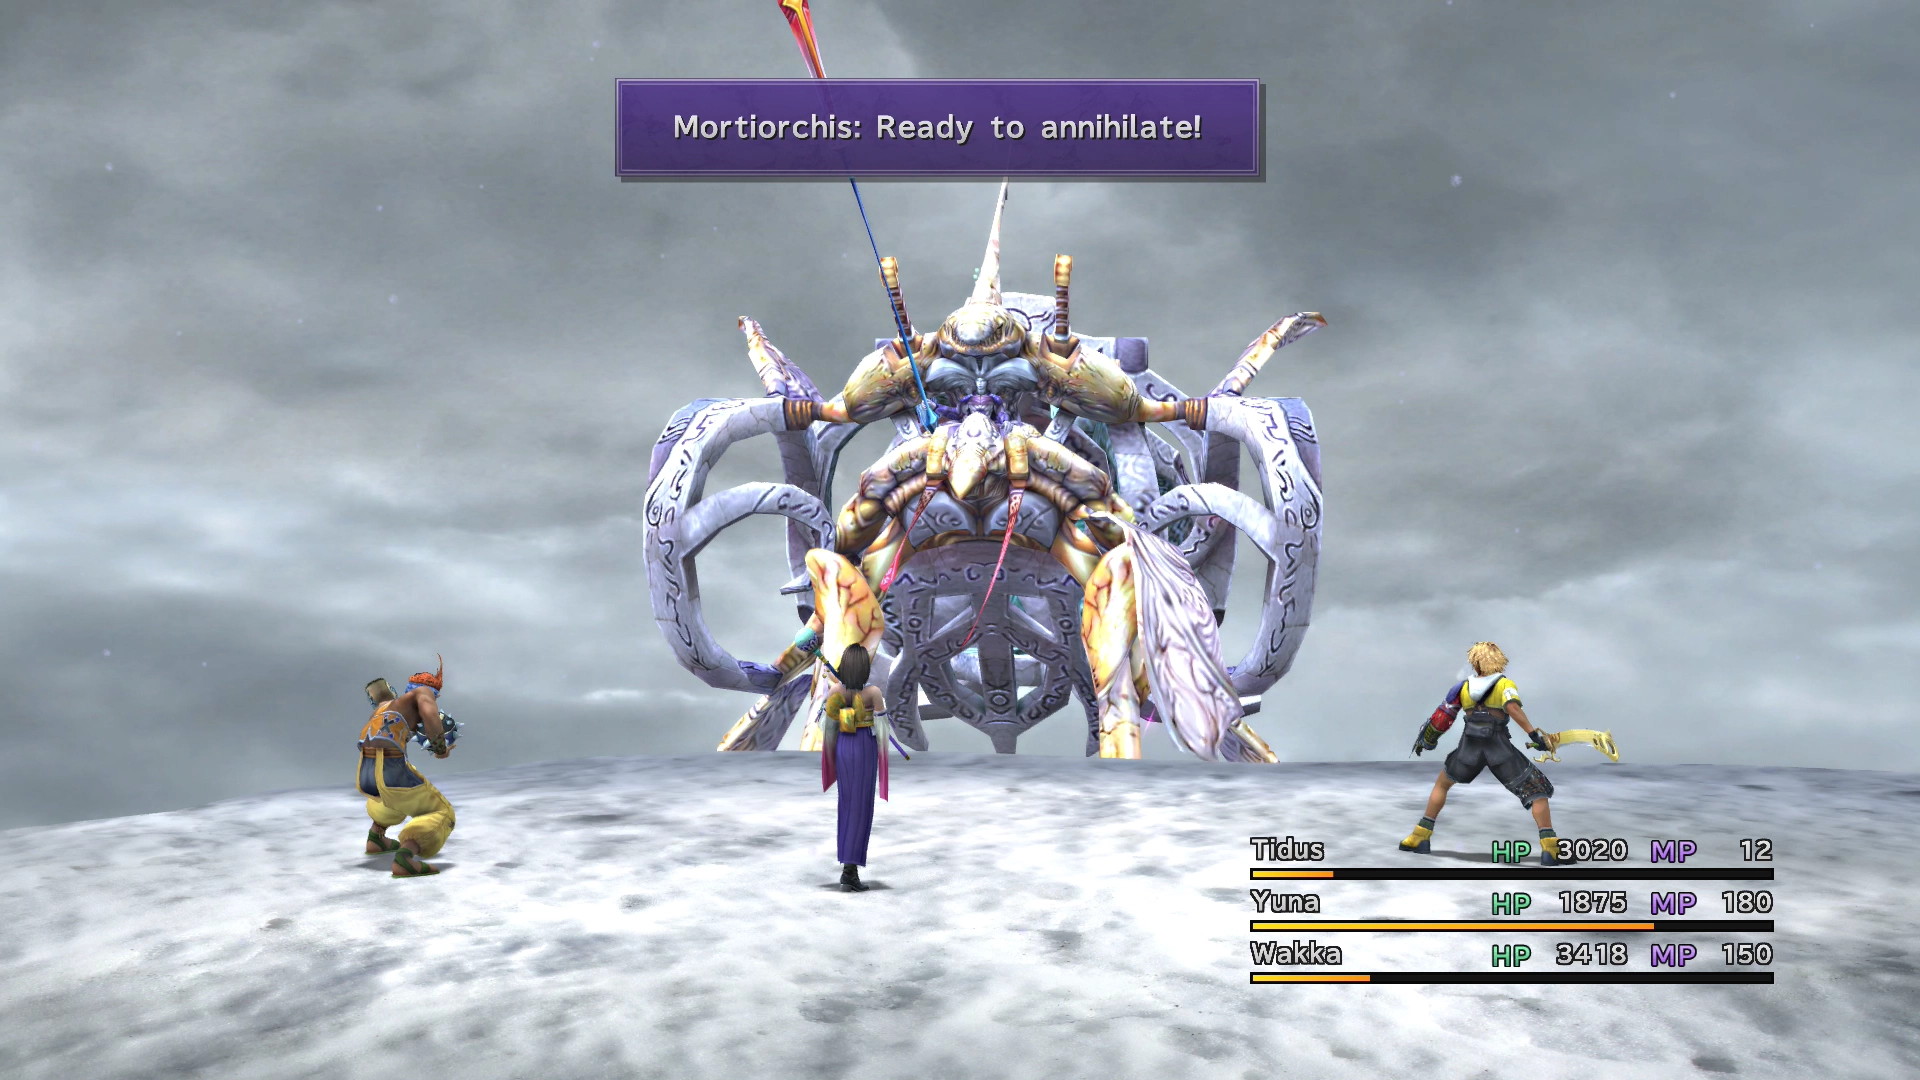
The most powerful attack to watch out for is called “Total Annihilation,” and it will wipe you out if you go in unprepared. The game telegraphs it, though. Once Seymour has lost around half of his HP, the Mortiorchis will enter “Auto-Attack Mode” and then announce that it is “Ready to Annihilate.” Those on-screen messages are your warning that “Total Annihilation” arrives on the Mortiorchis’s next turn. It also charges faster after the first blast, so keep watching for the messages for the rest of the fight.
When the warning messages appear, have Yuna cast ![]() Shell on your party members right before “Total Annihilation” is cast, or you can have Kimahri use Mighty Guard now that you have learned it from Biran, or lastly, have Rikku use one of her Mixes to cast Mighty G,
Shell on your party members right before “Total Annihilation” is cast, or you can have Kimahri use Mighty Guard now that you have learned it from Biran, or lastly, have Rikku use one of her Mixes to cast Mighty G, ![]() Super Mighty G, or
Super Mighty G, or ![]() Hyper Mighty G on your party. Use the Defend command right before the attack hits to reduce the amount of damage done by even more.
Hyper Mighty G on your party. Use the Defend command right before the attack hits to reduce the amount of damage done by even more.
You can also summon an aeon once you see the “Ready to Annihilate” message: if the aeon is on the field when “Total Annihilation” goes off, it absorbs the entire blast in your party’s place. Summon after Seymour’s turn so that he does not get the chance to cast Banish (which instantly dismisses your aeons) before the attack lands.
Other than that, hammer away with regular attacks and magics until you bring him down. Good luck!
Steal:
Drops:
Tidus and Auron will reveal to Yuna that Sin is actually Tidus’ father, Jecht, and that they are on their way to defeat and kill Tidus’ old man. Auron explains that they will come to understand more when they reach Zanarkand.
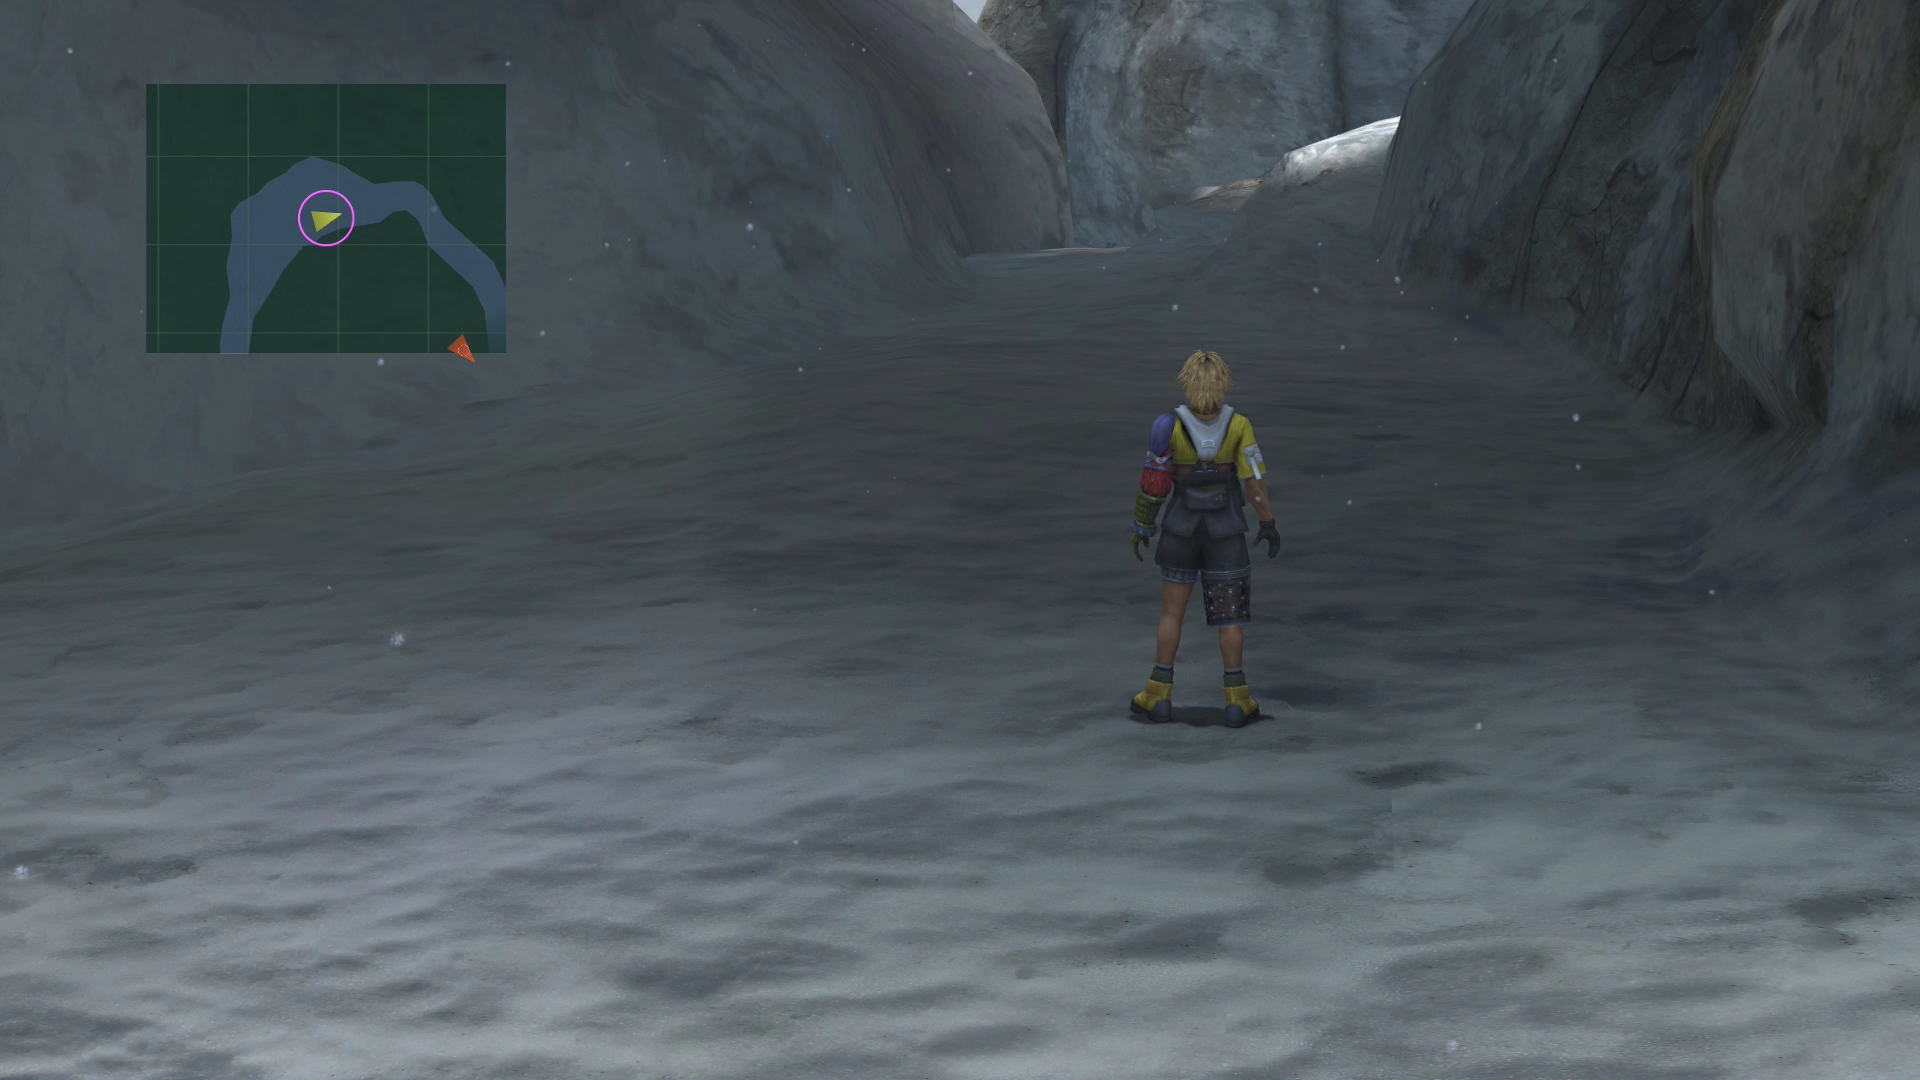
Prominence Map

Continue down the path once the fight has concluded. Go around the corner and, just before the ![]() Save Sphere, there is a treasure chest hidden between the pillars along the pathway.
Save Sphere, there is a treasure chest hidden between the pillars along the pathway.
The treasure chest contains the ![]() Saturn CrestJupiter Crest, which is used to create Kimahri’s Celestial Weapon,
Saturn CrestJupiter Crest, which is used to create Kimahri’s Celestial Weapon, ![]() Spirit Lance. Check out the Celestial Weapons section for more information.
Spirit Lance. Check out the Celestial Weapons section for more information.
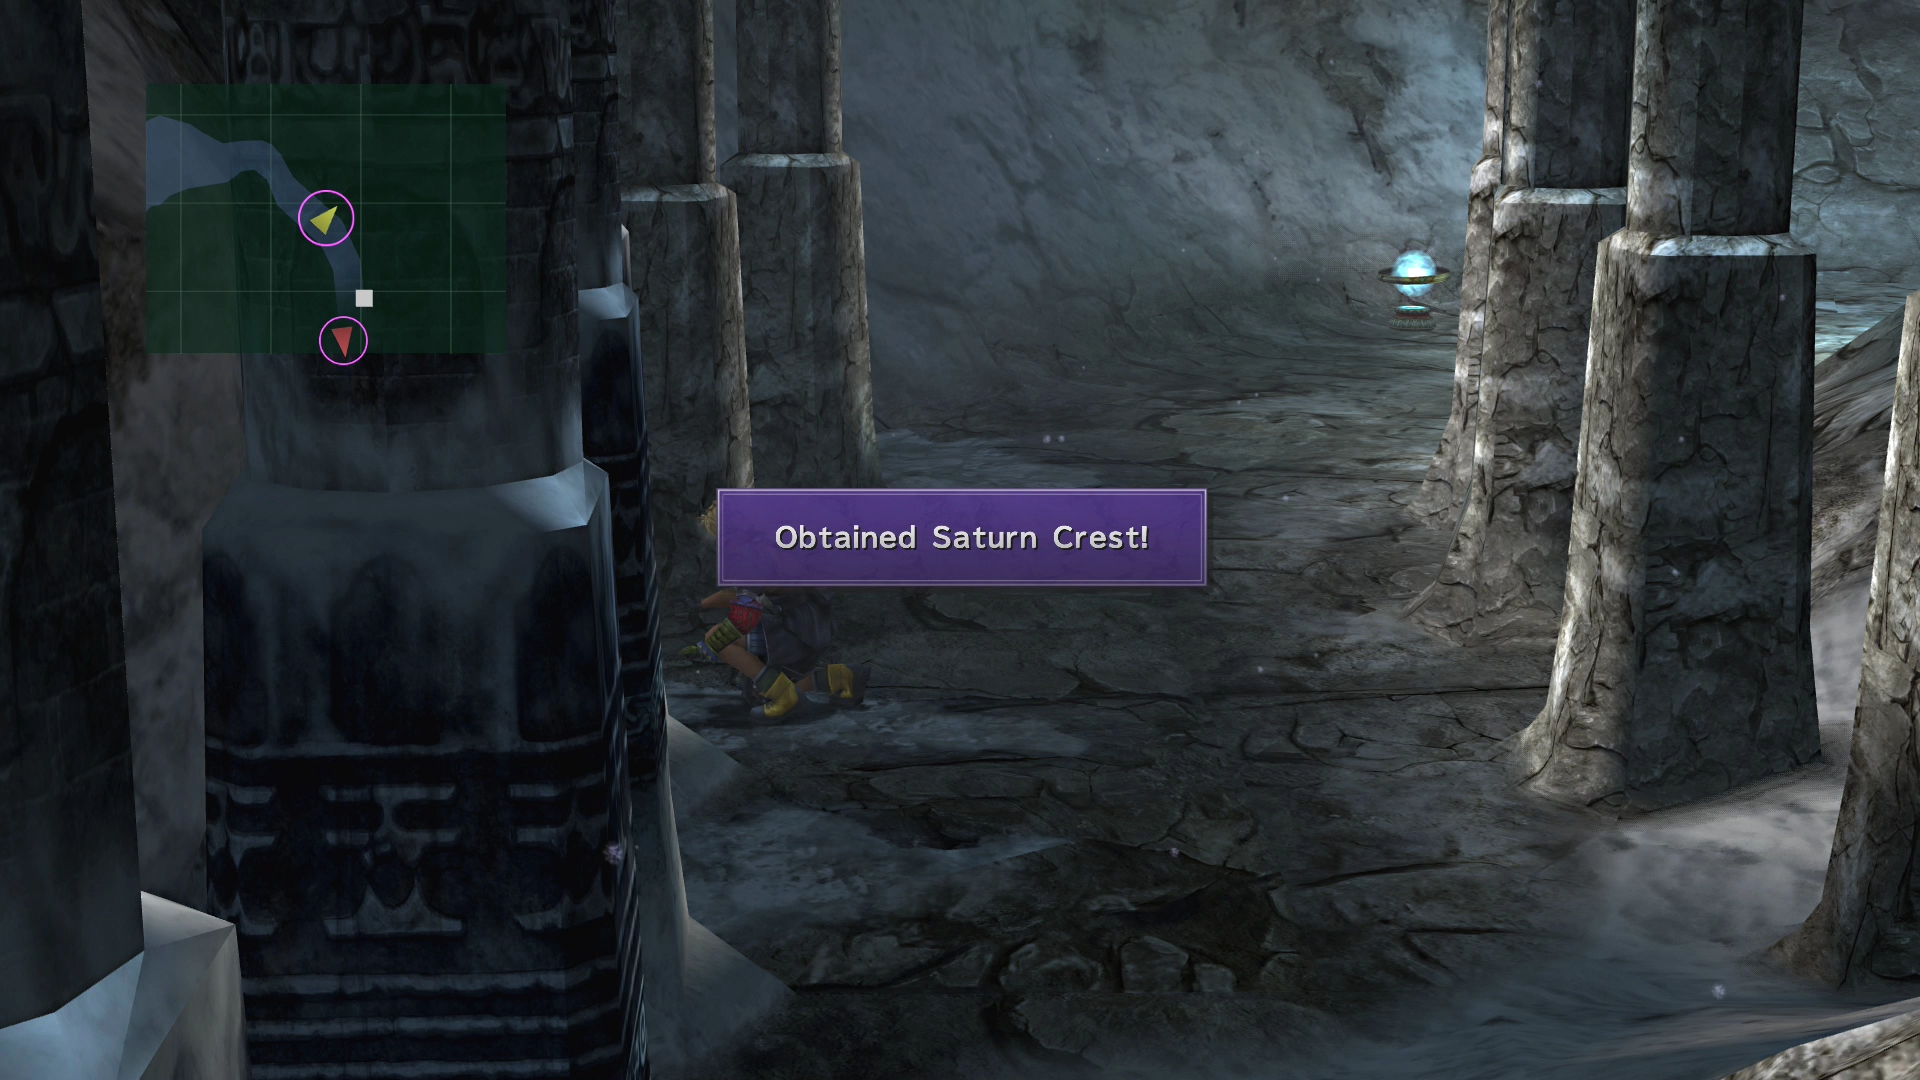
Note that this is where you’ll find the ![]() Saturn CrestJupiter Crest in the
Saturn CrestJupiter Crest in the ![]() PlayStation
PlayStation![]() Xbox
Xbox![]() Nintendo Switch version of the game. In the
Nintendo Switch version of the game. In the ![]() Xbox and
Xbox and ![]() Nintendo Switch versionsIn the
Nintendo Switch versionsIn the ![]() PlayStation version, this item is swapped for the
PlayStation version, this item is swapped for the ![]() Jupiter CrestSaturn Crest. You can change the active version using the Game Version toggle in the sidebar menu. Refer to the Celestial Weapons section for a full breakdown of the differences.
Jupiter CrestSaturn Crest. You can change the active version using the Game Version toggle in the sidebar menu. Refer to the Celestial Weapons section for a full breakdown of the differences.
Save your game at the ![]() Save Sphere. There are more cutscenes once you proceed around the next corner that involve Tidus’ memories back in Zanarkand. Walk toward Tidus’ house when you regain control of him in Zanarkand.
Save Sphere. There are more cutscenes once you proceed around the next corner that involve Tidus’ memories back in Zanarkand. Walk toward Tidus’ house when you regain control of him in Zanarkand.
Go across the bridge and in through the doorway, as there is nowhere else that you can go. There is more dialog once Tidus reaches the center of his old house. A Fayth that has been following Tidus around will finally greet him. Follow the Fayth up to the second-floor balcony.

The Fayth will reveal that Tidus, Jecht, and all the people from Zanarkand are just dreams. The story continues after Tidus wakes back up.
Gagazet - Fayth Cluster
Continue down the walkway, going past the Fayth once the cutscenes have ended.
The next section of the game takes you through the inside of the Mt. Gagazet caves.