
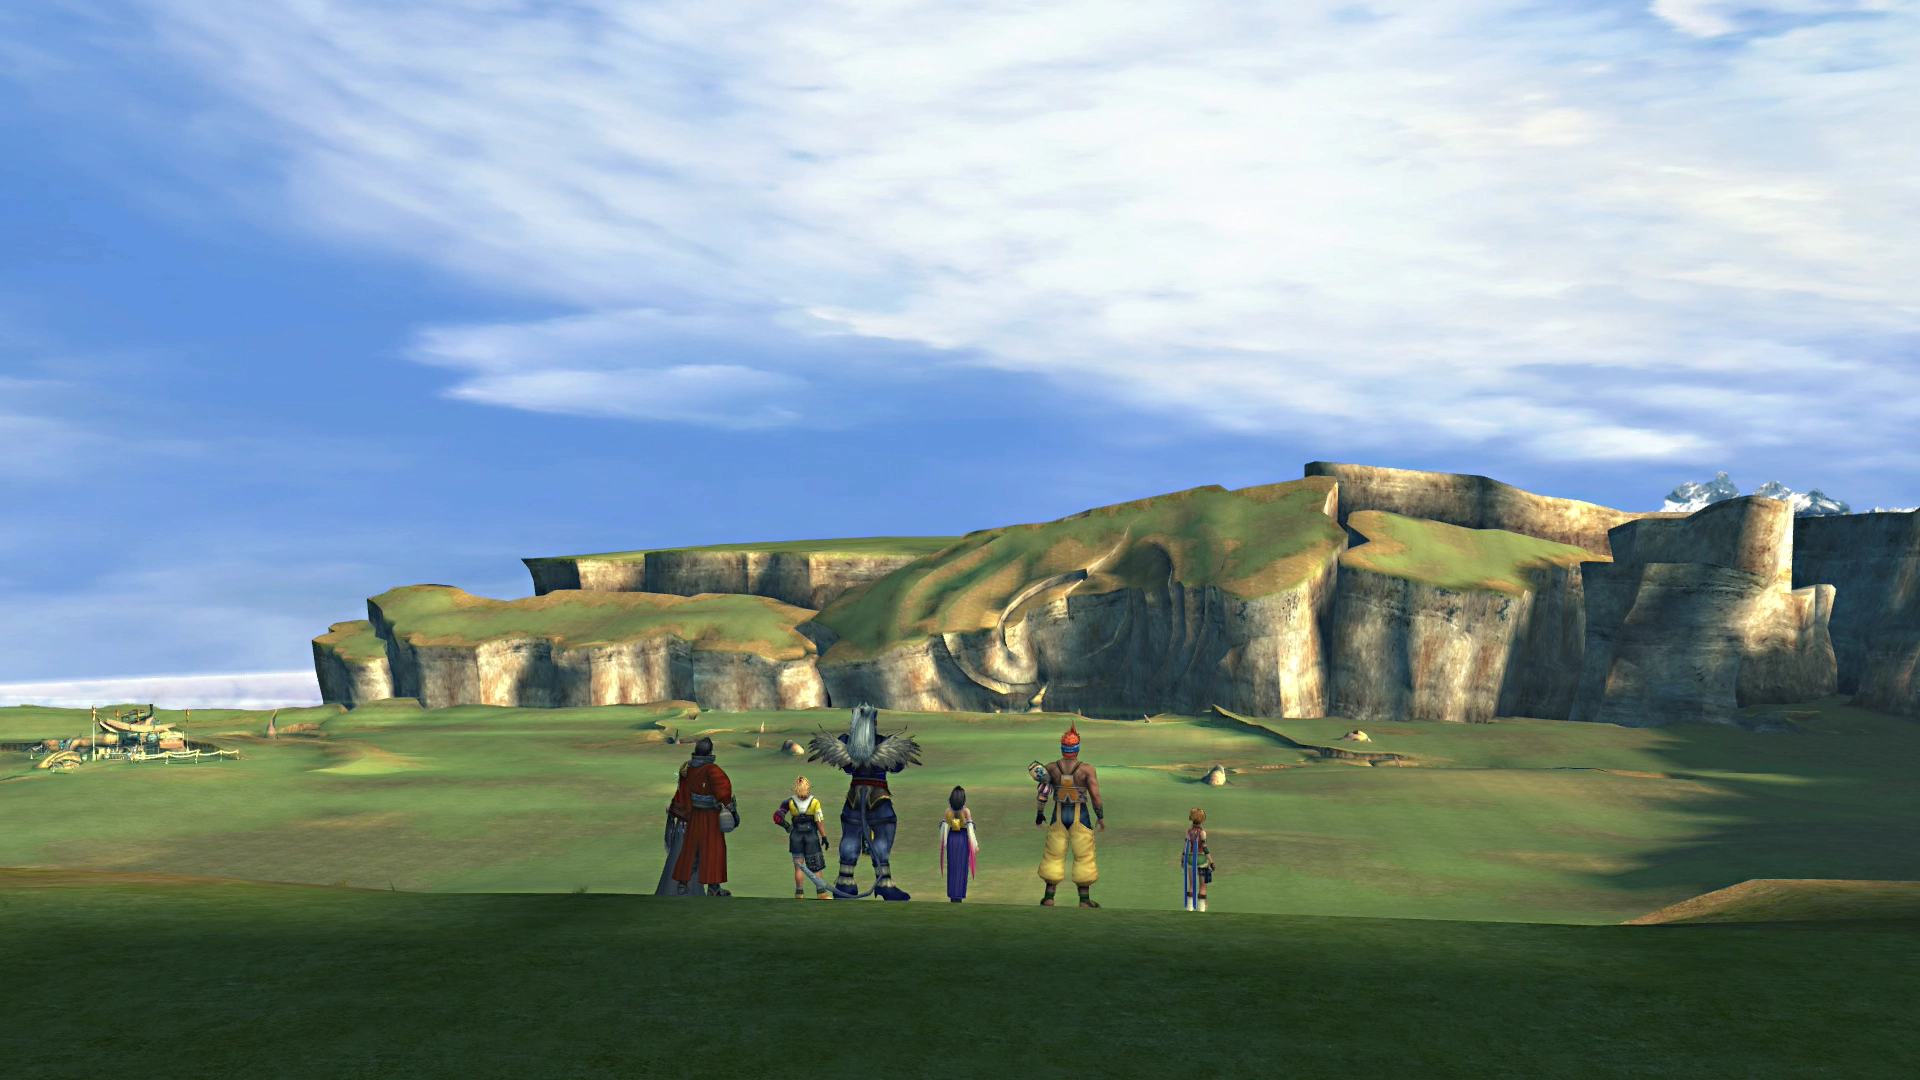
Calm Lands
The team will reach the Calm Lands after the short interlude that takes place in Macalania Woods (where Tidus and Yuna fall in love).
Calm Lands - South
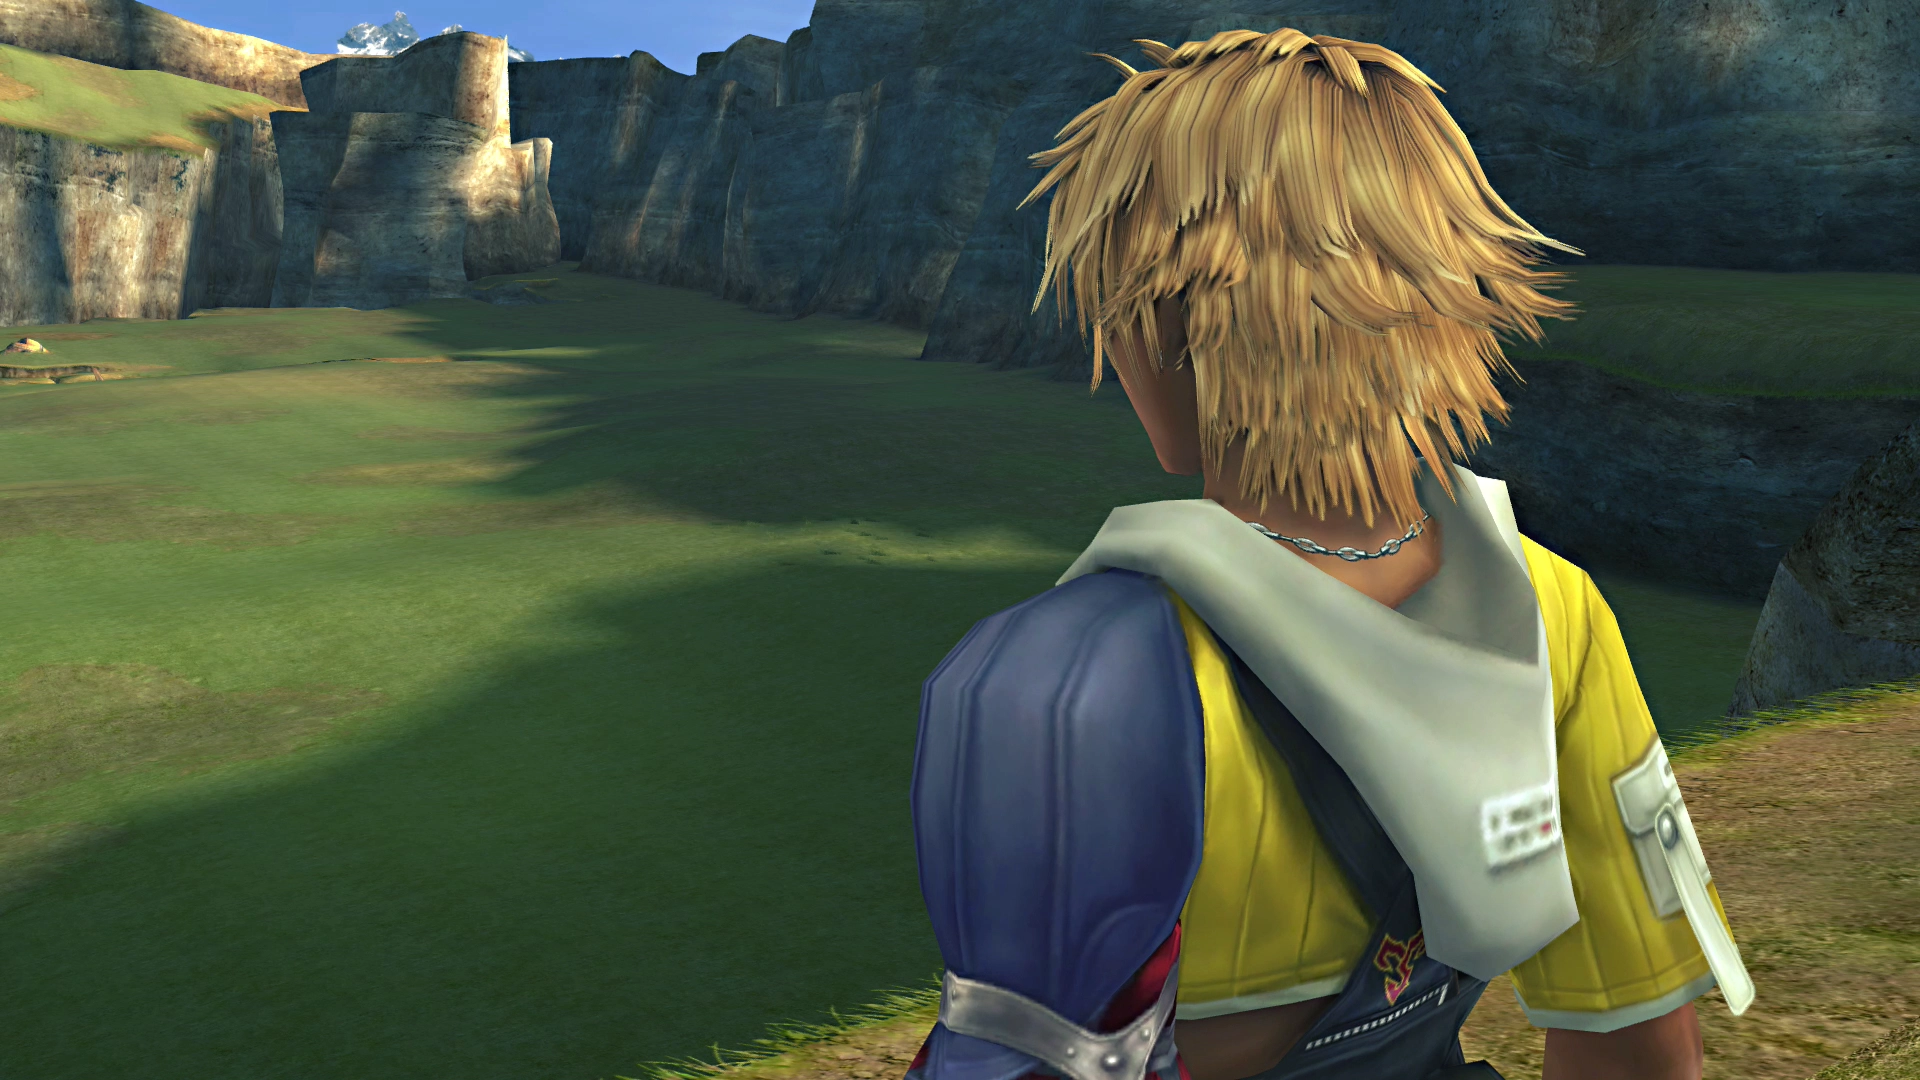
Lulu will tell you a little bit about the Calm Lands as you approach the upper ridge. Auron will explain that this is where many summoners lose their way. Finally, Tidus will reassure Yuna that he will find a way for her to complete her pilgrimage without dying.


Start down the pathway and speak to Maechen if you would like more information about the Calm Lands as you pass. Maechen will explain that a massive battle of Machina once took place in this area.
He will also explain that the Calm Lands are where summoners come to defeat Sin, as there are no nearby settlements or villages that the ensuing chaos could harm.
The Calm Lands are a huge sprawling field that you can now explore. There are a ton of things that you can do in this area, though you can’t do them all right now.
Calm Lands Map

| 1 | Rin’s Traveling Agency |
| 5,000 Gil | |
| 10,000 Gil | |
| 6 | Chocobo Trainer |
| 7 | Belgemine |
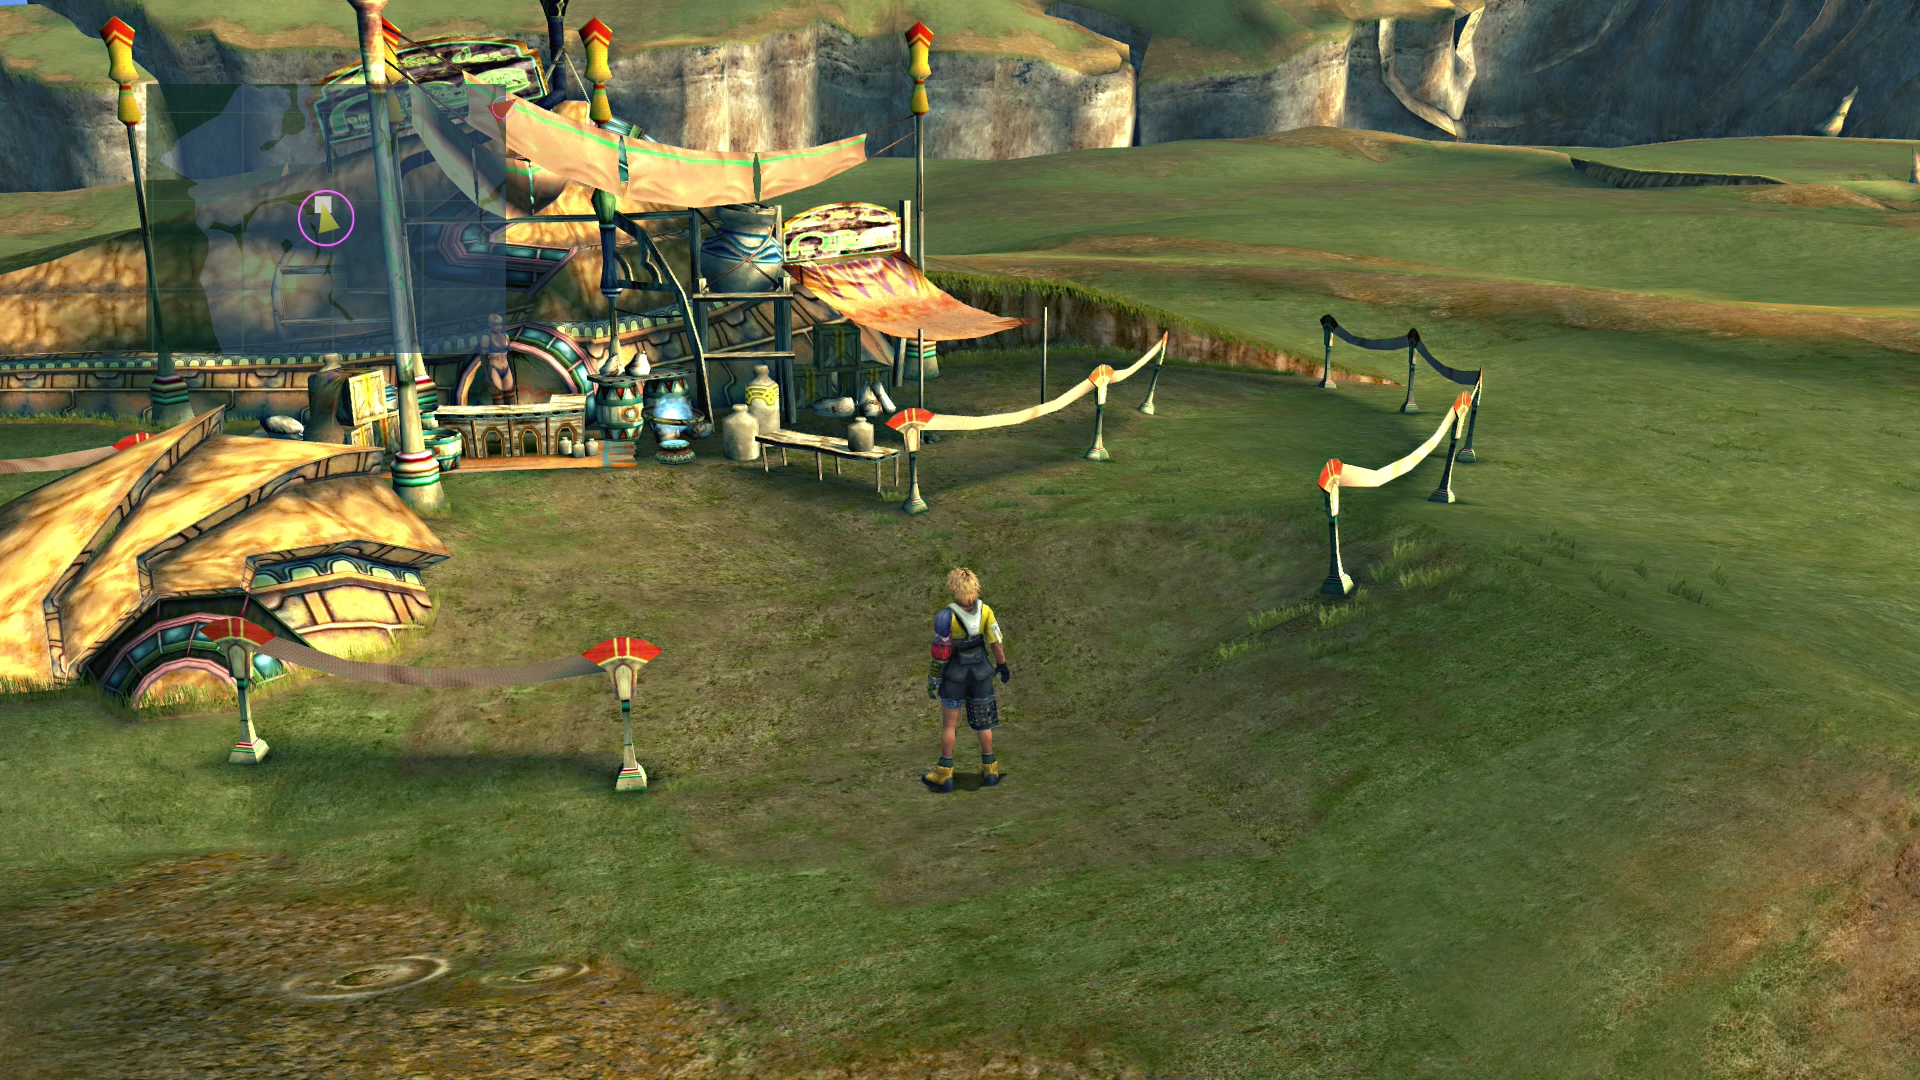
Continue westward down the path towards the Chocobos, and a man in a giant airboat contraption will slide over towards your team.
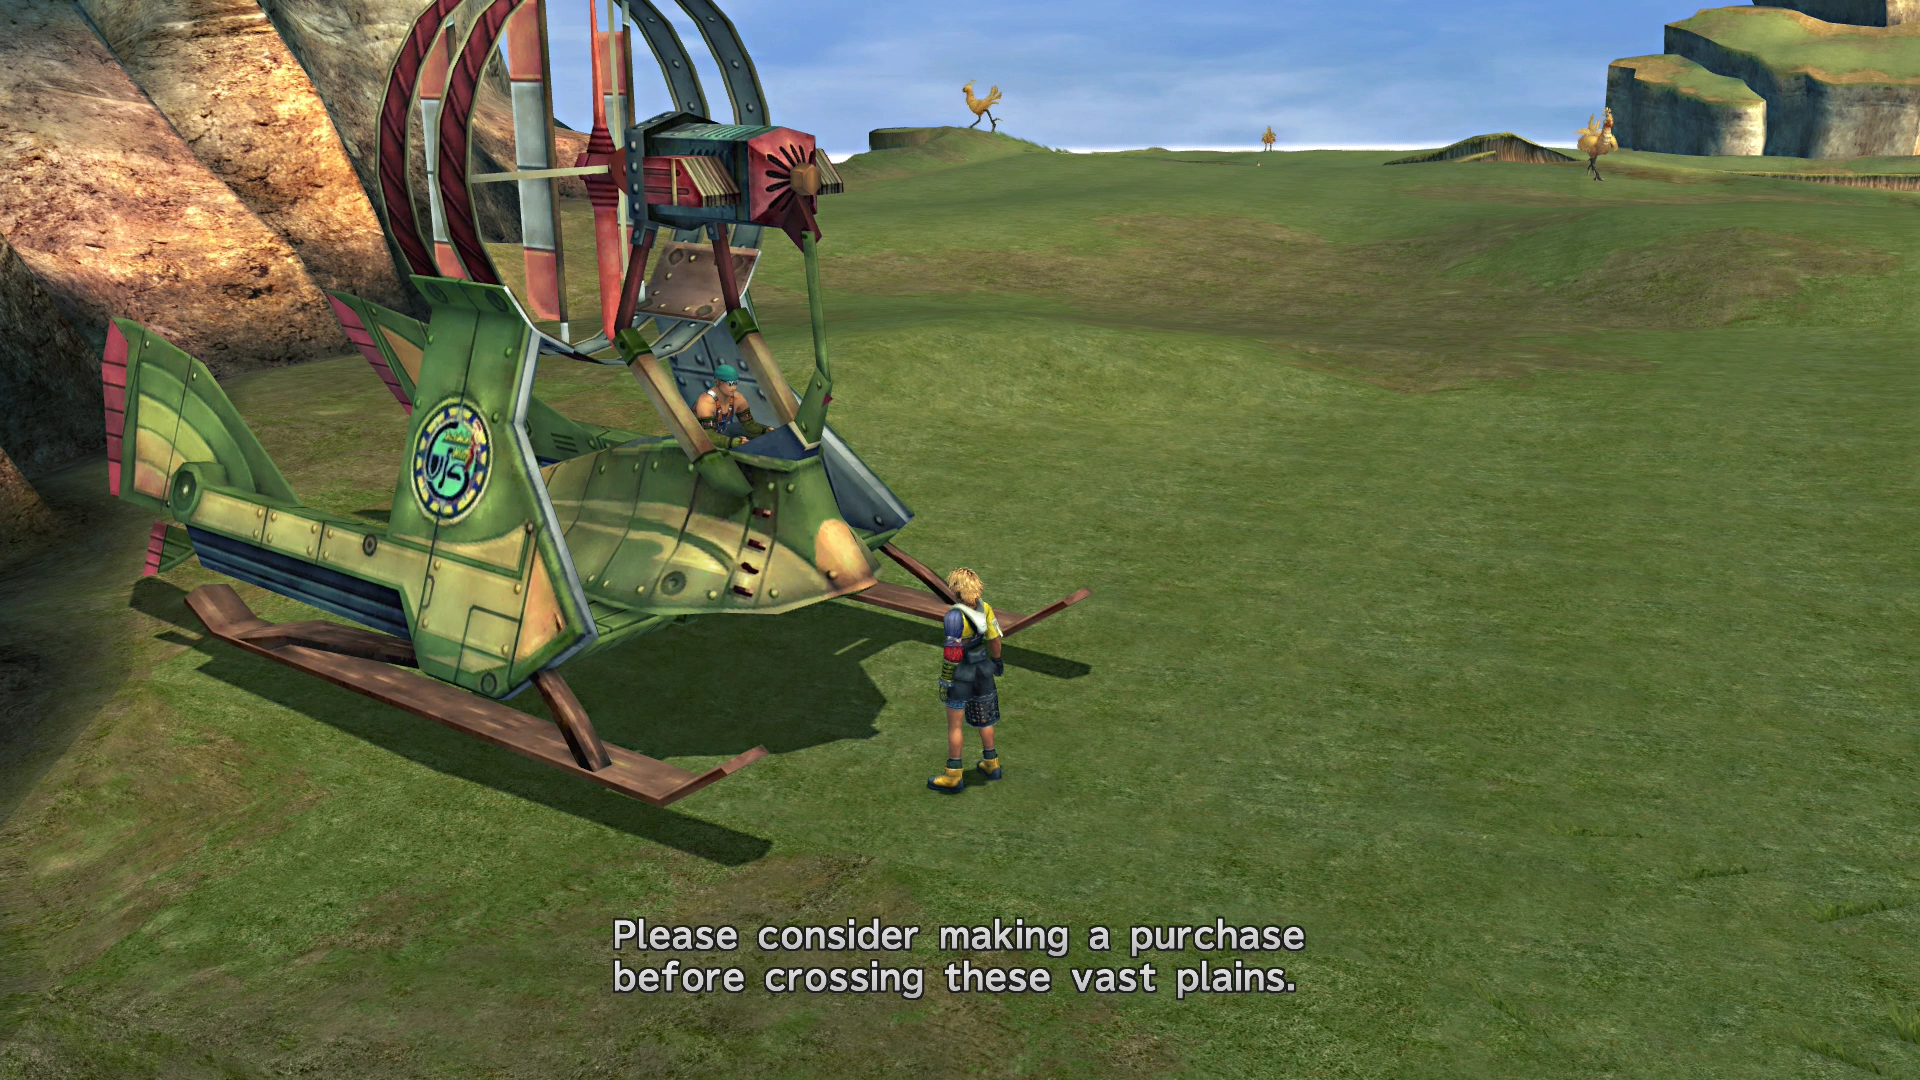
You can speak to the man on the giant airboat/fan boat type device to purchase any items you need to restock. It turns out that he is a traveling salesperson from Rin’s Travel Agency. Some of the weapons and armor that he is selling are fairly strong, including the ![]() White Armguard for Wakka, which includes a customizable ability slot.
White Armguard for Wakka, which includes a customizable ability slot.
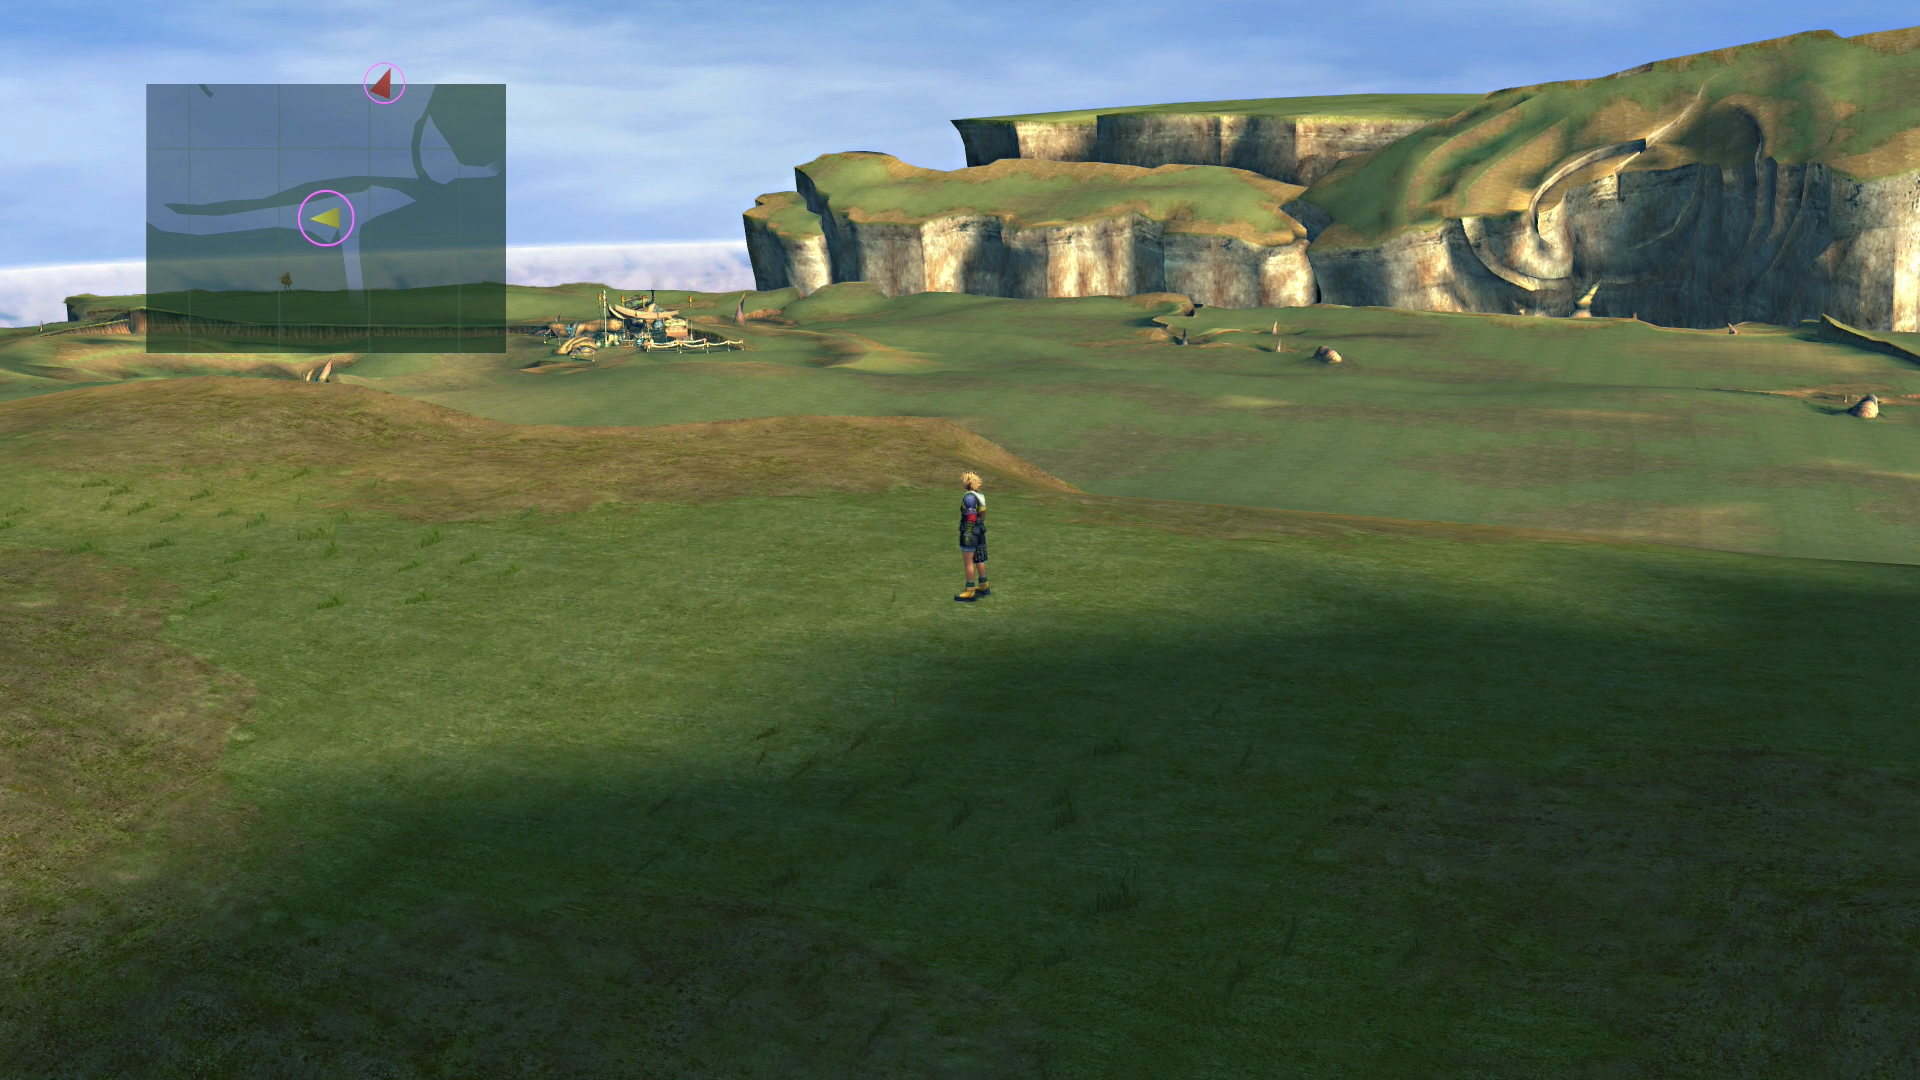
The Calm Lands are extremely vast, and navigating from one end to the other can take a fair bit of time, so to more accurately identify the areas that are mentioned in this walkthrough, use the mini-map in the top left-hand corner of the screen.
Warning
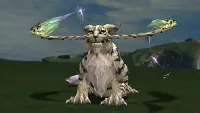
You may run into Malboro fiends while traversing the Calm Lands. They can be particularly difficult due to their “Bad Breath” attack, which hits your entire party with Darkness, Silence, Poison, Slow, Confusion, and Berserk all at once. Confusion is the most dangerous of the batch: confused characters attack their own allies and cannot be given commands, so a “Bad Breath” that lands Confusion on most of your party can quickly spiral into a “Game Over” screen.
Your best two strategies for defeating them include equipping any armor that you have with status repelling abilities (![]() Confuse Ward is the most valuable, as it keeps your party members under your control) and saving your Overdrives to help end the battles as quickly as you can. Have Tidus use
Confuse Ward is the most valuable, as it keeps your party members under your control) and saving your Overdrives to help end the battles as quickly as you can. Have Tidus use ![]() Haste or
Haste or ![]() Hastega to bring them down as quickly as possible.
Hastega to bring them down as quickly as possible.
Having Rikku in your party can be incredibly helpful as well. Aside from being able to ![]() Steal from Machina-type enemies to destroy them in one hit, she can also still use her
Steal from Machina-type enemies to destroy them in one hit, she can also still use her ![]() Use command to use an
Use command to use an ![]() Al Bhed Potion to remove many of the status effects inflicted by Malboros.
Al Bhed Potion to remove many of the status effects inflicted by Malboros.

Helpful Hint
You can learn the “Bad Breath” Ronso Rage ability by having him use ![]() Lancet on a Malboro enemy in this area. Check out the Overdrive section for more information on Kimahri’s Ronso Rage.
Lancet on a Malboro enemy in this area. Check out the Overdrive section for more information on Kimahri’s Ronso Rage.
Helpful Hint
You have an upcoming boss-type battle that involves fighting with Kimahri alone. This fight can be problematic if you have not been using Kimahri and leveling up his Sphere Grid during the rest of the game.
Because of this, it is recommended that you start leveling Kimahri by allowing him to get in at least one attack in on some of the upcoming random encounters. Remember that a character only has to hit the enemy once during a fight to receive AP at the end of the battle.
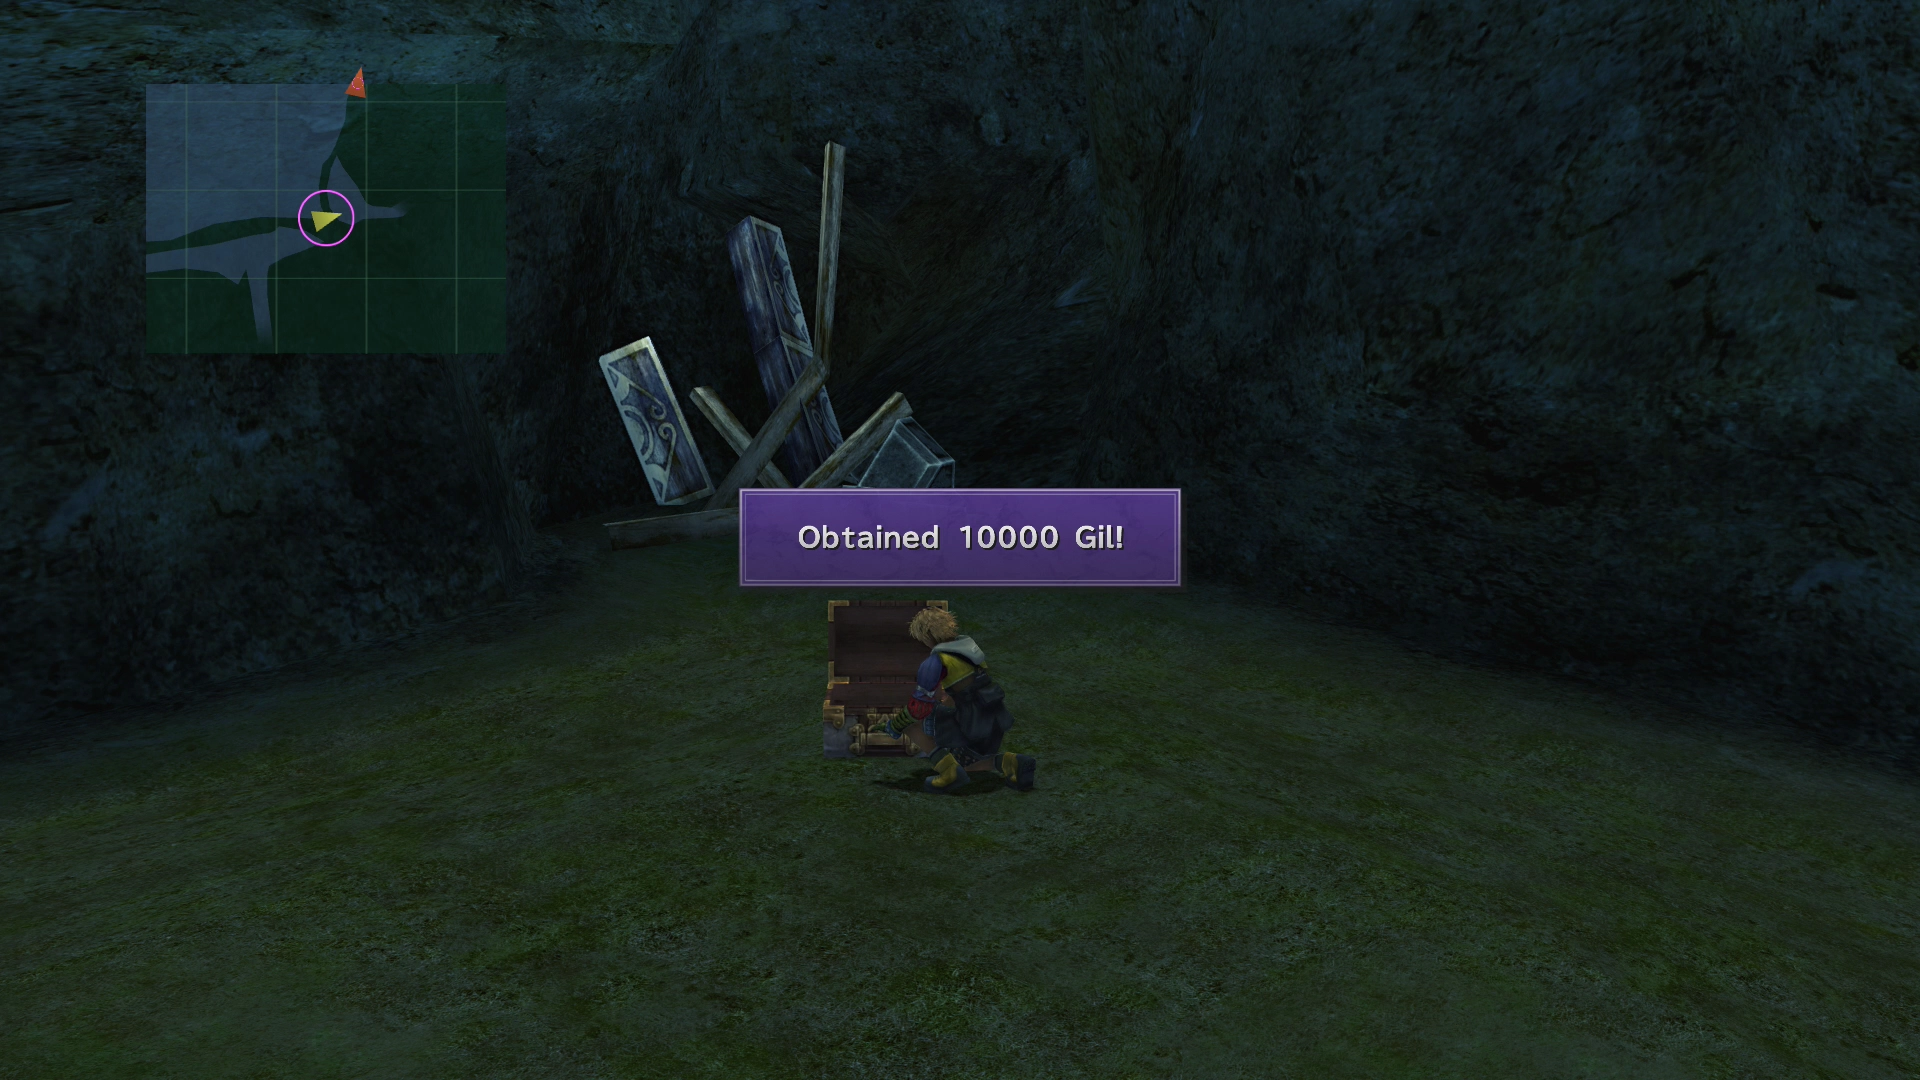
Start by traveling to the far southeast side of the map to find two treasure chests.
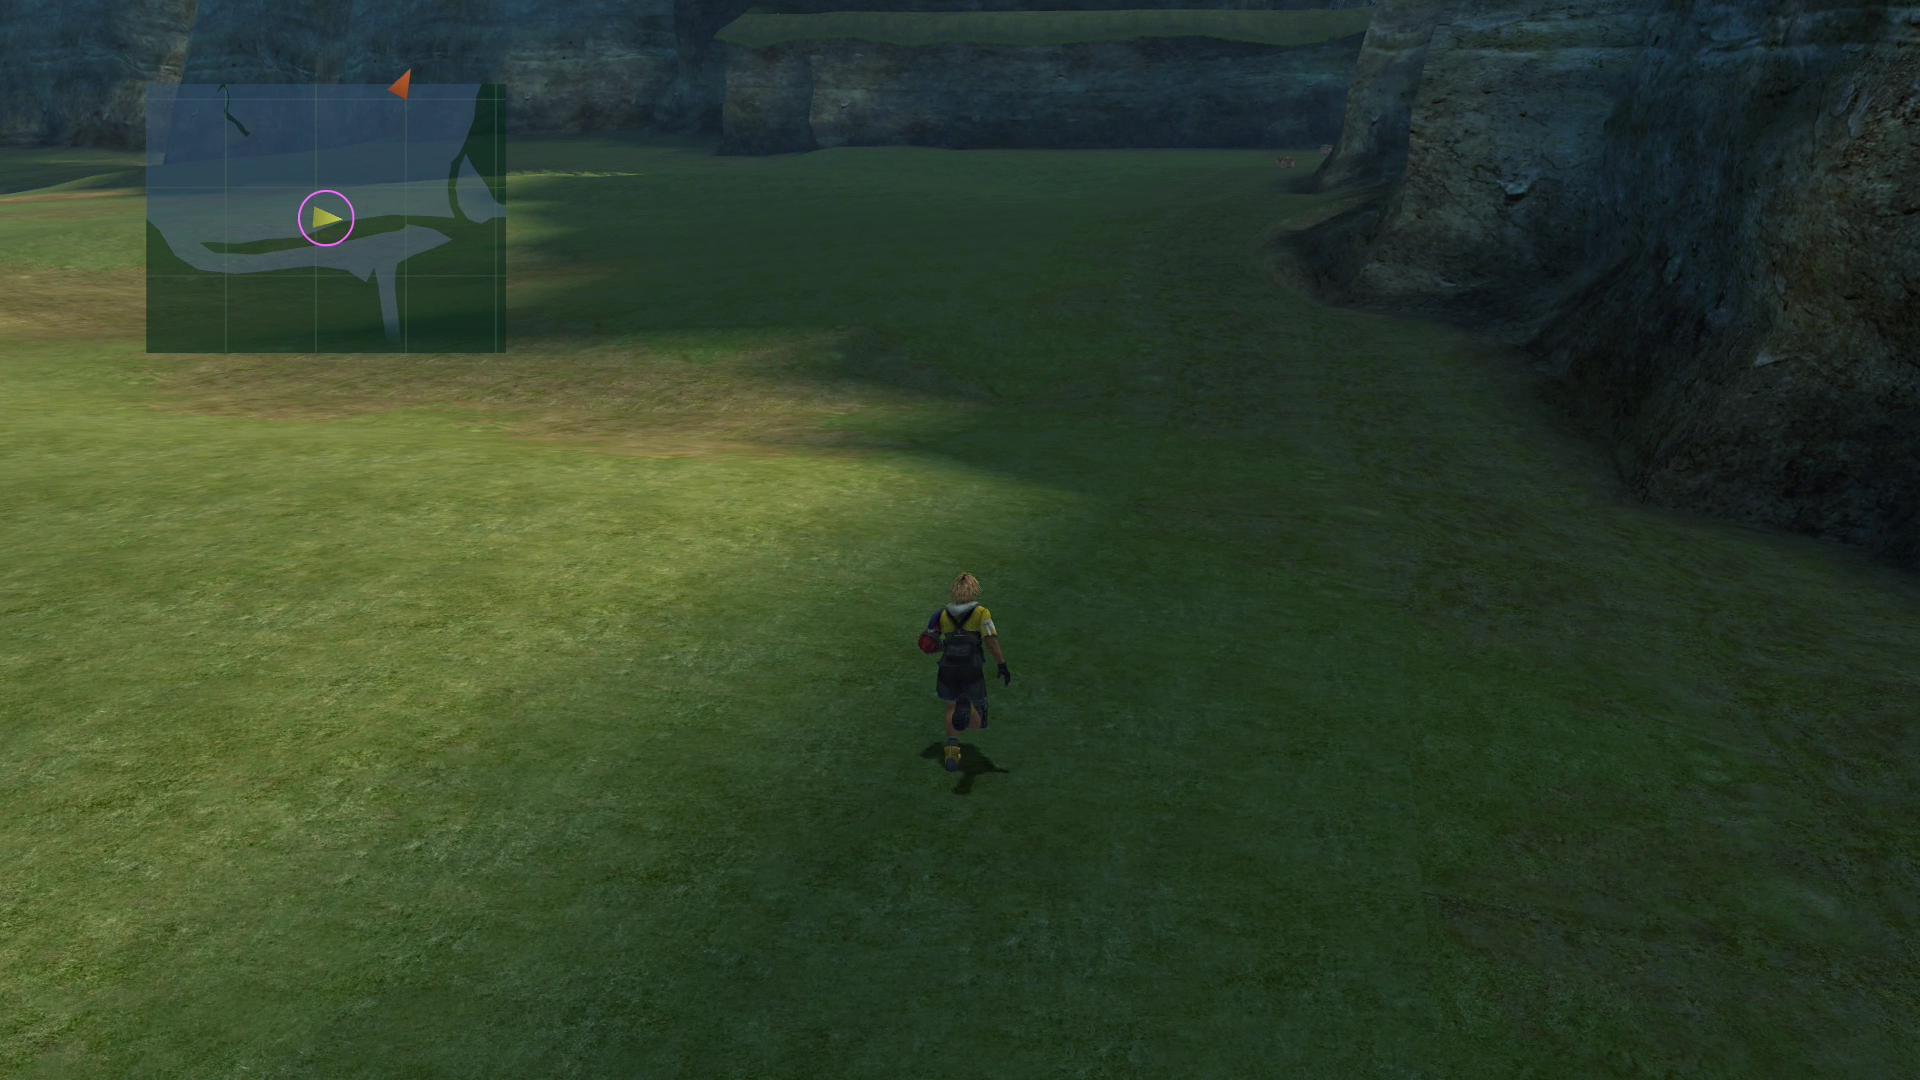
One of them contains 5,000 Gil and the other contains 10,000 Gil. Ignore the ruins in the corner as they are just part of the scenery.
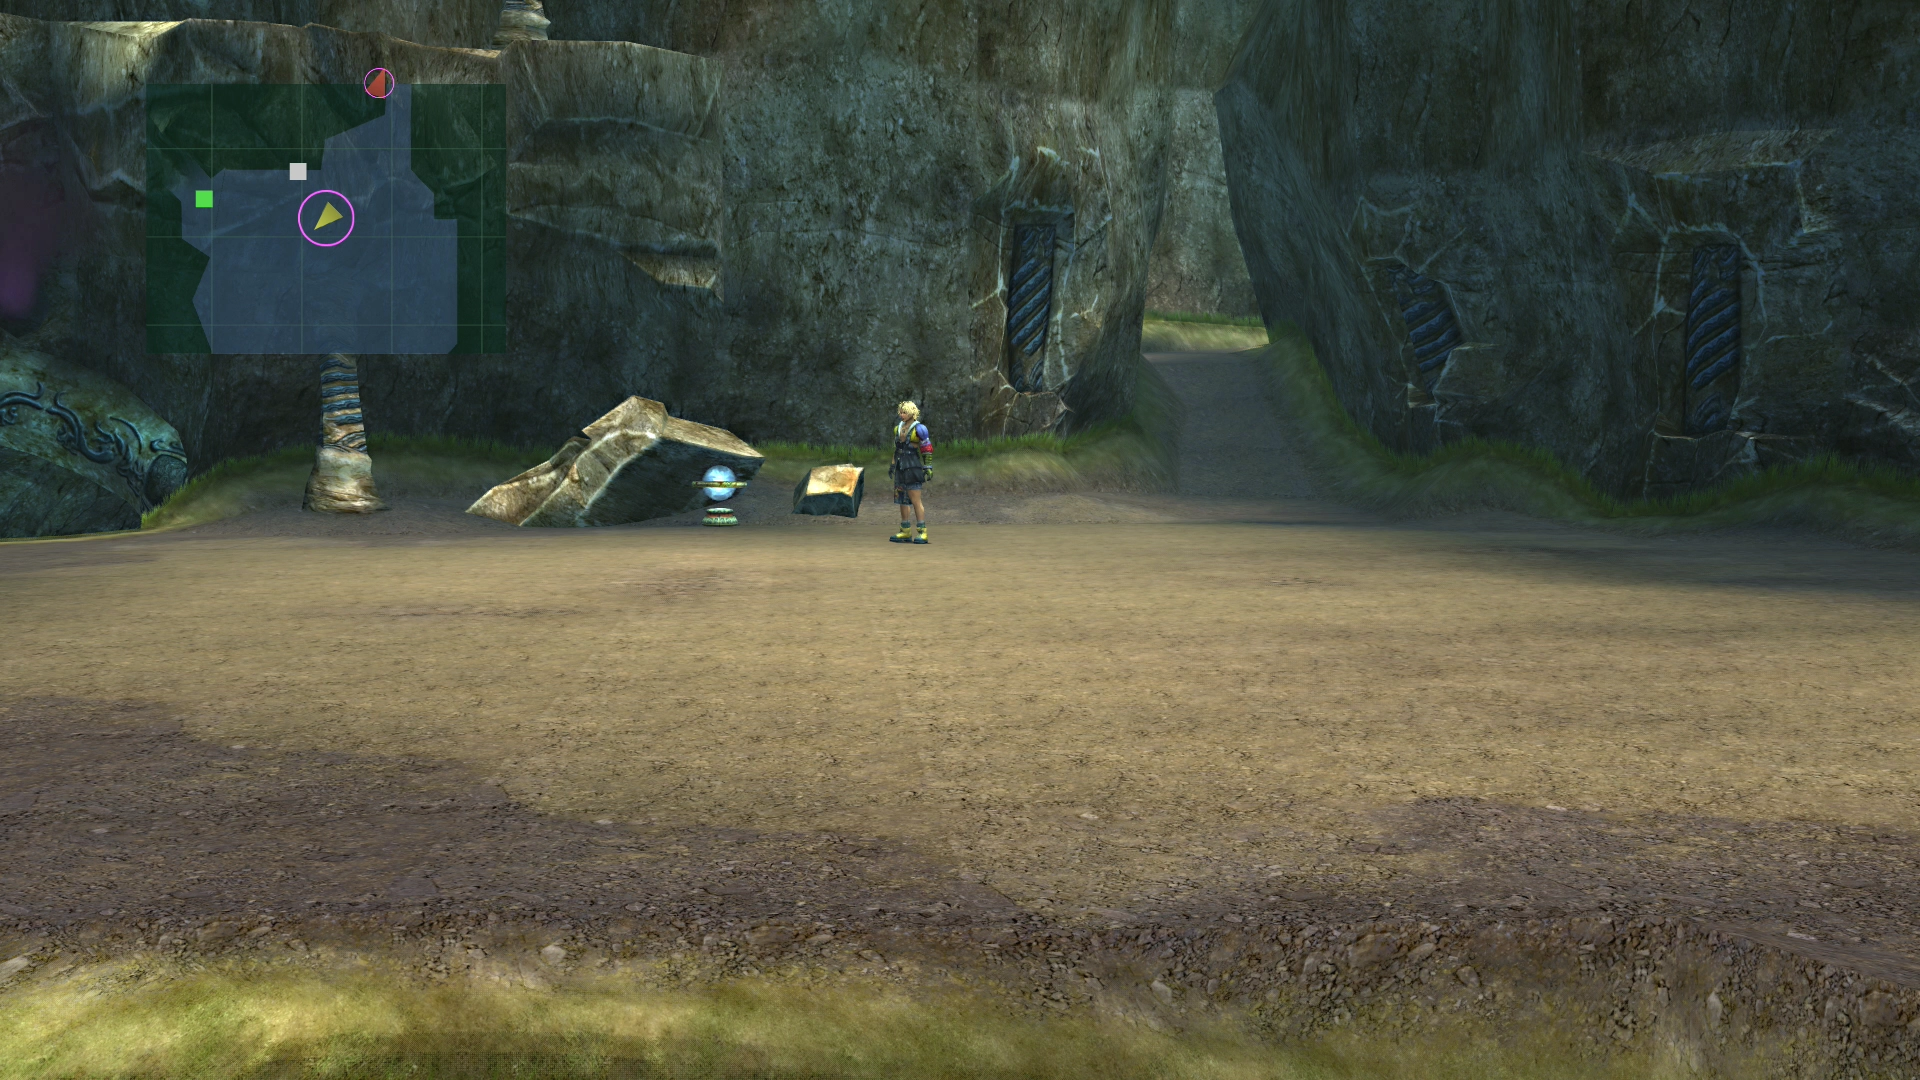
Now head to the center of the map. You are looking for a small camp in the middle of the Calm Lands. Head to the ![]() Save Sphere, which you can identify easily as you get closer to the camp by using the mini-map.
Save Sphere, which you can identify easily as you get closer to the camp by using the mini-map.
Calm Lands - Central
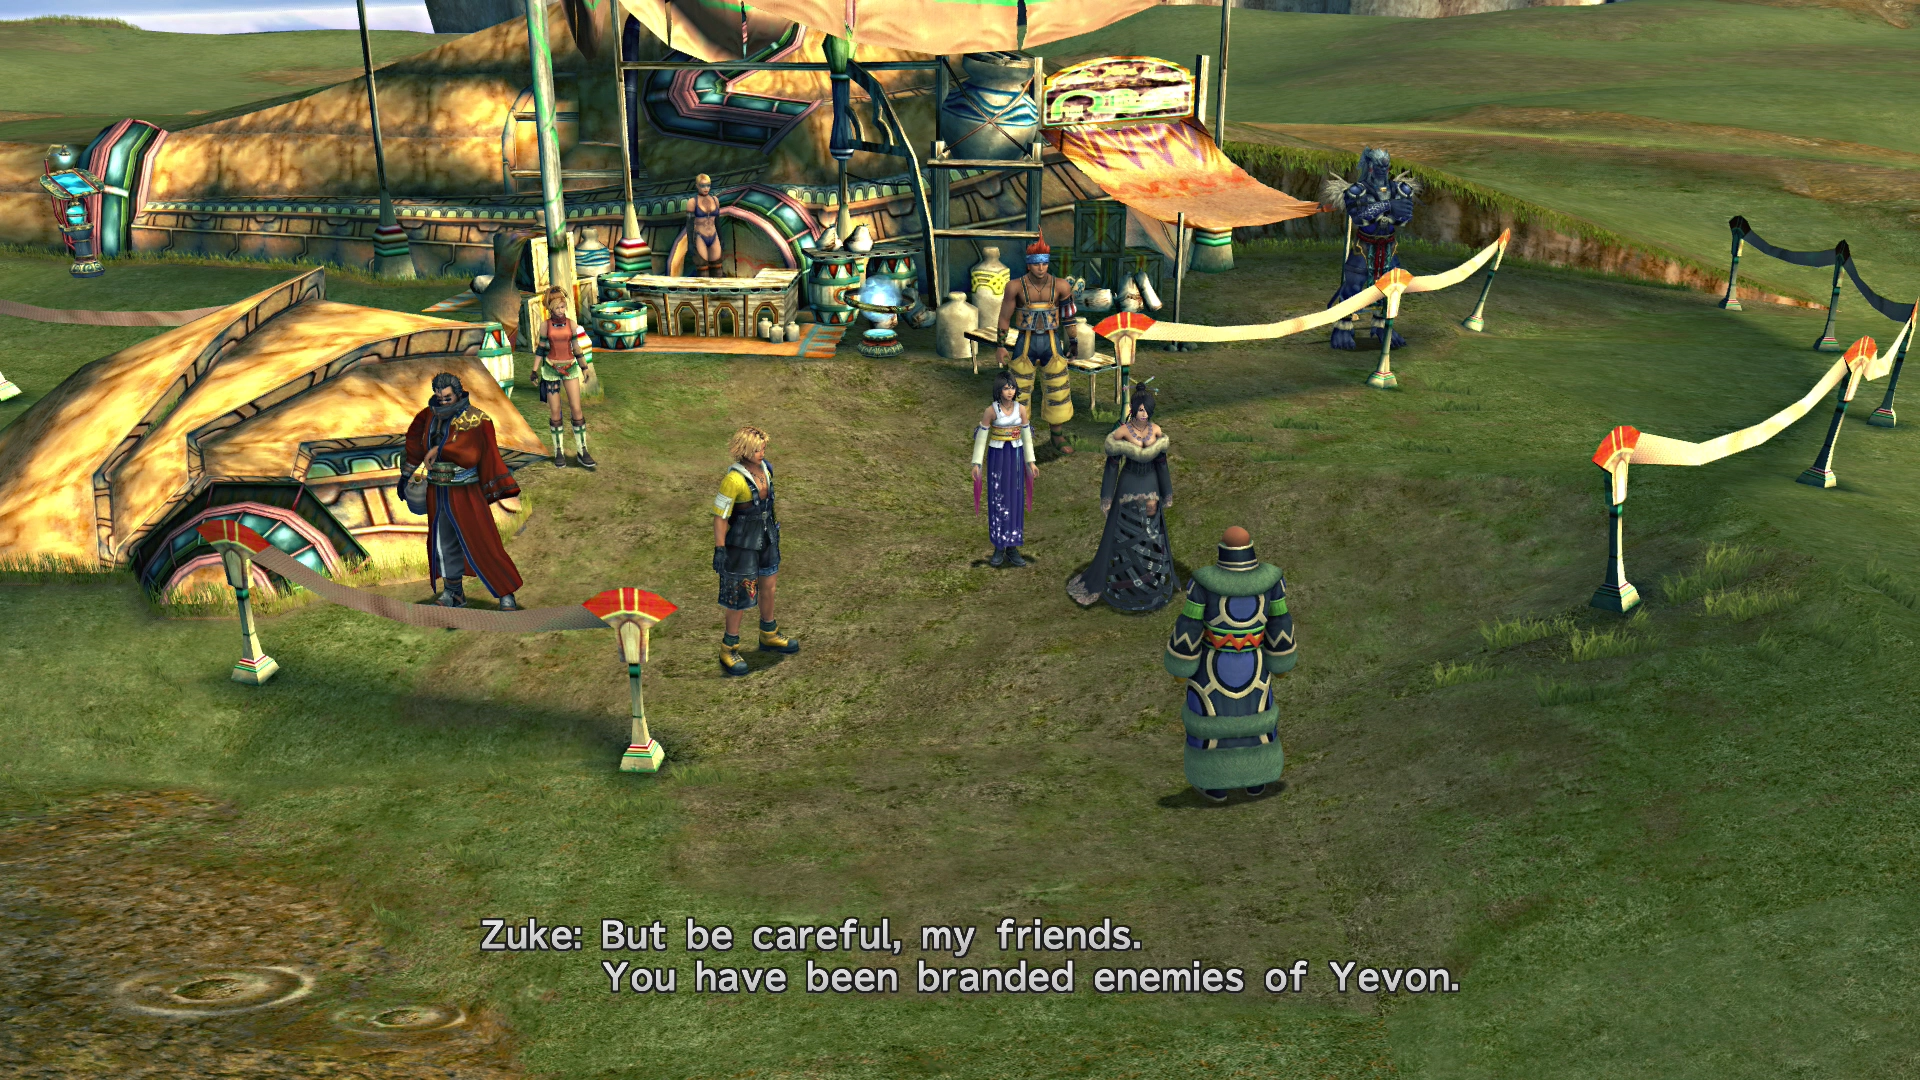
A few short cutscenes will occur involving a side character named “Father Zuke.” You can purchase weapons and items at the shop here, and many of them are quite powerful. Don’t forget to save your game at the ![]() Save Sphere or at least use it to refill your HP and MP before you leave.
Save Sphere or at least use it to refill your HP and MP before you leave.
Directly behind the camp is a treasure chest that contains a ![]() Lv. 2 Key Sphere.
Lv. 2 Key Sphere.

Travel directly west from here onto the peninsula that extends furthest to the west to find ![]() Al Bhed Primer (Vol. XXIII) on the ground. There is a small, hidden pathway visible to the north on the map from here—don’t bother with it as it is blocked off at this point in the game.
Al Bhed Primer (Vol. XXIII) on the ground. There is a small, hidden pathway visible to the north on the map from here—don’t bother with it as it is blocked off at this point in the game.
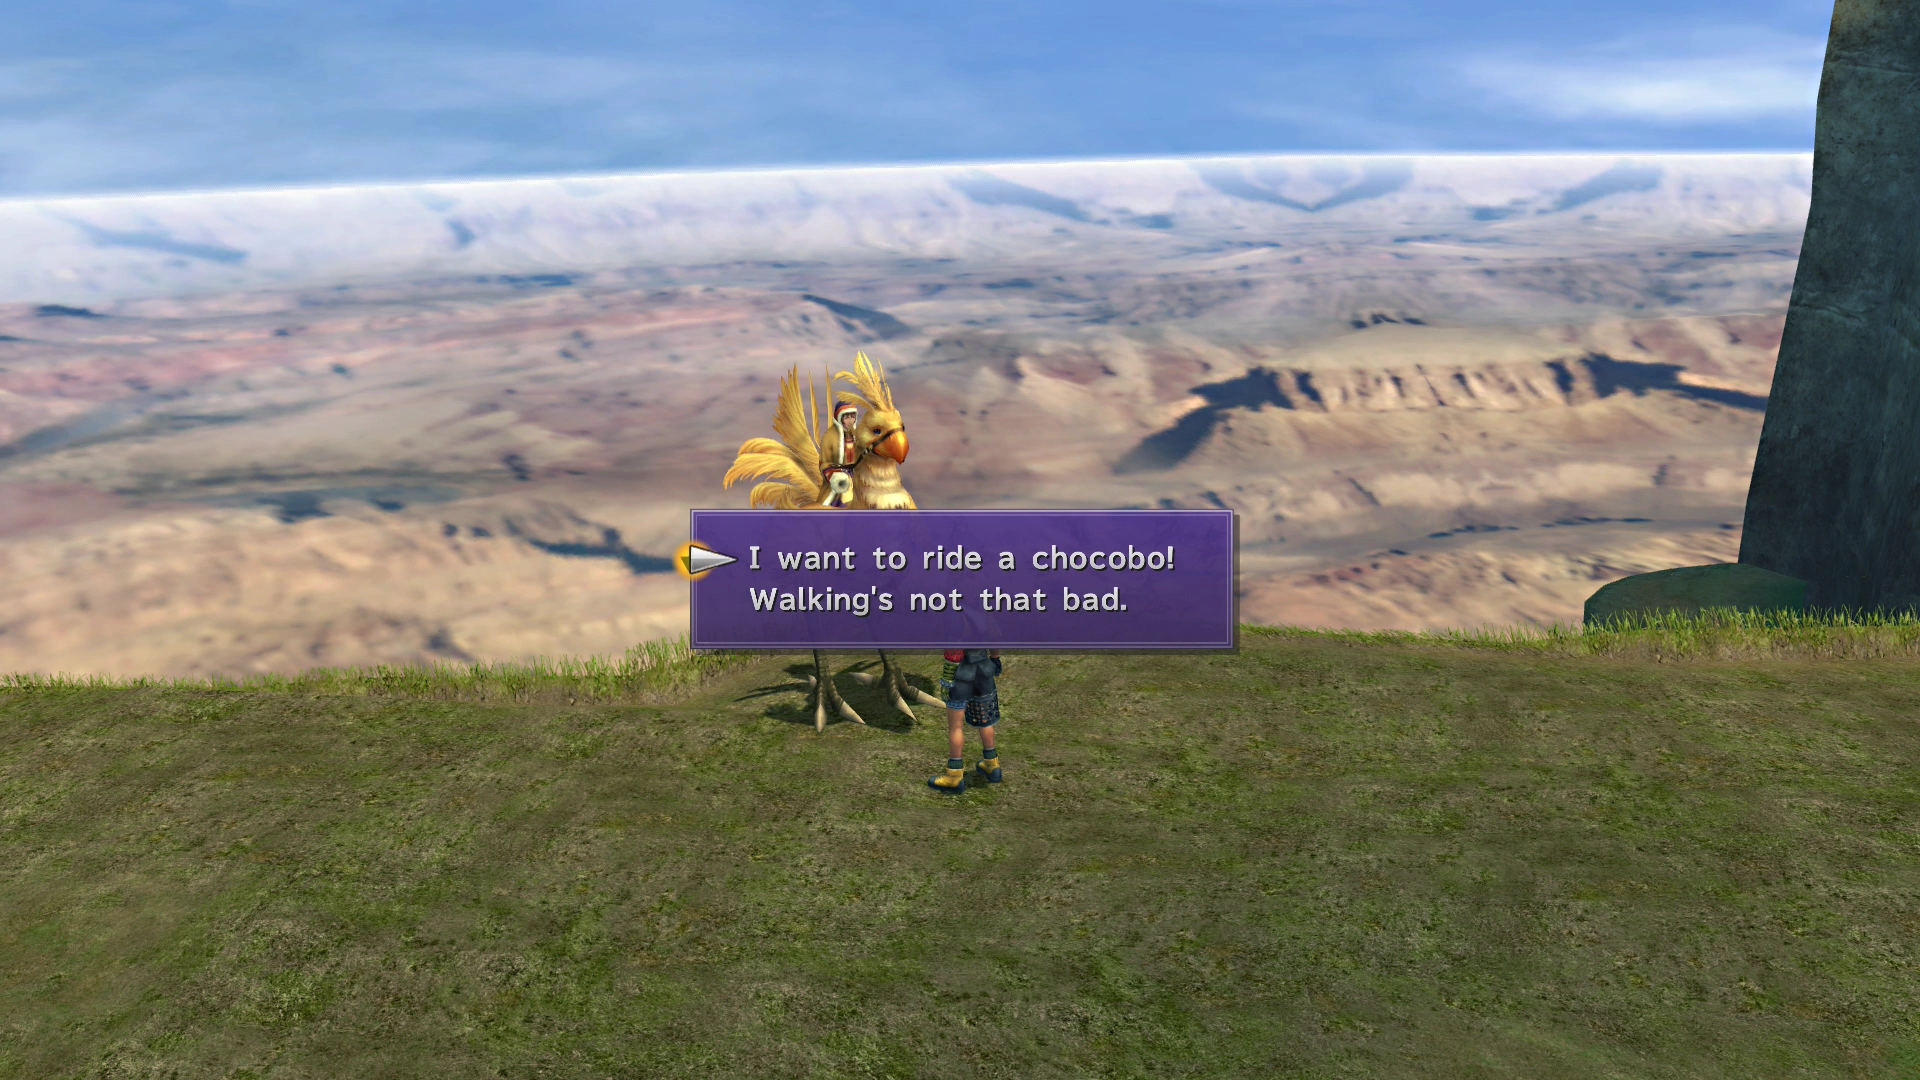
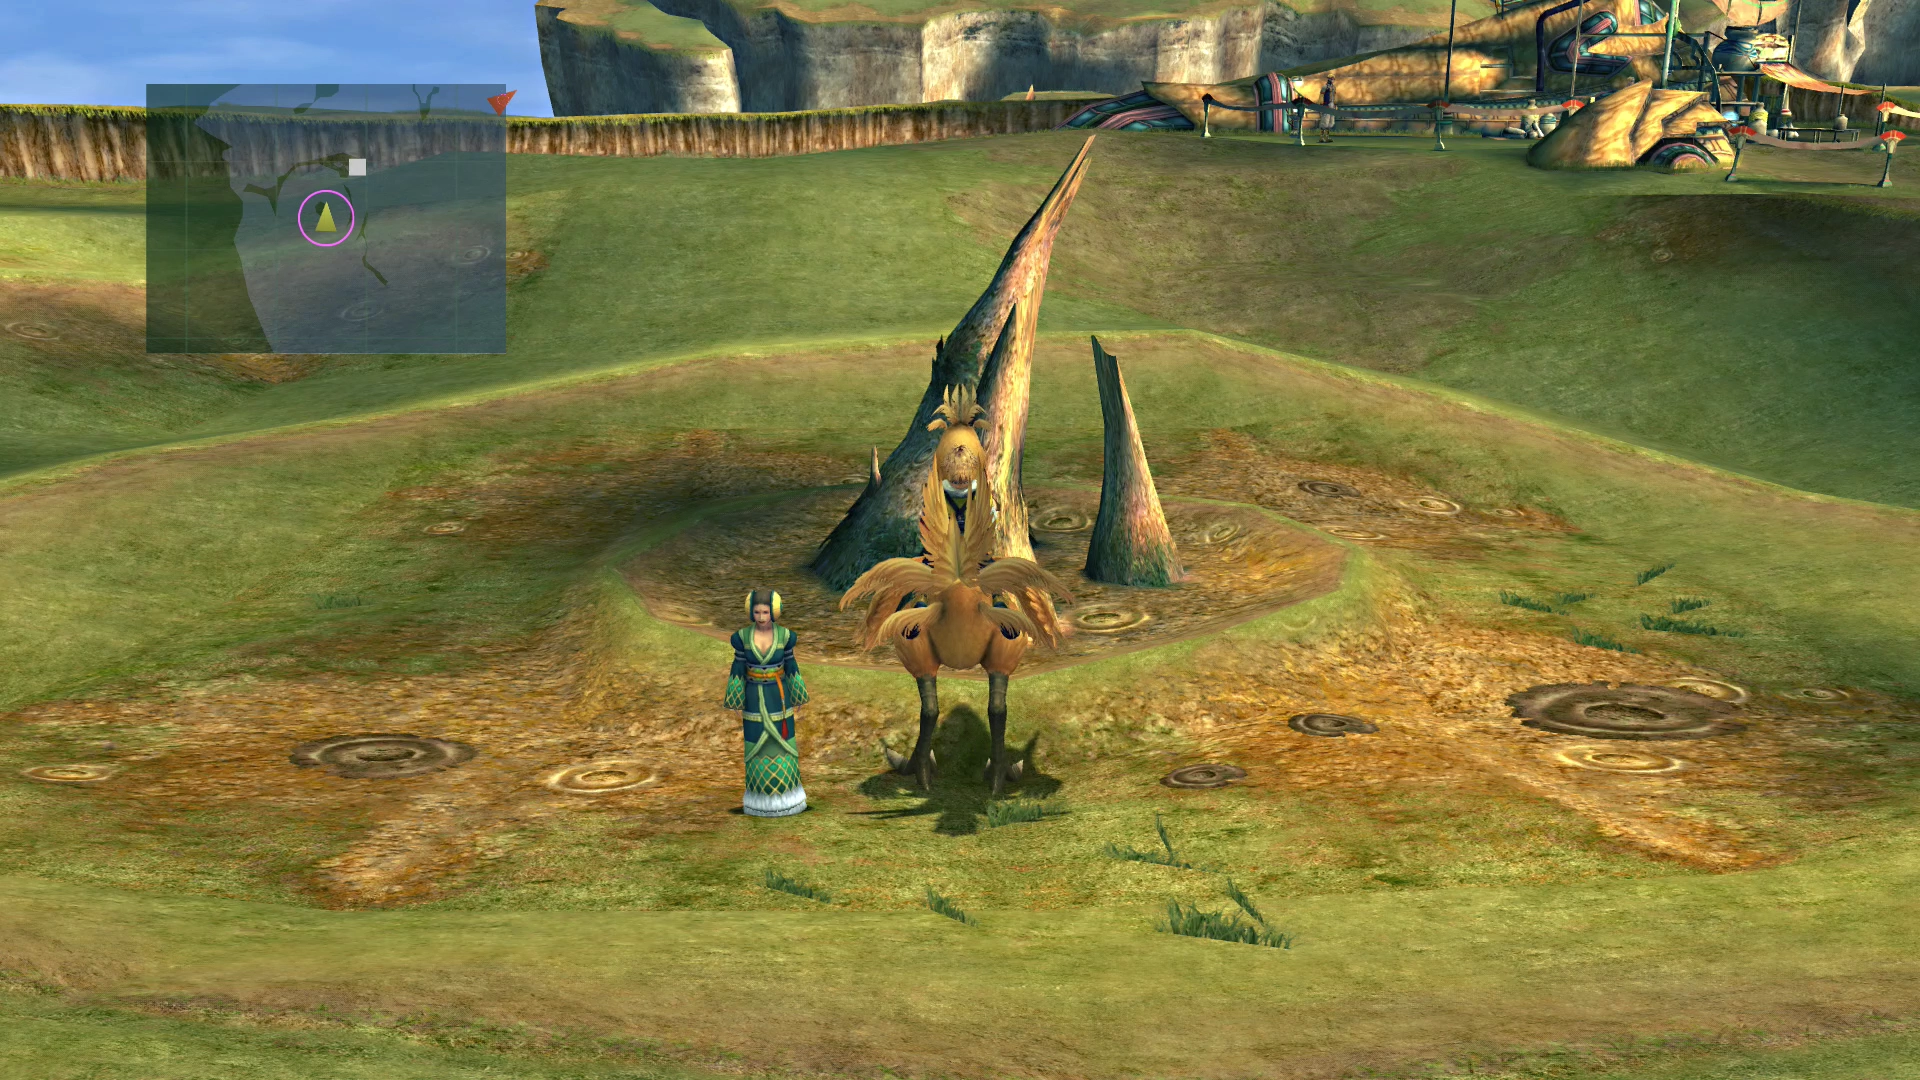
Speak to the woman just north of here and tell her that you want to ride a Chocobo. The first step to riding and using Chocobos is training them.
Check out the Chocobo Training side quest page using the link below for more information on how to complete these side quests:
Side Quests
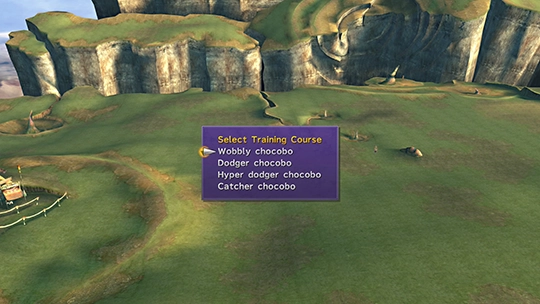
Completing the Wobbly Chocobo, Dodger Chocobo, Hyper Dodger Chocobo, and Catcher Chocobo quests in the Calm Lands.
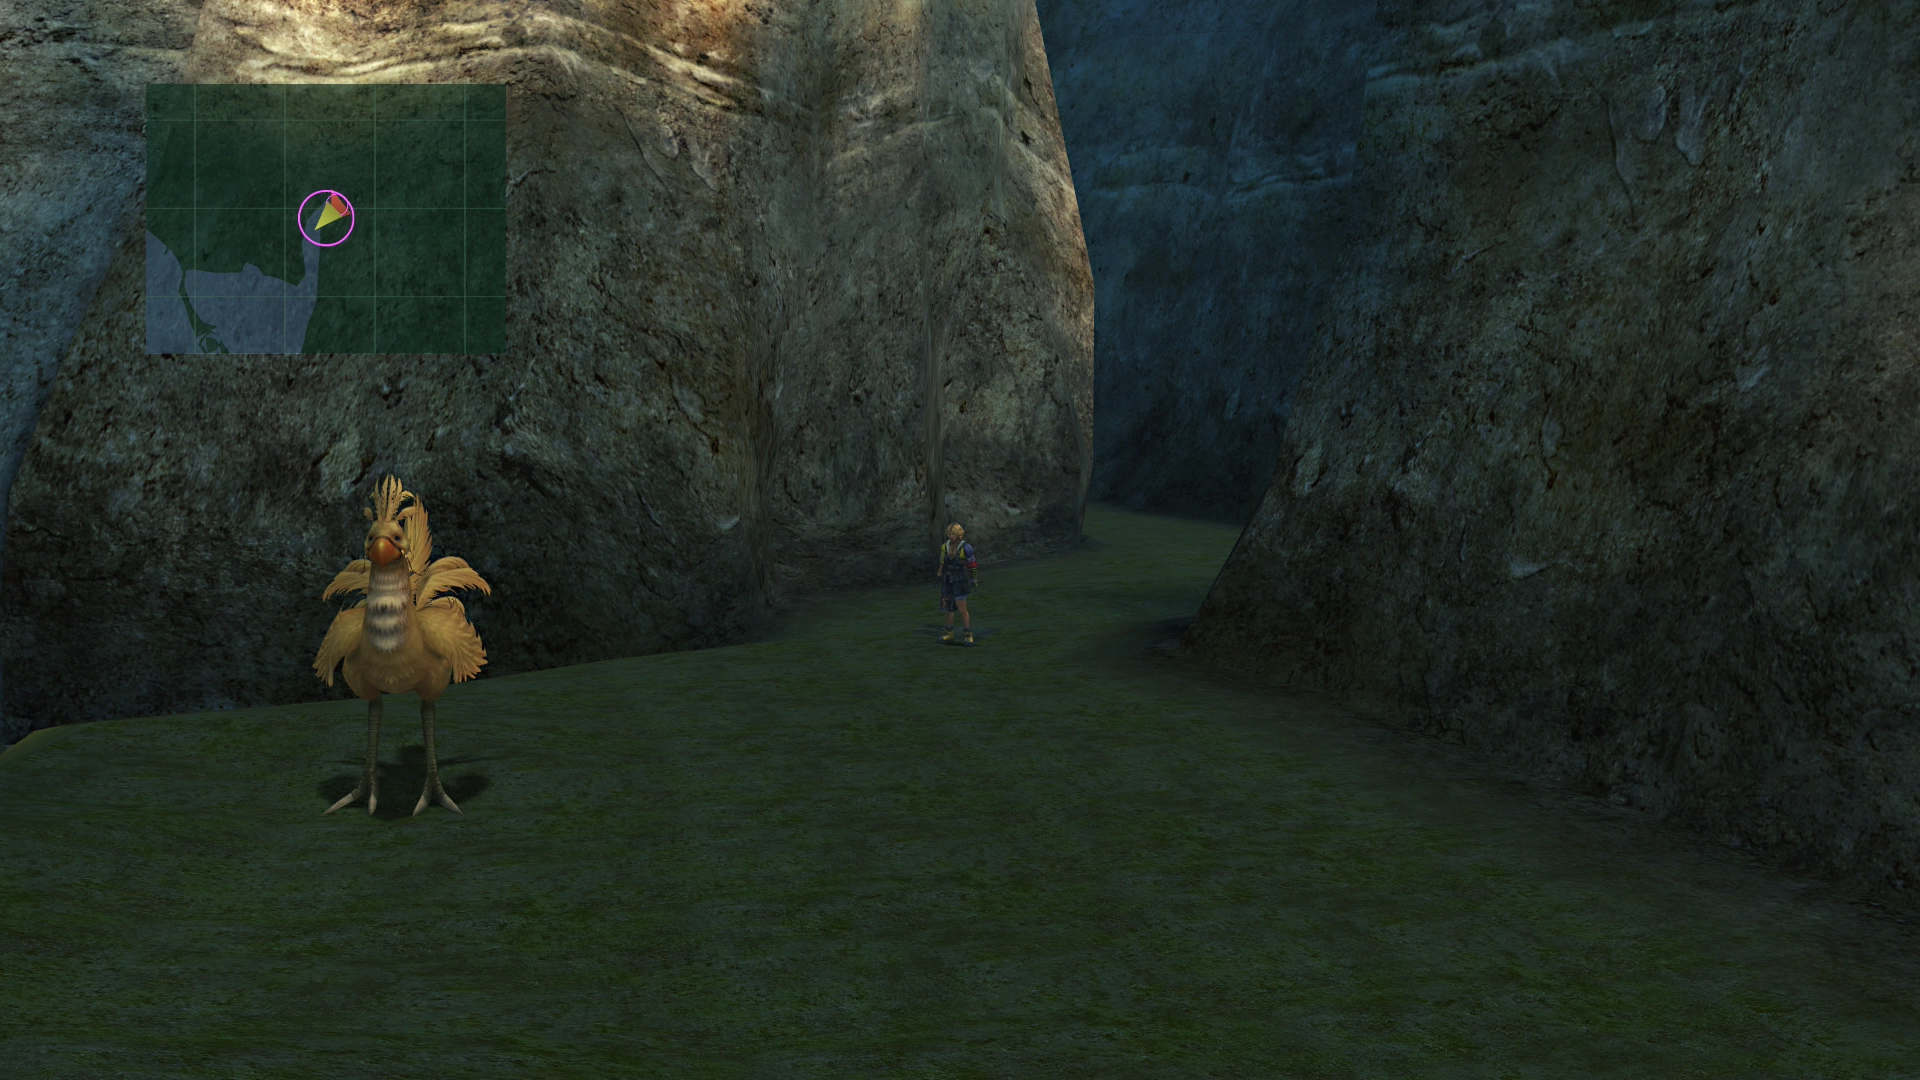
Speak to the Chocobo trainer to ride a Chocobo. You can head over to the north end of the Calm Lands near the man standing at the ledge for some more information about the gorge and about the Calm Lands.
You will find Belgemine just south of the camp. Challenge her to another showdown between her and Yuna.
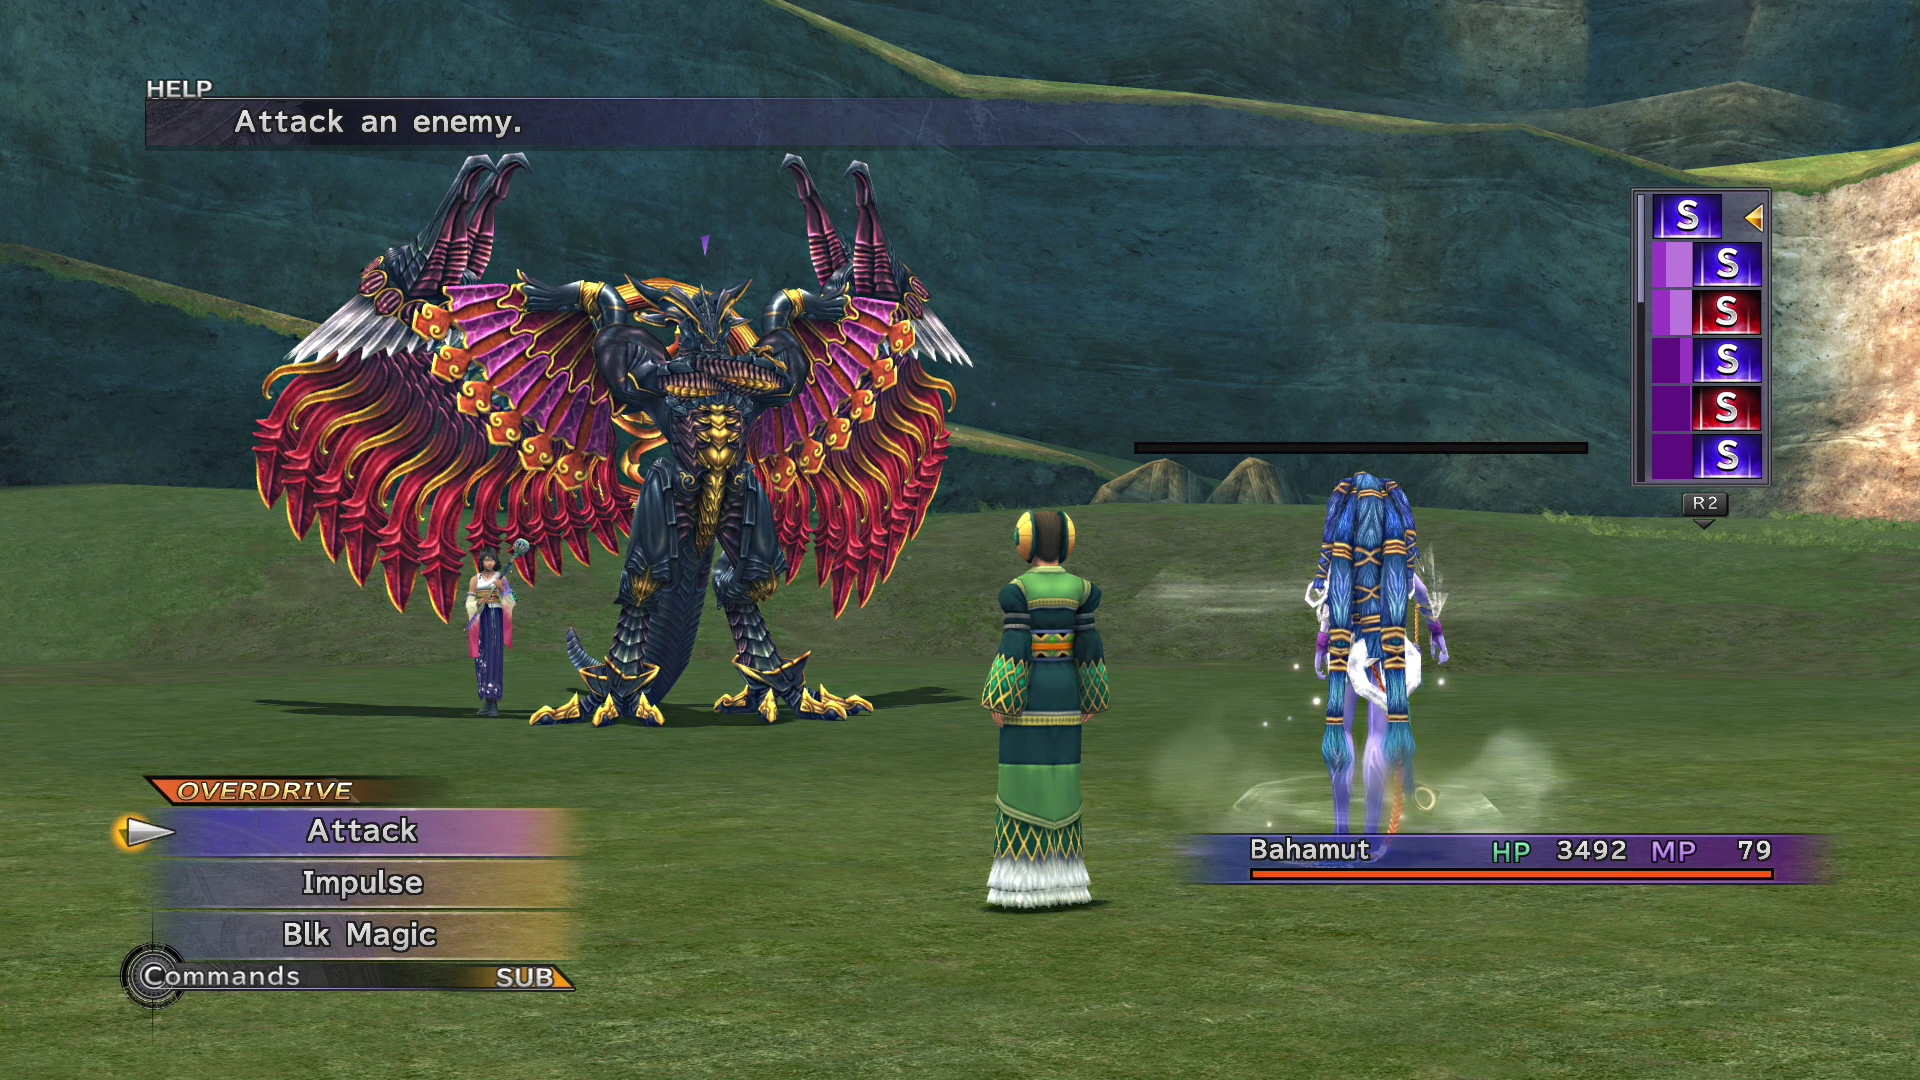
Boss Battle
HP: 15,000
Belgemine will use Shiva in this fight, so you can use Bahamut as Yuna’s Aeon, which will make the fight relatively easy. Your reward for defeating her Aeon is thirty ![]() Power Spheres, and, regardless of whether you win or lose, you will receive an
Power Spheres, and, regardless of whether you win or lose, you will receive an ![]() Aeon’s Soul, which will allow you to upgrade and raise the stats of your Aeons.
Aeon’s Soul, which will allow you to upgrade and raise the stats of your Aeons.
The game will provide you with an overview of how to do this as soon as the battle against Belgemine concludes.
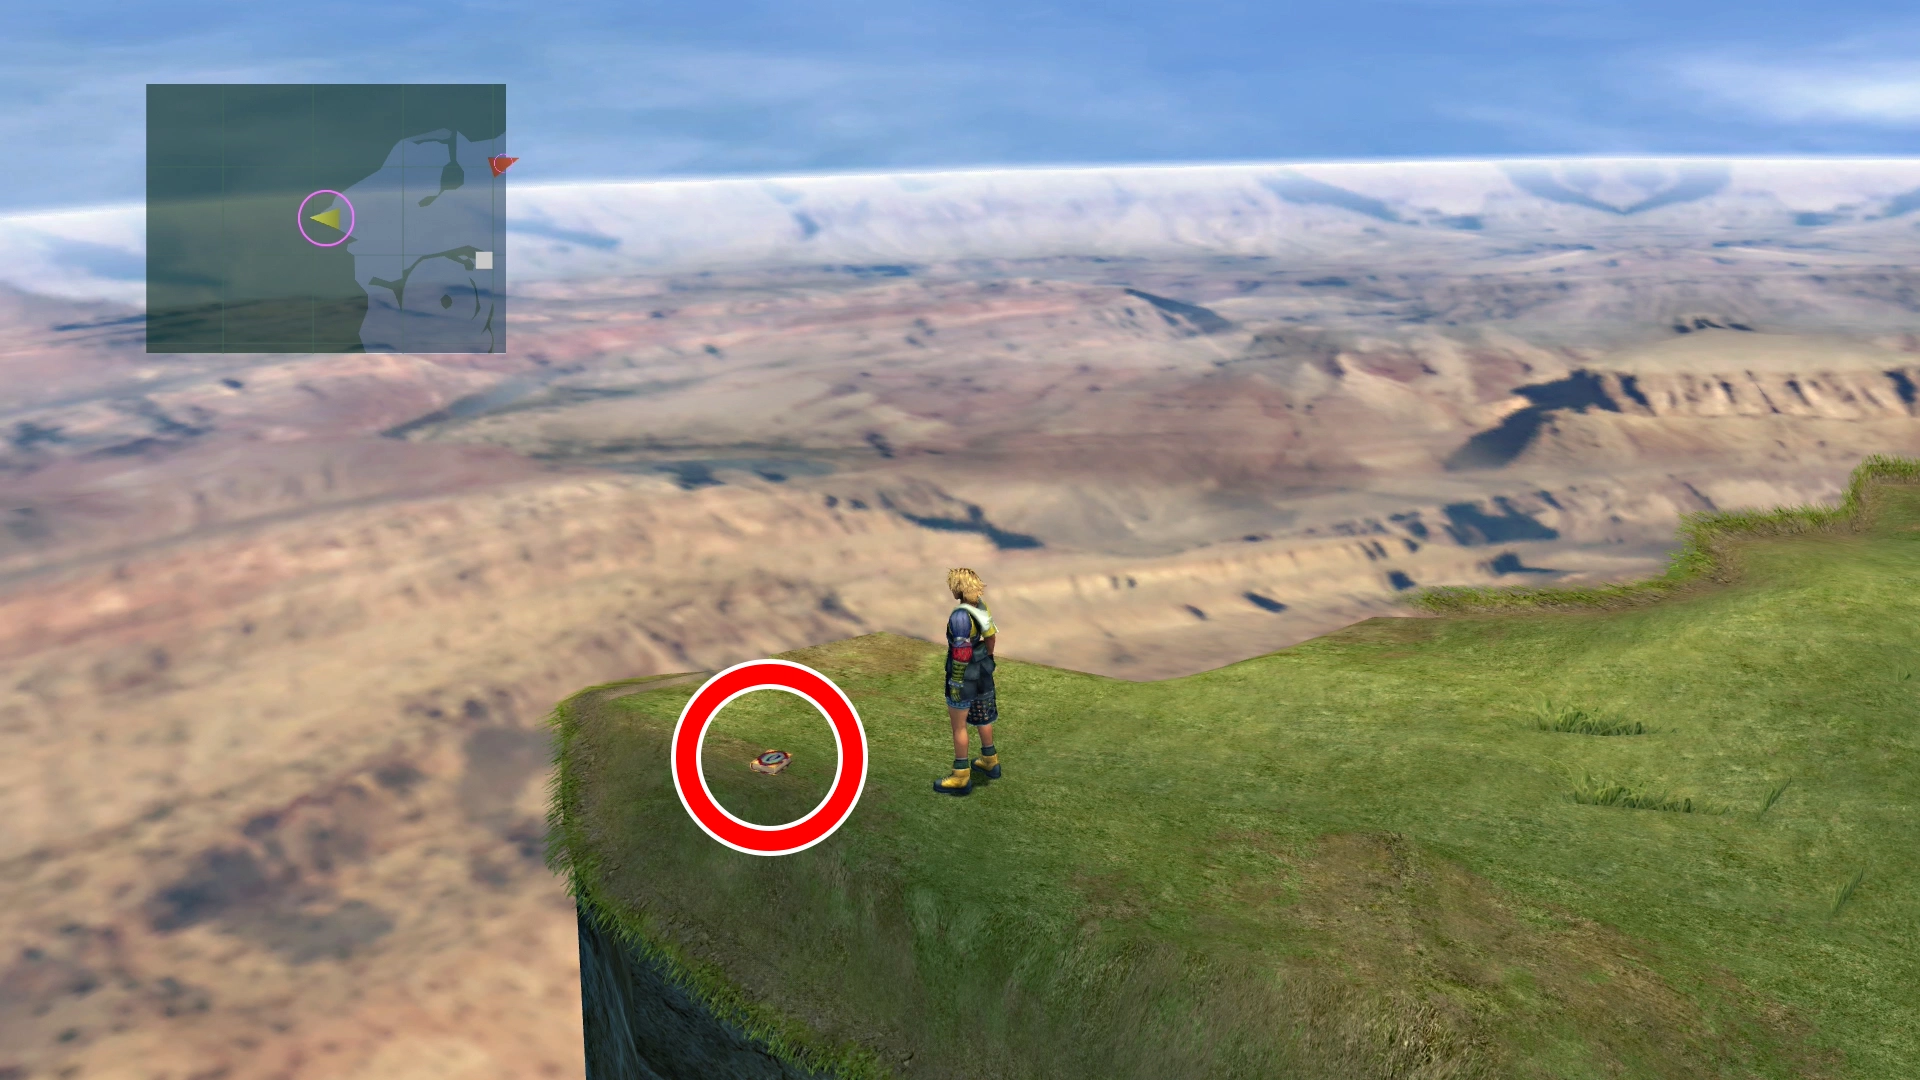
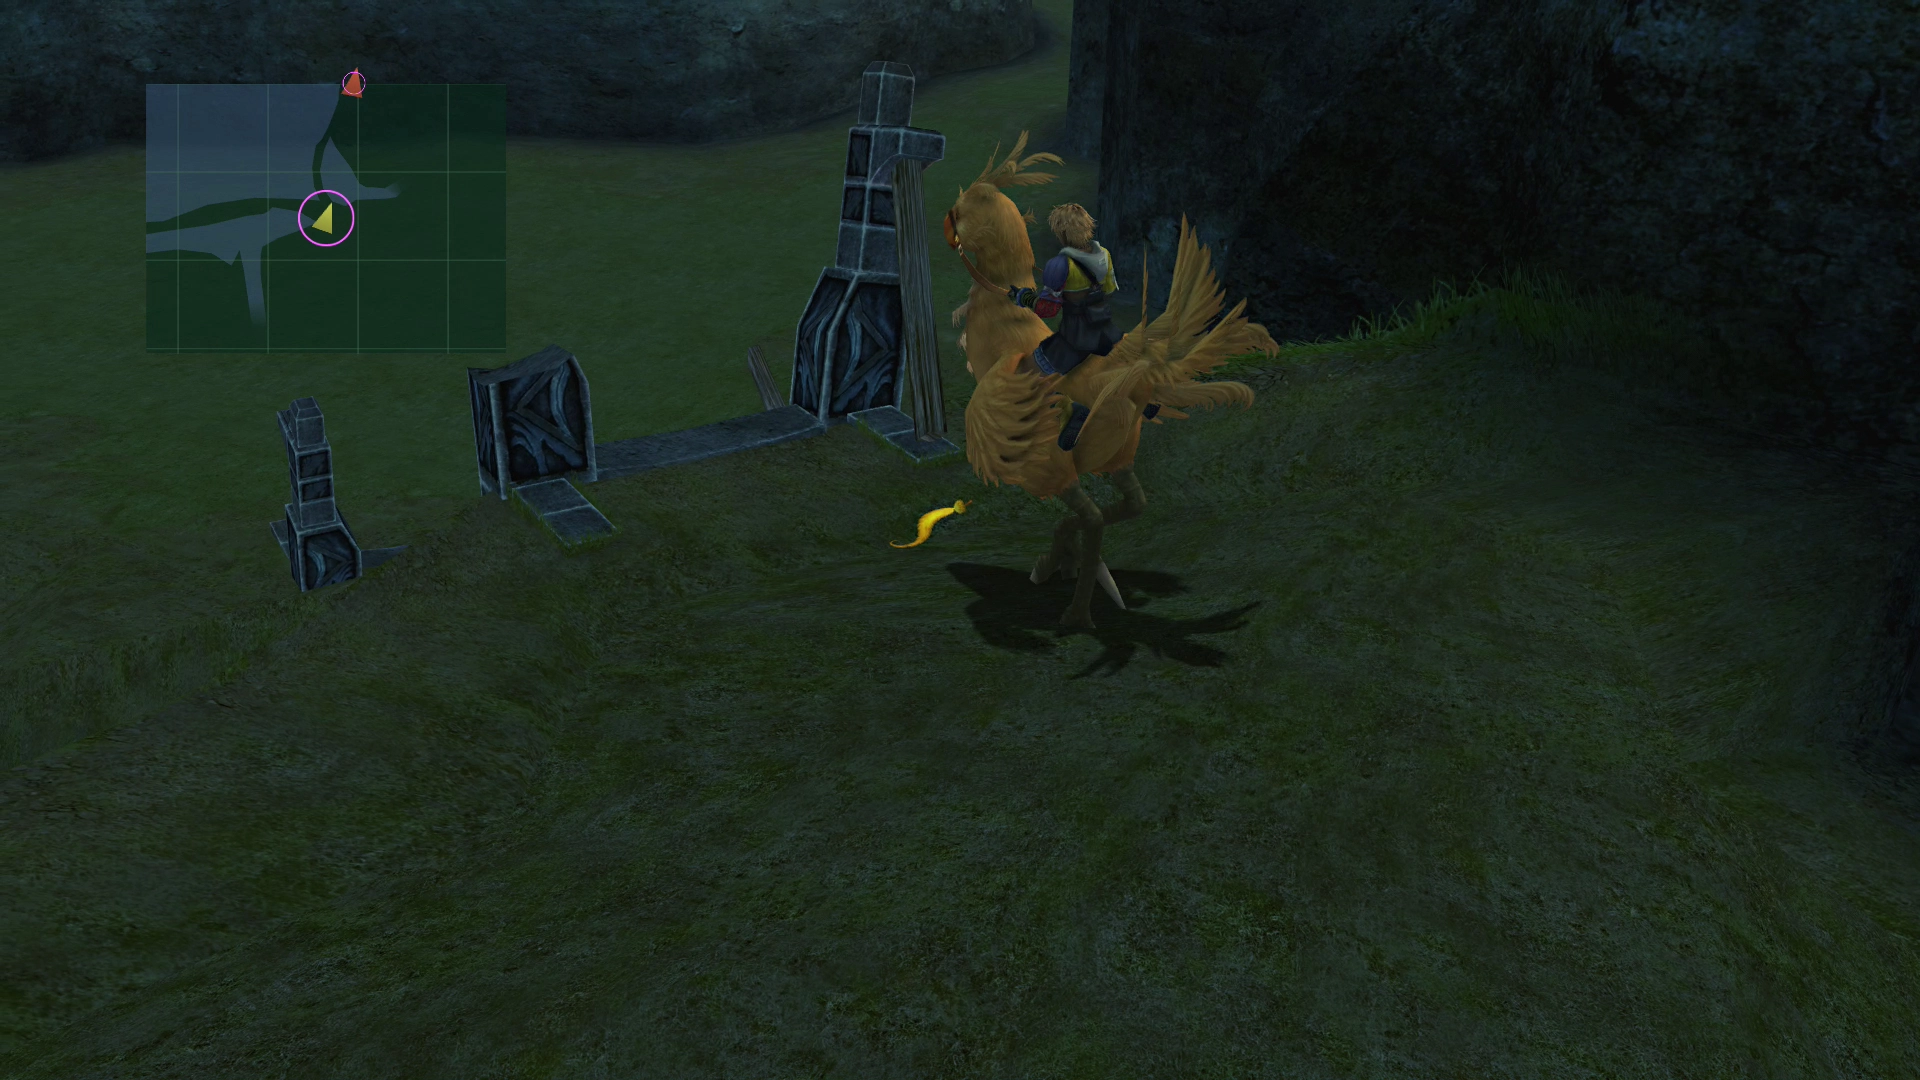
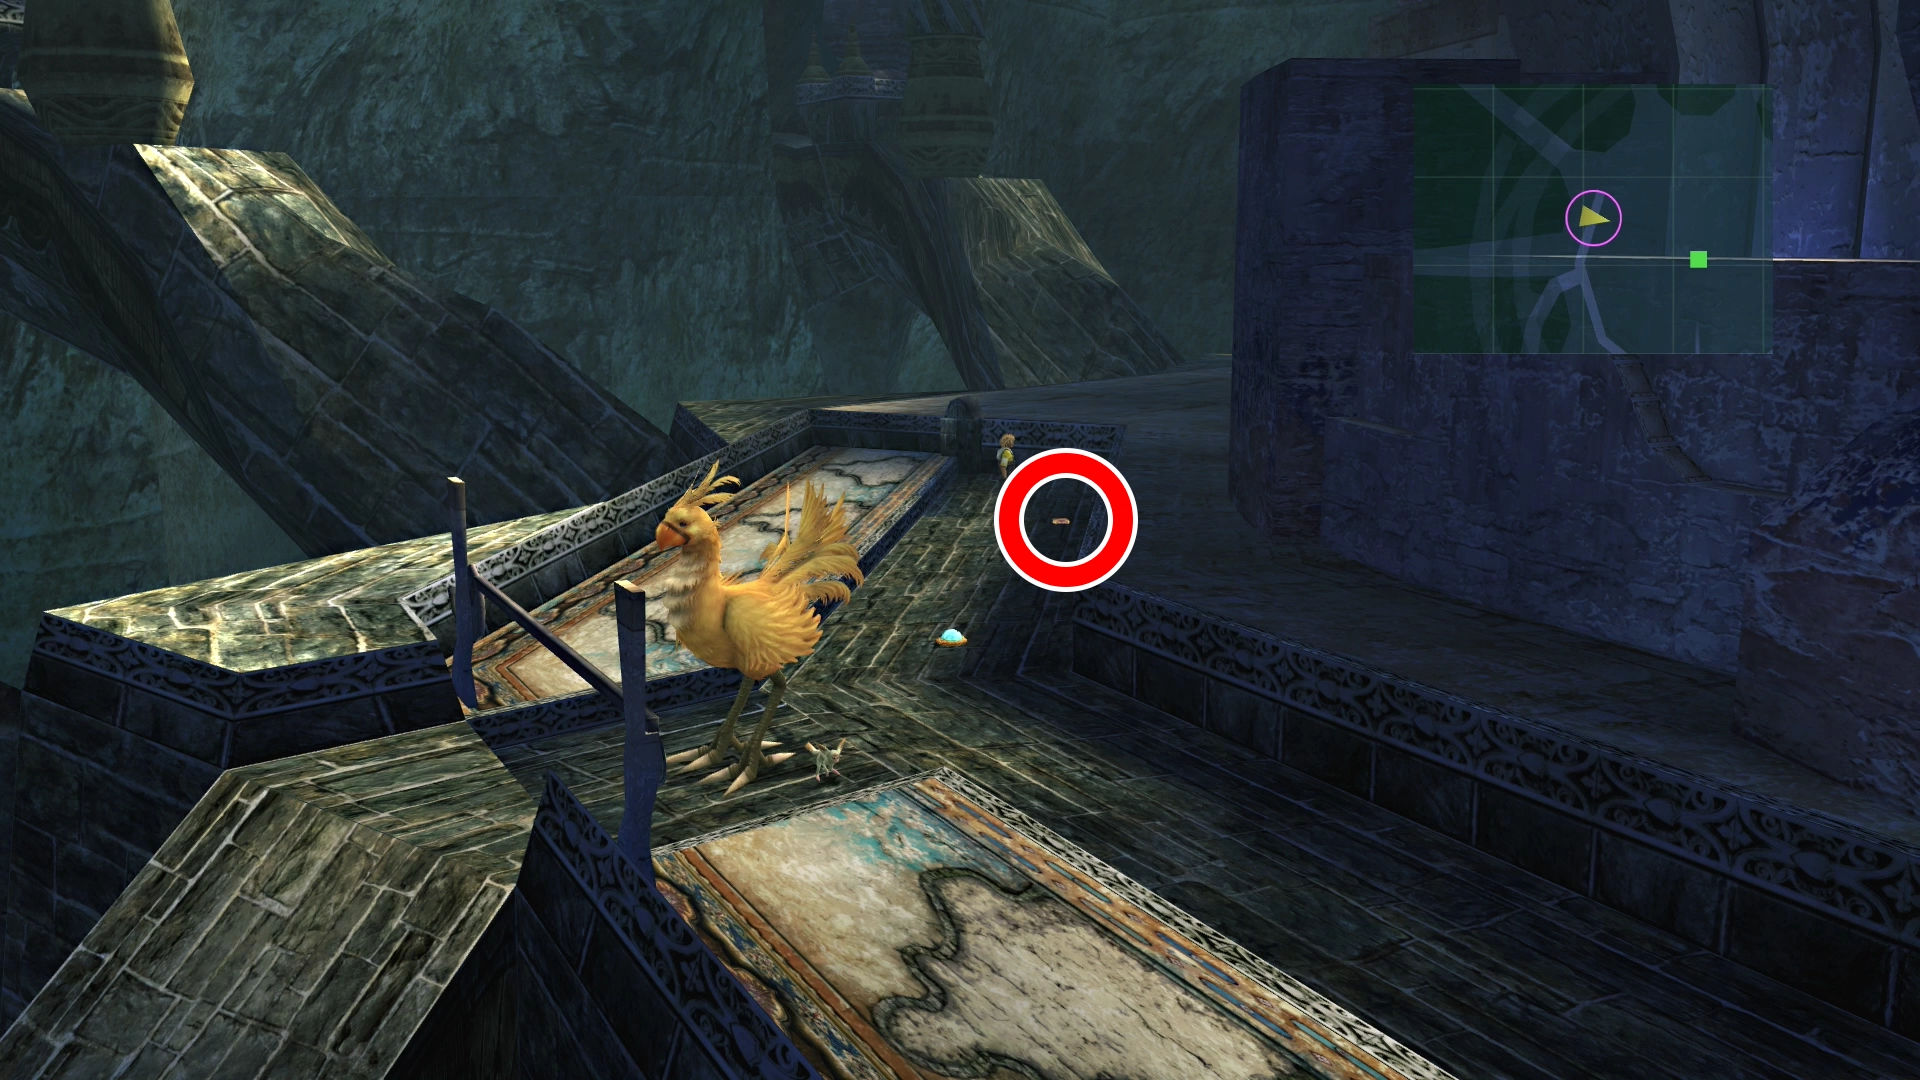
Take your Chocobo and ride back to the entrance of the Calm Lands, and take a right from the pathway. Look for a Chocobo feather on the ground and press the ![]()
![]()
![]() button near it to fly down to the lower ledge. Walk down the path to reach Remiem Temple.
button near it to fly down to the lower ledge. Walk down the path to reach Remiem Temple.
Remiem Temple
Remiem Temple is part of a side quest that you will want to leave until later in the game, when portions of it become much easier (and feasible) to complete. You can learn more about the Remiem Temple side quest in the Side Quests section using the link below.
Side Quests
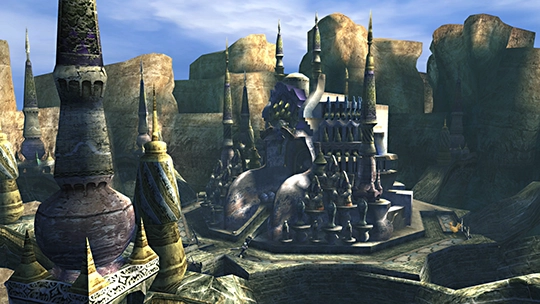
You pass right by Remiem Temple here in the Calm Lands, but its optional challenges, battling Belgemine’s Aeons, racing Chocobos, and unlocking the Magus Sisters Aeon, are best saved for a return trip later in the game.
For now, though, go around the left side of the temple to find the ![]() Al Bhed Primer (Vol. XXIV).
Al Bhed Primer (Vol. XXIV).
Exit the temple area and hop back on your Chocobo once you reach the Calm Lands. Just north of the pathway to the temple is another Chocobo feather. Press the ![]()
![]()
![]() button near this one, too, to hop back down to the main field area.
button near this one, too, to hop back down to the main field area.
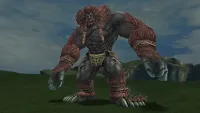
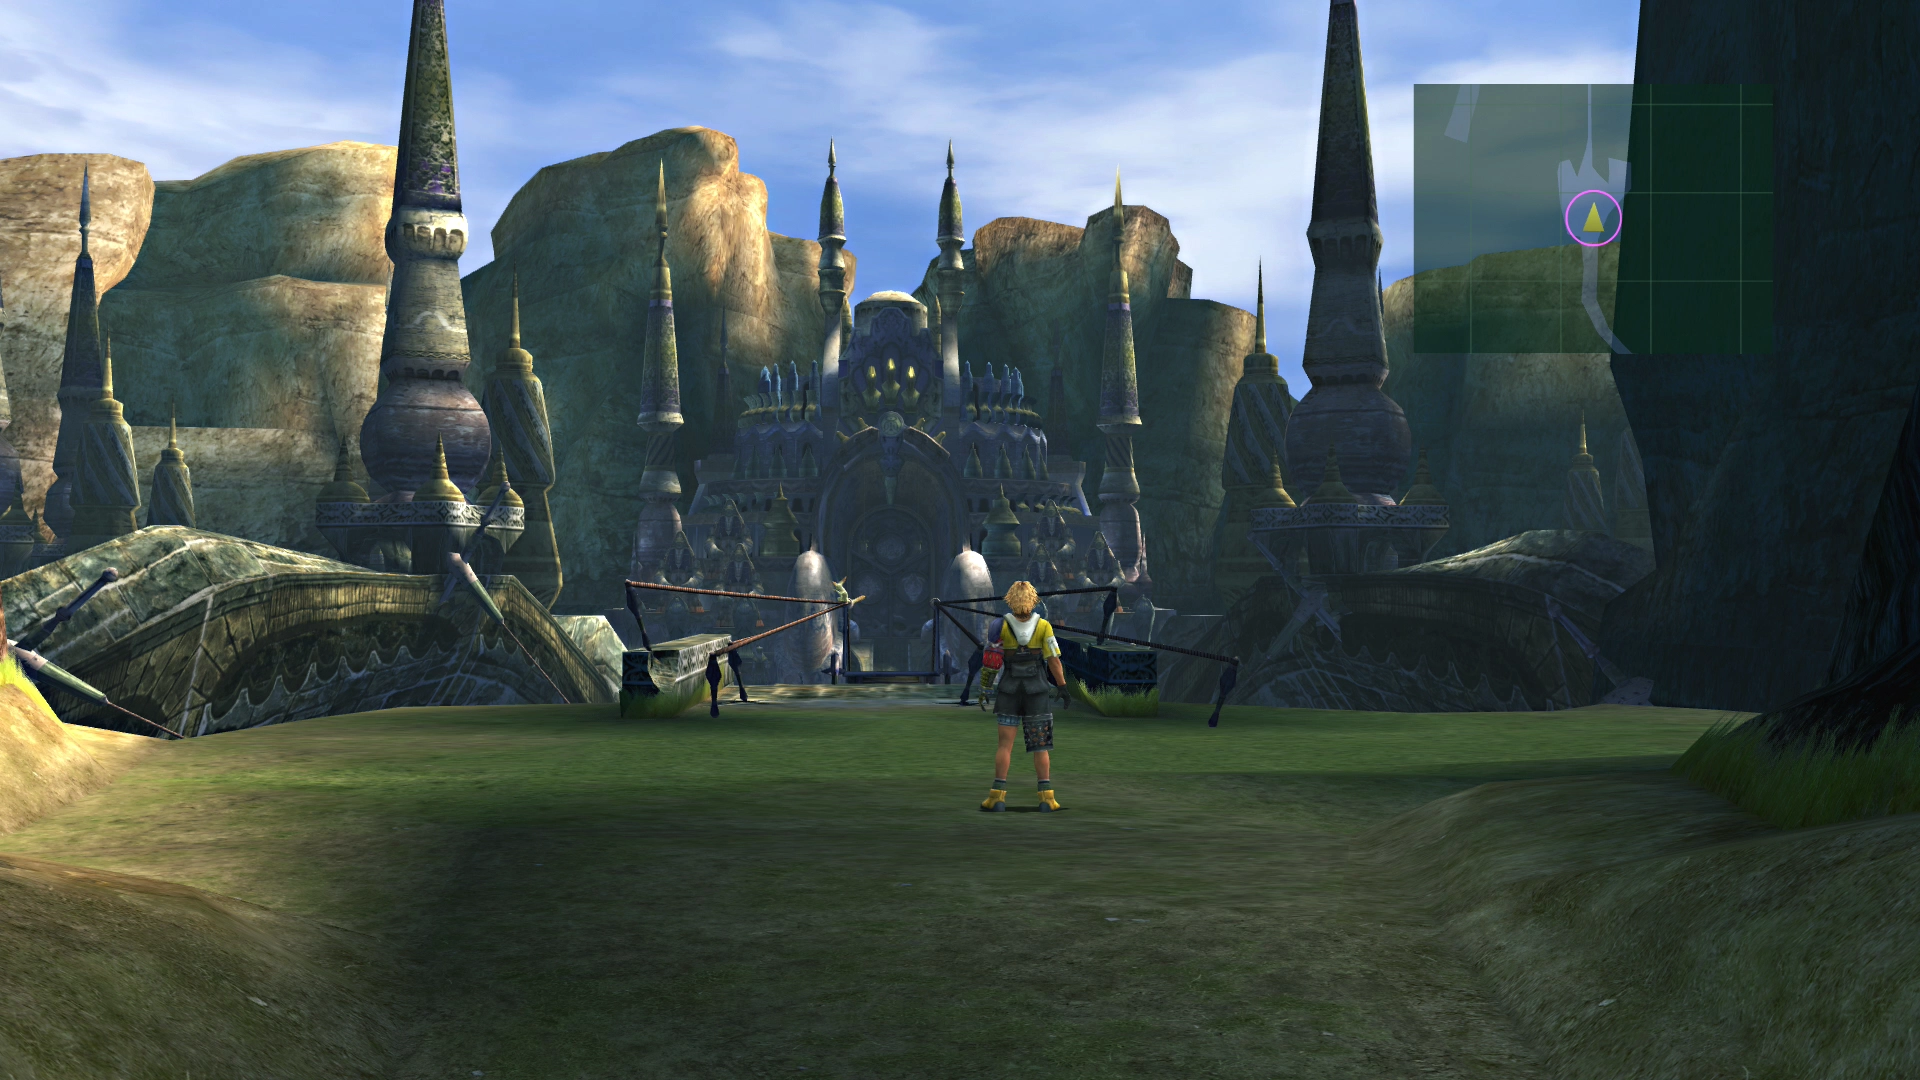
You’ve now completed everything that you can currently do in the Calm Lands. There is one more pathway on the east side of the Calm Lands (shown in the screenshot below) that leads to the Monster Arena.
You should ignore this area for now, as the Monster Arena is part of a considerable subset of side quests available later in the game. You can learn more about the Monster Arena in the Side Quests section using the link below.
Side Quests
The Monster Arena you see here in the Calm Lands lets you capture fiends from across Spira and unlock powerful created enemies. It becomes one of the biggest endgame side quests once you are ready to return.

Calm Lands - North
Make your way to the northeast to exit the Calm Lands and move on towards Mt. Gagazet.
Save your game at the ![]() Save Sphere before you continue, as there is a boss fight coming up. Cross the bridge to initiate the fight.
Save Sphere before you continue, as there is a boss fight coming up. Cross the bridge to initiate the fight.

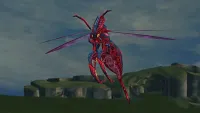
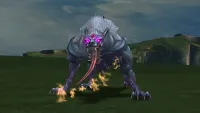
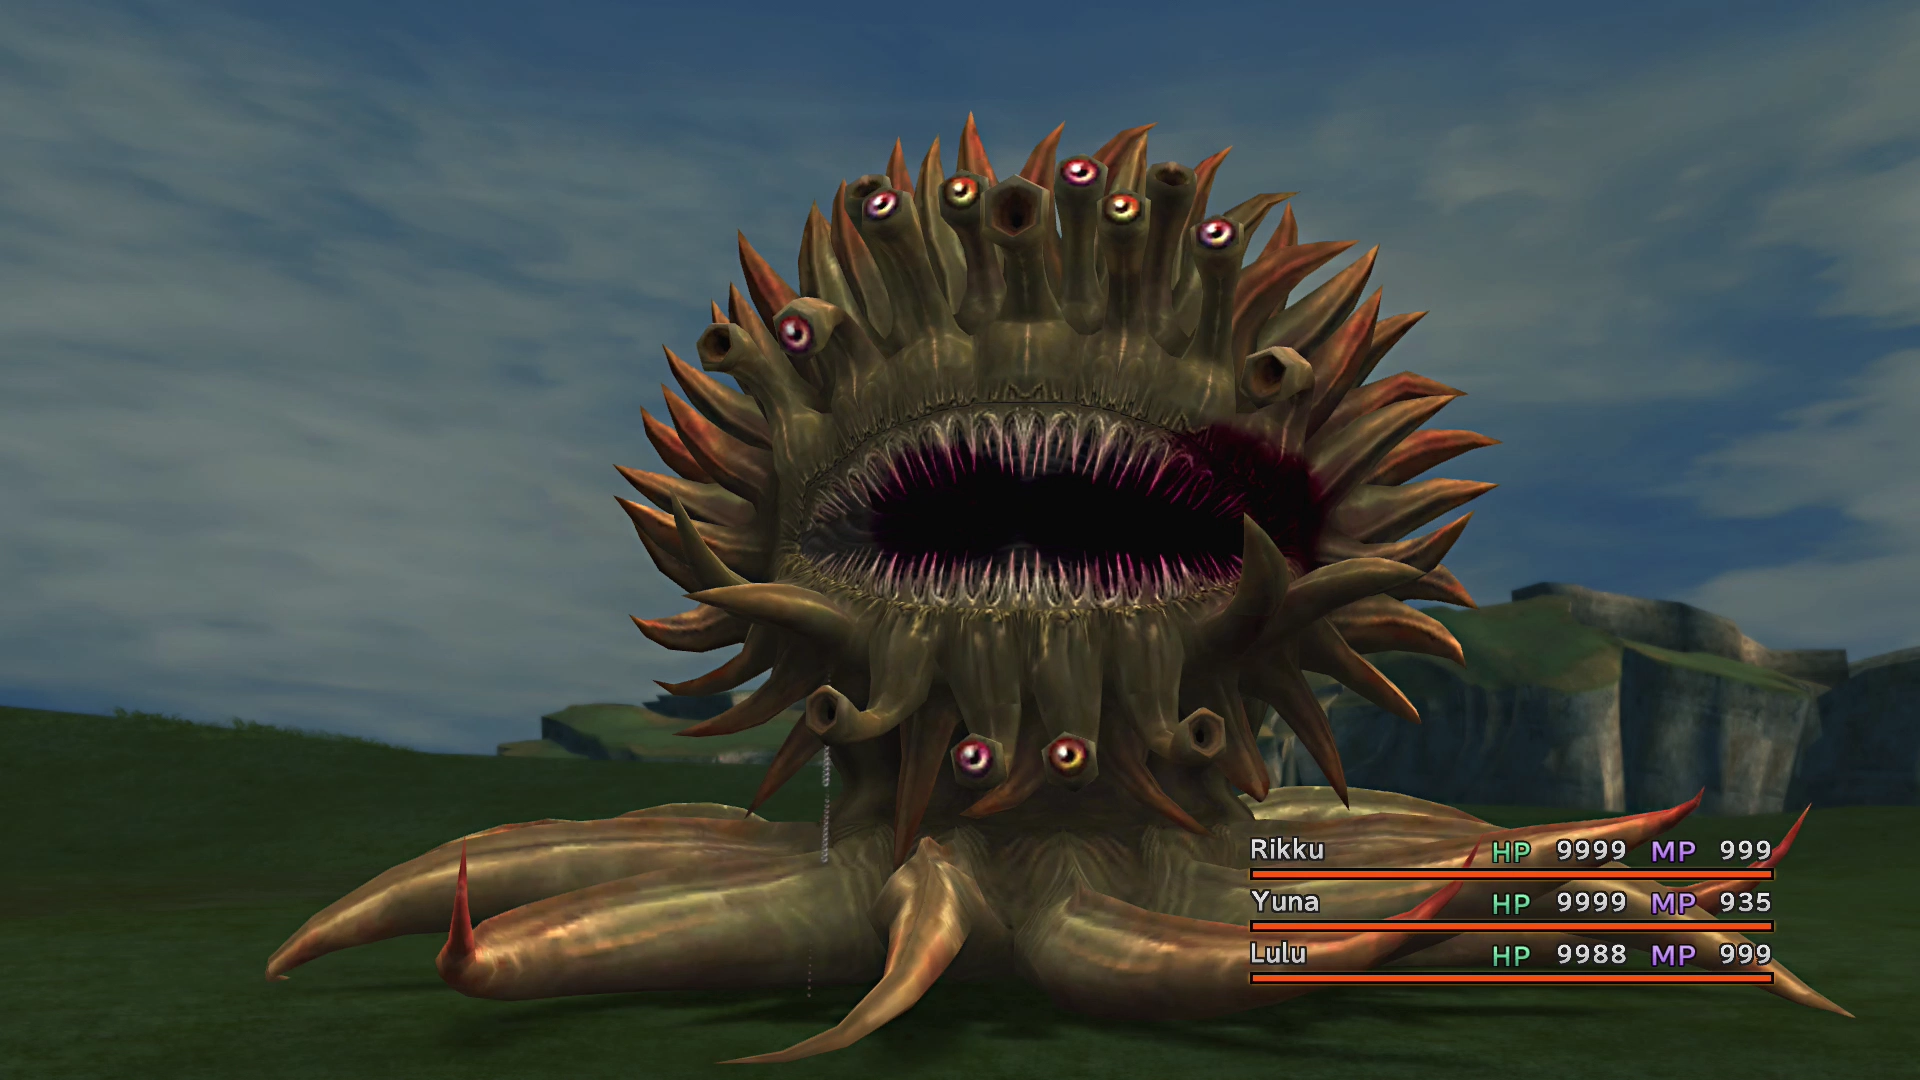
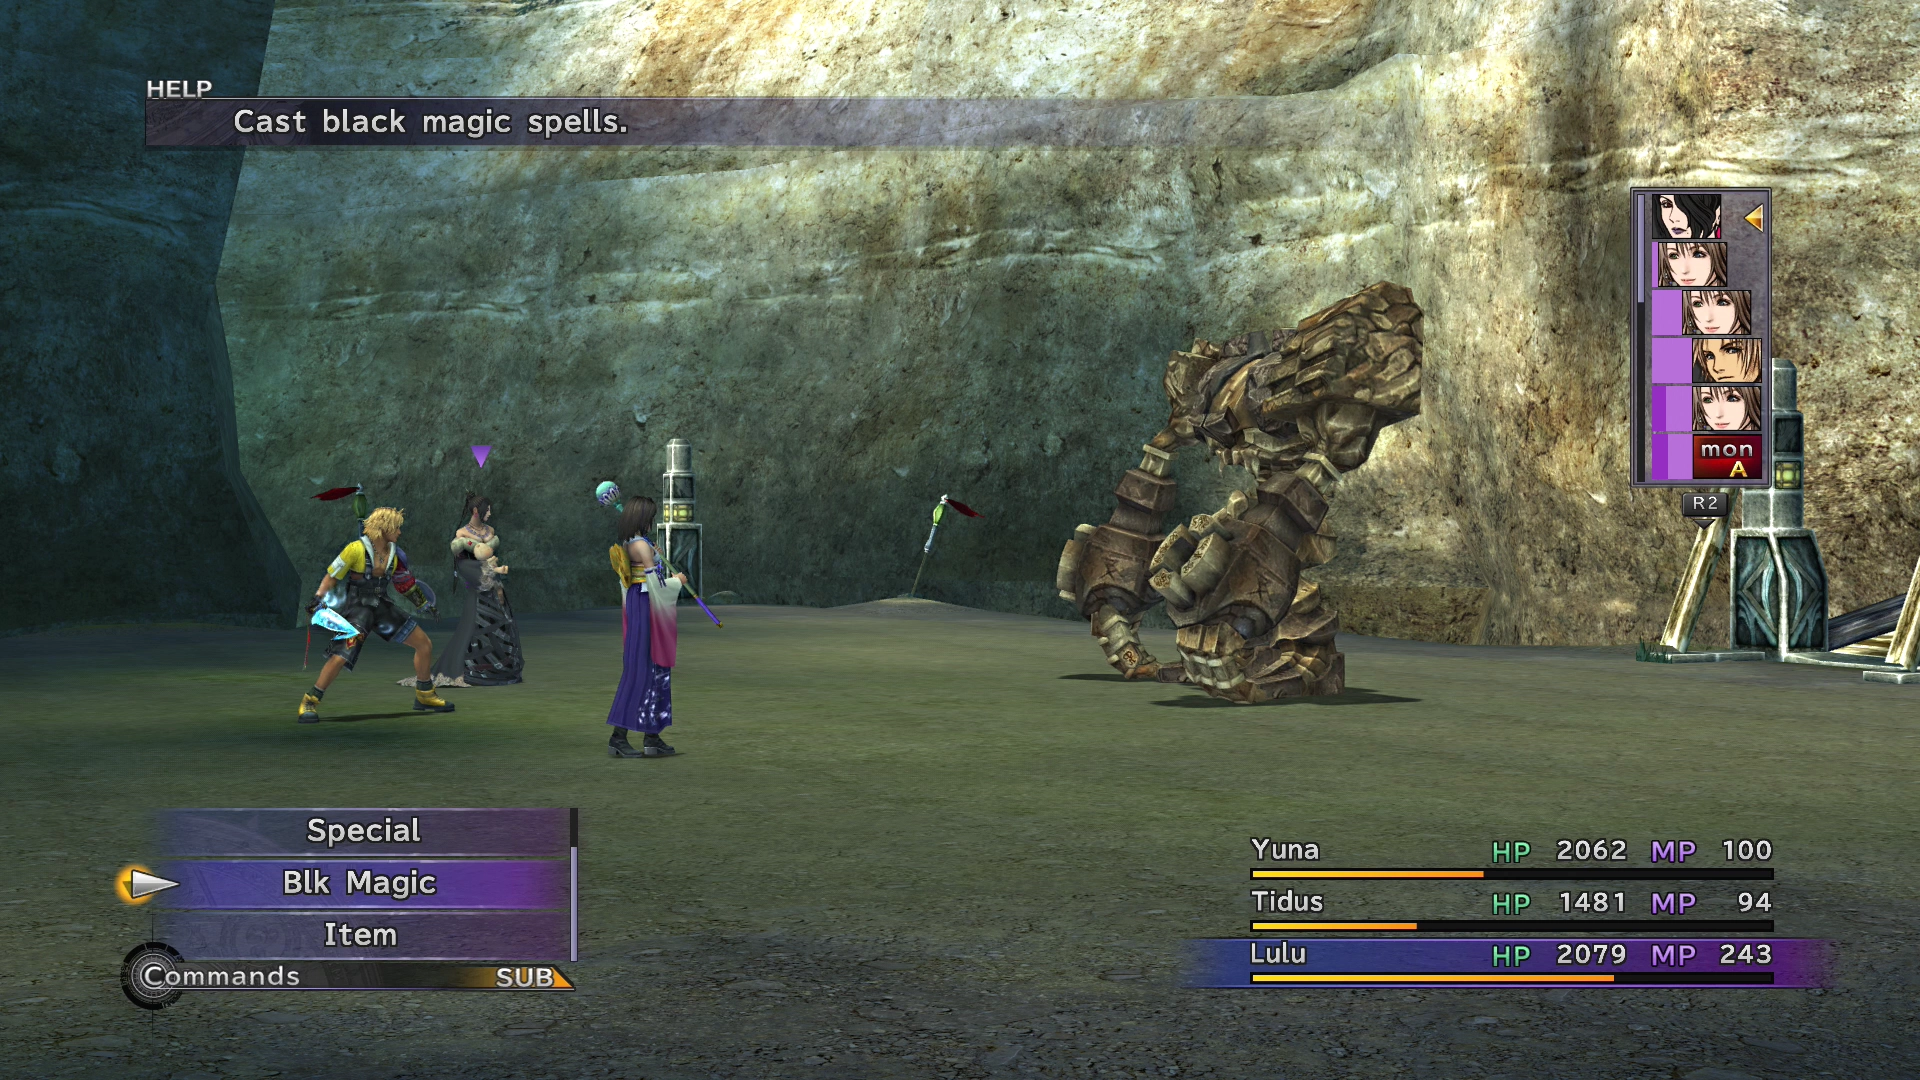
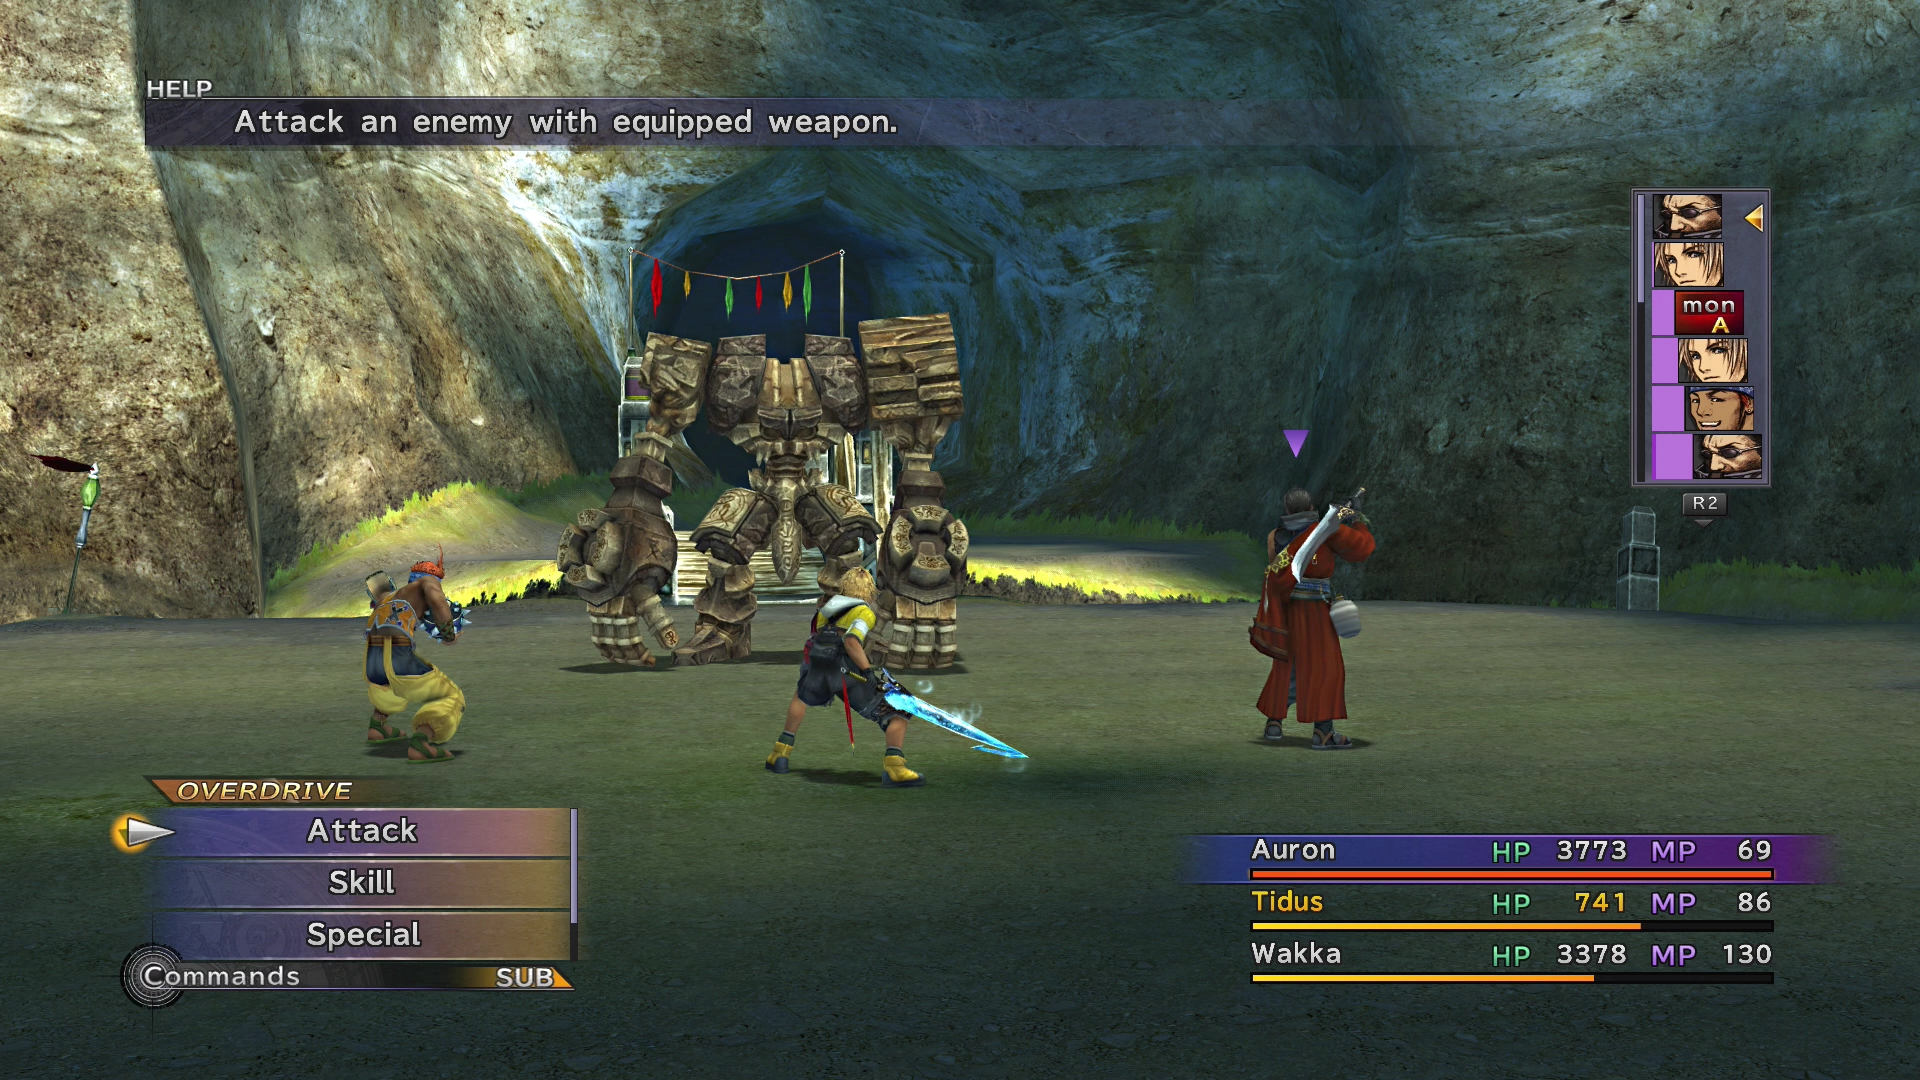
Boss Battle
In Game Description: Boasts very high physical attack and defense. Its counterattack Blast Punch delays target and causes damage. Casts Mighty Guard and Slowga.
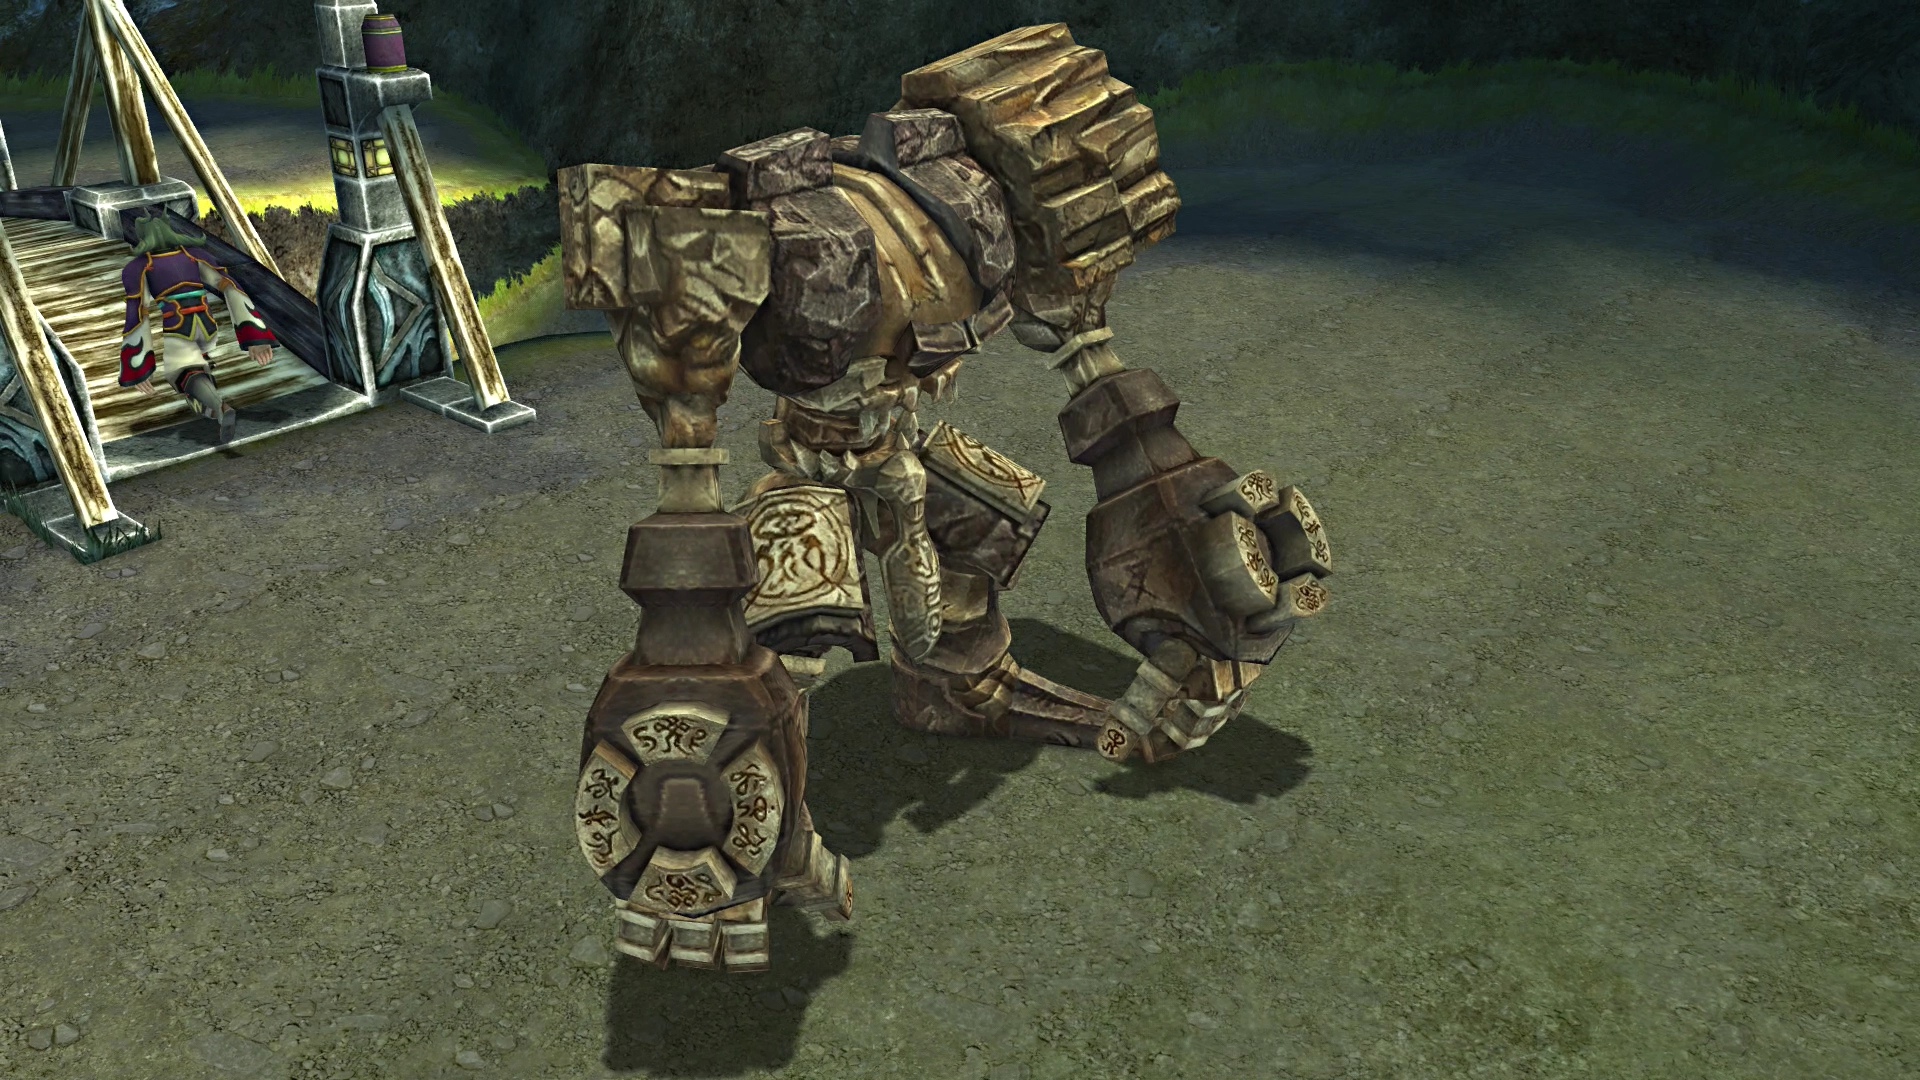
HP: 64,000
Defender X has two main attacks: “Blast Punch,” which will hit a character for approximately half of their HP (similar to Demi magic), and “Haymaker,” which will hit an enemy for around 3,500 HP.
Once you get Defender down to 10,000 HP, it will cast Mighty Guard on itself, which will significantly reduce the amount of damage done by your regular attacks on and it will also begin casting Slowga on your party members.
The best strategy for this fight is to have Tidus use his ![]() Provoke ability on the boss. Provoke will cause Defender X to use its “Blast Punch” attack on Tidus, continuously halving his HP (never KO’ing him).
Provoke ability on the boss. Provoke will cause Defender X to use its “Blast Punch” attack on Tidus, continuously halving his HP (never KO’ing him).
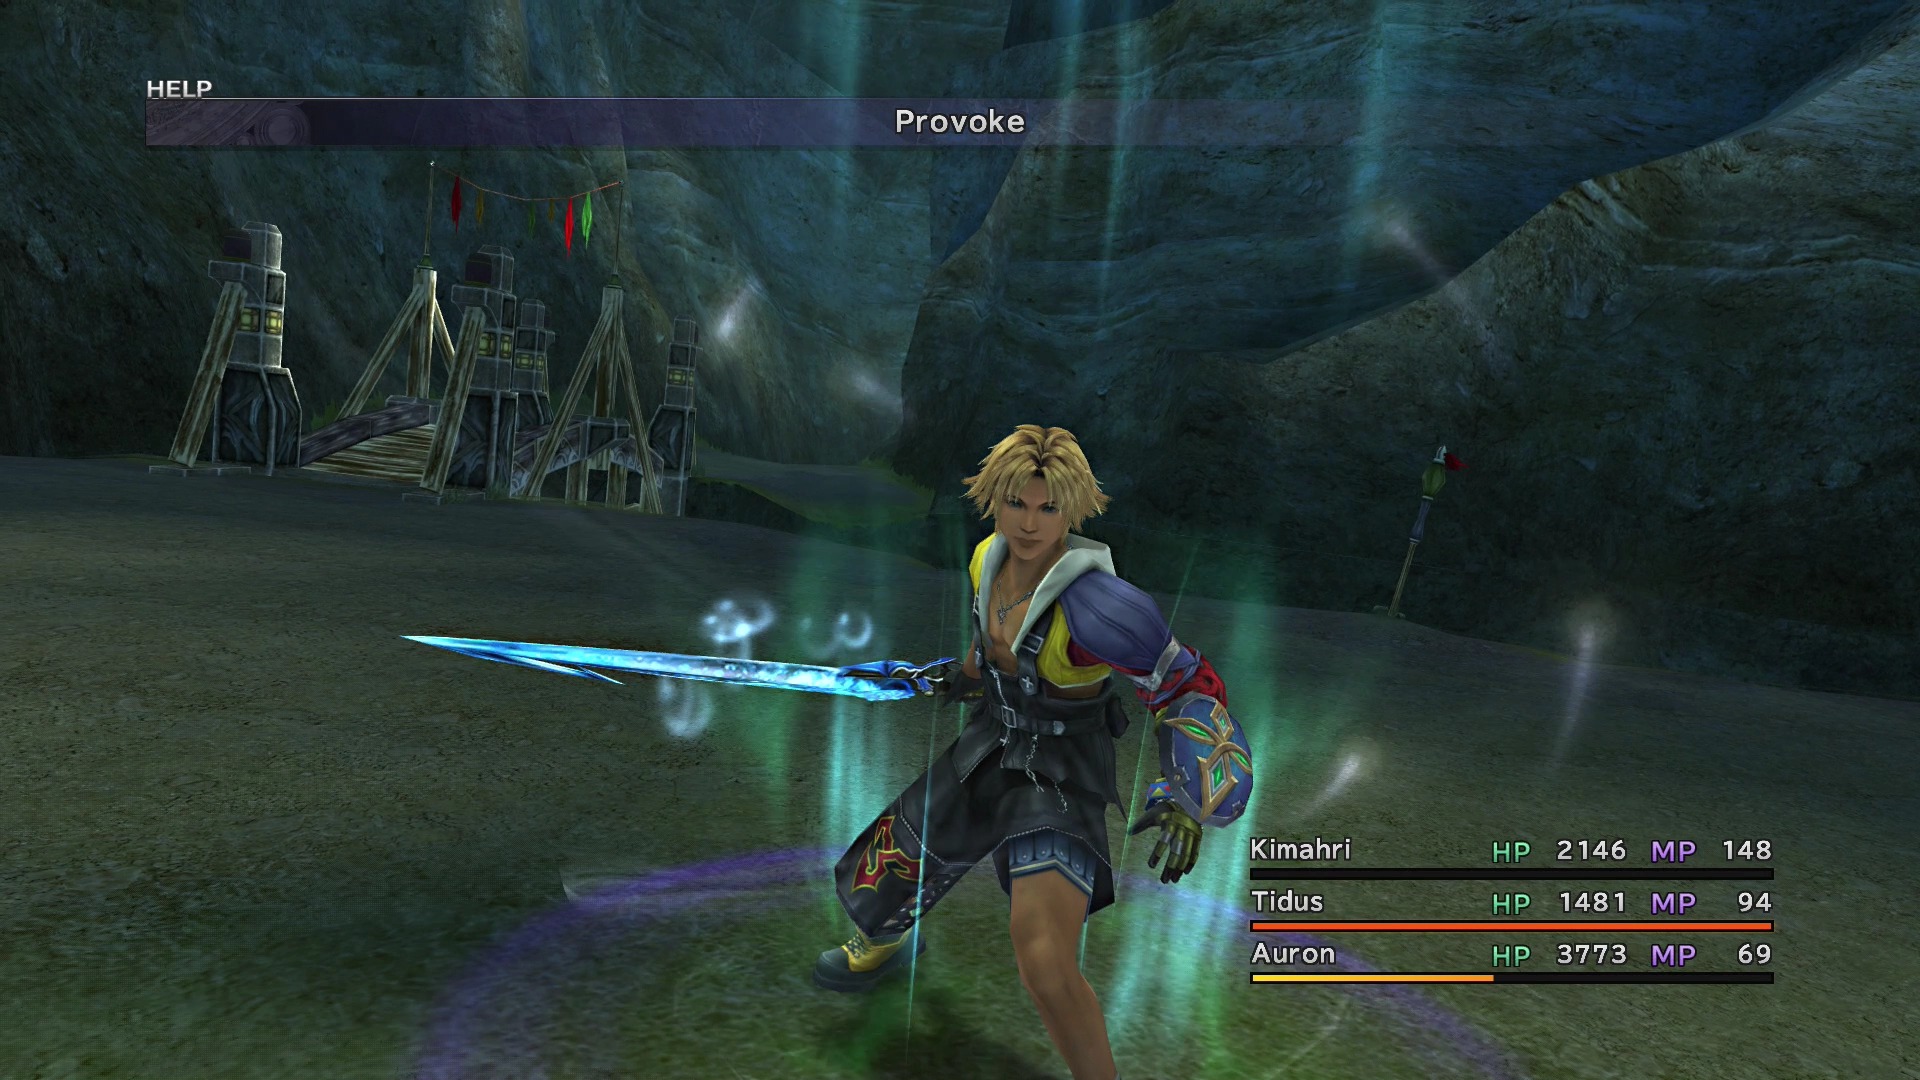
Have Auron use his ![]() Armor Break ability to greatly reduce Defender X’s defense stat and increase the amount of damage that regular attacks deal. Also, have Tidus use
Armor Break ability to greatly reduce Defender X’s defense stat and increase the amount of damage that regular attacks deal. Also, have Tidus use ![]() Hastega and
Hastega and ![]() Cheer on the team.
Cheer on the team.
Reminder: You have an upcoming boss-type battle that requires you to use Kimahri by himself. This fight can be problematic if you have not been using Kimahri and leveling up his Sphere Grid during the rest of the game.
Make sure that Kimahri gets at least one attack in during this fight so that he obtains some AP once you defeat Defender X. Remember that a character only has to hit the enemy once during a fight to fully receive the AP at the end of the battle.
Lulu’s level three magic-based spells (such as ![]() Waterga) can also be very effective at bringing down its HP if you have been leveling Lulu through the Sphere Grid.
Waterga) can also be very effective at bringing down its HP if you have been leveling Lulu through the Sphere Grid.
Steal:
Drops:
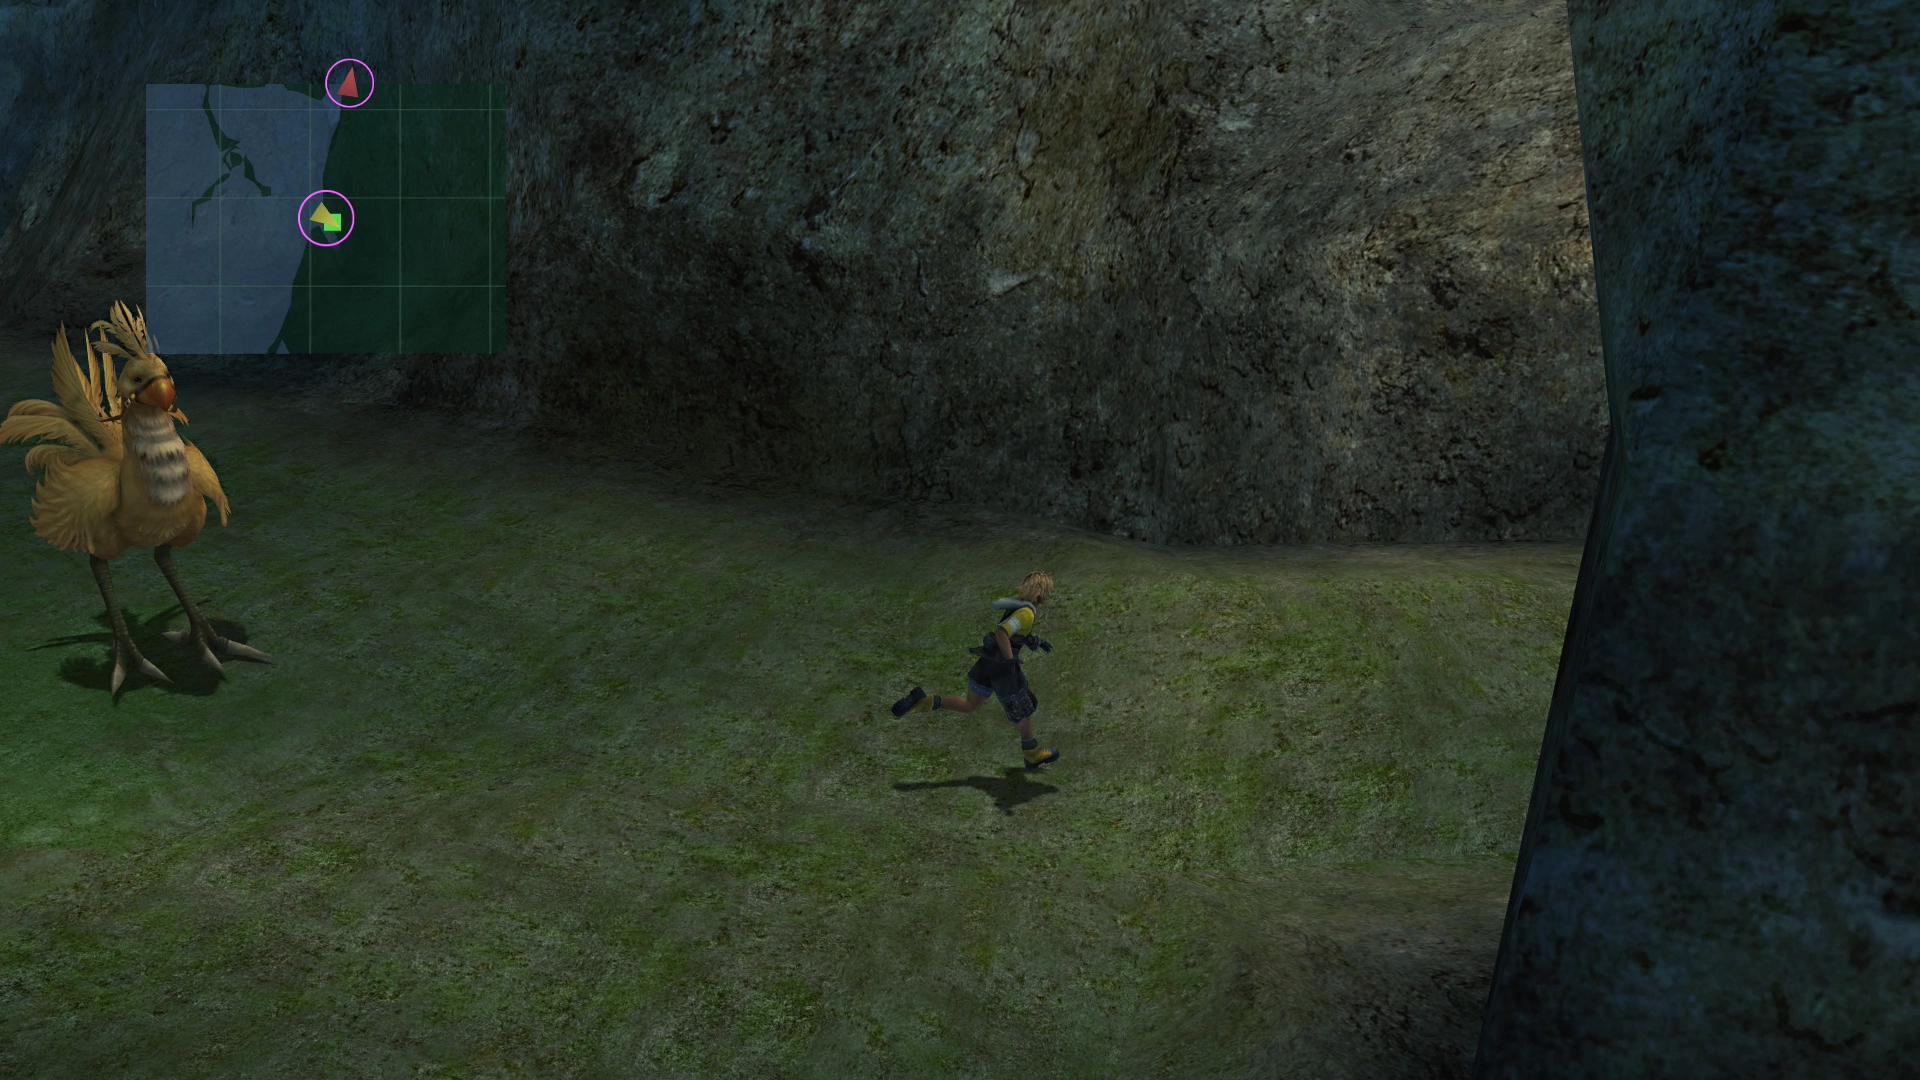
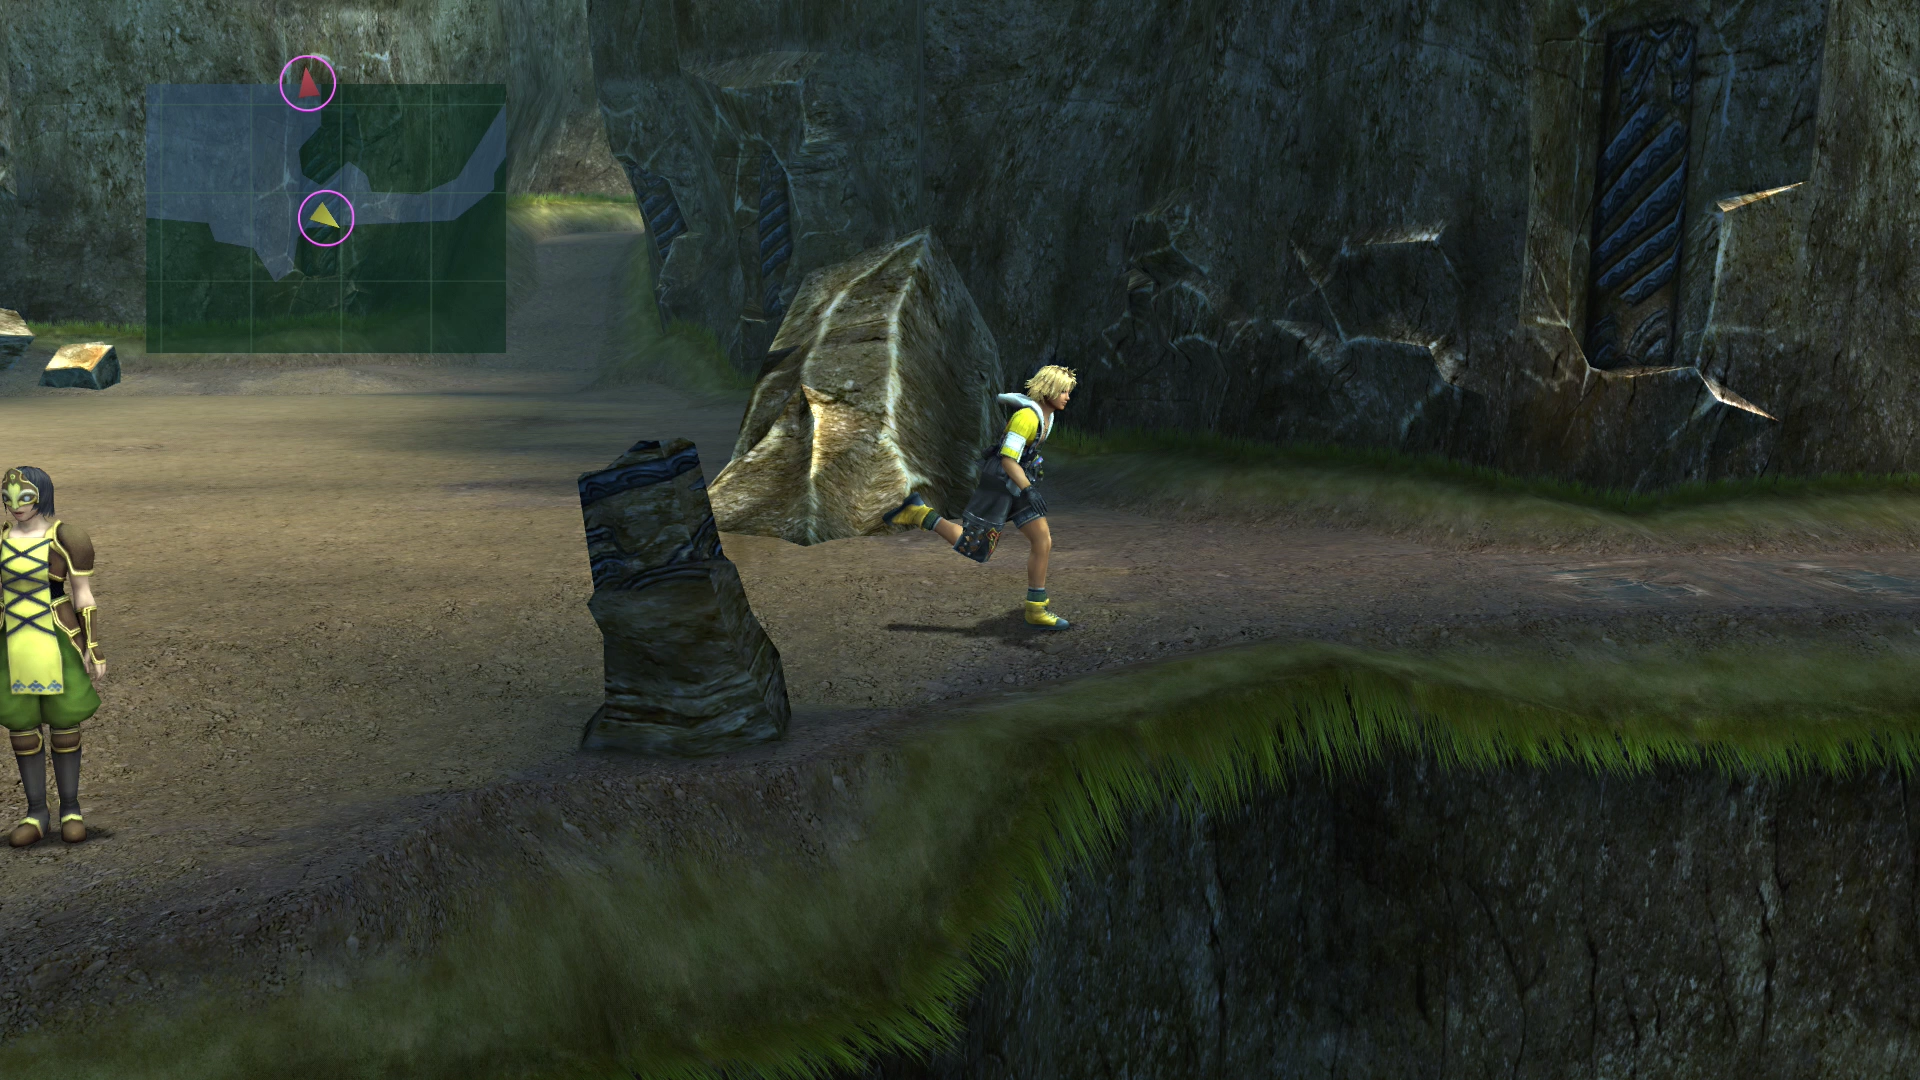
Backtrack across the bridge and touch the ![]() Save Sphere to refill your HP and MP. Lulu and Wakka will interrupt with a very short cutscene as you approach the valley. Go down into the valley along the right-hand pathway that leads left/west (use the red arrow
Save Sphere to refill your HP and MP. Lulu and Wakka will interrupt with a very short cutscene as you approach the valley. Go down into the valley along the right-hand pathway that leads left/west (use the red arrow ![]() on the map below to help guide you).
on the map below to help guide you).
Calm Lands North Map


Calm Lands - Near Bridge
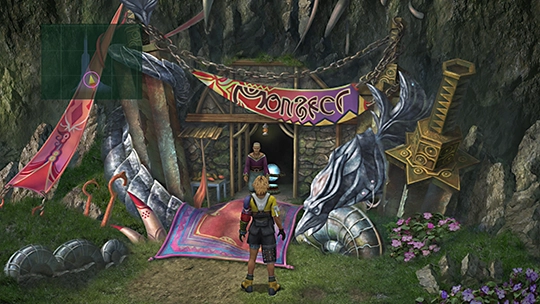
This pathway leads to the Cavern of the Stolen Fayth. The Cavern is involved in an optional side quest that you use to obtain the optional Aeon, Yojimbo.
Yojimbo costs a fair bit of money to obtain (upwards of 200,000 Gil), and you can definitely get by the remainder of the game without him, so the question is, should you complete the Cavern of the Stolen Fayth now, or should you come back and do it later in the game?
This guide recommends that you come back and do the Cavern of the Stolen Fayth side quest later on in the game (when you are higher leveled and when the fights become much easier). Yojimbo is not a particularly strong Aeon and is not worth going out of your way to obtain at this stage of the game.
You can approach the Cavern of the Stolen Fayth for a short cutscene and some information about the Cavern itself. You can learn more about the Cavern of the Stolen Fayth in the Side Quests section using the link below.
Side Quests
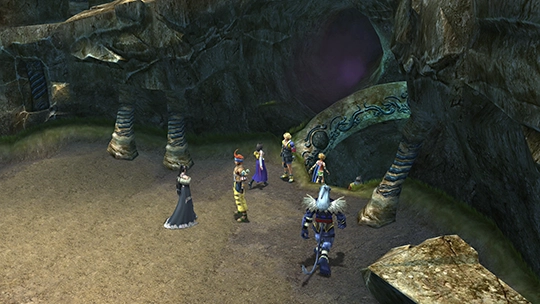
You can peek inside the Cavern here in the Calm Lands, but clearing it is an optional side quest that rewards you with the Yojimbo Aeon. Save it for when you are ready to take it on.
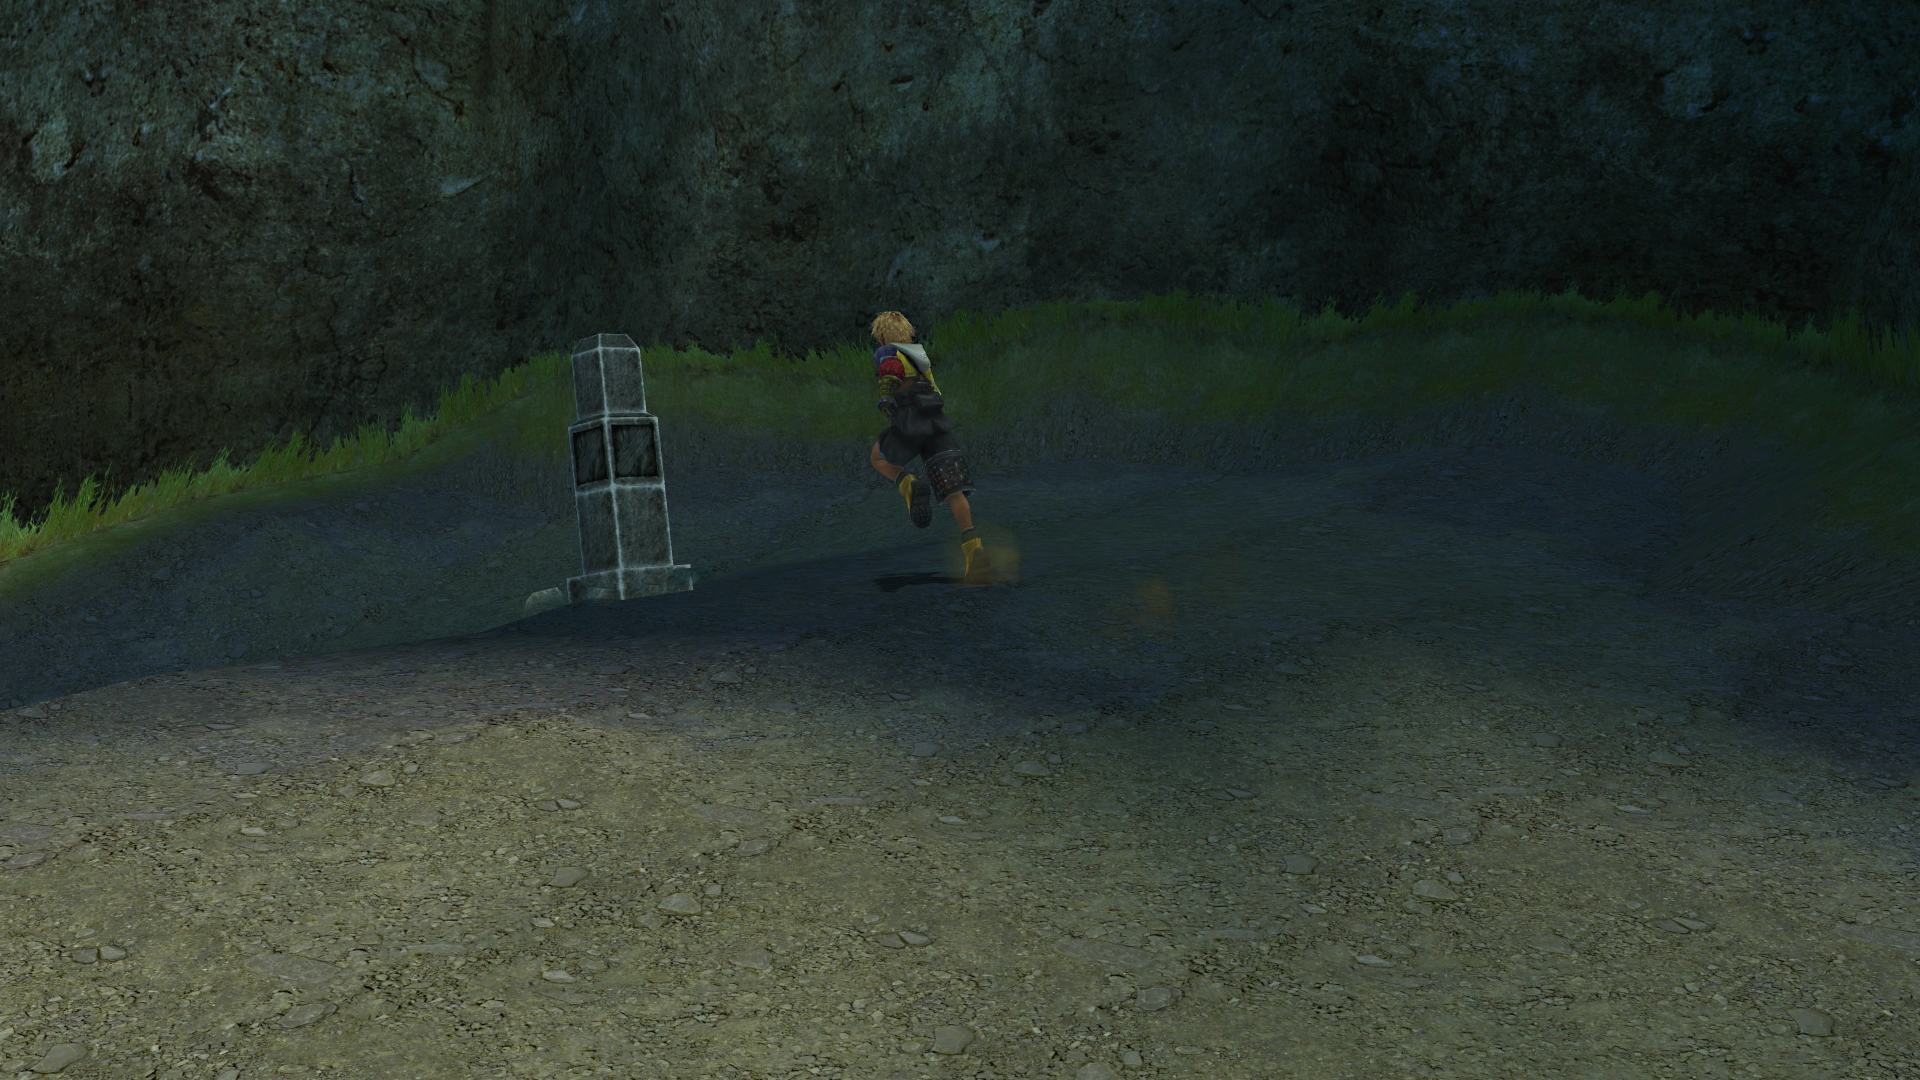
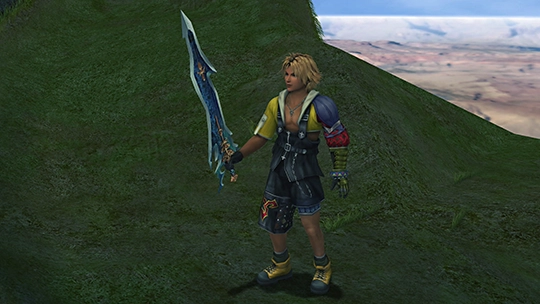
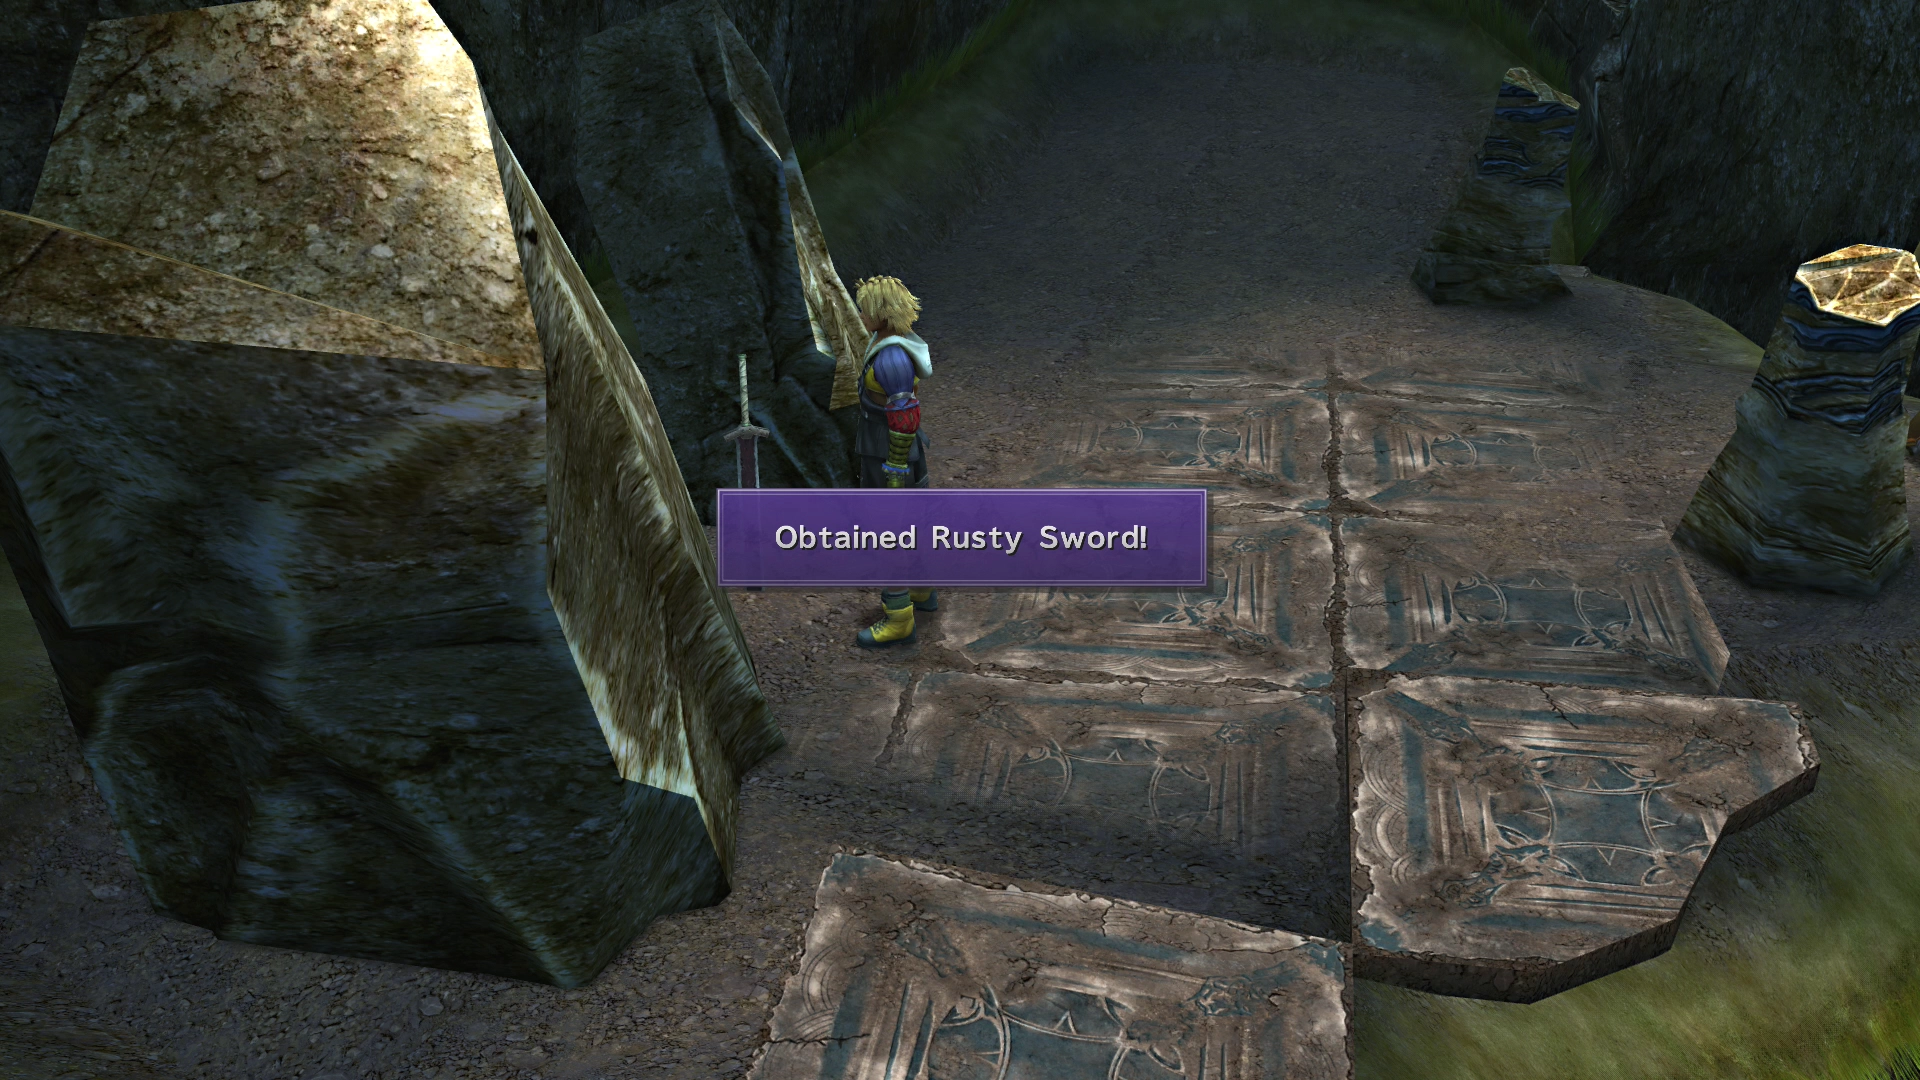
So why did we come down to the bottom of the gorge? Make your way east (to the right) and follow the pathway along the cliffside. At the end of the path, you will see a sword sticking out of the ground between two rocks, called the ![]() Rusty Sword, which you should pick up.
Rusty Sword, which you should pick up.
Calm Lands Near Bridge Map

| 1 | Cavern of Fayth Entrance |
This item is needed to create Auron’s Celestial Weapon, ![]() Masamune, later on in the game. You can read more about Celestial Weapons using the link below, but creating these weapons is typically done later in the game, so feel free to skip over this for now.
Masamune, later on in the game. You can read more about Celestial Weapons using the link below, but creating these weapons is typically done later in the game, so feel free to skip over this for now.
Celestial Weapons Section
The Celestial Weapons are the strongest weapons in the game, one for each character. Gathering their parts and powering them up is an endgame project, so this is one to keep in mind for later.
Save your game and return to the bridge where you fought Defender X. Cross the bridge and continue northward following the red arrow ![]() on the mini-map to head to the next area.
on the mini-map to head to the next area.