
Mushroom Rock
Talk to the group of soldiers as you approach them, specifically the soldier who approaches the screen, to receive an ![]() Ether. Talk to the other guard that remains stationary to receive a
Ether. Talk to the other guard that remains stationary to receive a ![]() Hi-Potion.
Hi-Potion.
Mushroom Rock Road Map


Clasko will approach you once you get far enough down the road and will explain that you need to head to the left to get to the command center. He will also stop you if you try to continue down the Mushroom Rock Road.
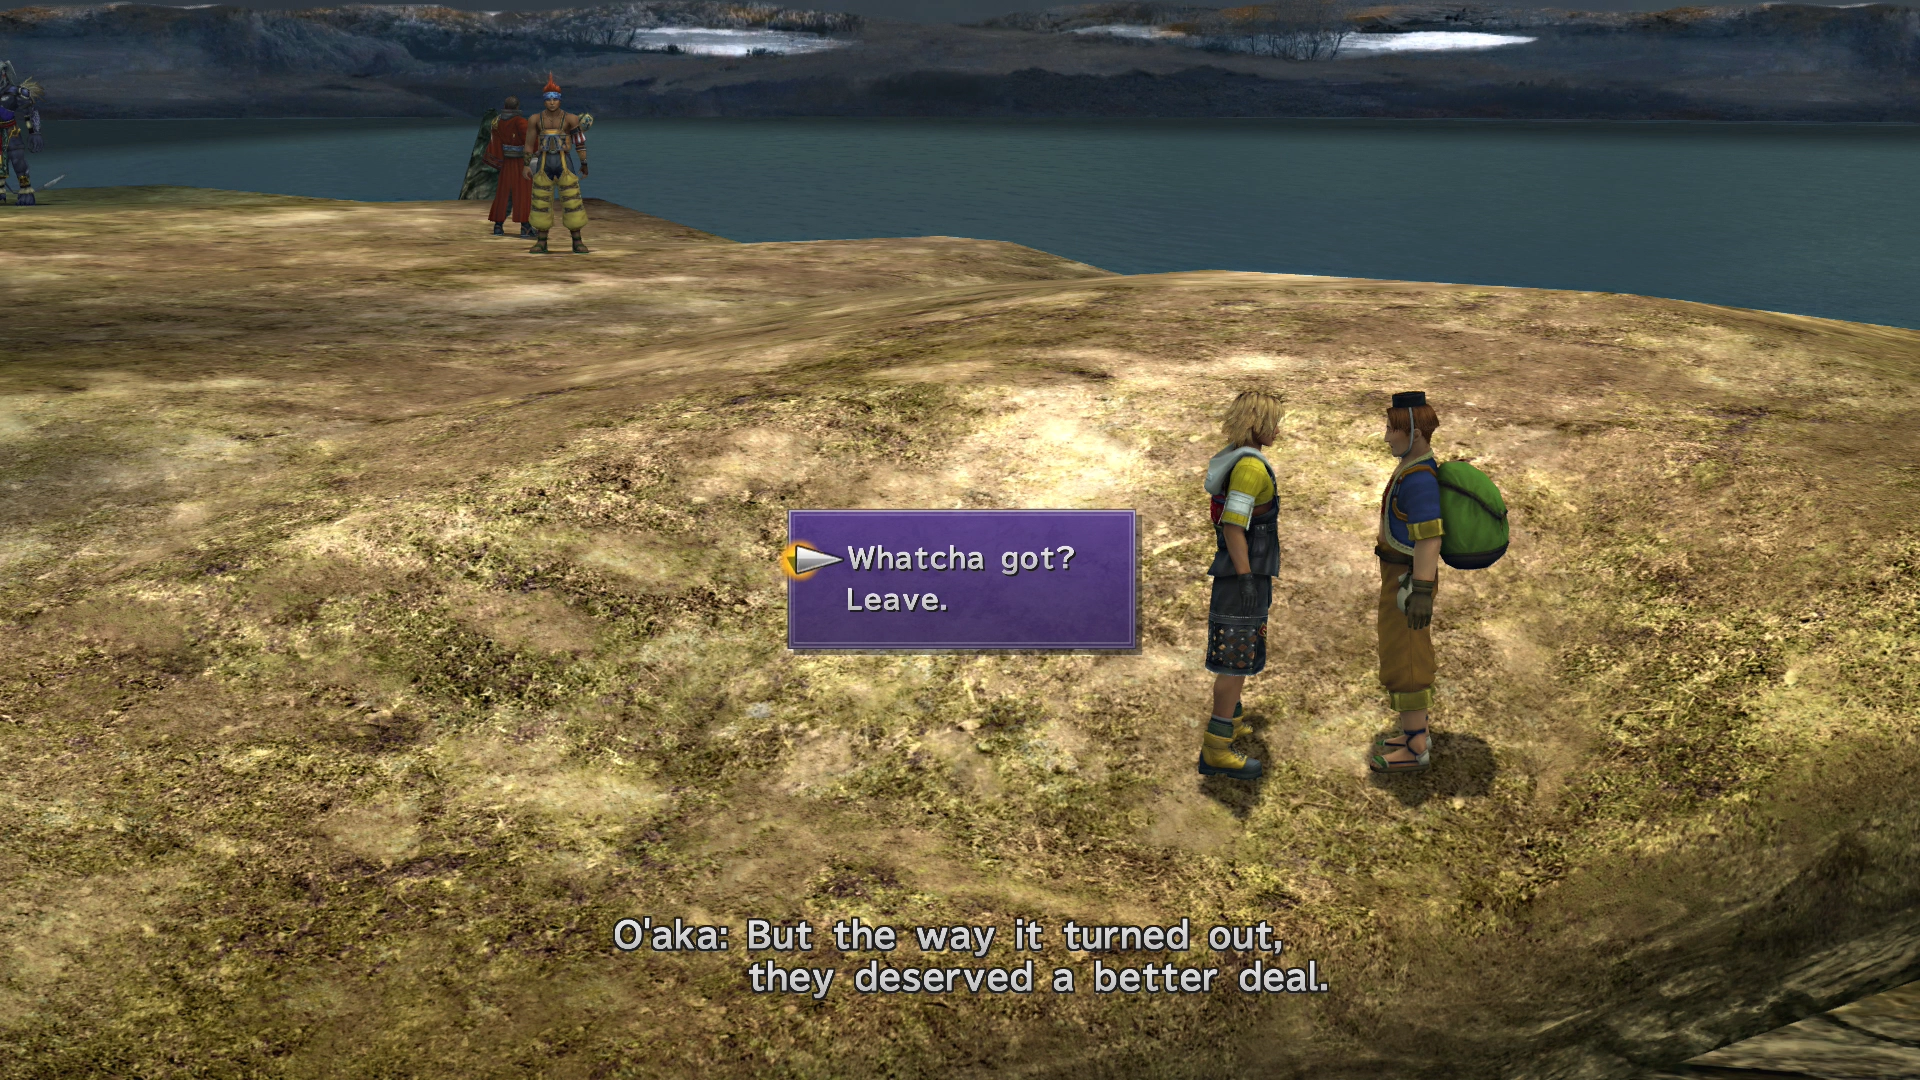
You can find O’aka XXIII around the corner. Feel free to buy any items you might be short on and then continue down the pathway. Note that you can no longer donate Gil to O’aka XXIII once you have reached this point.

Mushroom Rock - Valley
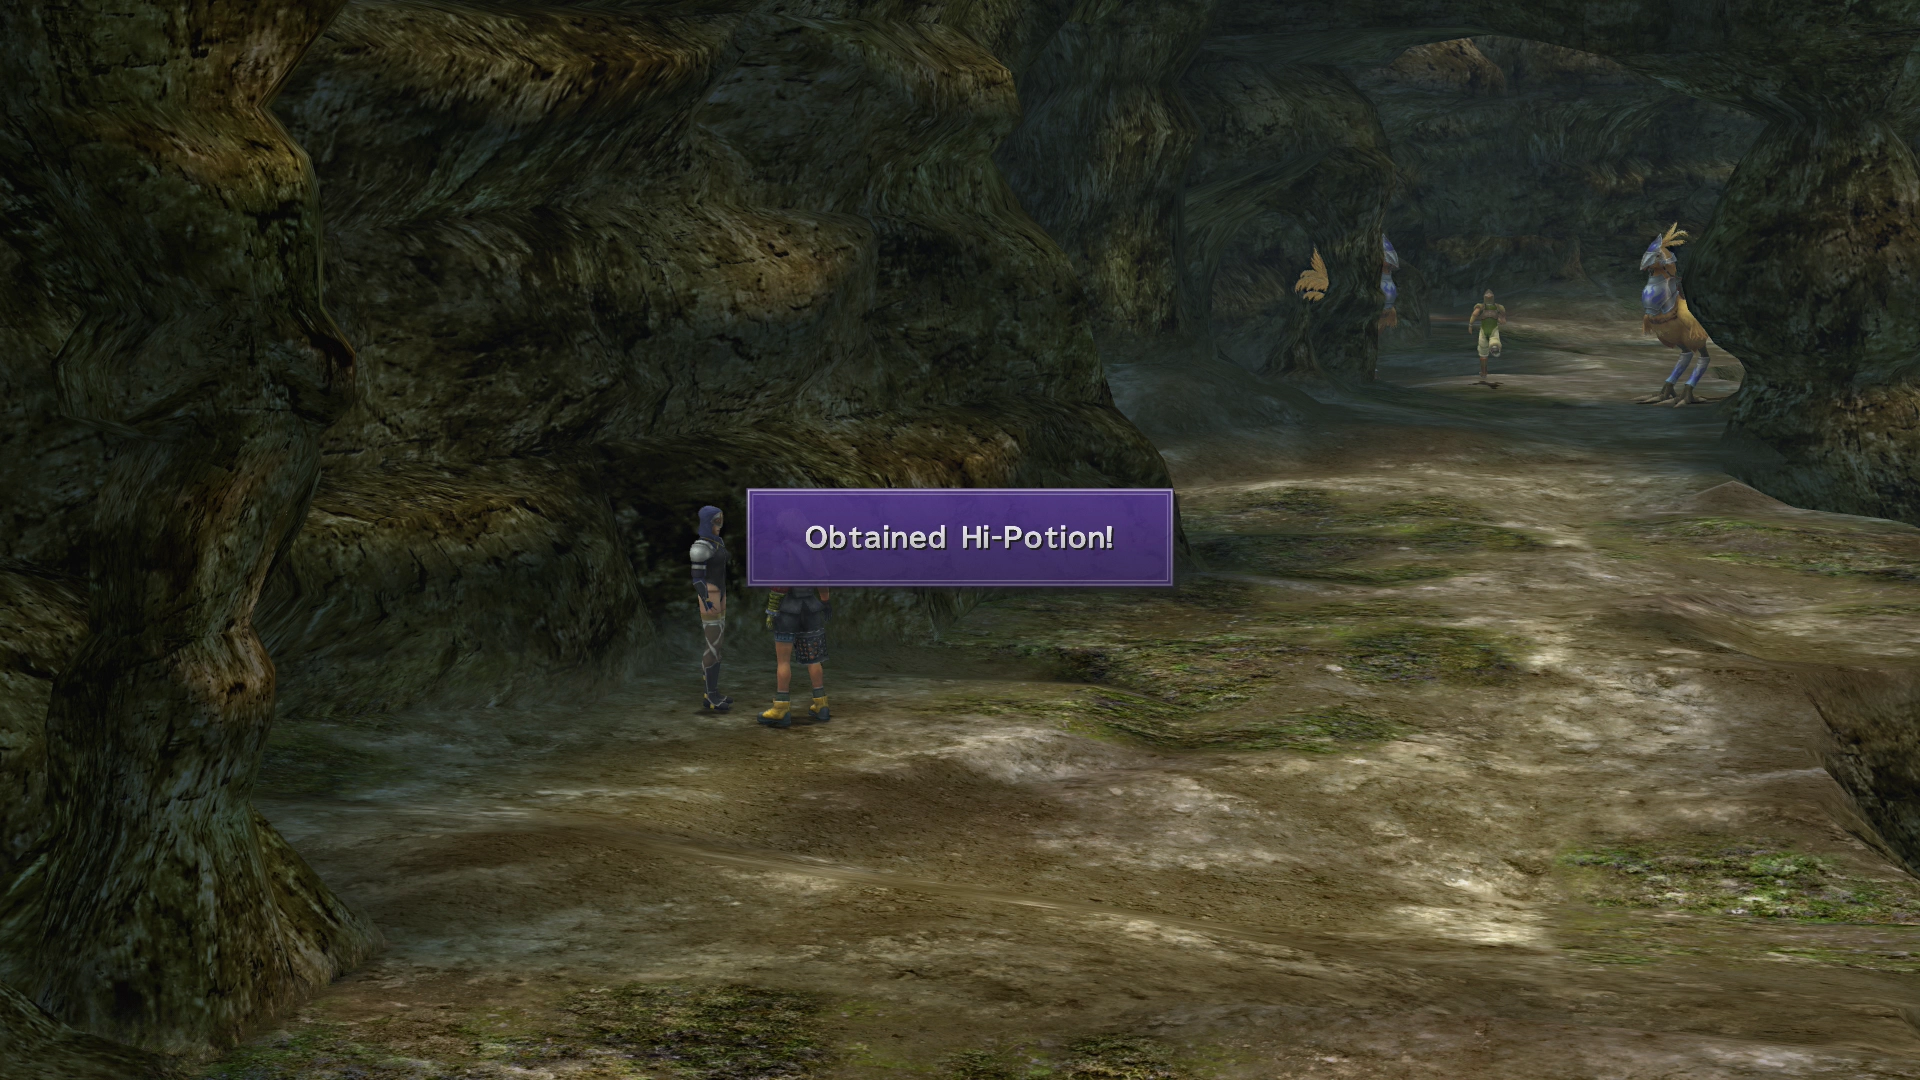
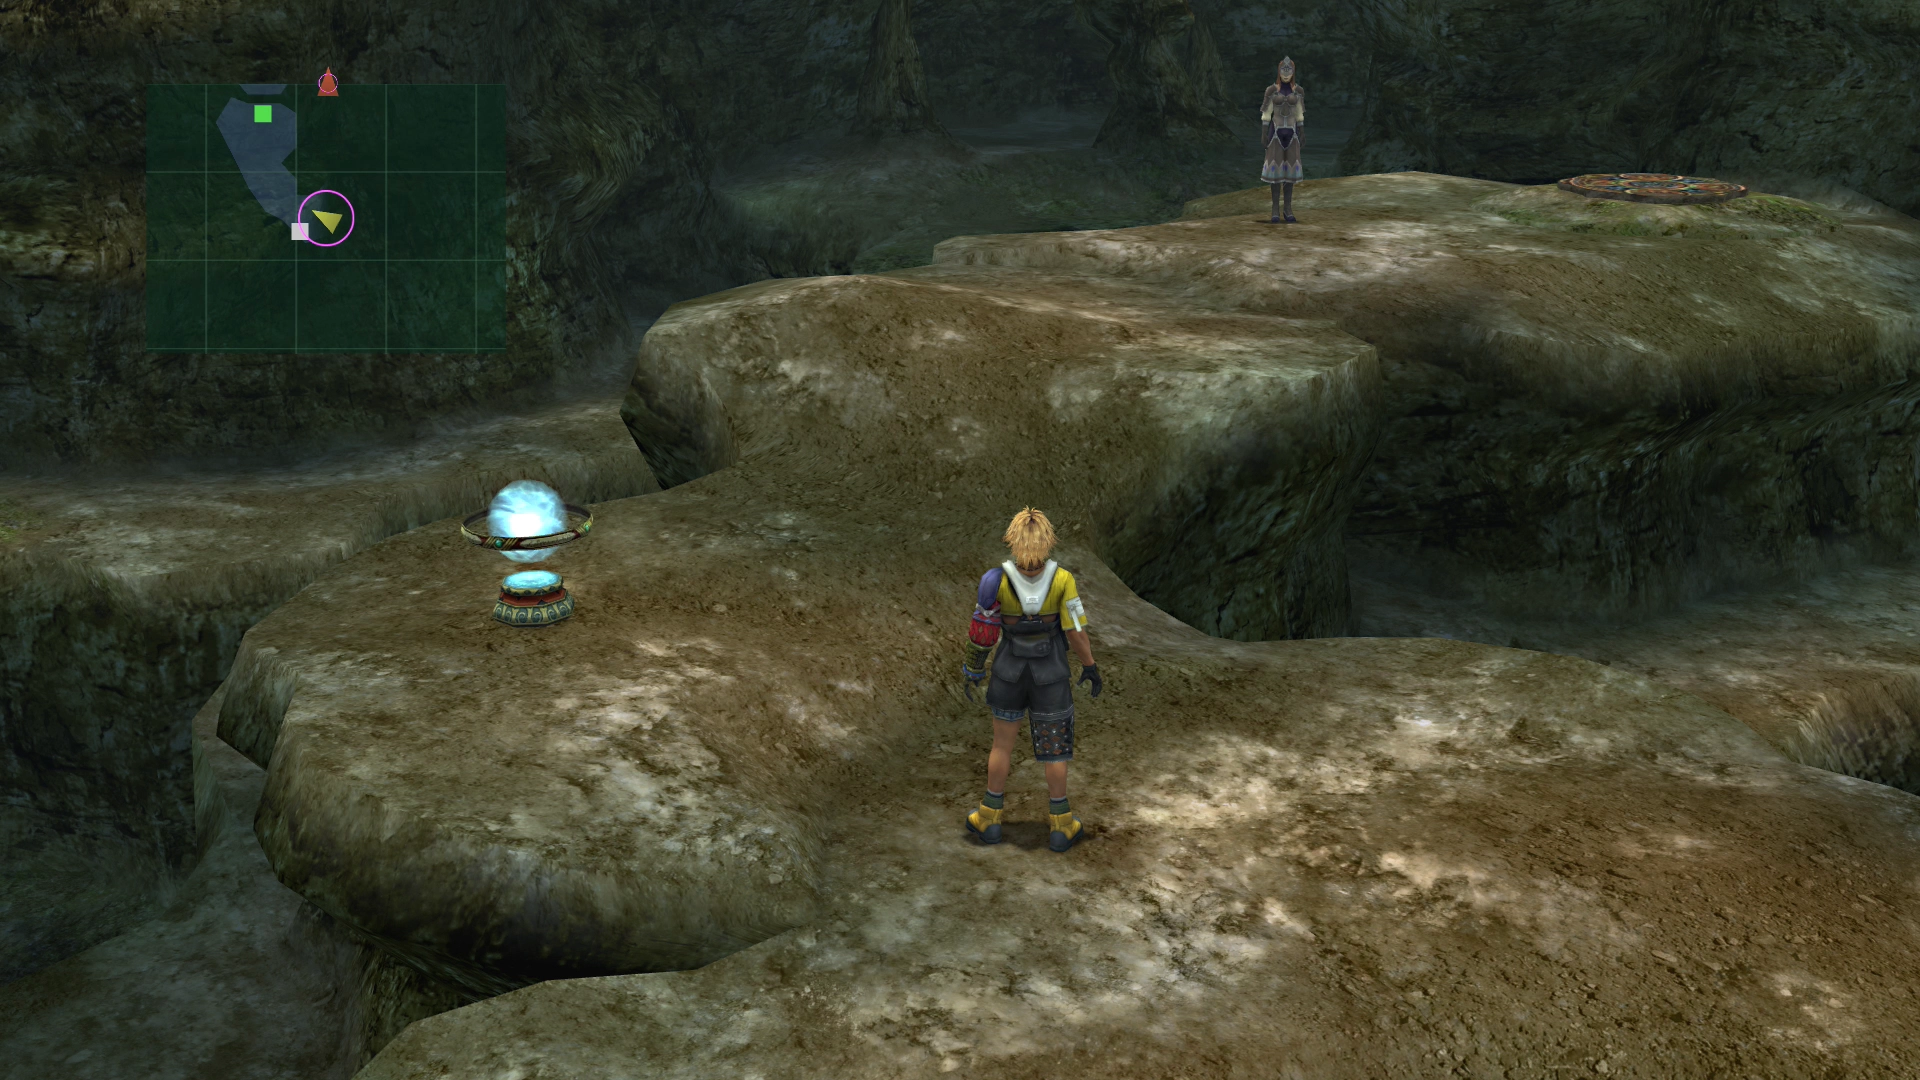
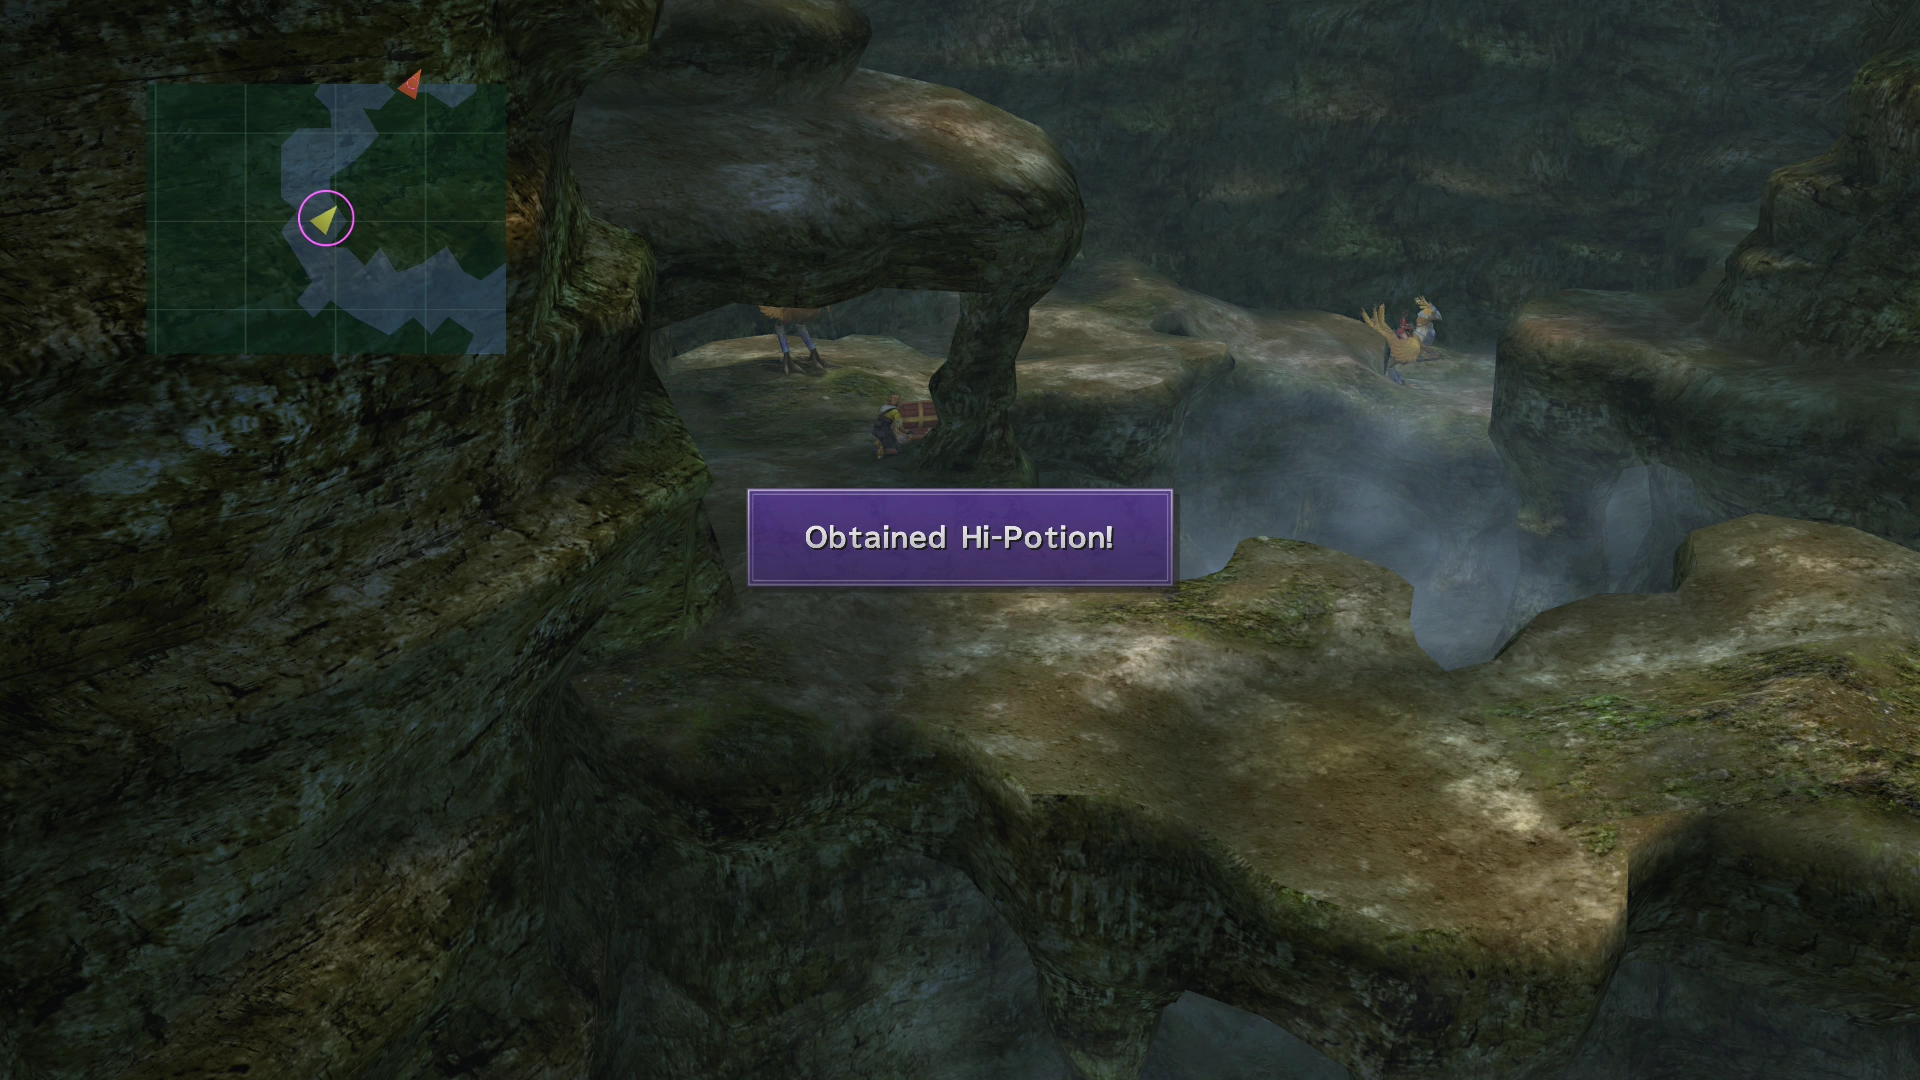
Save at the ![]() Save Sphere before you continue, and then talk to the guard standing at the end of the pathway for a free
Save Sphere before you continue, and then talk to the guard standing at the end of the pathway for a free ![]() Hi-Potion. Stand on the panel and press the
Hi-Potion. Stand on the panel and press the ![]()
![]()
![]() to have it lift you up to the next level.
to have it lift you up to the next level.
Follow the pathway as it goes. It is completely straight and there are no turnoff points, so you cannot get lost.


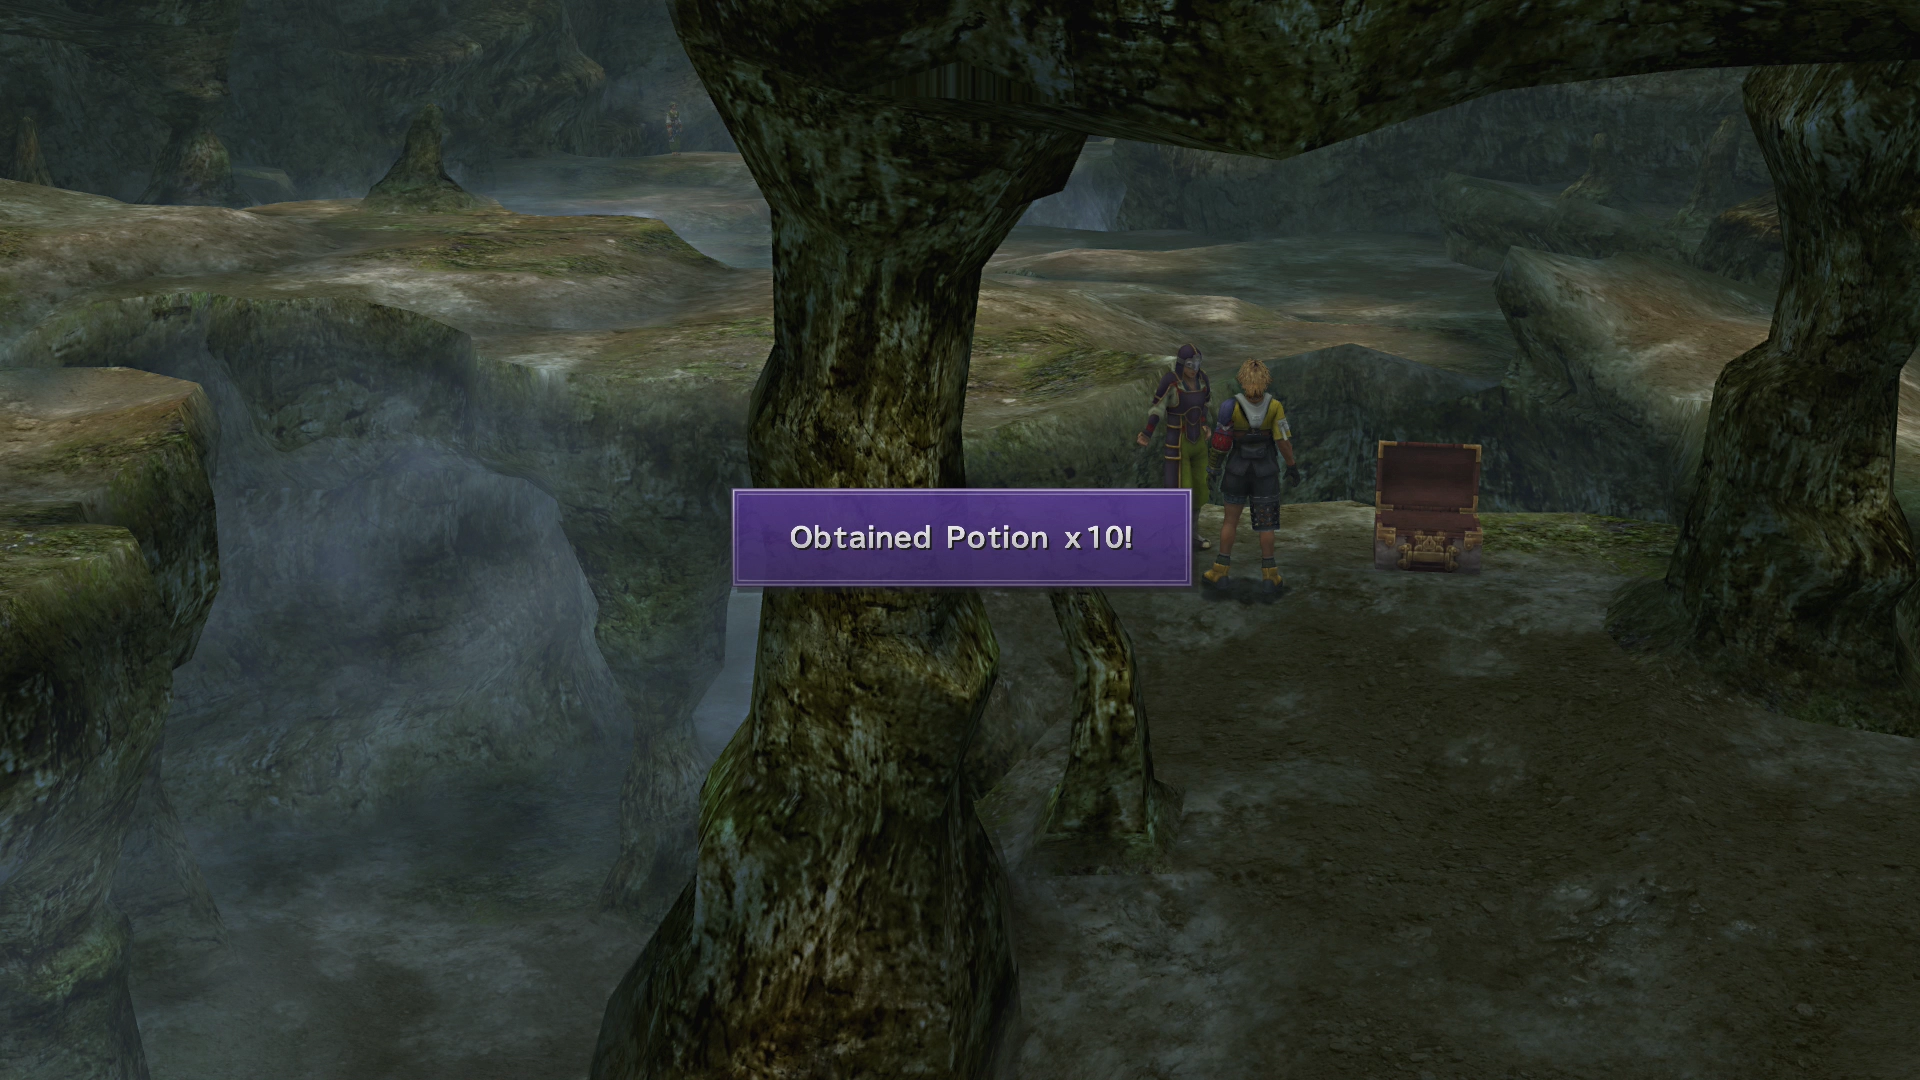
You will encounter a guard and a treasure chest along the way. The treasure chest contains 1,000 Gil. Speaking to the guard will net you ten regular ![]() Potions.
Potions.
Don’t forget to grab the treasure chests along the way—one contains a ![]() Remedy and one contains a
Remedy and one contains a ![]() Hi-Potion. Ride the platform (by pressing
Hi-Potion. Ride the platform (by pressing ![]()
![]()
![]() ) once you get to the end.
) once you get to the end.
Mushroom Rock - Precipice
Talk to the soldier standing right in front of you when you get off the lift to receive an ![]() X-Potion.
X-Potion.

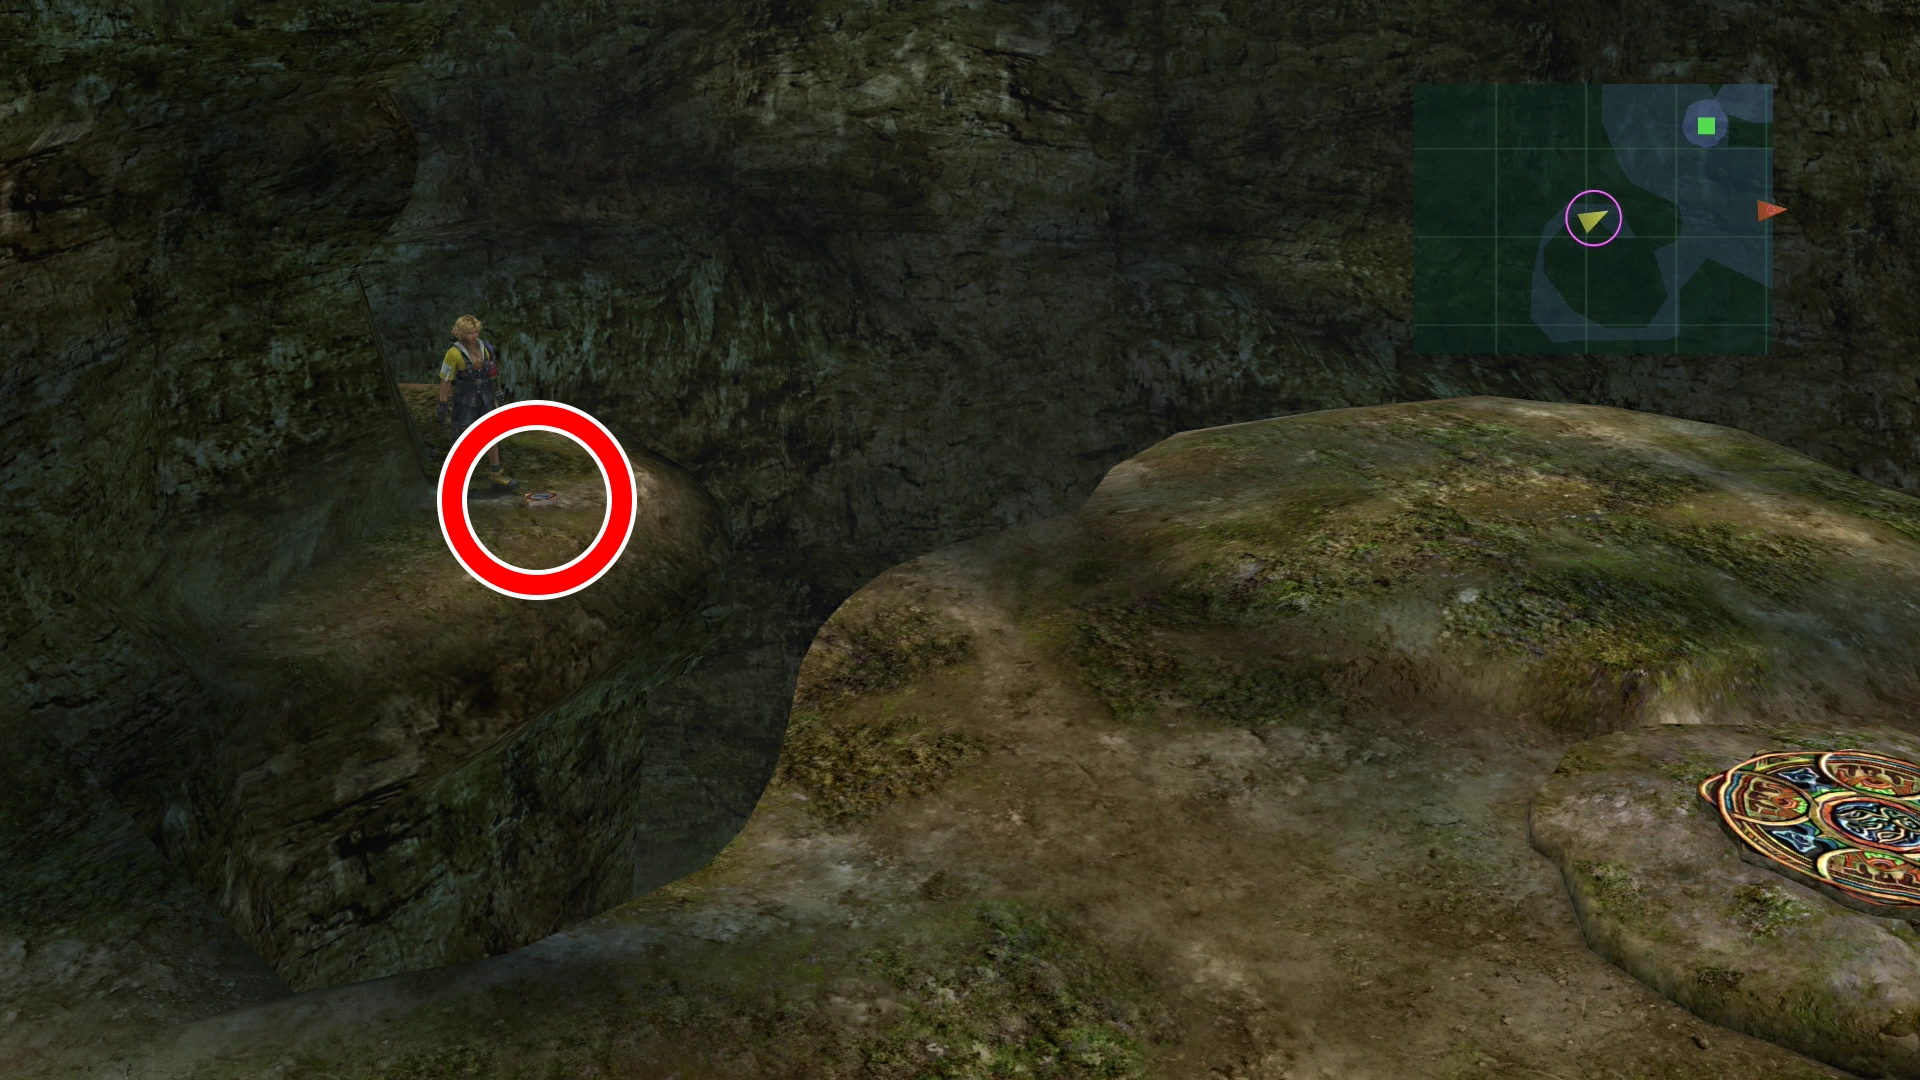
Mushroom Rock Precipice Map

Before you go straight to the next platform and before you go in the direction that the red arrow ![]() on the mini-map is pointing, you should take a left down the pathway shown on the mini-map. You will see a green square at the end of the path. It leads to another platform. Take the platform down, and you will find a treasure chest that contains a
on the mini-map is pointing, you should take a left down the pathway shown on the mini-map. You will see a green square at the end of the path. It leads to another platform. Take the platform down, and you will find a treasure chest that contains a ![]() Serene Armlet.
Serene Armlet.
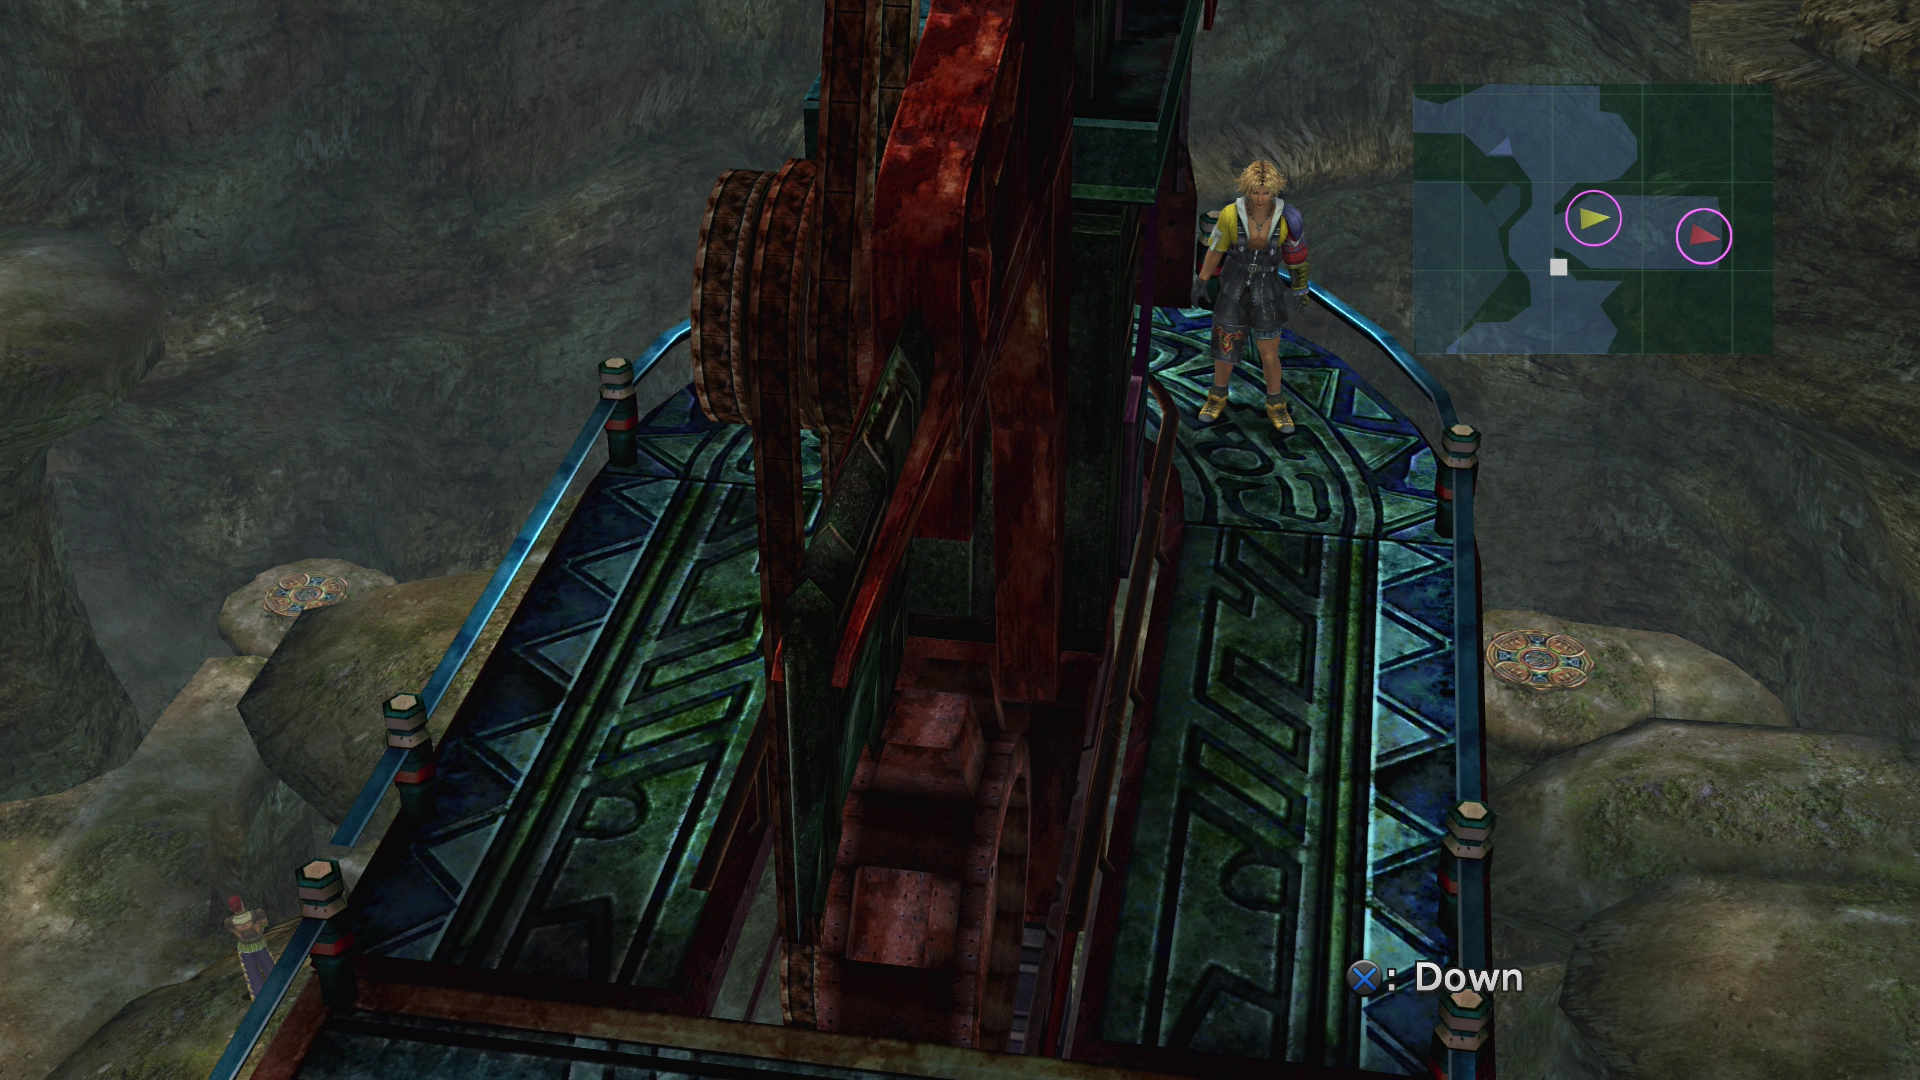
Take the lift back up and continue down the pathway. As you continue down the trail, you will come across yet another path that goes off to the left side.
At the end of this pathway, you will find ![]() Al Bhed Primer (Vol. X). Now go back to the main path and take the elevator up to the next level.
Al Bhed Primer (Vol. X). Now go back to the main path and take the elevator up to the next level.
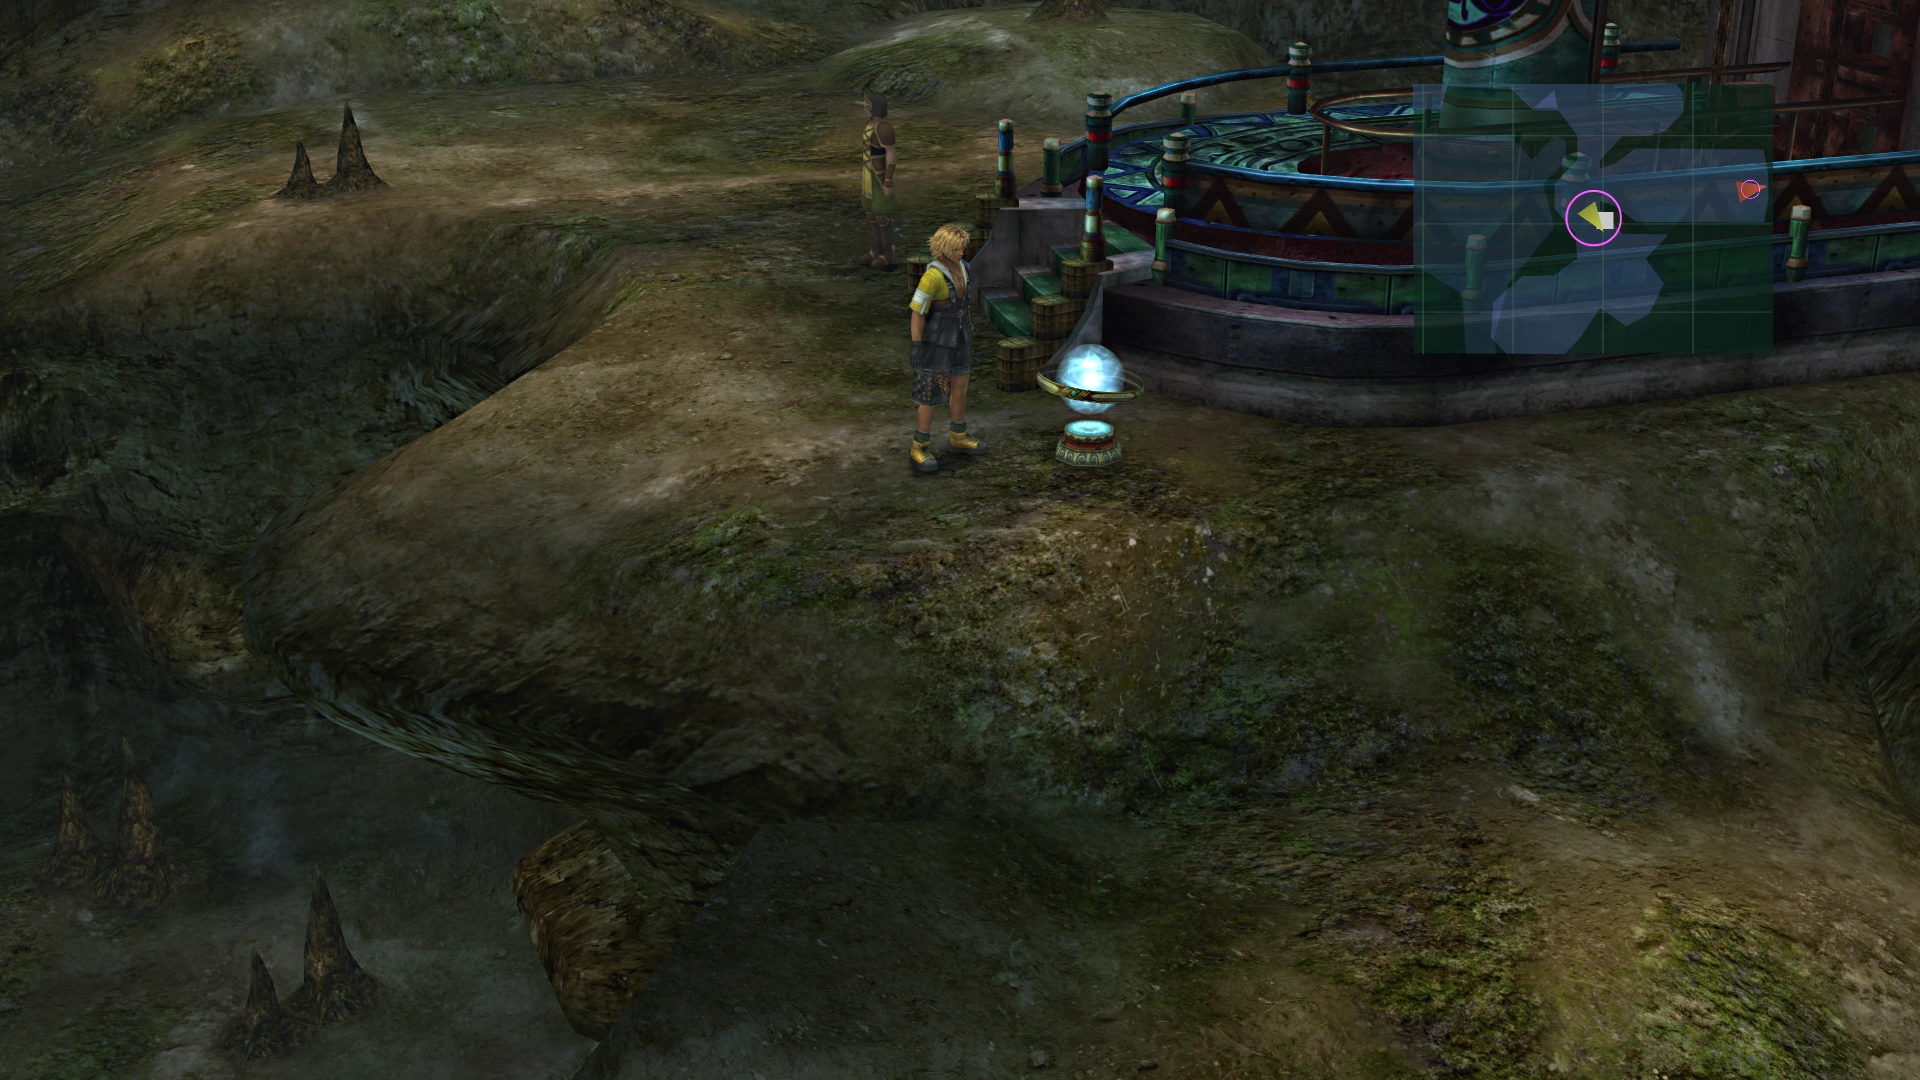
Head around the corner and make sure to save your game at the ![]() Save Sphere. Go south from there to initiate another scene between Gatta and Luzzu. Speak to Luzzu once the scene has ended.
Save Sphere. Go south from there to initiate another scene between Gatta and Luzzu. Speak to Luzzu once the scene has ended.
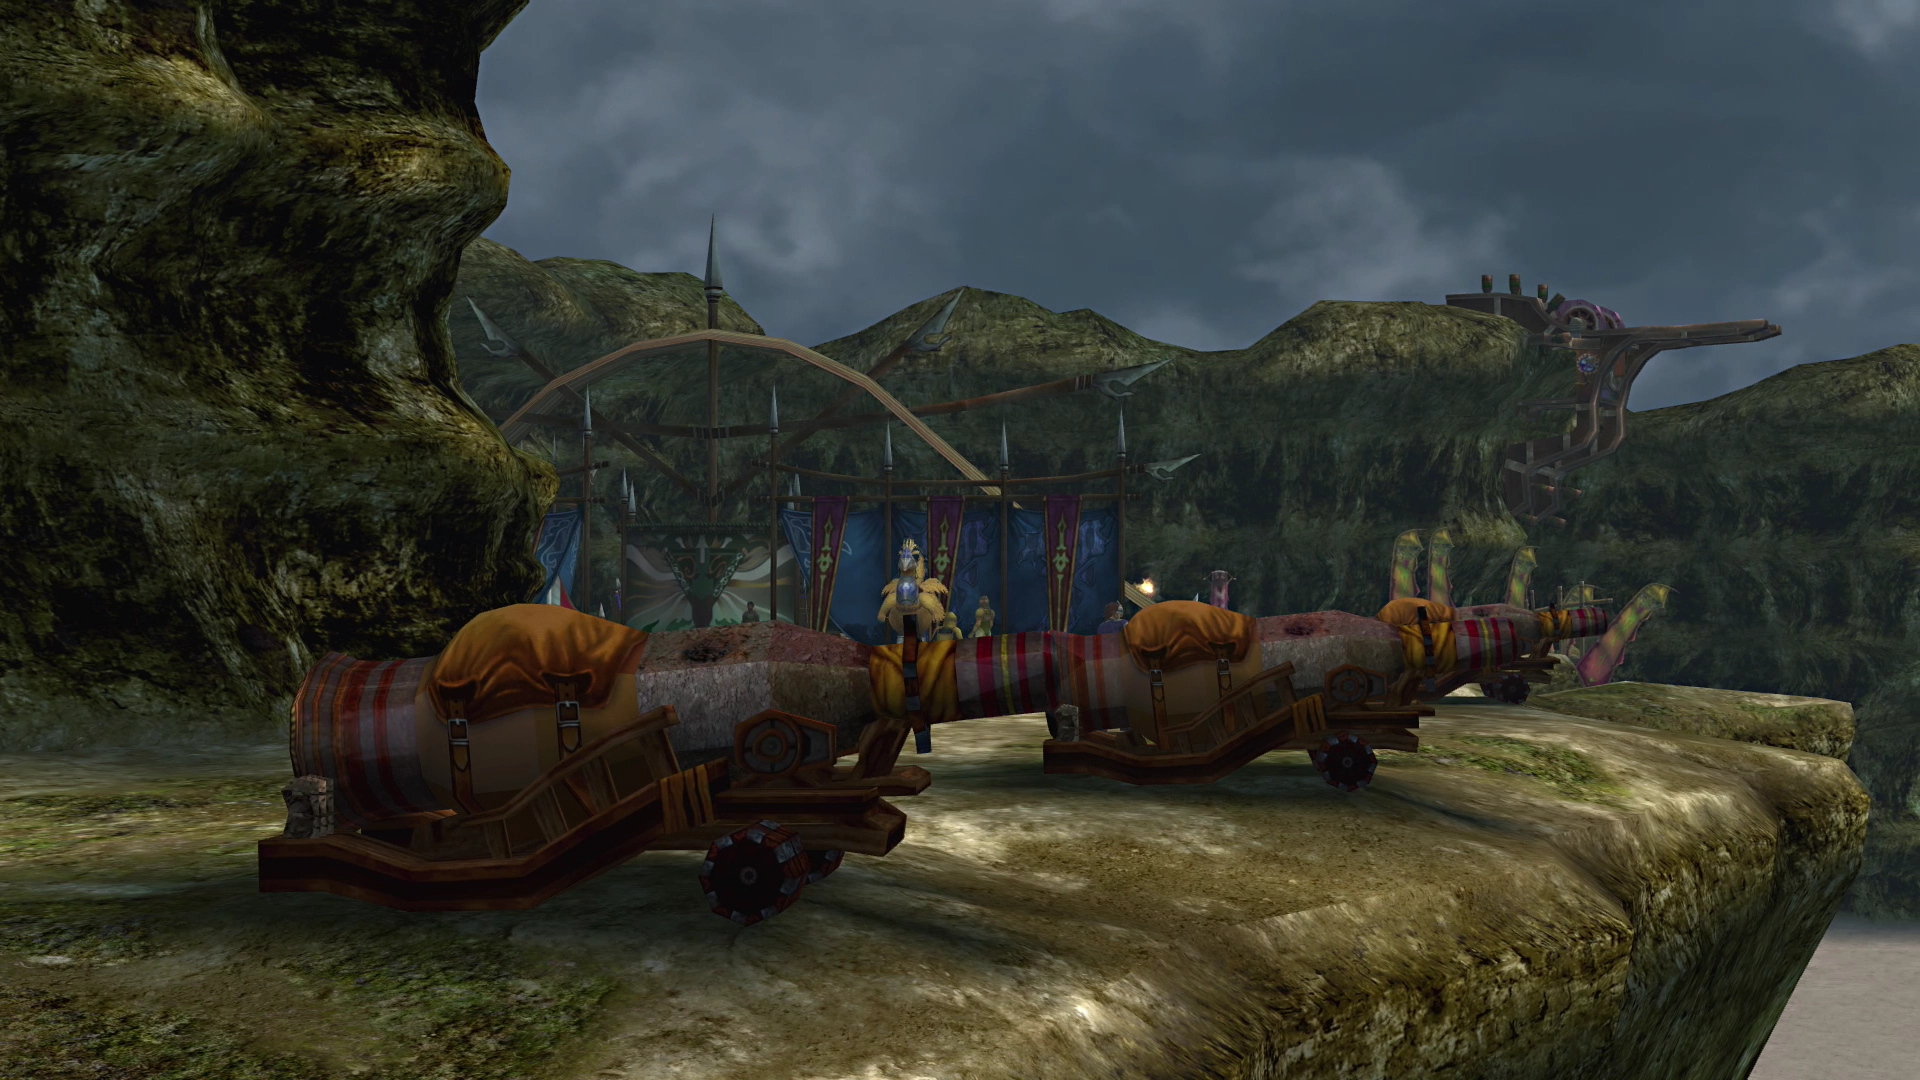
Proceed up the lift once the scene has ended and continue along the pathway for another cutscene involving the Machina.
Mushroom Rock - Plateau
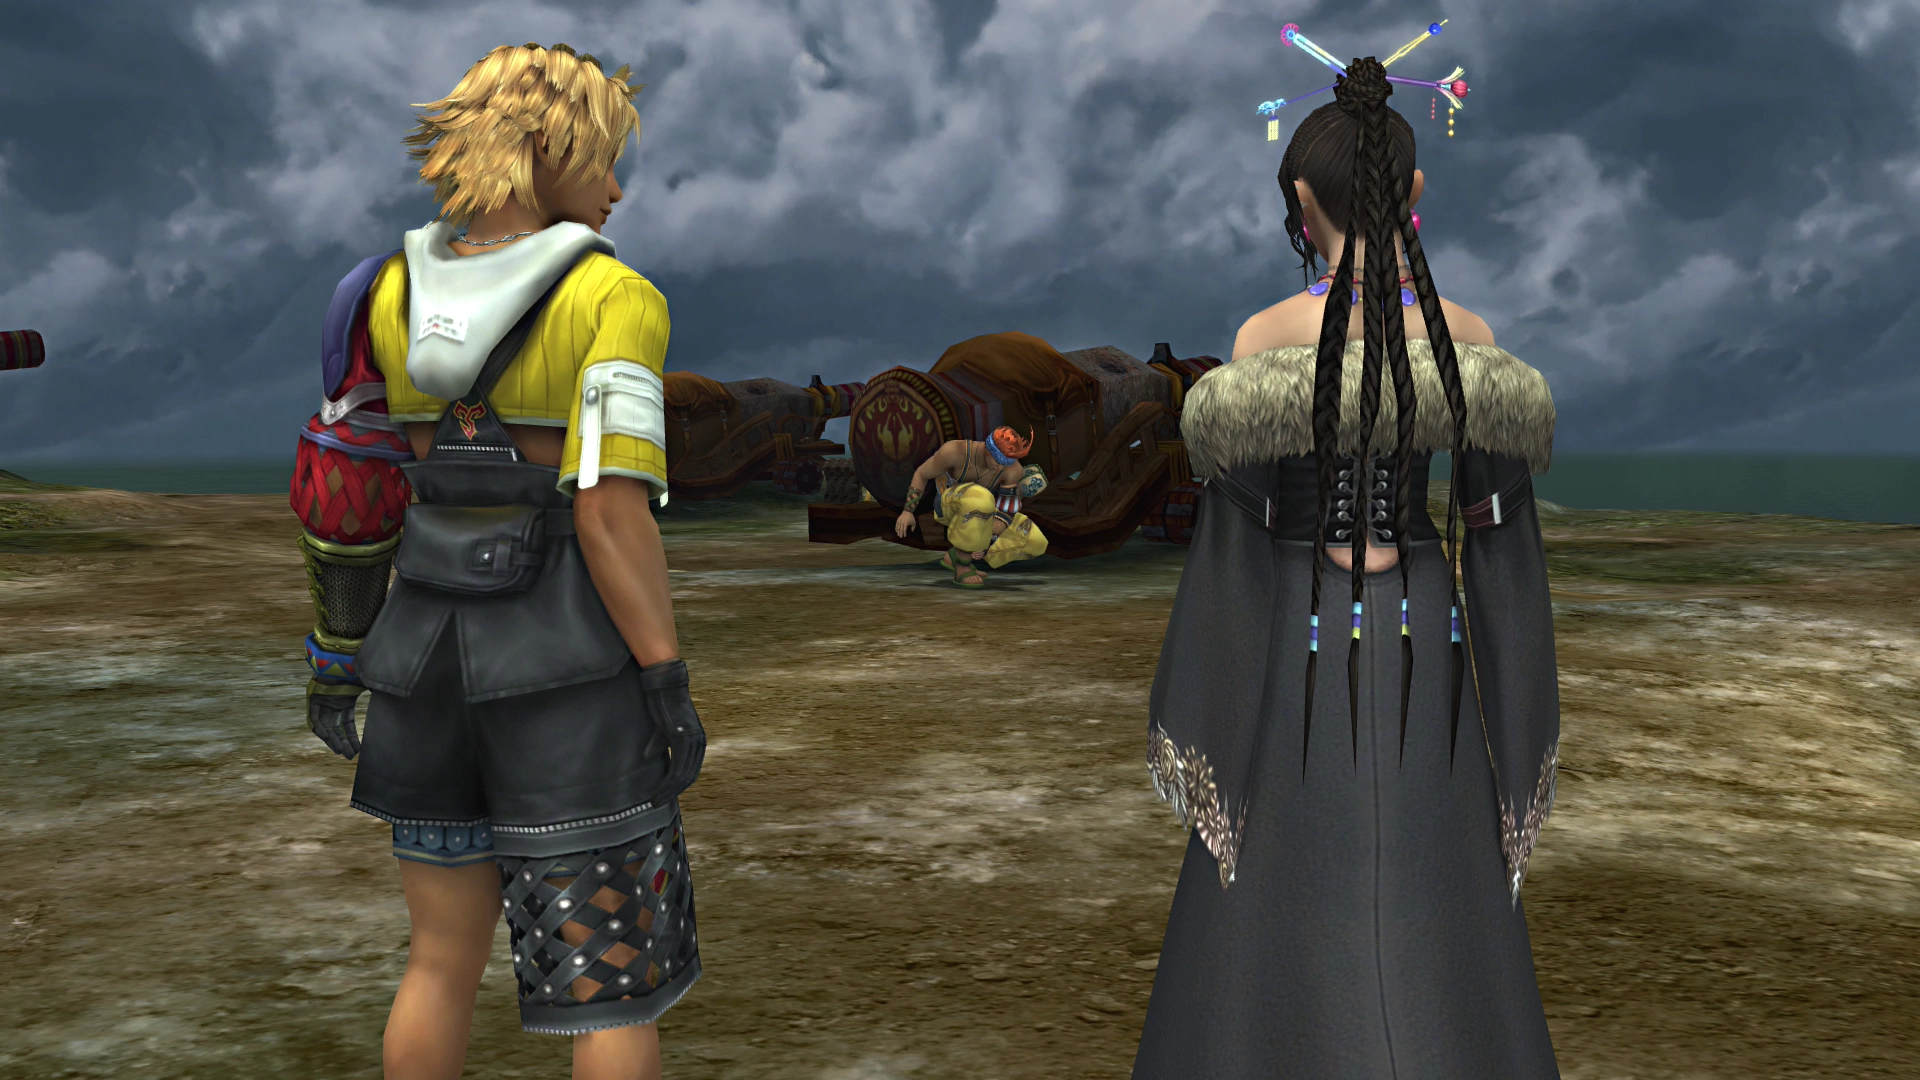
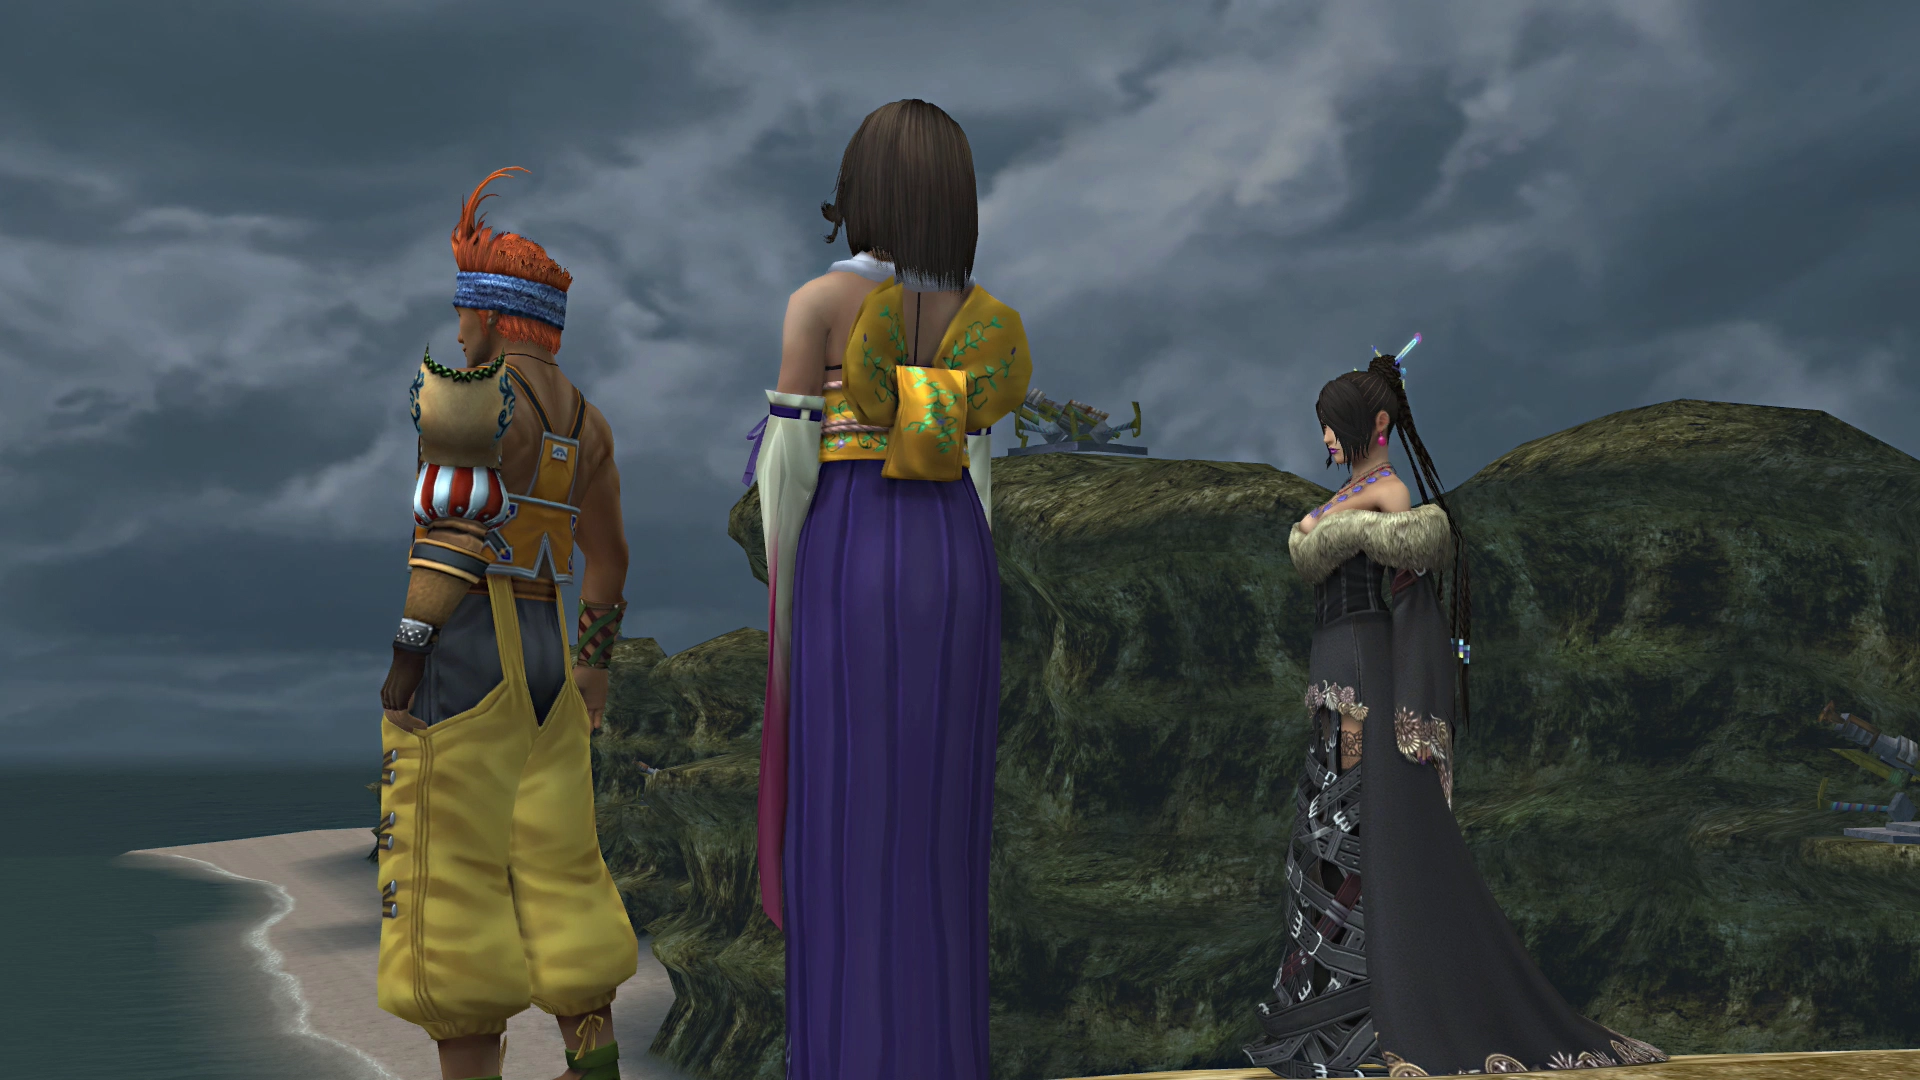
Wakka will take out some of his frustrations against the Machina in this area. Lulu will tell Tidus a little bit more about Chappu, Wakka’s brother, before they leave the area. Continue into the next zone, as there is nothing that you can do in this area.
Mushroom Rock - Ridge
There is another brief cutscene that takes place as the team enters the Ridge, which shows the soldiers readying themselves for battle.
Mushroom Rock Ridge Map

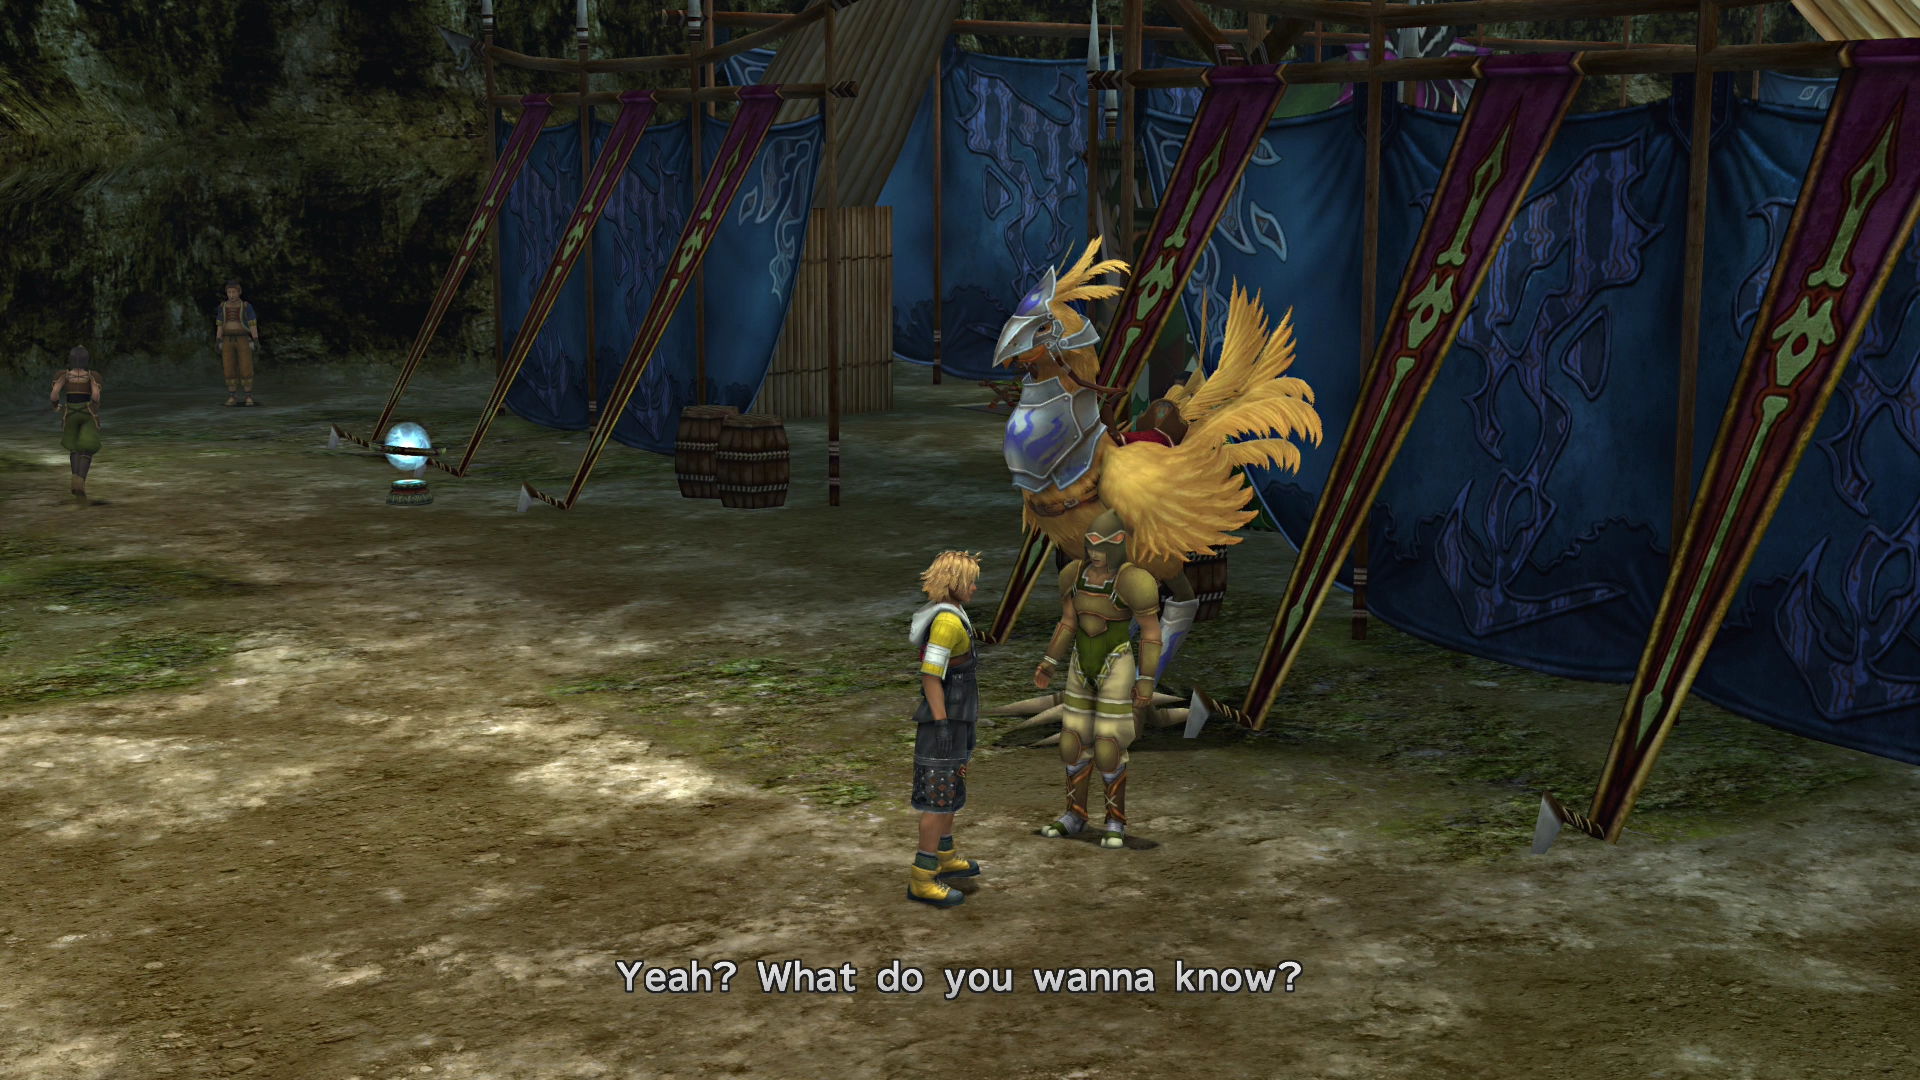
Continue along the pathway, and you will come across another ![]() Save Sphere. O’aka XXIII is located just behind it if you want to stock up on any additional items.
Save Sphere. O’aka XXIII is located just behind it if you want to stock up on any additional items.
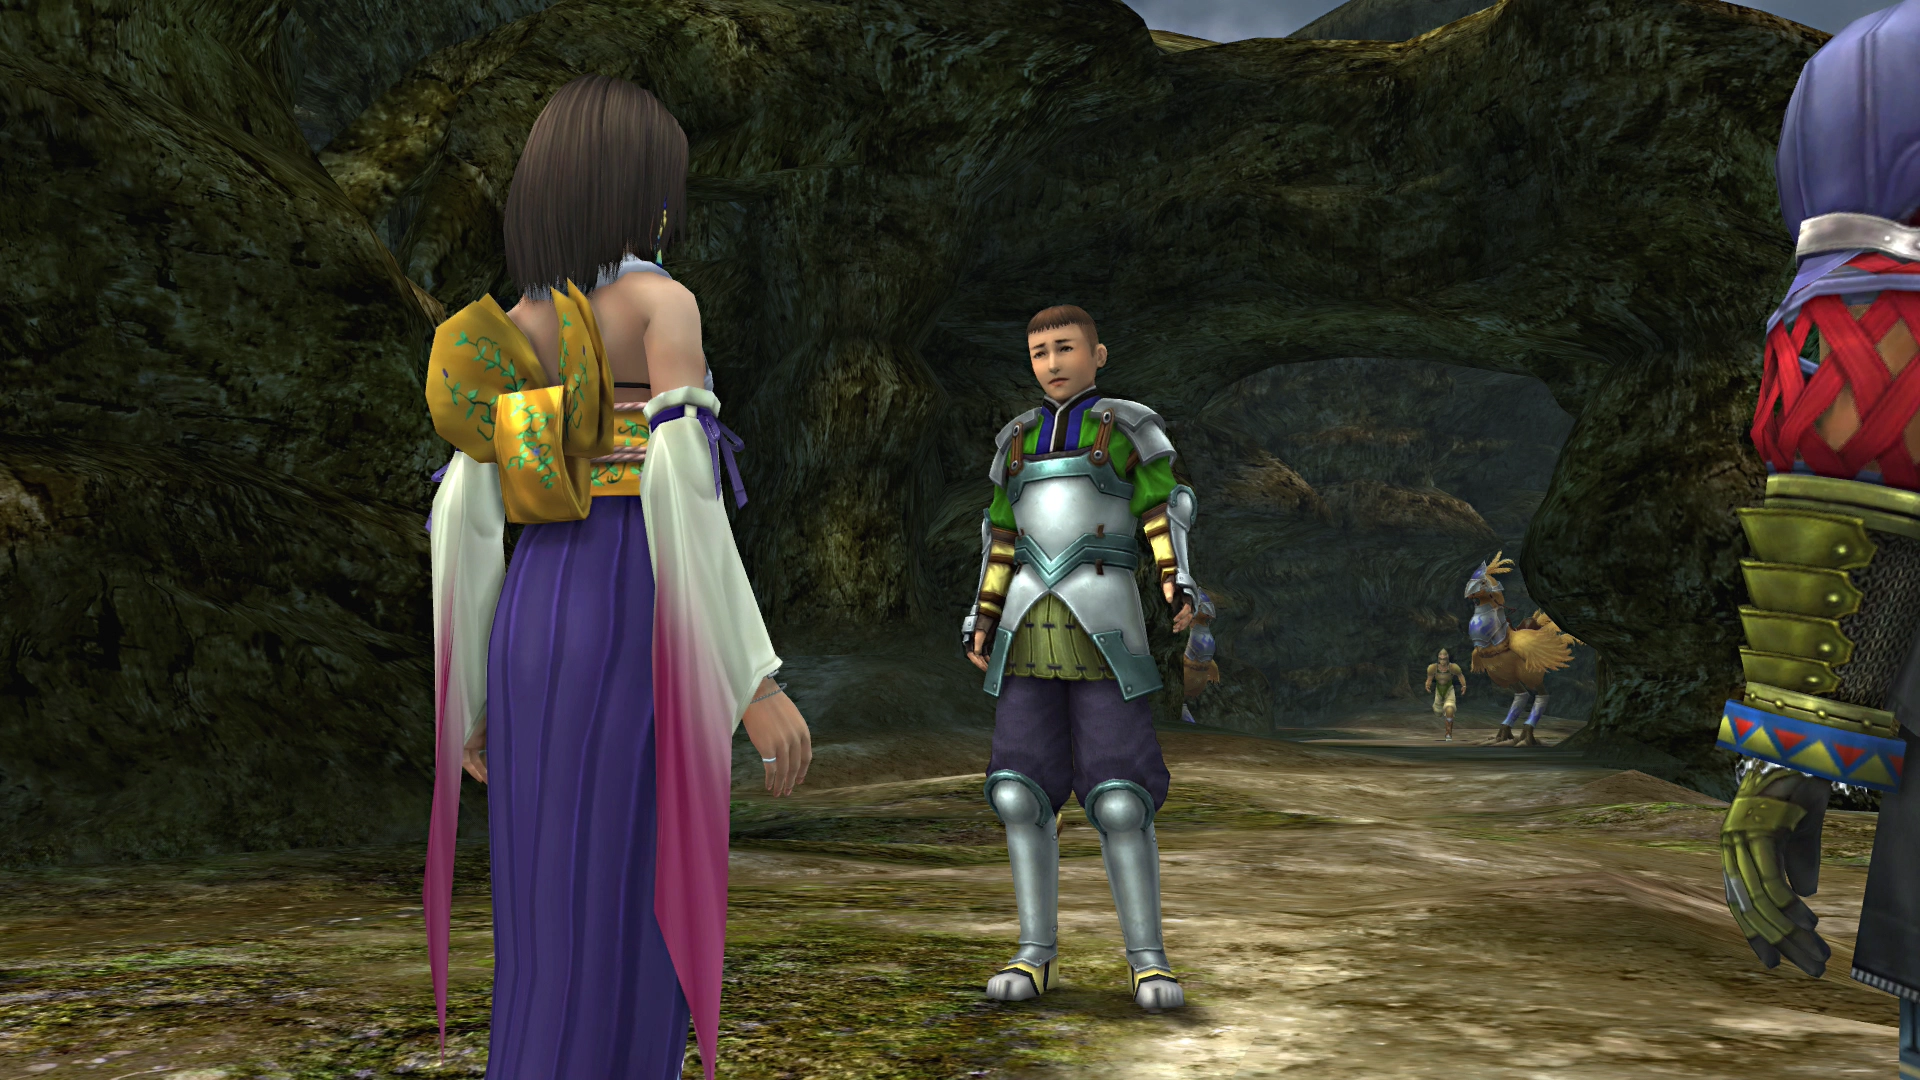
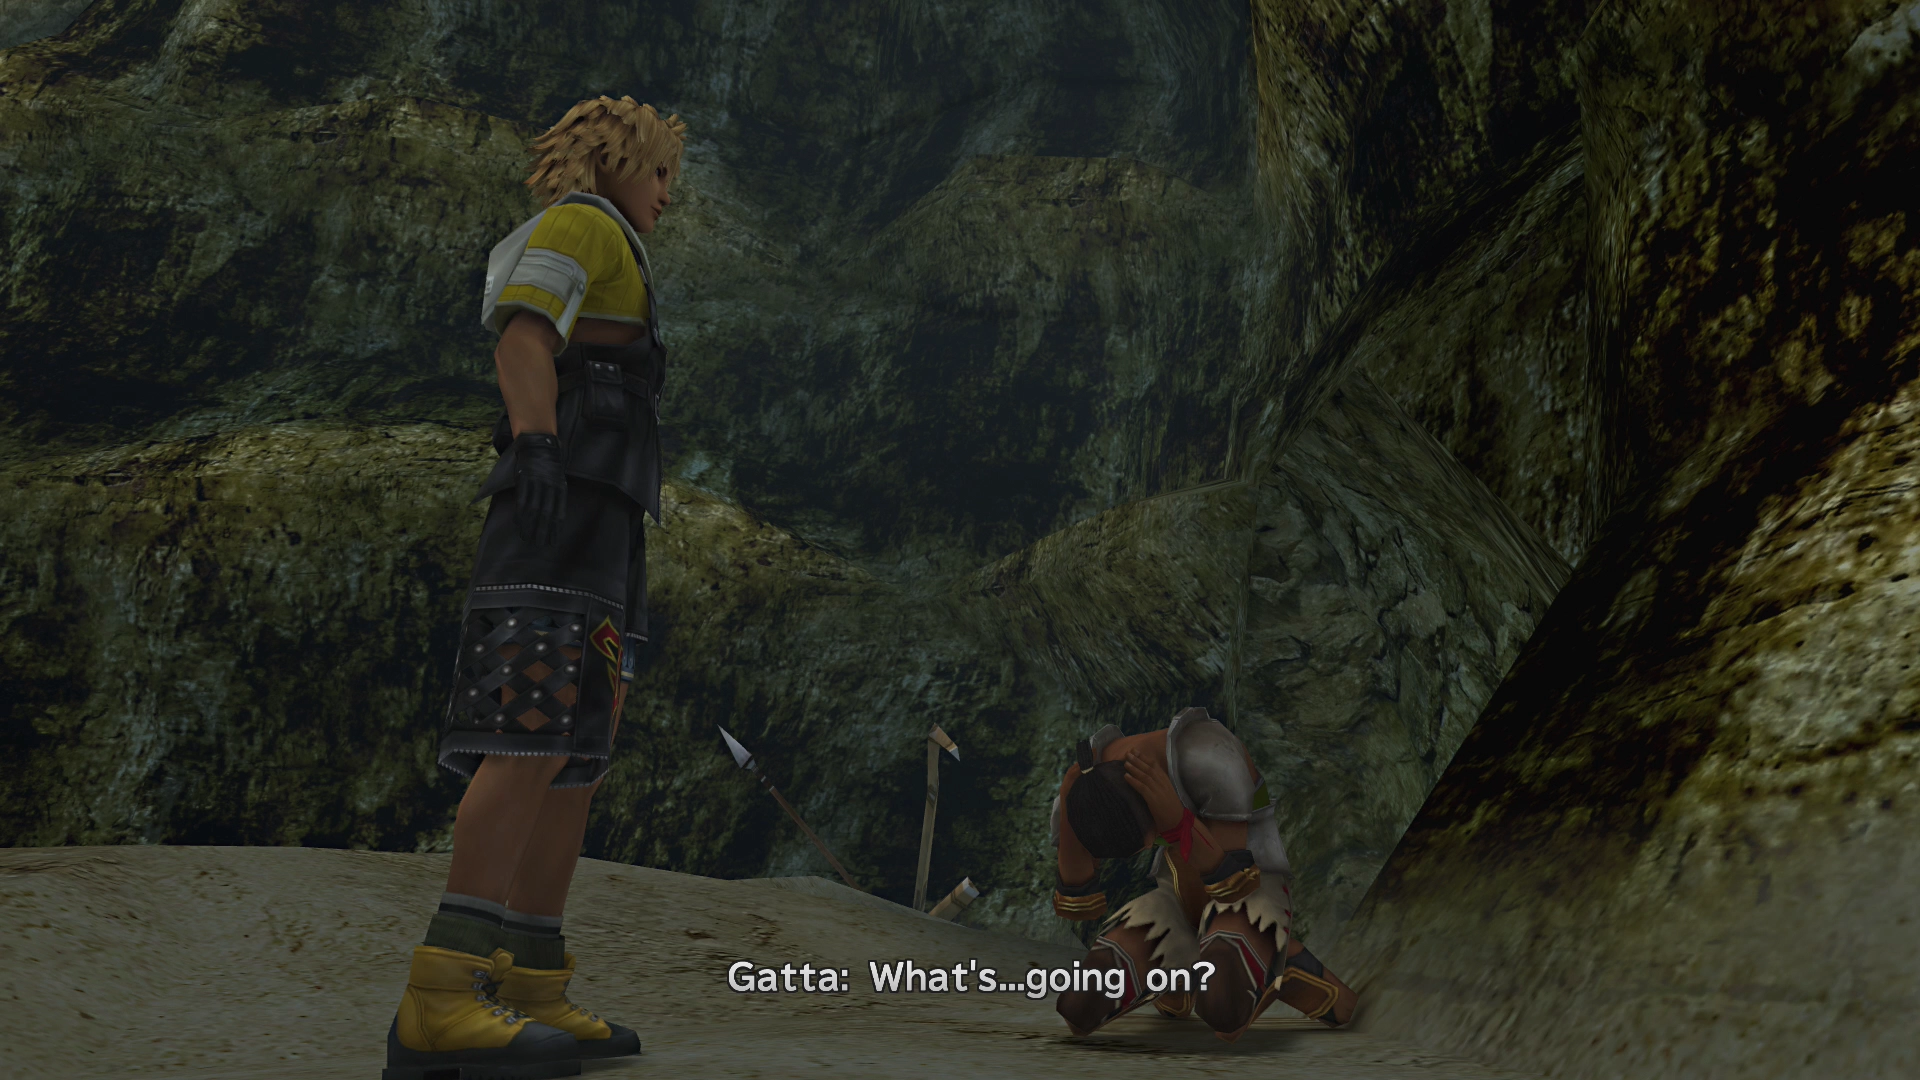
Follow the pathway until you run into Gatta. Your decisions while speaking to Gatta will impact whether Gatta or Luzzu survives the impending battle.
If you talk to Gatta twice and explain to him that his place is on the front lines, Gatta will be killed in the ensuing battle. If you don’t talk to him and convince him to be on the front lines, Luzzu will be killed during the battle. This decision has no impact on any of the other story-related events of the game.
After speaking to Gatta, the team will have a conversation with Maester Wen Kinoc.
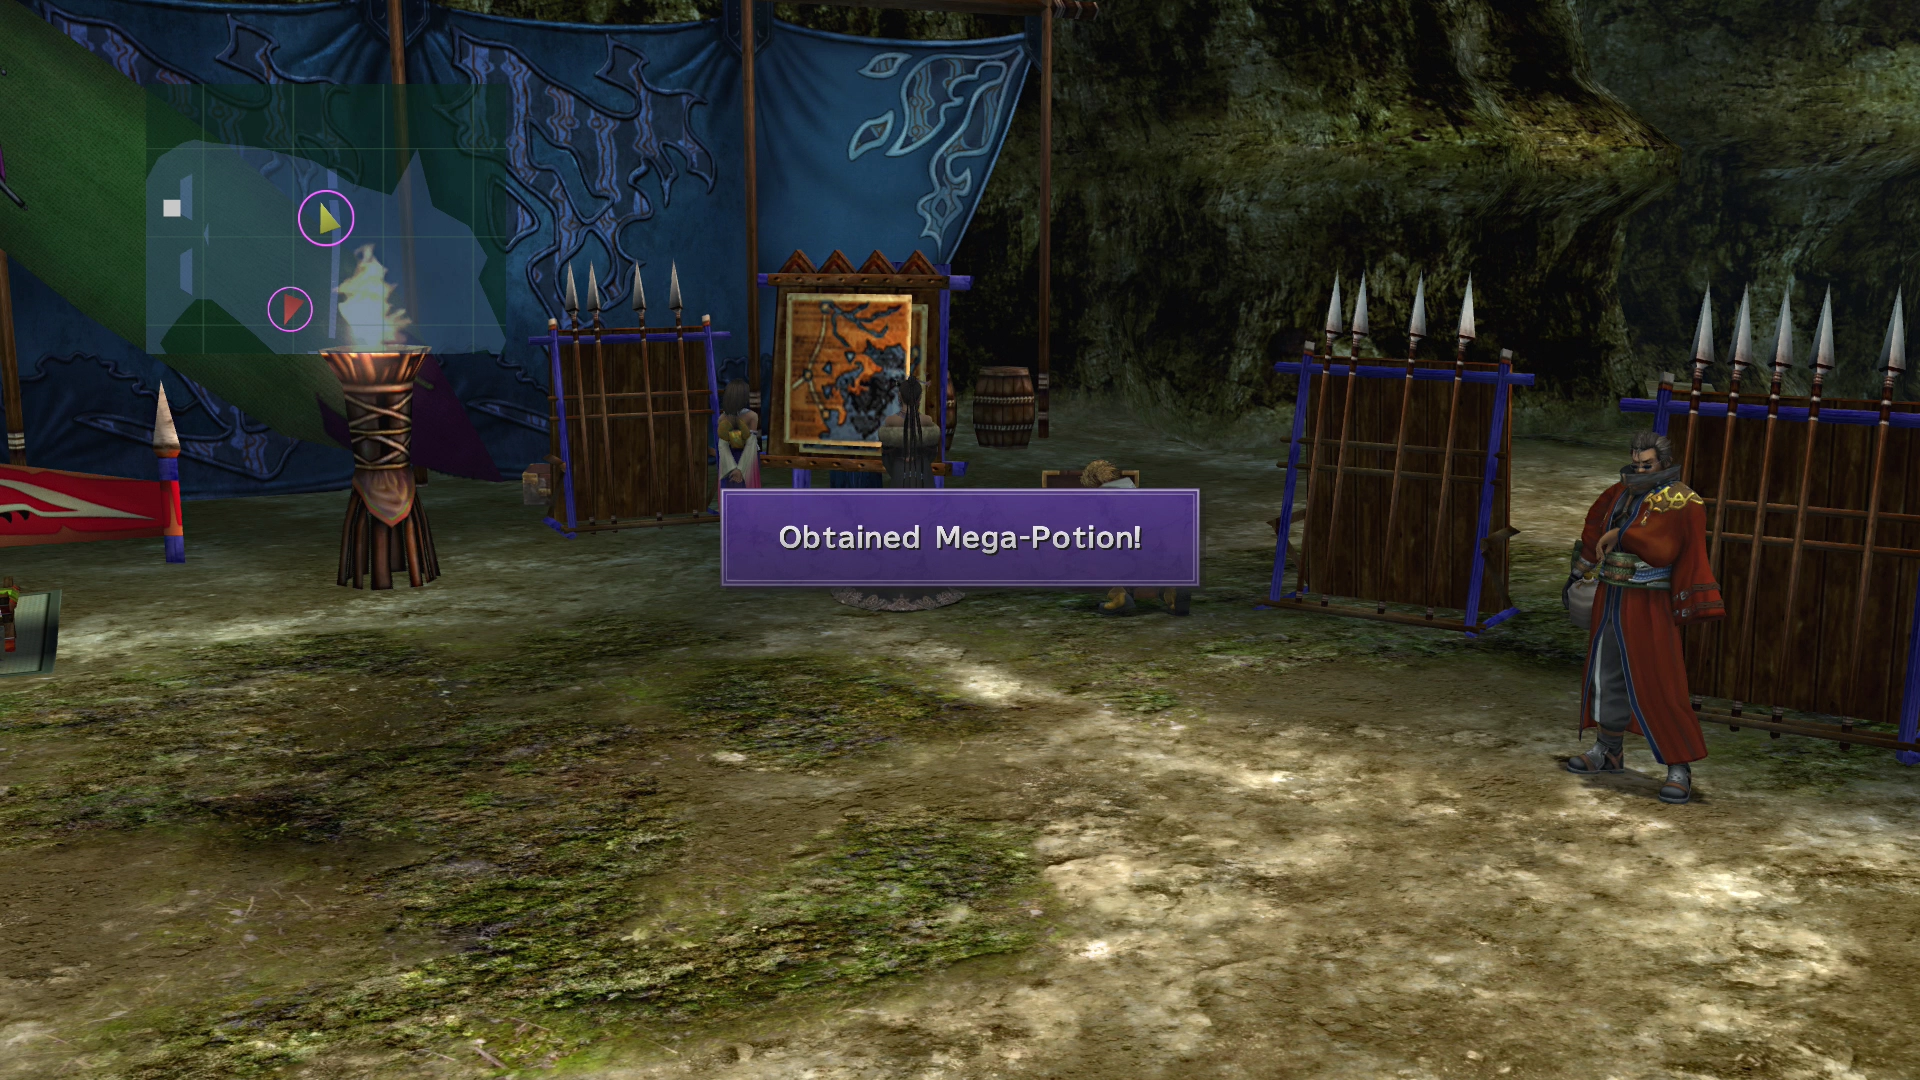
There is a chest back near Yuna and Lulu that contains a ![]() Mega-Potion, and another one even further back that contains a
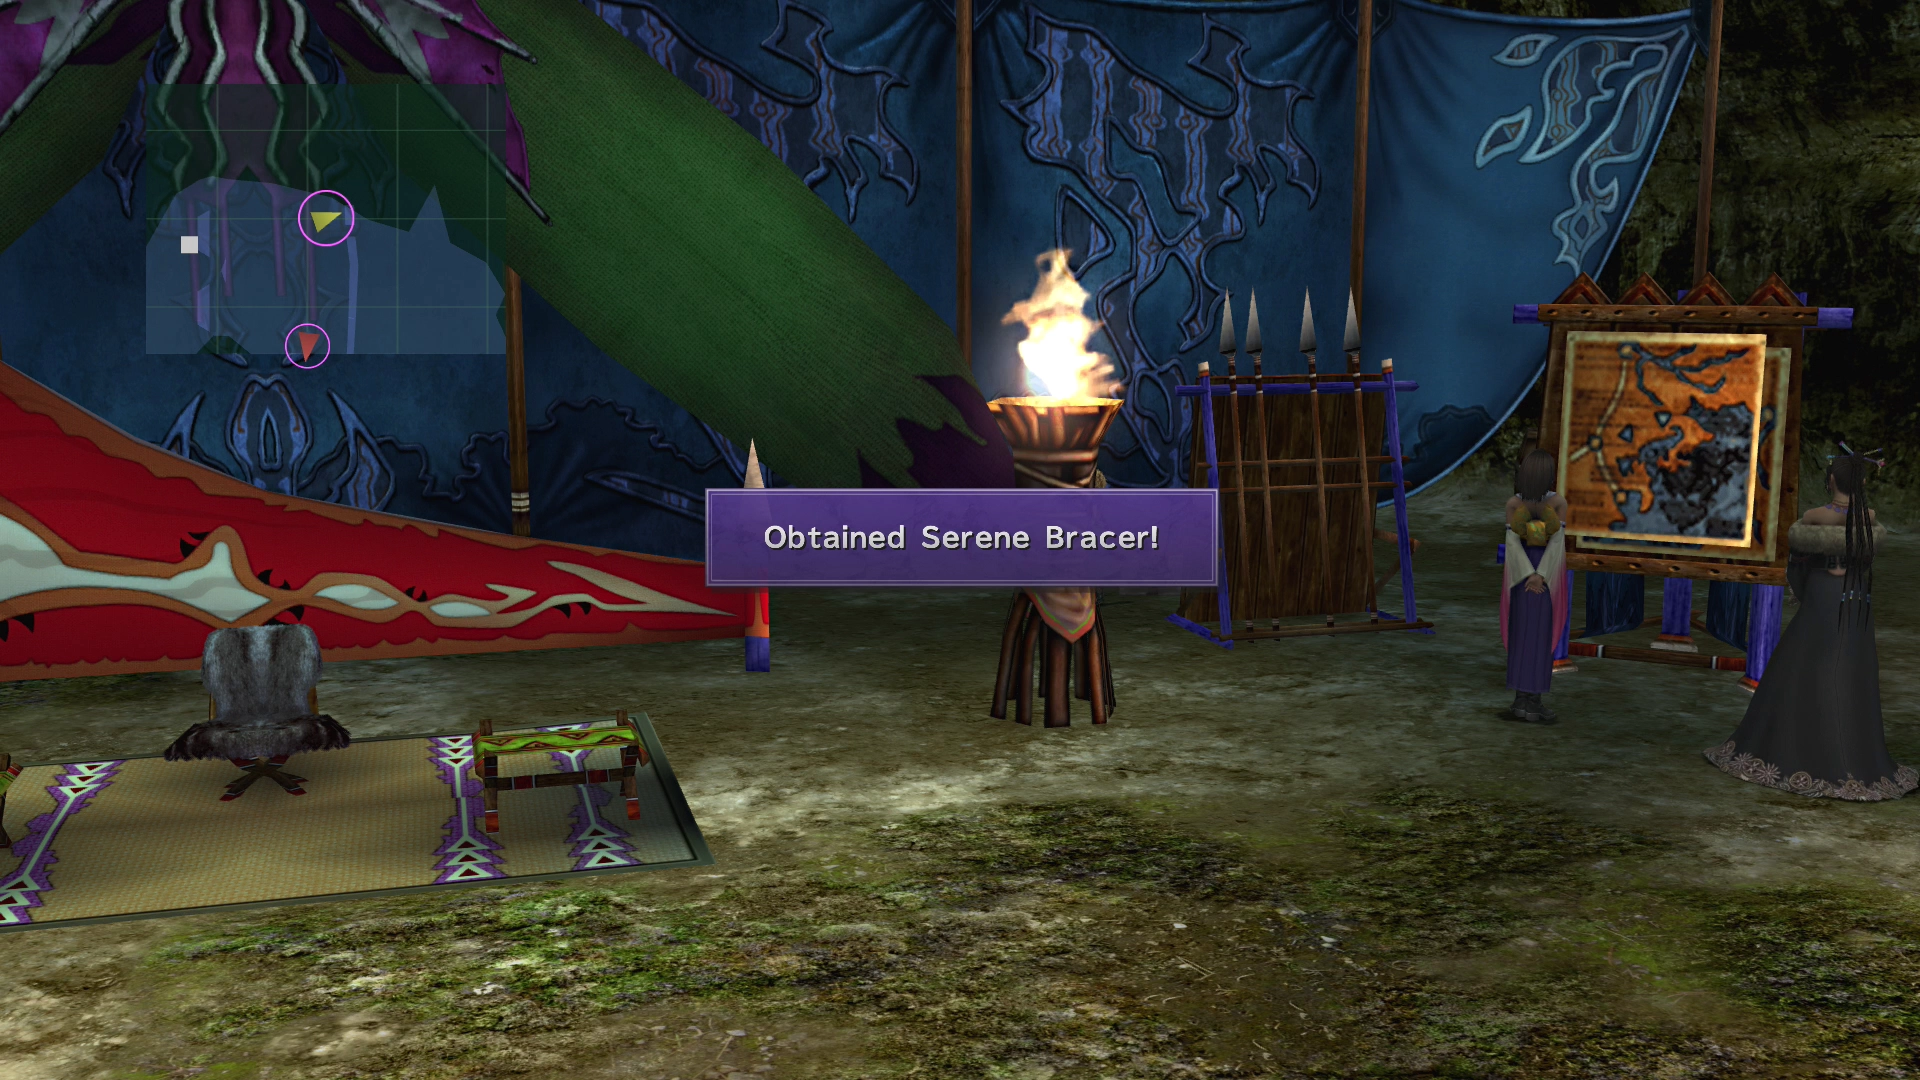
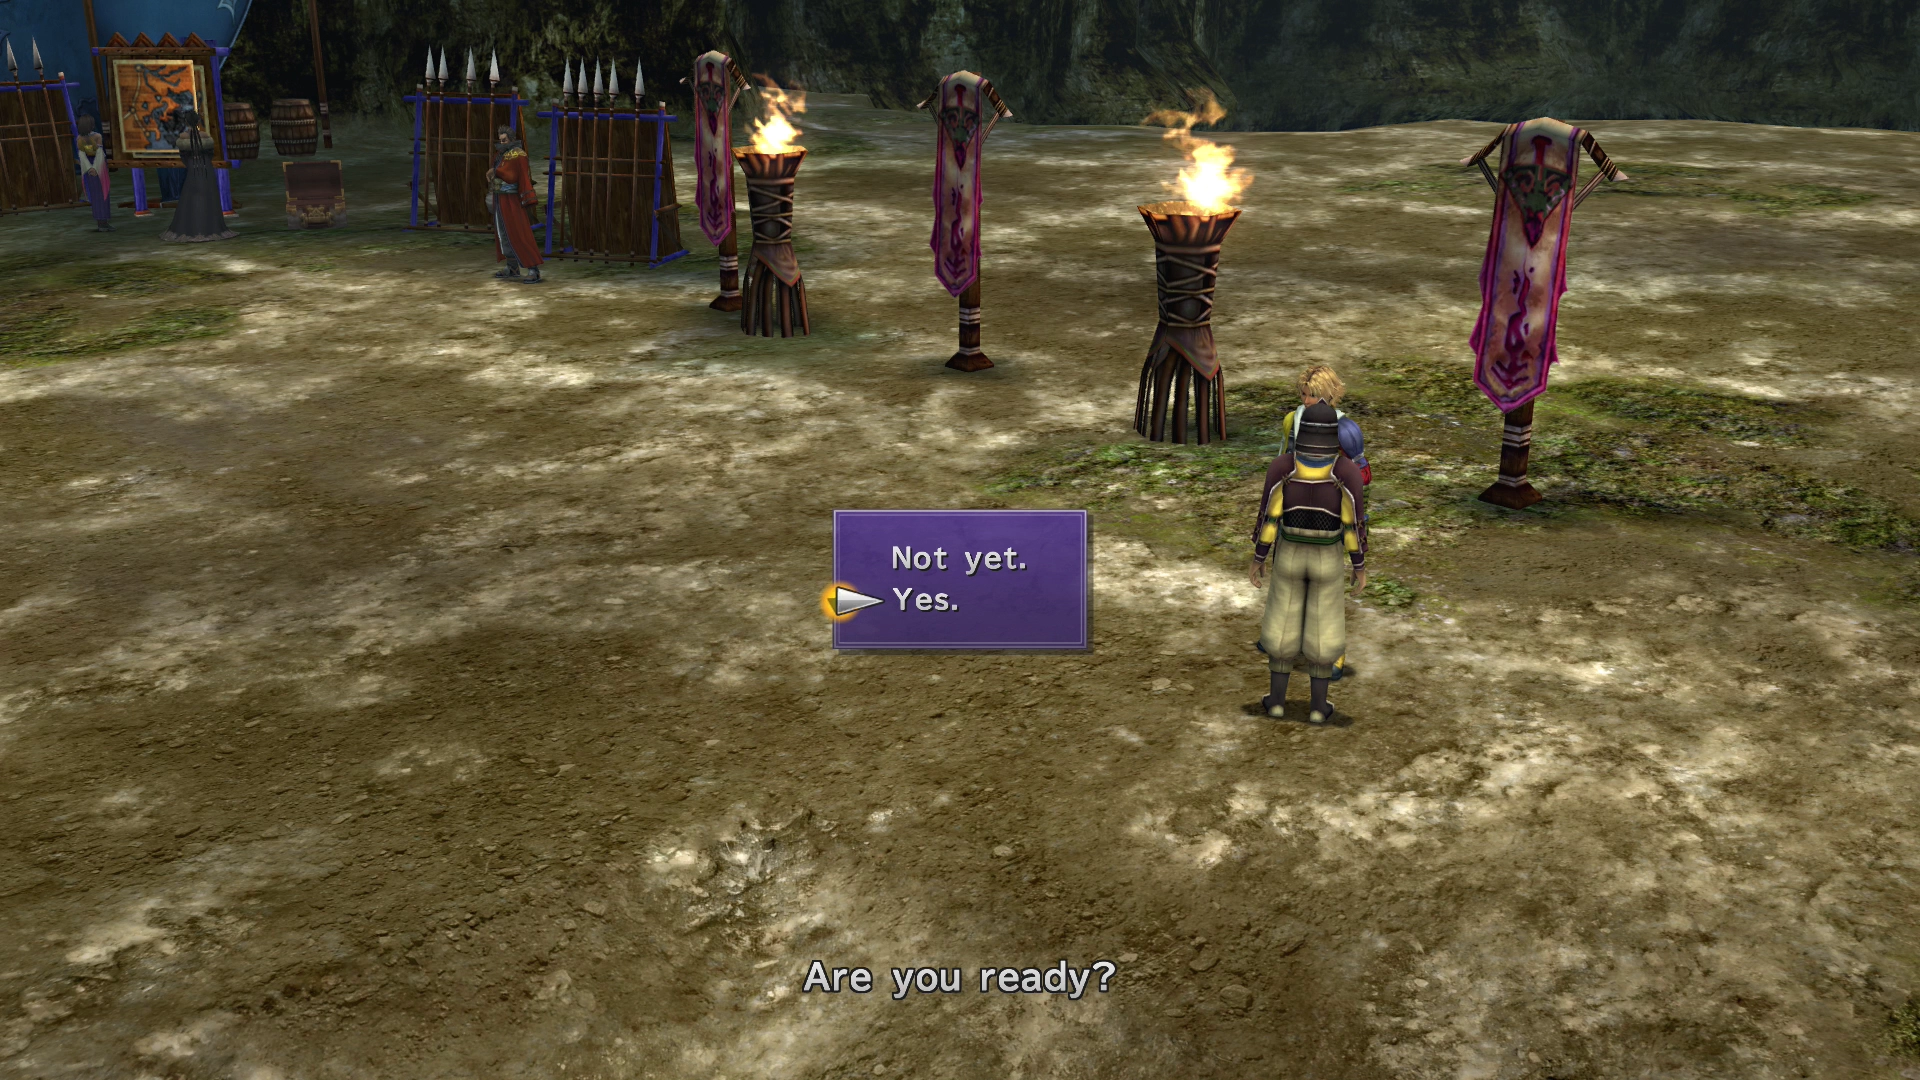
Mega-Potion, and another one even further back that contains a ![]() Serene Bracer. Make sure to grab both before you continue, and then talk to the guard when you are ready.
Serene Bracer. Make sure to grab both before you continue, and then talk to the guard when you are ready.
A few more cutscenes will take place, and then you’ll be thrown into battle against the next boss.
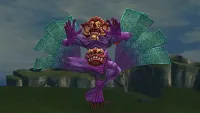
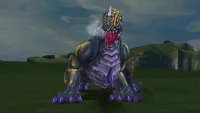
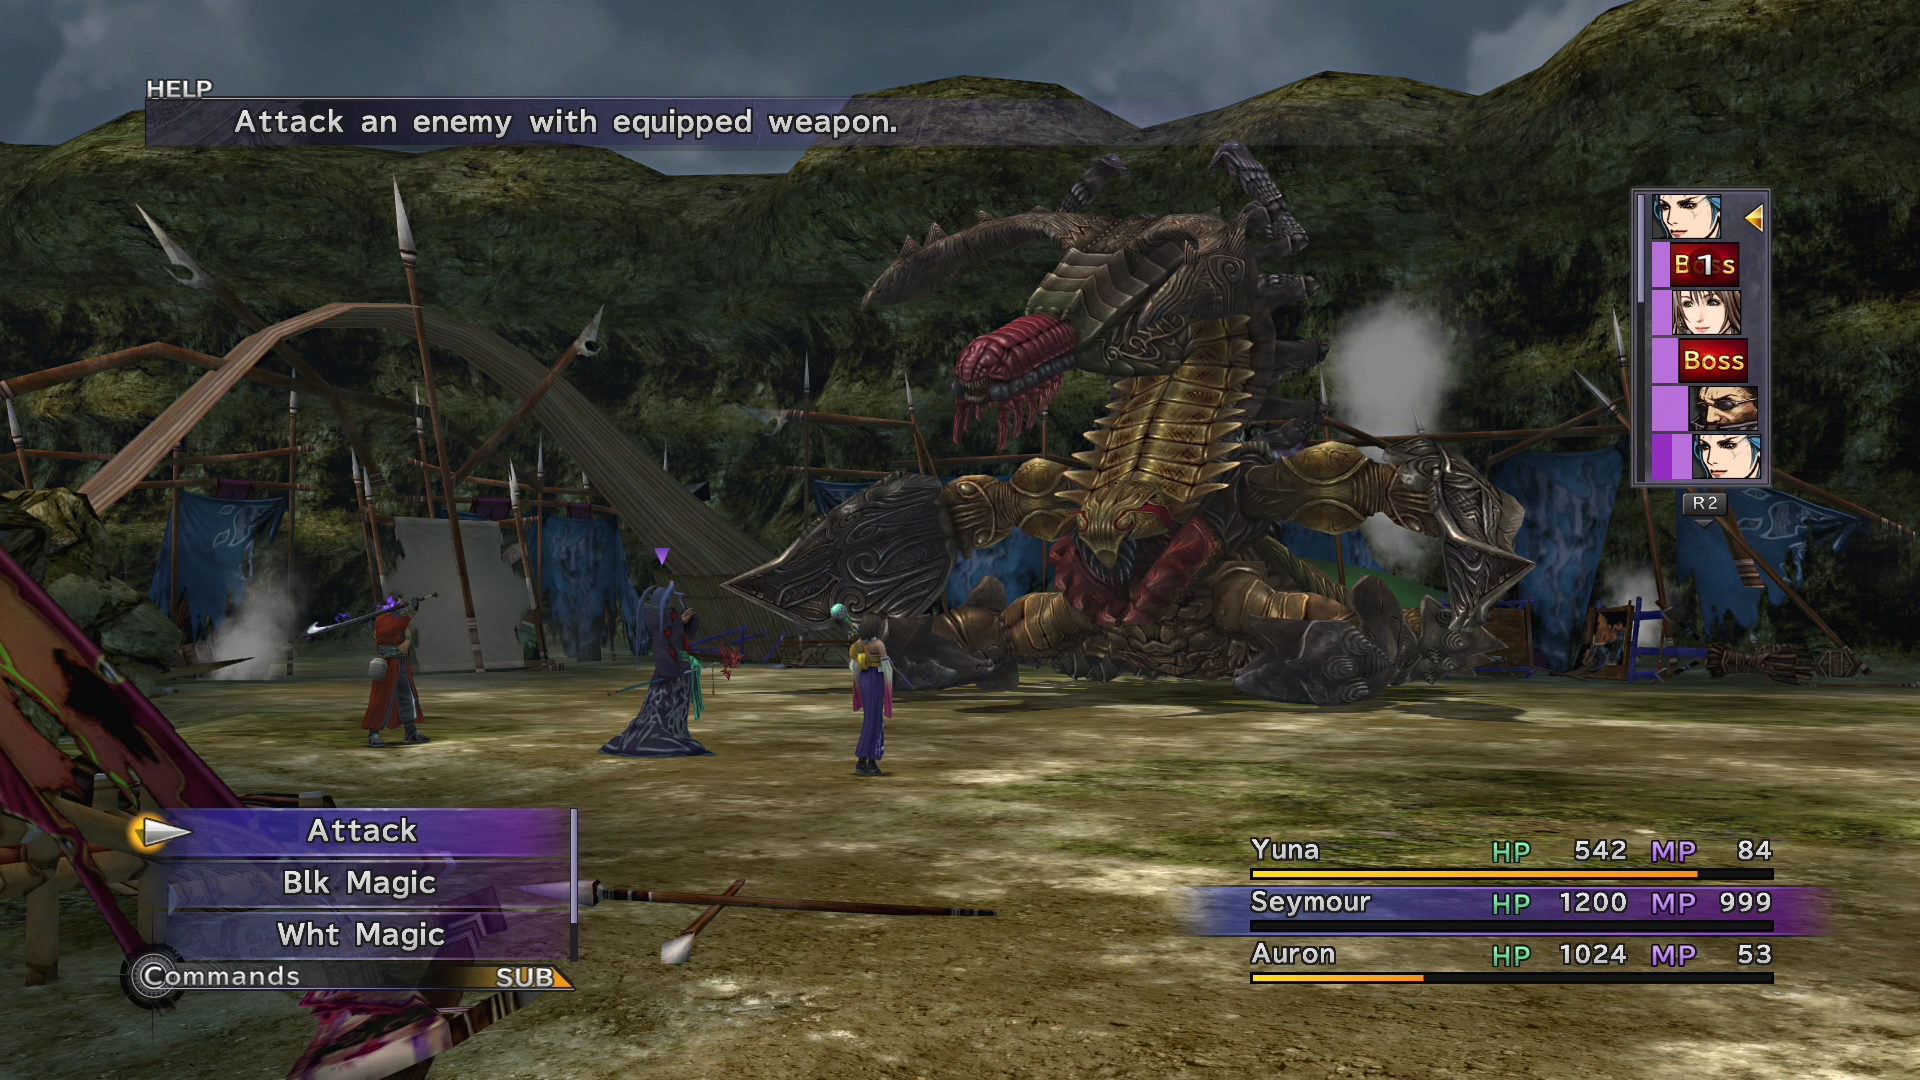
Boss Battle
In Game Description: Blocks physical attacks with its toughened arms. Remove them with piercing weapons, and then strike the body. Hit the head when it starts twitching or else it will belch Venom at you.
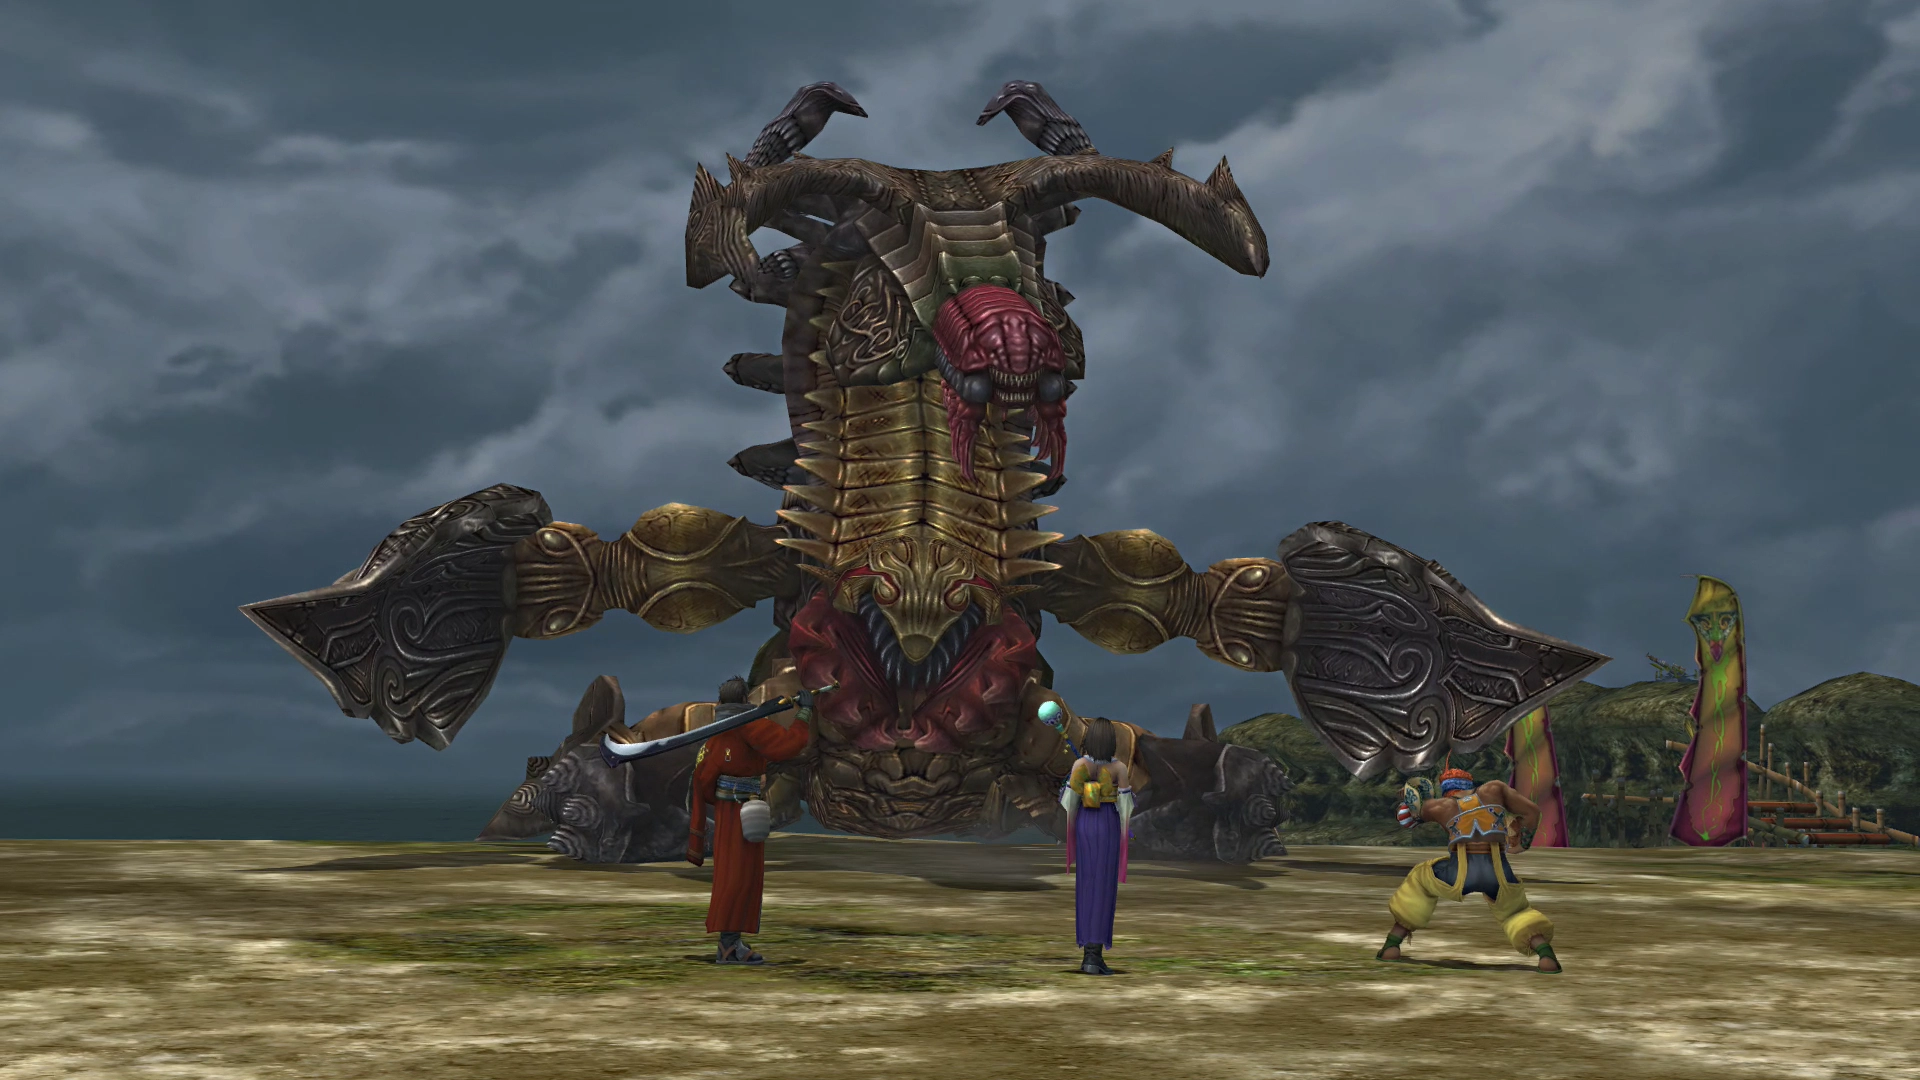
HP: 12,000
The strategy for this fight is pretty straightforward once you take into consideration each of Sinspawn Gui’s body parts and their behavior. There is the head, two arms, and the body (the body is the actual boss and is labeled Sinspawn Gui when you initiate an attack).
The Head: The head will attack with Thunder primarily. You will sometimes see a message on the screen indicating that ‘The head is moving suspiciously’. This means that the head is about to attack with Venom, a very powerful attack. Attacking the head while it is ‘moving suspiciously’ will prevent the head from casting Venom. You will need to use either Wakka or Lulu to reach the head, and it is recommended that you hit it with an attack every time you see the warning message on screen.

The Arms: Each of the arms will deflect attacks away from the body, Sinspawn Gui. You will want to destroy both arms before attacking the main body. The arms will eventually regenerate, but there is nothing that you can do to prevent this.
The Body (Sinspawn Gui): The body will alternate between two attacks, Punch and Demi. Both hit quite hard, so be prepared to heal your team as they take damage by swapping in Yuna.
The strategy for this fight is to make sure to use Tidus’ ![]() Haste ability on all party members and use Lulu’s
Haste ability on all party members and use Lulu’s ![]() Fire magic as often as you can, as Sinspawn Gui and its body parts are weak against fire-elemental magics.
Fire magic as often as you can, as Sinspawn Gui and its body parts are weak against fire-elemental magics.
![]() Focus and
Focus and ![]() Cheer are two other very helpful abilities for this battle that you should use early on in the fight. Cheer raises the party’s Strength and reduces the physical damage they take, while Focus does the same for Magic and magic damage. The boosts stack each time they are used, up to a cap of five, so five casts of each puts your party at the maximum benefit (further casts stop adding anything).
Cheer are two other very helpful abilities for this battle that you should use early on in the fight. Cheer raises the party’s Strength and reduces the physical damage they take, while Focus does the same for Magic and magic damage. The boosts stack each time they are used, up to a cap of five, so five casts of each puts your party at the maximum benefit (further casts stop adding anything).
Try to use all of your characters at least once so that they can gain the high AP awarded after the fight and level up their Sphere Grids.

Steal:
Drops:
- (None)
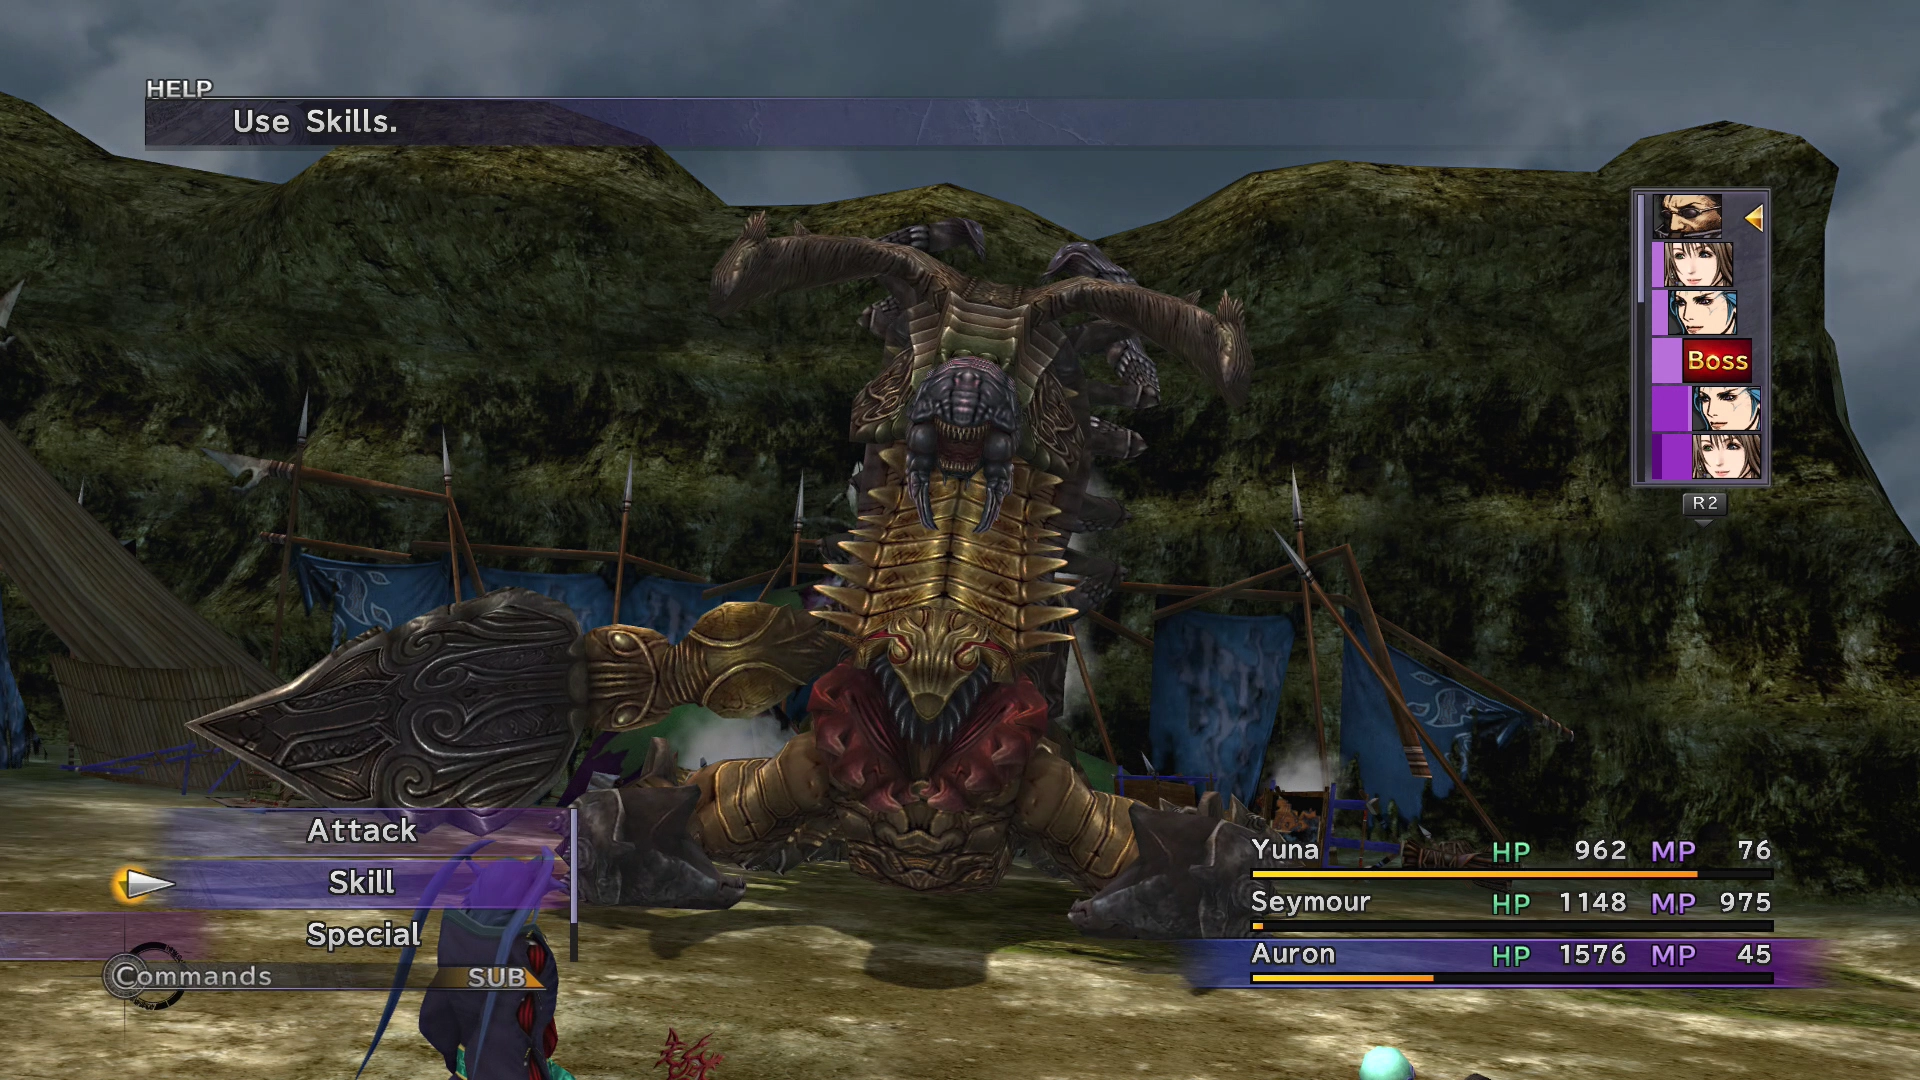
The next boss battle begins immediately following the previous one.
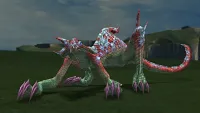
Boss Battle
HP: 6,000
This version of the fight is much simpler as Maester Seymour has several powerful attacks that you can use. In addition to this, Sinspawn Gui’s different body parts have much less HP for you to deal with.
One Fire magic from Seymour to the head of Sinspawn Gui will take care of it. Then hammer away at the body until you defeat it.
Steal:
Drops:
 Lv. 1 Key Sphere (x3)
Mushroom Rock - Aftermath
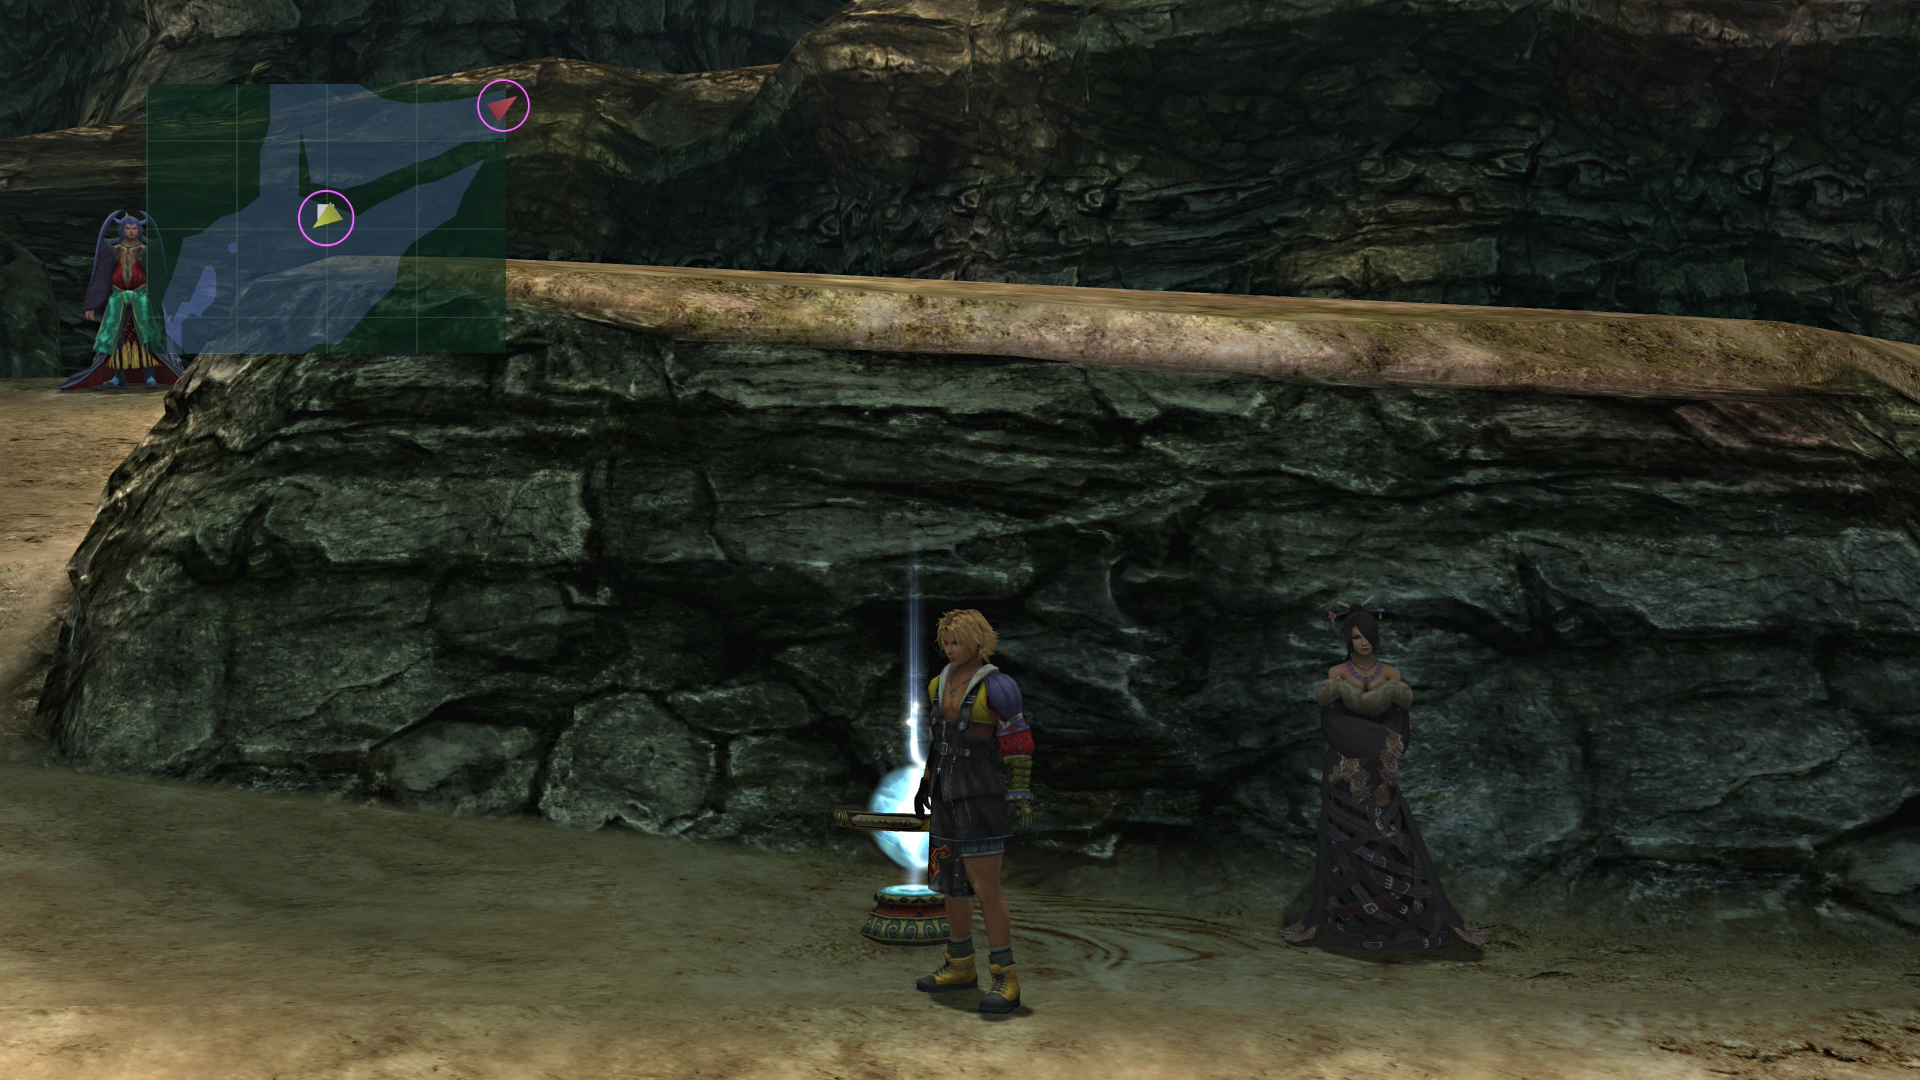
You will be back in control of Tidus when the game resumes on the beach of Mushroom Rock. Travel to the back of the beach near the cliffs to find either Gatta or Luzzo (whichever went to the front lines) and resume the story.

Use the ![]() Save Sphere and move to the left to continue the story along. Make sure to grab the treasure chest off to the left amid a few remaining cutscenes. The chest contains a
Save Sphere and move to the left to continue the story along. Make sure to grab the treasure chest off to the left amid a few remaining cutscenes. The chest contains a ![]() Hi-Potion.
Hi-Potion.
Walking past Auron will initiate another cutscene. Auron will make sure that Tidus understands that his father, Jecht, is Sin. He will explain that Sin/Jecht wants Tidus to kill him.
Follow the pathway north around the corner to meet up with your team members again. You can speak with Shelinda if you want, and she will heal your party.
O’aka XXIII is off on the right-hand side of the screen if you would like to buy any weapons. Make sure you buy some ![]() Softs from him before you continue into the next area (at least 10).
Softs from him before you continue into the next area (at least 10).
Warning
The enemies in the next area can petrify your party members, which, if done at inopportune times, could end up disabling your team or even KO’ing your entire party.
Do not leave this area without a few ![]() Softs in your possession!
Softs in your possession!
The next part of the game takes you through to the Djose Highroad and the Djose Temple.