
Djose Highroad and Temple
Djose Highroad
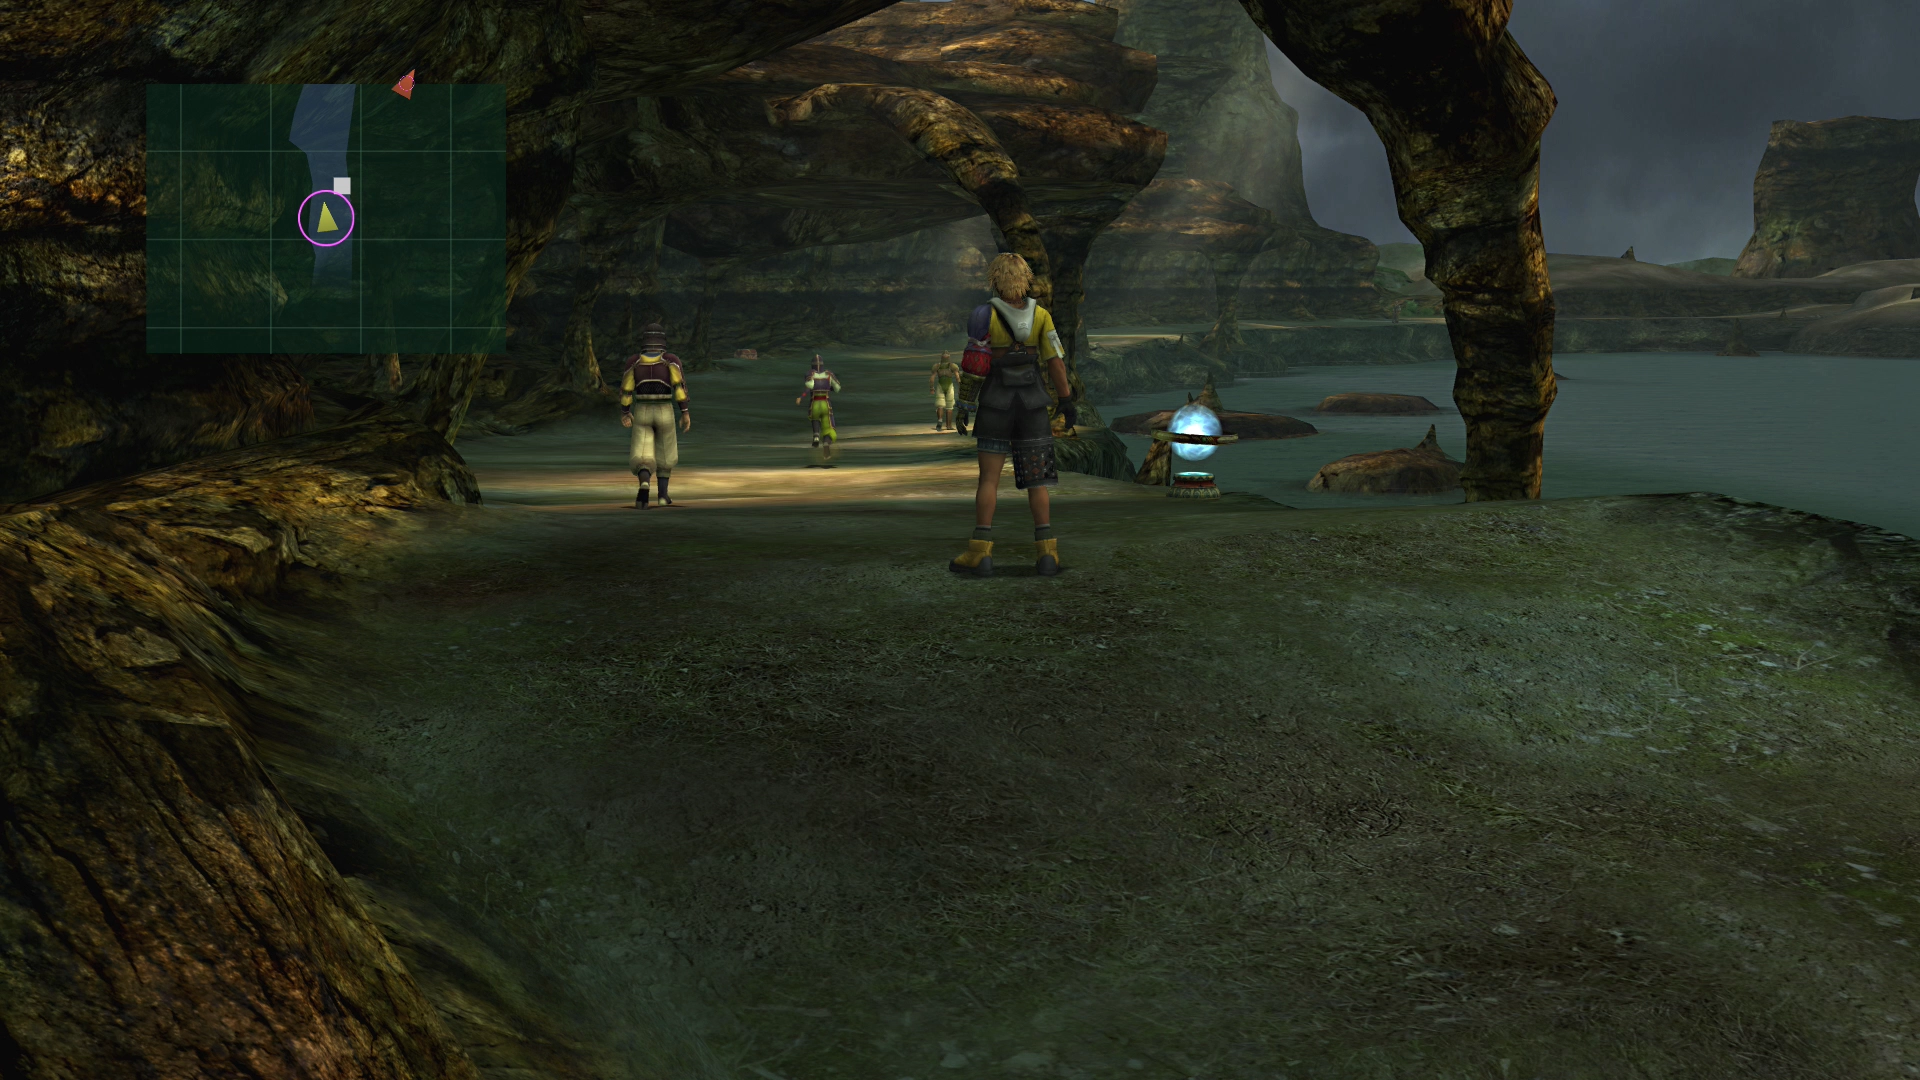
Save your game at the ![]() Save Sphere again before you continue down the Highroad.
Save Sphere again before you continue down the Highroad.


Djose Highroad Map

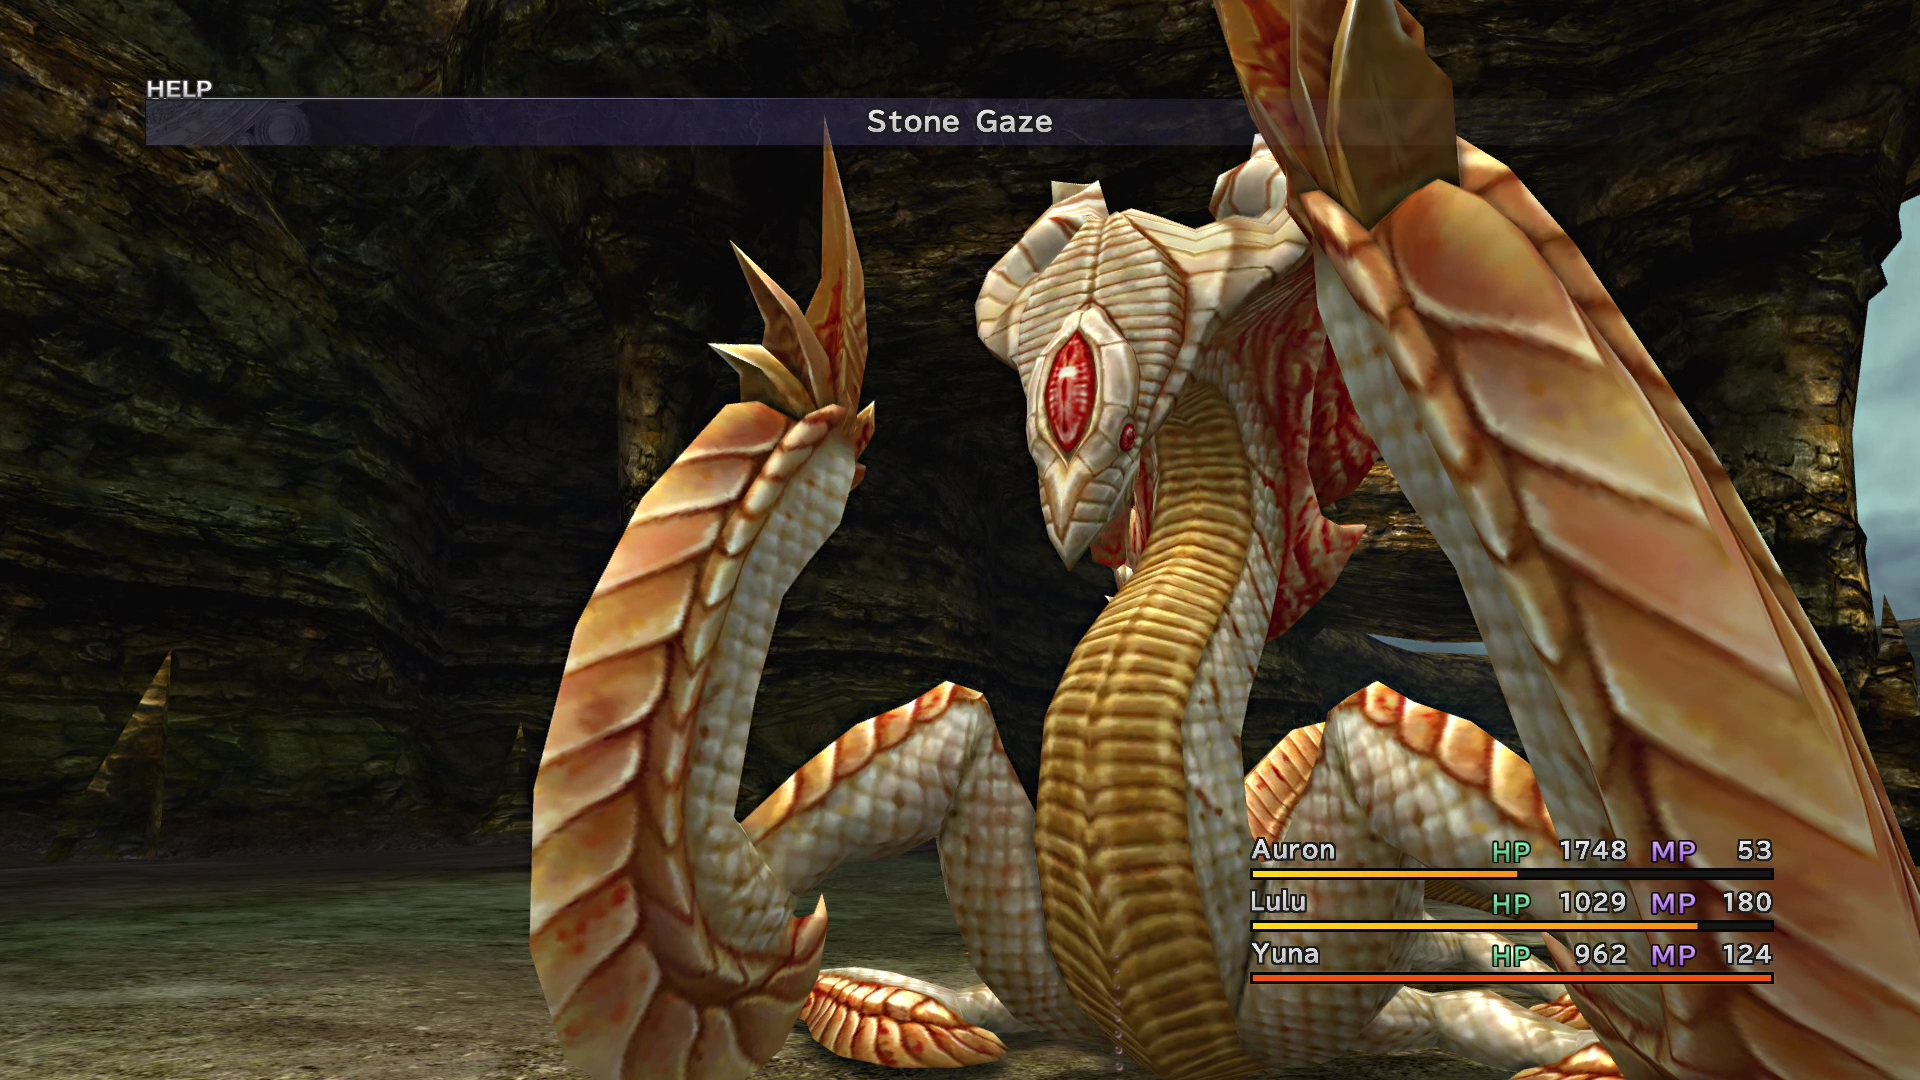
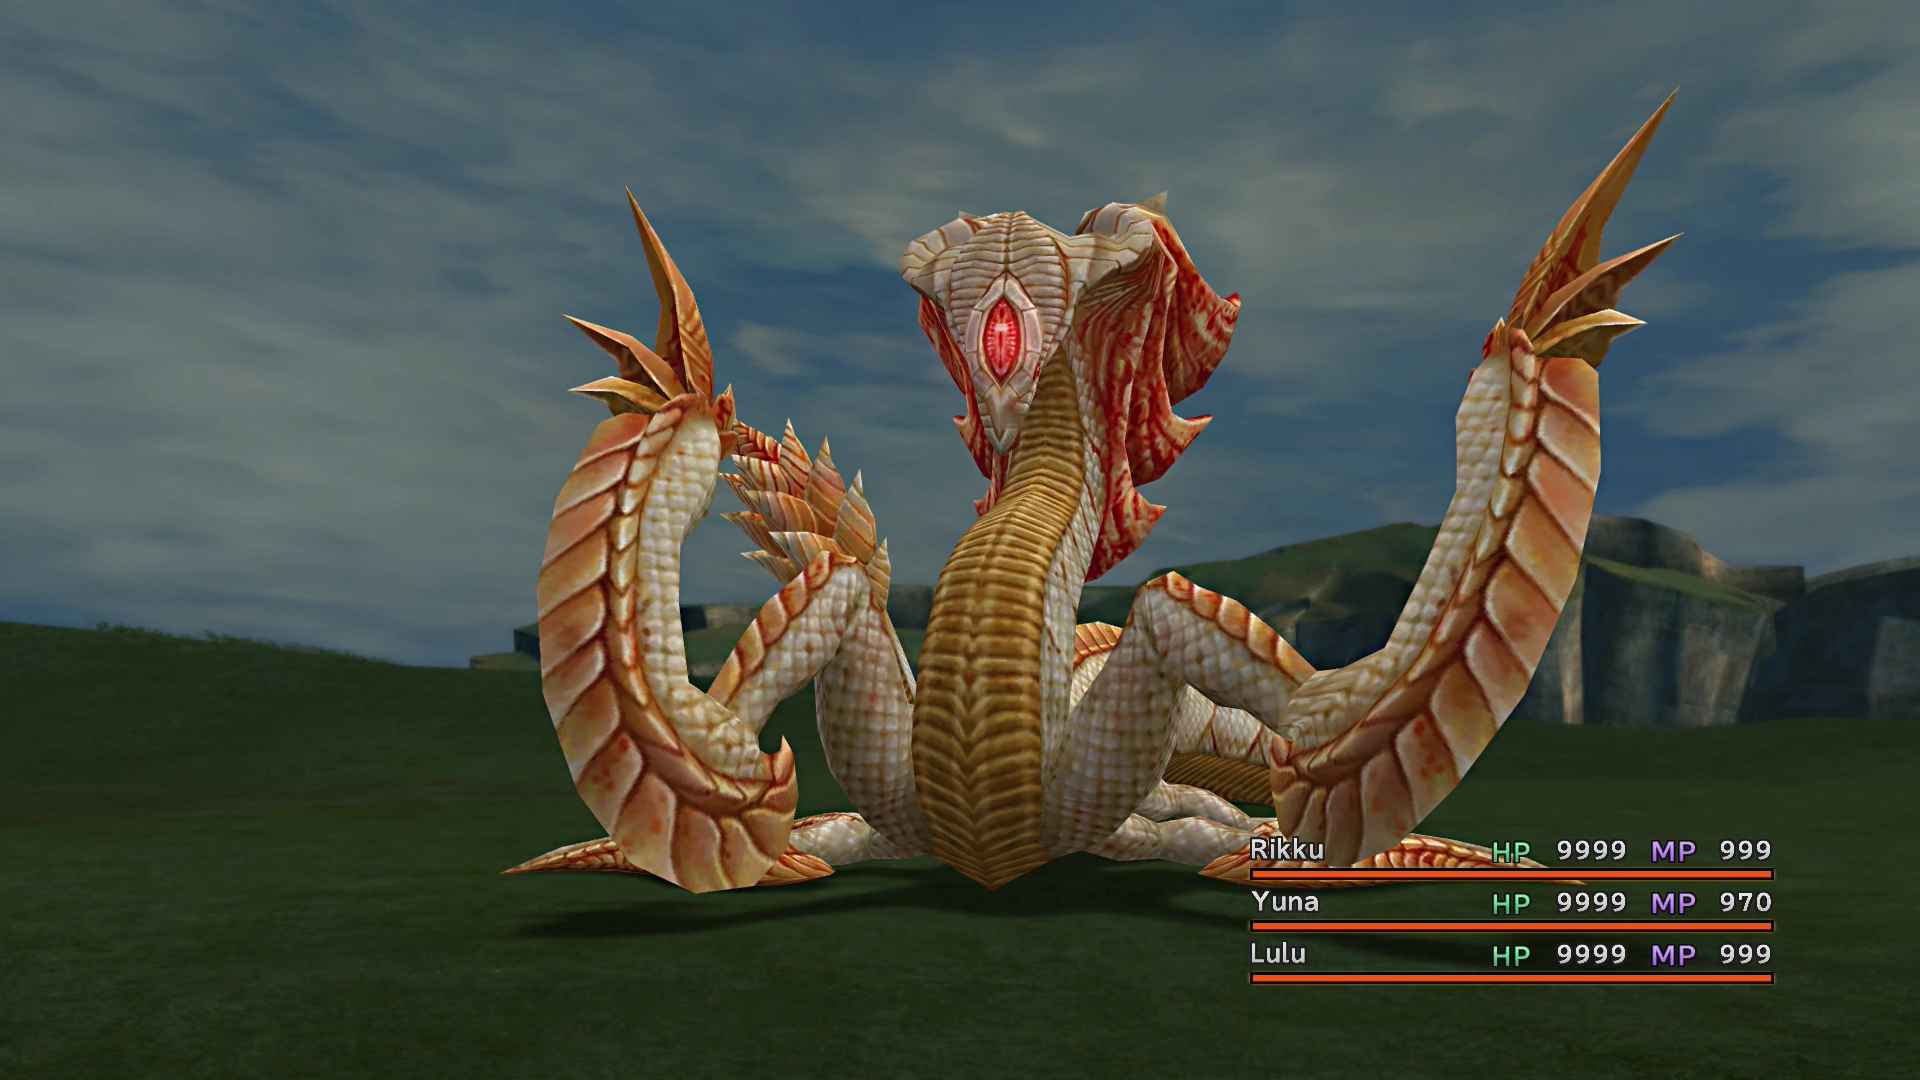
You will encounter fiends down this road called Basilisks (shown below). They will cast Stone Gaze on party members, which will petrify them. If all of your party members have the Petrify status, it’s game over.
Though that outcome is fairly unlikely, petrified party members will also not gain any EXP or AP, which means using ![]() Soft on them to remove the Petrify status is a must.
Soft on them to remove the Petrify status is a must.
Alternatively, you can make use of Yuna’s ![]() Esuna spell to rid your party members of the status.
Esuna spell to rid your party members of the status.
Helpful Hint
You can learn the “Stone Gaze” Ronso Rage ability by having him use ![]() Lancet on a Basilisk enemy in this area. Check out the Overdrive section for more information on Kimahri’s Ronso Rage.
Lancet on a Basilisk enemy in this area. Check out the Overdrive section for more information on Kimahri’s Ronso Rage.
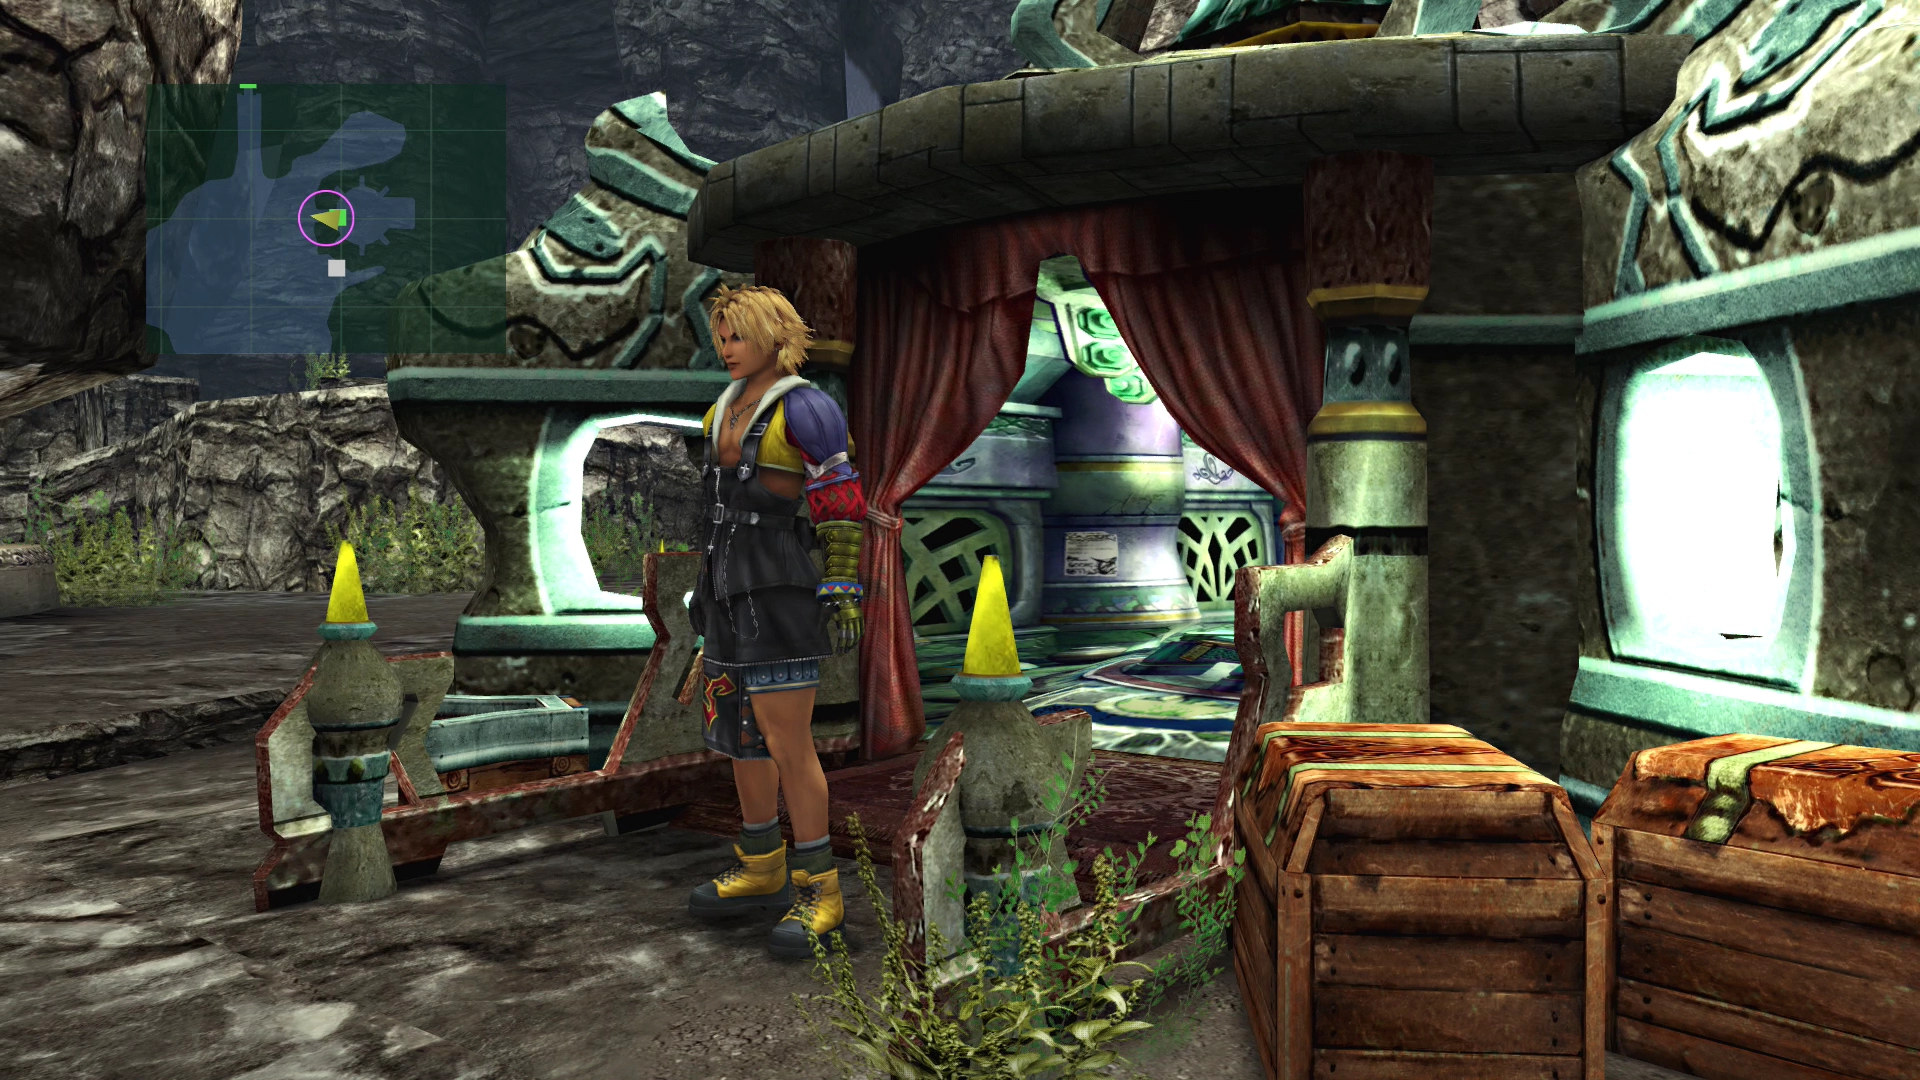
Continue down the road until you reach a chest that contains two ![]() Phoenix Downs. Just past the chest is an
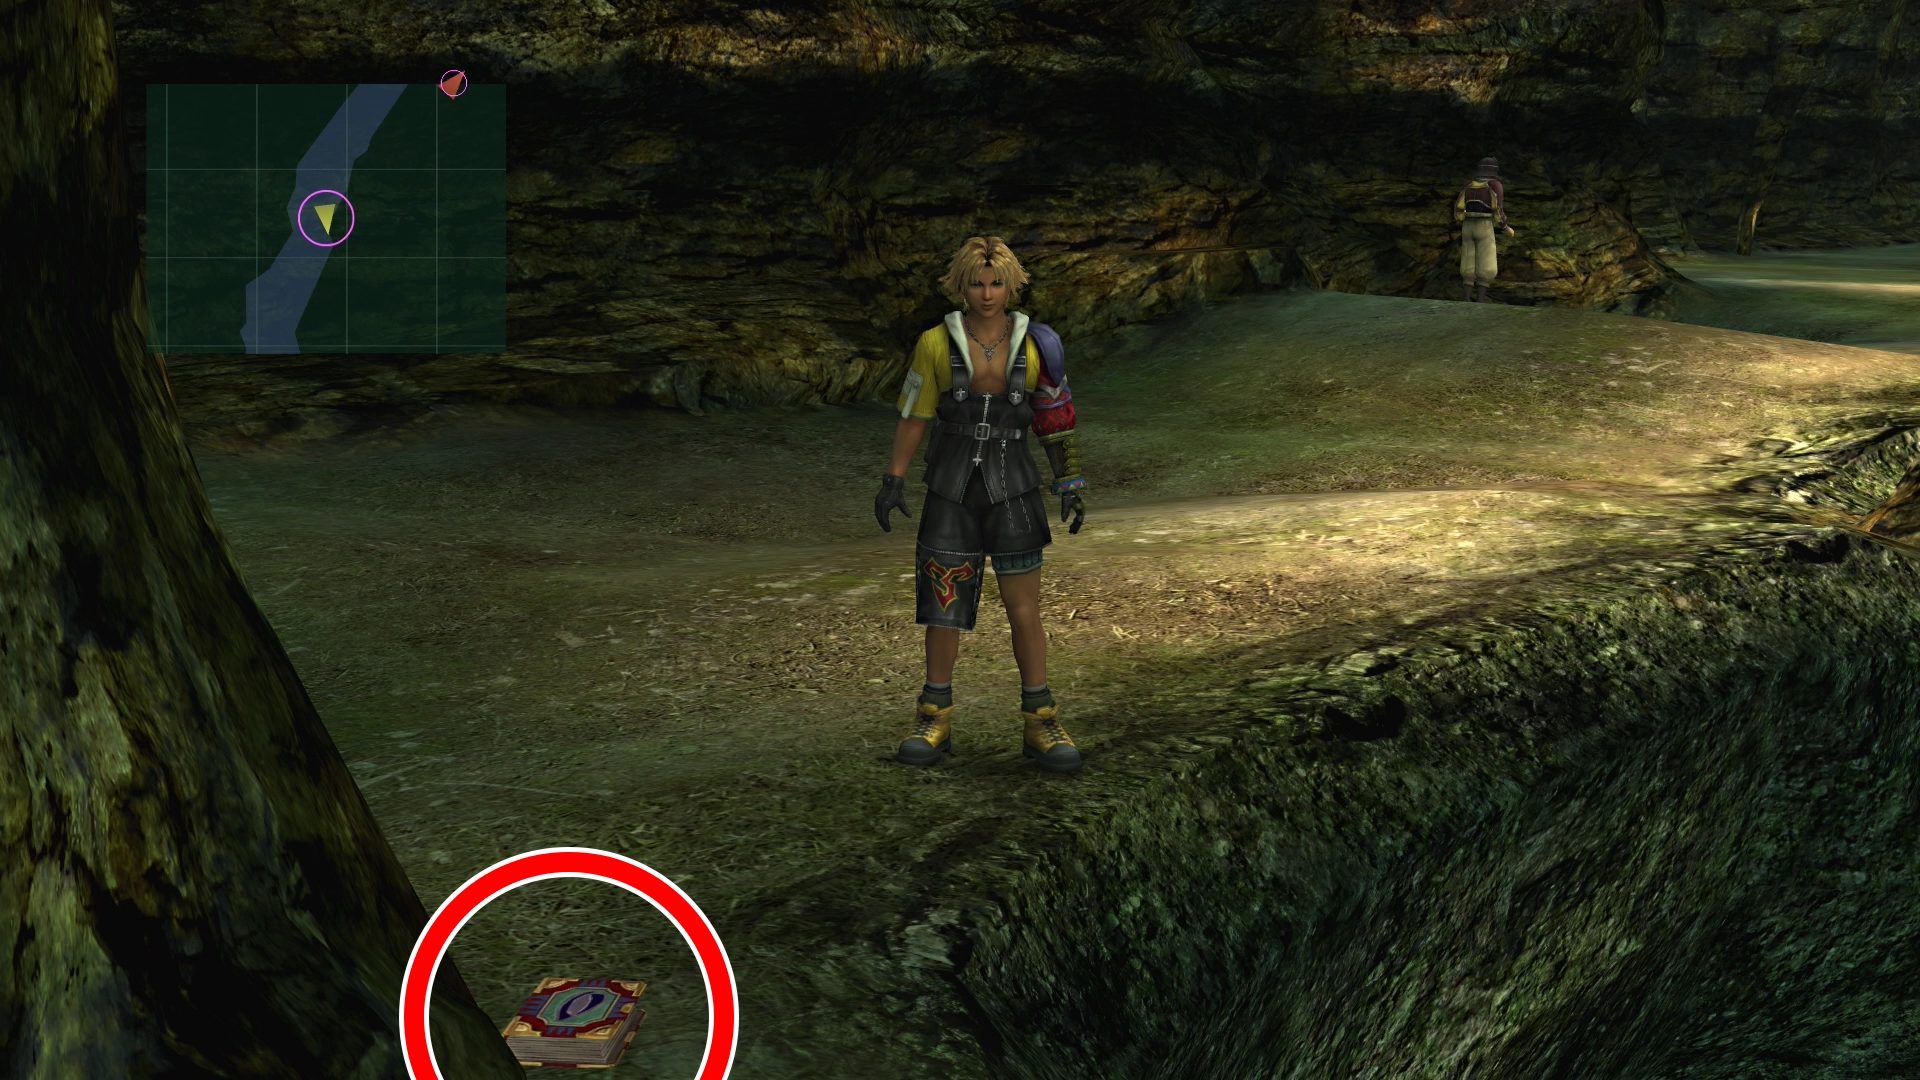
Phoenix Downs. Just past the chest is an ![]() Al Bhed Primer (Vol. XI) lying just behind a pillar. Use the screenshot below to help you locate it.
Al Bhed Primer (Vol. XI) lying just behind a pillar. Use the screenshot below to help you locate it.
Talk to all the people that you pass for some items, including a ![]() Soft Ring (very useful in this area),
Soft Ring (very useful in this area), ![]() Ether,
Ether, ![]() Hi-Potion,
Hi-Potion, ![]() Mega-Potion,
Mega-Potion, ![]() Variable Steel, and a
Variable Steel, and a ![]() Bright Bangle (the treasure chest for this item is hidden off to the side).
Bright Bangle (the treasure chest for this item is hidden off to the side).
There are a few more cutscenes and storytelling when you reach the fork in the road.
Djose - Pilgrimage Road
There is nothing to gather on the Pilgrimage Road, so continue to the Temple of Djose. Talk to Lucil and the Crusaders as you pass.
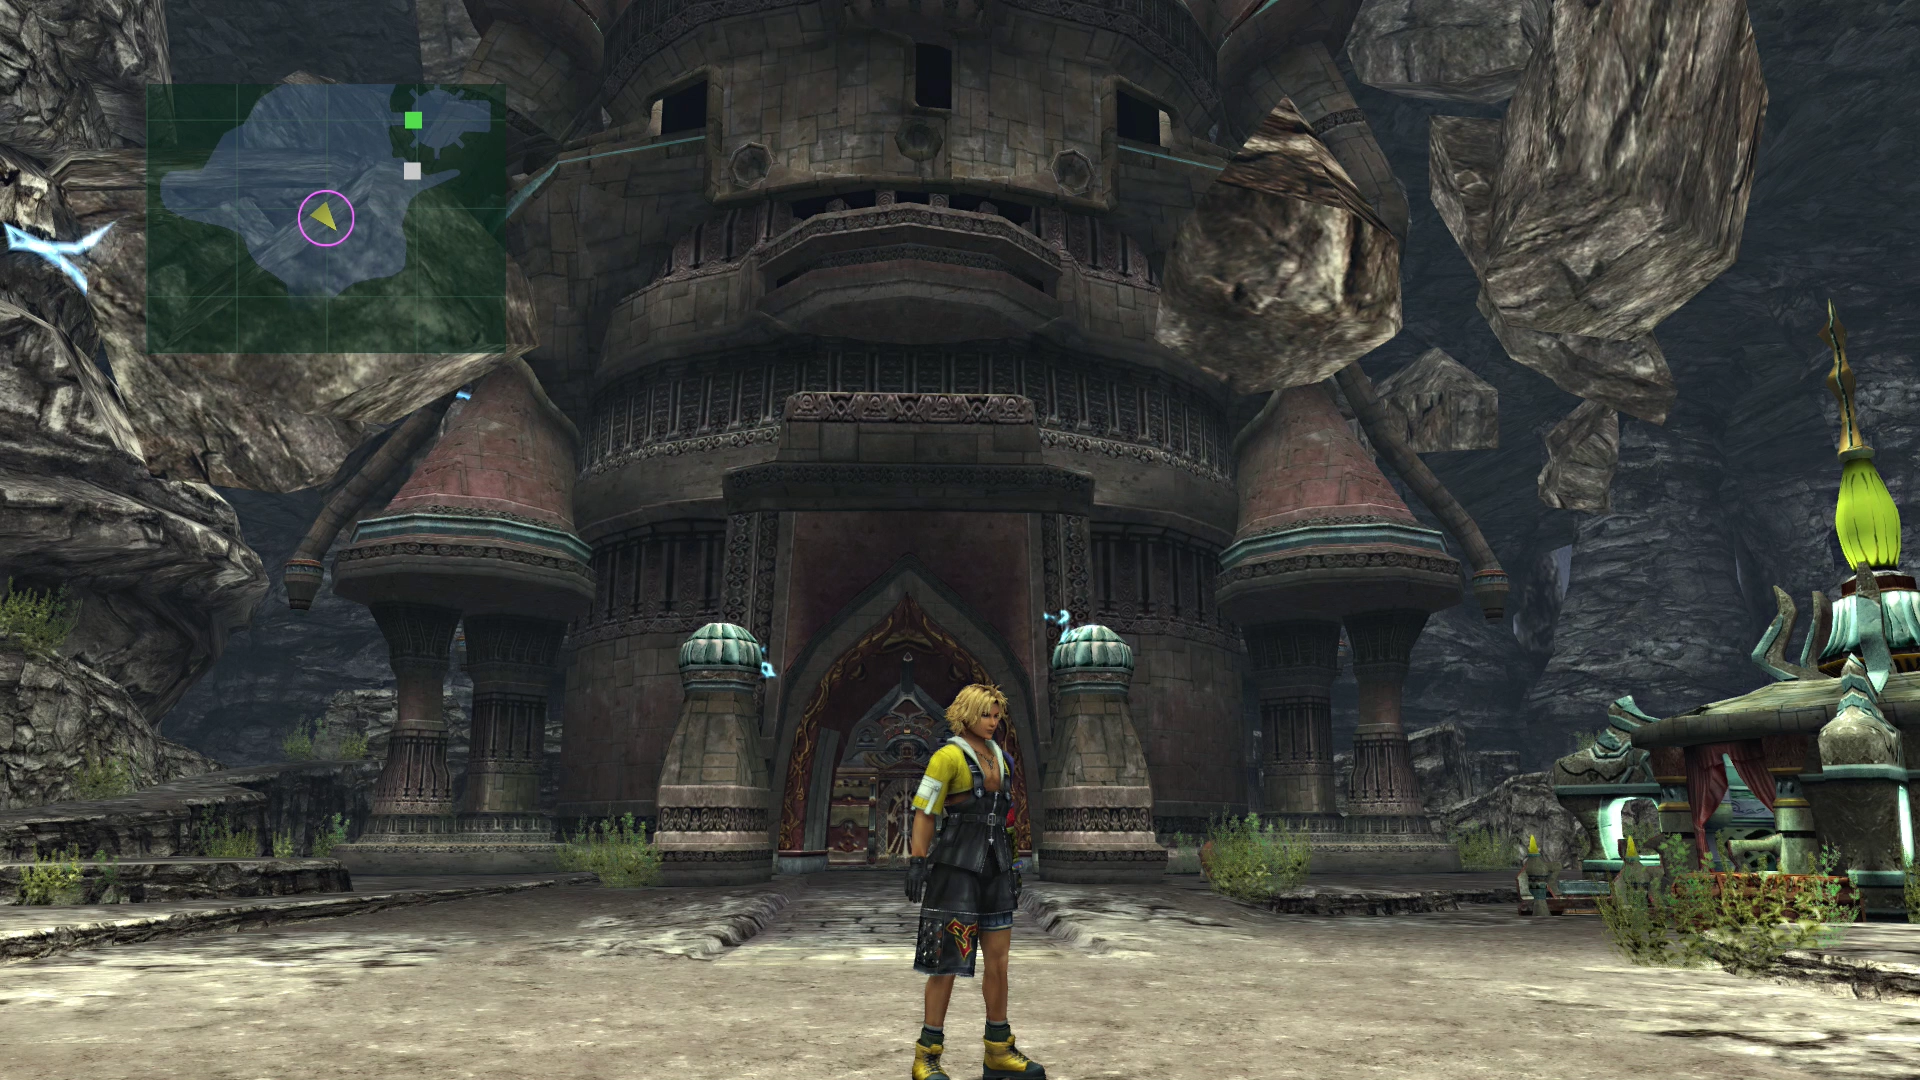
Djose Temple
Use the ![]() Save Sphere and save your game before you enter the Djose Temple.
Save Sphere and save your game before you enter the Djose Temple.
Djose Temple Map

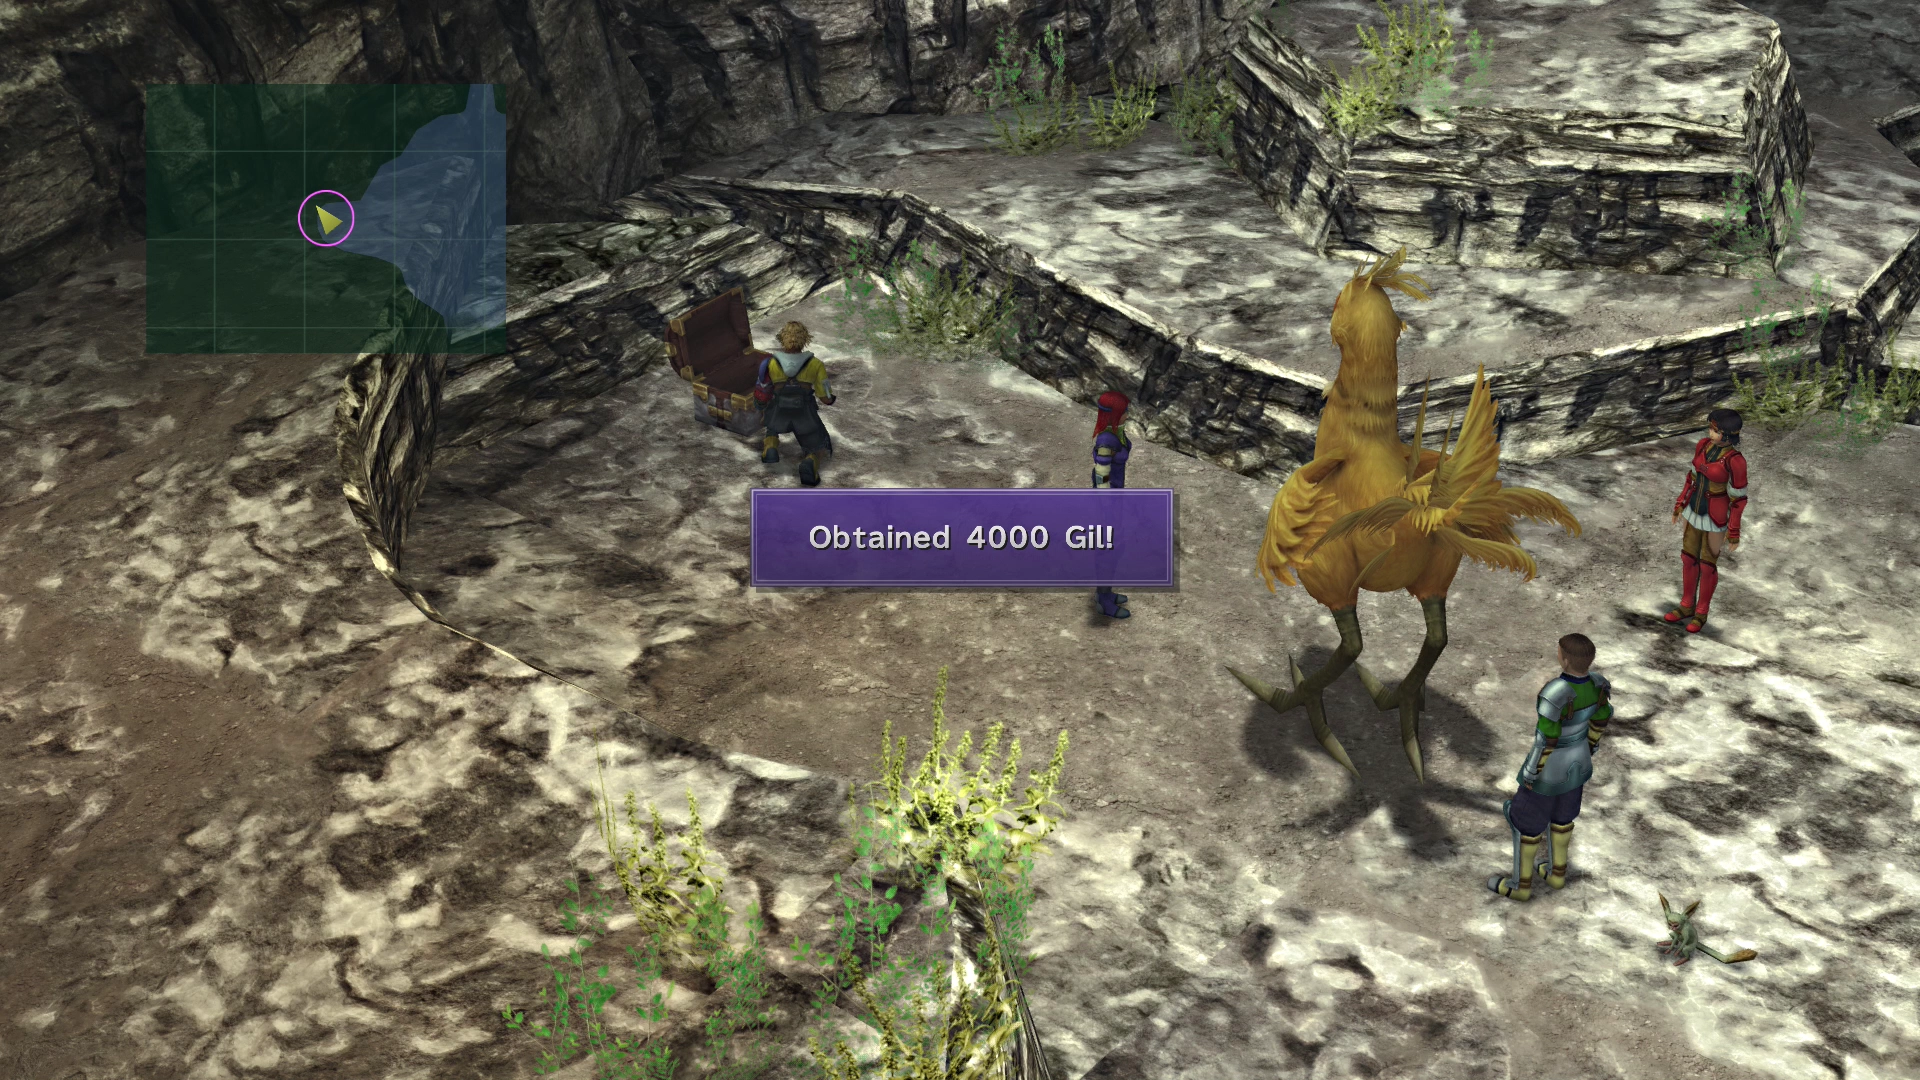
| 4,000 Gil |
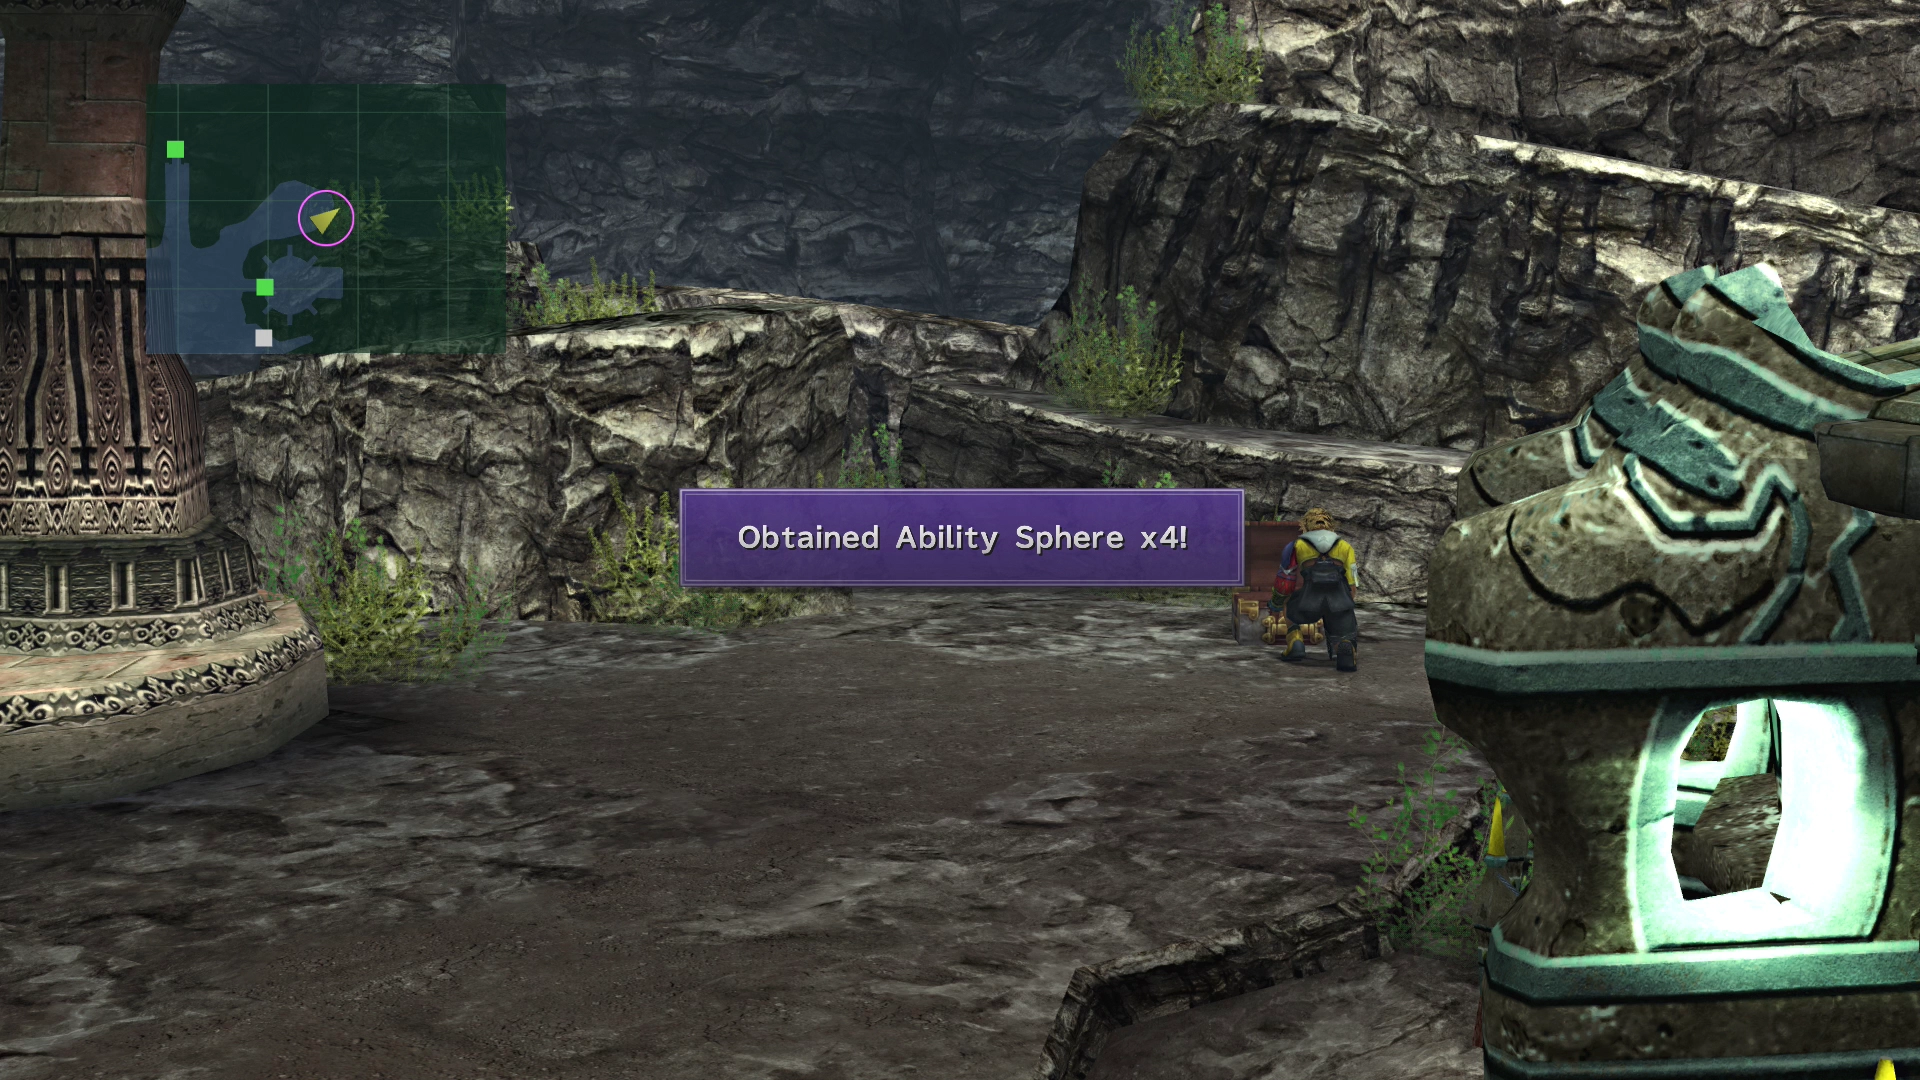
You will also want to venture to the northeast side of the Temple beside the shop to find a treasure chest. There are four ![]() Ability Spheres inside.
Ability Spheres inside.
To the far left of the Temple, past Lucil and the Crusaders with the Chocobo, is another treasure chest which contains 4,000 Gil. Enter the Temple when you’re done.
Make your way to the left and the right of the stairway after the meeting with Isaaru. The room to the left contains a treasure chest with a ![]() Remedy inside. The room on the right side contains a treasure chest with a
Remedy inside. The room on the right side contains a treasure chest with a ![]() Mega Phoenix in it.
Mega Phoenix in it.
It’s time to head into the Djose Cloister of Trials once you’ve picked up both chests.
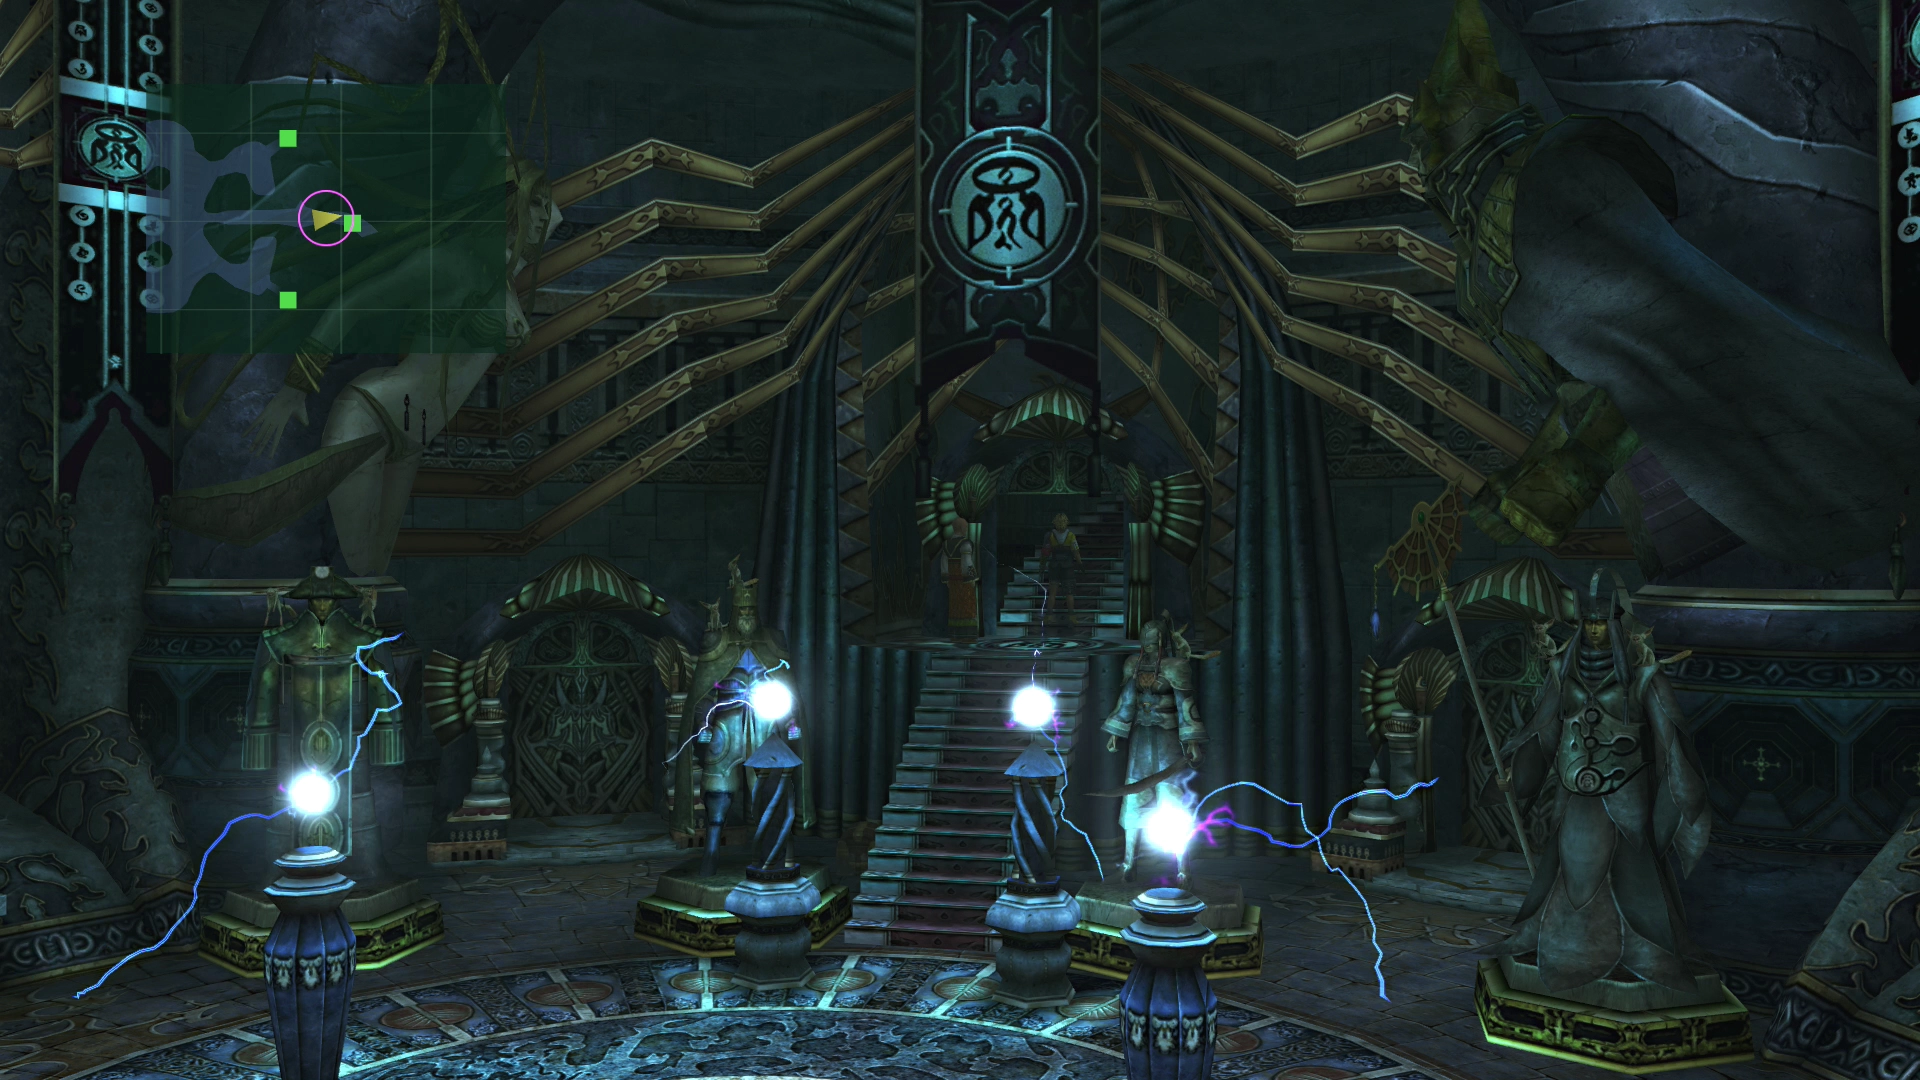
Cloister Walkthrough
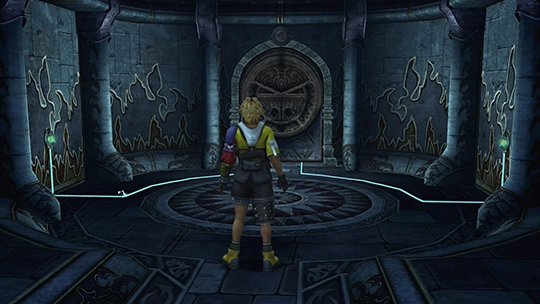
Completing the Cloister of Trials in the Djose Temple. The reward for completing the Destruction Sphere portion of this Cloister is a Magic Sphere.
After completing the trials, you will run into Dona and Barthello again. Try to leave the temple chamber to continue the story again. You will now have Ixion as another Aeon that Yuna can summon.
Go back inside the Temple when Tidus awakens and enter the room to the left of the Cloister of Trials to find Yuna sleeping. Save your game at the ![]() Save Sphere and then re-enter the store/inn to grab the treasure chest at the back of the room. It contains a
Save Sphere and then re-enter the store/inn to grab the treasure chest at the back of the room. It contains a ![]() Switch Hitter.
Switch Hitter.
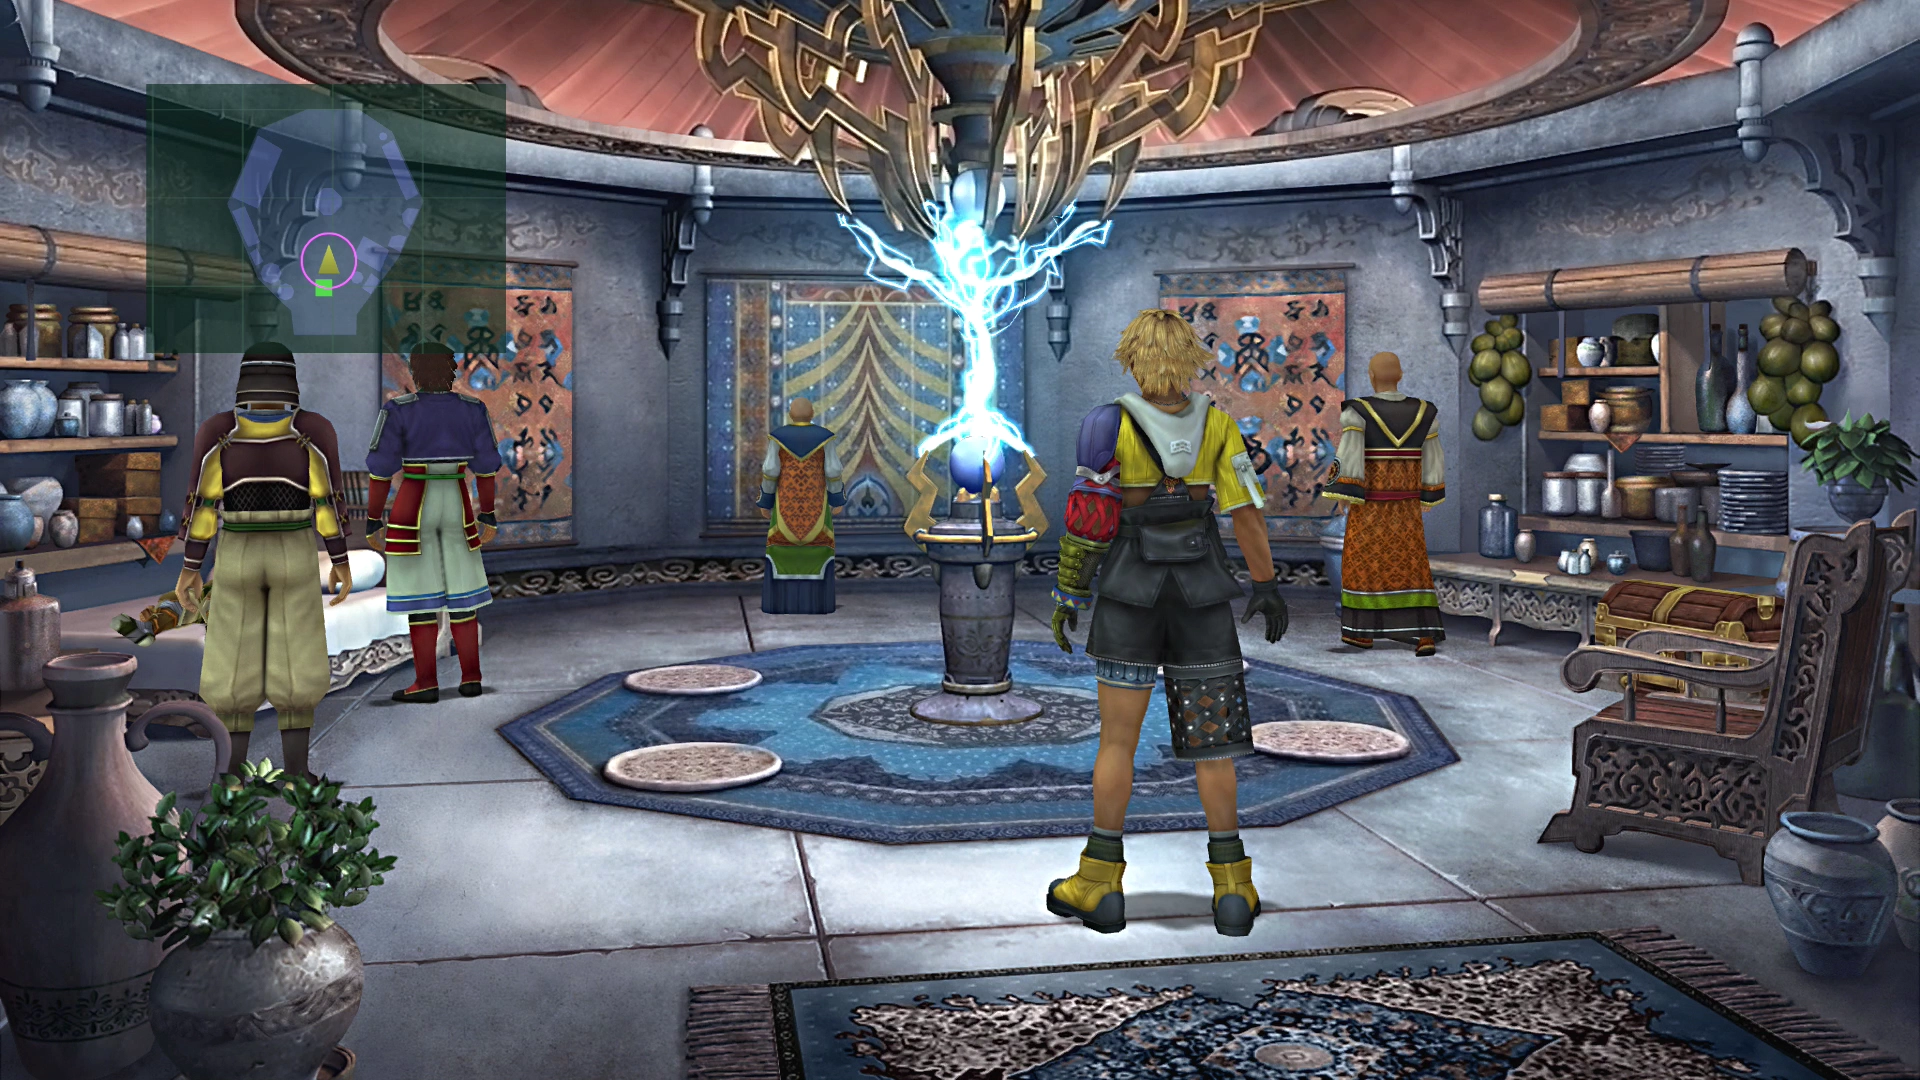
The shop has some useful items that you may want to consider purchasing, including the ![]() Rune Mog for Lulu, the
Rune Mog for Lulu, the ![]() Shimmering Blade for Auron, and the
Shimmering Blade for Auron, and the ![]() Hyper Ball for Wakka. All the armor for sale has the “Defense +5%” ability. You may have armor that is stronger than what the shop owner is selling, but if not, you can take this opportunity to buy some upgrades.
Hyper Ball for Wakka. All the armor for sale has the “Defense +5%” ability. You may have armor that is stronger than what the shop owner is selling, but if not, you can take this opportunity to buy some upgrades.
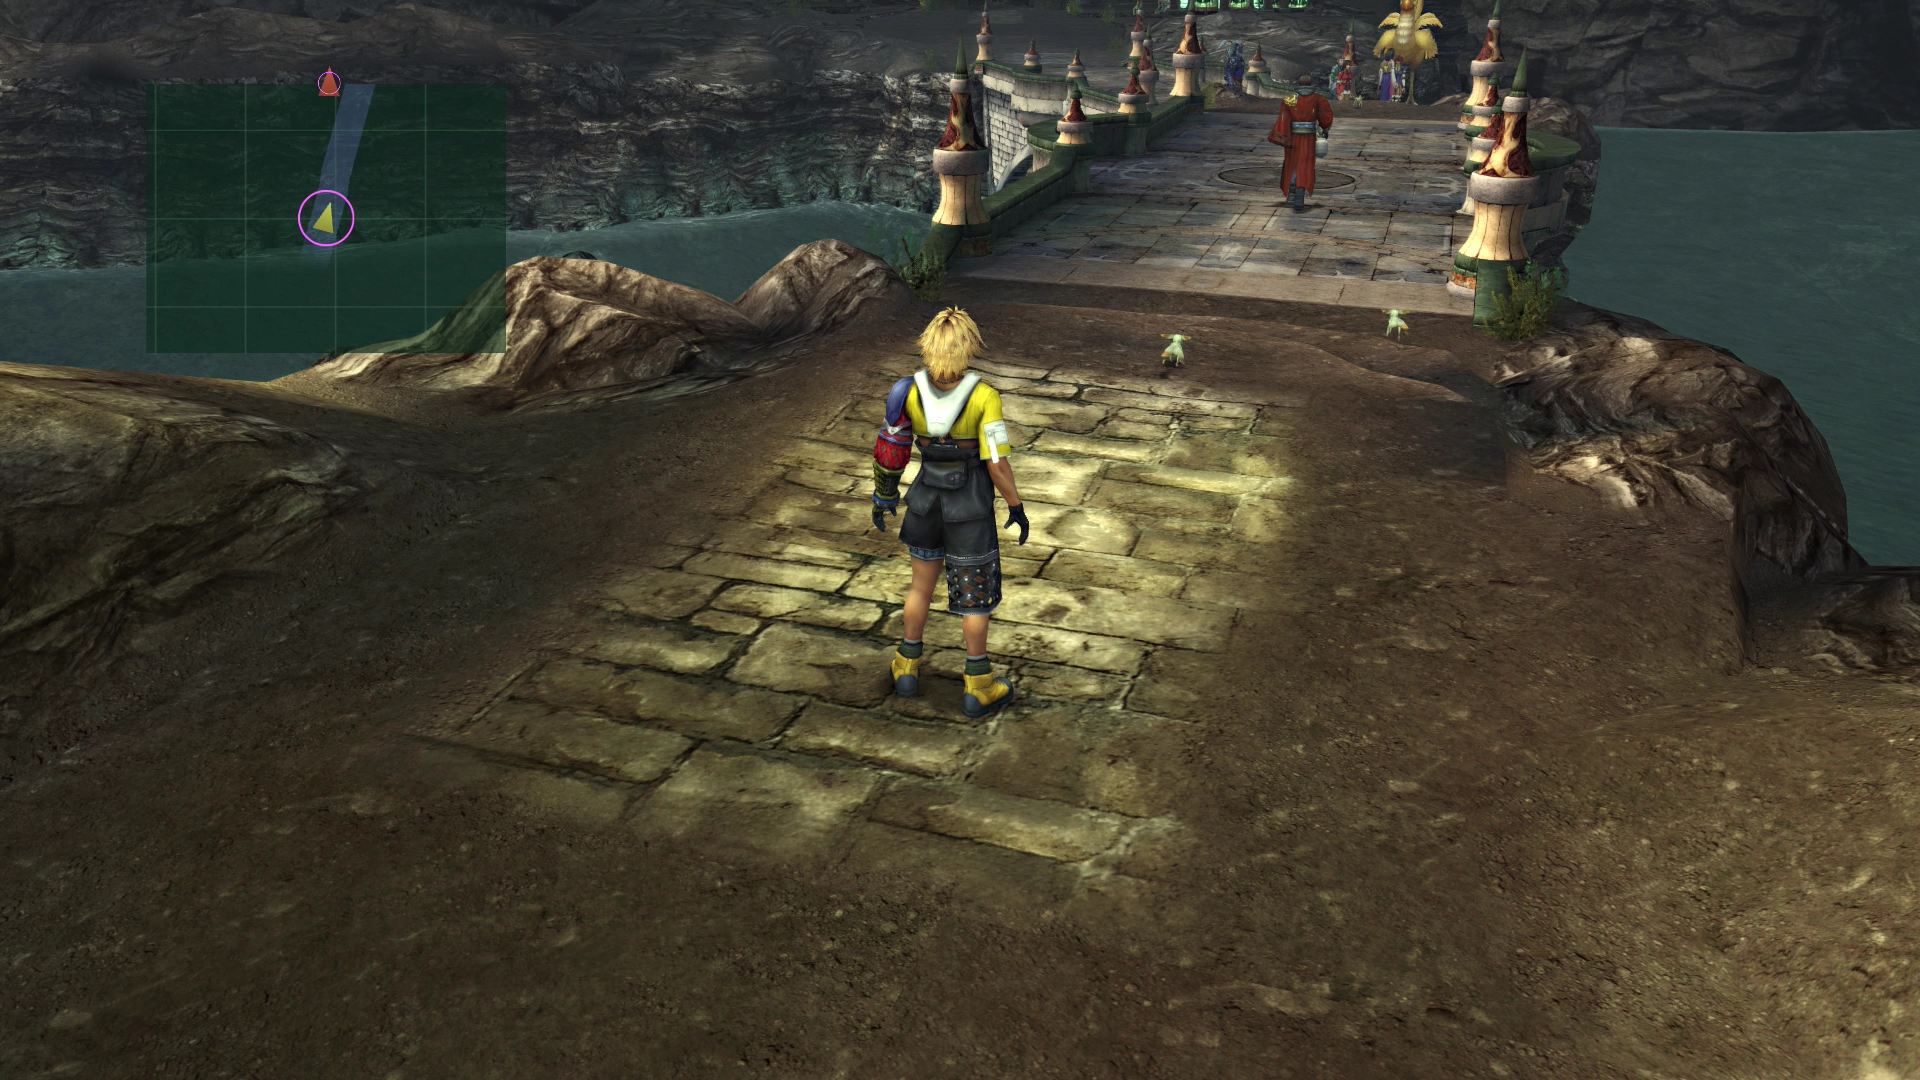
Head back towards the Y-intersection, back across the bridge, and towards Mushroom Rock.
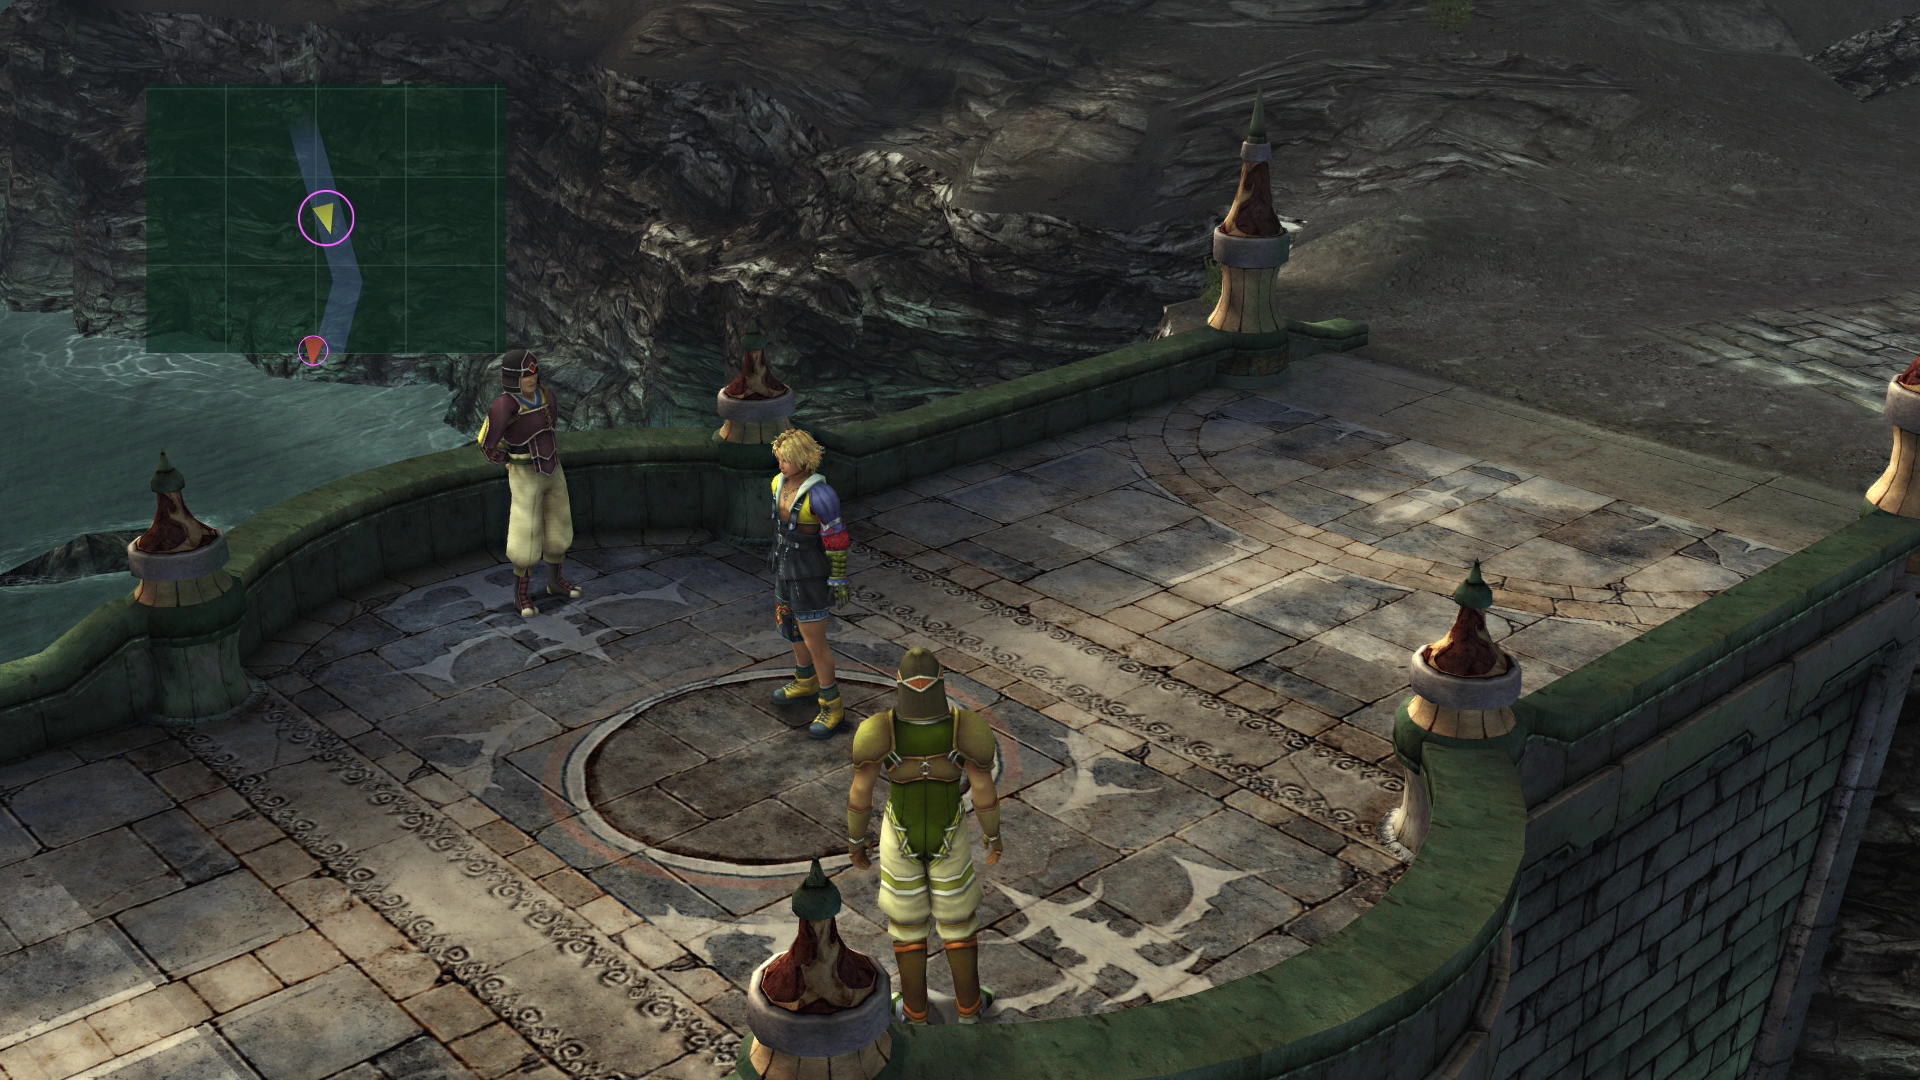
Djose - Pilgrimage Road
This time, when you cross the Djose Pilgrimage Road, quite a number of the people you speak with will have items for you.
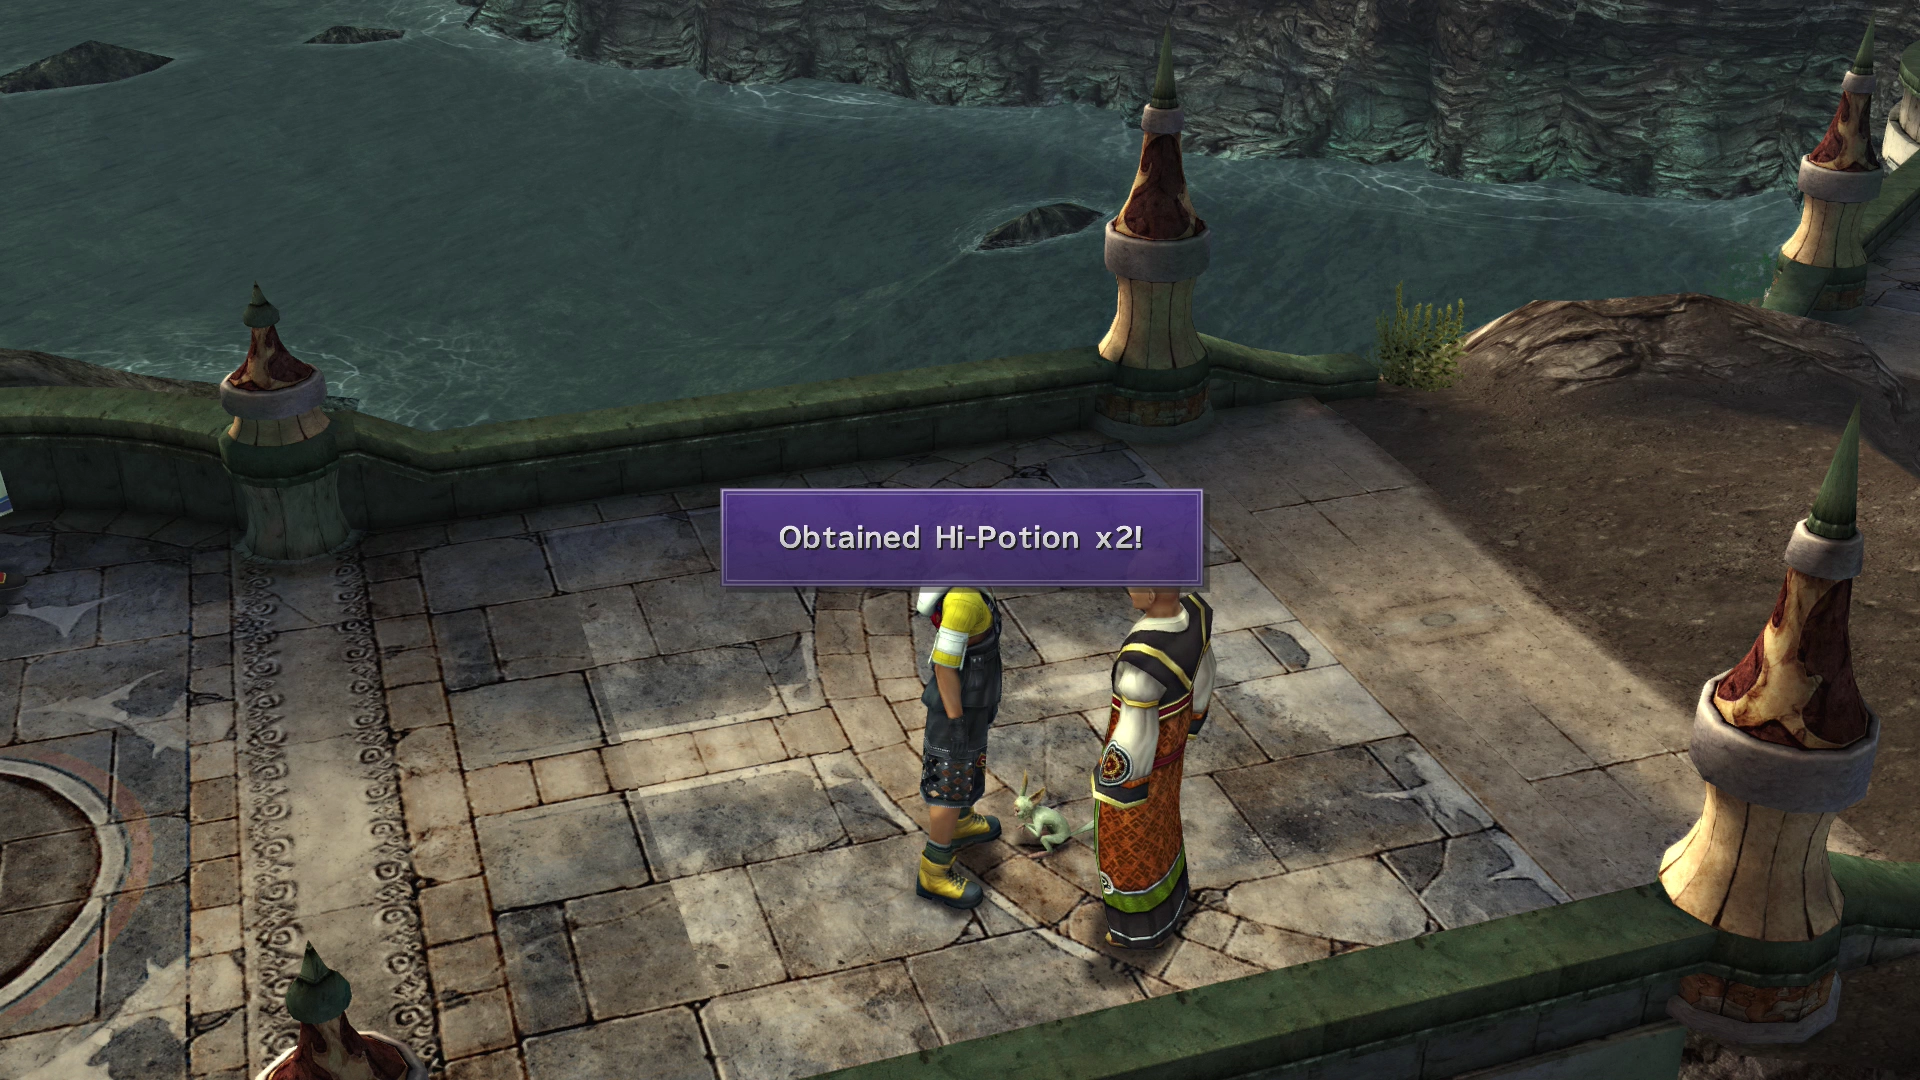
The first man on the far end of the bridge will give you a ![]() Halberd. Further on down, you will receive ten
Halberd. Further on down, you will receive ten ![]() Potions, and the monk walking back and forth will give you two
Potions, and the monk walking back and forth will give you two ![]() Hi-Potions.
Hi-Potions.
Pilgrimage Road Map


The next section of the game takes place on the Moonflow.