
Selecting Job Combinations
Many people report spending hours strategizing about different job combinations and deciding which jobs to select. While there are some very powerful job combinations, it is important to keep in mind that each job, on their own, was designed to be self-sufficient and strong enough to play through the entire game.
The International Zodiac Job System version, which was only released in Japan, only allowed you to select one job per character. The fact that you can now choose two jobs and two License Boards means that your characters will be that much stronger and have access to more abilities, Magick, etc., so don’t spend too much time agonizing over which jobs to select. You can complete this game with almost any job combination.
Each character has slightly different stats, but the differences are minor and most can be raised to their caps with equipment and the License Board, so they rarely dictate which jobs to assign. Decide which characters you want in your party first, then build their jobs around the roles you need.
Tips and Tricks
Not sure who to bring? Check out the Best Party guide for character rankings and recommended party setups before you commit to jobs.
Key Abilities
There are some key abilities that you should make sure your party has, no matter which jobs you select:
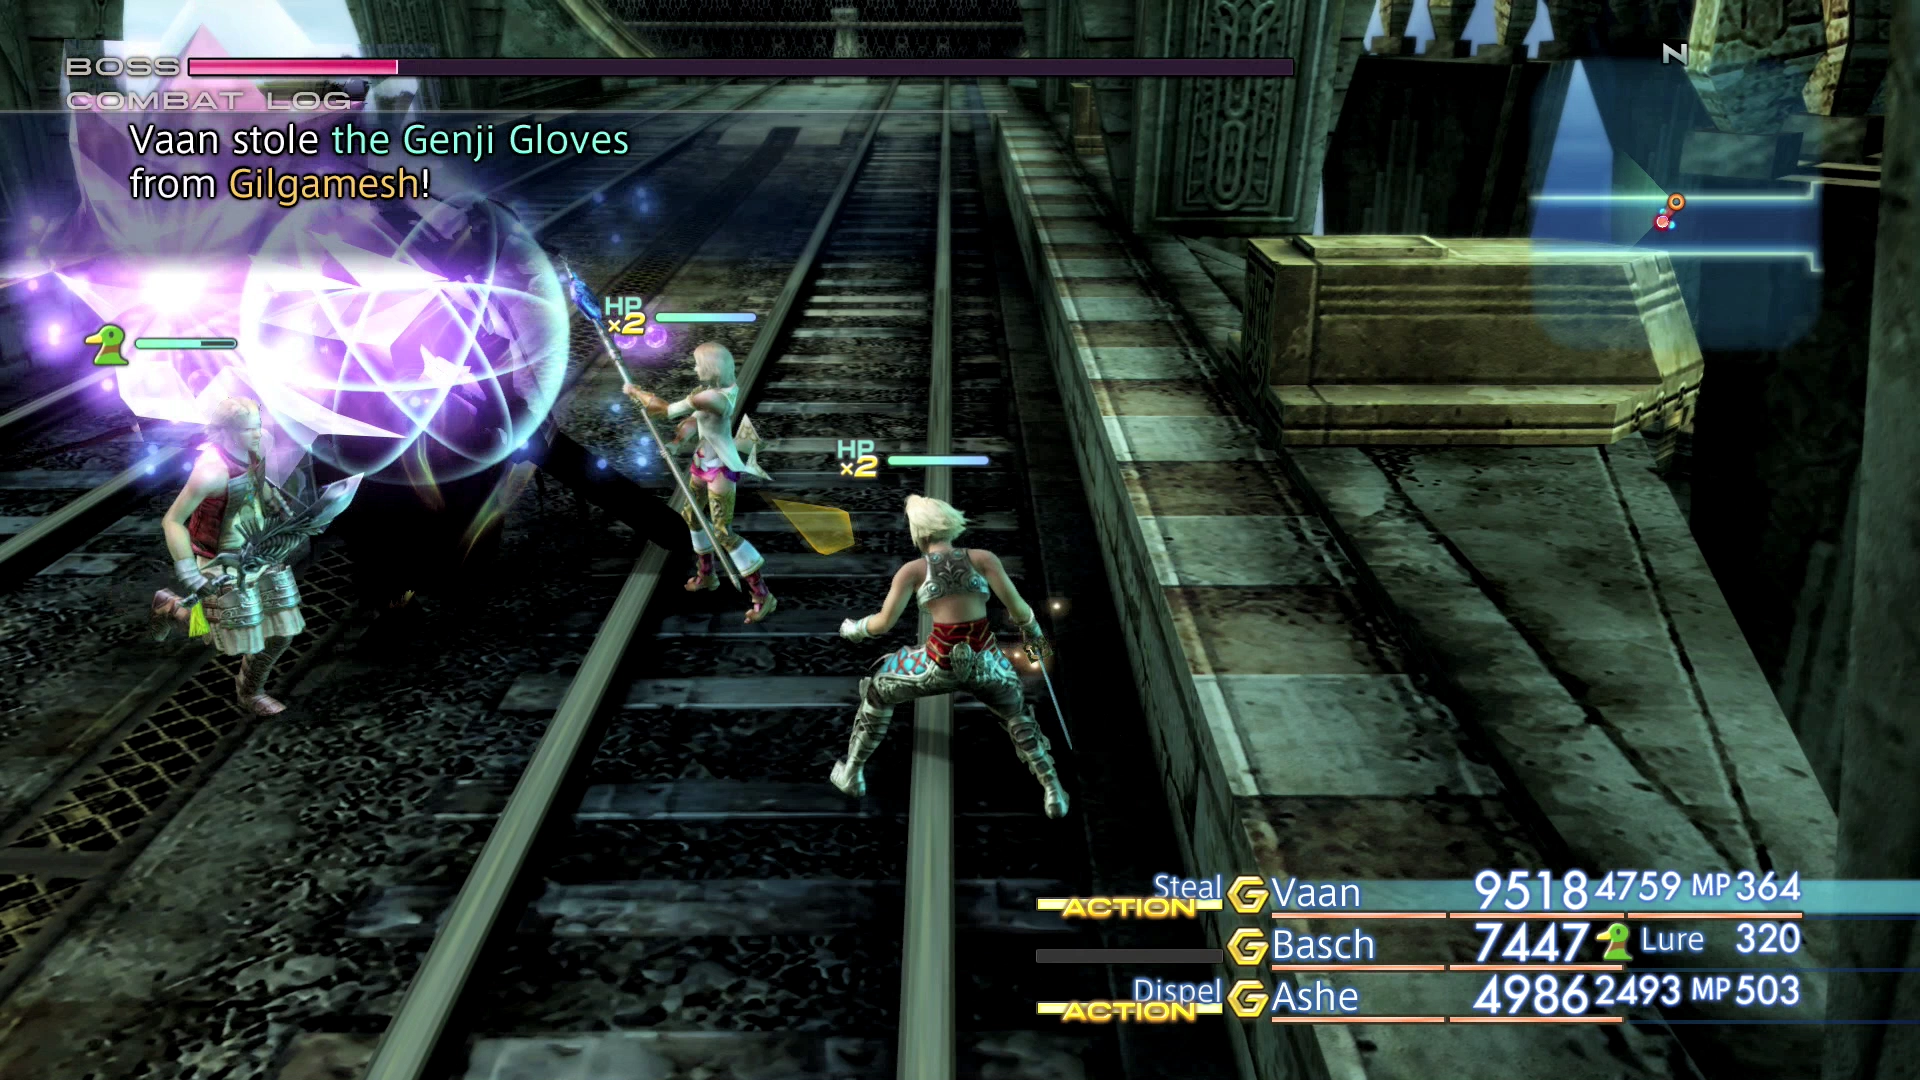
- Ability to equip and use the
 Genji Gloves, one of the strongest accessories in the game, which only Bushi, Knights, and Foebreakers can wear.
 - Vaan, Balthier, and Basch have some of the fastest melee attack animations, which makes them ideal for physical jobs.
- The “break” Technicks, specifically Addle, Sheer, Wither, and Expose, are critical abilities; the following classes can learn them:
- The Swiftness Licenses are very valuable, no matter what job your characters select; jobs that include the Swiftness Licenses are inherently stronger.
Strongest Job Combinations
As mentioned, all jobs were originally designed to be self-sufficient on their own, and there are no truly bad combinations. There are only a few less-optimal combinations, so don’t be afraid to be creative with your job selections. That said, here are the strongest:
| Combination | Why It Works |
|---|---|
| This job combination ranks at the top of the list for two key reasons. The first reason is that the Foebreaker has access to all four “break” abilities (Addle, Expose, Shear, and Wither). These abilities, on their own, are extremely strong and are very useful during the most challenging battles of the game. The second reason is the weapon and accessory synergy: the Shikari grants ninja swords, which have one of the best combo rates in the game, while the Foebreaker side supplies the |
|
| The Knight and Bushi combination is great because the two jobs complement each other’s weaknesses. The Bushi relies on katana swords as their primary weapon, which deal damage based on strength and a character’s magick power stat. This combination of jobs increases the amount of damage done by utilizing the strength from the Knight class and the higher Magick stat from the Bushi class. This job combination also has access to a few different White Magick spells for healing and to the three Swiftness Licenses. | |
| One of the strongest all-around damage builds. The Knight can wield the Excalibur, a Holy-elemental greatsword, and paired with White Robes (which boost Holy damage by 50%) it deals enormous physical damage, while the Black Mage half adds powerful offensive Magick for ranged and elemental coverage. | |
| Every party should have a White Mage for obvious reasons, but why pair it with the Machinist? The Machinist uses guns to do damage and the amount of damage that a gun does is not based on your stats; it is based on the type and level of the gun equipped, which makes it a useful weapon for a character that will not have high strength or be wearing heavy armor (like a White Mage). This job combination will give the White Mage a decent means of adding to your party’s damage when they are not casting curative spells. | |
| The strongest offensive Magick user combination. Magick users received a number of buffs in the Zodiac Age version of the game, from the way that MP now scales and lasts longer, to the amount of damage that can be done due to the increased Magick-based Licenses on the different License Boards. The amount of damage that this job combination can accomplish is ridiculously high. | |
| An alternative to the Black Mage / Red Battlemage combination is to swap the Red Battlemage class for the Monk class. The Monk class provides an increase in HP, strength and all three Swiftness Licenses. This allows the character to do damage without always expending MP and casting spells. | |
| You can use this job combination to create a nearly unstoppable tank. The Shikari has access to high amounts of HP granting Licenses, access to Shields and access to all the healing spells that are needed to keep a tank alive. | |
| Less powerful than the Shikari / Foebreaker combination, but it does provide the Bushi (Samurai) access to ninja swords rather than Katanas, which is a combination that will come in extremely useful during the battle against Yiazmat. Just equip a |
Worst Jobs
It is still possible to finish the entire game with either of these jobs, but two stand out as the weakest picks:
| Job | Why It’s Weak |
|---|---|
| The Machinist uses guns, and gun damage is not based on any character stat; it depends only on the type and level of the gun equipped. That keeps its damage output well below the physical and magick jobs. Its one redeeming niche: because that damage ignores Strength, it pairs reasonably well with a low-Strength White Mage, as noted above. | |
| The Uhlan’s primary weapon is the spear. Spears can do half-decent damage and swing quickly, but other physical jobs bring stronger weapons and more useful license boards, making the Uhlan a less ideal job to select. |
Recommended Combination to Use All Jobs
If you’re interested in making sure that all 12 jobs are utilized during your playthrough, either of the following two setups will work well:
| First Job | Second Job |
|---|---|
Alternatively, the following combination may work:
| First Job | Second Job |
|---|---|
After you have selected your 12 jobs for each of your 6 characters, you should now consider which character/job will unlock which Esper and Quickening combinations. Each character can only unlock 3 out of 4 Quickening Licenses and they often provide access to additional skills and abilities.
Similarly for the Esper Licenses, they often provide access to new abilities for certain classes, and they can only be unlocked by one character (it will be unlocked on both job boards). For each job’s full Esper and Quickening unlock details, check out the Esper License Unlocks page below, which lists every job on one searchable page, or open an individual job in the Jobs section:
Tips and Tricks
See exactly which licenses each Esper unlocks on every job’s License Board, with all twelve jobs on one searchable page.
Jobs

The Jobs section provides a detailed overview of each of the twelve jobs, covering their strengths, weapons, License Boards, and the Espers and Quickenings they unlock.