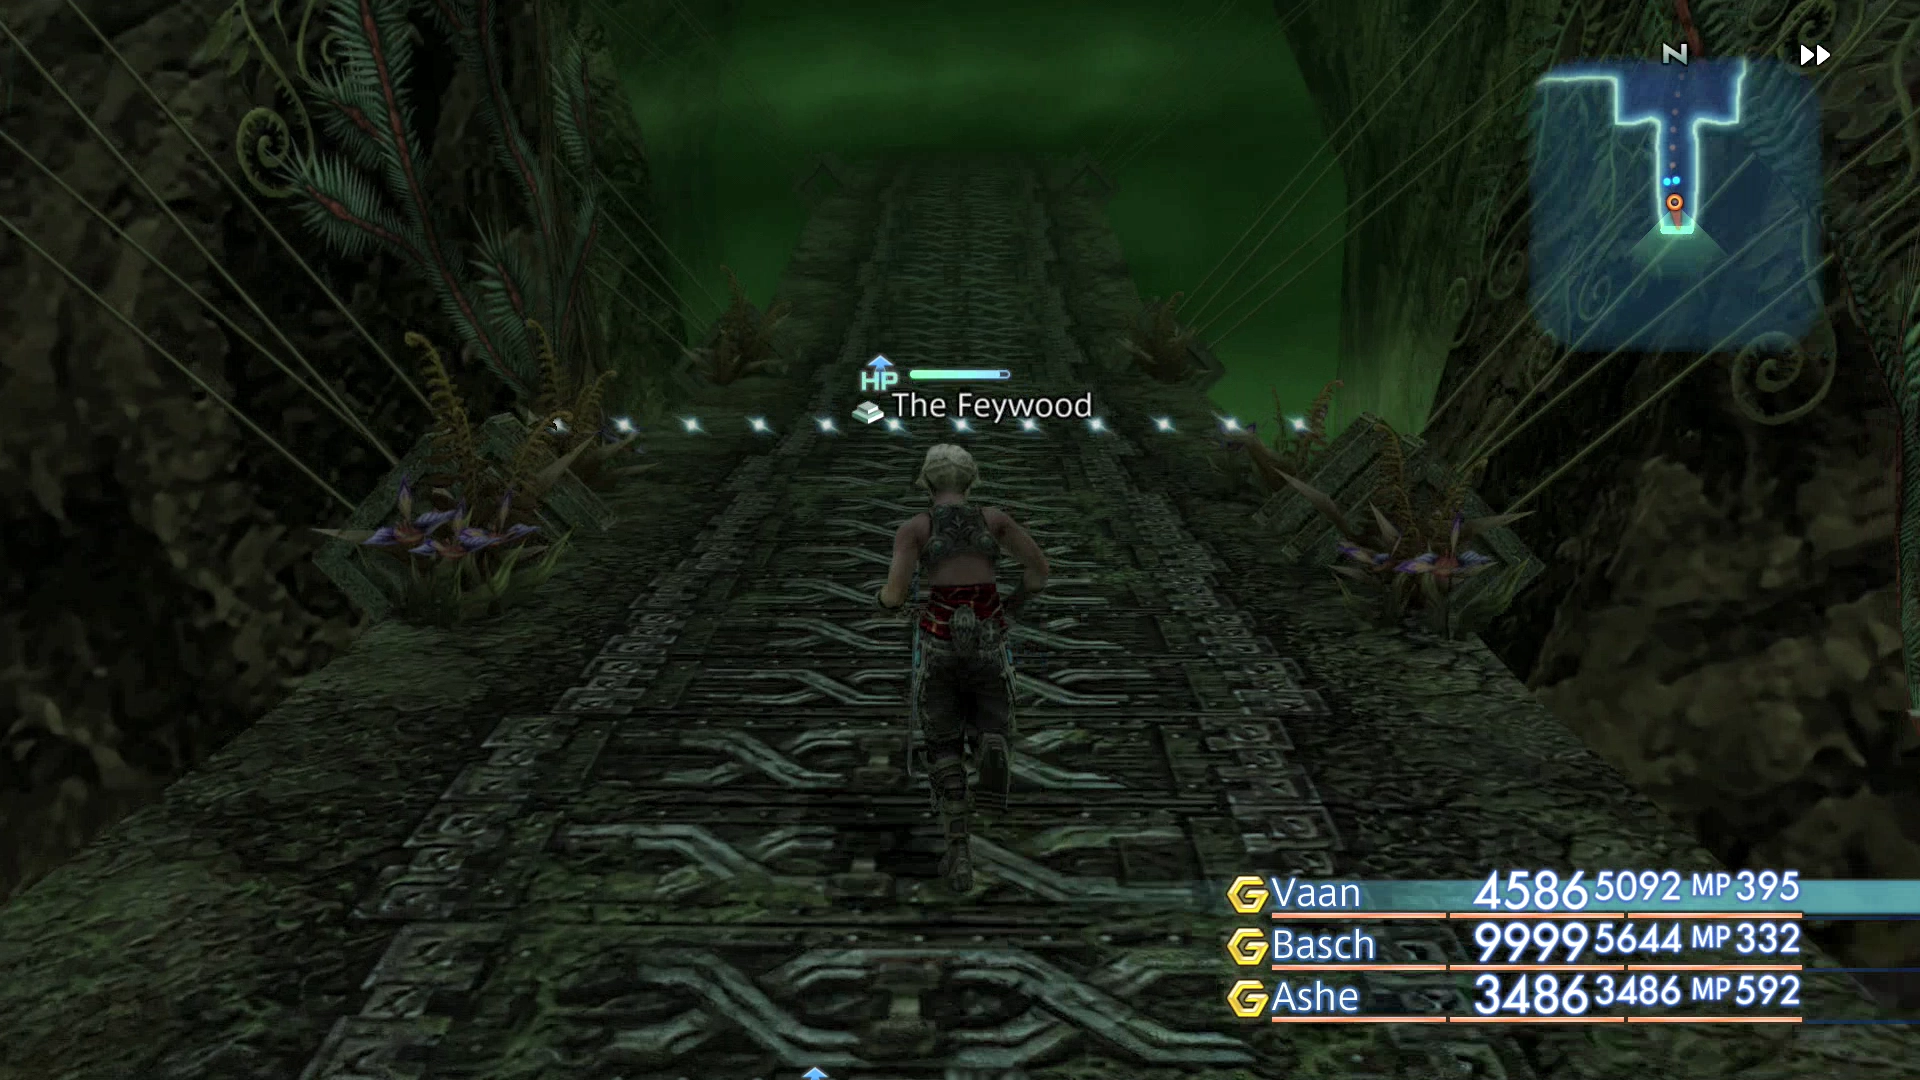
The Feywood
“An ancient wood deep in the jungles of Golmore. The combination of dense Mist and regular snow, the latter a product of the region’s elevation, is enough to keep away even the Viera.
Many of the trees have stood for several thousands of years, and some have begun to petrify. Numerous plants once thought extinct grow here, and many rare birds and animals can be seen in their primitive forms, unchanged for a millennia.”
In order to reach the Feywood, you will have to travel to the southern corner of the Golmore Jungle. Start by using an orange Save Crystal to warp to the Parting Glade area of the Golmore Jungle.
Golmore Jungle
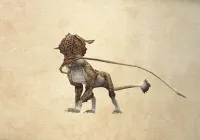
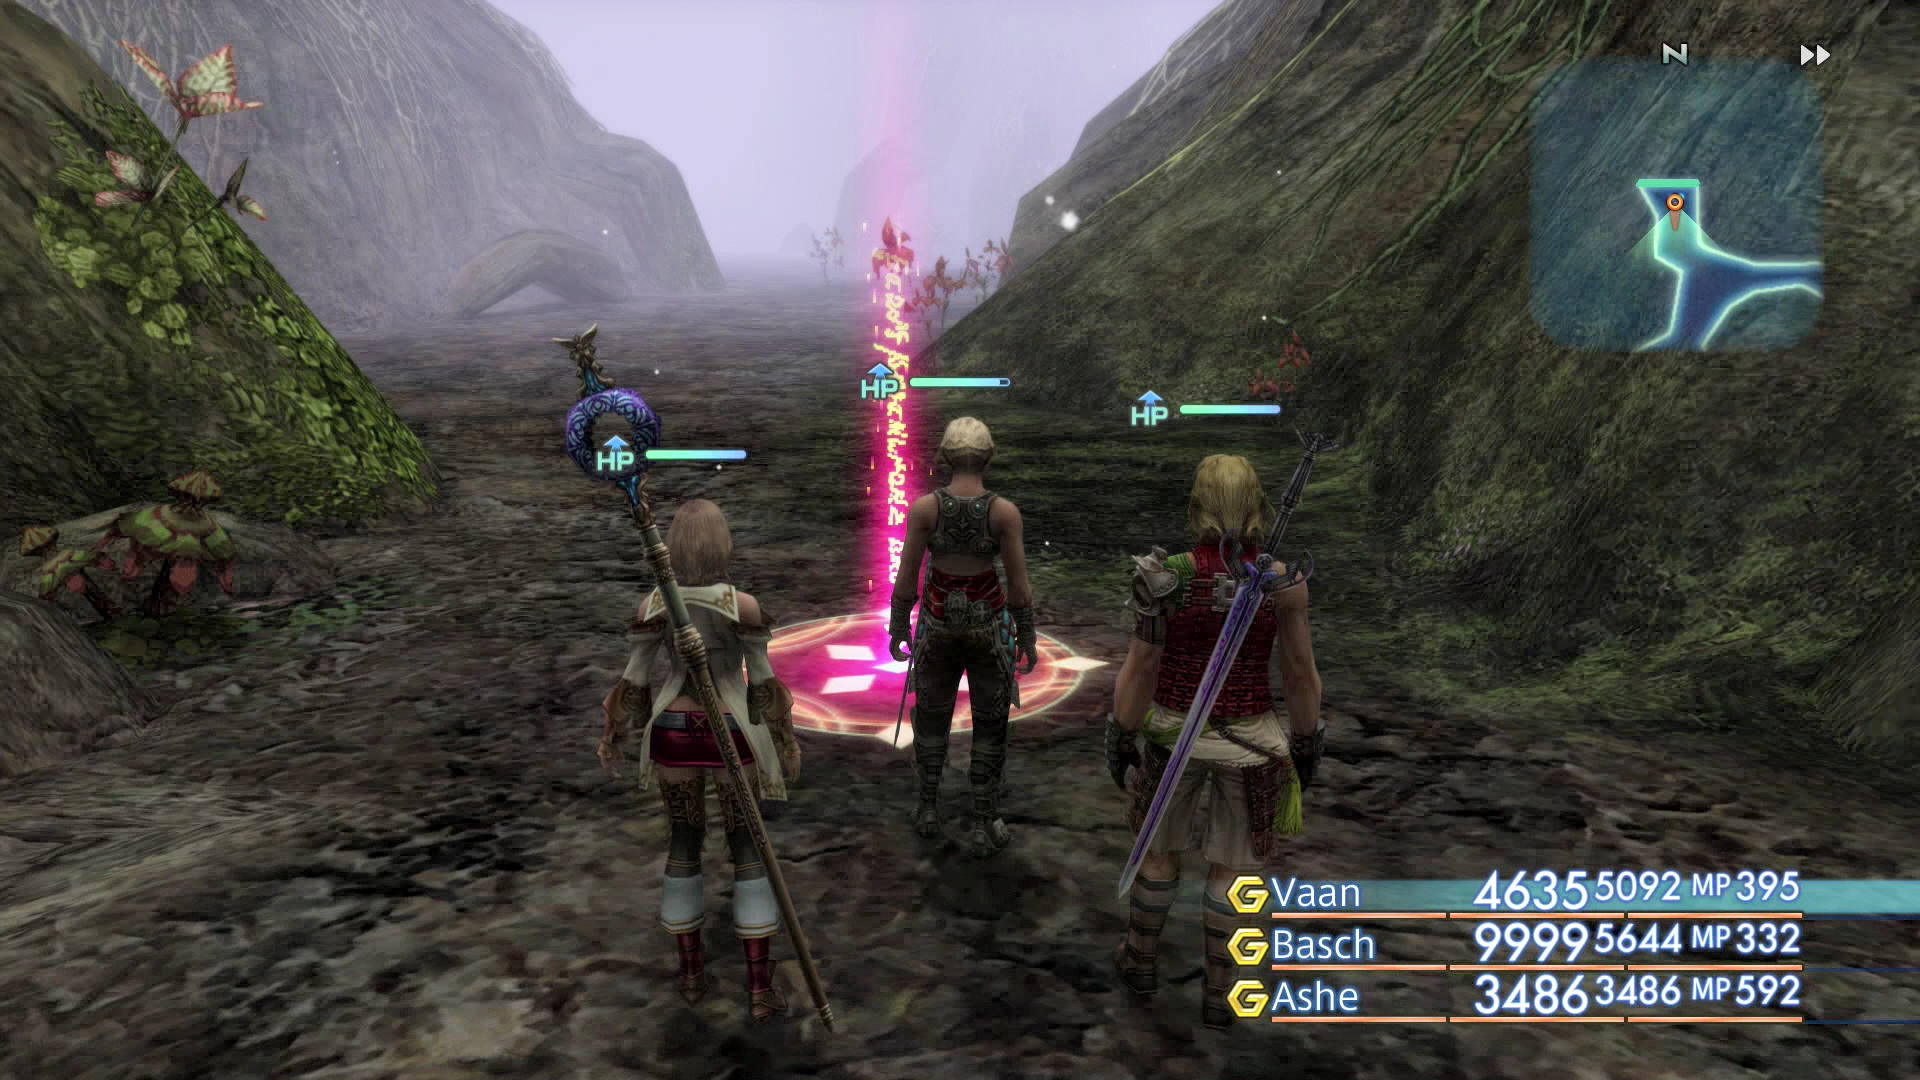
Head west into Whisperleaf Way and west again into the Needlebrake. The Hellhound enemies found in the southern stretches should be much easier for you to defeat now. Continue south into the Rustling Chapel and south one more time into the Feywood.
The Feywood - Walk of Flitting Rifts


This area is full of traps, including one that sits directly in front of the team as soon as they enter the Feywood for the first time. Make sure to keep ![]() Libra Technick active at all times using a Libra Gambit.
Libra Technick active at all times using a Libra Gambit.
Continue southeast through this area, battling against the Deadly Nightshades that you come across, until you reach the next area which is called the Walk of Stolen Truths.
The Deadly Nightshades can be a pain with their status effects; you may want to consider equipping Power Belts and/or ![]() Nishijin Belts to counteract some of the more painful statuses.
Nishijin Belts to counteract some of the more painful statuses.
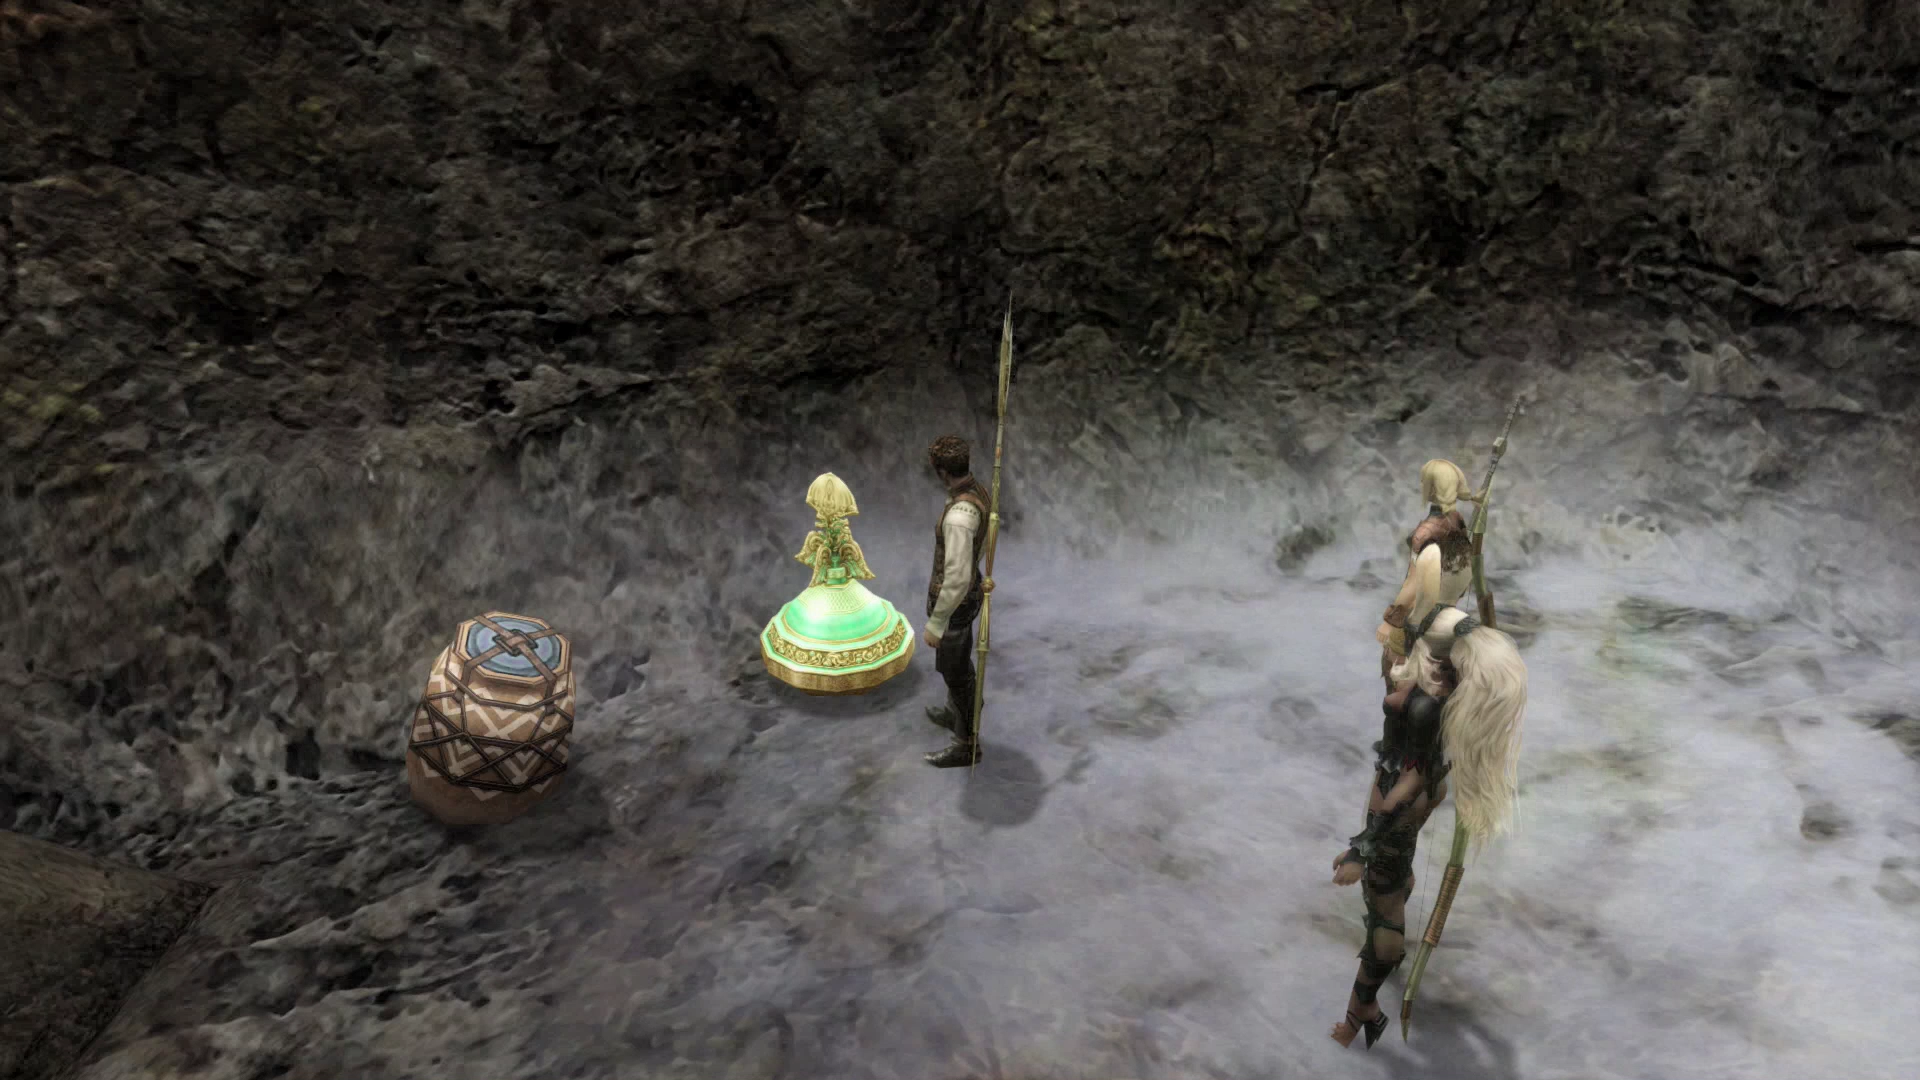
Walk of Stolen Truths
From here on out your mini-map will no longer function. Search the left side of this zone (eastern side) for a green urn that contains the map of the Feywood. This is only a partially completed map that will be further completed as you find other pieces of the map in urns. Continue southward into the next zone.
Antiquity’s End
There is a Save Crystal available in this zone that you can use to save your game. Head south from here for another short cutscene. A dense Mist will prevent the team from advancing beyond this point, but it will be cleared away when the apparition of Lord Rasler appears.
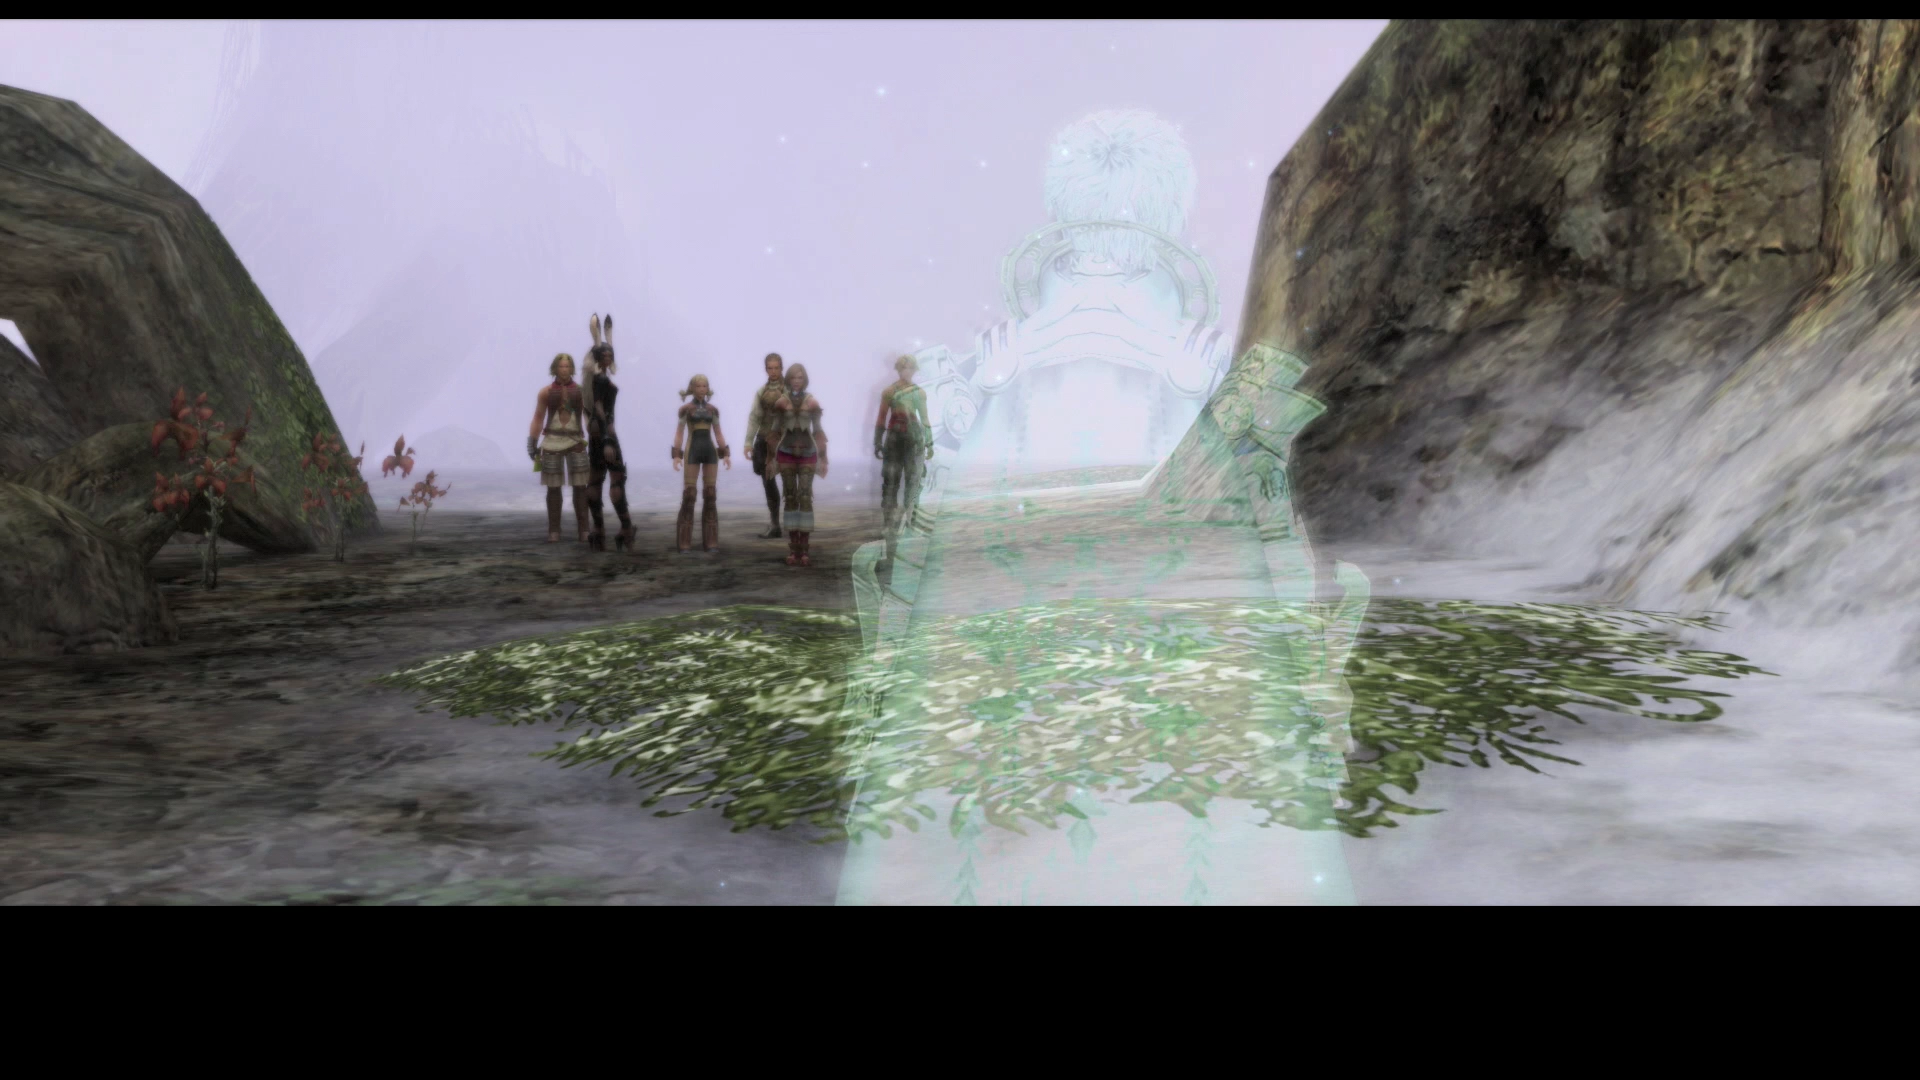
There is a boss fight coming up in the next area so take some time to prepare.
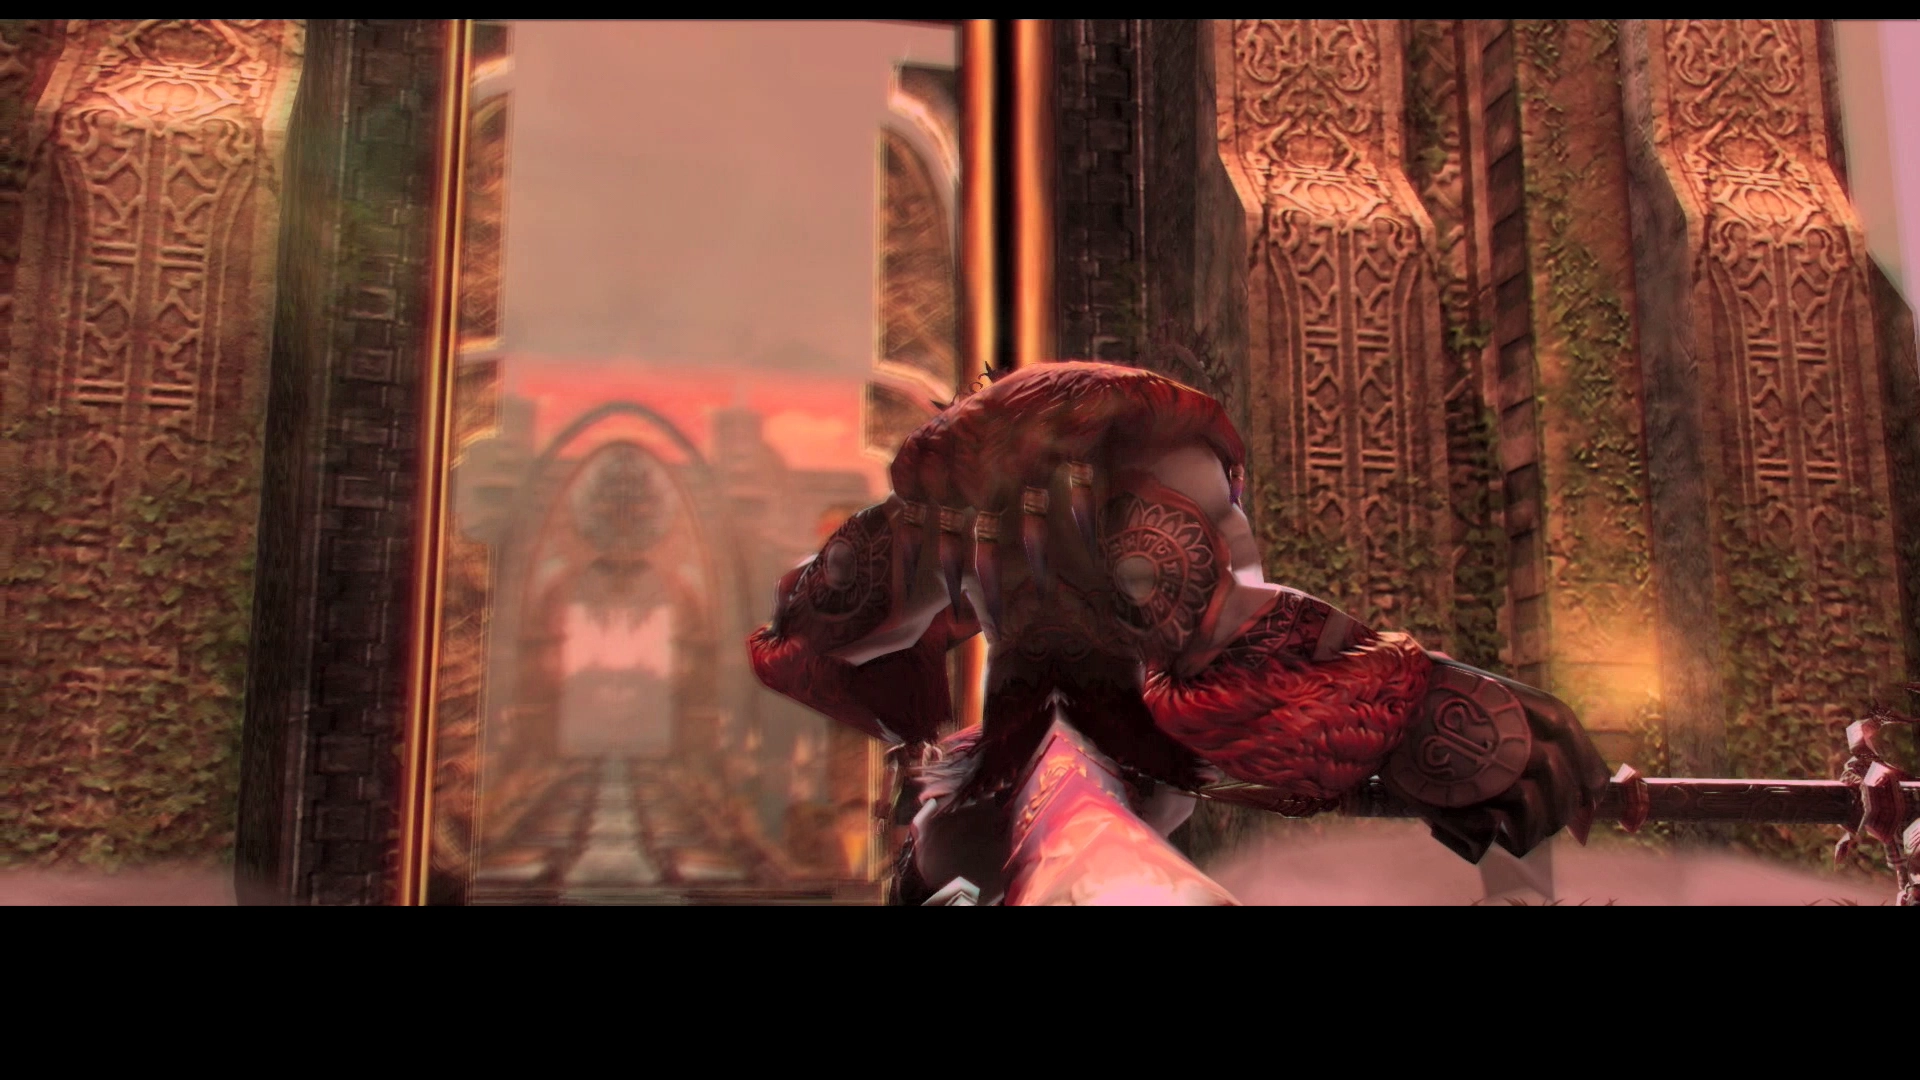
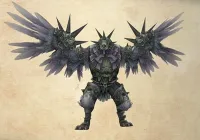
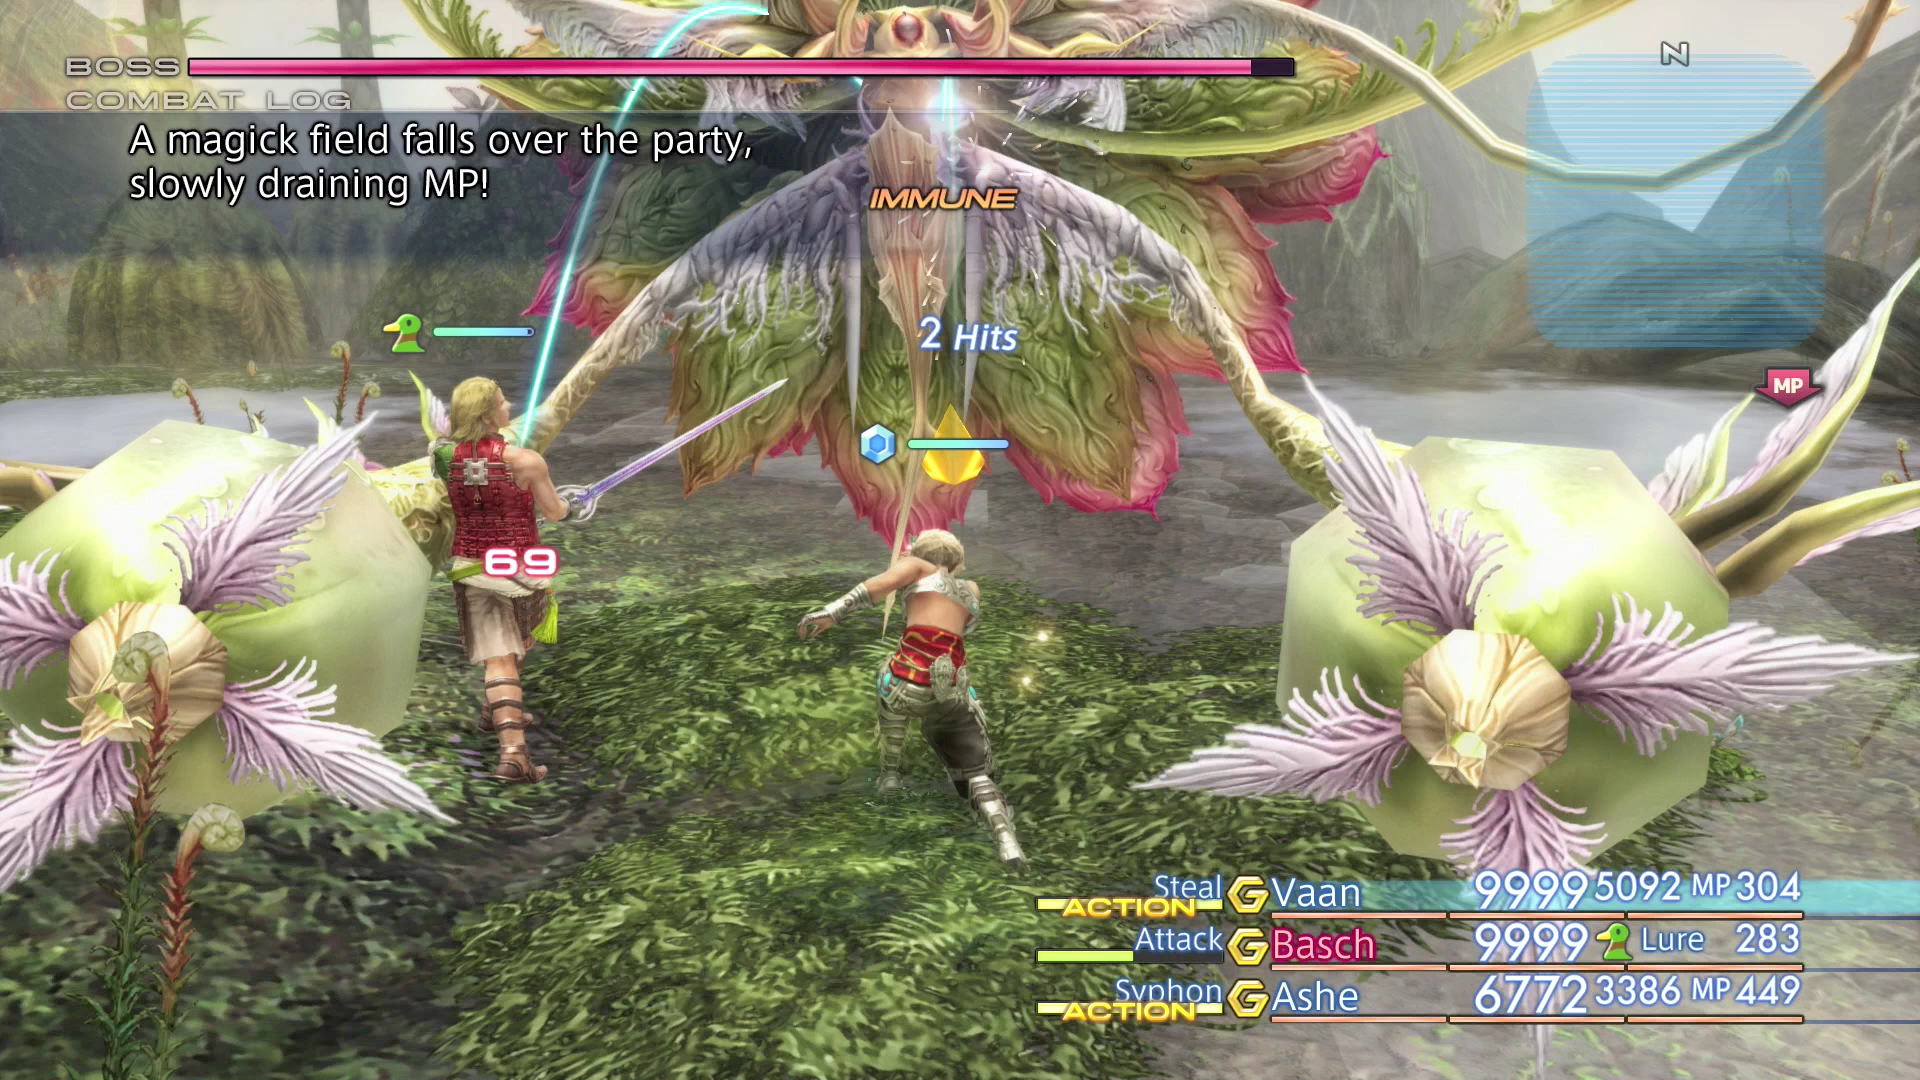
Redolent Glade
Boss Battle

Level: 43
HP: 73,393
Steal: ![]() Screamroot (55%),
Screamroot (55%), ![]() X-Potion (10%),
X-Potion (10%), ![]() Putrid Liquid (3%)
Putrid Liquid (3%)
The main story bosses tend to be a bit easier if you have been completing all the side quests and completing the Hunts along the way. Rafflesia’s pollen and spore attacks inflict a spread of statuses including Confuse, and it uses “Cry for Help” to summon Malboros whose breath attacks can put the party to Sleep. Equip your characters with the ![]() Bowline Sash accessory if you have them in order to prevent Confuse and
Bowline Sash accessory if you have them in order to prevent Confuse and ![]() Nishijin Belts to prevent Sleep. Silencing Rafflesia stops it from calling for help. You should also use the proximity of this fight to a Save Crystal to make things easier by pre-buffing your characters with
Nishijin Belts to prevent Sleep. Silencing Rafflesia stops it from calling for help. You should also use the proximity of this fight to a Save Crystal to make things easier by pre-buffing your characters with ![]() Protect,
Protect, ![]() Shell,
Shell, ![]() Haste,
Haste, ![]() Bubble,
Bubble, ![]() Bravery and
Bravery and ![]() Faith.
Faith.

This is a boss battle that may require you to rely on items instead of Magick spells due to the massive amounts of MP that Rafflesia will slowly drain. This will depend entirely on how quickly you can destroy Rafflesia, but be prepared to switch your Gambits over to ![]() X-Potions,
X-Potions, ![]() Hi-Potions and
Hi-Potions and ![]() Remedies as required.
Remedies as required.
Make sure to ![]() Dispel the boss as soon as it drops down as it begins the battle with a few status buffs. One attack (Nectar Volley) will inflict Poison, Toxify and Sap, so be ready with
Dispel the boss as soon as it drops down as it begins the battle with a few status buffs. One attack (Nectar Volley) will inflict Poison, Toxify and Sap, so be ready with ![]() Remedies or
Remedies or ![]() Esuna Gambits. Aside from that, this is a fairly standard fight.
Esuna Gambits. Aside from that, this is a fairly standard fight.
You can find a video of this battle in the Zodiac Age version below.
Go back to Antiquity’s End and save your game at the Save Crystal after the battle. Travel south into the next area after the boss battle is complete.
White Magick’s Embrace
Make sure to update your Gambits back if you switched them to items over Magicks. Search the southern portion of this zone for another green Urn that contains a Feywood Candle.
The Feywood Candle illuminates more portions of the Feywood Map that were not previously visible (listed as “hidden areas” in the game, but it just refers to the southern sections of the map).
There is also a ![]() Golden Amulet that you can find in a treasure chest as well as
Golden Amulet that you can find in a treasure chest as well as ![]() Dispelga Magick.
Dispelga Magick.

Ice Field of Clearsight
The premise behind this zone (and the next zone) has to do with the shrine, temple-like structures scattered around the map. These structures are shown on the mini-map. Check your mini-map by pressing the ![]()
![]()
![]() button and you will be able to see each of them.
button and you will be able to see each of them.
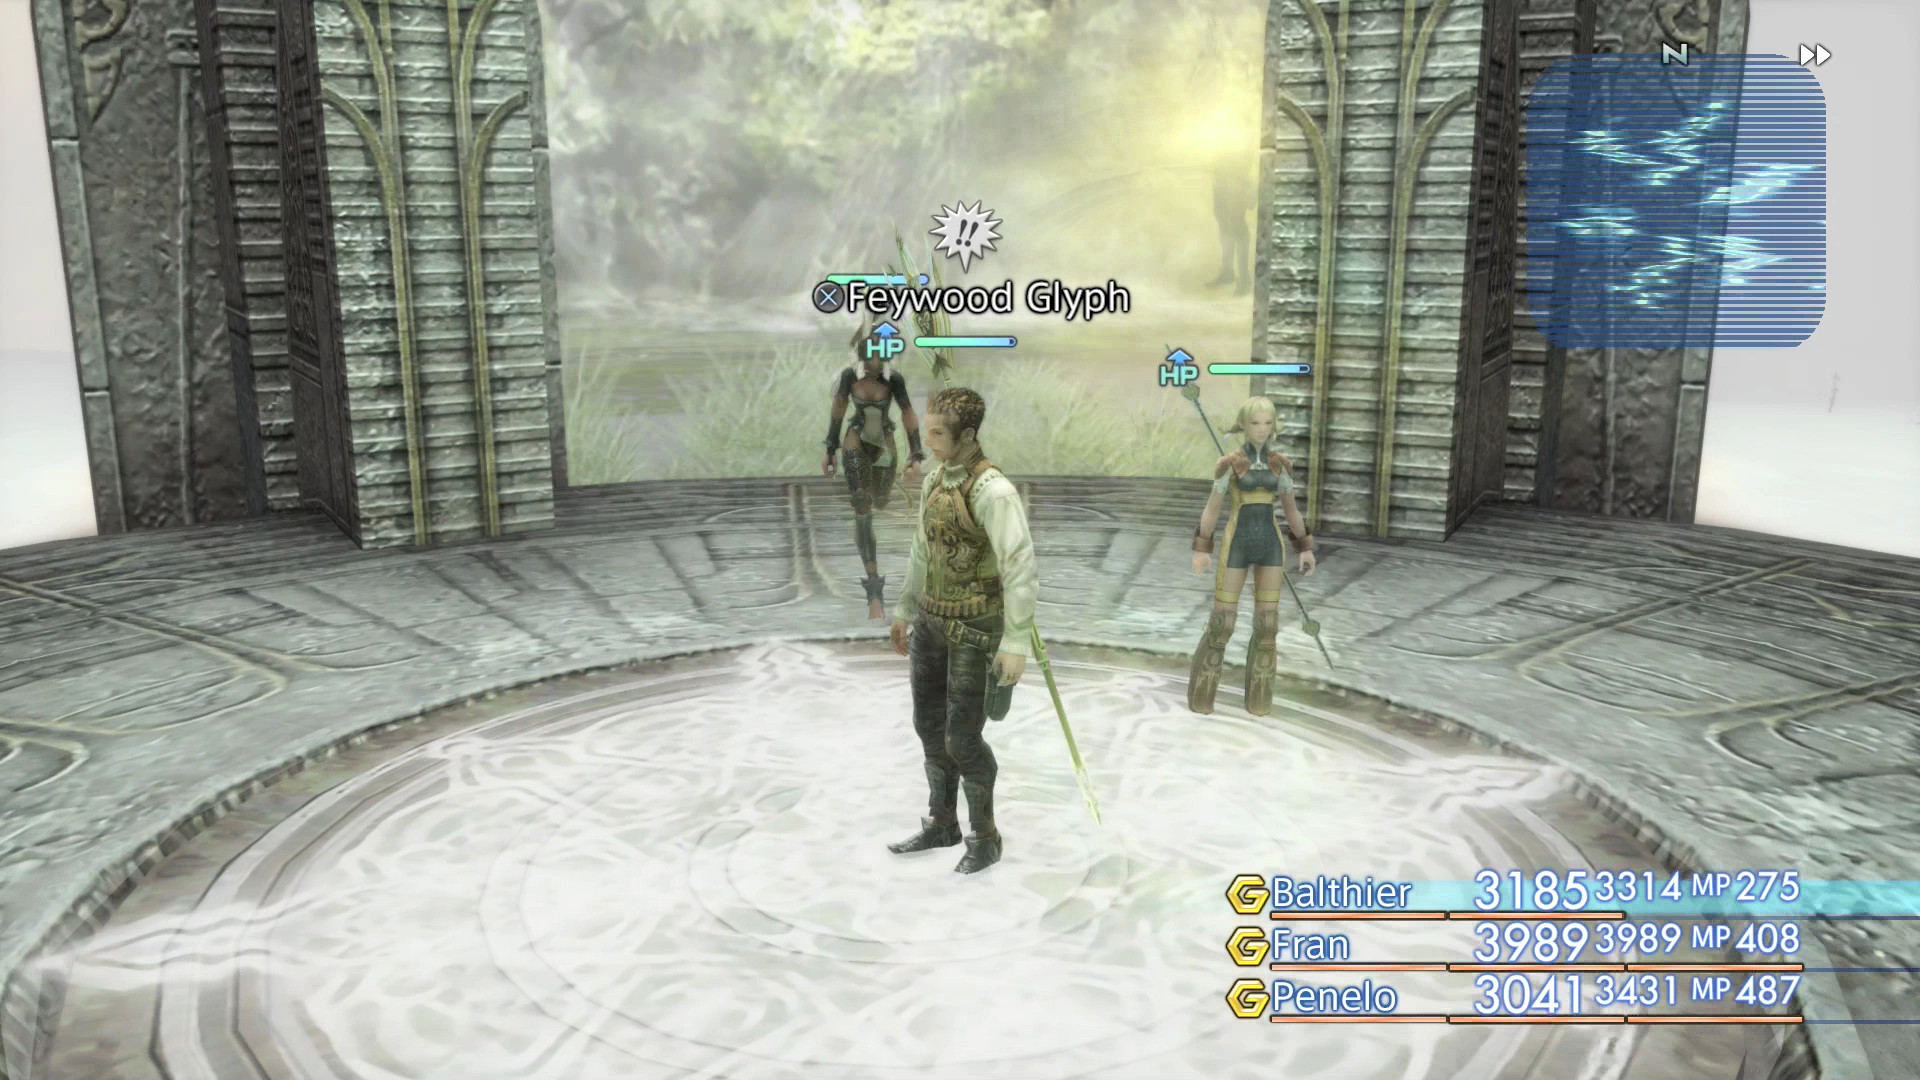
Walk over to one of the shrines and stand in the middle. You need to find a “Feywood Glyph” in the center of the shrine; if you don’t find one, travel to one of the other shrines.
Once you locate a Feywood Glyph, stand directly on top of it and use the Right Control Stick to circle the camera around your party leader. As you rotate the camera, you will notice that one of the openings will show an illusion of a lush, green, oasis-type area.
If you examine the Feywood Glyph, it will explain that “Illusion betokens the true way.” Go through the illusion and walk straight ahead to the next shrine without turning left or right. The shrines will lead you along the correct pathway.
There is a ![]() Bubble Belt in one of the treasure chests in this area that you should try to find before leaving.
Bubble Belt in one of the treasure chests in this area that you should try to find before leaving.
Note that this pathway is different and random for each playthrough of the game. The pathway will not be the same for all players, so you will have to check different shrines until you find the proper path.
After you follow the pathways of three illusions and reach three of the shrines, they will lead you southwest into the next zone.
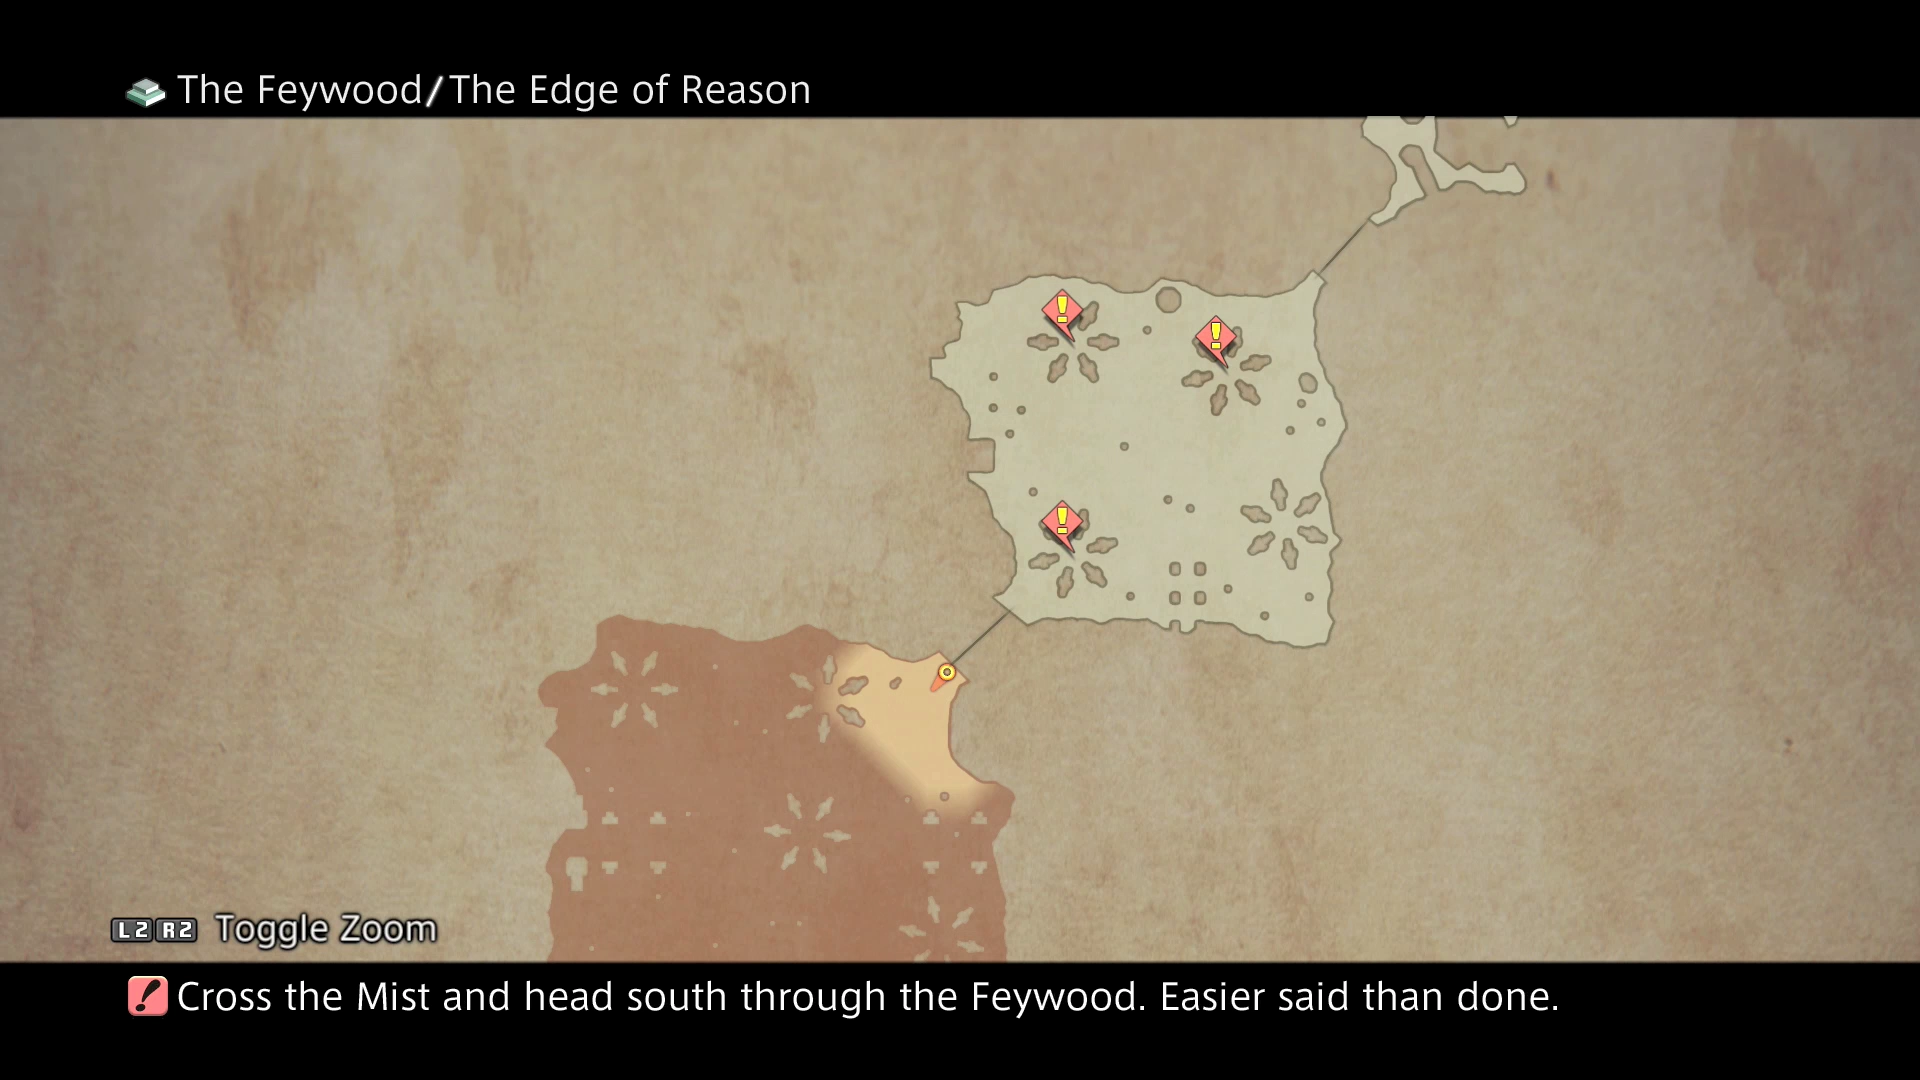
The Feywood Map

The Edge of Reason
There is a treasure chest in the center of this zone that contains the ![]() Reflectga Magick spell, so make sure you pick it up.
Reflectga Magick spell, so make sure you pick it up.
This zone has a very similar puzzle except that there are five shrines in total and you need to find another three Feywood Glyphs. Follow the pathways until they lead you down to the Gigas Gate in the southwest corner.
Reading the inscription on the gate, it mentions “Gigas Summoner, gate’s power is yours to claim. Beyond the One gate lies sacred Giruvegan. Over the One gate the Gigas holds sway.”
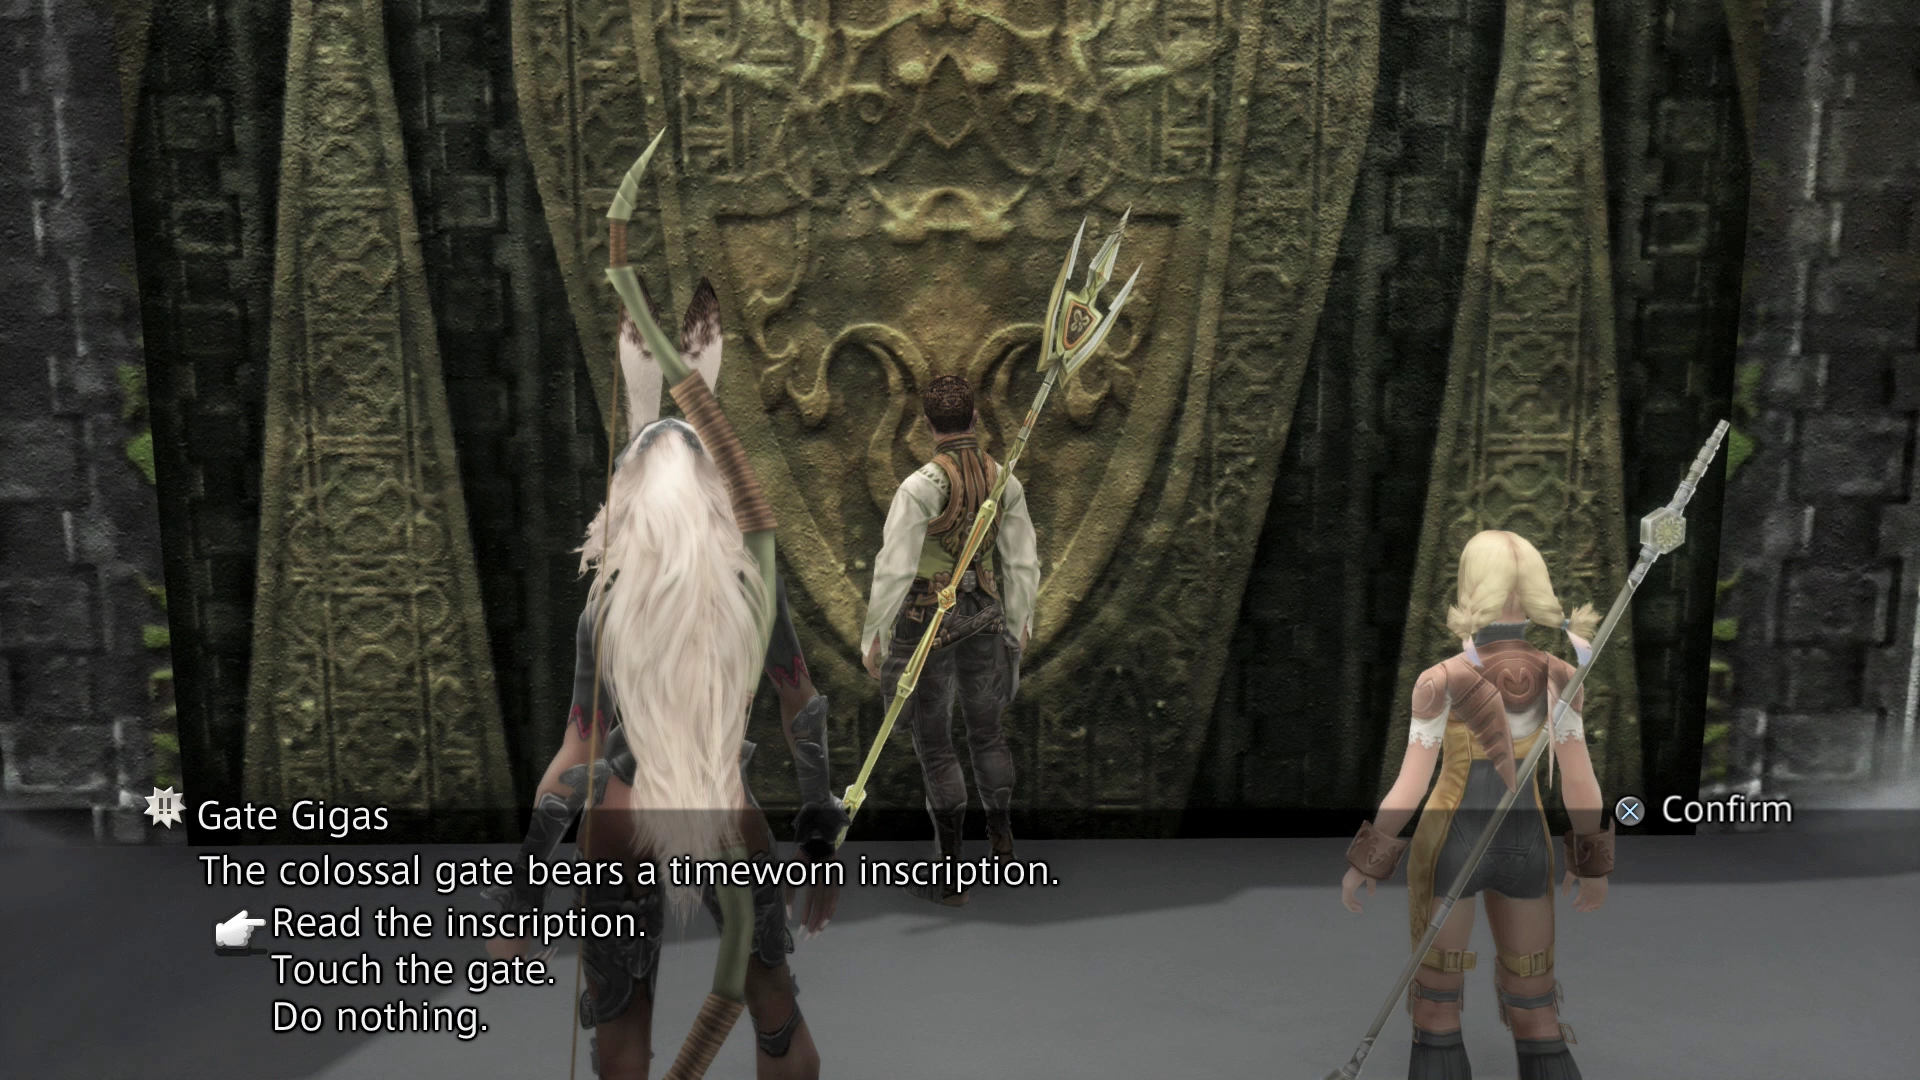
This is slightly cryptic, but it means that you need to summon Belias, the “Gigas that strikes with smoldering brimstone” in order to open the gate and proceed. Summon Belias and then touch the gate for a cinematic of Belias opening the Gigas Gate. Proceed through the open gate to reach the Ancient City of Giruvegan.