Lindblum and Hilda Garde III
Lindblum Castle
The game continues with Zidane in the Guest Room of the Castle. Start by speaking to ![]() Mogki and selecting the Mognet option to pick up a letter for
Mogki and selecting the Mognet option to pick up a letter for ![]() Kumool.
Kumool.

Exit the Guest Room and take the elevator to the Upper Level. Walk forward into the main hall for a few cutscenes.
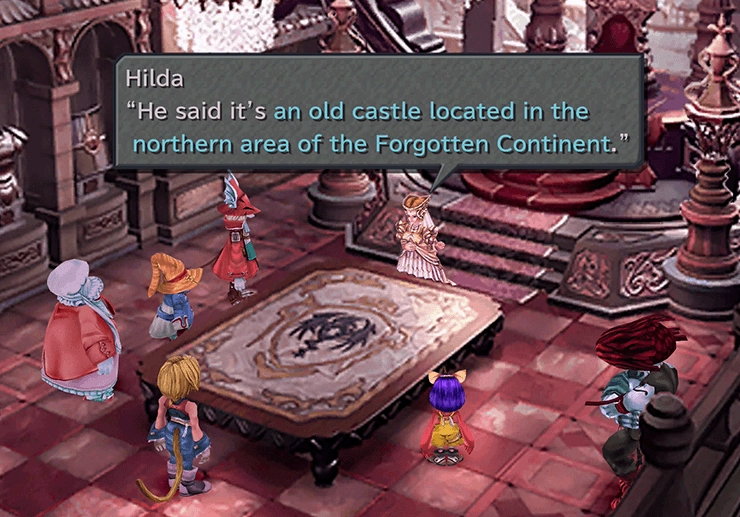
Cid, Hilda, and the team will discuss the next course of action, which involves traveling to Ipsen’s Castle on the Forgotten Continent to break the seal in the Shimmering Isles and reach Kuja’s world: Terra.
Zidane will meet up with Beatrix in Alexandria during the sequence. Beatrix will give him a ![]() Garnet accessory for the Princess, and Zidane will finally locate her in the ‘Resting Place.’ The team will now have access to an Airship, called the Hilda Garde III, and can complete several side quests at this point in the game.
Garnet accessory for the Princess, and Zidane will finally locate her in the ‘Resting Place.’ The team will now have access to an Airship, called the Hilda Garde III, and can complete several side quests at this point in the game.

Achievement/Trophy
Taking flight in the Hilda Garde III for the first time unlocks the ![]() Take to the Skies Achievement. You obtain the Hilda Garde III automatically as part of the story, so this cannot be missed.
Take to the Skies Achievement. You obtain the Hilda Garde III automatically as part of the story, so this cannot be missed.
Only available in the Steam ![]() version of the game.
version of the game.
Hilda Garde III & Side Quests
Your next destination to continue the story is Ipsen’s Castle. You can head there directly if you prefer. Optional side quests are included below and are not required to complete the game:
- Use this opportunity to do more frog catching at each of the Qu’s Marshes to complete the Catching Frogs side quest.
- Deliver the Kupo Nut in your inventory to
 Moguta in Gizamaluke’s Grotto to complete another part of the Kupo Nut side quest.
 - You can find another Friendly Creature called Garuda if you climb the vines near where Moguta is standing (in Gizamaluke’s Grotto) and search the Popos Heights area.
- Add Quina and Vivi to your party and return to Quan’s Dwelling to watch a short cutscene and then examine the grandfather clock out on the dock to obtain another pair of
 Running Shoes.
- Return to Lindblum Castle and land the Hilda Garde III by hovering over Lindblum and pressing


 . Turn around immediately and choose to “Board, but go to the bridge.” Climb the ladder on the bridge to find an
  Elixir.
- You should catch up on the Chocograph side quest by making sure that you have found Chocographs #1 through #19.
- Locate the first four out of the five total Chocobo Dive Spots that you can find right now.
- Lastly, you should track down the first 3 Chocobo Mountain Crack locations.
There are some additional Chocographs you can obtain as well…
Chocograph Hunting
It is time to complete more of the Chocobo Hot & Cold and Chocographs side quests.
Return to the Chocobo’s Forest and the Chocobo’s Lagoon and dig in each of those areas until you find all the Chocograph Pieces that you need. You may have already found some, but it is only at this point in the game that it becomes possible to obtain all six.
The last two that you can obtain now that you have the Hilda Garde III are available in the Chocobo’s Lagoon, but you may need to visit the Chocobo’s Forest if you are missing any from that location.
Mene will tell you when there is nothing left to find in each area. All six of the Chocograph Pieces will create:
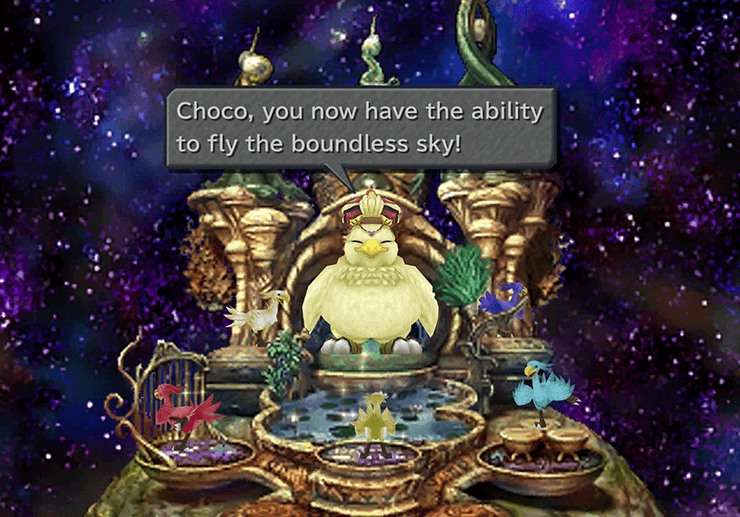
Obtaining Chocograph #20 will give your Chocobo the Sky Ability, the last of the abilities that he can obtain. A Chocobo with the Sky Ability can take off and land in forested areas, which allows it to fly anywhere in Gaia. Press the ![]()
![]()
![]() button while in a forest to start flying.
button while in a forest to start flying.
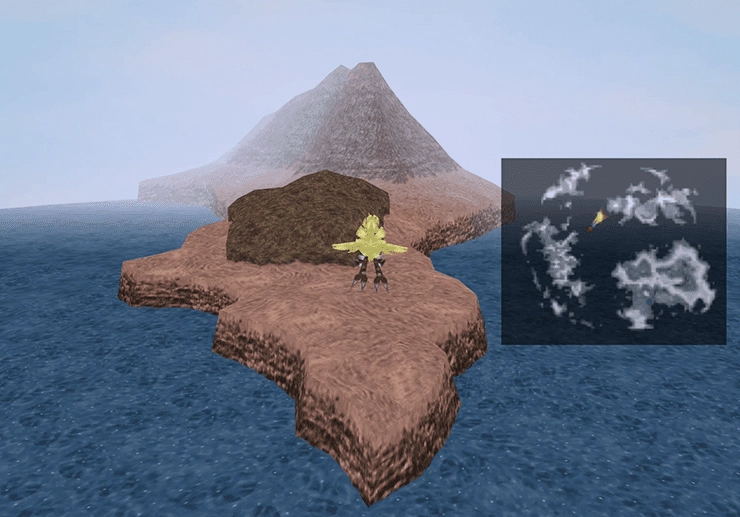
Obtaining the Sky Ability will not unlock any new Chocographs in either the Chocobo’s Lagoon or the Chocobo’s Forest, but you can now reach the Chocobo’s Paradise. You can find Chocobo’s Paradise in the northwestern corner of the map in the middle of the ocean. Fly your Chocobo over to the island (which does not appear on the mini-map) and use a ![]() Dead Pepper on the crack in the mountain to gain entry.
Dead Pepper on the crack in the mountain to gain entry.
There isn’t much that you can do at the Chocobo’s Paradise. You can challenge Fat Chocobo to a Tetra Master match to obtain a ![]() Chocobo Card. You can return here and speak to Fat Chocobo once you have found all the Chocobo treasures, and he will give you back any cards that were accidentally discarded (if your inventory was full).
Chocobo Card. You can return here and speak to Fat Chocobo once you have found all the Chocobo treasures, and he will give you back any cards that were accidentally discarded (if your inventory was full).
You can return here after you have obtained all the Chocographs for a short cutscene involving Choco, and you can then start the Chocobo Beaches side quest. For now, though, it is time to travel to the last place where you can obtain more Chocographs.
The final destination is the Chocobo’s Air Garden. You can find hints of its location on the Chocograph Pieces that you dug up in the Chocobo’s Forest and Chocobo’s Lagoon.
To view the Chocograph Pieces, enter the menu screen and check the “Key” items tab in the Items section. Select each of the Chocographs to read the hints.
There are six different spots that you can search, but only one will have a shadow allowing you to reach the Chocobo’s Air Garden. Use the map below to help you pinpoint the locations:
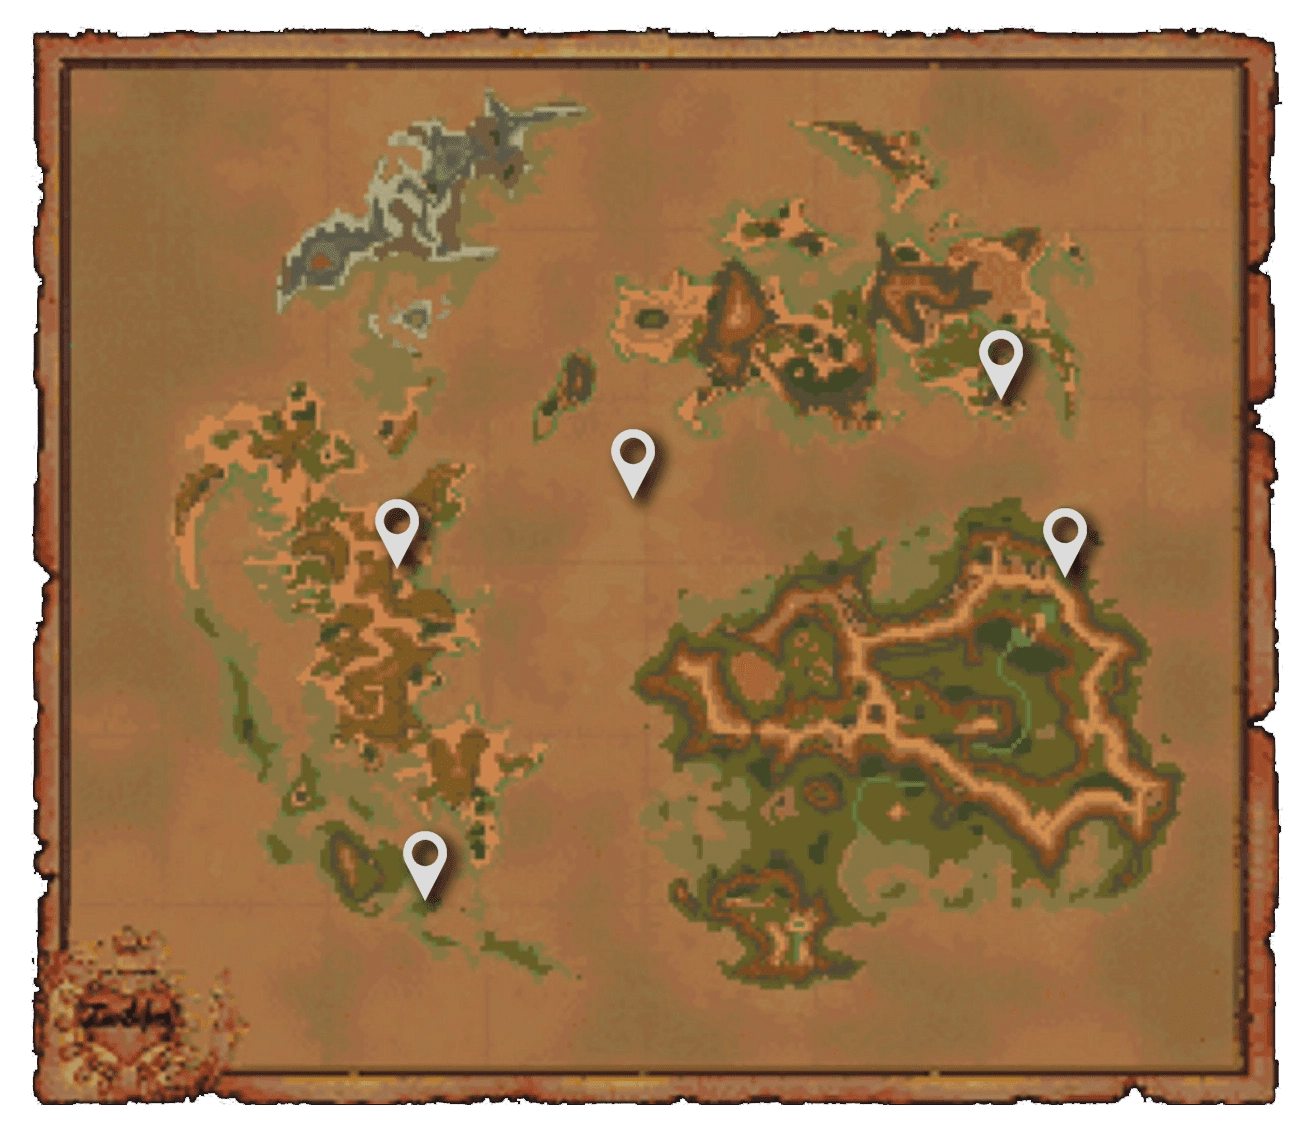
Use a Dead Pepper while flying over the shadow to be taken to the Chocobo’s Air Garden.
You can now obtain and find the following Chocographs from the Chocobo Air Garden:
And don’t forget to grab Chocograph #22: Outer Island 2, which you can now reach as well.
Locate and retrieve all the remaining Chocograph treasures. Finding them all should fully complete the Chocograph side quest, and you should now have obtained all the rewards. Congratulations!
Helpful Hint
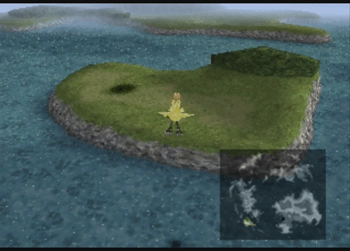
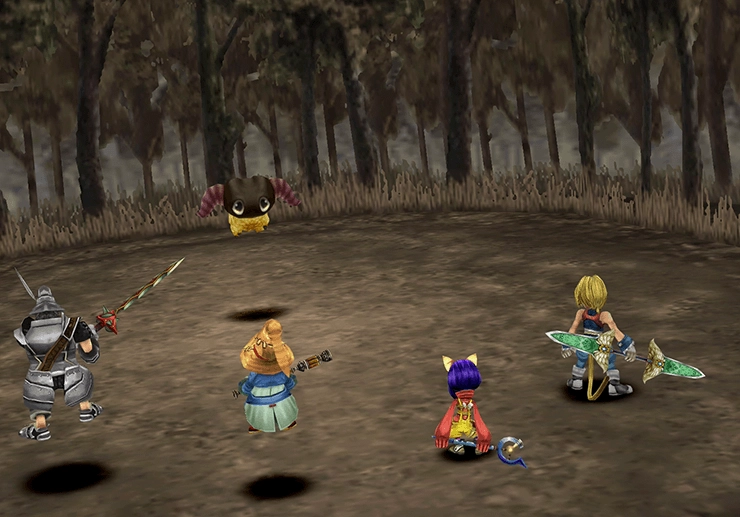
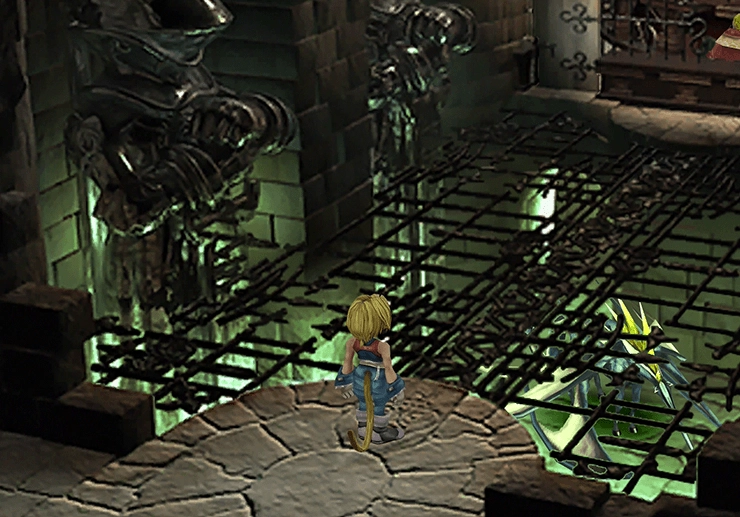
There is another Friendly Monster that you can reach once you have obtained a Chocobo with the Sky Ability. Make sure to save beforehand, though, as the enemies on the island are extremely difficult, and make sure that you have found all the other Friendly Monsters first by referring to the Friendly Monster side quest page (using the link above).
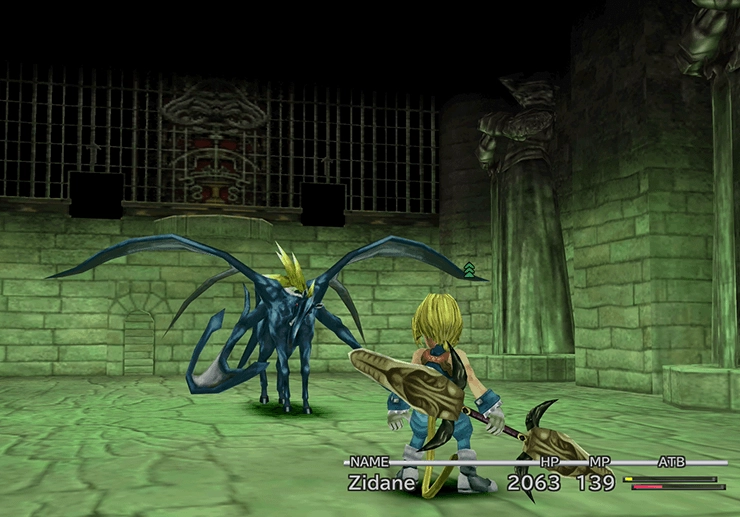
Travel to Vile Island (shown in the screenshot below) and wander around in the forested areas until you encounter Yan. Yan will ask, “Have you met the others?” and run away if you have not seen all the other Friendly Monsters. Give Yan a ![]() Diamond and the Friendly Monsters side quest is complete.
Diamond and the Friendly Monsters side quest is complete.
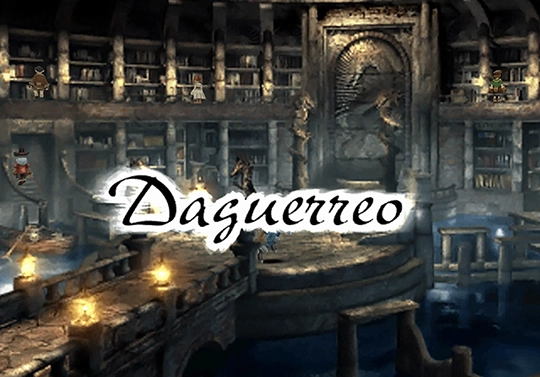
Daguerreo | Optional Area to Explore
You can also now reach the hidden and optional area of Daguerreo. Use the link below for more information:
Side Quests
Traveling to the hidden optional town of Daguerreo to complete some of the side quests.
Stellazzio | Side Quest
Take this time to return to Treno and head back to the Queen’s House to turn in the Stellazzios that you have picked up from the last time you were here. The ones you turn in should include:
- Capricorn (20,000 Gil)
- Sagittarius (
 Rosetta Ring)
Achievement/Trophy
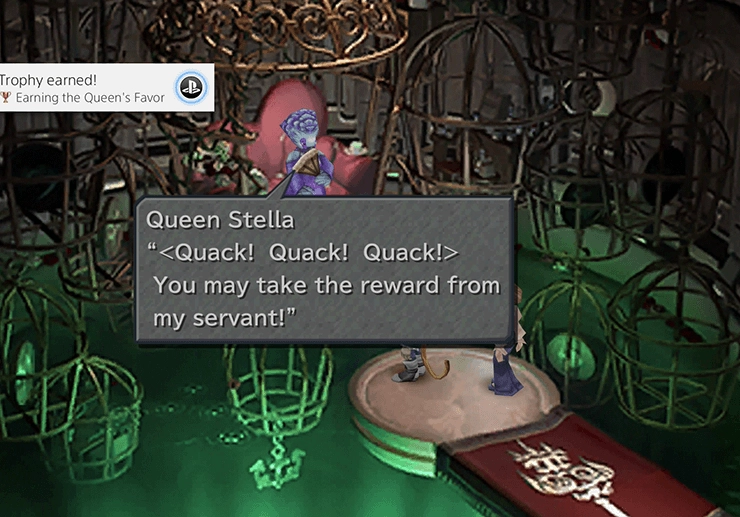
You need to return 10 of the Stellazzios to obtain the  Earning the Queen’s Favor Achievement/Trophy. Assuming that you have been following this walkthrough and picking up all the Stellazzios along the way, you should be at 10 Stellazzios at this point in the game.
Knight’s House Monster Challenge
Side Quest
You can also complete another round of fighting at the Knight’s House (Weapon Shop) against Amdusias. Make sure to equip Zidane with his strongest weapon, which should be the ![]() Sargatanas from Daguerreo, and his strongest armor and the battle should be pretty easy.
Sargatanas from Daguerreo, and his strongest armor and the battle should be pretty easy.
You can use the ![]() Bird Killer ability to make the battle easier and use the
Bird Killer ability to make the battle easier and use the ![]() Auto-Regen ability to heal up from attacks. Amdusias has approximately 6,578 HP. The prize for defeating it is another pair of
Auto-Regen ability to heal up from attacks. Amdusias has approximately 6,578 HP. The prize for defeating it is another pair of ![]() Running Shoes.
Running Shoes.
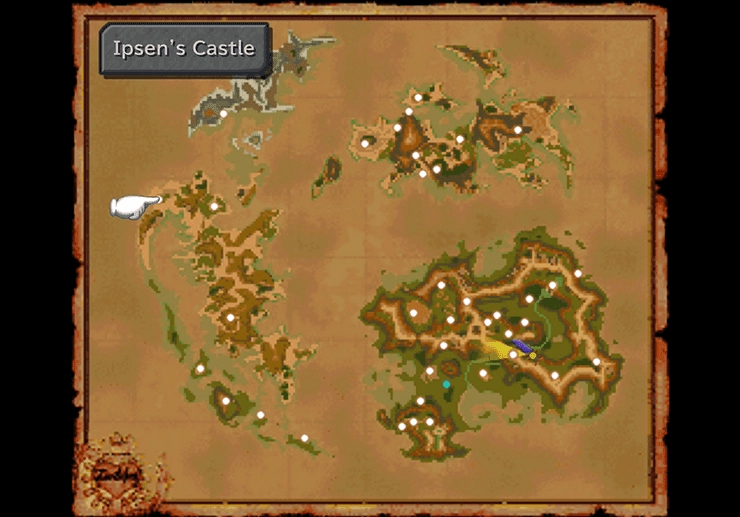
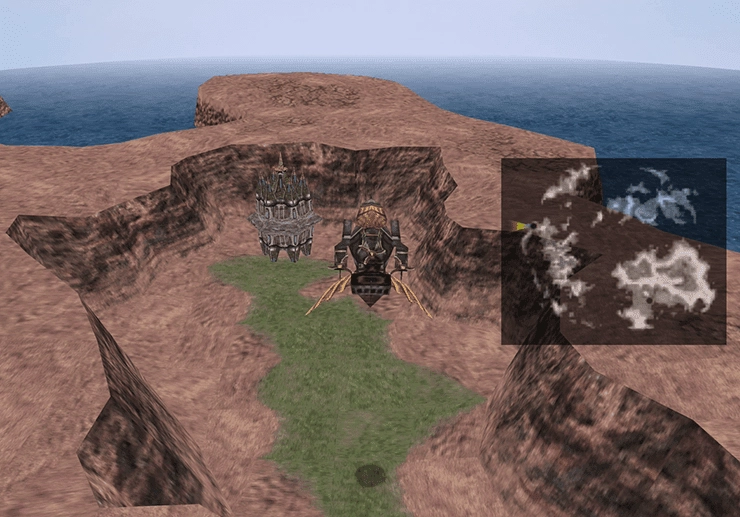
It’s time to move on to Ipsen’s Castle. Jump back into the Hilda Garde III and fly to the Forgotten Continent. Ipsen’s Castle is marked on the mini-map and is identified in the screenshot below.