Mount Gulug
There are three new Blue Magic spells that you can obtain in Mount Gulug:
- Eating Wraith (Blue) (4,686 HP) teaches
 Frost
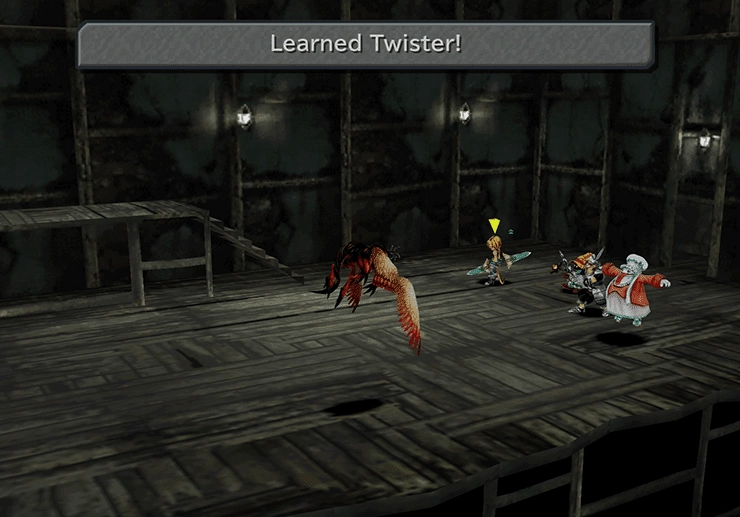
Frost - Eating Red Dragon (8,000 HP) teaches Twister
- Eating Worm Hydra (4,846 HP) teaches Bad Breath if you missed obtaining it earlier
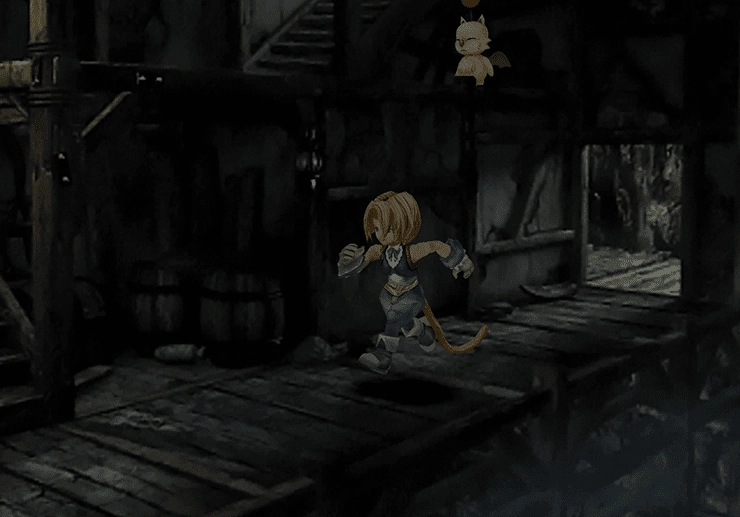
Travel down the pathway away from ![]() Moolan the Moogle, going towards the right side of the screen, and proceed through the huge double doors.
Moolan the Moogle, going towards the right side of the screen, and proceed through the huge double doors.


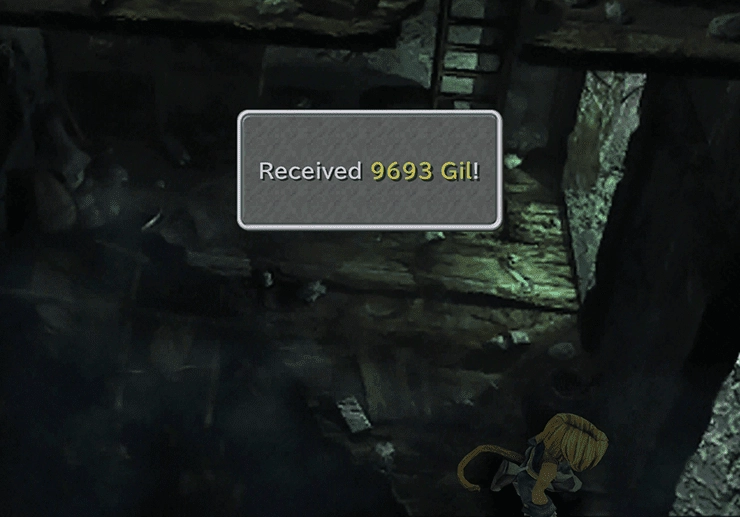
Start by taking the pathway to the left and into the building. Search the lower area of the screen to find 9,693 Gil, and search the rubble on the upper floor to find an ![]() Ether.
Ether.
Go through the doorway leading out from the upper story of the house and take the ladder down to the lower platform to pick up a hidden ![]() Red Hat. Climb back up the ladder and return to the entrance.
Red Hat. Climb back up the ladder and return to the entrance.
Enter the building on the right side. Go all the way through the building and past the well by jumping up to the platform on the far right side of the screen (a field icon will appear indicating where you can jump).
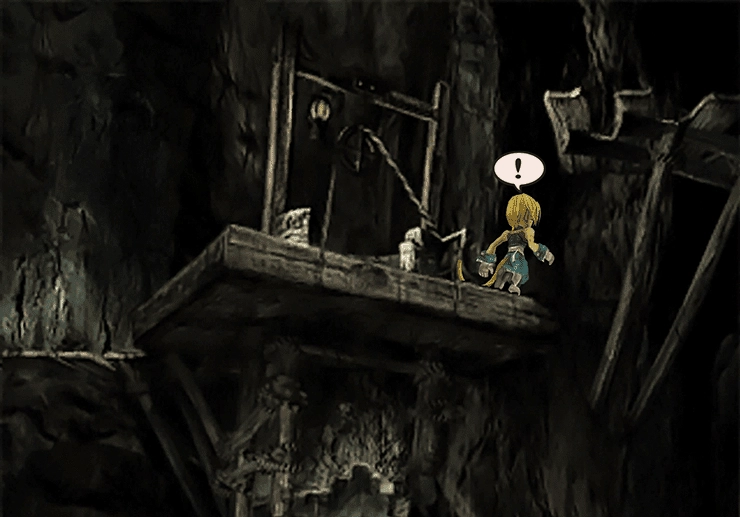
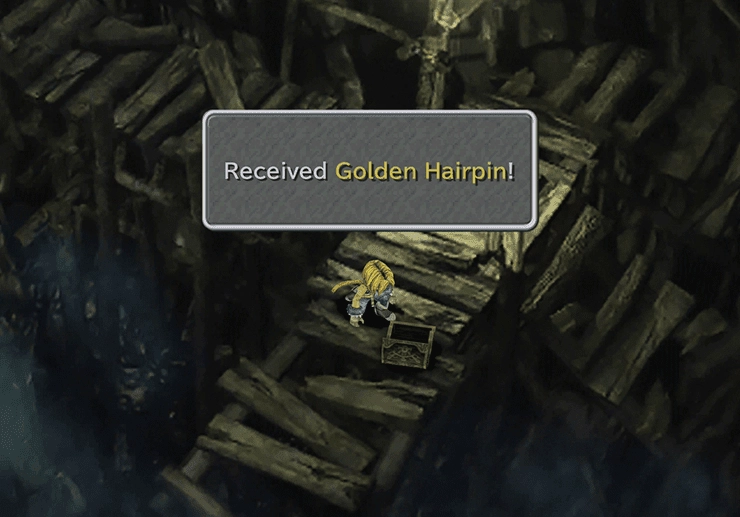
Go through the doorway into the next area and continue down the path to find a treasure chest that contains a ![]() Golden Hairpin. Backtrack back to the well.
Golden Hairpin. Backtrack back to the well.
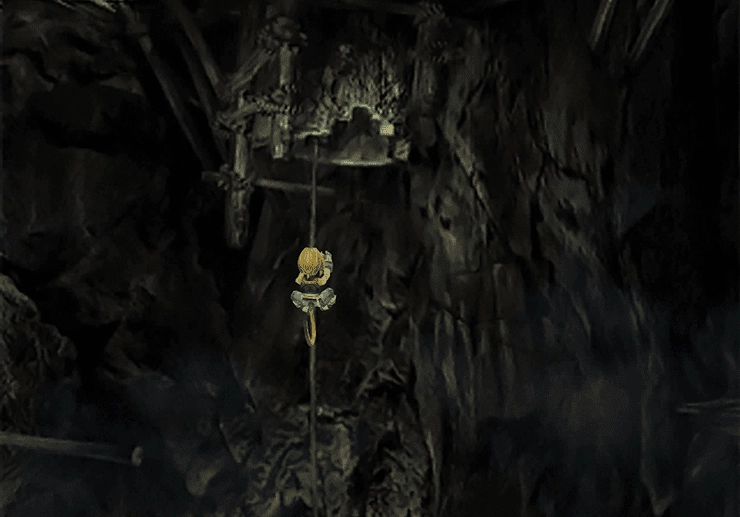
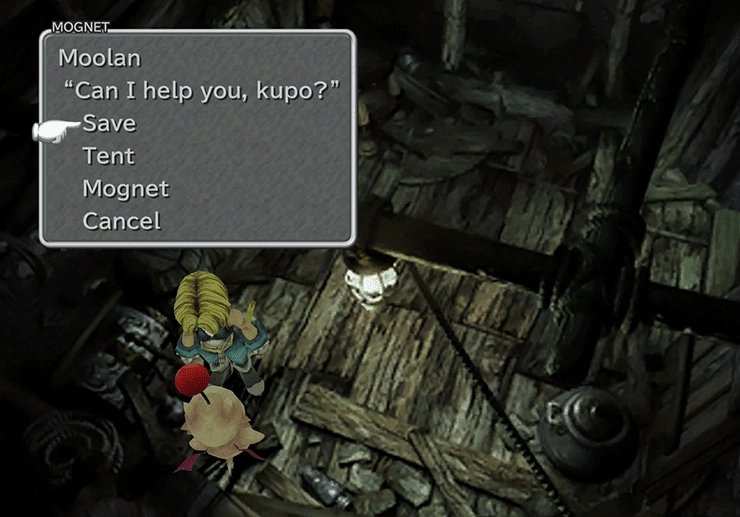
Approach the well, and another field icon will appear. Slide down the rope in the well, down a level, and then travel to the right. ![]() Moolan the Moogle is standing in the corner of this room. Select the Mognet option to deliver the letter from
Moolan the Moogle is standing in the corner of this room. Select the Mognet option to deliver the letter from ![]() Mogrika to
Mogrika to ![]() Moolan.
Moolan.
Select the Mognet option again, and ![]() Moolan will provide Zidane with a letter for Mogtaka.
Moolan will provide Zidane with a letter for Mogtaka. ![]() Moolan will also give Zidane a Kupo Nut if he doesn’t already have one in his possession.
Moolan will also give Zidane a Kupo Nut if he doesn’t already have one in his possession.
You can take this opportunity to return the Kupo Nut to Gizamaluke’s Grotto for a random item as part of the Kupo Nut side quest, though the items you can obtain are barely worth your time.
There is a ![]() Wing Edge item hiding in the bottom right corner of this room. Go through the doorway on the right side of the house and proceed down the pathway. Follow the platforms to the upper level and back out into the previous room to find a hidden
Wing Edge item hiding in the bottom right corner of this room. Go through the doorway on the right side of the house and proceed down the pathway. Follow the platforms to the upper level and back out into the previous room to find a hidden ![]() Gaia Gear at the end of the path.
Gaia Gear at the end of the path.
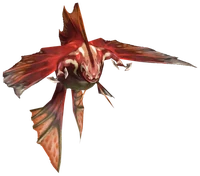
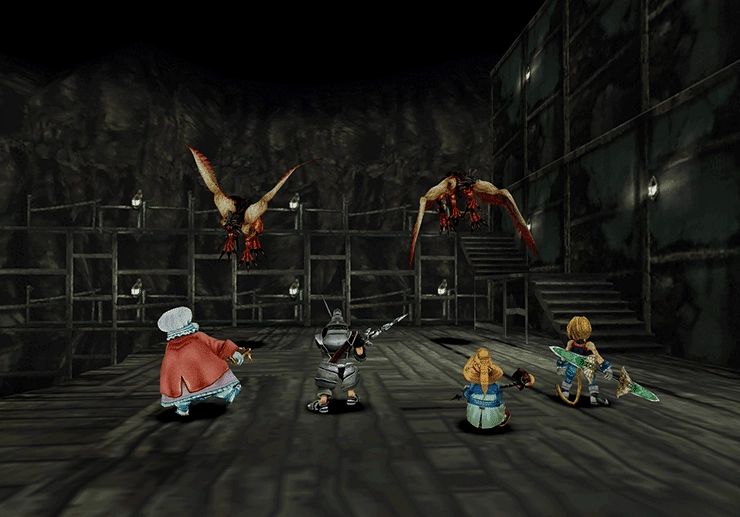
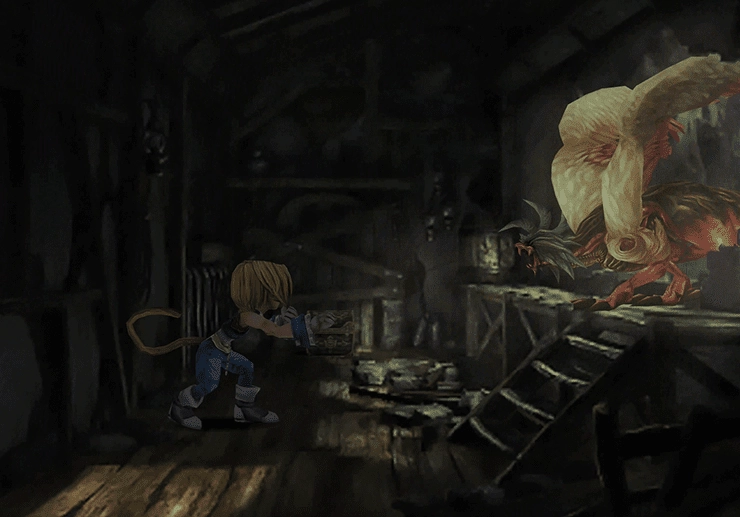
Red Dragons
On your way back, you will be ambushed by two Red Dragons. These are the enemies that Quina can learn ![]() Twister from, and they can be incredibly difficult to defeat.
Twister from, and they can be incredibly difficult to defeat.
Twister can do massive damage to each of your party members, so you may want to take some time to equip them with equipment that is resistant to wind-based attacks, such as ![]() Lamia’s Tiara,
Lamia’s Tiara, ![]() Gauntlets, and
Gauntlets, and ![]() Shield Armor.
Shield Armor.
Another useful tactic against them is to use Quina’s Blue Magic spell, ![]() Bad Breath, to inflict a barrage of status effects on them (including Confuse, Darkness, Mini, Poison, or Slow, depending on how lucky you are).
Bad Breath, to inflict a barrage of status effects on them (including Confuse, Darkness, Mini, Poison, or Slow, depending on how lucky you are).
Travel back past ![]() Moolan to the well and then take the pathway leading off to the left, away from it this time.
Moolan to the well and then take the pathway leading off to the left, away from it this time.
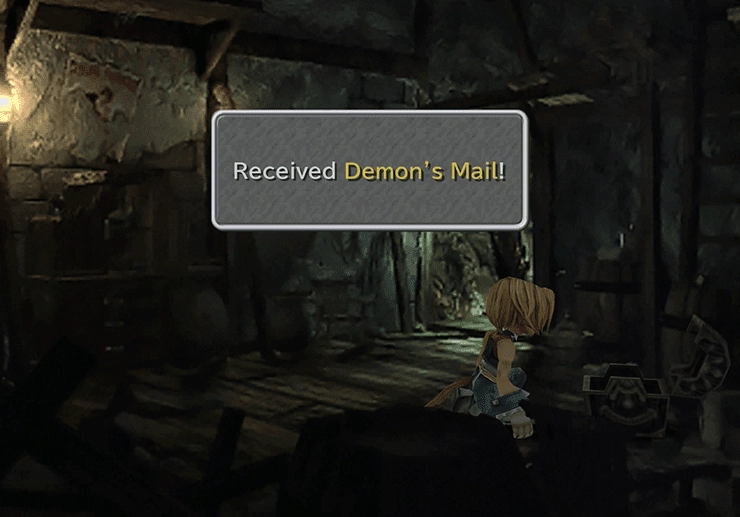
Go inside the building at the bottom of the screen and open the treasure chest to obtain ![]() Demon’s Mail. Exit the house and take the pathway leading north just outside the house.
Demon’s Mail. Exit the house and take the pathway leading north just outside the house.
Mogtaka the Moogle is standing on the upper platform of this room. Select the Mognet option to deliver the letter from ![]() Moolan to Mogtaka. Mogtaka also operates a Mogshop, where you can purchase basic consumable items if you need any.
Moolan to Mogtaka. Mogtaka also operates a Mogshop, where you can purchase basic consumable items if you need any.
Go up the stairs out of this house and into the house on the right. The party will be ambushed by another Red Dragon that breaks through the wall. This time, it’s just a battle against one Red Dragon, though, making it a much easier fight than the previous one. Grab the chest at the end of the fight to receive an ![]() Elixir.
Elixir.
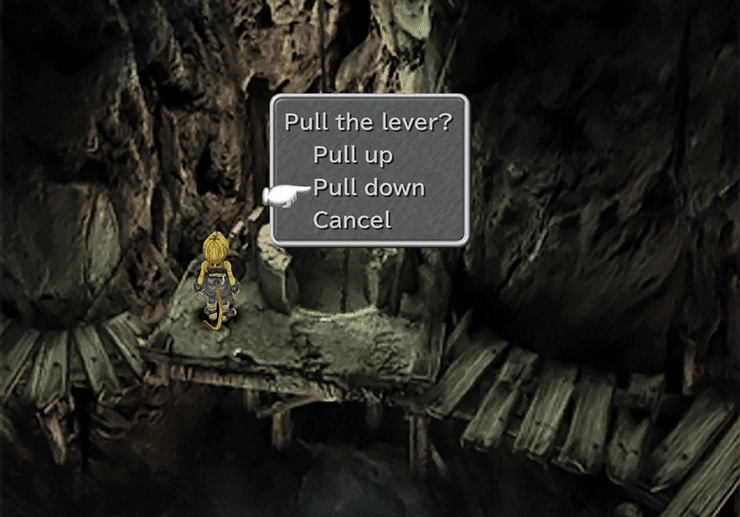
Backtrack to the room with Mogtaka and take the opportunity to save your game (and use a ![]() Tent if you need to). Return to the well and find the lever on the left side of it. Choose to flip the lever down three times and then slide down the rope to the level below. Two more Red Dragons will attack once you reach the bottom.
Tent if you need to). Return to the well and find the lever on the left side of it. Choose to flip the lever down three times and then slide down the rope to the level below. Two more Red Dragons will attack once you reach the bottom.
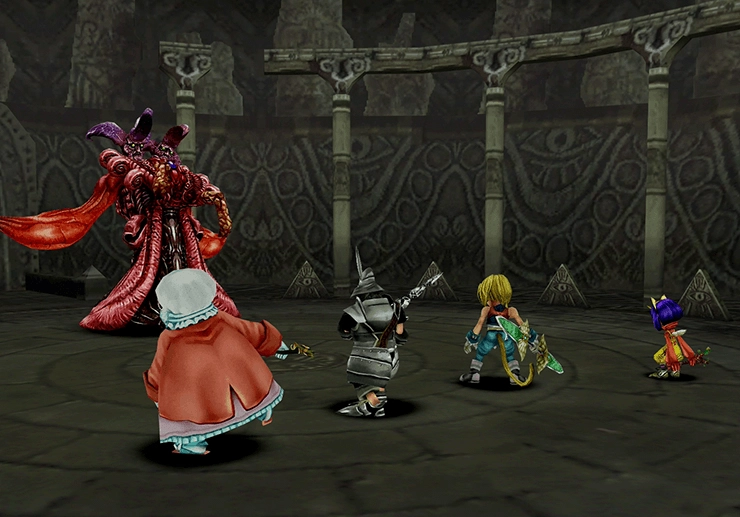
Go through the broken-down wall after you have defeated the two red Dragons. There are a few cutscenes involving Eiko, Zorn, and Thorn. There is also a brief battle sequence, which involves the three of them, but it is completely automated.
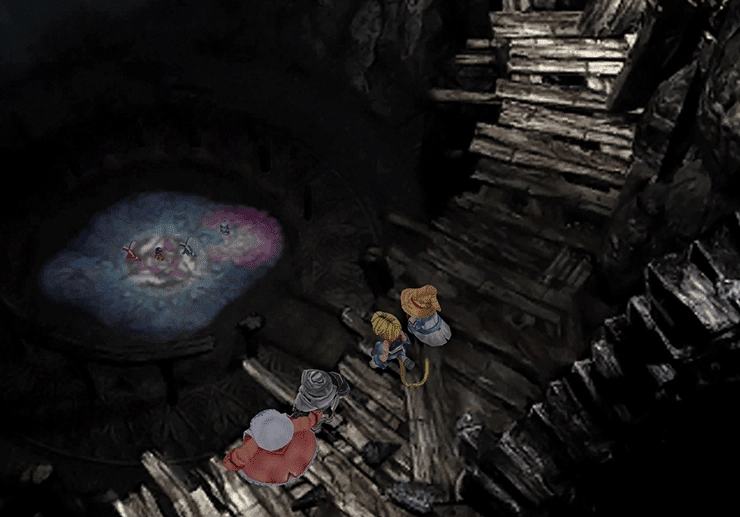
You will automatically receive a ![]() Ribbon item during the cutscenes, and then you will be thrown into battle against the next boss.
Ribbon item during the cutscenes, and then you will be thrown into battle against the next boss.

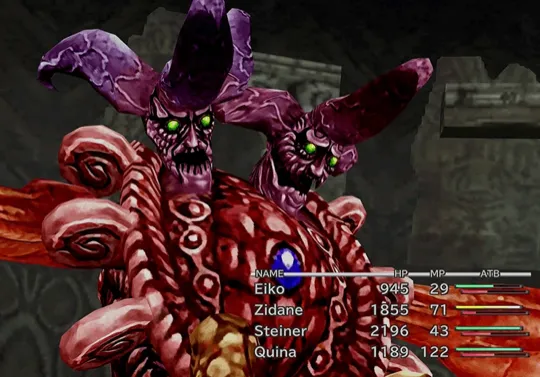
Boss Battle

Level: 42
HP: 24,348
This battle is relatively easy. Try to have Zidane steal each of the items and try to keep the Virus status effect off of each of your party members by using ![]() Vaccine items as they become inflicted.
Vaccine items as they become inflicted.
Have either Eiko or Dagger cast the ![]() Mini status effect/spell to greatly reduce the amount of damage done by Meltigemini, and make sure each of your party members has the
Mini status effect/spell to greatly reduce the amount of damage done by Meltigemini, and make sure each of your party members has the ![]() Antibody ability equipped if you are having trouble with the fight.
Antibody ability equipped if you are having trouble with the fight.
Steal:
 Vaccine (common, 70%)
 Golden Hairpin (uncommon, 23%)
 Demon’s Vest (rare, 6%)
These are the odds each time a steal connects. The ![]() Master Thief ability raises a very rare steal to 12.5%. Check out the How Stealing and Enemy Drops Work page for more information.
Master Thief ability raises a very rare steal to 12.5%. Check out the How Stealing and Enemy Drops Work page for more information.
Drops:
A video demonstration of this battle is included below for reference.
Video Guide
A video demonstration of how to successfully complete the fight against Meltigemini.
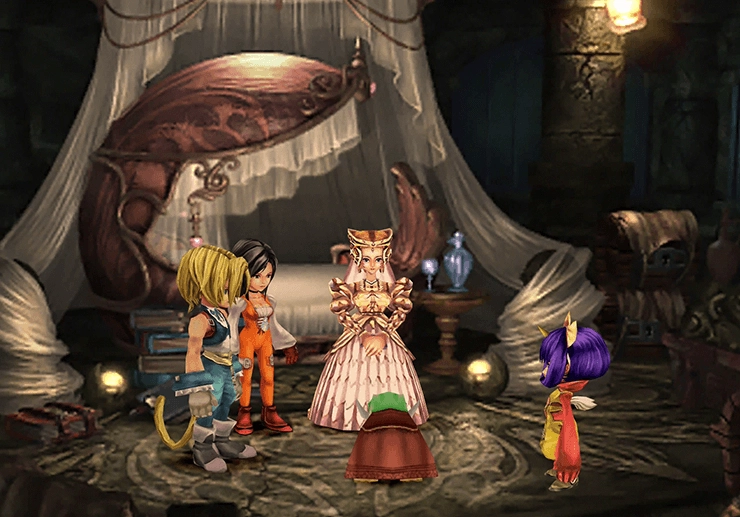
There are a few more cutscenes to watch after the battle, including the rescue of Hilda and Cid transforming back into his human form. The game resumes back in Lindblum Castle.