
Ipsen’s Castle
Location
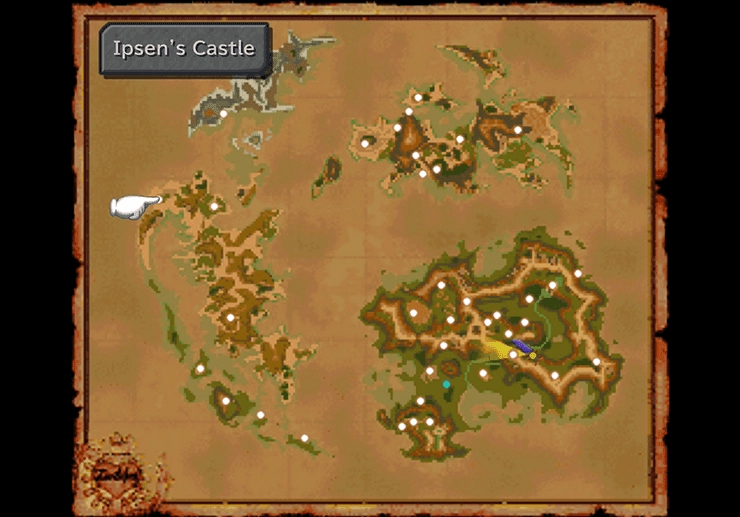
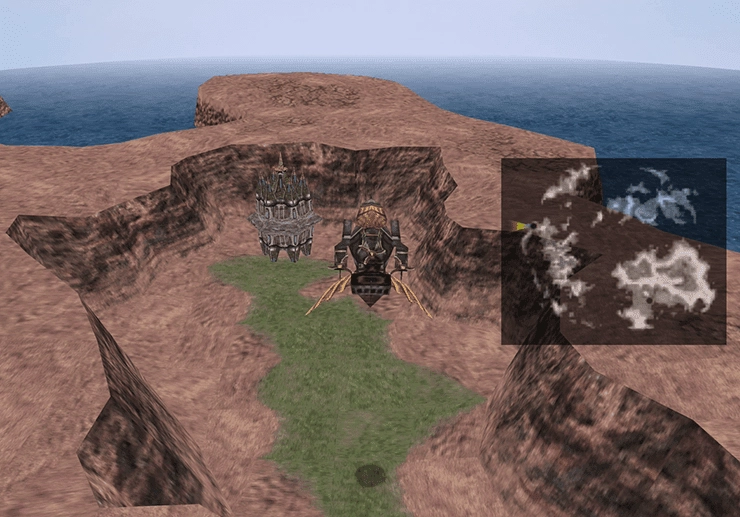
Use the Hilda Garde III to travel to Ipsen’s Castle, which you can find on the northwestern section of the Forgotten Continent. Use the map and the screenshot below to help you locate it.
Ipsen’s Castle
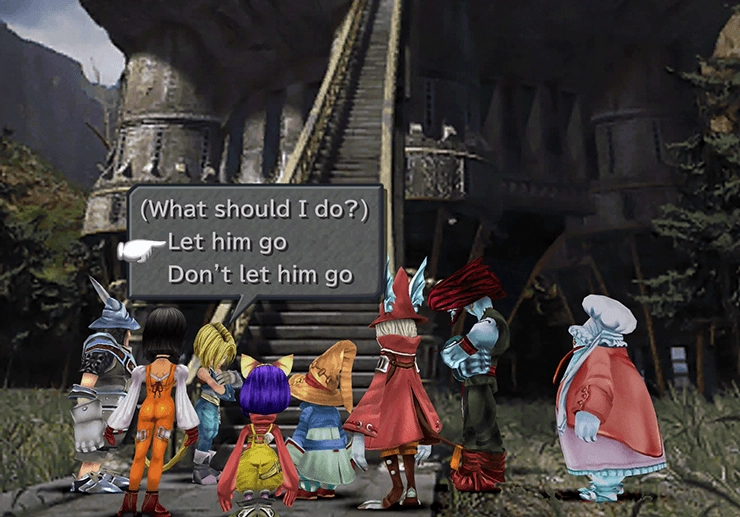
There is a short cutscene at the entrance to the castle involving Amarant, who will suggest that he go it alone from here. Zidane will be presented with a choice in the game (“Let him go” or “Don’t let him go”), but it does not matter which you select. Amarant will leave the party behind and will not be selectable for this mission.
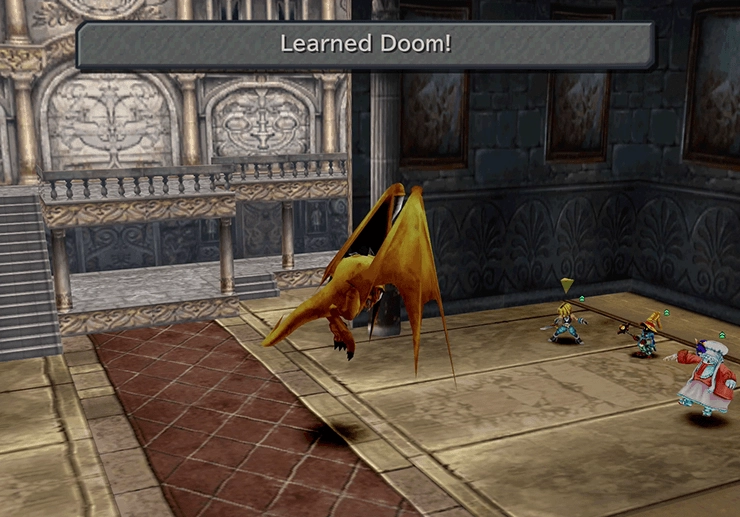
You can obtain some more Blue Magic for Quina in this area by having Quina eat a Veteran enemy (6,972 HP) to learn ![]() Doom. You can return to the area later if you did not add Quina to your party. Veterans are creatures that look like bats and are shown in the screenshot below.
Doom. You can return to the area later if you did not add Quina to your party. Veterans are creatures that look like bats and are shown in the screenshot below.
Helpful Hint
There is a trick to battling in Ipsen’s Castle. Weapon attack power is inversely related to damage inside the castle, meaning that each character’s lowest-leveled weapon is now their strongest.
Zidane should equip the ![]() Dagger, Steiner should equip the
Dagger, Steiner should equip the ![]() Broadsword, Freya should equip the
Broadsword, Freya should equip the ![]() Javelin, and Quina should equip the
Javelin, and Quina should equip the ![]() Fork.
Fork.
Skills and magic-based attacks will still do regular damage. You will find some of these weapons throughout Ipsen’s Castle, but you can save some time by equipping them now if you have them in your inventory already.
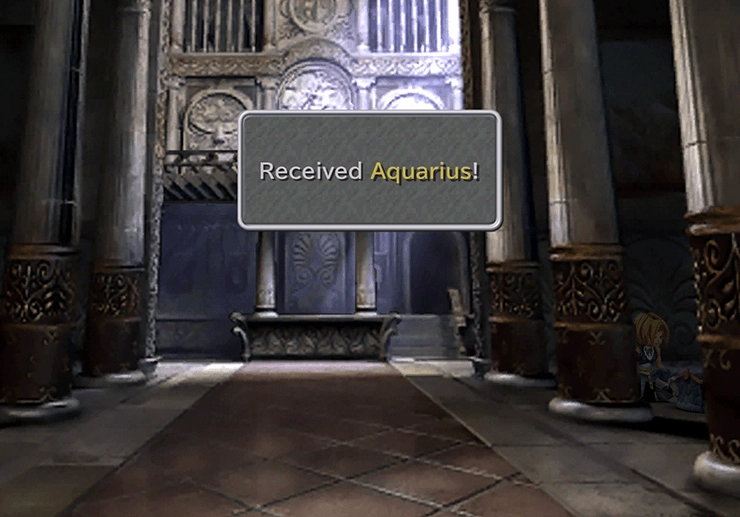
Enter the castle by walking up the long set of stairs. Grab the chest on the left side of the room to pick up a Dagger, and grab the chest on the right side of the room to obtain the Aquarius Stellazzio. Continue up the stairs at the back of the entrance and into the next room.
Kumool the Moogle is standing on the left side of this room. Speak to him and select the Mognet option to give ![]() Kumool the letter from
Kumool the letter from ![]() Mogki.
Mogki. ![]() Kumool will provide you with another Kupo Nut if you delivered the previous one to
Kumool will provide you with another Kupo Nut if you delivered the previous one to ![]() Moguta in Gizamaluke’s Grotto.
Moguta in Gizamaluke’s Grotto.
Select the Mogshop option, and you can purchase some weaker weapons, including the ![]() Mage Masher,
Mage Masher, ![]() Iron Sword,
Iron Sword, ![]() Mythril Spear, etc., if you need them. Buy a few
Mythril Spear, etc., if you need them. Buy a few ![]() Vaccines and
Vaccines and ![]() Softs, as you will need them as you explore Ipsen’s Castle.
Softs, as you will need them as you explore Ipsen’s Castle.
There is a treasure chest on the north side of the room that contains a ![]() Cat’s Claws weapon for Amarant, who is not around. Approach the pole on the right side of the screen and slide down the pole into the room below.
Cat’s Claws weapon for Amarant, who is not around. Approach the pole on the right side of the screen and slide down the pole into the room below.
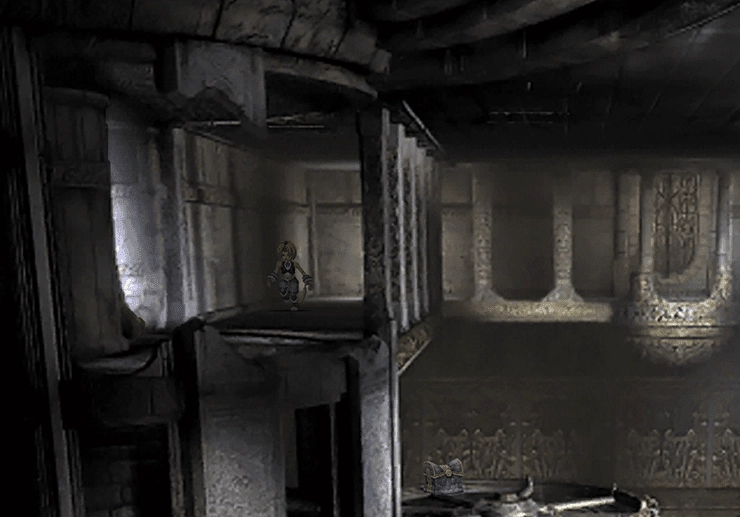
Once you reach the room at the bottom of the pole, navigate along the pathway to the ladder at the back of the room. Climb it to the upper level, and head over to the left side of the screen and head through the doorway. Follow the pathway around and into the next room.

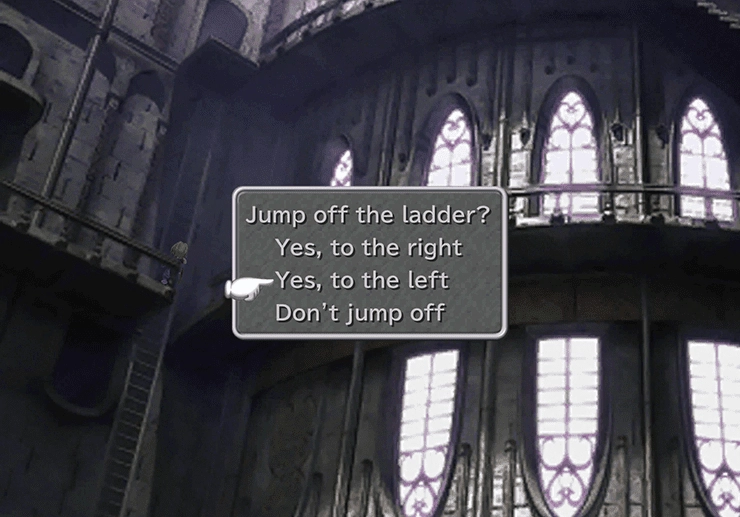
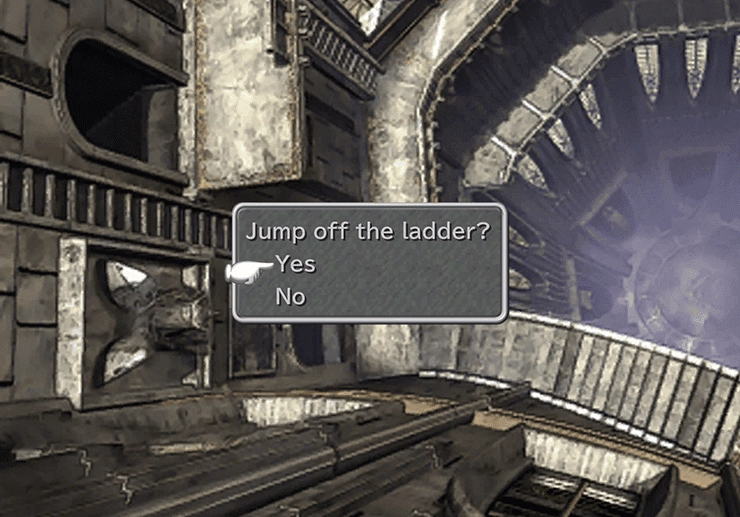
Jump onto the ladder to the right of the door, climb up to the next level, and choose to jump off the ladder to the left. Follow the pathway until it reaches a treasure chest and open it to pick up a ![]() Javelin.
Javelin.
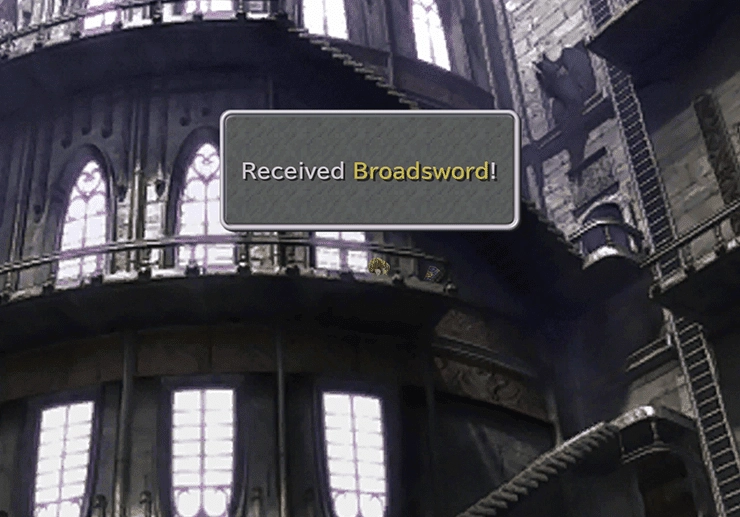
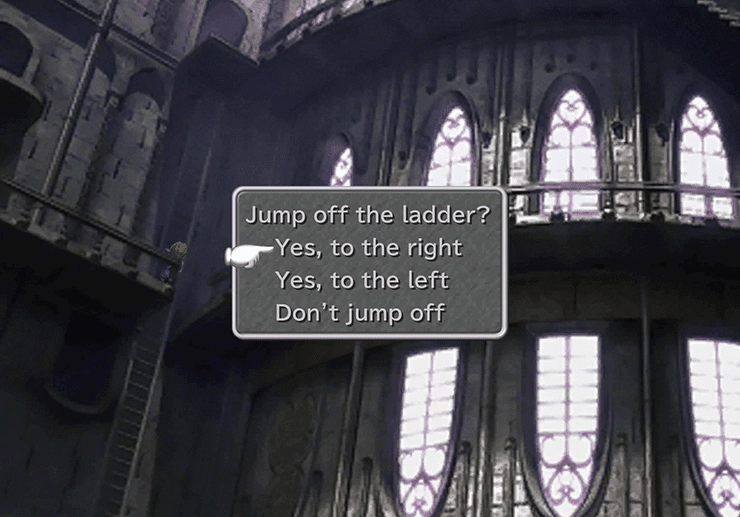
Go back to the ladder and jump off the right side to pick up a treasure chest that contains a ![]() Broadsword.
Broadsword.
Jump back onto the ladder. The top leads nowhere, so take it all the way down to the lowest level. Follow the path to the right side of the screen and jump onto the ladder on that side of the screen.
Climb the ladder part way up and jump off on the right side when given that option.
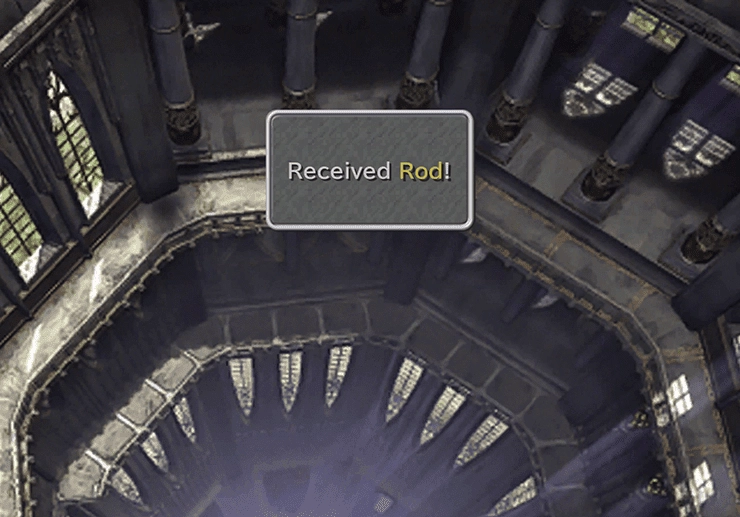
Follow the pathway around to another treasure chest that contains a ![]() Rod. Climb either of the two ladders on this platform to the top and then proceed through the doorway.
Rod. Climb either of the two ladders on this platform to the top and then proceed through the doorway.
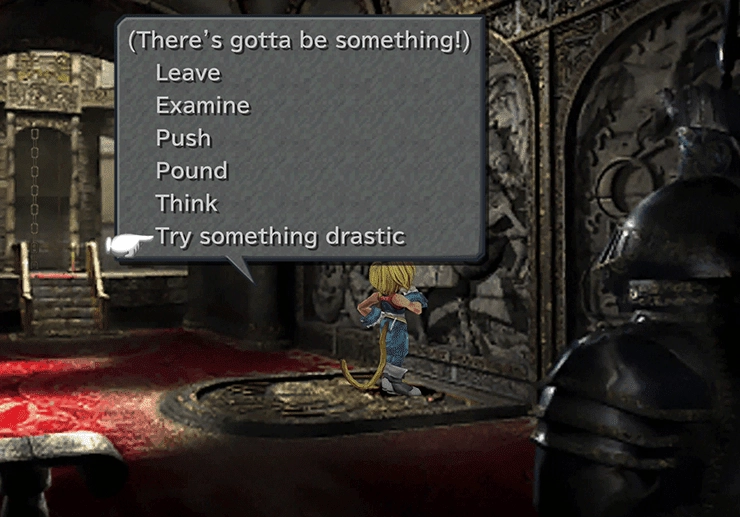
The next room has a strange-looking picture on the right side. Stand in front of it, and you will be given a choice, which leads to another choice, and then another choice, and so on.
Select the following: “Examine,” “Push,” “Pound,” “Think,” “Push,” “Pound,” “Try Something Drastic,” “Rest.” Making these choices will cause the door to open, leading into the front hall.
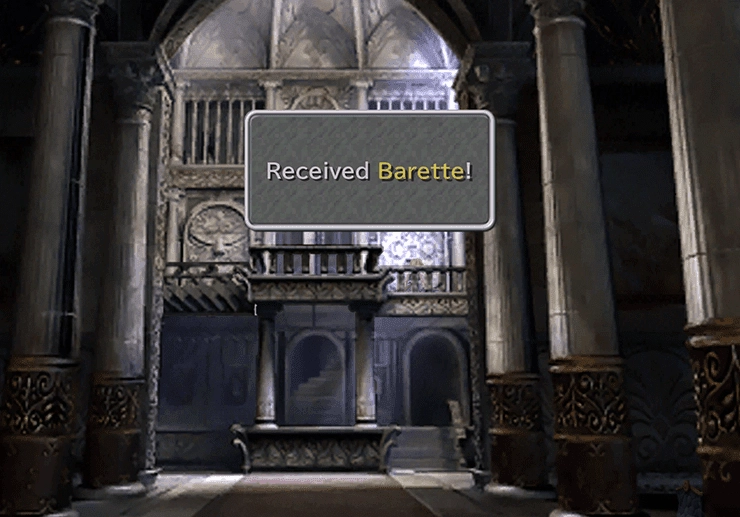
There is a treasure chest on the right side of the balcony that contains a ![]() Barette. Return to the previous room and use the elevator at the back of the room to reach the next floor.
Barette. Return to the previous room and use the elevator at the back of the room to reach the next floor.
The group will meet up with Amarant in the next room. Amarant will leave the group behind again to solve the puzzle and break the seal on their own.
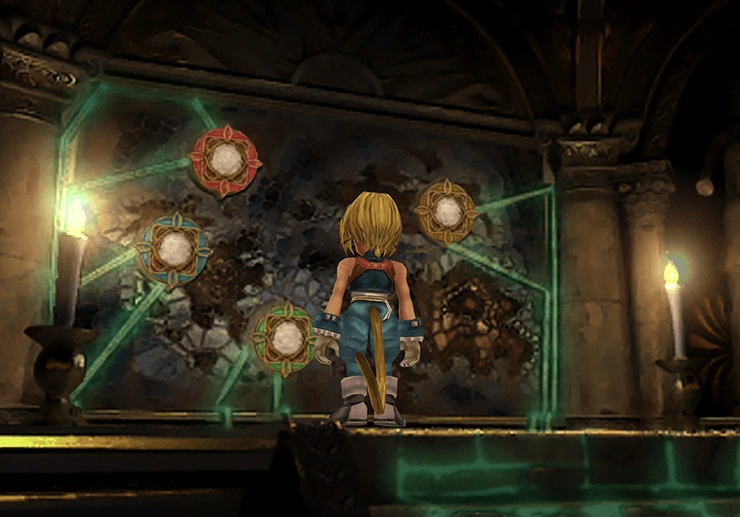
Approach the far wall and remove the Fire Mirror, Wind Mirror, Water Mirror, and Earth Mirror from where they have been placed. You will be thrown into the next boss battle as you try to leave the area.
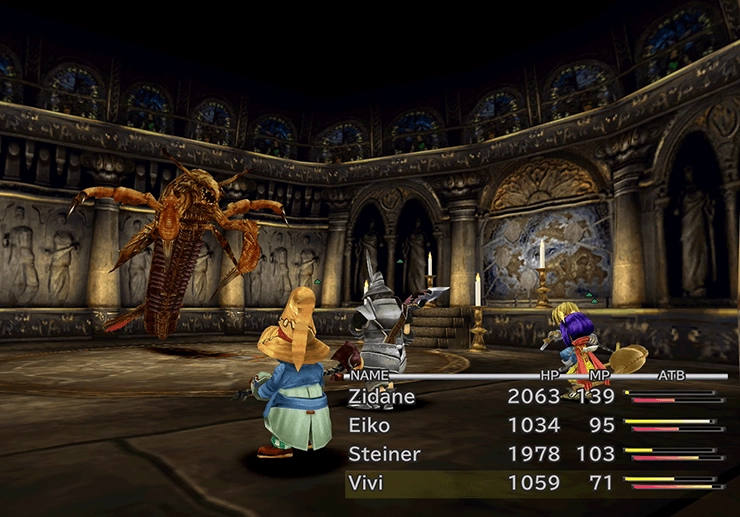
Boss Battle

Level: 46
HP: 29,186
The most important thing to remember is to steal from Taharka until you obtain the ![]() Orichalcon (the most powerful Dagger weapon in the game).
Orichalcon (the most powerful Dagger weapon in the game).
The battle against Taharka is an easy one. It has two different forms during the battle. When it is open, it will use magic-based attacks and occasionally perform a physical attack (“Chop”). It will close at certain points during the battle, at which point physical attacks do much less damage.
You can inflict Taharka with several different status effects, including ![]() Silence,
Silence, ![]() Slow,
Slow, ![]() Poison,
Poison, ![]() Power Break, and
Power Break, and ![]() Armor Break, so make sure to inflict as many as you can to make the battle easier. At the same time, Zidane will attempt to successfully steal all of the items.
Armor Break, so make sure to inflict as many as you can to make the battle easier. At the same time, Zidane will attempt to successfully steal all of the items.
Steal:
 Elixir (common)
 Mythril Claws (uncommon)
 Orichalcon (rare)
Drops:
- (Nothing)
A video demonstration of this battle is included below for reference.
Video Guide
A video demonstration of how to successfully complete the fight against Taharka.
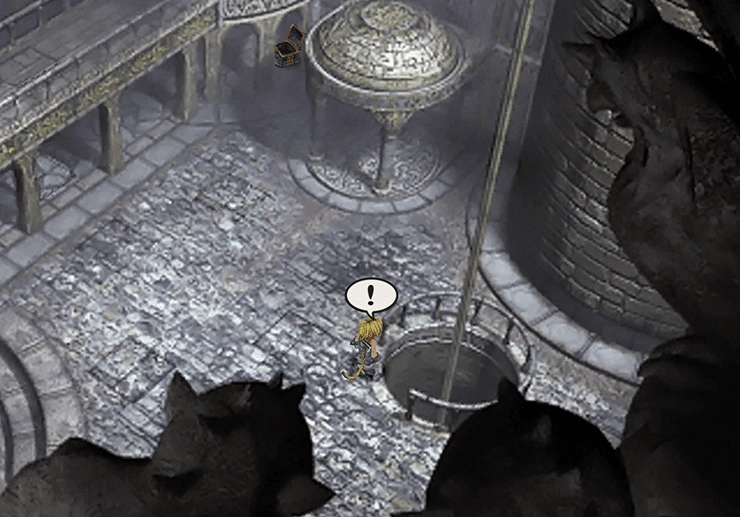
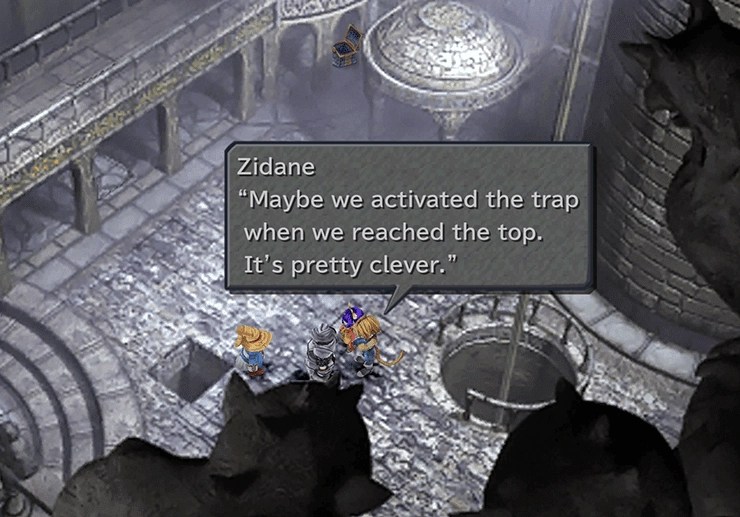
Exit the area and travel back to where ![]() Kumool the Moogle is located. A short cutscene will play, and one of your party members will stumble across one of the newly activated traps. Intentionally fall through the trap to the north (towards the treasure chest) to fall onto the bottom of the chandelier.
Kumool the Moogle is located. A short cutscene will play, and one of your party members will stumble across one of the newly activated traps. Intentionally fall through the trap to the north (towards the treasure chest) to fall onto the bottom of the chandelier.
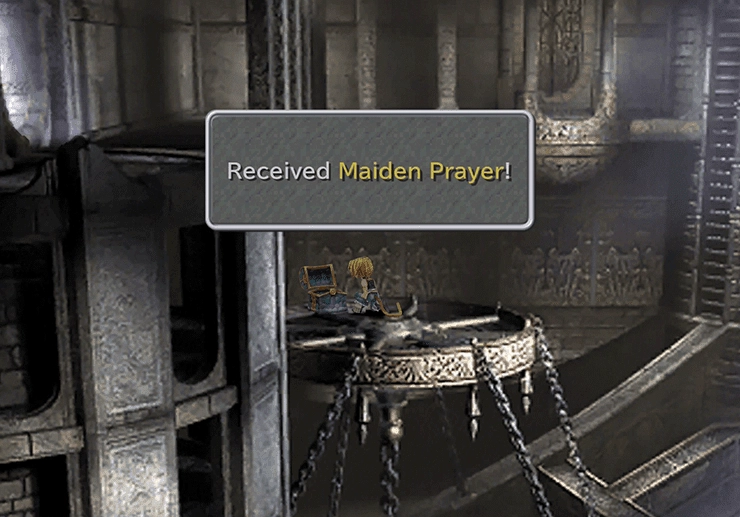
Grab the chest on the far side to pick up a ![]() Maiden Prayer. Jump off the right side of the chandelier and climb back up to the main room, where
Maiden Prayer. Jump off the right side of the chandelier and climb back up to the main room, where ![]() Kumool is located.
Kumool is located.
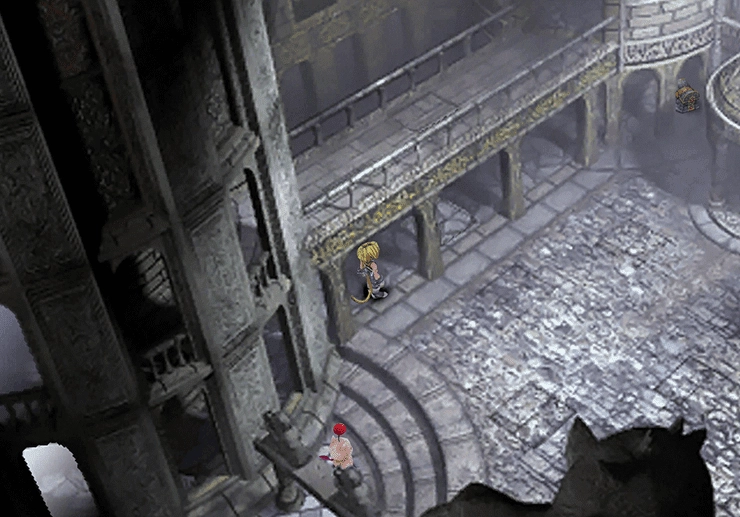
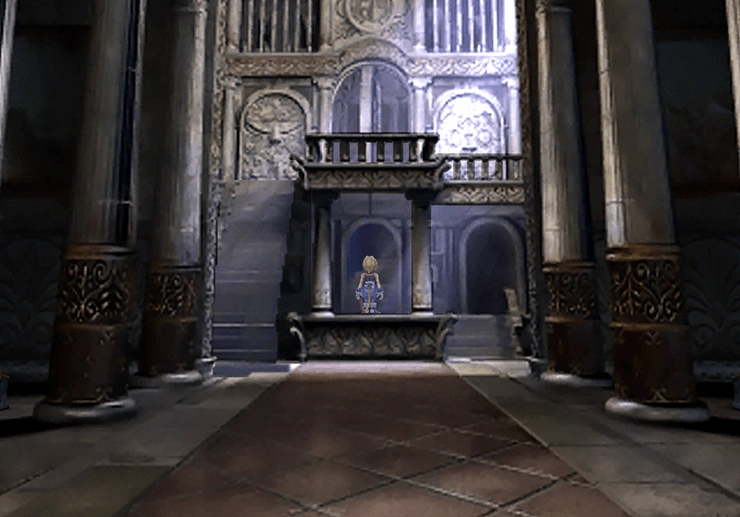
Backtrack into the main hallway, and there will now be a stairway on the far left side of the screen (note: it only appears if you successfully solved the puzzle involving the strange-looking picture). There will also be a hidden staircase between the one on the left and the doorway on the right. Use the picture below to help you locate it. Go through it and into the next room.
You will find yourself back inside the room with ![]() Kumool the Moogle but on the upper level. You will now be able to see two treasure chests on the top of the chandelier in this room.
Kumool the Moogle but on the upper level. You will now be able to see two treasure chests on the top of the chandelier in this room.
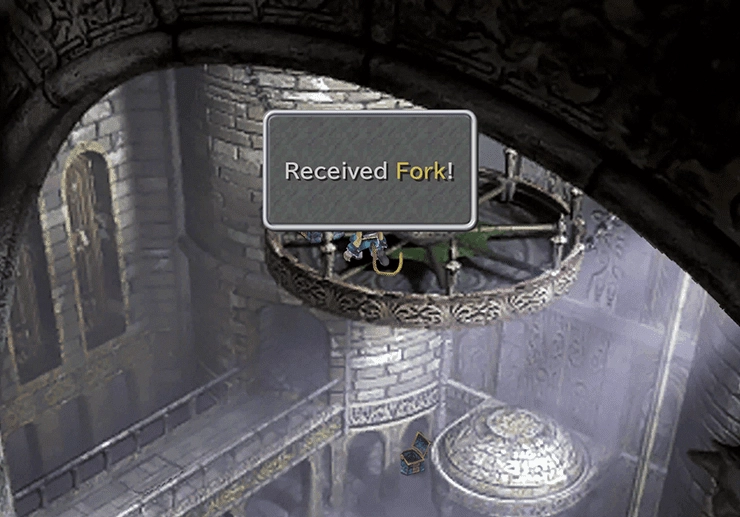
Go back down past ![]() Kumool and climb the pole again to the chandelier, where you can obtain two chests. They contain a
Kumool and climb the pole again to the chandelier, where you can obtain two chests. They contain a ![]() Mage Staff and a
Mage Staff and a ![]() Fork. Then, return to the balcony that you were previously on in this room.
Fork. Then, return to the balcony that you were previously on in this room.
Follow the balcony into the next room, then proceed down the pathway through the door. There is a treasure chest on the left side of this room that contains an ![]() Air Racket. Then, stand on the elevator in the center of the room. It will automatically take you down to the lower level.
Air Racket. Then, stand on the elevator in the center of the room. It will automatically take you down to the lower level.
Open the treasure chest on the left to obtain a ![]() Golem’s Flute.
Golem’s Flute.

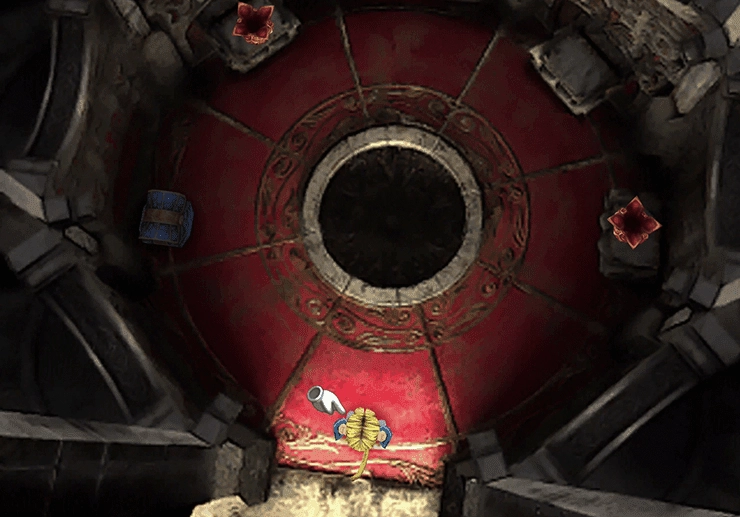
This next puzzle involves moving the two pots between the three pedestals. Move them in a circle counterclockwise to complete the puzzle. The reward for completing the puzzle is an ![]() Ancient Aroma accessory. Just pick up the pot to obtain it, exit the room afterward, and the elevator will automatically take you to the top. Exit the castle for another short cutscene outside.
Ancient Aroma accessory. Just pick up the pot to obtain it, exit the room afterward, and the elevator will automatically take you to the top. Exit the castle for another short cutscene outside.
Zidane and the rest of the party will discuss how Amarant never returned. Zidane will then opt to return to the castle to rescue him.
Rescuing Amarant
Return to the room where ![]() Kumool the Moogle is standing and slide down the pole into the room below to find Amarant, located towards the southern part of the room.
Kumool the Moogle is standing and slide down the pole into the room below to find Amarant, located towards the southern part of the room.

Exit the castle one more time to complete this section of the game.