
The Four Shrines and Terra
Preparation
The first order of business is to re-equip all of your characters with their proper weapons if they still have their weakest weapon equipped from the visit to Ipsen’s Castle. You may want to return to Ipsen’s Castle with Quina as well to obtain the Blue Magic ability ![]() Doom from a Veteran (6,972 HP) enemy.
Doom from a Veteran (6,972 HP) enemy.
Other things you can do:
- Catch more frogs for the Catching Frogs side quest.
- Take the new Kupo Nut back to
 Moguta in Gizamaluke’s Grotto for the Kupo Nut side quest; the reward is a random item.
Make sure that you equip Quina with weapons and armor by switching Quina into your party if you need to. Quina will be assisting Zidane on his next mission.
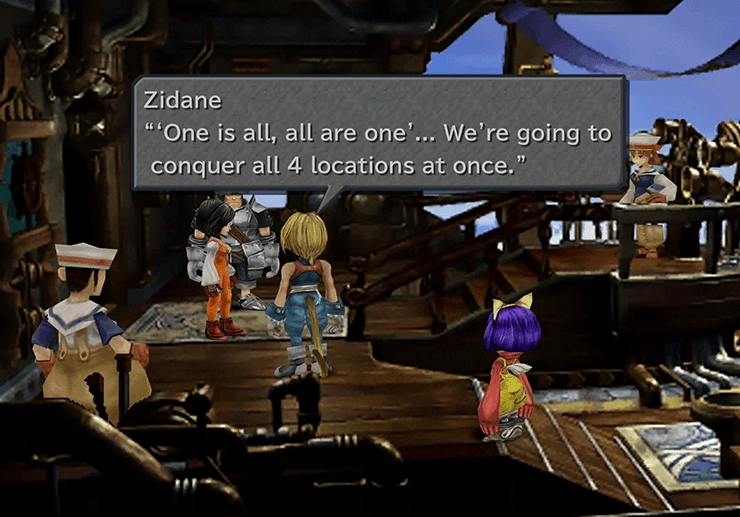
Travel on the Hilda Garde III to each of the following locations using the pictures to help you…
Water Shrine
The Water Shrine is located on the west side of the Forgotten Continent just south of Ipsen’s Castle.

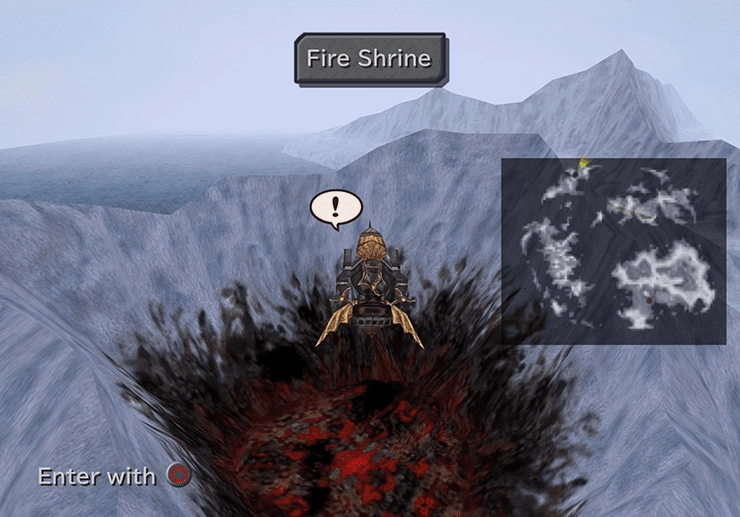
Fire Shrine
The Fire Shrine is located on the northernmost section of the Lost Continent north of Esto Gaza.
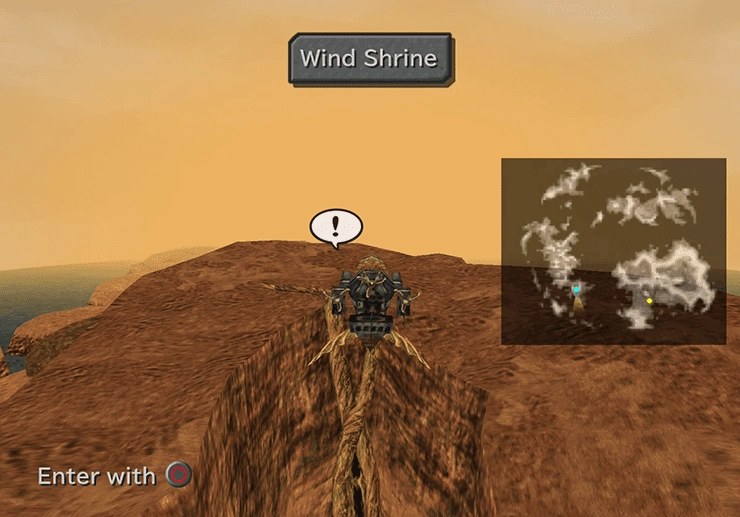
Wind Shrine
The Wind Shrine is located on the southeast side of the Forgotten Continent, southeast of Oeilvert.
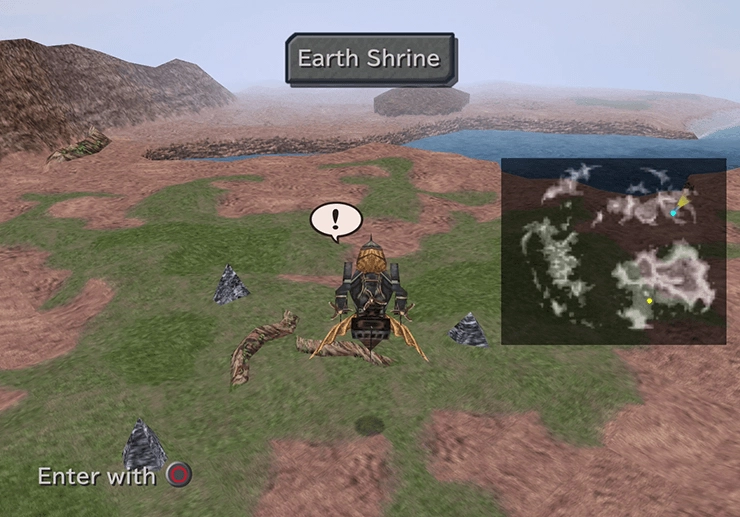
Earth Shrine
The Earth Shrine is located on the eastern side of the Outer Continent near the Desert Palace but check the notes below before entering the shrine itself.
Zidane gives you a hint that you and Quina should prepare for an upcoming battle. You can make the fight even easier by equipping Zidane and Quina with equipment that protects against earth-based attacks. This includes ![]() Gaia Gear, using
Gaia Gear, using ![]() Reflect Ring to enable the
Reflect Ring to enable the ![]() Auto-Reflect ability, and using the
Auto-Reflect ability, and using the ![]() Devil Killer ability if either character has learned it.
Devil Killer ability if either character has learned it.
Earth Shrine
Travel down the hallway and into the next room. When the room starts closing in on Zidane and Quina, just press the ![]()
![]()
![]() button when the Field Icon appears. Approach the pedestal and place the mirror in it to initiate the next boss fight.
button when the Field Icon appears. Approach the pedestal and place the mirror in it to initiate the next boss fight.
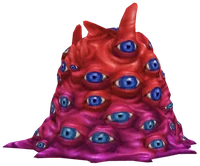
Boss Battle
Level: 54
HP: 20,756
Assuming Quina has obtained most of the Blue Magic abilities, you should make full use of each of them. Use ![]() Mighty Guard and
Mighty Guard and ![]() White Wind to keep both Quina and Zidane fully healed up and protected, and use
White Wind to keep both Quina and Zidane fully healed up and protected, and use ![]() Bad Breath to inflict a barrage of status effects onto Earth Guardian.
Bad Breath to inflict a barrage of status effects onto Earth Guardian.
After all the status effects have been inflicted, you should have Zidane go to work attempting to steal the two items (![]() Avenger and
Avenger and ![]() Rubber Suit). The rest of the fight is fairly straightforward. Regular attacks to bring it down and items to heal up when your party member’s HP gets low.
Rubber Suit). The rest of the fight is fairly straightforward. Regular attacks to bring it down and items to heal up when your party member’s HP gets low.

Steal:
 Avenger (common, 70%)
 Rubber Suit (uncommon, 23%)
These are the odds each time a steal connects. The ![]() Master Thief ability raises a very rare steal to 12.5%. Check out the How Stealing and Enemy Drops Work page for more information.
Master Thief ability raises a very rare steal to 12.5%. Check out the How Stealing and Enemy Drops Work page for more information.
Drops:
A few cutscenes will take place after the battle involving all four teams at each of the shrines. Choose your team again at the end of the scenes.

The next destination is the Shimmering Islands on your way to Terra, but there are some things you should take care of beforehand. This is your last chance to access many areas of the game on the third disc (and your last chance to complete the Cotton Robe Trick).
You won’t be able to complete most of the early side quests, as many of the cities and towns will become unreachable after this point. You should complete the following side quests before you continue:
- Rare Coffees
- Knight’s House Challenges (up to Amdusias)
- Treasure Hunter
You should also make sure to pick up the following weapons which teach abilities as you cannot purchase them later in the game:
| Weapon | Ability Taught | Location |
|---|---|---|
| Armor Break (Steiner) | Mimoza’s Mogshop (in Oeilvert) | |
| Iai Strike (Steiner) | Daguerreo | |
| Luna (Freya) | Mimoza’s Mogshop | |
| Six Dragons (Freya) | Esto Gaza | |
| Cherry Blossom (Freya) | Daguerreo | |
| Power Break (Steiner) | Esto Gaza | |
| Magic Break (Steiner) | Esto Gaza | |
| Death (Vivi) | Esto Gaza | |
| Jewel (Eiko) | Daguerreo or Esto Gaza | |
| Firaga Thundaga Blizzaga (Vivi) |
Daguerreo or Esto Gaza |
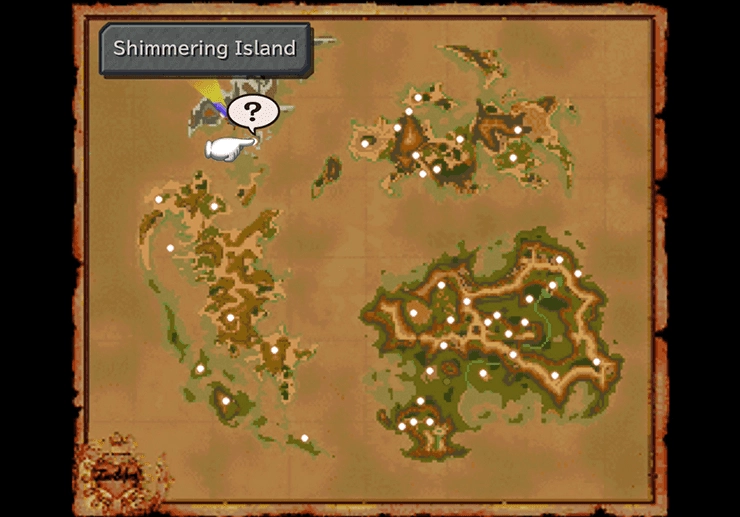
The next destination is the Shimmering Islands. They are located close to Esto Gaza on the Lost Continent, and you can find them by pulling up the map (or checking out the screenshot below).
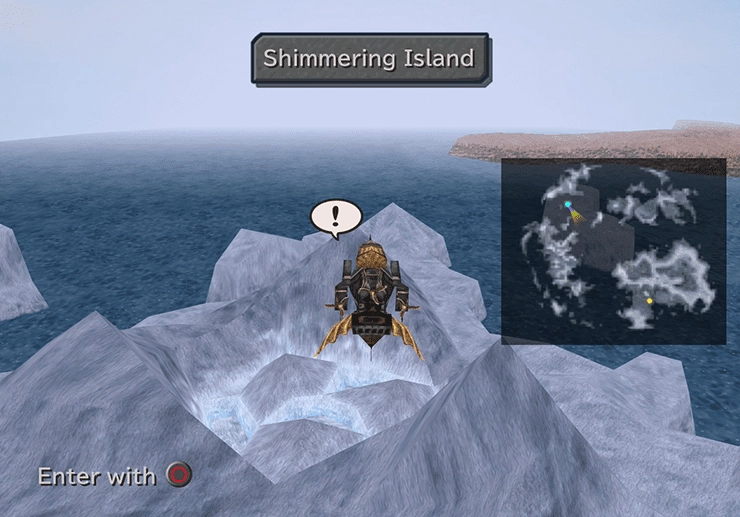
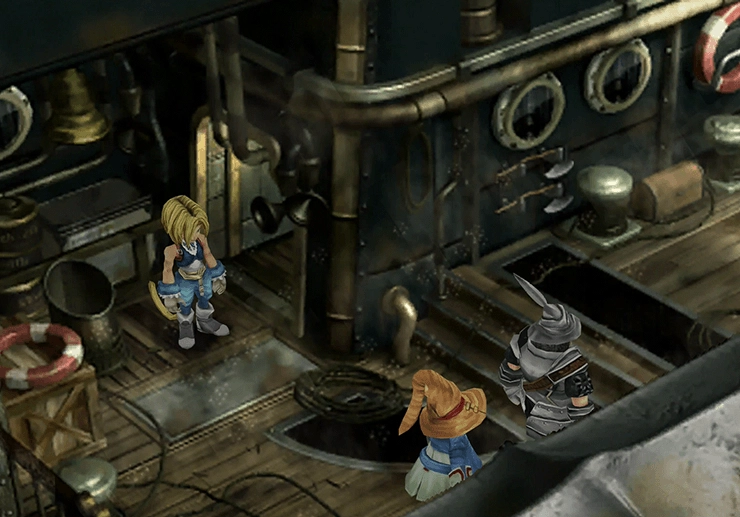
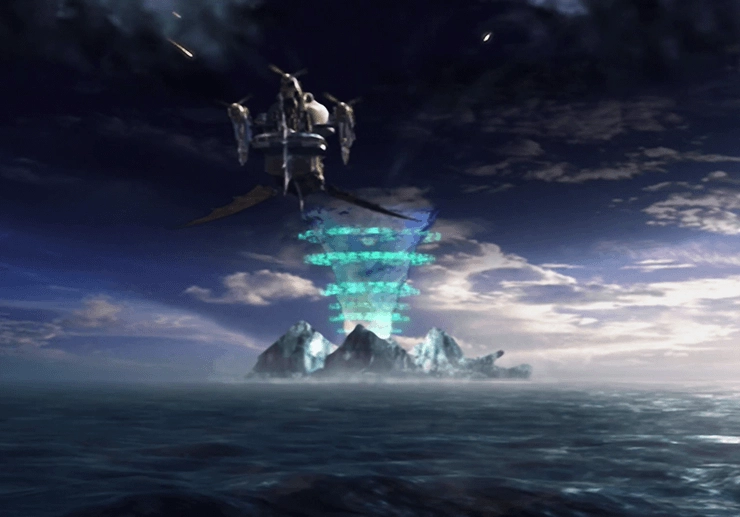
Some dialog takes place aboard the Hilda Garde III between the team members when you opt to enter, and Zidane will get one last opportunity to either “Keep moving forward!” or select “Let’s pull back for now!.” Keep moving forward to move on to the next part of the story.
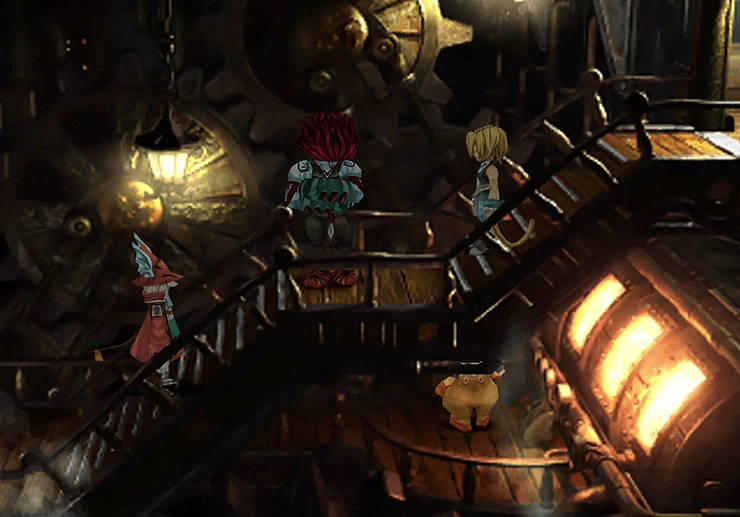
Terra
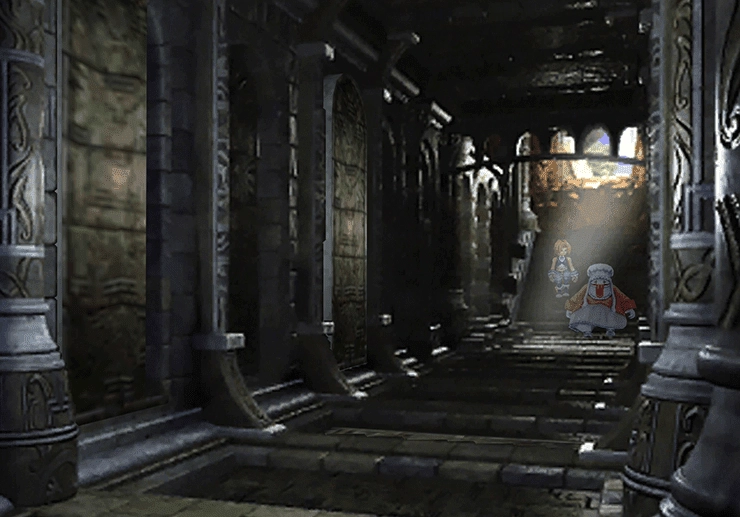
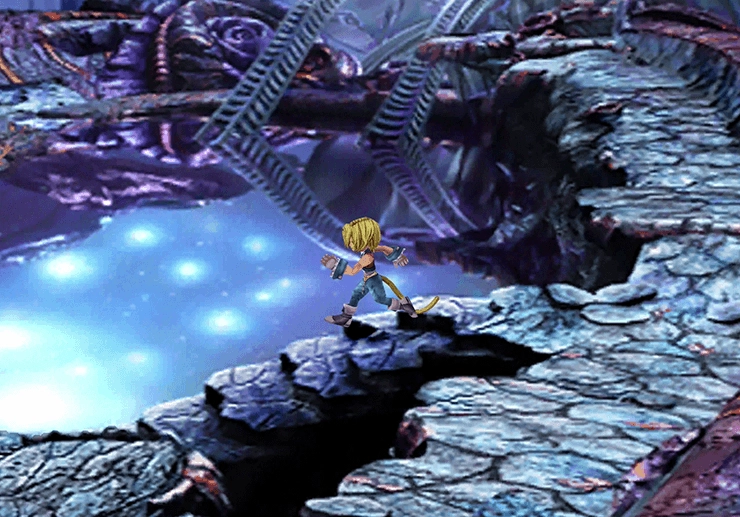
Zidane and the rest of the party will arrive in Terra and be treated by none other than Garland. You will have the option to select from all eight of your party members (except Zidane, who is mandatory for the story). Select your regular party and then head down to the lower right side of the screen.
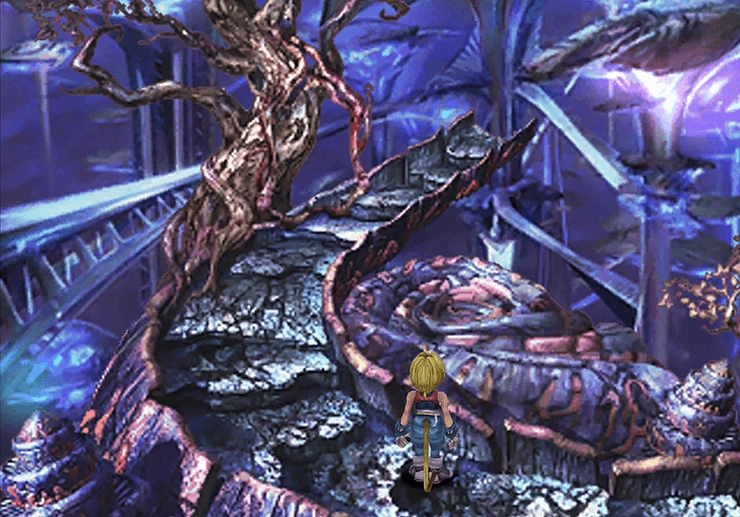
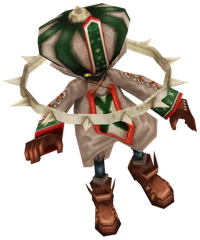
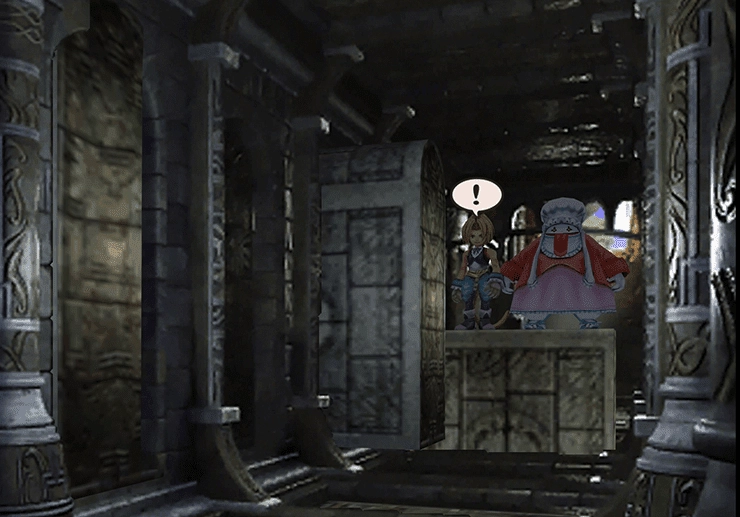
Zidane will run into another humanoid creature on the next pathway: the Mysterious Girl in red. Take the stairs leading off to the left and down to the next screen.
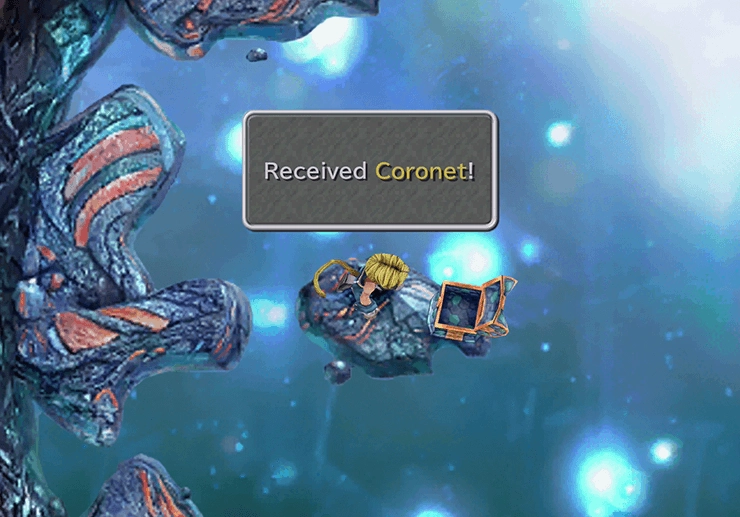
Jump across the two ledges and open up the treasure chest to obtain a ![]() Coronet.
Coronet.
Jump off the platform, heading north to find another treasure chest that contains a ![]() Dragon Wrist. Head back to the previous platform where Mysterious Girl appeared. Walk north into the next screen.
Dragon Wrist. Head back to the previous platform where Mysterious Girl appeared. Walk north into the next screen.
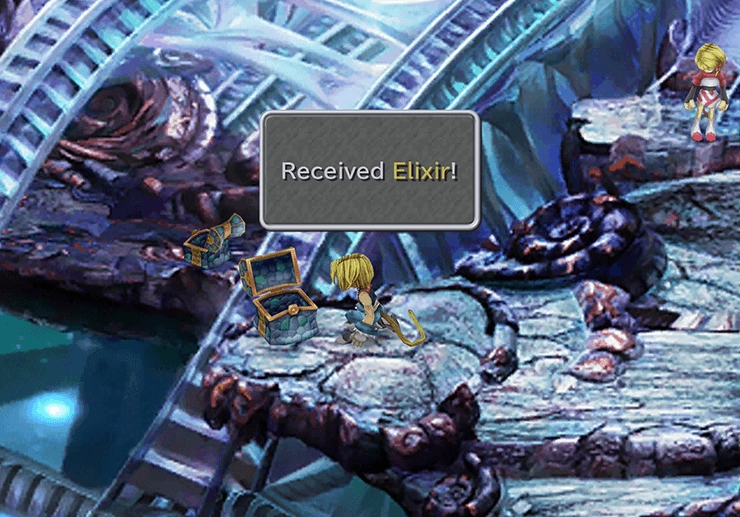
Grab the treasure chest on the left side of the screen to pick up an ![]() Elixir. Walk towards the Mysterious Girl in red again, and she will run away once more. Continue across the bridge and through the next screen.
Elixir. Walk towards the Mysterious Girl in red again, and she will run away once more. Continue across the bridge and through the next screen.
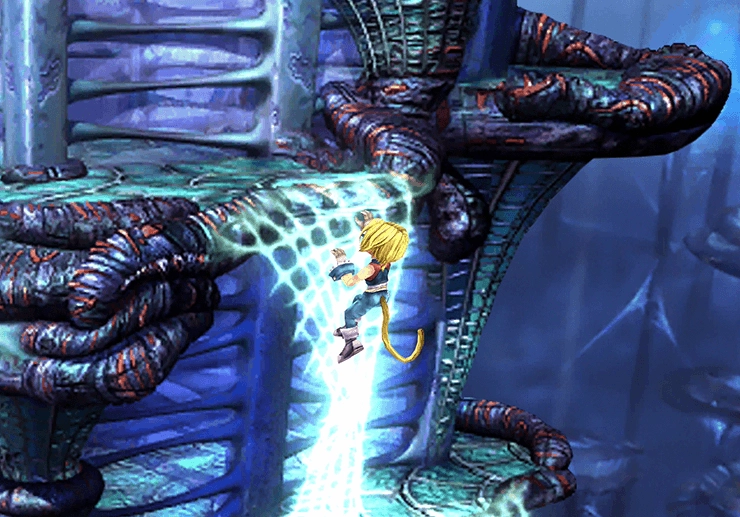
The next area has some spiderwebs on the right side of the screen that Zidane can use to climb down a level. Climb down one more level using the spider webs on the far-right side of the screen to reach a treasure chest that contains a ![]() Remedy.
Remedy.
Climb back up to the level above and head to the left side of the screen. Jump across the hole and open up the treasure chest on the far side to obtain a ![]() Mythril Racket, and then climb down the last spider webs to the level below.
Mythril Racket, and then climb down the last spider webs to the level below.

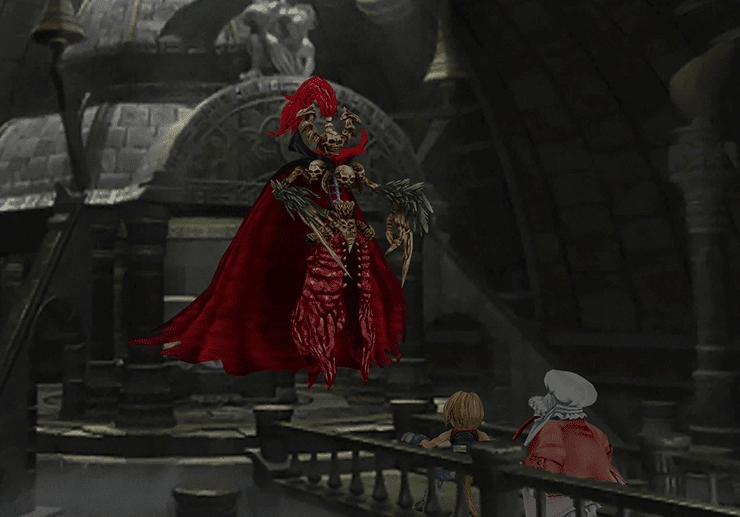
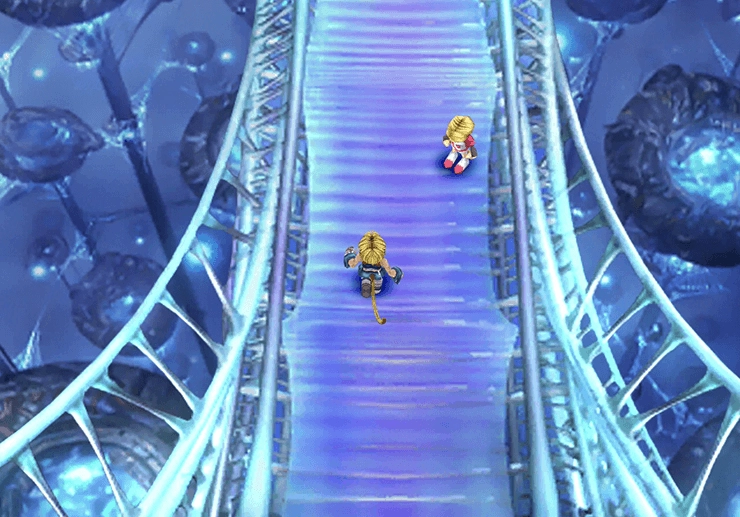
Open the last treasure chest to pick up a ![]() Demon’s Vest and then approach the Mysterious Girl in red. She will run off again down the bridge. Follow her, and once you reach her, she will encourage Zidane to continue onward down the bridge.
Demon’s Vest and then approach the Mysterious Girl in red. She will run off again down the bridge. Follow her, and once you reach her, she will encourage Zidane to continue onward down the bridge.
There is a treasure chest that can be seen on the left side of the screen as soon as you enter the next area. Travel up the stairs and go through the wall on the left side of the platform (shown in the screenshot below). Then, walk downward and to the back of the screen to find a secret pathway that leads down to the treasure chest.
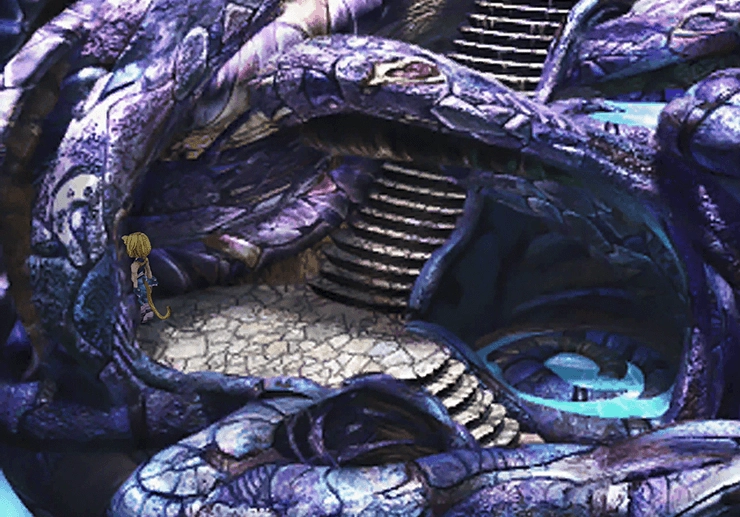
Open it up to obtain a ![]() Minerva’s Plate. Continue up the stairs into the next area for another cutscene.
Minerva’s Plate. Continue up the stairs into the next area for another cutscene.
