
 The Rising Tide
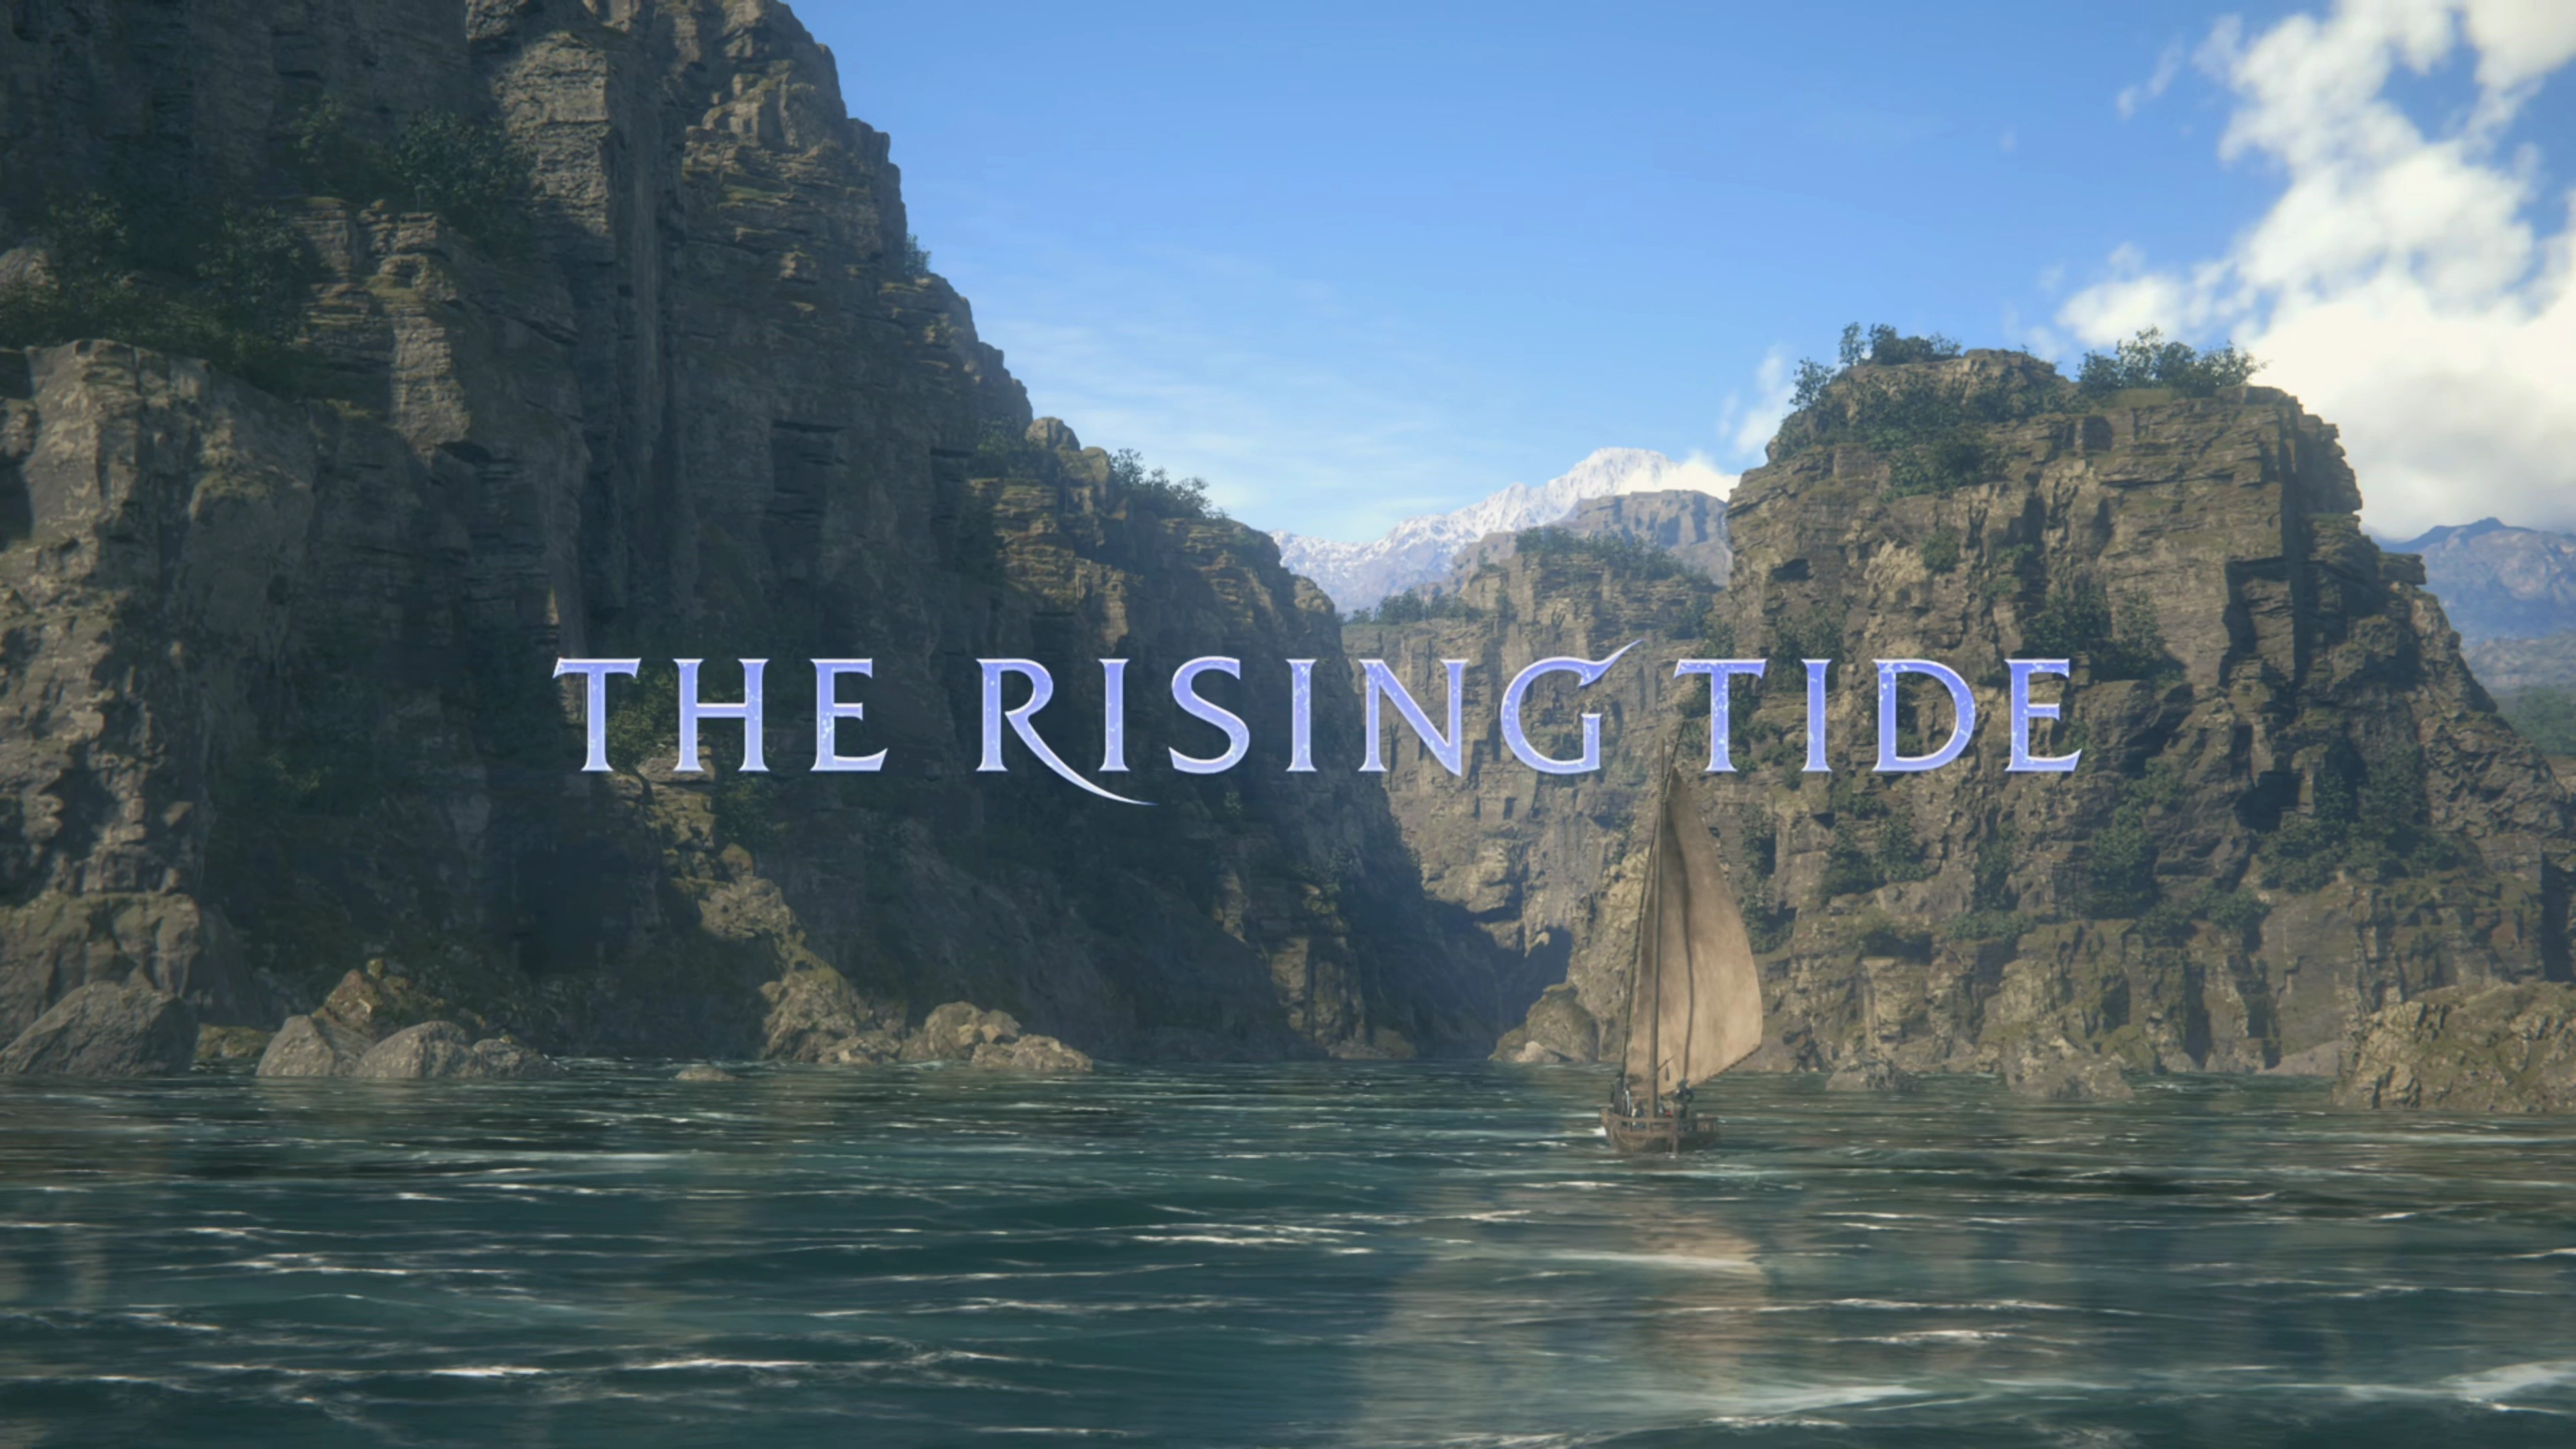
This is the walkthrough section for “The Rising Tide” DLC Expansion for Final Fantasy XVI. For more information on how to unlock the DLC and information on the timing for when you should complete this content, check out the overview page:
DLC Expansions
How to unlock the expansion content and a guide that helps you decide when you should complete it (immediately, after the endgame content, or after the final boss).
The recommendation from this strategy guide is that you complete the DLC expansion first, as soon as you can, and that you should unlock it as quickly as possible. While you can technically complete both expansions in any order you choose, it is recommended that you complete the “Echoes of the Fallen” content first, as the story progresses canonically from that expansion. The items you pick up in the Sagespire will help you with this content. Use the link below to go to the walkthrough section for the previous expansion:
DLC Expansion
“Charon reveals that a new kind of crystal has lately appeared on the market—strange, spiritless shards known as ‘dust crystals,’ which she wagers were mined from a heretofore undiscovered Mothercrystal. Clive sets out to investigate.”
With the previous expansion complete, let’s move on to “The Rising Tide.”
Initiating the Quest
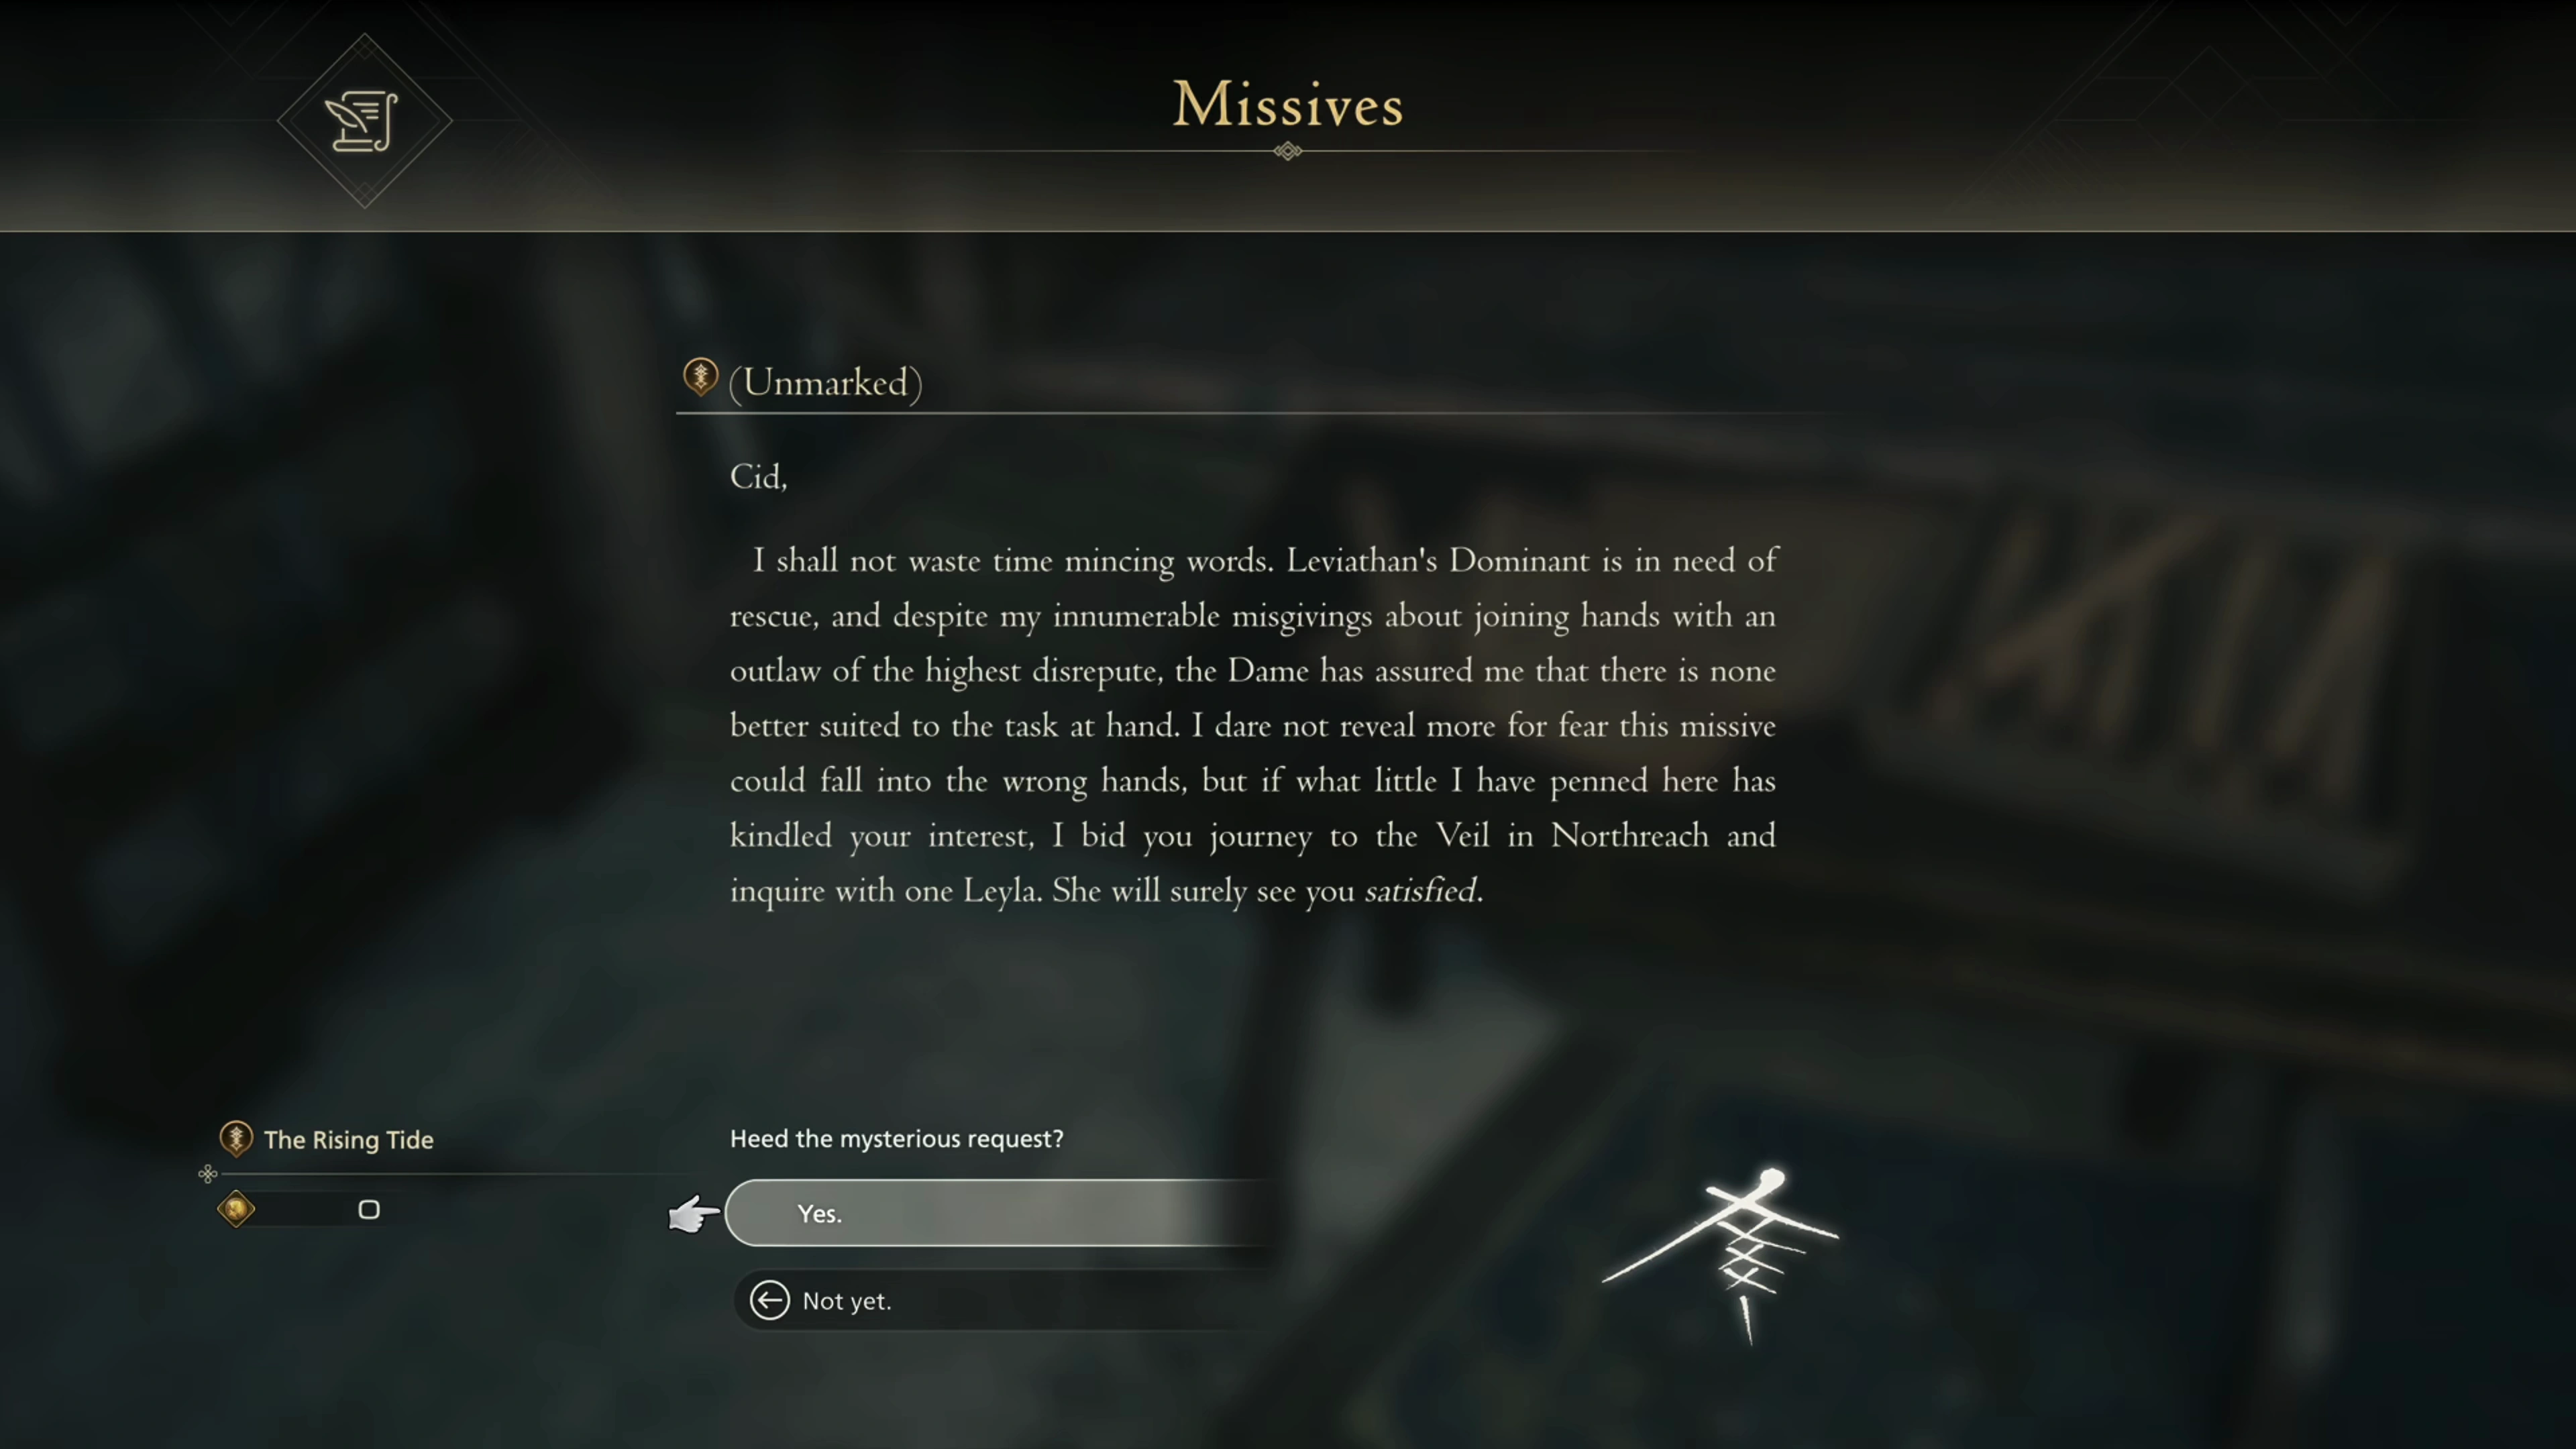
Much like the “Echoes of the Fallen” DLC Expansion, this expansion is also just an Optional Quest that pops up once the requirements have been met. The Rising Tide Quest Marker ![]() appears as a quest at Clive’s reading desk in his chambers. Select the
appears as a quest at Clive’s reading desk in his chambers. Select the ![]() (Unmarked) Missive to “heed the mysterious request.”
(Unmarked) Missive to “heed the mysterious request.”
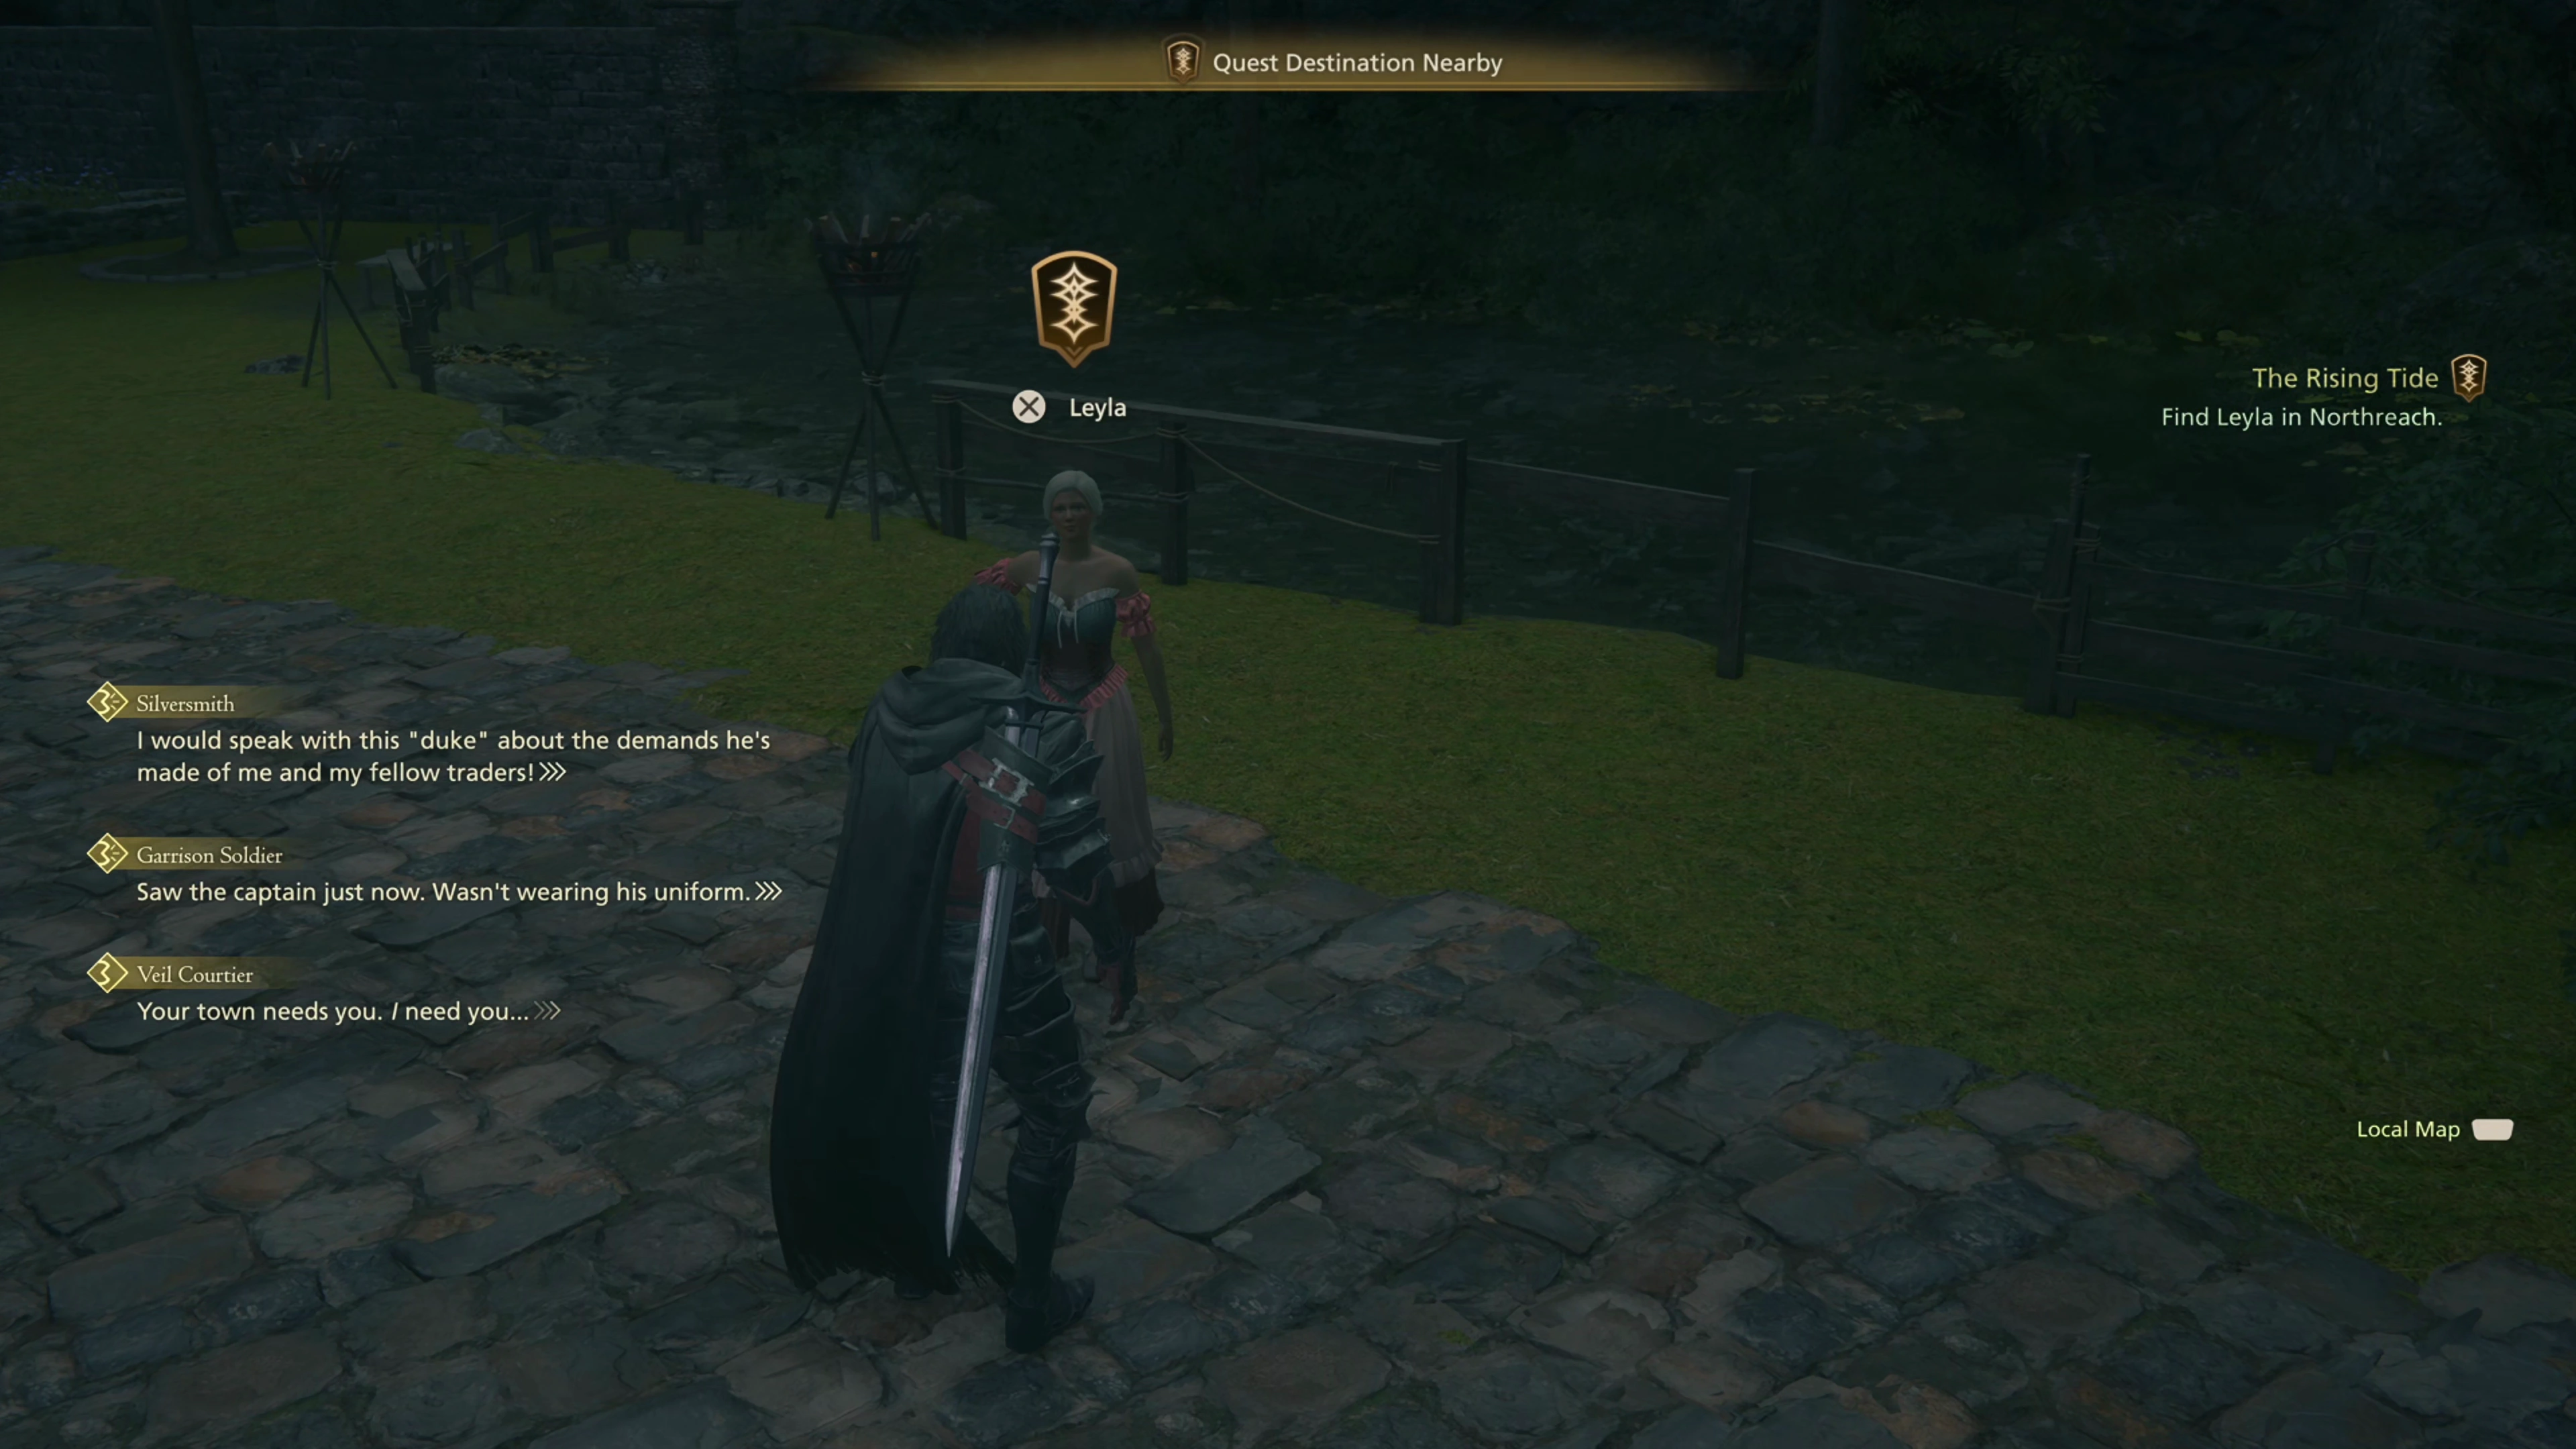
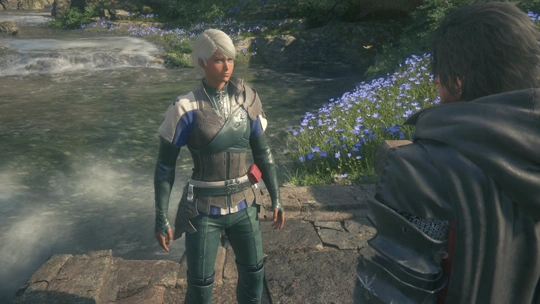
The first step of the quest, following the cutscene/discussion between Clive and his friends, is to head to Northreach to find Leyla. Leyla can be found along the pathway just outside of the Veil. Speak to her, and she will ask you to locate a tent north of town on the shore of Oillepheist Bay. This location will be marked on the map, so follow the quest marker departing through the north side of Northreach.
Achievement/Trophy
“Find again what was lost.” You’ll receive the  The Calm Achievement/Trophy automatically once you begin the Rising Tide quest.
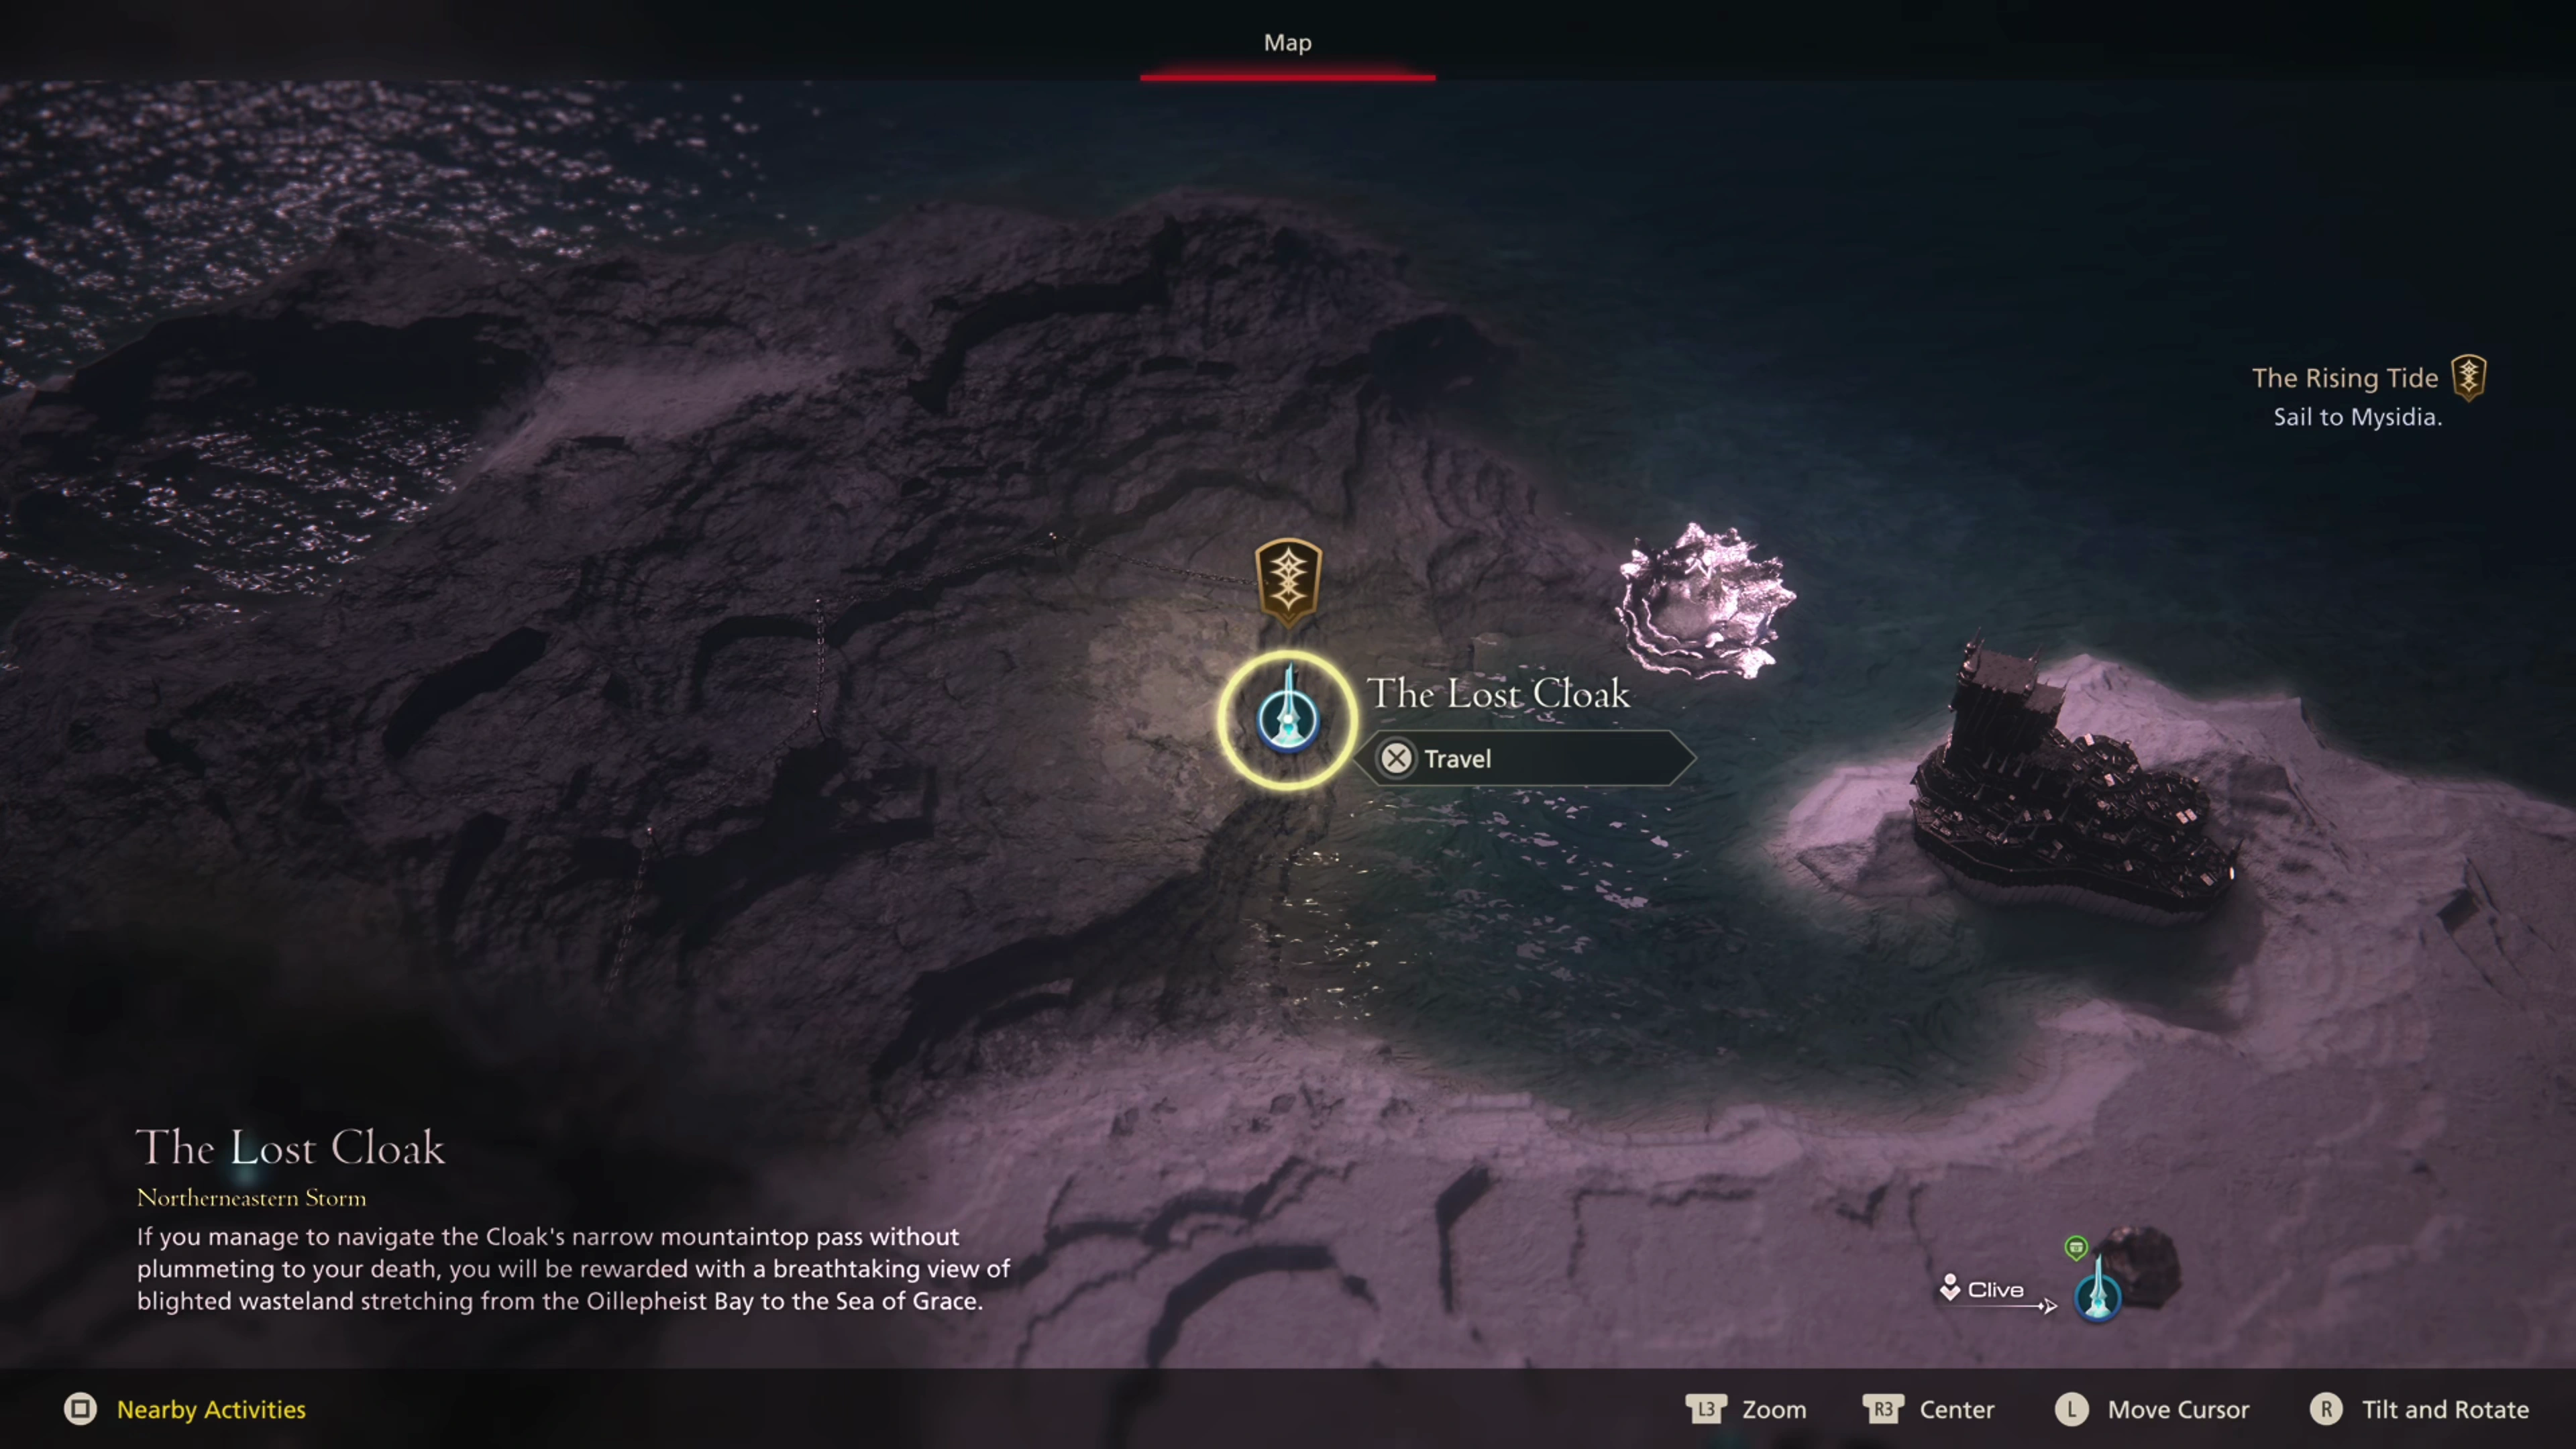
Inspect the tent first, then inspect the skiff and the fire pit. Shula will make her first appearance. After a short introduction, Shula, the Tributary of Mysidia, will escort Clive, Joshua, Jill, and Torgal across the bay in the skiff. Select “The Lost Cloak” from the world map to continue.
Welcome to Mysidia!

Cloaktop
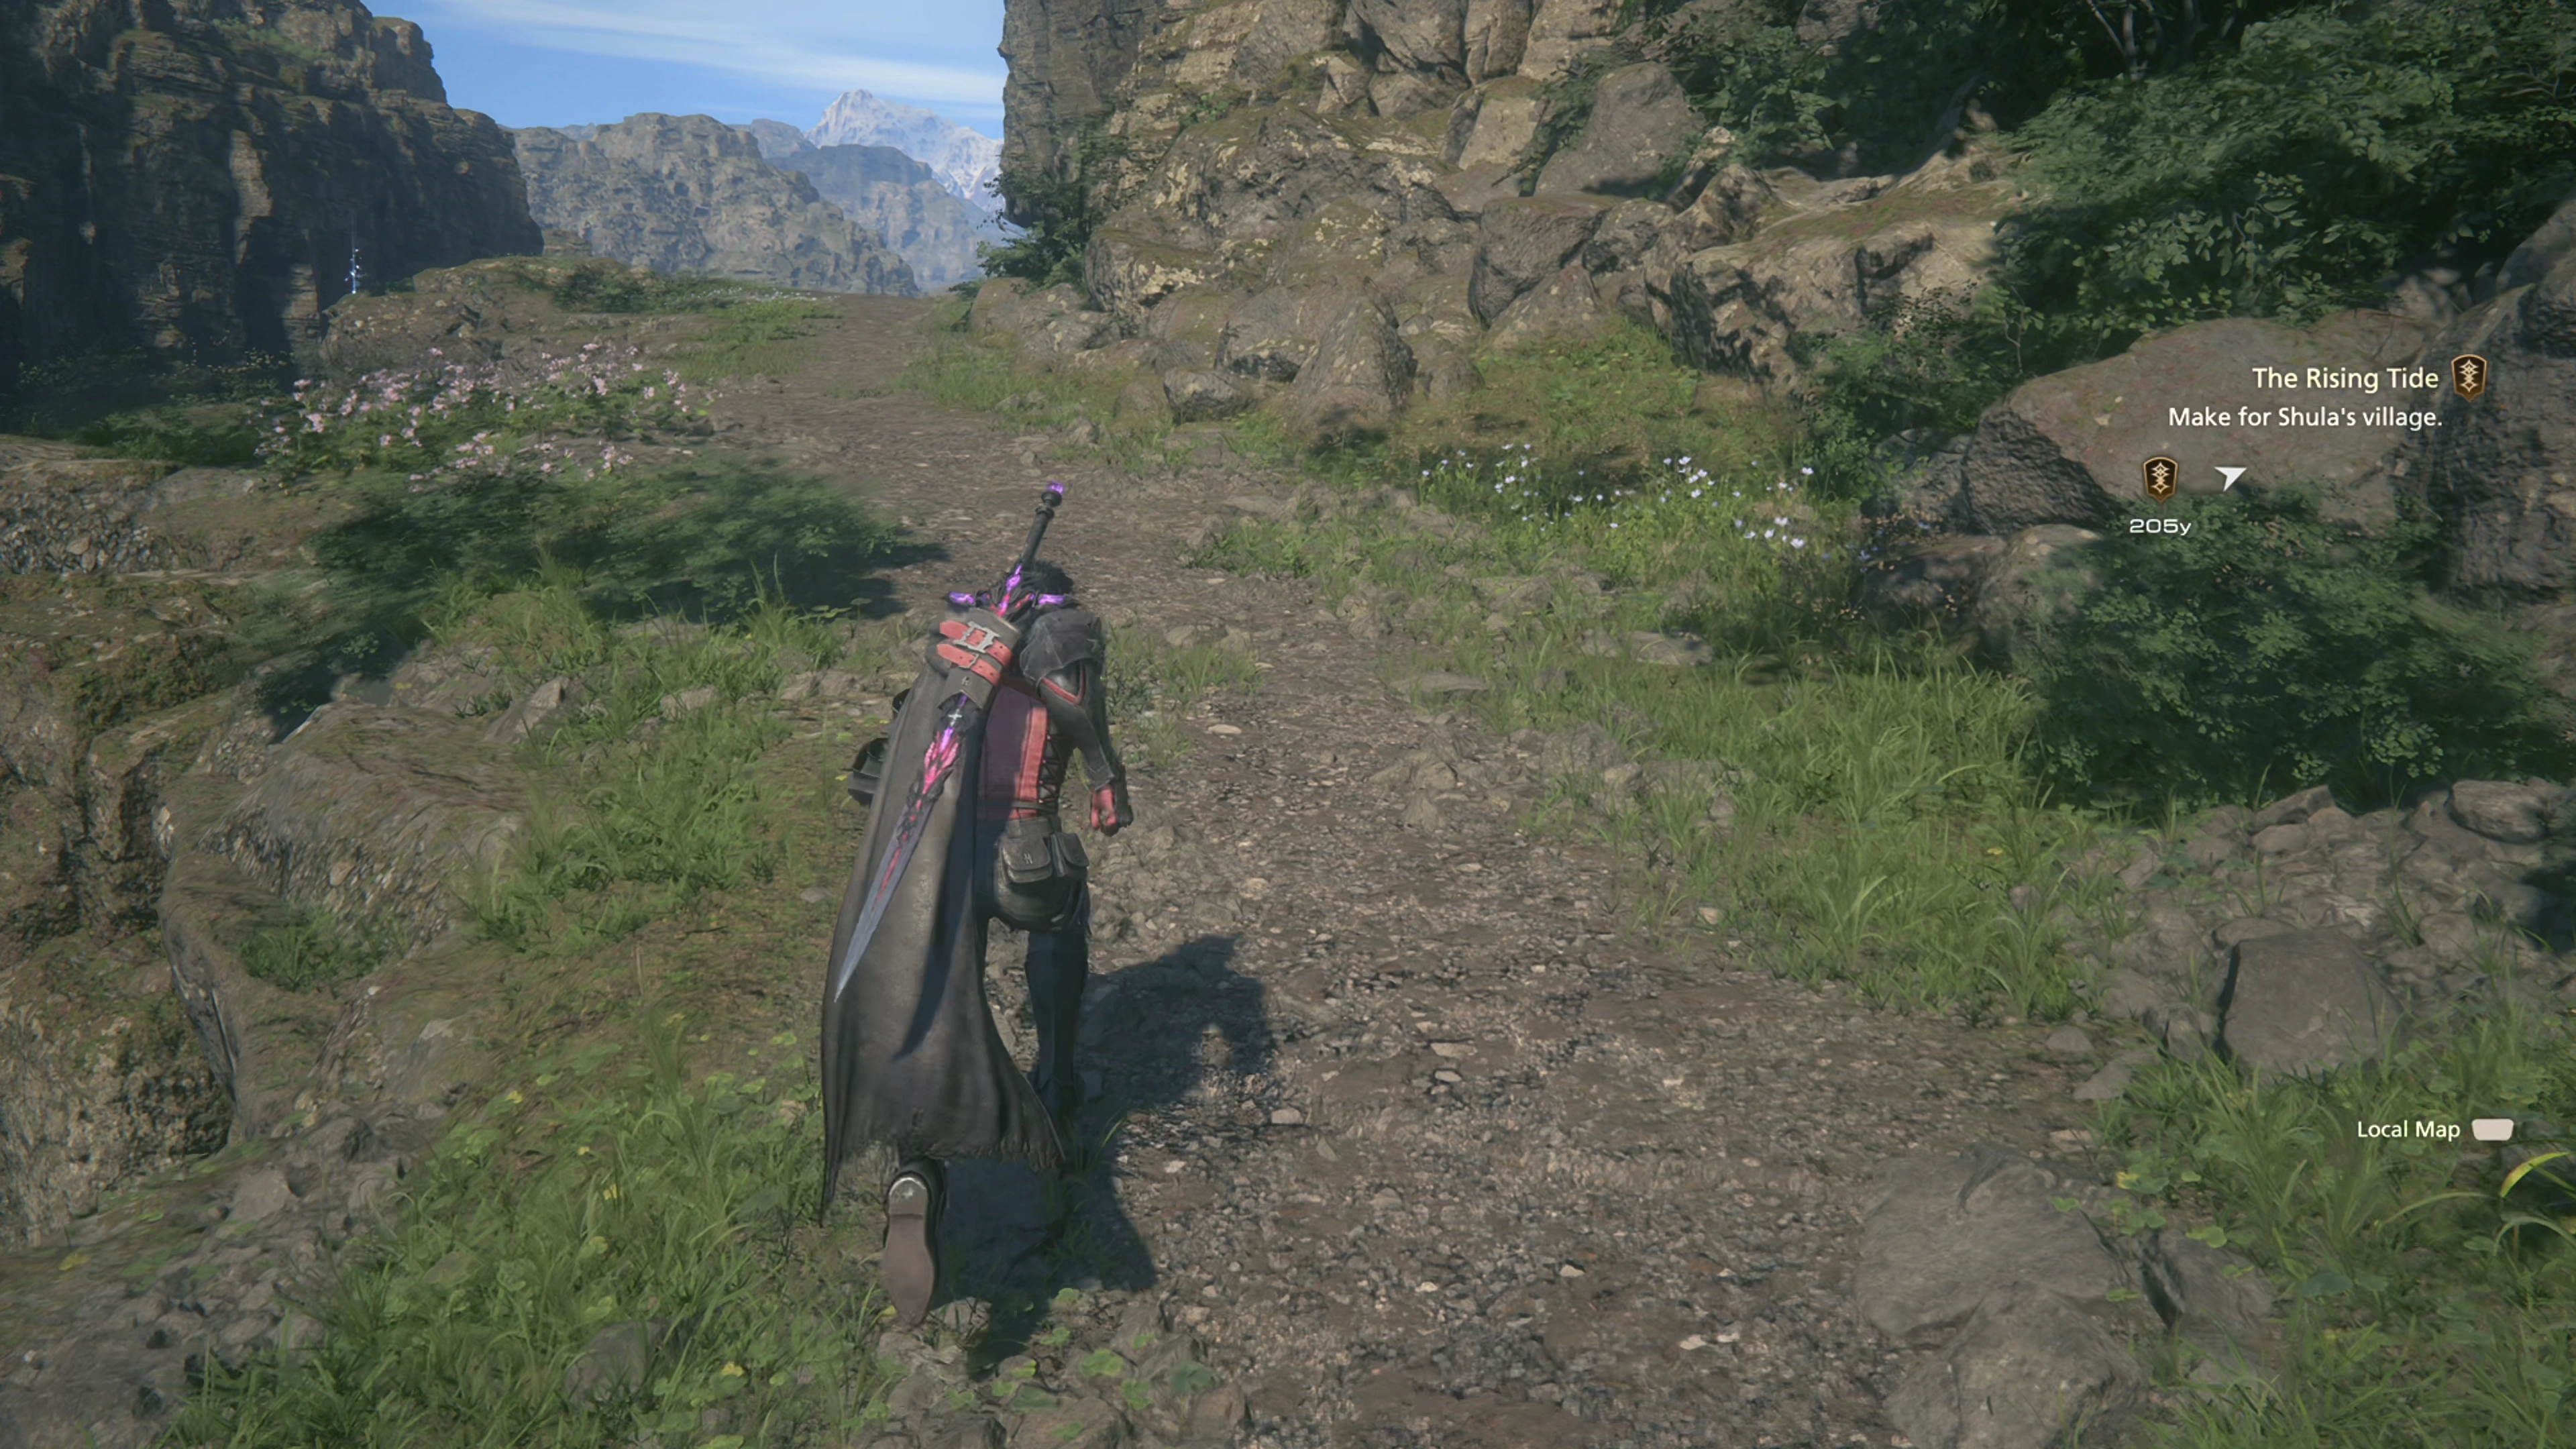
The group will end up docking the skiff quite a ways away from their destination, so we have some traveling to do. You won’t have access to your ![]() Chocobo in this location, so proceed on foot following “The Lost Cloak” pathway through the village.
Chocobo in this location, so proceed on foot following “The Lost Cloak” pathway through the village.
Achievement/Trophy
“Enter Mysidia.” You’ll receive the Homecoming Achievement/Trophy automatically once you reach Mysidia.
You’ll eventually come across two Glimmer spots and a group of Wolf Trap flower enemies. Further down the pathway will be another group of Northern Wolf enemies to defeat. As you progress along the trail, the quest marker ![]() will continue to move ahead to your final destination.
will continue to move ahead to your final destination.
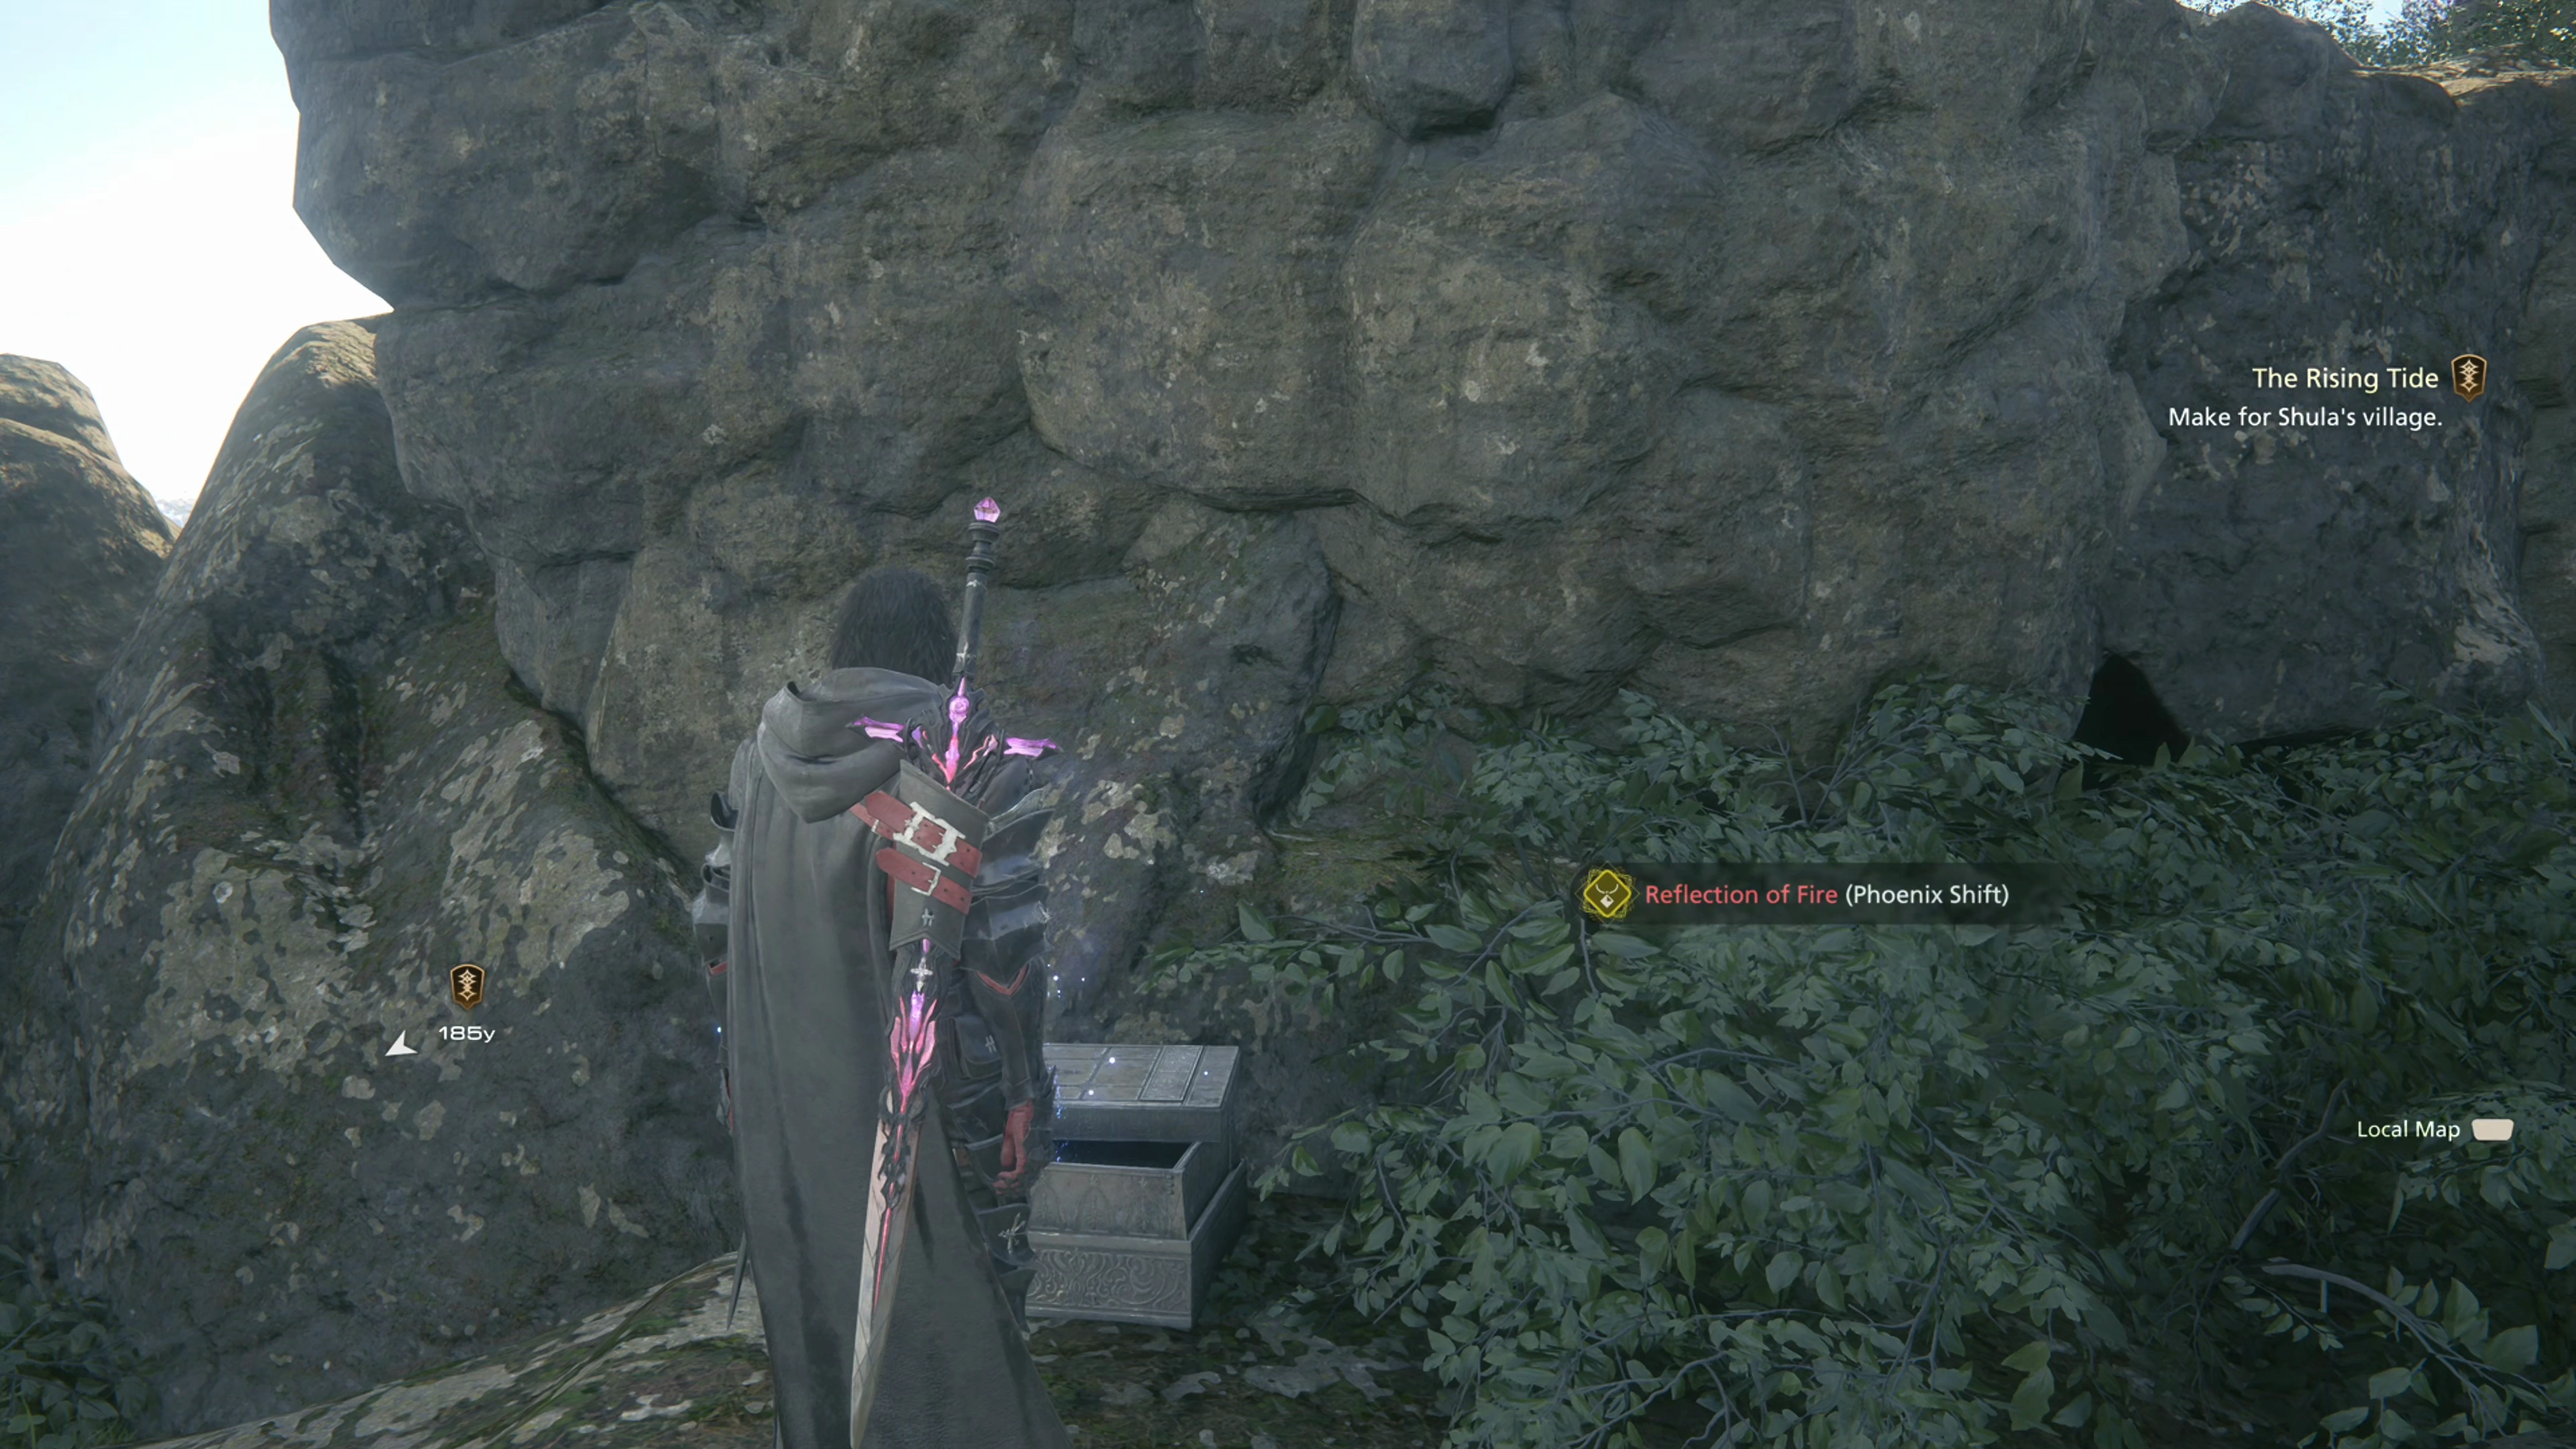
A bit further up ahead is a large group of Wolf Traps and Widowmakers. Grab the treasure coffer after you’ve defeated them, which contains the ![]() Reflection of Fire (Phoenix Shift) accessory.
Reflection of Fire (Phoenix Shift) accessory.
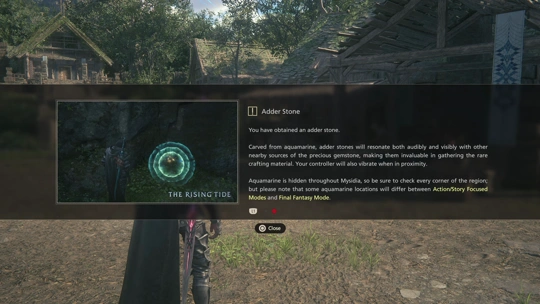
Helpful Hint
As you may have noticed from reading its description, this is one of the first of many accessories that you’ll obtain in Mysidia that directly affect an Eikon’s Eikonic Feat ability, in this case, ![]() Phoenix Shift. These accessories are very powerful, depending on which Eikons you’re using, so if you’re using Phoenix currently, you may want to consider equipping it.
Phoenix Shift. These accessories are very powerful, depending on which Eikons you’re using, so if you’re using Phoenix currently, you may want to consider equipping it.
Continue following the trail until you reach the entrance to Shula’s village.
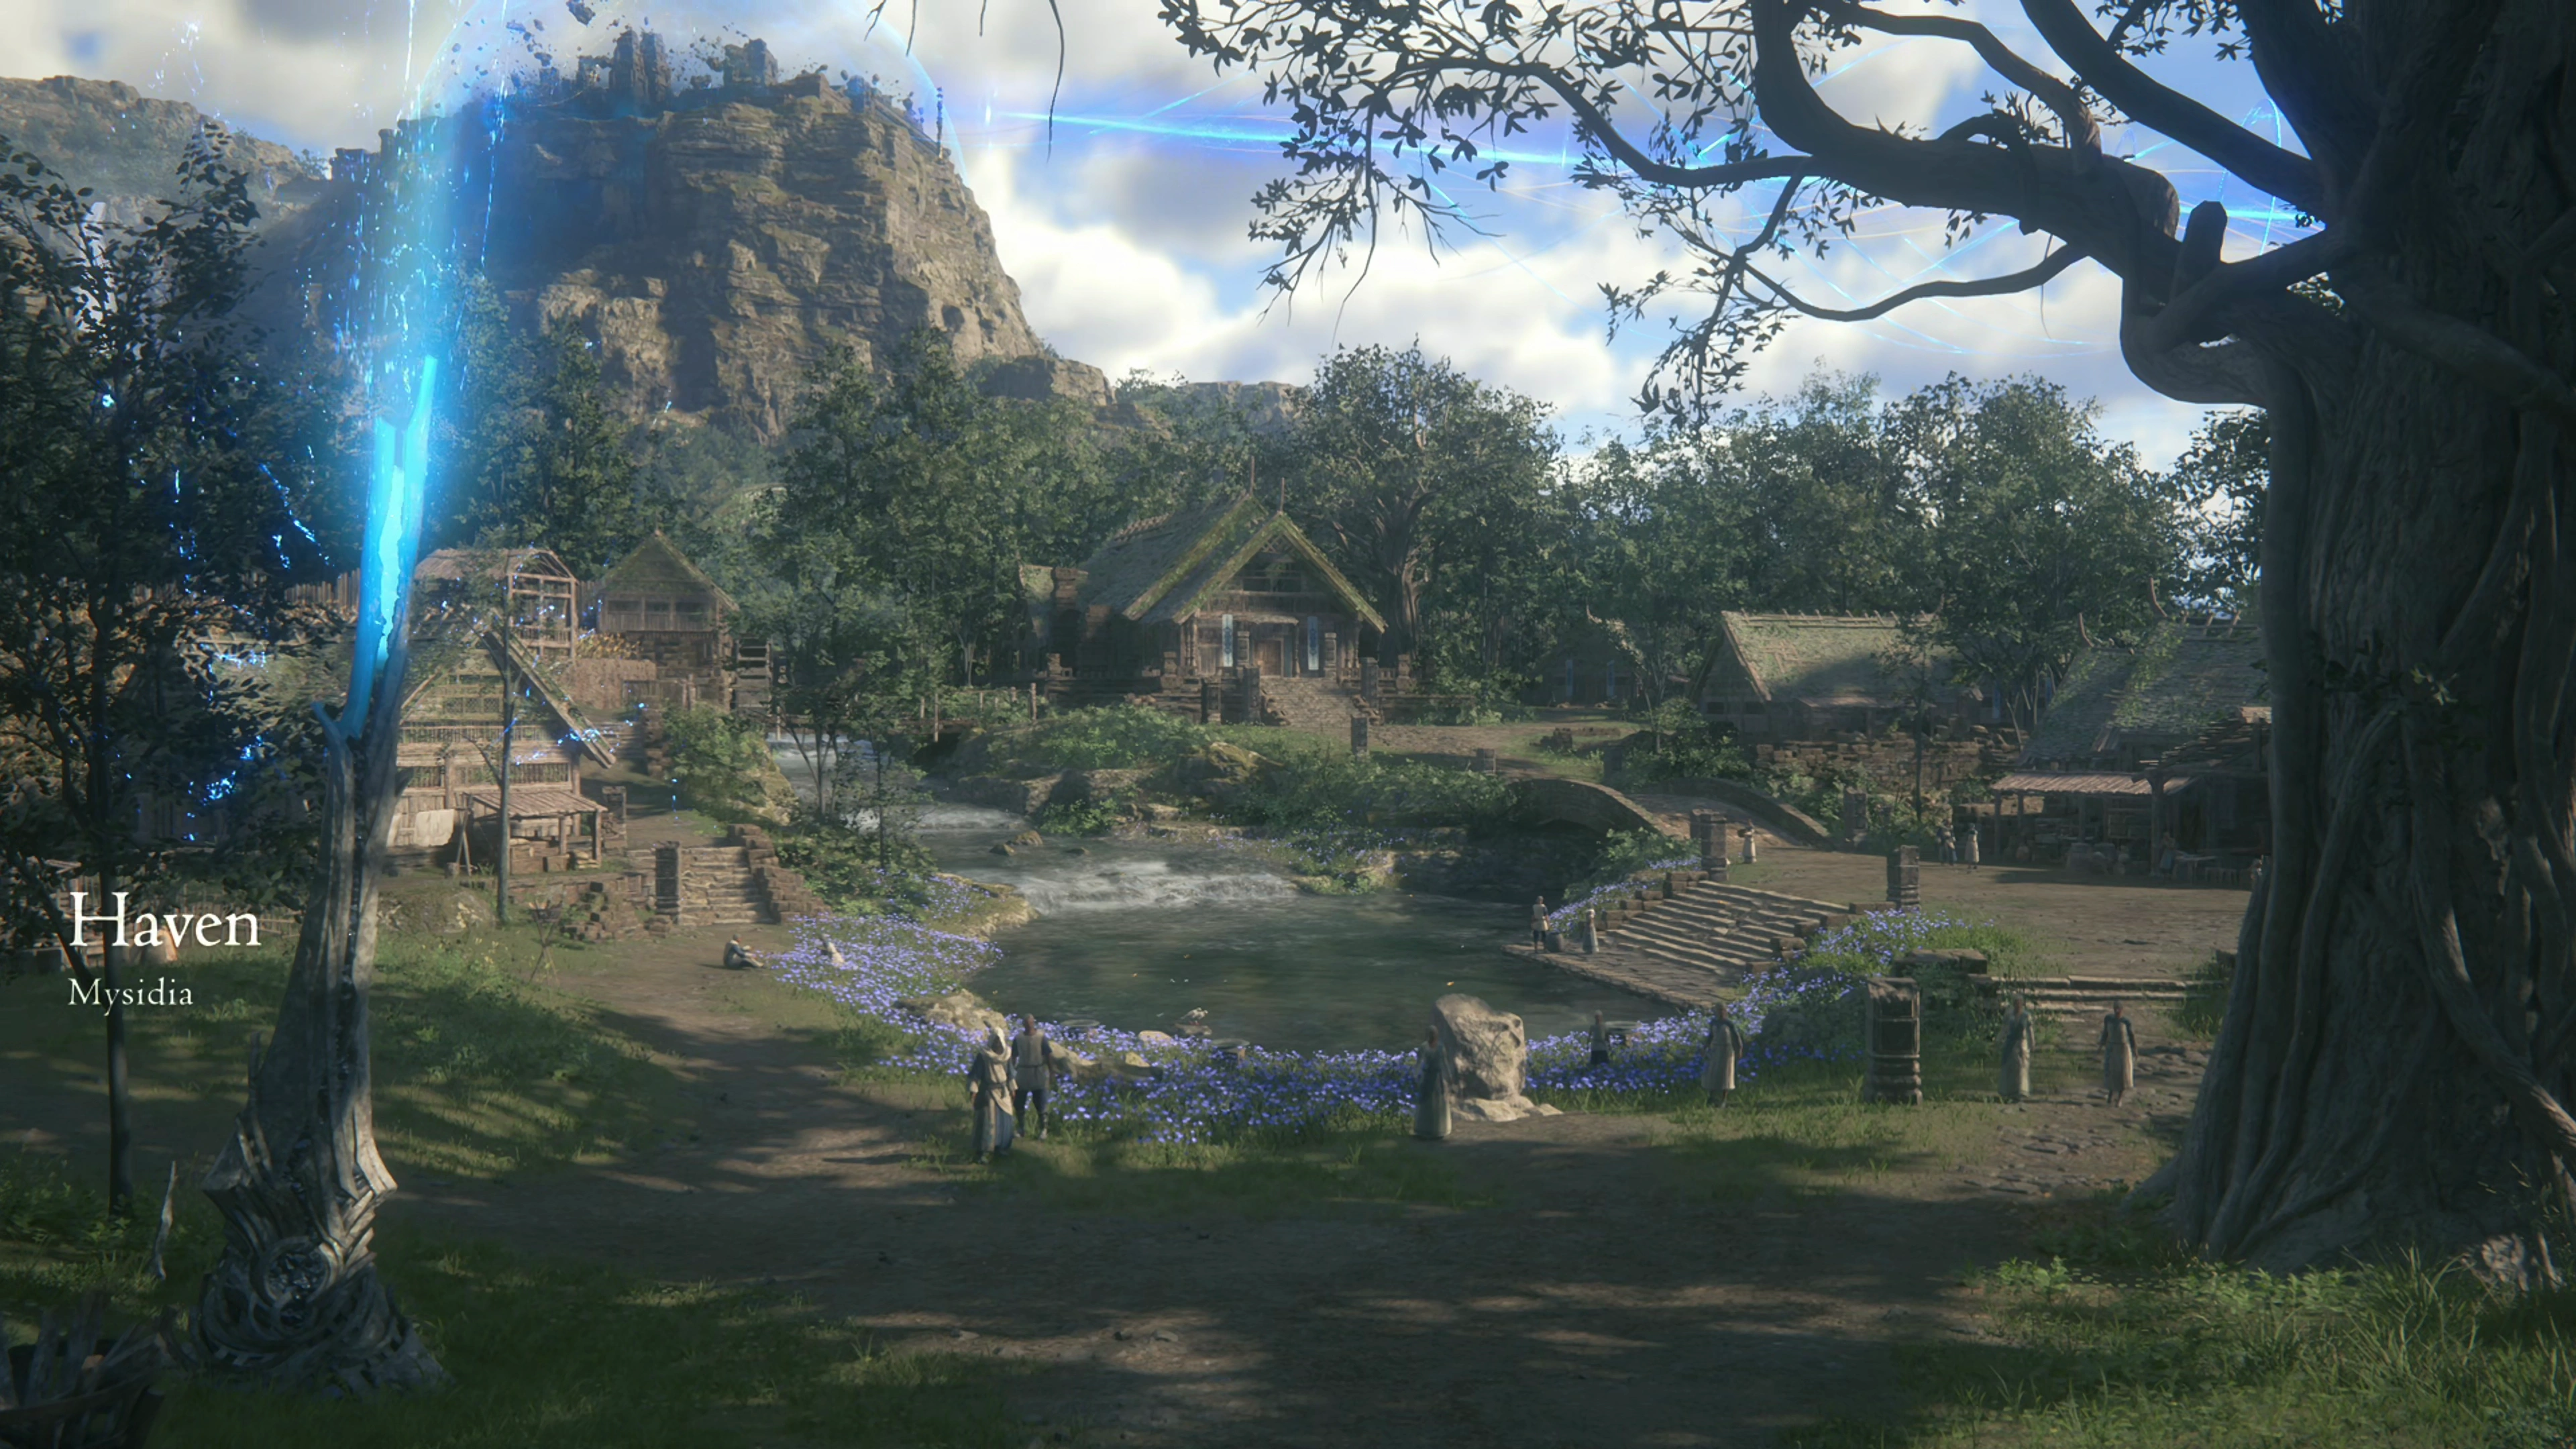
Haven
When you first arrive, there are no Optional Quests nor shops available in the town yet, but there are a few treasure coffers we can pick up. Use the map below to help you find them:
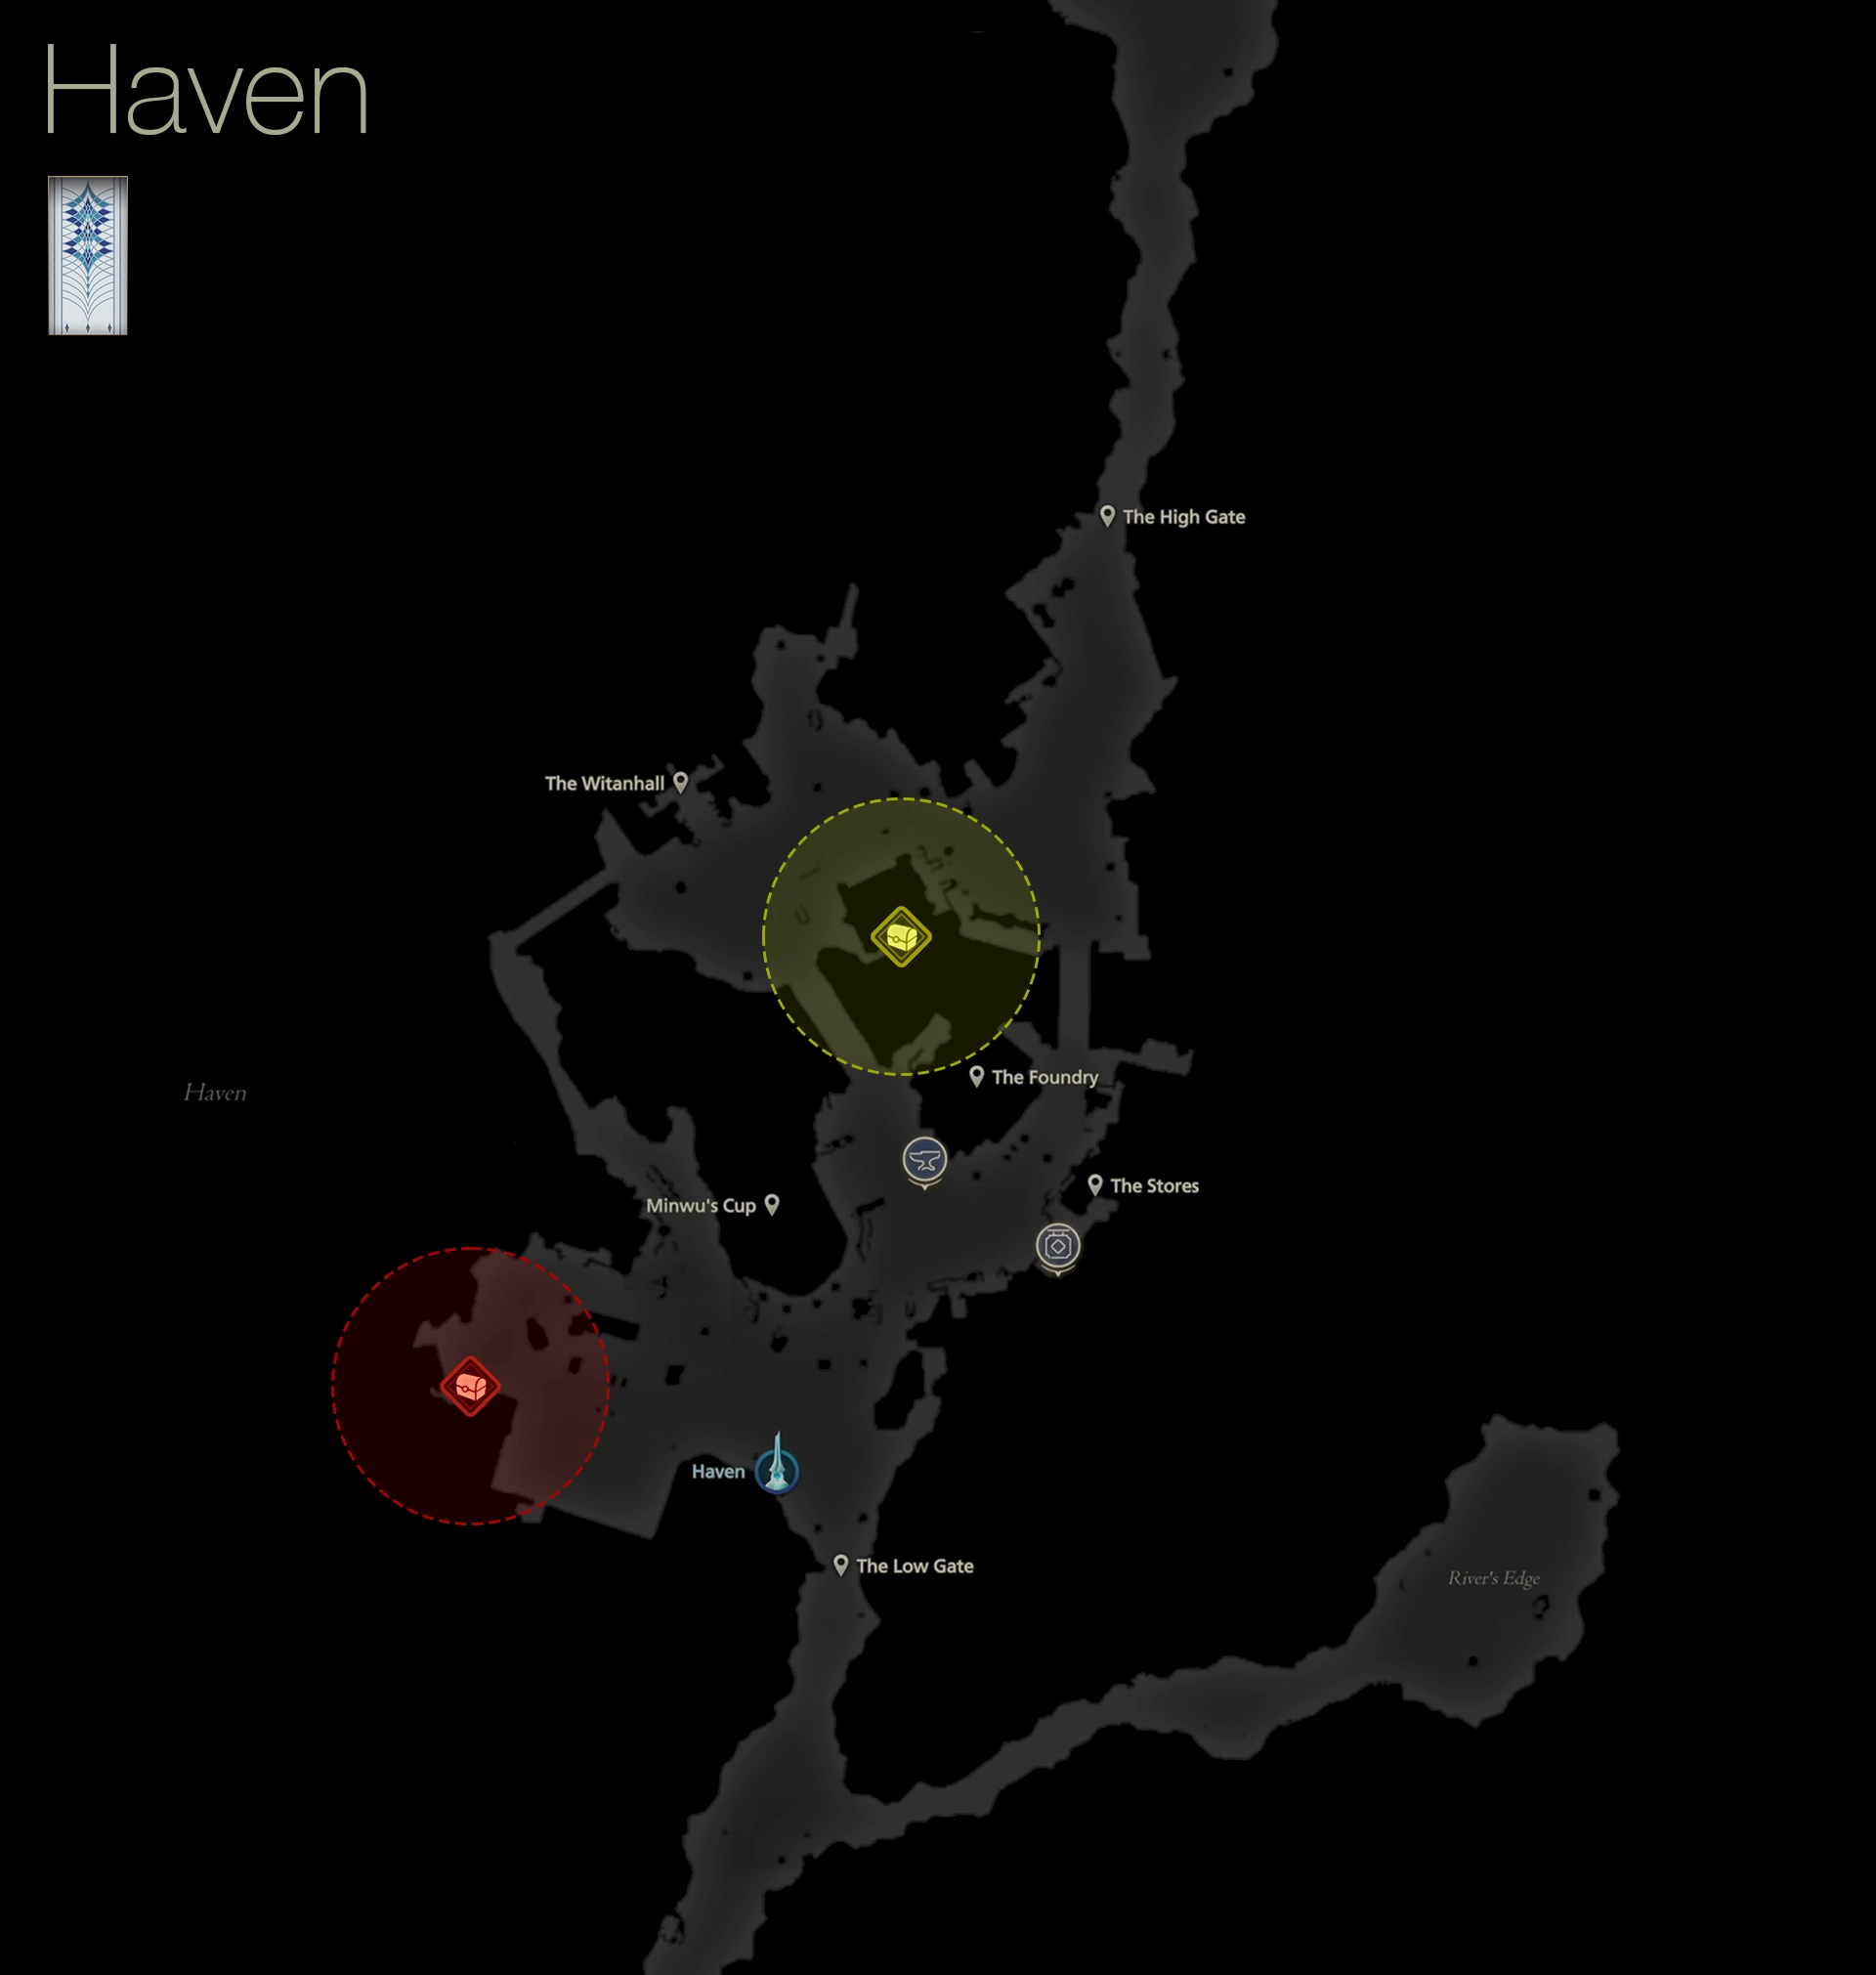
| 1) | ||
|---|---|---|
| 2) |
Helpful Hint
This new ![]() Silver Penning item is only found in Mysidia, but its only purpose is to be sold for
Silver Penning item is only found in Mysidia, but its only purpose is to be sold for ![]() Gil. They sell for a hefty 5,000
Gil. They sell for a hefty 5,000 ![]() Gil each!
Gil each!
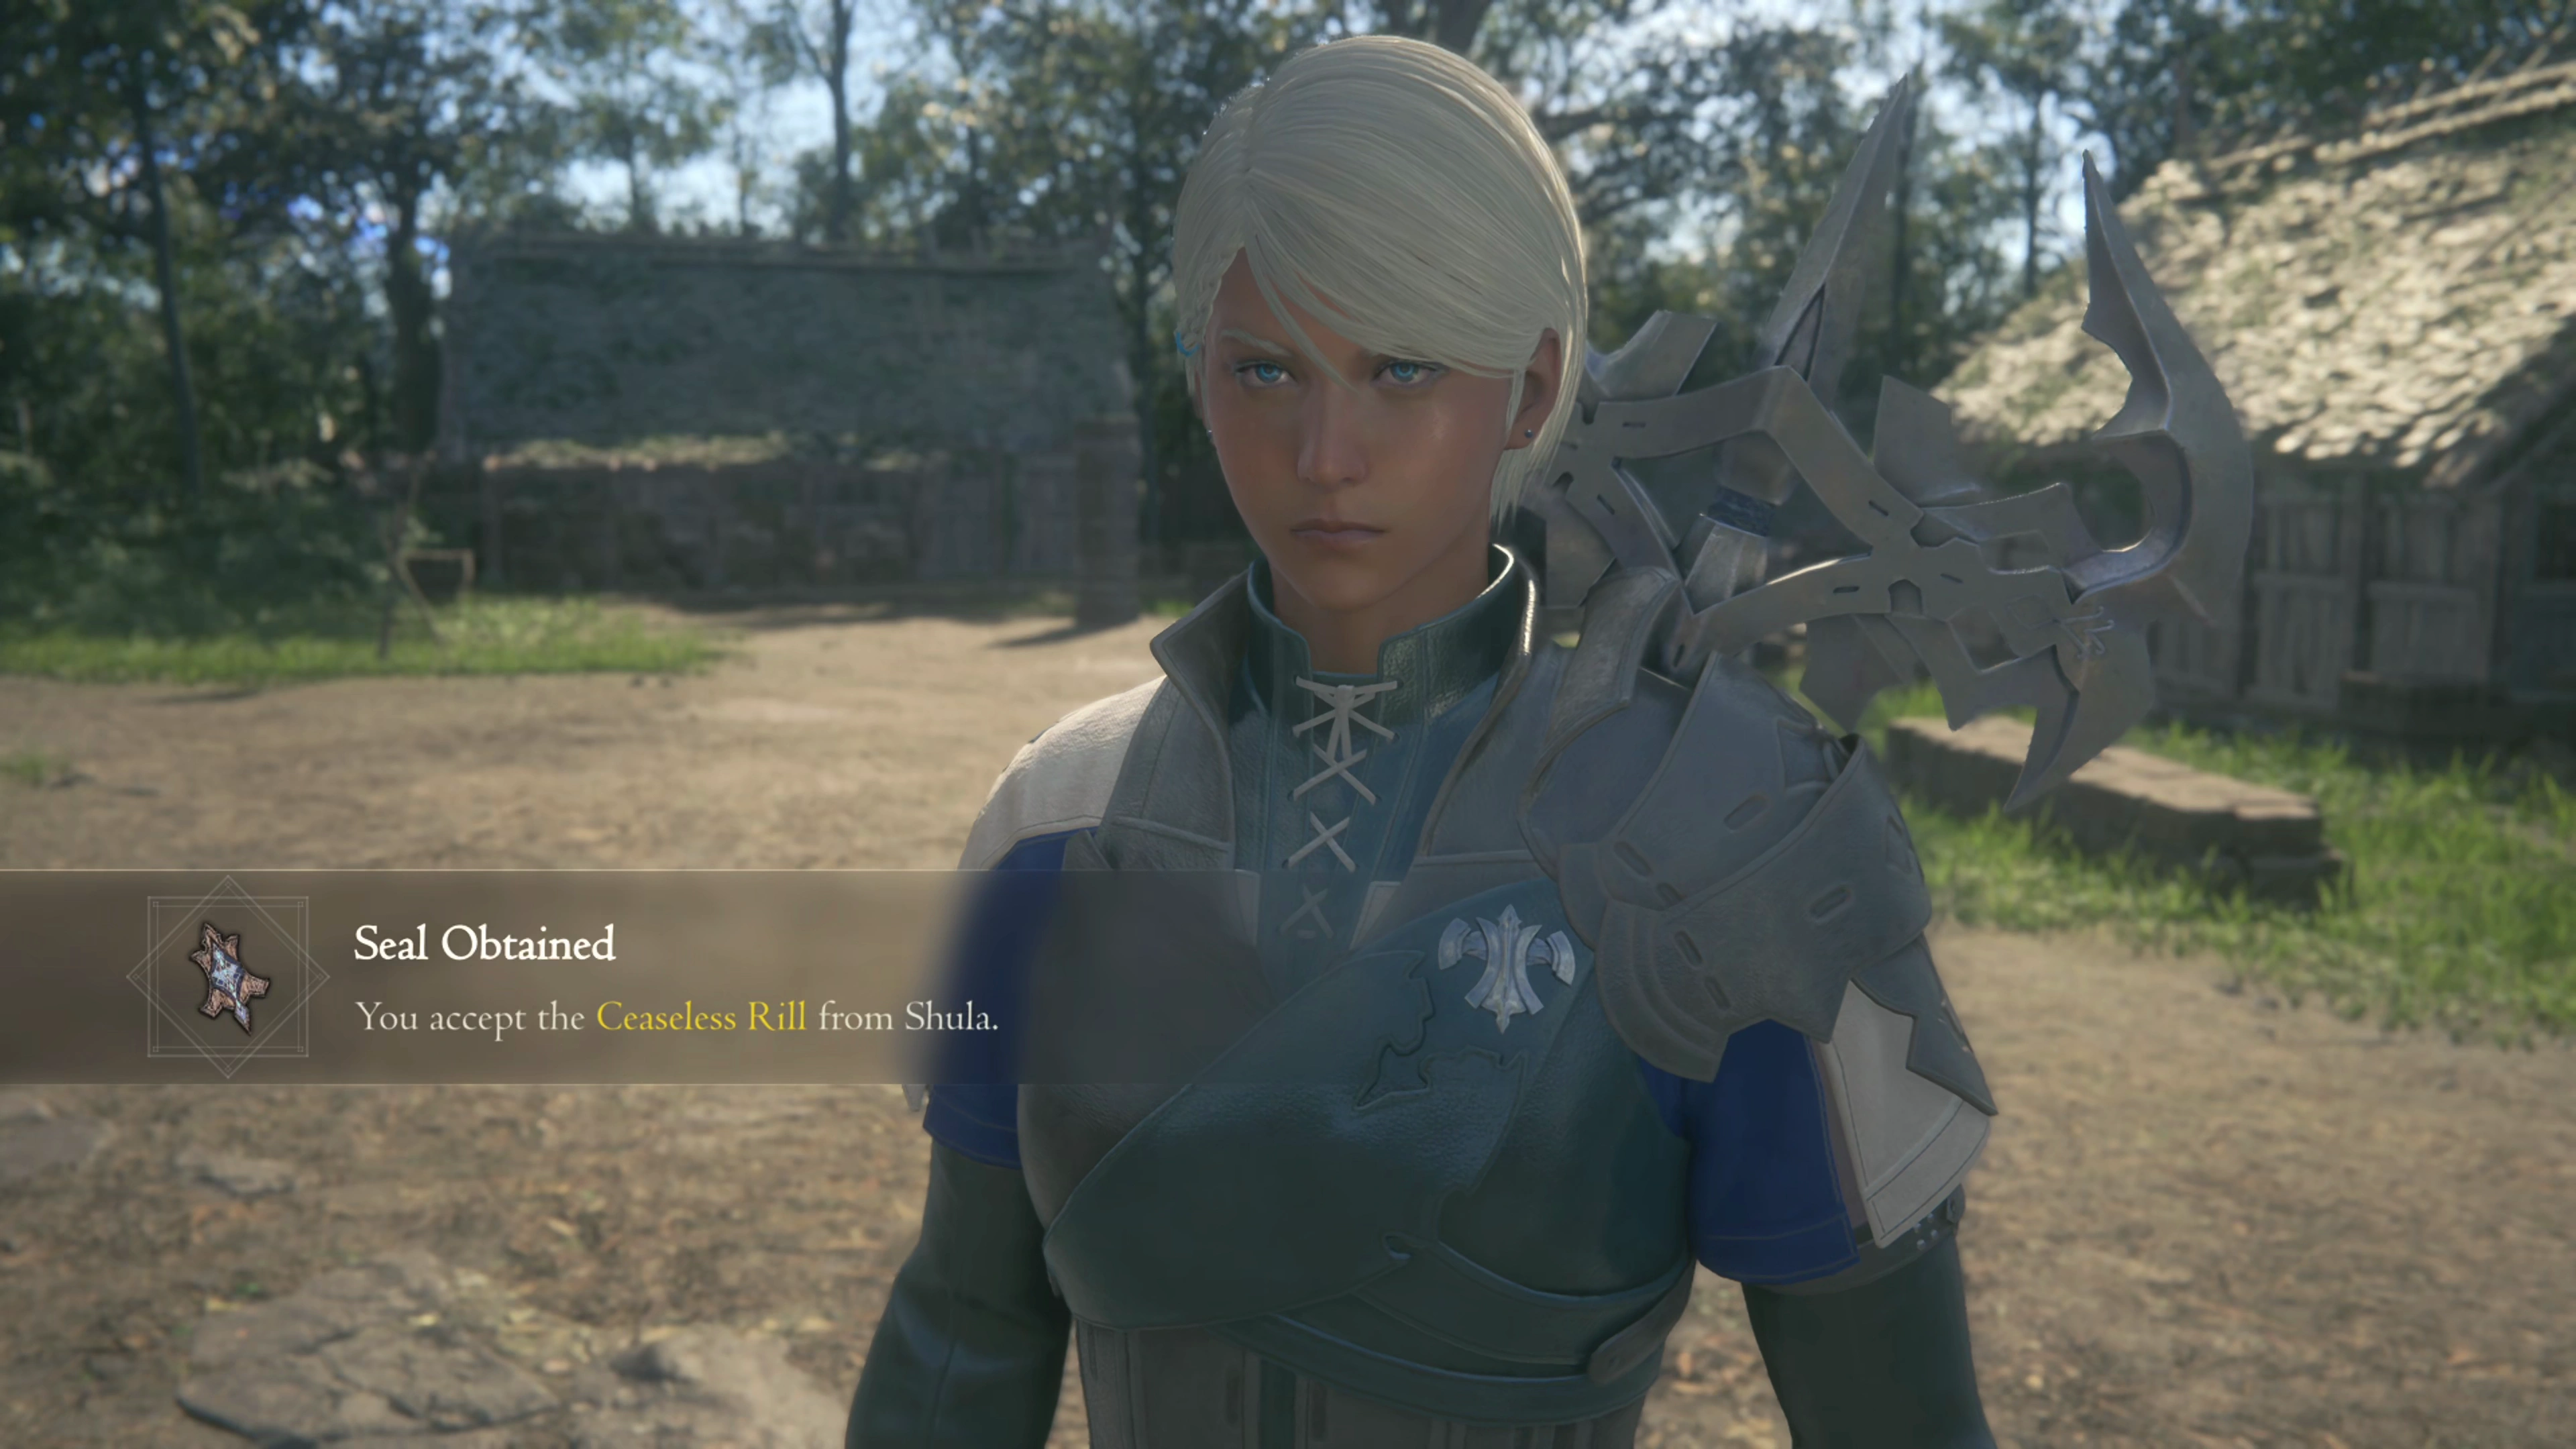
Head up into the “witanhall” to move the story forward after you’ve found both treasure coffers. Shula will give Clive ![]() The Ceaseless Rill curiosity during the dialogue sequence.
The Ceaseless Rill curiosity during the dialogue sequence.
Before we make our way to the “Surge,” though, you’ll have access to two new Optional Quests that can be completed right here in Mysidia. These quests are very easy to complete, with some opening up access to the local shop and blacksmith:
Optional Quest
“Wyrda, wife of Haven’s master craftsman, Pavaat, asks Clive to make her husband a gift of some Elder’s Blessings. Quite why she asks this of him remains to be seen…”
Optional Quest
“Bilos, father of the family in charge of Haven’s stores, would like to offer Clive their services. Would that his outsider-obsessed daughter, Ruqa not decided to make herself scarce mid-inventory…”
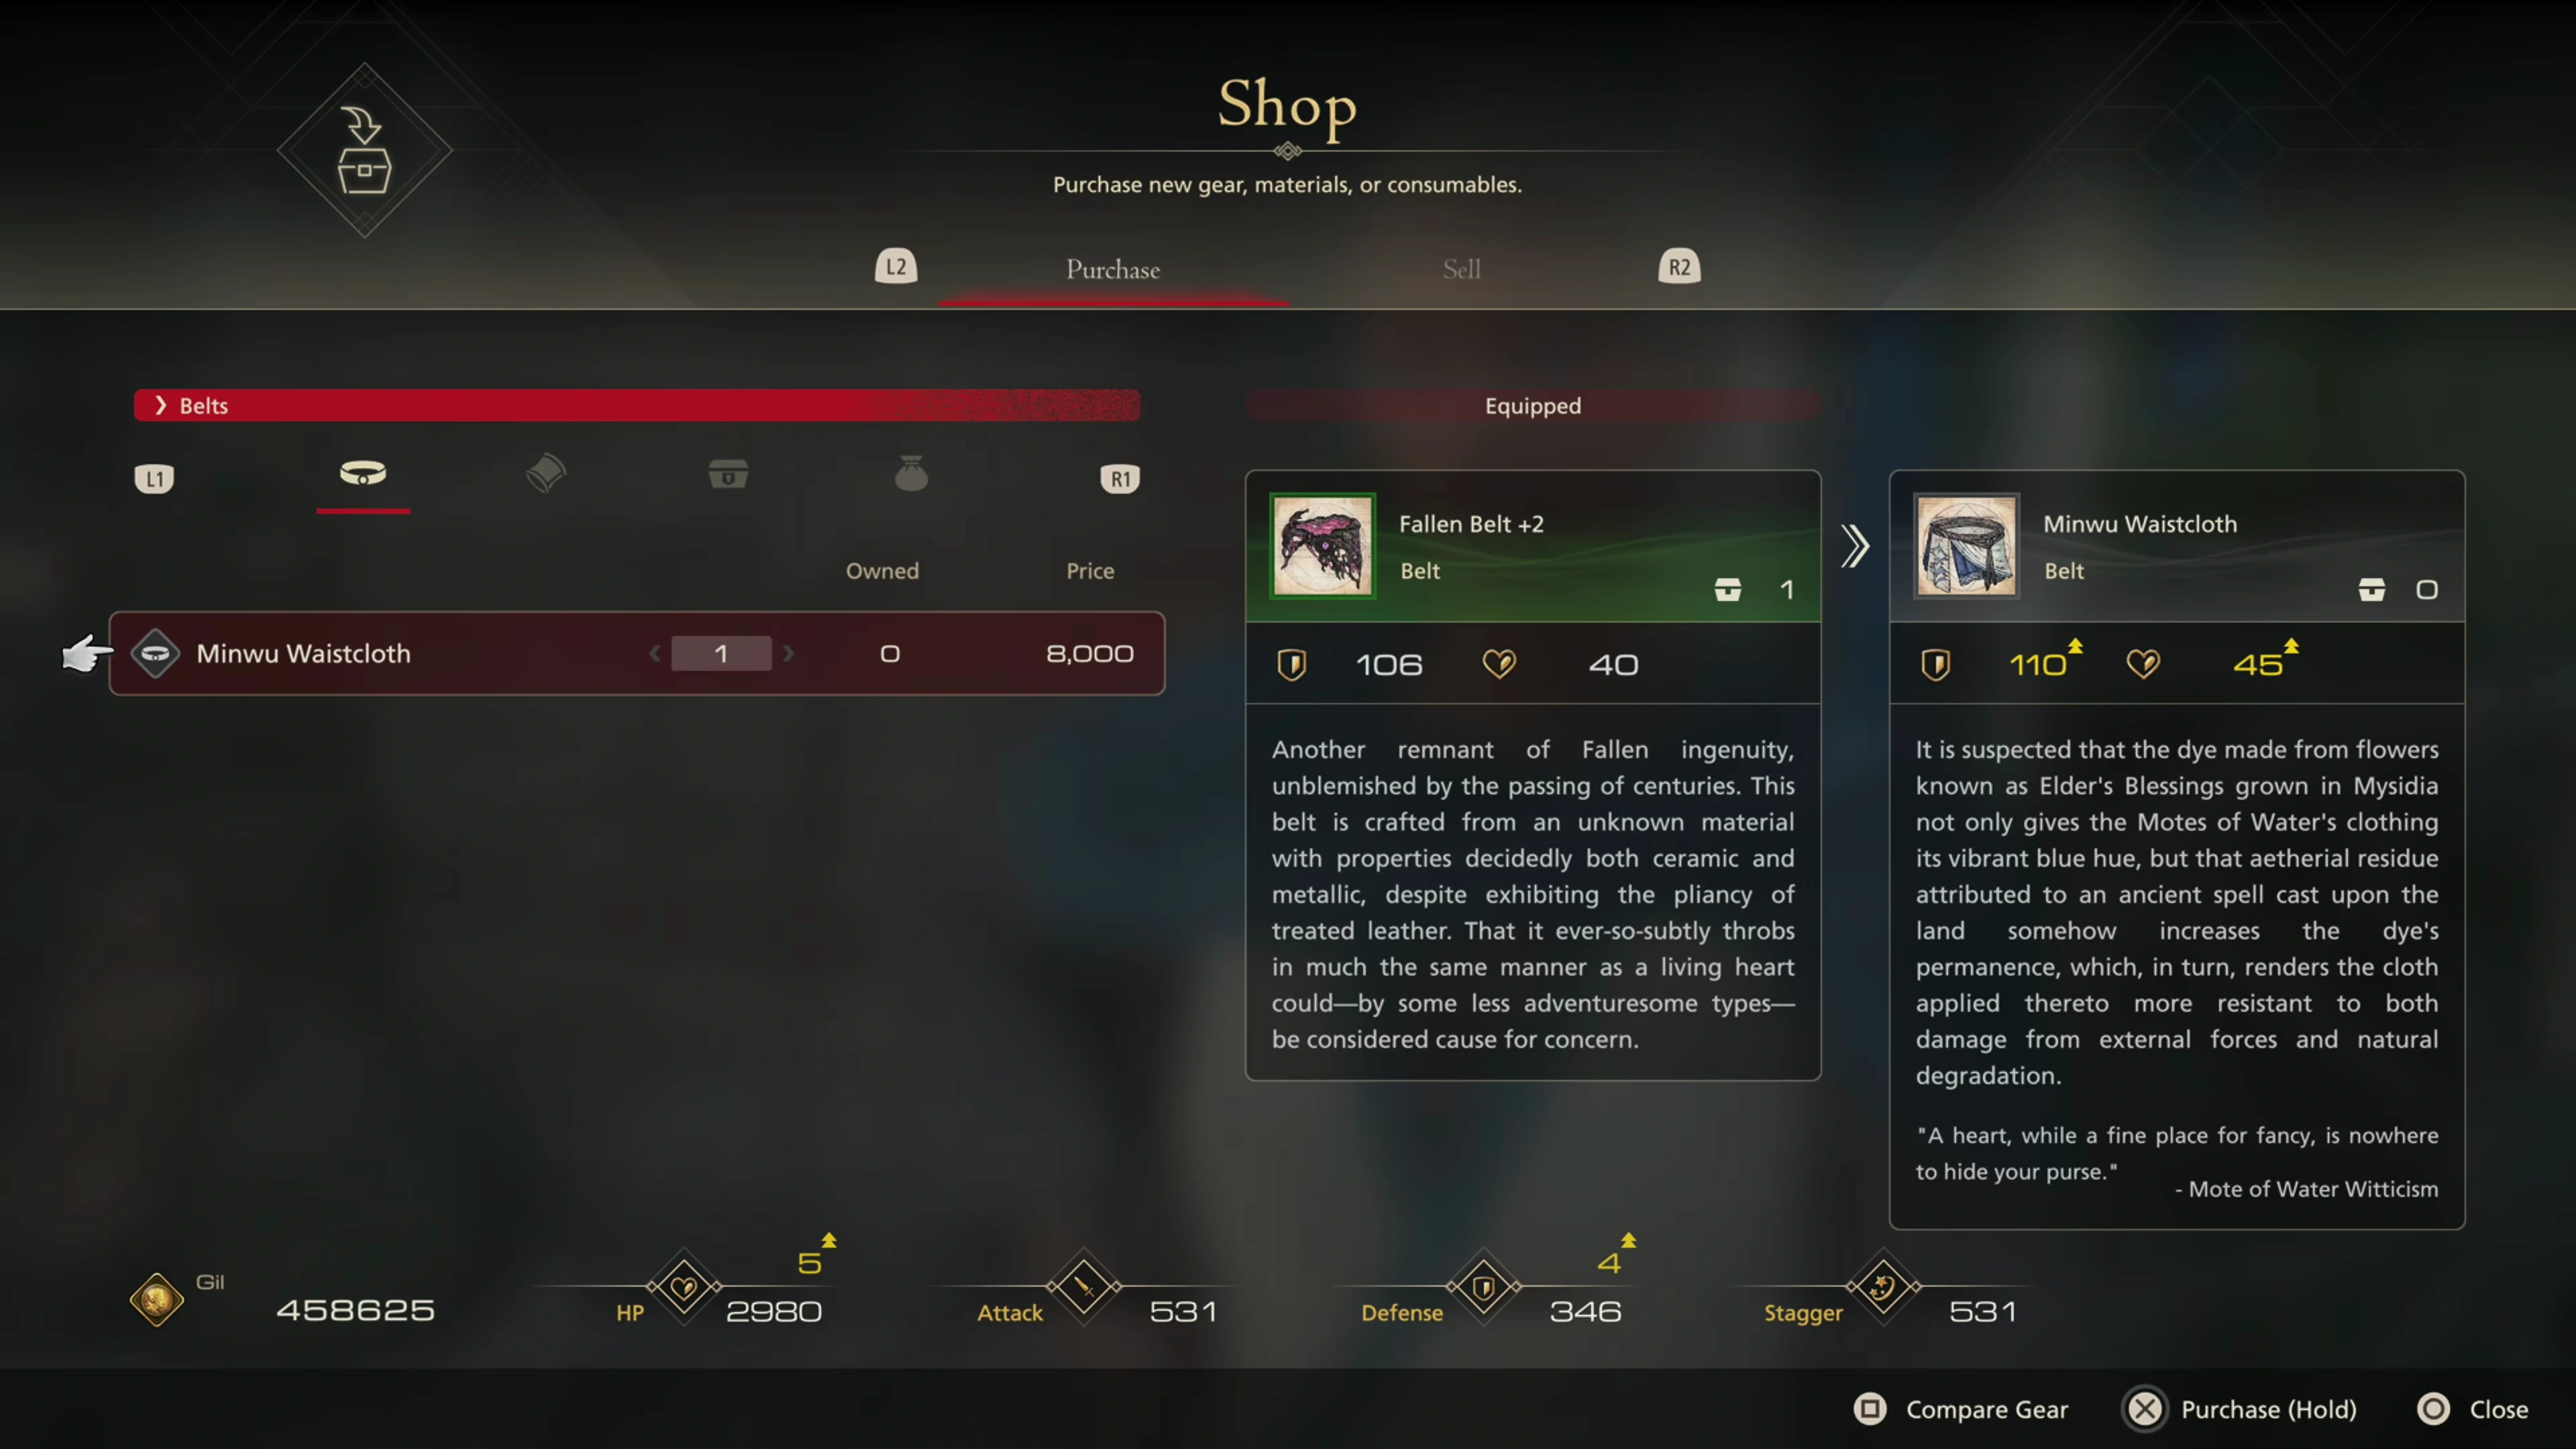
Now that you have access to the ![]() Haven Store, take some time to purchase the new gear available there:
Haven Store, take some time to purchase the new gear available there:
| Cost | |
|---|---|
| 8,000 |
|
| 8,000 |
Neither of these pieces can be upgraded at the ![]() Haven Foundry yet, but they’re still a significant upgrade over your current gear.
Haven Foundry yet, but they’re still a significant upgrade over your current gear.
Head towards the quest marker ![]() and open the double doors on the north side of town.
and open the double doors on the north side of town.

Father’s Fell
As you get closer to the quest marker, it will keep moving forward until it eventually jumps over 600 yards forward toward your final destination on the north end of Tailwind Bay. Before we head there, however, there are two treasure coffers that you can pick up in this area.
You have to go out of your way to pick up the first one, and Shula will mention that you’re going the wrong way, but pay her no mind. Use the map below to help you find them:
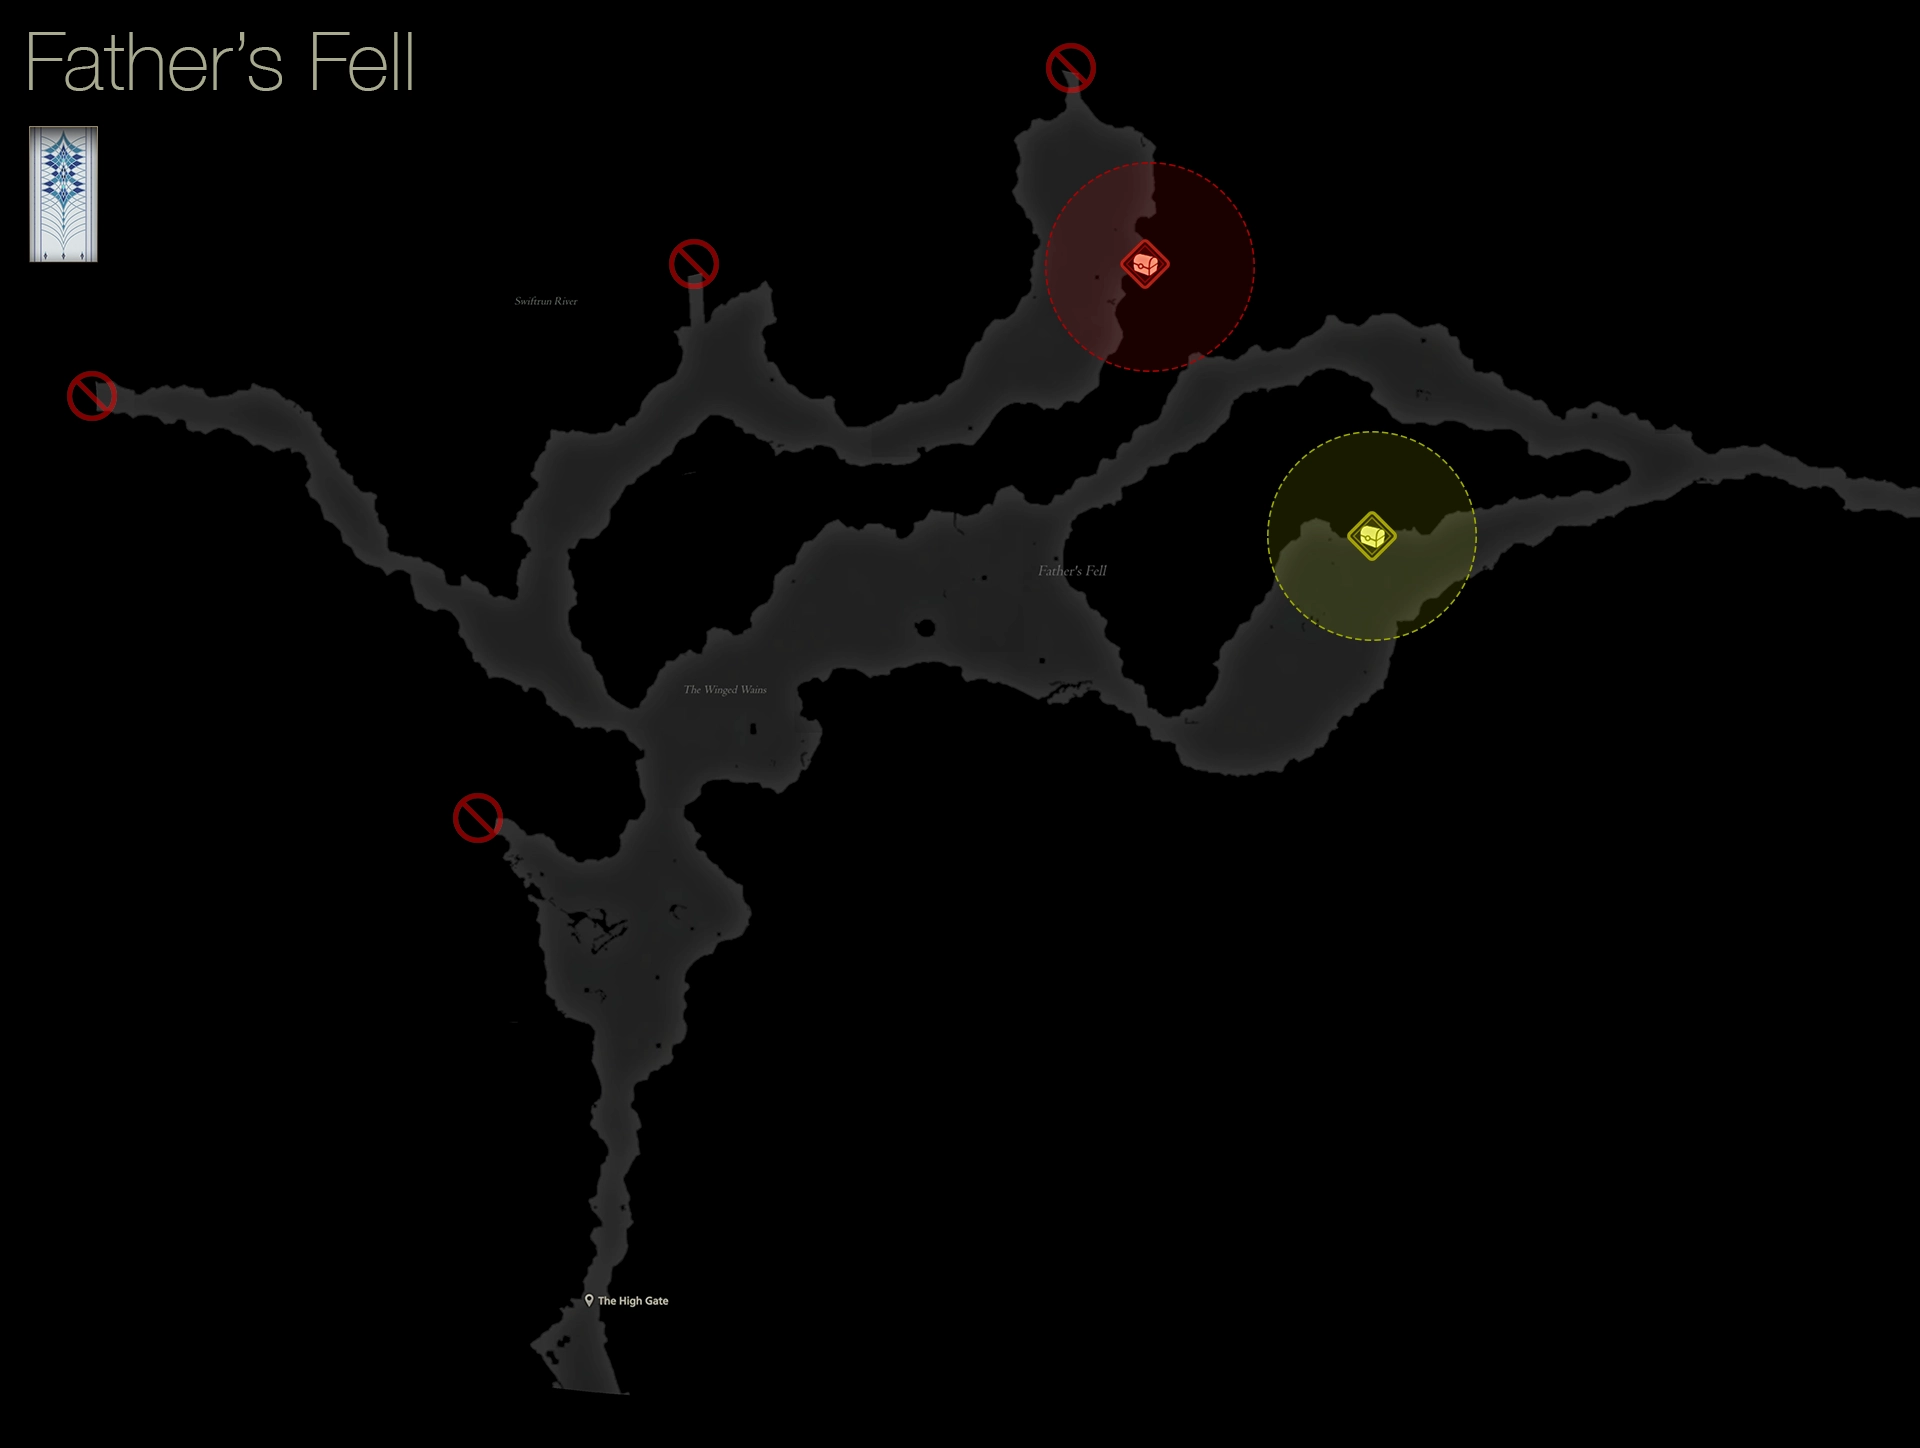
| 1) | ||
|---|---|---|
| 2) |
Once you’ve grabbed them both, keep following the trail east until you reach Tailwind Bay.

Tailwind Bay
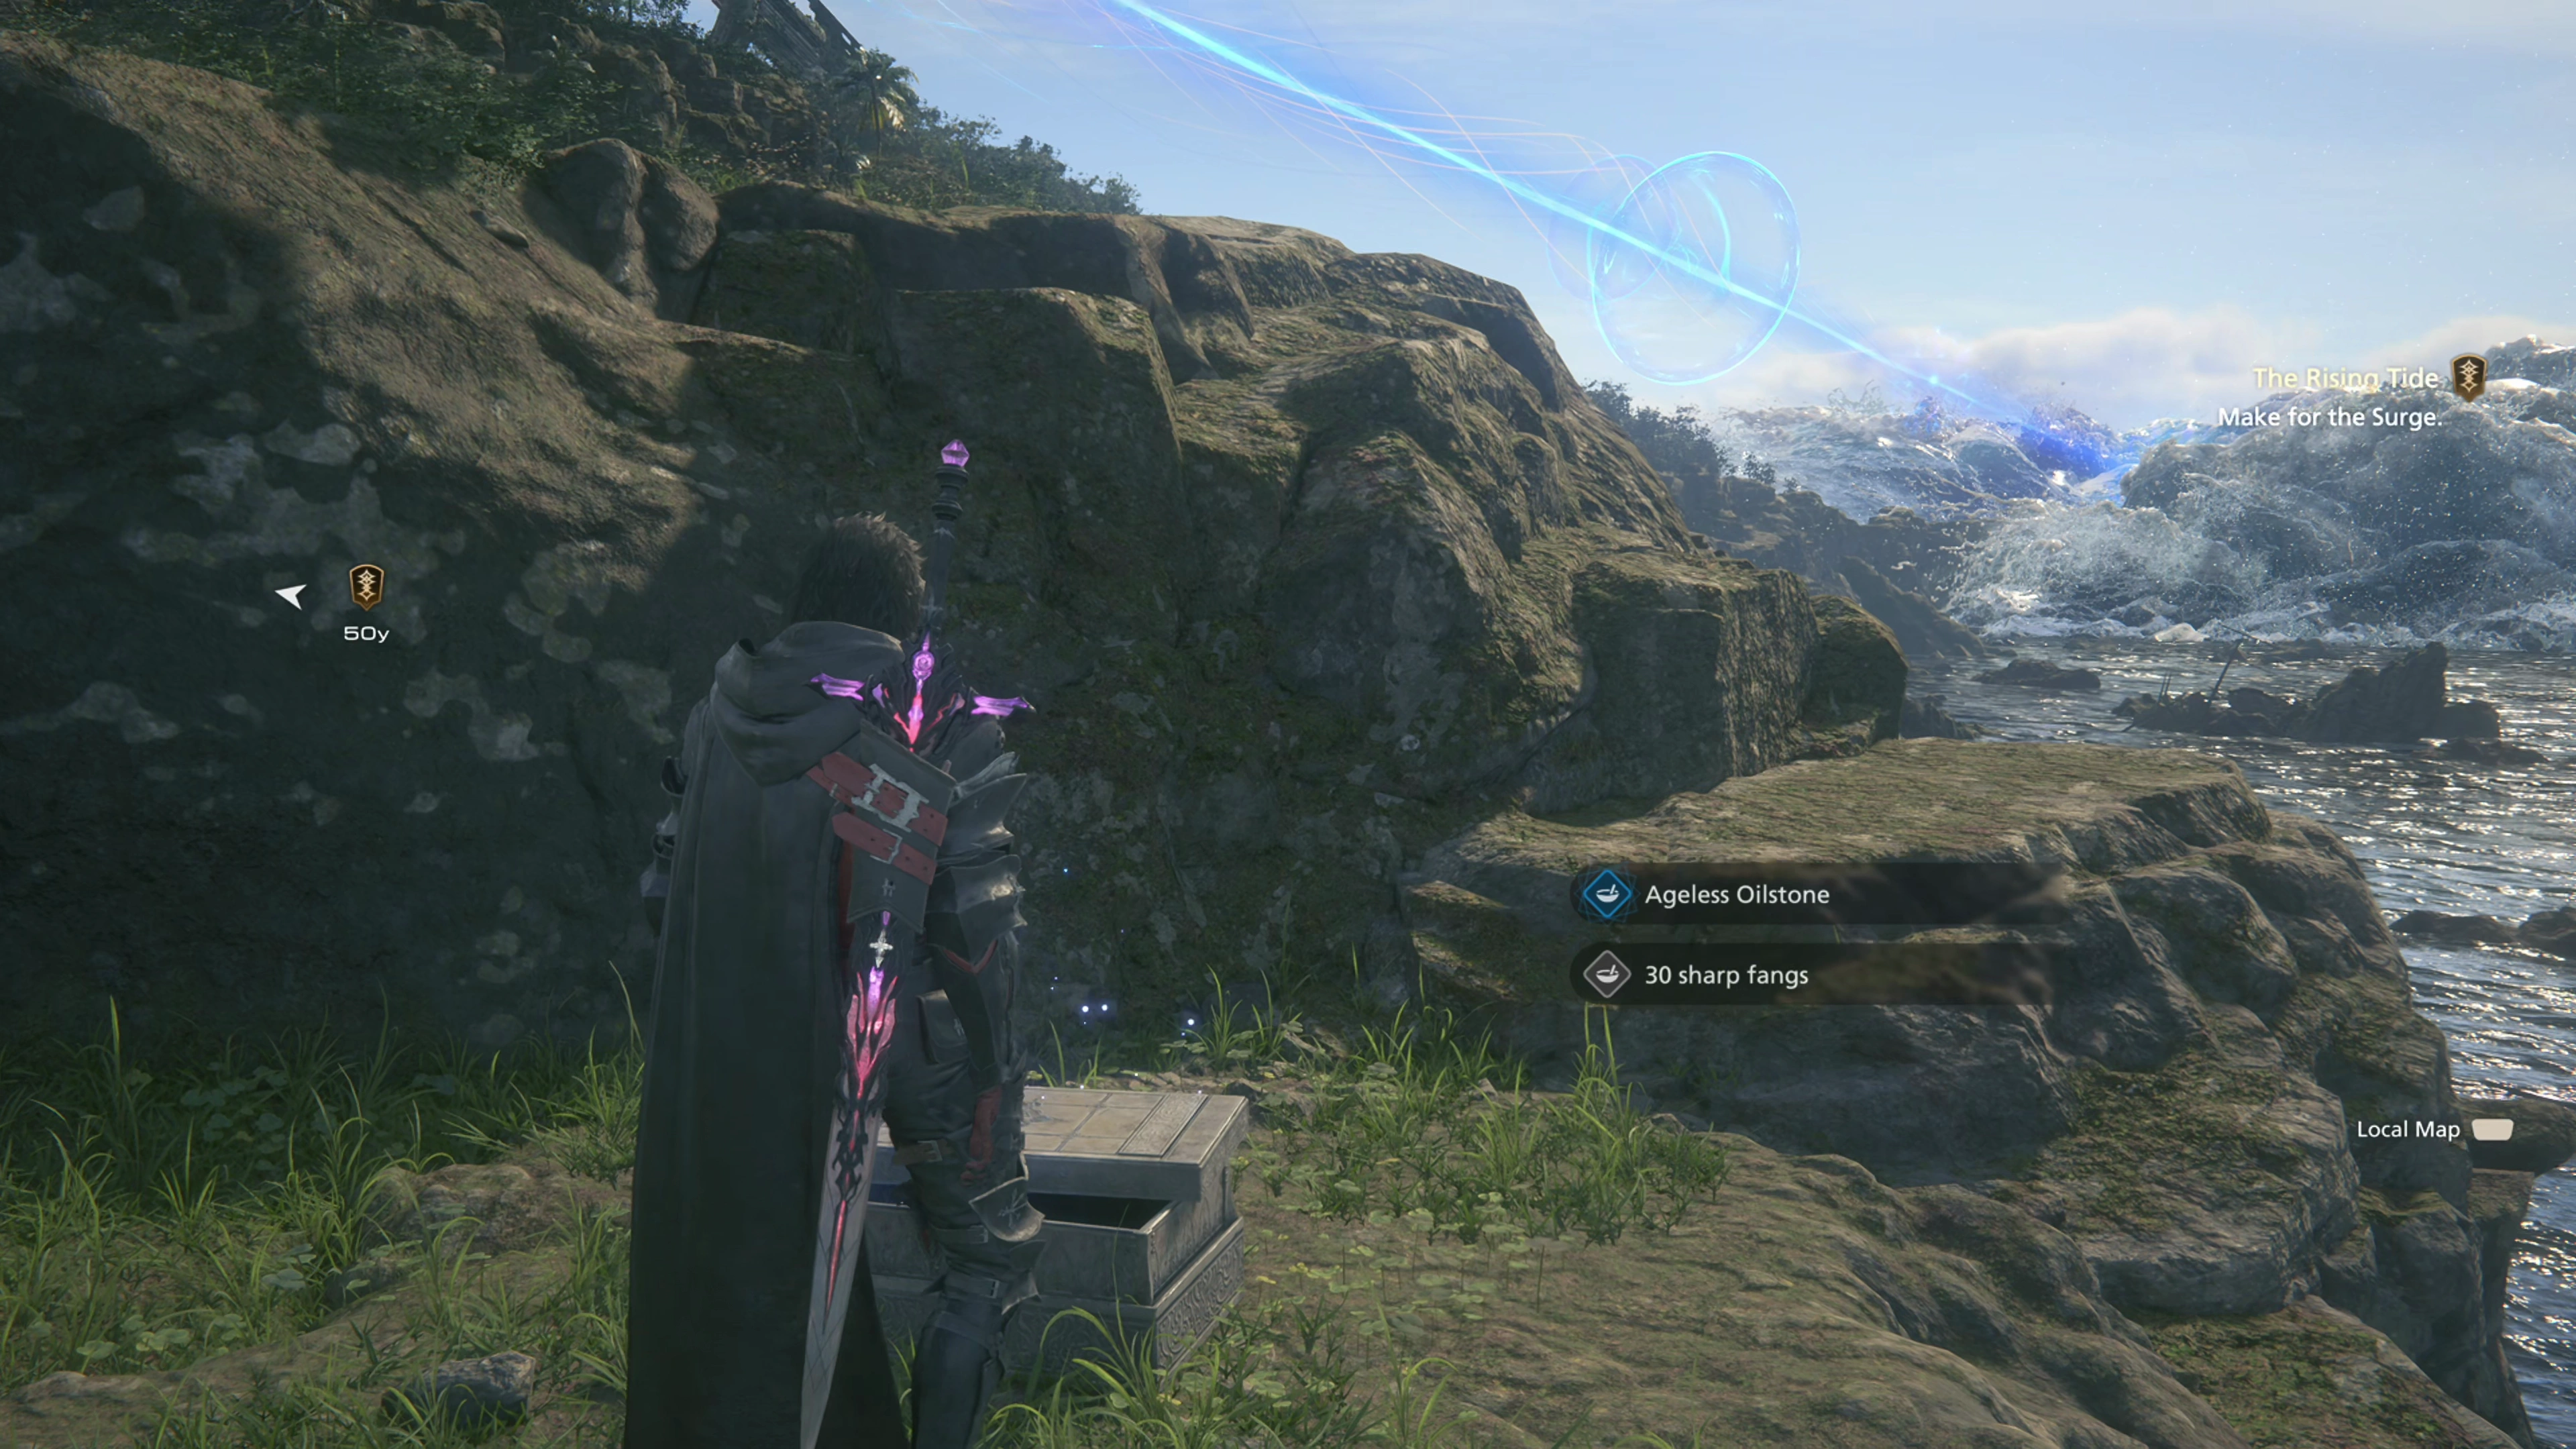
There isn’t much to do in this massively sprawling open area, but there are a few Glimmers to pick up, and there’s a treasure coffer on the right side of the bridge. You’ll have to defeat a “Lesser Archelon” to get through to it, but this is just another version of the tortoise enemies that you’ve defeated many times before.
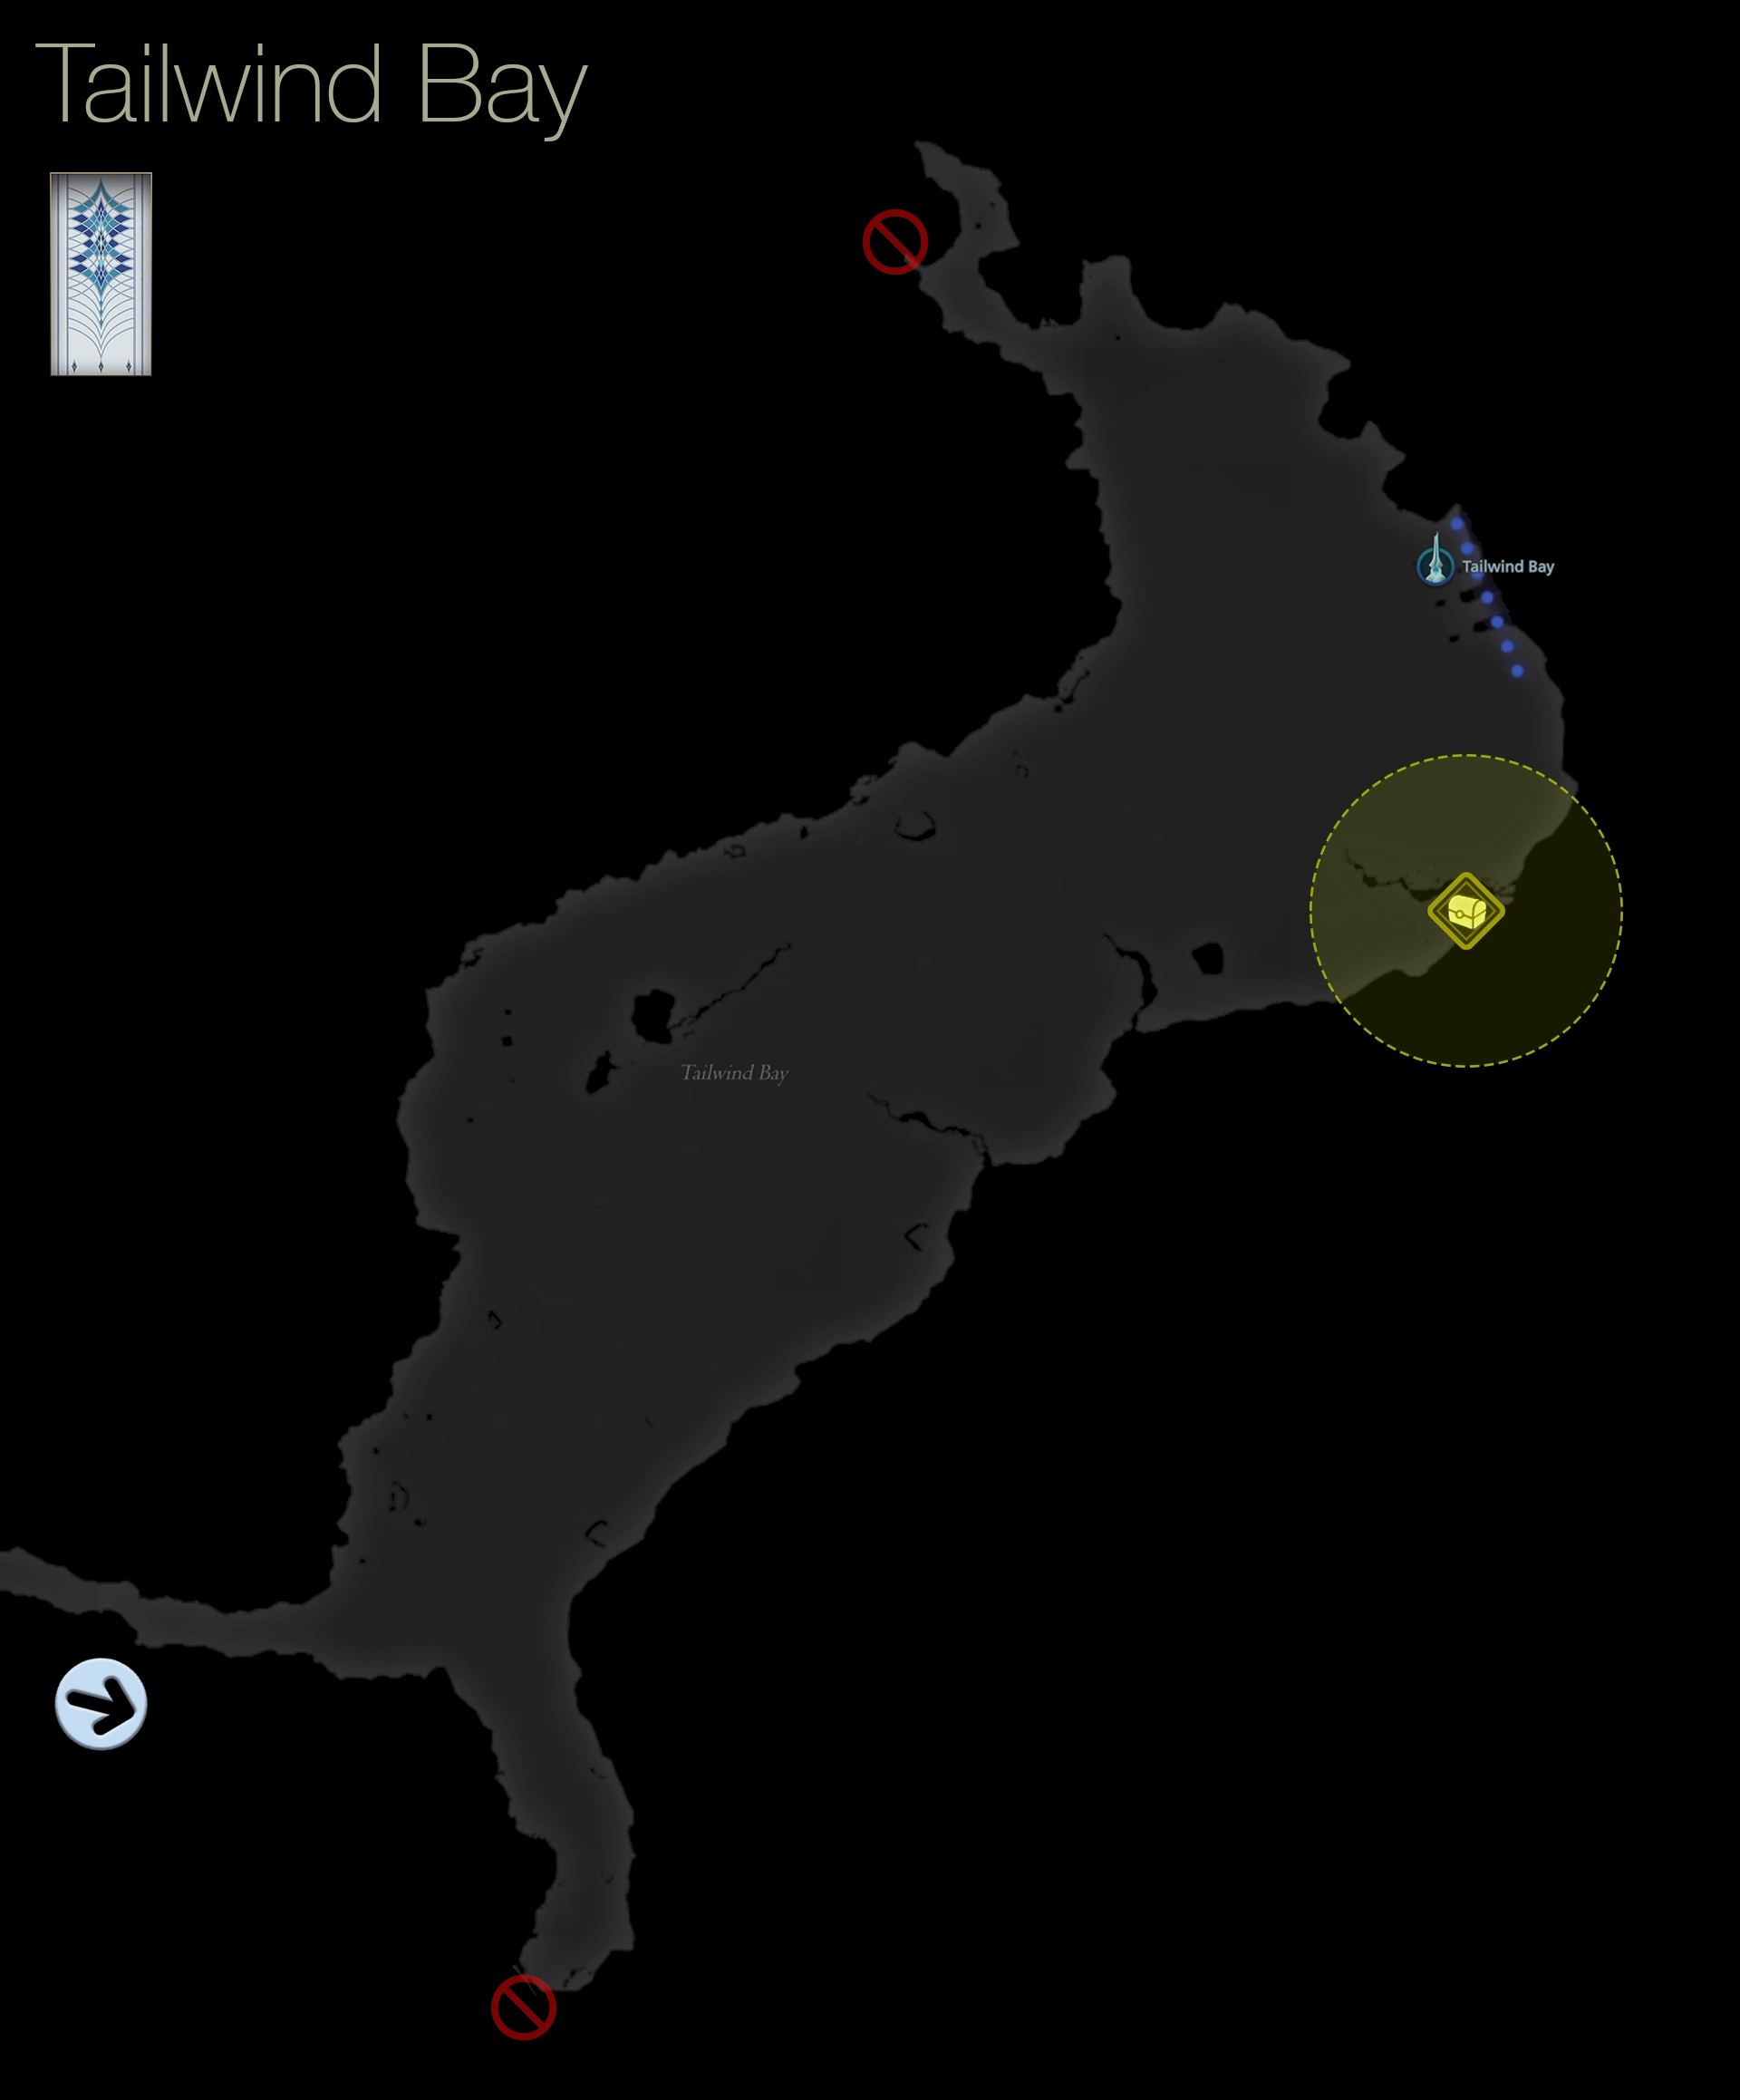
The treasure coffer contains two ![]() Ageless Oilstones. Head towards the
Ageless Oilstones. Head towards the ![]() Tailwind Bay Obelisk to trigger another cutscene before your team reaches the Surge. Select the location from the world map when you’re ready to proceed.
Tailwind Bay Obelisk to trigger another cutscene before your team reaches the Surge. Select the location from the world map when you’re ready to proceed.
Helpful Hint
Some of the new materials you’ve been picking up, including the ![]() Ageless Odorament, the
Ageless Odorament, the ![]() Ageless Oilstone, and the
Ageless Oilstone, and the ![]() Fool’s Gold, will be used to craft new accessories and weapons later on during your playthrough of the expansion. This guide will point out when you’ve acquired the materials to craft them.
Fool’s Gold, will be used to craft new accessories and weapons later on during your playthrough of the expansion. This guide will point out when you’ve acquired the materials to craft them.
Helpful Hint
For players looking to earn the Medals of Valor, the only boss that you can earn a Medal from in “The Rising Tide” DLC is the final boss. Don’t worry about taking damage during any of the fights leading up to the final boss.

The Surge
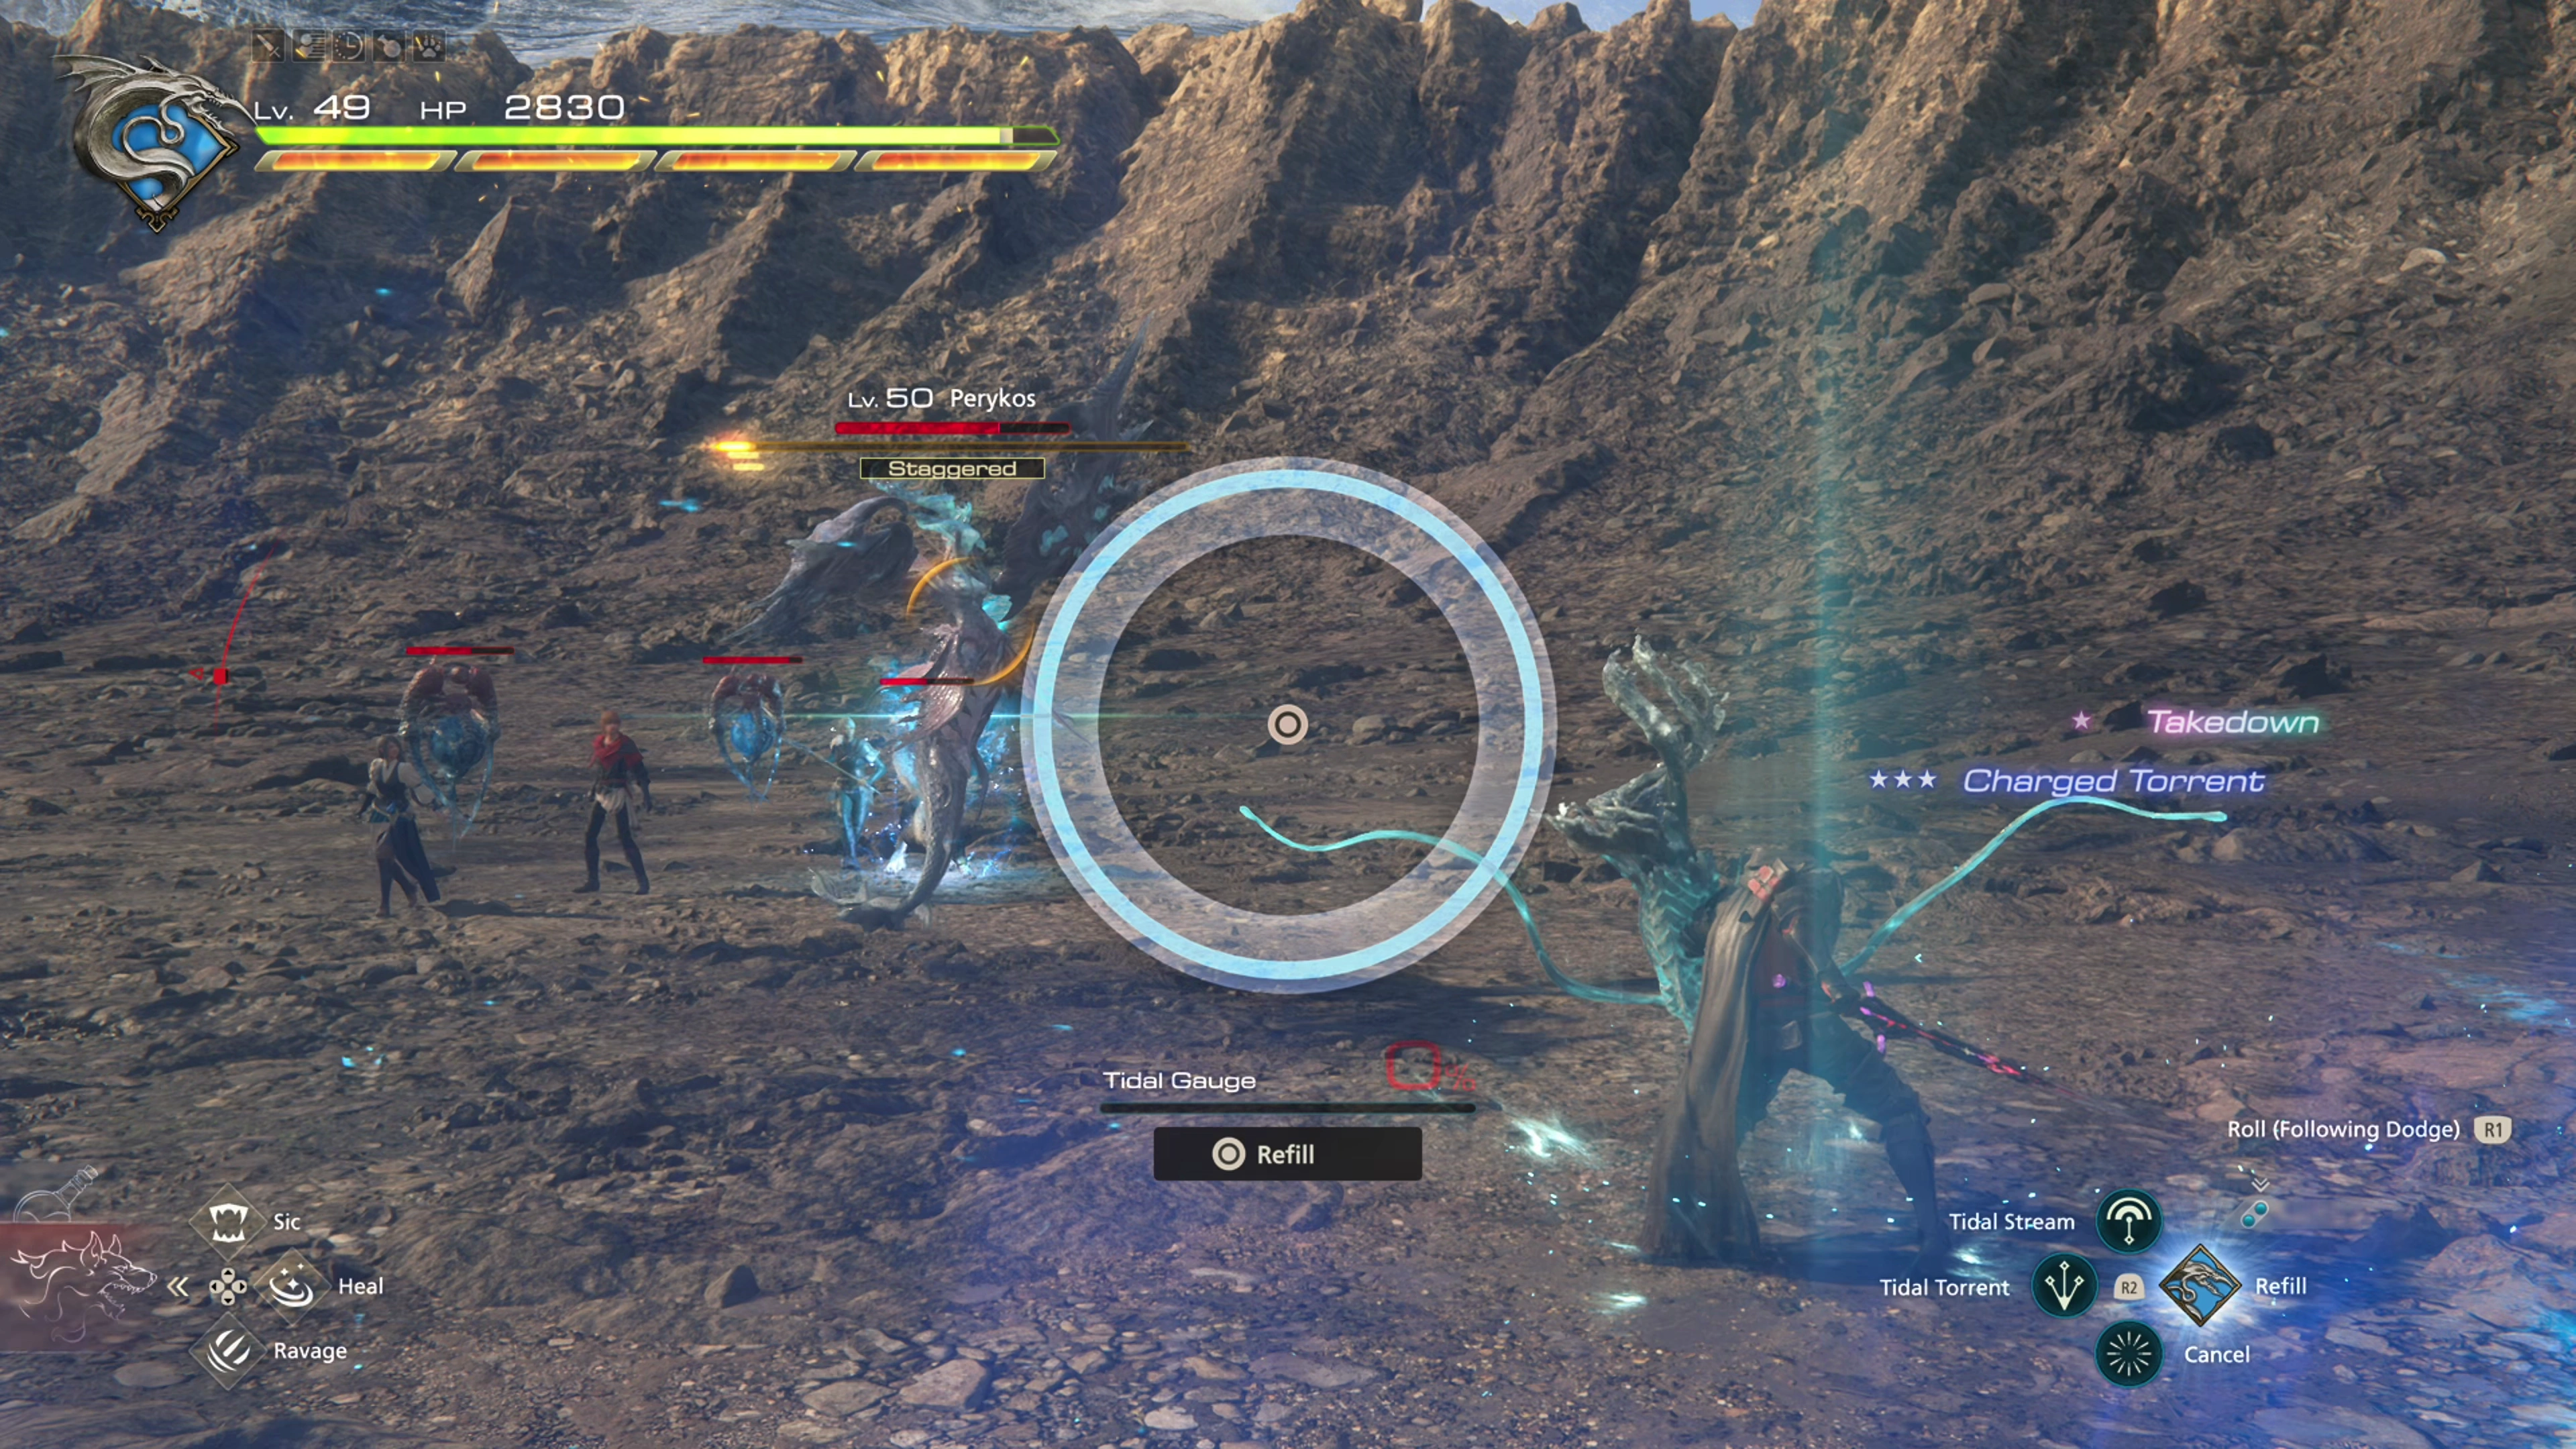
Continue walking forward toward the Surge to trigger another cutscene. Clive will immediately gain access to a new Eikon, Leviathan, and for this next battle, you’ll only be able to use Leviathan’s Eikonic Abilities. While Leviathan’s play style might not suit all players, there’s no doubt that its abilities are powerful, which should make the next fight relatively easy, even if this is your first time being exposed to them.
Boss Battle
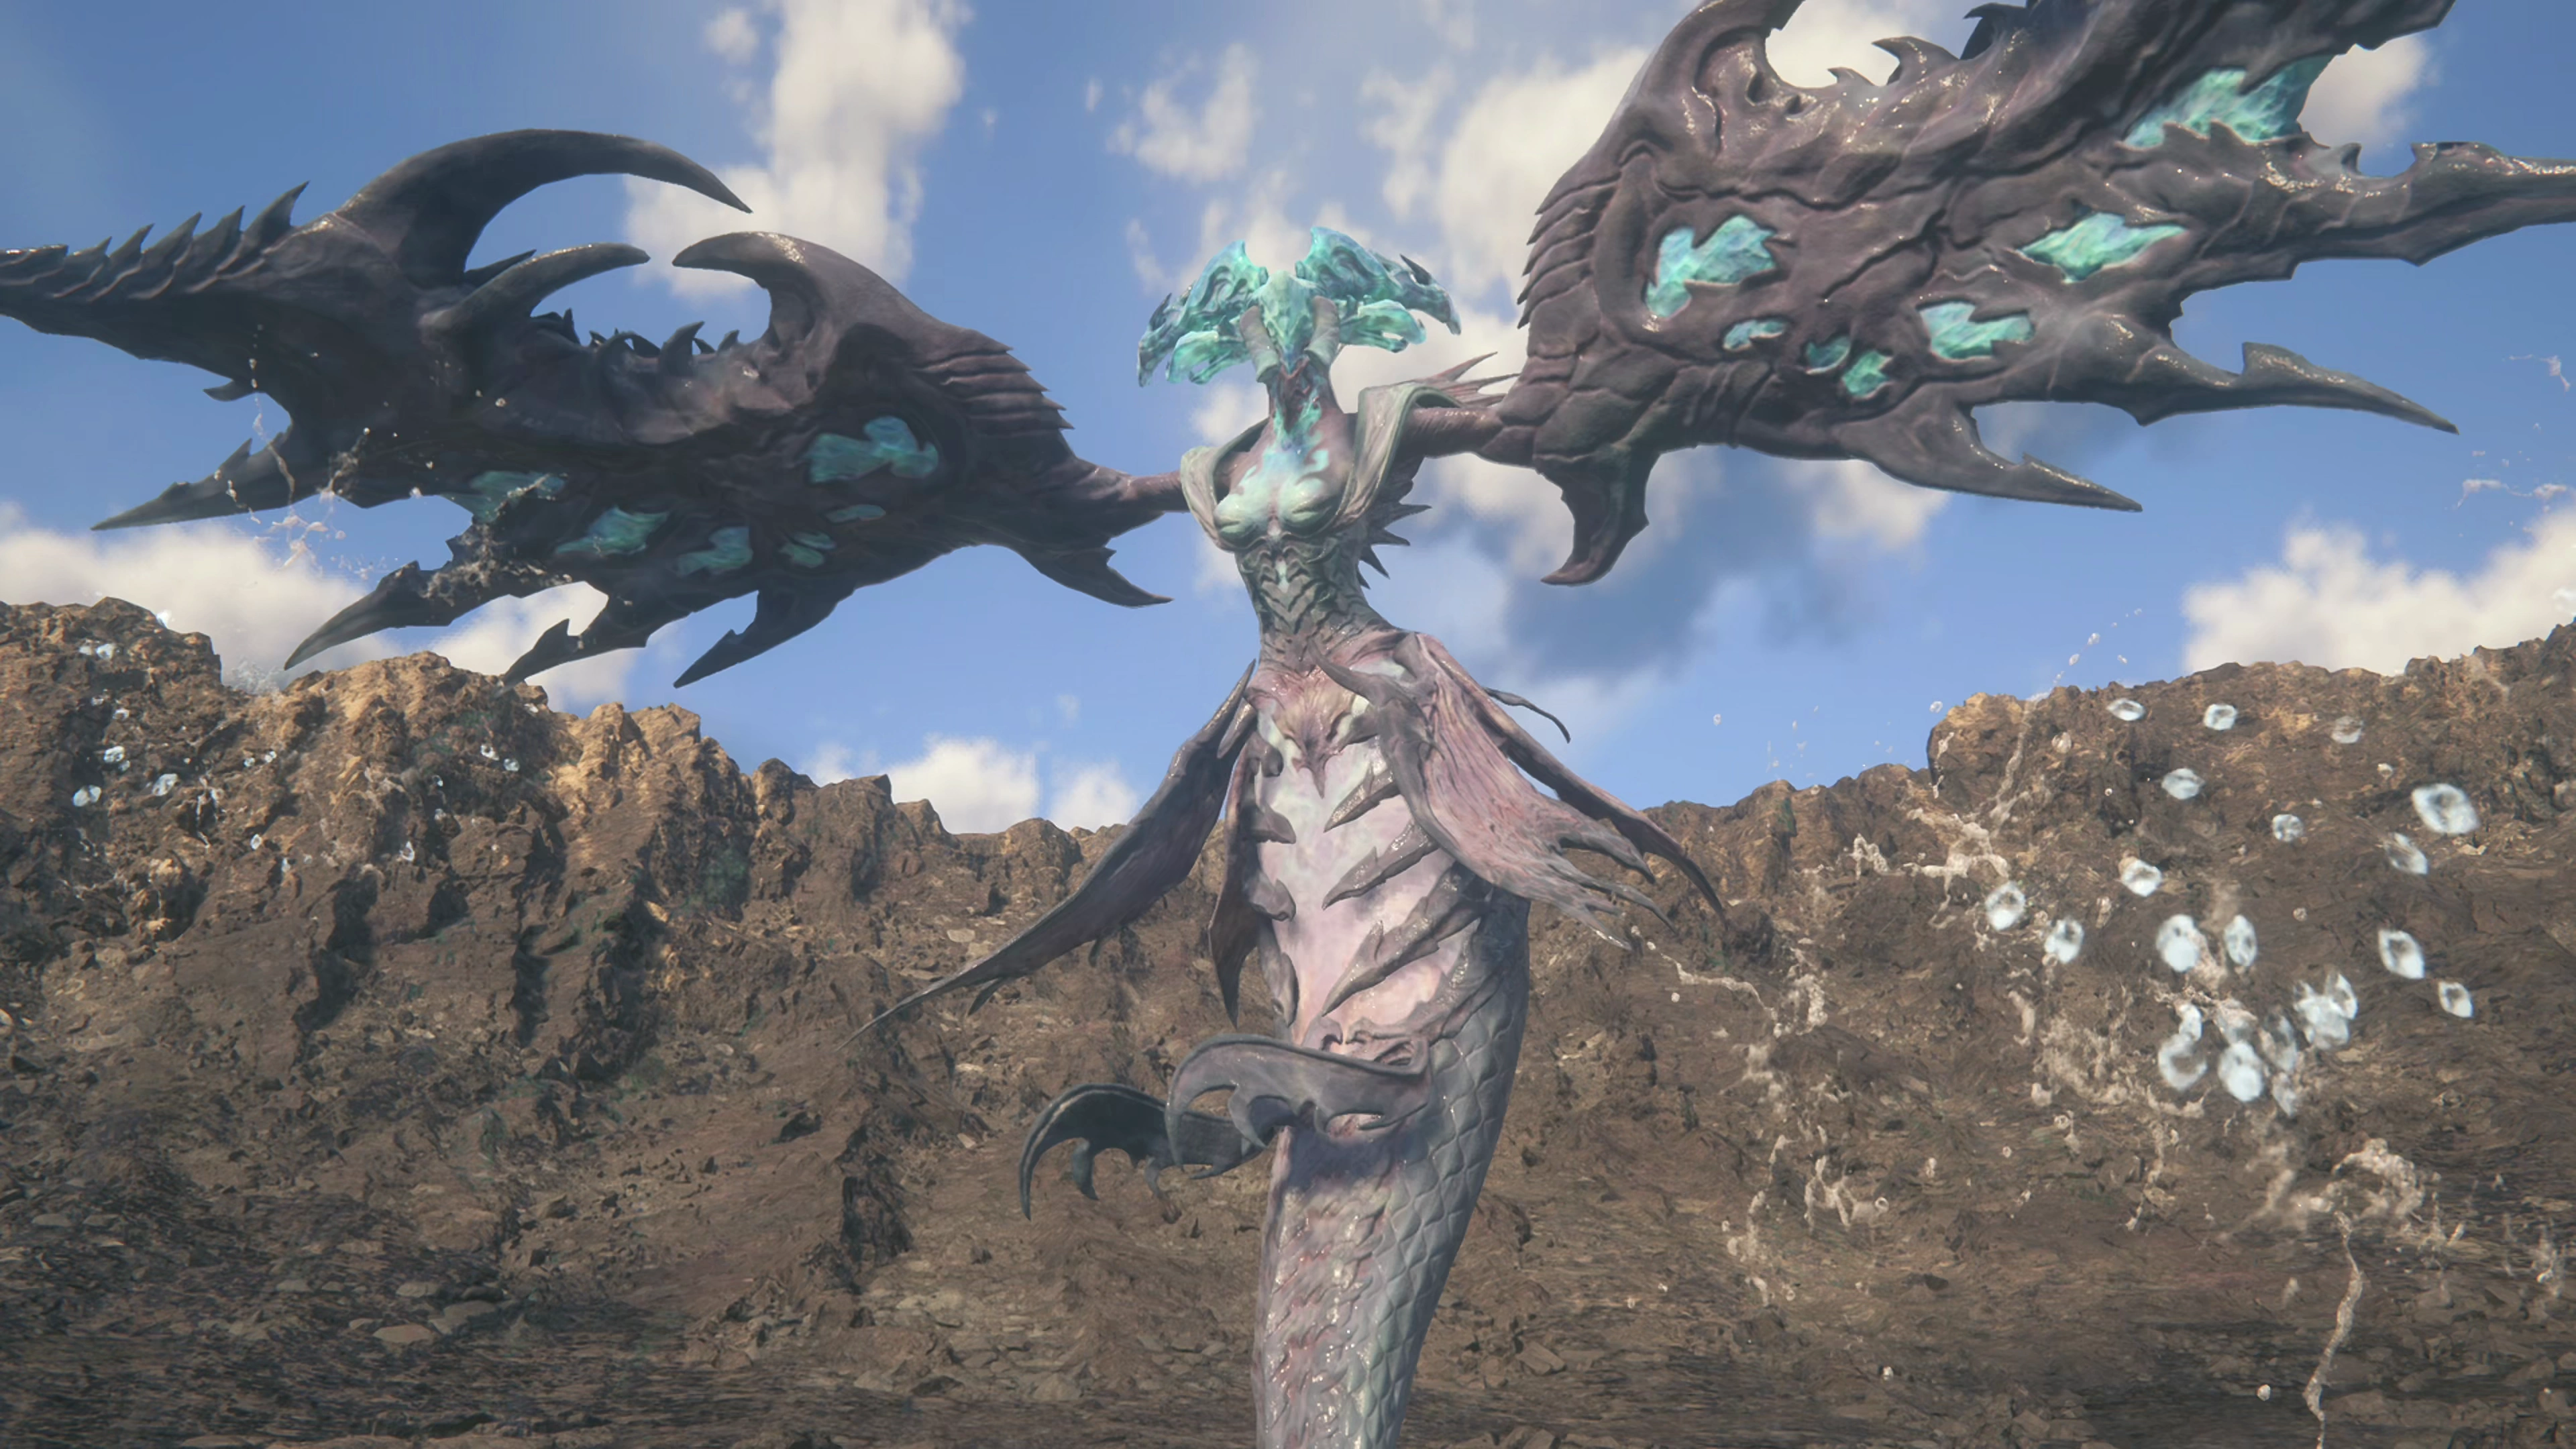
As far as boss battles go, this one is pretty straightforward and easy to deal with because you’re limited to using a brand new Eikon’s abilities. Below this boss section, you’ll find a link to the Eikon Abilities for Leviathan, but for now, here is a quick rundown of the things you need to know for this battle:
- Press the


 button to use
  Serpent’s Cry, which summons a large, gun-like weapon made of water. Your

 and
and 

 buttons now make use of this gun.
 - You’ll see a “Tidal Gauge” on the screen. This is your ammo. Use again to reload when you run out of ammo.
- You also have access to the
 Cross Swell ability, which is very useful for dragging all of the enemies together to make them easier to shoot.
![]() Serpent’s Cry shots deal a high amount of damage, especially if you are close to the enemies, so just keep refilling your Tidal Gauge and shooting away until Perykos is defeated.
Serpent’s Cry shots deal a high amount of damage, especially if you are close to the enemies, so just keep refilling your Tidal Gauge and shooting away until Perykos is defeated.
200
2,500
There’s a lengthy cinematic after the battle before the team returns to Haven.
Haven
You now have access to a brand new Eikon and its abilities through “The Power of Water.” The link below provides some guidance on the utility and usefulness of the new Eikonic Abilities you have access to through Leviathan.
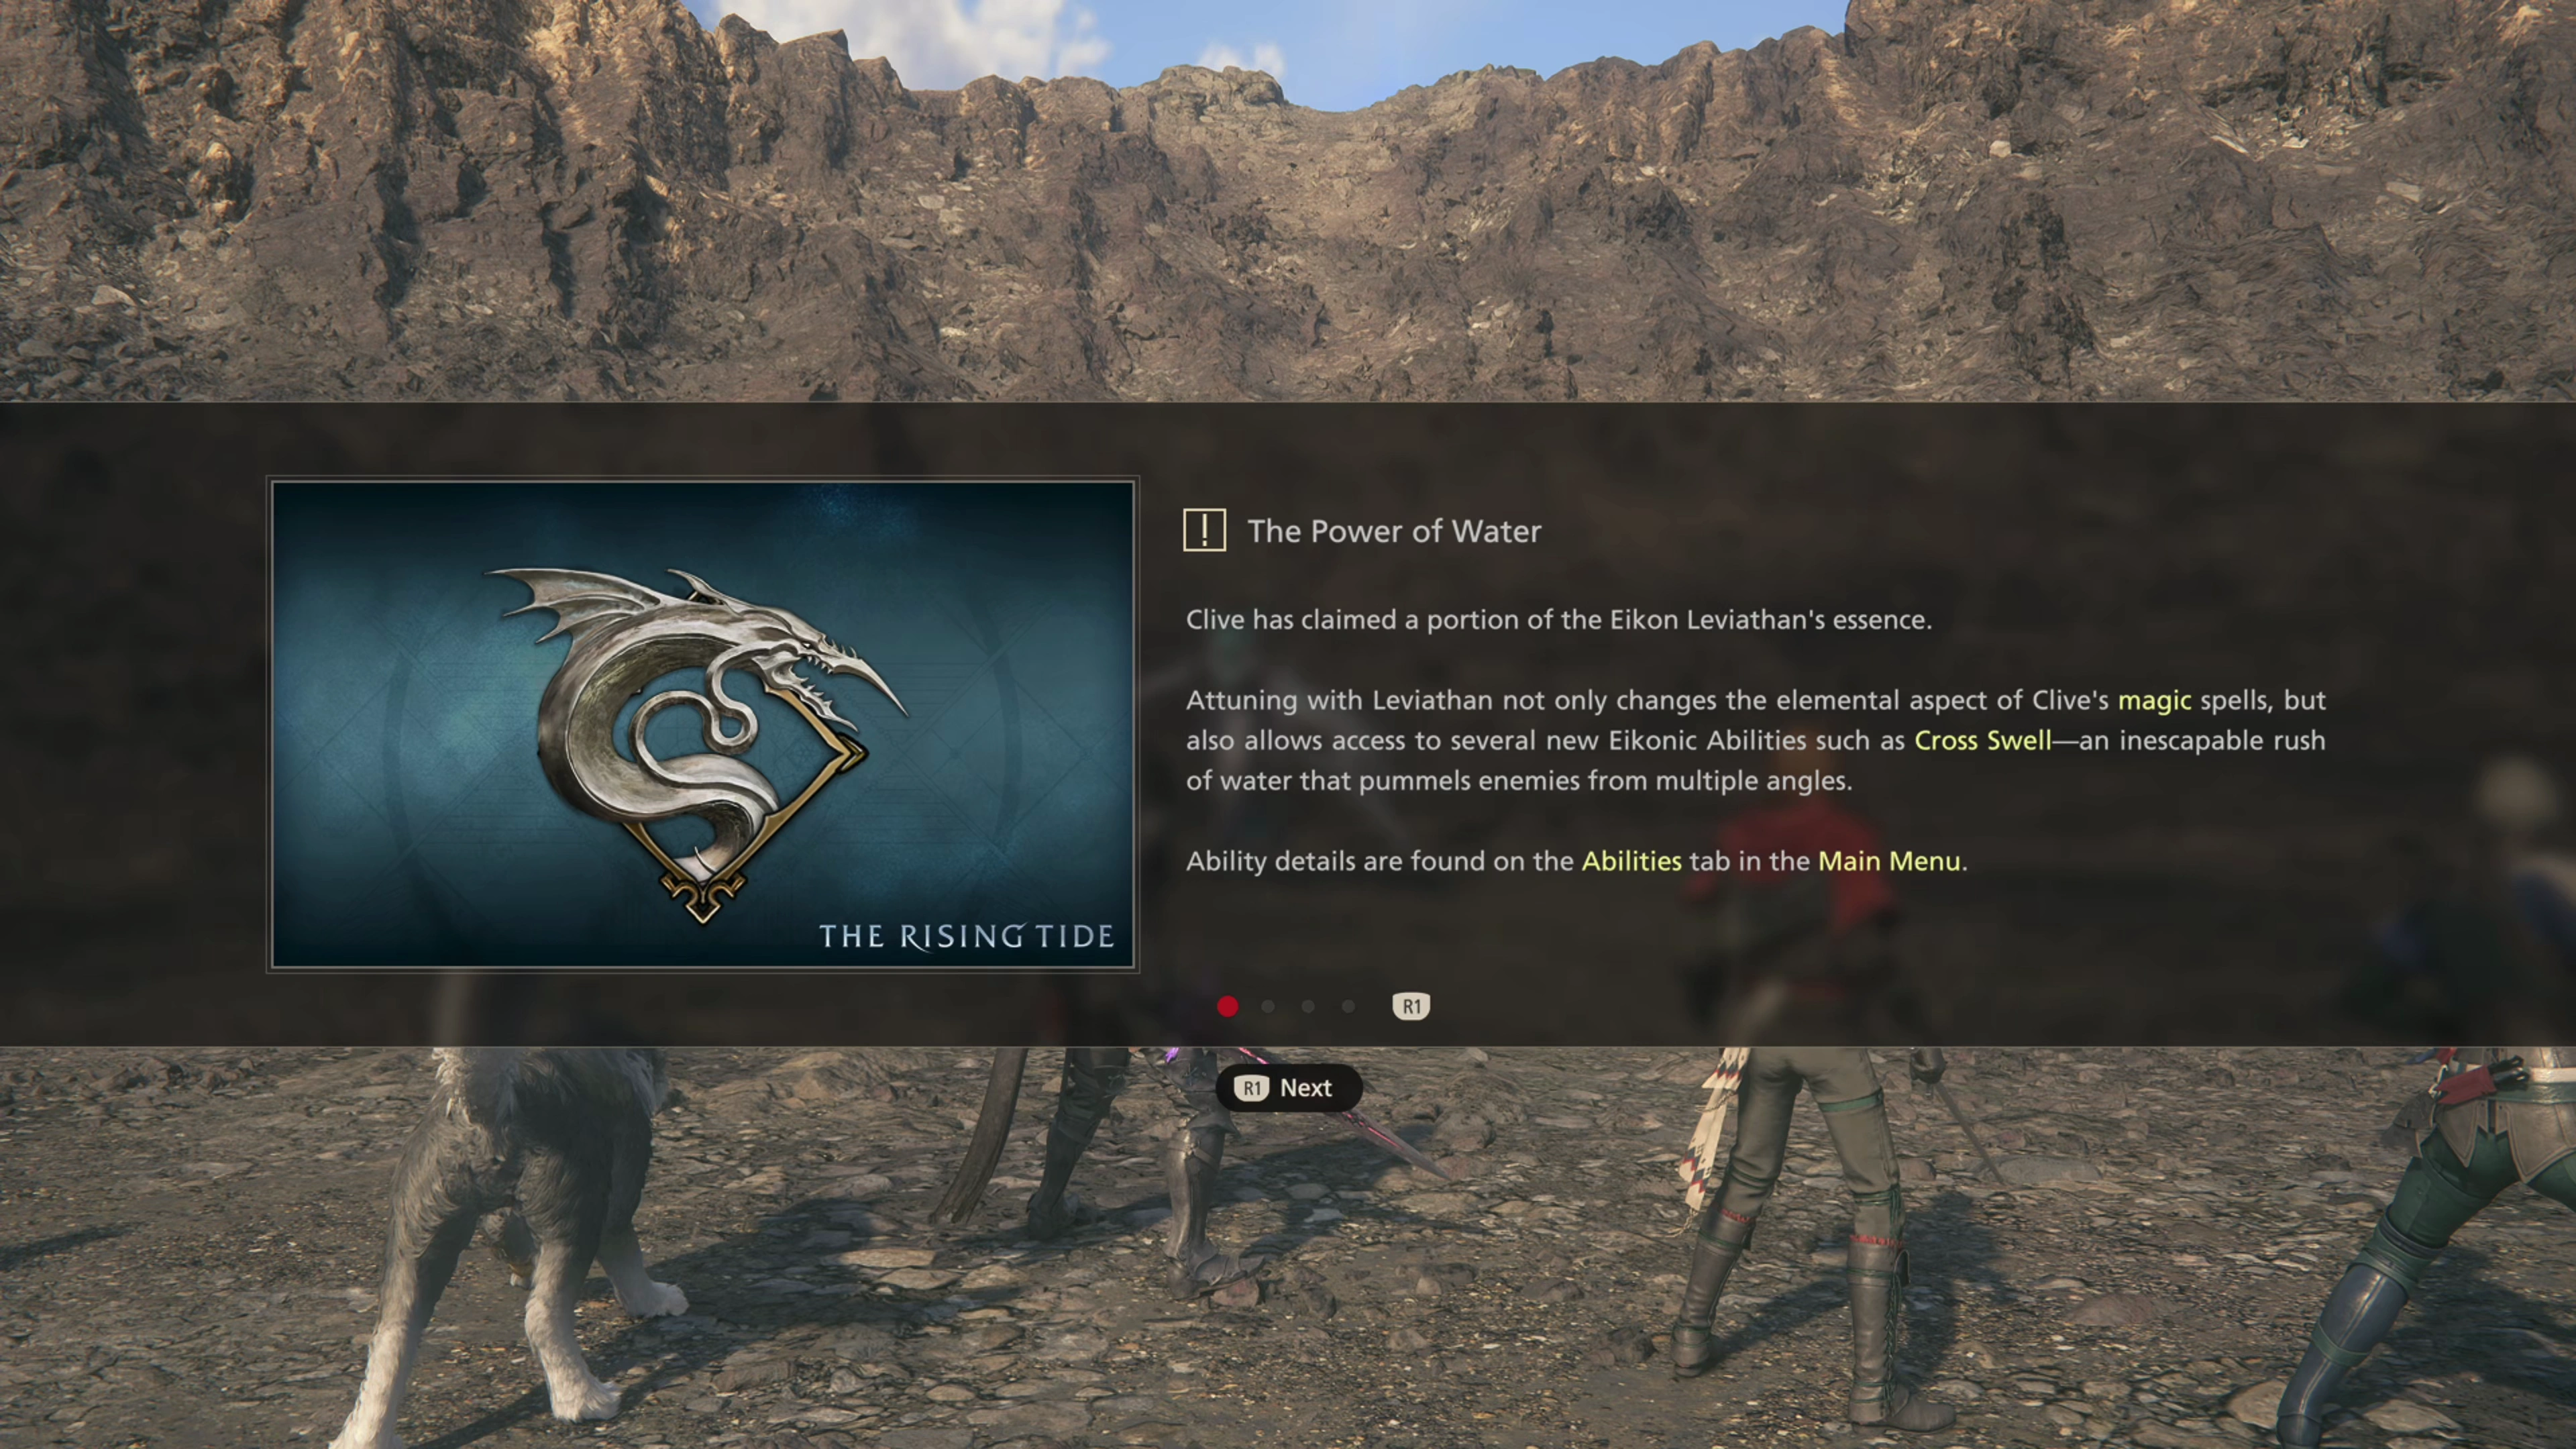
Whether or not you include Leviathan’s abilities in your ![]() Eikonic Ability Sets is entirely up to personal preference, as it completely changes the style of gameplay you’d be using to defeat enemies. It’s not for everyone, but more information can be found using the link below:
Eikonic Ability Sets is entirely up to personal preference, as it completely changes the style of gameplay you’d be using to defeat enemies. It’s not for everyone, but more information can be found using the link below:
Eikon
A complete list of the Eikonic Feats and Eikonic Abilities for Leviathan, including recommendations on which abilities to use and what situations call for their usage.
One of the spoils you received after defeating Perykos was the ![]() Aqueous Orb, which can be used to craft a new weapon. Unfortunately, if you’ve already completed
Aqueous Orb, which can be used to craft a new weapon. Unfortunately, if you’ve already completed ![]() Echoes of the Fallen, this weapon will not be better than the
Echoes of the Fallen, this weapon will not be better than the ![]() Omega Weapon you already have equipped.
Omega Weapon you already have equipped.
| Materials | |
|---|---|
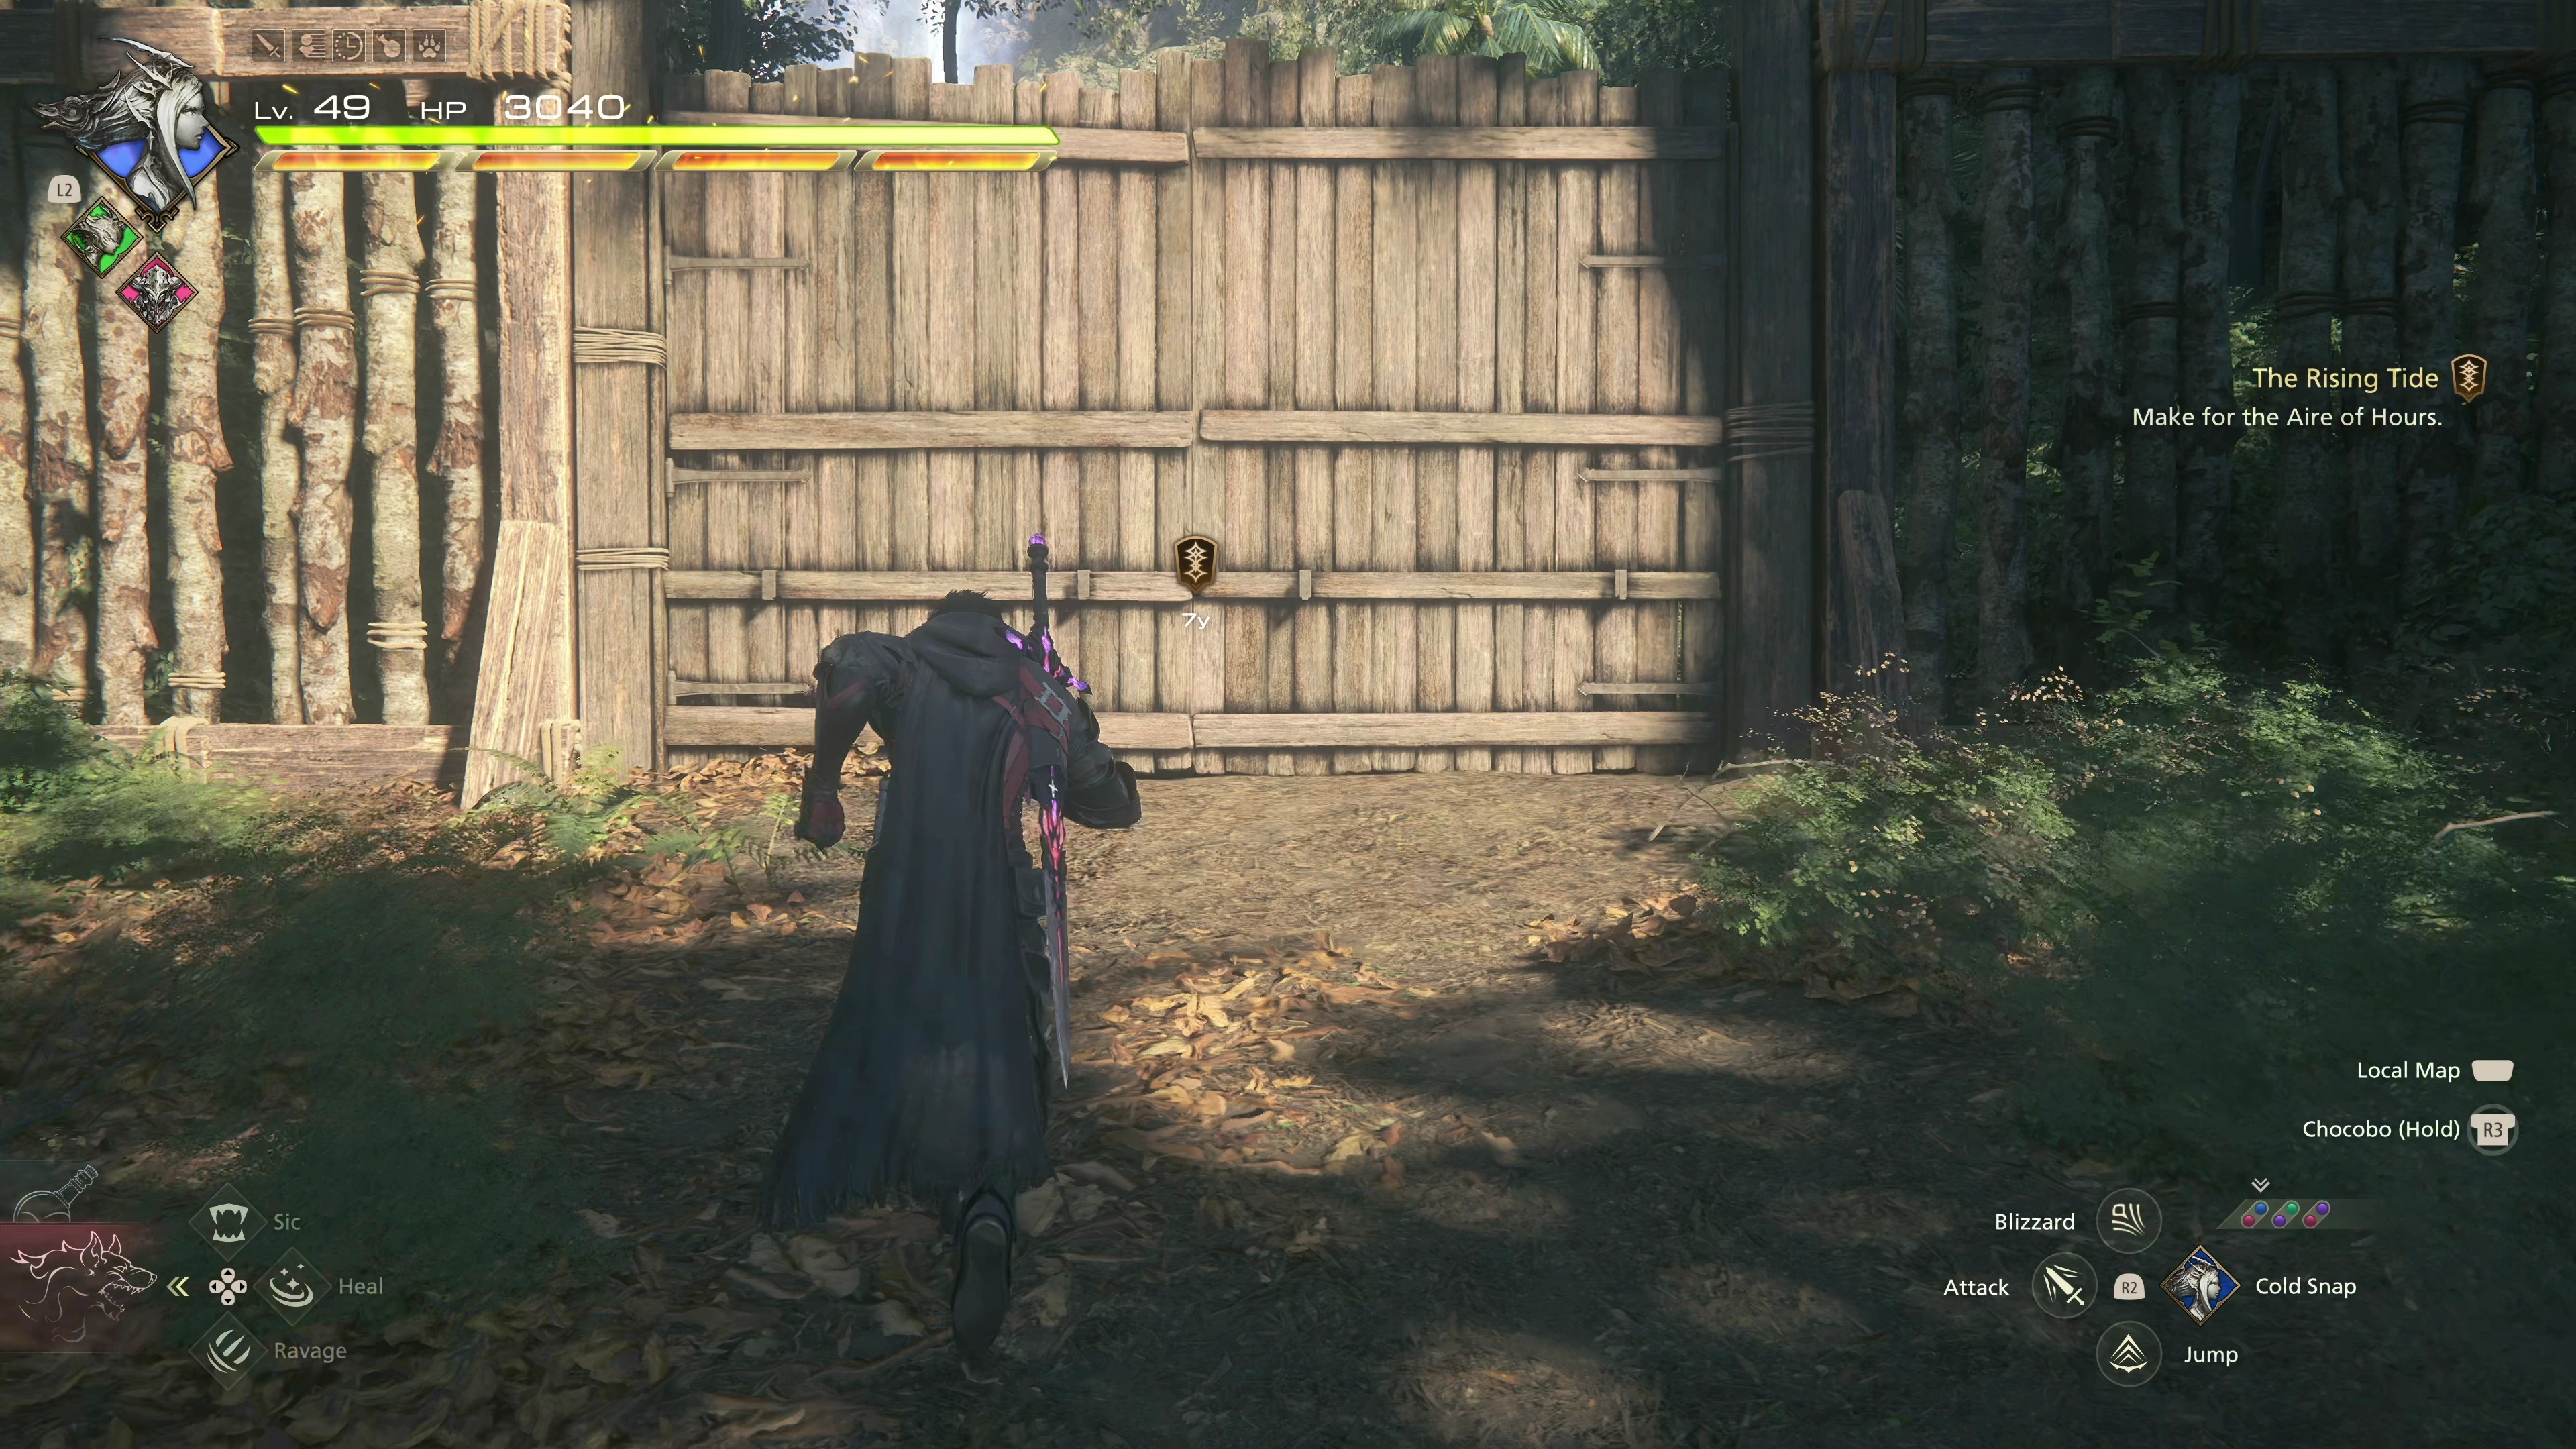
Head into the Witanhall to continue the game’s story. Your next objective is to head to the “Aire of Hours,” but before that, we have three new Optional Quests to complete. Let’s start with the most important one first:
Optional Quest
“Manda, keeper of Haven’s stables, catches wind that Clive is the proud owner of a snow-white Chocobo, and insists on making her acquaintance. Luckily for all involved, her father has a boat big enough to hold a ‘bo, and will momentarily be making a trip across the bay and back.”
You now have access to your ![]() Chocobo, Ambrosia, which will make completing the following quests a bit easier:
Chocobo, Ambrosia, which will make completing the following quests a bit easier:
Optional Quest
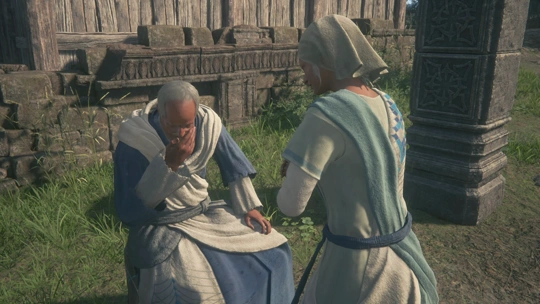
“Haven’s healer, Fanet, is struggling to treat an elderly patient’s affliction, and begs Clive’s aid in uncovering what might lie behind his mysterious illness.”
Optional Quest
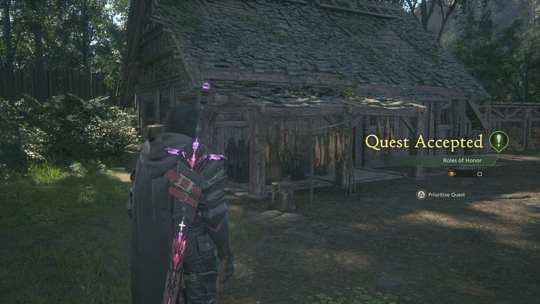
“Many long hours have passed since Nasef went out into the woods to attend to the glamour-maintaining cairns, but he has still not returned. His friend Qatav begs Clive’s help in seeking him out.”
Optional Quest
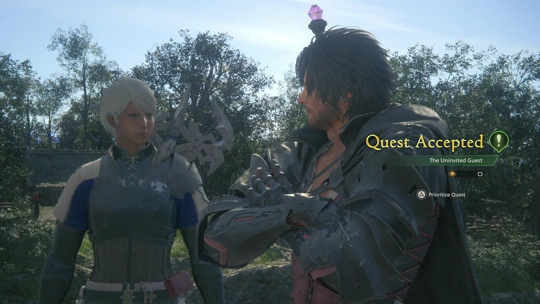
“A shadow sighted on the Cloak makes Jamila fear that Clive and his friends may not be the only outsiders to have found their way to Mysidia. She has her suspicions as to the identity of the interloper, and begs Clive’s aid in proving them one way or the other.”
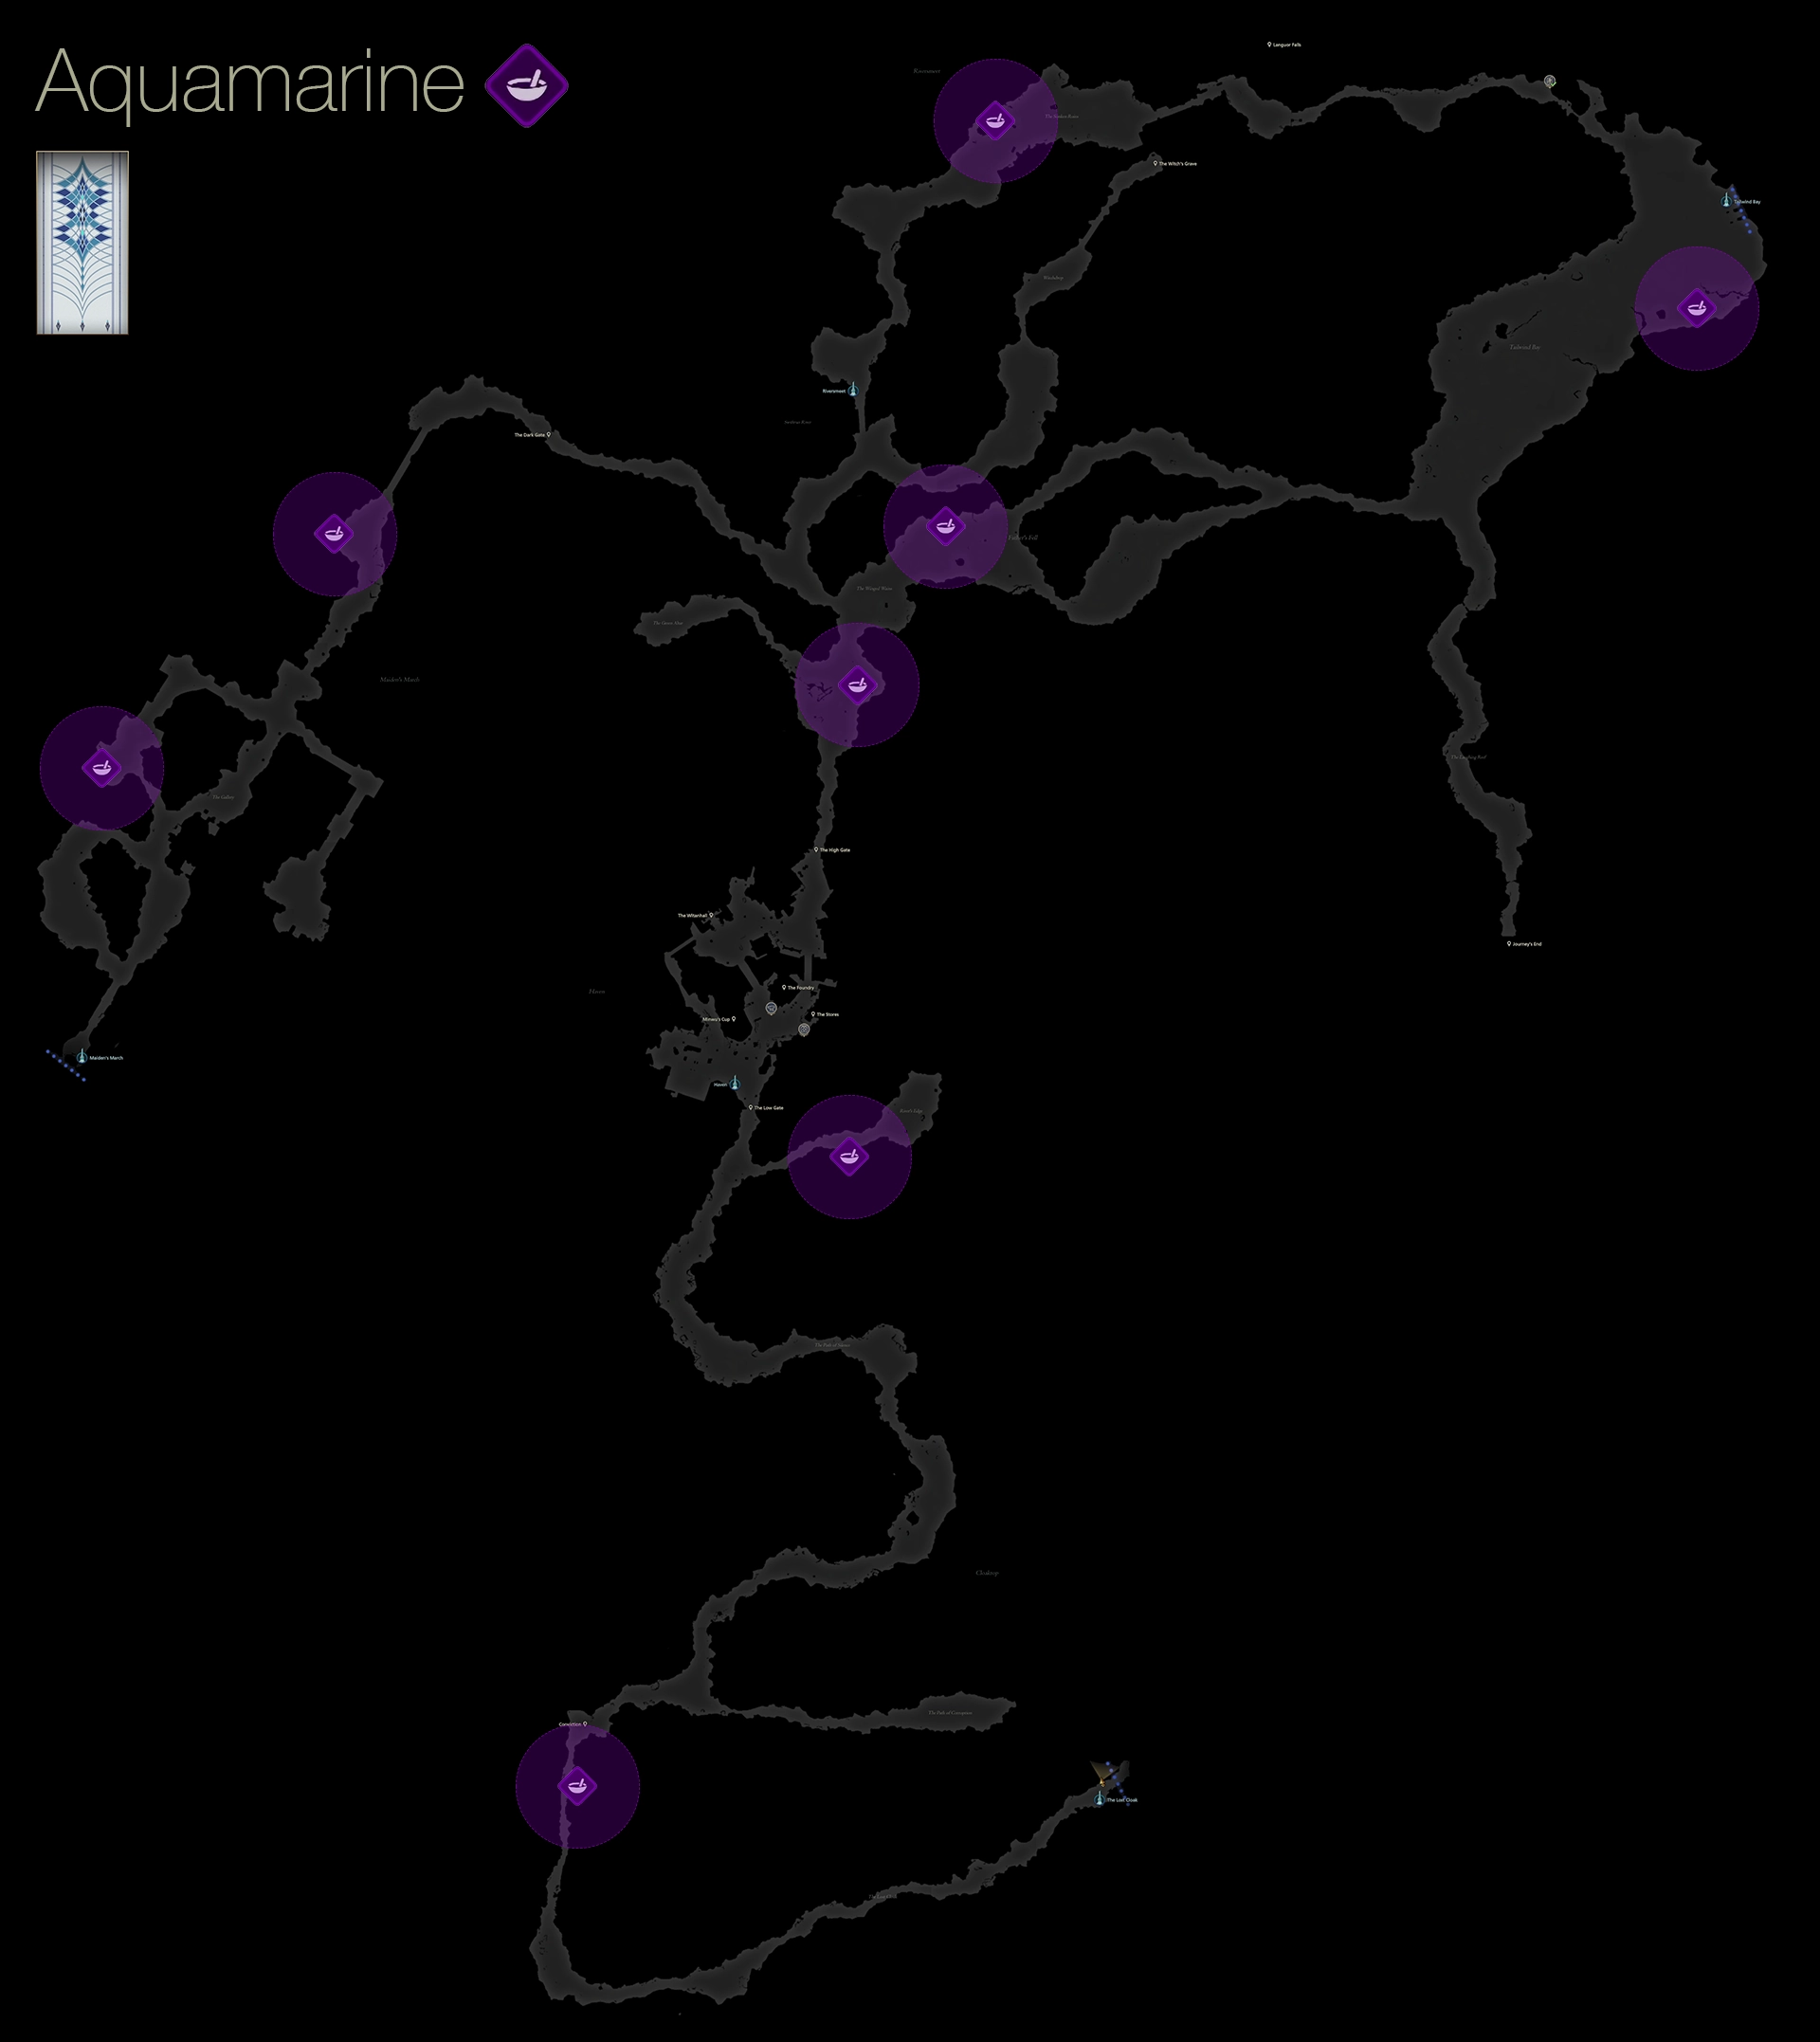
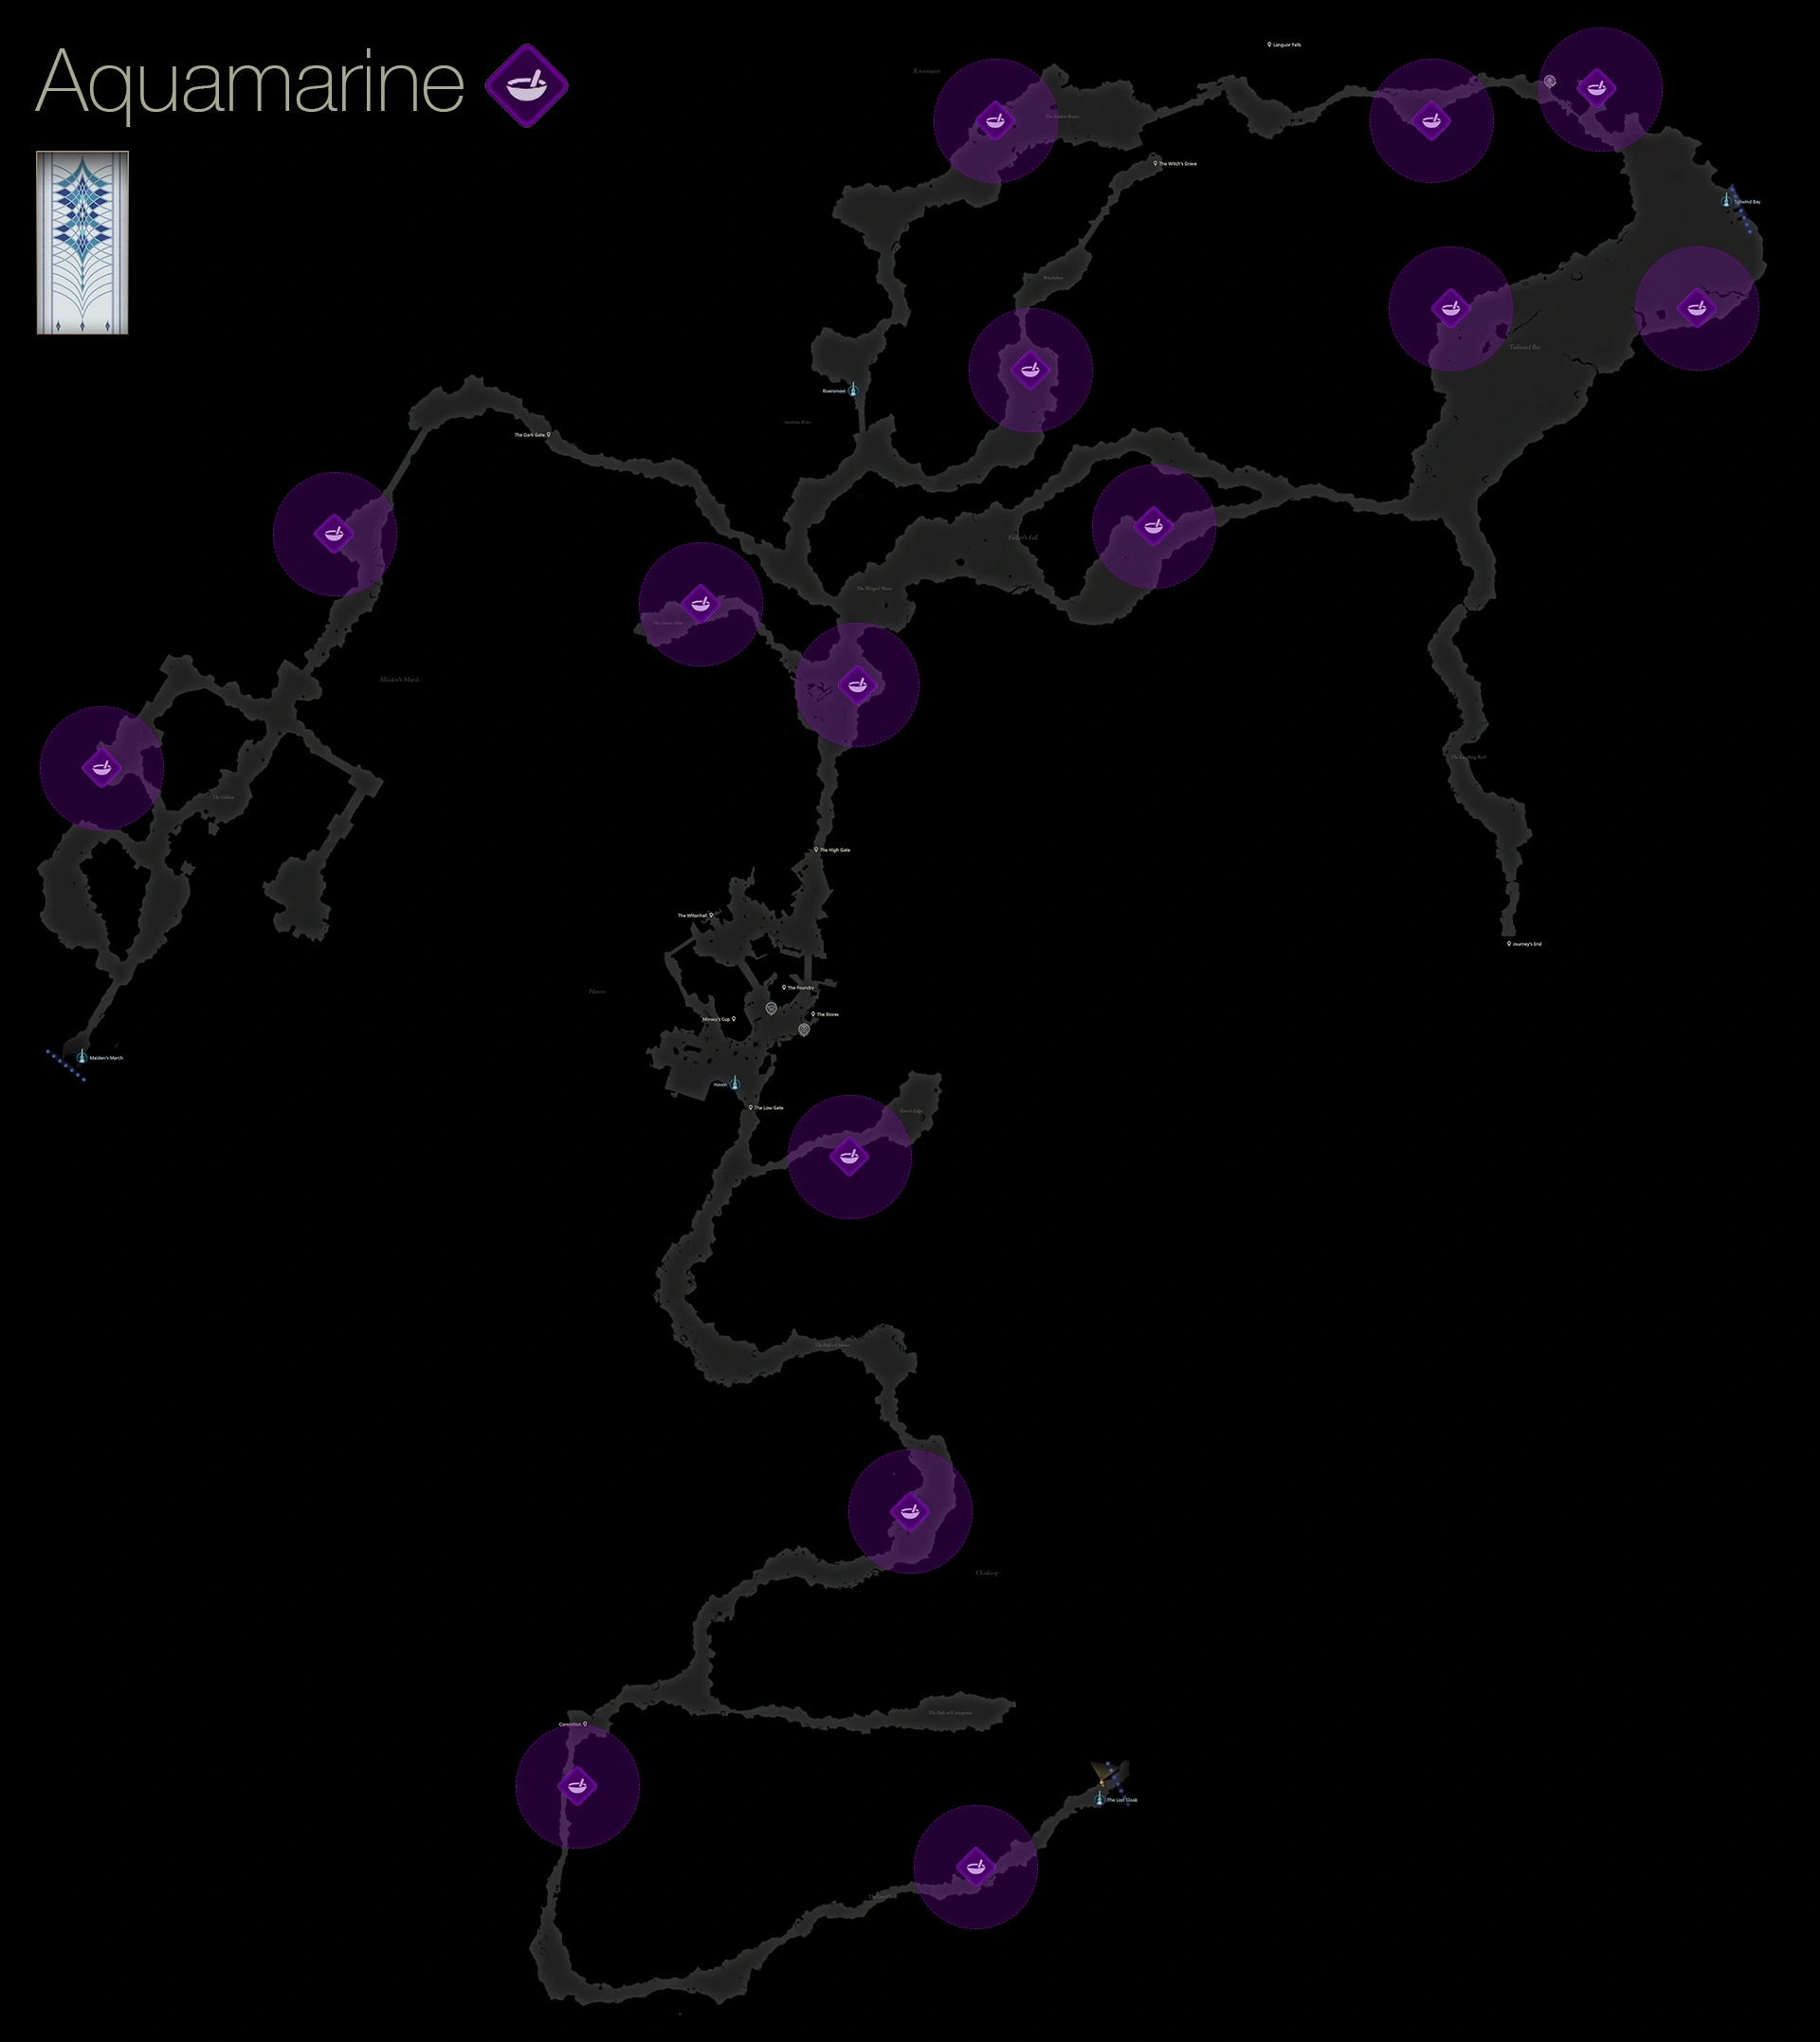
There are a total of eight ![]() Aquamarines scattered throughout Mysidia, and you can reach six of them right now. The other two can be picked in the area that you’re headed to, on your way to the “Aire of Hours.” You can use the map below to help you find the first six, or check out the side quest section below that for a complete map and an overview of what you can use them for:
Aquamarines scattered throughout Mysidia, and you can reach six of them right now. The other two can be picked in the area that you’re headed to, on your way to the “Aire of Hours.” You can use the map below to help you find the first six, or check out the side quest section below that for a complete map and an overview of what you can use them for:
Note that one of these ![]() Aquamarines is attached to the top of a Lesser Archelon that you’ll have to defeat to obtain it.
Aquamarines is attached to the top of a Lesser Archelon that you’ll have to defeat to obtain it.
Side Quests
Locating all eight of the Aquamarine stones in Mysidia. Aquamarine can be used to craft each of the four “Serpent Rings,” which enhance Leviathan’s Eikonic Abilities.
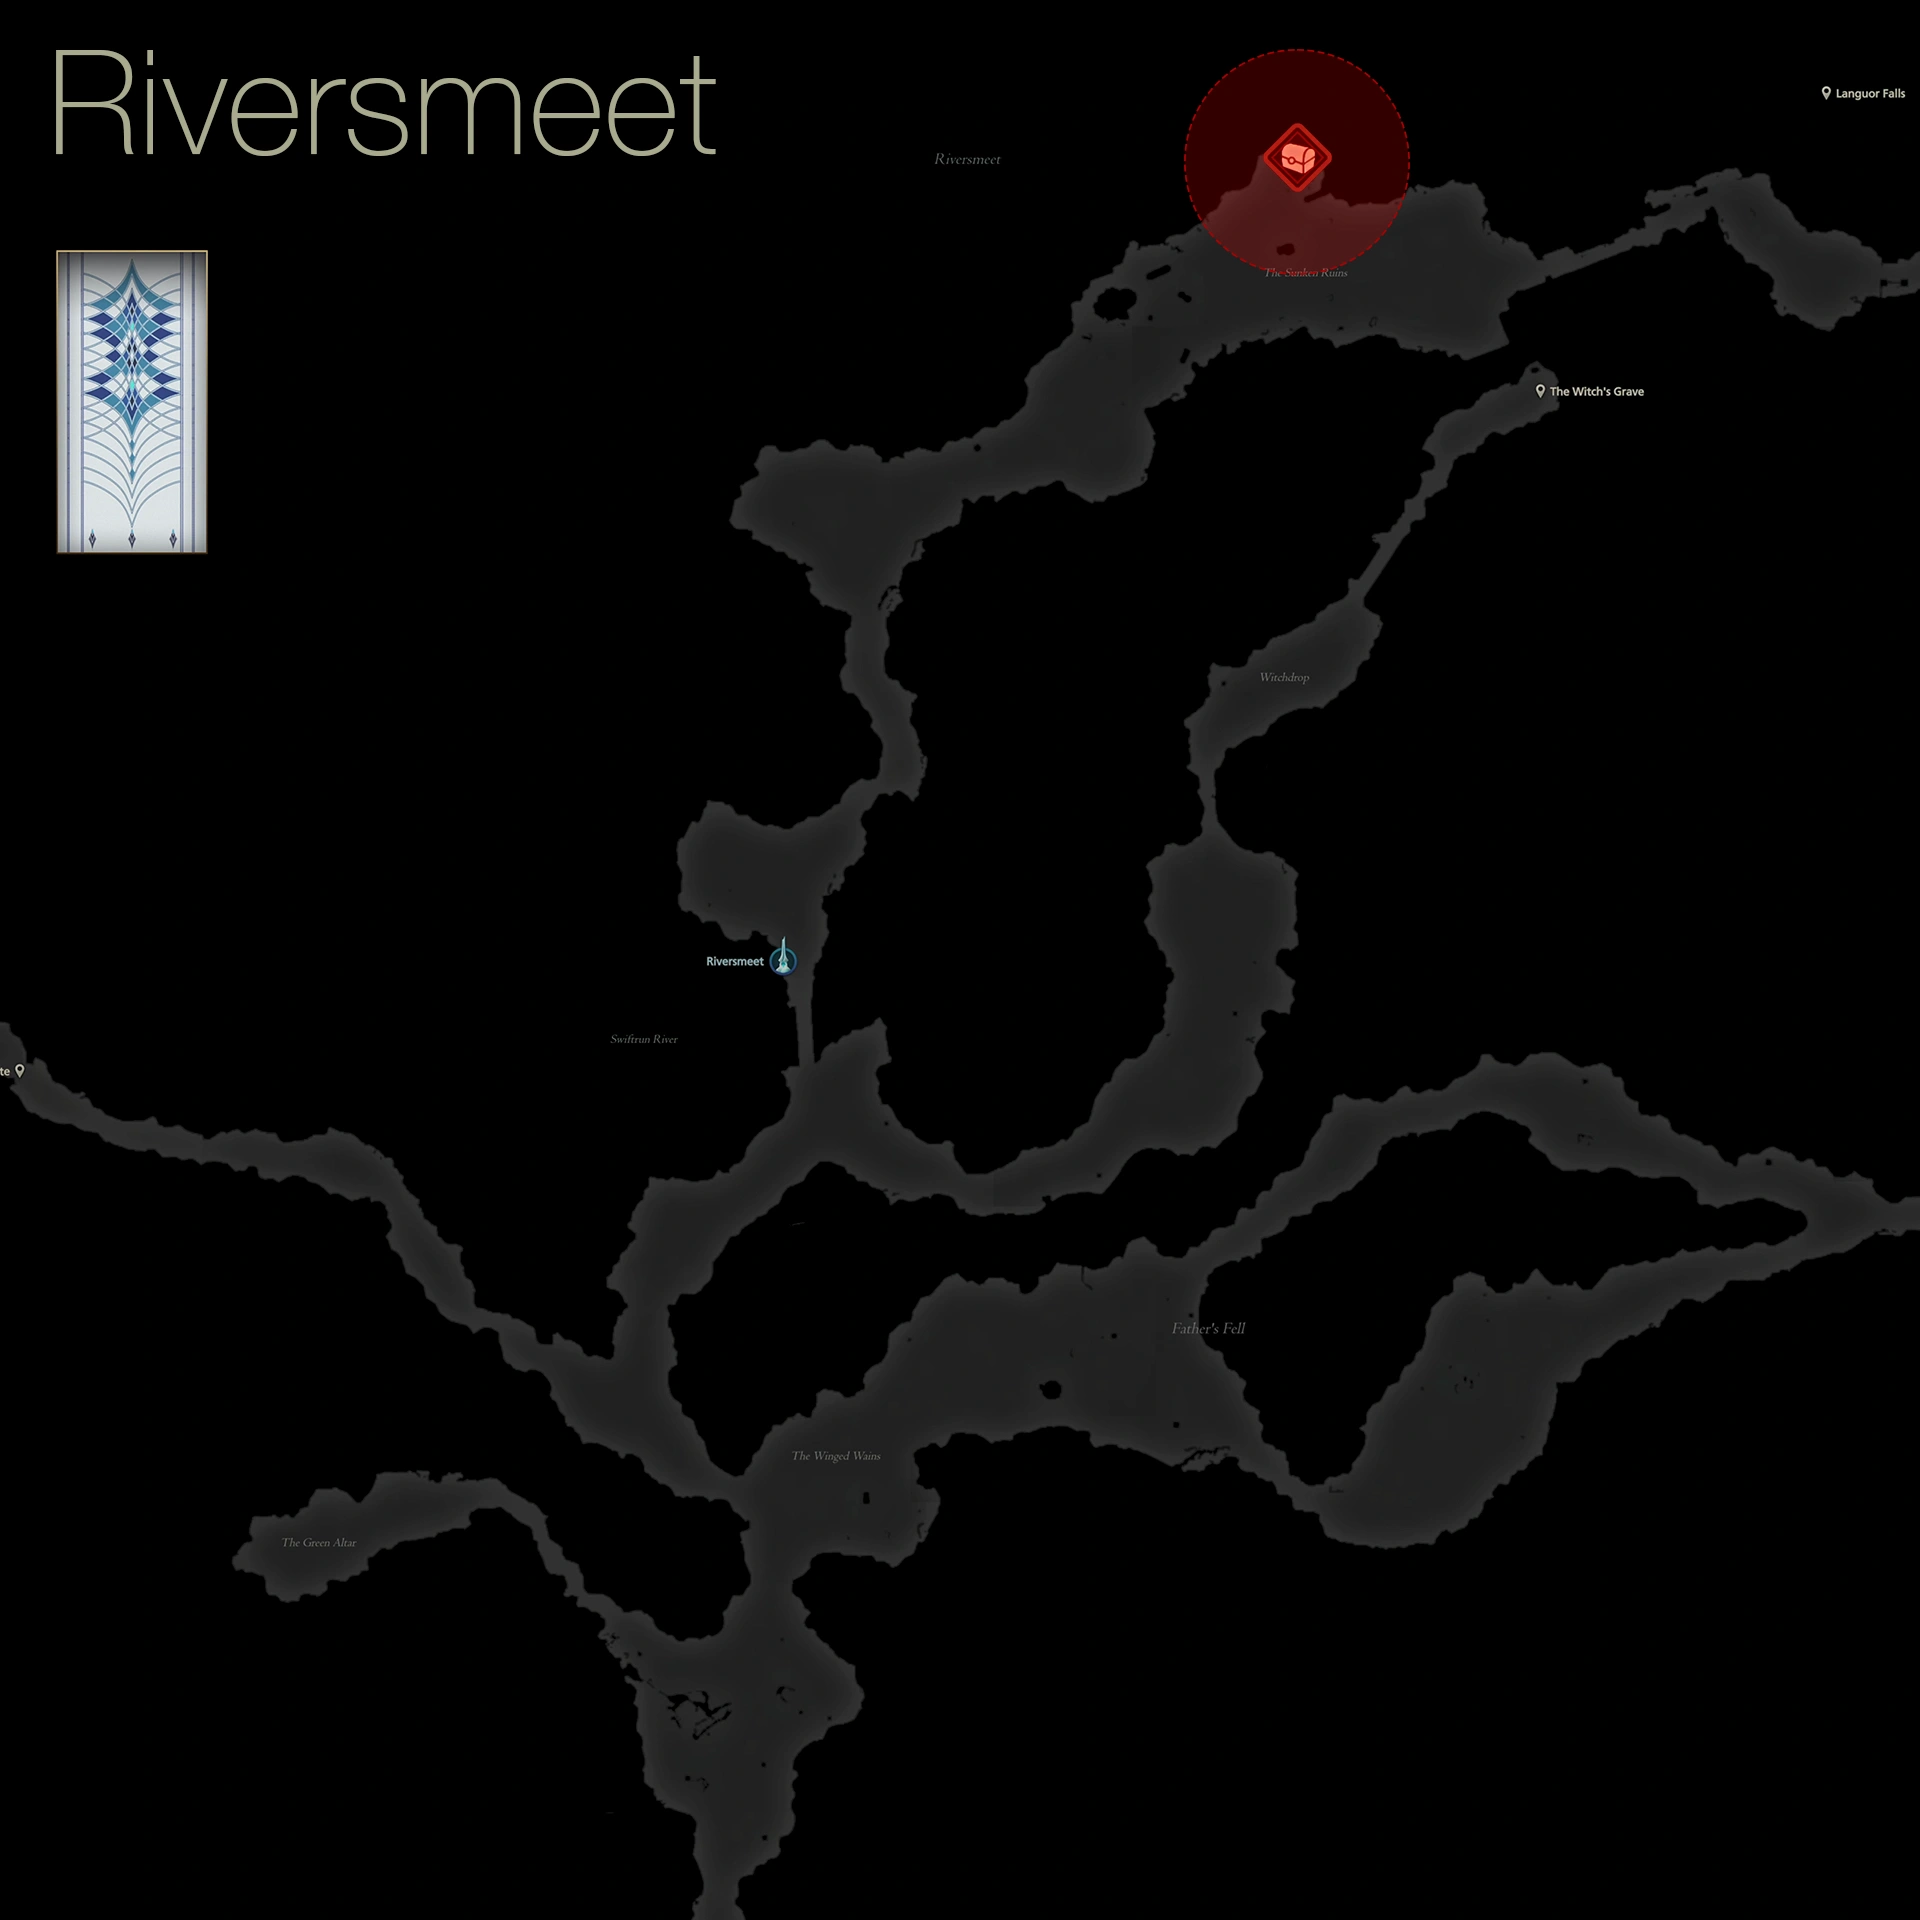
There’s one more treasure coffer to obtain in the northernmost section of Mysidia in Riversmeet. Use the map below to help you find it. This one contains a ![]() Reflection of Light (Wings of Light).
Reflection of Light (Wings of Light).
Exit Haven, hop on your ![]() Chocobo, and follow the quest marker
Chocobo, and follow the quest marker ![]() towards the Dark Gate. Head through it using the
towards the Dark Gate. Head through it using the ![]()
![]()
![]() button.
button.
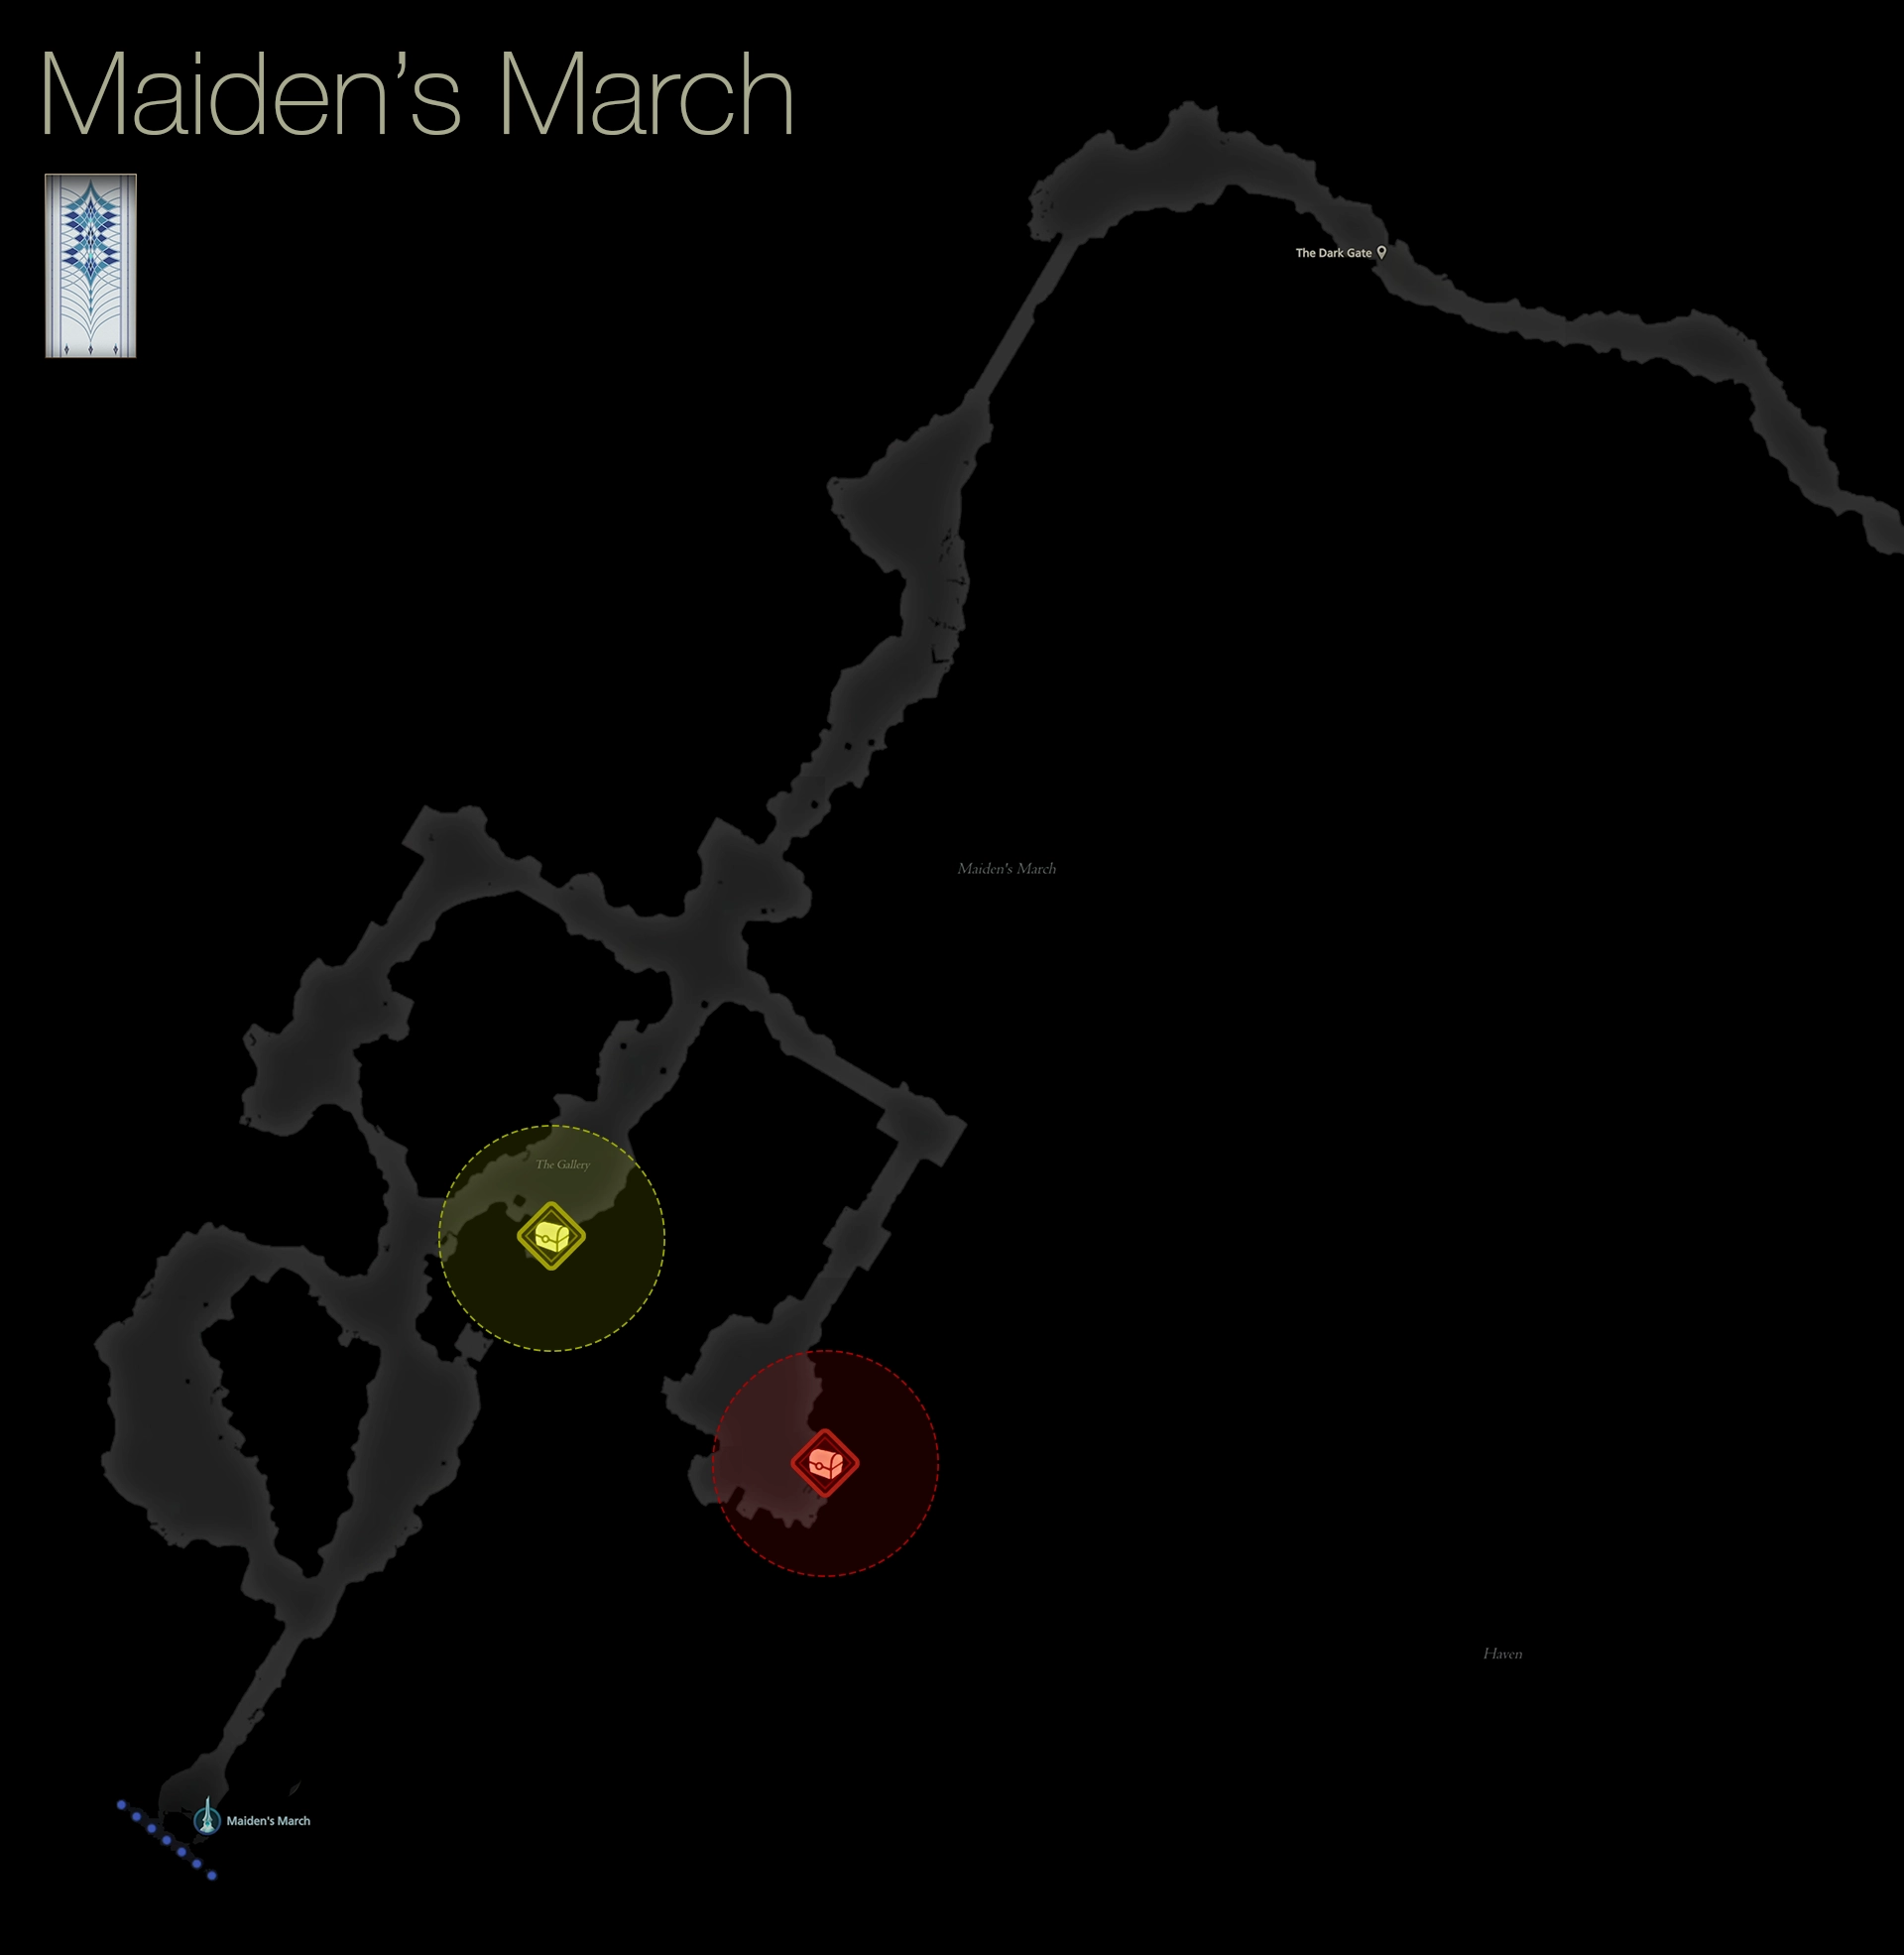
Maiden’s March
Follow the pathway along until you reach an open area on the opposite side of the bridge. Search around this area to find another ![]() Aquamarine behind the group of enemies. Inside Maiden’s March, there are two more treasure coffers and one more
Aquamarine behind the group of enemies. Inside Maiden’s March, there are two more treasure coffers and one more ![]() Aquamarine to pick up:
Aquamarine to pick up:
| 1) | ||
|---|---|---|
| 2) |
On your way to the first treasure coffer, you’ll have to defeat a “Temple Coeurl,” which is similar to other Coeurls you’ve faced before, but with a couple of extra moves. Head down towards the ![]() Maiden’s March Obelisk once you’ve picked up everything, and then we’re on to the Aire of Hours.
Maiden’s March Obelisk once you’ve picked up everything, and then we’re on to the Aire of Hours.
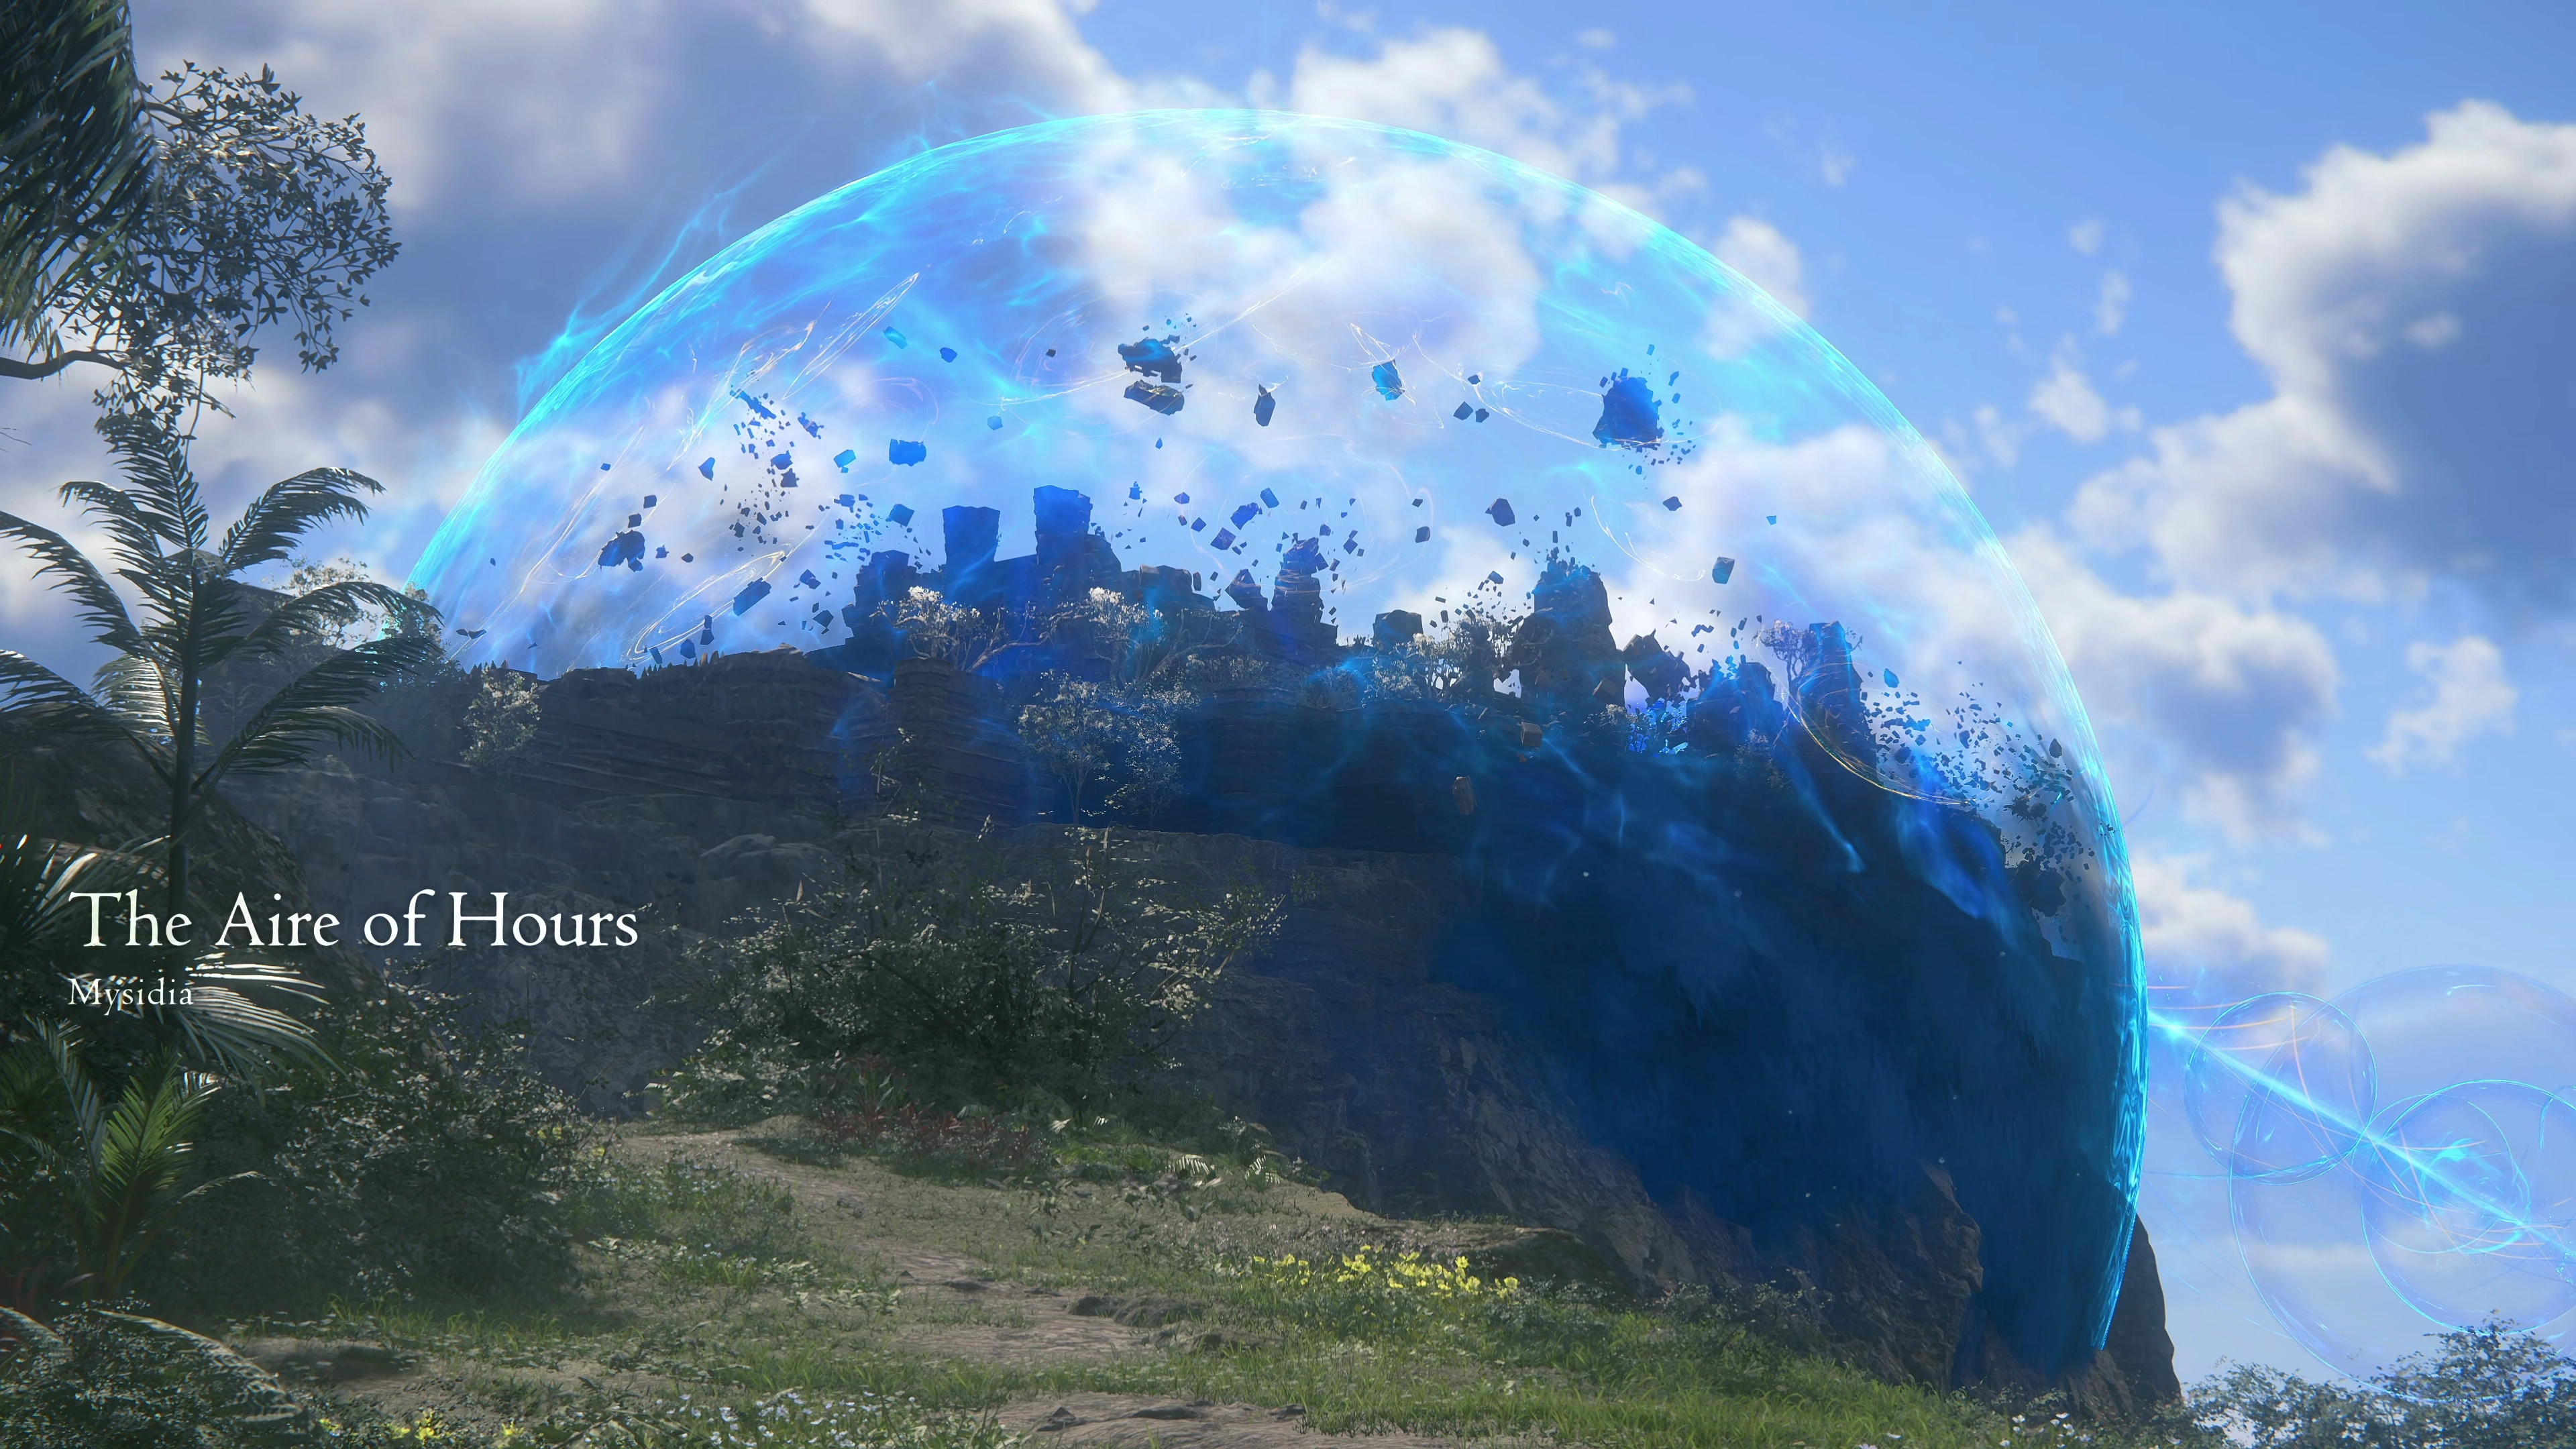
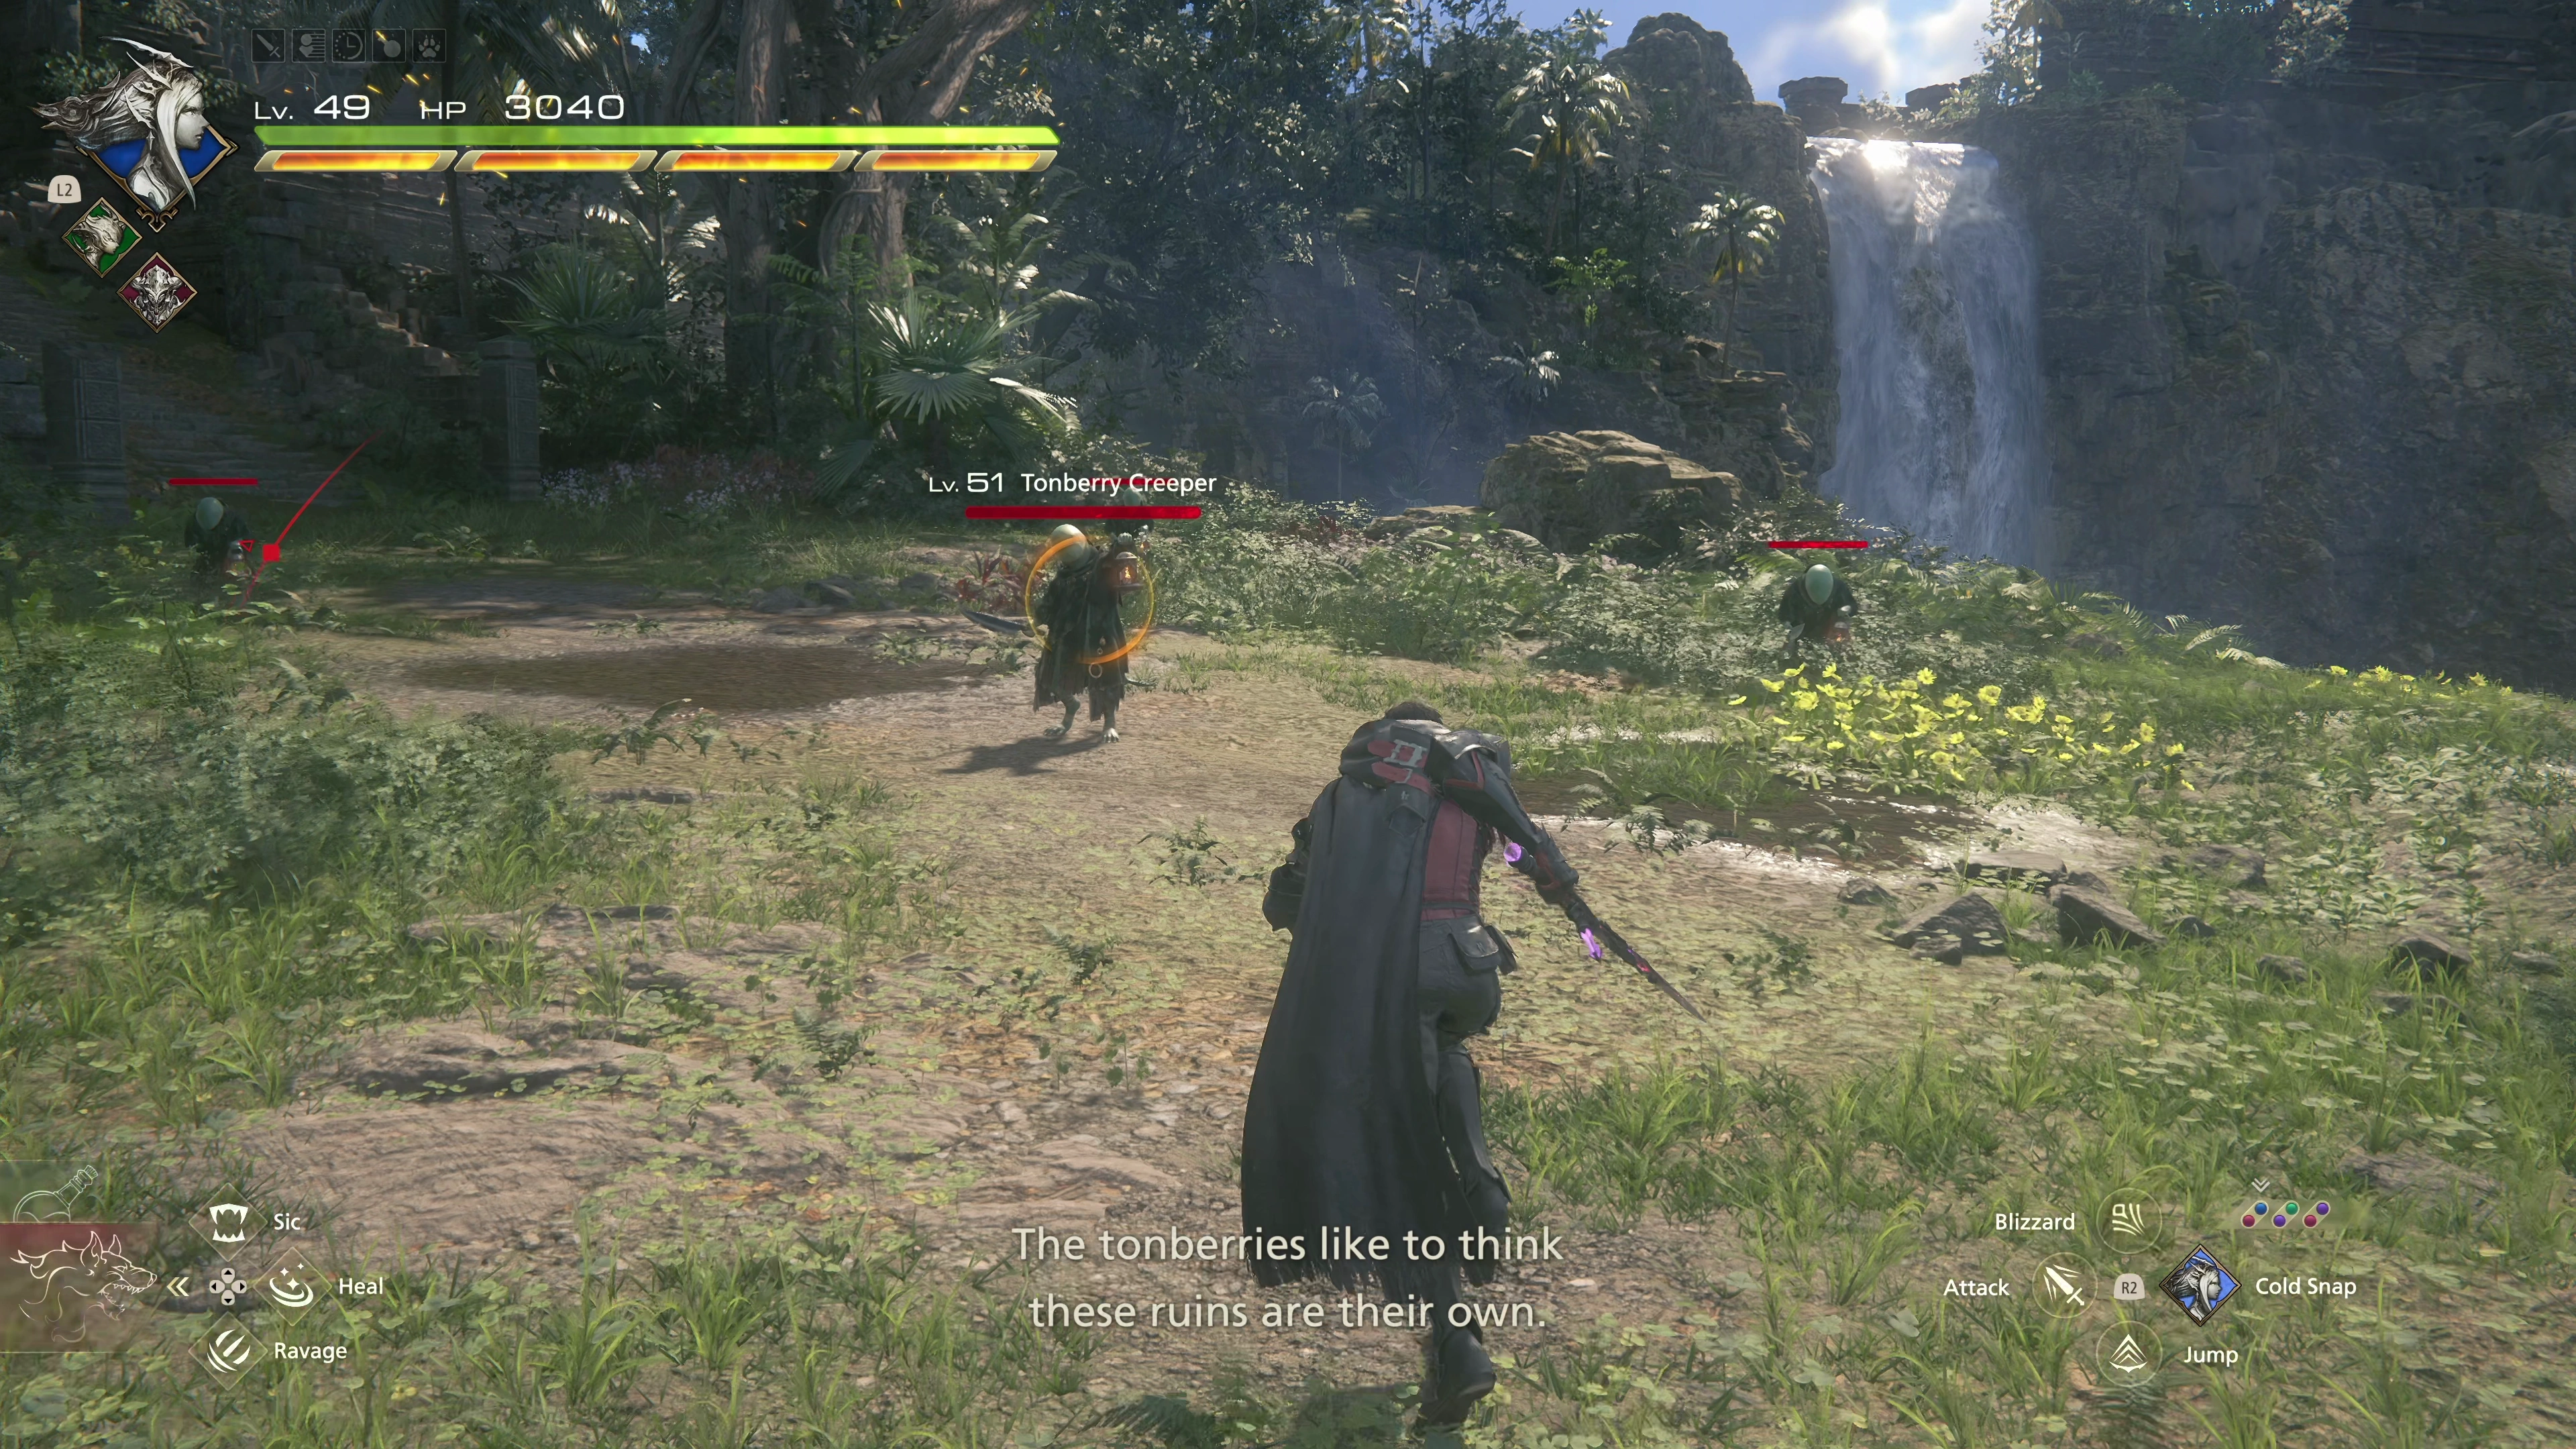
The Aire of Hours
Head up the path and you’ll reach your first encounter against a group of Tonberry Creepers. Be a bit careful of their knife attack, but otherwise, they’re easy to defeat. Continue up the stairs and across the river to grab a Glimmer spot. At the top of the stairs, you’ll find a treasure coffer that contains ![]() The Will of Water (Cross Swell).
The Will of Water (Cross Swell).
Continue up the stairs and across the river to grab a Glimmer spot. At the top of the stairs, you’ll find a treasure coffer that contains ![]() The Will of Water +1 (Cross Swell).
The Will of Water +1 (Cross Swell).
At the top of the next set of stairs, you’ll encounter your first boss battle.
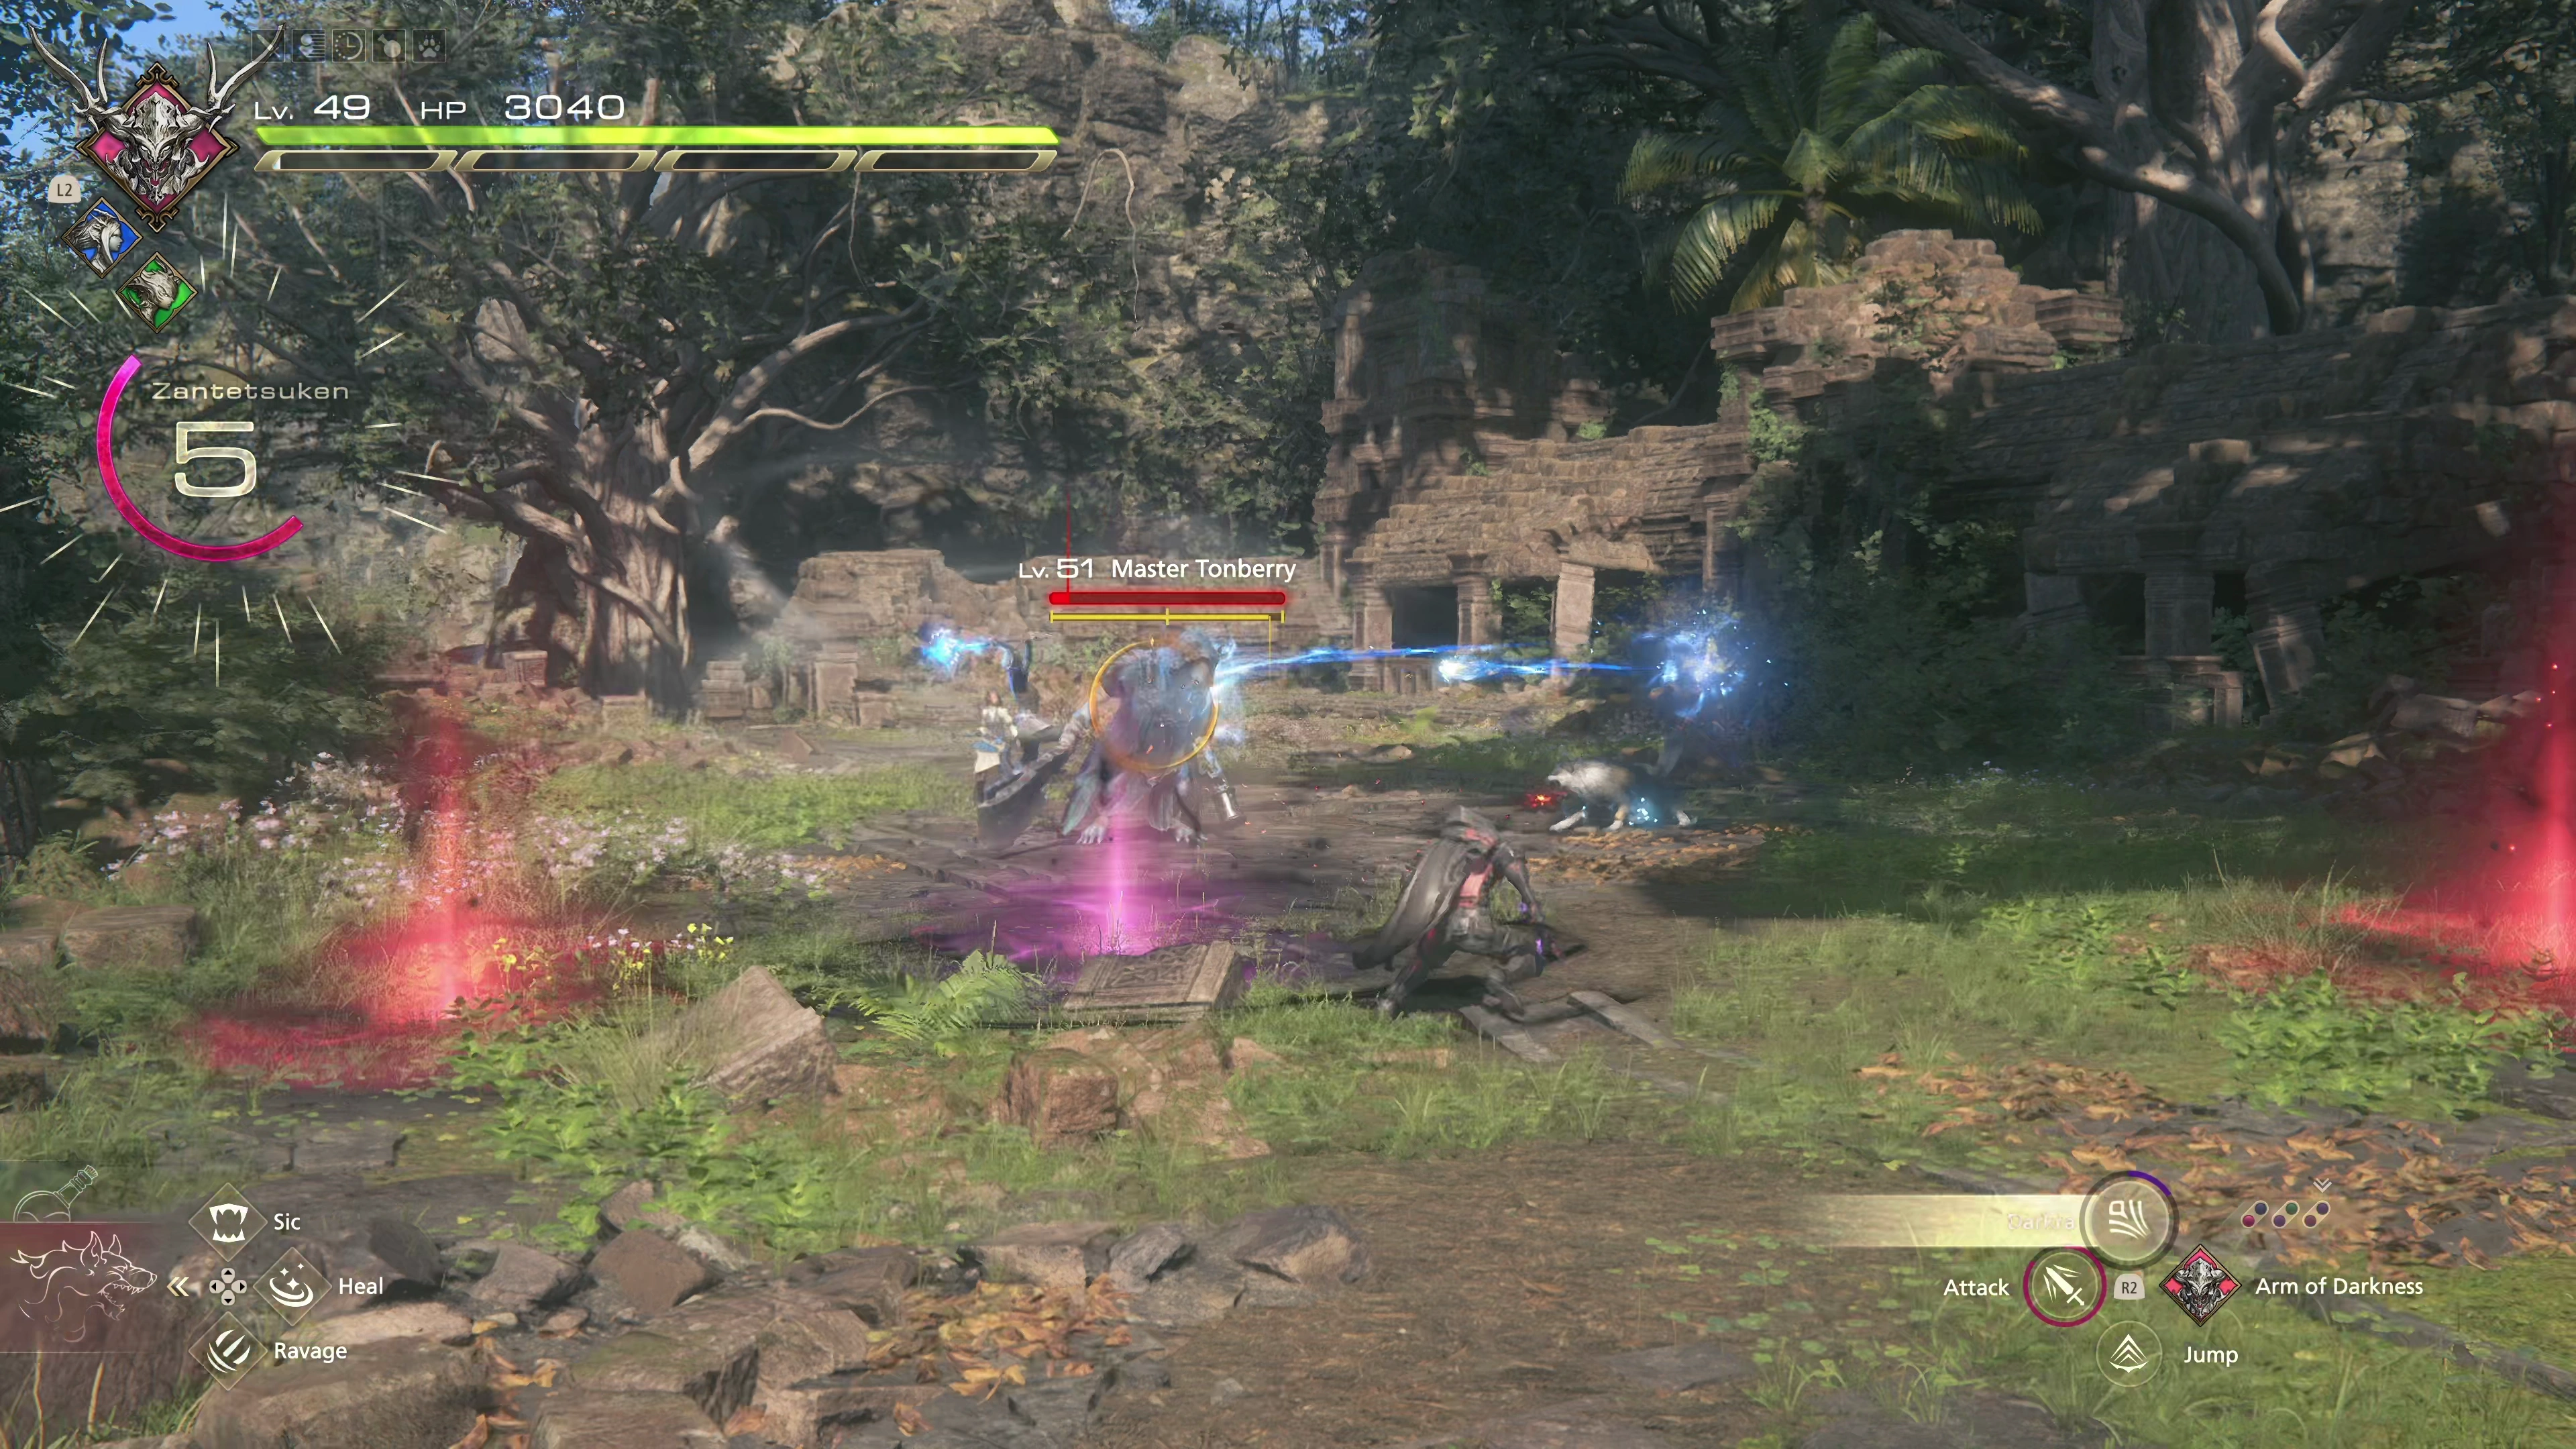
Boss Battle
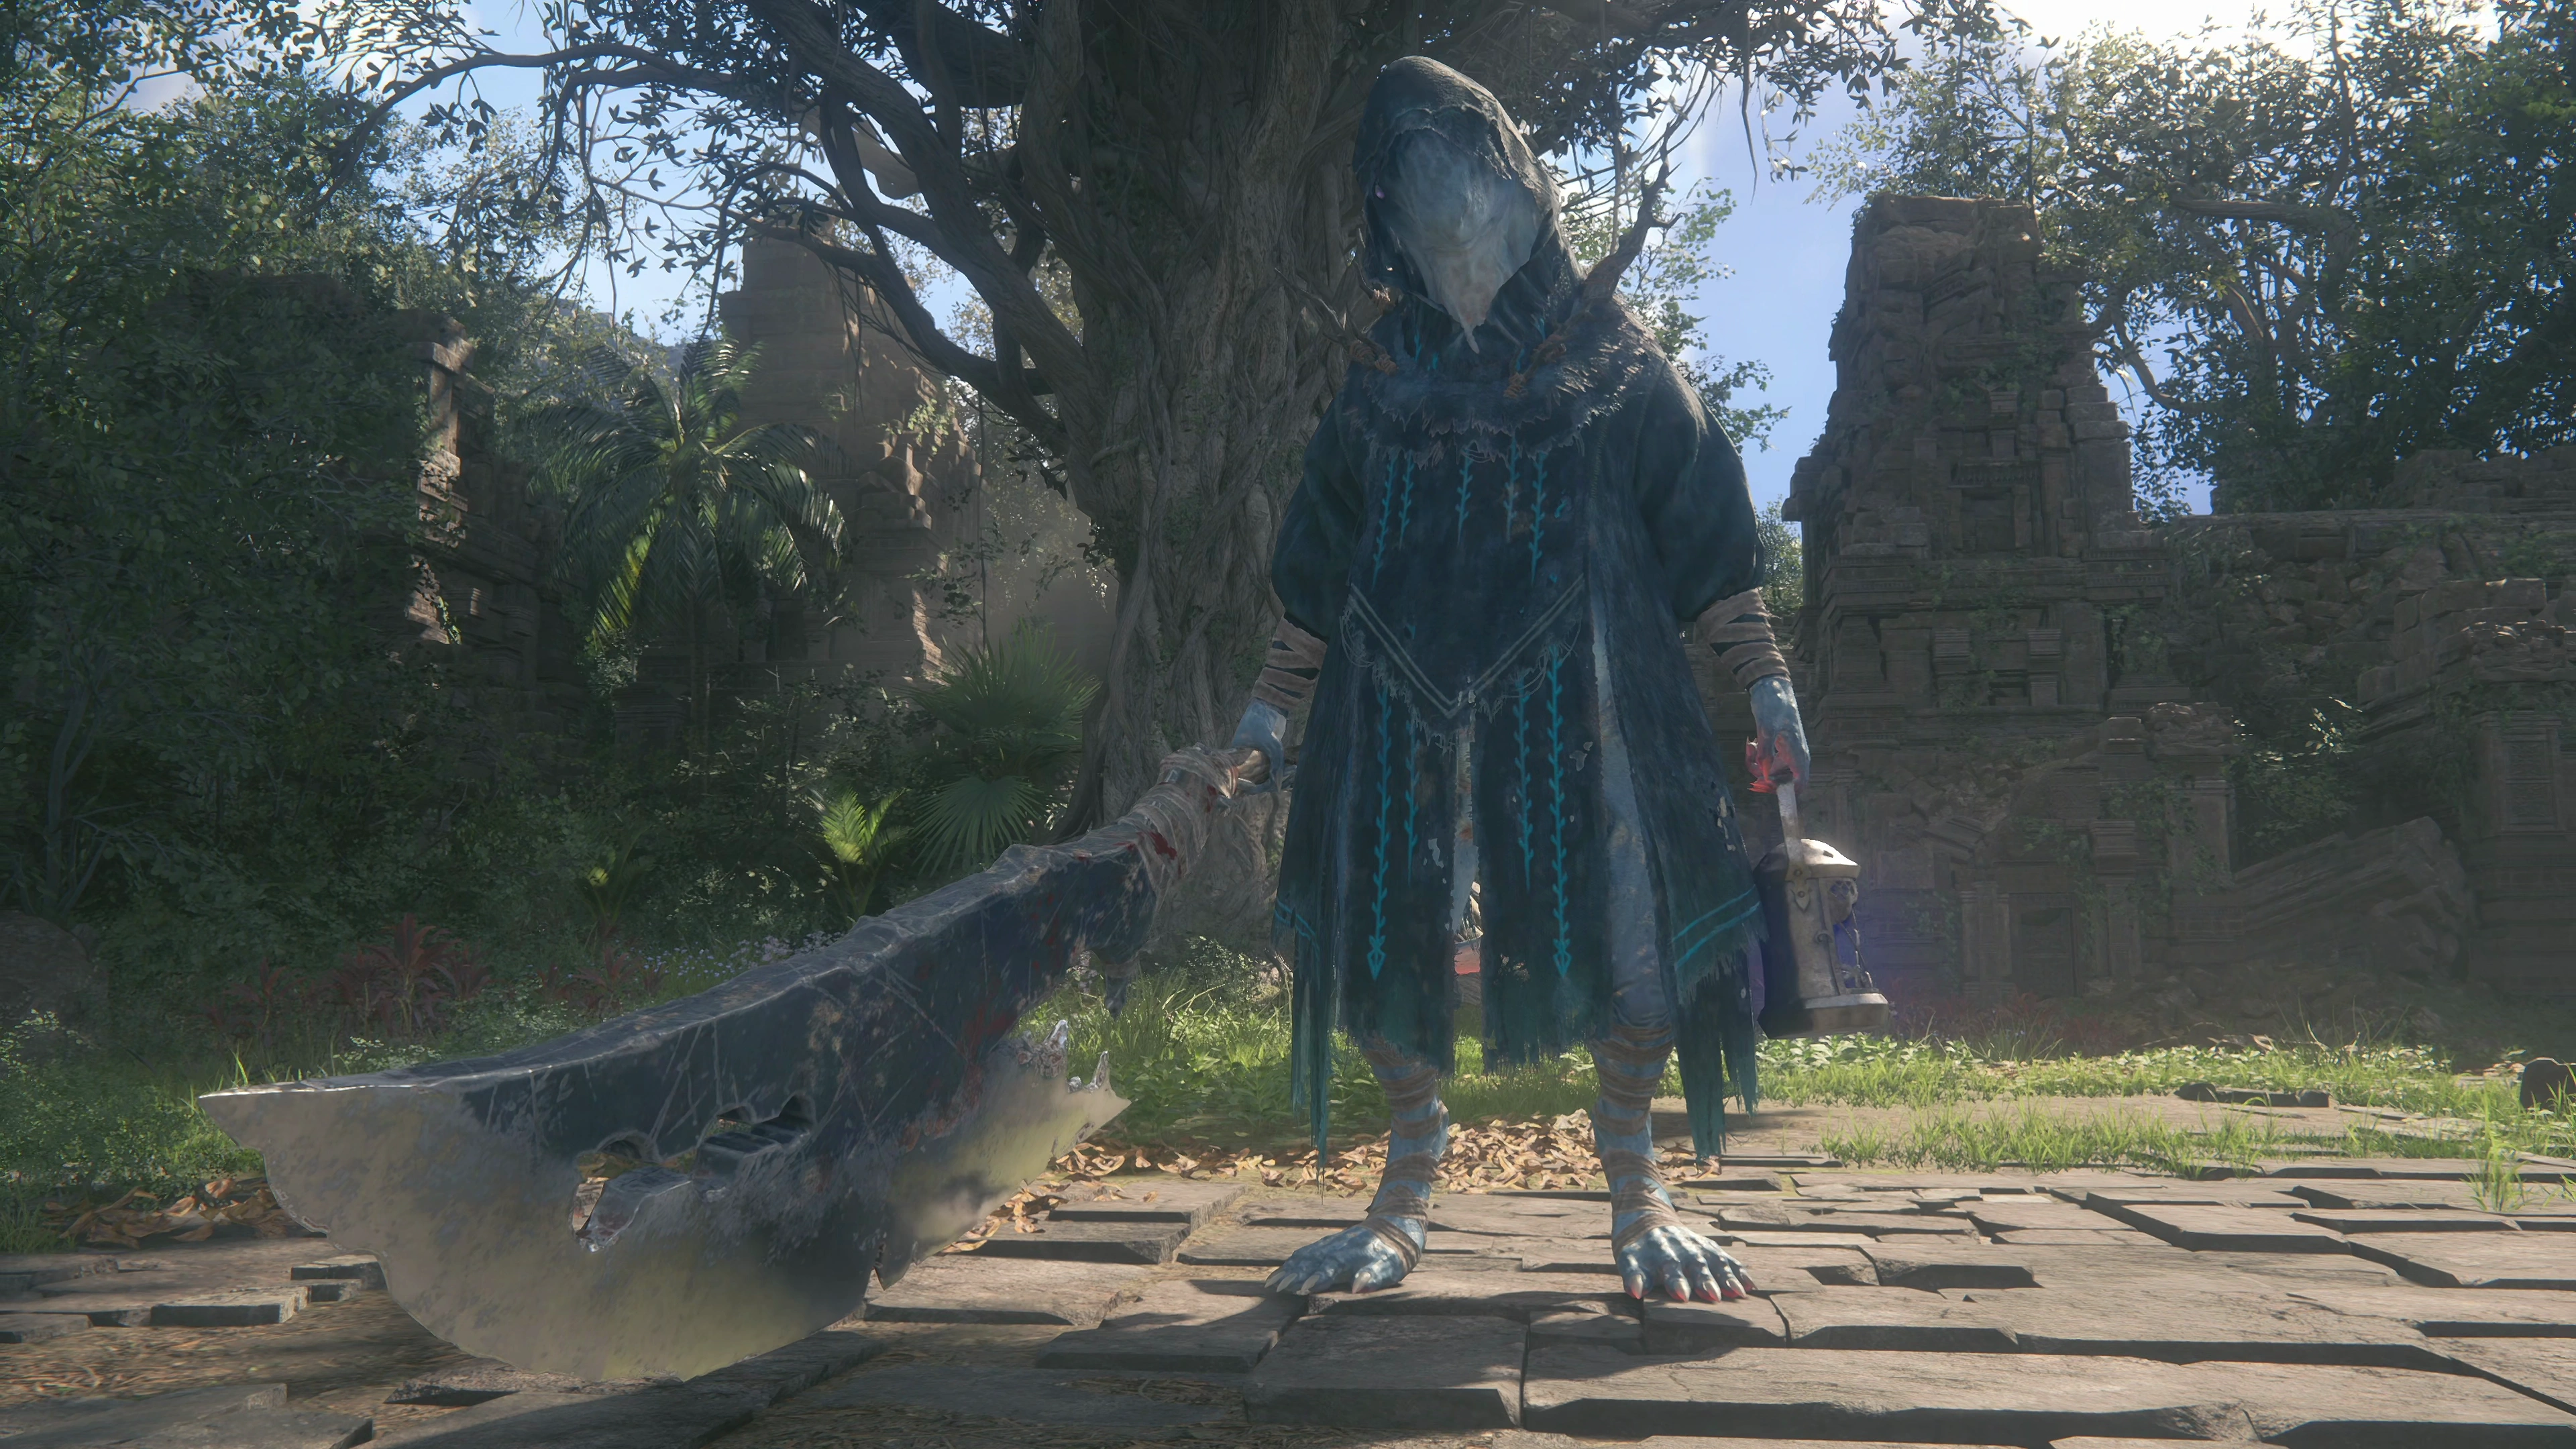
As far as boss battles go, this is another one that’s not too difficult to deal with, but this is a brand new enemy with some new moves that you’ll have to deal with. These include:
- Melee Attacks:
Most of its regular attacks are slow swings of its giant sword, which are easy to see coming and easy to dodge or Cold Snap. Its regular melee attacks are generally not the ones to worry about, but be careful of them, because if you do get hit by them, you’ll take quite a bit of damage from that gigantic weapon it’s carrying.
 - Lantern Magic:
The Master Tonberry will wave its lantern around, and areas around the map will begin lighting up with glowing red magic. Make sure to dodge out of these areas before they explode and deal damage. - Debone:
This attack is a combination of knife swings that must be dodged.
200
2,000
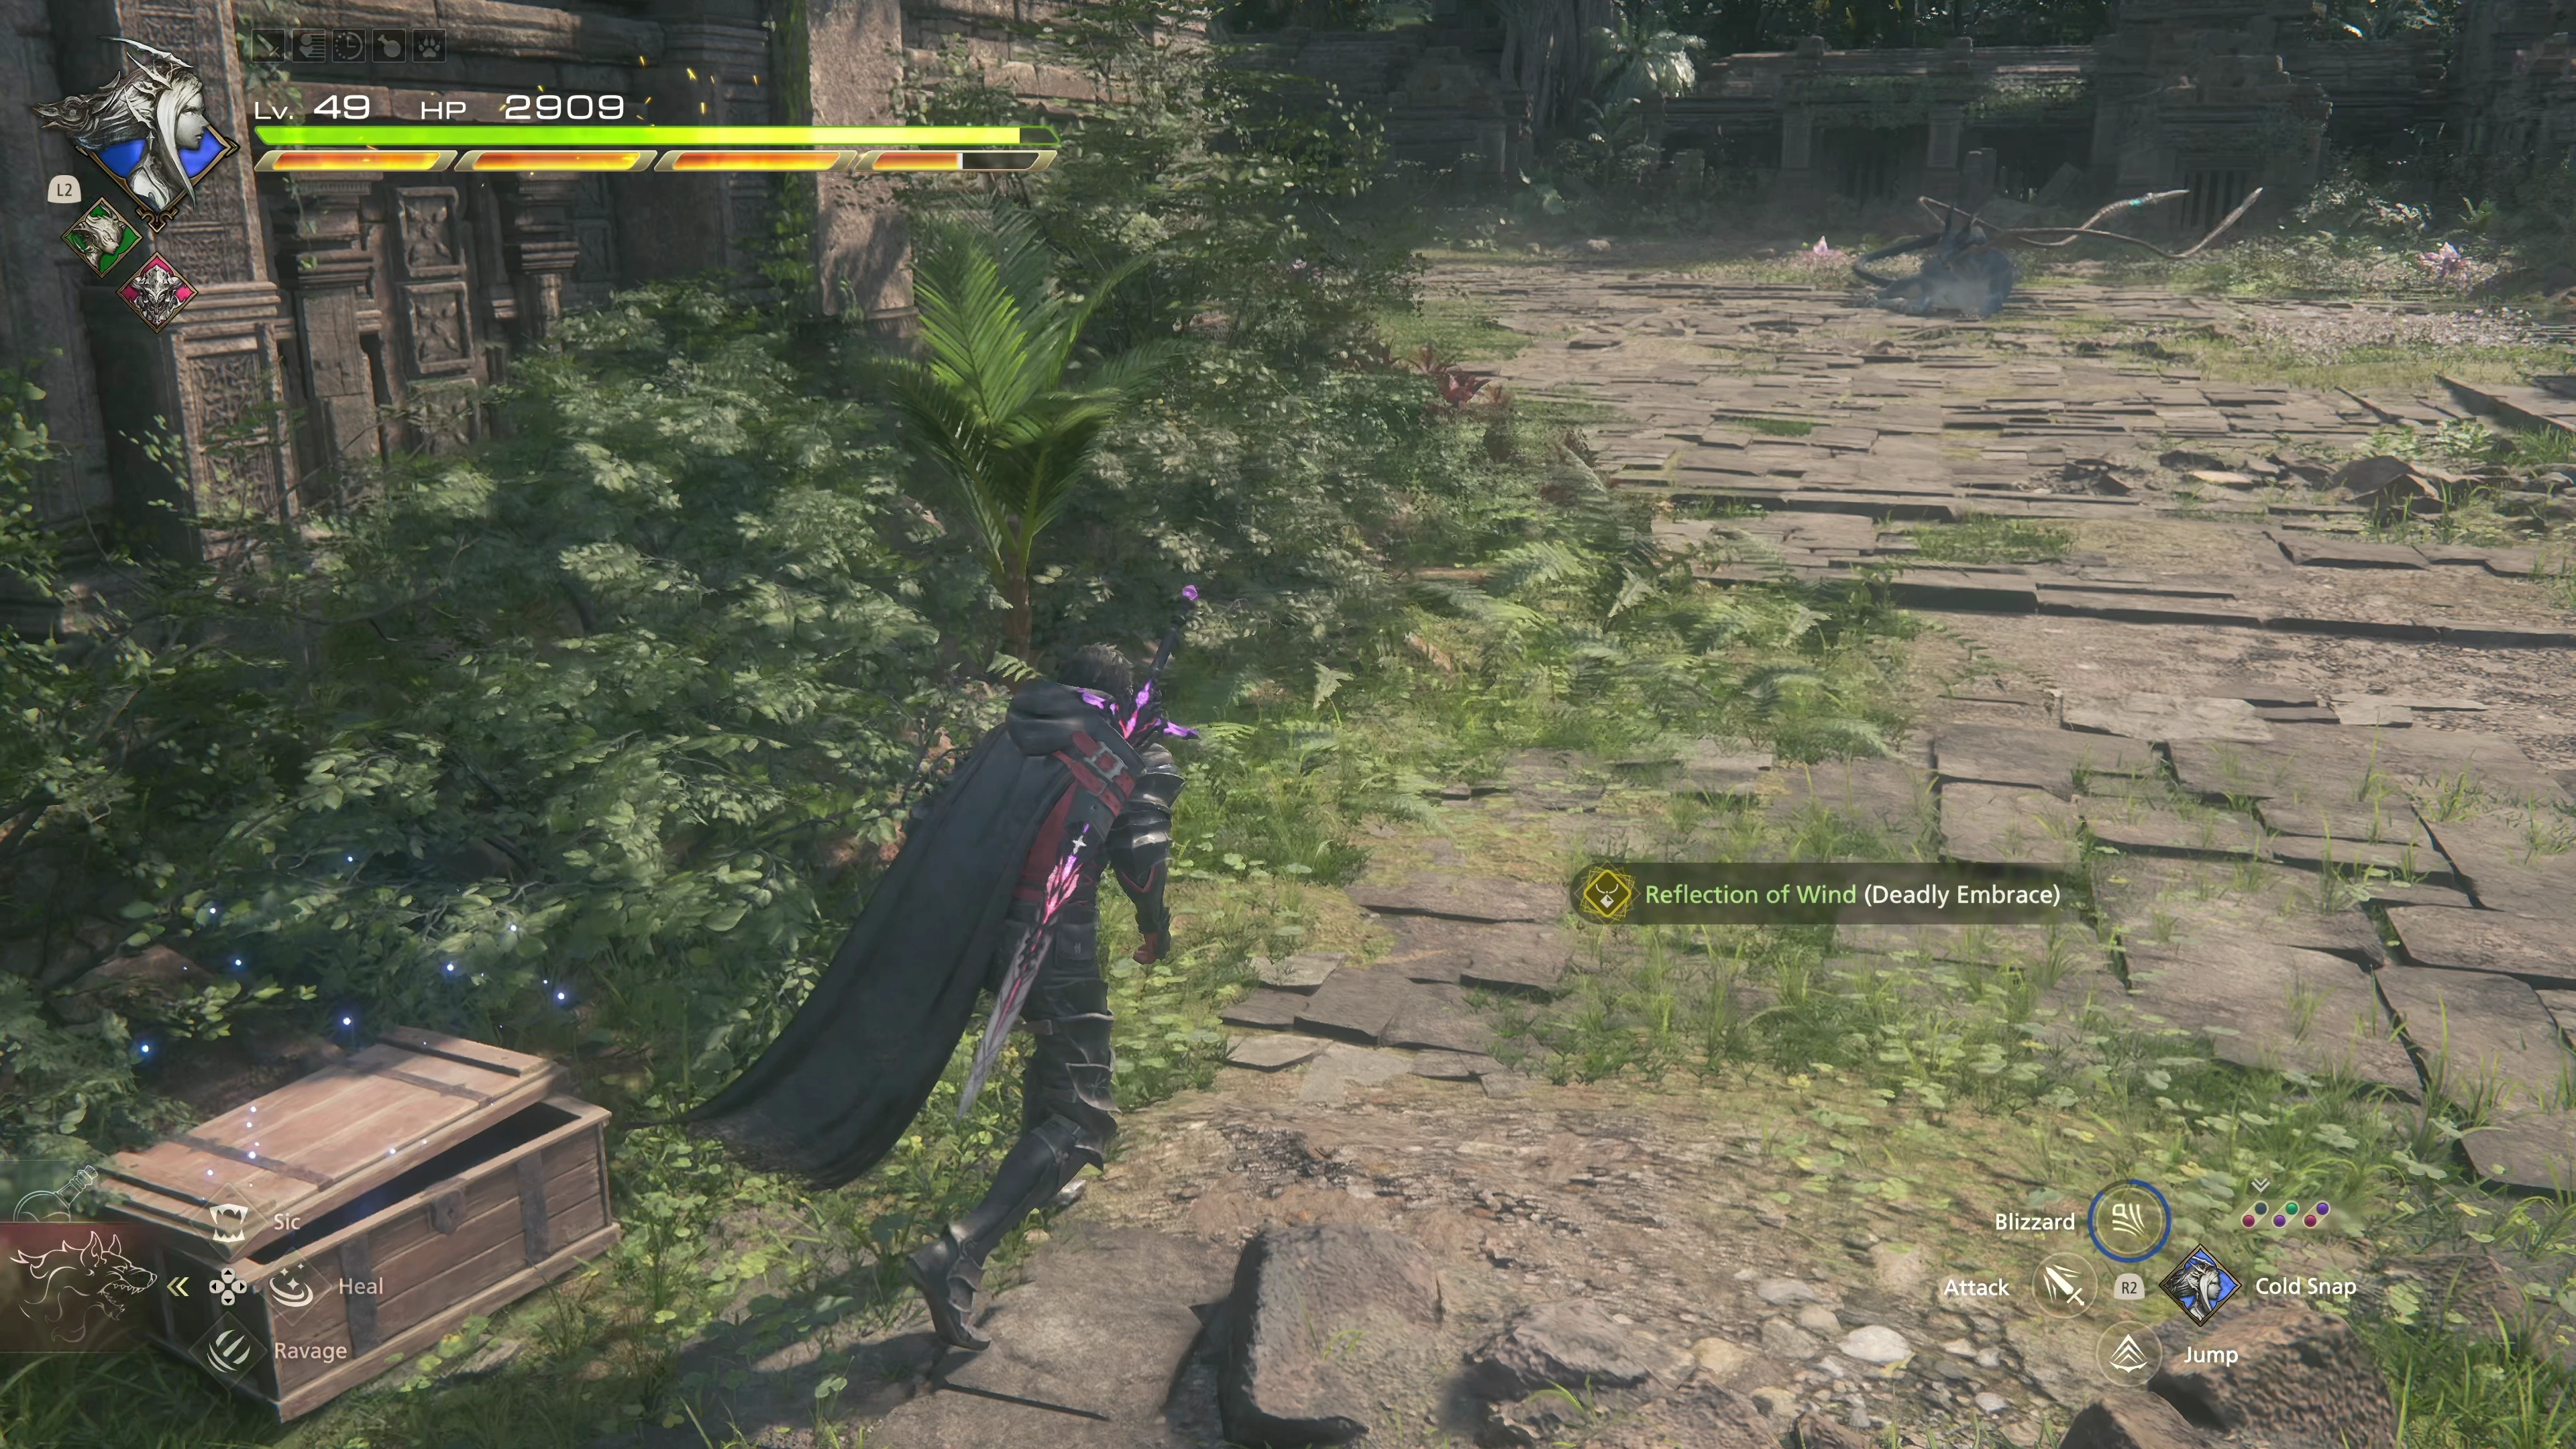
Climb up the nearby ledge and grab the Glimmer on the stairs. You’ll have to defeat a large group of Northern Wolves and Wolf Traps in this next area. There is a treasure coffer just beyond that which contains a ![]() Reflection of Wind (Deadly Embrace). After that, you’ll find another Temple Coeurl with some more Wolf Traps.
Reflection of Wind (Deadly Embrace). After that, you’ll find another Temple Coeurl with some more Wolf Traps.
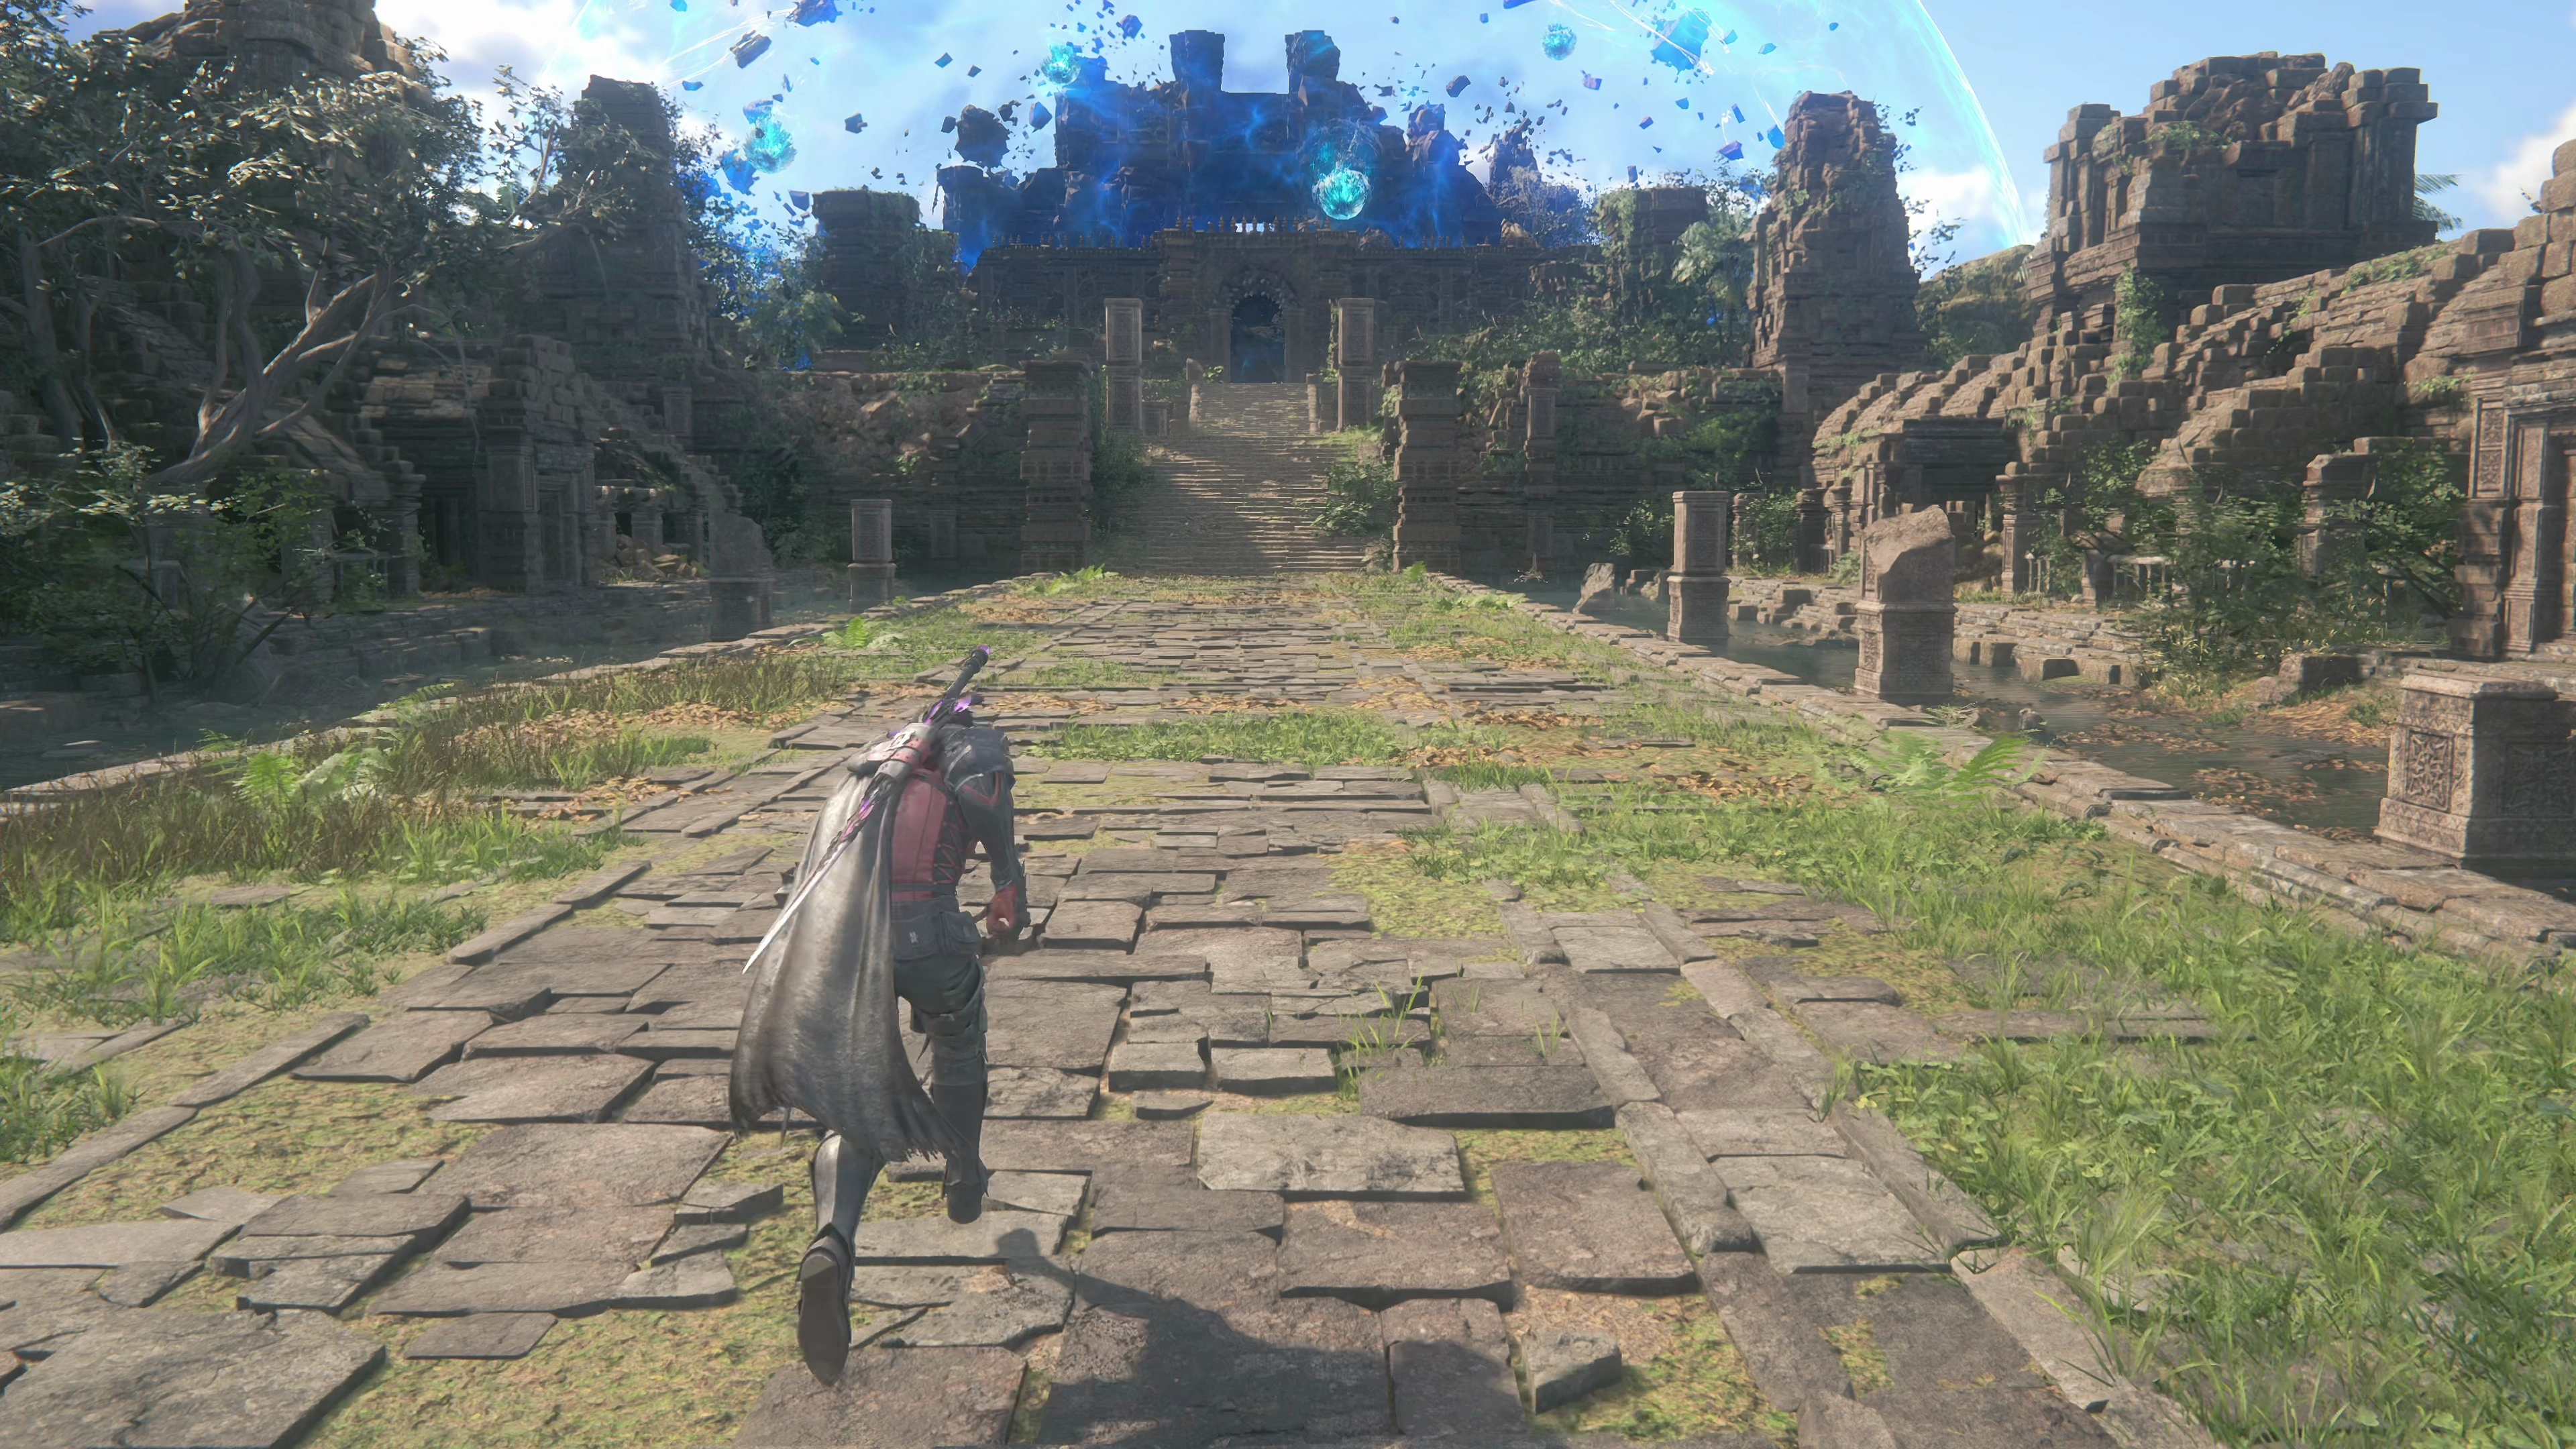
Head under the nearby broken pillar and up the next set of stairs to find another Glimmer. Go across the bridge and jump across the stream to encounter the next boss.
Boss Battle
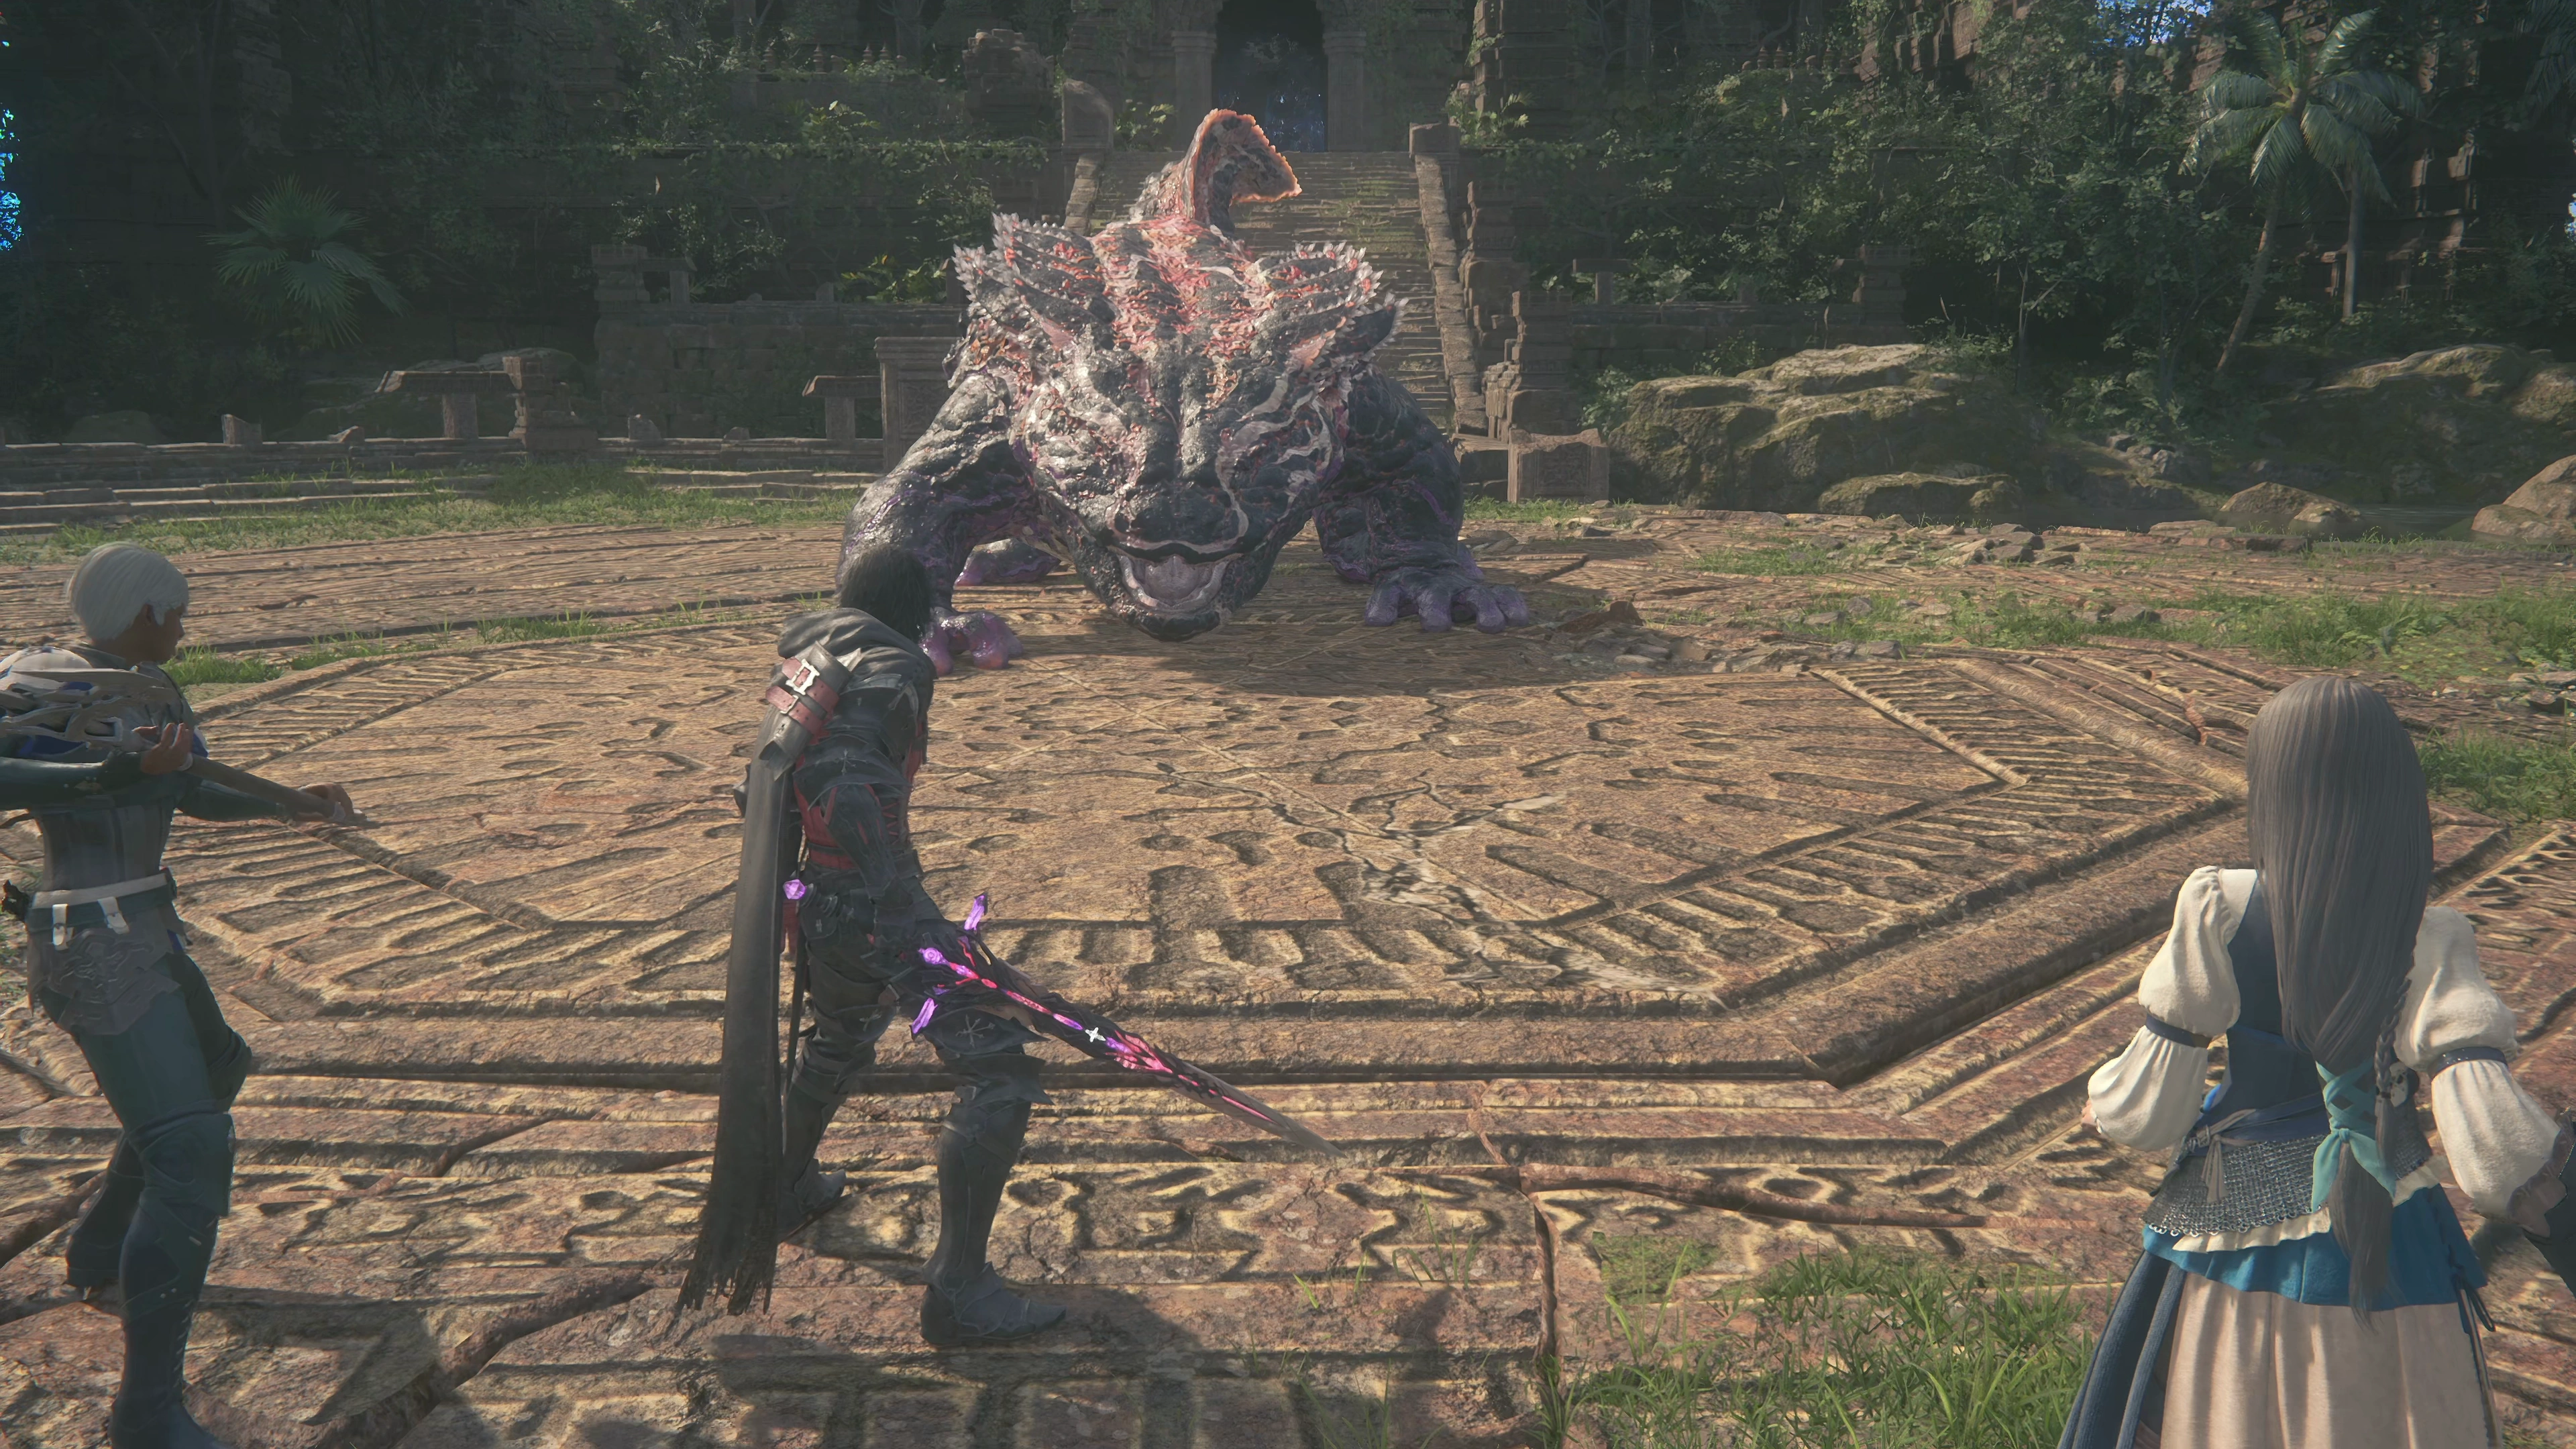
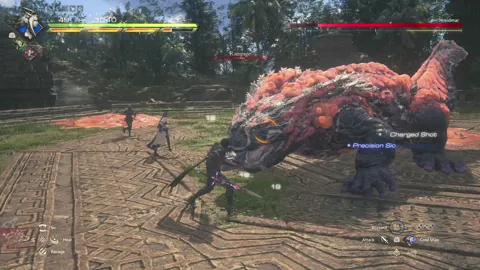
At this point in the game, you probably feel like you’ve faced this boss a few times already, and in some ways, you have. This boss is very similar to Fafnir, Flame Lizard, and ![]() Agni. You can read up on this boss type in those sections if you need a refresher, but this boss guide will focus on the differences between Hreidmar and those other lizard bosses.
Agni. You can read up on this boss type in those sections if you need a refresher, but this boss guide will focus on the differences between Hreidmar and those other lizard bosses.
![]() Rampage:
Rampage:
This is a new ability that Hreidmar has, which involves it walking forward and trying to belly flop onto Clive. It’s very easy to dodge.
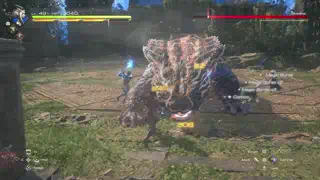
![]() Outbreak:
Outbreak:
This attack is similar to the “Aerial Rolling Smash” attack. It will jump up into the air and roll into a ball before smashing down to the ground wherever Clive is standing. Additionally, Hreidmar’s Outbreak attack leaves a pool of toxic goop wherever it lands that must also be avoided until it disappears.
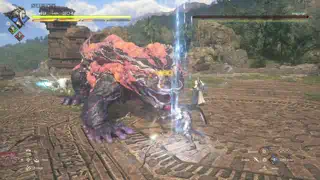
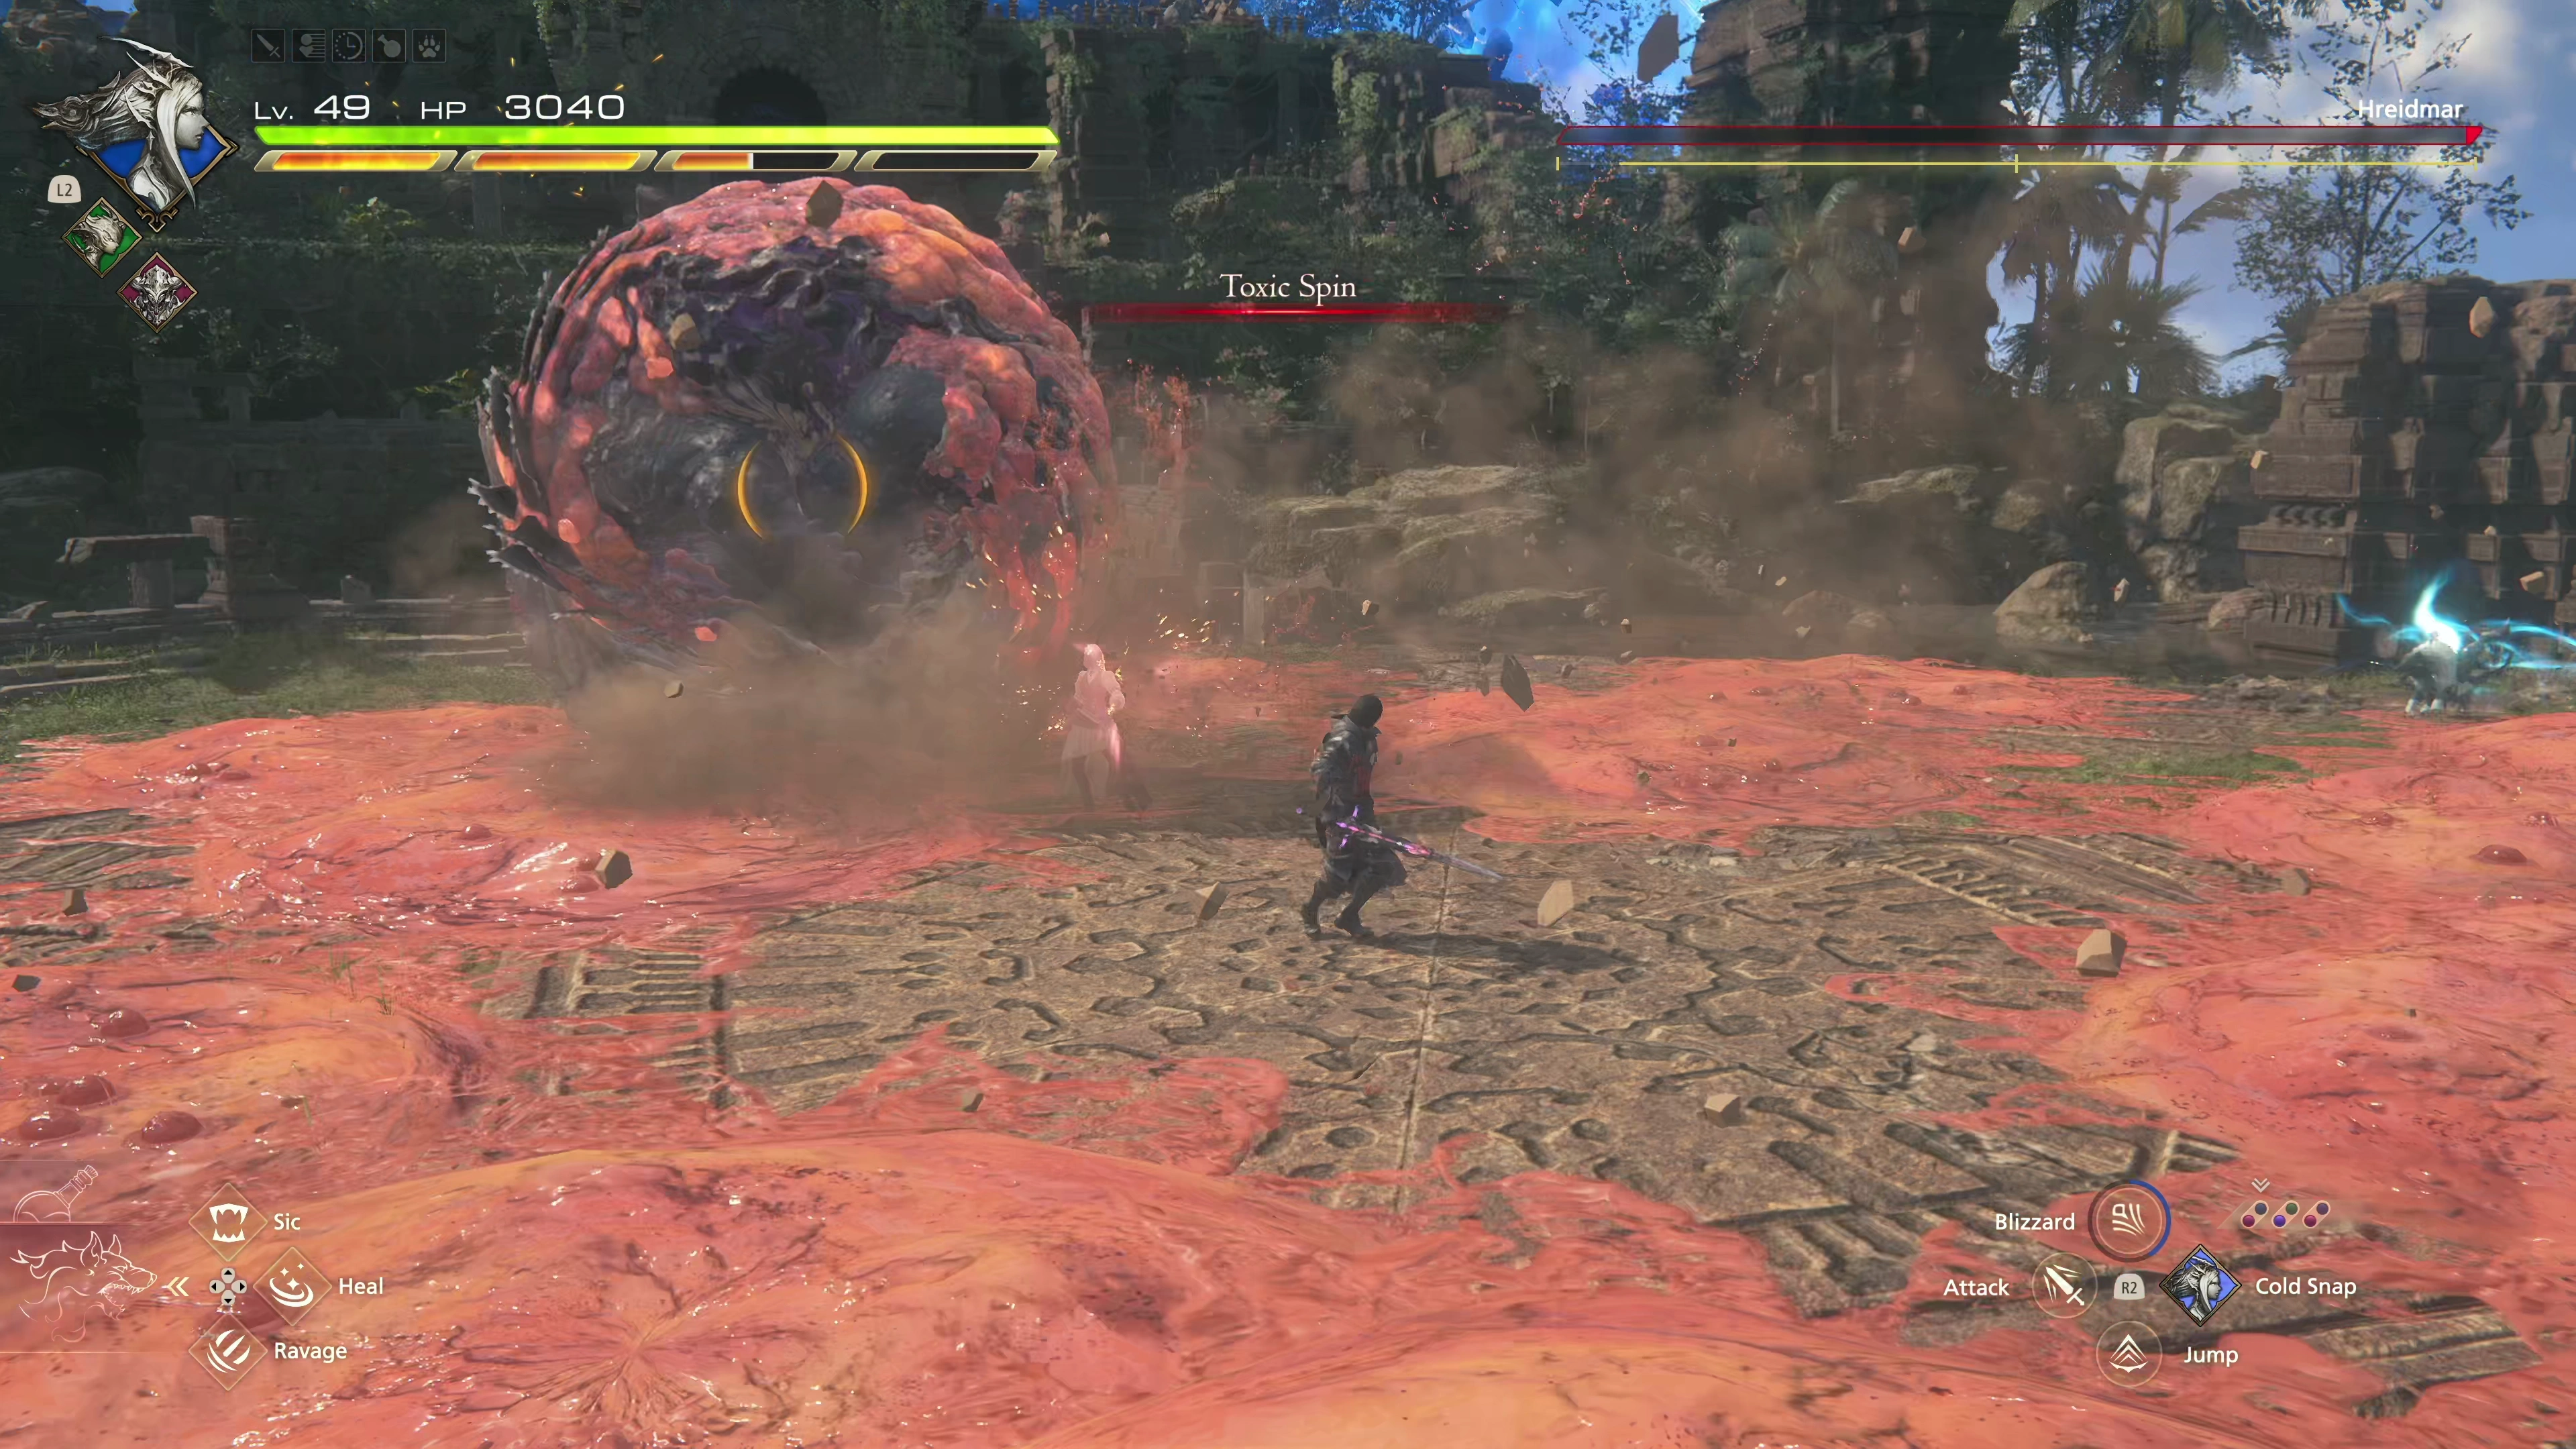
![]() Toxic Spin:
Toxic Spin:
This move is also similar to one that you’ve seen before. Hreidmar will rotate around the battlefield; stand in the middle to avoid the attack, and be ready to move out of the middle once it leaps into the air.
Other than that, there isn’t much else to know. This fight should almost be second nature by now.
250
3,000
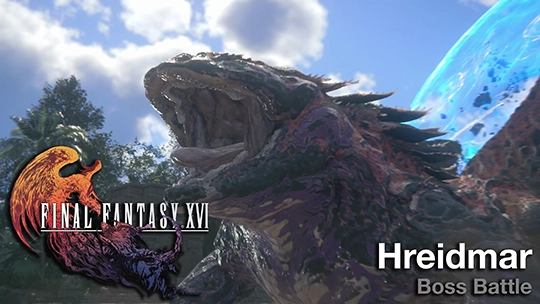
A video demonstration of how to successfully complete the fight against Hreidmar.
Head up the stairs and through the blue veil for another short cutscene.
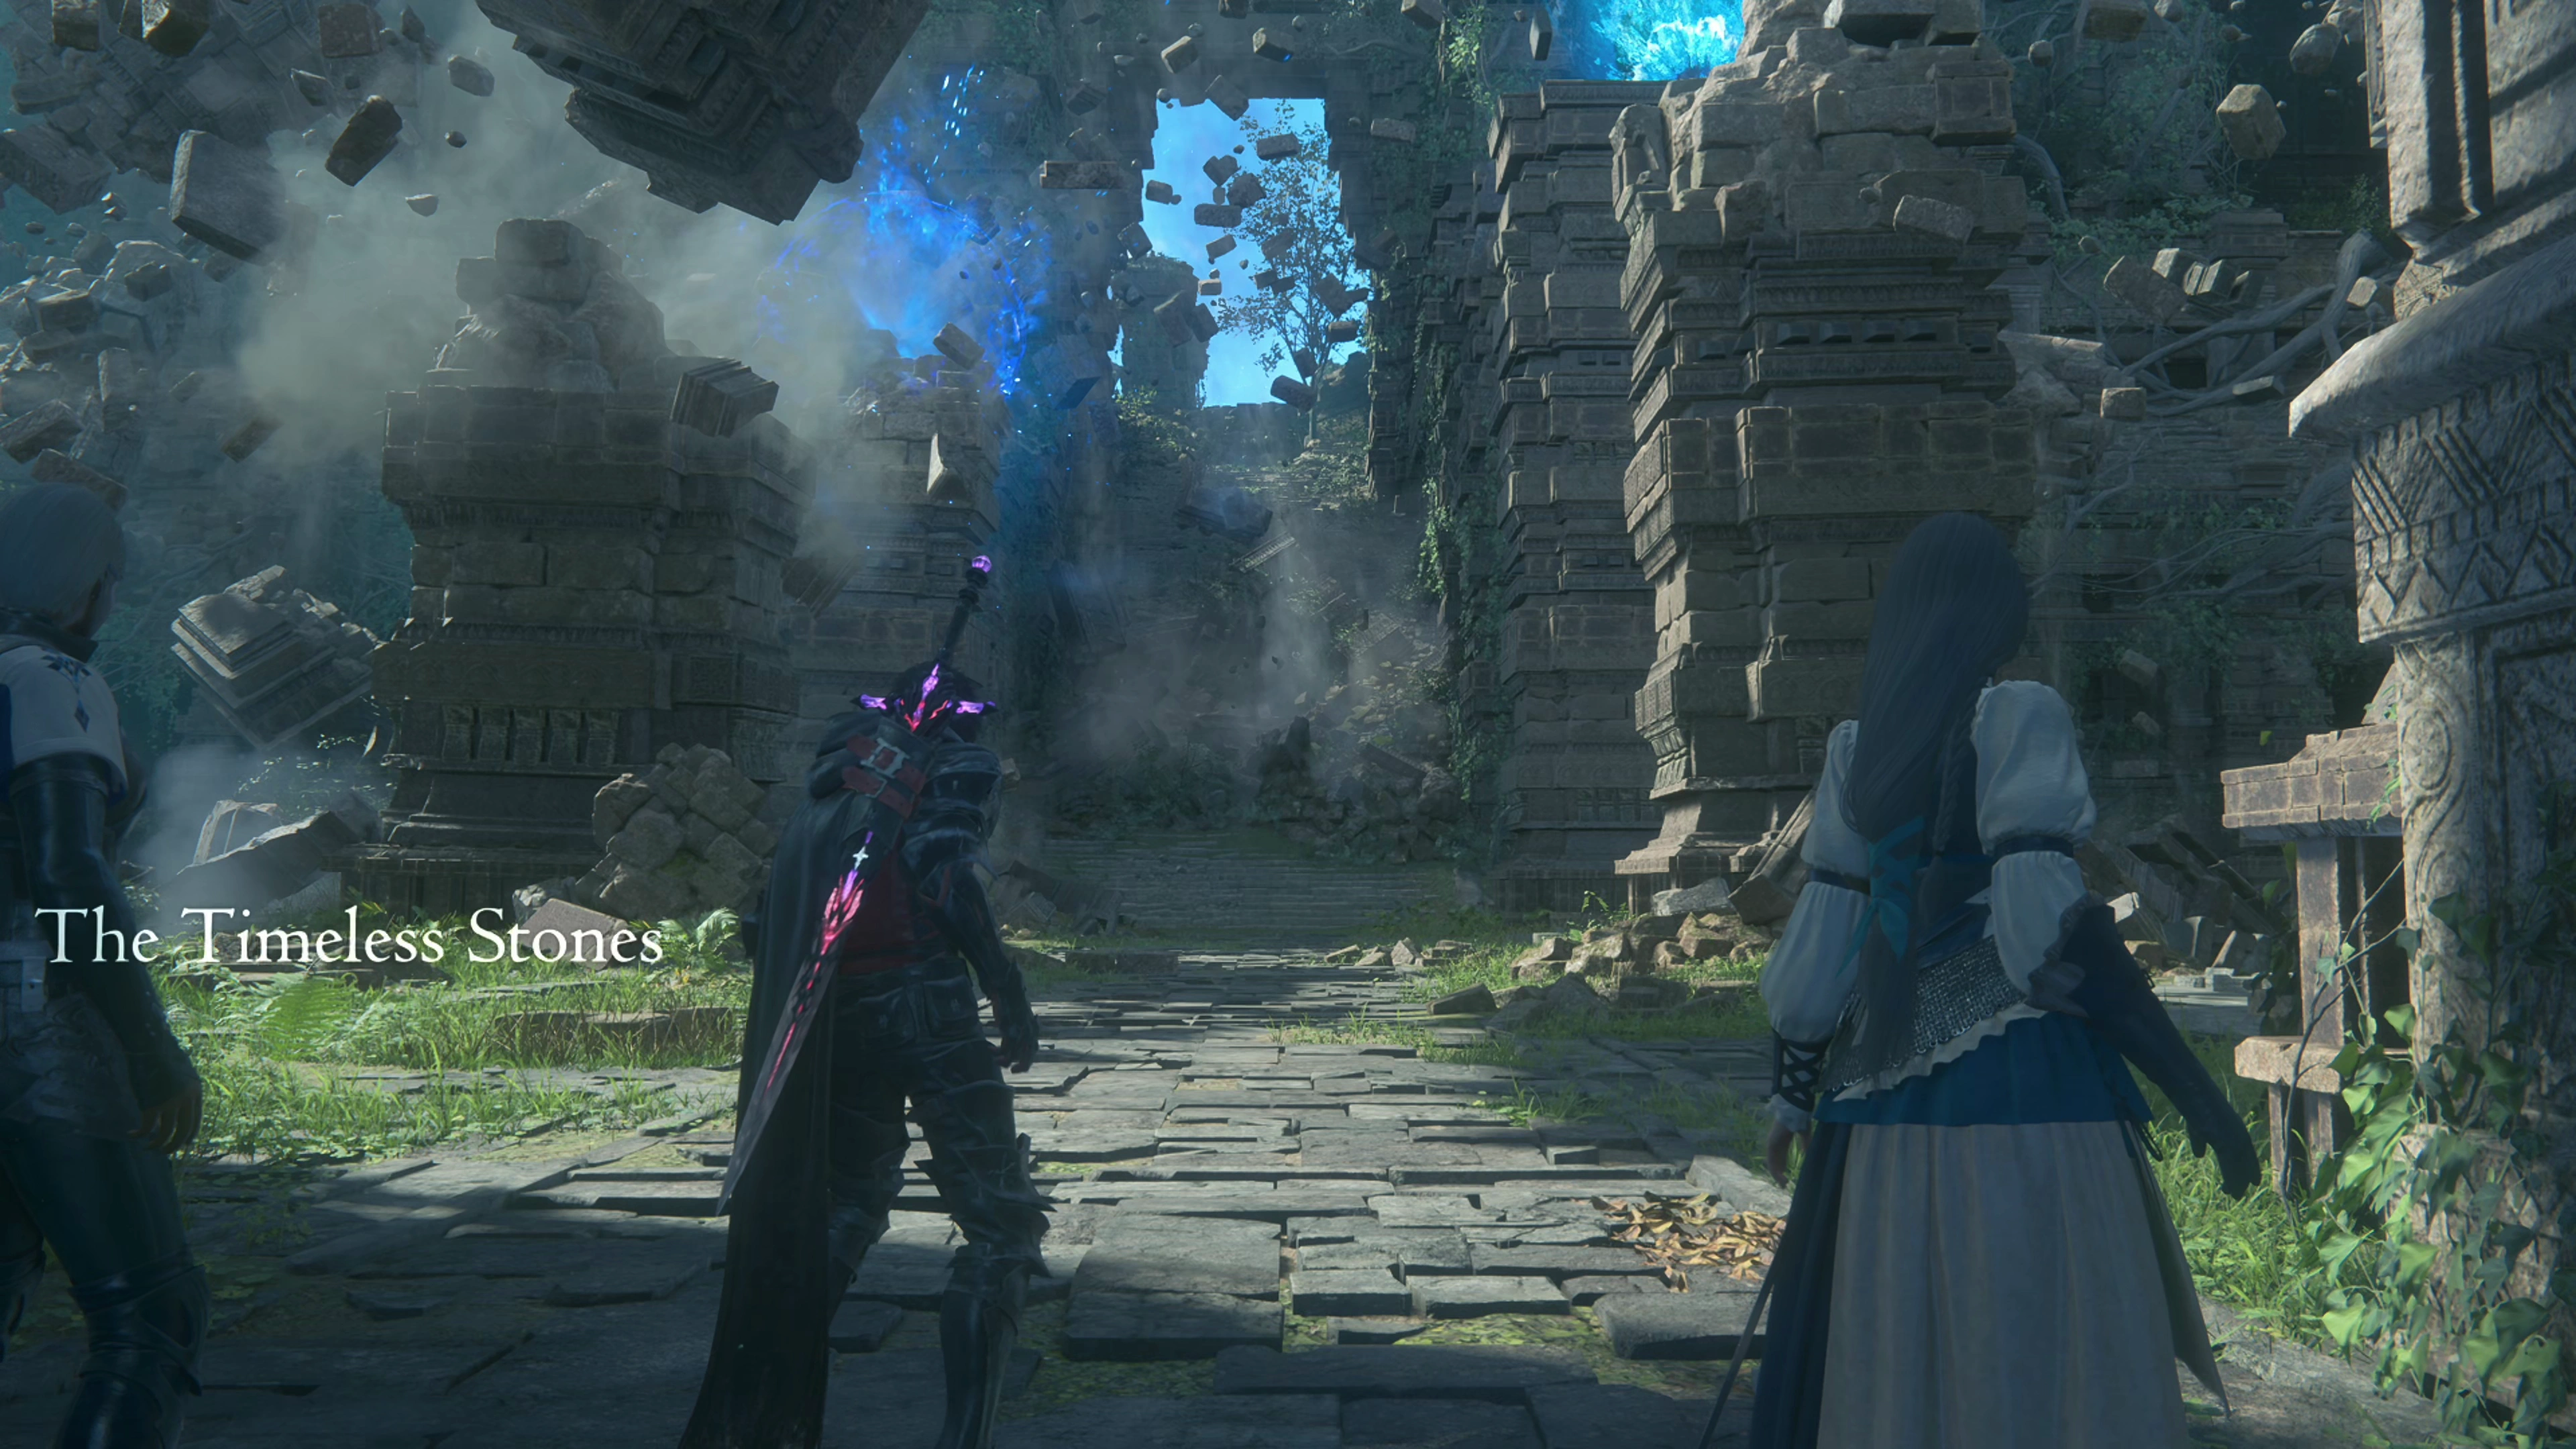
The Timeless Stones
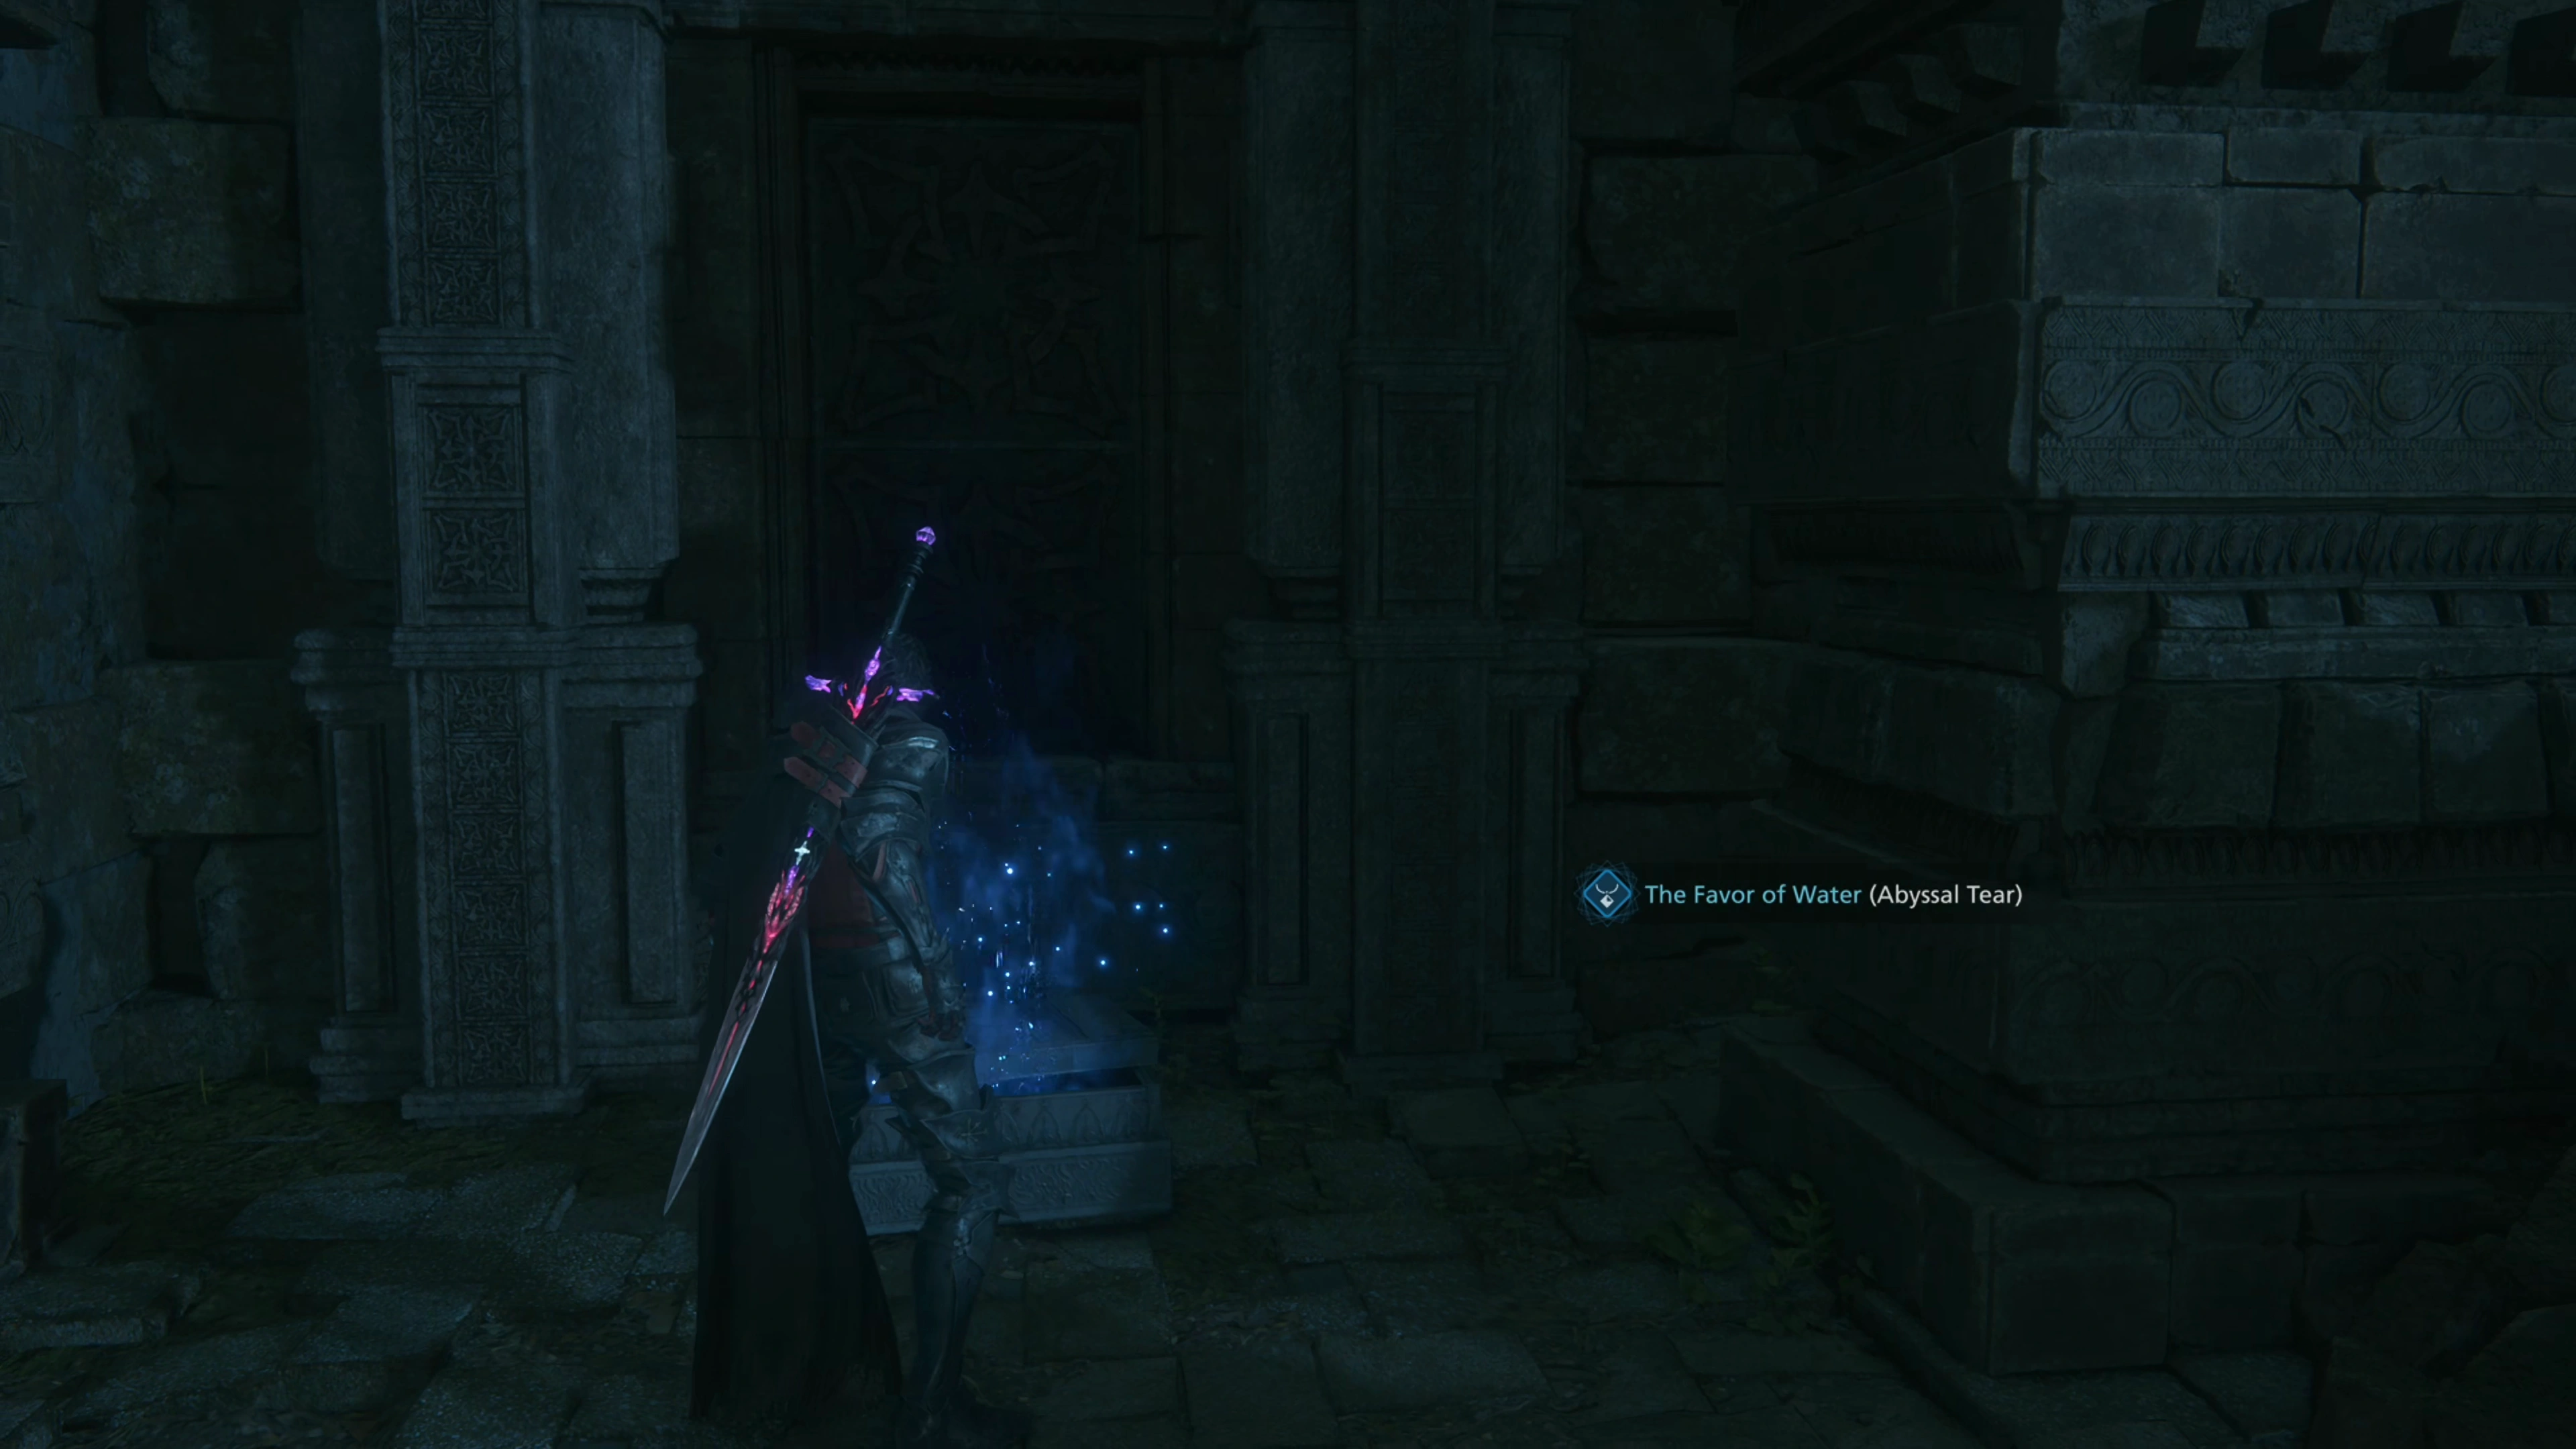
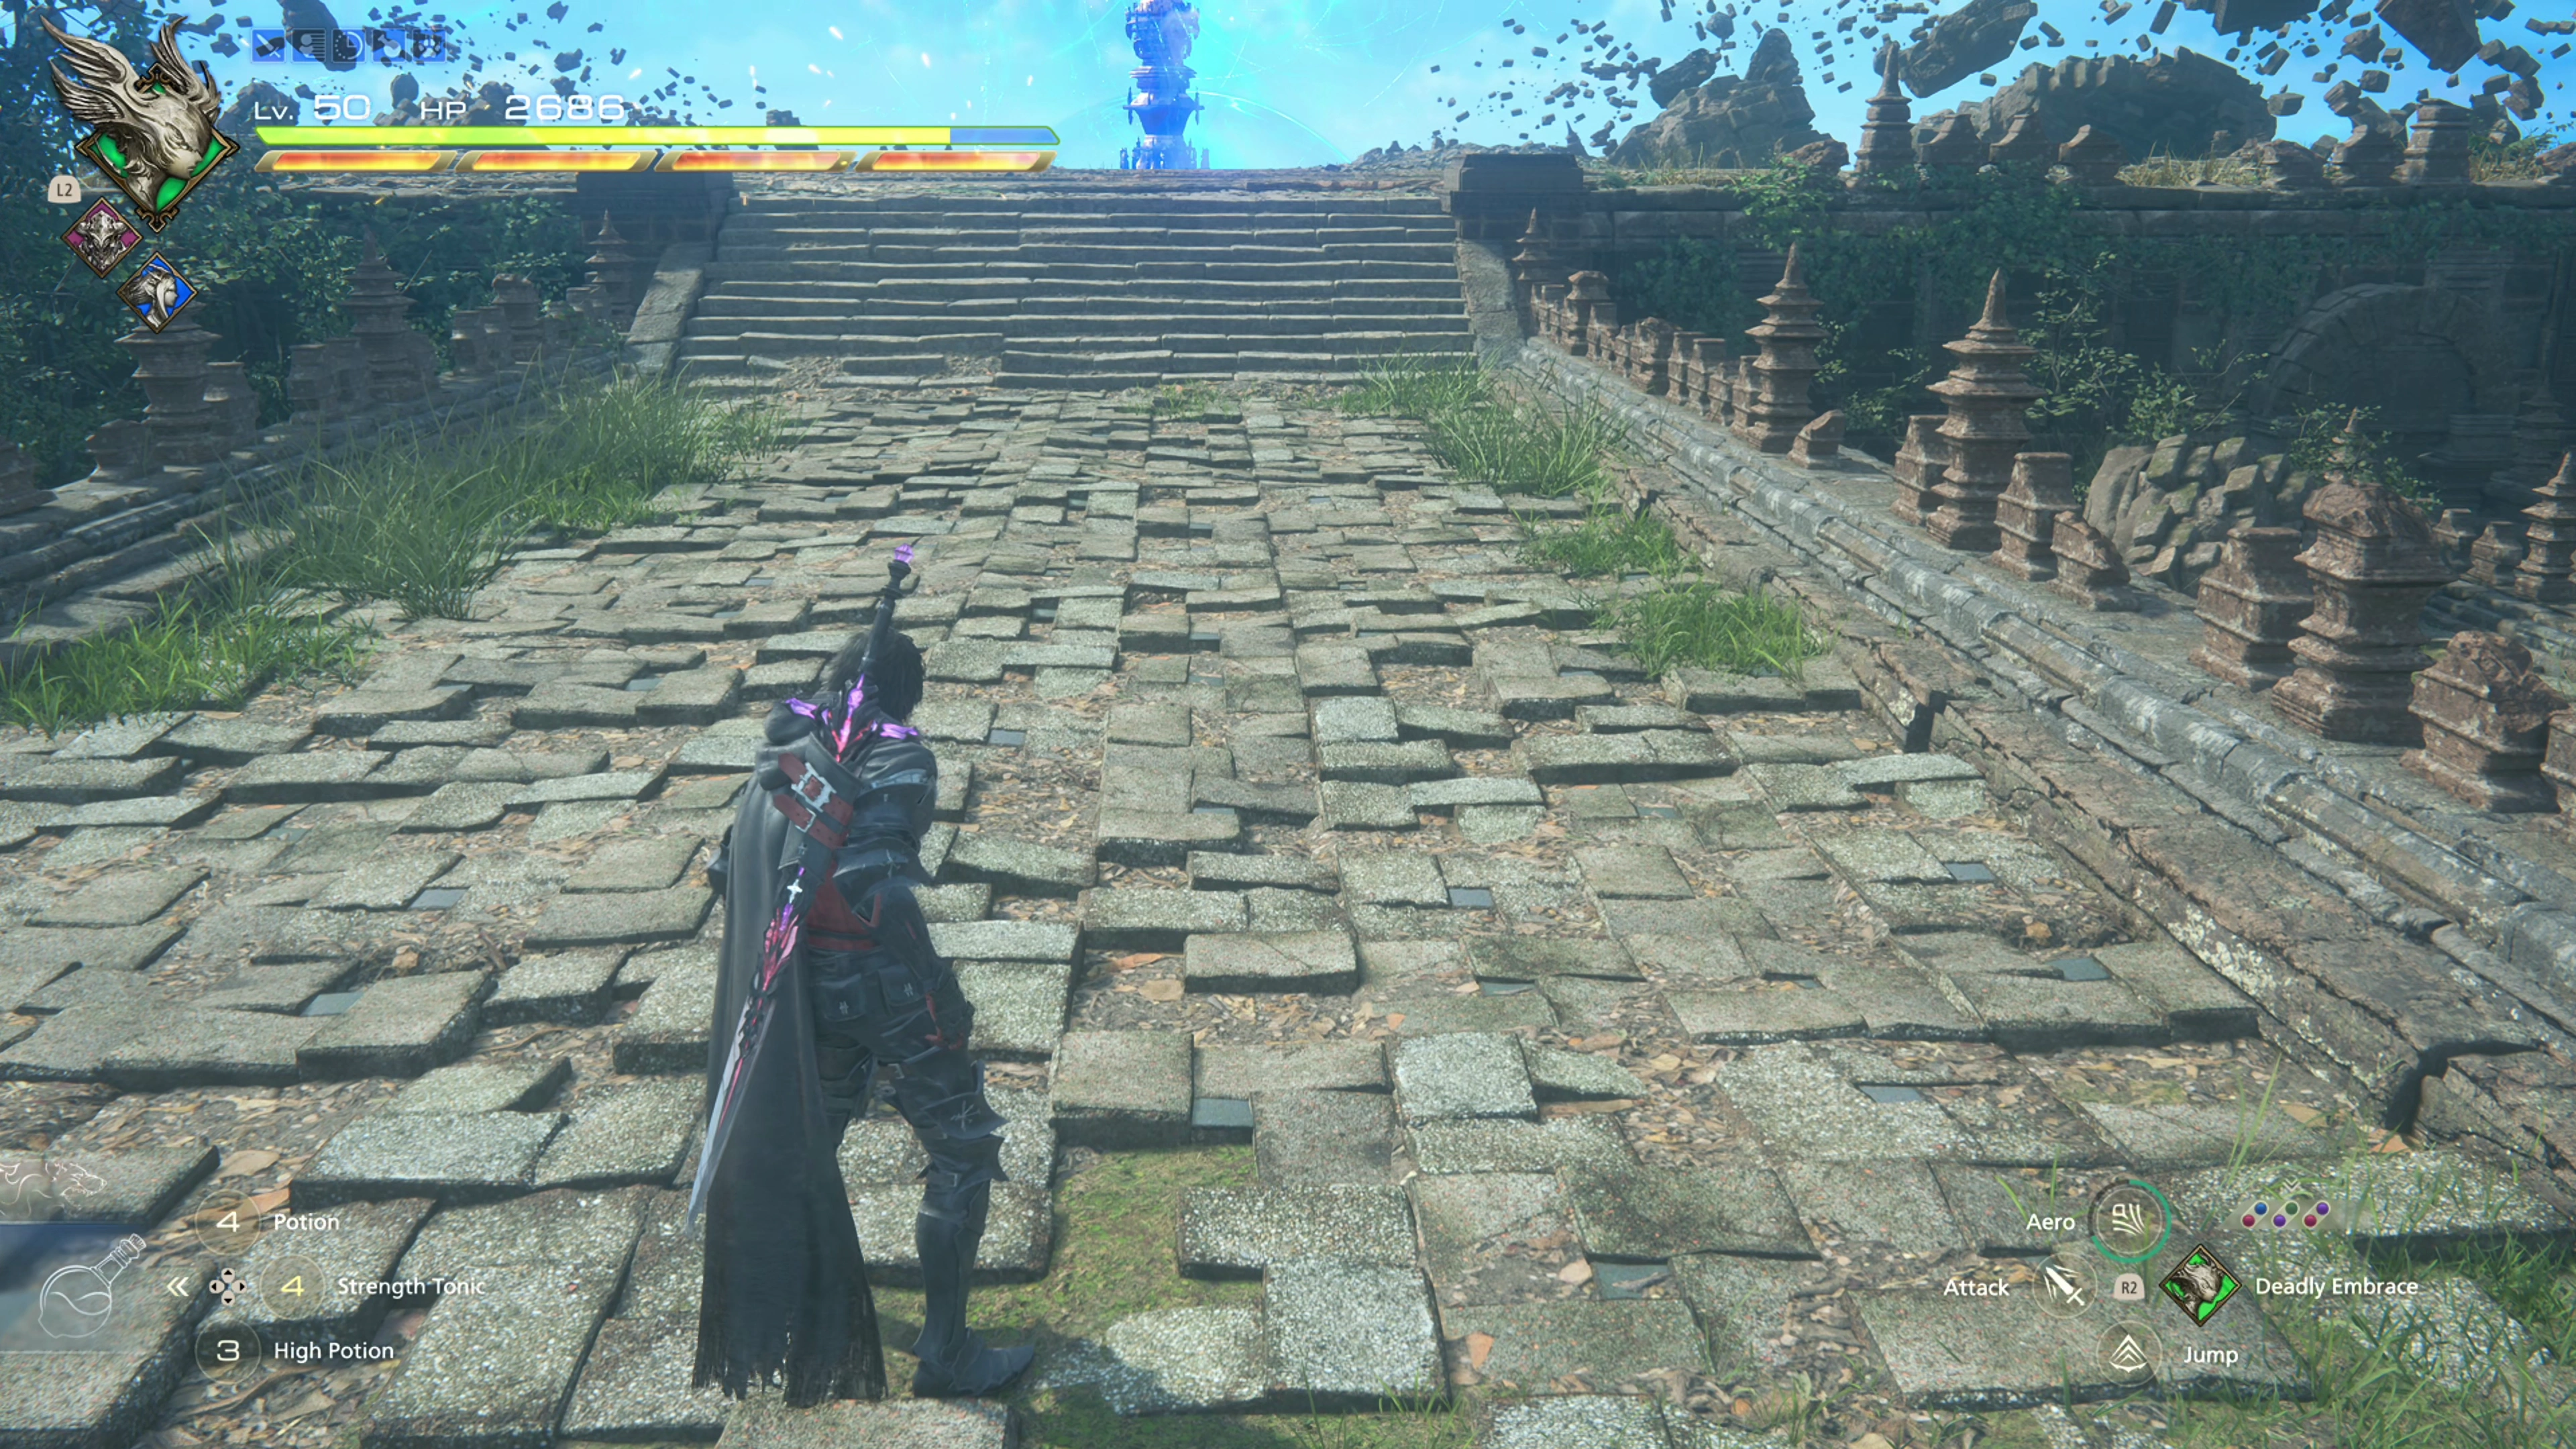
There’s a Glimmer on the left side of the cobblestone pathway. Find the second Glimmer on the right side of the room and head up the stairs to find a third Glimmer. Head to the back of the room at the top of the stairs to find a treasure coffer that contains ![]() The Favor of Water (Abyssal Tear).
The Favor of Water (Abyssal Tear).
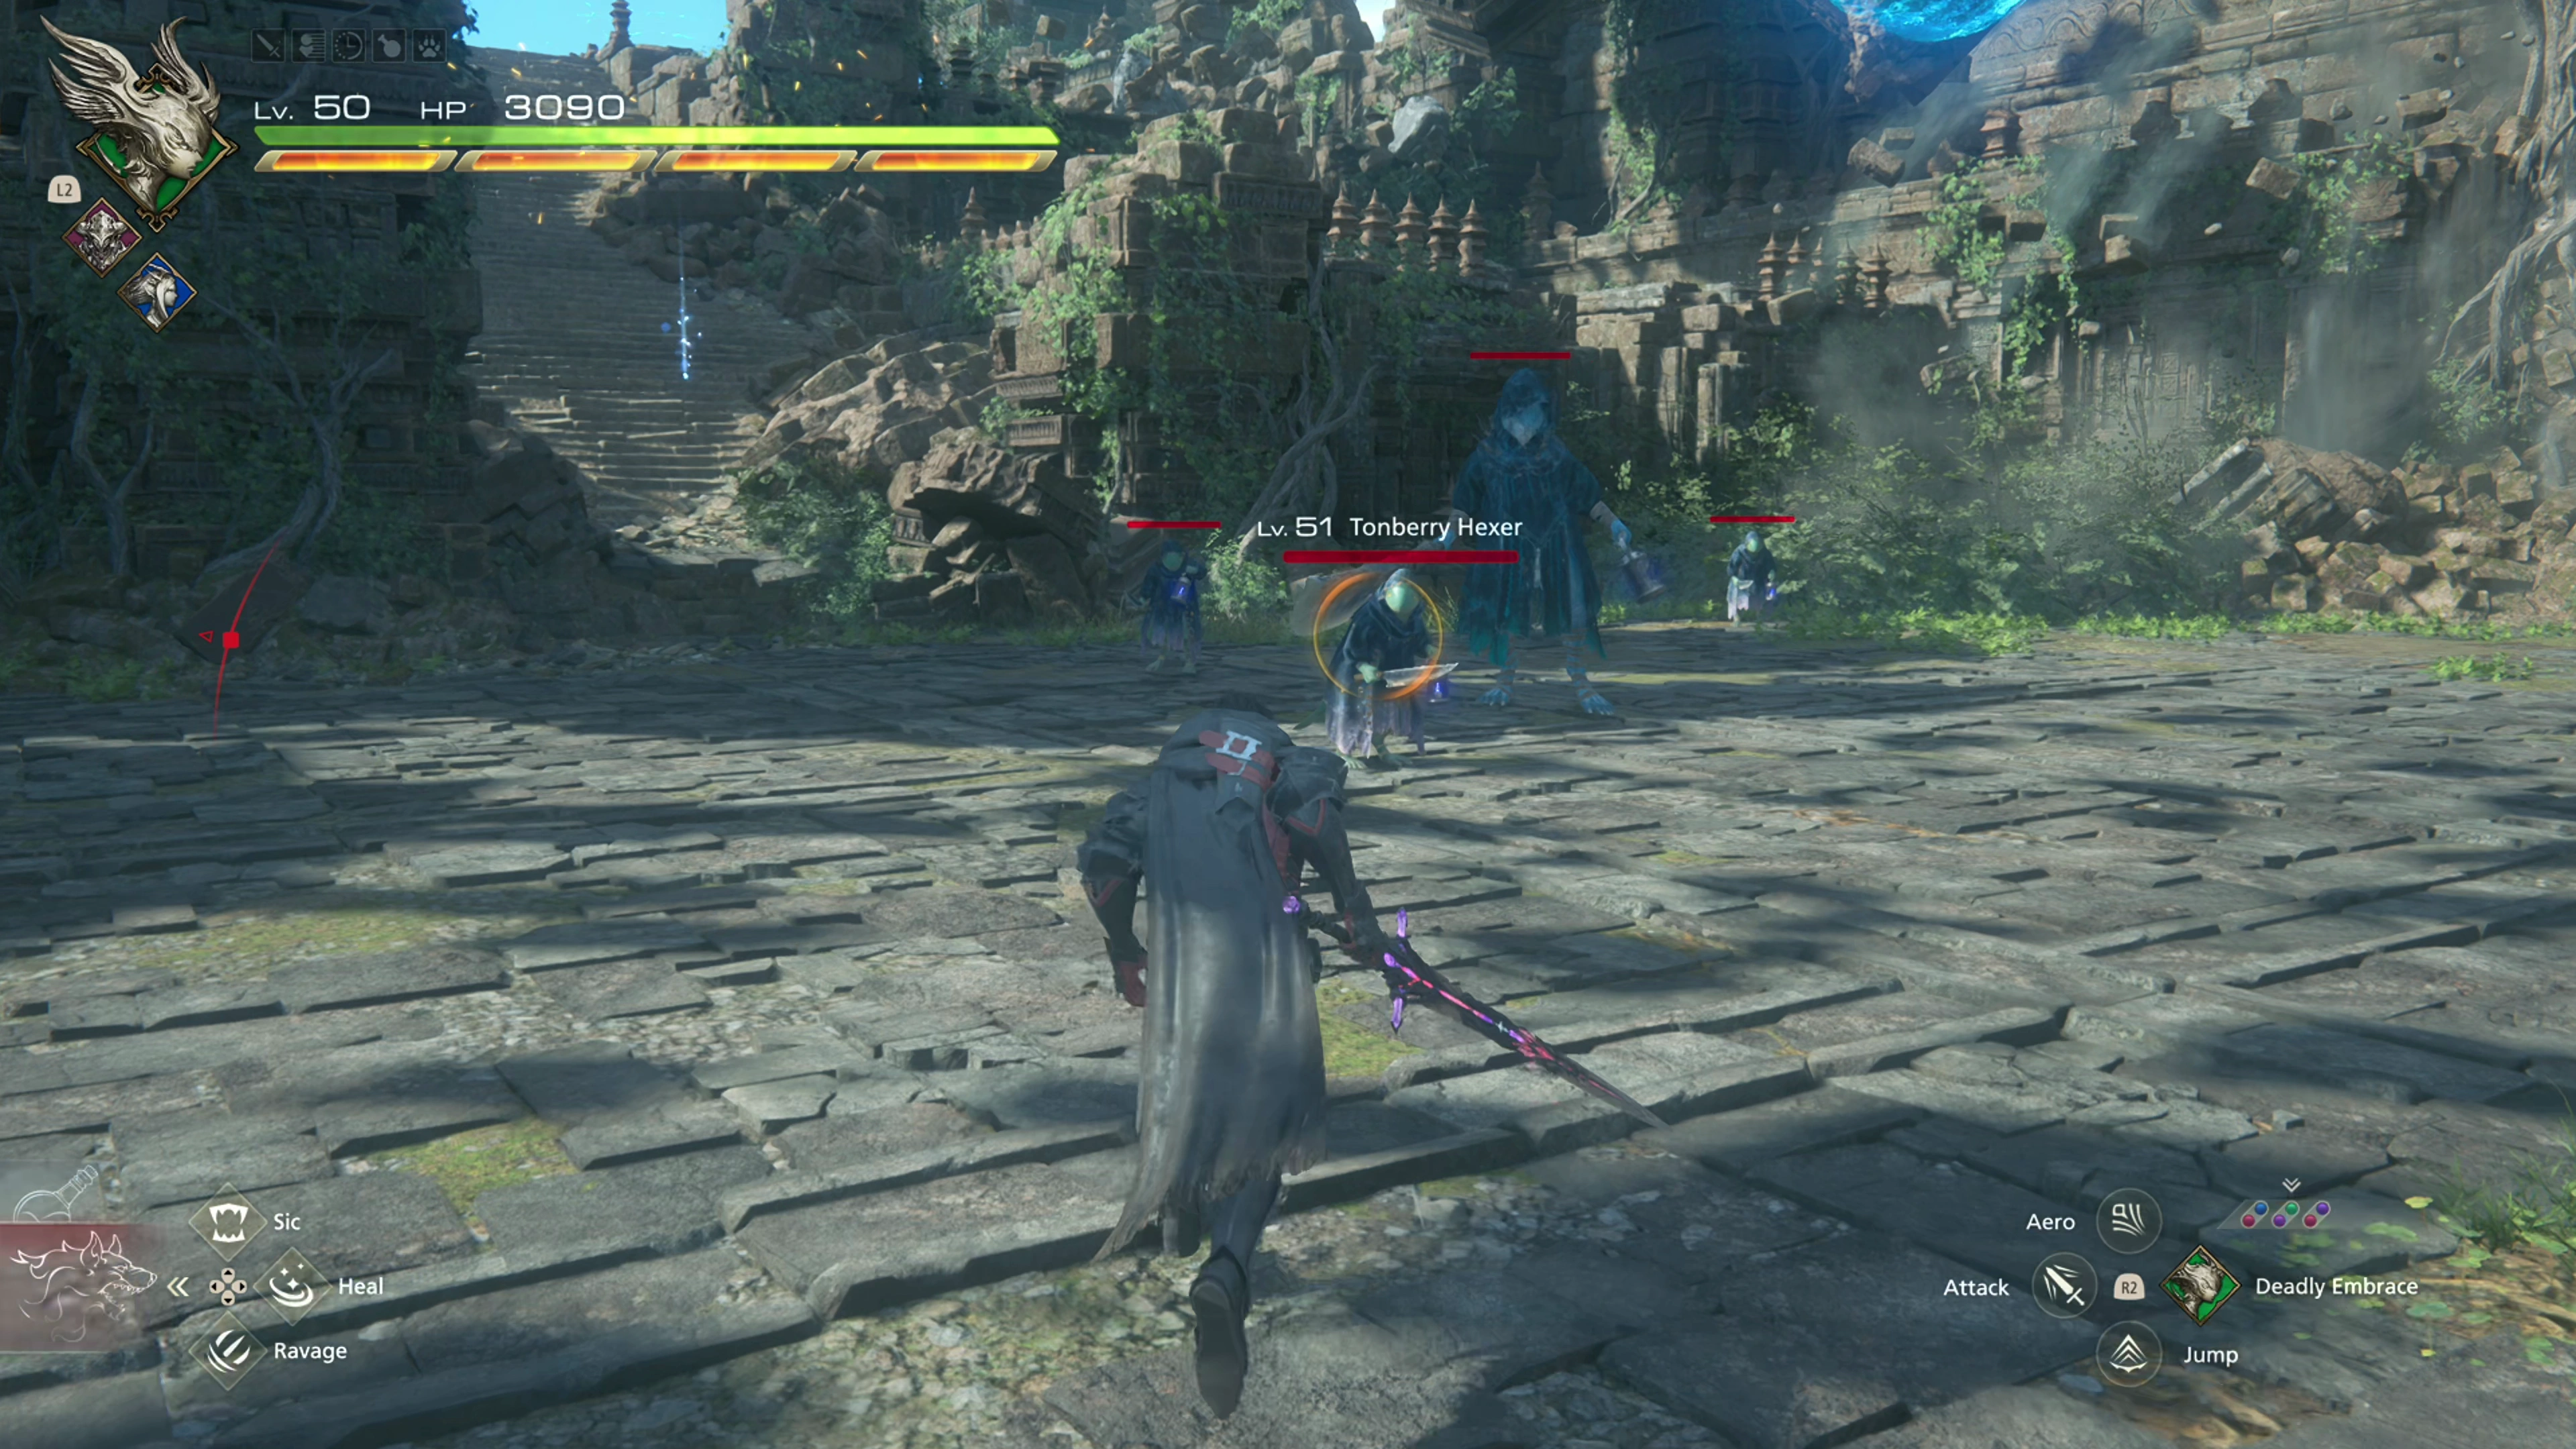
Go through the open doorway into the next room, and two Frost Bombs will ambush you. They will be joined by four Deathstalkers after one of them is defeated. Climb the stairs and follow the path to the upper level, which has a group of Tonberry Hexers to defeat.
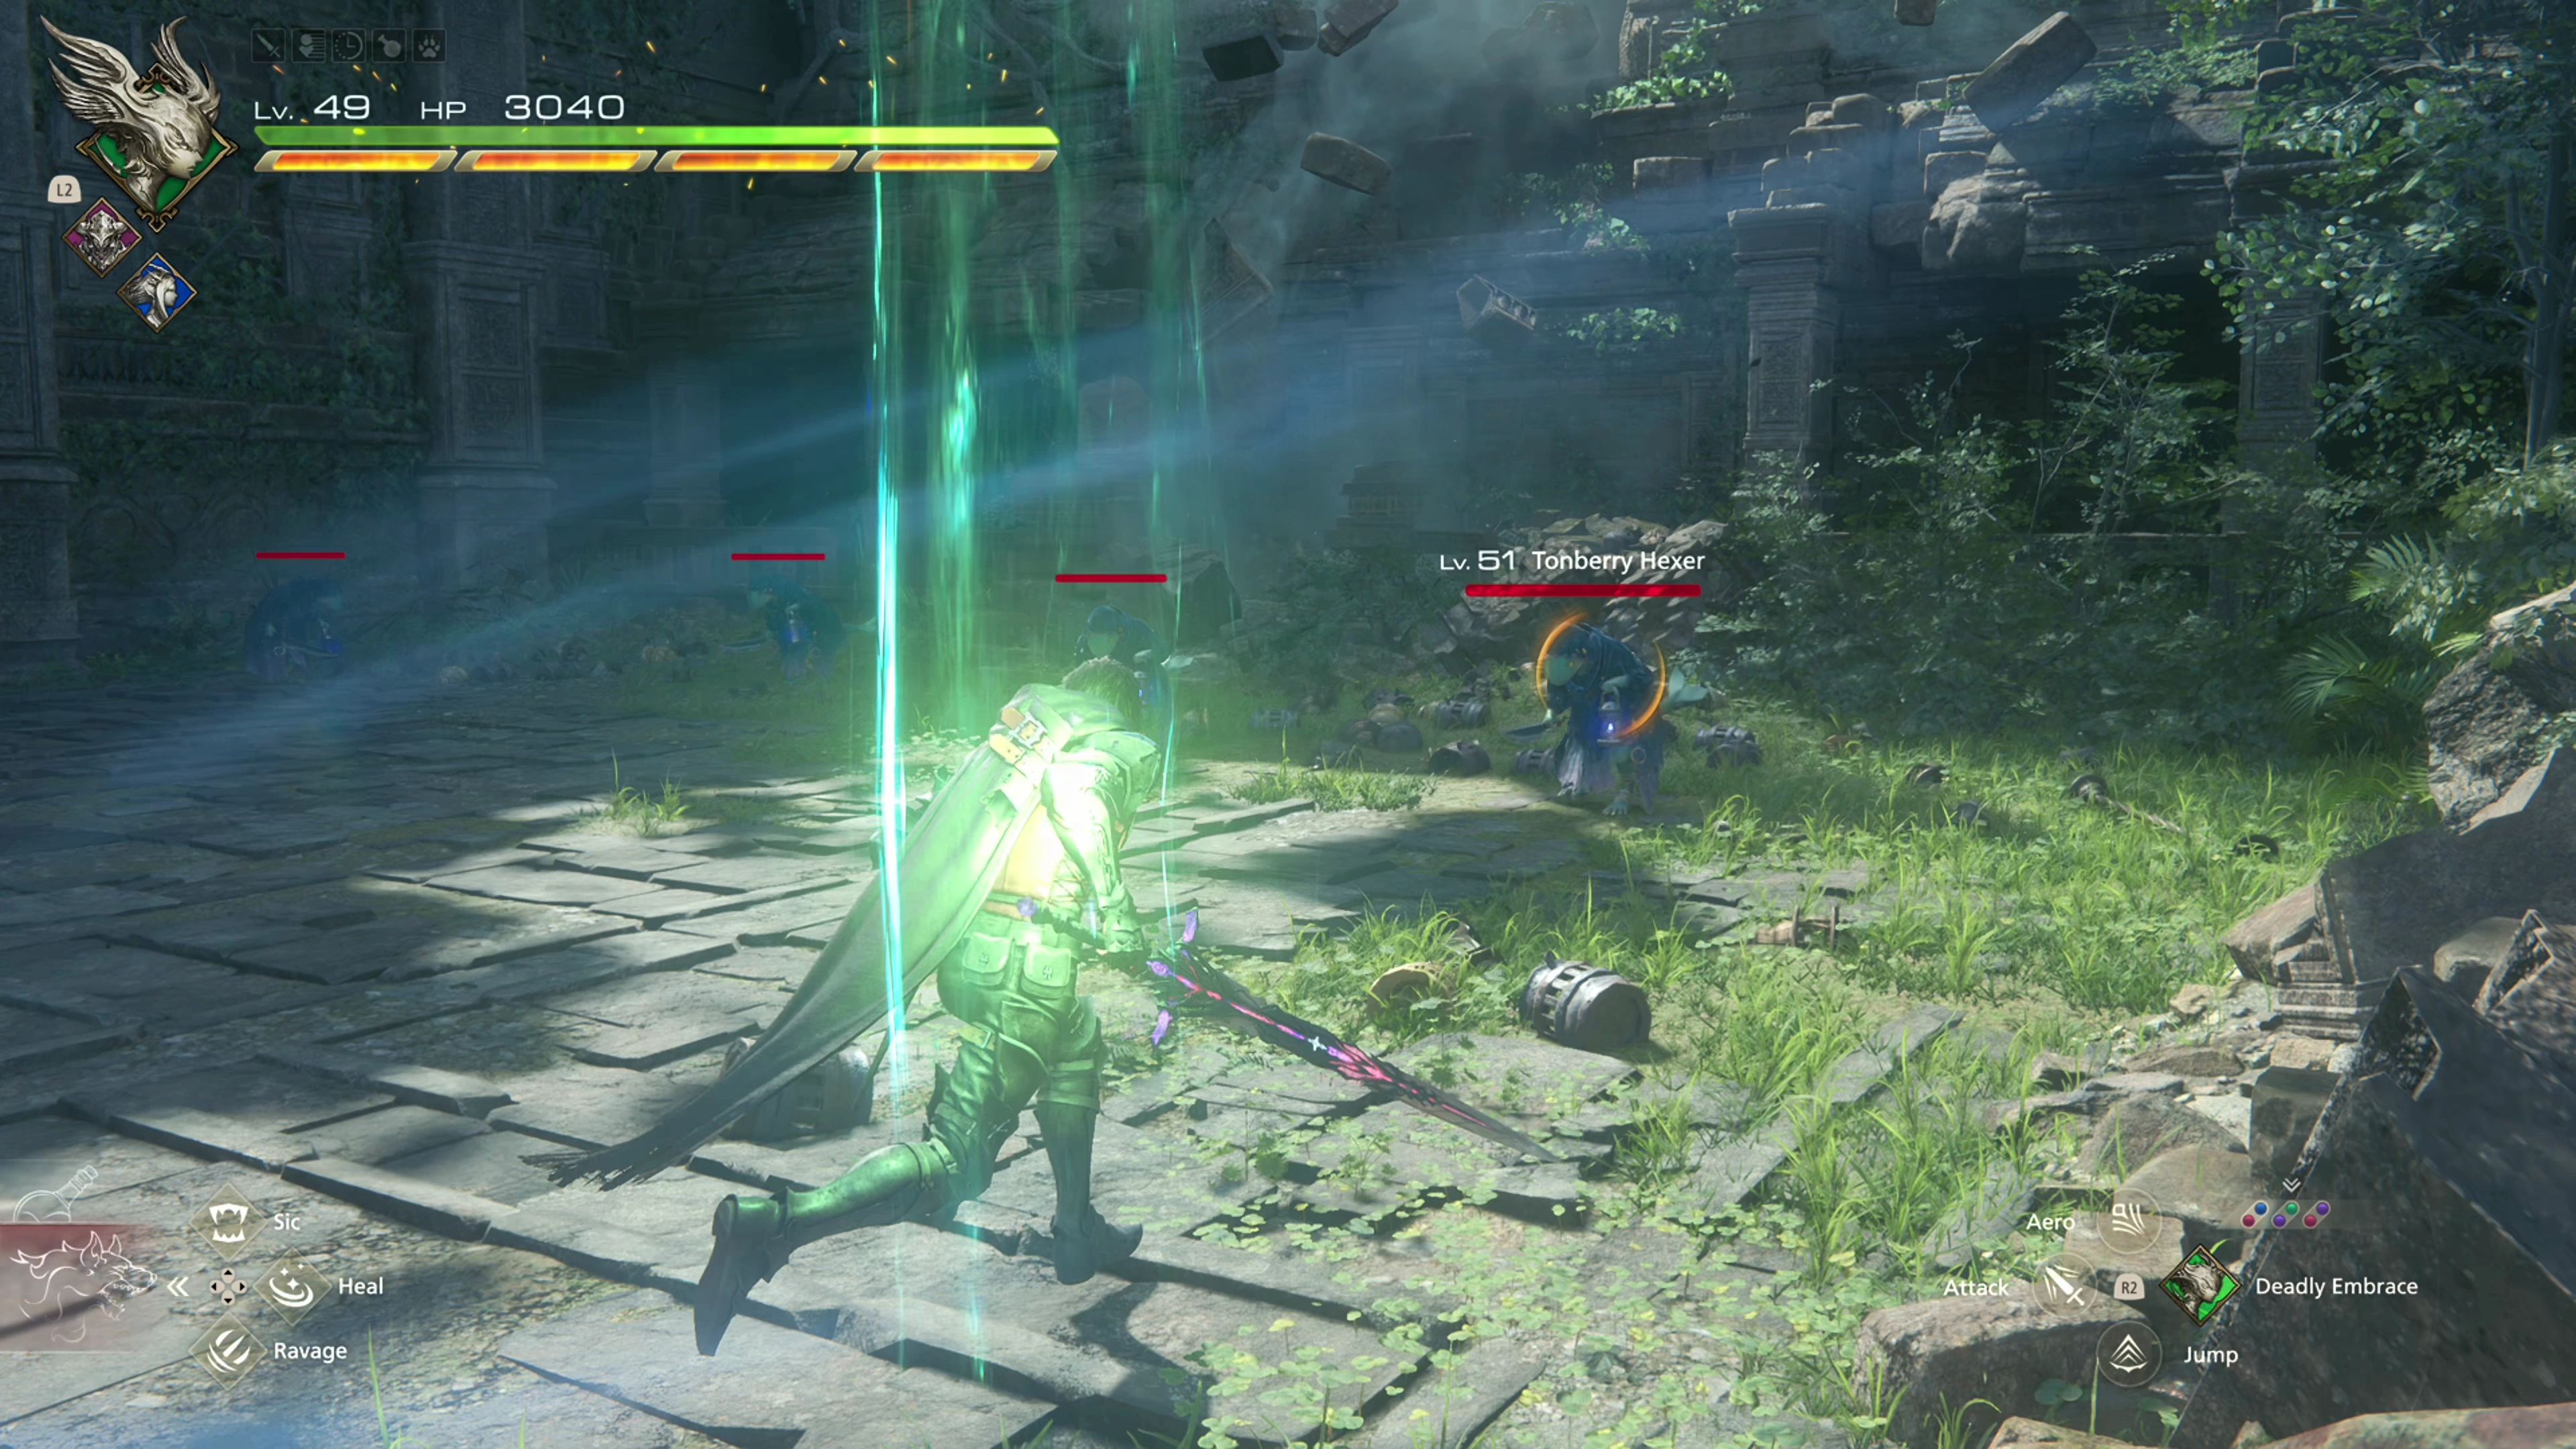
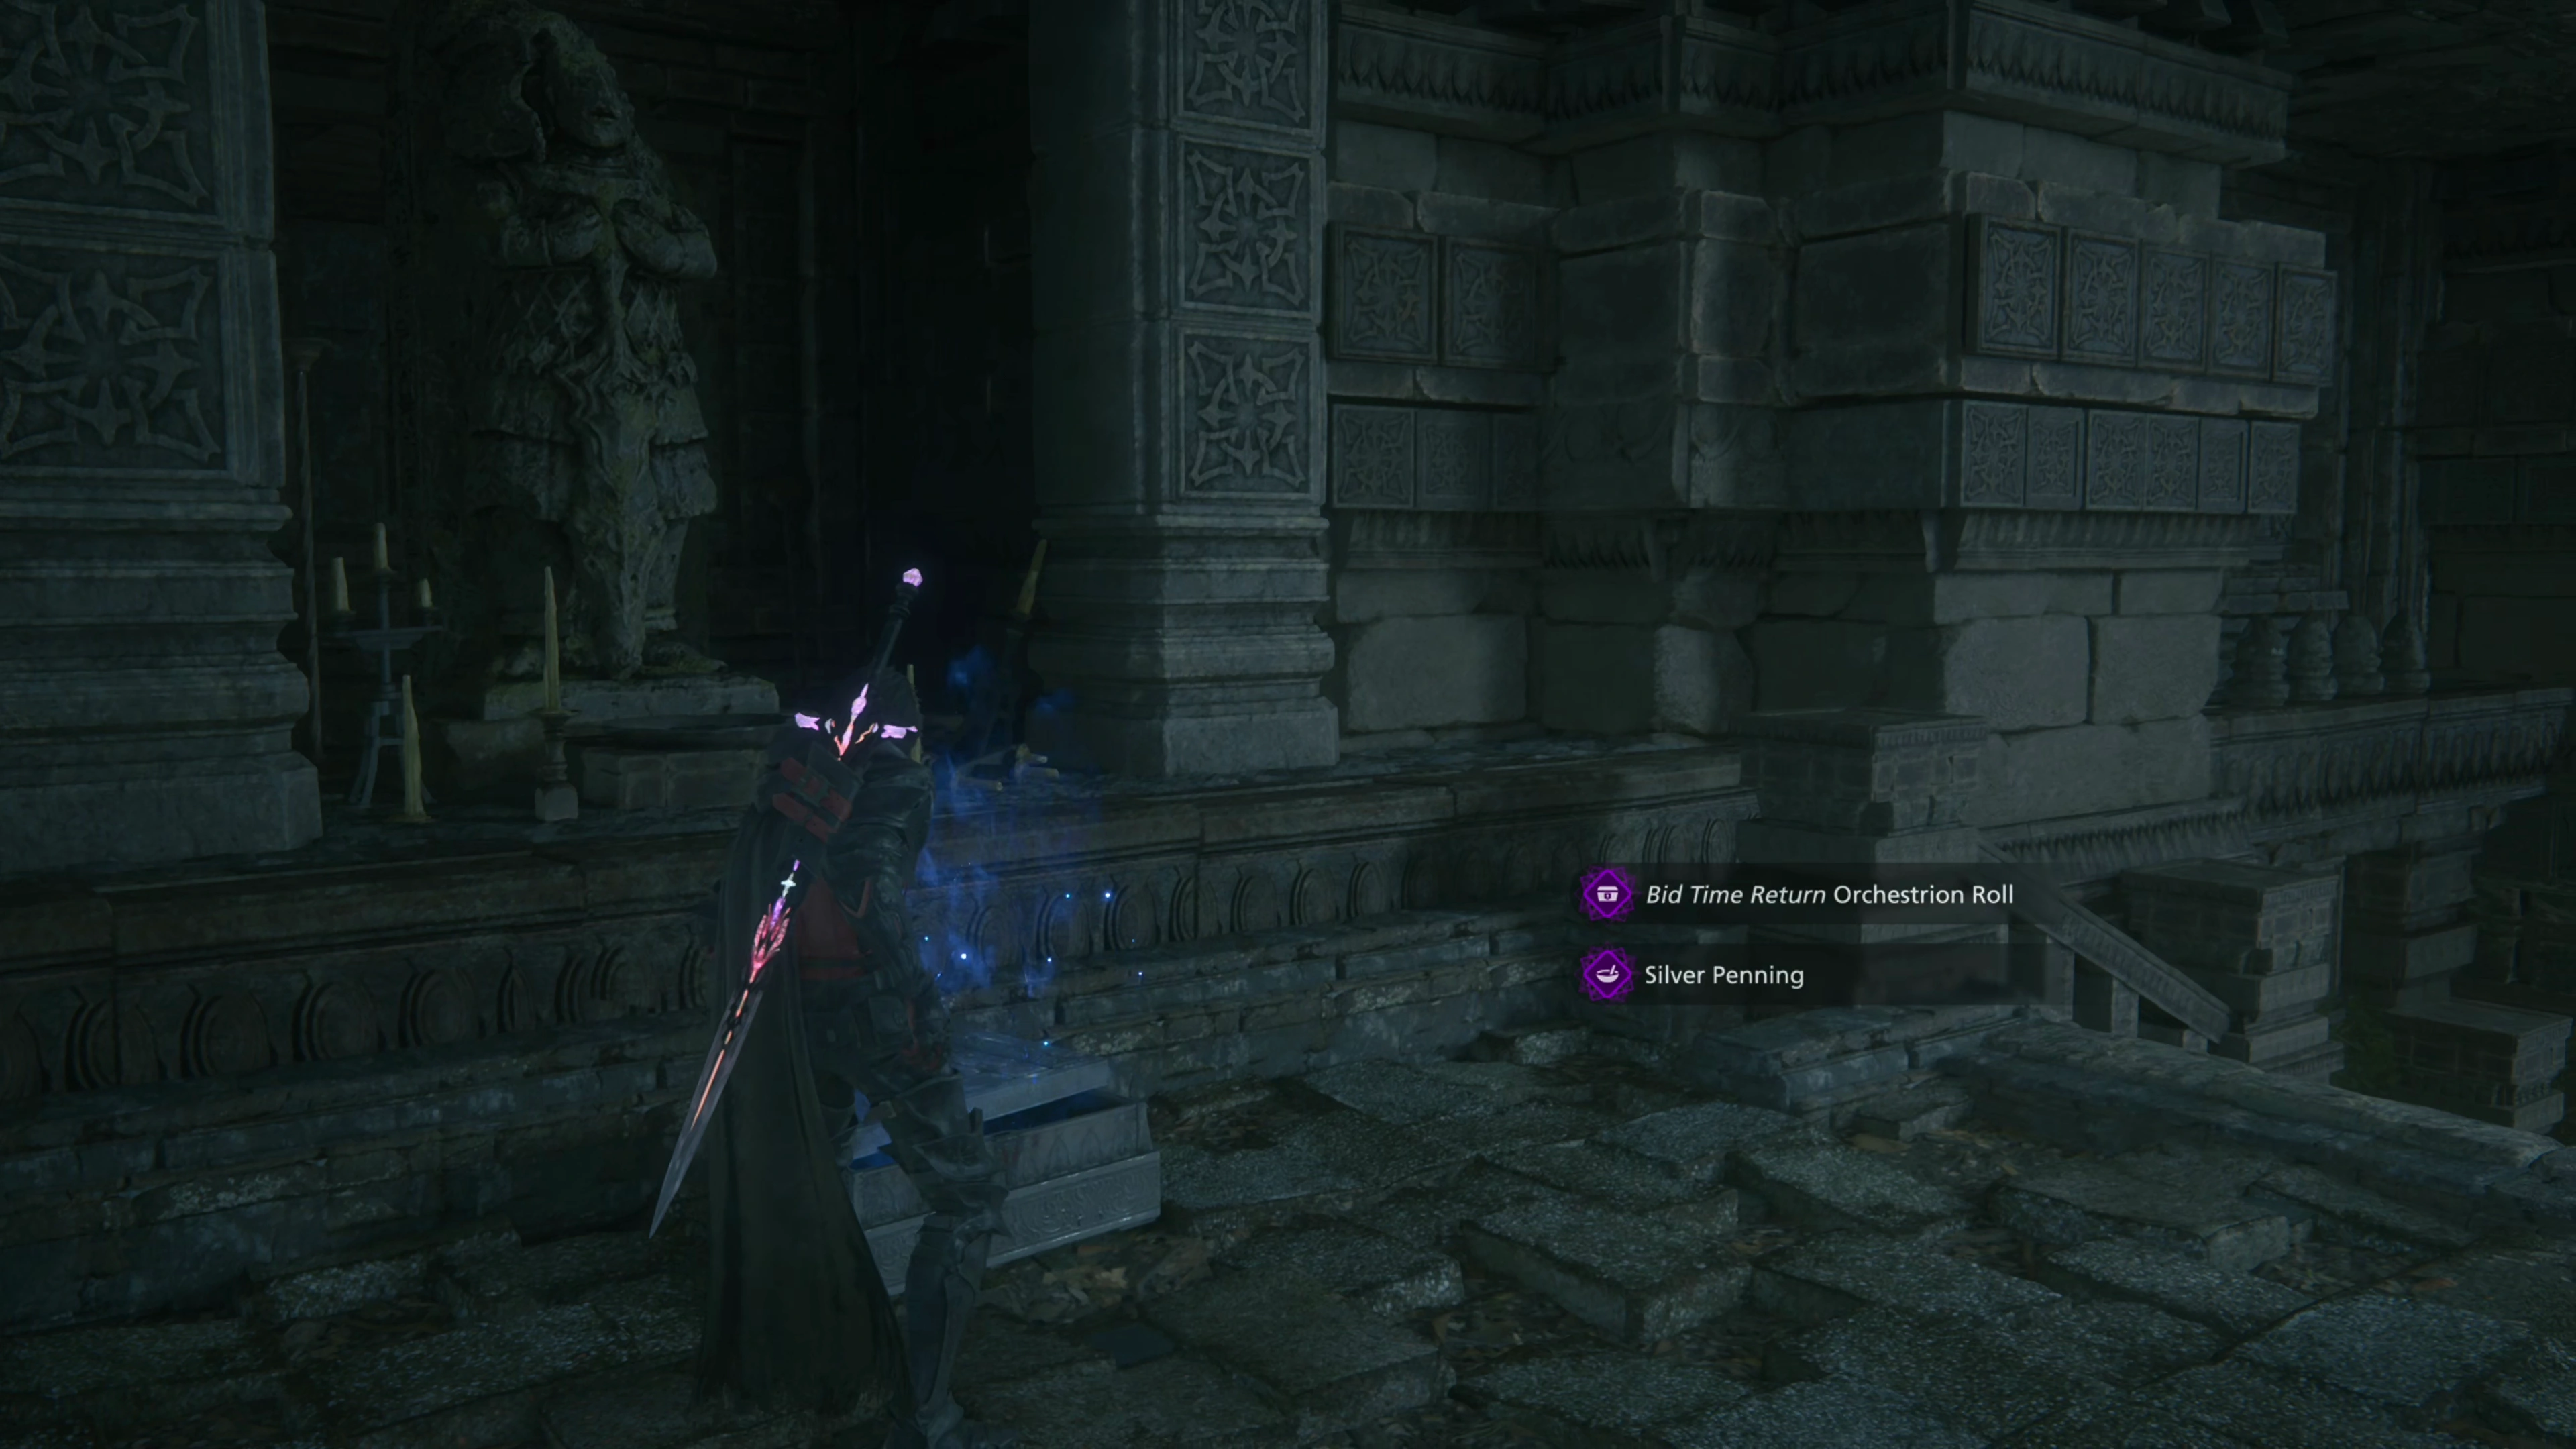
Head down the hallway and grab the Glimmer at the far end, then head back and into the room on the left. There’s another group of Tonberry Creepers and Tonberry Hexers in this room. Once defeated, a group of Grey Widows and Frost Bombs will drop down from the ceiling. There’s a treasure coffer at the top of the stairs at the far end of the room that contains a ![]() Silver Penning and the
Silver Penning and the ![]() Bid Time Return Orchestrion Roll.
Bid Time Return Orchestrion Roll.
Exit the room on the far right side and follow the path through the temple again. There’s another Master Tonberry with some Tonberry Hexers just up ahead. Partway through the battle, it’ll be joined by a pair of Frost Bombs.
Climb the next set of stairs and get ready for the next boss battle. This one is a bit tougher than the last ones…
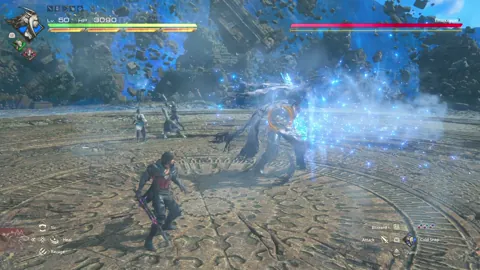
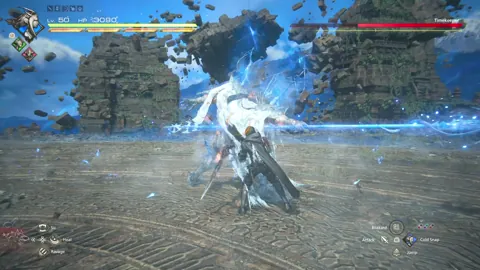
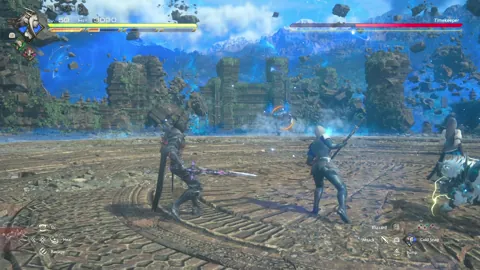
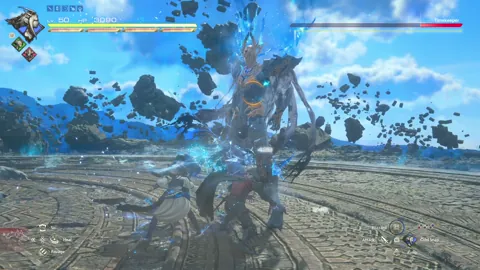
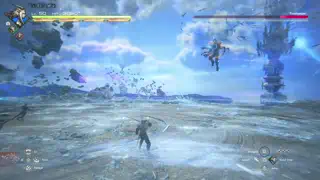
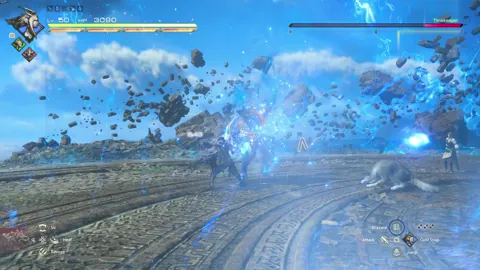
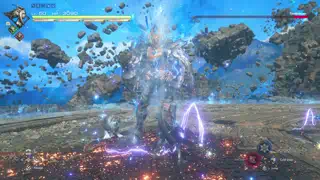
Boss Battle
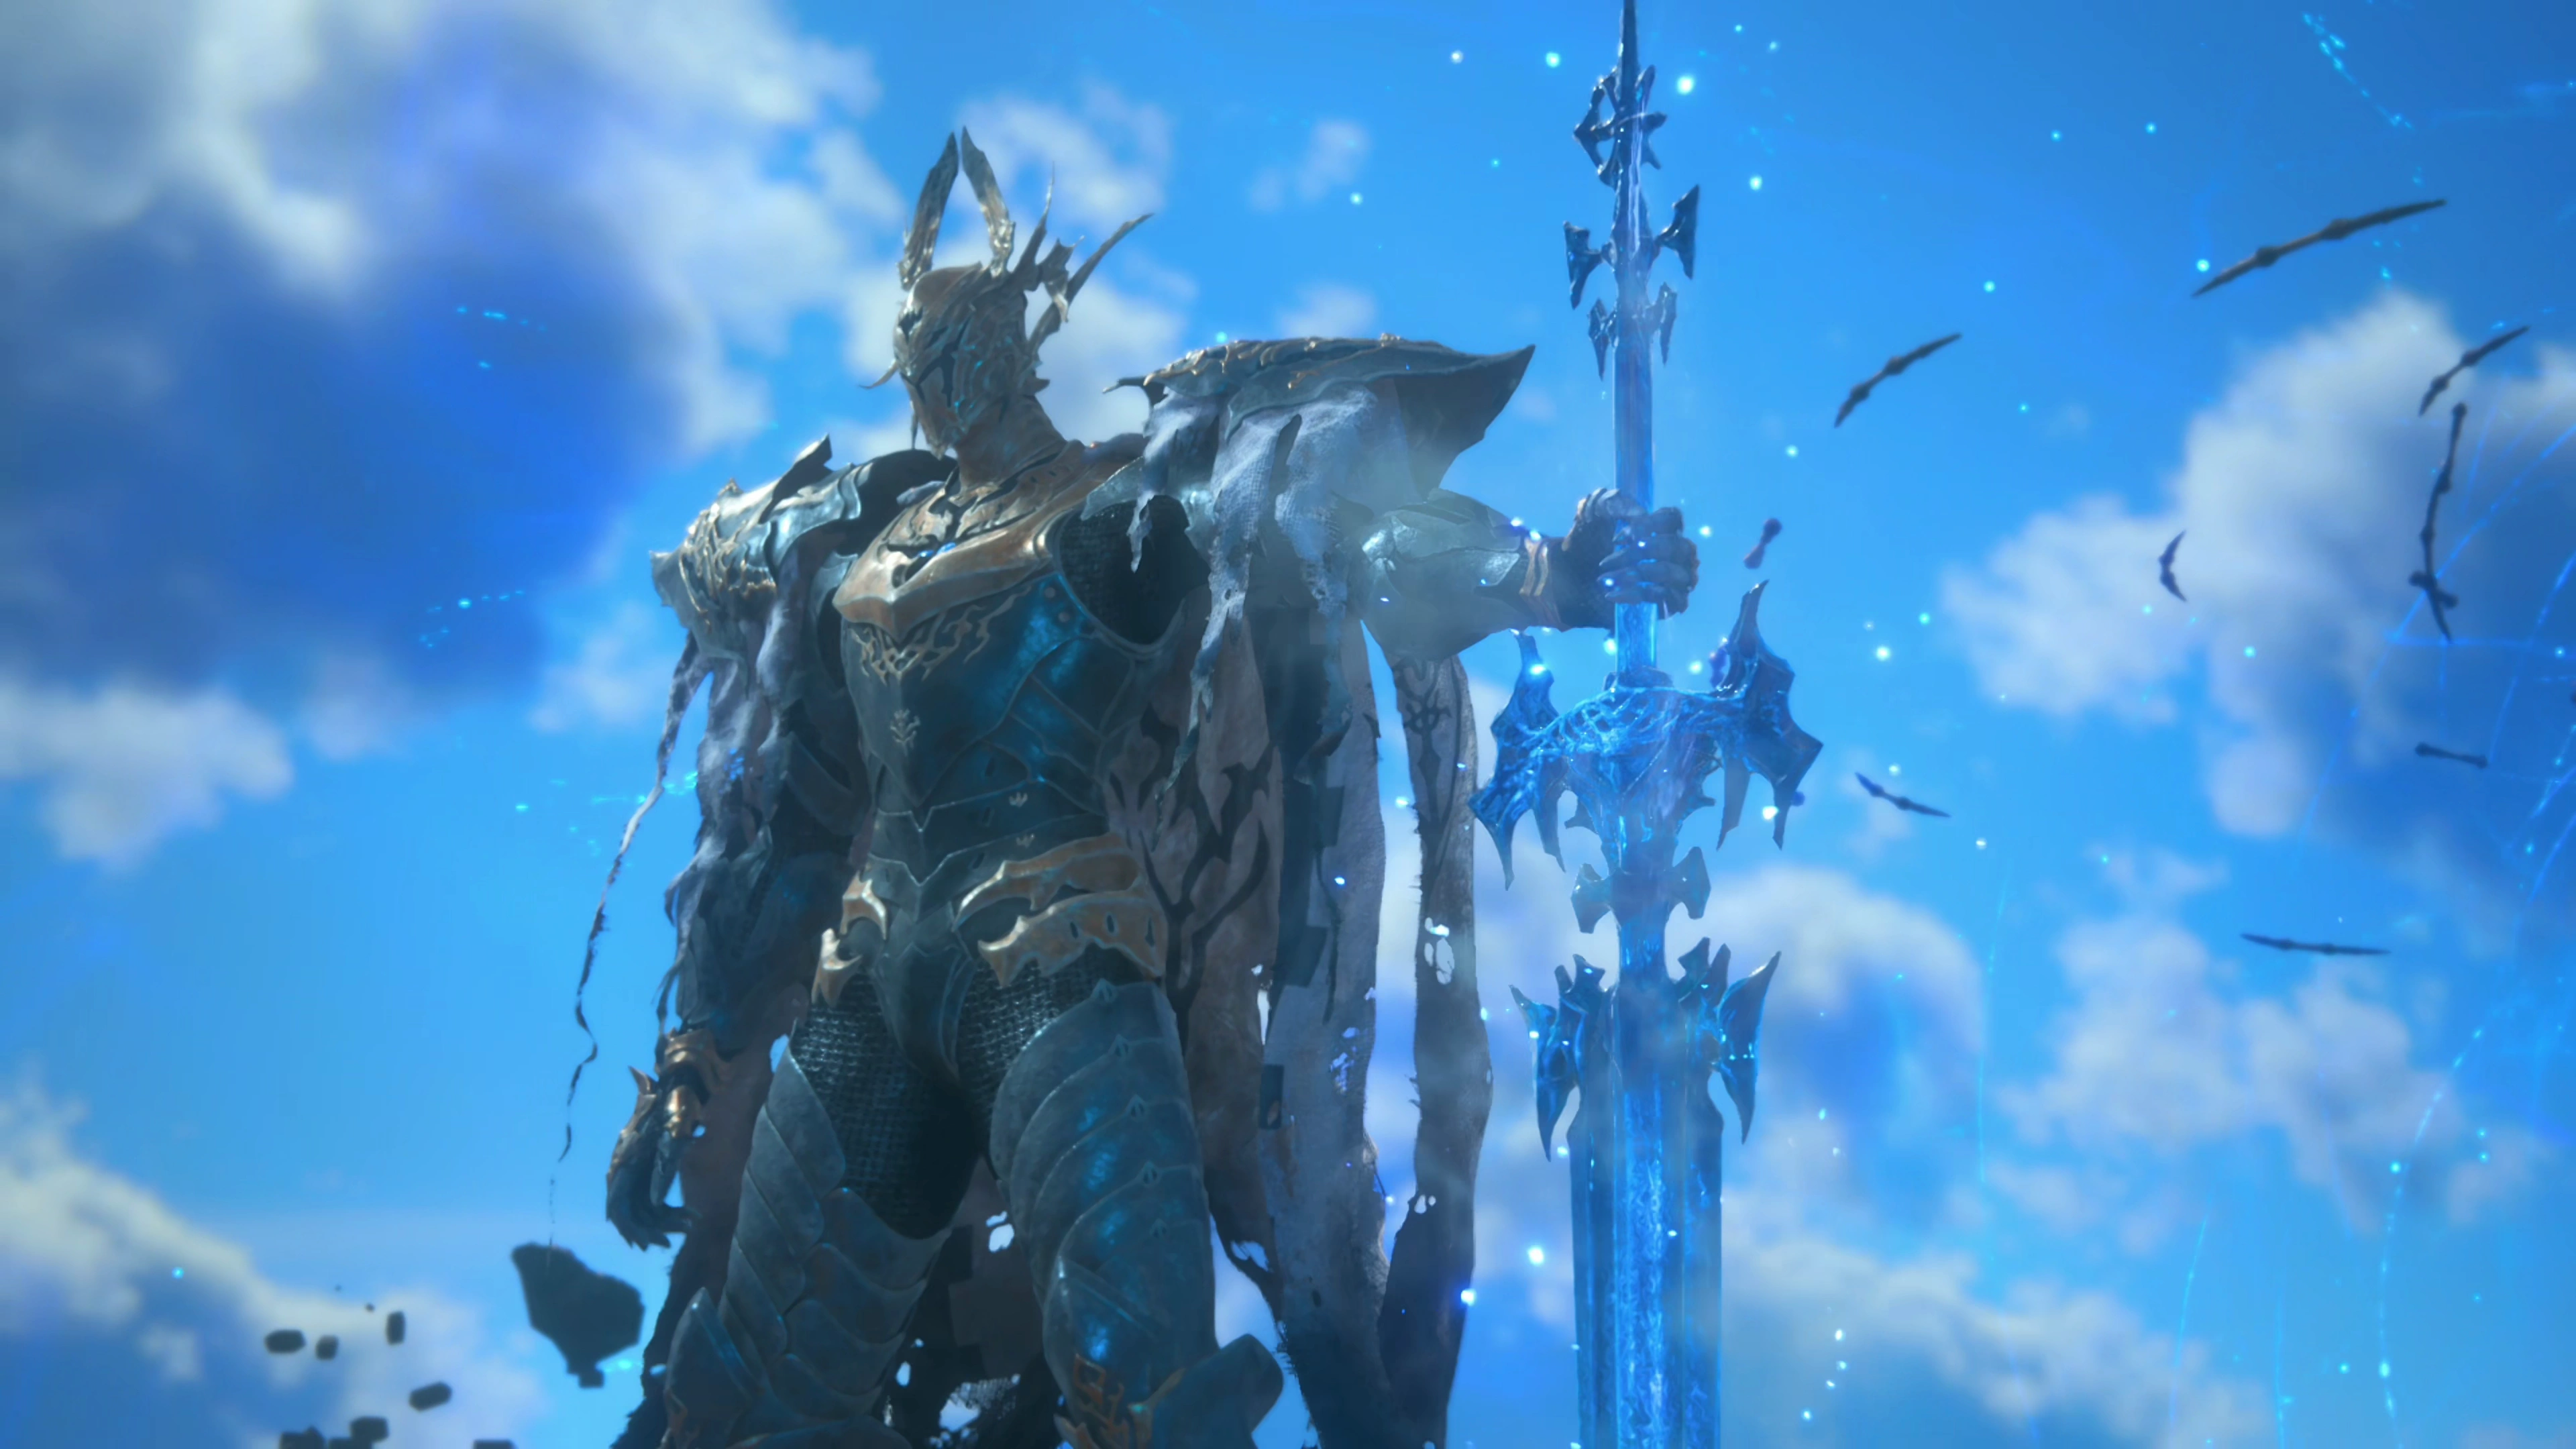
This boss has a ‘tough-guy’ attitude, which it demonstrates by ambling slowly towards Clive whenever there’s distance between itself and Clive. This is a multi-phase fight where the Timekeeper’s attacks will become more and more powerful as the battle progresses.
Phase 1
The first phase of the fight is easy, and if you kick things off by going in aggressively, you can get Timekeeper to the second phase of the battle almost immediately. Timekeeper will enter Phase 2 of the fight when its HP reaches approximately 60% at which point a cinematic will play. Once it hits 60% HP, it will stop taking damage until the cinematic plays, so even if you have Timekeeper staggered, don’t waste your powerful abilities (i.e., ![]() Limit Break or level 5 Zantetsuken) until after the cinematic.
Limit Break or level 5 Zantetsuken) until after the cinematic.
Here are the abilities to watch for in this phase:
![]() Physical Weapon-based Attacks:
Physical Weapon-based Attacks:
Timekeeper has two physical weapons that it will swing at Clive. The first is a sword and the second is a hammer. It can swing up to three times, and depending on which weapon it uses, it will either swing very fast (with the sword) or very slow (with the hammer).

![]() Magic Staff Slam:
Magic Staff Slam:
Timekeeper can also summon a staff as a weapon. He will float up into the air, hover briefly over Clive, before slamming down into the ground. Six lines will ripple outward from where Timekeeper lands before ice shards will emerge in a circle around its landing spot. It is possible to ![]() Cold Snap the first staff slam into the ground, but be very cautious not to get hit by the ripple that follows.
Cold Snap the first staff slam into the ground, but be very cautious not to get hit by the ripple that follows.
![]() Hailstorm:
Hailstorm:
This is another attack with the staff. Four large blue circles will appear around Timekeeper, which will eventually explode. Four smaller blue circles will appear in the gaps between the large circles, so dodge the large circles first, but then get far enough away to escape the smaller circles as well.
As mentioned, at 60% HP, a short cinematic will play, and the battle will move into phase 2.
Phase 2
Timekeeper will still have access to all of the attacks listed above, but will also have a host of new abilities for you to deal with.
![]() Spear Attacks:
Spear Attacks:
In addition to its sword and hammer attacks, Timekeeper will now use a spear as well. One attack involves a spear lunge forward, which is easy to deal with, even when it’s part of a combo, but the second attack is a blast of magic from his spear, very similar to Sleipnir’s “Magic Beam.”
![]() Flash Freeze:
Flash Freeze:
Timekeeper will interrupt your combos from time to time by freezing Clive and his team in place. It will smash the ground with a large hammer, generating a large blue circle, which will eventually explode once Timekeeper hits the ground with its hammer again. Alternatively, Timekeeper might summon “Magic Rings,” which need to be dodged. See the move listed below. This will be followed by a thrown Magic Staff, which will also need to be dodged.
![]() Magic Rings:
Magic Rings:
Timekeeper will jump to the edge of the battlefield before summoning two magic rings on its left and right sides. These rings will float briefly before flying towards Clive. The indicator that the rings are about to fly at you is that they will quickly flash brightly right before they move, which is your indication to dodge immediately.
![]() Hailstorm (Updated):
Hailstorm (Updated):
This move will change slightly. A large blue circle will form around Clive, with smaller circles forming around it. The trick to this attack is that the smaller, outer circles will explode first. Wait for them to explode, then quickly dodge out of the large blue circle to where the smaller circles are located.
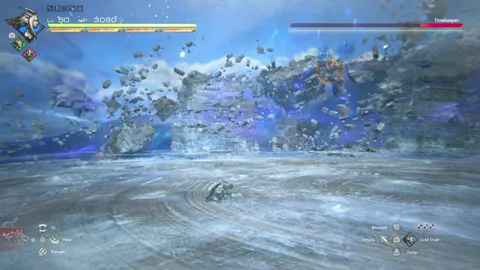
![]() Hammer Slam:
Hammer Slam:
Timekeeper will jump to the edge of the battlefield, summon his hammer, and jump high into the air before slamming his hammer down where Clive is standing. Clive will be stunned if you don’t dodge right when the hammer makes contact with the ground. Timekeeper will hit the ground a second time, and the goal here is to dodge right when the hammer hits each time to get out of the way of a giant “Glacial Strike” that follows. This Glacial Strike takes up a considerable portion of the map.
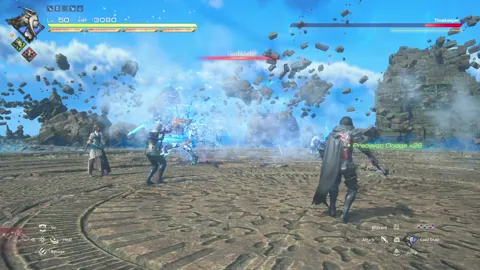
Phase 3
The last phase of the fight begins when Timekeeper hits approximately 30% HP. This is when Timekeeper will kick off an onslaught of attacks that are difficult to deal with (see the “Author’s Note” below).
The attack chain includes the following:
Frozen in Time Frozen Arsenal Immortal Order Flying Lance Attacks Flash Freeze (Updated) Final Oath Oathkeeper
There will be a brief window between “Immortal Order” and the “Flying Lance Attacks” where you can deal damage to Timekeeper, but this will only impact its “Will Gauge,” as no harm can be done until he finishes with Oathkeeper. So let’s go over this large string of attacks:
![]() Frozen in Time:
Frozen in Time:
This attack will freeze Clive in place temporarily.
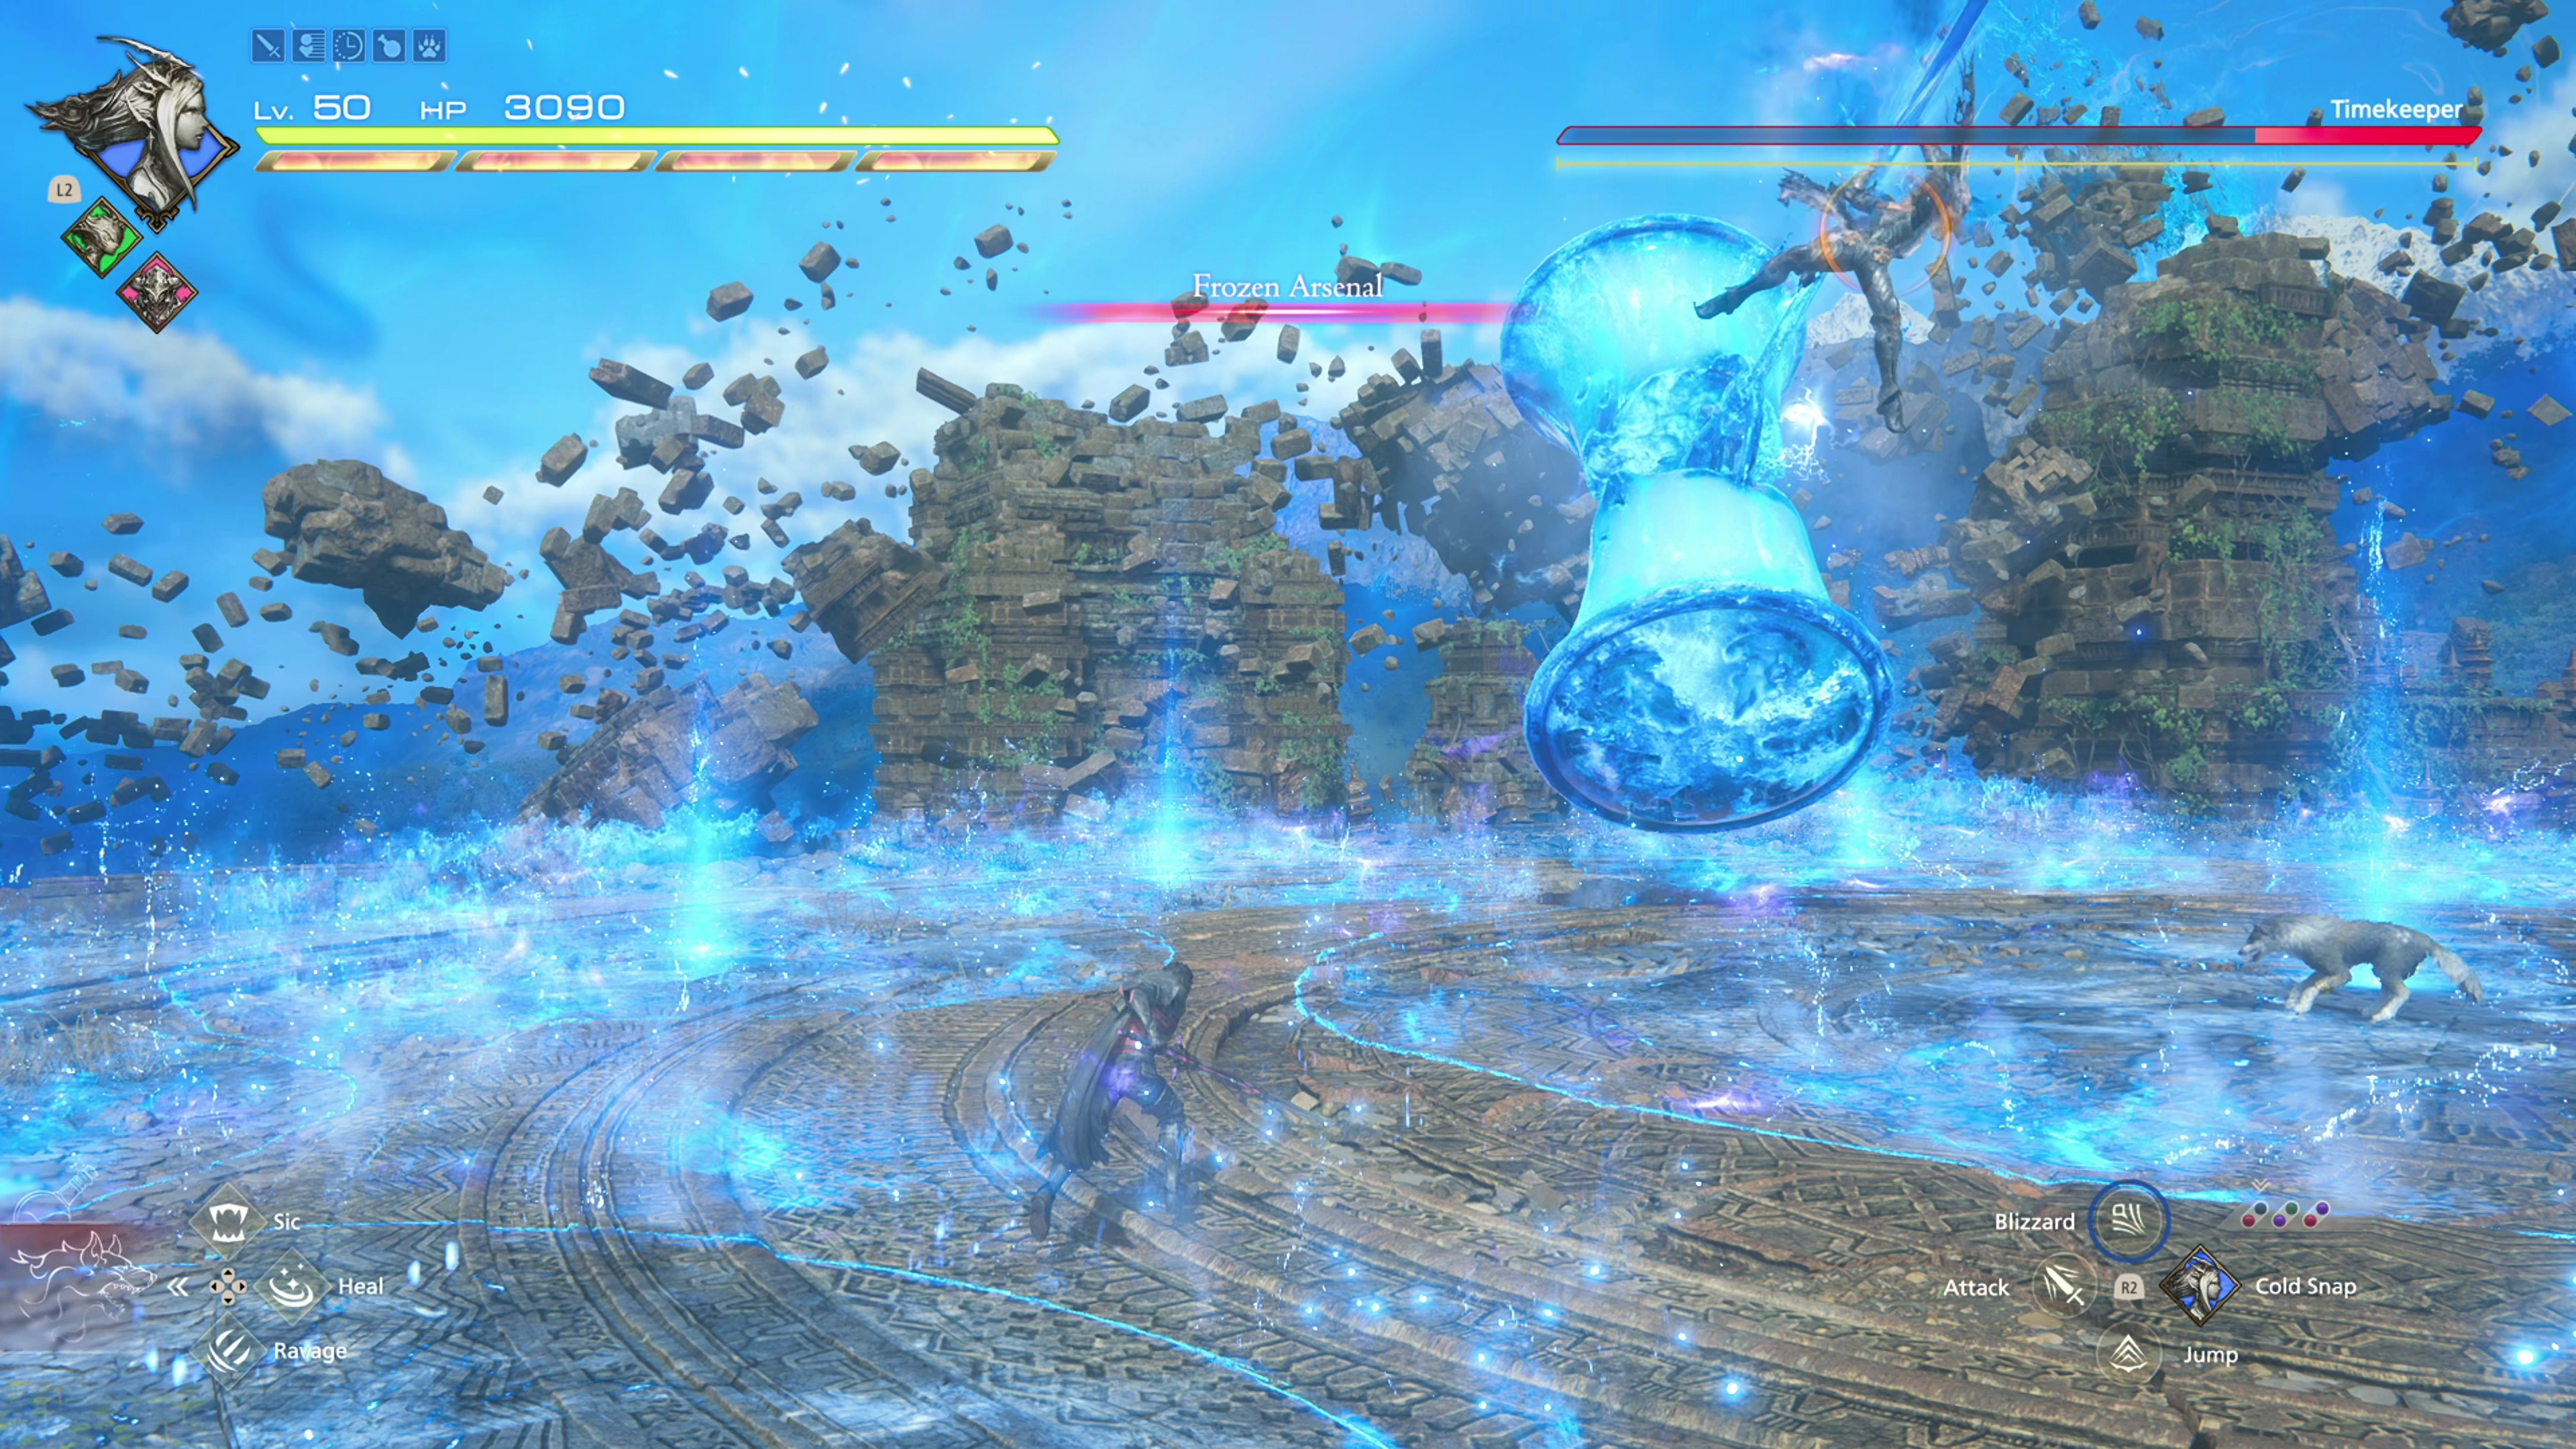
![]() Frozen Arsenal:
Frozen Arsenal:
Timekeeper will attack Clive with each of its weapons, one by one, starting with the magic staff. Get ready to dodge as soon as “Frozen in Time” wears off, and keep dodging away, because an extensive area around where the staff lands will explode. As this is happening, Timekeeper will summon two Magic Rings, and just like before, be ready to dodge when they briefly flash. Next, it will summon a line of spears that will eventually explode with individual “magic beams.” Get to the edge of the stage to dodge this attack. Finally comes the hammer. He will slam the ground twice, stunning Clive both times unless you dodge at the right time, and creating large blue circles that cover most of the battlefield. Get to an area that won’t get hit while this is happening.
![]() Immortal Order:
Immortal Order:
Compared to the last attack, this one is simple. Timekeeper will summon a multitude of swords, all aiming at Clive. Just press ![]()
![]()
![]() over and over again until Clive unfreezes, and he will dodge away just in time.
over and over again until Clive unfreezes, and he will dodge away just in time.
![]() Flying Lance Attacks:
Flying Lance Attacks:
Before Timekeeper begins flying, it will summon blue areas around the map, which, if Clive enters them, will slow him down, making it more difficult to dodge the lance attacks. Timekeeper will fly up into the air and sweep downwards, attacking Clive with his spear, before landing and attacking with one more “Magic Beam.”

![]() Flash Freeze (Updated):
Flash Freeze (Updated):
During this new version of Flash Freeze, seven large swords will be summoned above Clive. One will be right over the spot where Clive was frozen, and the other six will surround Clive. Each sword will appear, one after the other, and you should dodge under one of the swords that appear last in the sequence, as the first ones that are summoned are the first ones that will drop, meaning you’re likely to take damage if you move into one of those spots.
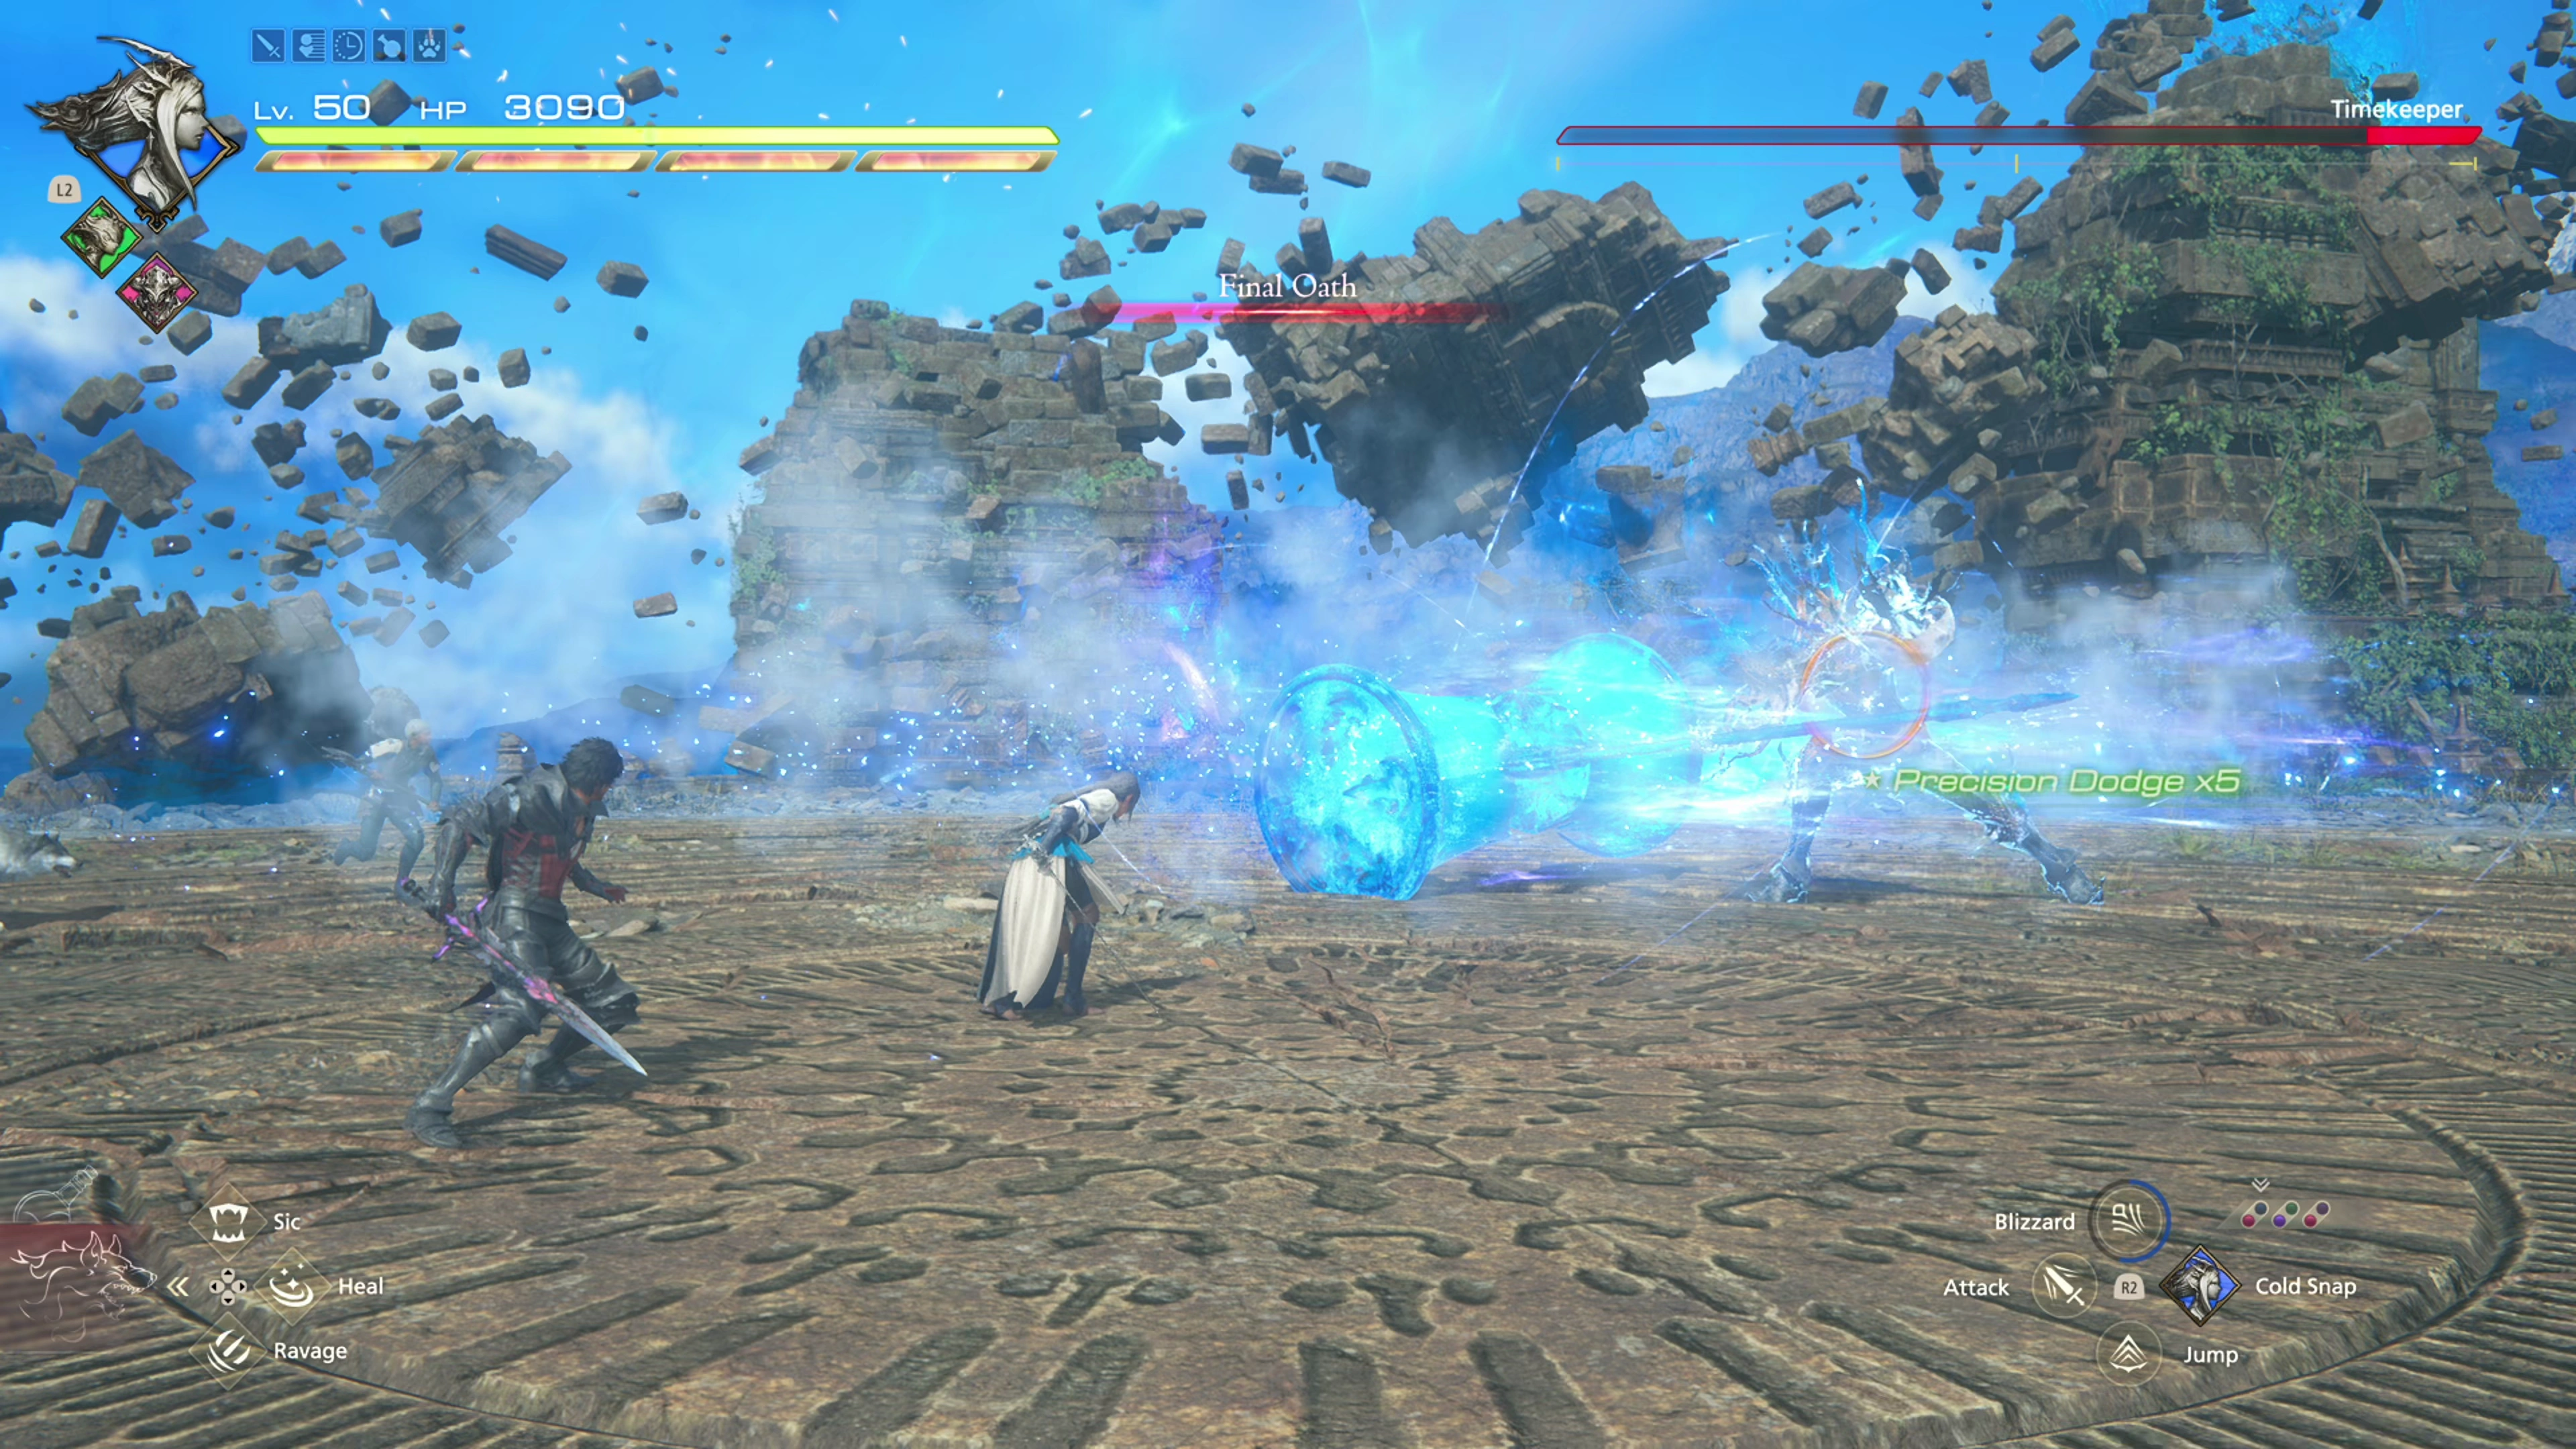
![]() Final Oath:
Final Oath:
A very annoying attack (see “Author’s Note” below). First, Timekeeper will summon a wall of Magic Rings, which launch towards Clive; dodge them once they get close. Second is a flying lance attack. Third is a magic staff slammed into the ground. Fourth is a spinning hammer attack. The last attack is an underhanded sword swing, but this goes right into his “Oathkeeper” attack.
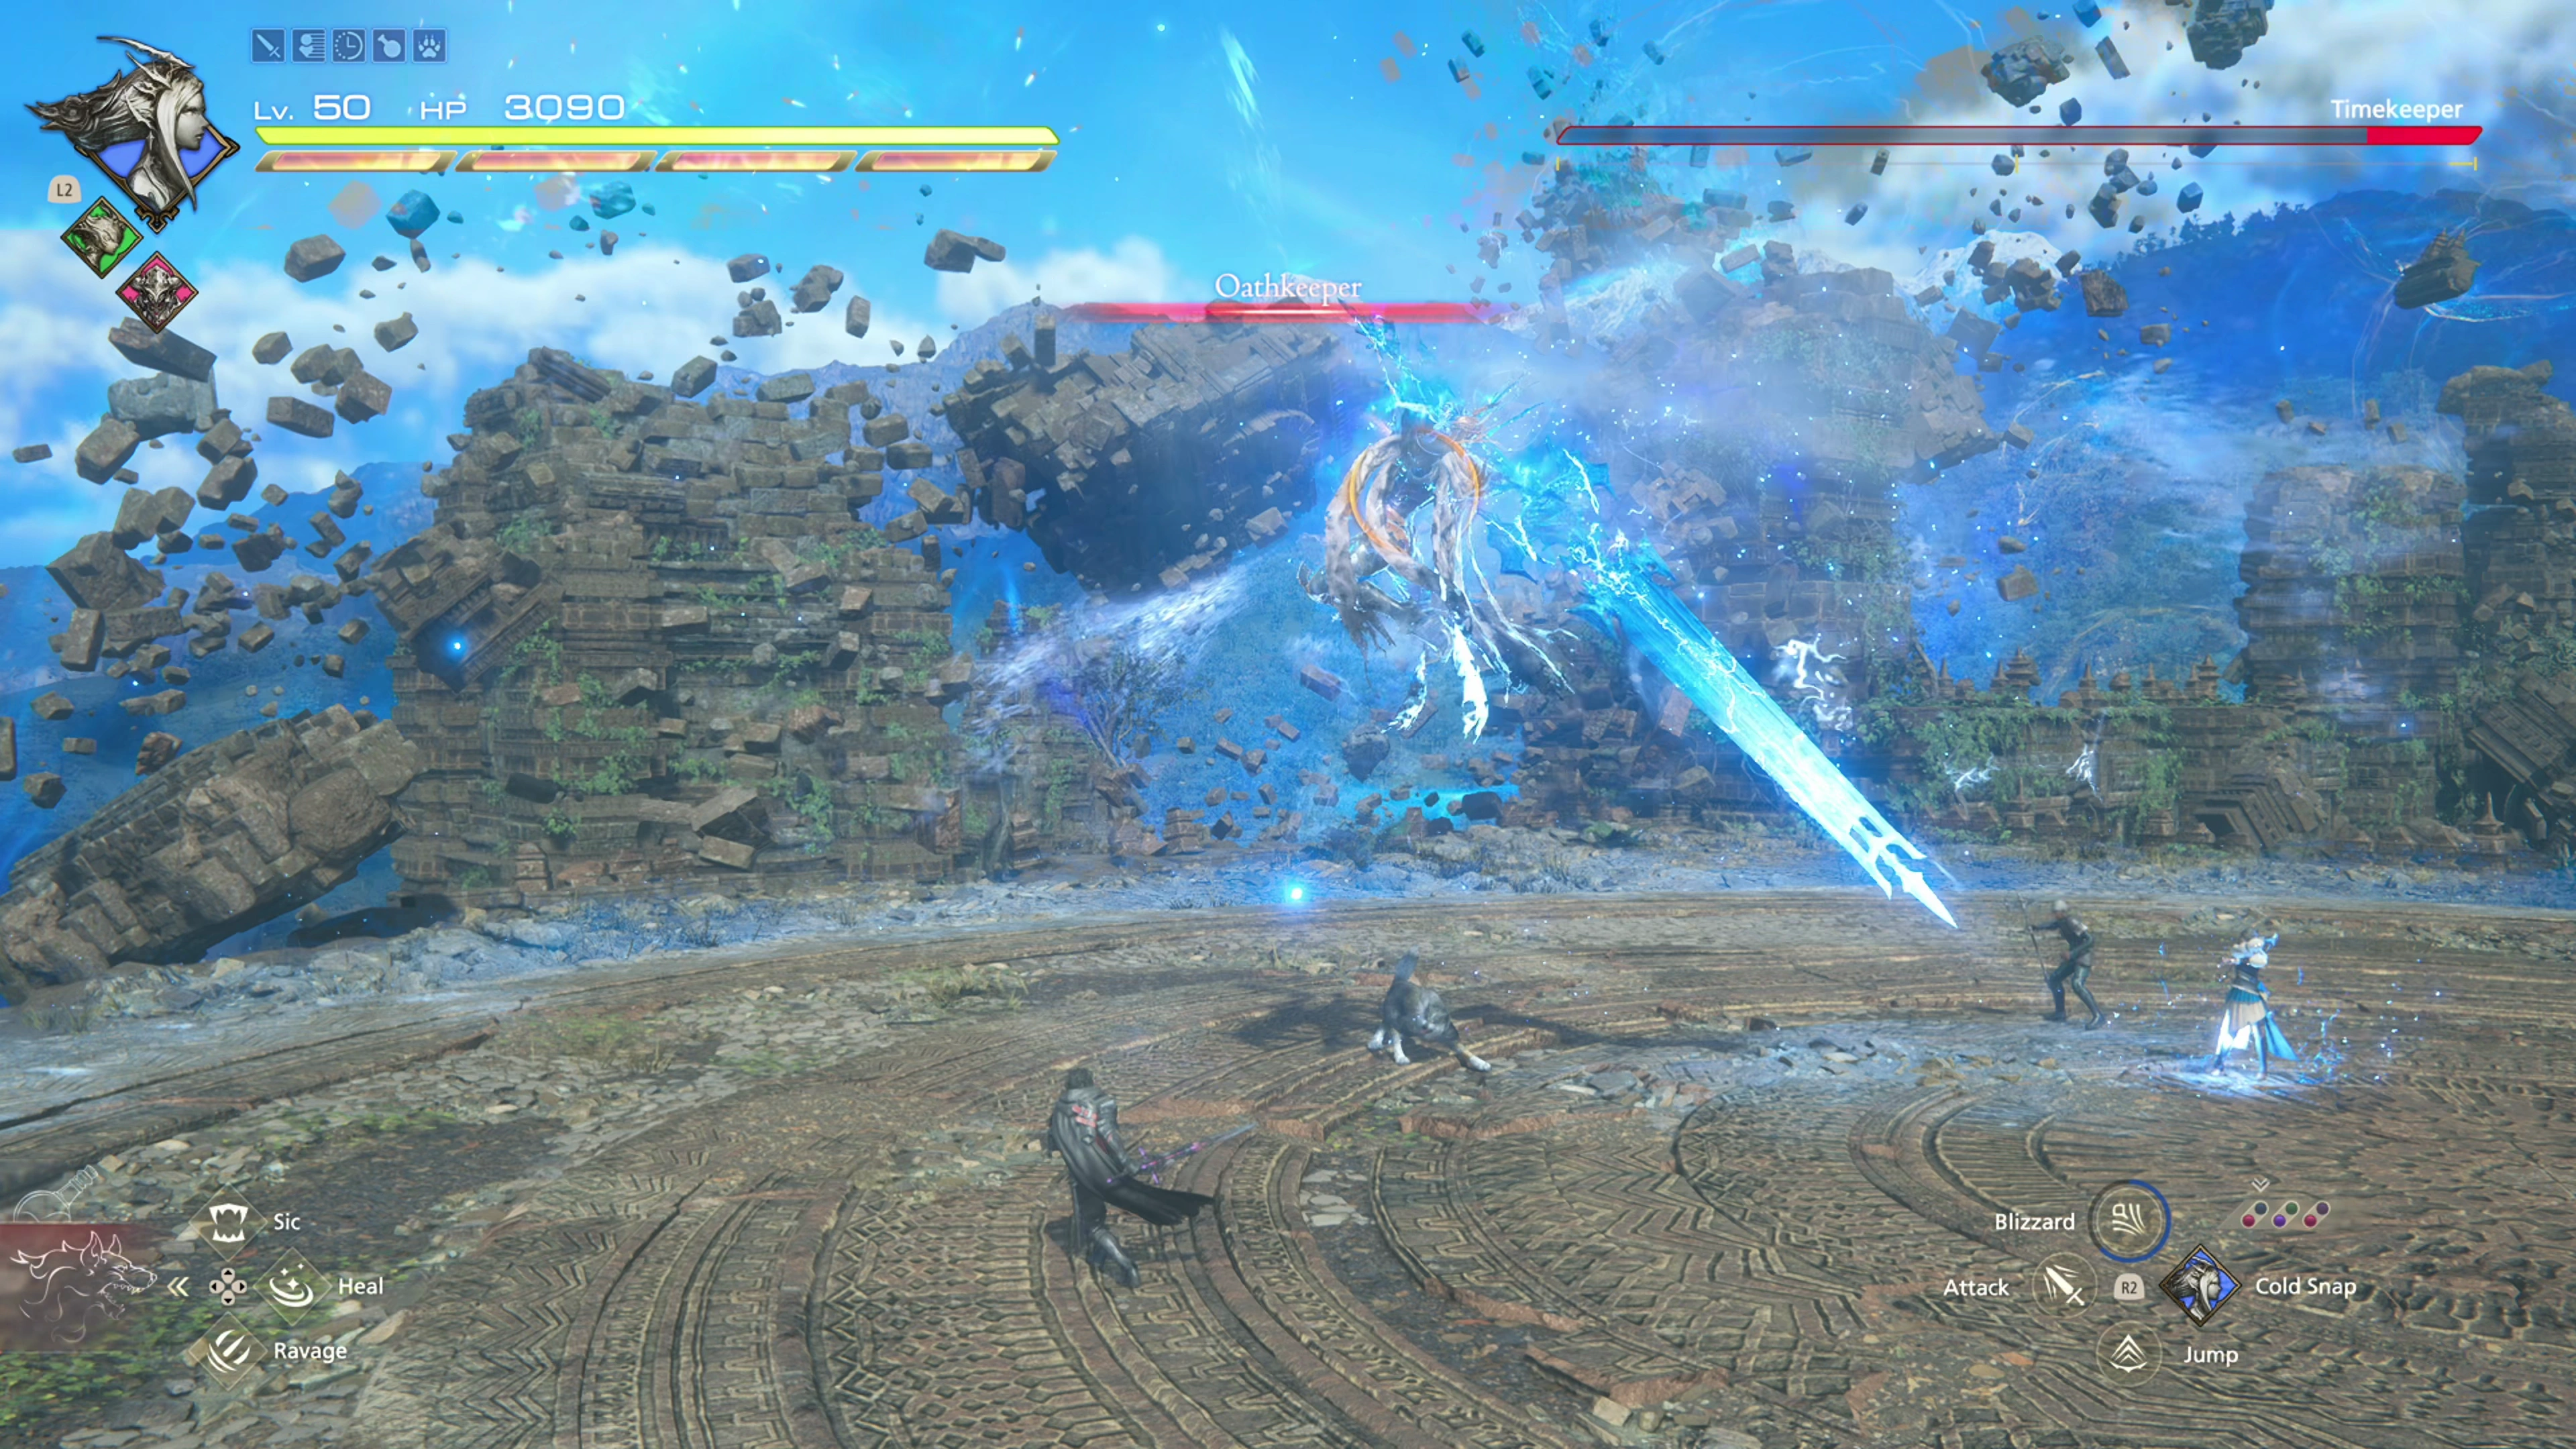
![]() Oathkeeper:
Oathkeeper:
The last attack involves Timekeeper slamming a large sword into the ground. It hovers in the air for a lengthy amount of time, making it difficult to dodge.
This last combination of attacks can be extremely challenging to deal with without taking damage. Your best bet is to be prepared to use ![]() High Potions during Phase 3 to stay alive.
High Potions during Phase 3 to stay alive.
300
3,500
Warning
While completing this guide, every effort was made to complete bosses while taking no damage, even for bosses that don’t have a Medal of Valor associated with them. However, this fight was the only one that, even after repeated tries, I was unable to complete without getting hit.
At various points, I was able to dodge every attack, but getting through a whole sequence where I successfully dodged every attack took far too many hours of attempts, especially being a boss with no Medal of Valor associated with it, so I gave up. Unless you plan on attempting this boss quite a few times, expect to take quite a bit of damage during the Phase 3 sequence.
All this to say, Phase 3 is really tough!
A video demonstration of how to successfully complete the fight against Timekeeper.
Achievement/Trophy
“Restore the flow of time.” You’ll receive the Flood Achievement/Trophy automatically once you defeat the Timekeeper.
The reward for this fight is ![]() Reflection of Ice (Cold Snap). If you’ve been following this guide’s Ability Recommendations and are using
Reflection of Ice (Cold Snap). If you’ve been following this guide’s Ability Recommendations and are using ![]() Cold Snap, this is a fantastic accessory to equip that will make achieving a “permafrost” much easier.
Cold Snap, this is a fantastic accessory to equip that will make achieving a “permafrost” much easier.
Select the “Surge” from the world map to move to the next section of the story.
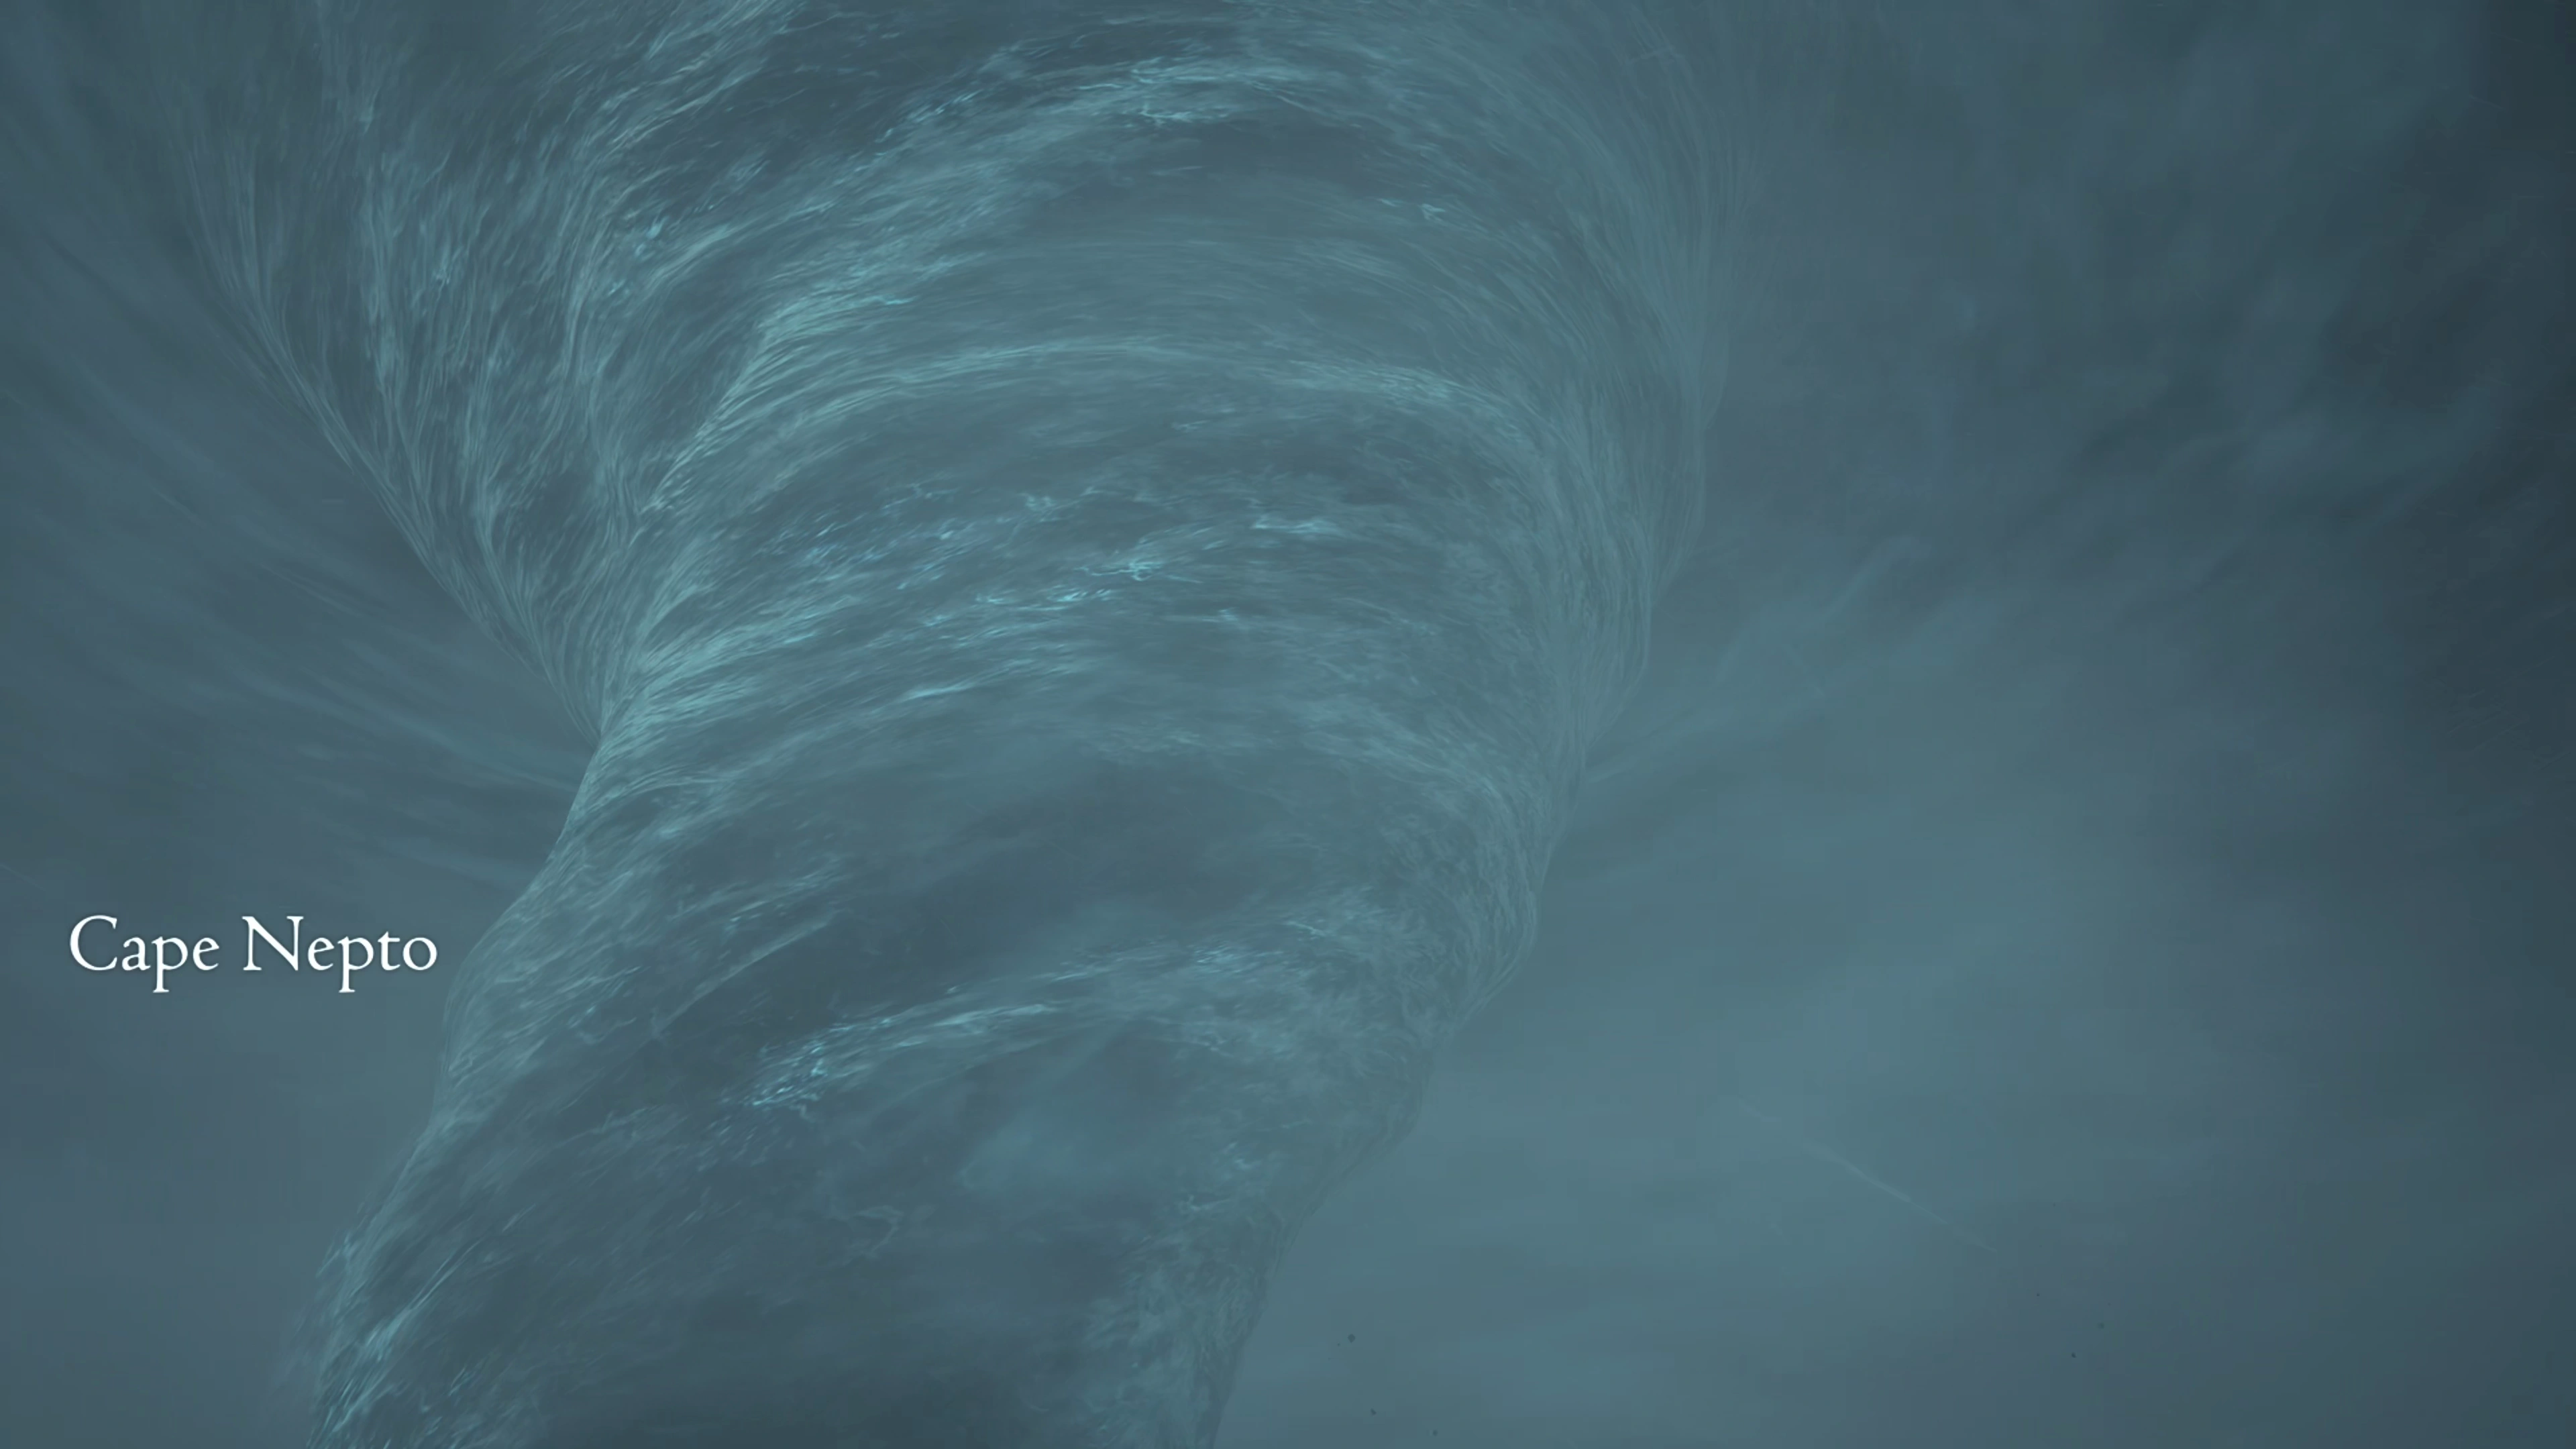
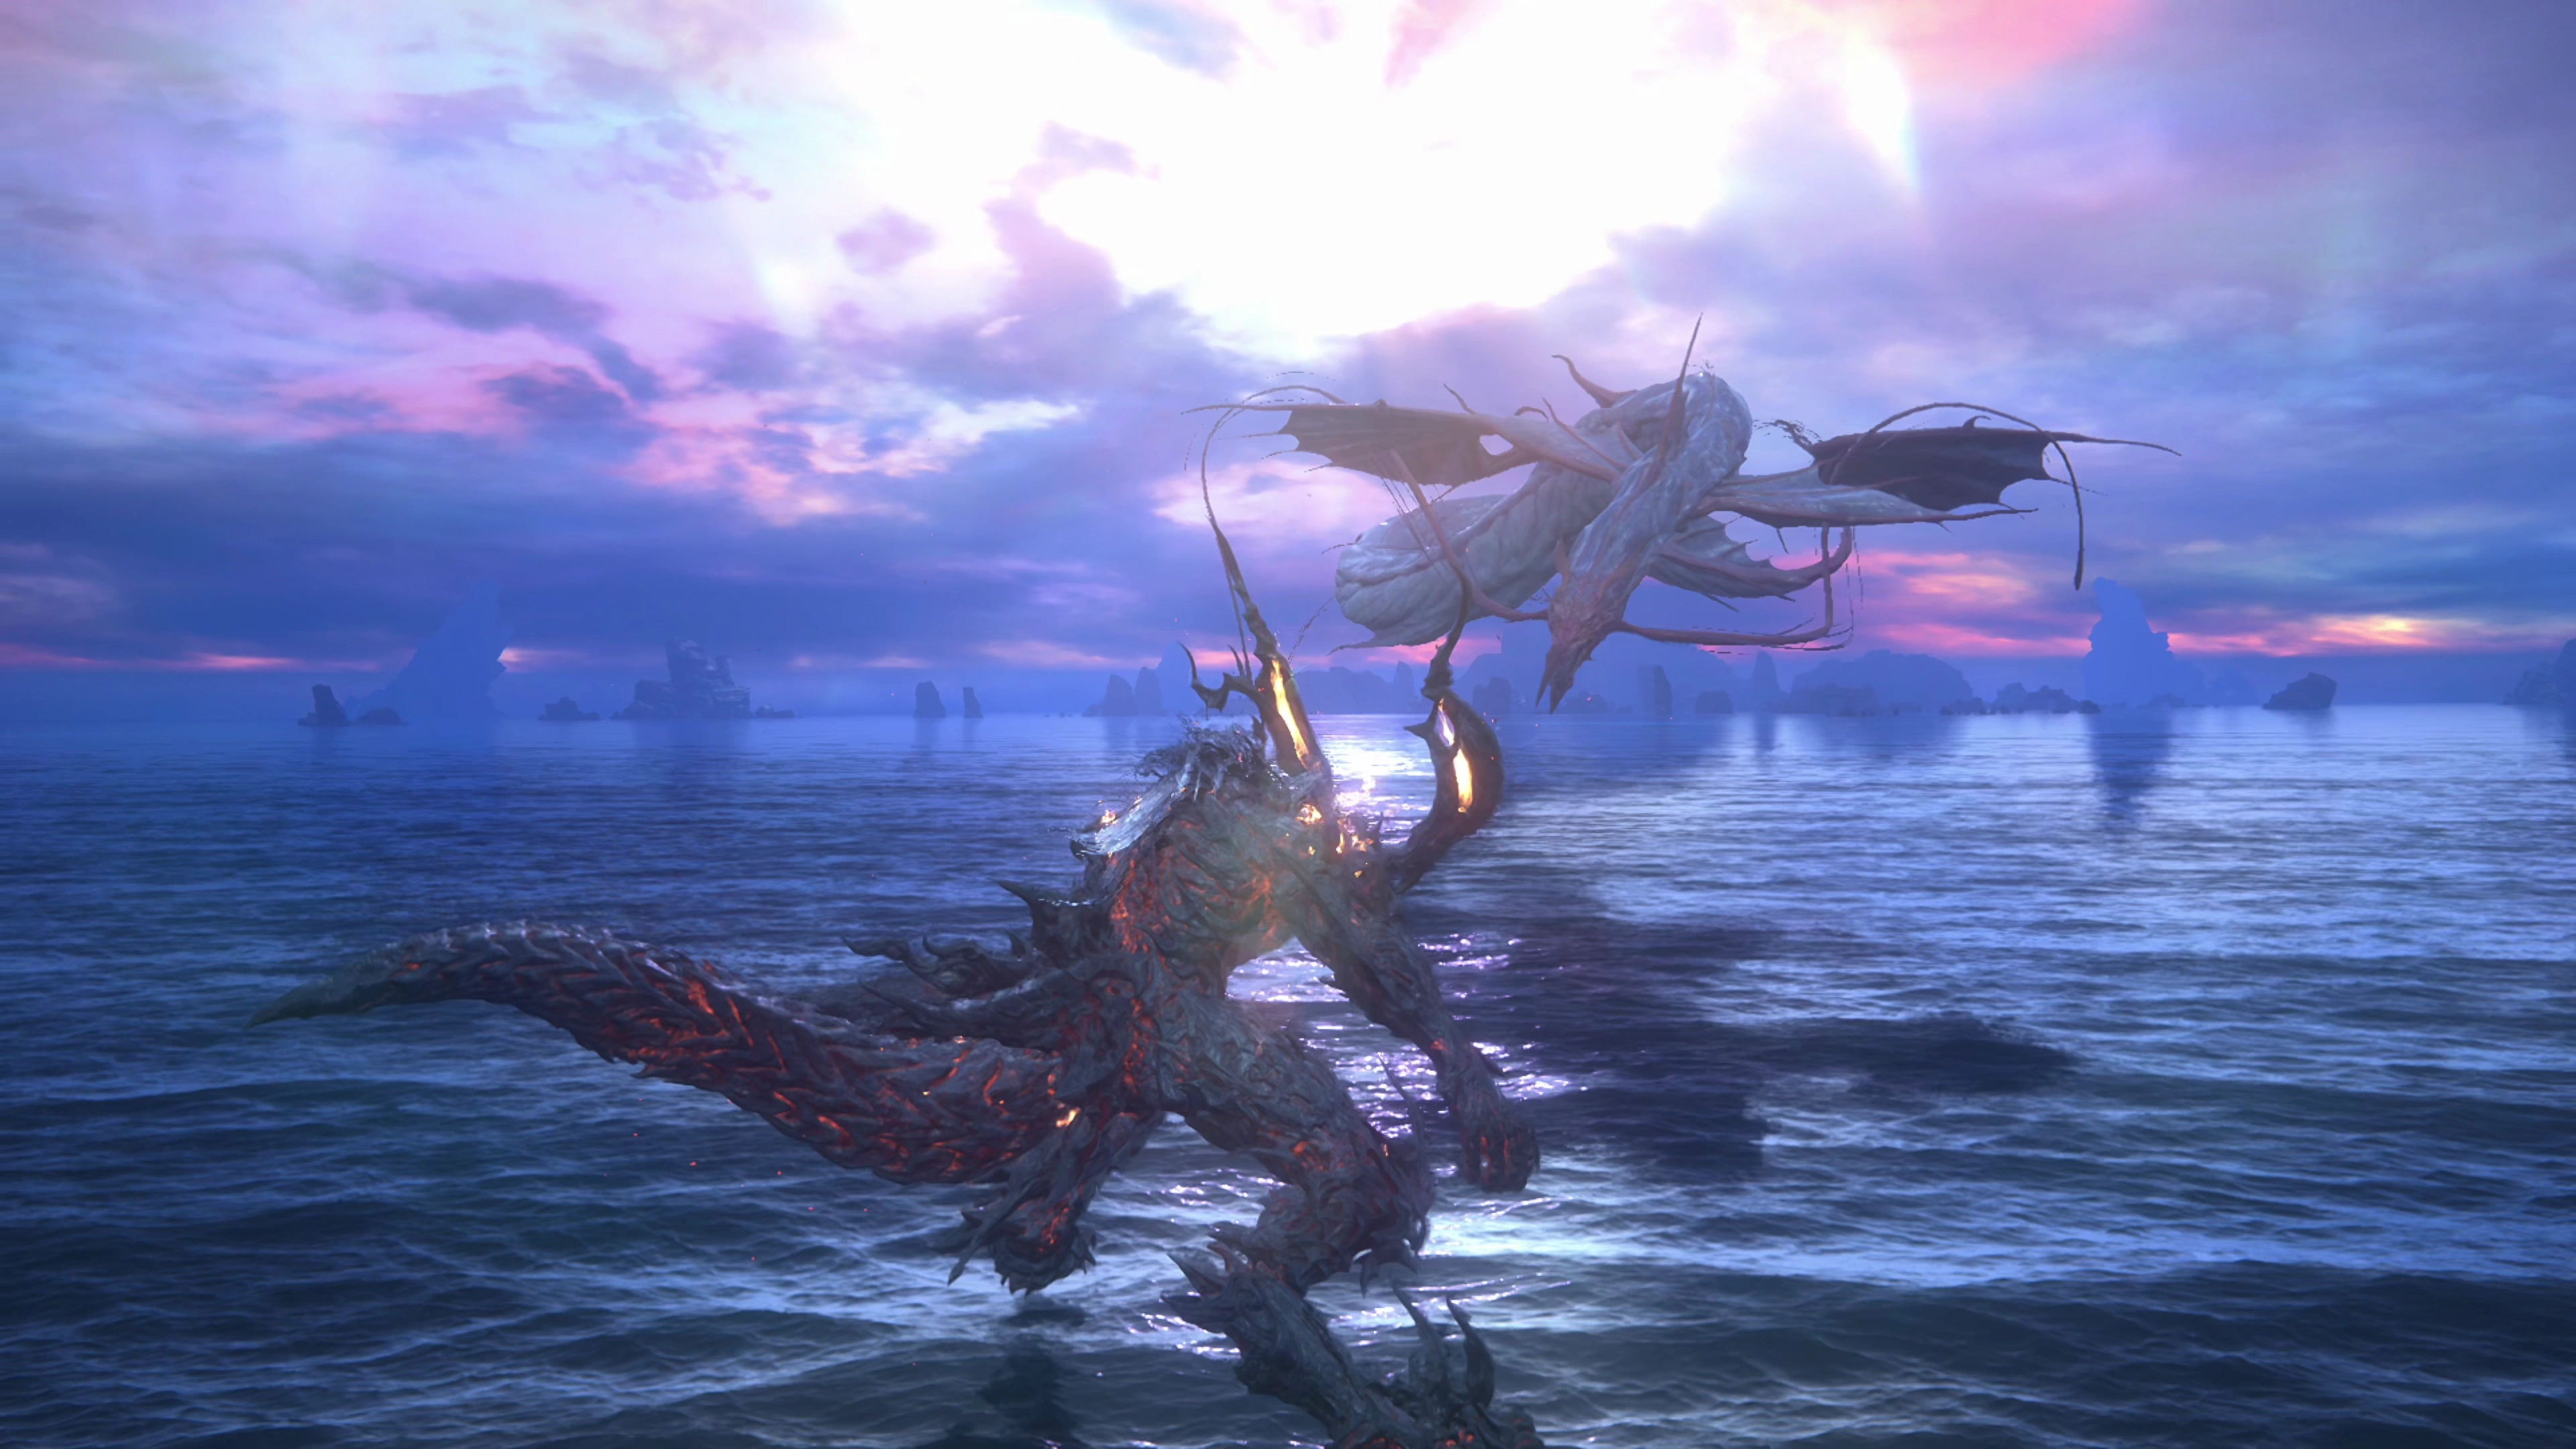
Cape Nepto
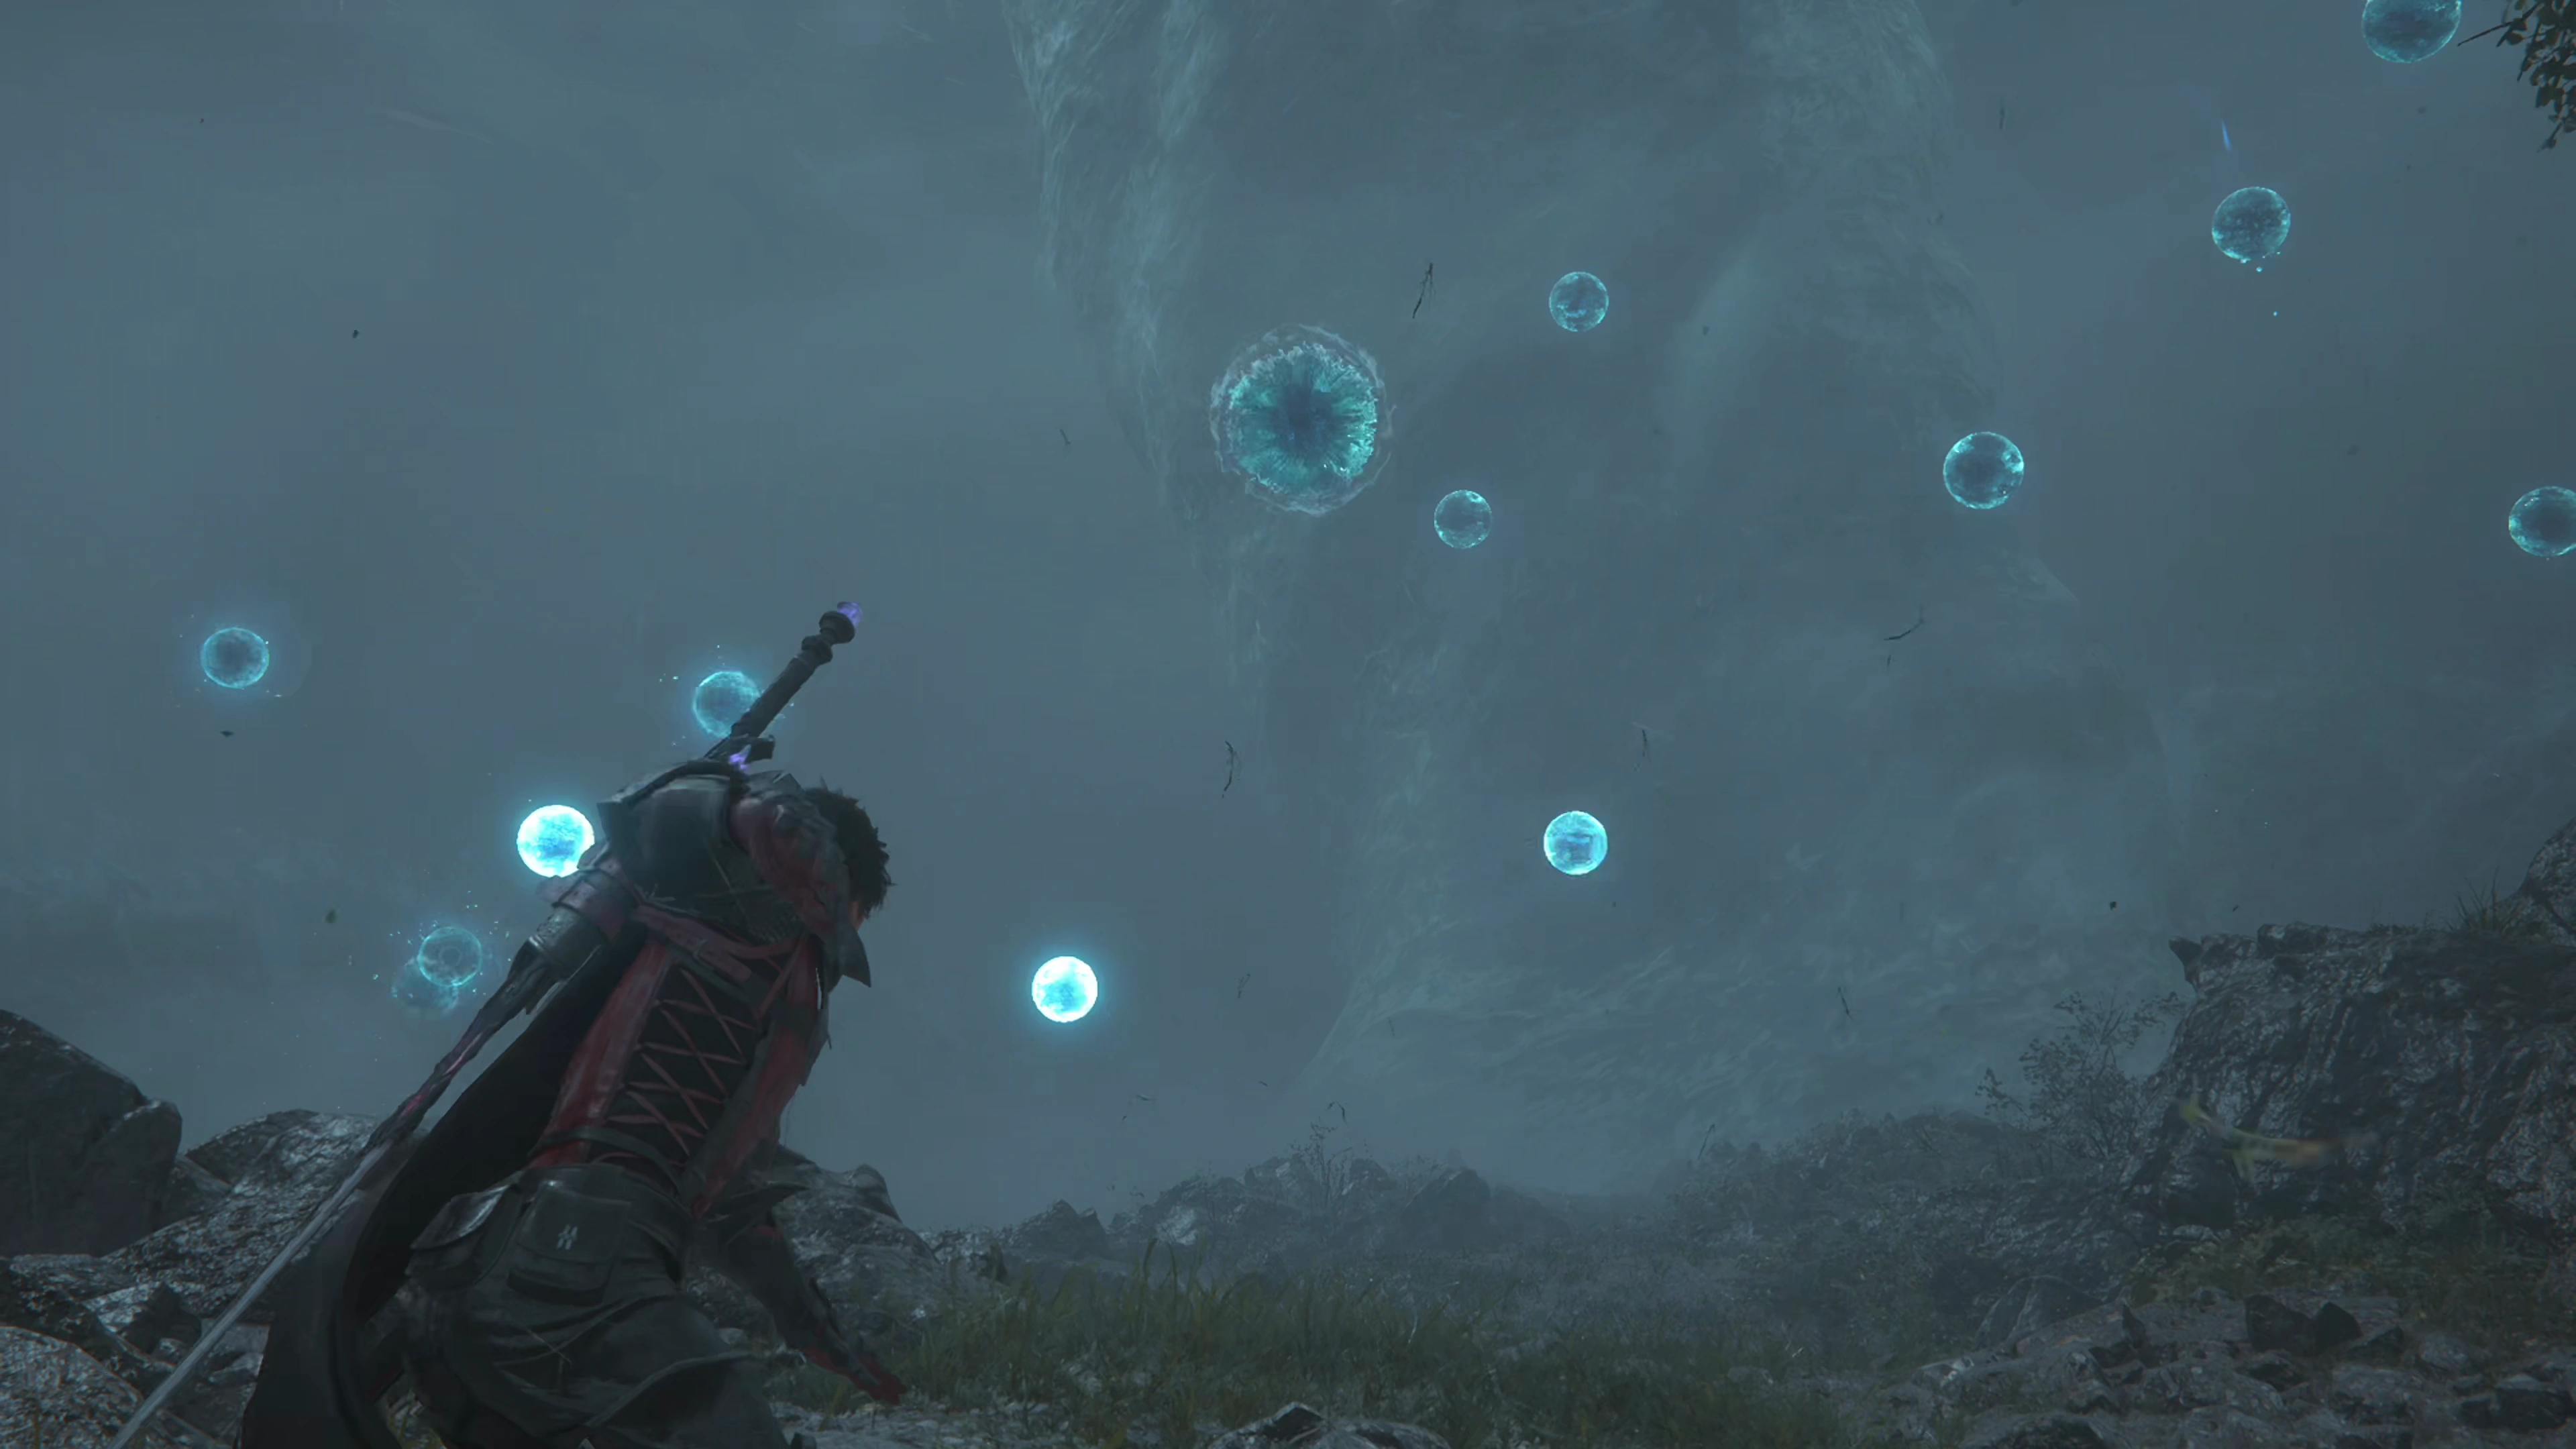
Follow the pathway towards the ‘water tornado’ and you’ll encounter two Leviathan Egi enemies. These enemies are similar to Perykos, the boss you faced the last time you were at the Surge, except this time you have access to all of your abilities.

After that, follow the pathway again to find one more Leviathan Egi with a group of Eddy enemies accompanying it. Continue along the path until you reach approximately the area below and consider saving your game before moving forward (especially if you plan on obtaining the Medal of Valor).
Just up ahead is your next boss fight…
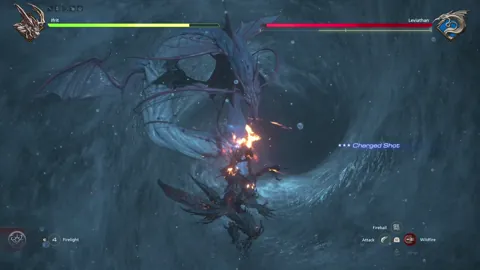
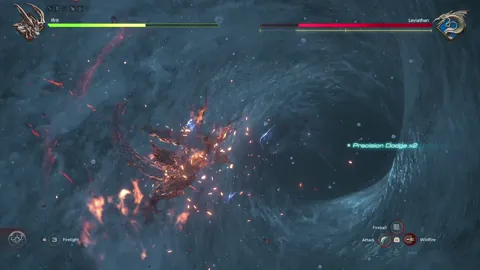
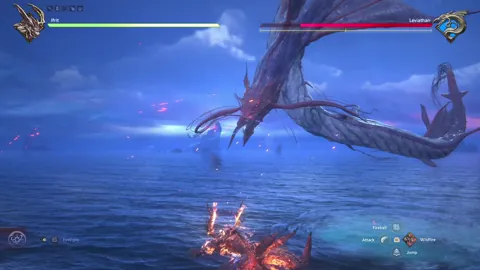
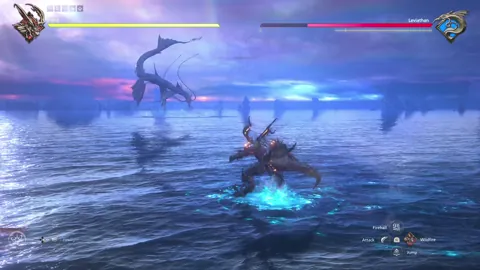
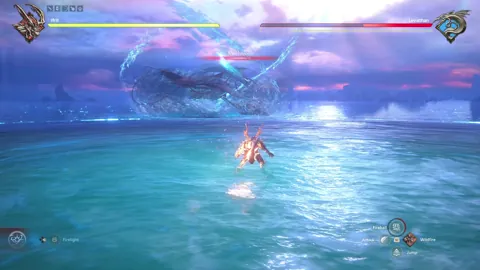
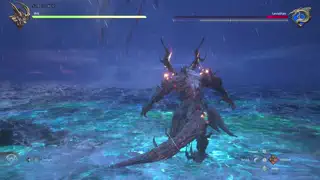
Boss Battle
This is another multi-phase boss fight that involves fighting as Ifrit rather than as Clive. There are three true phases to this fight, but this guide has been broken up into five distinct phases and sections to help guide you through all of the different attacks that Leviathan will throw your way.
The most important tip for this fight, though, is to refresh you on the combo timing for Ifrit’s ![]() Melee Combo. In previous fights, trying to get a
Melee Combo. In previous fights, trying to get a ![]() Charged Fireball in after every attack was the most efficient method of dealing damage, but for this fight, the best approach is to do four regular
Charged Fireball in after every attack was the most efficient method of dealing damage, but for this fight, the best approach is to do four regular ![]() Melee Combo attacks, followed by a
Melee Combo attacks, followed by a ![]() Backdraft (e.g., press
Backdraft (e.g., press ![]()
![]()
![]() twice). So the combo you should aim for is
twice). So the combo you should aim for is ![]()
![]()
![]()
![]()
![]()
![]()
![]()
![]()
![]()
![]()
![]()
![]()
![]()
![]()
![]()
![]()
![]()
![]() . This is extremely important for Phase 3, which many players struggle with.
. This is extremely important for Phase 3, which many players struggle with.
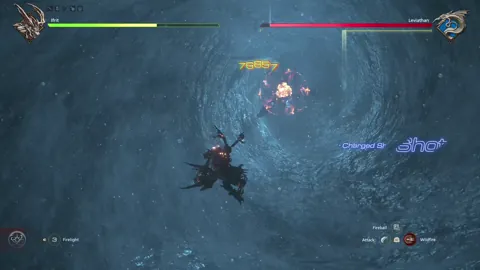
Complicating things further, though, is that this combo is different during Phase 1 while Ifrit is flying through the air. Instead of four melee attacks, the combo consists of only three melee attacks, so for Phase 1, your combo for a ![]() Backdraft should be
Backdraft should be ![]()
![]()
![]()
![]()
![]()
![]()
![]()
![]()
![]()
![]()
![]()
![]()
![]()
![]()
![]() .
.
Let’s get into Phase 1…
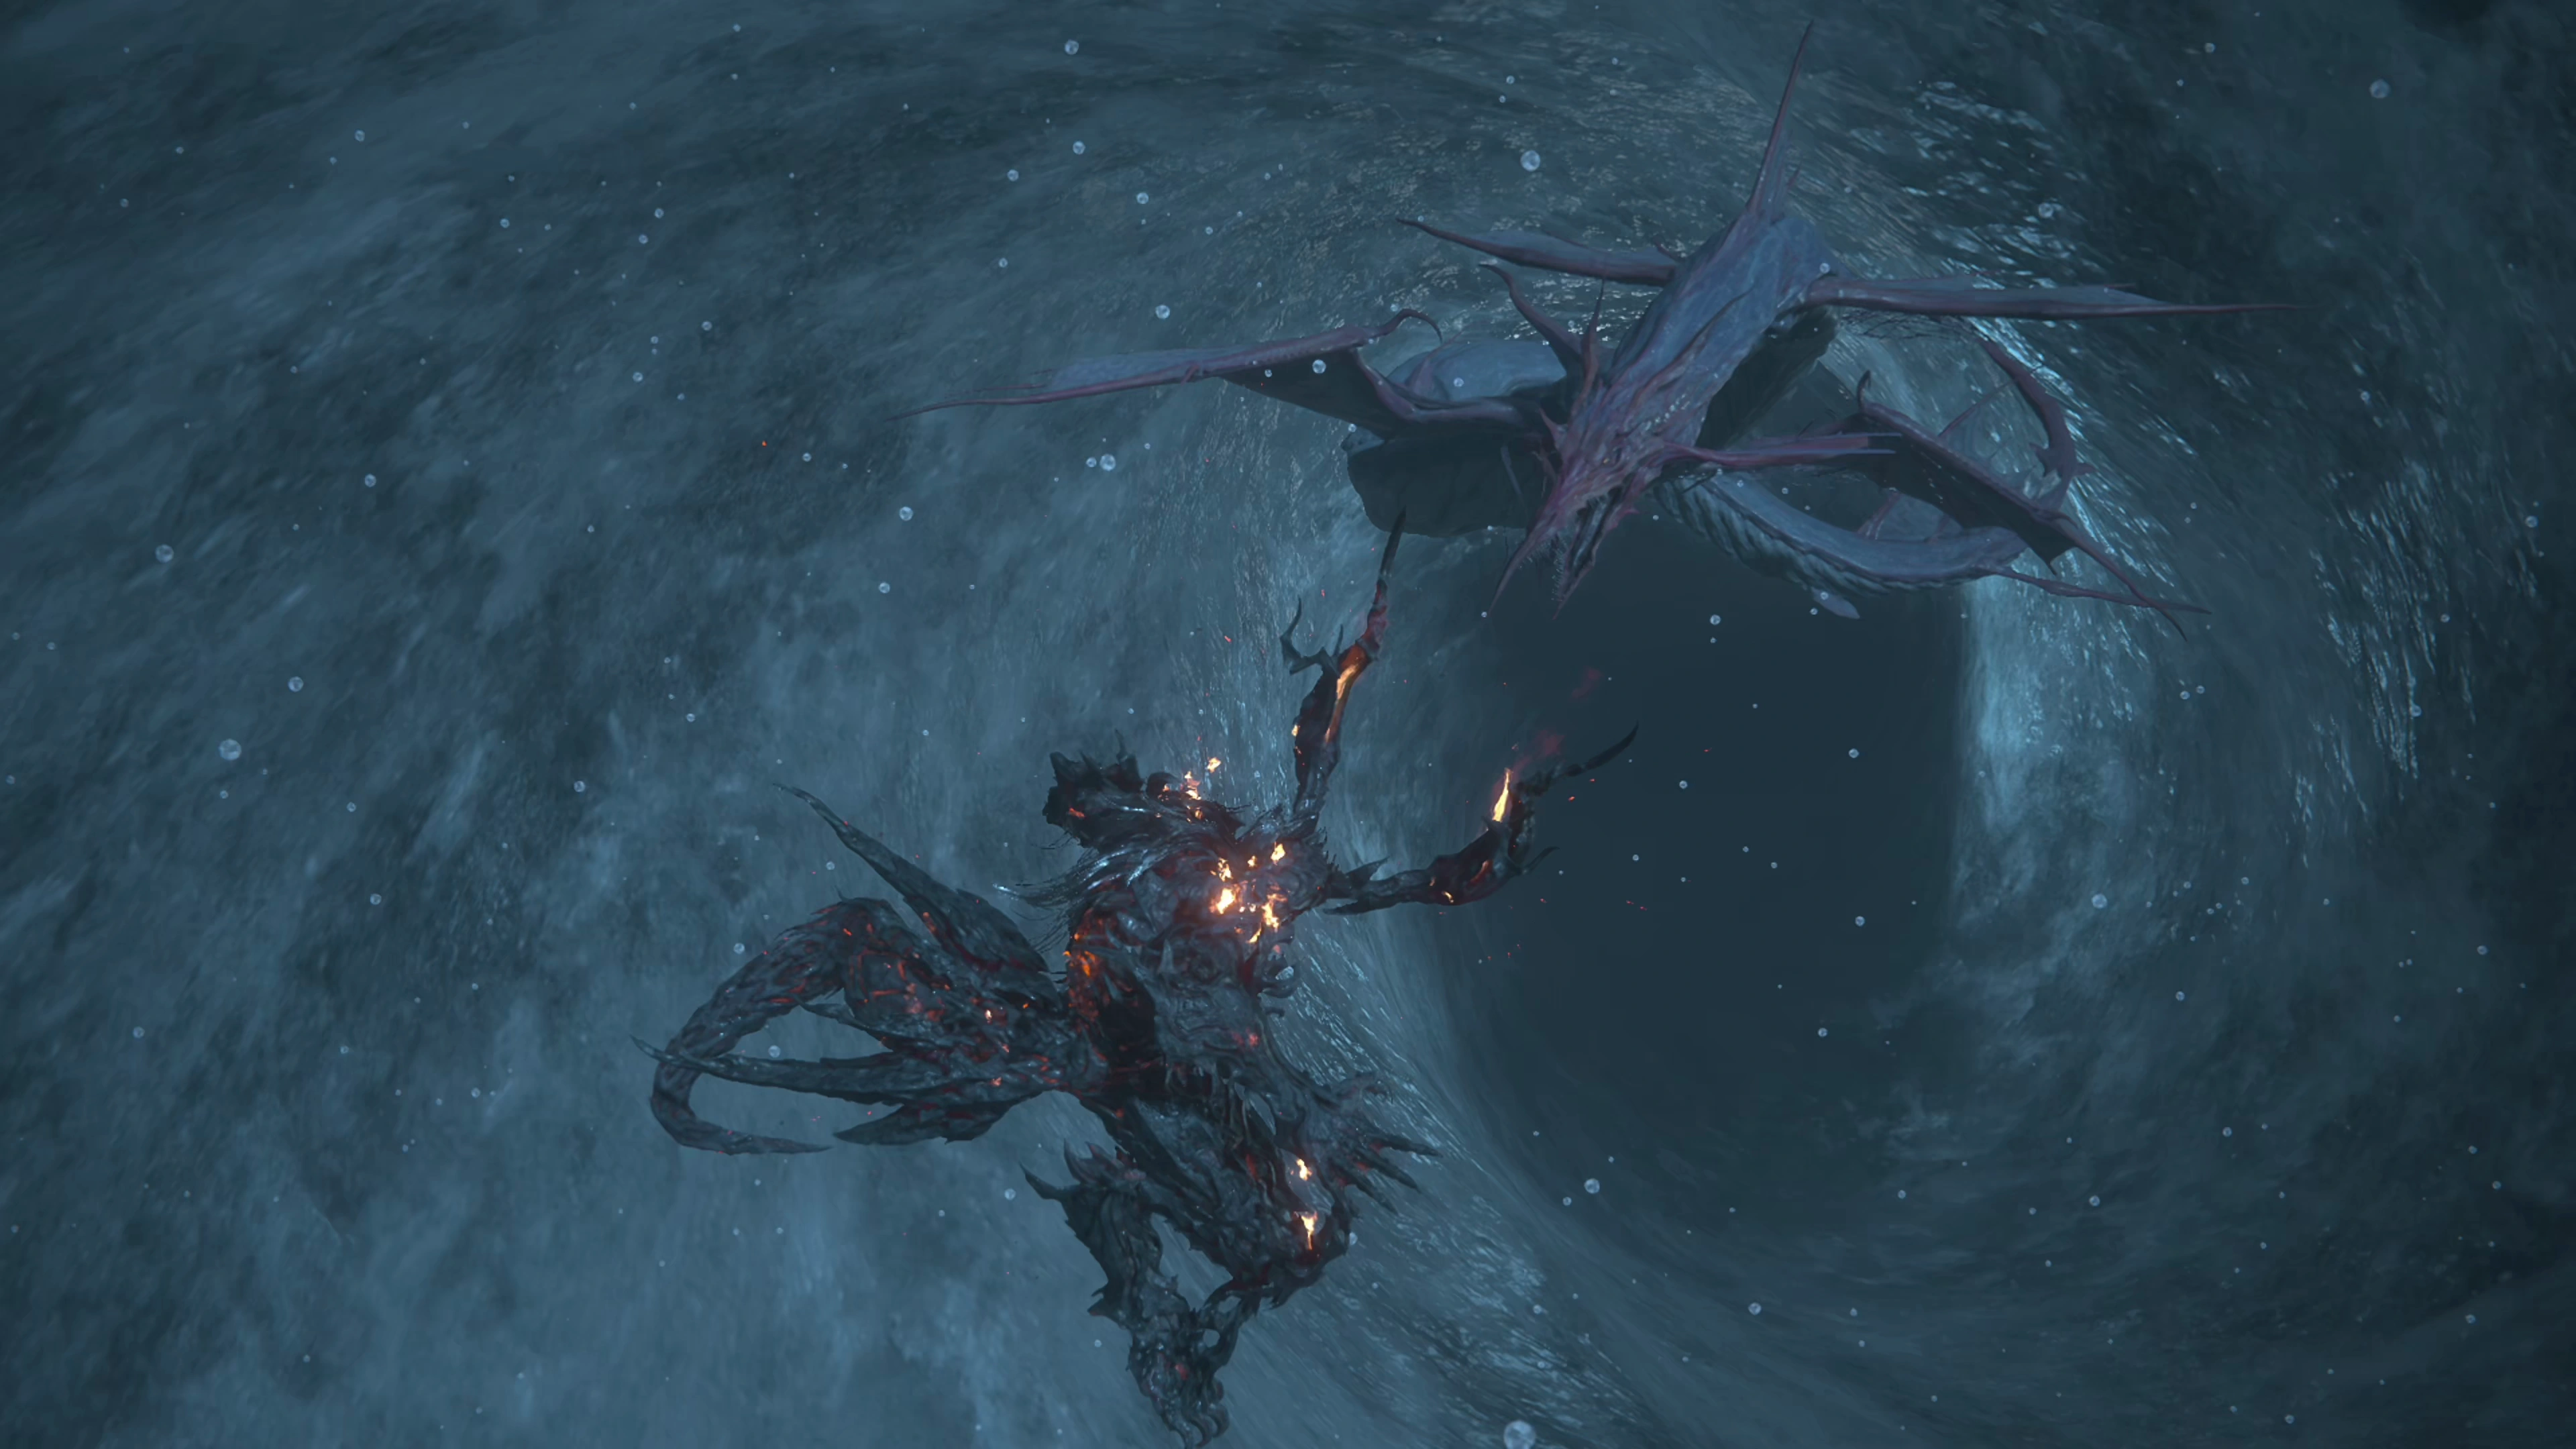
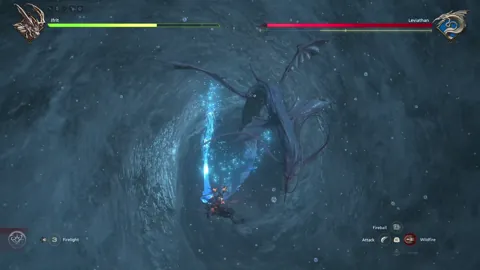
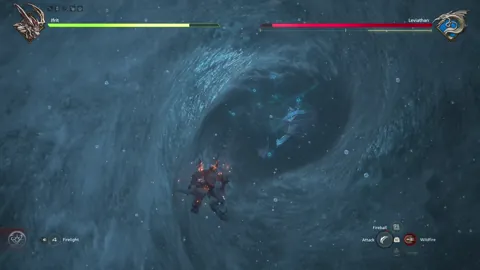
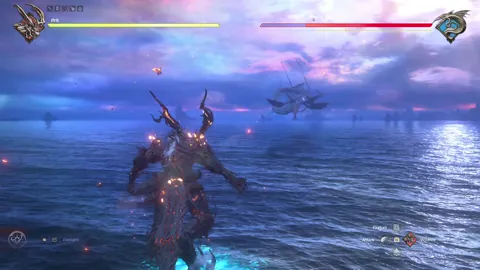
Phase 1
The first phase of the fight involves Ifrit and Leviathan flying through and fighting in the middle of the water tornado. There’s a short cinematic where you’ll have to press the ![]()
![]()
![]() button repeatedly, and then you’ll have to deal with the following attacks from Ifrit:
button repeatedly, and then you’ll have to deal with the following attacks from Ifrit:
![]() Bite:
Bite:
Leviathan will recoil backwards slightly before lunging forward to bite Ifrit.
![]() Tail Swipe:
Tail Swipe:
Leviathan’s tail will glow blue as it spins forward and slams its tail down on Ifrit.
![]() Magic Beam:
Magic Beam:
After breathing in, Leviathan will blast out a magic beam on Ifrit’s left and will slowly pass by to the right. Dodge through this attack as it passes by.

![]() Riptide:
Riptide:
Three rings of magic will form around Ifrit. As they begin to enclose around him, dodge out of the circle to escape undamaged. After its Riptide attack, Leviathan will disappear into the water before using its “Spinning Dive” attack.
![]() Spinning Dive:
Spinning Dive:
The water will begin glowing just before Leviathan emerges. This attack requires a very quick dodge and may take some practice to master the timing.
![]() Tidal Roar:
Tidal Roar:
Leviathan will blast a large magic beam, taking up much of the screen. Float or dodge over to the left or right side of the screen.
![]() Water Orbs:
Water Orbs:
Leviathan will summon “Water Orbs,” which will briefly flash before flying towards Ifrit. Start on one side of the screen, either left or right, and keep dodging to the opposite side until they pass.
![]() Grand Fall:
Grand Fall:
Leviathan will summon a wall of “Water Orbs” which will fly at Ifrit, and then Leviathan will immediately lunge towards Ifrit at the end of the attack. Be ready to dodge one last time as Leviathan flashes.

If you manage to tag Leviathan with a few of the combos mentioned above, you should be able to get through this phase quickly. One strategy for inflicting damage during the stagger phase is to begin with a ![]() Backdraft combo into a
Backdraft combo into a ![]() Heat Rush (
Heat Rush (![]()
![]()
![]() +
+![]()
![]()
![]() ), which helps close the distance between Ifrit and Leviathan again, into a fully charged
), which helps close the distance between Ifrit and Leviathan again, into a fully charged ![]() Brimstone, and lastly, a full
Brimstone, and lastly, a full ![]() Spitflare. This will quickly bring you into Phase 2…
Spitflare. This will quickly bring you into Phase 2…
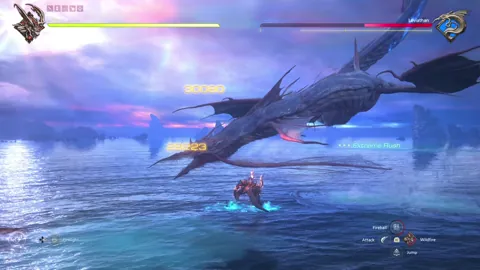
Phase 2
After a quick cinematic dodge with ![]()
![]()
![]() , we’re on to the next phase of the fight, with an almost entirely different moveset. As a reminder, the
, we’re on to the next phase of the fight, with an almost entirely different moveset. As a reminder, the ![]() Backdraft combo now requires four attacks to trigger, and it’s your highest damage-dealing ability outside of stagger.
Backdraft combo now requires four attacks to trigger, and it’s your highest damage-dealing ability outside of stagger.
Here are Leviathan’s new moves:
![]() Lunge:
Lunge:
The animation for this attack is similar to the end of “Grand Fall” or “Spinning Dive.” Leviathan will move to the far side of the battlefield and begin glowing as it lunges straight towards Ifrit. This attack is one of the easier ones to time for a dodge.
![]() Bite:
Bite:
This attack has not changed.
![]() Magic Beam:
Magic Beam:
During this phase of the fight, Leviathan will not move the beam from one side to the other. Instead, it will suck in some water and then aim the beam directly at Ifrit. This “breathing in” animation is your trigger to be ready to dodge a Magic Beam attack.
![]() Dive:
Dive:
This attack is similar to “Bite,” except Leviathan will fly up into the air and will dive through Ifrit and into the water below. The next attack after this one is likely to be a “Breach,” so be ready!
![]() Breach:
Breach:
This attack takes some getting used to because you have to be ready to move as soon as you see the words “Breach” appear on the screen. Use your ![]() Wildfire ability (using the
Wildfire ability (using the ![]()
![]()
![]() button) to immediately escape the large area on the map where the ‘breach’ is about to hit before Leviathan breaks through the surface of the water.
button) to immediately escape the large area on the map where the ‘breach’ is about to hit before Leviathan breaks through the surface of the water.
![]() Riptide:
Riptide:
This attack is similar to Phase 1. Wait until the rings of magic surrounding Ifrit begin to close in on your position, and then use ![]()
![]()
![]() to dodge outside all of the rings. You cannot jump over these rings and will have to dodge through them.
to dodge outside all of the rings. You cannot jump over these rings and will have to dodge through them.
![]() Water Blasts:
Water Blasts:
Two lines of glowing magic will appear and rush towards Ifrit, eventually exploding in a blast of water upwards. Dodge out of the blast path before they explode.
![]() Water Orbs:
Water Orbs:
This attack is similar to the previous phase.
![]() Salt Spray:
Salt Spray:
Leviathan will create a large wall of Water Orbs that will fly towards Ifrit. Use ![]() Wildfire to escape to the right, and all of the Water Orbs will miss him.
Wildfire to escape to the right, and all of the Water Orbs will miss him.

![]() Waterjet:
Waterjet:
Leviathan will fly through the air, spraying water downward as it floats from side to side towards Ifrit. Be ready to dodge as soon as the jet goes through Ifrit’s path; sometimes it misses completely!
Once Leviathan reaches 50% HP, you’ll move into Phase 3 of the fight.
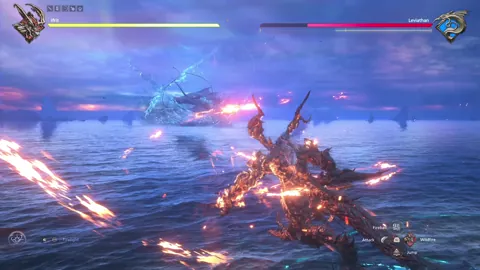
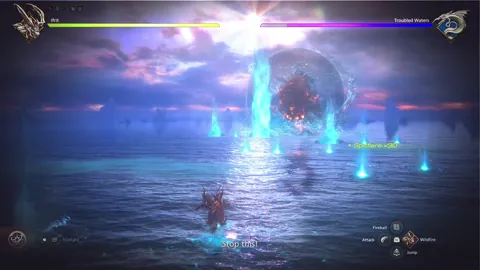
Phase 3 - “Troubled Waters”
This is the phase of the battle that many players find overly challenging. Leviathan will begin charging its “Troubled Waters” attack with its shield up, and the goal during this phase is to break through the shield before the attack goes off. Unfortunately, this requires playing the phase very aggressively, and even one or two mistakes are likely to cause you not to deal enough damage to get past this phase. For starters, let’s look at Leviathan’s attacks during this phase:
![]() Water Blasts:
Water Blasts:
Similar to the last phase, Leviathan will summon Water Blast spots all over the place while there’s distance between Ifrit and Leviathan’s shield. Trying to get to Leviathan means you’ll have to get past the Water Blasts. The best strategy is usually to wait until you see where they are about to spawn before you use ![]() Wildfire so you don’t accidentally run into one. It’s hard to be patient during a phase with a countdown timer, but it’s better to avoid getting hit. Leviathan will also summon Water Blasts near the shield, which can be dodged easily by backing up a little bit.
Wildfire so you don’t accidentally run into one. It’s hard to be patient during a phase with a countdown timer, but it’s better to avoid getting hit. Leviathan will also summon Water Blasts near the shield, which can be dodged easily by backing up a little bit.
![]() Water Orbs:
Water Orbs:
Leviathan will summon walls of Water Orbs while you’re trying to approach, and four Water Orbs around Ifrit when he’s close to the shield, all of which will need to be dodged. They briefly flash before they begin moving, so use the flash as a trigger for when to dodge.
The most challenging part of this phase, though, is trying to deal enough damage to break through the shield. The easiest way to do this, of course, is to make sure you’re not getting hit by attacks that will interrupt your damage and combos, but there are a few other strategies that may prove helpful:
- Use Eikonic Abilities often and early. Start this phase off by using
 Spitflare immediately, then use it again as soon as the cooldown is off. If you’re lucky, you’ll have enough time to use it a third time right before the countdown reaches “0.”
 - Use Brimstone as well. You can use this to avoid getting hit by Water Orbs, but it’s generally better to use it offensively and dodge other attacks rather than relying on this ability.
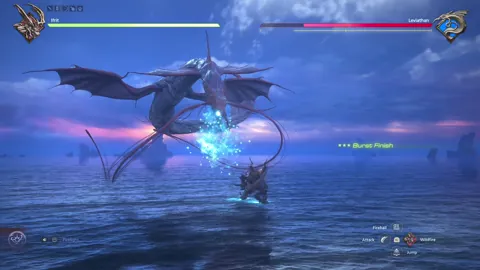
- Make sure you’re utilizing the
 Backdraft combo. As a reminder, the combo is . You’ll know you’re doing it successfully if Ifrit puts both hands together for a large fiery blast at the end of the combo, which can deal upwards of nearly 200,000 damage on its own (and the words “Backdraft Finish” will appear on the screen).
 - The last tip is one that most players won’t want to hear, but you may need to go back and level up Clive if you’re truly stuck. Keep in mind that Clive’s character stats determine Ifrit’s damage capabilities, so if you level up Clive, Ifrit’s attacks will deal more damage as well. Most accessories you equip to Clive will have no impact on Ifrit, but stat boosting accessories will, such as
 Badge of Might +1.
Once the shield is destroyed, Leviathan will be staggered, so use this time to get some extra damage in on it before the next phase begins.
Phase 4
This phase is very similar to phase 2, except that Leviathan has some new tricks up its fins that you need to be prepared for.
![]() Maelstrom (New):
Maelstrom (New):
Leviathan will use this attack at the start of the phase, and many players run into difficulty understanding how to deal with this attack. The way it works is that the center of the Maelstrom will deal damage, and eventually, the Maelstrom will suck you into the center. What you need to watch for is a white flash that occurs just before the Maelstrom tries to suck you in. When you see the flash, jump out of the water, and immediately press ![]()
![]()
![]() to use
to use ![]() Wildfire to escape the Maelstrom’s range. Check out the video below for a demonstration on how to do this.
Wildfire to escape the Maelstrom’s range. Check out the video below for a demonstration on how to do this.
![]() Tail Swipe:
Tail Swipe:
This attack is just like the one it had in Phase 1, except the glowing tail isn’t what to watch for. Instead, Leviathan will slap the water twice with its tail before somersaulting and attempting to thrash at Ifrit with its tail. It will always follow this attack up with a Magic Beam.
![]() Magic Beam (Updated):
Magic Beam (Updated):
This attack has also reverted to its Phase 1 form, where Leviathan will blast from right to left across the screen. You can dodge through the beam of magic, but an even better strategy is to rotate in behind Leviathan’s head when you know this attack is coming (after a “Tail Swipe”) and use this time to get some attacks of your own in.
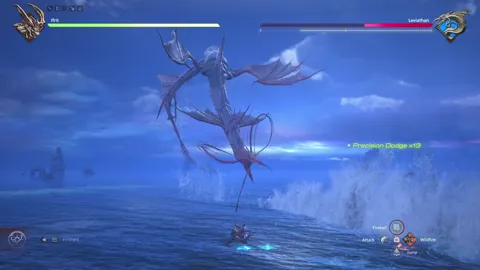
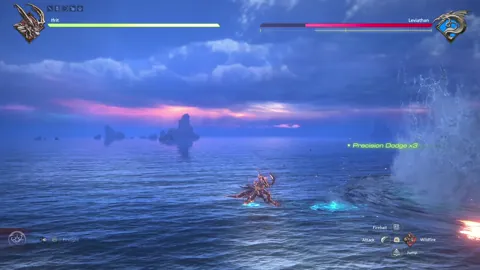
![]() Riptide (Updated):
Riptide (Updated):
This attack looks completely different now. Instead of a group of rings around 1 point, there are now multiple rings around multiple points, but instead of being four rings high and impossible to jump over, they are now only one ring high, which means you can jump over them to escape them instead of dodging. The best strategy for dealing with this attack is to wait until the first ring, closest to Ifrit, begins to encircle him, and then quickly jump into the air and ![]() Wildfire into one of the open areas to the left or right (typically the right side works best). Check out the video below for a demonstration on how to do this without taking damage.
Wildfire into one of the open areas to the left or right (typically the right side works best). Check out the video below for a demonstration on how to do this without taking damage.
Leviathan can still do lunge attacks, bite attacks, Water Orb, Waterjet, Water Blasts, and Salt Spray attacks during this phase, but these are all attacks you’ve seen before. The final phase of the fight begins at around 20% HP.
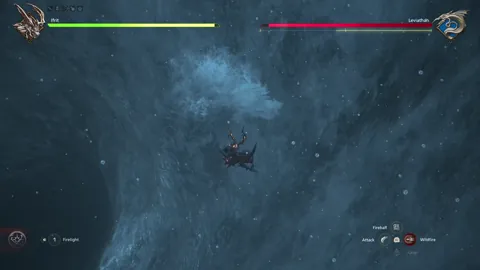
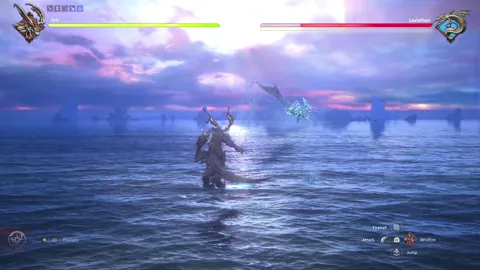
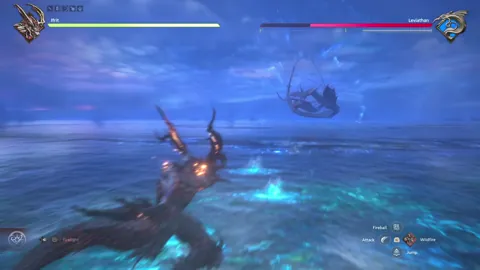
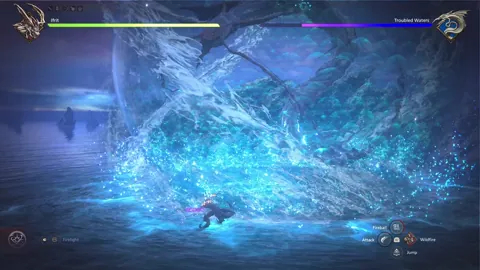
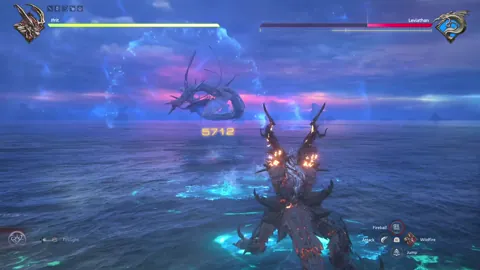
Phase 5
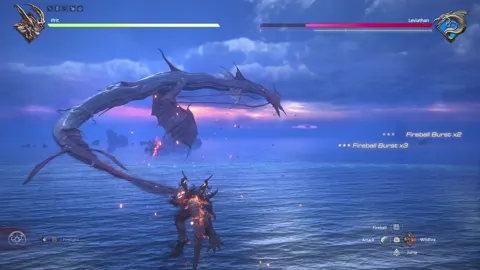
This last phase is where Leviathan ratchets up its attacks into their most powerful forms, beginning with:
![]() Waterspout:
Waterspout:
Everyone gets hit by this attack the first time they see it. Use ![]() Wildfire as many times as you can until you reach either the left or right edge of the stage. Once you get there, you can launch a few
Wildfire as many times as you can until you reach either the left or right edge of the stage. Once you get there, you can launch a few ![]() Charged Fireballs towards Leviathan while waiting for its next attack, which is…
Charged Fireballs towards Leviathan while waiting for its next attack, which is…

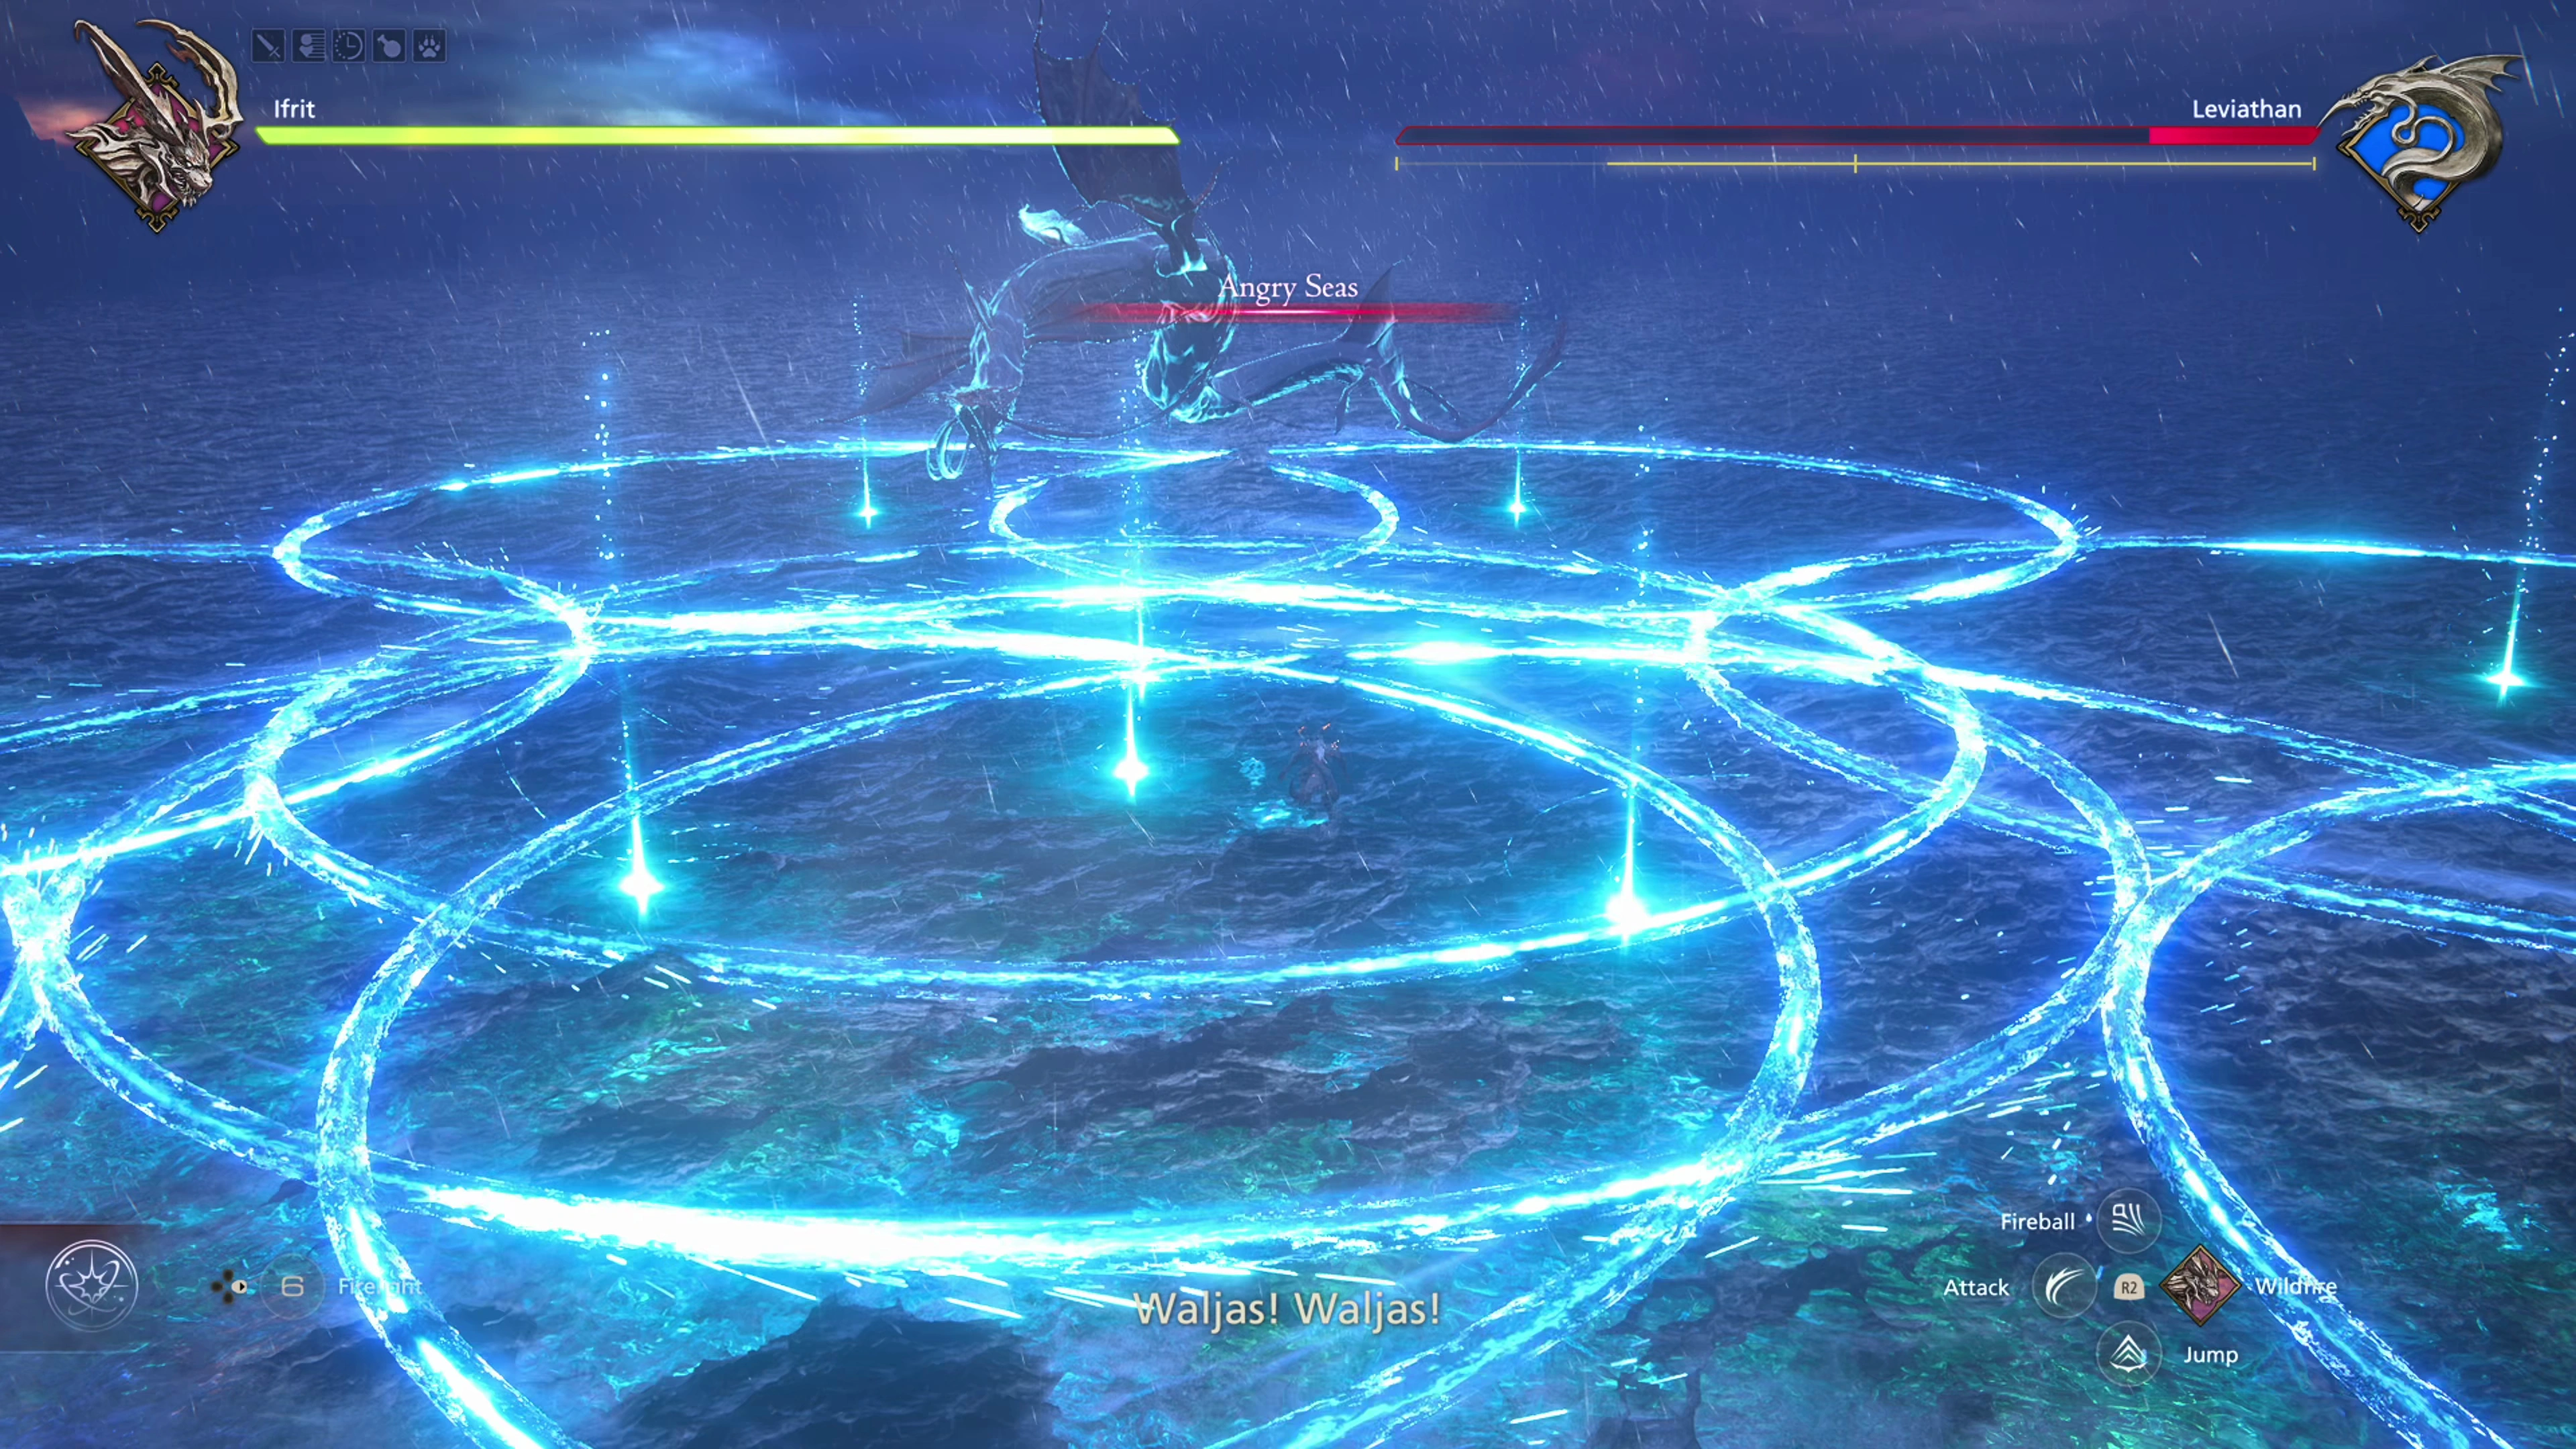
![]() Angry Seas:
Angry Seas:
Leviathan’s most difficult attack is a combination of attacks that you’ve already seen before. The sequence starts with three “Riptide” attacks, which all have to be dodged, followed by a “Maelstrom,” then a wall of Water Orbs, then a Waterjet attack, a Salt Spray attack, and finally, one more “Tidal Roar” to get out of the way of.
If you survive that, Leviathan’s attack pattern goes back to Phase 4 until it gets close to 2-3% HP. This will trigger a cinematic with Leviathan casting “Tsunami,” while Ifrit counters with a “Controlled Burn.” Good luck!
As one more reminder, a demonstration of this fight can be found in the video below. It is possible to earn a Medal of Valor for this fight, but this is one of the more difficult fights to obtain it in, unless you can master some of the tips and tactics mentioned above, which may have previously been outside your preferred play style.
500
7,000
A video demonstration of how to successfully complete the fight against Leviathan.
Achievement/Trophy
“Tamed the tides.” You’ll receive the Explain That Achievement/Trophy automatically once you defeat the Leviathan.
 Thou Brakest the Head
Congratulations! Defeating Leviathan officially ends The Rising Tide ![]() quest line, which will reward you with the
quest line, which will reward you with the ![]() Haven Signboard and two
Haven Signboard and two ![]() Silver Pennings. A few more optional quests will activate once the team gets back to Haven.
Silver Pennings. A few more optional quests will activate once the team gets back to Haven.
Helpful Hint
If you’ve already defeated the game and completed both the “Back to Their Origin” and “Of Gods and Men” chapters before you completed the two DLC expansions, you now have access to ![]() Eikons. If you completed the DLC expansions in the order this guide recommended, though, i.e., before completing the endgame content, this new Eikon won’t be available until later. Ignore this “Helpful Hint” window!
Eikons. If you completed the DLC expansions in the order this guide recommended, though, i.e., before completing the endgame content, this new Eikon won’t be available until later. Ignore this “Helpful Hint” window!
Haven
The first thing you should do once you get back to Haven is use the three ![]() Bilious Scales you picked up from Hreidmar at the Aire of Hours to upgrade the gear you’re wearing.
Bilious Scales you picked up from Hreidmar at the Aire of Hours to upgrade the gear you’re wearing.
| Materials | |
|---|---|
Now let’s get started on the four Optional Quests that have appeared:
Optional Quest
“Shula asks Clive to accompany her on a hunting expedition. Their quarry is a reptilian horror called a guivre, whose tongue is said to have potent medicinal properties—precisely what Waljas’s wetnurse requires to restore her spirits.”
Optional Quest
“Dalina, trusted attendant to the Tributary of Haven, has many duties. Attending to the witch’s grave is one among them, but has proven impossible of late thanks to a pack of bloodthirsty beasts having taken up residence on the road to Witchdrop.”
Optional Quest
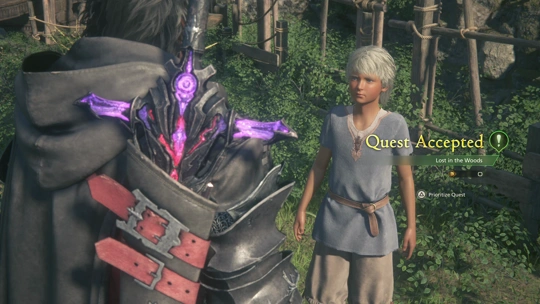
“On a forbidden foray into the forest, Ayrik met with a fearsome beast capable of felling trees and upending the earth with blasts of water. There’s only one way of telling whether this fiend really exists, or is merely the product of the boy’s overactive imagination…”
Optional Quest
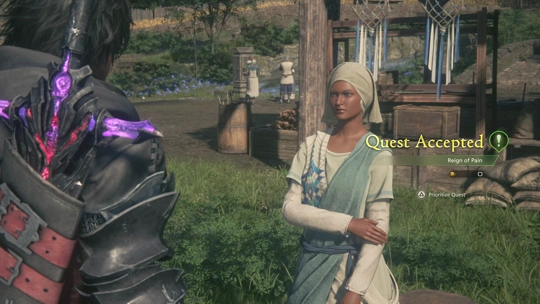
“Village healer Fanet believes that Talor’s curse may have been woven by a tonberry king, to whom the suffering soul is yet bound by beastman magick. She begs Clive to seek the creature out and end its reign once and for all.”
Achievement/Trophy
“Complete 10 Mysidia quests.” Once you’ve completed the Optional Quests listed above, you’ll receive the The End Can Wait Achievement/Trophy. All but the last quest, listed below…
Completing ![]() Reign of Pain or
Reign of Pain or ![]() Lost in the Woods will give you the materials necessary to craft a new weapon:
Lost in the Woods will give you the materials necessary to craft a new weapon:
| Materials | |
|---|---|
Helpful Hint
This is a somewhat complicated question—it’s a unique weapon that causes a lot of damage to an enemy’s “Will Gauge” very quickly, allowing you to stagger them faster. This effect can come in handy for some battles, but the Tonberry Knife is not the strongest weapon in terms of overall strength.
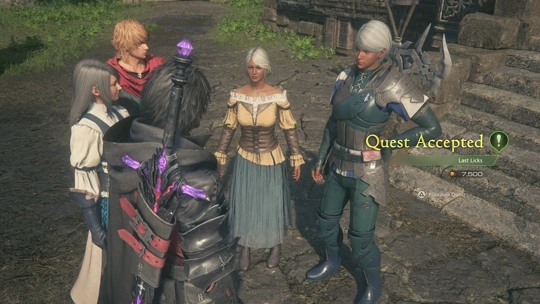
Completing these four Optional Quests will cause the fifth and final Optional Quest in Haven to appear:
Optional Quest
“Every Mote of Water is welcomed into the family by the Rite of Immersion, and Shula is insistent that Waljas should be no exception. As she must play the part of mother, she asks that Clive serve as witness for the ceremony in her stead.”
With all five Optional Quests completed, you have now completed all of the content available in The Rising Tide DLC Expansion. Congratulations! Use the link below to return to the main walkthrough section:
Walkthrough Guide
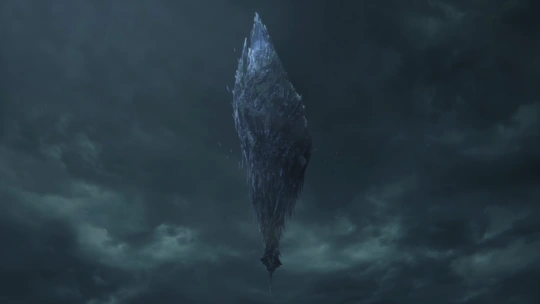
“The final Mothercrystal has fallen, but a new one has risen in its place. A stain on the horizon, filling the hearts of all who look upon it with dread—Origin. There, deep inside, a reckoning awaits.”