
Via Purifico (Bevelle)
Yuna and the rest of the team will be thrown into the Via Purifico after the trial.
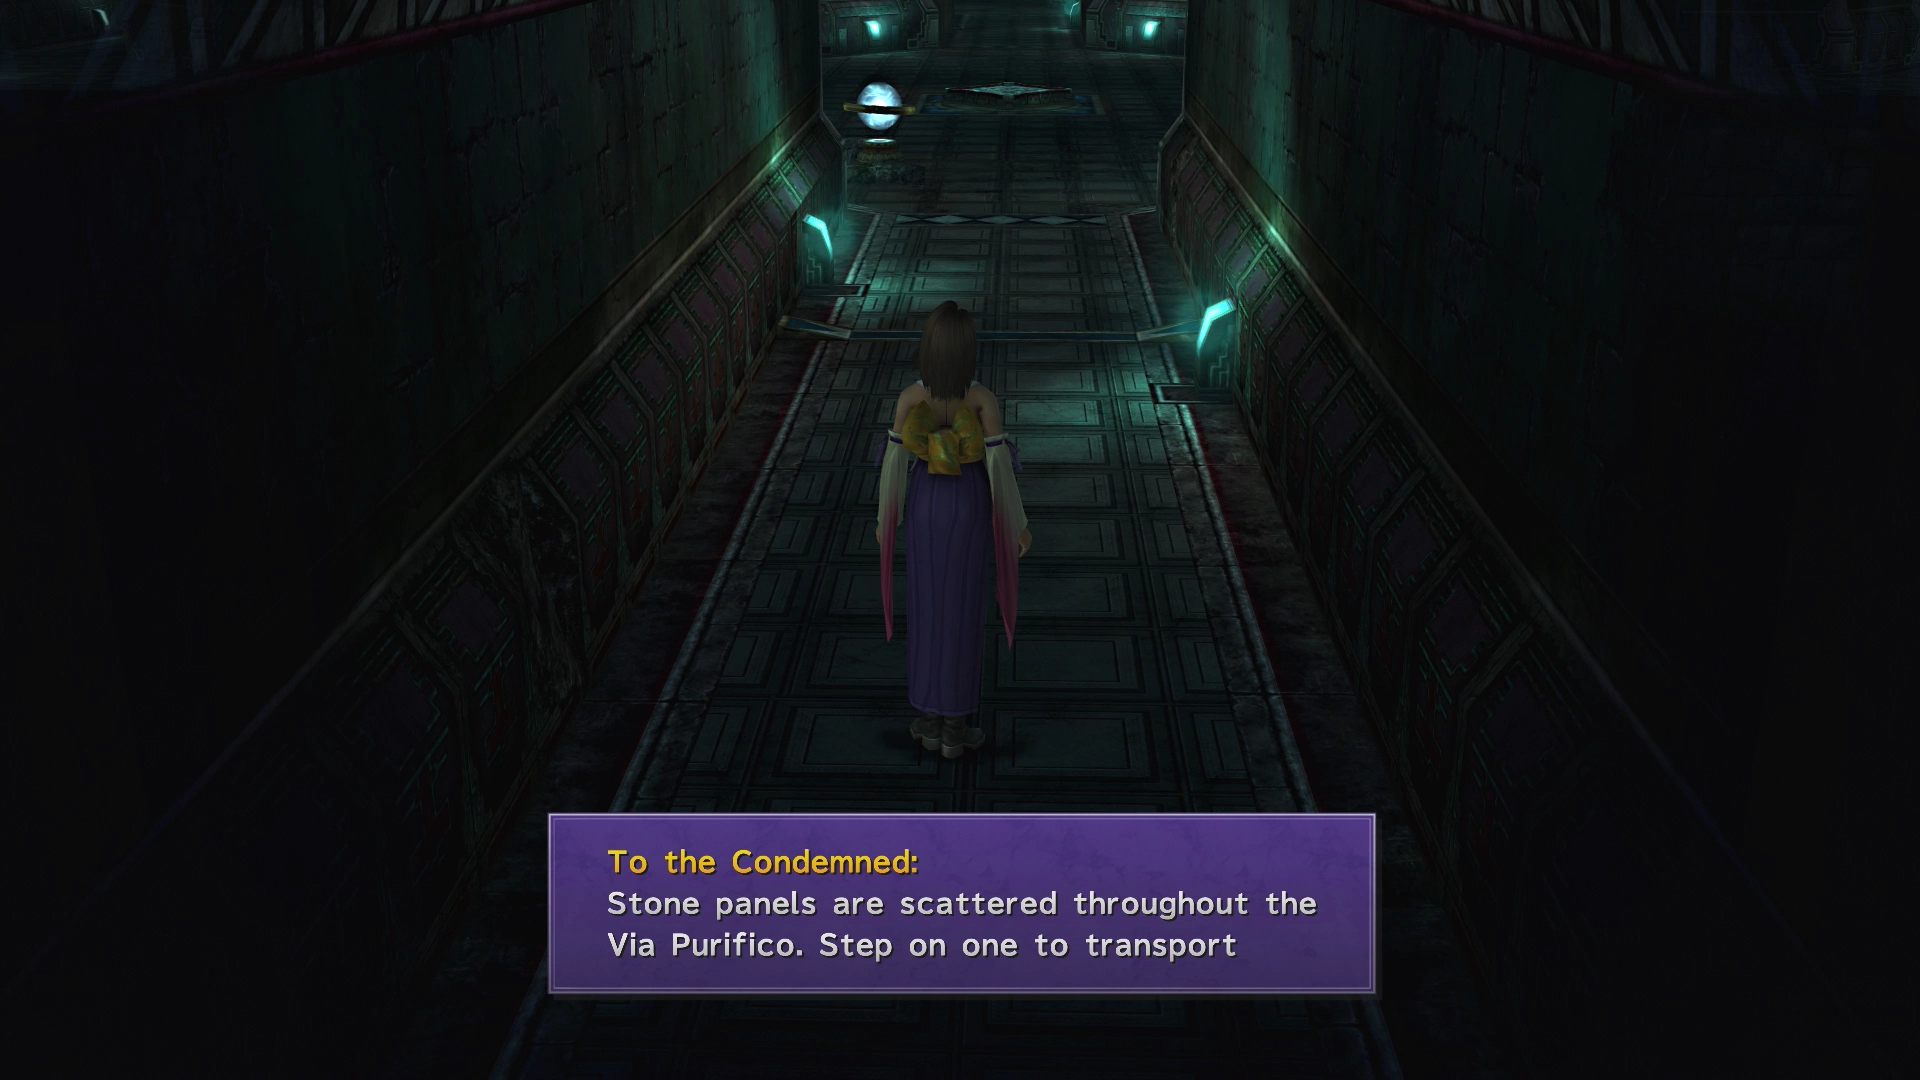
Yuna will be the only party member that you have when you first begin navigating the Via Purifico. This restriction can make regular battles particularly challenging as Yuna does not typically have any offensive capabilities at this point in the game other than through summoning an Aeon.
You should feel free to use and abuse the Aeons until you meet up with the rest of your team members. Make use of Yuna’s ![]() NulTide ability once you get your other party members back, as most of the fiends within the Via Purifico user water-based attacks.
NulTide ability once you get your other party members back, as most of the fiends within the Via Purifico user water-based attacks.
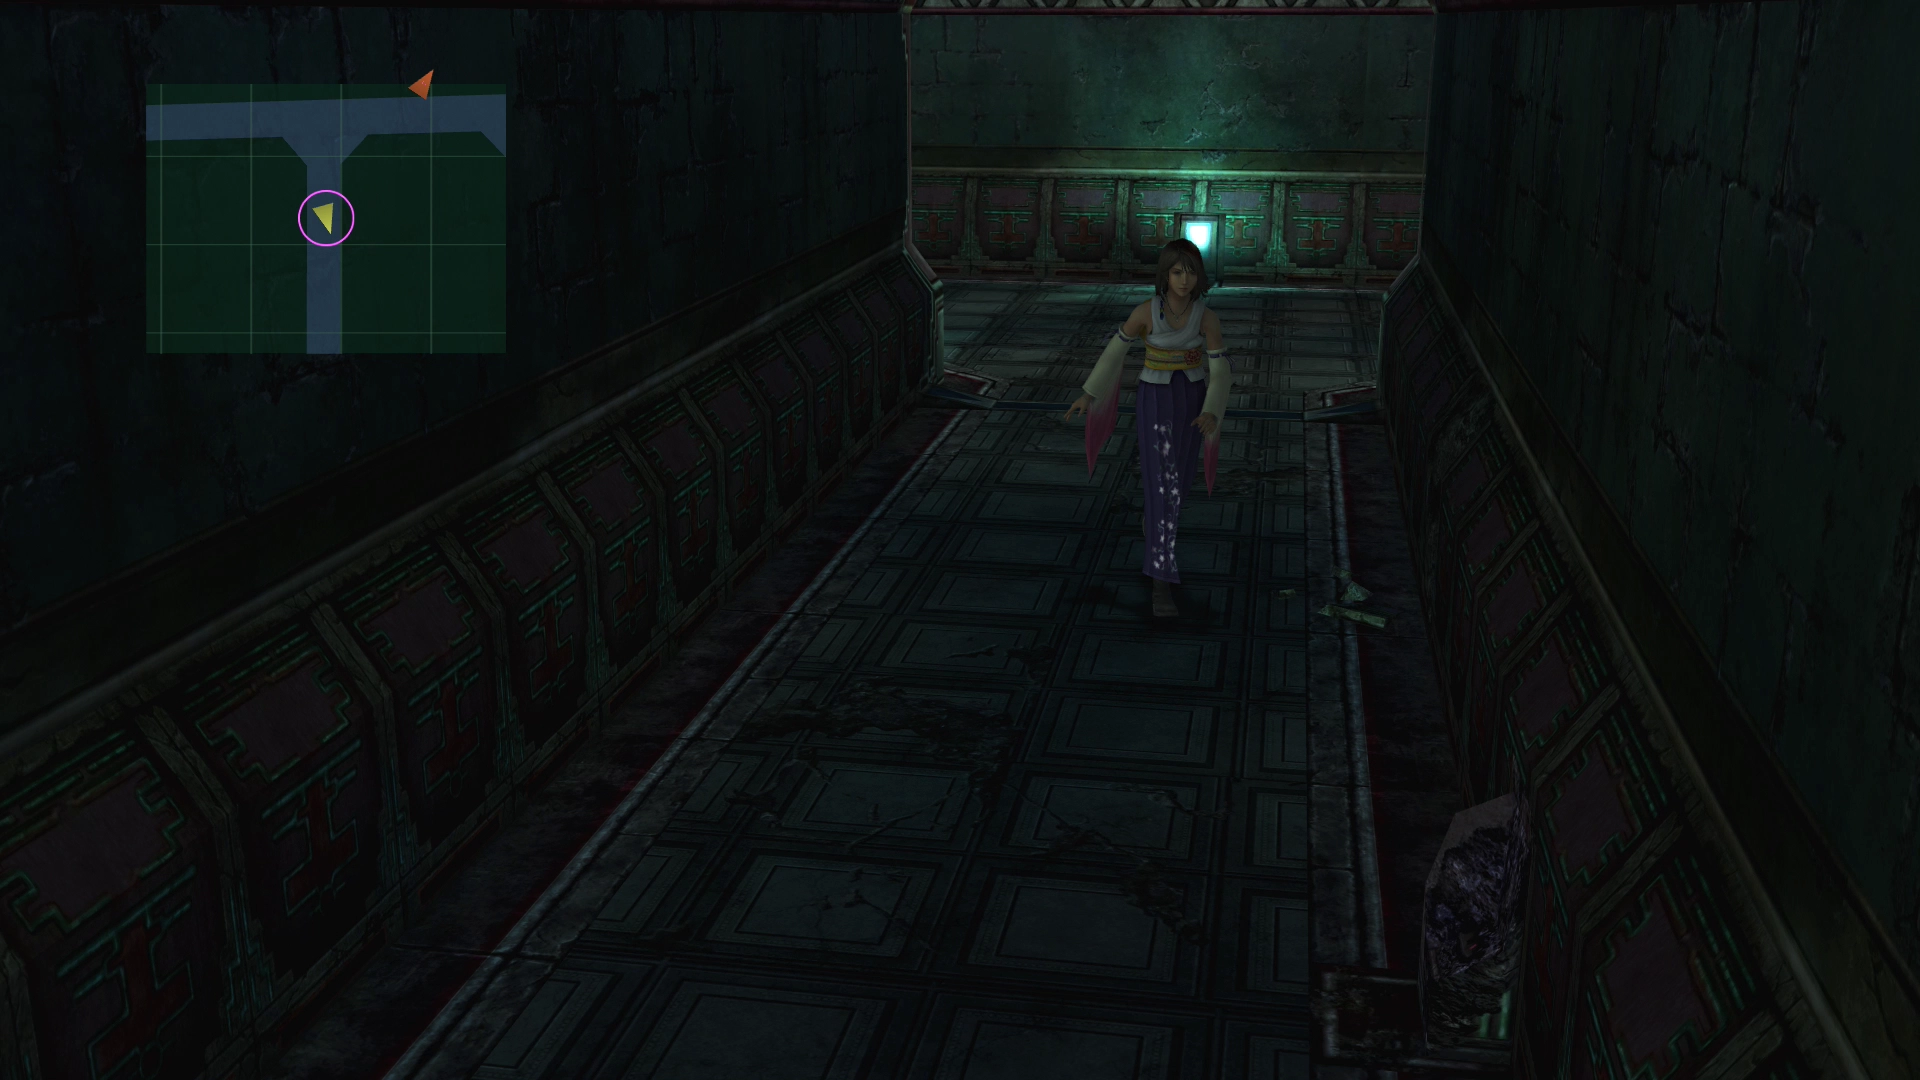
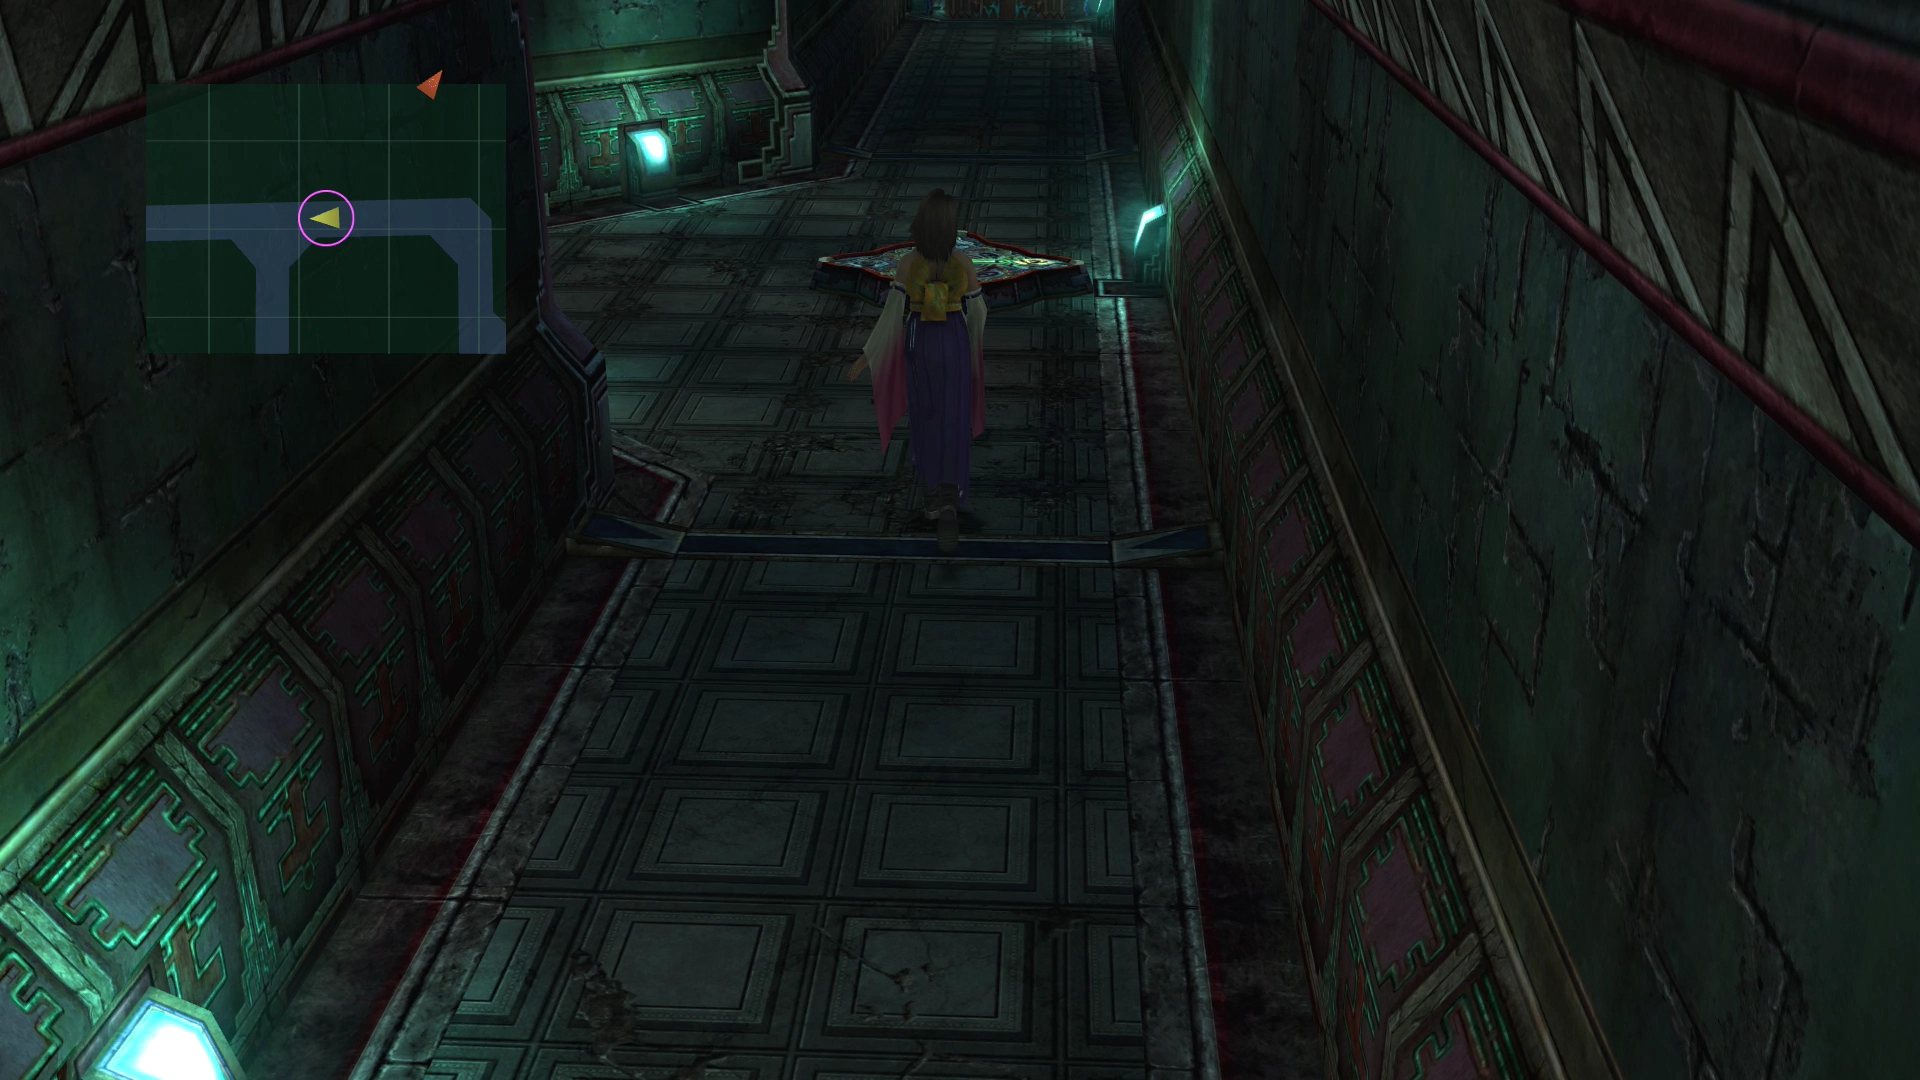
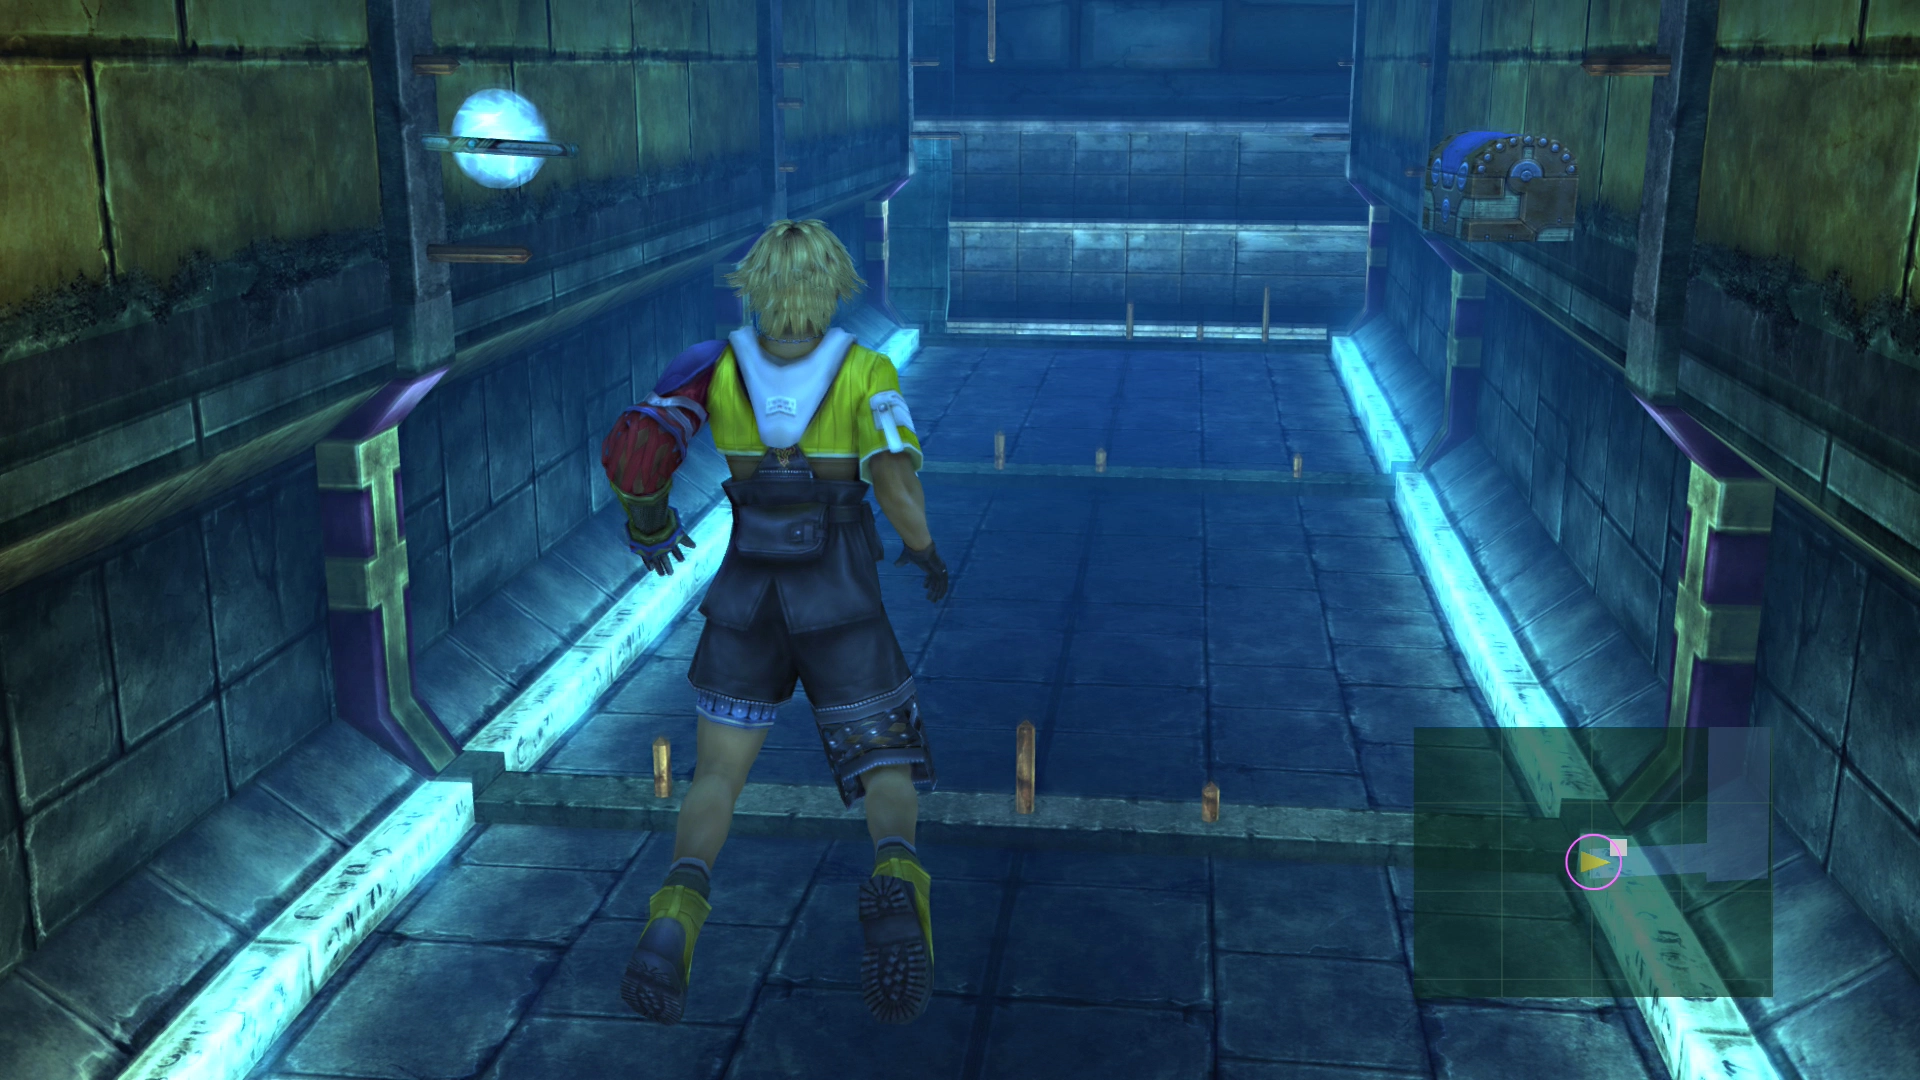
Use the map provided below to help you find your way through the Via Purifico maze:

Yuna starts in the area marked “Entrance,” and the order that you will be traveling to each of the other locations shown on the map is:
- (1)
 Mega-Potion
 - (K) Kimahri
- (A) Auron
- (L) Lulu
- (2)
 Wht Magic Sphere
 - (3)
 Elixir
 - (4) Glyph Symbol
- (5) Blk Magic Sphere
- (6) Platform
- (7) Glyph Symbol
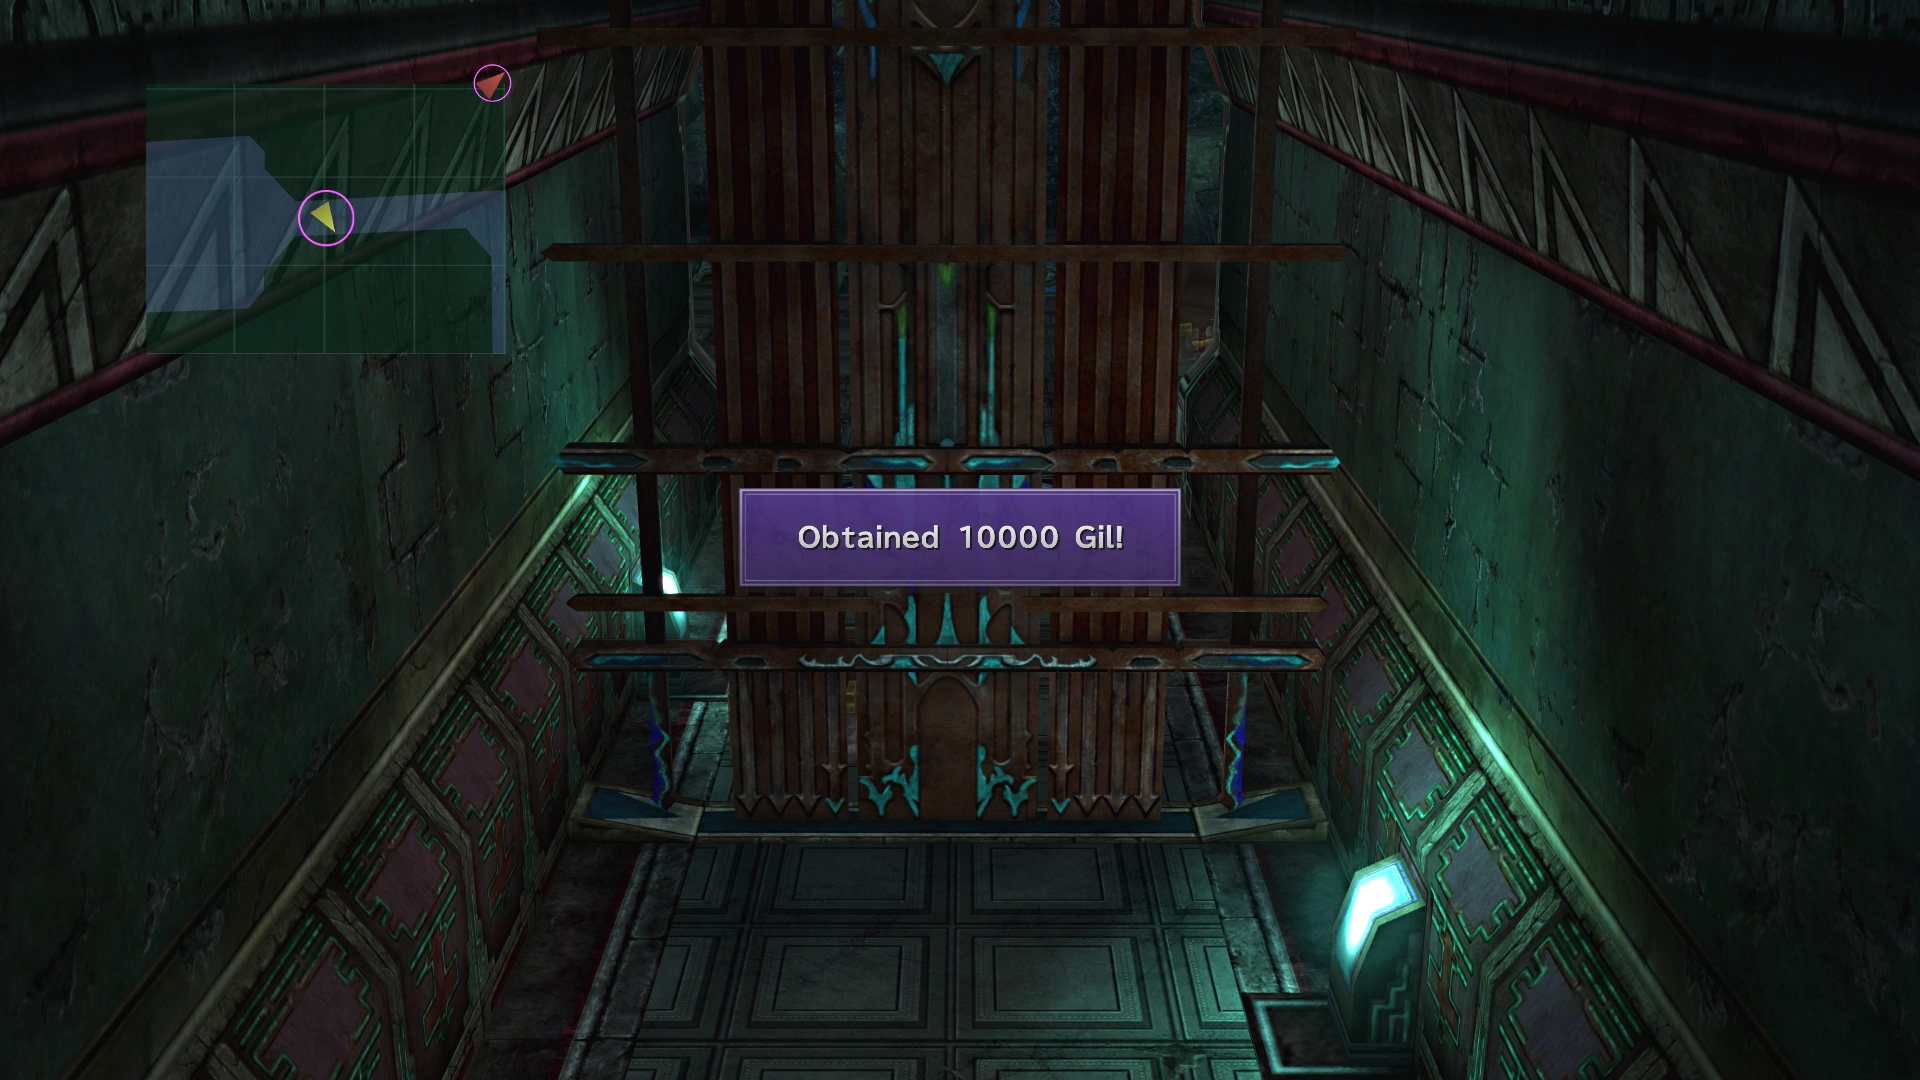
- (8)
 Skill Sphere,
  Lucid Ring, and 10,000 Gil
Save your game at the ![]() Save Sphere before you continue, and then head down the pathway on the right side of the room (heading east).
Save Sphere before you continue, and then head down the pathway on the right side of the room (heading east).
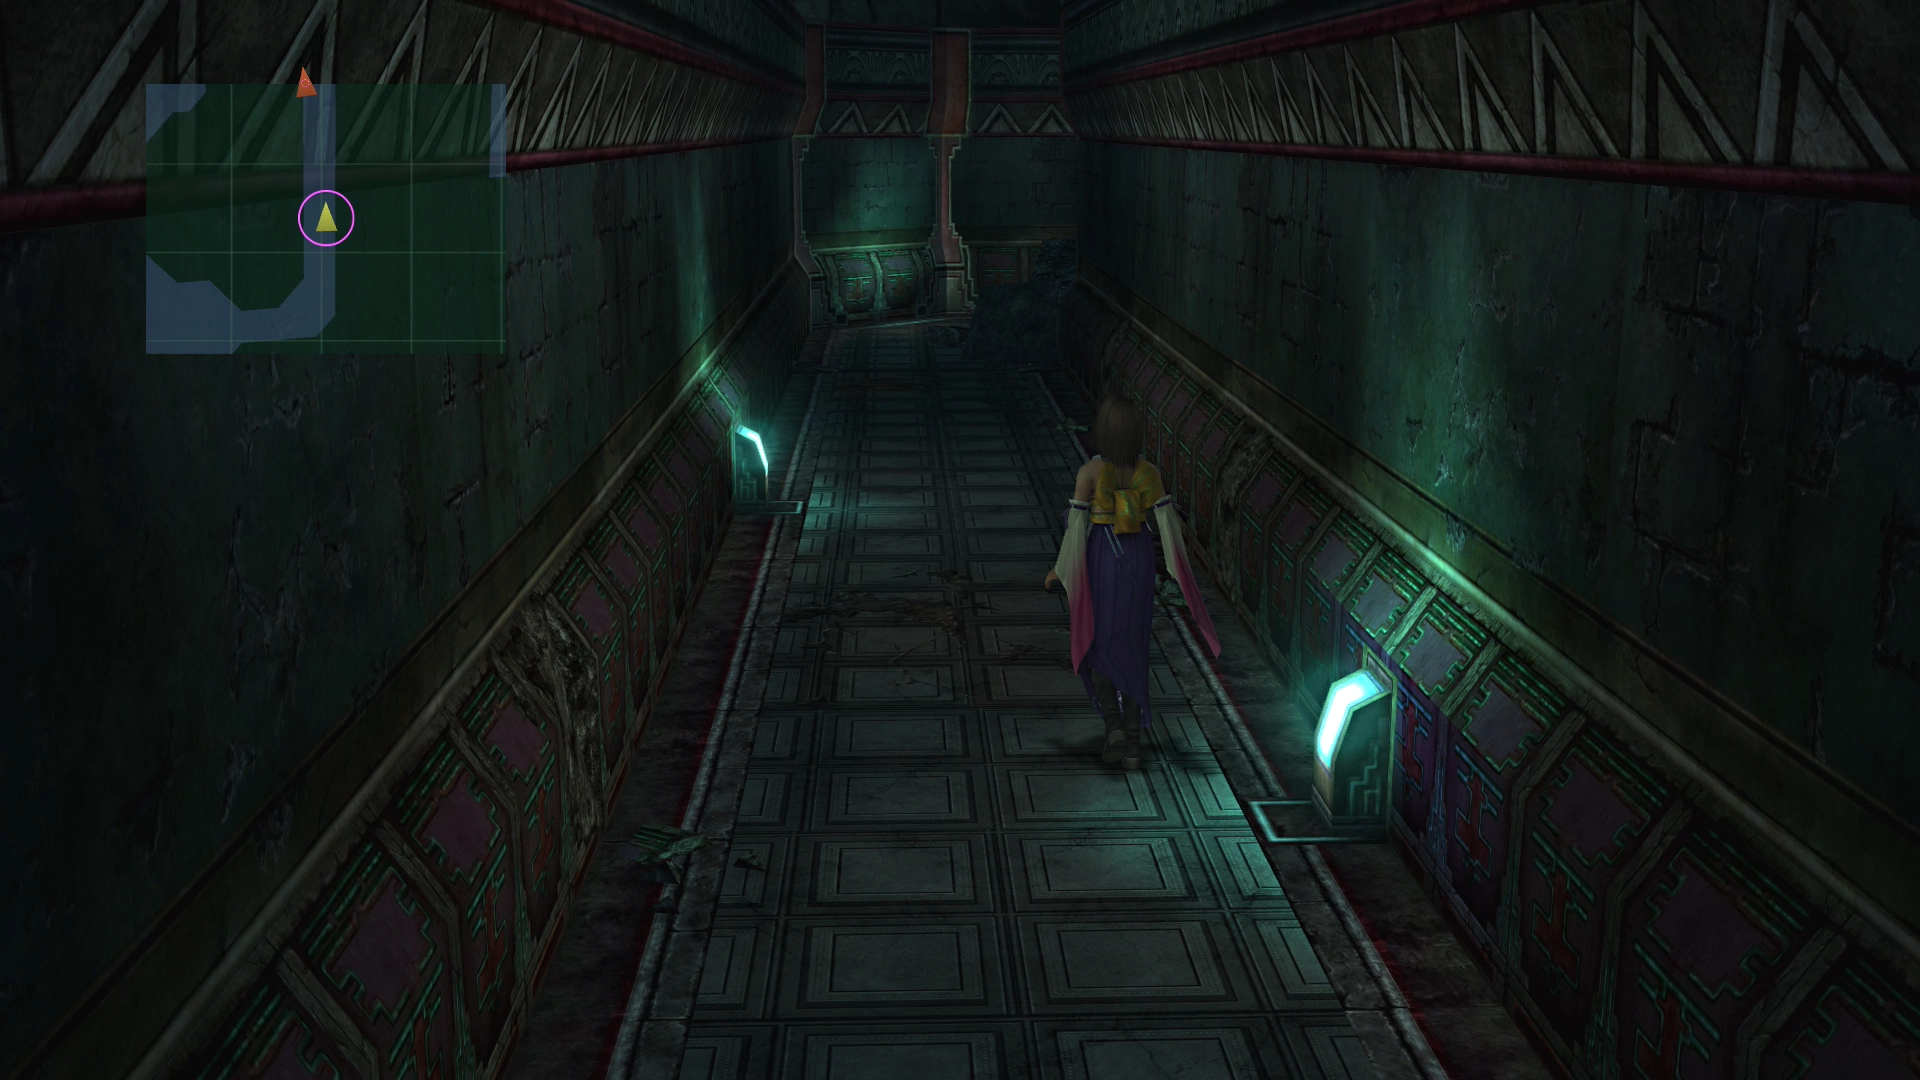
You will find (K) Kimahri in the next room. Walk up to him, and he will automatically join your party. Grab the treasure chest near him to find a (1) ![]() Mega-Potion.
Mega-Potion.

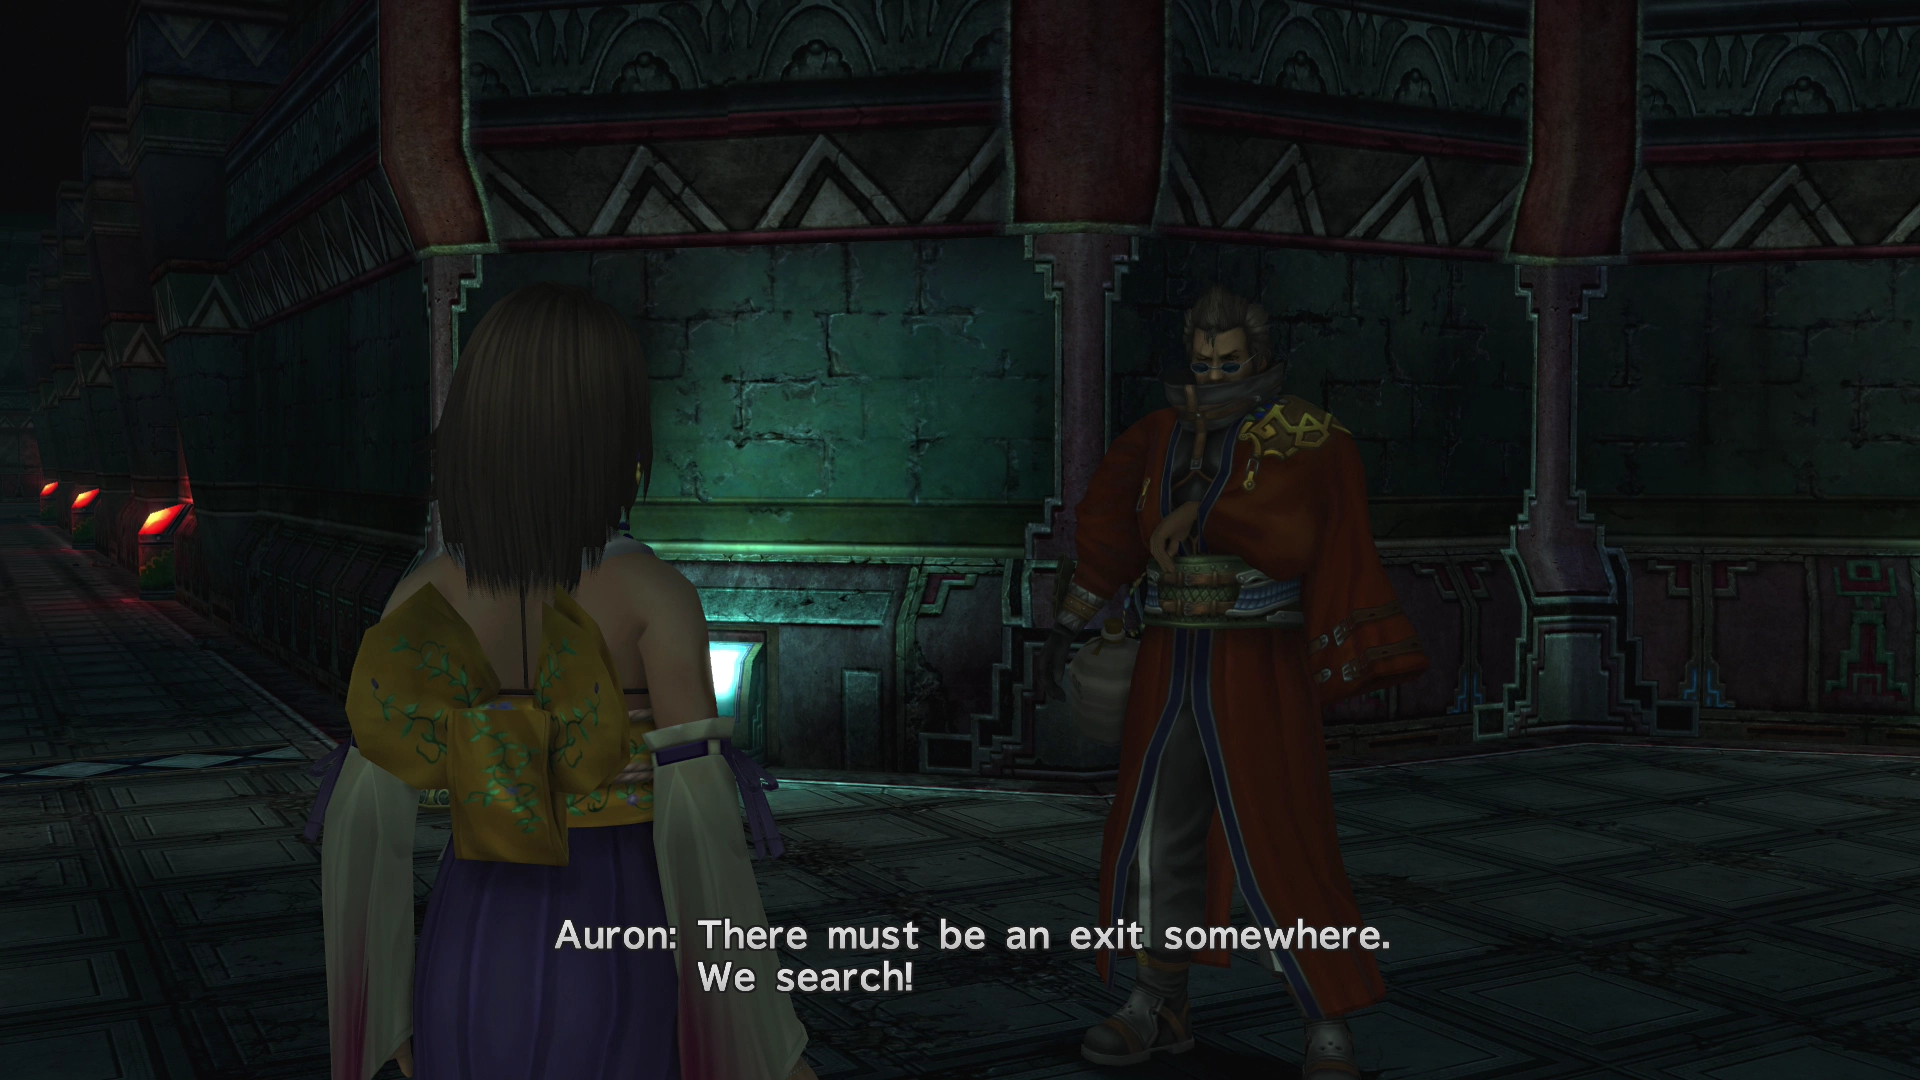
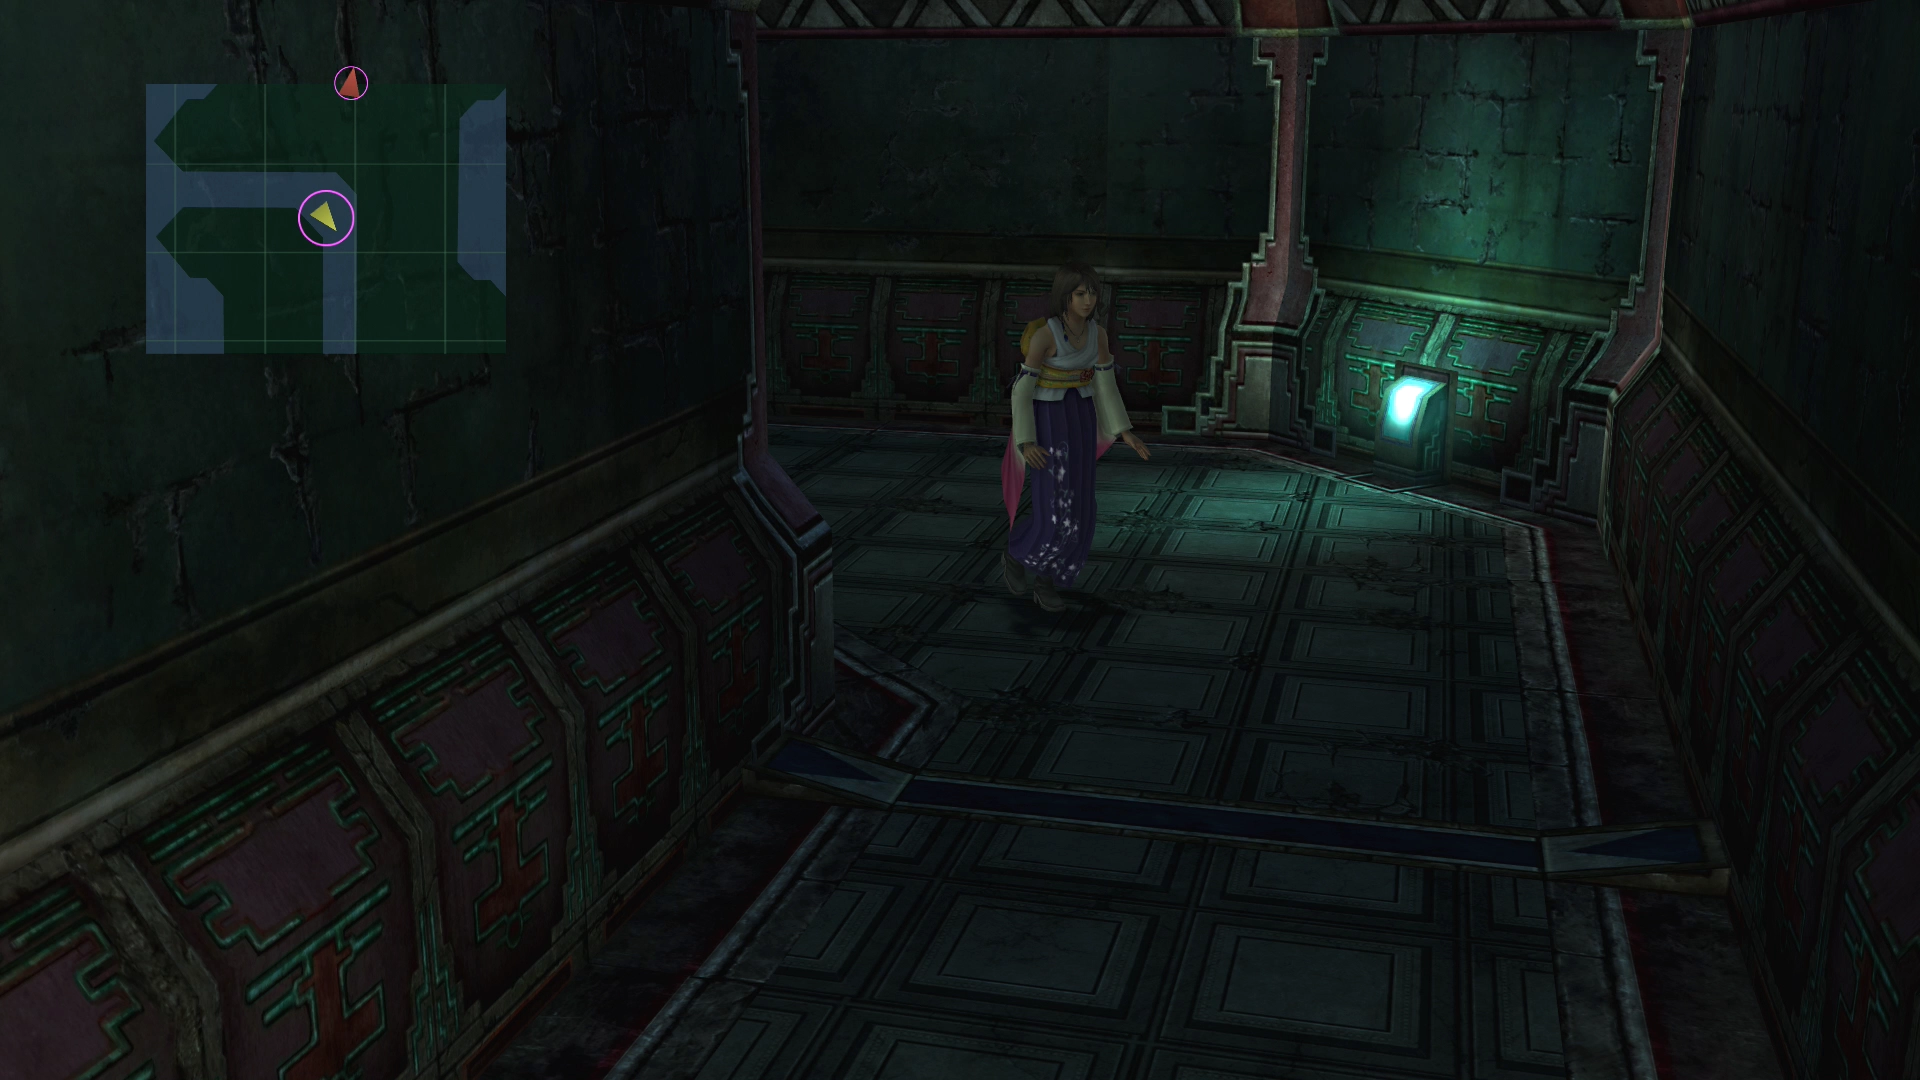
Continue north and follow the pathway until you reach the next room, which is where (A) Auron resides.
Save your game one more time at this ![]() Save Sphere and then continue westward (left). Turn left when you reach the T-intersection heading south (as indicated on the mini-map).
Save Sphere and then continue westward (left). Turn left when you reach the T-intersection heading south (as indicated on the mini-map).
Continue along past the next intersection until you reach the next large room. Go east in this room to find (L) Lulu and a treasure chest that contains a (2) ![]() Wht Magic Sphere. Make good use of Lulu’s Thunder-based magic, as those spells are highly effective against fiends in the Via Purifico.
Wht Magic Sphere. Make good use of Lulu’s Thunder-based magic, as those spells are highly effective against fiends in the Via Purifico.

Go south from here into the next large room, where you will find a treasure chest with an (3) ![]() Elixir and a glyph on the wall. Touch the (4) glyph to activate the teleportation devices all around the dungeon.
Elixir and a glyph on the wall. Touch the (4) glyph to activate the teleportation devices all around the dungeon.

Exit this area and immediately turn right, which will be eastward (the map has flipped; keep an eye on the mini-map at the top of the screen).
Head east until you wind up back at the start of the dungeon. Save your game at the ![]() Save Sphere for a free HP and MP refill.
Save Sphere for a free HP and MP refill.

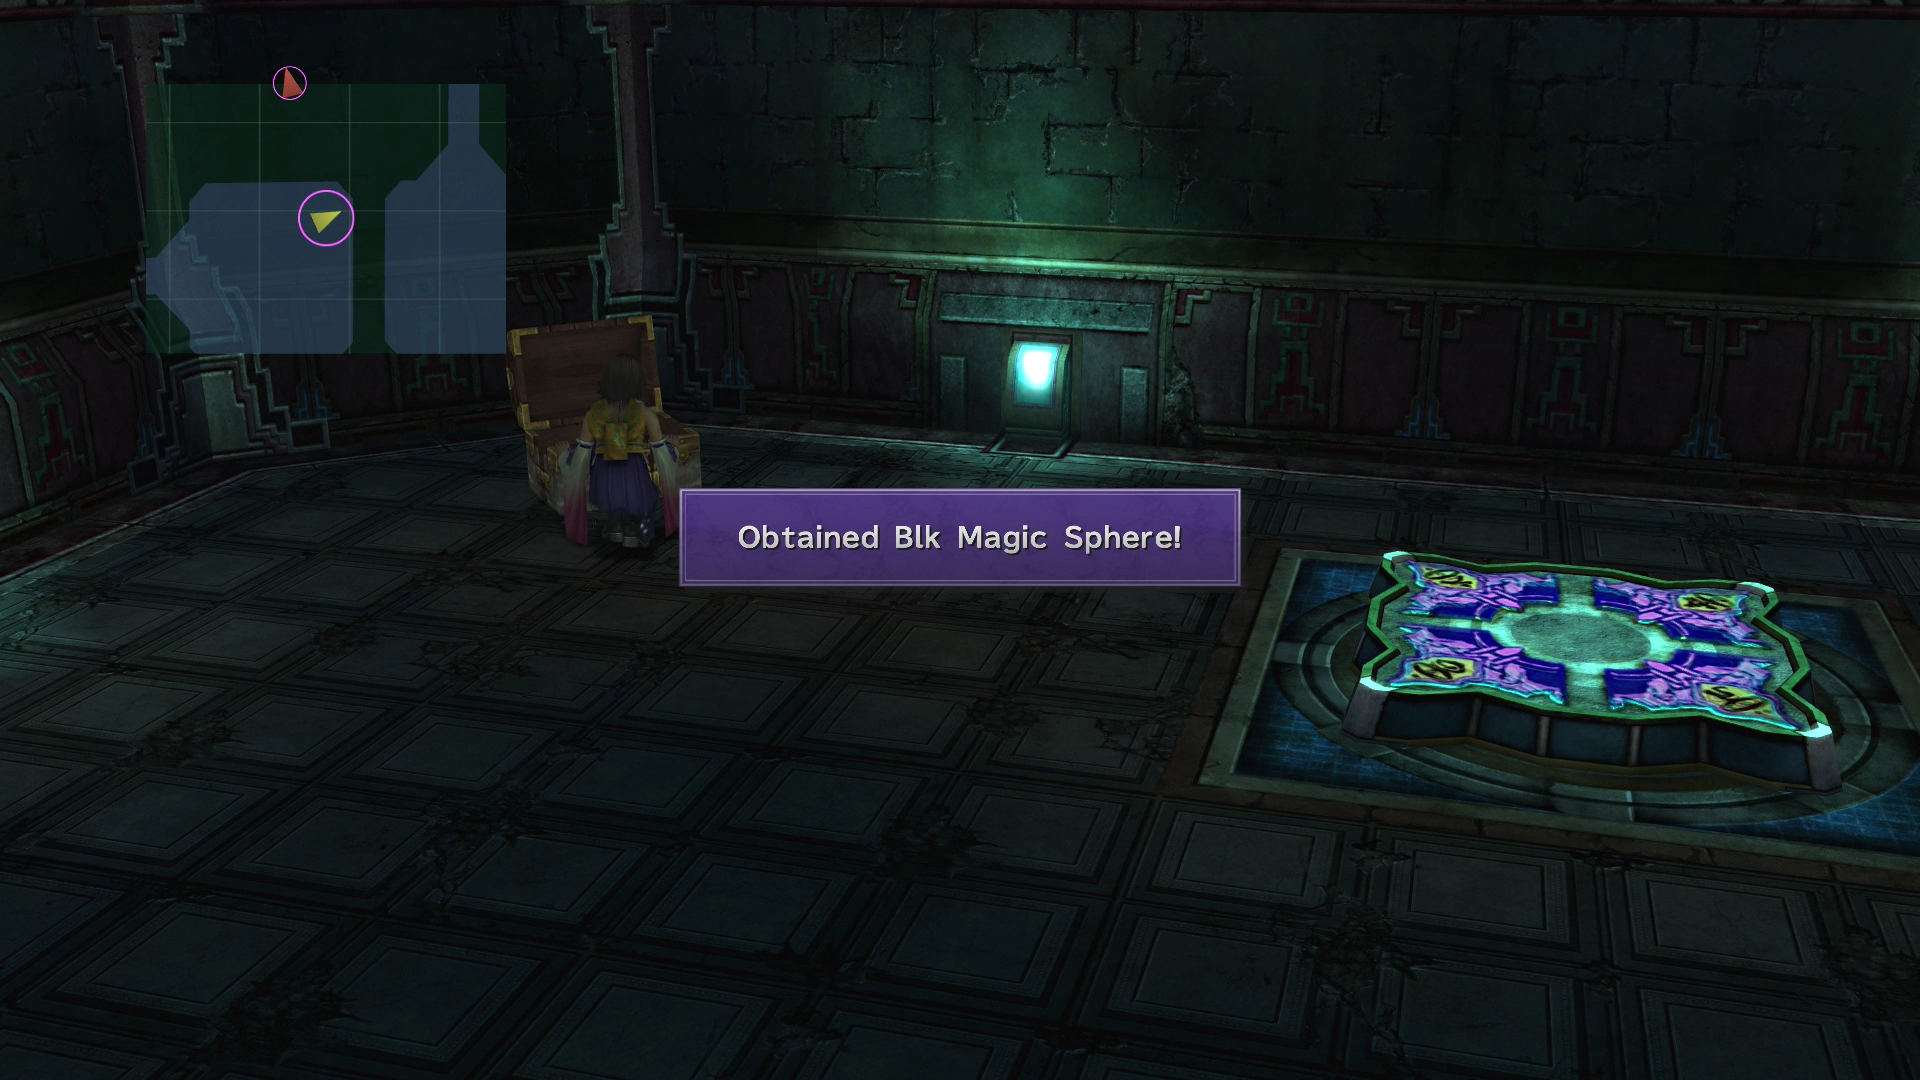
Go northward past both glyph devices on the ground and then take your next right. In this room, you will find a treasure chest which contains a (5) ![]() Blk Magic Sphere and a glyph on the ground.
Blk Magic Sphere and a glyph on the ground.
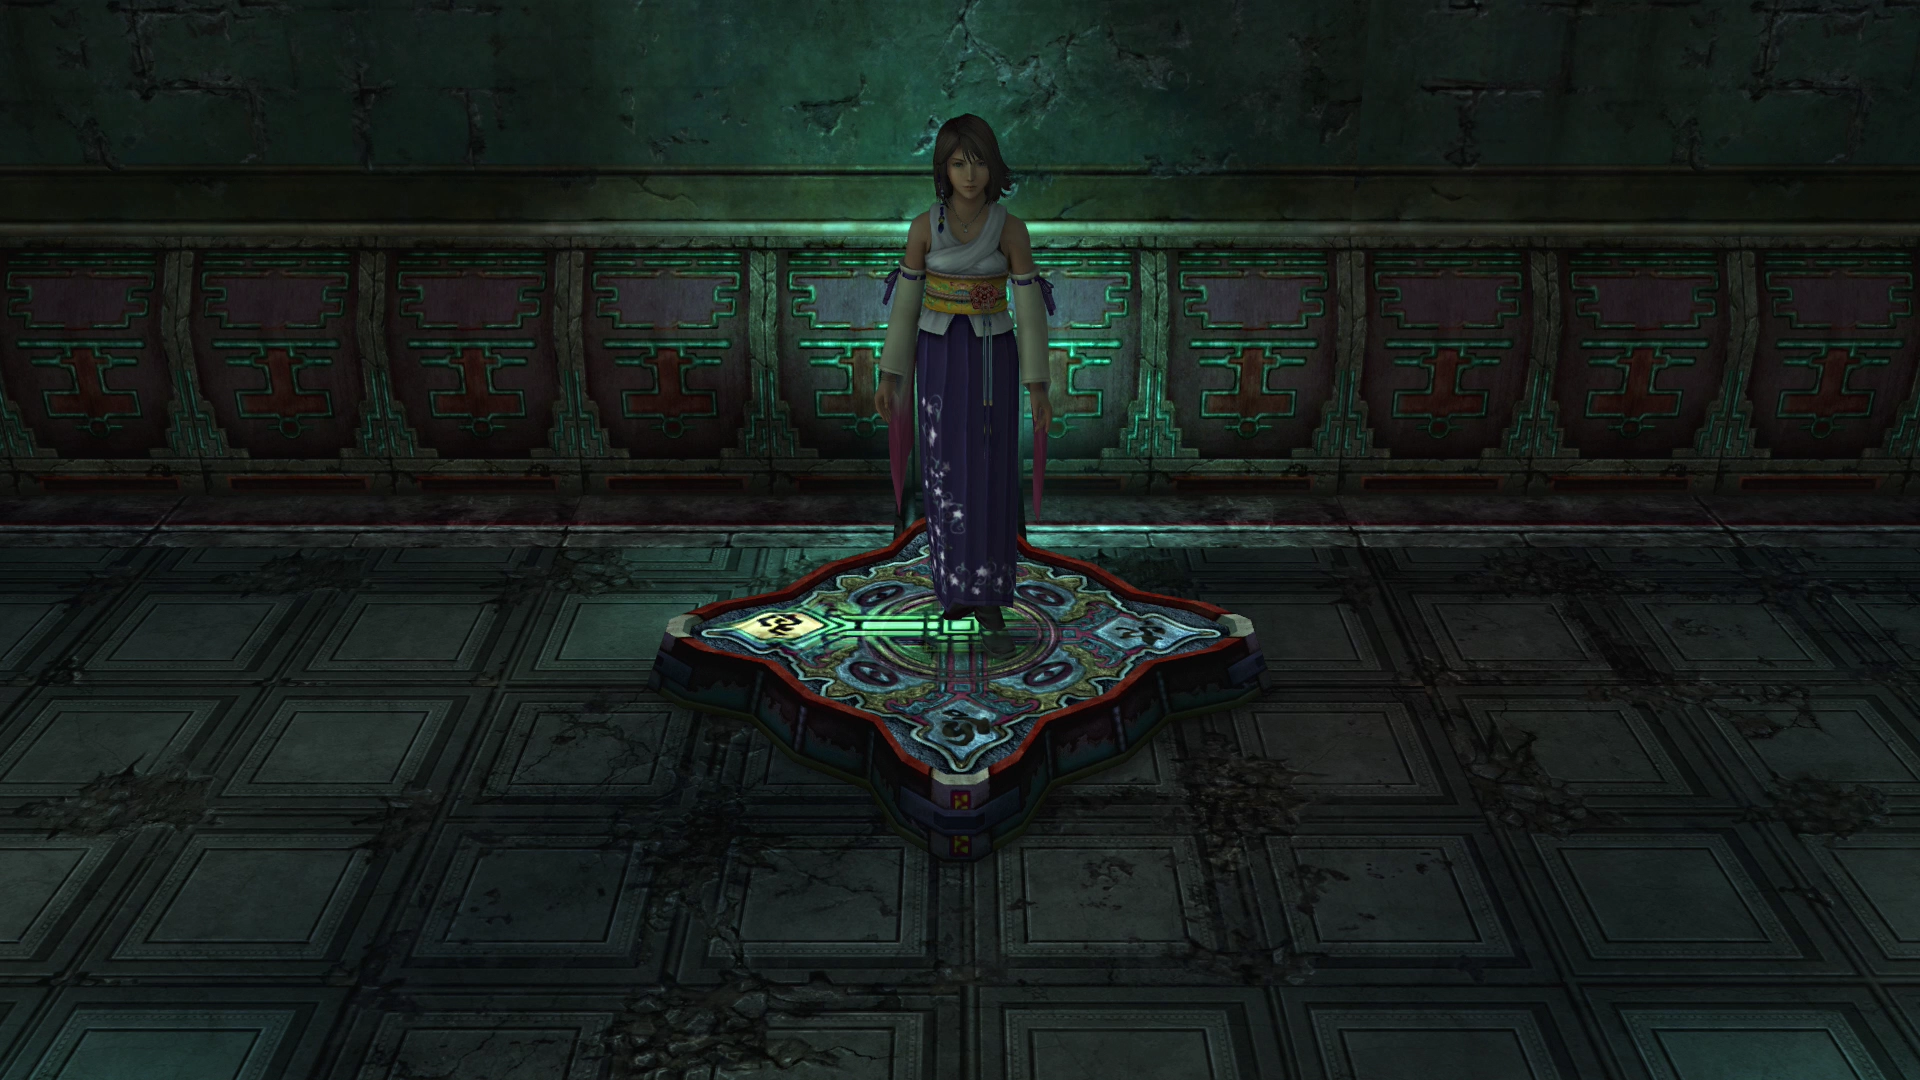
Have Yuna step on the (6) platform, which will cause the teleportation glyph at the front of the dungeon to transport you to another area of the dungeon when you step on it.
Now exit this room and head north back towards the second ![]() Save Sphere. Touch the Save Sphere as you pass for a free heal-up. Note that the map is included again below to make it easier to find and reference, but it’s the same one as the one at the top of the guide:
Save Sphere. Touch the Save Sphere as you pass for a free heal-up. Note that the map is included again below to make it easier to find and reference, but it’s the same one as the one at the top of the guide:
Go west from there and then continue west until you reach the teleportation (7) glyph on the ground at the T-intersection.
The teleportation glyphs have a green arrow that blinks twice and then changes direction. You want the arrow to be pointed west (which means it’s pointing straight ahead on the screen). Step on the glyph once it is facing this direction.
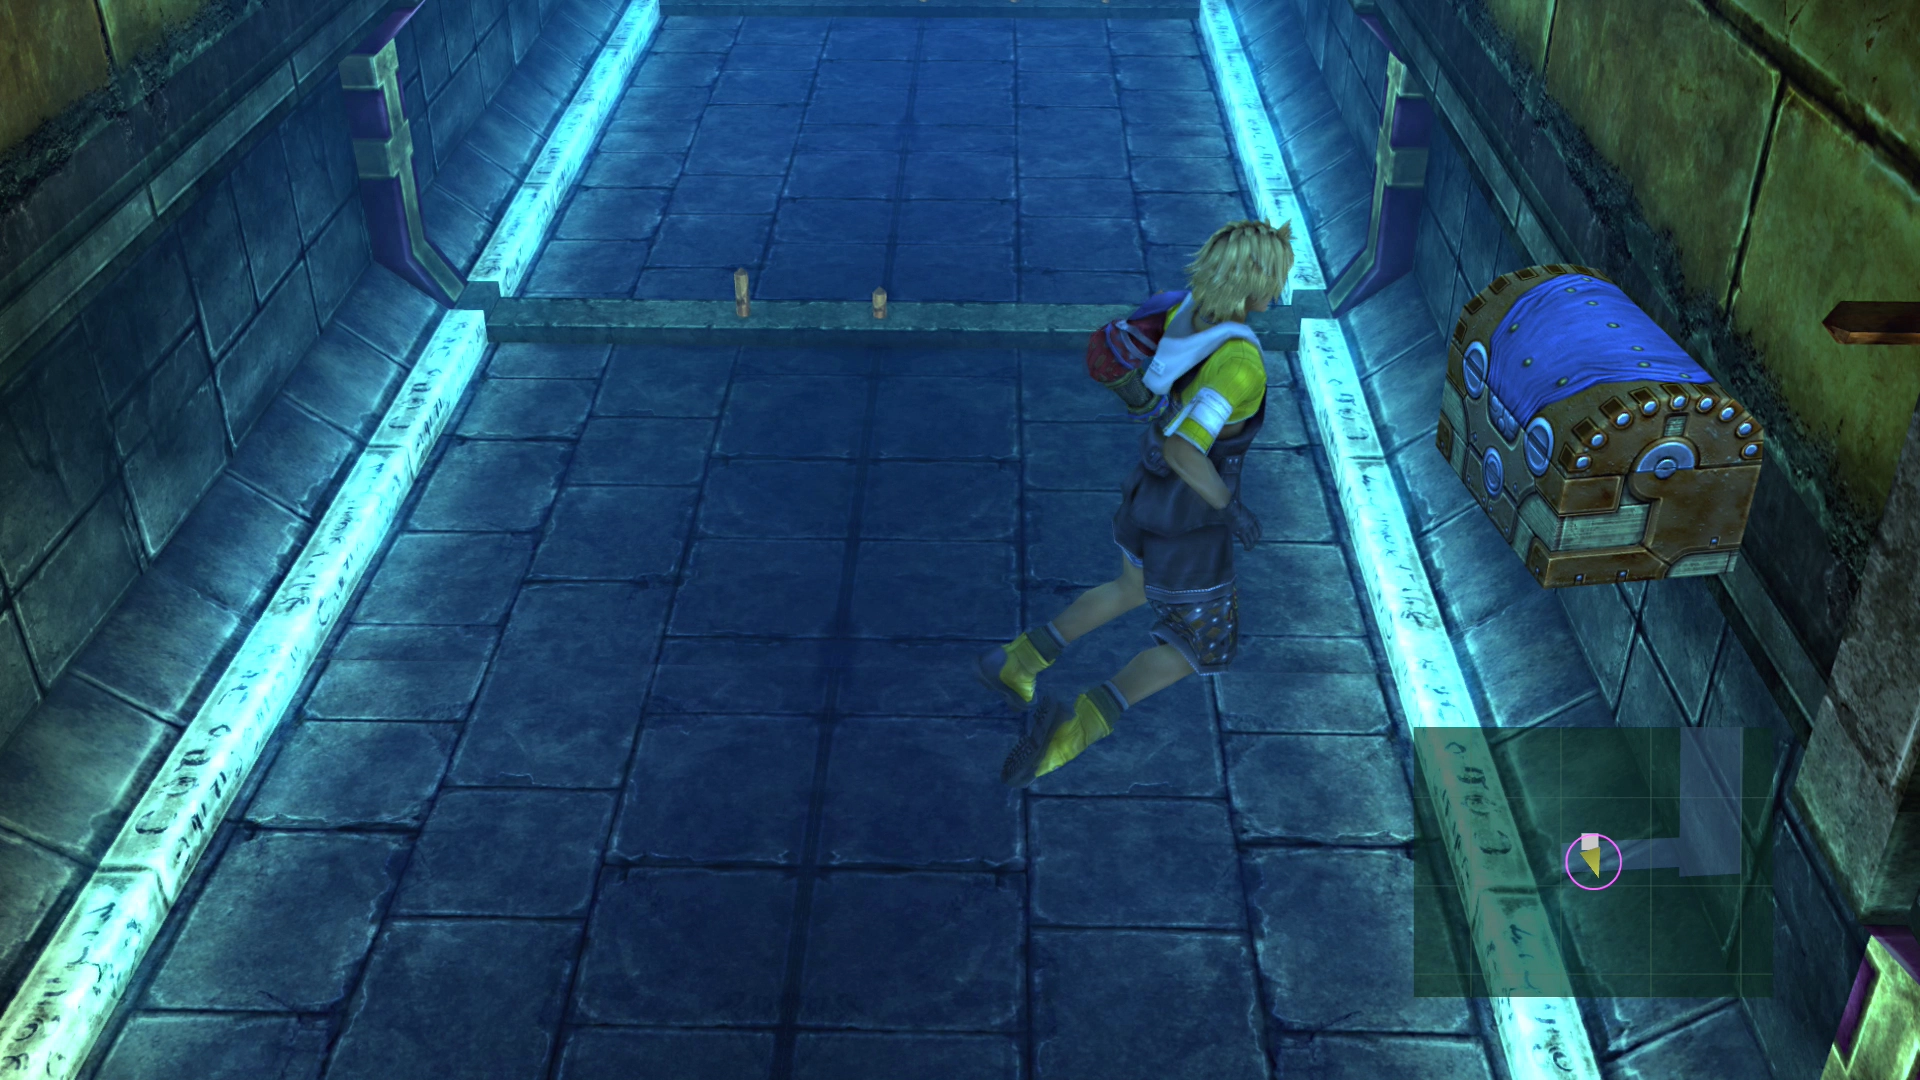
You will find (8) three treasure chests in this area—one which contains a ![]() Skill Sphere, one which includes a
Skill Sphere, one which includes a ![]() Lucid Ring, and one last chest which is right up near the gate blocking the pathway, as far east as you can go in this room. This treasure chest contains 10,000 Gil. Use the screenshot below to help you locate it.
Lucid Ring, and one last chest which is right up near the gate blocking the pathway, as far east as you can go in this room. This treasure chest contains 10,000 Gil. Use the screenshot below to help you locate it.

Go back and step on the teleportation glyph when the arrow is pointed east (straight towards the camera) to find yourself back at the T-intersection. Go east from here back to the second ![]() Save Sphere and finally north to exit the Via Purifico.
Save Sphere and finally north to exit the Via Purifico.
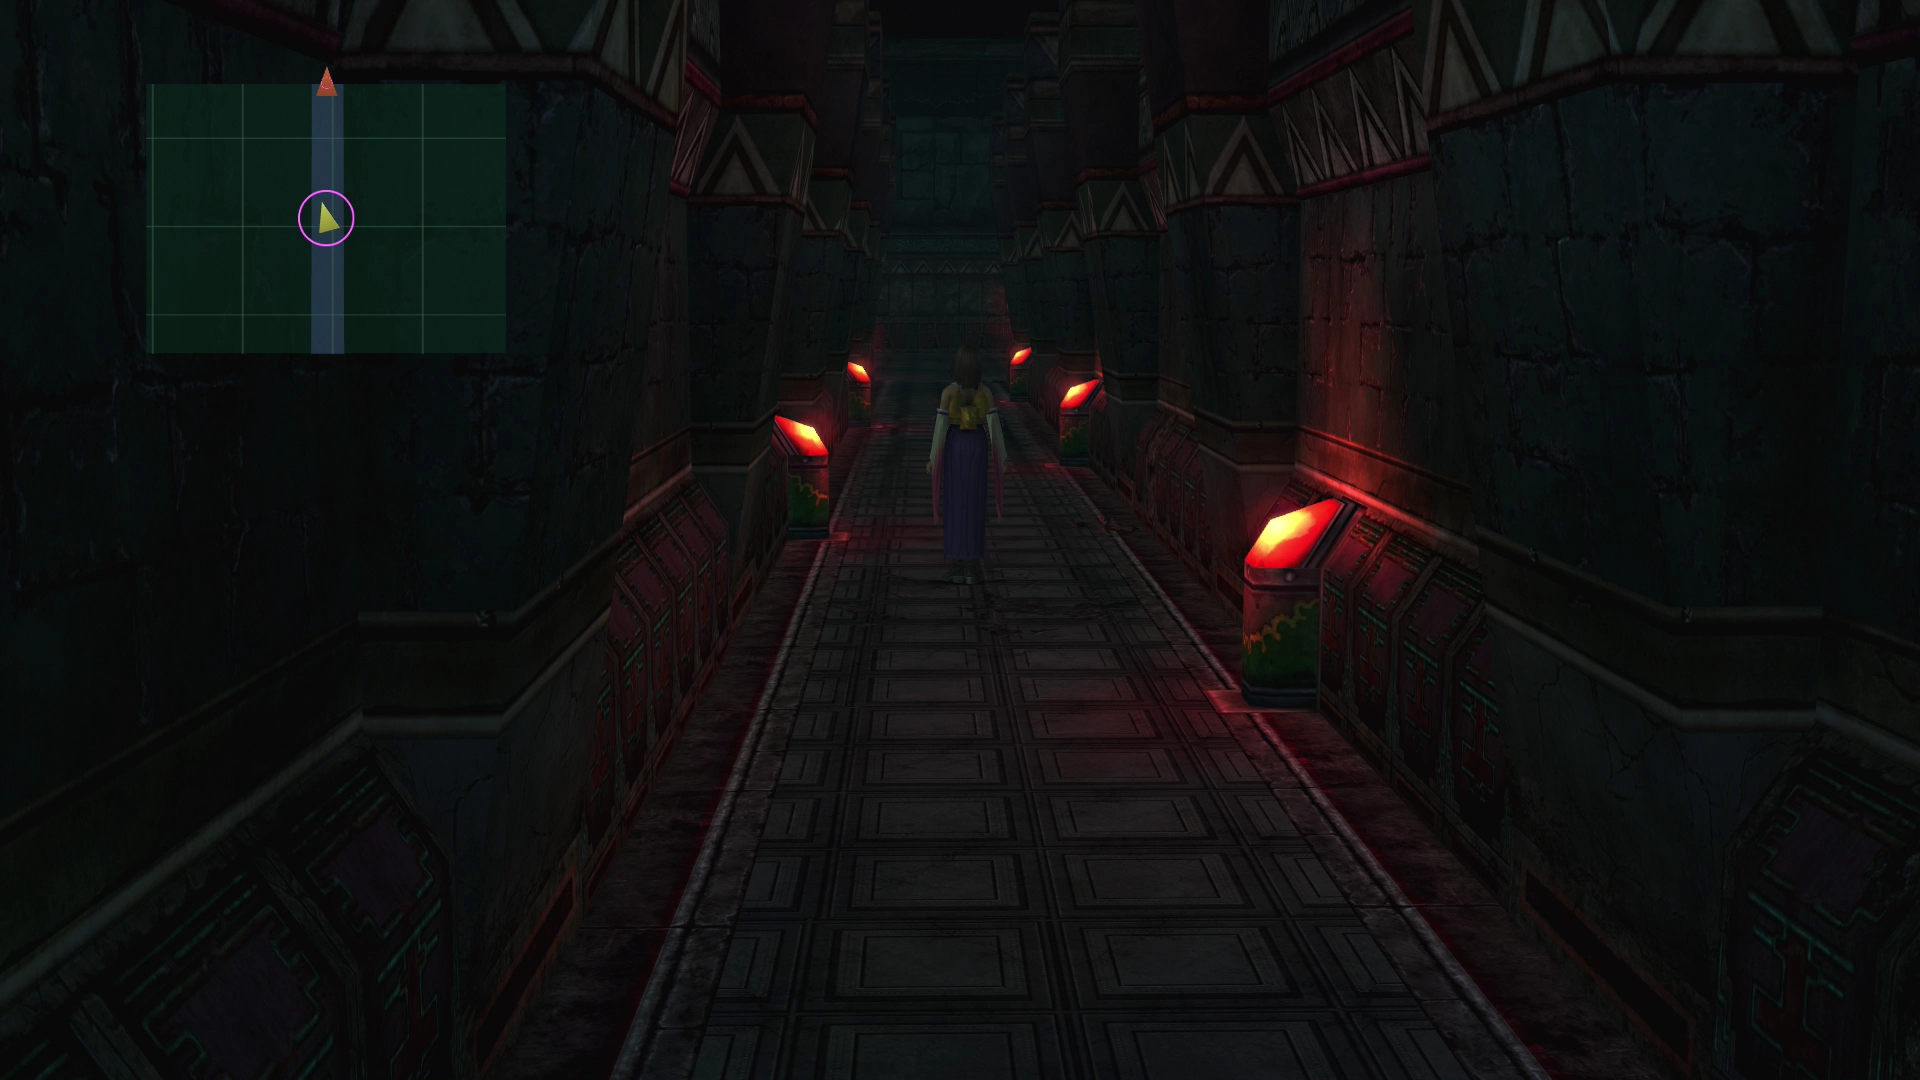
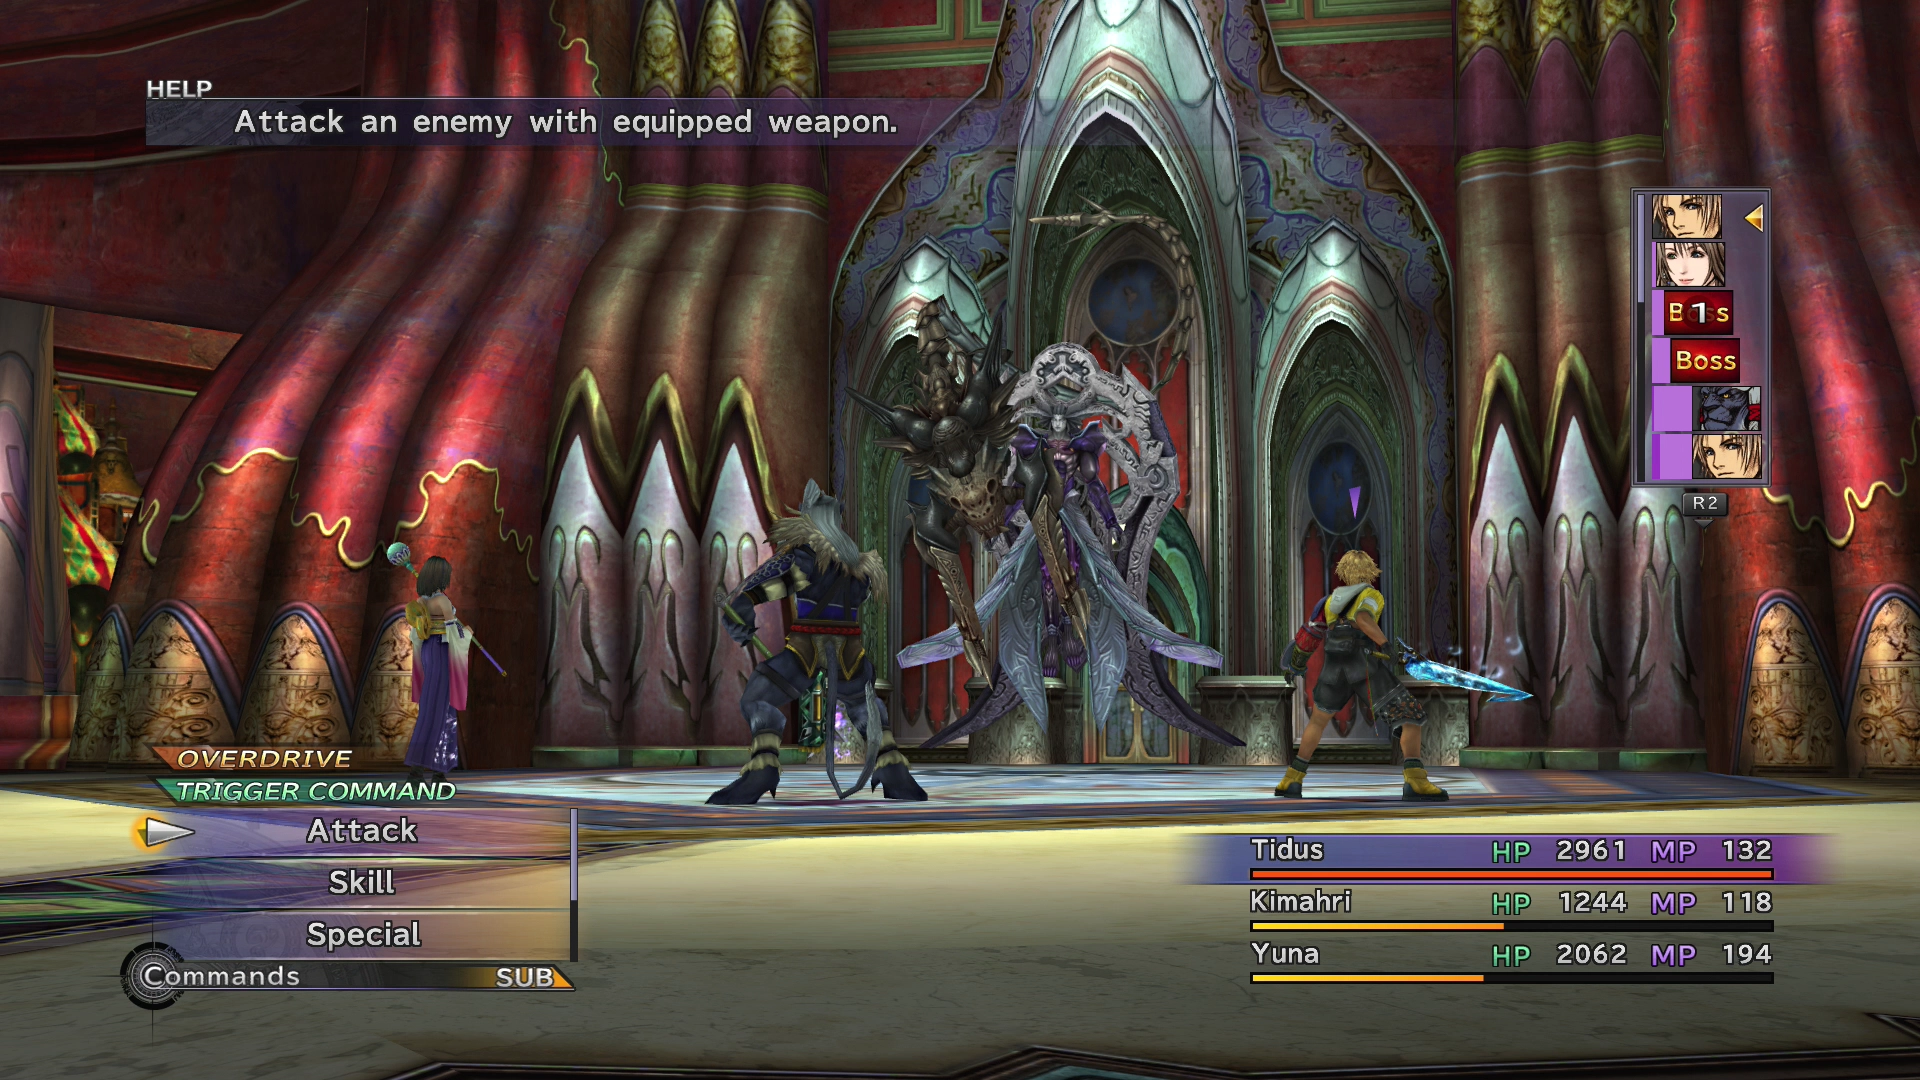
You have a couple of battles coming up, and only Yuna will be fighting in them. If you have not been using Yuna much, you should prepare for these battles by fully charging her Overdrive before proceeding down the hallway.
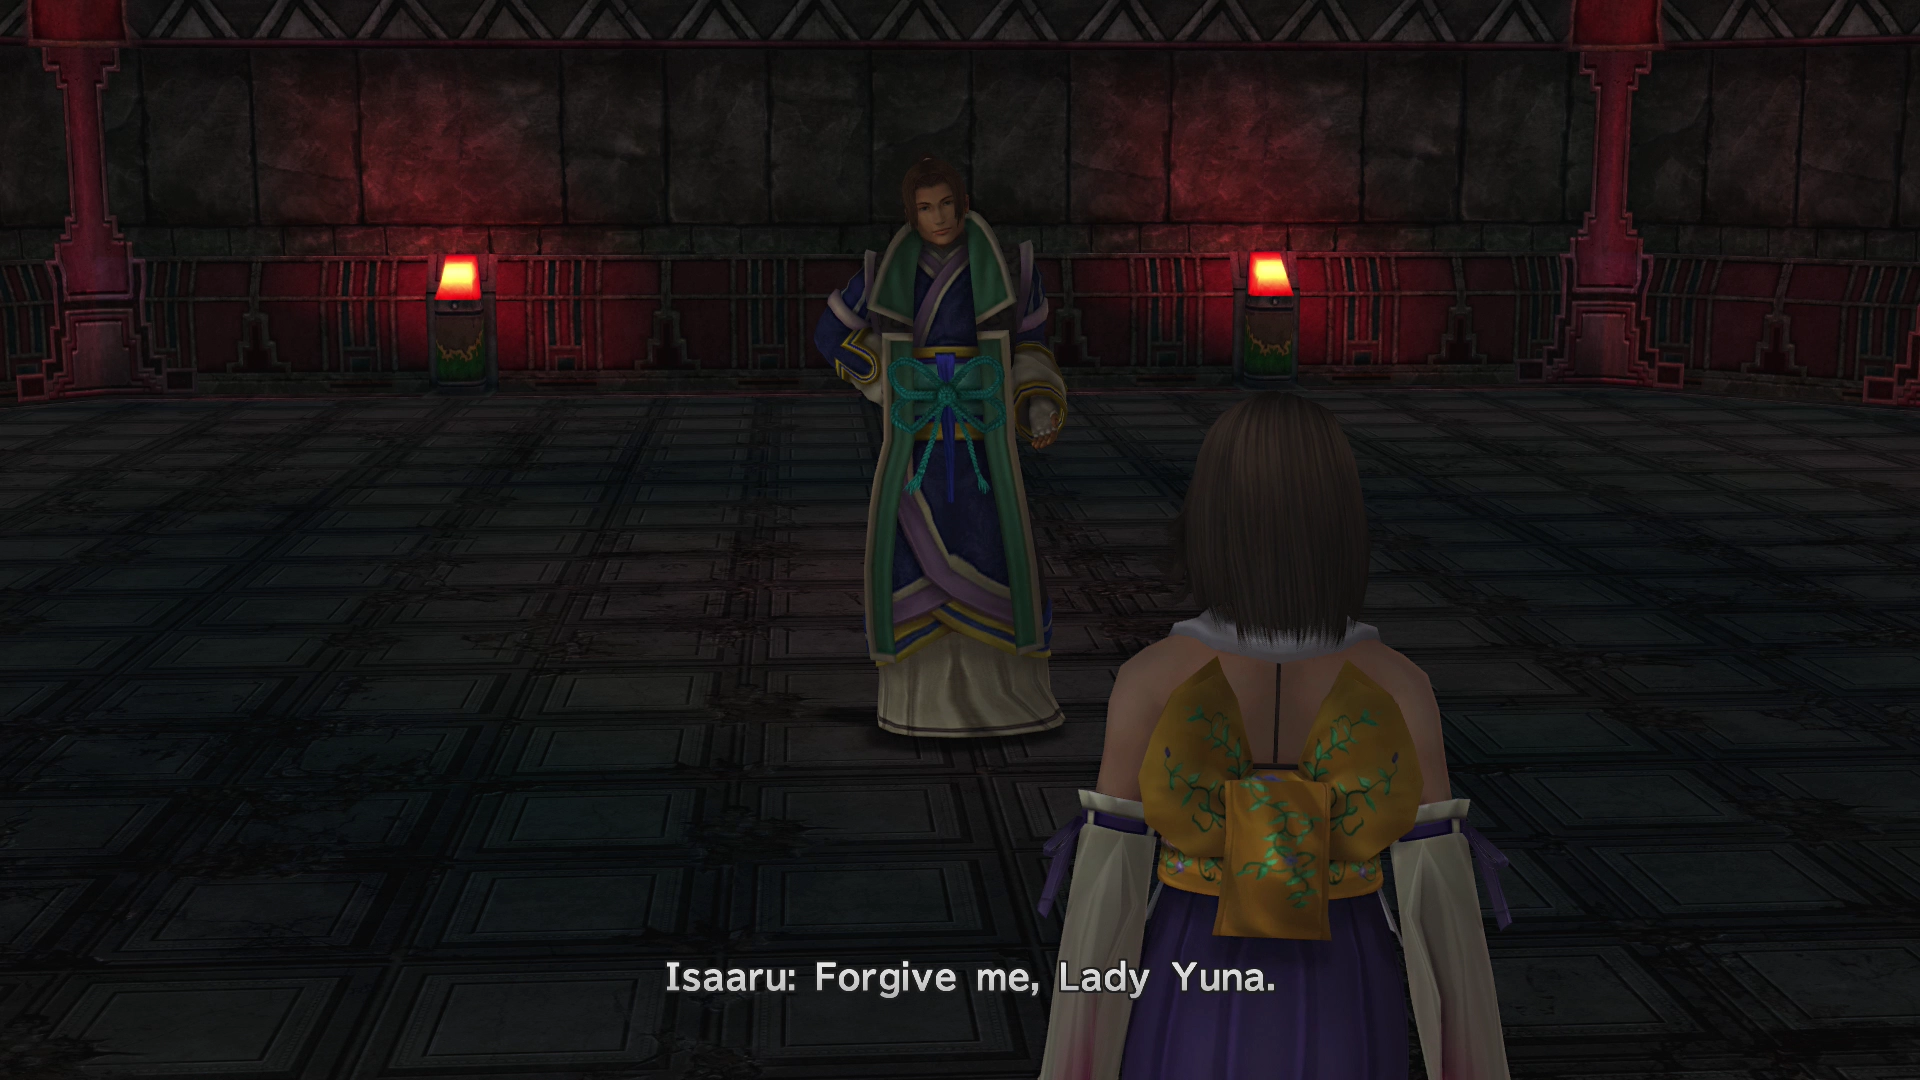
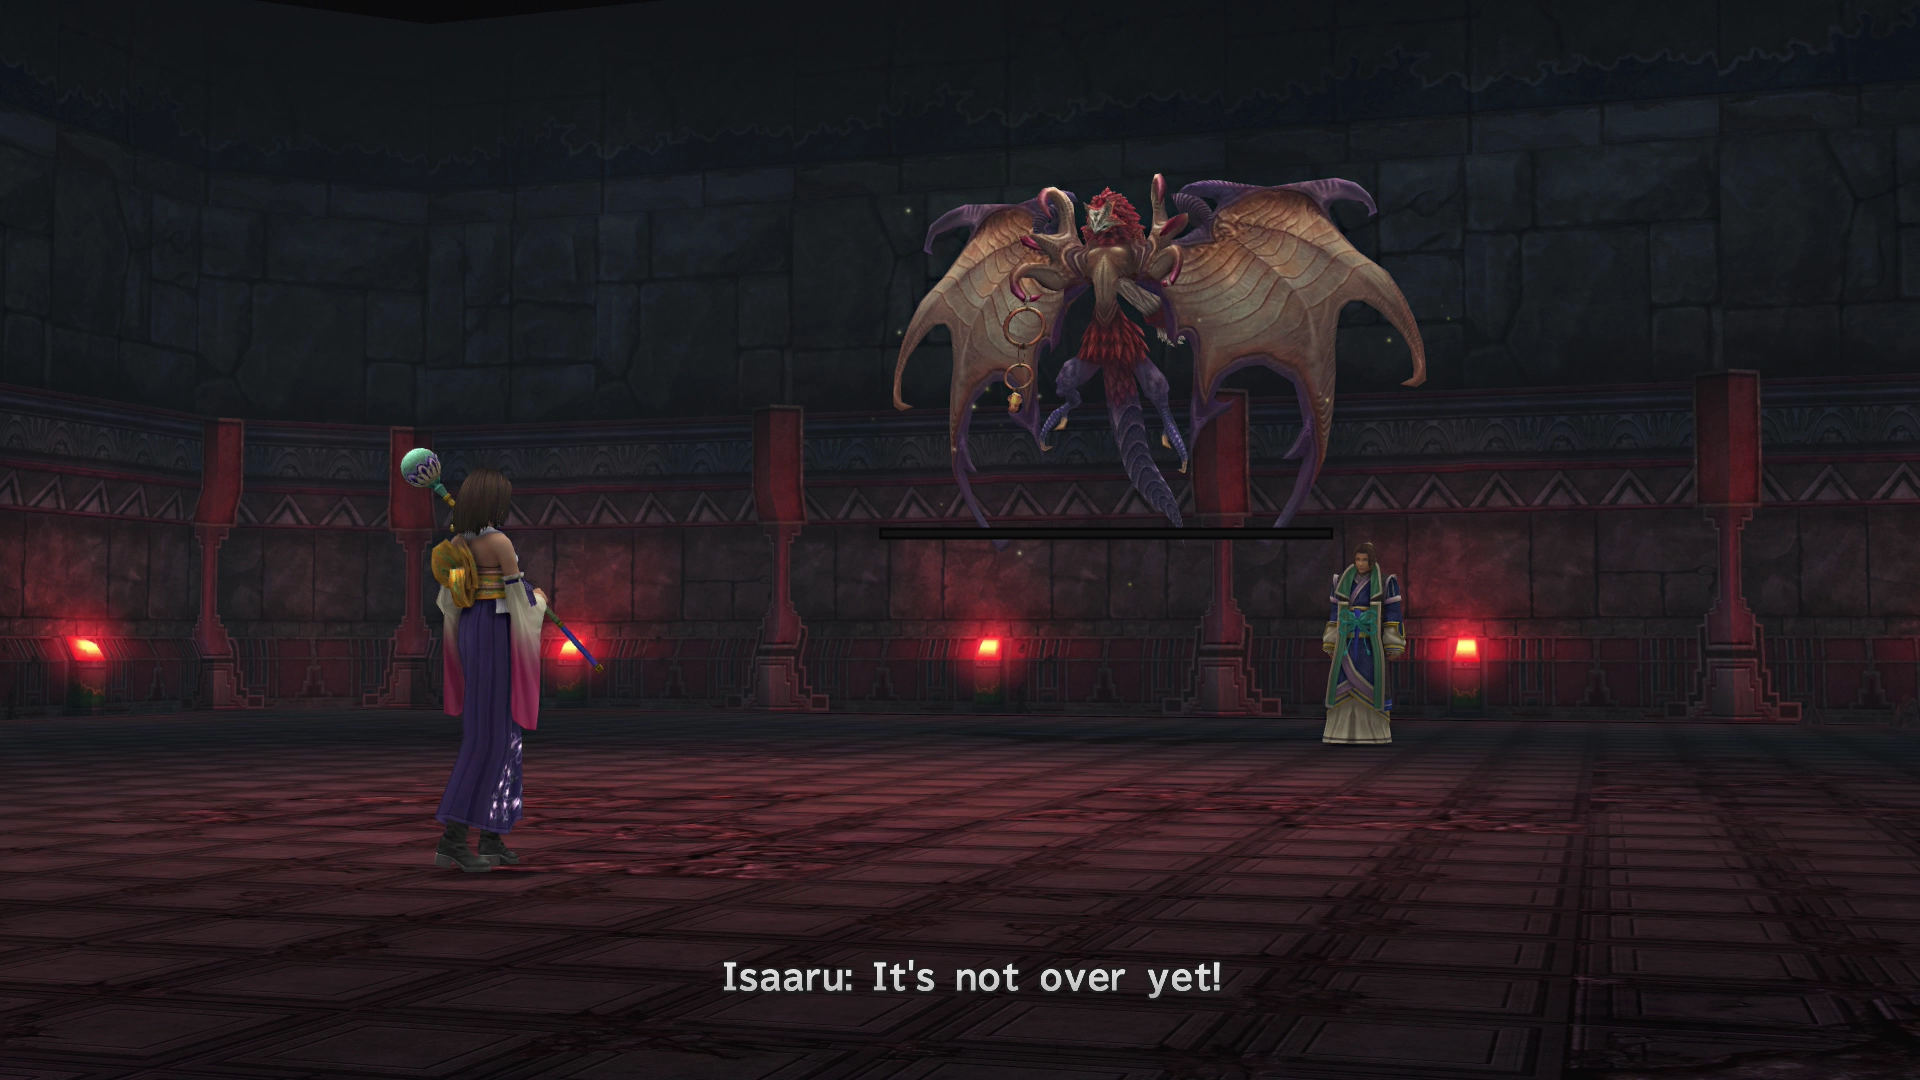
A short cutscene involving Isaaru will start once you reach the end of the hallway with the red lights. Isaaru will fight Yuna using his Aeons, as Yevon has instructed him not to let them pass.
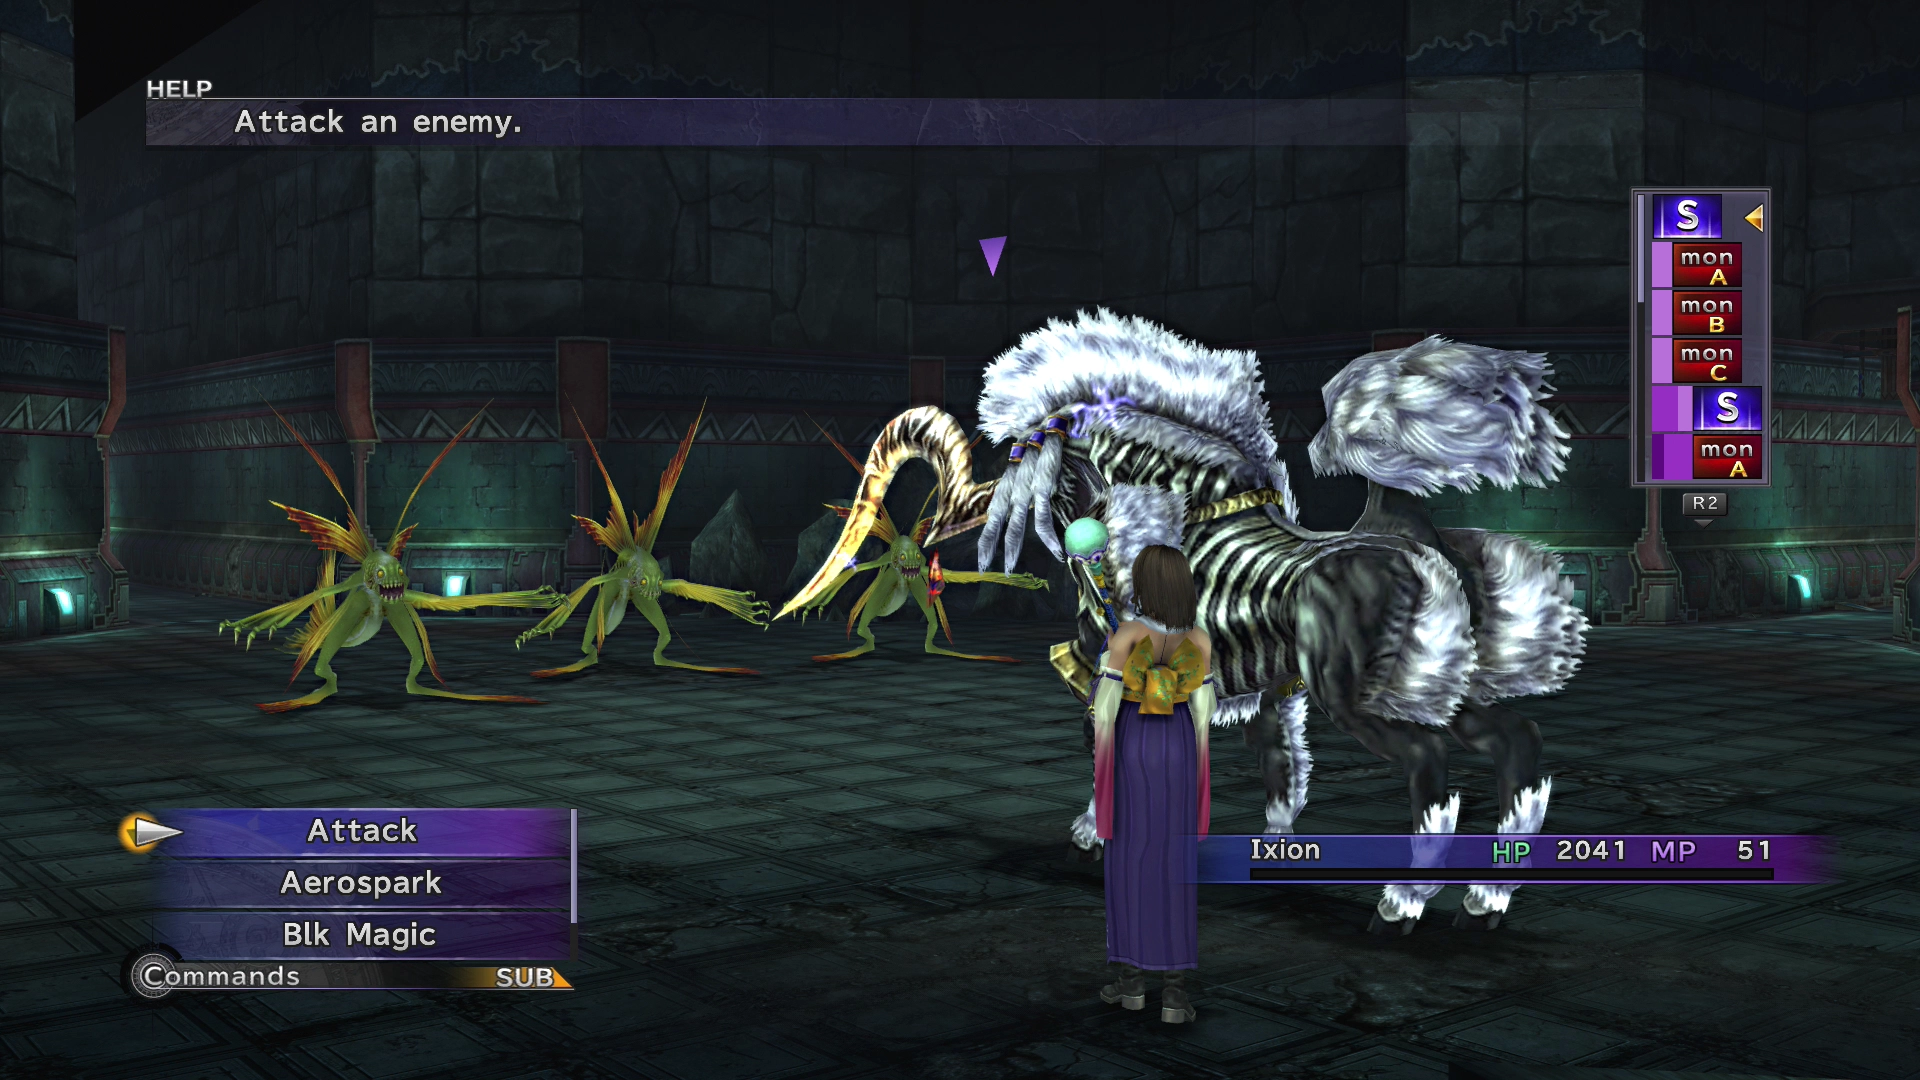
Boss Battle

Grothia (aka Ifrit):
HP: 8,000
Isaaru will start off the battle by summoning an Aeon called “Grothia,” which is basically the same as Ifrit with a different name. Use Yuna’s Grand Summon Overdrive if you charged it up before the battle to summon Bahamut and use Bahamut’s Mega Flare Overdrive attack to do some quick heavy damage to Isaaru’s Aeon.
Using Mega Flare may not actually kill Grothia, though, which means that Grothia will subject Bahamut to a Hellfire Overdrive attack. Follow up this attack by using ![]() Blizzaga because Blizzard and ice-based magics are the most effective against Grothia.
Blizzaga because Blizzard and ice-based magics are the most effective against Grothia.
Pterya (aka Valefor):
HP: 12,000
Your Bahamut Aeon will likely be injured at this point in the battle. If you’re lucky, though, and Bahamut escaped relatively unscathed, you may have another Overdrive charged with him, which you can use against Valefor. Otherwise, summon Ixion and cast his own Thundara on him whenever he needs healing. Like all Aeons, Ixion absorbs his own element, so lightning spells restore his HP instead of damaging him.
Pterya has 12,000 HP, so it will take a little more attack power to destroy it.

Spathi (aka Bahamut):
HP: 20,000
Isaaru’s final Aeon is a Bahamut clone named Spathi, so this means that you will not be able to summon Bahamut for this battle. Summon Shiva as your Aeon instead. She will be the best choice for this fight due to her speediness. She is also your second-strongest Aeon behind Bahamut.
Spathi will count down from 4 to 1, then use Mega Flare. The only way to survive Mega Flare is to have Shiva use her Shield ability right beforehand. You can then use ![]() Blizzara to heal up Shiva, as Spathi will begin another countdown right afterwards.
Blizzara to heal up Shiva, as Spathi will begin another countdown right afterwards.
Spathi is immune to the slowing effects of Heavenly Strike, and you will want to save your MP to heal Shiva using ![]() Blizzara, so use regular attacks to bring Spathi down.
Blizzara, so use regular attacks to bring Spathi down.
Defeating Spathi will conclude the fight against Isaaru.

Bevelle - Via Purifico (Underwater)
It’s time to switch over to Tidus, Wakka, and Rikku in the underwater sections of the Via Purifico.
Start by saving your game at the ![]() Save Sphere. Equipping your characters with Lightning-based weapons (with the
Save Sphere. Equipping your characters with Lightning-based weapons (with the ![]() Lightningstrike ability), if you have them, will allow you to defeat enemies in this area much more easily.
Lightningstrike ability), if you have them, will allow you to defeat enemies in this area much more easily.
You can use the treasure chest across from the Save Sphere to buy any items that you might be short on.
Follow the pathway along to initiate the next boss fight.
Boss Battle
In Game Description: Beware its Stone Gaze and nasty counterattacks. Open the gate locks to get some distance. Since it’s a zombie, healing magic and items are the way to go.
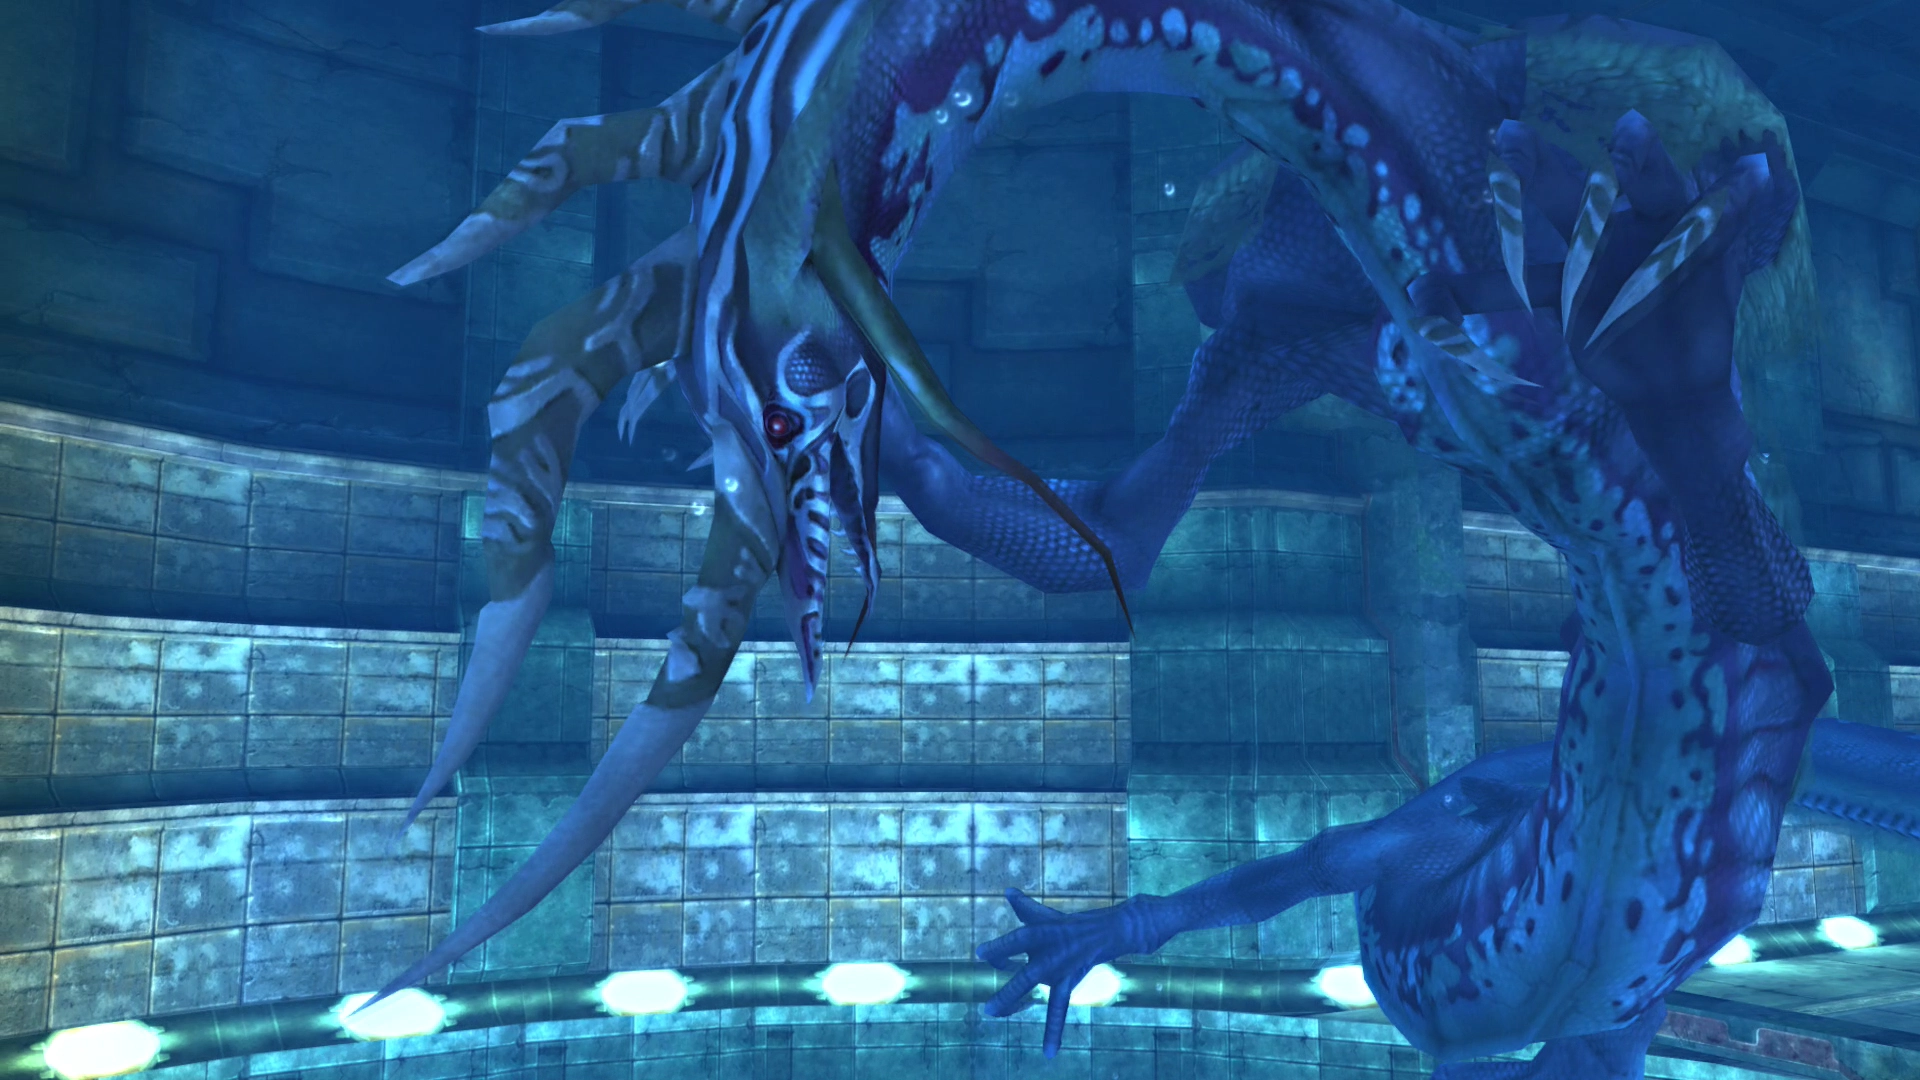
HP: 16,384
Evrae Altana is a zombie-type boss and, as the sensor tip mentions, it is “weak against healing effects.” Fans of the Final Fantasy series are likely familiar with this type of boss, as there is usually at least one undead fight in each Final Fantasy game.
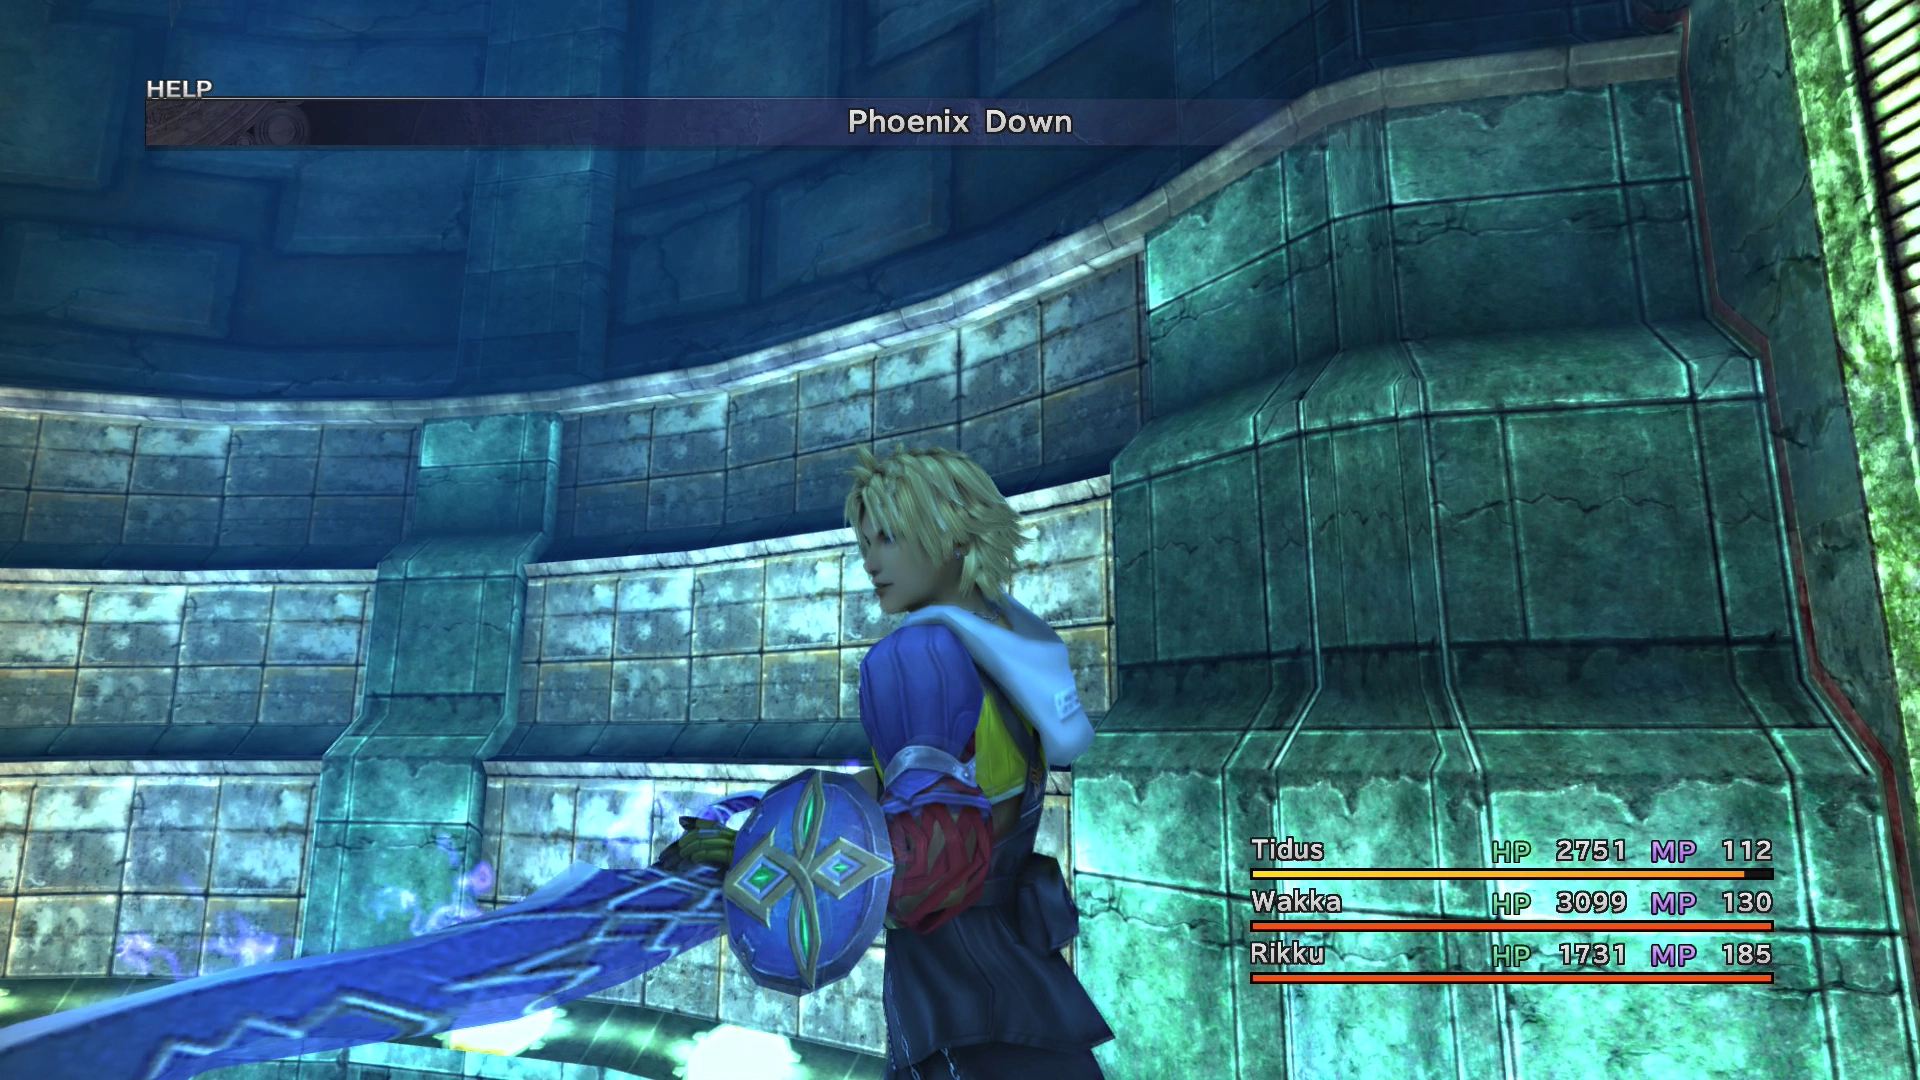
You can use healing items to defeat Evrae Altana easily. You can use two ![]() X-Potions or two
X-Potions or two ![]() Phoenix Downs to end the fight.
Phoenix Downs to end the fight.
Be aware that if you use any of the Trigger Commands to open the locks, you will not receive some of the bonus treasure chests at the end of the fight. Don’t open the locks in this area if you can avoid it!

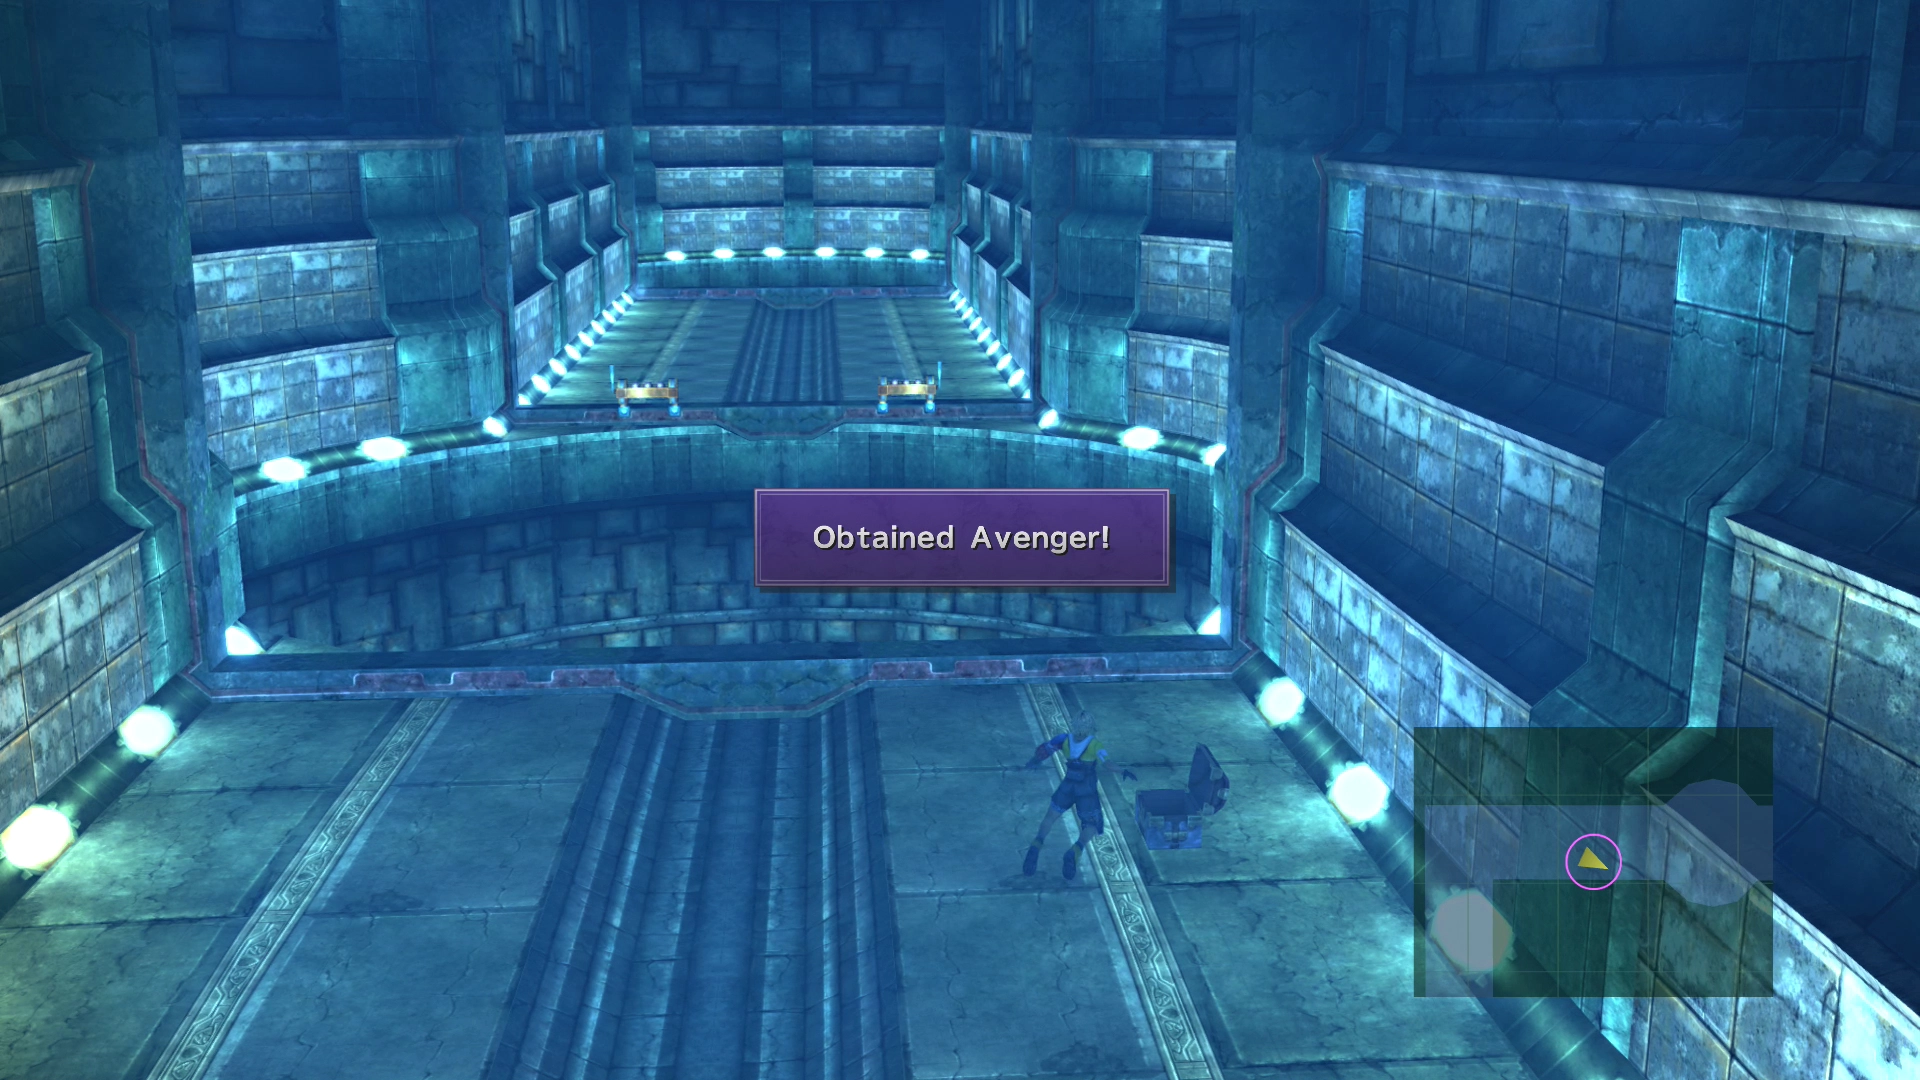
Swim through the corridors and pick up the two treasure chests along the way. These two chests will only be available if you did not open the locks during the fight against Evrae Altana.
One chest contains the ![]() Rematch weapon for Wakka, and the second contains an
Rematch weapon for Wakka, and the second contains an ![]() Avenger for Tidus (and you likely already have one of these).
Avenger for Tidus (and you likely already have one of these).

Continue swimming until you reach the end of the tunnel.
Highbridge
The two teams will reunite on the Highbridge. Maester Seymour will approach the group for a short cutscene.
Highbridge Map


Save your game at the ![]() Save Sphere and buy any items you are low on from O’aka XXIII. Run down the walkway to initiate the fight against Maester Seymour. There is another Save Sphere at the other end of the Highbridge.
Save Sphere and buy any items you are low on from O’aka XXIII. Run down the walkway to initiate the fight against Maester Seymour. There is another Save Sphere at the other end of the Highbridge.
Note: You can make the next boss battle against Seymour Natus much easier if you level up Yuna on the Highbridge by fighting random fiends until she obtains the ![]() Reflect spell.
Reflect spell.
You should also equip any armor that you have that contains the ![]() Stone Ward or
Stone Ward or ![]() Stoneproof ability. Lastly, it is also a good idea to make sure that Lulu has learned the
Stoneproof ability. Lastly, it is also a good idea to make sure that Lulu has learned the ![]() Bio spell.
Bio spell.
Boss Battle
In Game Description: Still uses elemental magic, but now uses multi-spells. When HP is low, he’ll petrify with Break and cast the non-elemental spell Flare.
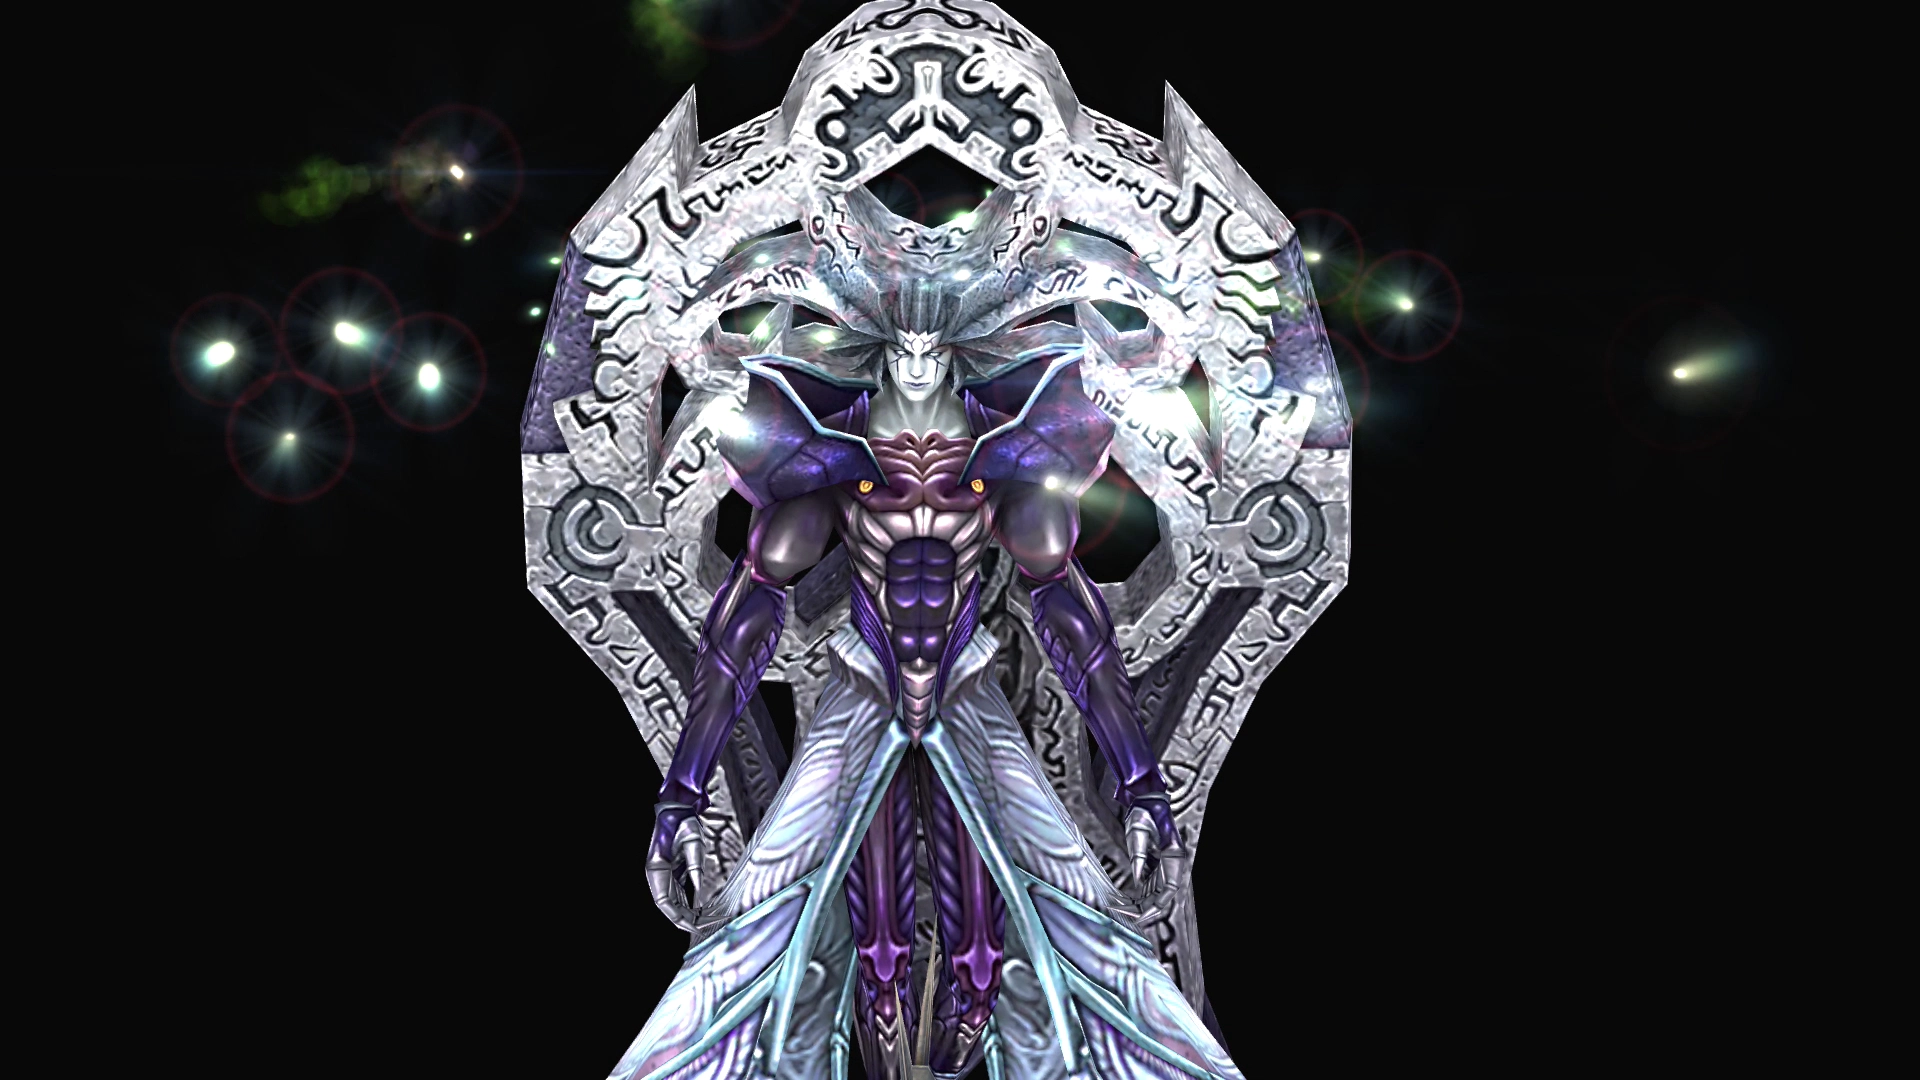
HP: 36,000
Seymour Natus, as a boss, consists of two distinct attackable and targetable portions: Natus and Mortibody. Natus is Maester Seymour himself, while Mortibody is the small, alien-like arm attached to Natus on the left side. There are three separate phases of this battle, and you can expect three different attack patterns during the fight.
Throughout the fight, though, Mortibody will cast Desperado, which will remove positive status effects, such as ![]() Haste,
Haste, ![]() Protect,
Protect, ![]() Shell, and
Shell, and ![]() Reflect, from your party members. It will automatically use Desperado when three of your party members have the same status effect, so you have to be strategic about which status effects you apply to each of your characters.
Reflect, from your party members. It will automatically use Desperado when three of your party members have the same status effect, so you have to be strategic about which status effects you apply to each of your characters.
Phase 1
During Phase 1, Mortibody will only cast basic magic spells, rotating through each element. Natus will attack very shortly after Mortibody and will use Multi-cast to doublecast a spell of the same element that Mortibody used. You can use Yuna’s ![]() NulBlaze,
NulBlaze, ![]() NulShock,
NulShock, ![]() NulTide, and
NulTide, and ![]() NulFrost between Mortibody’s and Natus’ attacks to prevent any damage from these spells, but this is a bad idea for two reasons:
NulFrost between Mortibody’s and Natus’ attacks to prevent any damage from these spells, but this is a bad idea for two reasons:
- It is difficult to time it so that Yuna’s turn is in between Natus and Mortibody’s attacks (though not impossible), and…
- You can’t stack up these spells, as Mortibody will cast Desperado, which removes all status effects from your team. Keep hammering away until you reach the next phase of the fight (after you have done 24,000 damage).
Phase 2 (once Natus is below 24,000 HP)
Natus will start this phase by casting ![]() Protect on himself. You can use
Protect on himself. You can use ![]() Dispel to remove this status effect if you have it. Natus will also begin casting Break on individual characters, which will petrify players.
Dispel to remove this status effect if you have it. Natus will also begin casting Break on individual characters, which will petrify players.
Mortibody will use an attack called “Shattering Claw,” and it will shatter any petrified character if it hits them, which will permanently remove that character from the battle. For this reason, you should use a ![]() Soft or use Yuna’s
Soft or use Yuna’s ![]() Esuna spell to remove the Petrify status effect immediately.
Esuna spell to remove the Petrify status effect immediately.
Phase 3 (once Natus is below 12,000 HP)
Seymour will now begin casting ![]() Flare on party members, which will cause ~2,500 HP worth of damage. Mortibody will also begin casting
Flare on party members, which will cause ~2,500 HP worth of damage. Mortibody will also begin casting ![]() Cura on Natus, which can make the remaining 12,000 HP incredibly difficult to burn through. You can cast
Cura on Natus, which can make the remaining 12,000 HP incredibly difficult to burn through. You can cast ![]() Reflect on Natus, which will cause the
Reflect on Natus, which will cause the ![]() Cura spells to bounce onto one of your party members and will make the fight significantly easier.
Cura spells to bounce onto one of your party members and will make the fight significantly easier.
Some additional notes:
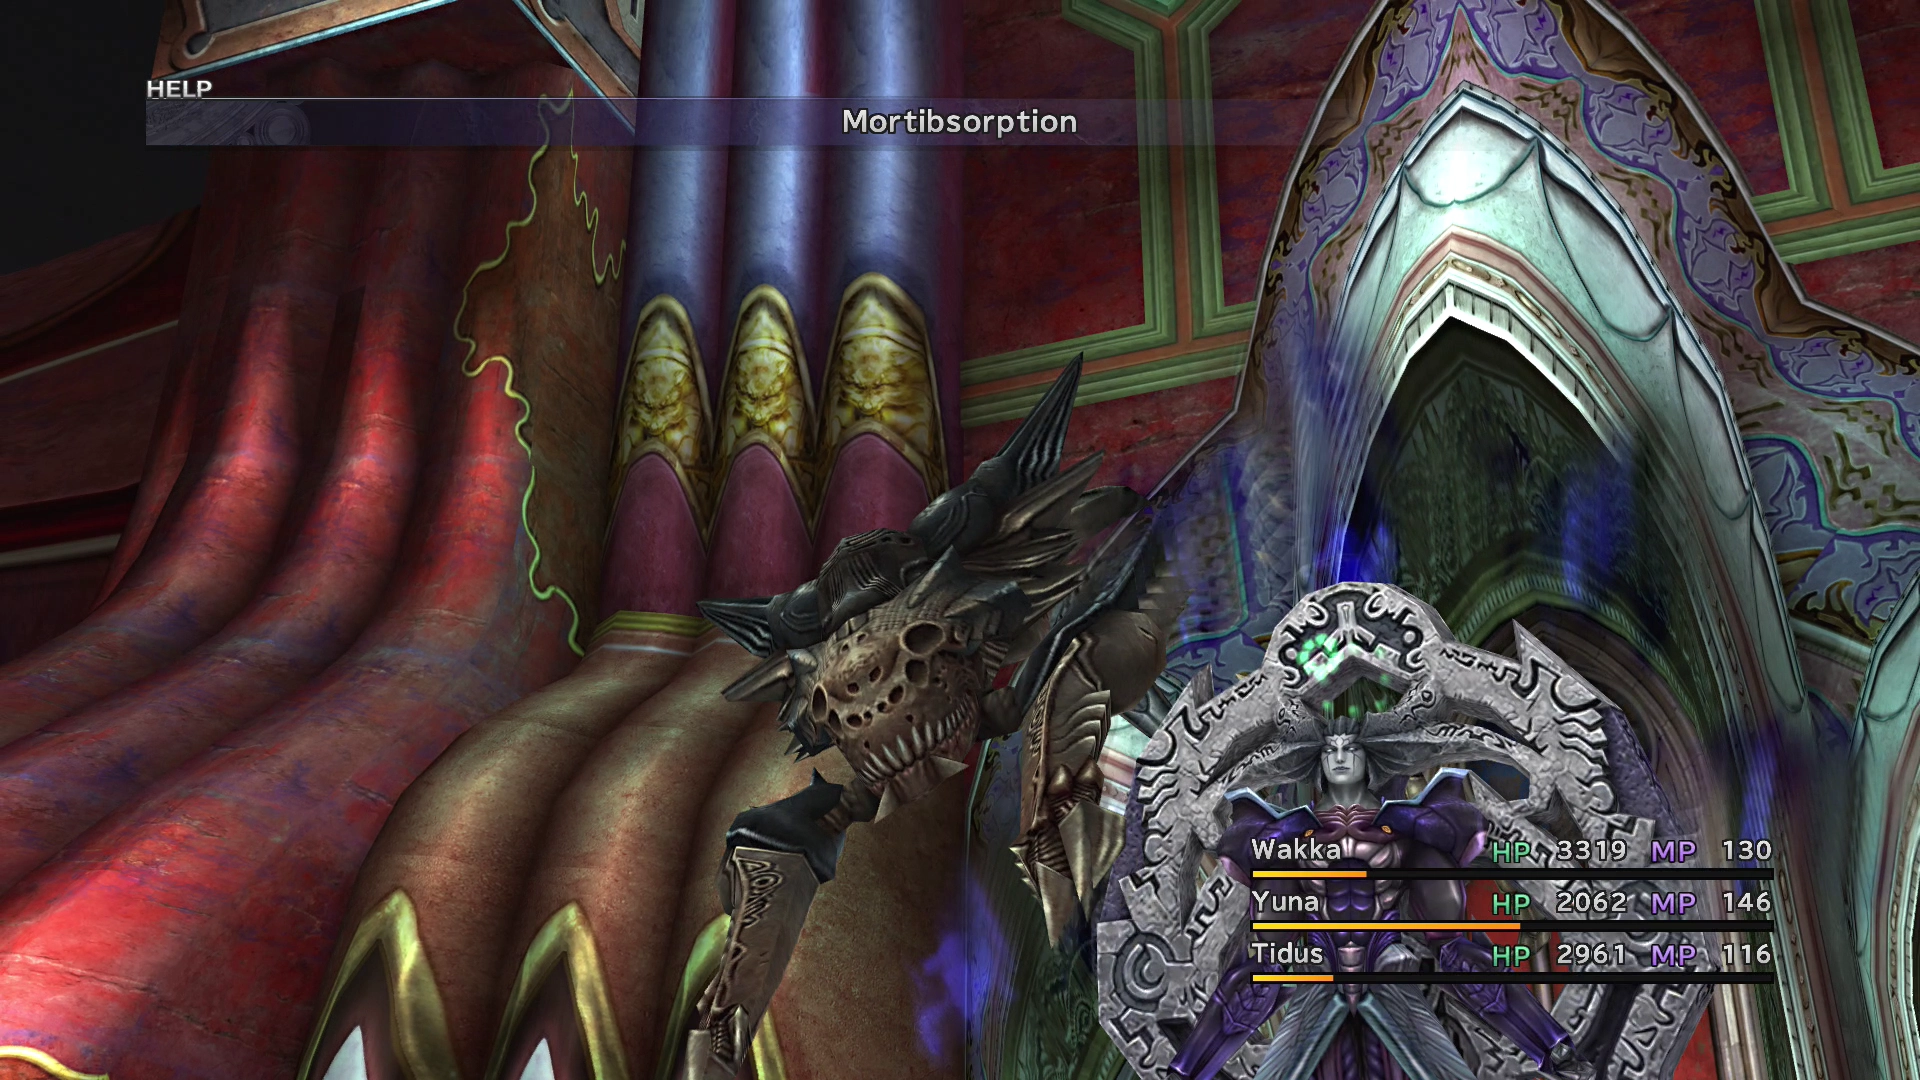
- Natus will use either Multi-cast or ![]() Flare to counterattack if you attack him directly. You can opt to attack Mortibody instead, as each time you kill Mortibody, it will cast “Mortibsorption” on Natus, stealing 4,000 HP from Natus and reviving itself. This spell will drop to 3,000 HP, then 2,000, and finally 1,000 HP, where it will remain the rest of the fight. Dealing with hitting Natus 1,000 HP at a time is still easier than dealing with his
Flare to counterattack if you attack him directly. You can opt to attack Mortibody instead, as each time you kill Mortibody, it will cast “Mortibsorption” on Natus, stealing 4,000 HP from Natus and reviving itself. This spell will drop to 3,000 HP, then 2,000, and finally 1,000 HP, where it will remain the rest of the fight. Dealing with hitting Natus 1,000 HP at a time is still easier than dealing with his ![]() Flare spell. This attack method and reduction in effectiveness will not be of concern, though, if you have cast
Flare spell. This attack method and reduction in effectiveness will not be of concern, though, if you have cast ![]() Reflect on your characters, in which case, you should focus your attacks on Natus.
Reflect on your characters, in which case, you should focus your attacks on Natus.
- Casting an Aeon will not be very helpful in this fight. Natus will use a spell called Banish which, will immediately eject the Aeon from the fight. However, Aeon’s can still be useful for a quick Overdrive if Yuna manages to get to use Grand Summon.
- Yuna can use the Trigger Command to talk to Seymour and increase her Magic Defense, which is incredibly useful for this fight. Tidus and Auron can also use the Trigger Command to talk to Seymour and increase their Strength stat.
Strategy:
- It can’t be overstated how much easier this fight is if Yuna has learned the
 Reflect magic spell. If you are having problems with this fight, consider leveling her up on the Highbridge against regular fiends until she has learned this spell. Cast Reflect on each of your characters during the last phase of the fight.
 - Cast Haste on only two of your party members because Mortibody will use Desperado (which will remove all positive status effects) any time all three party members have the Haste status effect or whenever they have the NulBlaze, NulShock, NulTide, or NulFrost effect. Note that you need to do this before casting Reflect on your characters, or you will reflect the Haste onto Seymour Natus.
- Have Lulu cast
 Bio on Maester Seymour very early on in the fight, as this is a slow fight that will allow it to stack up a ton of damage.
 - If you do not have the Reflect spell, have Yuna cast Shell on only two party members.
- Cast Reflect (or Shell as a substitute) on Seymour Natus to prevent Mortibody from healing him too much with his Cura spells.
- You can also utilize Auron’s
 Magic Break ability on Mortibody/Natus if you are having trouble defeating them.
 - Advanced Strategy: Make sure that all of your characters get at least one attack in on Mortibody or Seymour Natus to ensure that they are all awarded with AP at the end of the fight.
Steal:
- Tetra Elemental (x2) (common)
- Tetra Elemental (x3) (rare)
Drops:
Note: It is now possible to obtain the ![]() Celestial Mirror and begin obtaining the Celestial Weapons at this point in the game. That said, the Celestial Weapons are much easier to obtain towards the end of the game. Check out the Side Quests section for more information.
Celestial Mirror and begin obtaining the Celestial Weapons at this point in the game. That said, the Celestial Weapons are much easier to obtain towards the end of the game. Check out the Side Quests section for more information.
The game continues for a short time back in the Macalania Woods.