
Luca
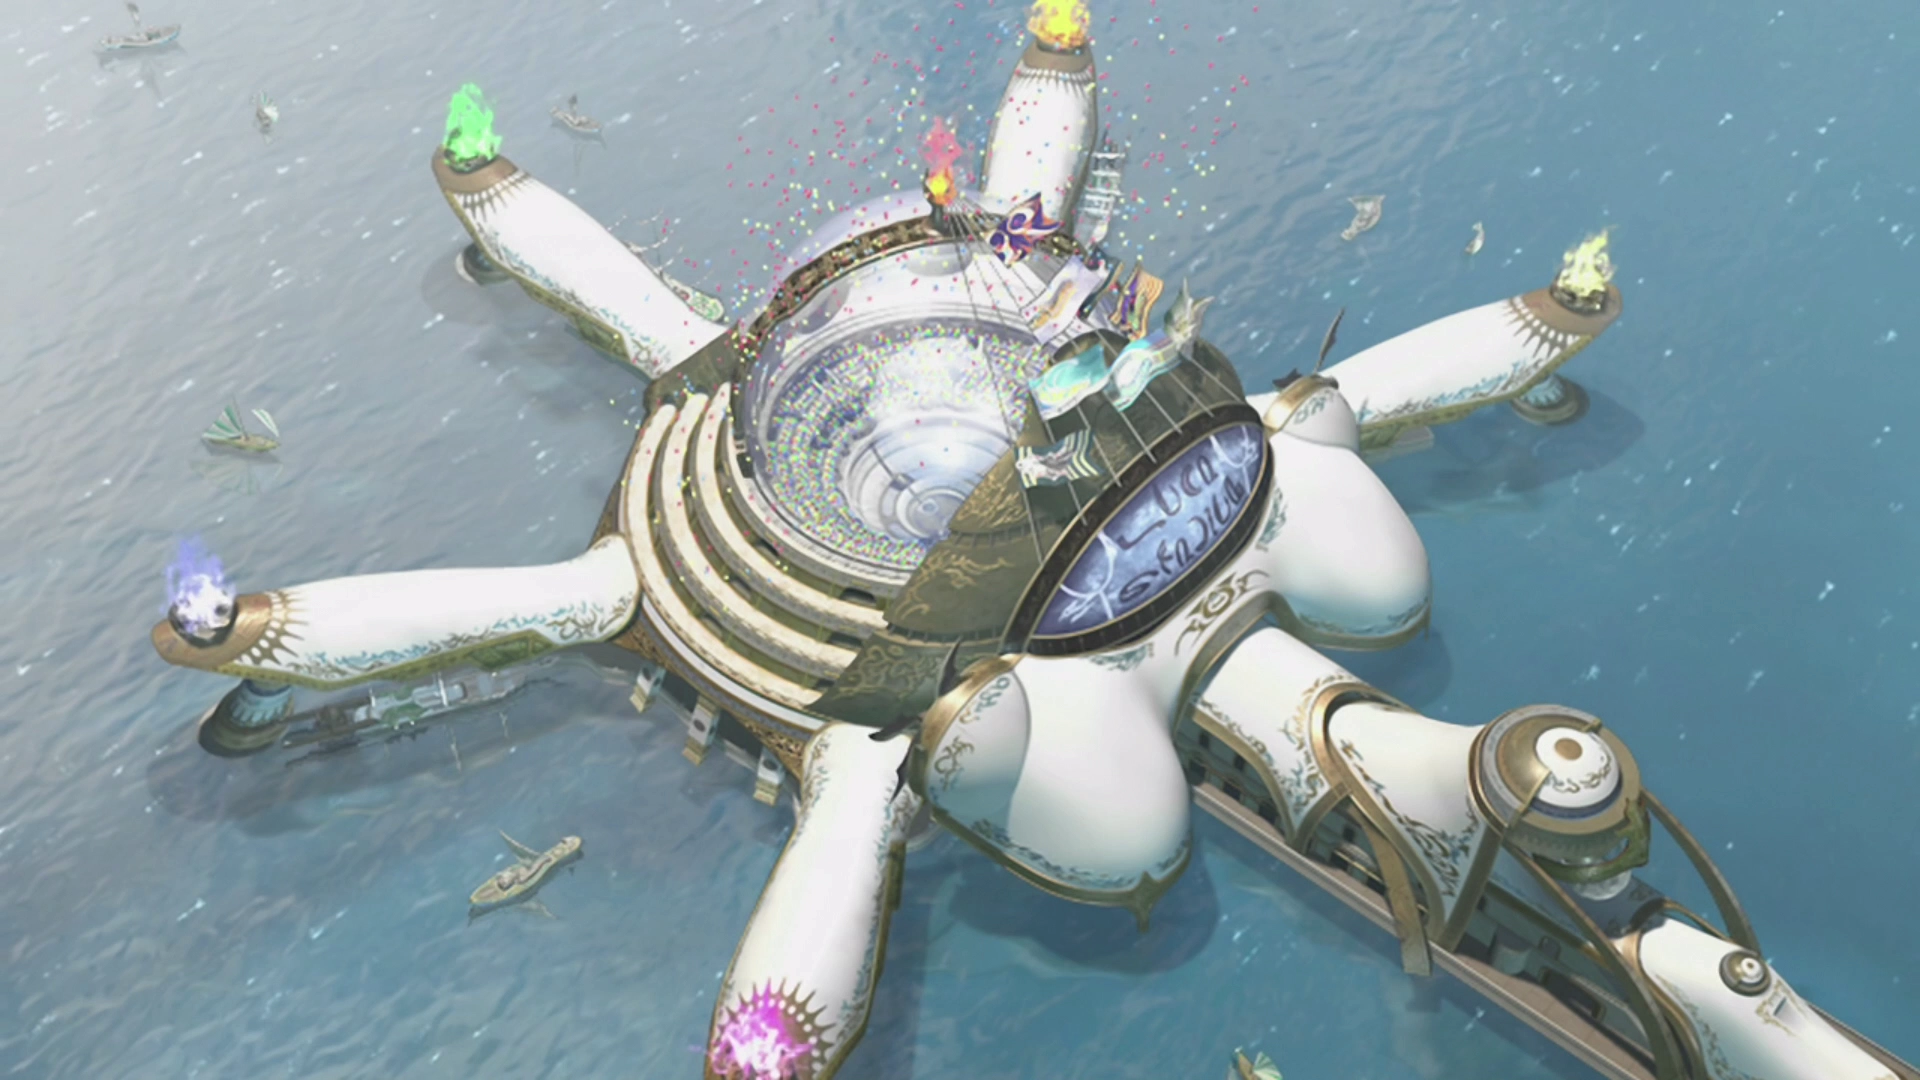
The town of Luca is the first large-sized town, at least compared to the other ones that you’ve visited so far.
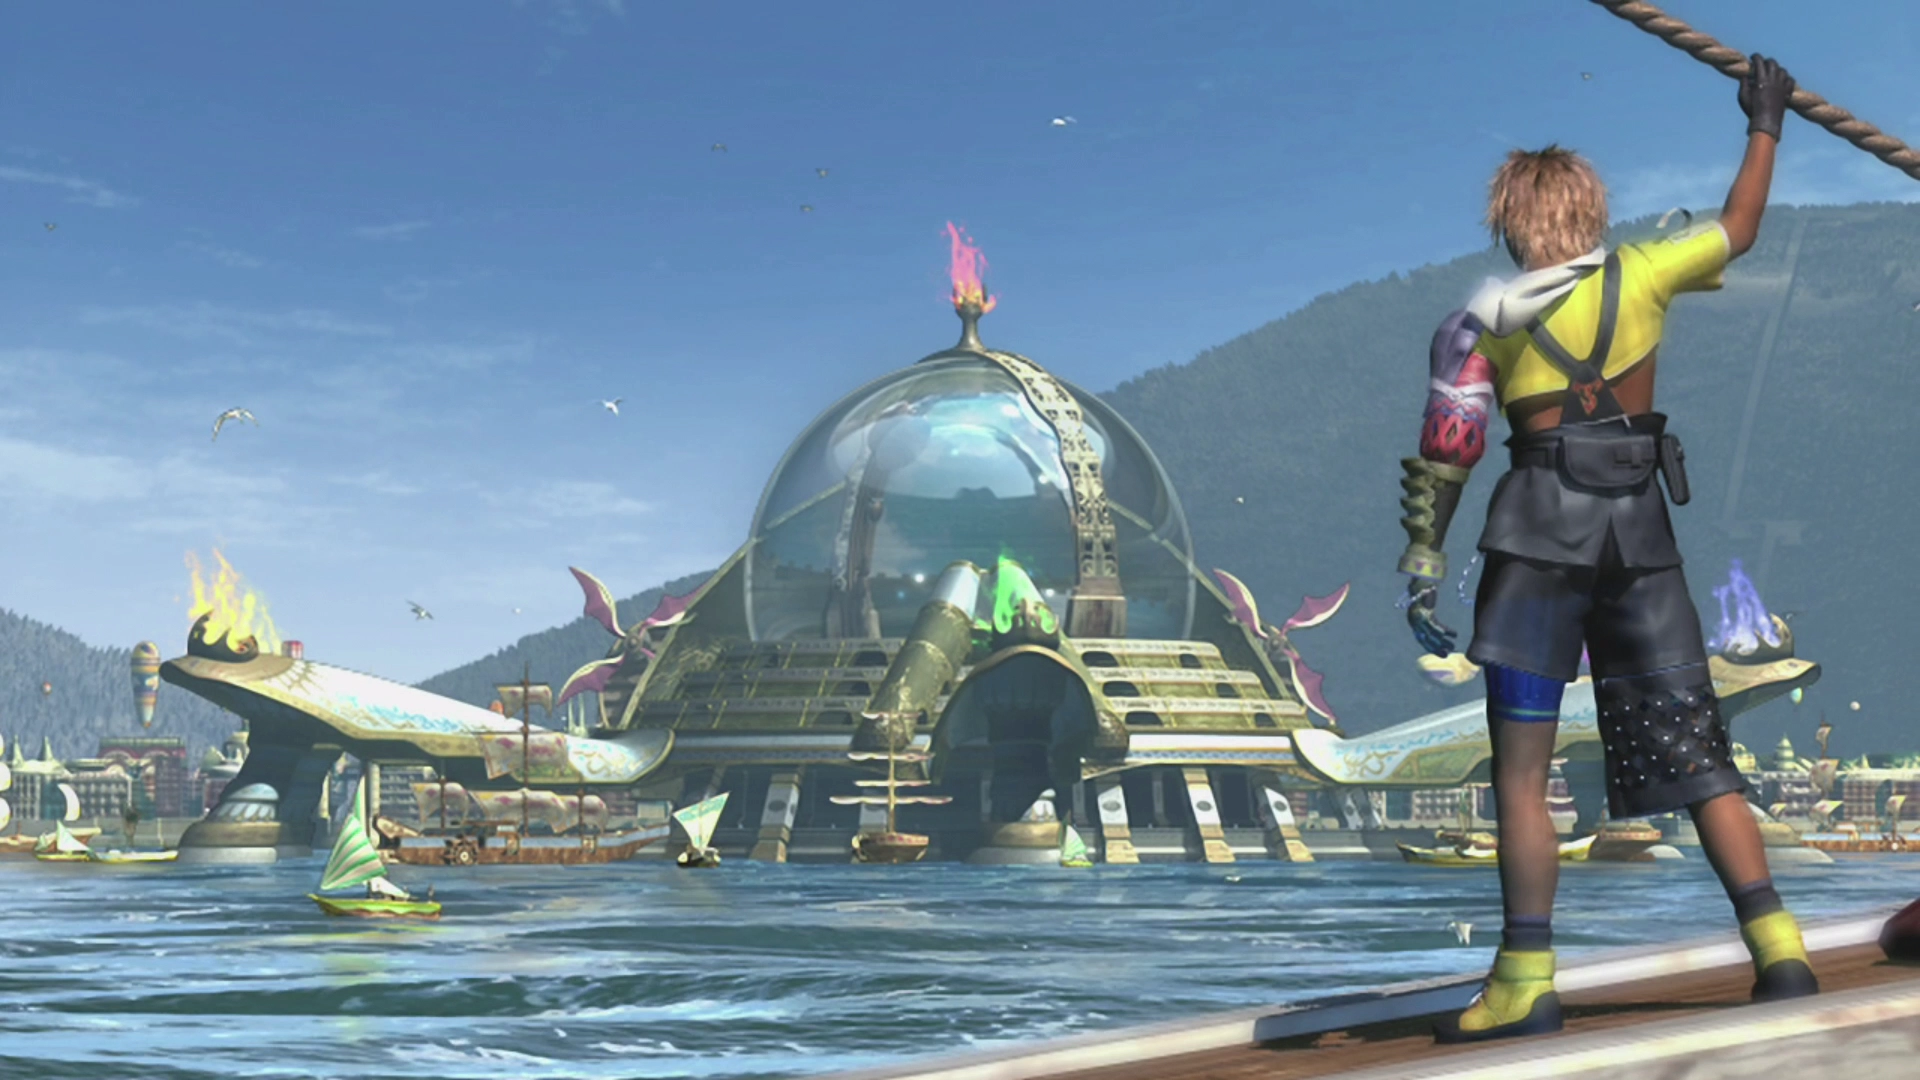
Each of the Blitzball teams participating in the upcoming tournament will receive a warm welcome, except Tidus and the Besaid Aurochs, who receive nothing but ridicule. Apparently, they’ve “never seen a team this bad!”
Dock 1
Your first task upon arriving in Luca is to visit Maester Mika on Dock 3. Follow the red arrow ![]() on the screen to the north.
on the screen to the north.
After witnessing the arrival of Maester Mika and getting your first glimpse of Maester Seymour, the next scene will take place in the locker room of the Besaid Aurochs. Wakka will present you with an opportunity to go over the basics of Blitzball, one of the primary side games and side quests in Final Fantasy X.
Stadium - Basement A
Take the time to read through the Blitzball tutorials provided in the game. You won’t be playing Blitzball for a little while yet, but if you’re interested in learning more, you can also check out the Strategies and Tips page in the Blitzball section.
Blitzball Section

The Strategies and Tips page covers the fundamentals of Blitzball, including movement modes, formations, building your team, and the techniques your players can learn.
Yuna will come bursting into the Besaid Aurochs’ locker room, explaining that she saw Auron in the area. Tidus will take off in search of him. Once Yuna and Tidus exit the locker room, follow the blinking red arrow ![]() on the mini-map out to the stadium’s Main Gate platform.
on the mini-map out to the stadium’s Main Gate platform.
Luca Stadium - Main Gate
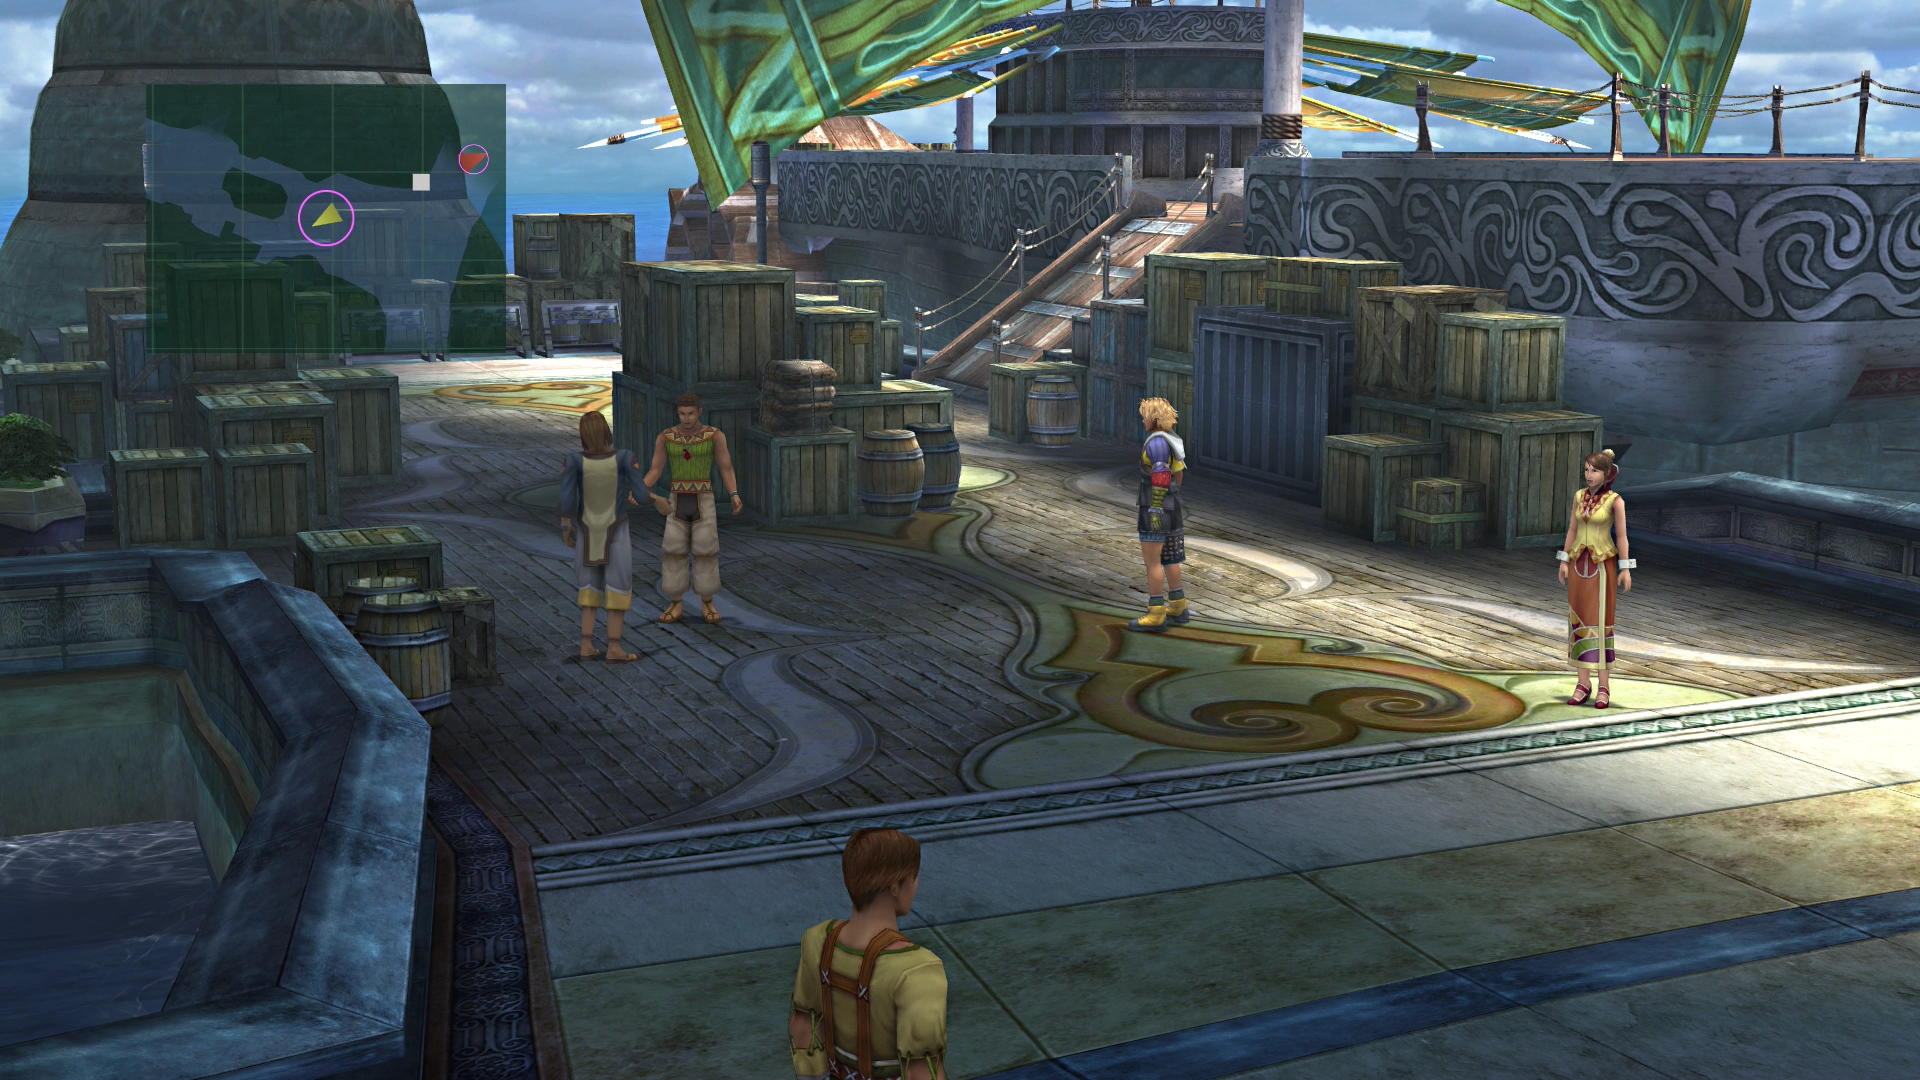
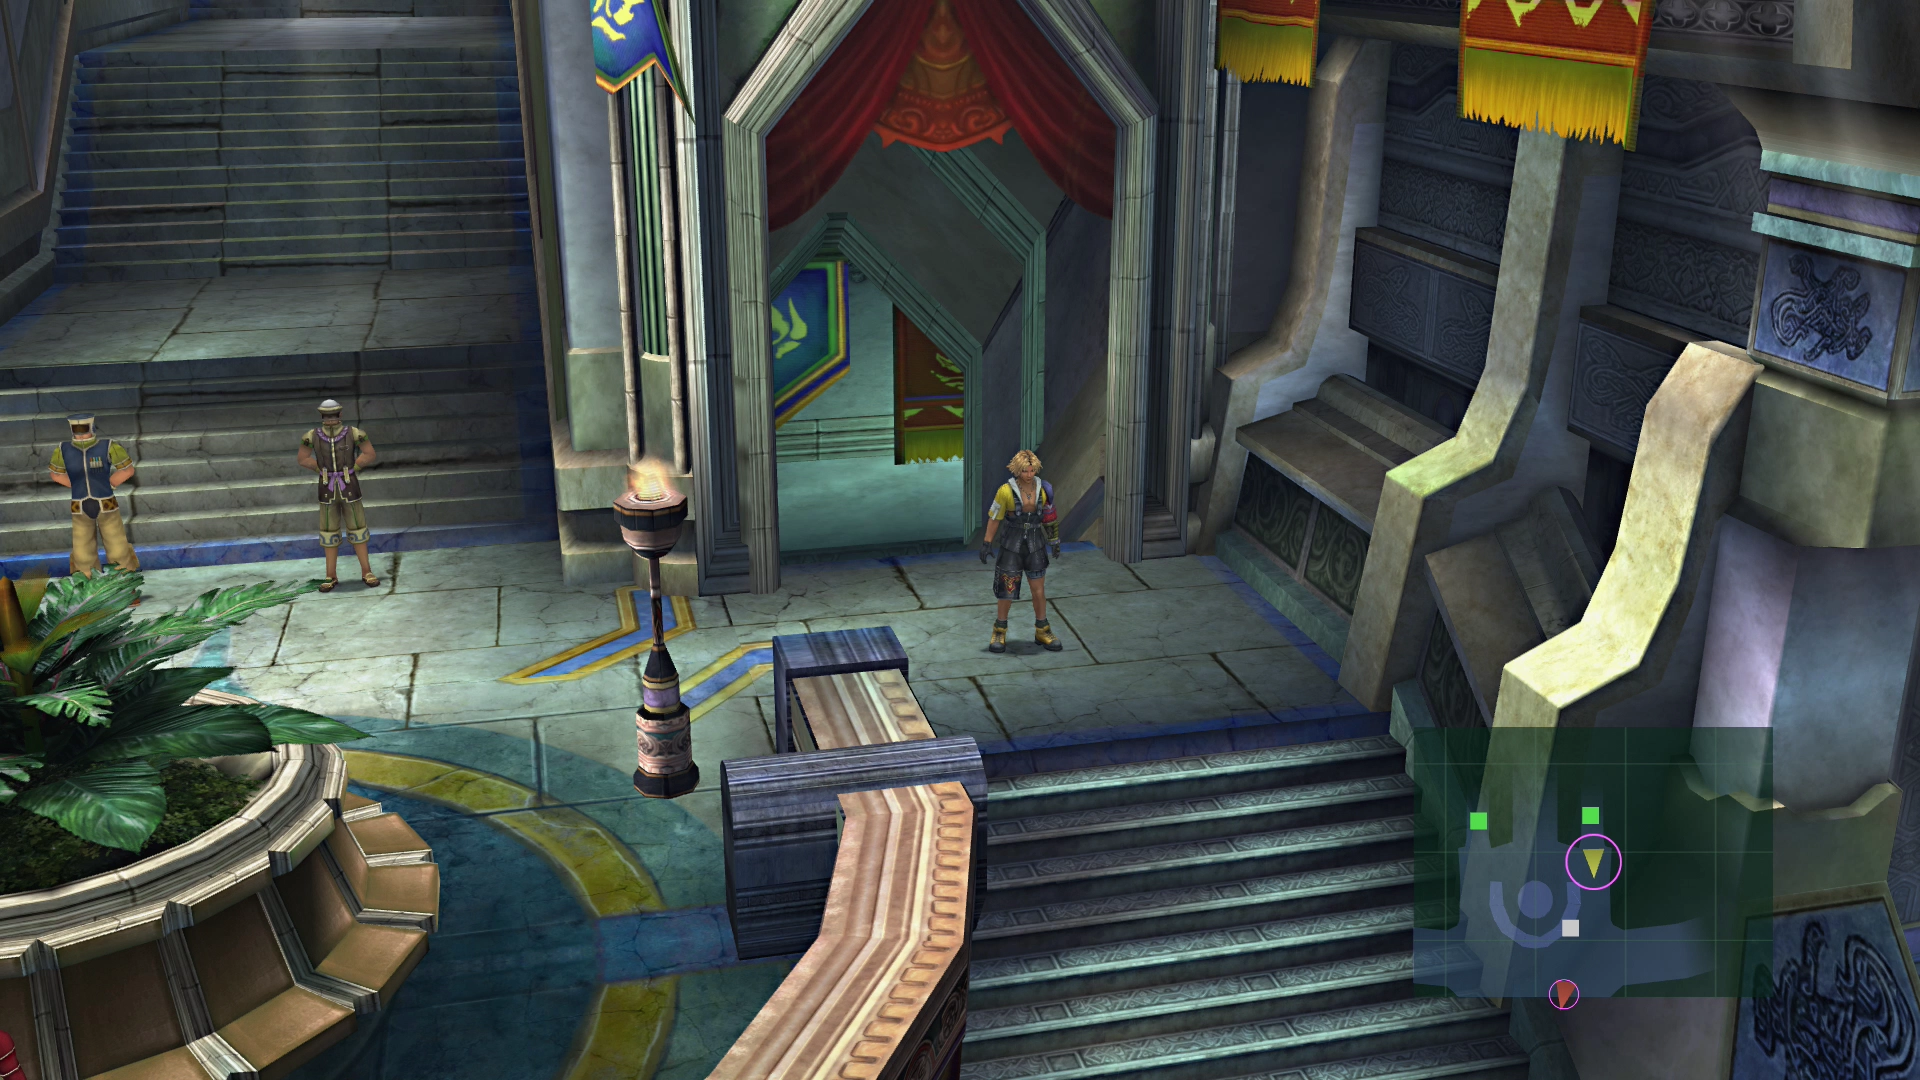
Once you reach the main gate area (shown in the screenshot below), hold off on heading down the stairs for now, and ignore the red arrow ![]() . Instead, cross over to the locker room on the left side of the platform first. You can see the entrance to the other locker room marked as a green square on the mini-map.
. Instead, cross over to the locker room on the left side of the platform first. You can see the entrance to the other locker room marked as a green square on the mini-map.
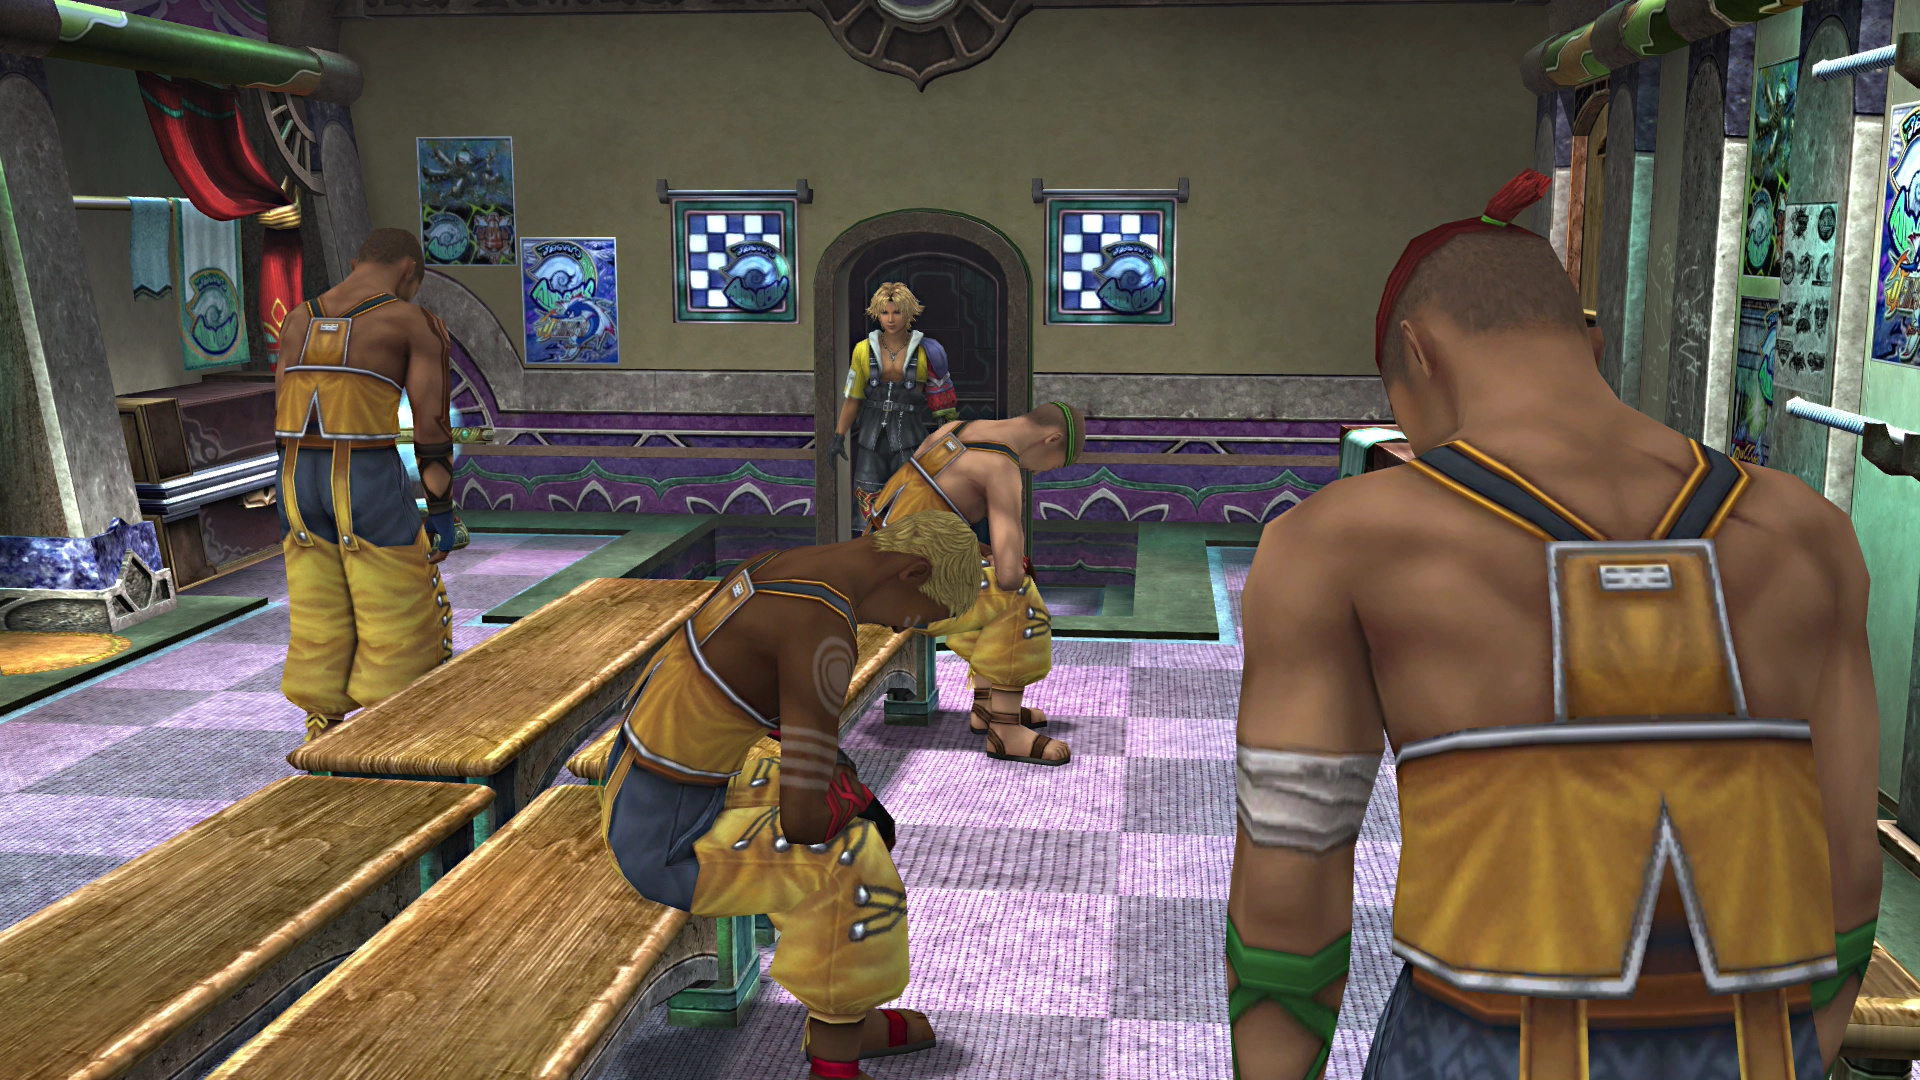
Stadium - Basement B
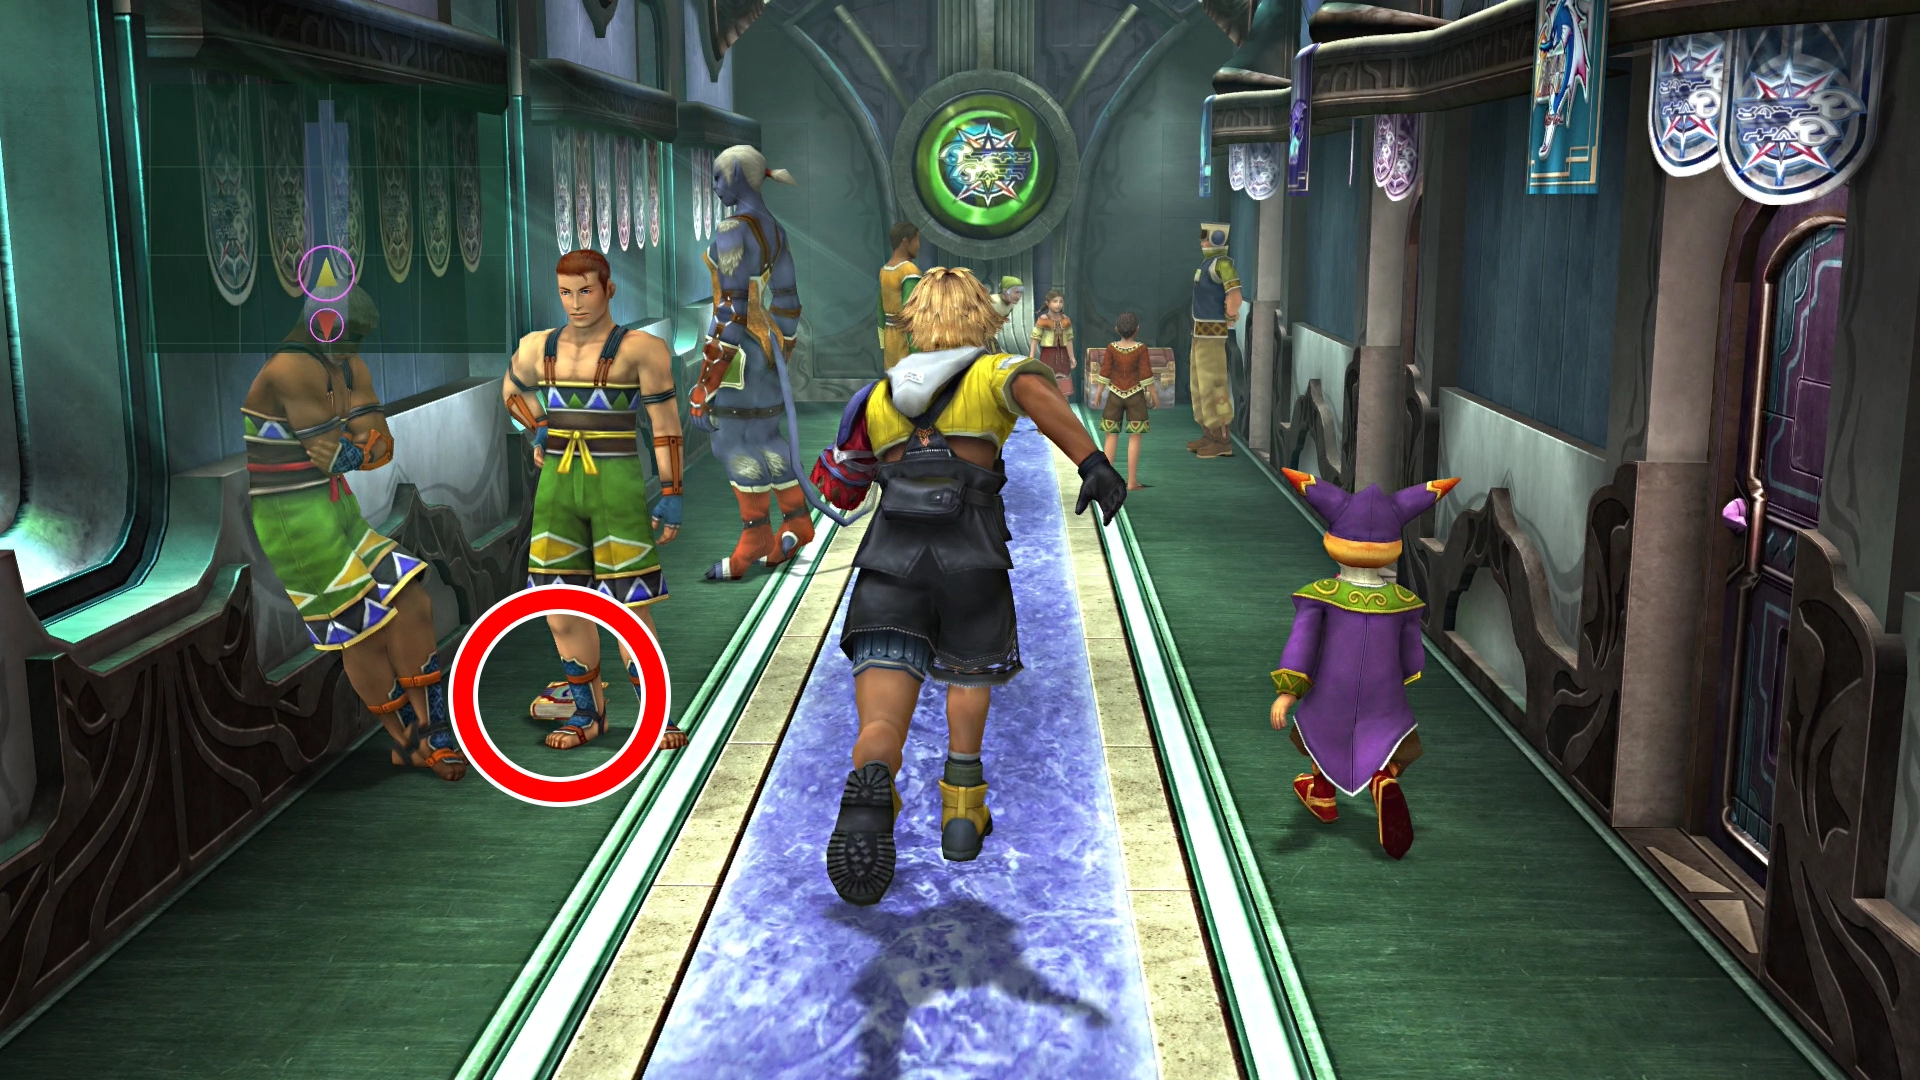
There is an ![]() Al Bhed Primer (Vol. VI) sitting on the ground behind the man in green, and at the end of the hallway, you will find a treasure chest that contains two
Al Bhed Primer (Vol. VI) sitting on the ground behind the man in green, and at the end of the hallway, you will find a treasure chest that contains two ![]() Hi-Potions.
Hi-Potions.
Now go back out to the Main Gate platform and head down the stairs. Ignore the red arrow ![]() in the game again and head around to the docks on the left, following the red arrow
in the game again and head around to the docks on the left, following the red arrow ![]() shown on this guide’s map below, before you leave Luca Stadium.
shown on this guide’s map below, before you leave Luca Stadium.
Luca Main Gate Map


Luca - Number 1 Dock
On Dock 1 (check the menu screen to verify which dock you are on), you will find O’aka XXIII.
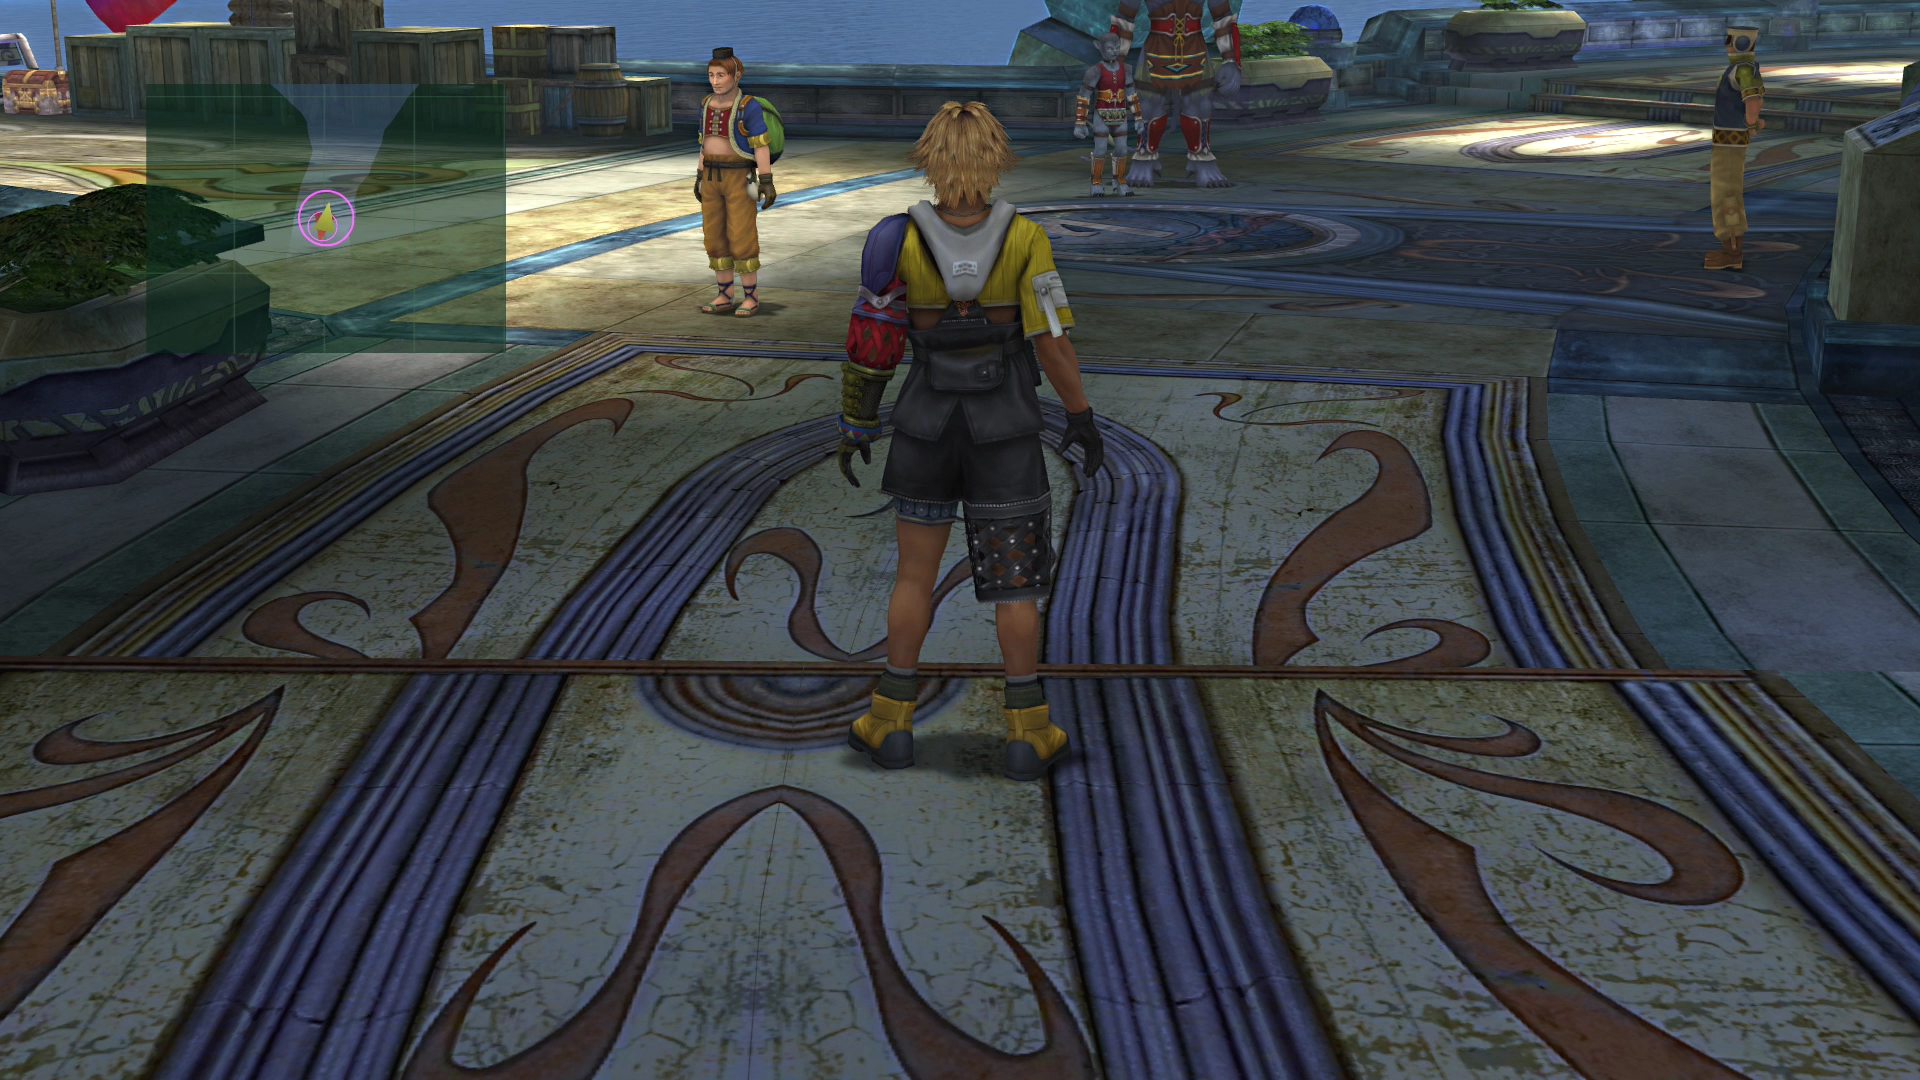
Go a little bit further down the docks to find a treasure chest that contains 600 Gil, and then even further down the docks to find one that contains the ![]() Tidal Spear.
Tidal Spear.

Luca Number 1 Dock Map

| 600 Gil | |
Luca - Number 2 Dock
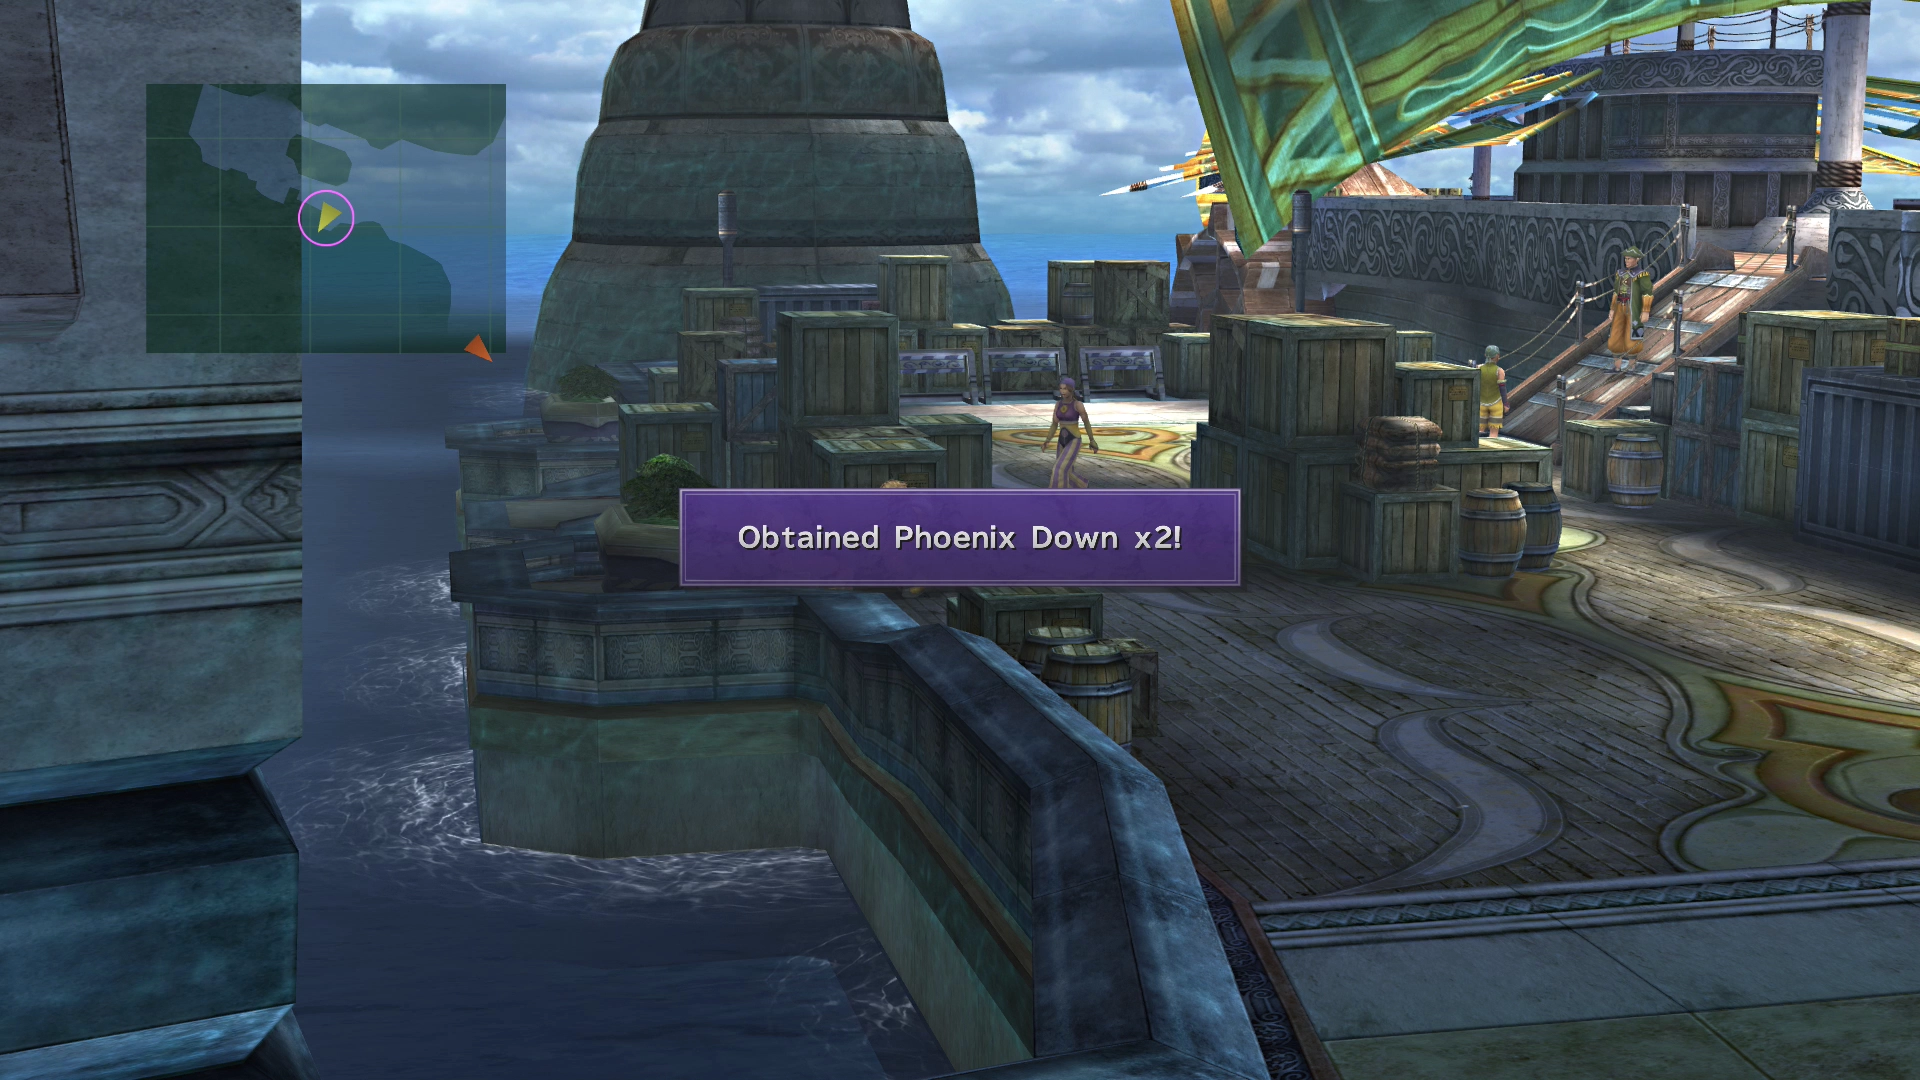
Continue northeast around the docks over to Dock 2, and you will find another treasure chest that contains two ![]() Phoenix Downs. Skip past Dock 3 and Dock 4 and go straight to Dock 5.
Phoenix Downs. Skip past Dock 3 and Dock 4 and go straight to Dock 5.
Luca Number 2 Dock Map

Luca - Number 5 Dock
You will notice on your mini-map that there is a small trail that leads between the two boxes. Go behind the stack of boxes to find two treasure chests, one of which contains an ![]() HP Sphere and one which contains a
HP Sphere and one which contains a ![]() Magic Sphere.
Magic Sphere.

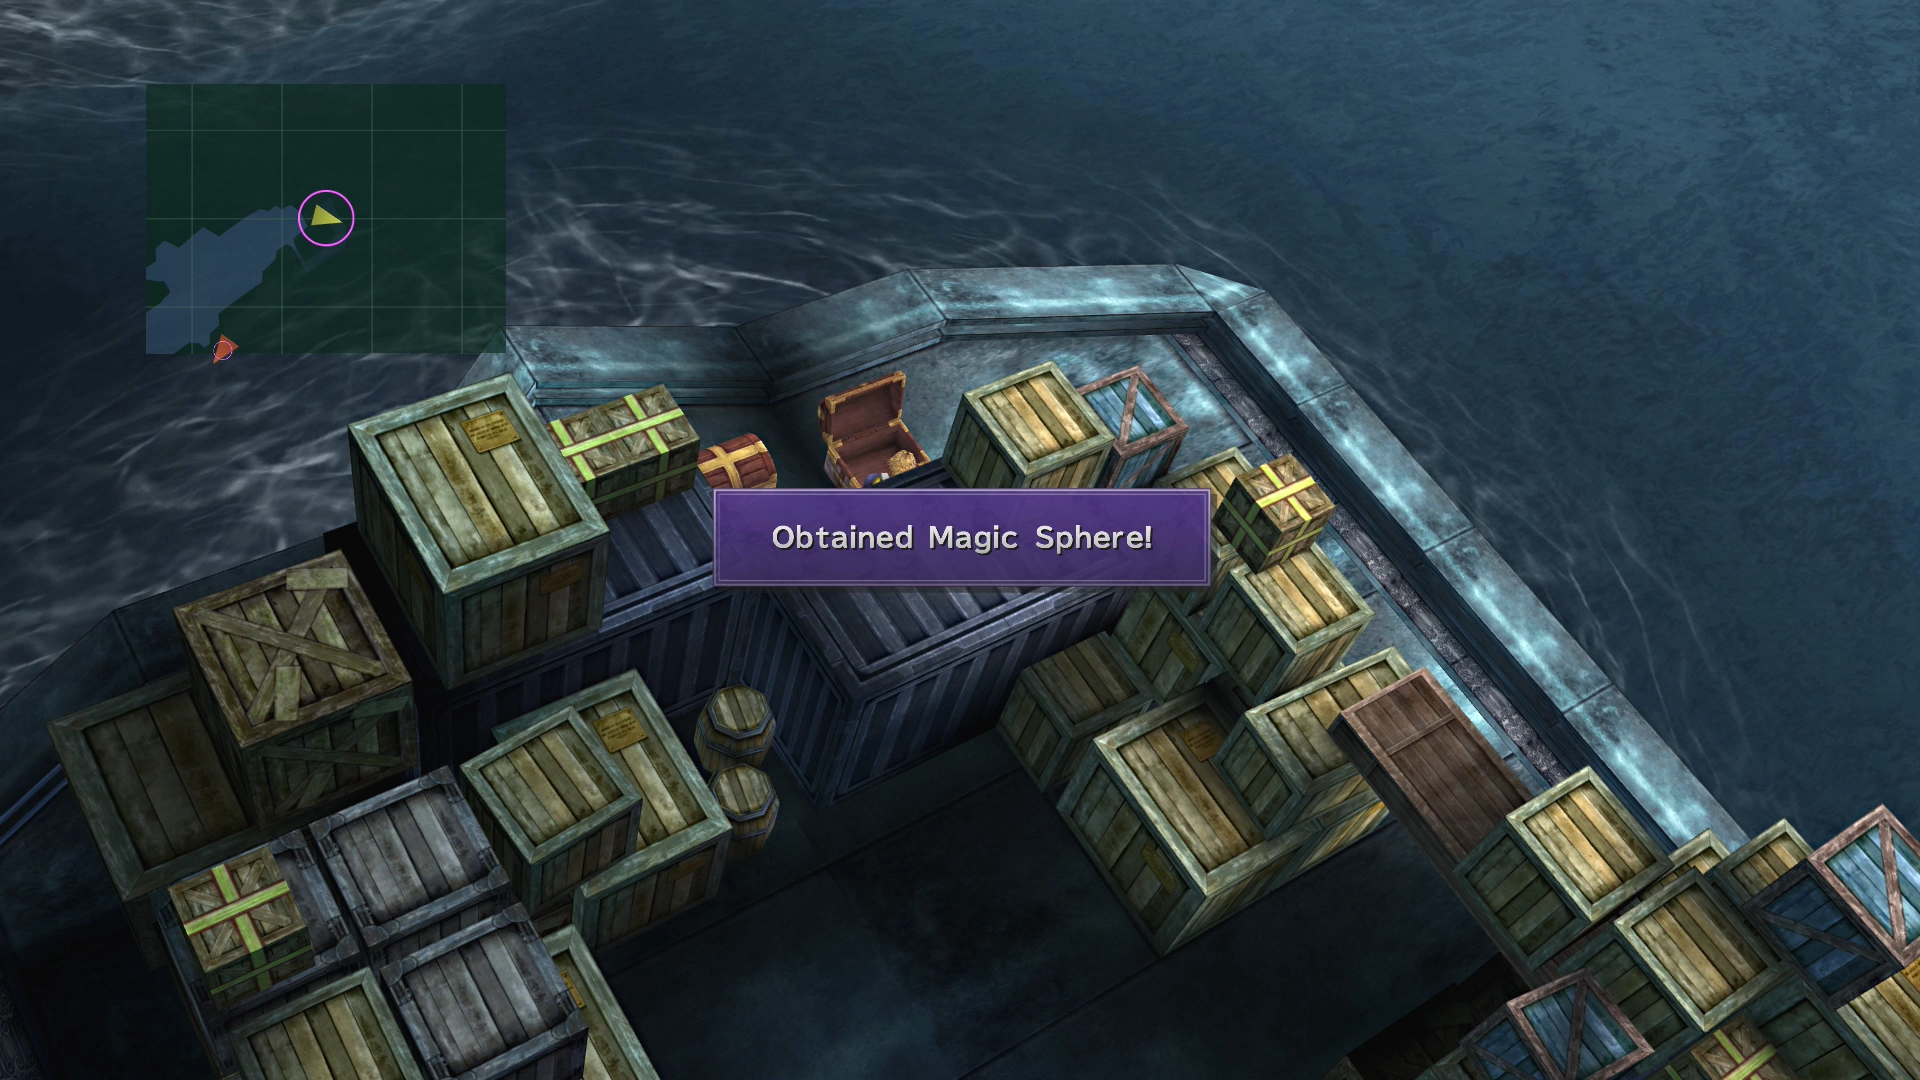
Luca Number 5 Dock Map

Luca - Bridge
Go south from Dock 5, and you will find yourself back at the entrance/exit to Luca Stadium. Continue down the stairs and the pathway away from the Stadium. You’ll get to watch another short cutscene involving Yuna attempting to learn to whistle.
Take Yuna and go north (from Luca Bridge).
Theater
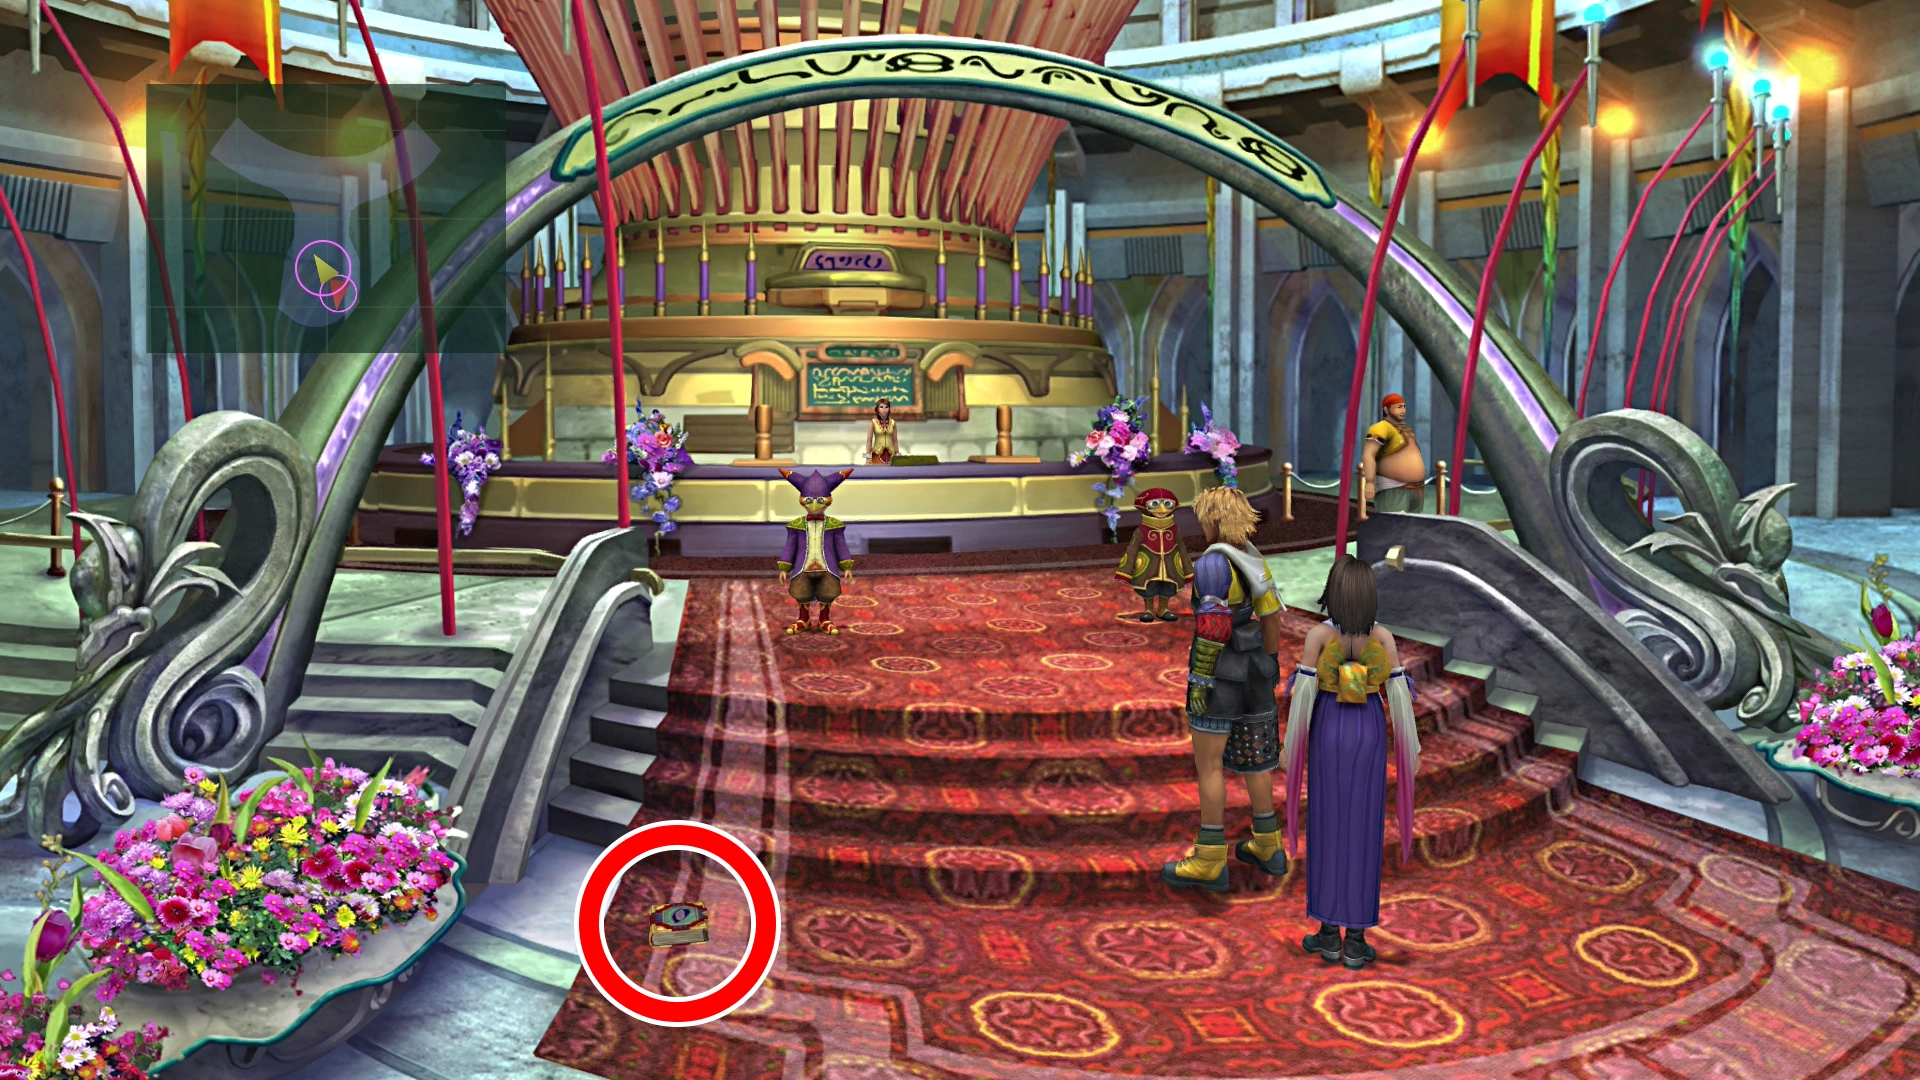
Head in through the front doorway until you find yourself at the front desk of the Sphere Theater, and then grab the ![]() Al Bhed Primer (Vol. VII) sitting on the ground in front of the stairway. It is located in the “Theater - Reception” area.
Al Bhed Primer (Vol. VII) sitting on the ground in front of the stairway. It is located in the “Theater - Reception” area.
Side Quests
The Sphere Theater you just stepped into here in Luca is an optional side quest where you collect spheres to unlock videos and music to view in this building. The guide lists where to find each one.
Luca - Square
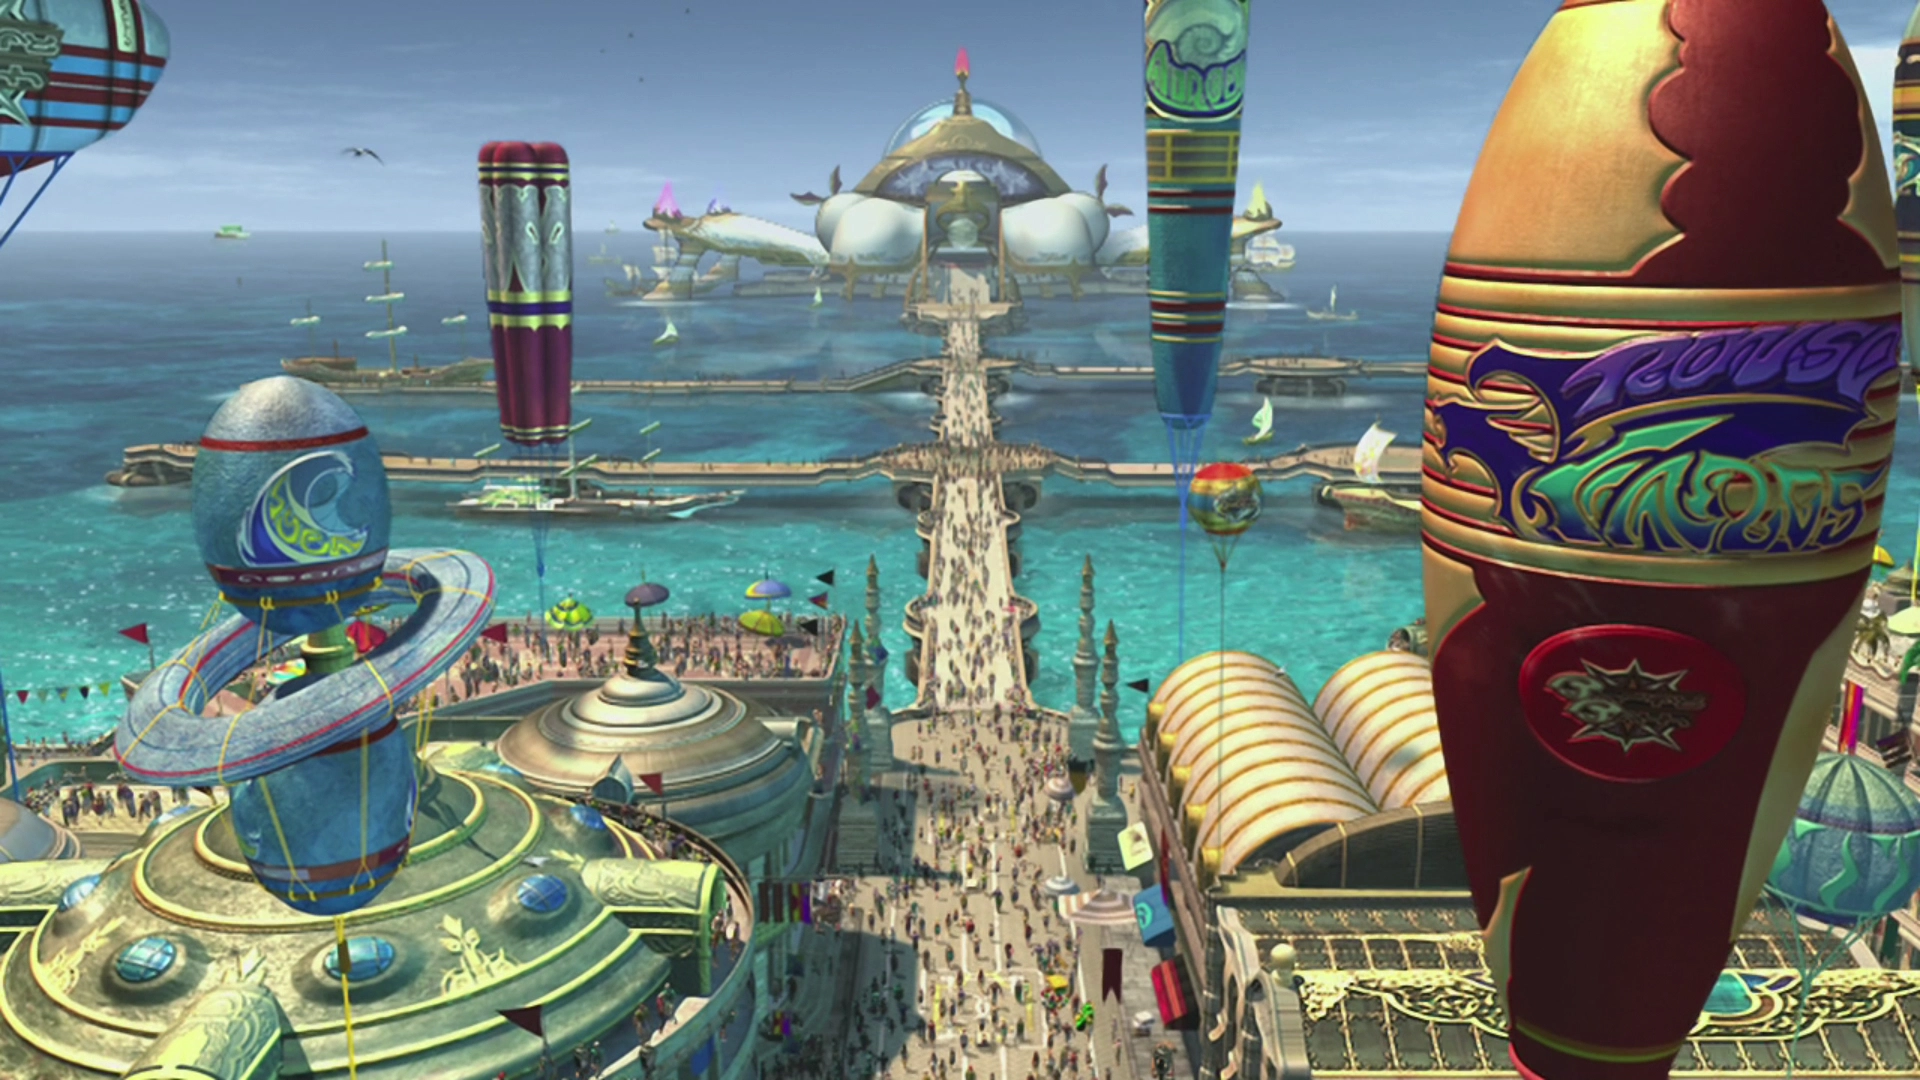
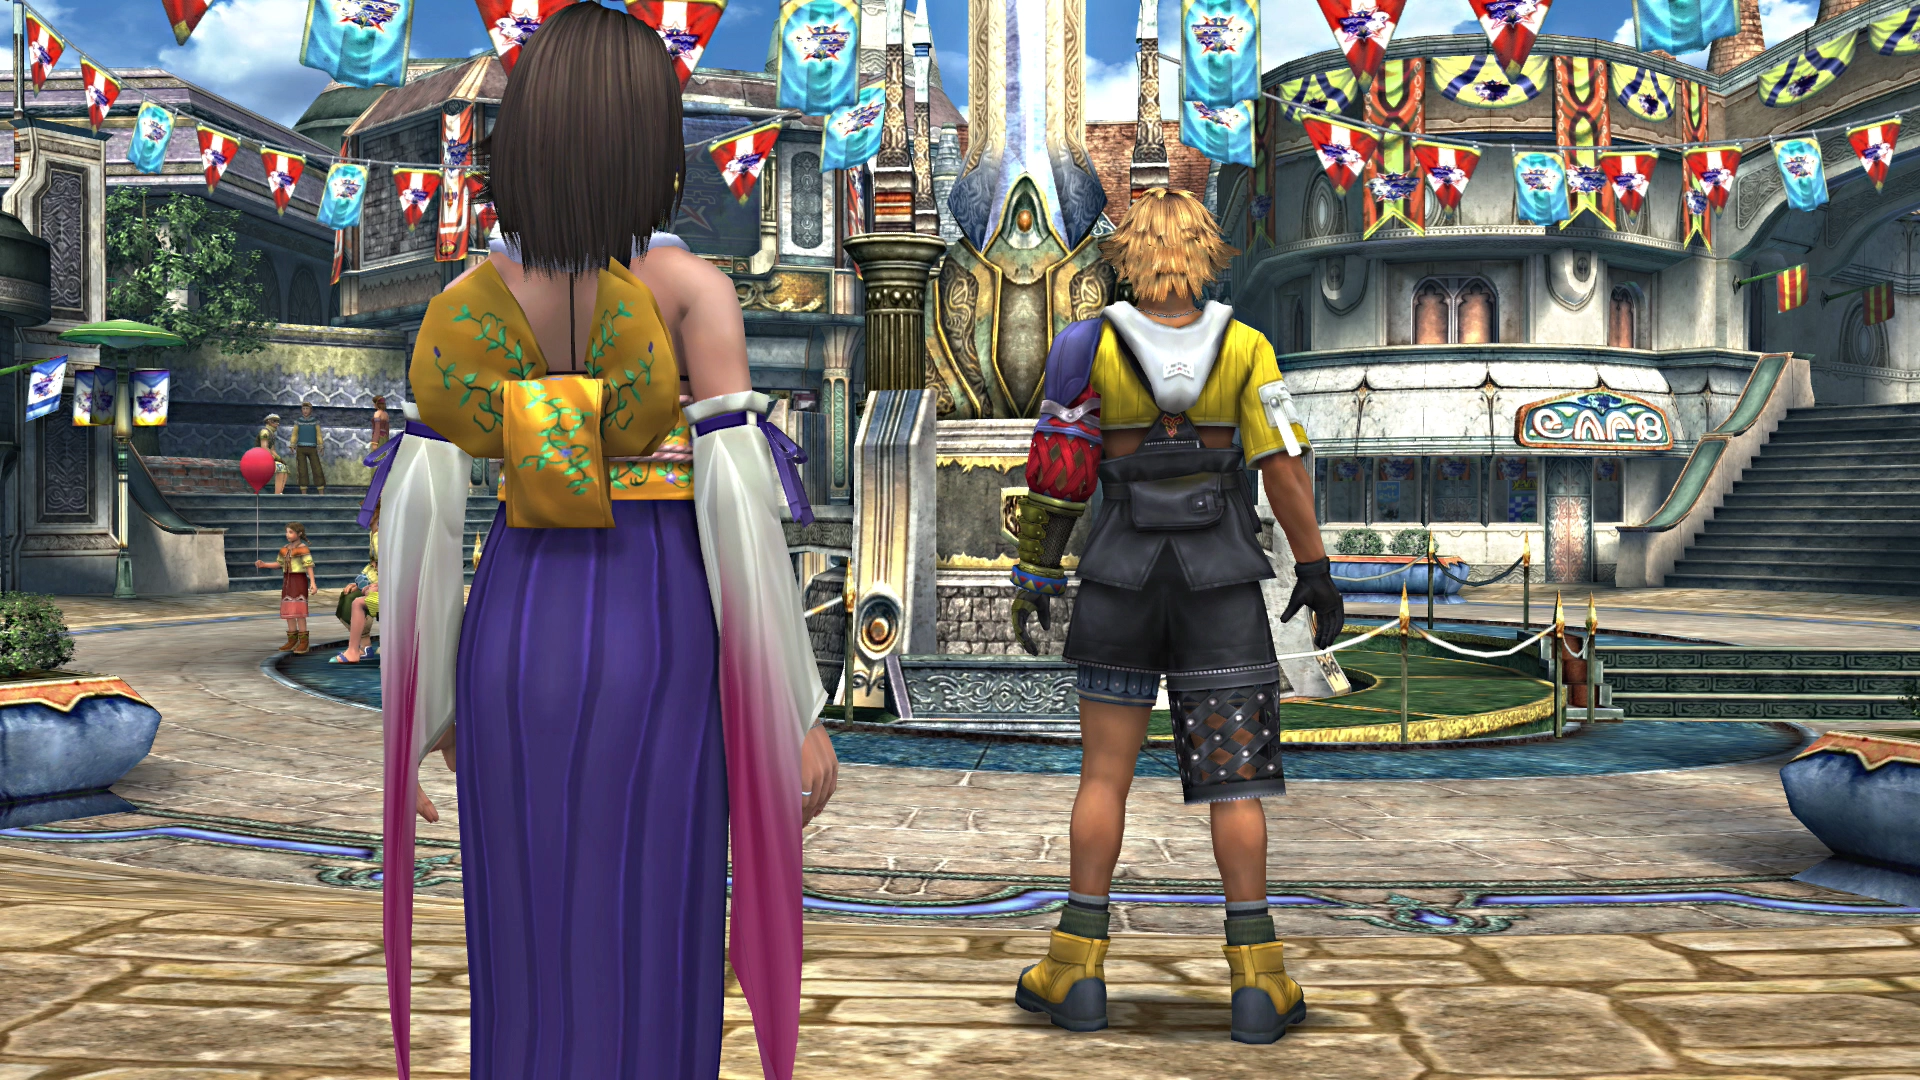
Go back out to the bridge and continue into the next area, which is called “Luca Square.” A short cutscene will take place as Tidus and Yuna enter the Square. Yuna will explain that Luca is the second-largest city in Spira. Apparently, cities aren’t able to grow very large due to the invasions of Sin.
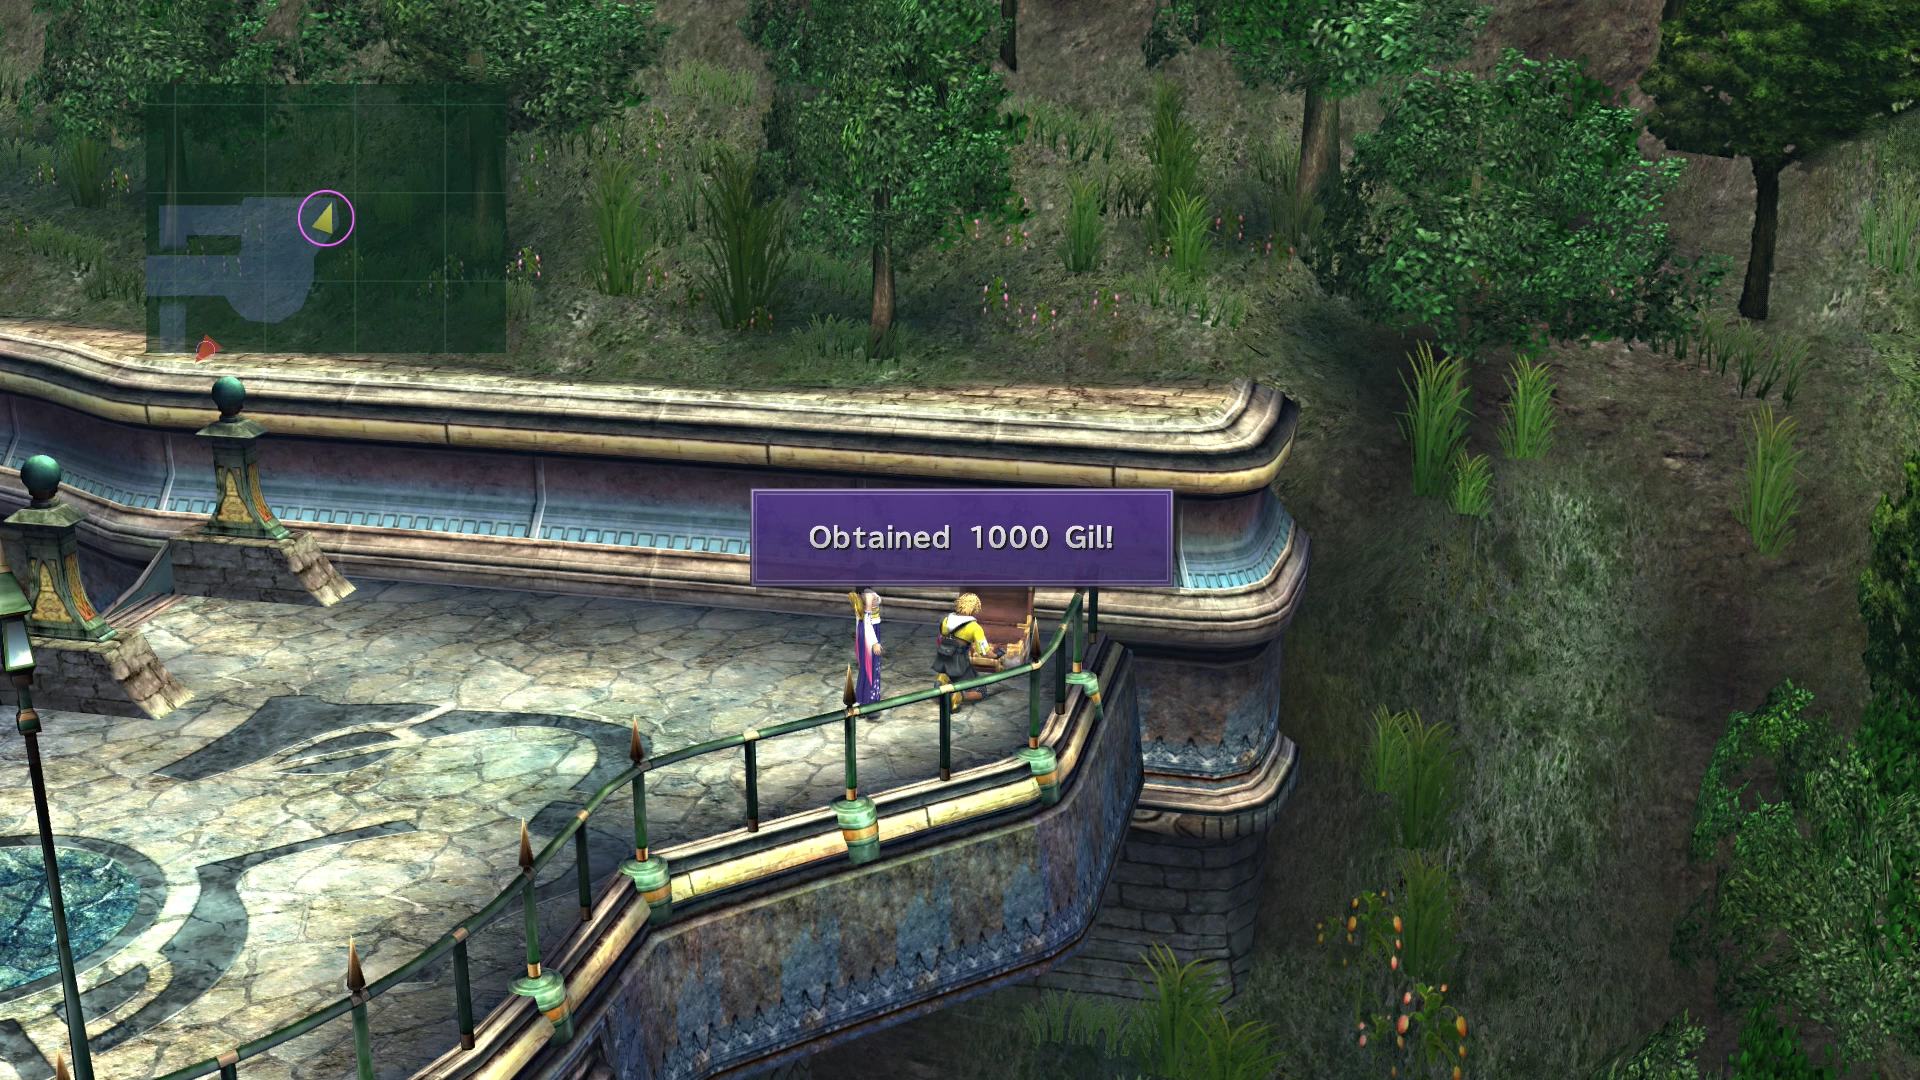
You can speak to the woman in red near the vendor carts to buy items and weapons. Go up the stairway at the northeast end of the screen to reach the Luca City Limits, where you will find a treasure chest on the ground. It contains 1,000 Gil.
City Limits Map

| 1,000 Gil |
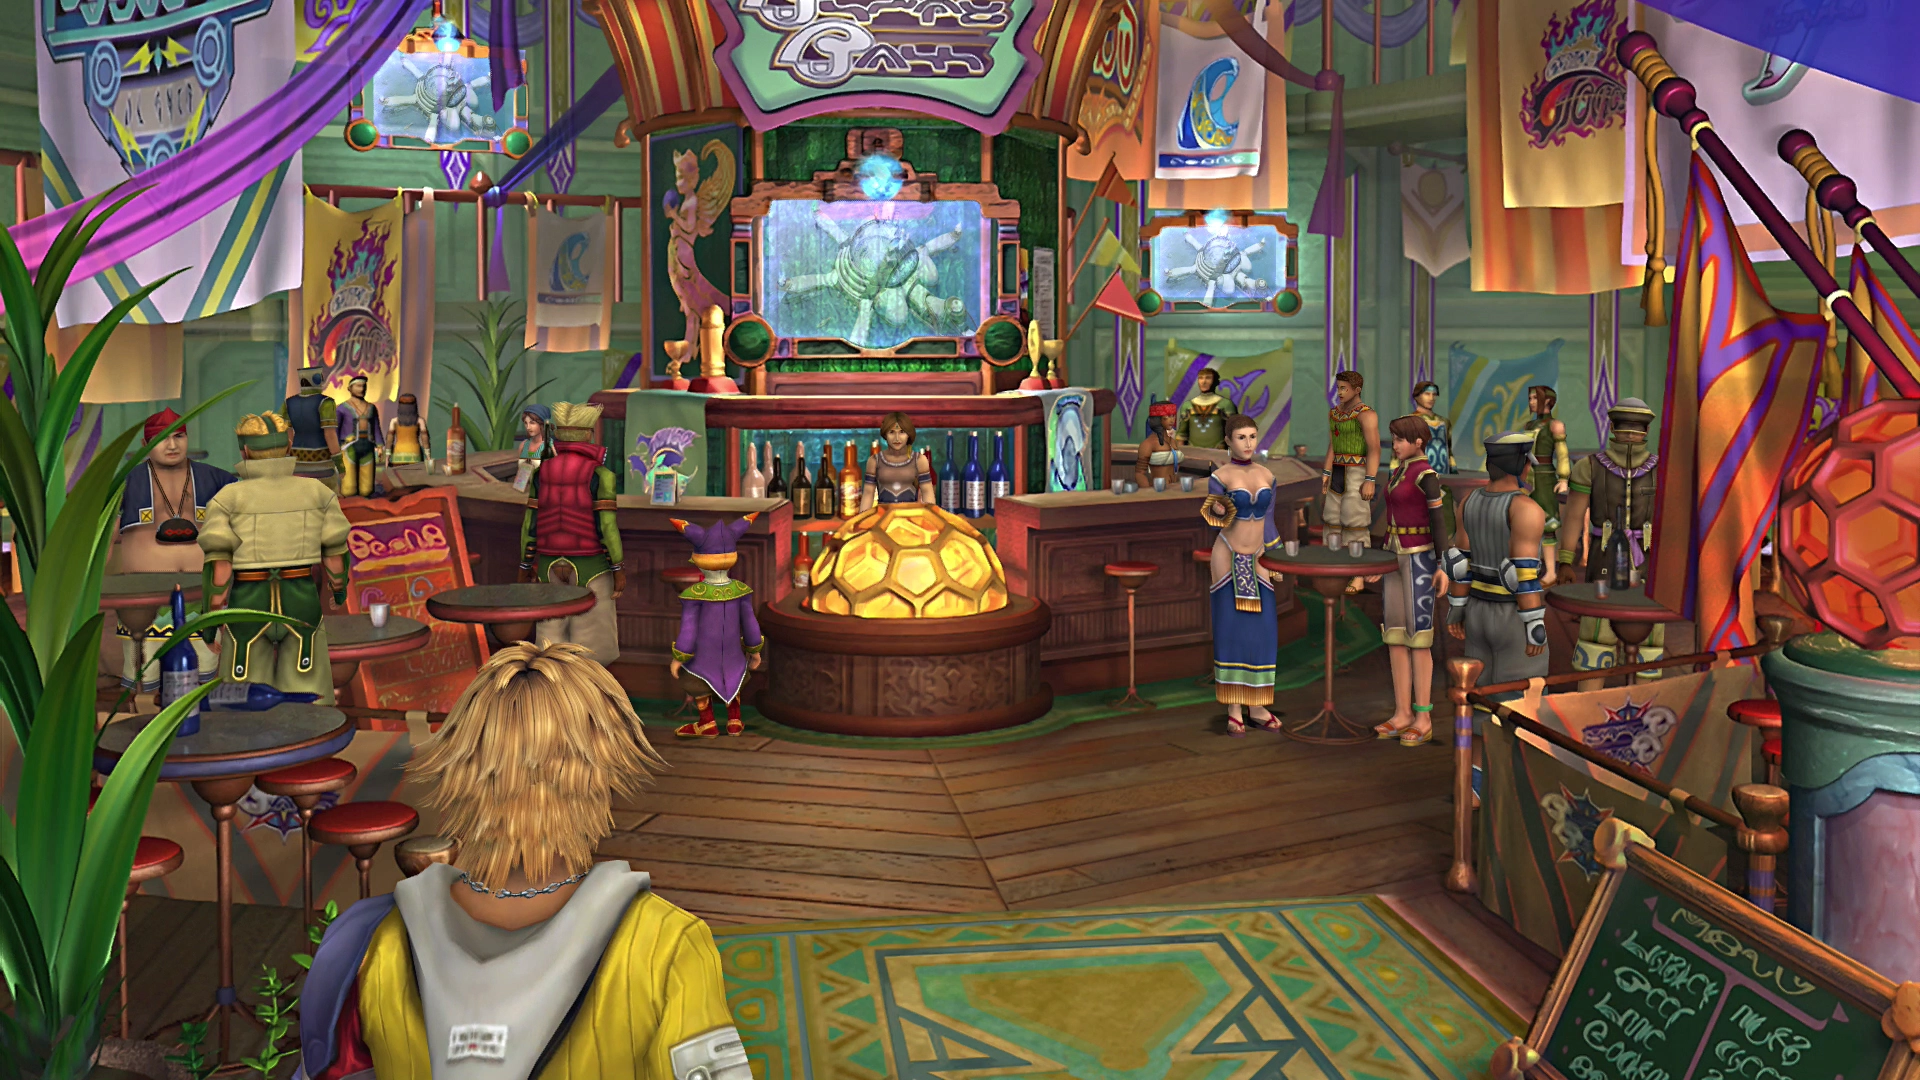
Head back down to Luca Square and enter the building at the north end of the screen. There is another quick cutscene inside the tavern. Tidus and Yuna will realize that Auron is not there. Meanwhile, Kimahri will meet up with two of his old colleagues, Yenke and Biran.
Tidus will interrupt the group of Ronso to mention that Yuna has disappeared, and both Tidus and Kimahri will flee back out to the Square. They will run into Lulu, who will tell them that the Al Bhed have kidnapped Yuna. As mentioned by Lulu, the Al Bhed can be found at Dock 4.
Walk back across the bridge and over to the Stadium. You may want to save at the ![]() Save Sphere as you have a few battles coming up (although they are all relatively easy). The east walkway has now been blocked off, so you will have to travel through Docks 1, 2, and 3 to get to Dock 4.
Save Sphere as you have a few battles coming up (although they are all relatively easy). The east walkway has now been blocked off, so you will have to travel through Docks 1, 2, and 3 to get to Dock 4.
You can buy items or weapons from O’aka XXIII at Dock 1. Another interesting note is that the treasure chest containing 600 Gil has now been refilled, so grab it again. Continue over to Dock 2 to get the story moving again.
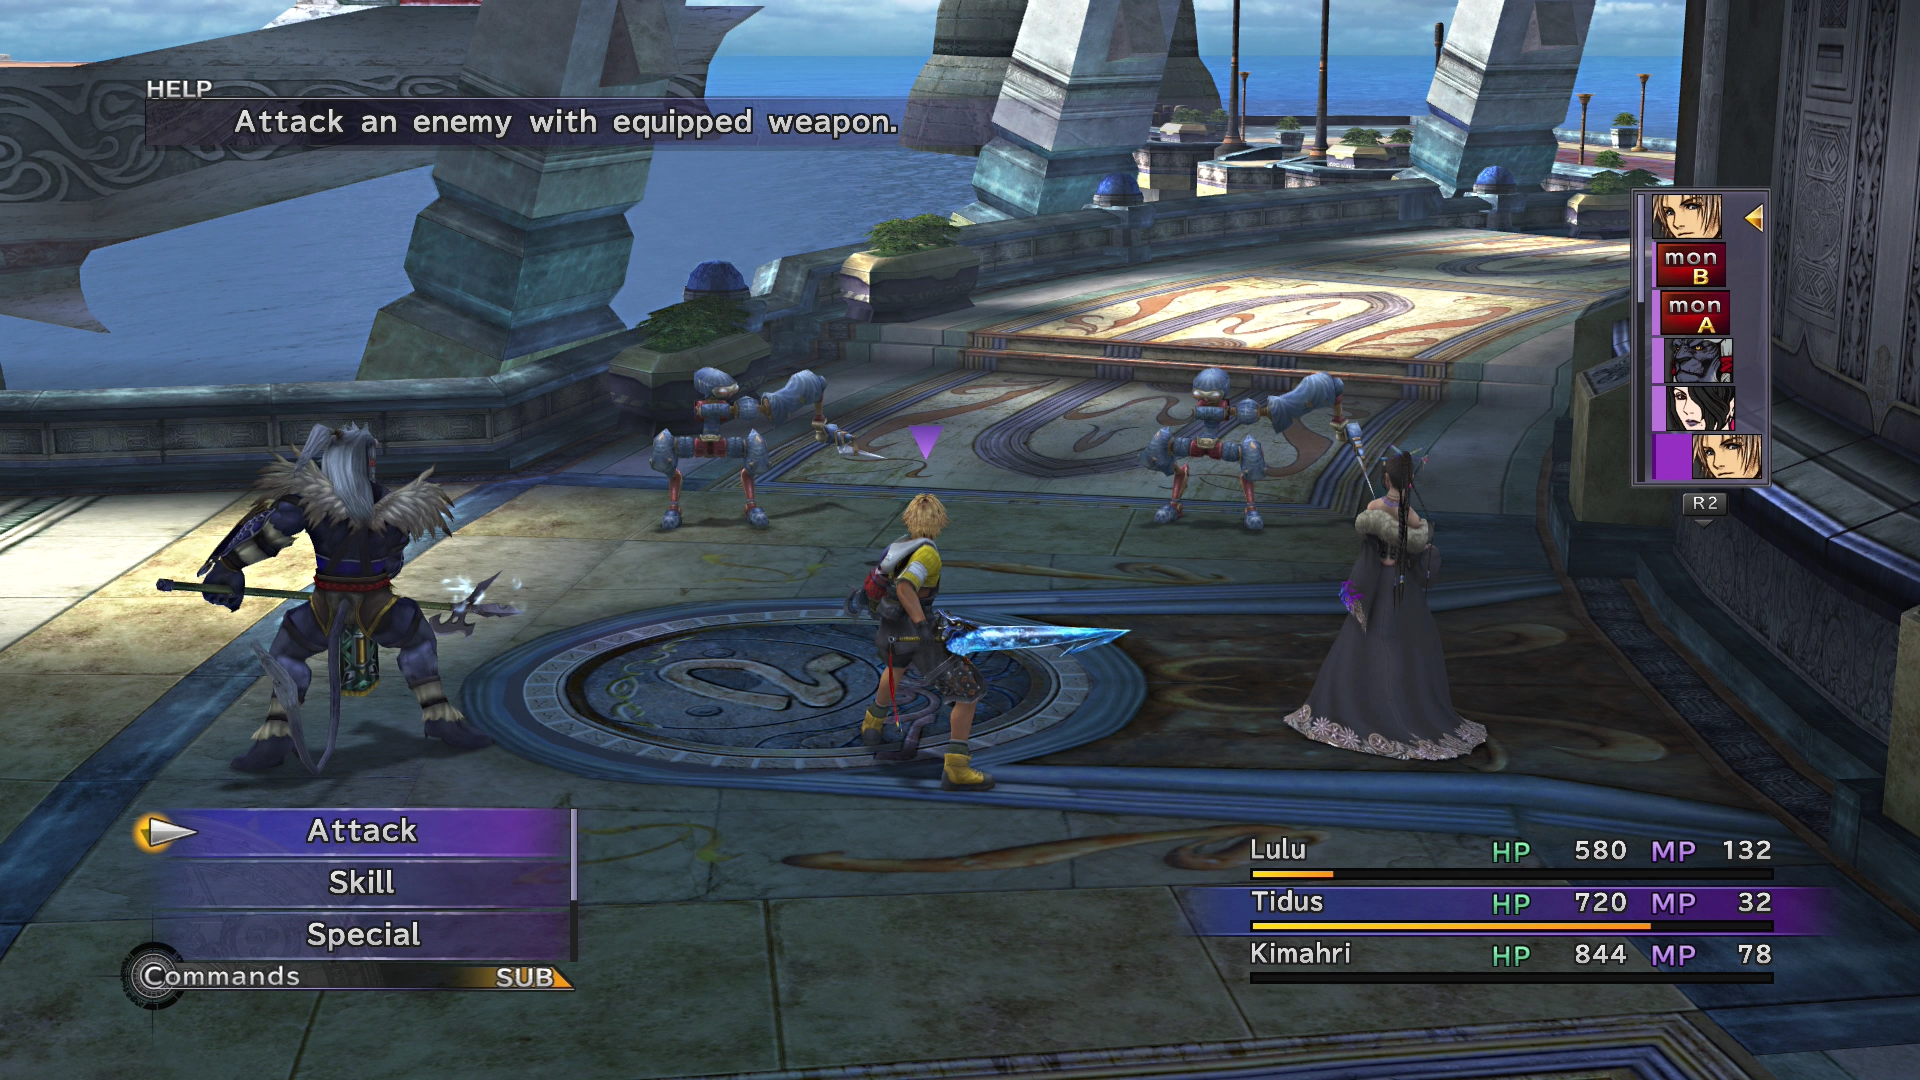
The battles against the Machina in this area are pretty straightforward. The Machina are weak to ![]() Thunder magic, so make sure to have Lulu cast that spell frequently. Continue through Dock 3 and 4, and two more groups of Machina will ambush you in very similar fights.
Thunder magic, so make sure to have Lulu cast that spell frequently. Continue through Dock 3 and 4, and two more groups of Machina will ambush you in very similar fights.
Dock 4 leads to the next boss fight.
Luca - Number 4 Dock
Walk to the end of the dock to initiate a cutscene, which will lead to the next boss fight.
Boss Battle
In Game Description: Speeds up when damaged. Vulnerable to lightning, but chucks a Mute Ball at anyone casting Thunder. Use a nearby object to escape its mighty Blitzball Rush.
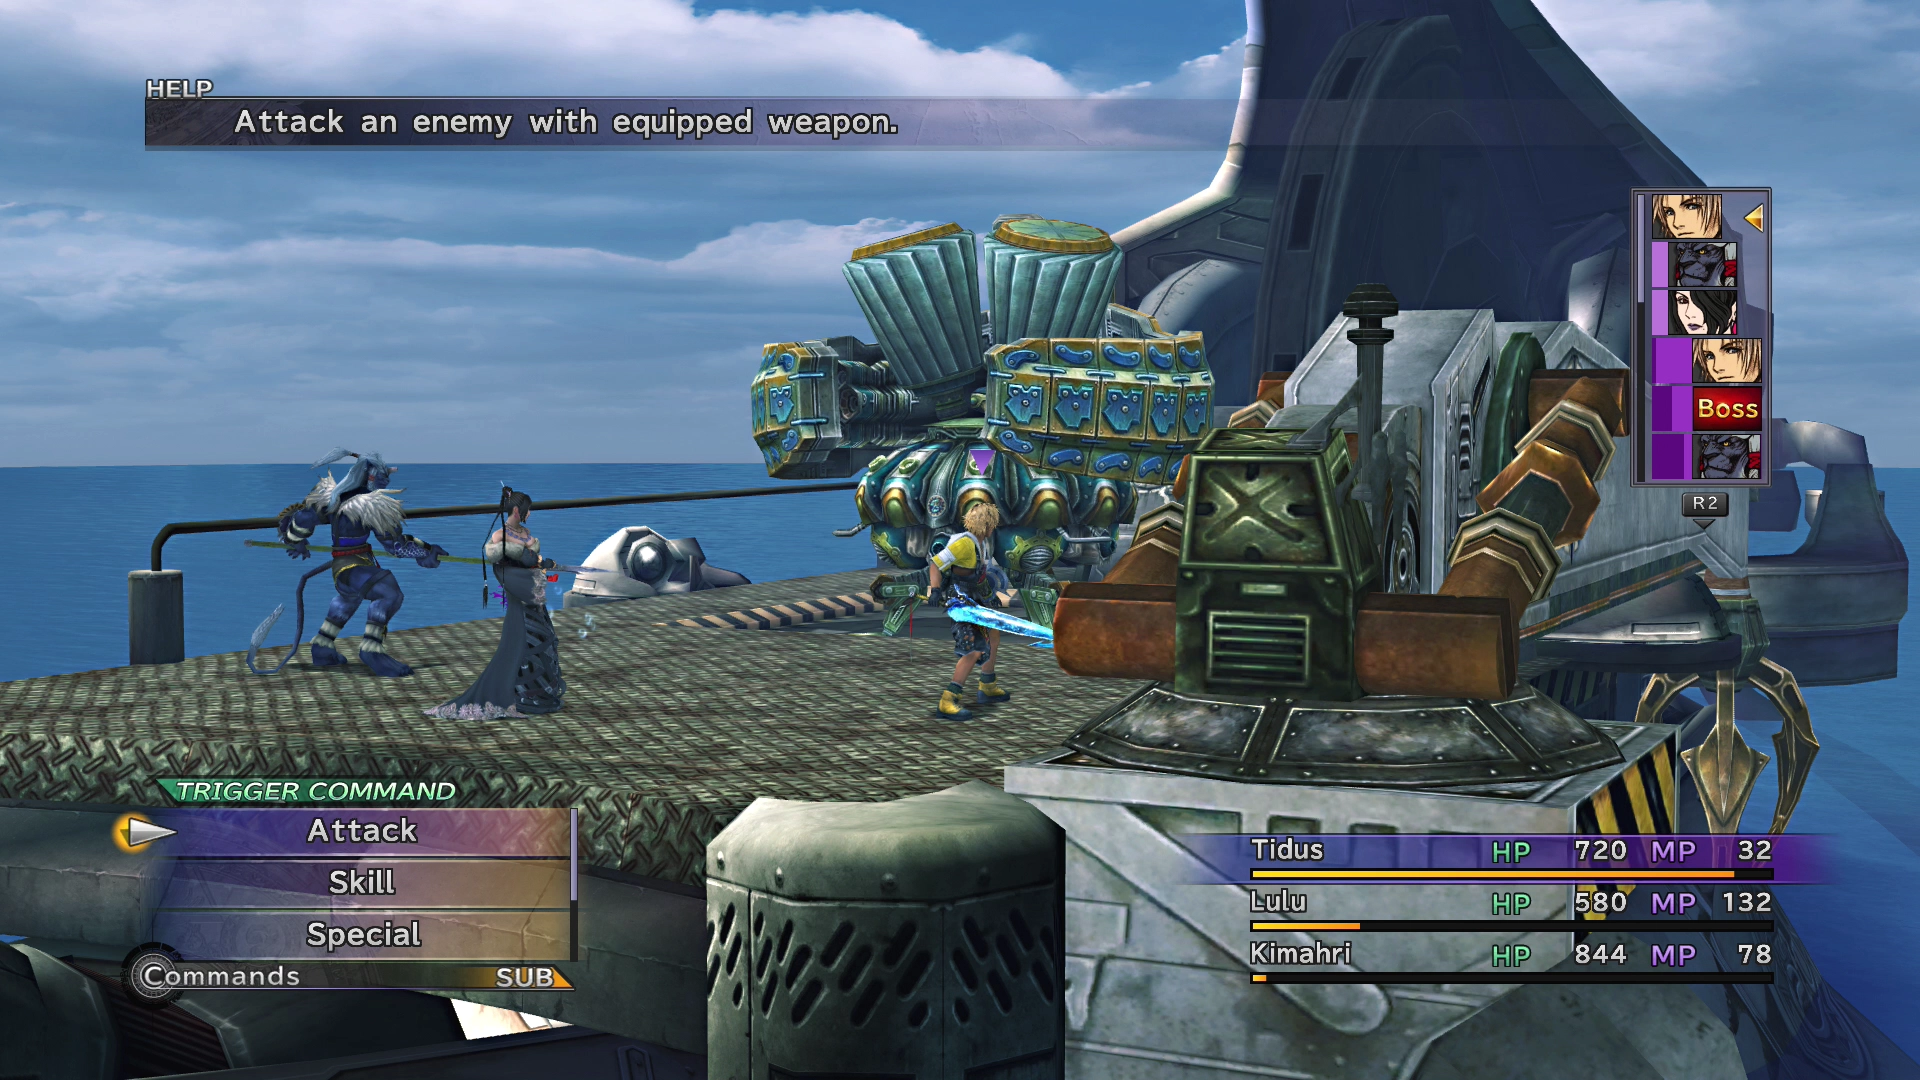
HP: 6,000
You have the option of defeating this boss in two different ways. The regular way to defeat it is by utilizing attacks and magic to slowly bring down its HP. It has 6,000 HP, though, so this method can take quite a while. Oblitzerator also counterattacks when you fight it this way: physical attacks are answered with a Blind Ball that inflicts Darkness, while magic is answered with a Mute Ball that inflicts Silence. Pack Eye Drops and Echo Screens to cure these status effects if you plan to fight it head-on, as a silenced Lulu cannot cast any of her spells.
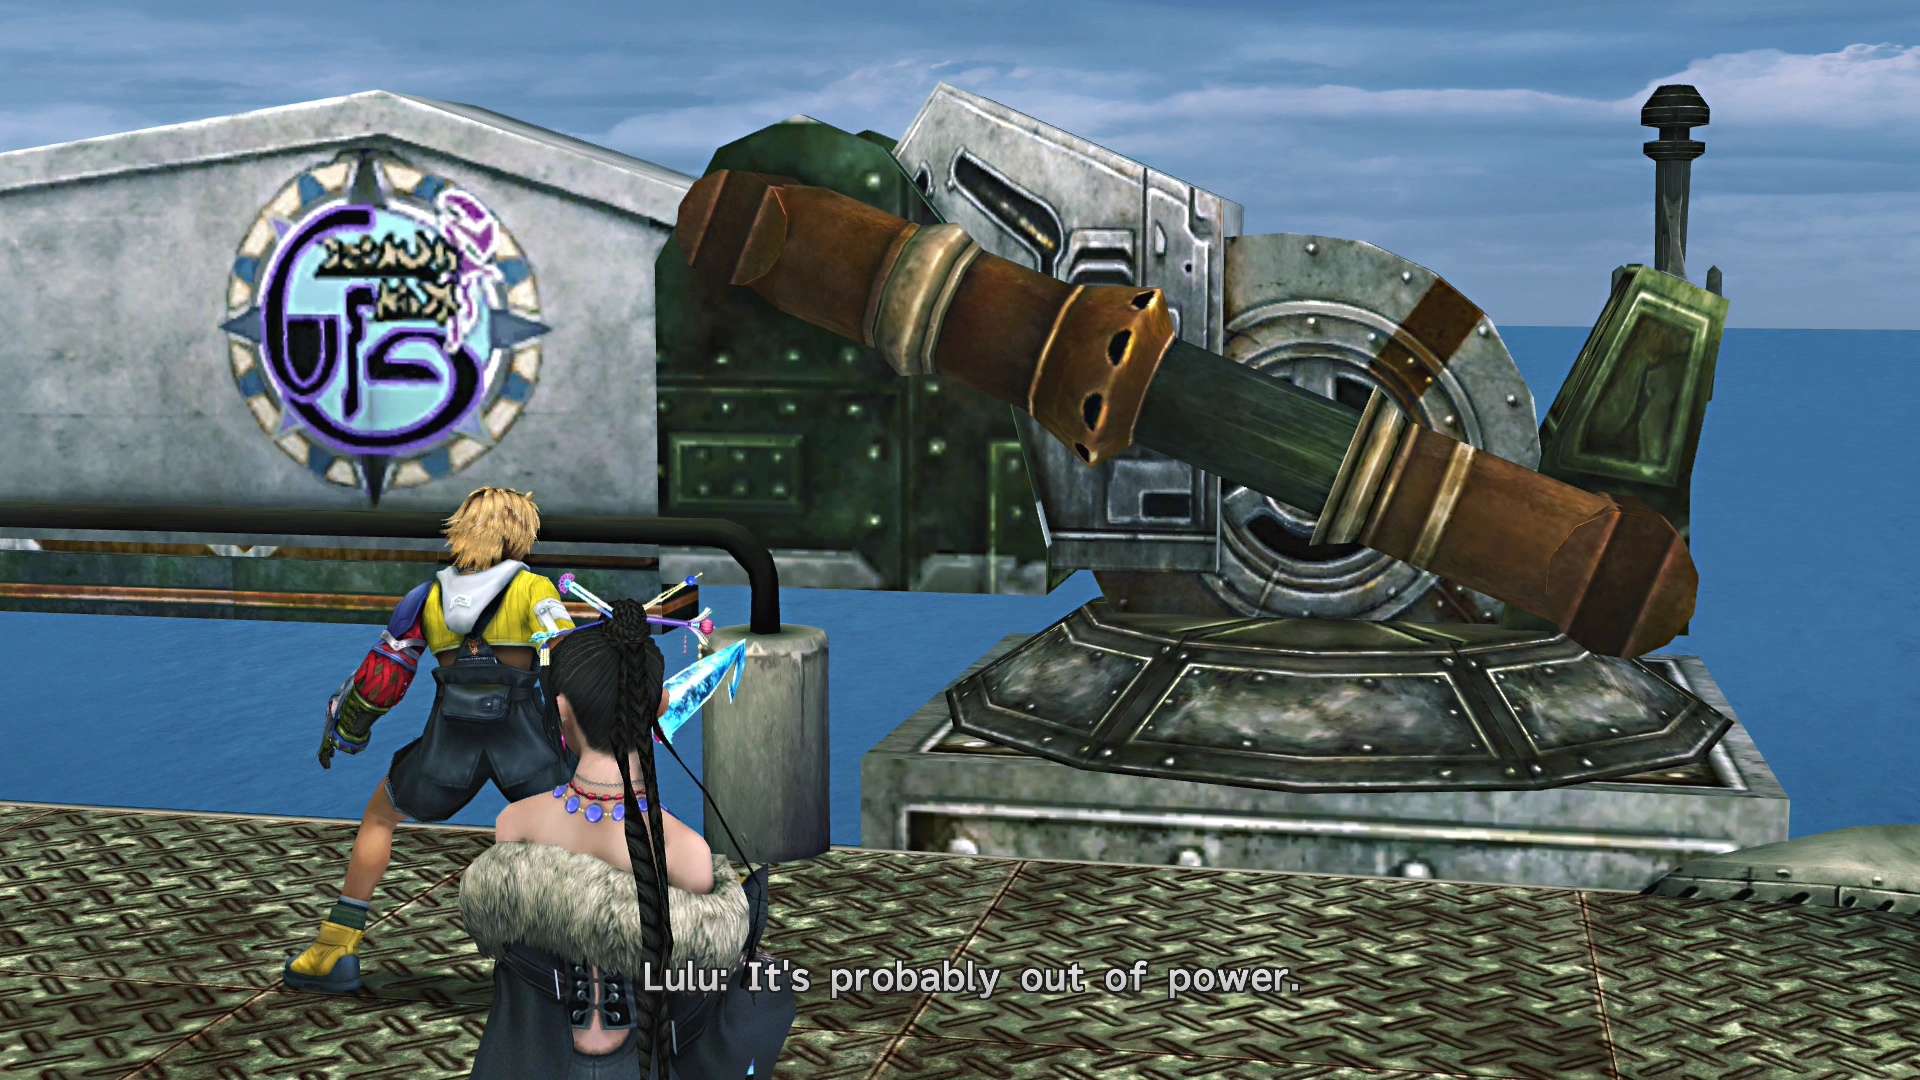
The second option is to use the Trigger Commands to have Tidus use the nearby crane. When the crane fails to operate, Lulu will mention that it is probably out of power. Once she has said this, you will need to cast ![]() Thunder magic on it three times to power it back up. Oblitzerator only counterattacks when you target the boss itself, so Lulu can safely aim her Thunder spells at the crane without being hit by a Mute Ball.
Thunder magic on it three times to power it back up. Oblitzerator only counterattacks when you target the boss itself, so Lulu can safely aim her Thunder spells at the crane without being hit by a Mute Ball.
Keep your team healed up and utilize tools such as Tidus’ ![]() Cheer and
Cheer and ![]() Haste abilities while Lulu uses
Haste abilities while Lulu uses ![]() Thunder on the crane. Then have Tidus attempt to use the crane one more time. The crane will clamp onto Oblitzerator and rip off a piece, dealing nearly 5,500 damage to it. From there, Oblitzerator is very easy to defeat.
Thunder on the crane. Then have Tidus attempt to use the crane one more time. The crane will clamp onto Oblitzerator and rip off a piece, dealing nearly 5,500 damage to it. From there, Oblitzerator is very easy to defeat.
Steal:
Drops:
Before the team heads back to Luca, a short cutscene will take place where Tidus will find out that Yuna is partially related to the Al Bhed.
Once you find yourself back in Luca, make your way back into the Aurochs’ locker room for a short cutscene. Go back into the locker room and speak to Wakka to initiate the game. You can save your game at the ![]() Save Sphere beforehand if you would like to make multiple attempts at the upcoming Blitzball game.
Save Sphere beforehand if you would like to make multiple attempts at the upcoming Blitzball game.

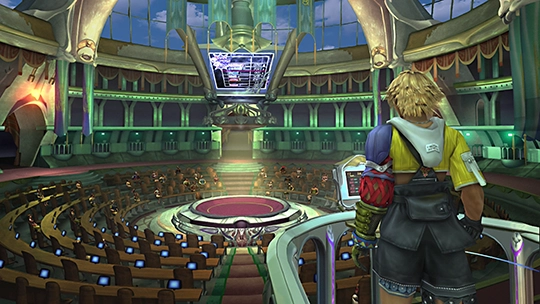
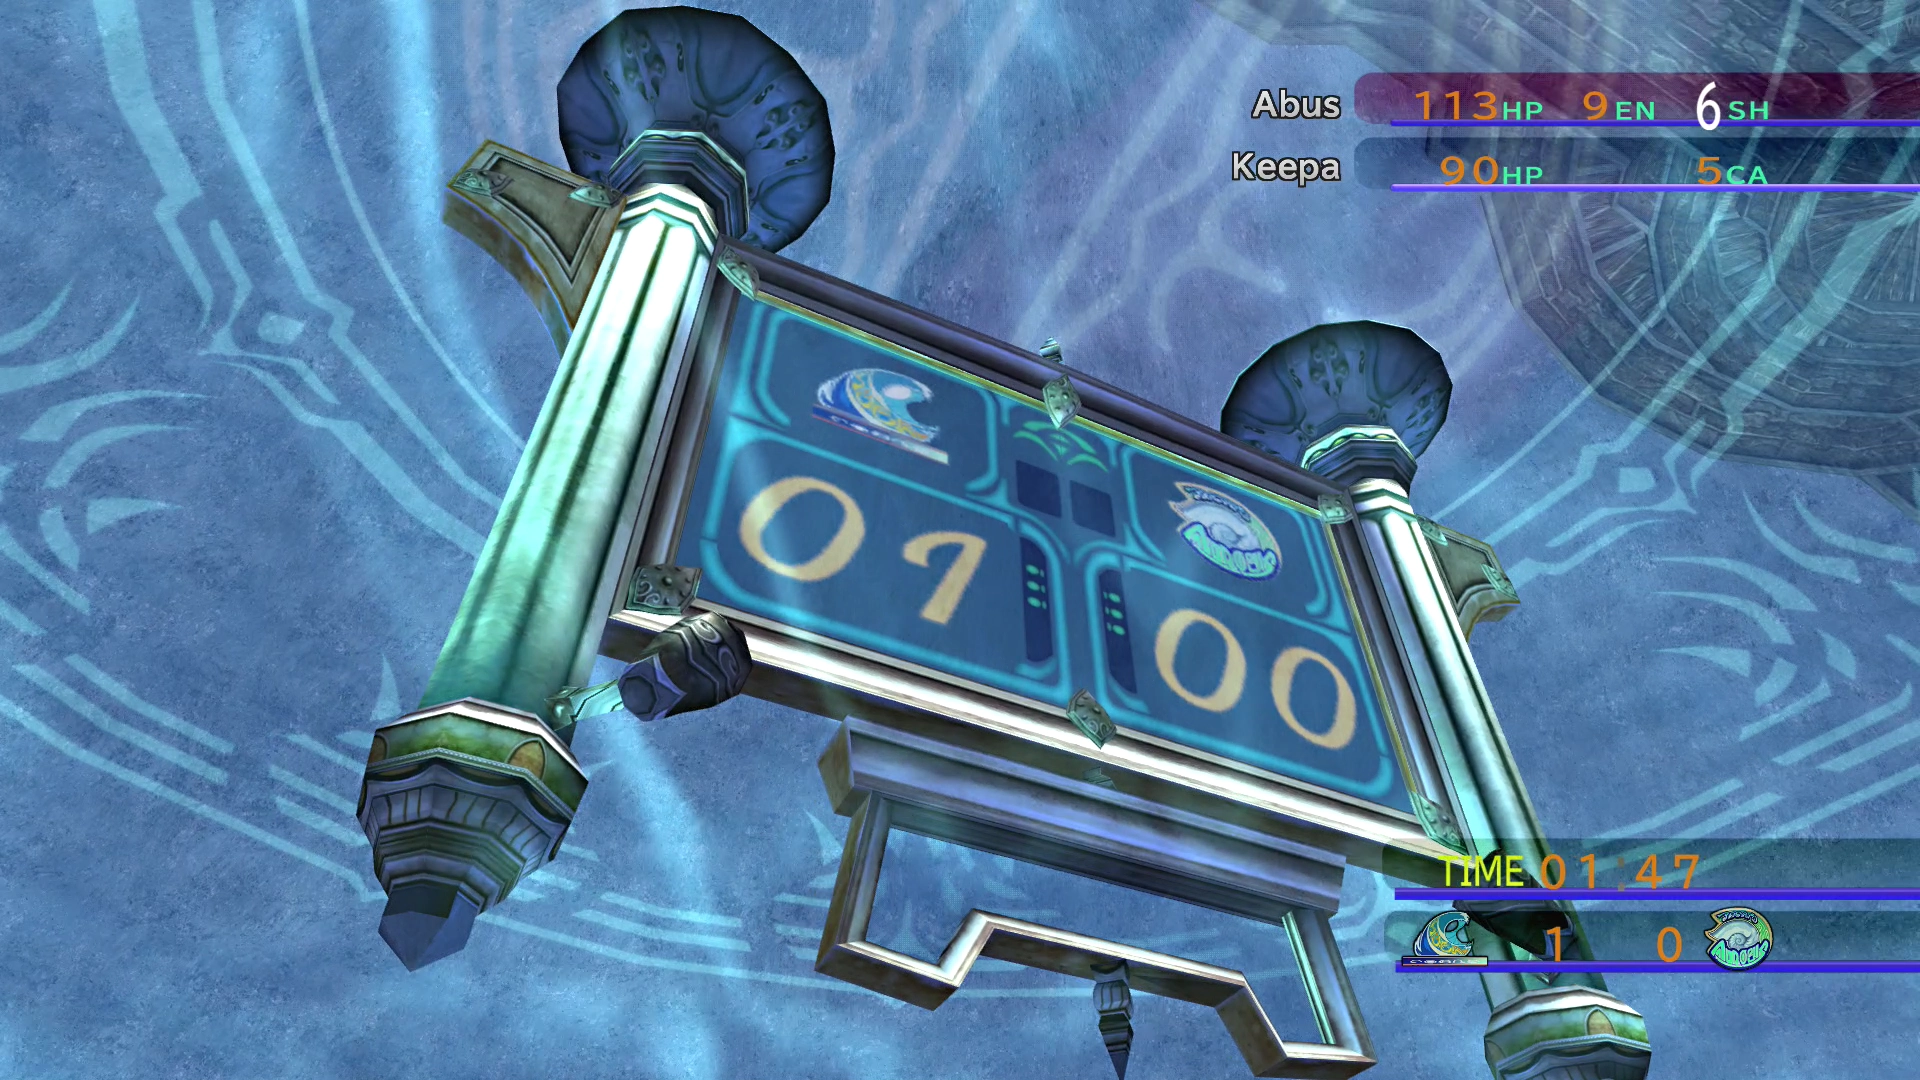
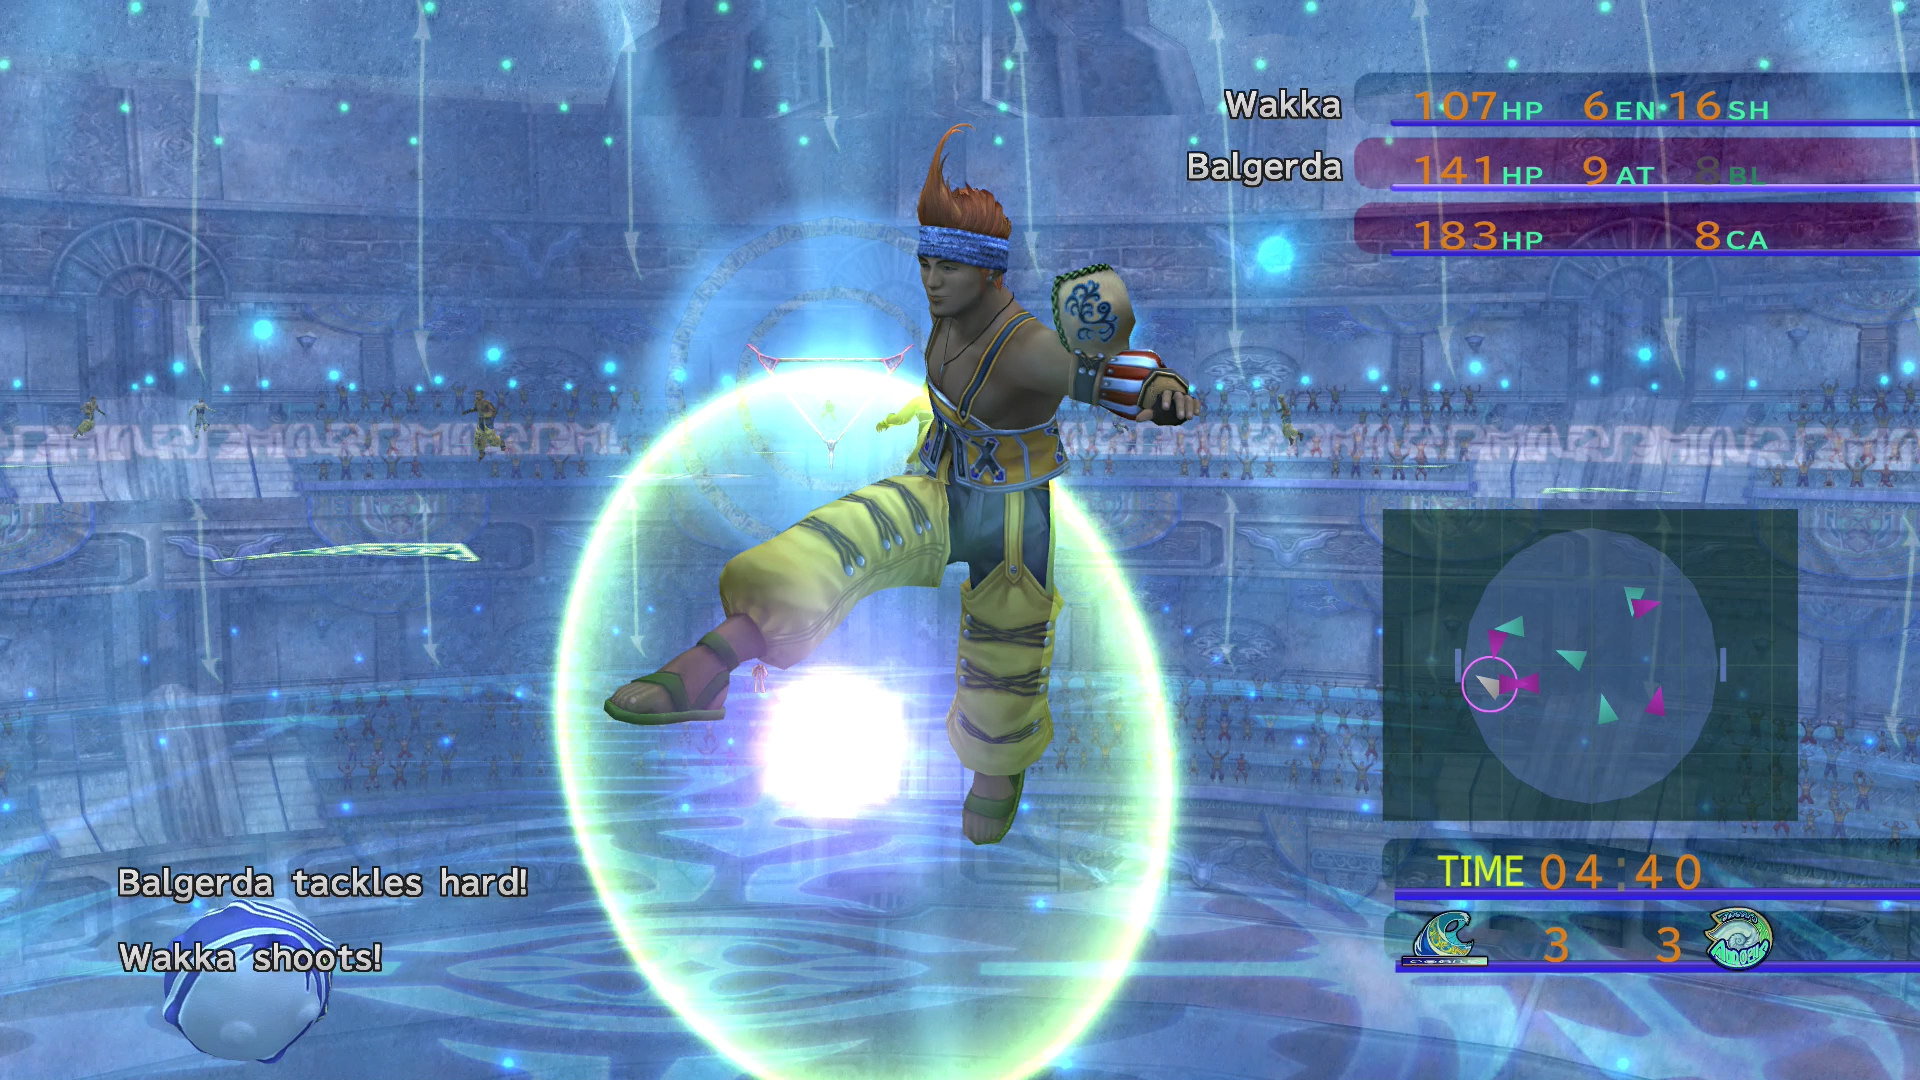
Blitzball Match
This first game of Blitzball is a fairly difficult game to win as the Besaid Aurochs are a terrible team, just like the announcer said! Check out the Blitzball section for tips and tricks to help you win.

The reward for beating the Luca Goers is a ![]() Strength Sphere; not all that rare a reward, as this is a fairly common item later on in the game, so don’t waste too much time trying to win.
Strength Sphere; not all that rare a reward, as this is a fairly common item later on in the game, so don’t waste too much time trying to win.
The game is extremely difficult for three reasons:
- You can’t use any techs in the first half because they have not been initiated on any of the team members.
- The game is scripted to end in a tie at the end of the first half.
- Due to the storyline, Tidus leaves the game, substituted by Wakka at the 3-minute mark in the second half. Wakka is a strong character, but Tidus is the strongest, making this another handicap.
These stipulations leave you with about a 3-minute window to score some goals with Tidus’s overpowered offensive abilities. Then, you have to spend the remainder trying not to get scored on, which is a surprisingly tricky task.
Wakka is fairly strong offensively as well, but whenever you are defending against the Goers, there isn’t much that you can do but wait it out and hope they don’t notch a point.
Switch to “Manual A” settings to control the players. Hold on to the ball until the timer is fairly low and then have Tidus use the Jecht Shot for a guaranteed point. Only do this when there is hardly any time left, though, or the Goers will likely score on the Aurochs.
As mentioned, you can give it a few tries if you’d like, but the outcome of this game has very little relevance to the rest of the game.
Achievement/Trophy
You will receive the  Teamwork! Achievement/Trophy if you manage to win this game, but don’t worry if you miss out. As mentioned above, there will be plenty more opportunities throughout the game to pick up this trophy.
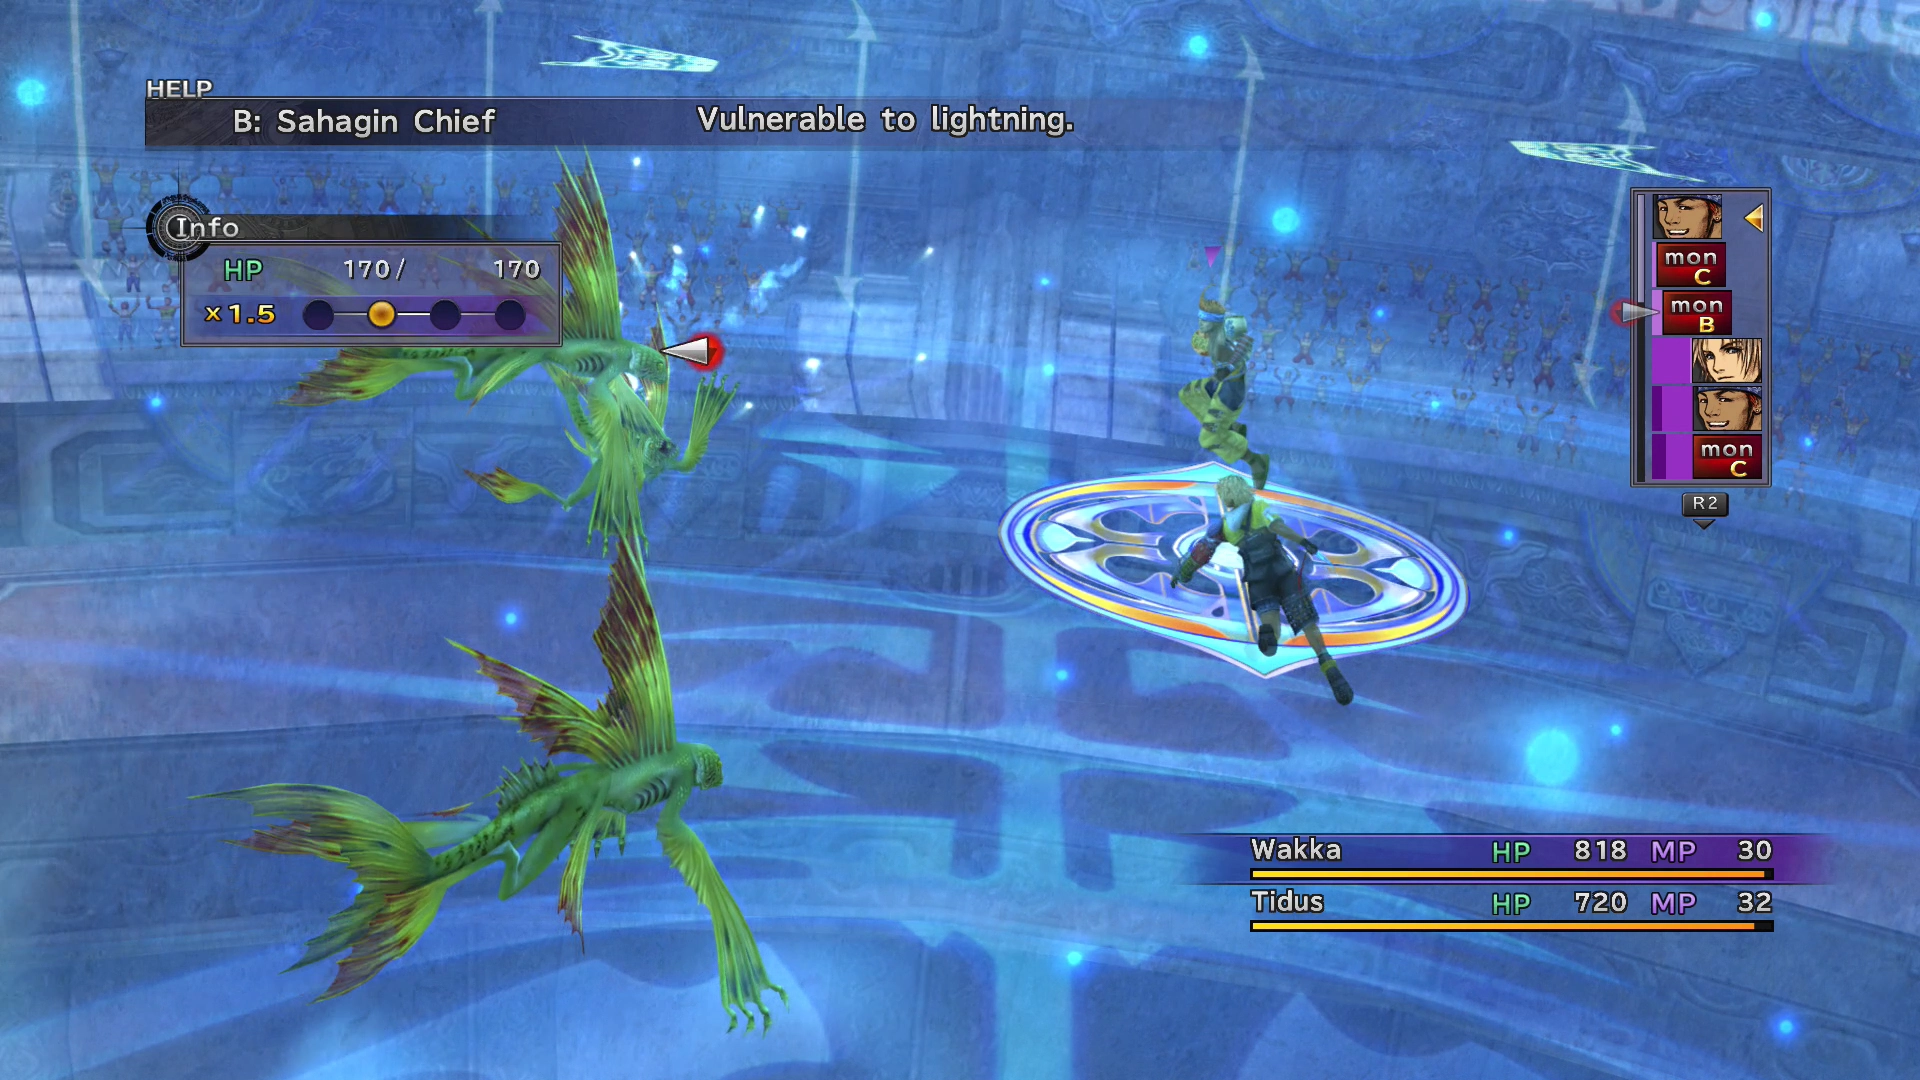
Attack on Luca
You will be thrown into a battle at the conclusion of the match against a total of seventeen Sahagin Chief enemies (yellow fish) that are very easy to defeat. Just watch that your party member’s HP doesn’t get too low and use a ![]() Potion or a
Potion or a ![]() Hi-Potion if it does.
Hi-Potion if it does.
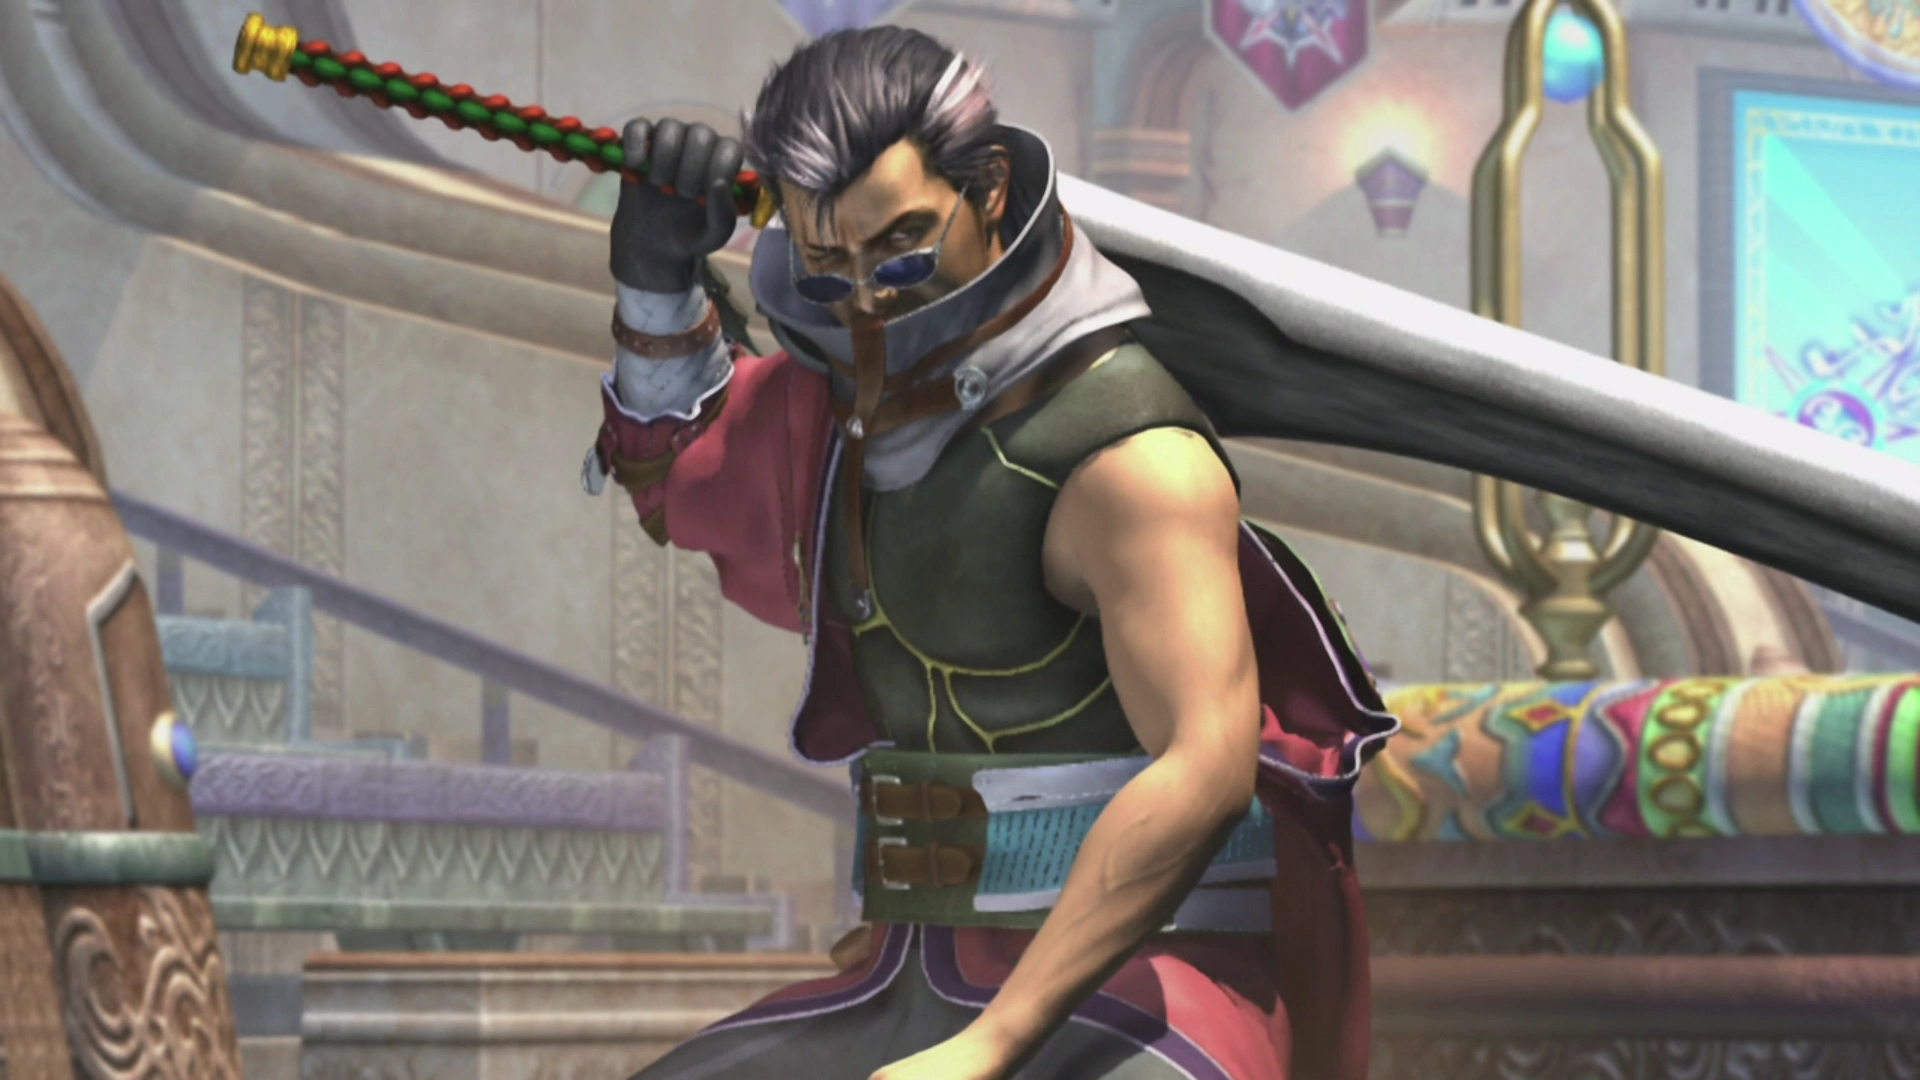
The next fight involves Auron rejoining the story. He will be fighting solo against a Vouivre. One regular attack from Auron will kill the Vouivre.
Characters

Auron permanently joins your party from this point of the game forward. Check out the Auron page in the Characters section for more information on his Sphere Grid, Strengths, Weaknesses, and Overdrive.
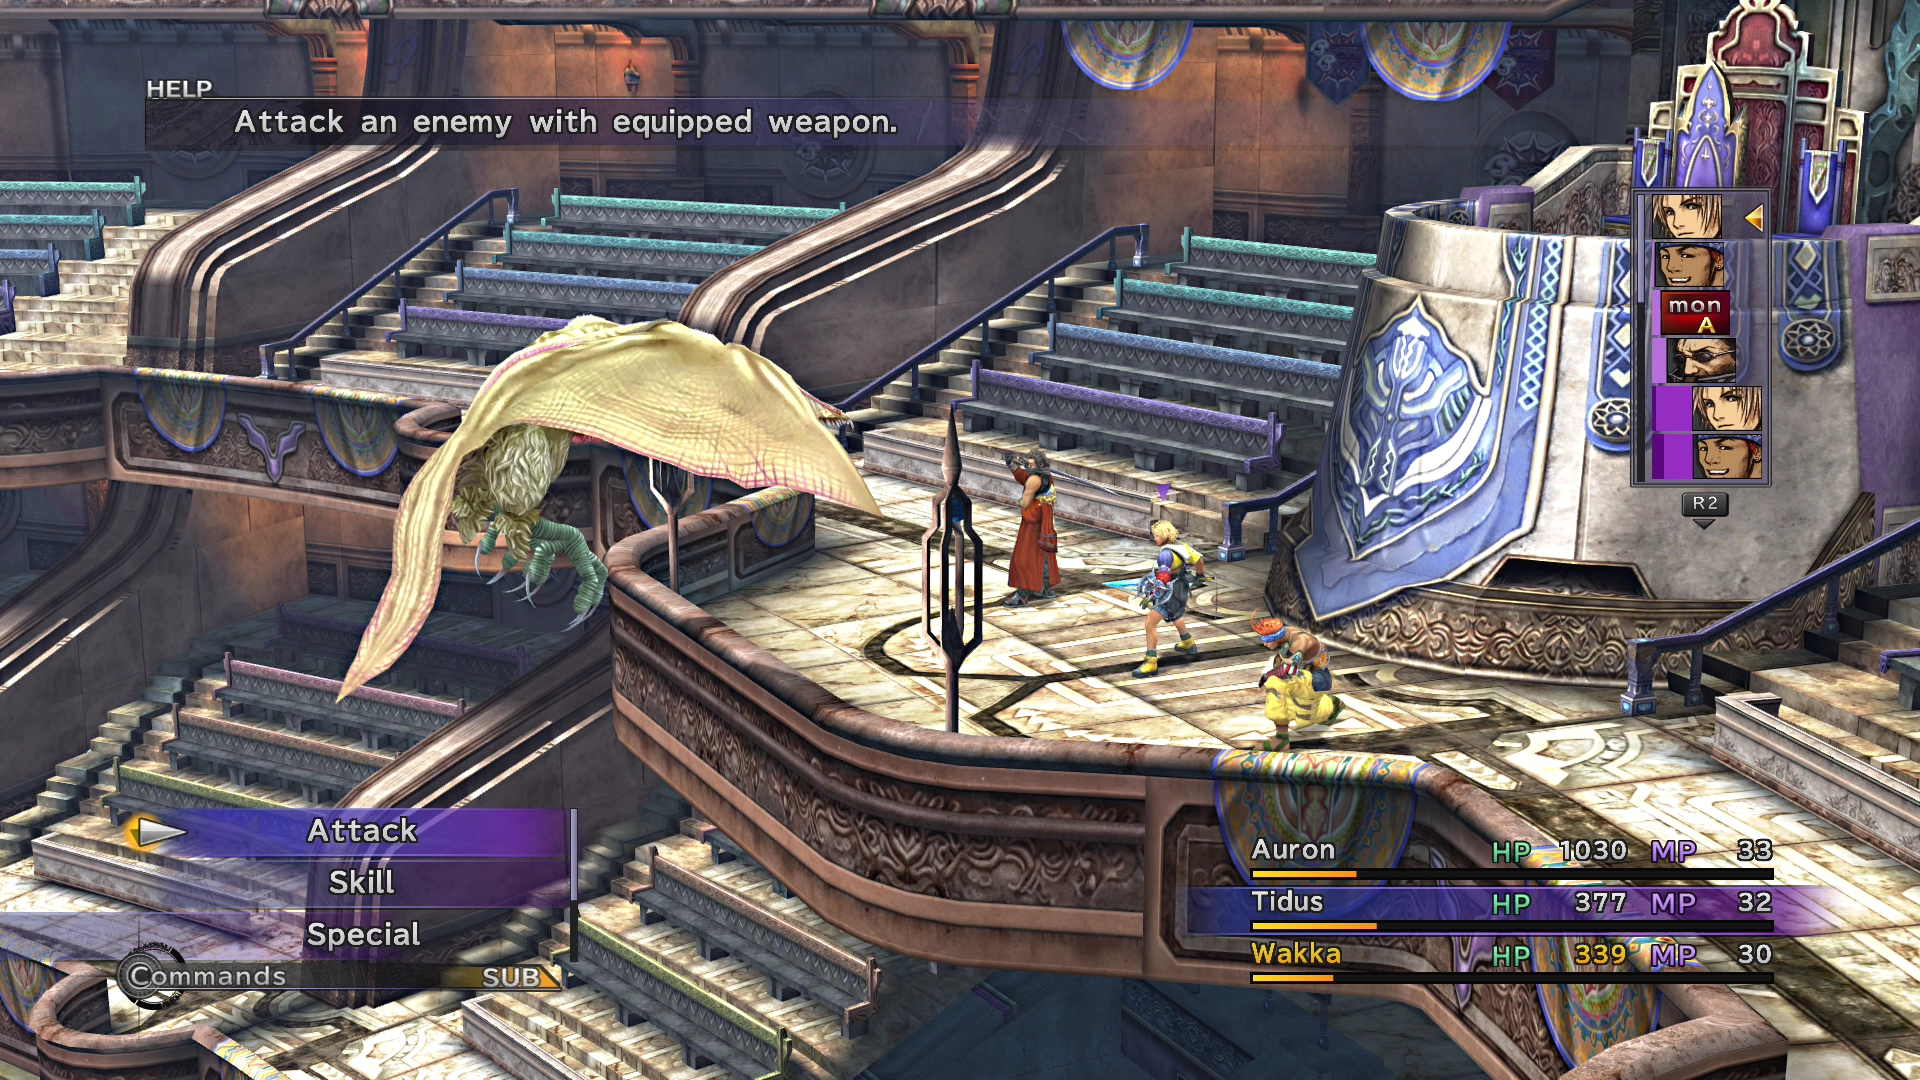
Wakka, Tidus, and Auron will meet up and be thrown into a battle against a Garuda. This battle is another very easy fight. Use ![]() Potions if any of the team members get low on HP.
Potions if any of the team members get low on HP.
Maester Seymour will take care of the remaining fiends by summoning Anima (which is a very cool cutscene). You will have one more opportunity to save your game. Afterwards, follow Auron and the red arrows ![]() on the mini-map back through Luca to meet up with the rest of the team.
on the mini-map back through Luca to meet up with the rest of the team.

Luca - City Limits
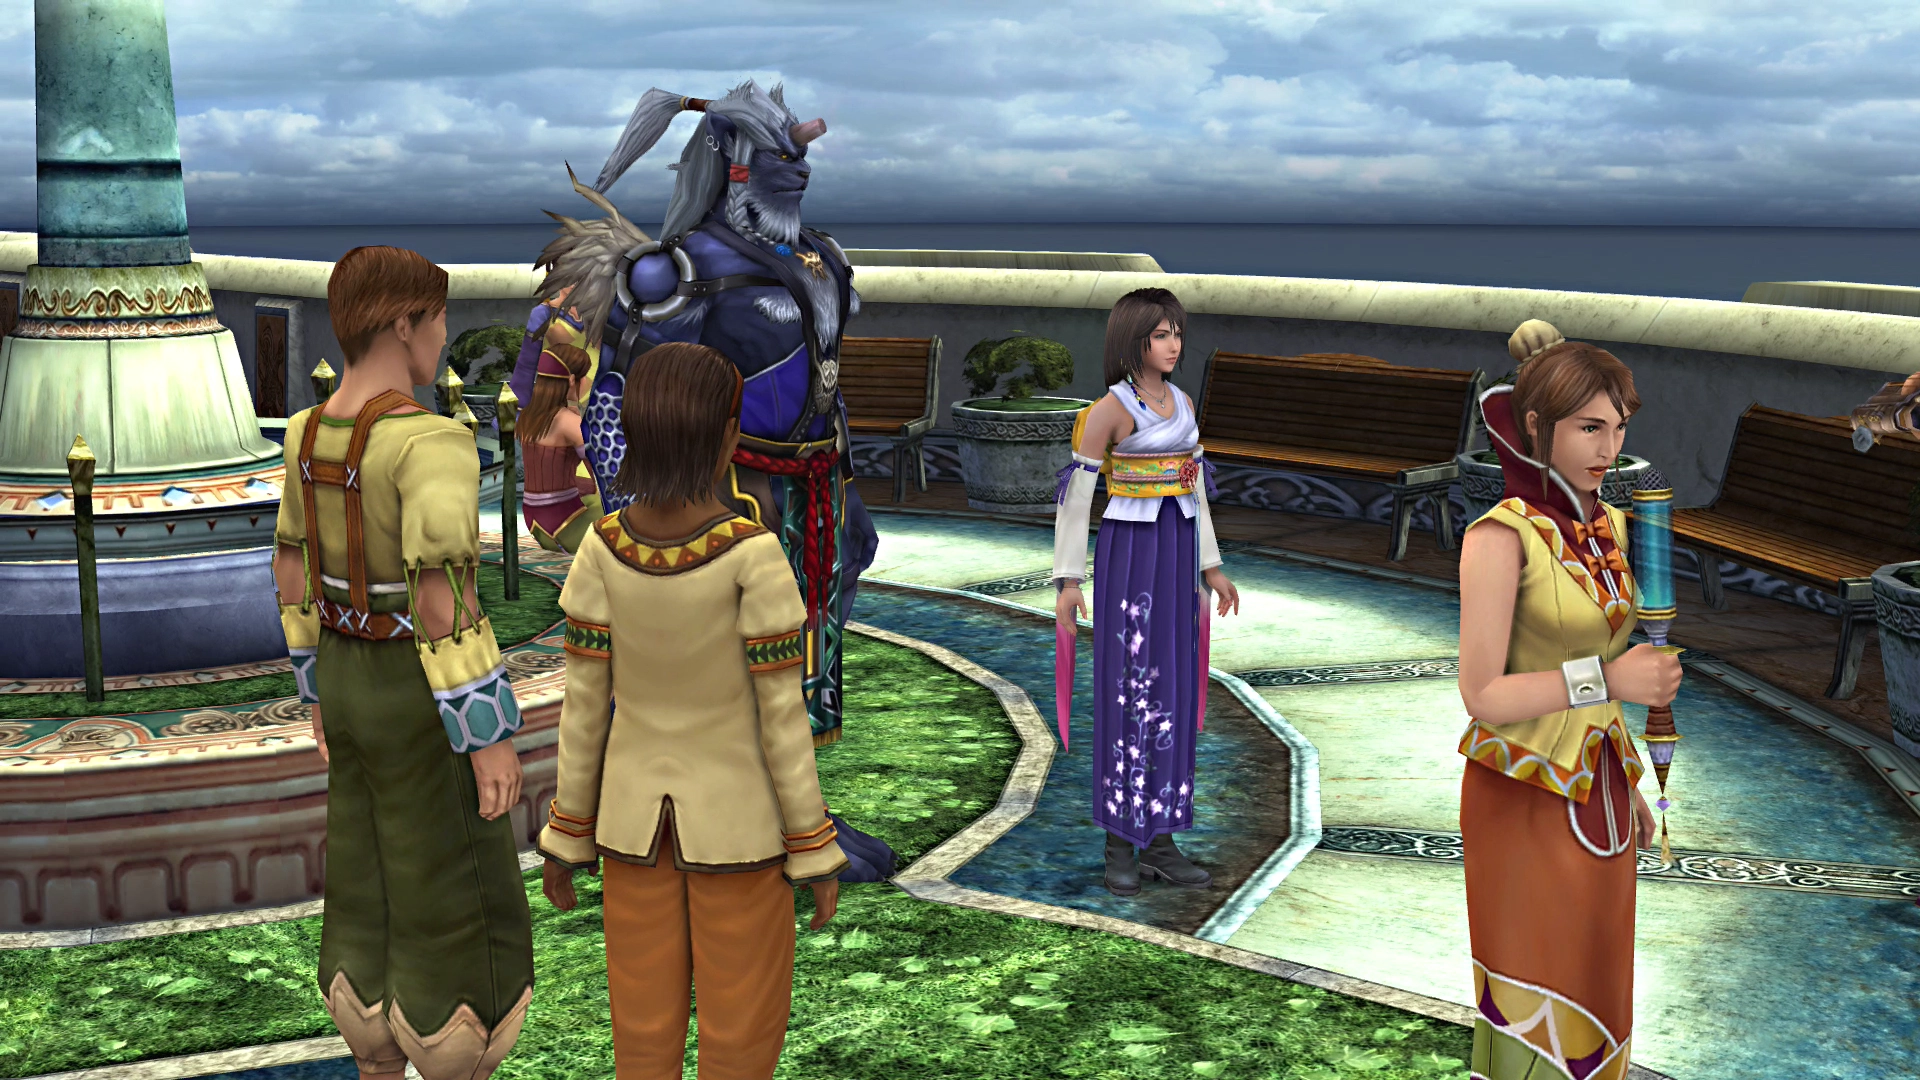
Auron will offer his services to Yuna as another Guardian under the condition that Tidus officially joins her team as a Guardian as well. You now have all of your party members except one (Rikku).
Wander over and speak to Yuna after Auron and Tidus have joined the team. The next scene is one of the worst in the game - Tidus’ fake laughter has now become its own meme! Check out the following link for more information:
Final Fantasy X laughing scene (Fandom Wiki)
Thankfully, it gets better from here, promise!
The next section of the game involves traveling across the Mi’ihen Highroad towards Djose.