Timber
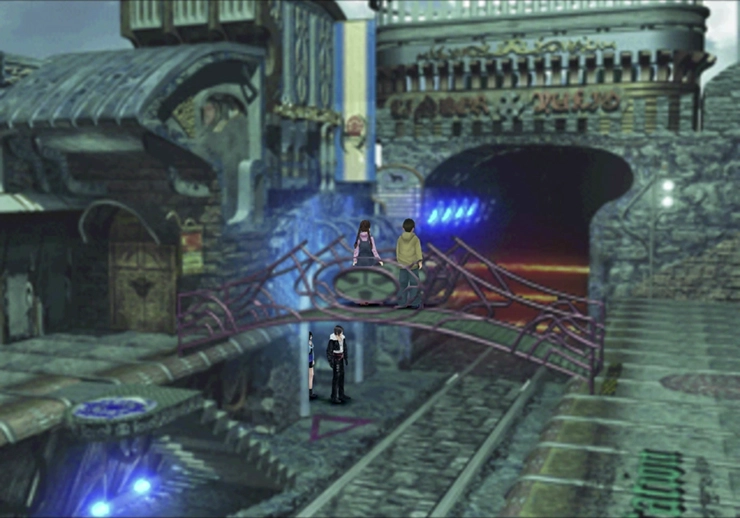
The team will land at the Timber train platform. Even though you won’t be jumping into any battles for a little while, you should know that Zell and Selphie no longer have their Guardian Forces equipped. For some reason, the first Laguna Dream Sequence de-equips the Guardian Forces that they had on. You can re-equip them now if you’d like or later, just before the next battle (this guide will include a reminder).
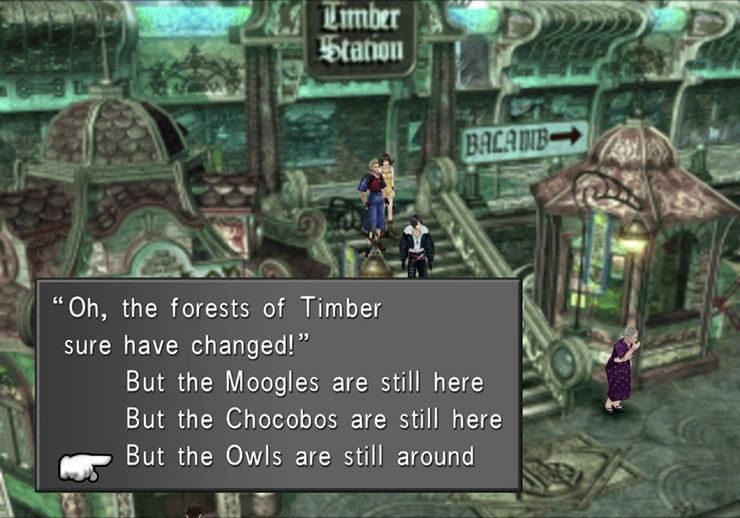
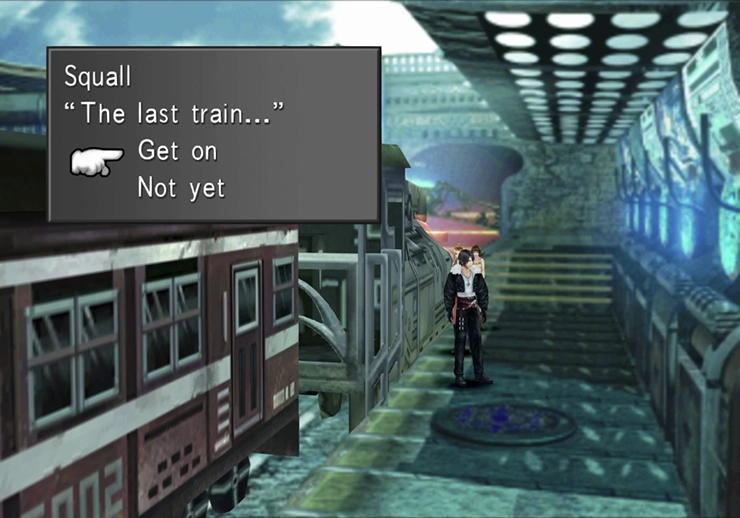
As you proceed down the stairs, the man at the bottom will say the code phrase, “Oh, the forests of Timber sure has changed!” (the developers corrected this grammar for the remastered version!). The password is “But the Owls are still around,” although there are no negative consequences for choosing the wrong password at this point.
Forest Owls’ Base (Train)
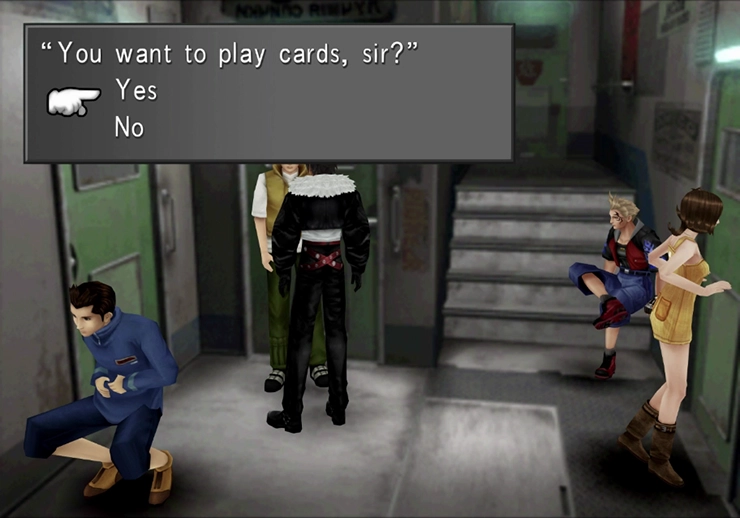
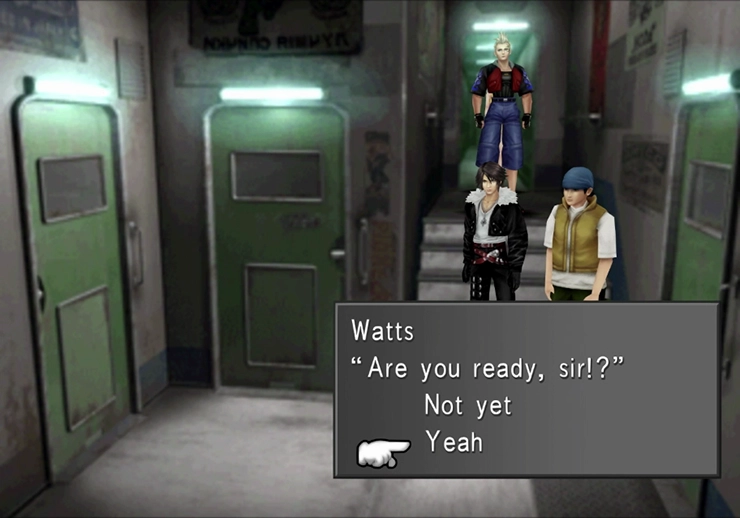
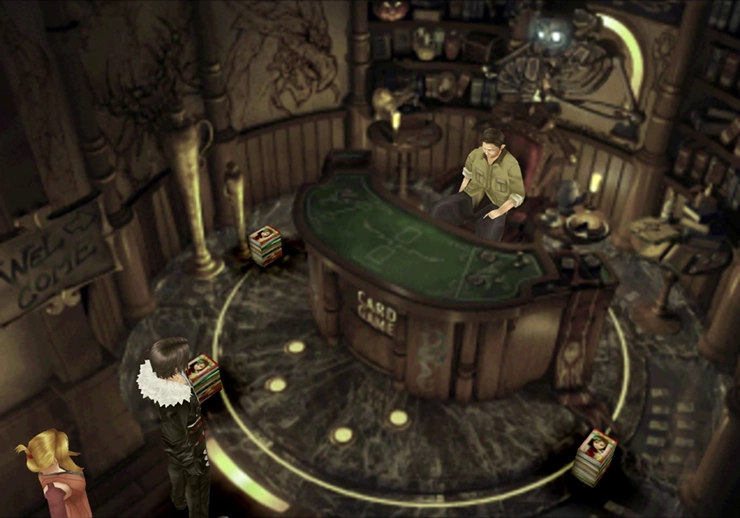
Follow the man (Watts) onto the next train. Zone and Watt will introduce themselves and will then ask you to go “wake up the princess.” Before you do, though, challenge Watts to a game of cards so that you can win the ![]() Angelo Card.
Angelo Card.
Triple Triad Card Game
The ![]() Angelo Card can be won off Watts on the Timber train, but you will have another opportunity to win this card later on in the game if you missed it.
Angelo Card can be won off Watts on the Timber train, but you will have another opportunity to win this card later on in the game if you missed it.
This Triple Triad game will be your first in a new region. Whenever this happens, the first card player that you challenge will always say, “You seem to know rules unfamiliar to this region. Let’s play a game with _____ rules and ours.”
Generally speaking, you should always decline whenever you see this option. With very few exceptions, most of the additional rules for Triple Triad that you will find as you travel throughout the game are terrible! All you have to do to prevent them from spreading is say “no” to the game of cards when you see this question. Ask the card player to play a few more times, and eventually, they will stop asking if you want to mix the rules.
In this case, however, the rule that typically spreads in this region from Balamb is the “Open” rule, which is actually a fairly beneficial rule. You can, therefore, still challenge Watts to a game and hope that the “Open” rule spreads (and reset your game if it doesn’t).
Then it’s time to go and “wake the princess,” the female lead character of Final Fantasy VIII. Go wake Rinoa. You can find her at the back of the train.
[Author’s note: Can I just say how cheesy this is? Zone and Watts have this cute little pet name for Rinoa, they call her ‘princess’ on the train. Fine, it’s kind of endearing for a scrappy resistance trio. But then it’s never mentioned again. You’d think a nickname that gets introduced early would pop up again at some point for a bit of characterization or a callback, but nope. It just quietly disappears once the Forest Owls section is over.]
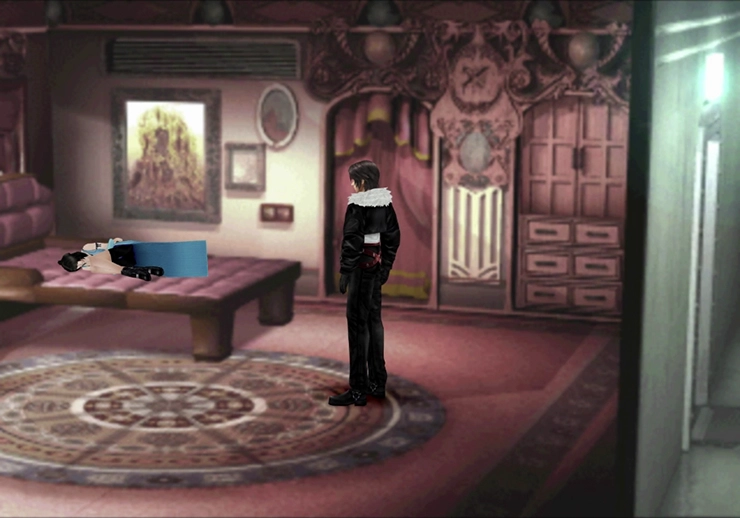
Rinoa will introduce herself and will also introduce her dog, Angelo. Angelo joins Rinoa in battle whenever she uses a Limit Break, so Rinoa gives you a brief overview of how to teach him new abilities (using Pet Pals magazines). This is where Rinoa officially joins your party.
Characters

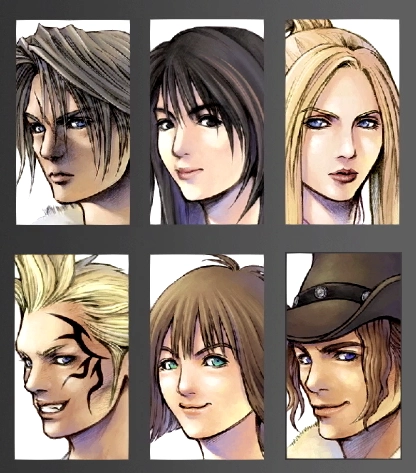
Rinoa Heartilly is the next character to join your party. She plays an important role throughout the story and she is aided in battle by her dog, Angelo.
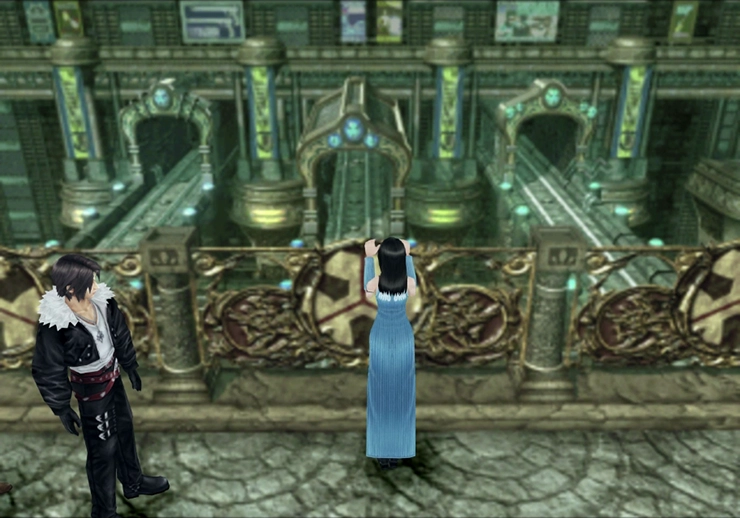
Follow Rinoa down to the team and then into the briefing room. She and the team will give the SeeD Members a lengthy and very convoluted mission briefing. You don’t have to pay much attention to this. It’s not clear why they spend so much time showing you the diagrams of the train as these steps all happen automatically…

There are two parts of the mission that require you to be particularly careful: dodging the guards and entering the codes. Stand still when a blue guard is under you, and run when a red guard is under you. It’s pretty straightforward compared to the lengthy and convoluted explanation provided in the game.
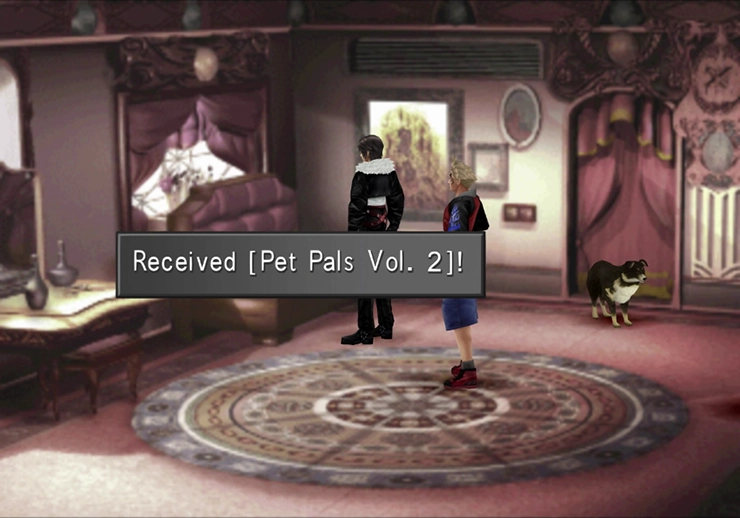
Head back up to Rinoa’s room after the explanation ends and grab the ![]() Pet Pals Vol.2 Magazine sitting on her bed. Talk to Watts when you are ready to begin the mission.
Pet Pals Vol.2 Magazine sitting on her bed. Talk to Watts when you are ready to begin the mission.
Helpful Hint
This point of the game is a good opportunity to remind you that if you are playing a modern remaster, you can press the ![]()
![]()
![]() button to increase the speed of the game (including the dialog and scenes) by up to three times.
button to increase the speed of the game (including the dialog and scenes) by up to three times.
The increased speed does not impact in-game timers, but it can help you skip unnecessarily long portions of the game, especially if you have seen them already and died, forgot to save, or just aren’t interested in watching them.
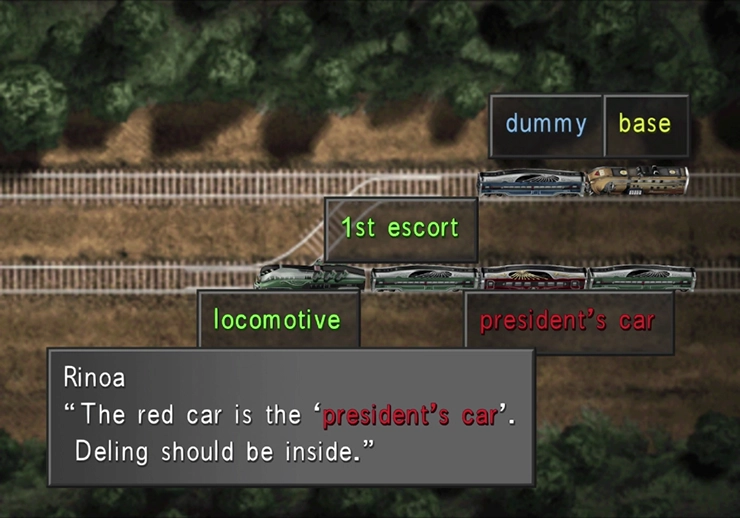
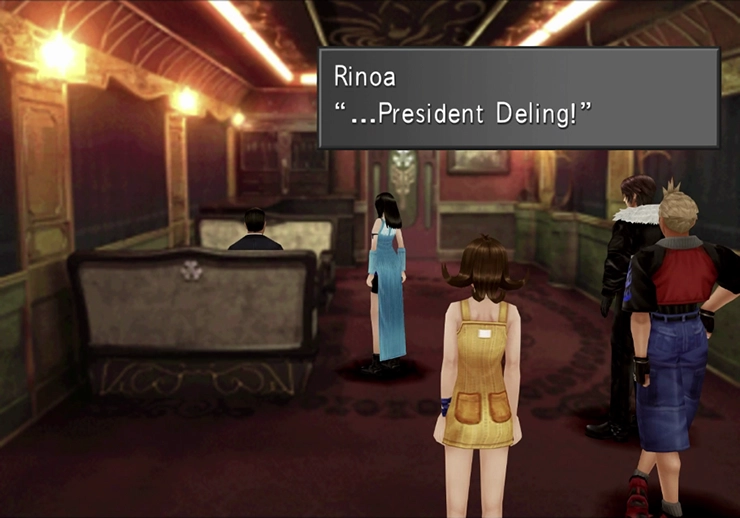
The Kidnapping of President Deling
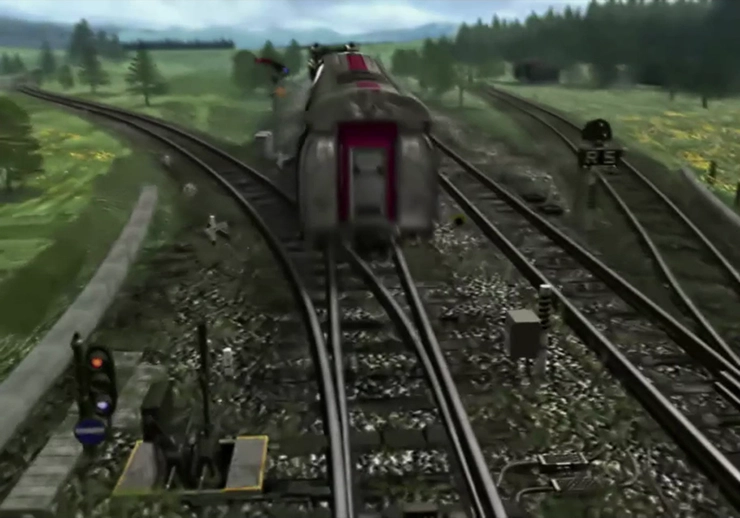
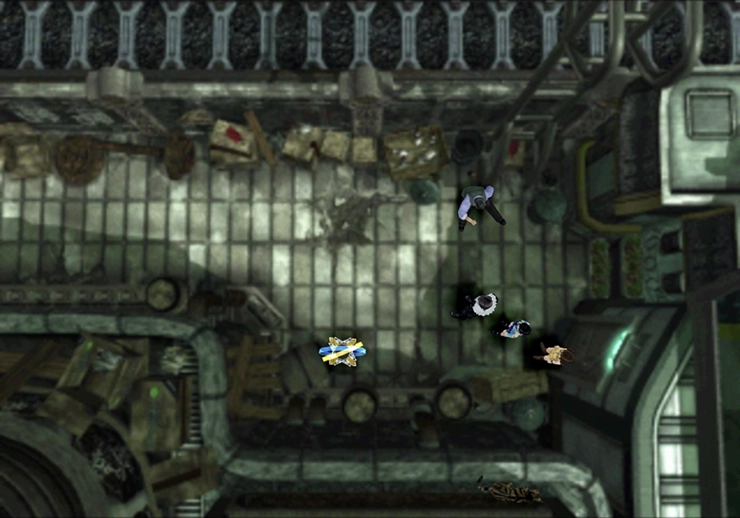
Run to the left towards Rinoa and jump onto the 2nd escort train when she indicates. Rinoa will state that you have 5:00 minutes for the next section of the mission, which is plenty of time.
The guards on the next car will go through a bunch of dialog, essentially revealing that their detection systems are not working. The broken detection systems mean you can just run over them without worrying about being caught
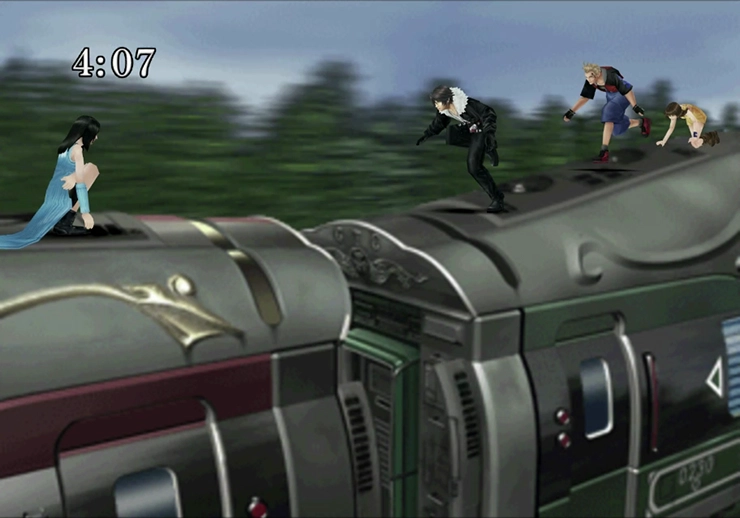
The 1st escort is the first section of the train mission that can be a bit challenging. Selphie and Zell will follow the two guards around and give you a heads-up when they are getting too close.
Make sure to scale back up to the top of the train whenever they are coming. You can’t move up if you’re in the middle of entering a code, and scaling back up the train takes a couple of seconds, so play it safe and climb back up early.
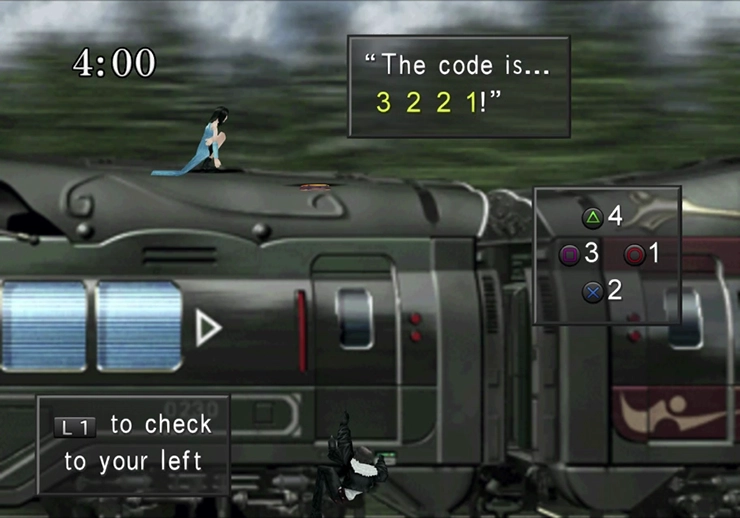
You can use the ![]()
![]()
![]() button to look to the left and see if the guards are coming. Then, use the following buttons to enter the code:
button to look to the left and see if the guards are coming. Then, use the following buttons to enter the code:
![]()
![]()
![]()
![]()
![]()
![]()
![]()
![]()
![]()
![]()
![]()
![]()
You need to enter three codes to successfully uncouple the train. There isn’t enough time to enter all three before the guards come over, so be ready to jump back up to the top of the train whenever you need to.
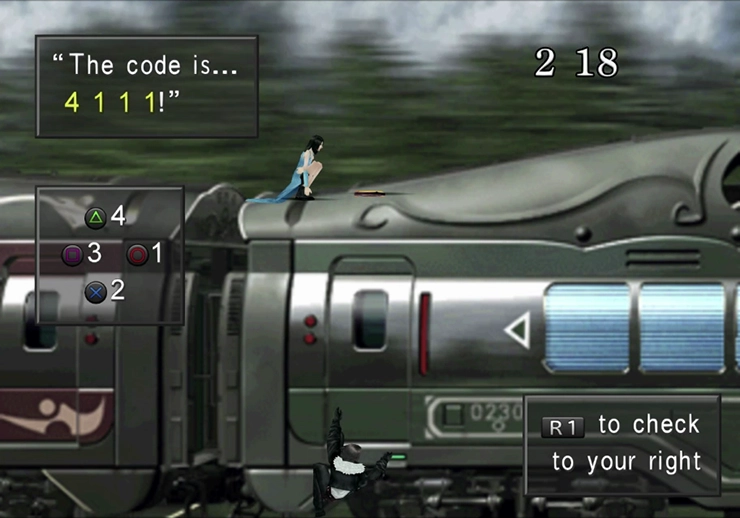
Squall and Rinoa will wind up back on the 2nd escort train and will have to uncouple another lock, but this time, Selphie and Zell won’t be available to watch for the two guards. Take your time and proceed cautiously. The mission is complete once you enter all five codes.
Squall, Selphie, Zell, and Rinoa will return to the Forest Owl’s Base train. Squall will reiterate that these will be “serious negotiations” and will remind you to equip your Guardian Forces.
This is another reminder that Zell and Selphie’s Guardian Forces were unequipped after the completion of the Laguna Dream Sequence, so make sure that you go back in and re-equip them. Also, make sure that you have at least one character who has access to the ![]() Item ability; it will come in very handy during the second of the two boss battles ahead.
Item ability; it will come in very handy during the second of the two boss battles ahead.
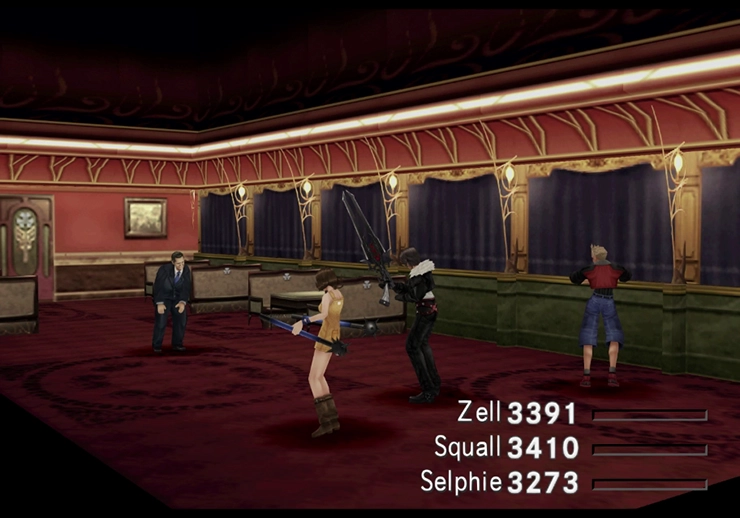
Boss Battle
In Game Description: President Deling’s double. Attacks in a strange way, but not very strong. However…
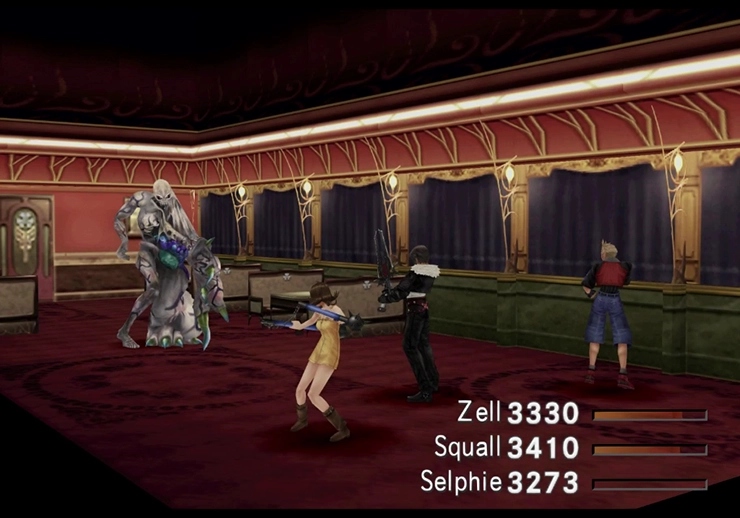
The first boss battle is against the “Fake President.” This fight serves as a brief precursor to the actual boss battle that follows. This boss does not deal a lot of damage and has relatively low HP. Hit him a couple of times and get ready for the next fight.
Boss Battle
In Game Description: A monster that posed as President Deling. Attacks with its deformed arms and status attacks.
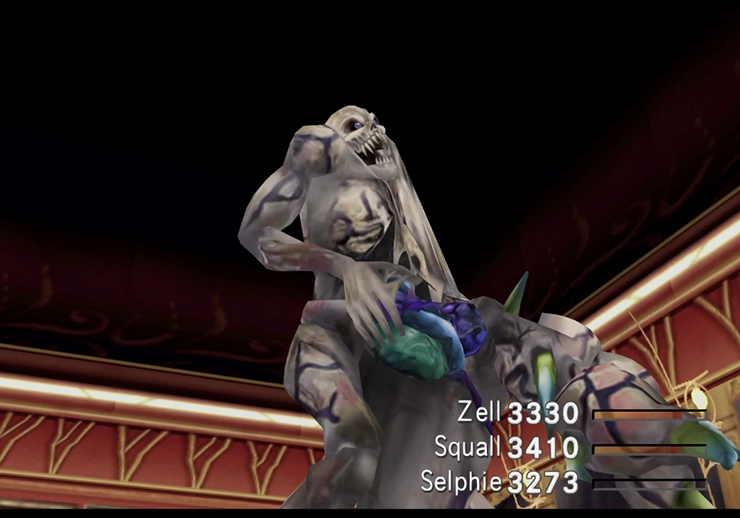
Gerogero’s main attacks will come at you in the form of negative status effects. It is capable of inflicting ![]() Darkness (increased chance of missing with attacks),
Darkness (increased chance of missing with attacks), ![]() Silence (unable to use magic), and
Silence (unable to use magic), and ![]() Berserk (only able to attack). The cure to these status effects is to use
Berserk (only able to attack). The cure to these status effects is to use ![]() Esuna magic or to use curative items.
Esuna magic or to use curative items. ![]() Esuna can be drawn directly from Gerogero if needed.
Esuna can be drawn directly from Gerogero if needed.
Final Fantasy games always have one undead-type boss that you have to fight in each game (Gi Nattak in Final Fantasy VII and Soulcage in Final Fantasy IX, for example). Undead-type enemies take heavy damage from healing spells and curative items. This weakness means that you can use a ![]() Phoenix Down item on Gerogero, and it will instantly kill it.
Phoenix Down item on Gerogero, and it will instantly kill it.
After the battle, you will be brought back to the train station for more discussions with the team as they come up with another plan to complete their main objective (achieving Timber’s independence).
Rinoa will join your party for the next part of the game. Use the “Junction Exchange” option to quickly move all of your Guardian Forces and magic from either Selphie or Zell (whichever one you aren’t taking) over to Rinoa rather than going through and equipping it all manually. Speak to Watts when you are ready, and the train will return to Timber.
Refer to the “Best Party” section for more information on which party members make the most sense to add to your main party. Selphie is considered the better party member to add at this stage of the game (over Zell).
Triple Triad Side Quest
You can beat the game using any of the selectable characters in your party, but some characters are more optimal to include and are more powerful than their teammates. Check out this section for more information.
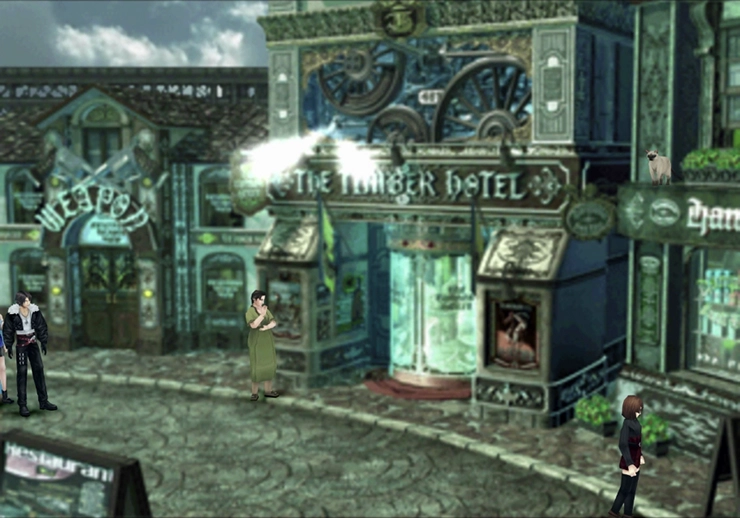
Town Center
There is a short cutscene involving some Galbadian Soldiers in Timber before the train arrives on the train platform. During your travels through Timber, you may encounter Soldiers that you will have to fight, or you may run into random encounters in certain areas of the town.
Helpful Hint
Your Guardian Force, Quezacotl, can learn an important and powerful refinement ability called ![]() Mid Mag-RF. If you’ve learned this ability already, great! If not, consider making it the next ability that Quezacotl learns.
Mid Mag-RF. If you’ve learned this ability already, great! If not, consider making it the next ability that Quezacotl learns.
Mid Mag-RF can be used to convert lower-level magic like Fire, Blizzard, Thunder, and Cure into their next most powerful spell level (Fira, Blizzara, Thundara, and Cura, respectively). In addition to arming your characters with more powerful spells that they can use against enemies and bosses, you can also junction these more powerful magics to your character’s stats for enhanced effects.
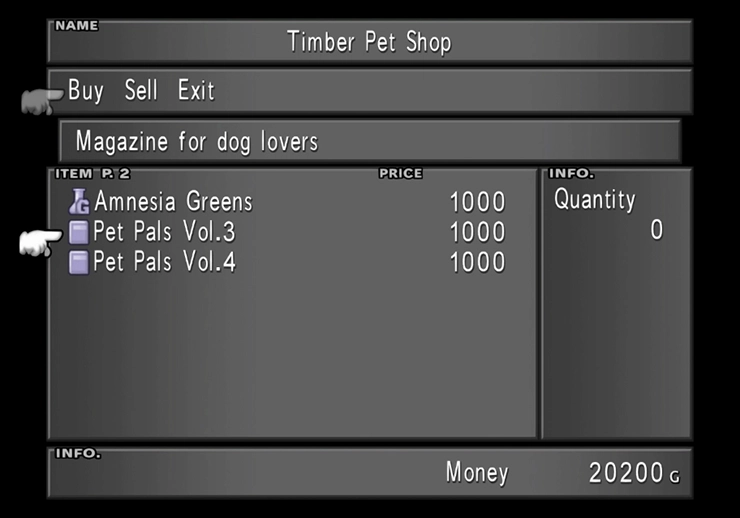
Travel back towards the Pet Shop behind the train platform and purchase ![]() Pet Pals Vol.3 and
Pet Pals Vol.3 and ![]() Pet Pals Vol.4 from the Timber Pet Shop. You may also want to consider buying some
Pet Pals Vol.4 from the Timber Pet Shop. You may also want to consider buying some ![]() Amnesia Greens so that you can have your Guardian Forces forget some of their useless abilities if they start running out of space.
Amnesia Greens so that you can have your Guardian Forces forget some of their useless abilities if they start running out of space.
Helpful Hint
Siren can learn an ability called ![]() Move-Find. It’s not a critical move to have, but it does have a few situational uses, some of which will be coming up shortly. Consider having Siren learn Move-Find as her next ability if you haven’t already.
Move-Find. It’s not a critical move to have, but it does have a few situational uses, some of which will be coming up shortly. Consider having Siren learn Move-Find as her next ability if you haven’t already.
Head back towards the train platform and look for the wording at the bottom that says “Galbadia.” There is a pathway that runs along the lower side of the platform, heading to the right side of the screen (not the bottom). Follow that pathway to the next screen, and you should find yourself standing in front of the large “Timber Maniacs” building.
(You can check out the other areas of town, which have some optional cutscenes that you can watch, but they are fairly irrelevant to the story and don’t have much of an impact on the game)
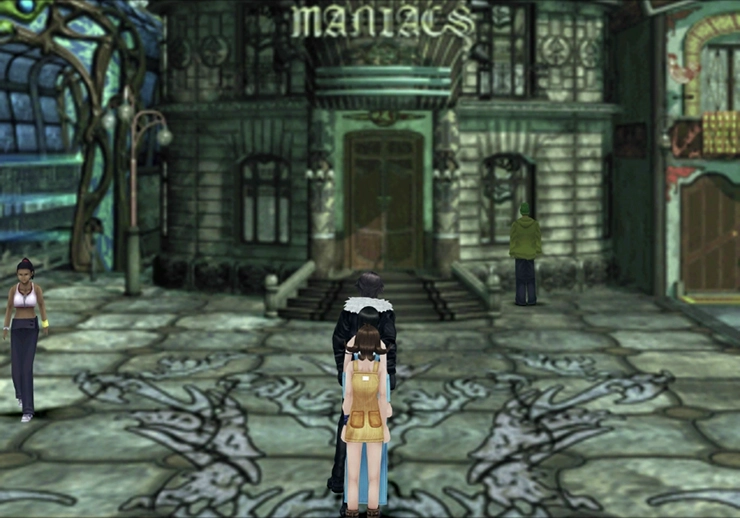
Timber Maniacs Building
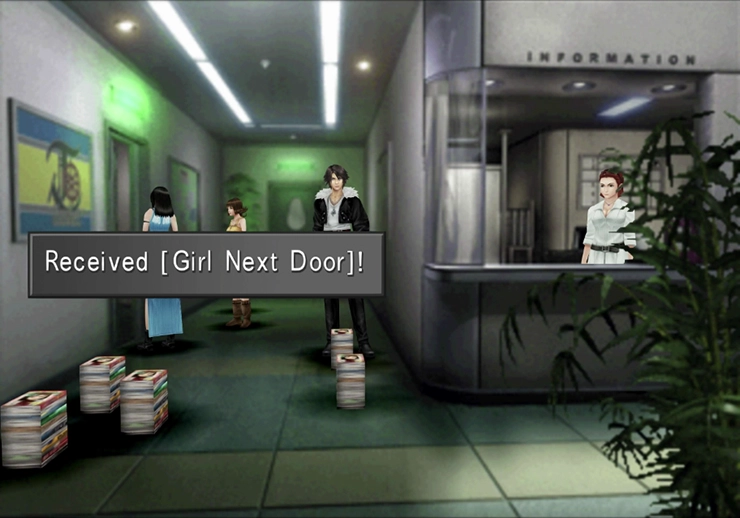
Search the piles of magazines at the front of the Timber Maniacs reception area until you locate the ![]() Girl Next Door magazine. This item is a ‘naughty magazine’ that you need to have in your possession later on in the game to obtain the
Girl Next Door magazine. This item is a ‘naughty magazine’ that you need to have in your possession later on in the game to obtain the ![]() Shiva Card.
Shiva Card.
There is also a hidden Draw point in the room on the left that contains ![]() Blizzaga magic.
Blizzaga magic.
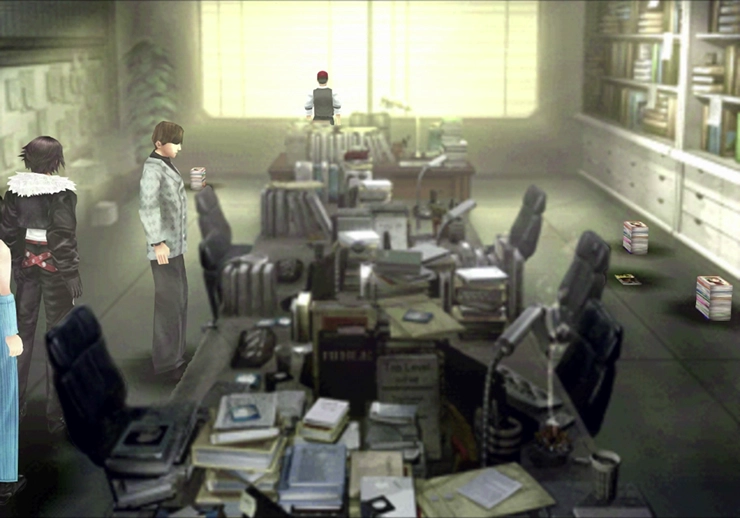
Proceed to the room at the back of the hallway and find the next issue of ![]() Timber Maniacs lying on the ground. Grabbing this issue covers everything that you can do inside the Timber Maniacs building. Head back out the front door.
Timber Maniacs lying on the ground. Grabbing this issue covers everything that you can do inside the Timber Maniacs building. Head back out the front door.
Town Center
Go to the right of the Timber Maniacs building, ignoring the small house, and right to the next screen. This area features stairs on the far side of the walkway, with writing on the ground indicating that this path leads to the “Pub.”
Go past those stairs and continue walking to the right. You will find yourself standing near some train tracks with some stairs that lead up to a door on the left side of the bridge over the tracks. Go through the door and into the house.
Residence
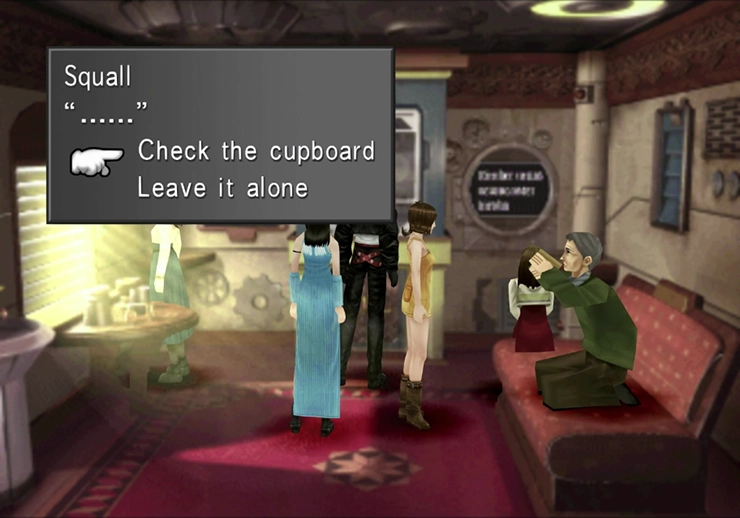
Start by examining the cupboard on the far side of the room. Squall will say, “(It won’t open…?),” and the lady in the house will ask him what he’s doing. Examine the cupboard a few more times until you’re presented with the option to “look closer,” and Squall will snatch 500 Gil, taking the secret life savings out of the cupboard.
Hard to feel like the hero of the story at this point of the game, isn’t it?
Town Center
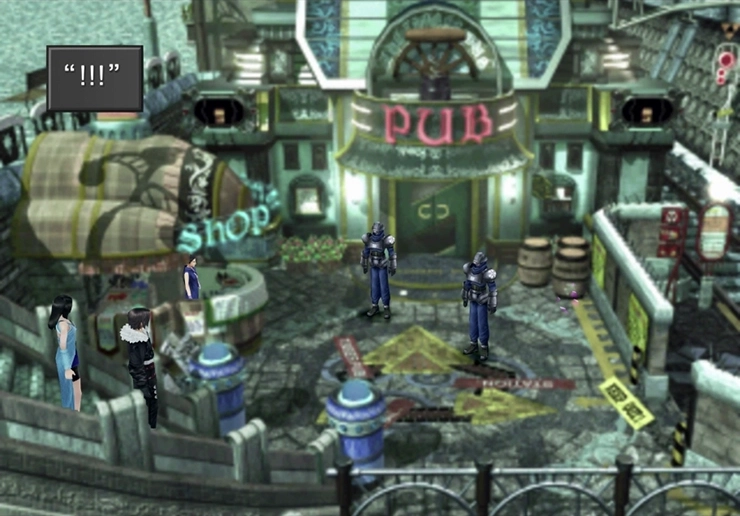
Exit the house and make your way back to the screen with the stairs leading to the Pub. Go down the stairs to observe another scene with some Galbadian Soldiers.
You will need to defeat two Soldiers before you can enter the Pub, but they are extremely easy to defeat. At the end of the battle, you will receive a free ![]() Buel Card.
Buel Card.
Use the nearby Draw Point for some ![]() Cure magic. You can also swing by the nearby store on the left side of the screen, which sells the following items:
Cure magic. You can also swing by the nearby store on the left side of the screen, which sells the following items:
While none of these restorative items are critical for your success as you progress through the game, it certainly can’t hurt to have a few items, like ![]() Antidote,
Antidote, ![]() Eye Drops, etc., on hand to remove negative status effects.
Eye Drops, etc., on hand to remove negative status effects.
Unlike in some other Final Fantasy games, negative status effects in Final Fantasy VIII persist from battle to battle until you remove them. These restorative items can be much cheaper options for removing negative statuses without having to use ![]() Esuna magic or a
Esuna magic or a ![]() Remedy.
Remedy.
Enter the Pub after you have purchased everything you want.
Pub
There is a drifter that will start talking as soon as you enter the Pub. Depending on your choices, after you approach the drifter to get him out of the way, you’ll be rewarded with a different Triple Triad Card.
Squall can either choose to buy him a drink, tell him about a Triple Triad Card, or do nothing. If you decide to buy him a drink, select the “Reagan” drink (which is what the woman near the bar says he likes), and he will reward you with a ![]() Forbidden Card.
Forbidden Card.
Alternatively, if you just tell him about the card you currently have, he will give you a free ![]() Tonberry Card. Both cards are pretty common throughout the game, so don’t spend too much time worrying about your choice here.
Tonberry Card. Both cards are pretty common throughout the game, so don’t spend too much time worrying about your choice here.
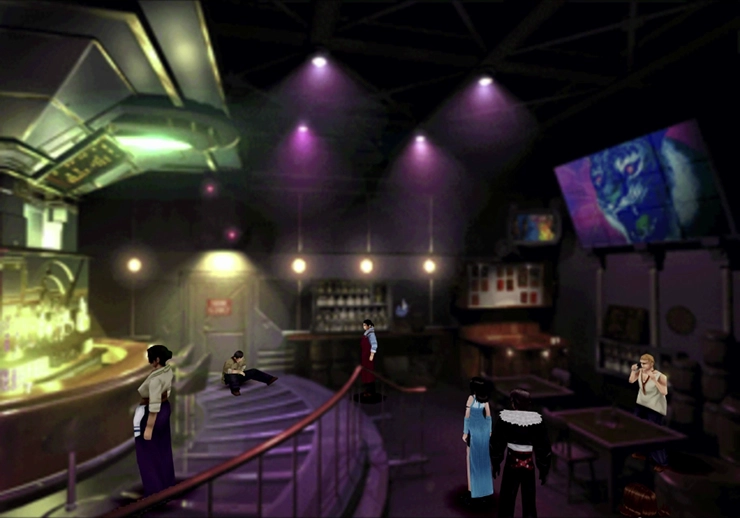
Proceed through the back door and into the alleyway once the drifter has moved out of the way.
Alley
Your view in the next screen is looking straight down when you enter the alleyway. Make use of the ![]() Save Point to save your game before you head to the left. Go through the gate and up the stairs.
Save Point to save your game before you head to the left. Go through the gate and up the stairs.
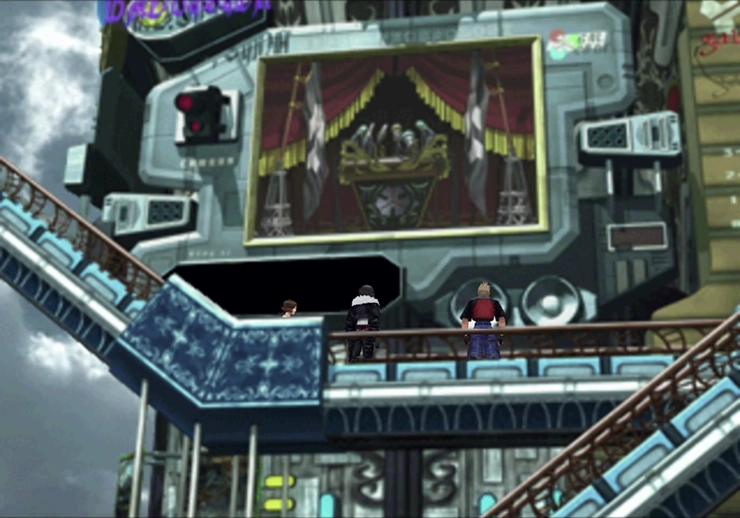
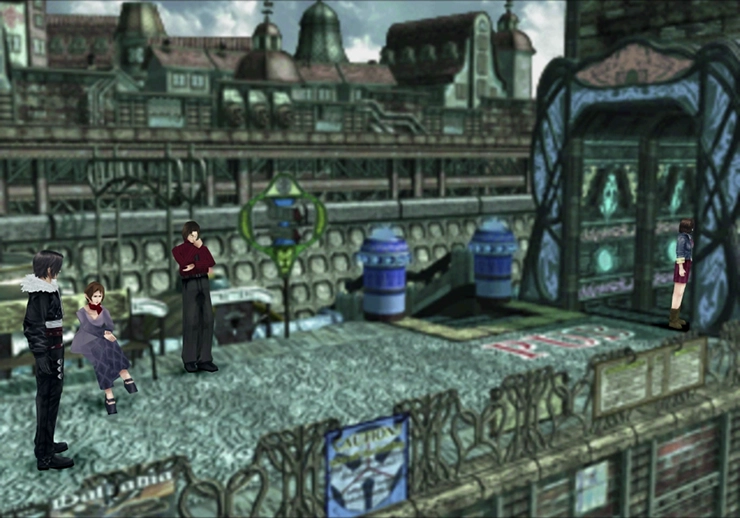
There is some additional dialog that takes place as Squall, Rinoa, and your extra party member pass by the large outdoor screen in front of the catwalk. Watts will run up to the team and tell them that the president is in the studio and that there are now too many guards for them to storm the place.
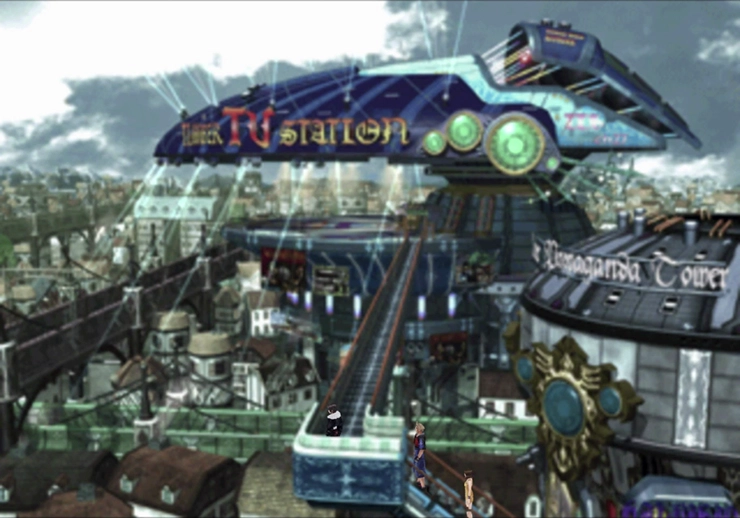
Quite a few more cutscenes and quite a bit more dialog will take place before Quistis and Seifer will show up on the scene. Quistis will order the SeeD team to make their way to the Timber TV Station. Continue left along the catwalk and towards the station.
The game will automatically direct Squall and his team back to the small house on the right side of the Timber Maniacs building, where they can hide out.
Residence
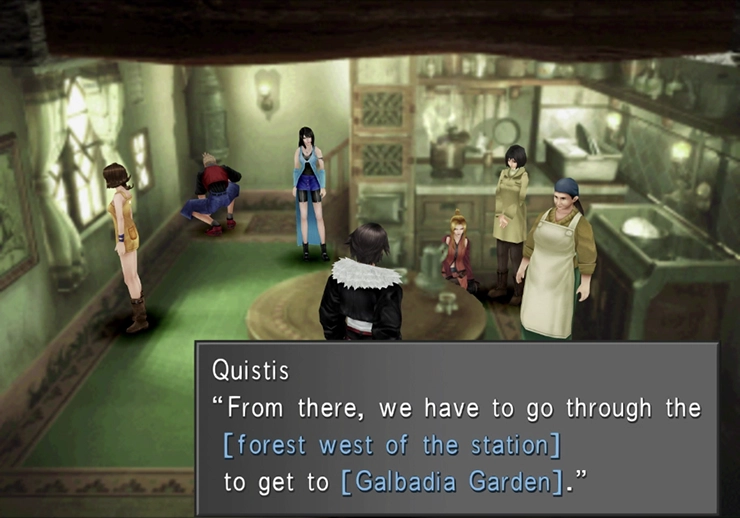
Talk with each of your team members once you find yourself back in control of Squall on the second floor of the old lady’s house. The team will discuss their plan of action, which involves traveling to the nearest Garden, Galbadia.
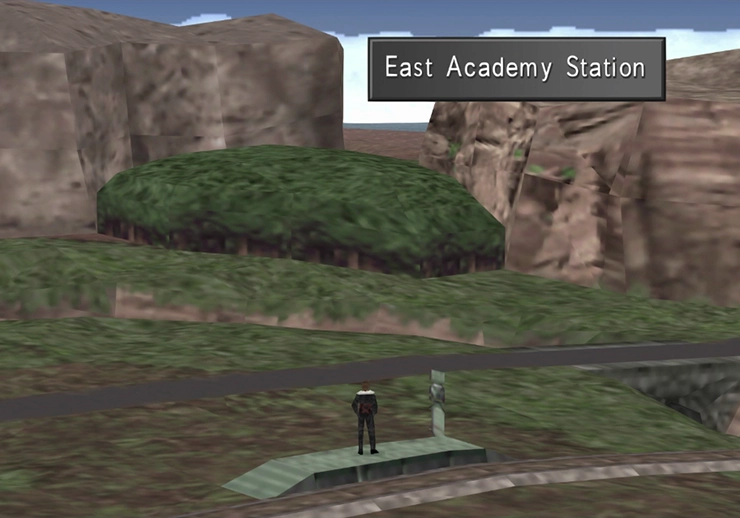
To get there, you will need to ride the train to “East Academy” and then disembark from the train (although this guide recommends visiting a few places before going to Galbadia).
Choose your party members and, before you leave, the old lady will give you a cache of items which includes a ![]() Potion,
Potion, ![]() Phoenix Down,
Phoenix Down, ![]() Soft,
Soft, ![]() Antidote, and a
Antidote, and a ![]() Remedy. Head towards the right side of town where the train tracks were located (not the area where you jumped on the Forest Owl’s train/hideout), and hop on the train.
Remedy. Head towards the right side of town where the train tracks were located (not the area where you jumped on the Forest Owl’s train/hideout), and hop on the train.
World Map - Lanker Plains Area
Quistis will remind you again that you’re to head to the “East Academy” and then “go through the forest, west of the station.” But we won’t be headed there just yet…
Triple Triad Side Quest

It’s time for your next encounter with the Queen of Cards! This side quest is optional, and you can skip it if you’re not planning on completing all the side quests or if you have no interest in playing the Triple Triad card game.
Take the train to the last stop (going straight past “East Academy”) to “Dollet Station” and walk down the road to the town of Dollet.
You should now consider following the steps to abolish the “Random” rule in the town of Dollet. The “Random” rule is a frustrating rule that causes the game to randomly select a hand of five cards for you when you challenge someone to a game of Triple Triad.
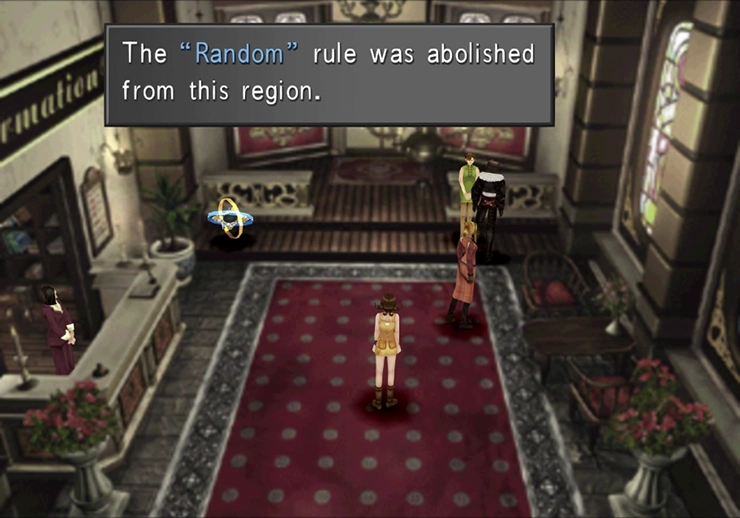
Check out the “Abolishing the Random Rule in Dollet” page in the Tips and Tricks section for more information. You should also make sure that Siren has learned the ![]() Move-Find ability and that one of your characters has it junctioned.
Move-Find ability and that one of your characters has it junctioned.
Head into Dollet and make your way to the Dollet Pub. You can find the Queen of Cards on the second floor of the Pub. Use the nearby Save Point on the second floor (which you can only see if you have ![]() Move-Find equipped).
Move-Find equipped).
Challenge the Pub owner to a game of cards; he’s the man standing to the left of the Queen of Cards, wearing a pale green jacket. There’s also an issue of ![]() Timber Maniacs lying on the table, which you should pick up.
Timber Maniacs lying on the table, which you should pick up.
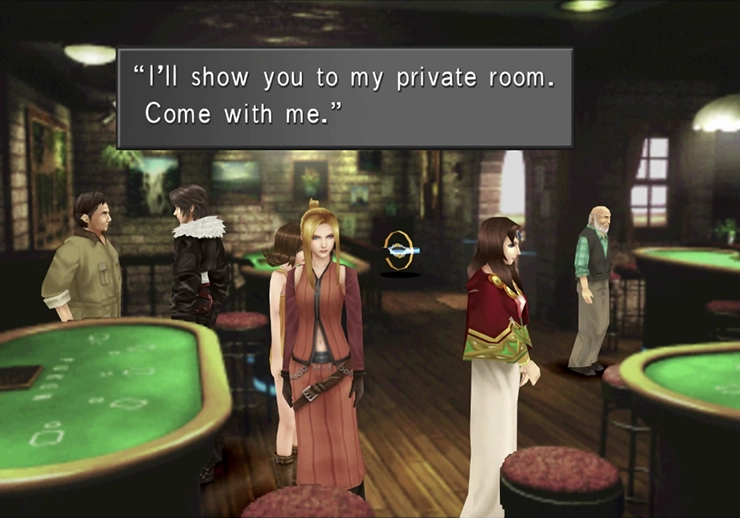
Defeat the Pub owner in a game of cards, and he will give you access to the private room at the back of the bar. The stacks of magazines around this room have different magazines each time you enter; there’s even a chance that one of them will have ![]() Occult Fan II.
Occult Fan II.
Challenge the Pub owner to another game of cards while in his private room. During this next game, you can win the ![]() Siren Card off of him.
Siren Card off of him.
Walk back into the Pub and ask the Queen of Cards about her “artist father.” She will tell you that she gave the ![]() MiniMog Card that you lost to her in Timber to her son. You can find her son in Dollet, and he is involved in the “Dog and its Bone” side quest, which you can read about below.
MiniMog Card that you lost to her in Timber to her son. You can find her son in Dollet, and he is involved in the “Dog and its Bone” side quest, which you can read about below.
Complete the first part of the “Dog and its Bone” side quest to re-obtain your ![]() MiniMog Card. There are a few other rewards that you can obtain while completing it, but note that if you come back and complete this side quest later, the rewards are quite a bit better (
MiniMog Card. There are a few other rewards that you can obtain while completing it, but note that if you come back and complete this side quest later, the rewards are quite a bit better (![]() X-Potion,
X-Potion, ![]() Mega-Potion, and an
Mega-Potion, and an ![]() Elixir):
Elixir):
Side Quests
Complete the small side quest to retrieve your cards from the Queen of Card’s son, but you may want to save this one until later to get better rewards.
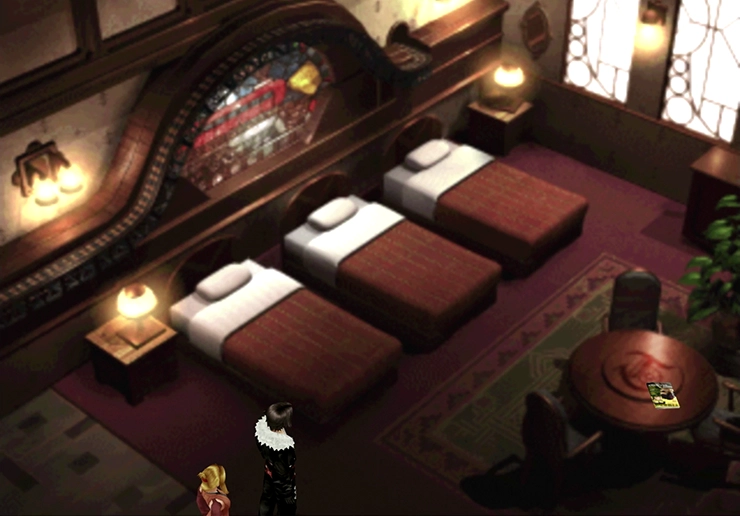
There’s one more item to grab while you are back in Dollet. Travel back to the Dollet Hotel in the center of town and choose to spend the night in a room for 100 Gil. When you wake up, read the issue of ![]() Timber Maniacs on the table.
Timber Maniacs on the table.
You could also consider returning to the town of Timber to pick up one more issue of ![]() Timber Maniacs. Just enter the town and stay at the Hotel right up at the front of town, and grab the magazine off the table before you leave.
Timber Maniacs. Just enter the town and stay at the Hotel right up at the front of town, and grab the magazine off the table before you leave.
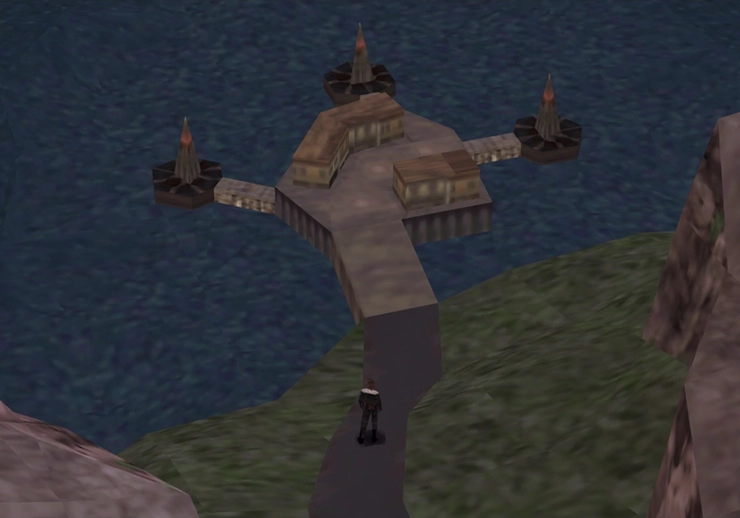
It’s now time to make your way toward Galbadia, or more specifically, the forested area near Galbadia Garden, where another cutscene will take place.
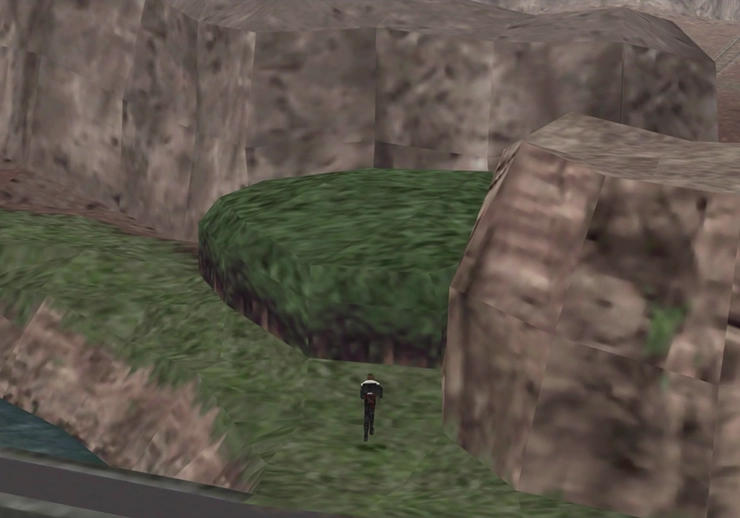
Walk back to the first train stop in the “Timber - Yaulny Plains” area and look to the northwest. You should see a forested area between two canyon walls (shown in the screenshot). That’s our next destination! Head into the forest, and a cutscene will begin as soon as you enter.