
Cosmo Canyon
Visiting Gongaga and the ruined reactor is not mandatory. You can skip by it and drive right past it in your Buggy.
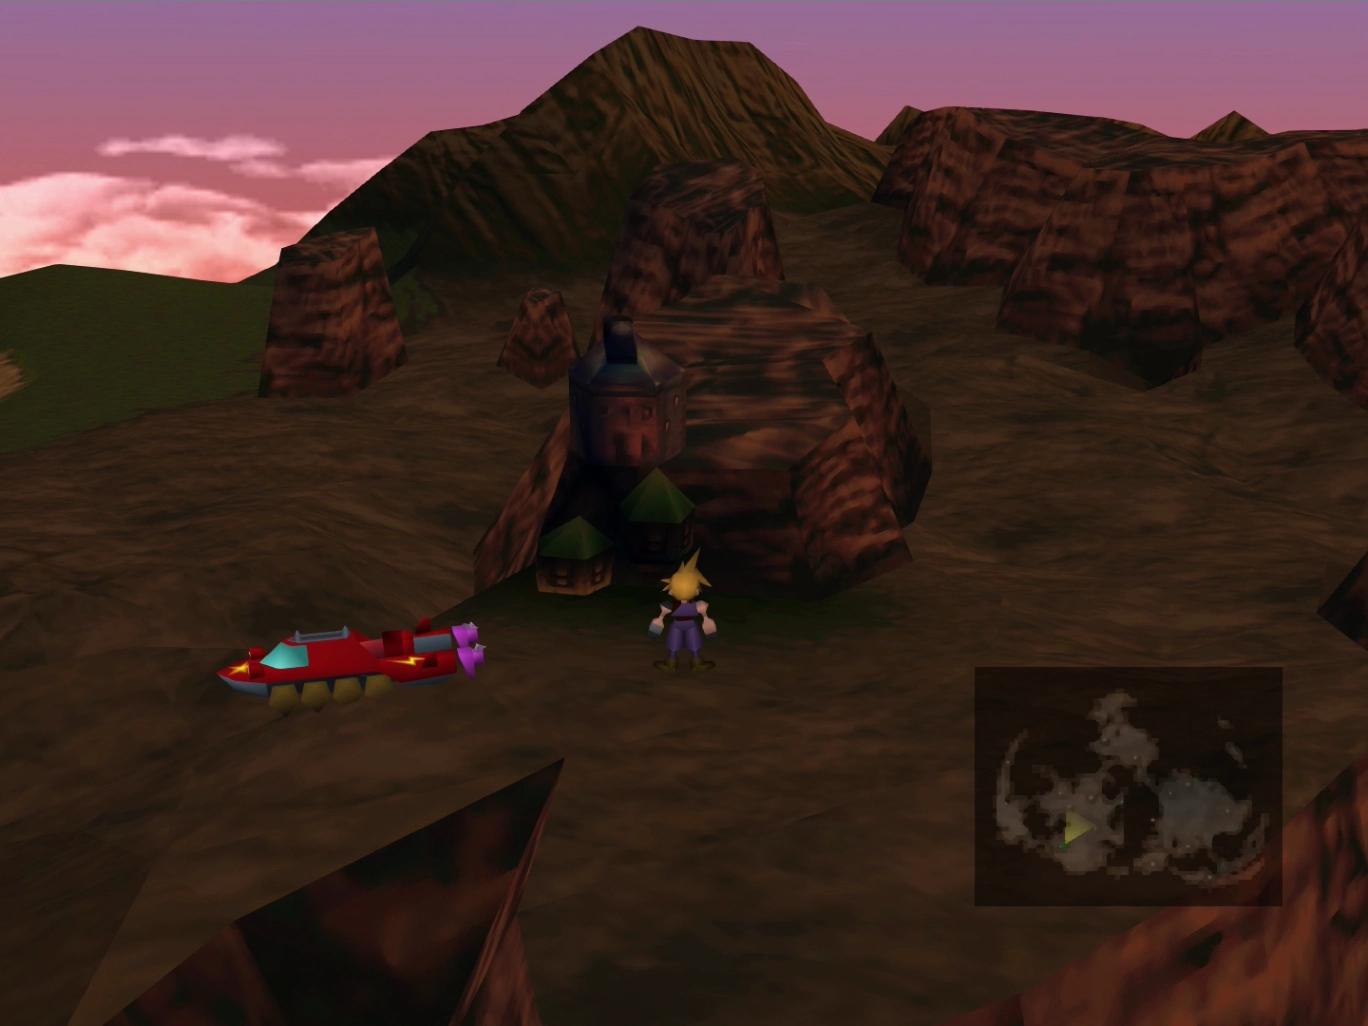
Assuming you did stop at Gongaga, hop in your Buggy and proceed directly west out along the lower edge of the continent and across the shallow portion of the river between the two forested areas (shown in the screenshot below). Continue west and drive around the rocky cliff onto the rocky pathway.
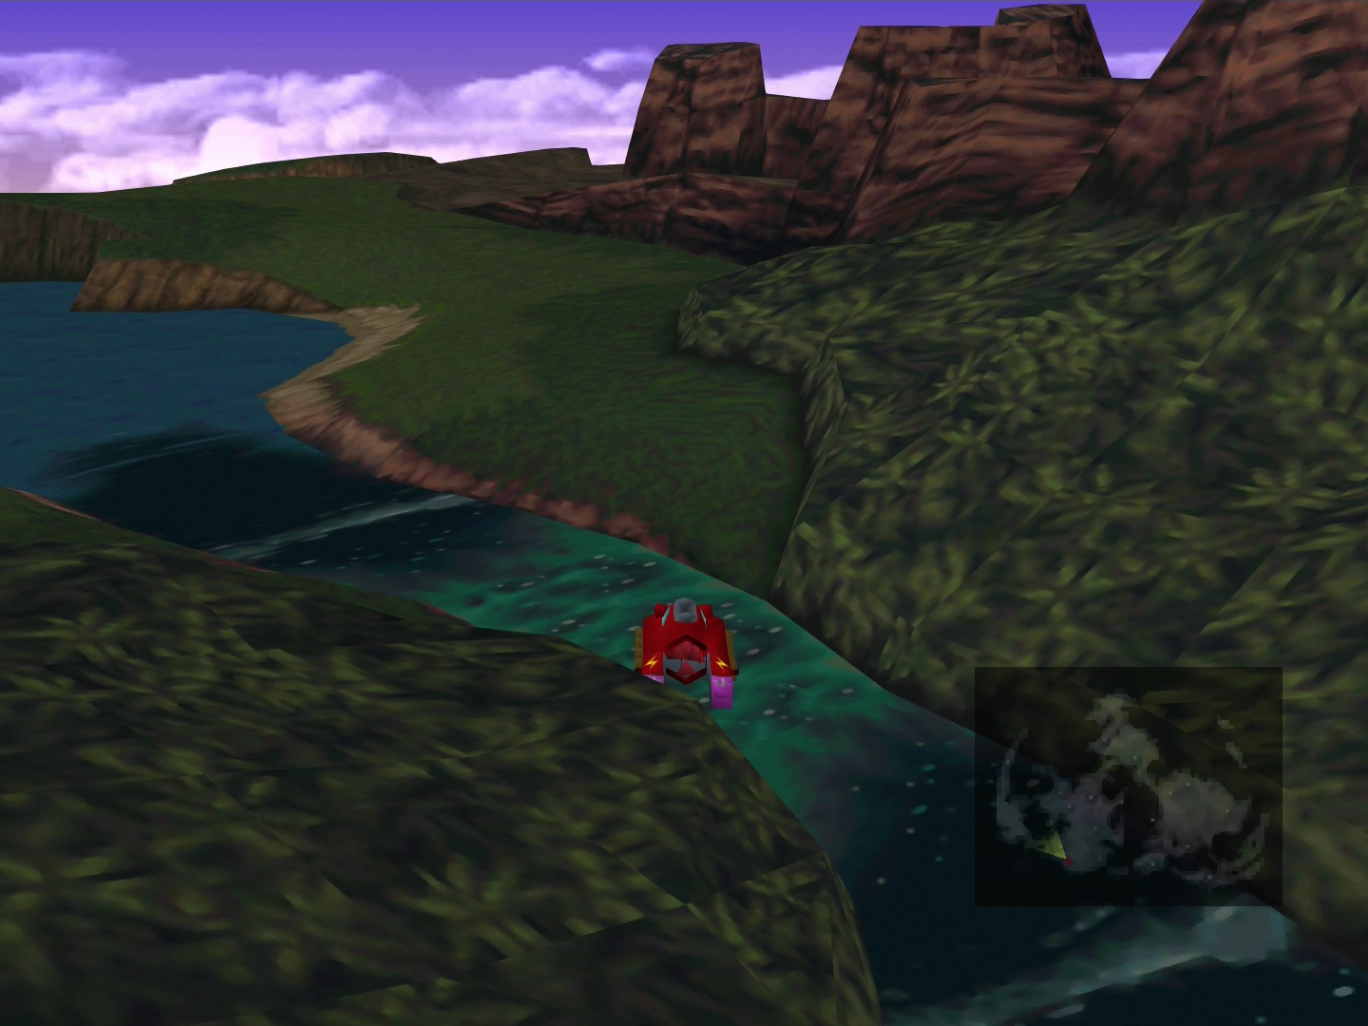


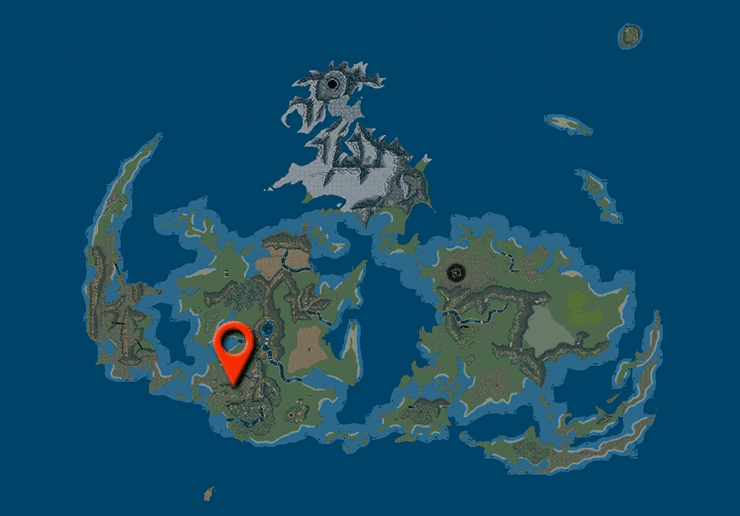
You can see Cosmo Canyon in the distance as you work your way through the trail. If you try to go past Cosmo Canyon with your Buggy, it will break down. Use the mini-map below to help guide you if you are having trouble finding it.
Make sure that Barret is in your party when you enter Cosmo Canyon if you plan on obtaining the  Best Bromance Achievement/Trophy. Read the information window below for more details.
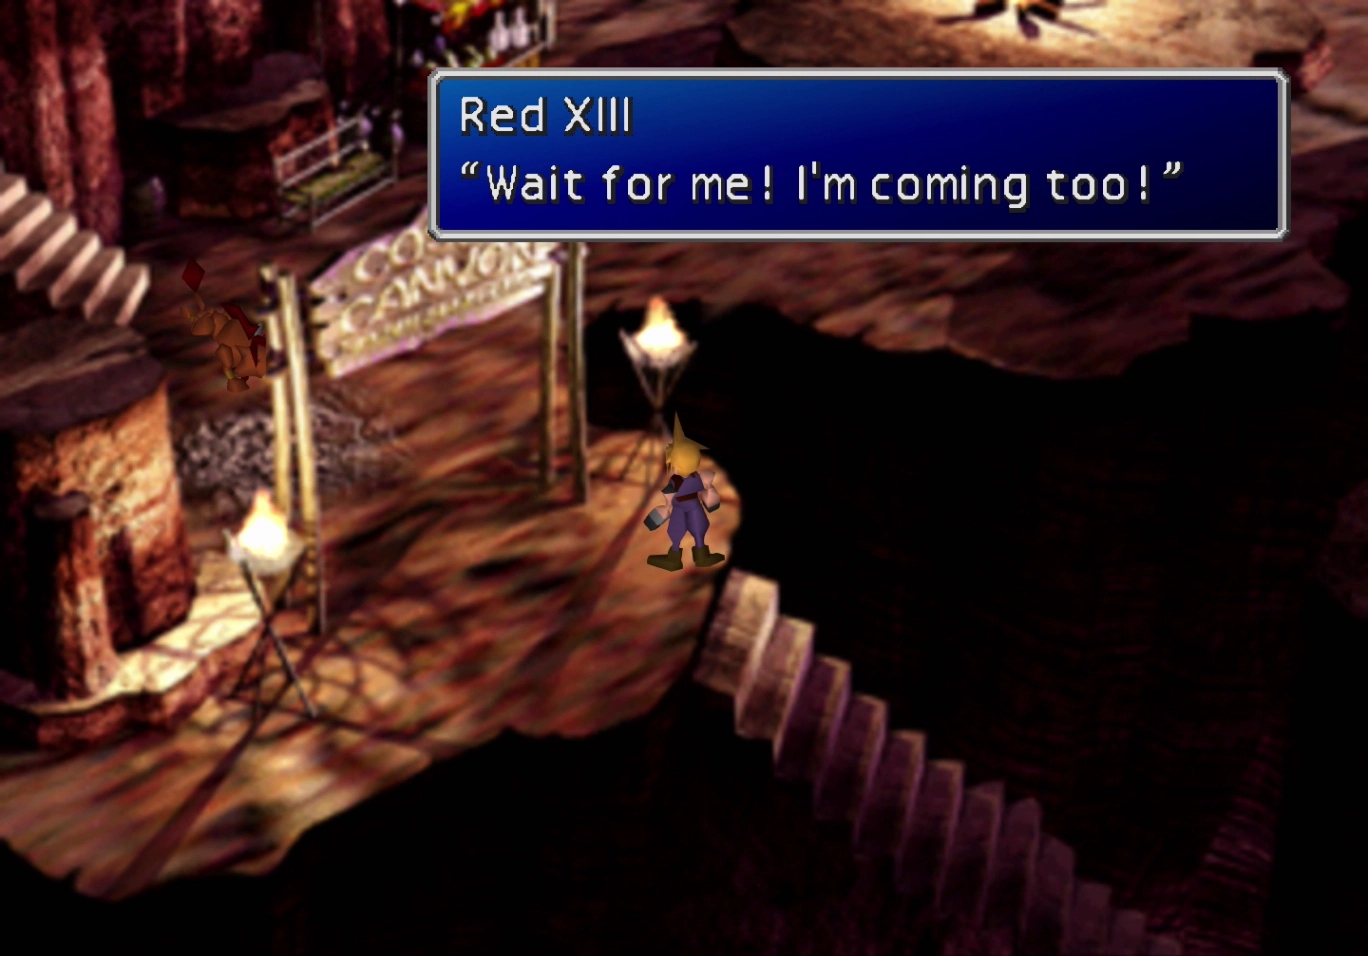
Speak to the guard at the top of the stairs after ‘Nanaki’ goes running past. Inform the guard that you are unfamiliar with Cosmo Canyon, or he will not let you pass. Nanaki / Red XIII will speak to the guard to allow passage for Cloud and the rest of the team.
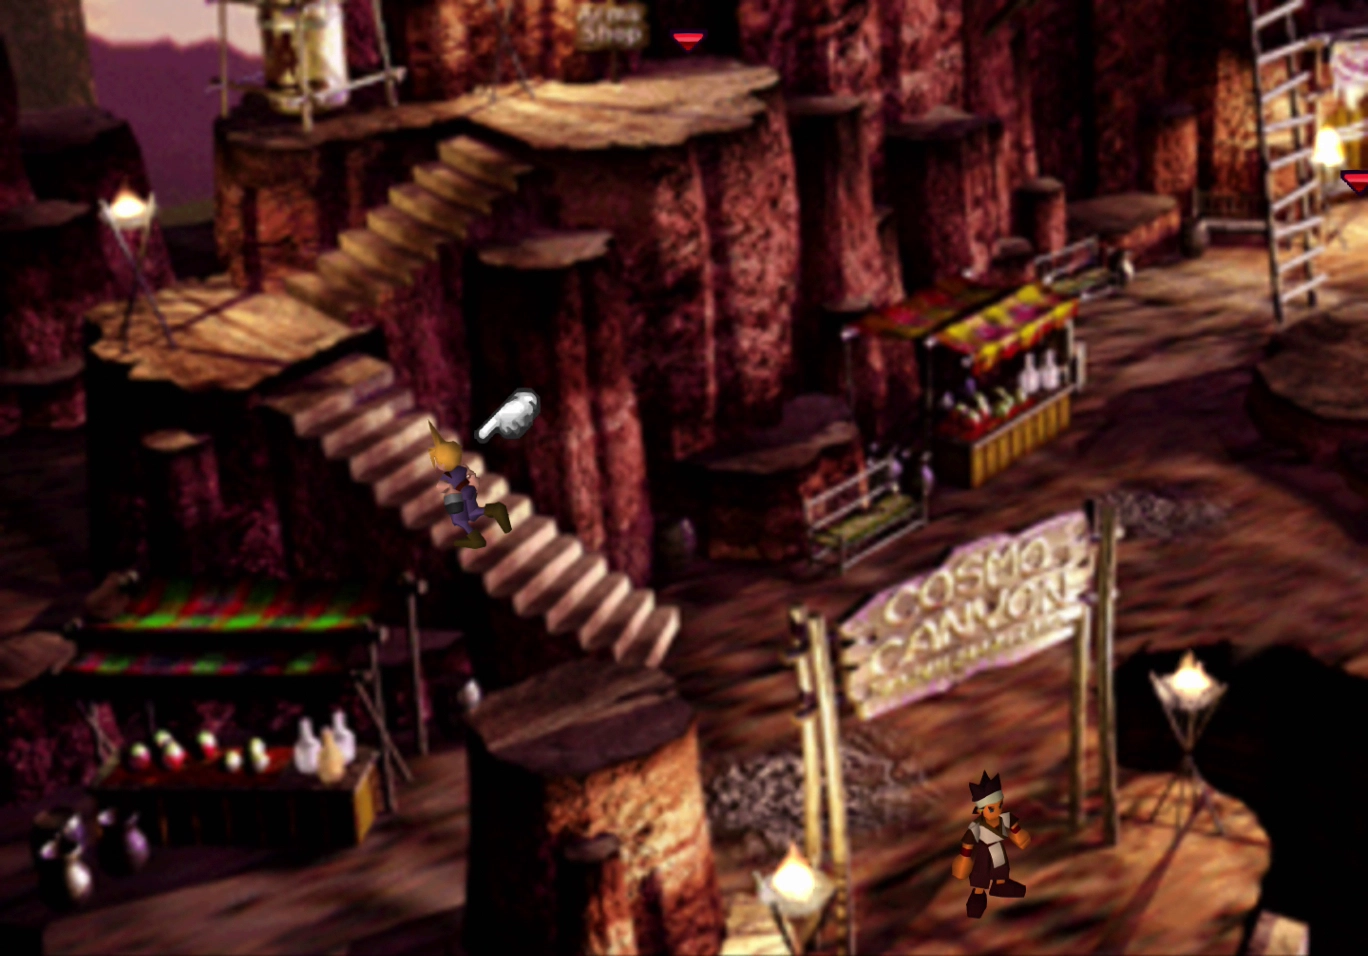
Finding all the doors and passageways hidden throughout Cosmo Canyon can be difficult. An easy way to make them all visible is to press the ![]()
![]()
![]() button (or the Touchpad
button (or the Touchpad ![]() button in newer versions of the game) to highlight all doors and to place small finger-pointer icon over Cloud.
button in newer versions of the game) to highlight all doors and to place small finger-pointer icon over Cloud.
Side Quests
Dialog choices in this part of the game will impact the Gold Saucer Date scene.
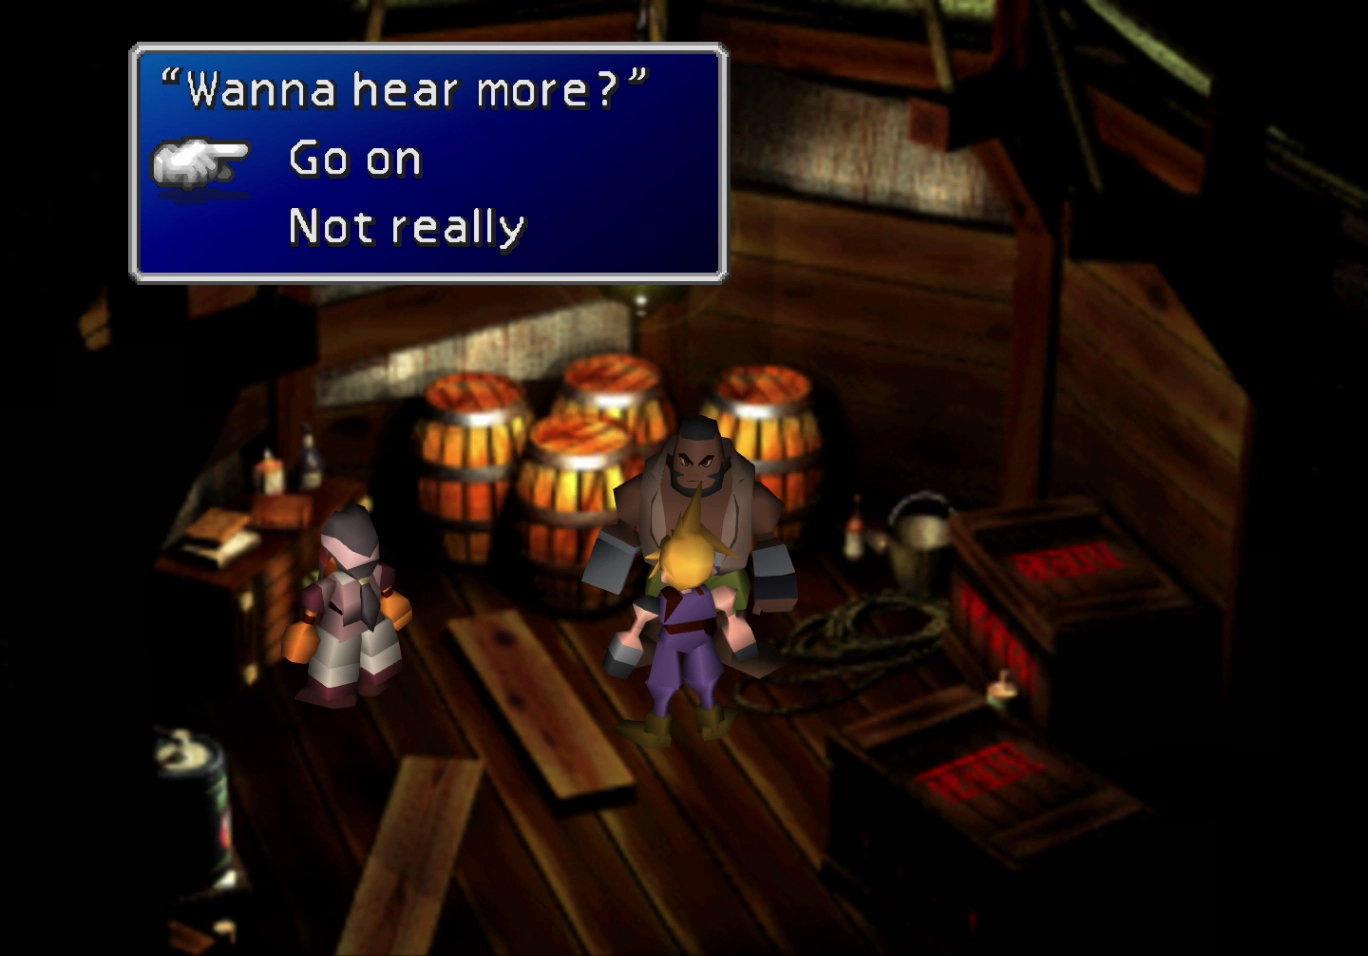
Make sure that Barret is in your party when you enter Cosmo Canyon. Follow Nanaki up the stairs and into the shop. Find Barret in the room behind Tiger Lily’s weapon shop and suggest talking to him more about AVALANCHE:
| Choice | Result |
|---|---|
| “Go on” | + 3 to Barret |
| “Not really” | No change |
If you encourage him to continue, Barret will keep talking and Cloud can respond with:
| Choice | Result |
|---|---|
| “And then?” | + 3 to Barret |
| “Yeah, whatever…” | No change |
| Date Affection Score Calculator | |
If you are attempting to obtain the Best Bromance Achievement/Trophy, you should now have all the proper points in place to go out on a date with Barret when returning to Gold Saucer.
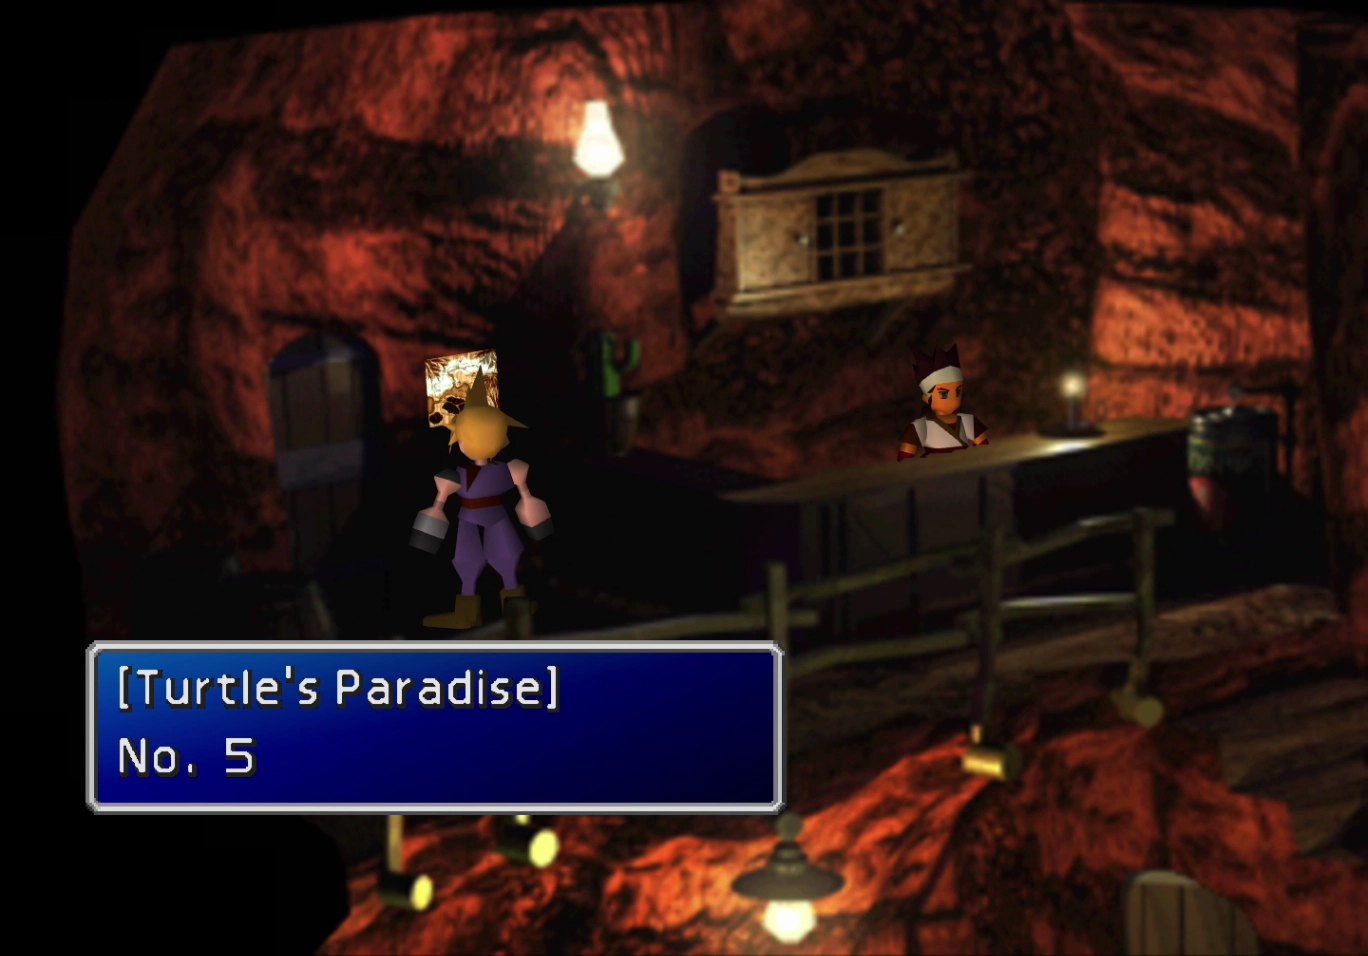
The first stop is the door located behind the fire in the middle of Cosmo Canyon, shown in the screenshot below. The main floor is called Pub “Starlet,” but more importantly, on the second floor of the building, which is called the Shildra Inn, there is a Turtle’s Paradise No. 5 posted on the wall - part of the Turtle’s Paradise side quest.
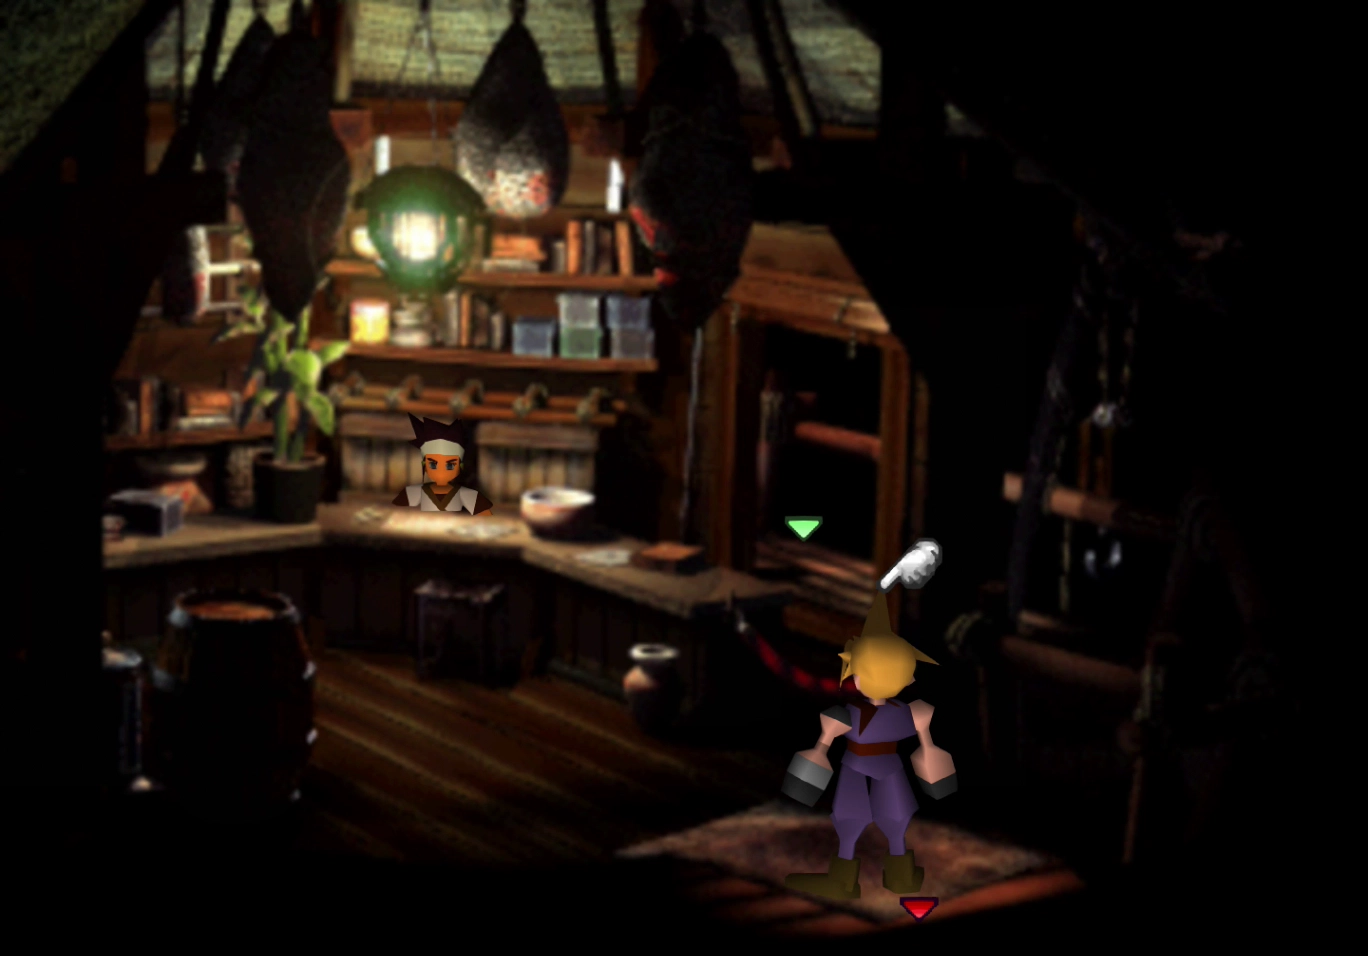
Enter the Shildra Inn bedroom and search in the barrel on the left side of the room to find an ![]() Elixir. The ladder to the right of the Pub/Inn leads to the Item Store where you can purchase the following items:
Elixir. The ladder to the right of the Pub/Inn leads to the Item Store where you can purchase the following items:
 Potions
- Hi-Potions
- Phoenix Downs
- Ethers
- Tents
- Maiden’s Kiss
- Cornucopia
- Softs
- Hypers
- Tranquilizers
- Antidotes
Take this opportunity to stock up on a few ![]() Antidotes (not available at this point in the game in newer versions).
Antidotes (not available at this point in the game in newer versions).
Travel up the stairs leading to where Nanaki / Red XIII is waiting and speak to him to continue the story. Follow him into the next room and save your game at the ![]() Save Point.
Save Point.
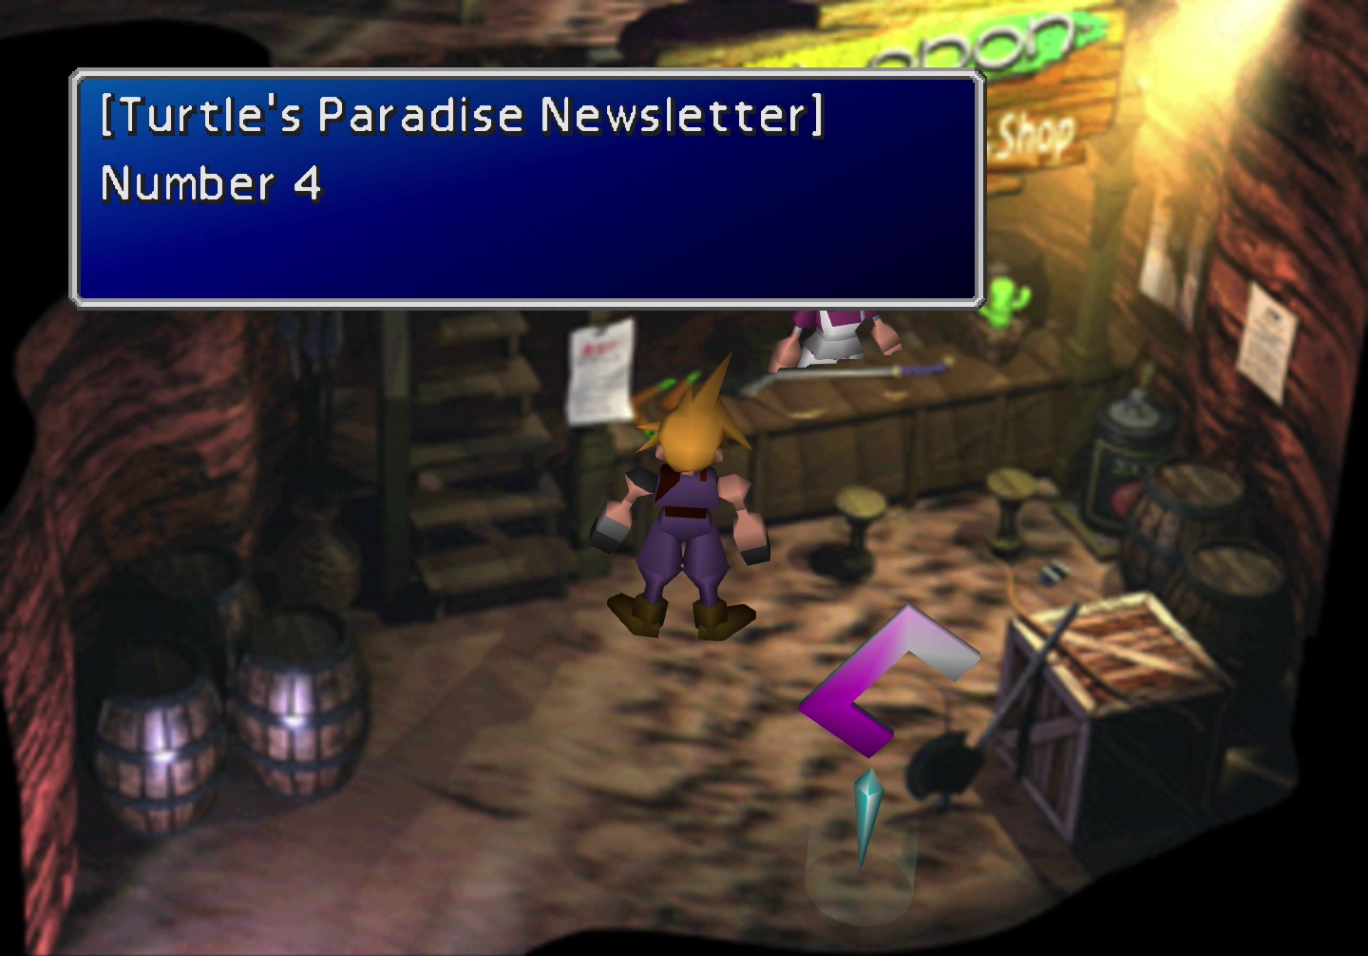
There is a piece of paper posted to the left of the Weapon Shop, which is the Turtle Paradise Newsletter Number 4. Read it, and you will have read five out of six of the newsletters.
The Weapon Store here offers a selection of high-end weapons. They have high attack power, but, unfortunately, you will have to give up the double growth rate of your previous weapons to use them. The weapons on sale include the following:
You can also purchase ![]() Silver Armlet armor. Purchase the Silver Barrette for Red XIII, as he will be mandatory to include for a portion of the game coming up.
Silver Armlet armor. Purchase the Silver Barrette for Red XIII, as he will be mandatory to include for a portion of the game coming up.
Proceed through the pathway on the left and continue climbing up the stairs. This room is called the Gate of Naught. The doorway on the bottom right leads to the Materia Shop (it’s the room where Yuffie is standing). You have to speak with him twice to make a purchase.
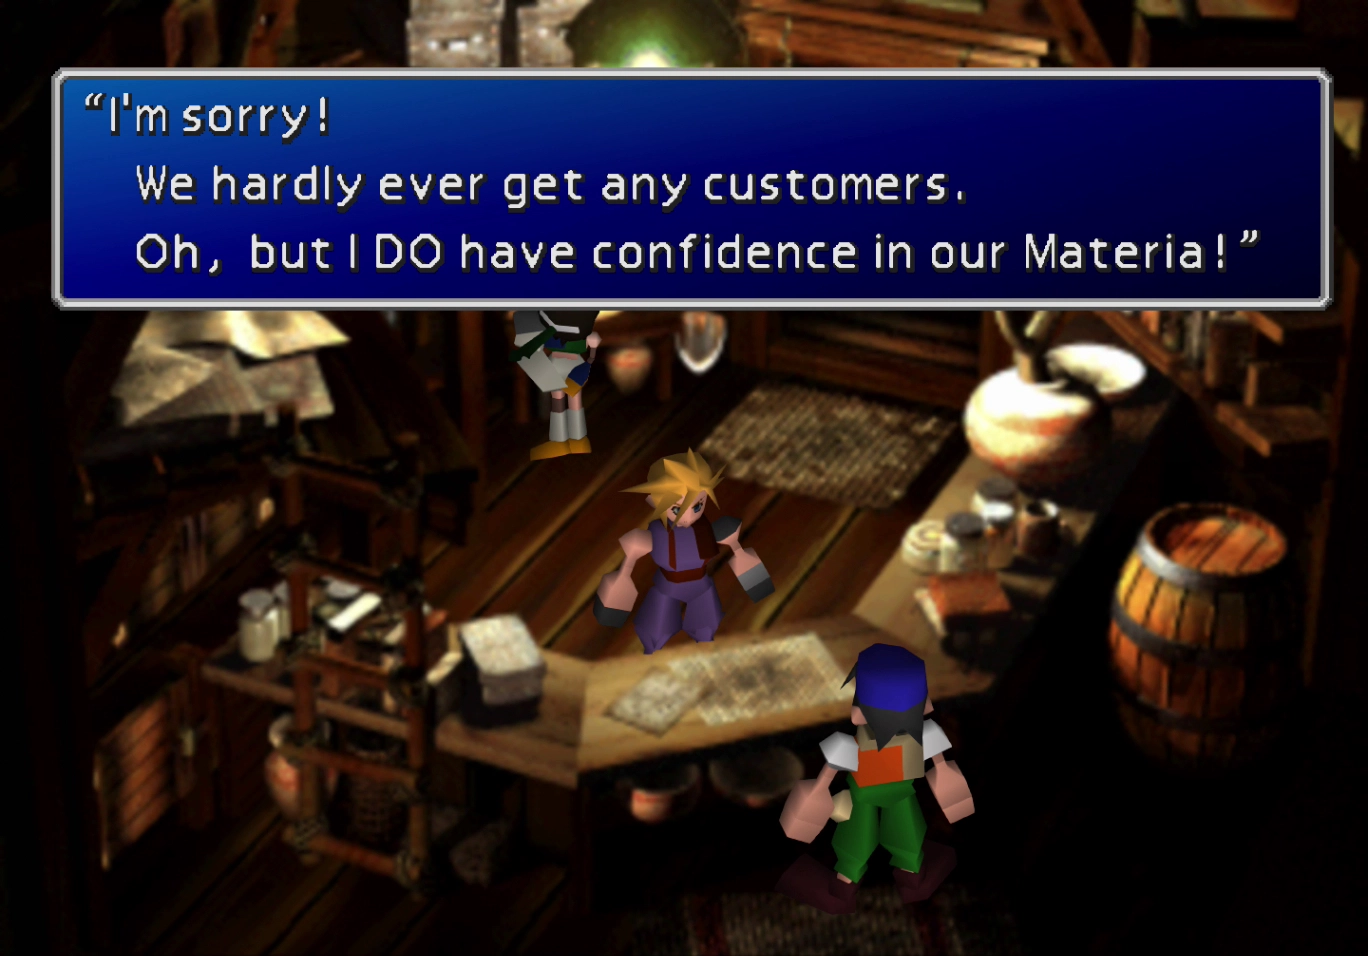
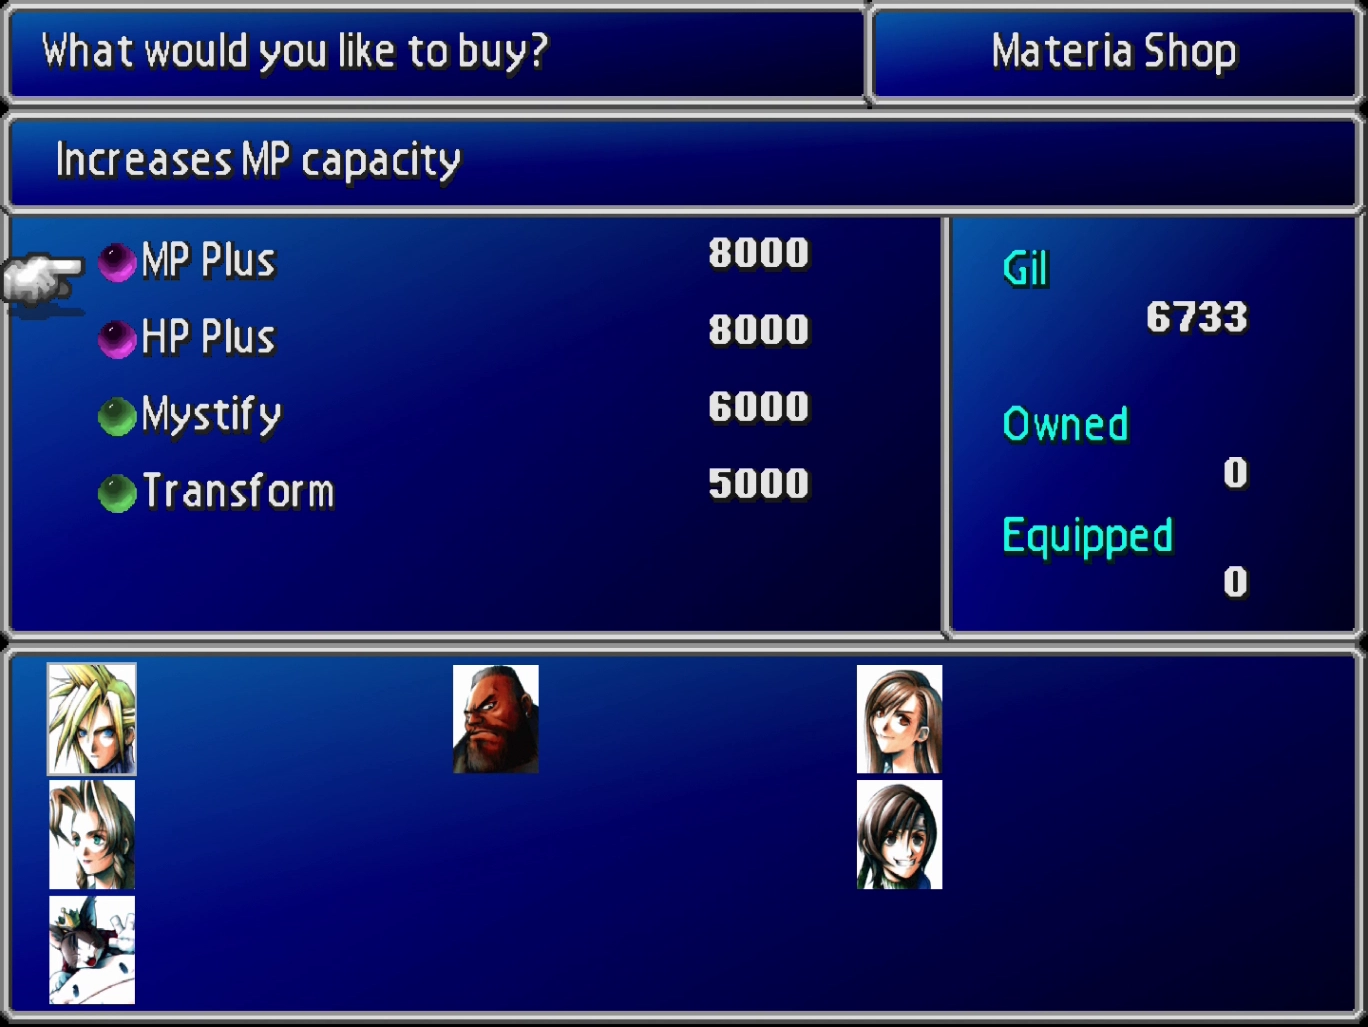
Despite Yuffie saying that the Materia here ‘sucks,’ this Materia Shop sells ![]() HP Plus Materia and
HP Plus Materia and ![]() MP Plus Materia. It’s very expensive, but worth the Gil if you can afford it. Sell some of your
MP Plus Materia. It’s very expensive, but worth the Gil if you can afford it. Sell some of your ![]() Ethers if you’re having trouble coming up with the Gil to buy 3 (one for each party member).
Ethers if you’re having trouble coming up with the Gil to buy 3 (one for each party member).
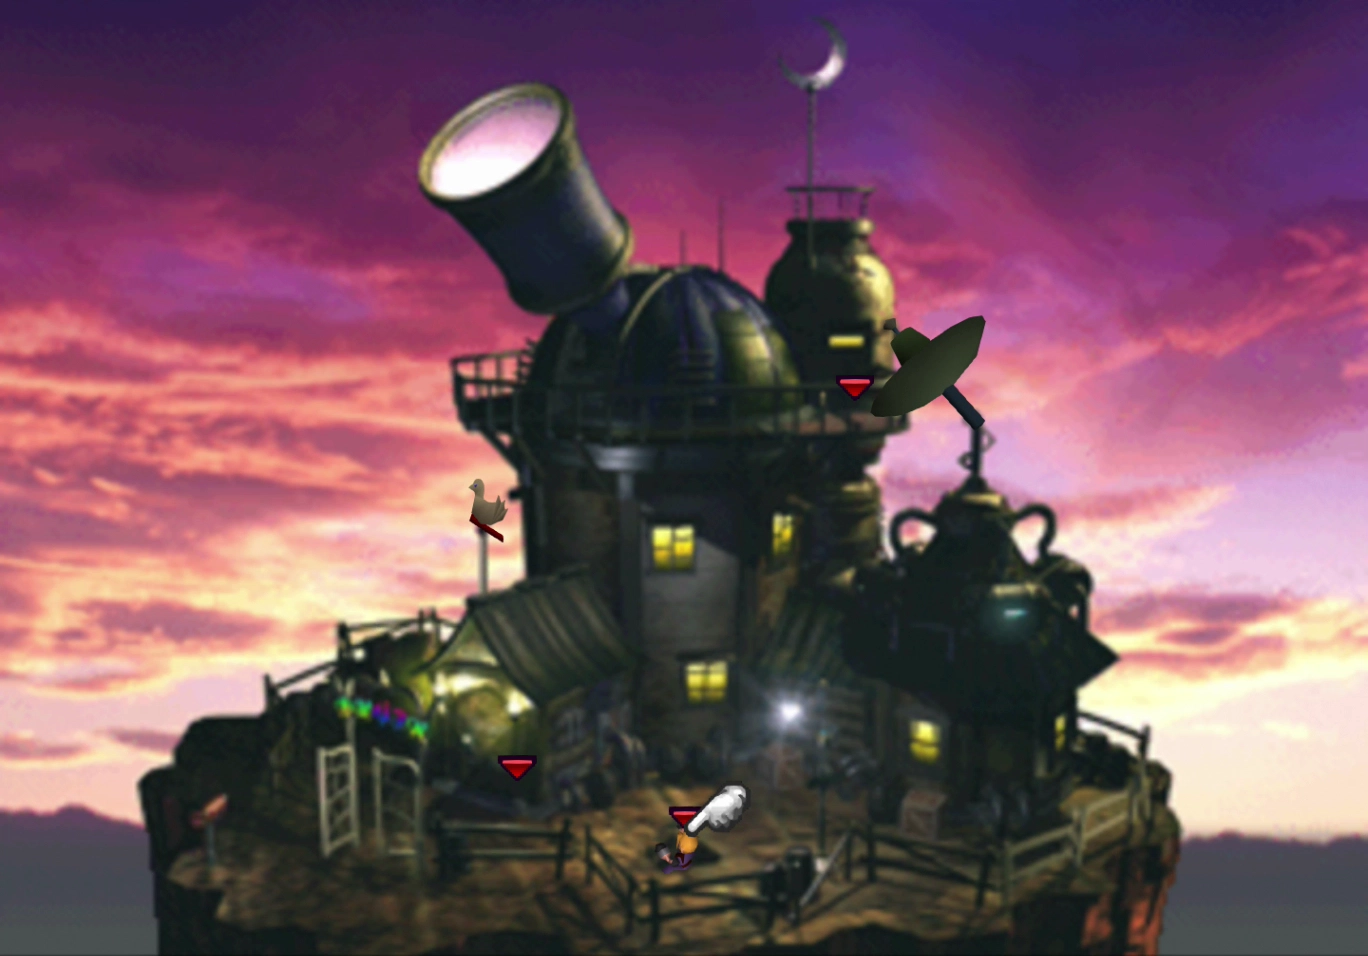
Climb the ladder in the area outside the Materia Shop up to the Observatory and go in through the front door. Speak to Nanaki / Red XIII and Bugenhagen, Red’s grandfather, to continue the story.

Climb back down the ladder when you have the option to, and speak to Cait Sith in the room beside the Materia Shop to form up a party of three. Speak to Bugenhagen again to initiate another cutscene.
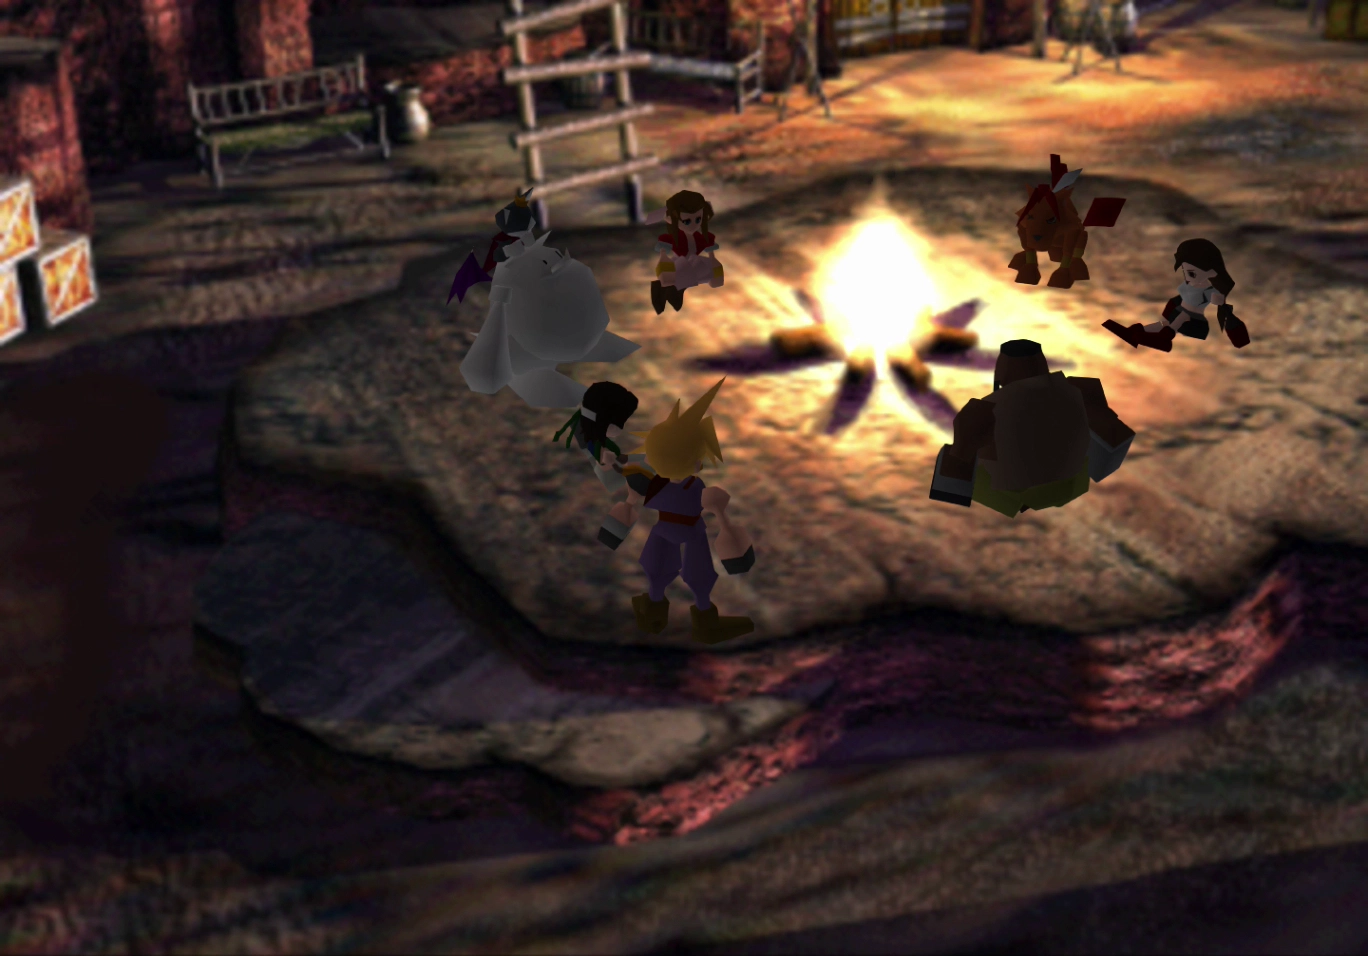
Travel down to the fire pit in the center of Cosmo Canyon to continue the story. Speak to all your party members, and then speak to Nanaki / Red XIII last. You will have to form a party that includes Red XIII, Cloud, and one other party member.
You can speak to your other party members to swap between them, which will allow you to pull the Materia off your other primary party member if you have not been using Red XIII in your party.
Work your way back up towards the Observatory until you reach the Gate of Naught, where Bugenhagen is standing (shown in the screenshot below). Bugenhagen will open the locked door, allowing the team to enter the Cave of the Gi.
Sealed Cave
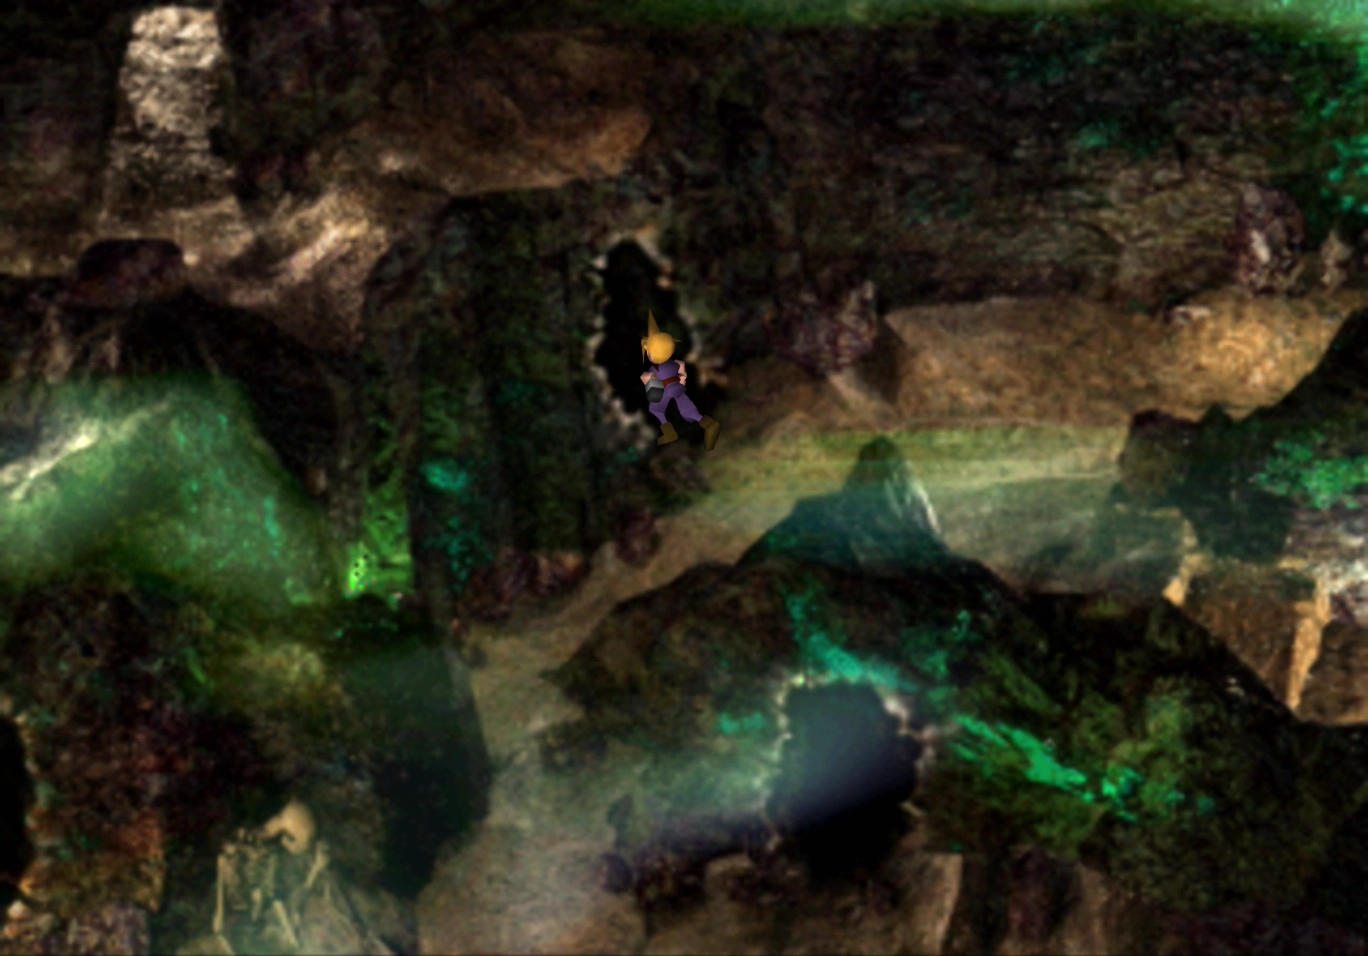
Travel down the ropes and ladders until you reach the bottom of the sealed cave, and proceed through the opening on the right side of the screen.
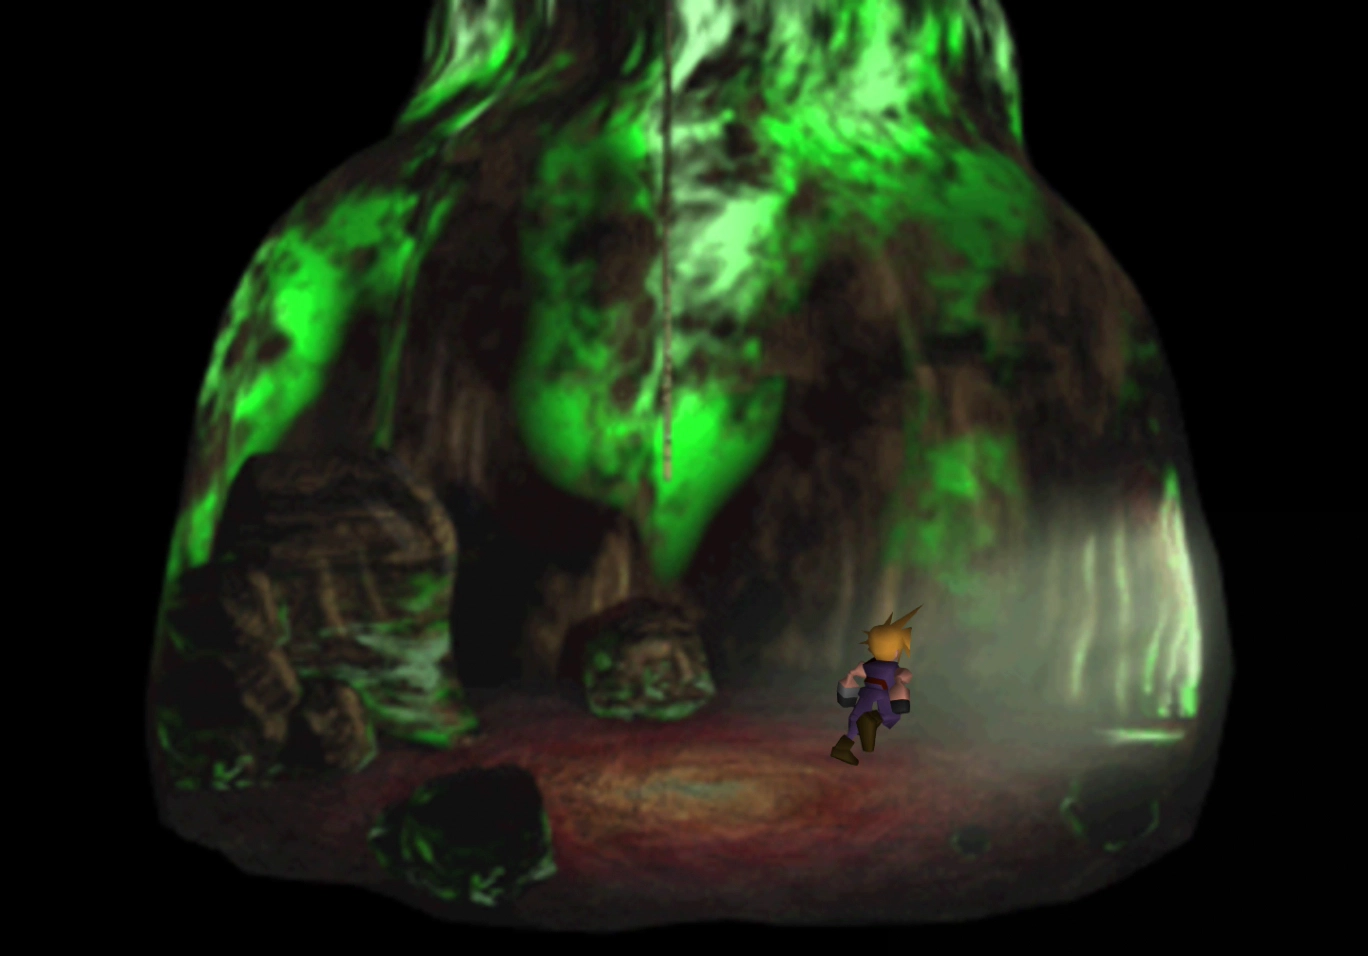
Cave of the Gi
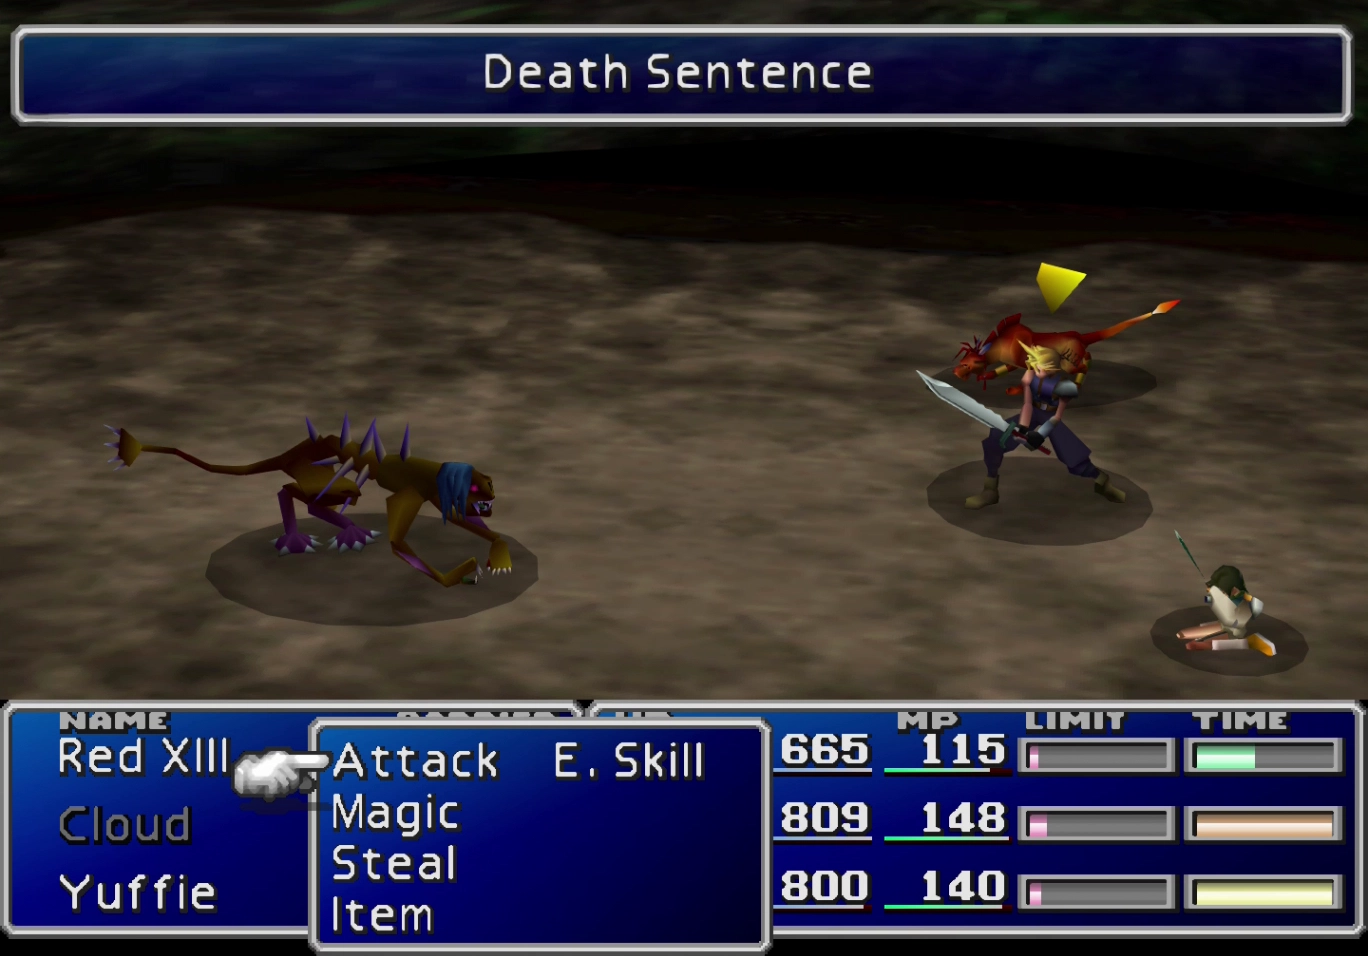
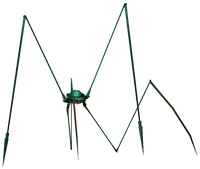
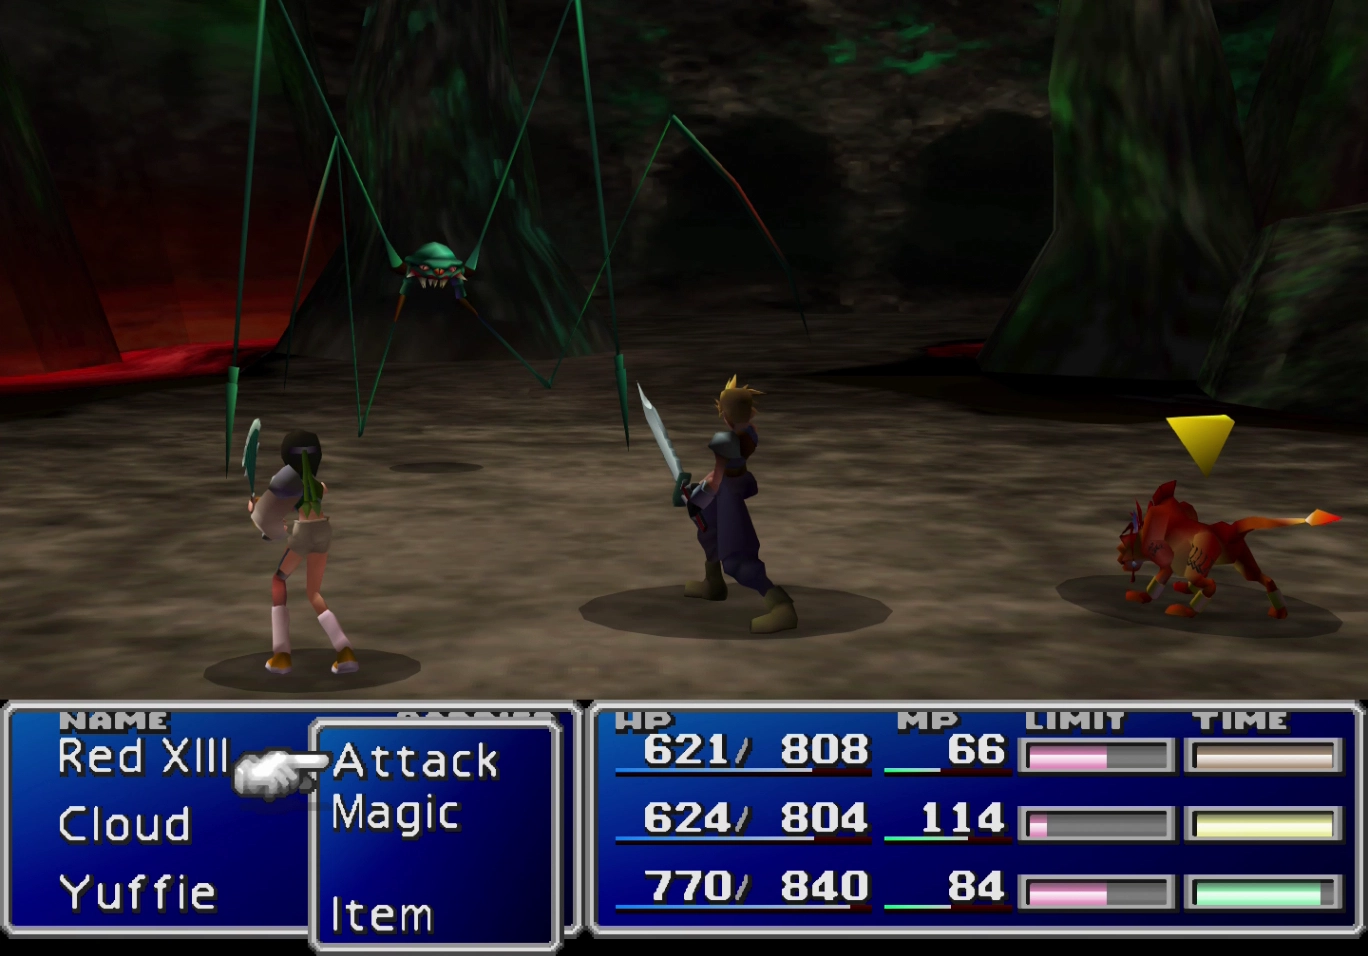
There are several enemies in the Cave of the Gi, including Sneaky Steps and Gi Spector (pictured below), that can cast an attack called “Death Sentence” on your party members. You can learn this skill using your ![]() Enemy Skill Materia. You should make sure to pick it up before you leave the cave.
Enemy Skill Materia. You should make sure to pick it up before you leave the cave.


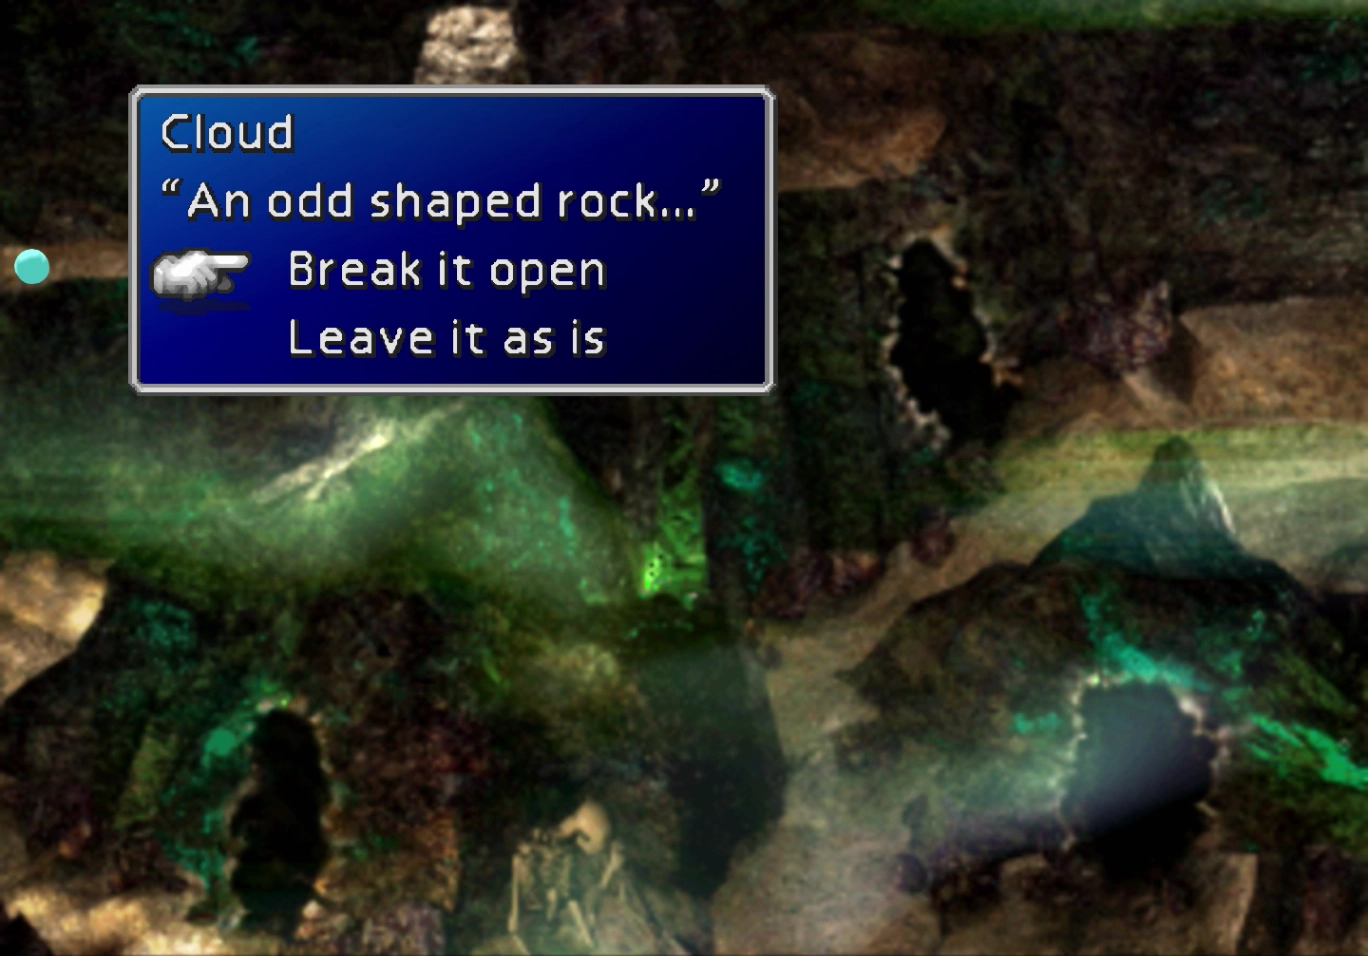
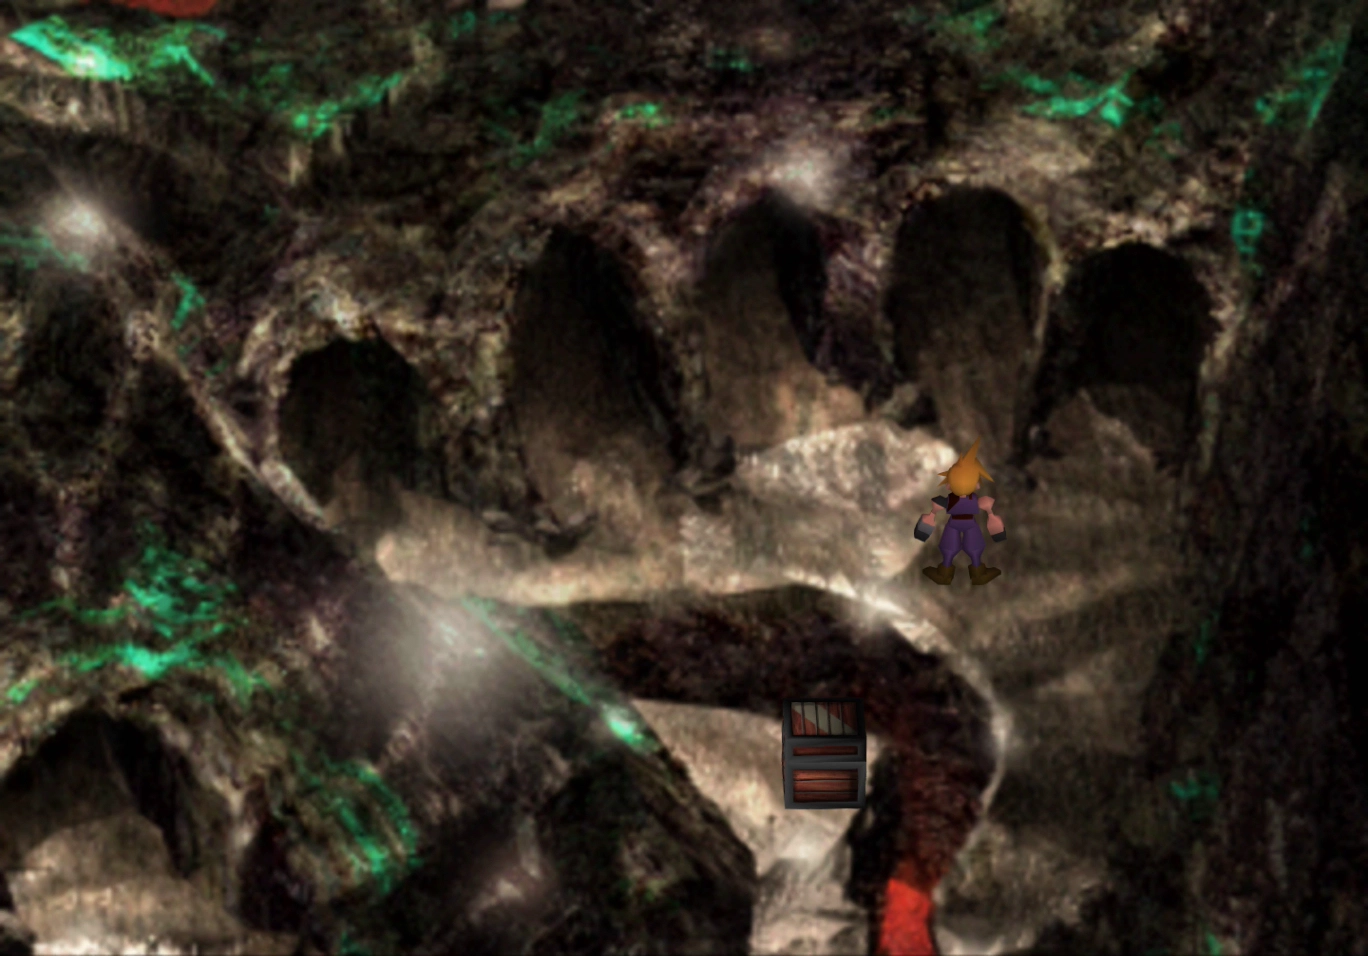
Walk down the pathway, and you will come across a hole in the cave. Each cave has a “strange looking rock” inside which you can break open. There are five holes in the wall, each with a rock. Each time you break the rock open, you will be thrown into battle until you find the correct rock, which will cause the doorway up ahead to open.
The cave with the non-boobytrapped rock is the third one shown in the screenshot below. Break the rock inside to open the doorway to the right of the cave.
The pathway splits in the next area, with one path heading upward and one going to the left. Proceed down the left pathway, but be careful of the oily substance just up ahead. If you run across the substance, you will be launched into a set of spikes and it will cost you some HP.
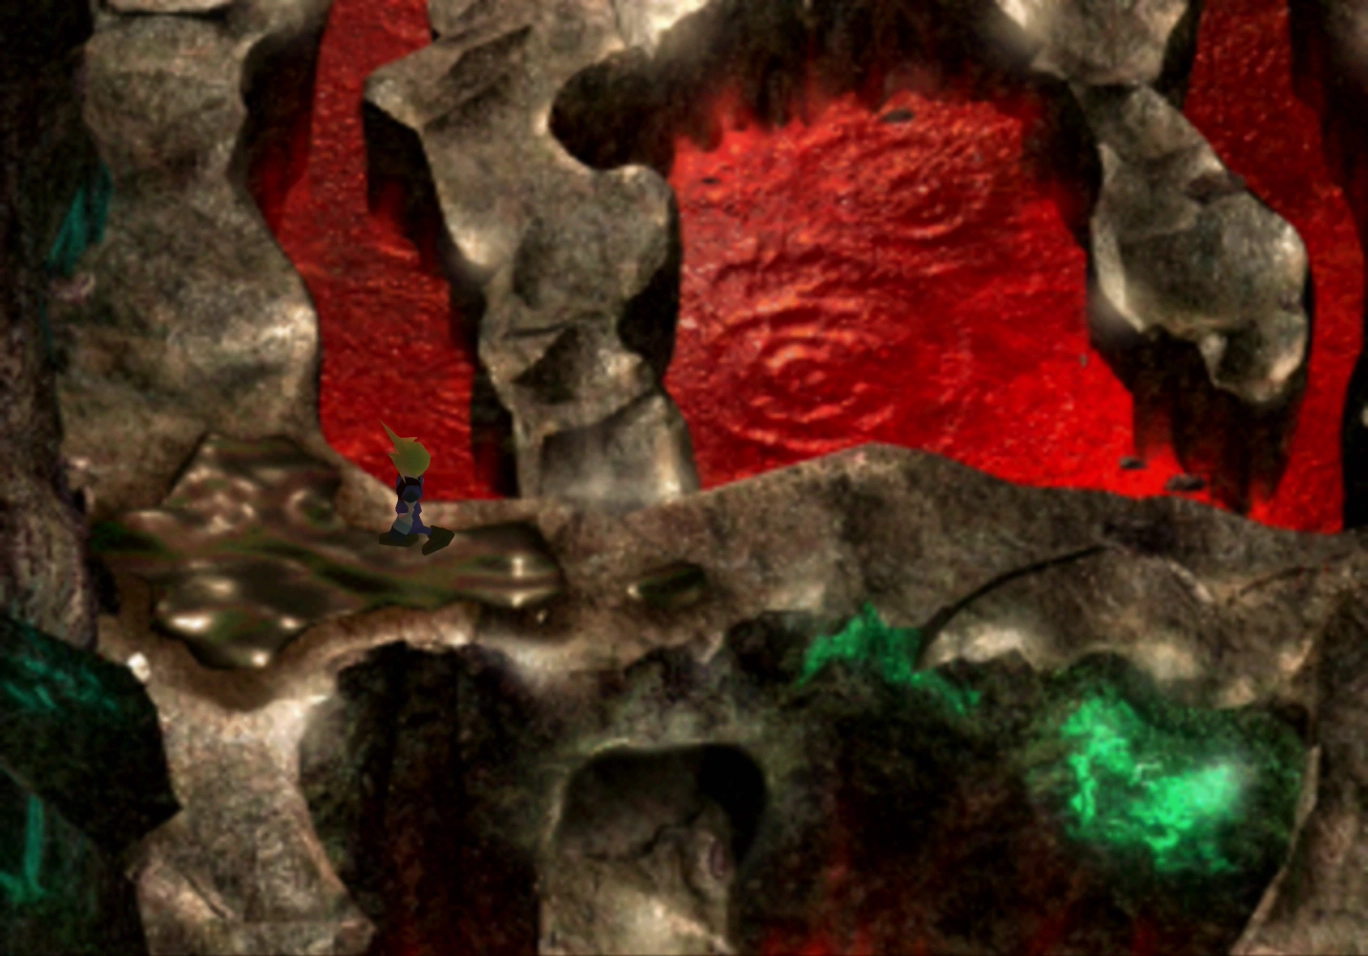
Make sure to walk across the oil by releasing the ![]()
![]()
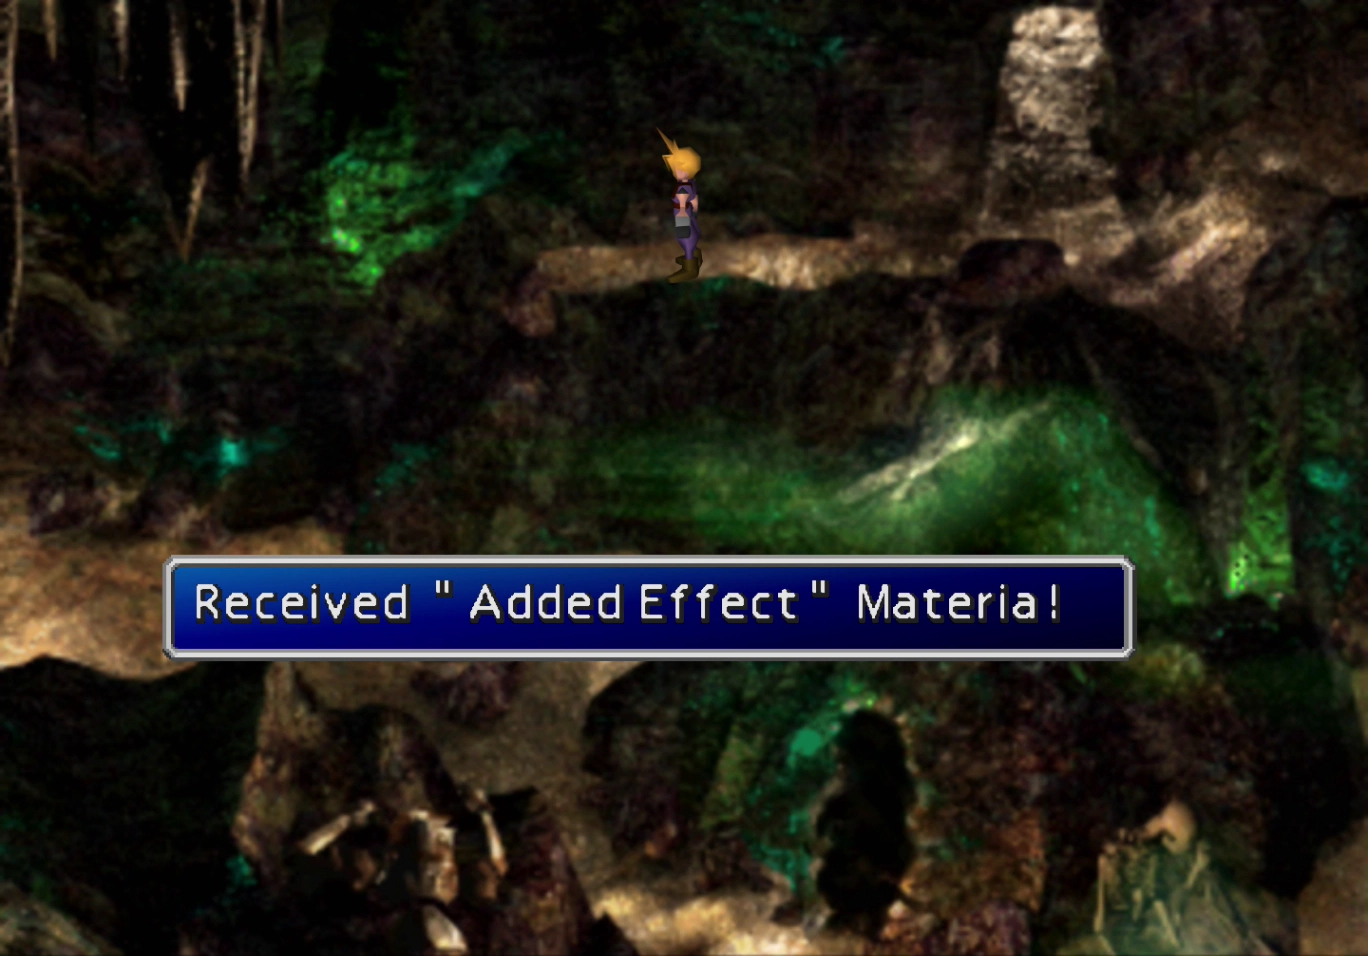
![]() button. Travel south of the oily area back into the previous screen and pick up the
button. Travel south of the oily area back into the previous screen and pick up the ![]() Added Effect Materia.
Added Effect Materia.
Travel back up to the oily spot and take a right. Go north once you reach the right side of the screen. Take a left at the next intersection and go down the stairs.
There is a treasure chest to the north that contains an ![]() Ether and a chest to the south that contains a
Ether and a chest to the south that contains a ![]() Black M-phone weapon for Cait Sith. Travel back up to the top of the stairs and head down the path leading northwest. Bugenhagen will speak to the team one more time before you move on to the next area.
Black M-phone weapon for Cait Sith. Travel back up to the top of the stairs and head down the path leading northwest. Bugenhagen will speak to the team one more time before you move on to the next area.
The next area has five separate caves that you can travel through. Take the fourth cave and touch the spider web to initiate a fight.
Battles against these spiders, which are called Stingers in the game, are difficult. They will use an attack called “Sting Bomb” on your entire team. It cannot KO your party members because it behaves similarly to Demi spells. It will reduce a party member’s HP by around 70-80%.
While it can’t reduce a team member’s HP to 0, it does hit for a large amount of HP, which makes it easy for one of the Stinger‘s subsequent attacks to KO a team member. Continue down the pathway after you have defeated the Stinger to find a treasure chest that contains an ![]() X-Potion.
X-Potion.
Return to the area with the five separate tunnels. Travel through the second cave and loop over to the left and back south to pick up a treasure chest.
You have to stop halfway through the tunnel and press ![]()
![]()
![]() on the directional pad to reach the treasure chest. Use the screenshot below as a guide. The treasure chest contains a
on the directional pad to reach the treasure chest. Use the screenshot below as a guide. The treasure chest contains a ![]() Fairy Ring.
Fairy Ring.

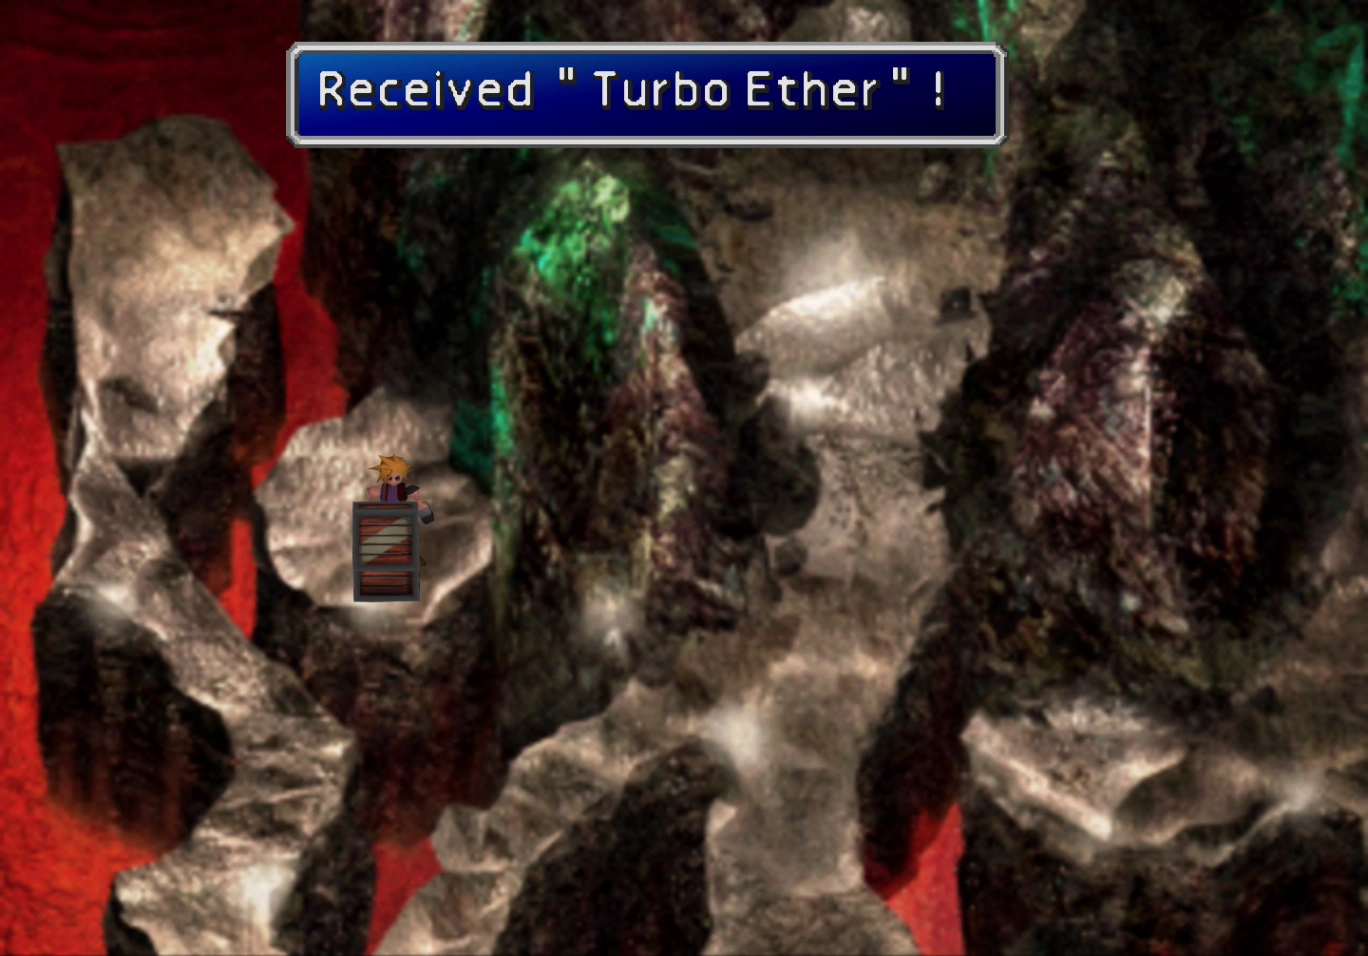
Go back up to the previous section of the pathway and go north to find one final spider web. Walk through it and battle the Stinger, and then take the hidden path on the left side to grab the treasure chest on the left side of the screen. This chest contains a ![]() Turbo Ether.
Turbo Ether.
Walk towards the huge face in the stone to initiate the next boss battle.
Boss Battle
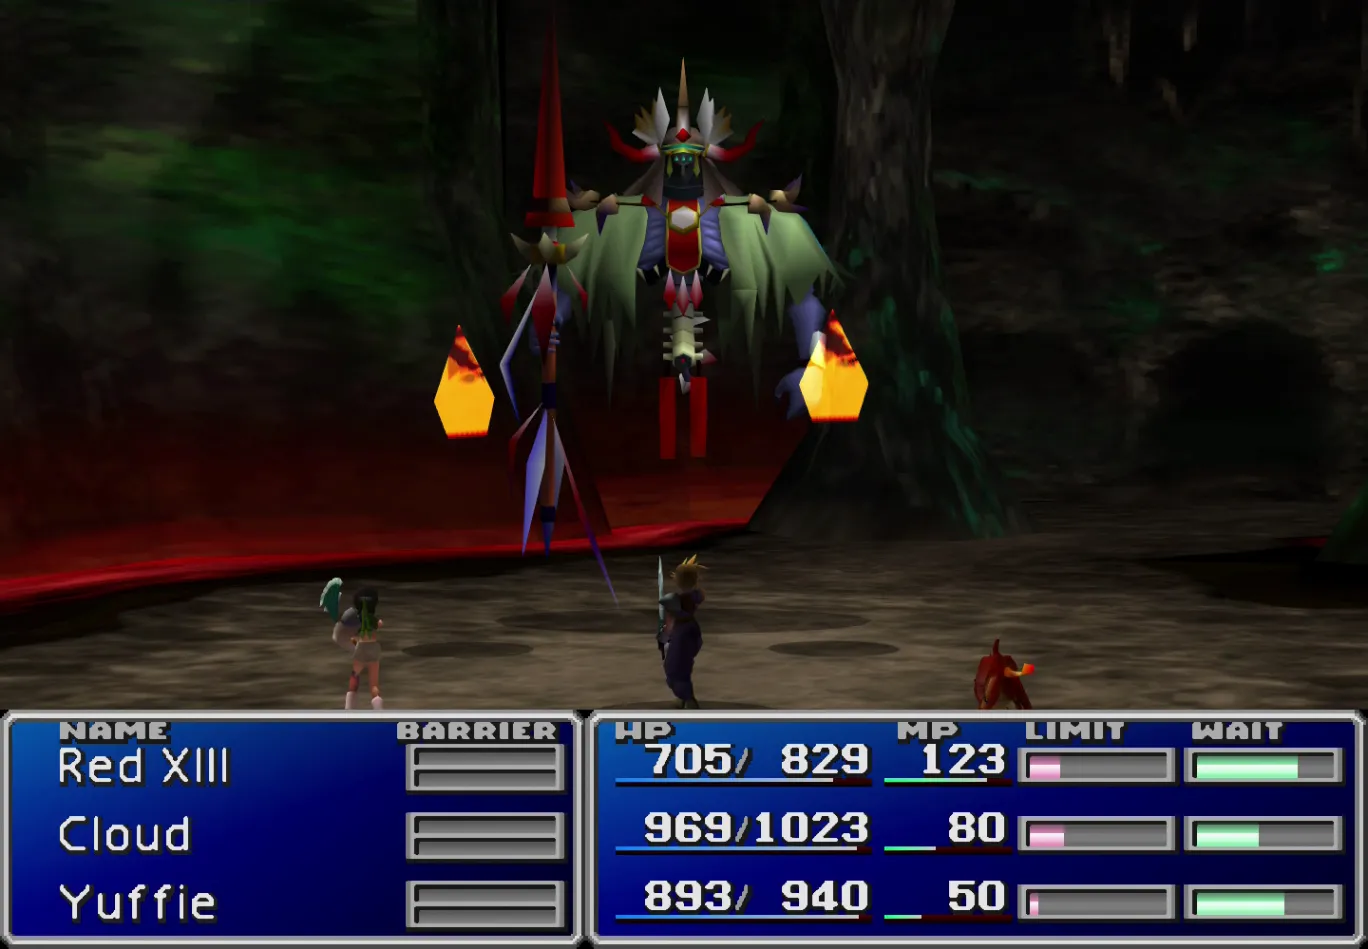
HP: 5,500
Reward: ![]() Wizer Staff
Wizer Staff
All Final Fantasy games tend to have at least one undead boss. In Final Fantasy VIII, it is the Abadon in the Great Salt Lake; in Final Fantasy IX, it is the Soulcage at the Iifa Tree; and in Final Fantasy X, it is the Evrae Altana in the Via Purifico.
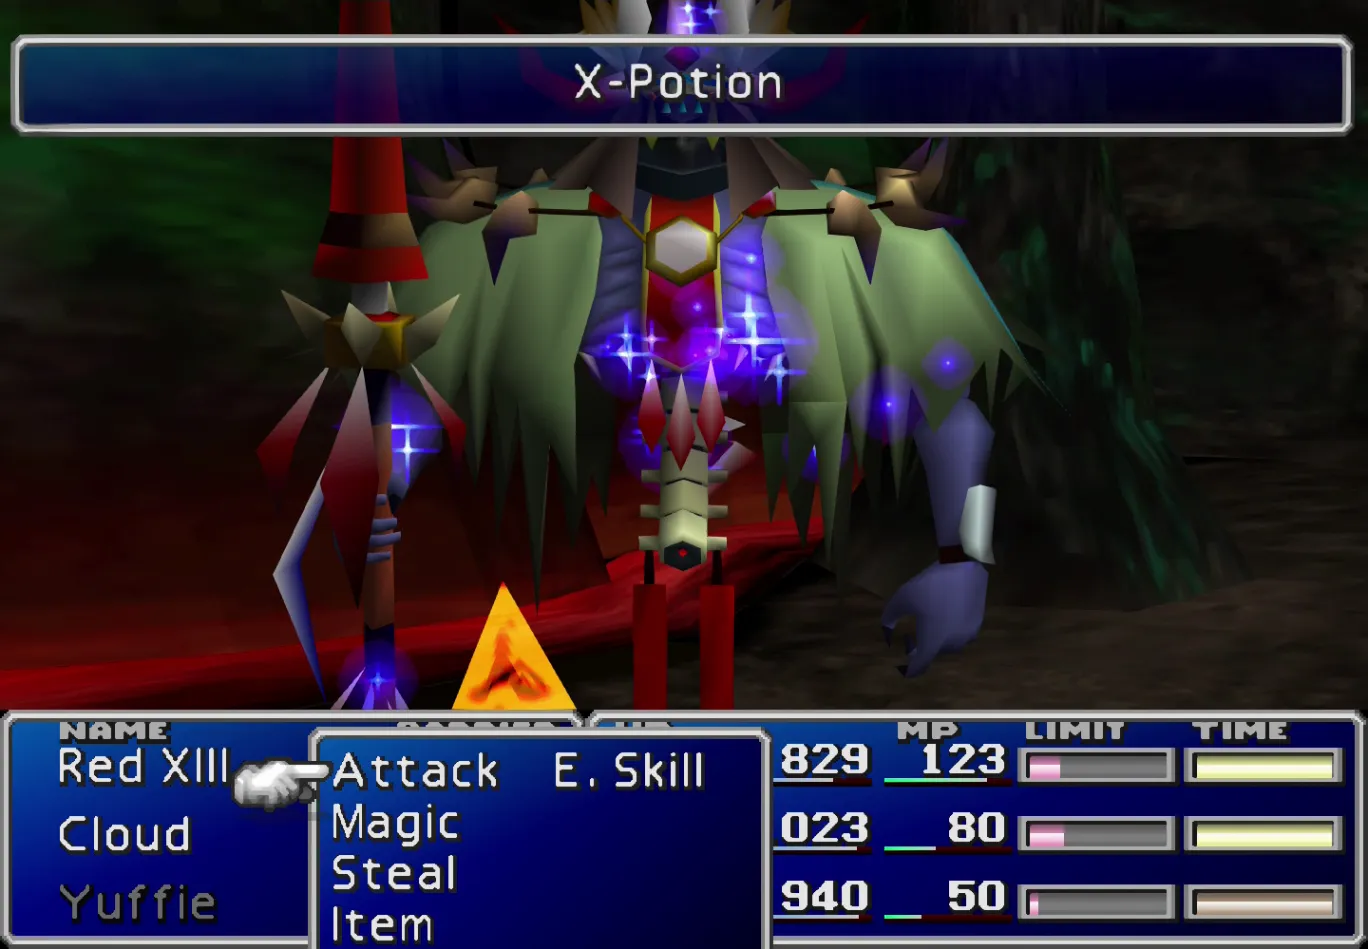
Gi Nattak is this game’s undead boss, which means that curative magic and items damage it instead of healing it. It attacks with its spear and uses Drain and Aspil to leech your party’s HP and MP, while the two Soul Fires fighting alongside it use fire attacks and can even possess your party members. Rather than fighting through all of that, end the battle instantly: a ![]() Phoenix Down has a one-in-four chance of killing Gi Nattak outright, while an
Phoenix Down has a one-in-four chance of killing Gi Nattak outright, while an ![]() X-Potion is a guaranteed instant kill.
X-Potion is a guaranteed instant kill.
A video demonstration of this battle is included below for reference.
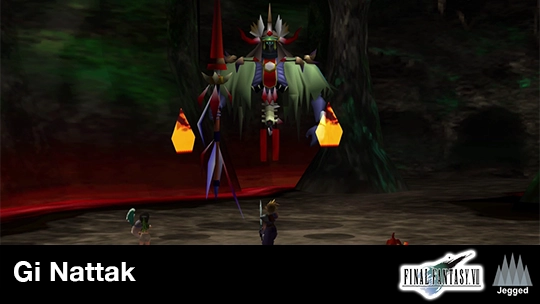
A video demonstration of how to successfully complete the fight against Gi Nattak.
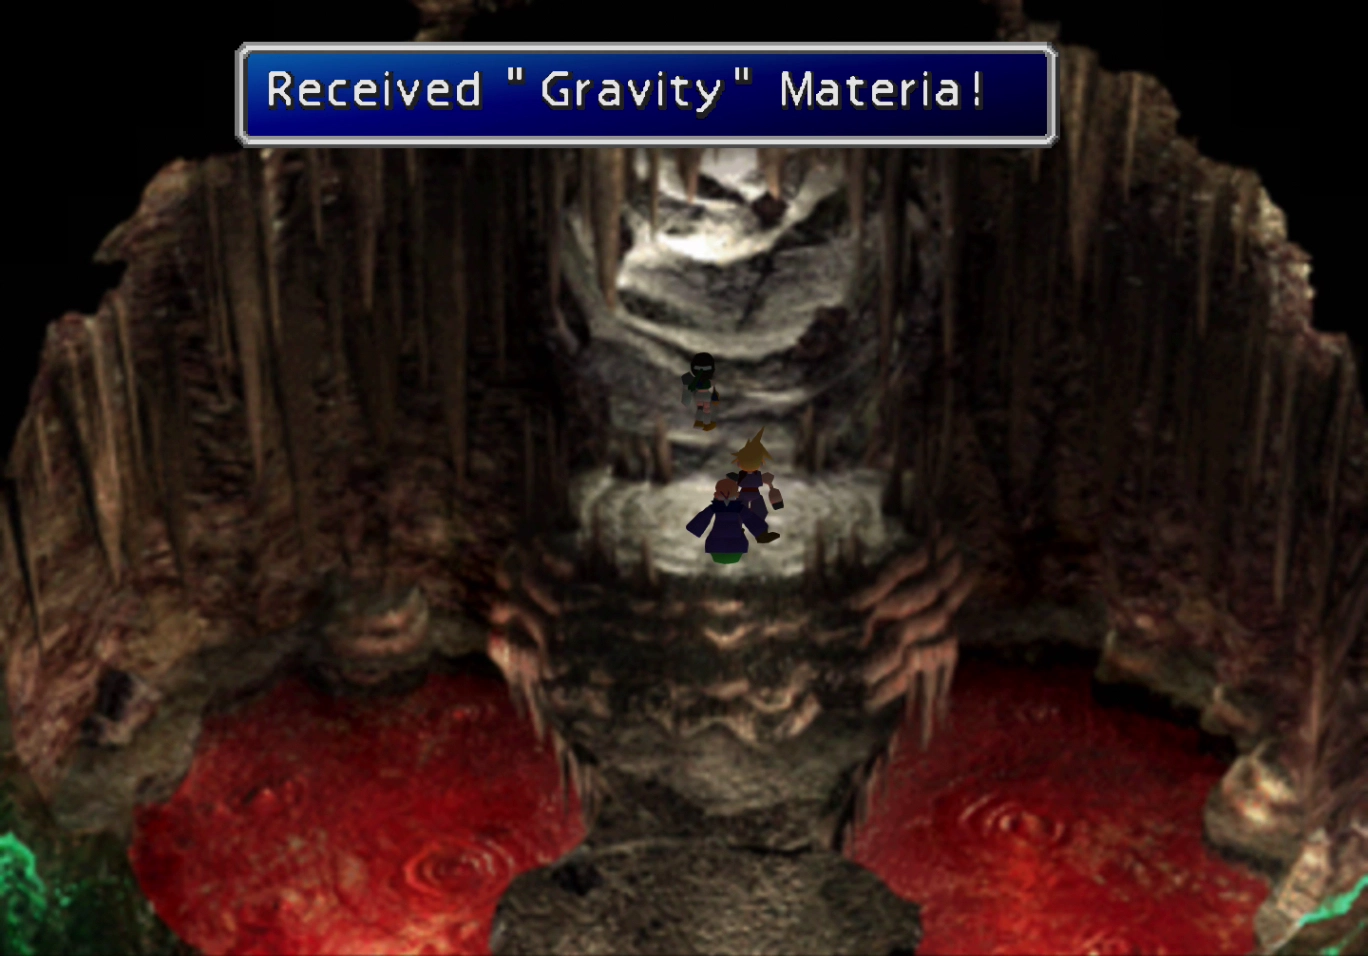
Pick up the ![]() Gravity Materia on the ground after the battle is over and follow Bugenhagen and Nanaki / Red XIII into the next area.
Gravity Materia on the ground after the battle is over and follow Bugenhagen and Nanaki / Red XIII into the next area.
Red XIII will rejoin the party as you attempt to leave Cosmo Canyon. You will now automatically have a weapon for Red XIII in your inventory called a ![]() Seraph Comb (with a description mentioning that it is a memento from ‘father’).
Seraph Comb (with a description mentioning that it is a memento from ‘father’).

The Seraph Comb has an incredibly high attack power of 68, which is nearly double that of your other character’s highest weapons.
The Buggy will have repaired itself if you managed to take it far enough past Cosmo Canyon that it broke down. The next stop is Cloud and Tifa’s hometown of Nibelheim.