Nibelheim
Jump back into the Buggy, as you will need it to cross an upcoming river. You cannot reach Nibelheim on foot!
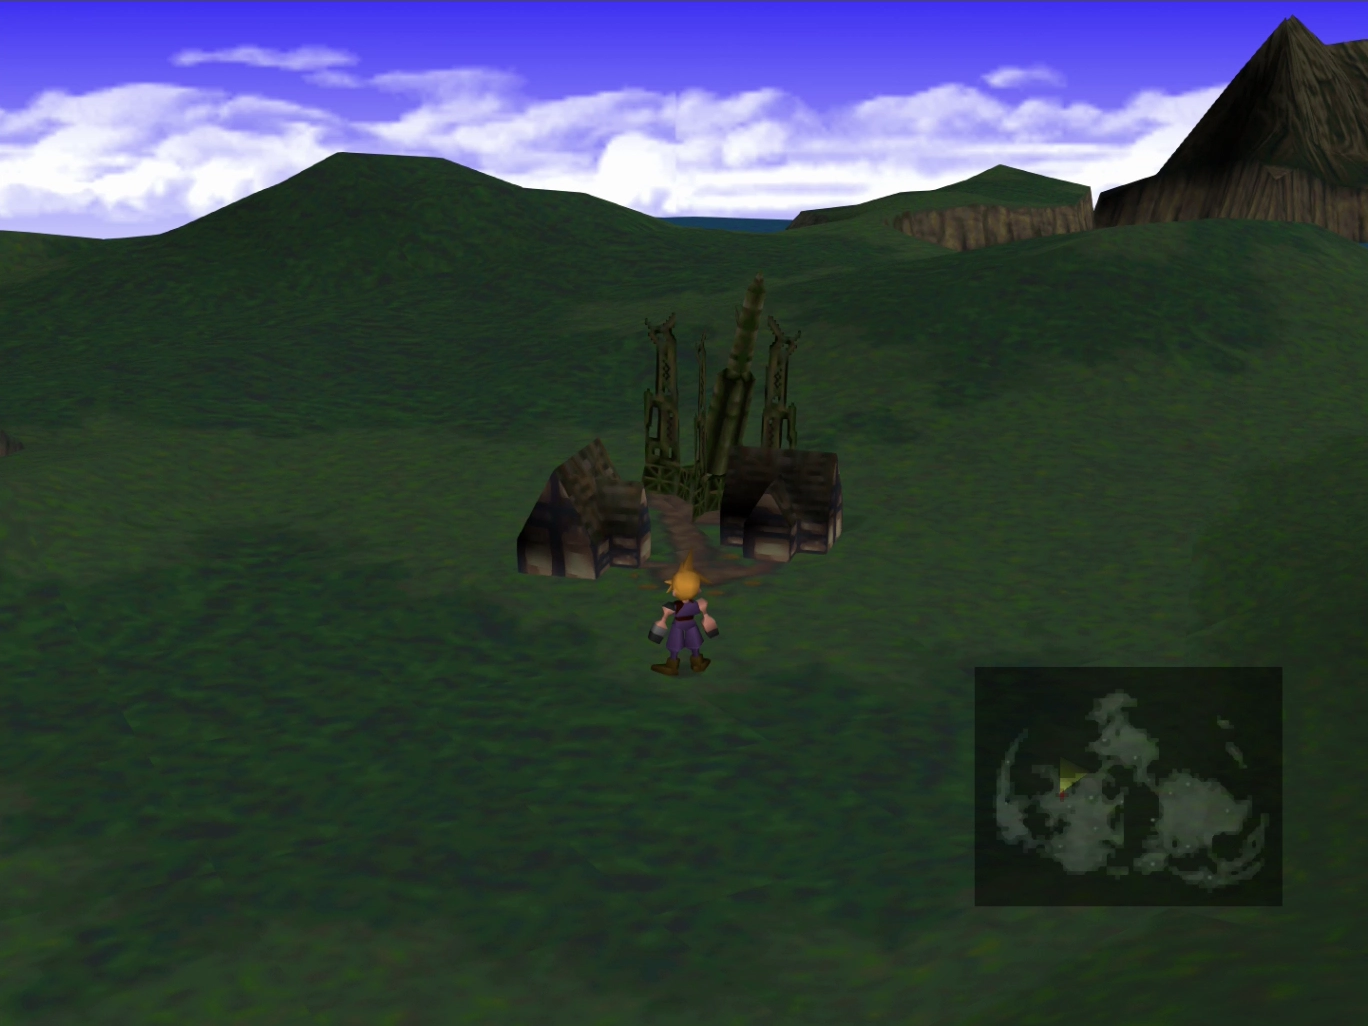
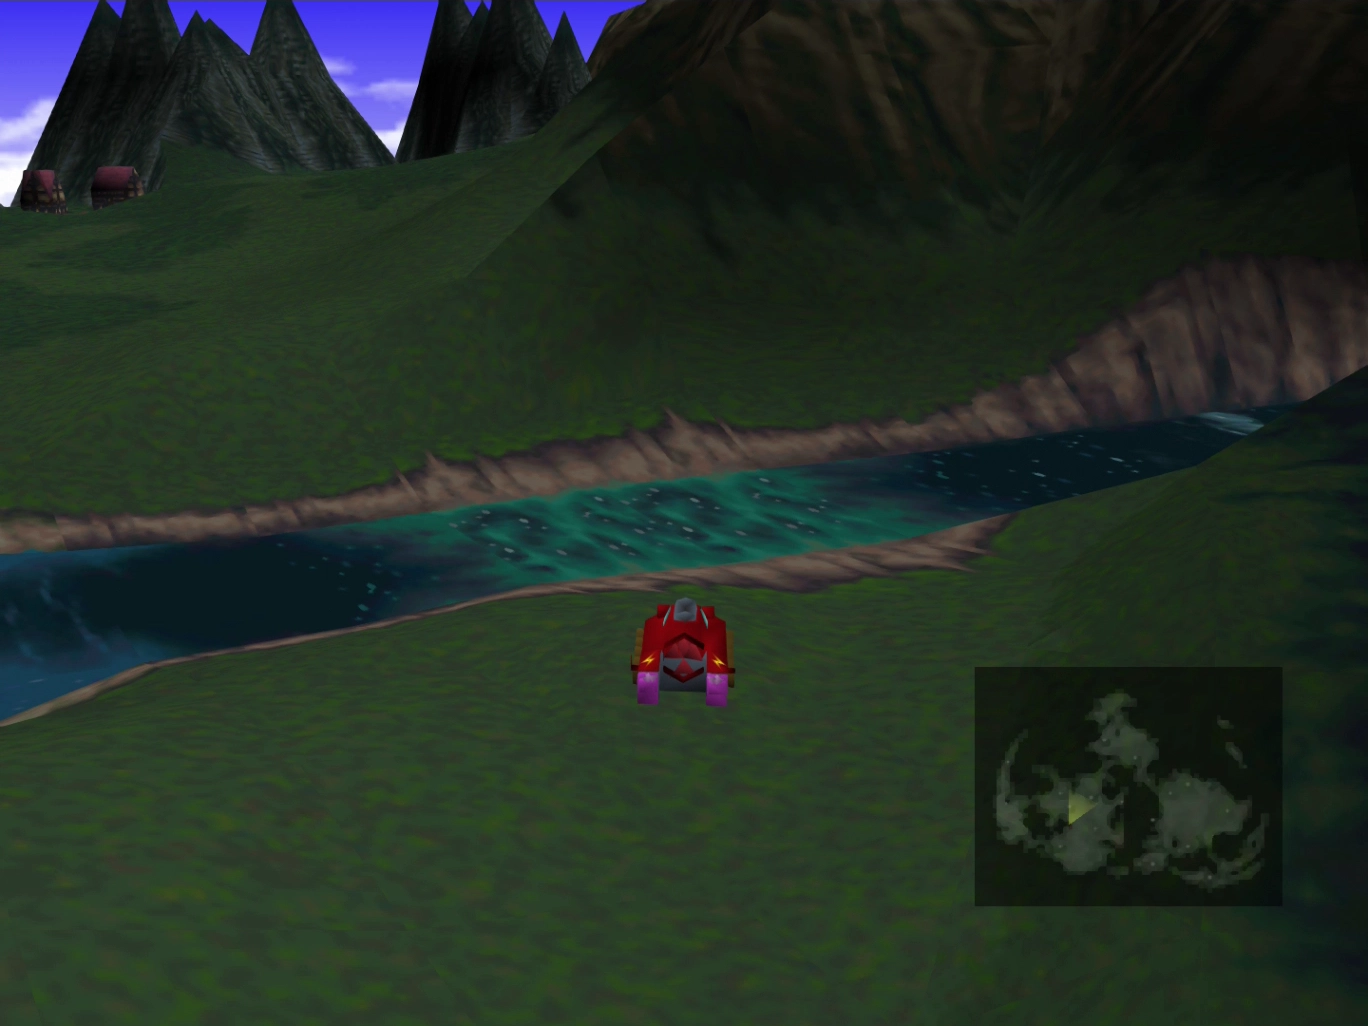
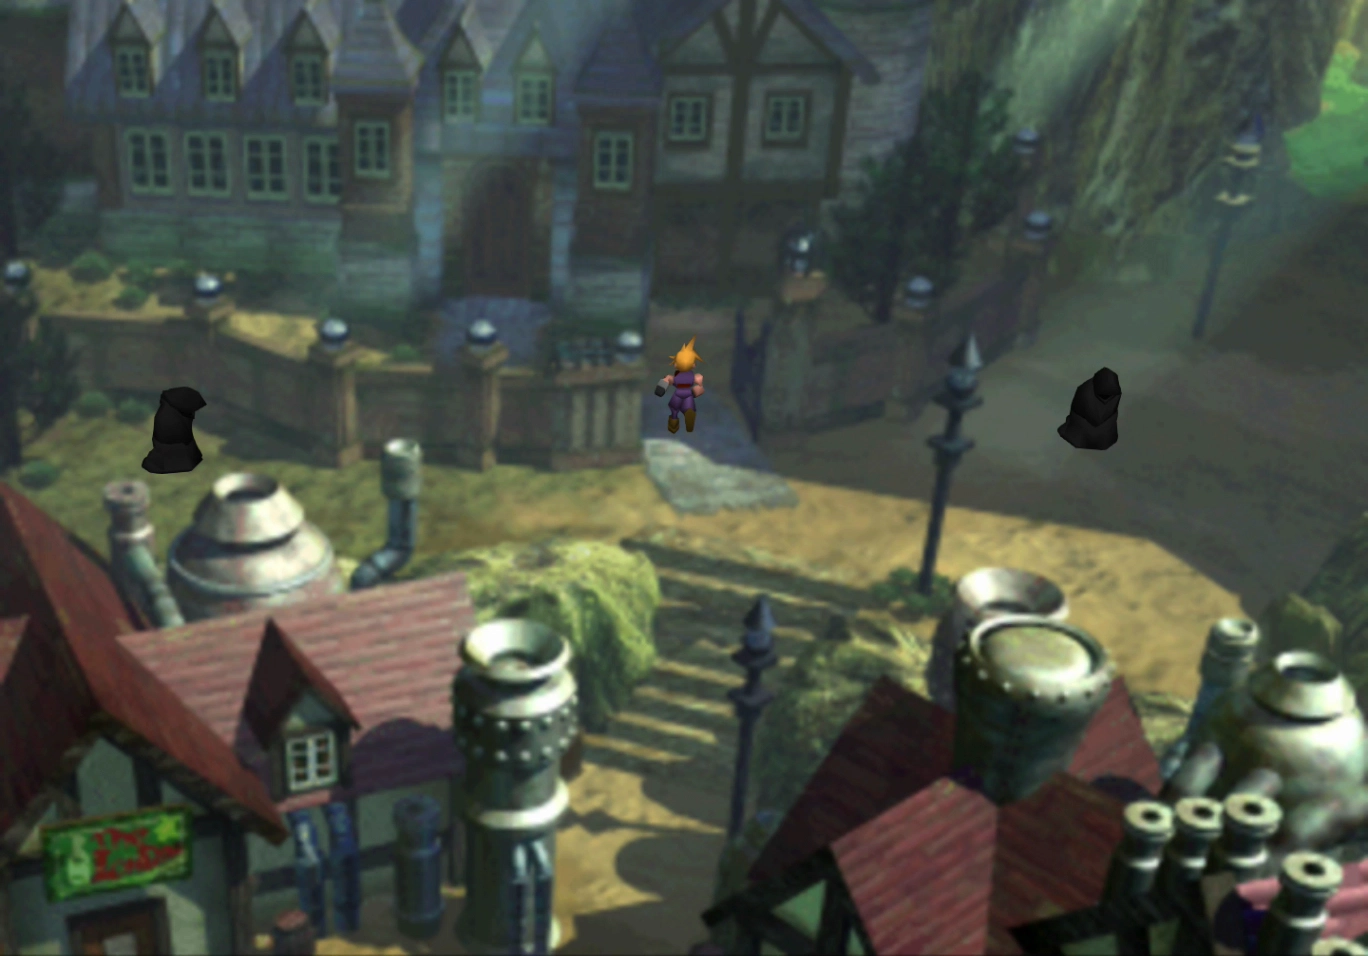
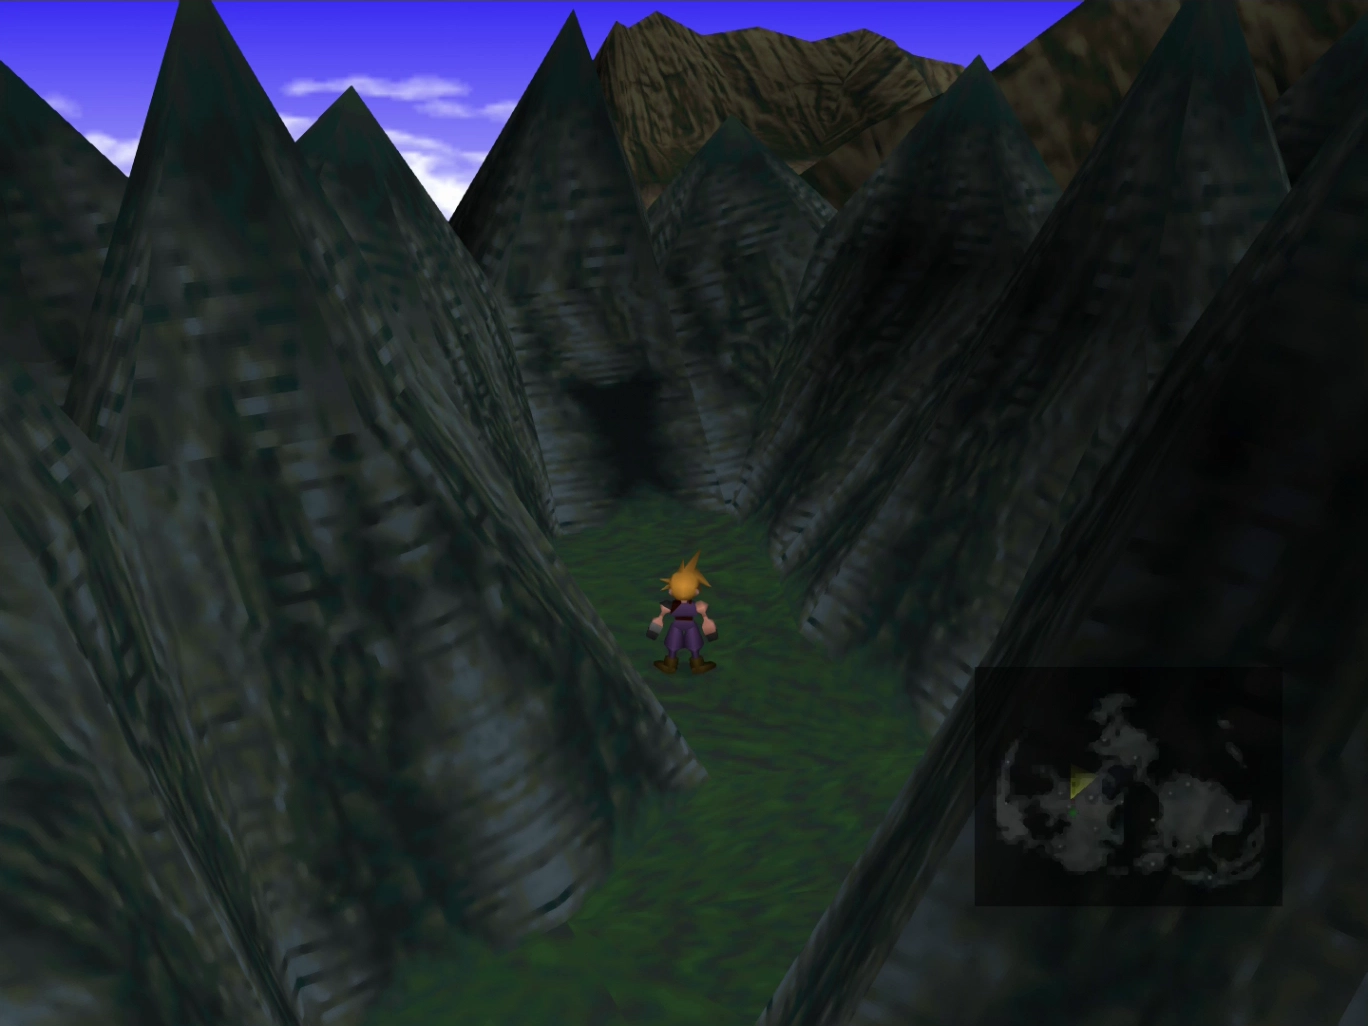
Use the map below to help you navigate to Nibelheim, as well as the screenshots below the map.
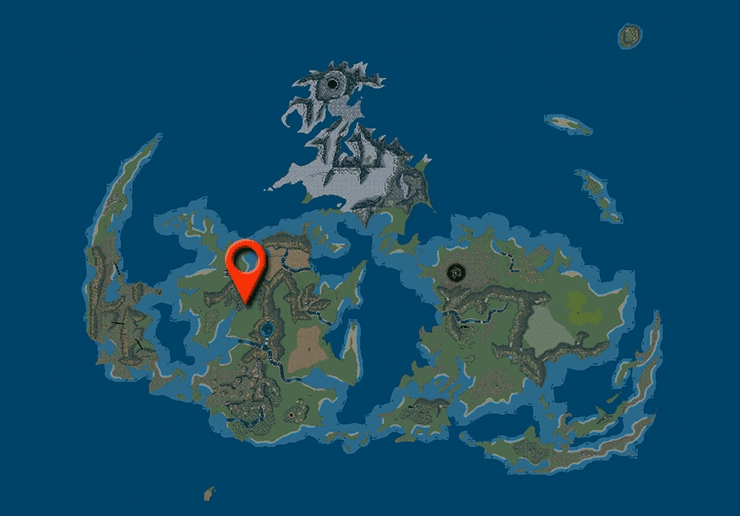

Head west away from Cosmo Canyon and then turn north. Cross the river with the Buggy, and then you will find the town perched just in front of the greyish mountains.
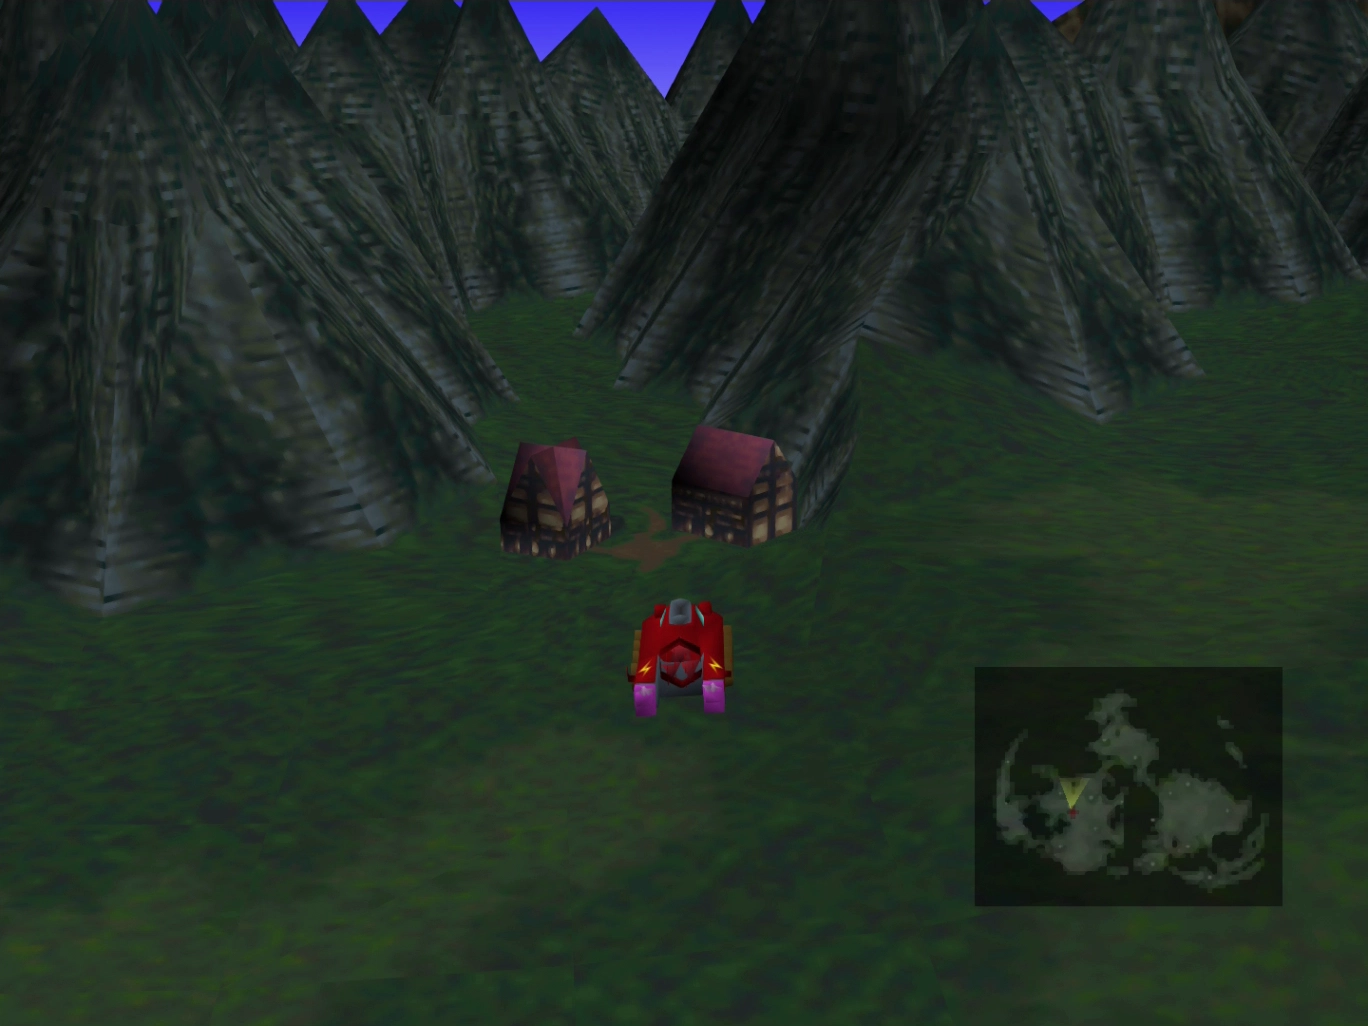
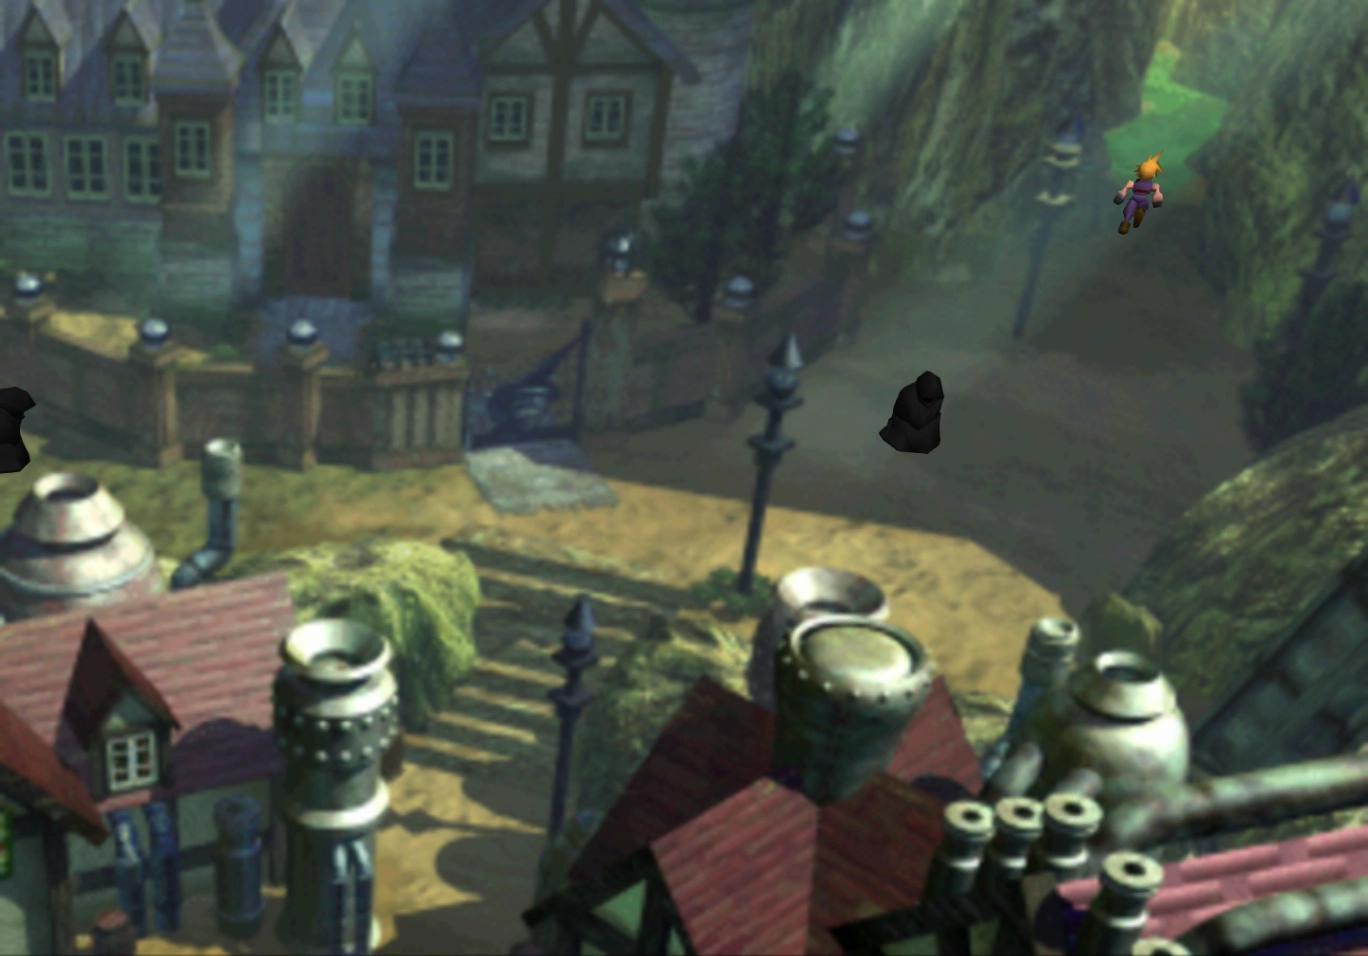
The story will continue as soon as you take a few steps into town. Enter the doorway directly north of the entrance, which leads to the Nibelheim Inn.

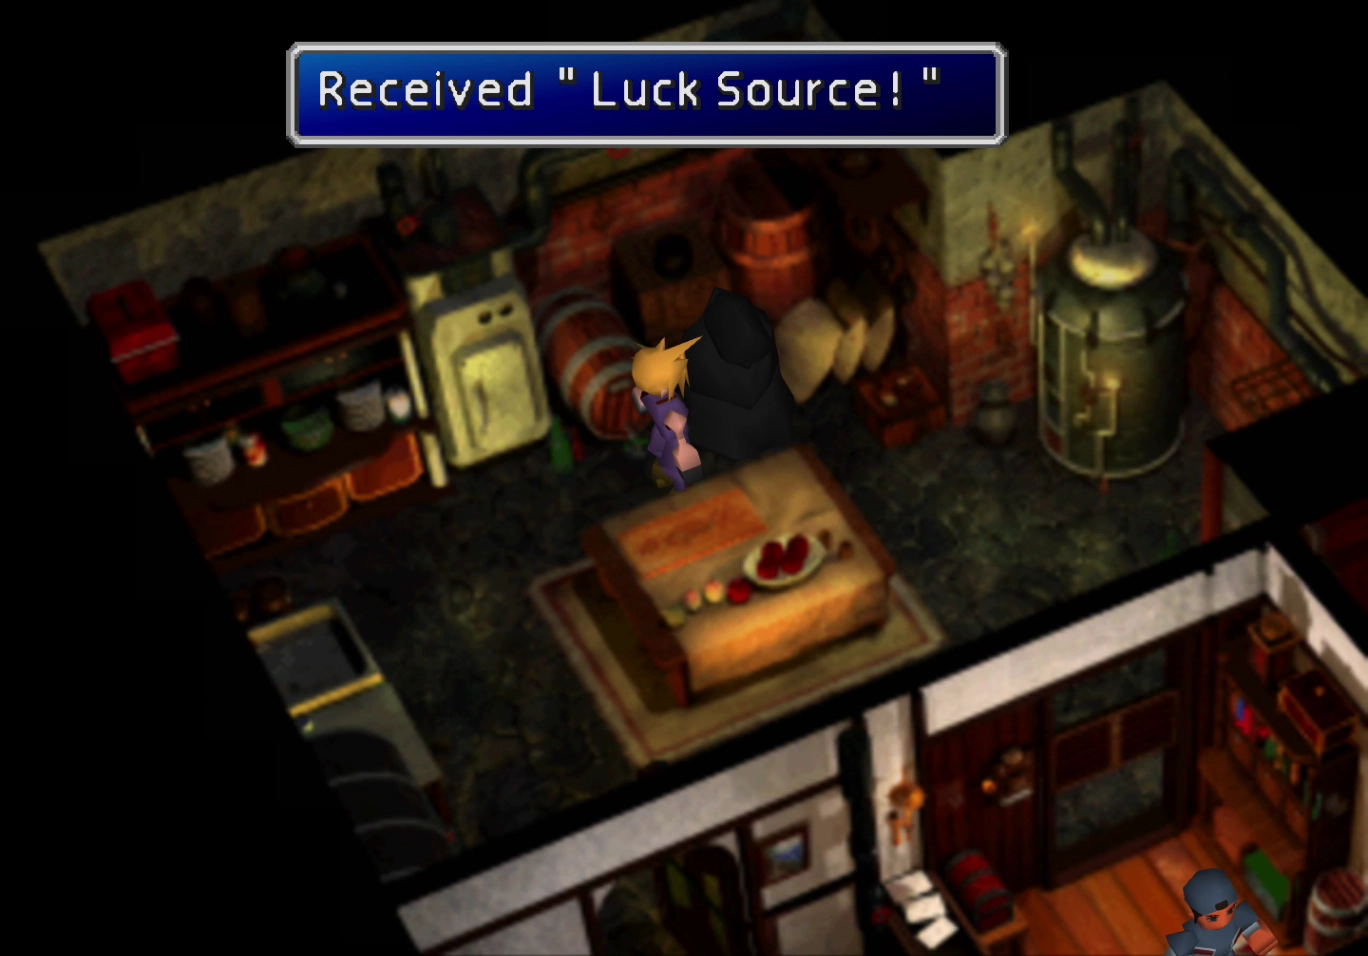
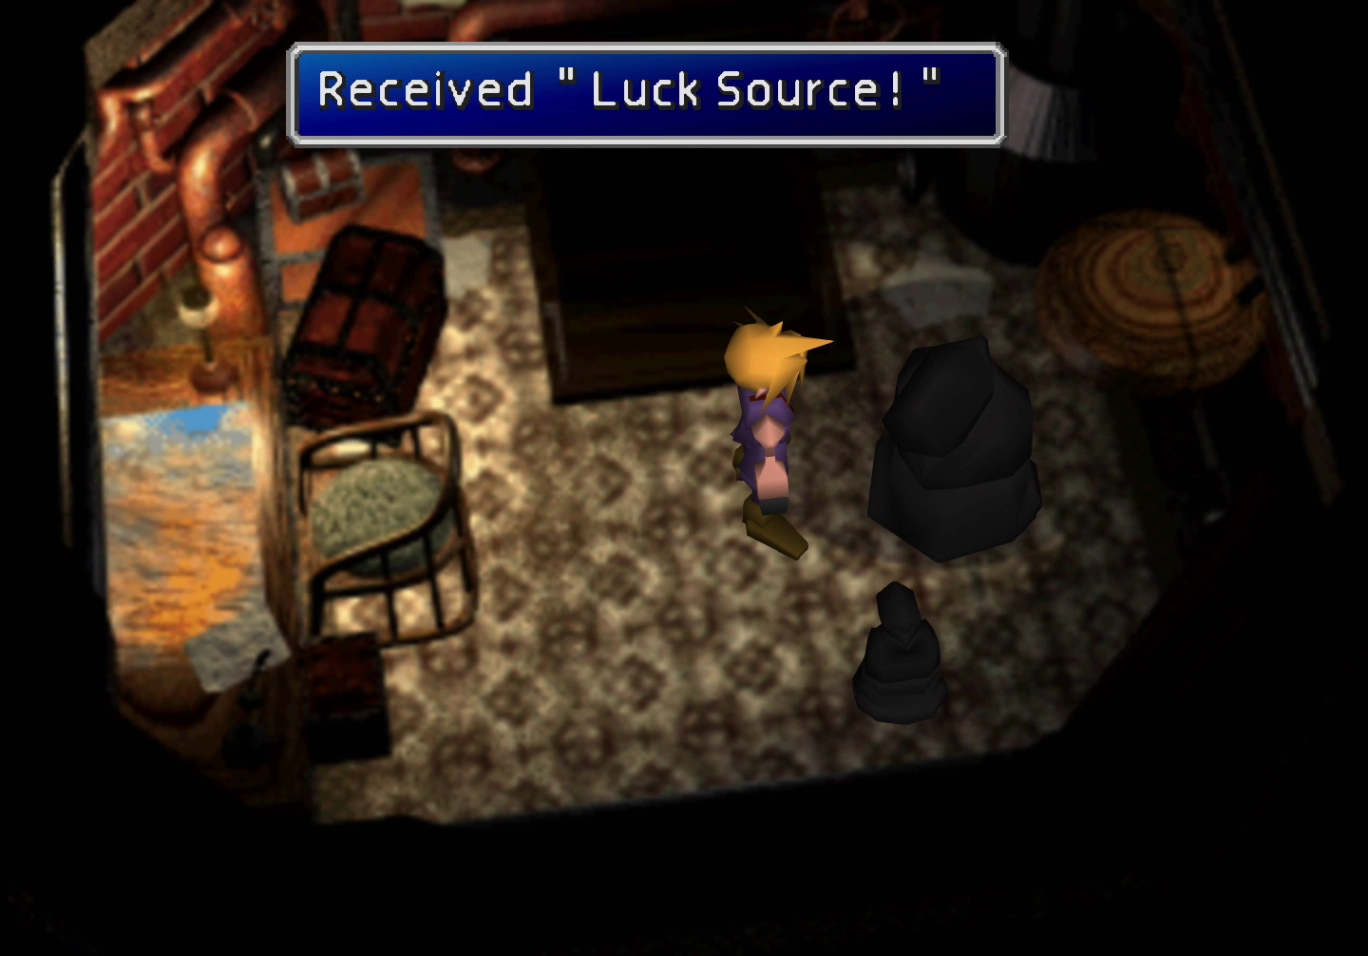
You can choose to rest at the Inn or have the man “tell you his story,” which is inconsistent with Cloud’s memories. There is a man in a black cape in the kitchen area behind the counter. Speak to him to receive a ![]() Luck Source.
Luck Source.
Enter the Nibelheim Item Store, which is the house directly to the right of the Inn. You can purchase the following items:
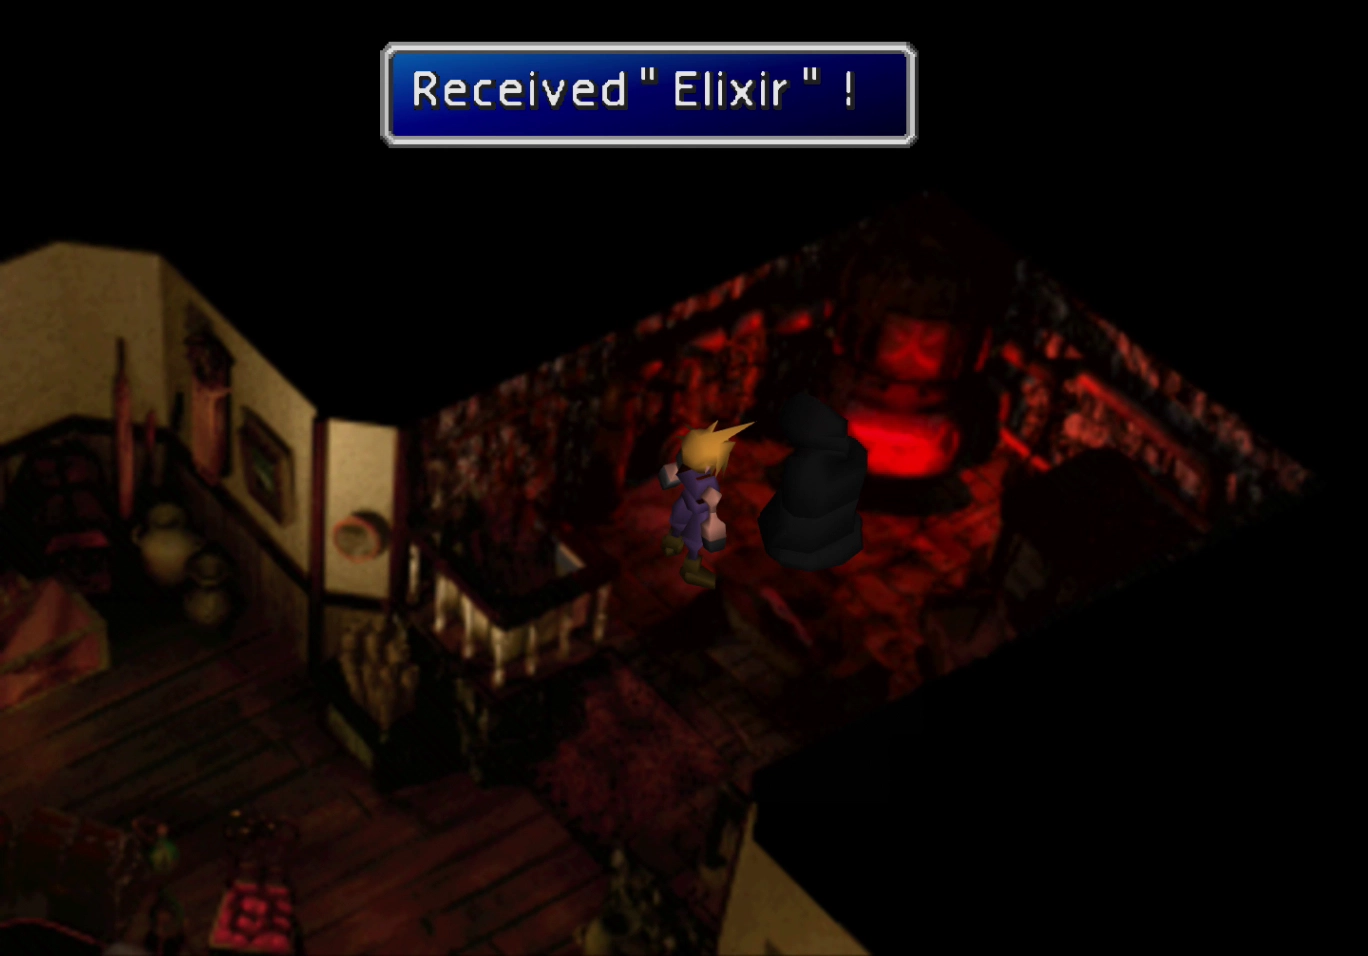
There is another man in a black cape up near the stove. Speak to him to receive a free ![]() Elixir.
Elixir.
Enter Tifa’s house. The next house to the right of the Nibelheim Item Store is Cloud’s House. Tifa’s is the one to the right of that.
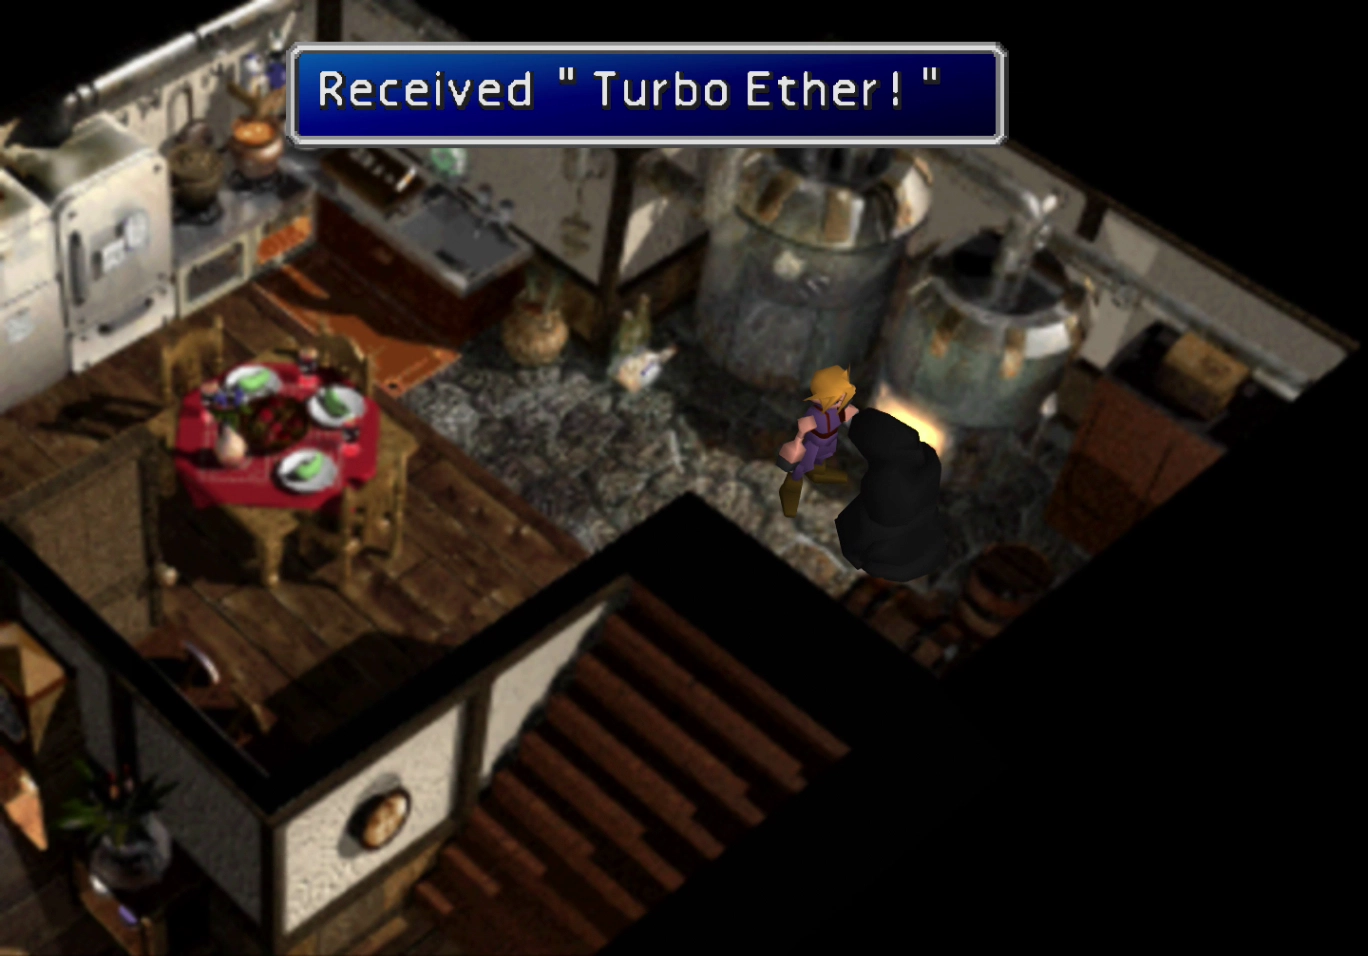
The man in the black cape at the front of the house will not give you anything, but there is also one in the back. Speak to that man to receive a ![]() Turbo Ether.
Turbo Ether.
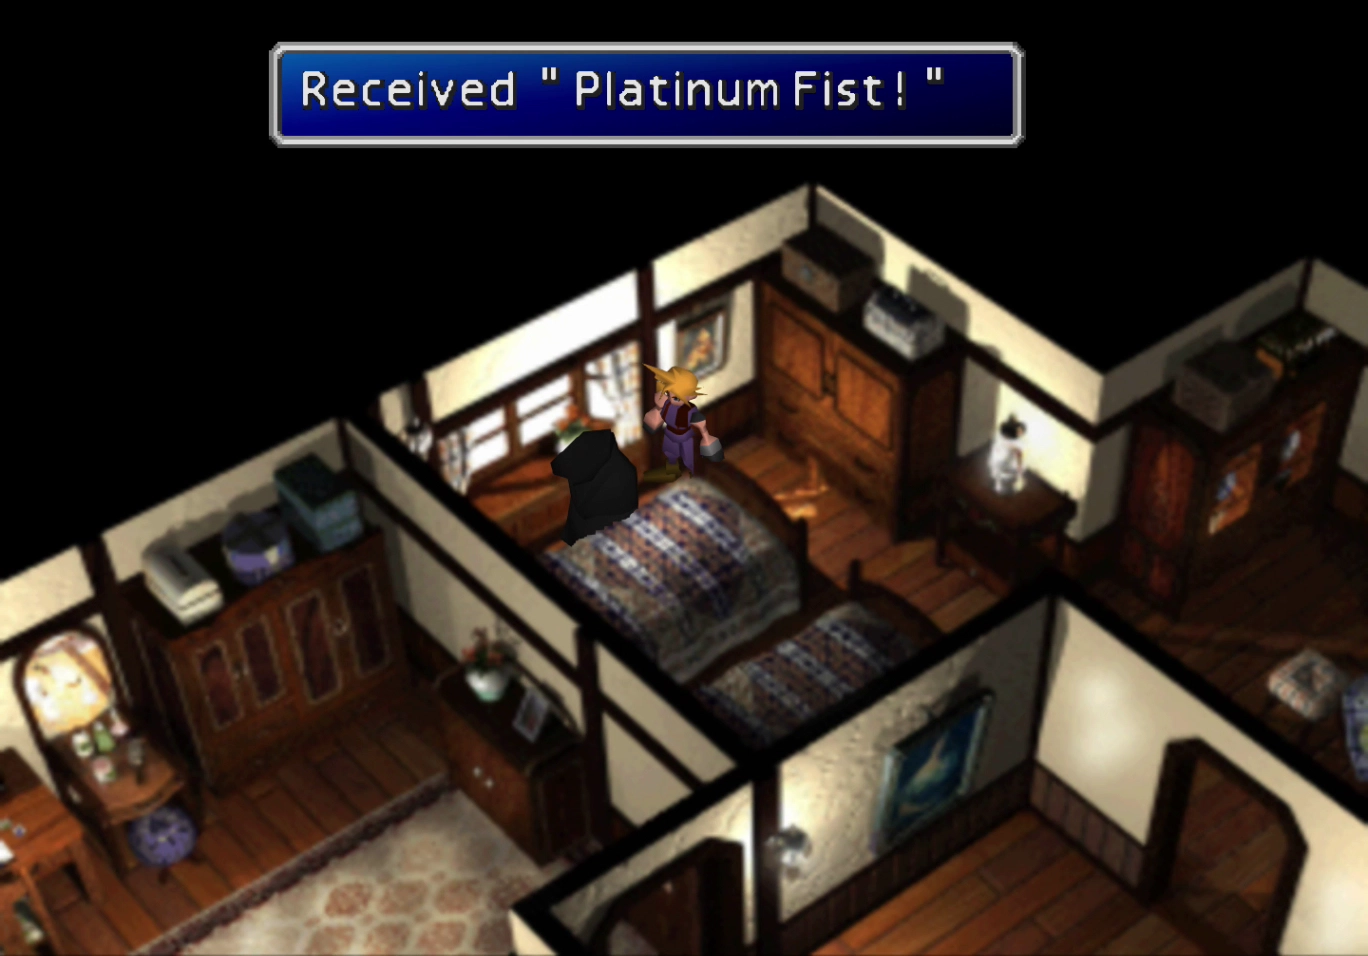
There is also a man in a black cape upstairs who will give you a ![]() Platinum Fist, which is an interesting weapon for Tifa. It has double Materia growth but lacks any Materia pairing, and it has lackluster attack power. In other words, it helps level up your Materia but not much else.
Platinum Fist, which is an interesting weapon for Tifa. It has double Materia growth but lacks any Materia pairing, and it has lackluster attack power. In other words, it helps level up your Materia but not much else.
The last house to the right of Tifa’s house, which is referred to as “Nibelheim House” on the menu screen, has two more men in black capes upstairs. Speak to one of them to receive a ![]() Luck Source.
Luck Source.
Make your way back to the Shinra Mansion after you have obtained all the items listed above.
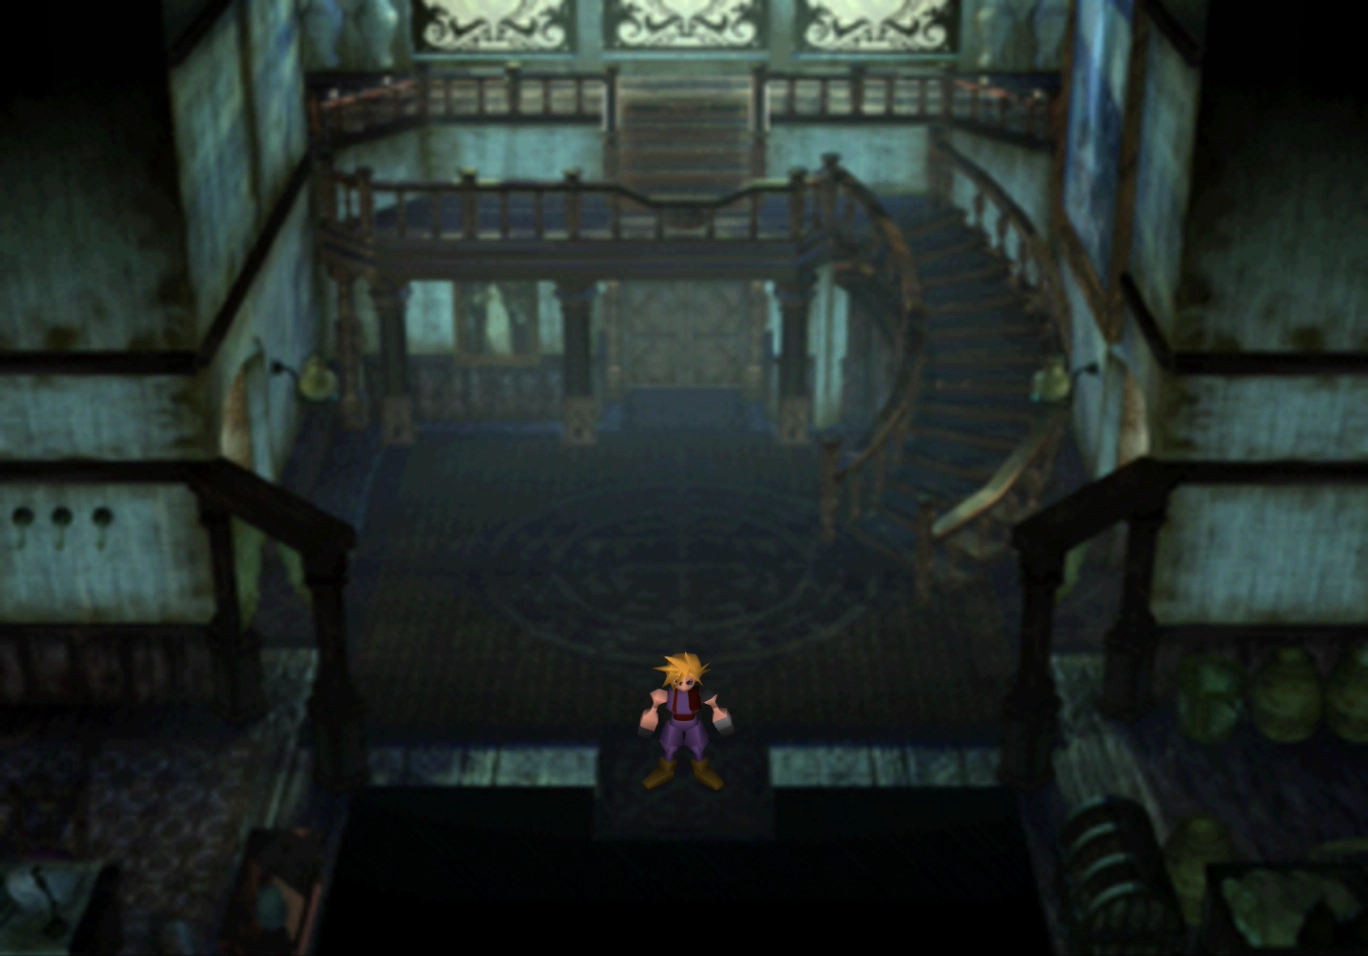
Shinra Mansion
It is important to note that entering the Shinra Mansion at this point is optional, but there are several things you should pick up while you are here, including an optional character named Vincent.

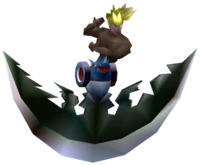
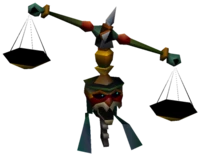
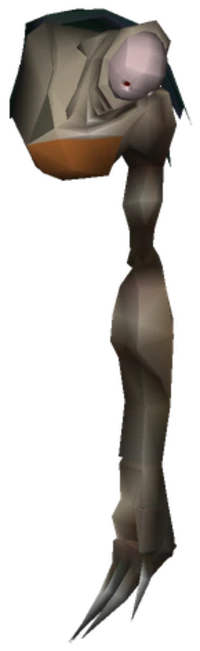
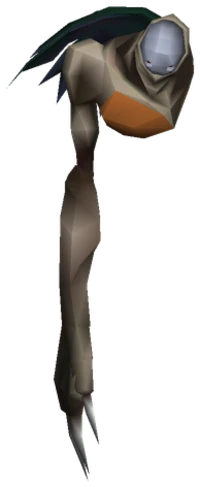
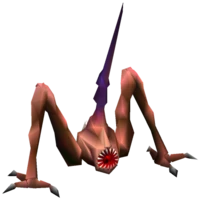
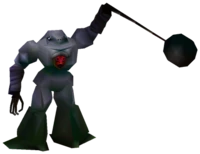
Additionally, there is an enemy in the Shinra Mansion called a “Jersey” which resembles a set of scales, as shown in the screenshot below. These enemies can use an attack called “????,” which you can learn using your ![]() Enemy Skill Materia.
Enemy Skill Materia.
Jerseys are a rare enemy, but they tend to appear more commonly in the rooms on the second floor of the Shinra Mansion.
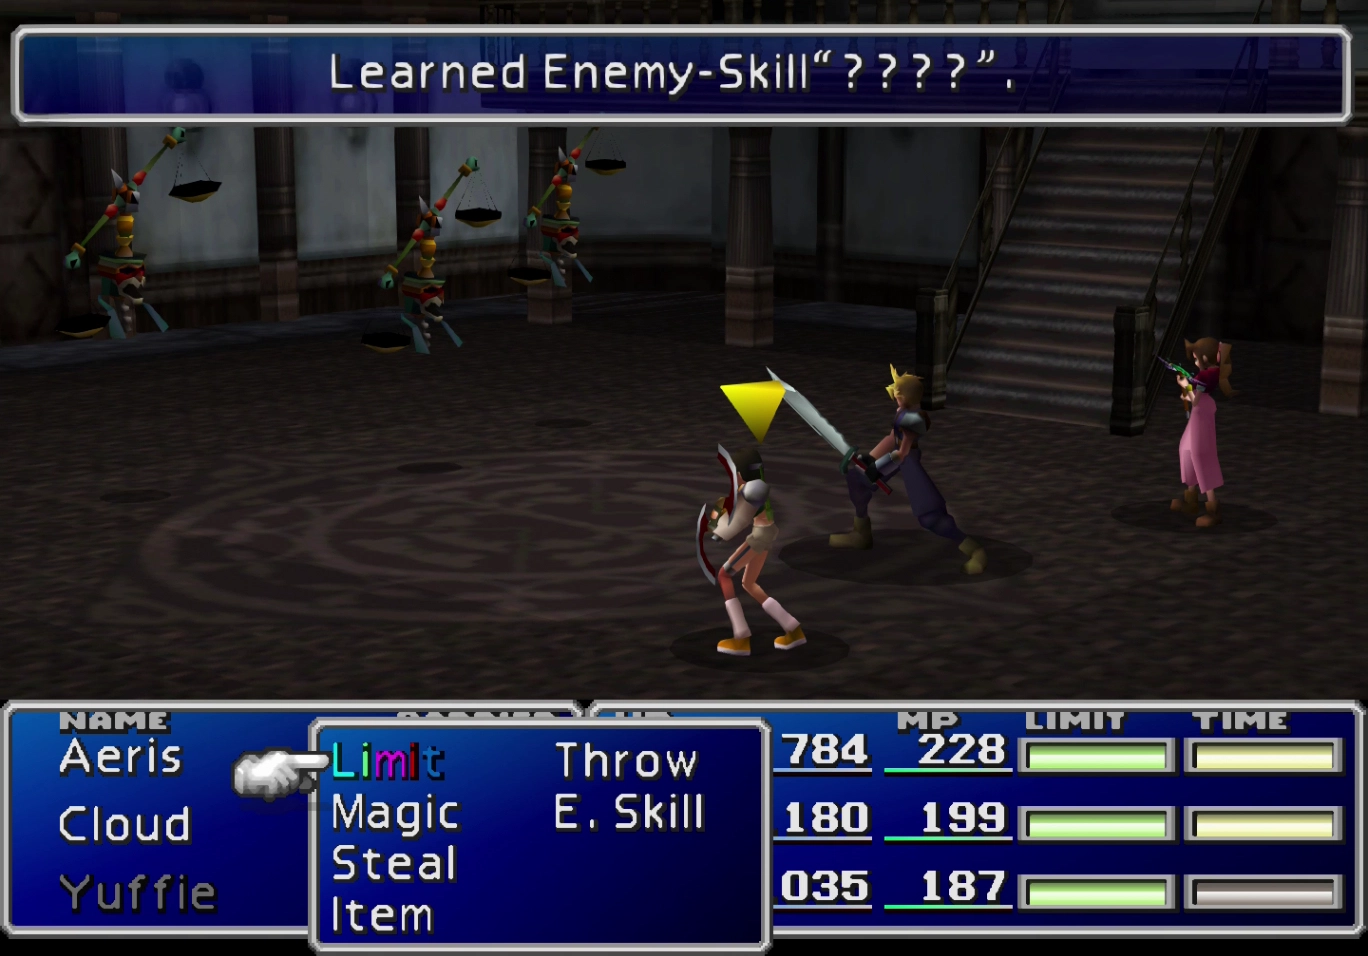
This move does damage equal to the character’s maximum HP minus their current HP to the target when cast. In other words, the lower the caster’s HP, the higher the damage that “????” will do.
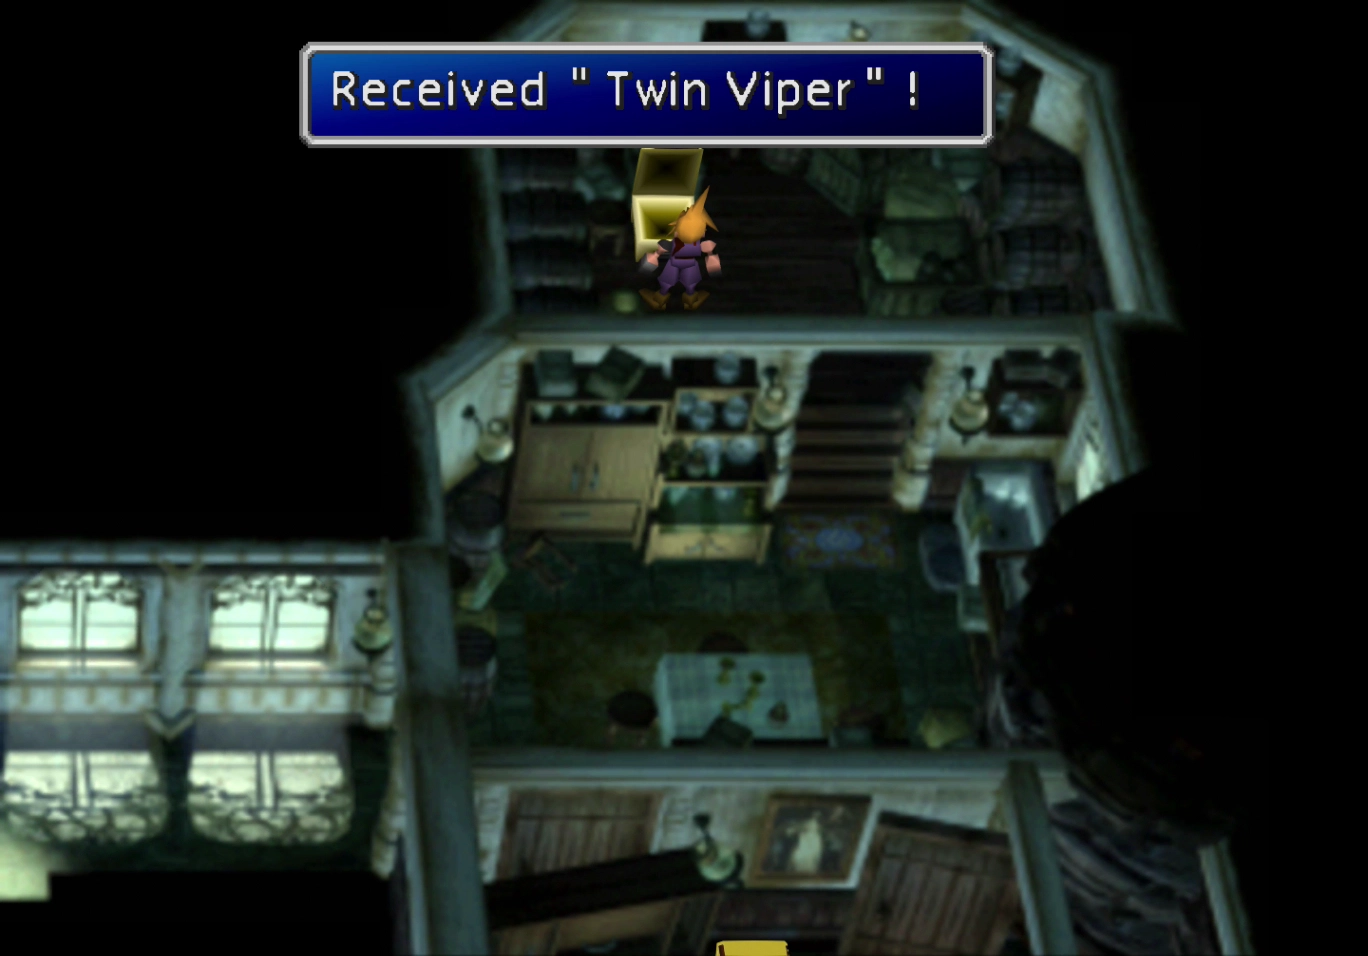
Go through the northernmost doorway at the very back of the room and then go right. There is a treasure chest in the room to the north that contains a ![]() Twin Viper, a strong weapon for Yuffie that also provides double Materia growth rate.
Twin Viper, a strong weapon for Yuffie that also provides double Materia growth rate.
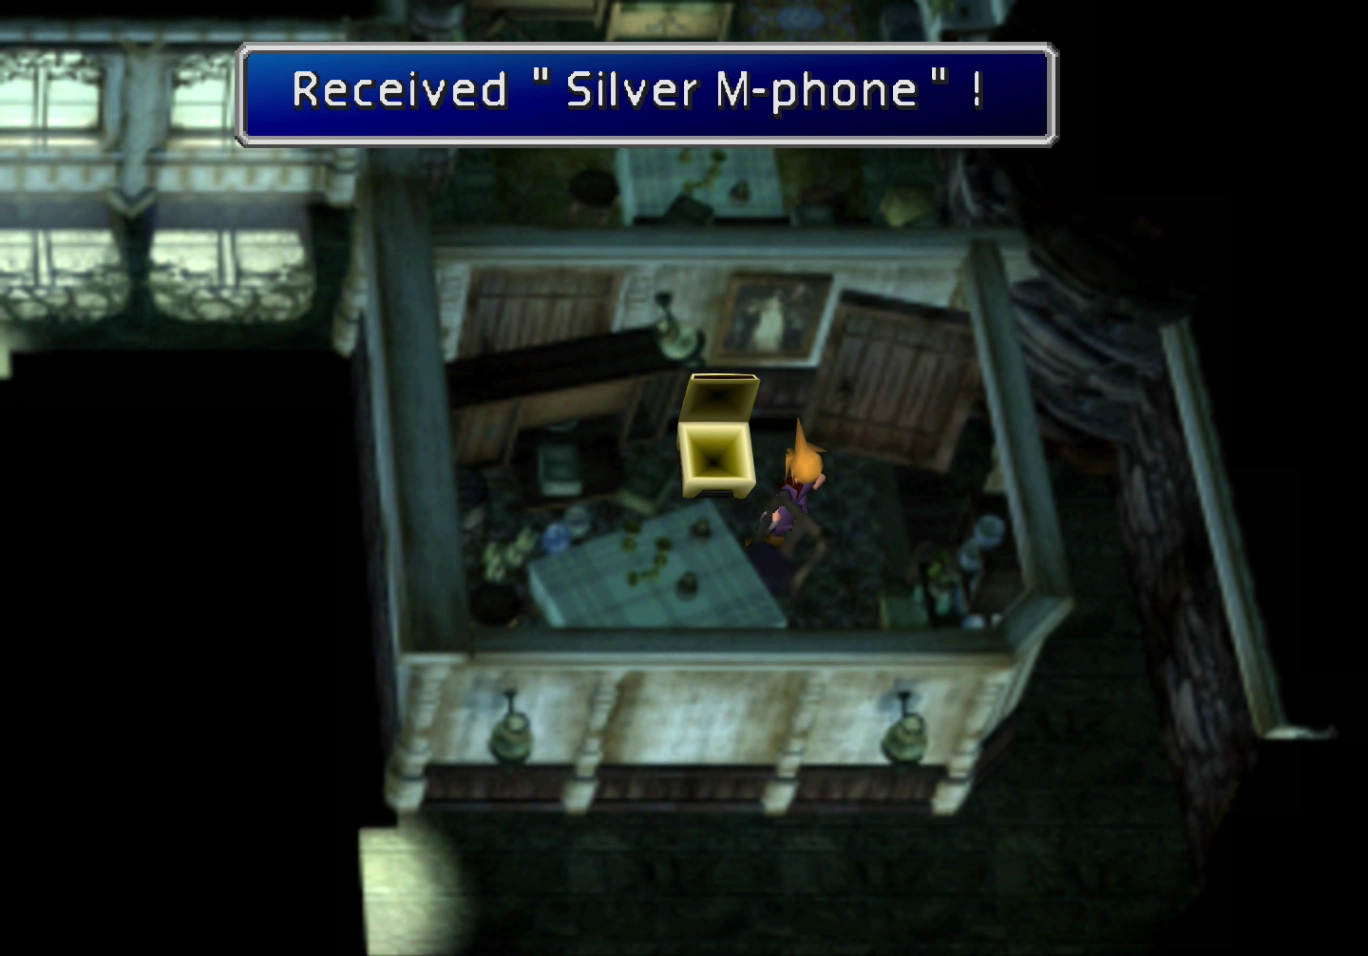
Go through the doorway to the right of the staircase on the main floor again to grab the other chest that you could see just to the south. This one contains a ![]() Silver M-phone weapon for Cait Sith.
Silver M-phone weapon for Cait Sith.
Return to the entryway and climb the stairs to the second floor. Take a left at the top of the stairs and continue forward to find another treasure chest with an ![]() Enemy Launcher weapon for Barret.
Enemy Launcher weapon for Barret.

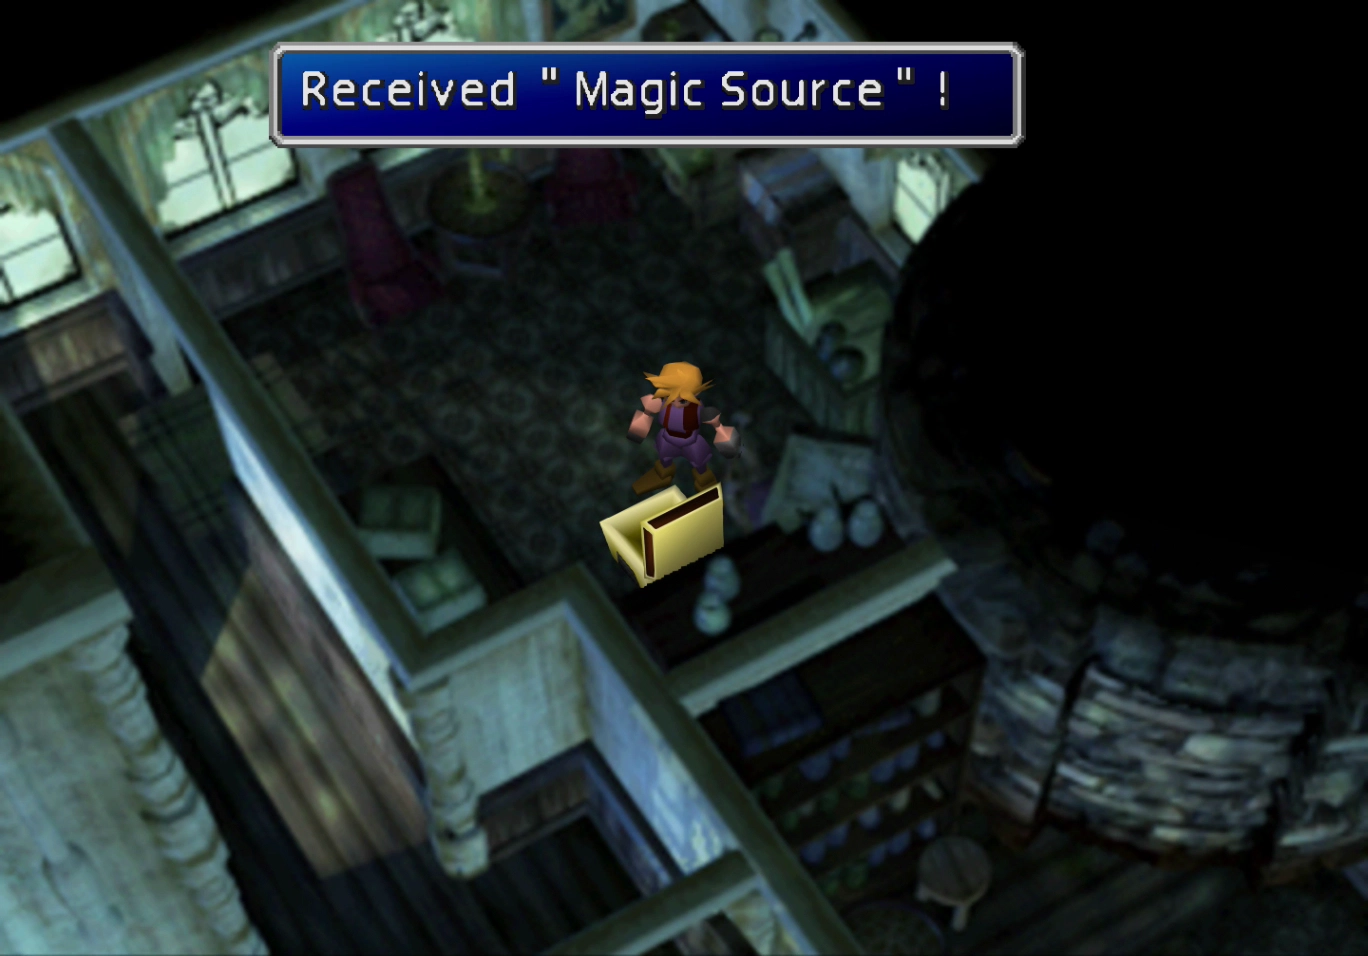
Go back to the top of the stairs and go right to find one last treasure chest that contains a ![]() Magic Source.
Magic Source.
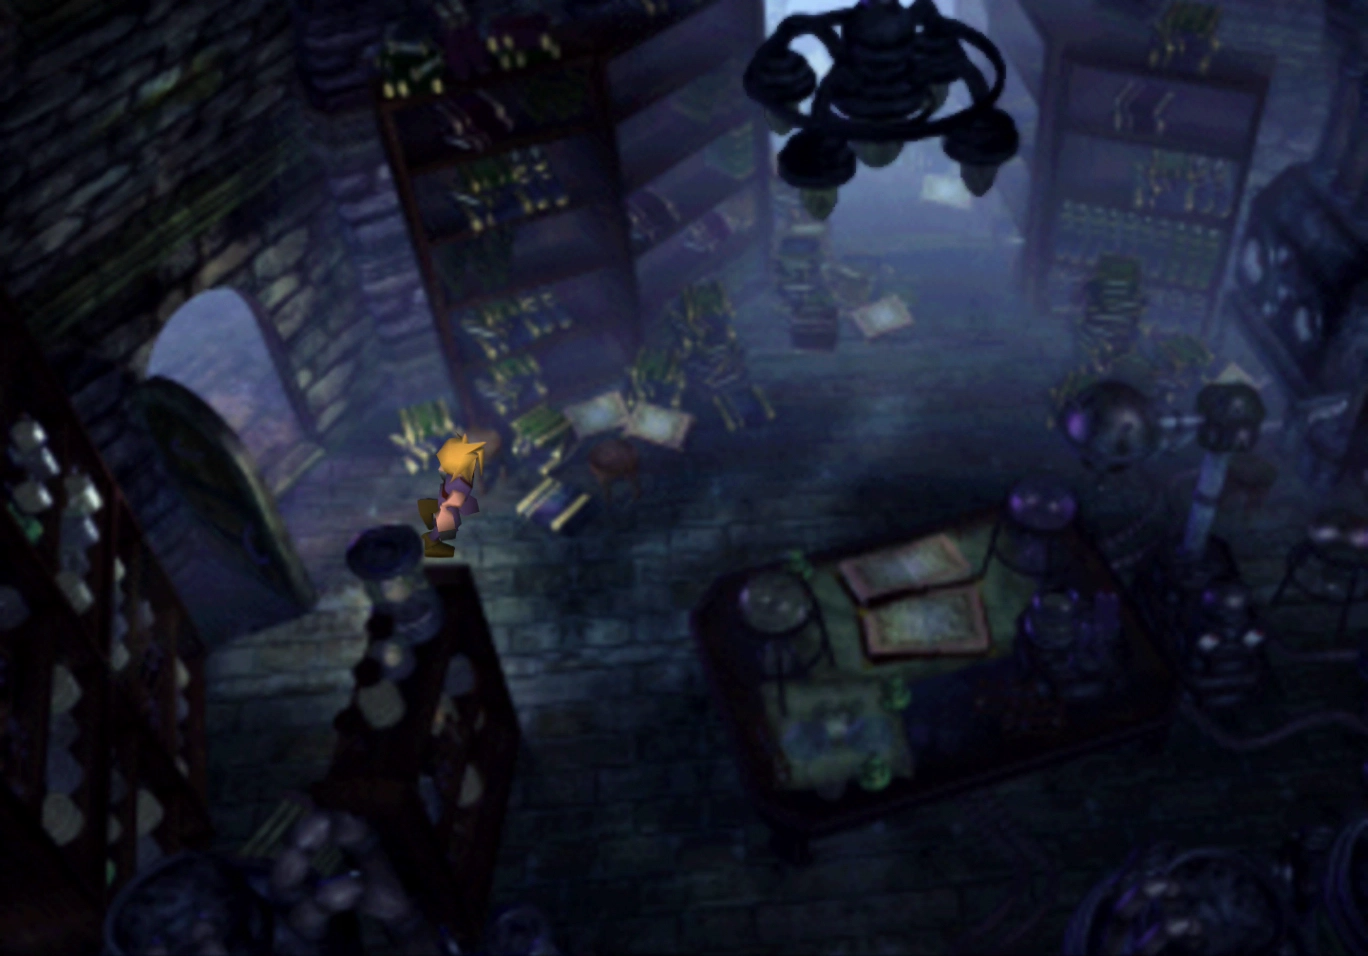
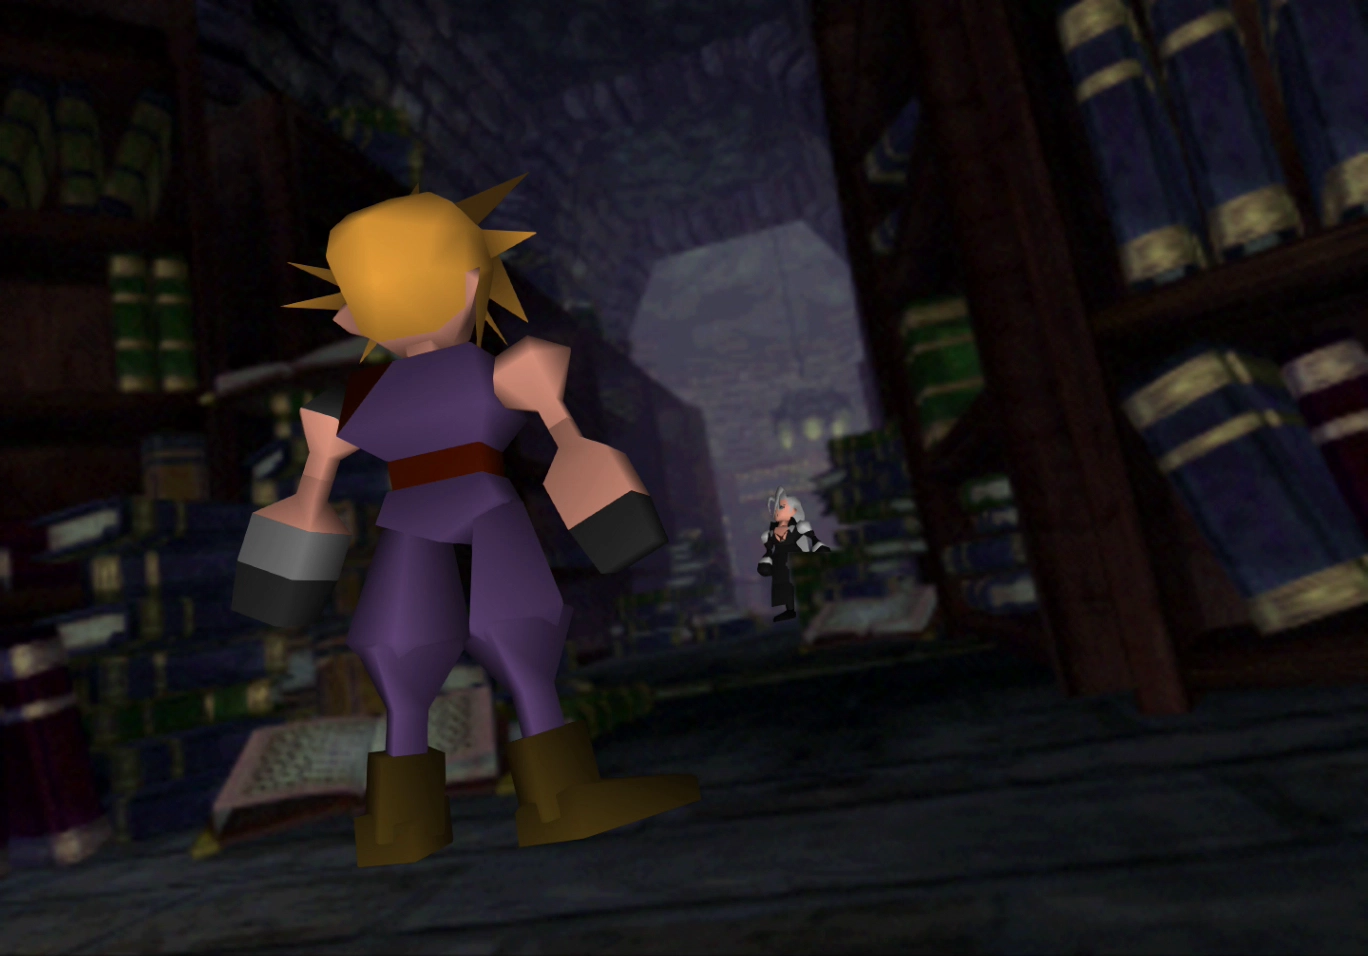
Travel back down to the library where Cloud met up with Sephiroth during the flashback scene. You can find Sephiroth in the library again.
He will tell you where he is going, and then he will make a hasty exit, but not before throwing a piece of ![]() Destruct Materia at Cloud. Pick up the Materia and head back up to the main floor.
Destruct Materia at Cloud. Pick up the Materia and head back up to the main floor.
The last thing you should take care of is obtaining Vincent, the second and last optional character that you can add to your team. However, be sure to save your game first before attempting the following steps!
Secret Characters
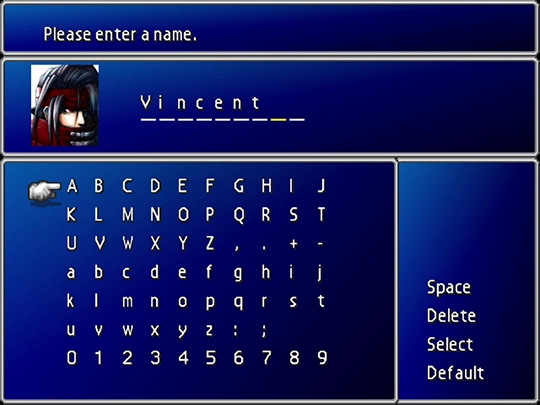
You can find Vincent slumbering in the basement of the Shinra Mansion in Nibelheim. Obtaining him involves opening a safe, battling a monster, and using the key in the safe to unlock Vincent’s chambers.
It is now time to begin your ascent up Mount Nibel. Walk towards the back of Nibelheim and follow the trail to the right of the Shinra Mansion, just like you did before with Sephiroth in the Kalm flashback. Follow the trail out to the world map and into the cave at the end of the pathway.
Mount Nibel
The pathway through Mount Nibel is straightforward and linear. Follow it along until it splits with one path going north.


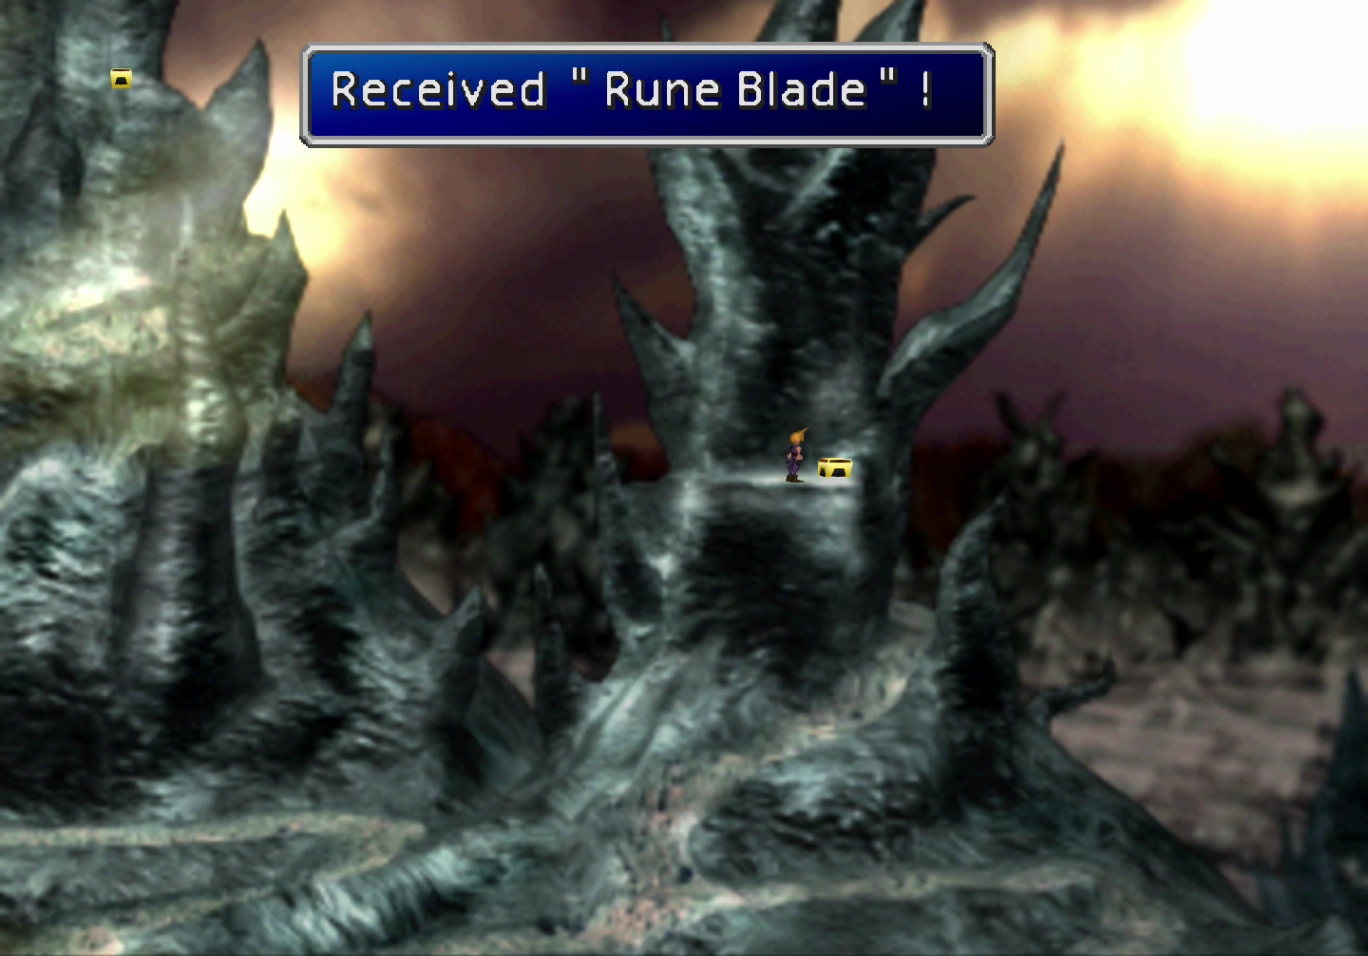
Follow that winding pathway up to the top of the peak to find a treasure chest that contains a ![]() Rune Blade. The Rune Blade is an excellent weapon for Cloud that has double Materia growth rate and fairly strong attack power.
Rune Blade. The Rune Blade is an excellent weapon for Cloud that has double Materia growth rate and fairly strong attack power.
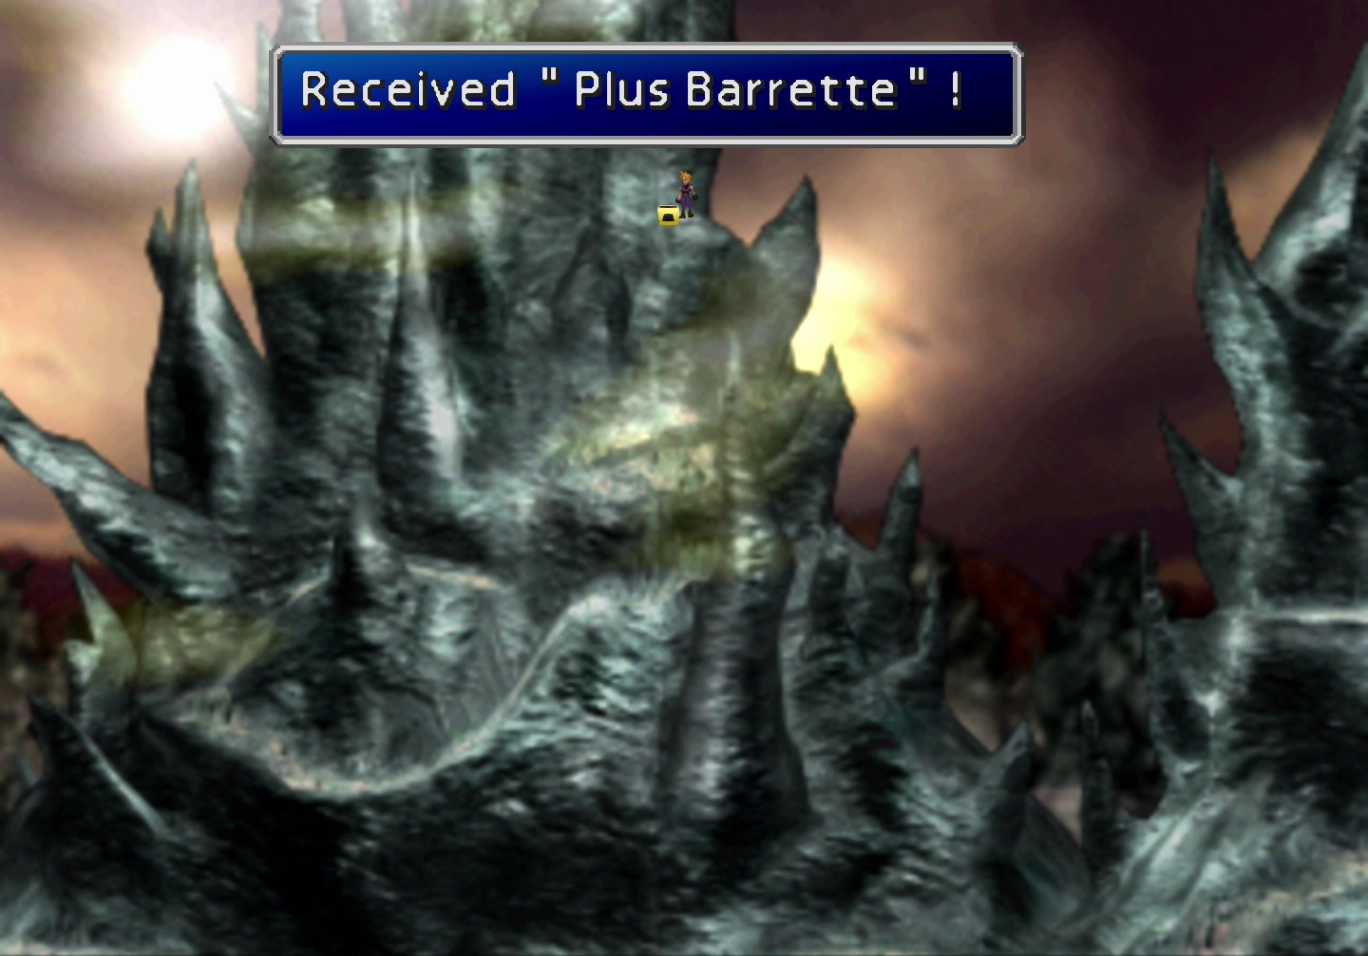
Just before the rope bridge is another section of the pathway that leads northward. Follow that pathway along to find a treasure chest that contains a ![]() Plus Barrette for Red XIII.
Plus Barrette for Red XIII.
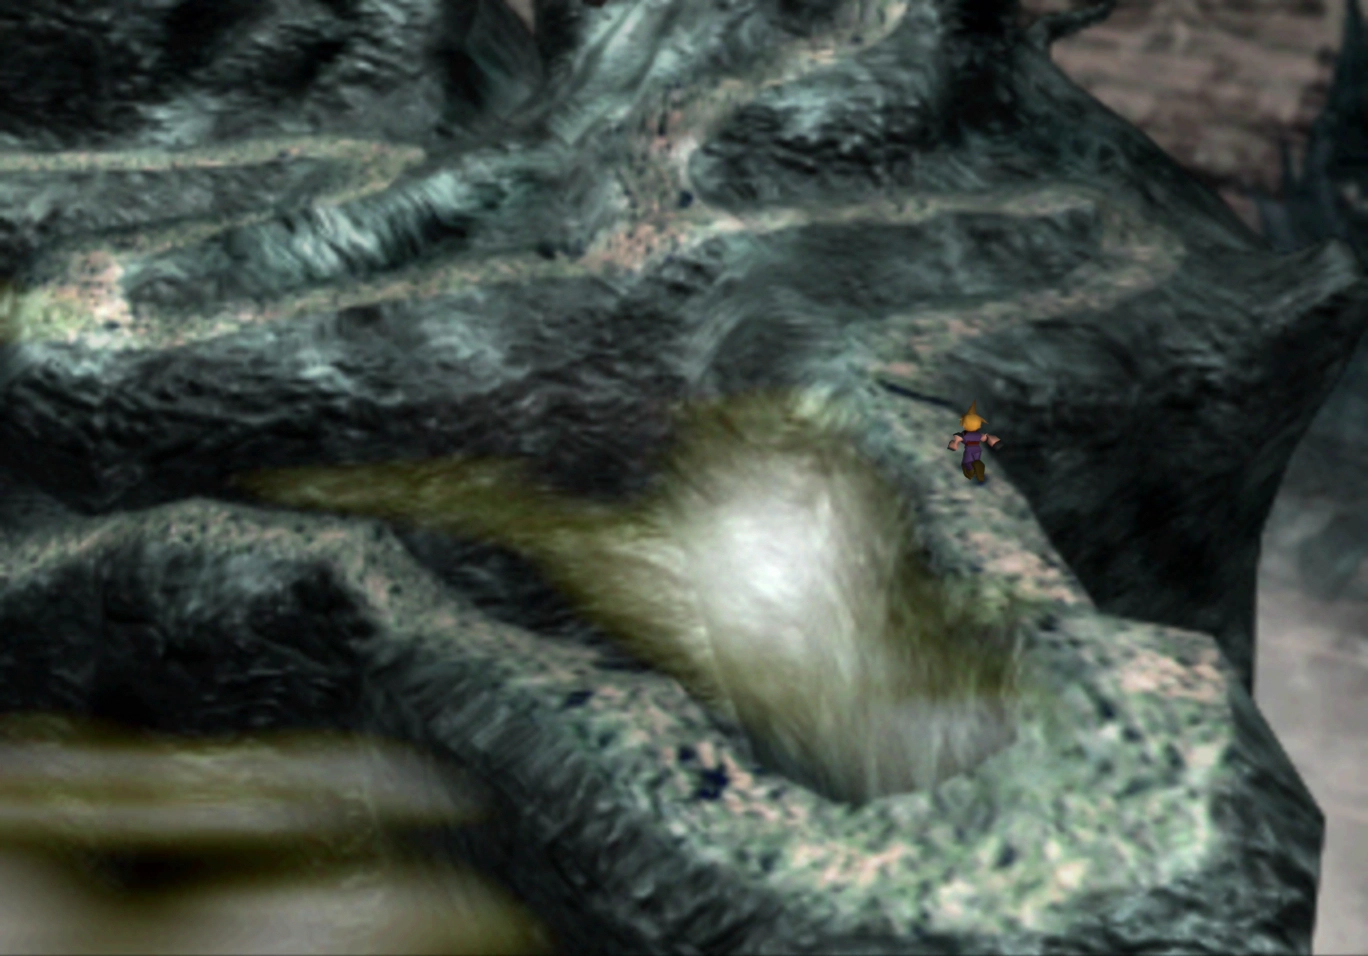
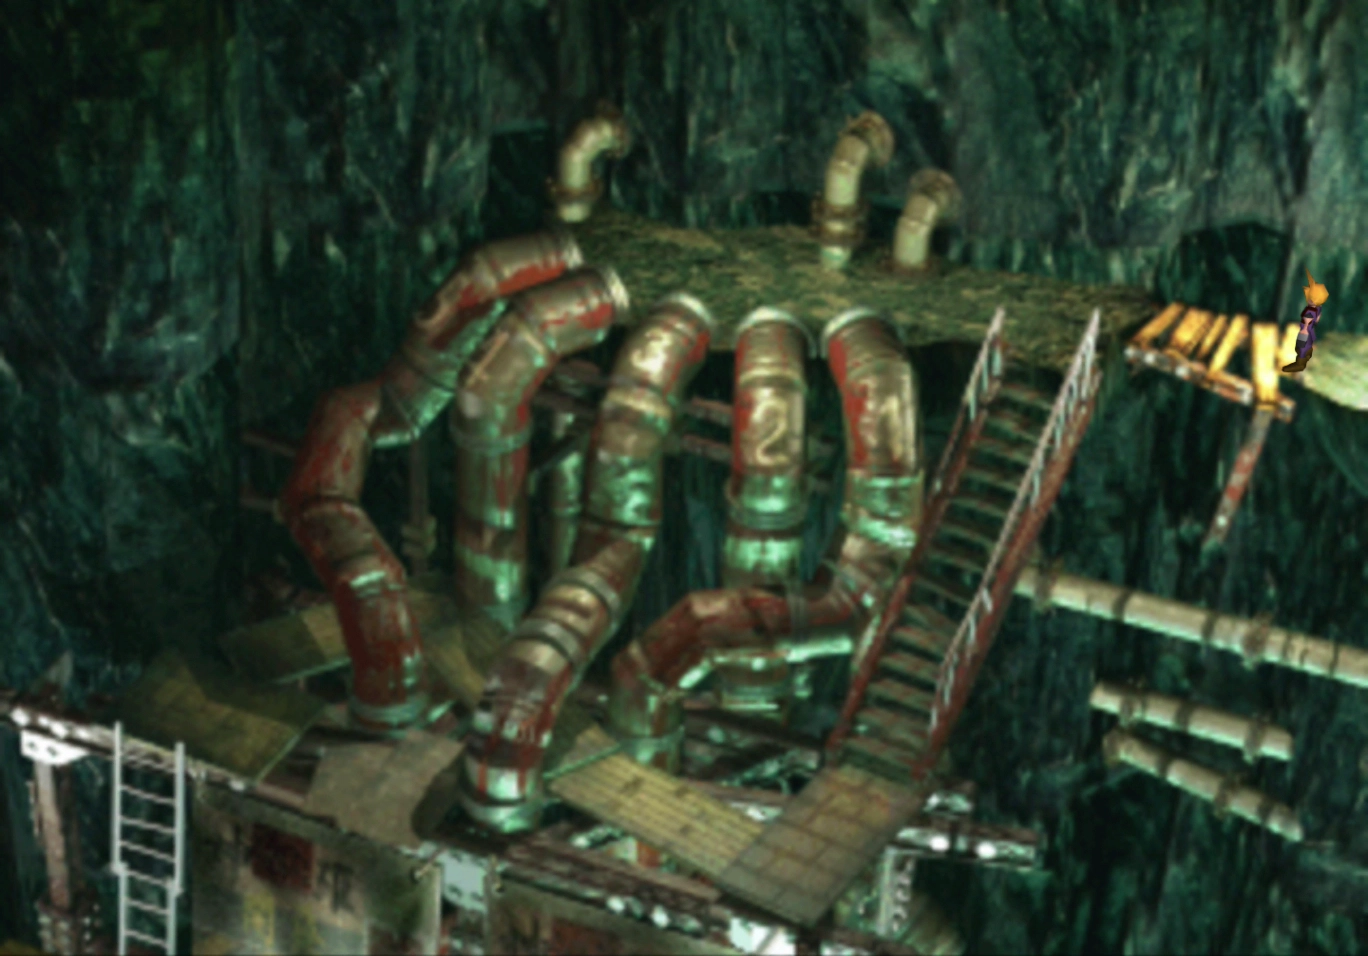
Continue across the rope bridge, and you will reach a cave with five pipes, as shown in the screenshot below.
Warning
Do not slide down any of the pipes yet! You need to complete the steps outlined in this section of the game in a very specific order. Be careful not to get too far ahead, and don’t slide down the pipes too early!
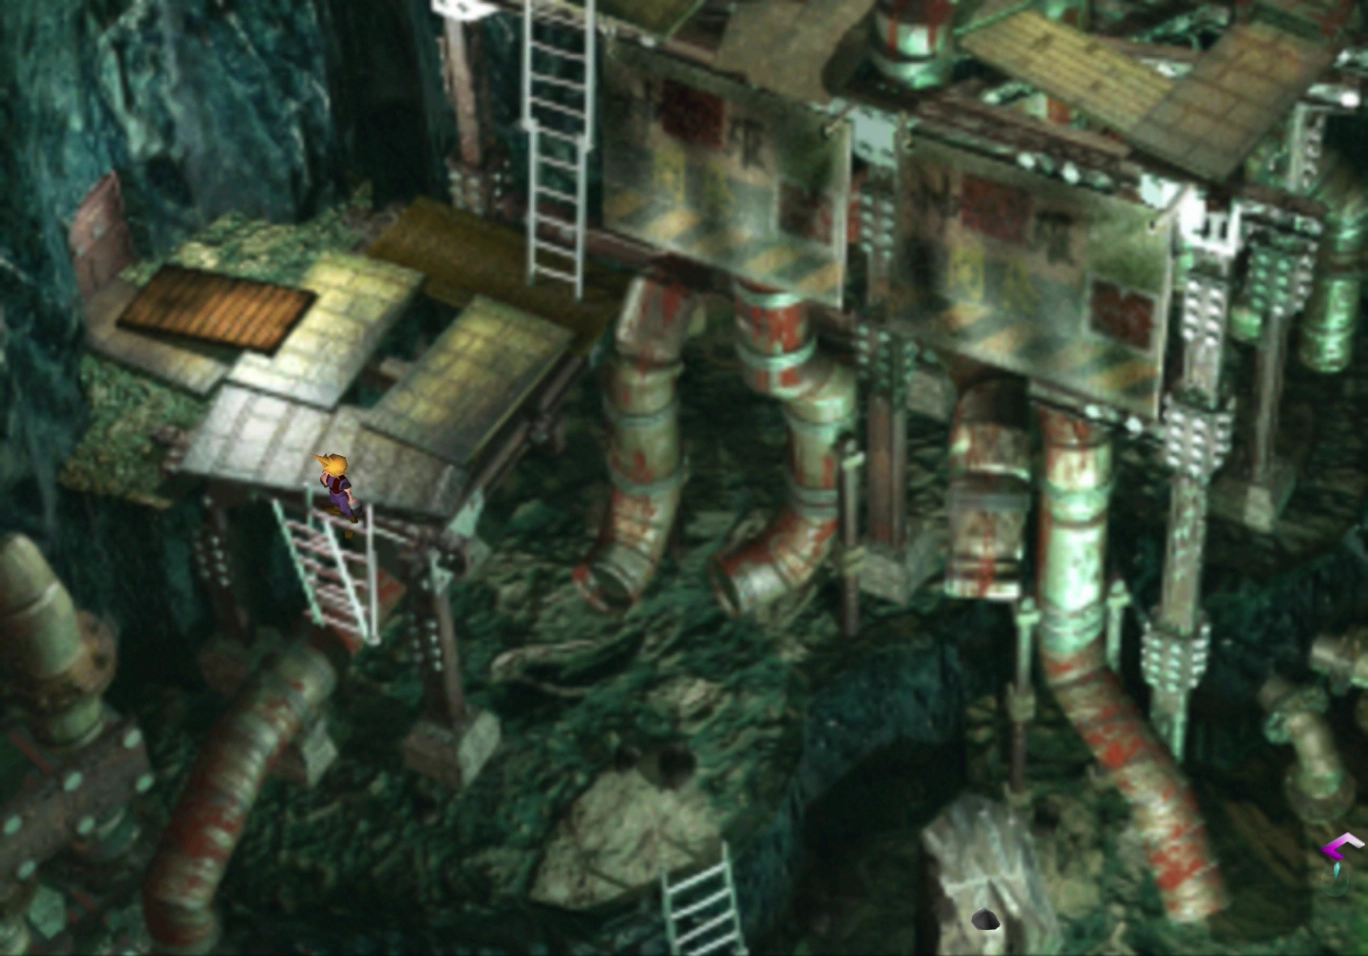
Go down the stairs and the ladder to the lower platform, and you will see a ladder that is stuck in the upright position.
Have Cloud begin to climb down this ladder, and it will automatically drop, allowing you to climb back up to the top of this cave and slide down as many of the pipes as you would like.
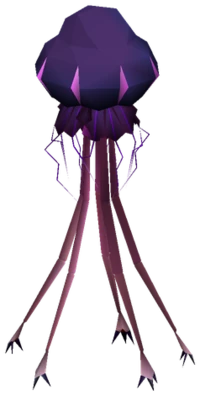
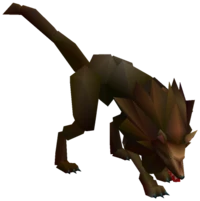
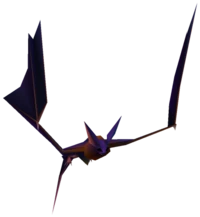
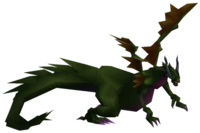
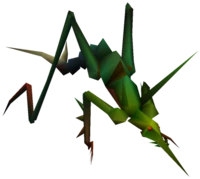
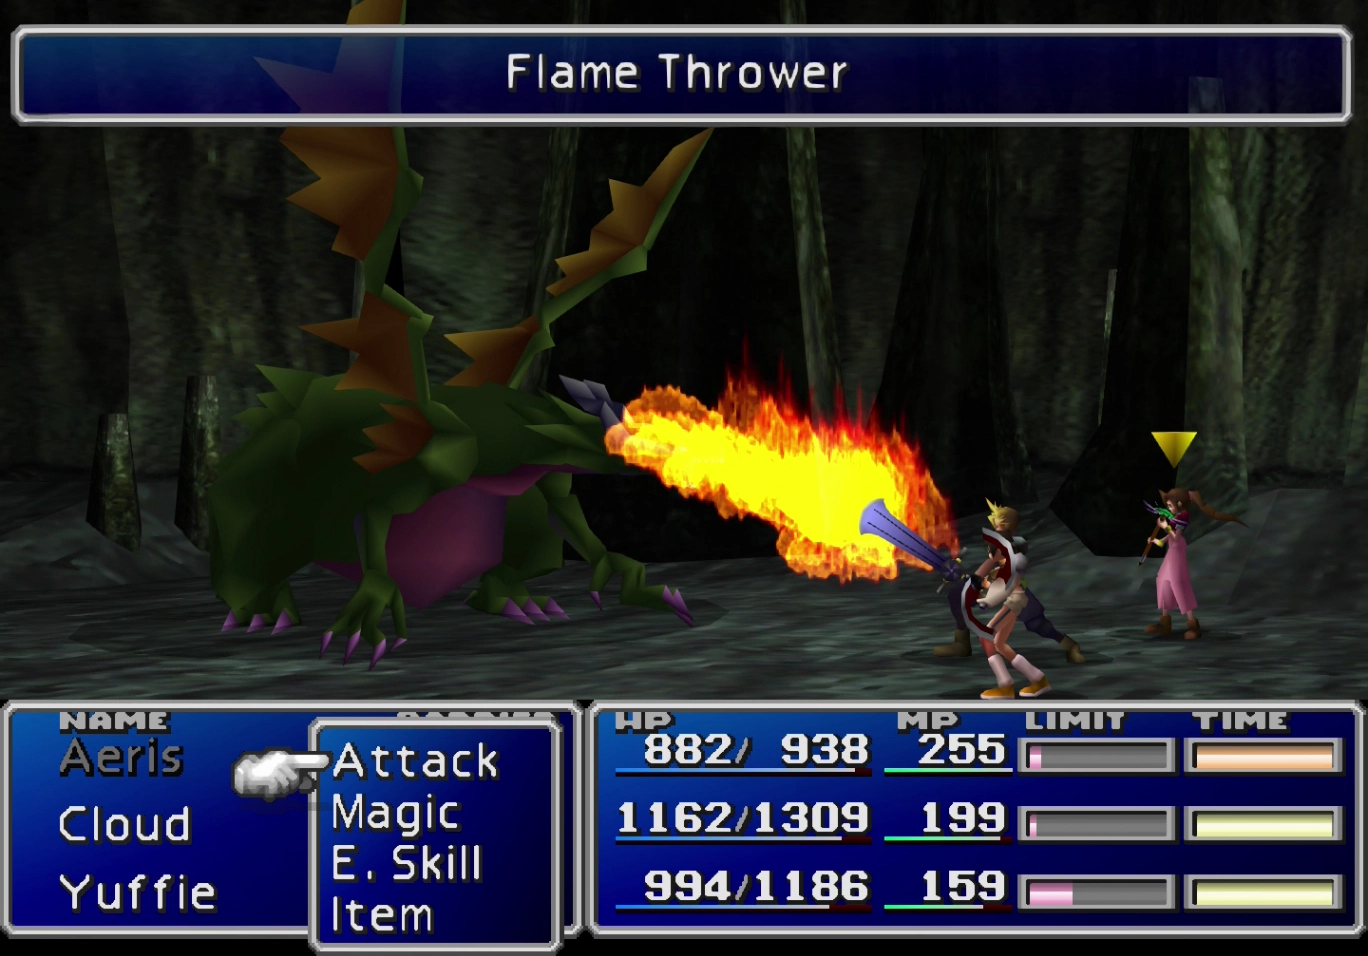
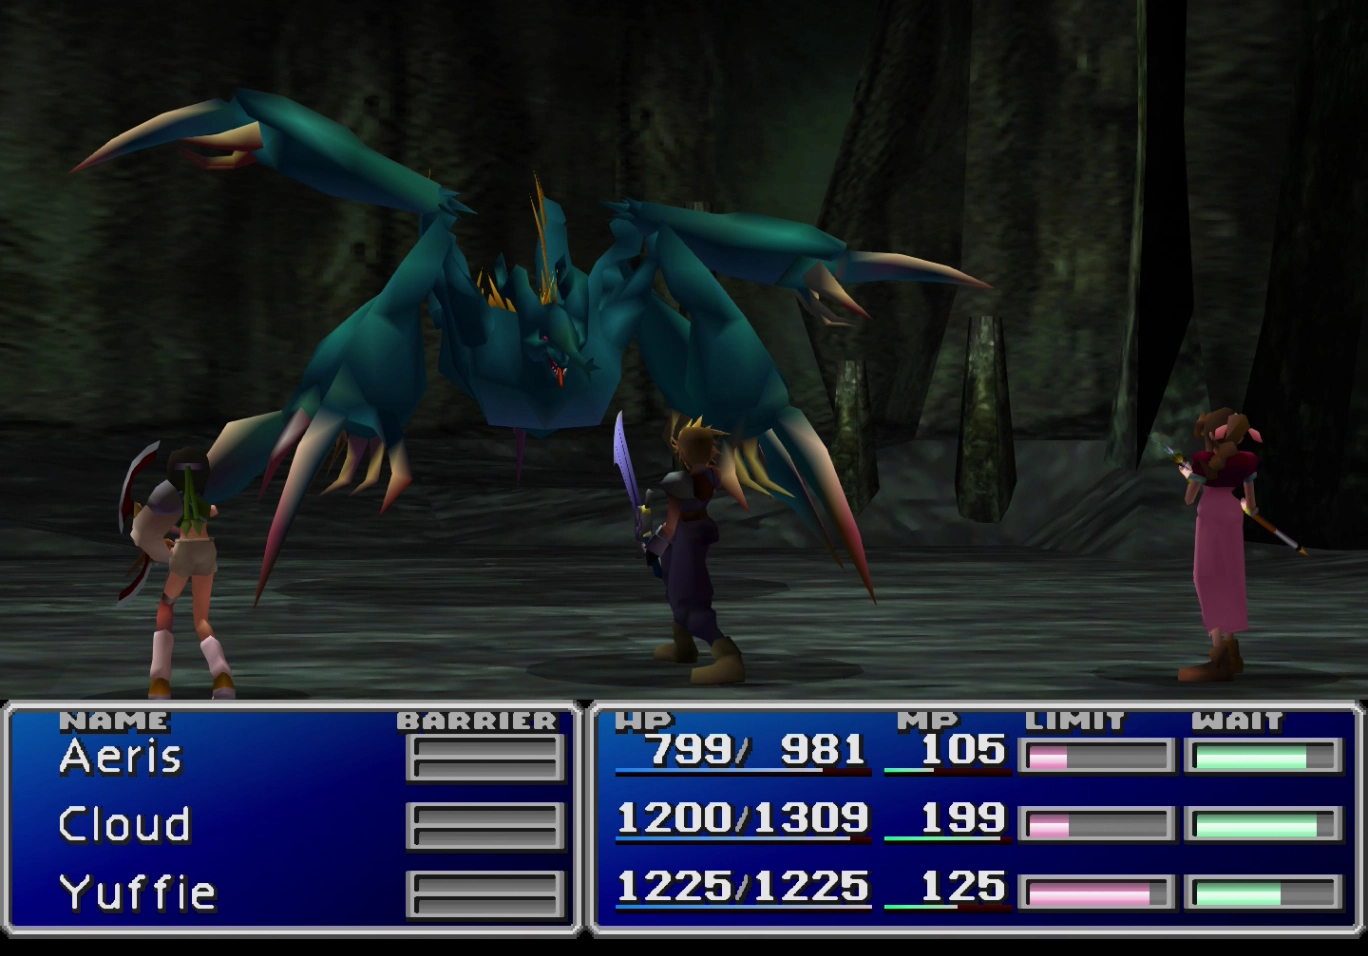
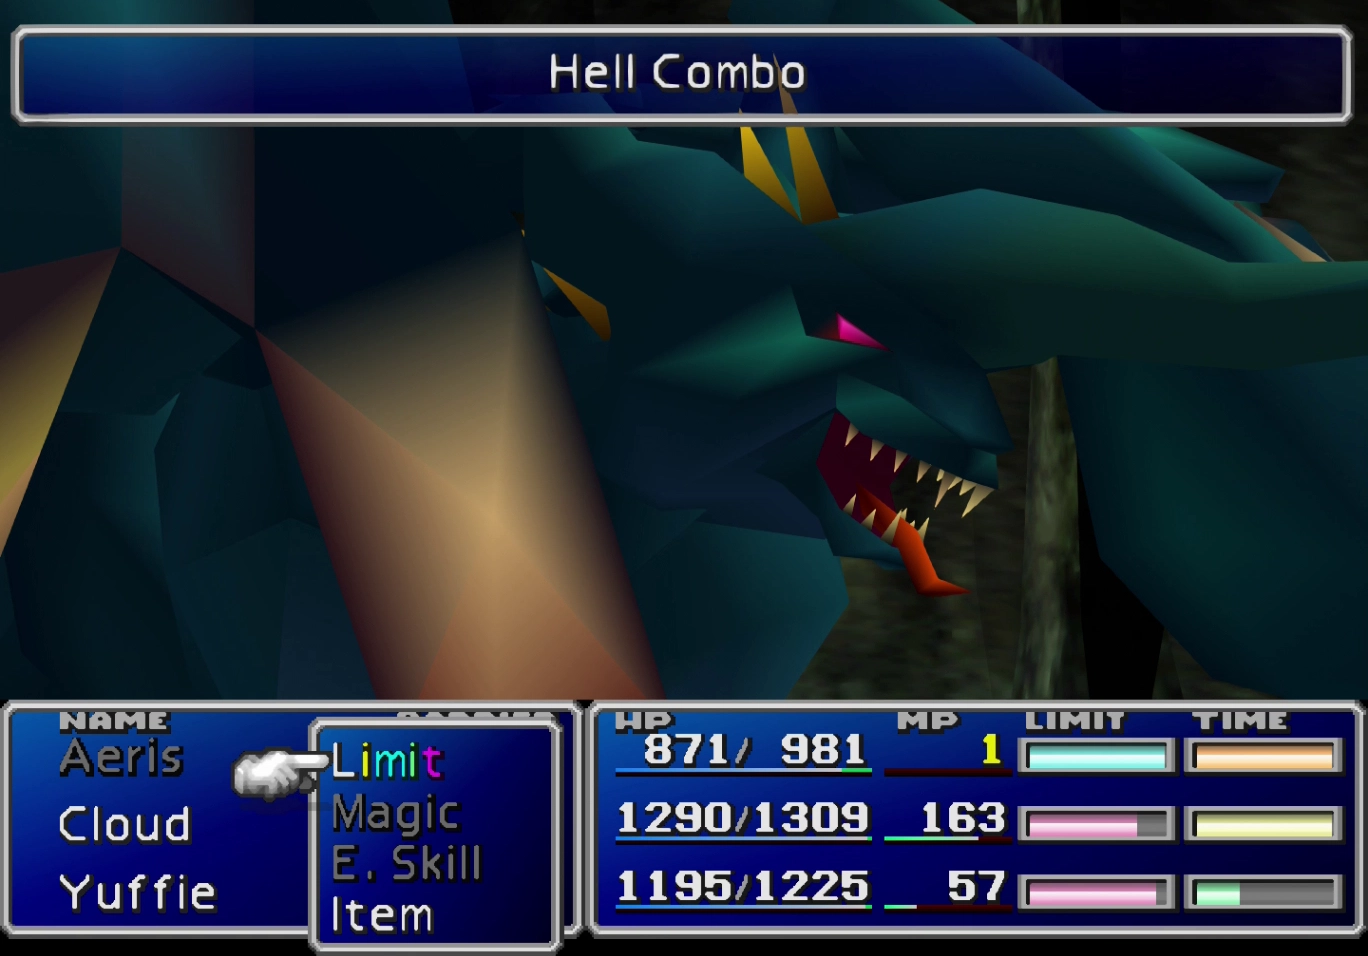
You may run into a Green Dragon enemy in this area. You can steal ![]() Gold Armlets from these dragons, which are very powerful pieces of armor (and are better than anything you currently have). Make sure you take the opportunity to steal from them each time you encounter them and before you defeat them.
Gold Armlets from these dragons, which are very powerful pieces of armor (and are better than anything you currently have). Make sure you take the opportunity to steal from them each time you encounter them and before you defeat them.
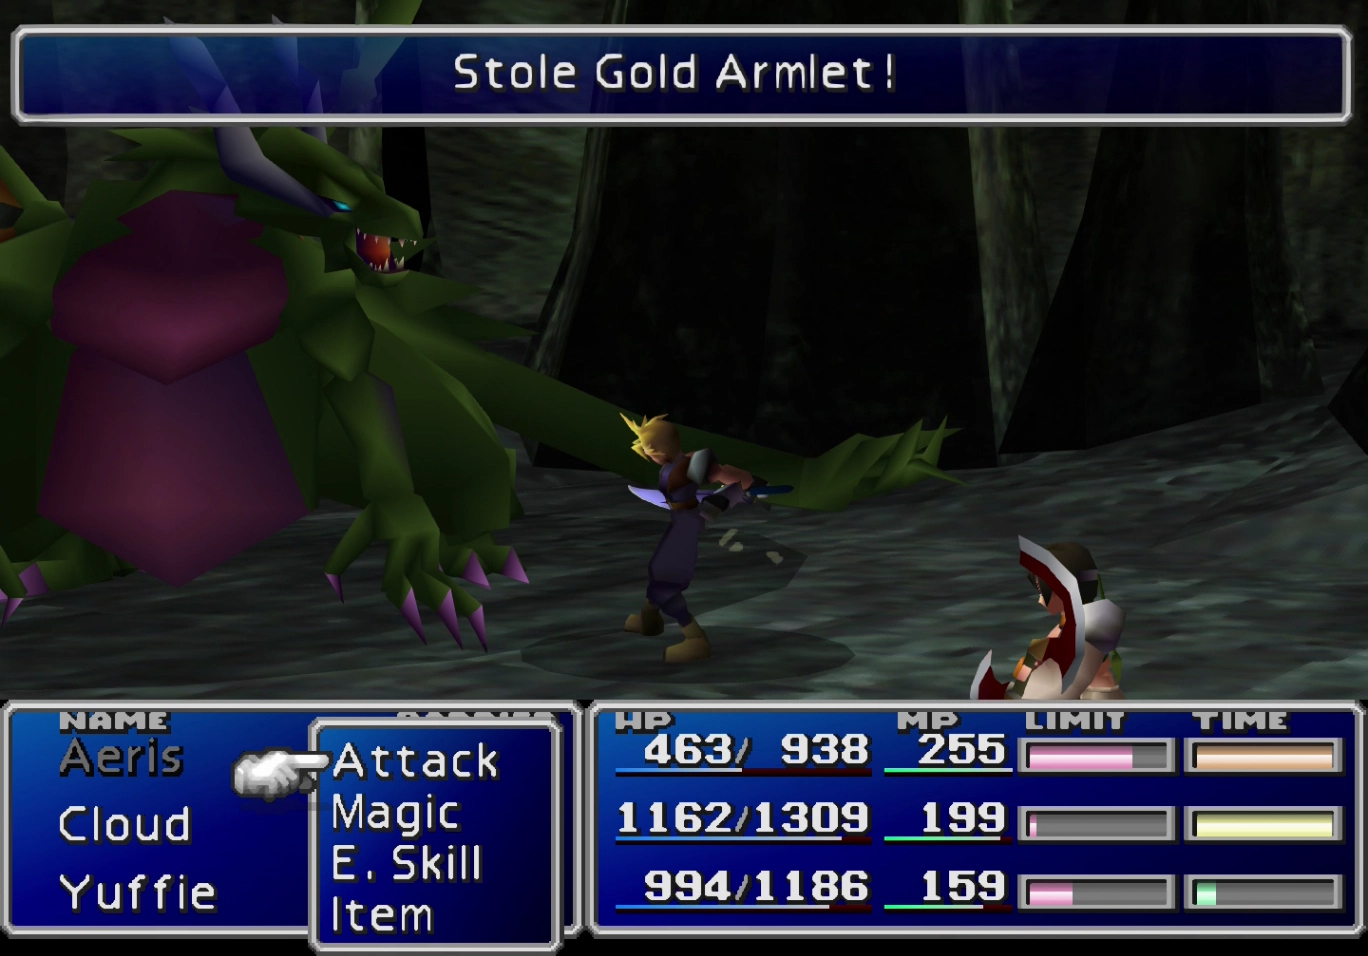
Green Dragons can also teach you the “Flame Thrower” Enemy Skill for your ![]() Enemy Skill Materia if you have not learned it yet on either of them.
Enemy Skill Materia if you have not learned it yet on either of them.
Before you jump into any of the pipes, take the doorway to the left of the ladder that you pushed down. This pathway will lead directly to the Nibel Reactor.
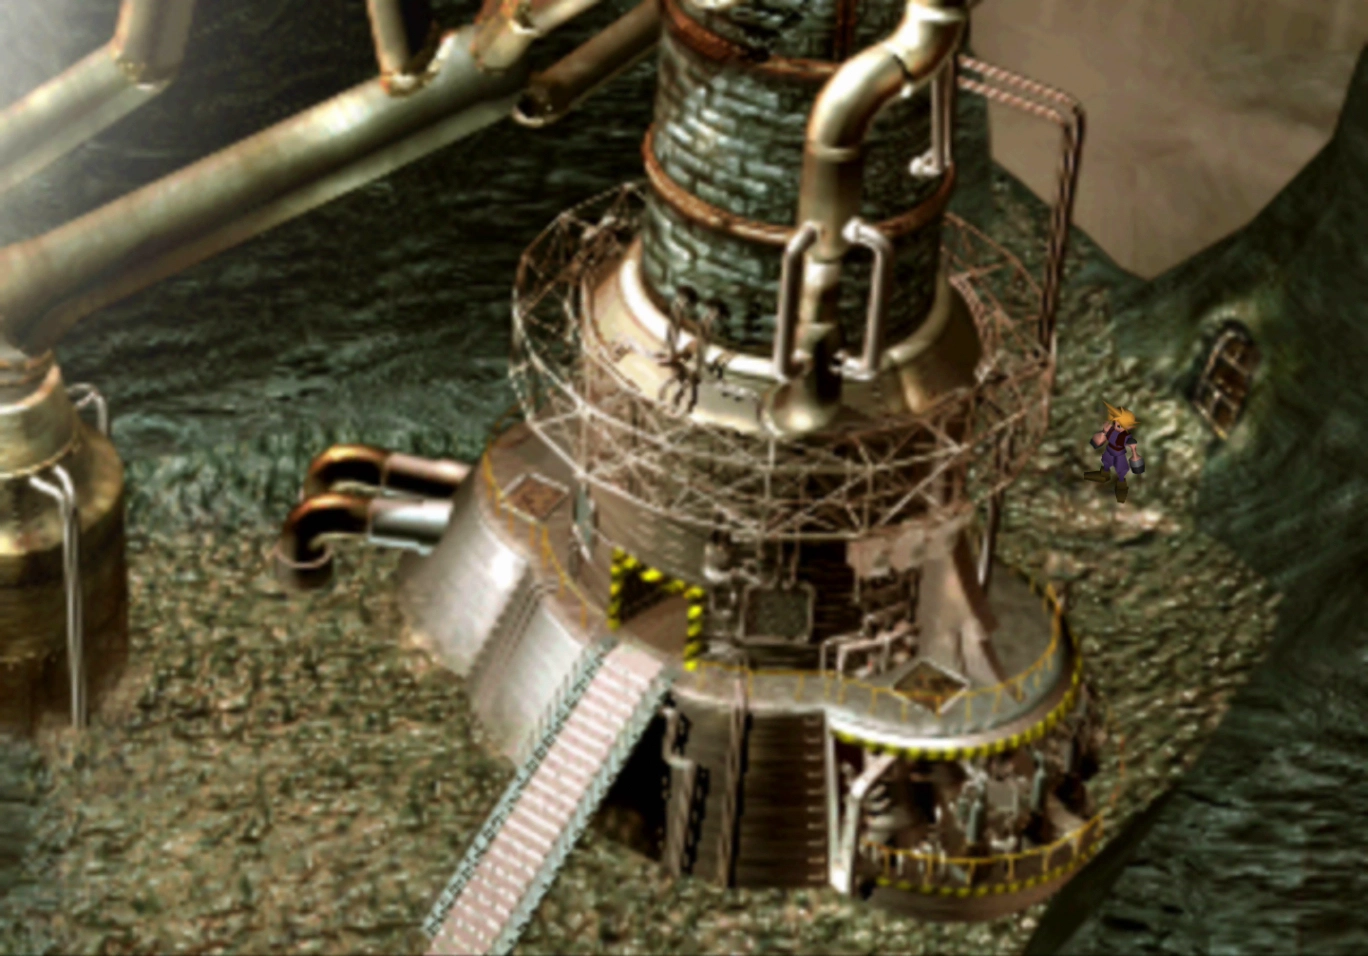
Follow the pathway leading away from the reactor down to the cave below.
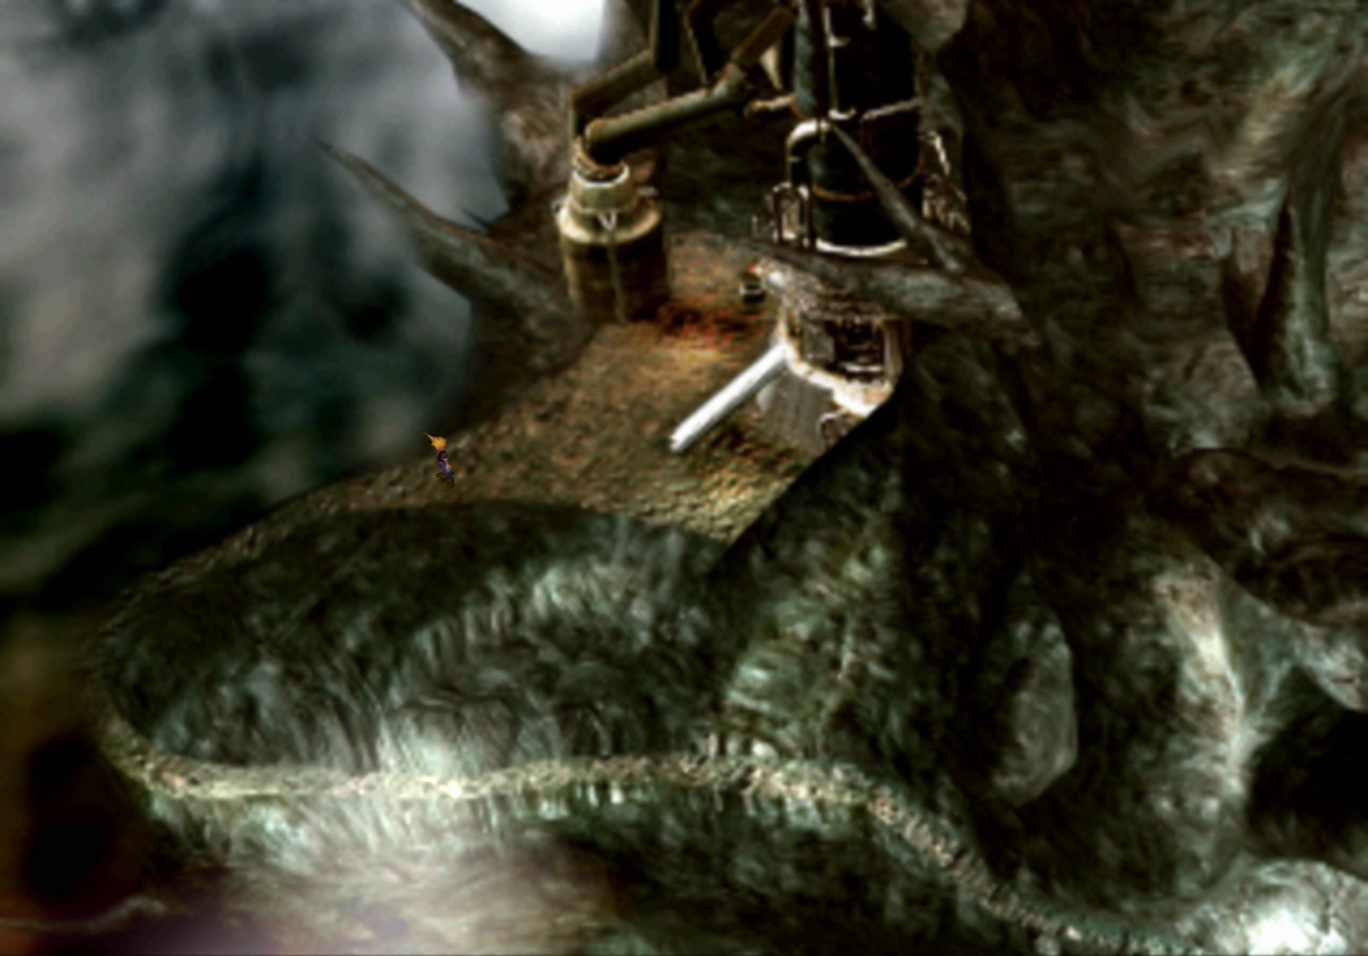
Enter the cave, and on the north wall, you will find a treasure chest containing ![]() Sniper CR, a new weapon for Vincent.
Sniper CR, a new weapon for Vincent.

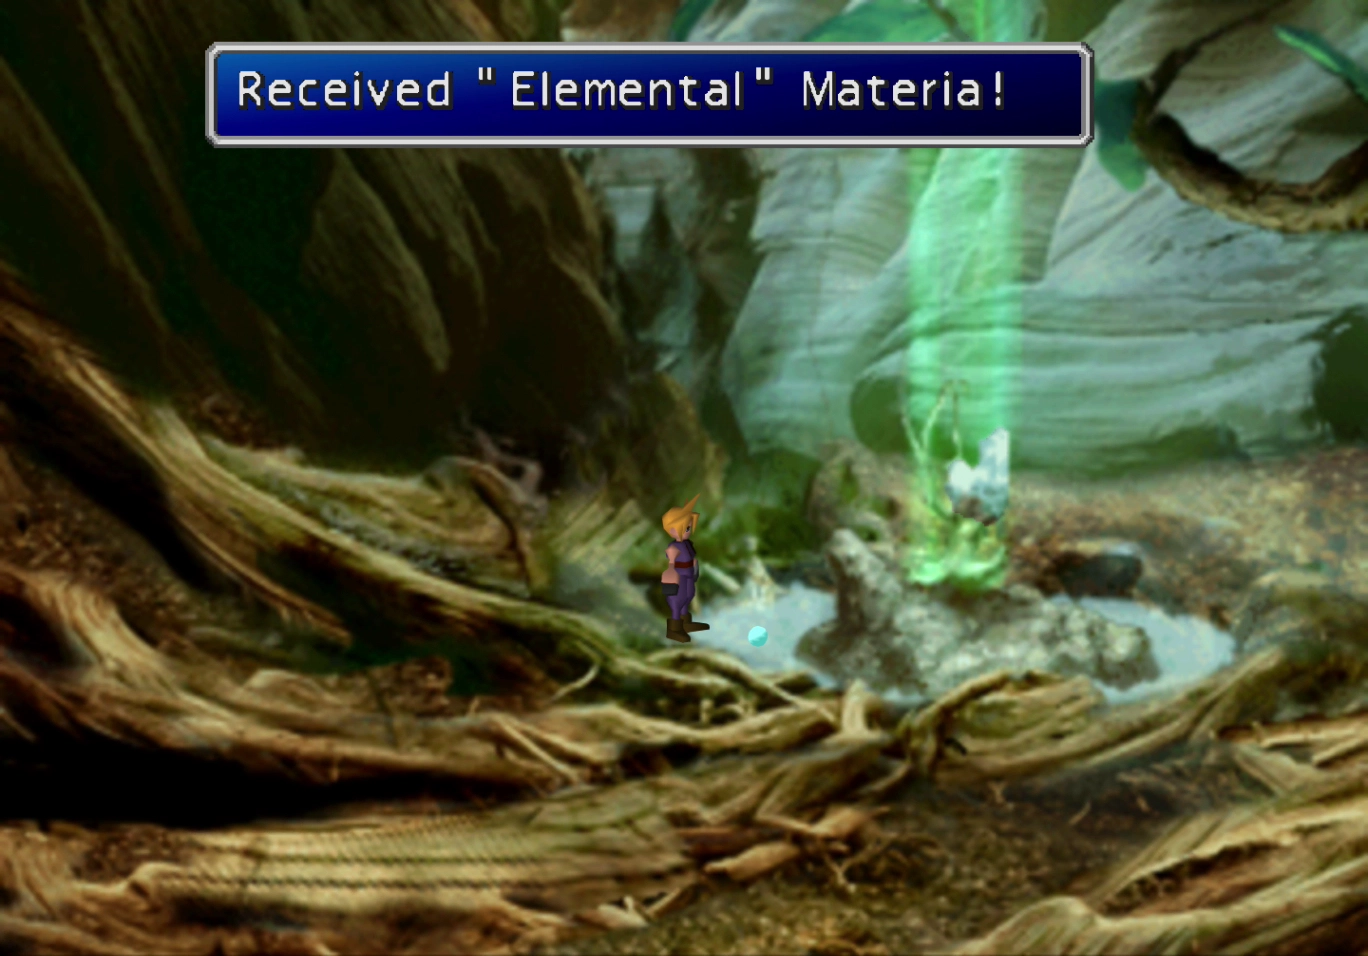
Proceed to the bottom left side of the cave and go through the opening. This pathway leads to the Materia Fountain, which Sephiroth, Tifa, and Cloud had come across during the flashback sequence.
Enough time has now passed, and a piece of Materia has formed. Pick up the ![]() Elemental Materia sitting on the ground.
Elemental Materia sitting on the ground.
Before you head back, take the exit on the south side (bottom-left) of the Materia Fountain area to reach one more small cave. Inside is a treasure chest that contains an ![]() Elixir. This chest is easy to miss, as the story never forces you through this cave. You’ll have to sneak through an invisible cave pathway on the far left side of the screen to grab it.
Elixir. This chest is easy to miss, as the story never forces you through this cave. You’ll have to sneak through an invisible cave pathway on the far left side of the screen to grab it.
Once you have the Elixir, head back through the Materia Fountain area and return to the room with the five pipes.
Each of the pipes at the top of this room has a number written on it. They read from 5 to 1 in descending order (5 is the one on the left).
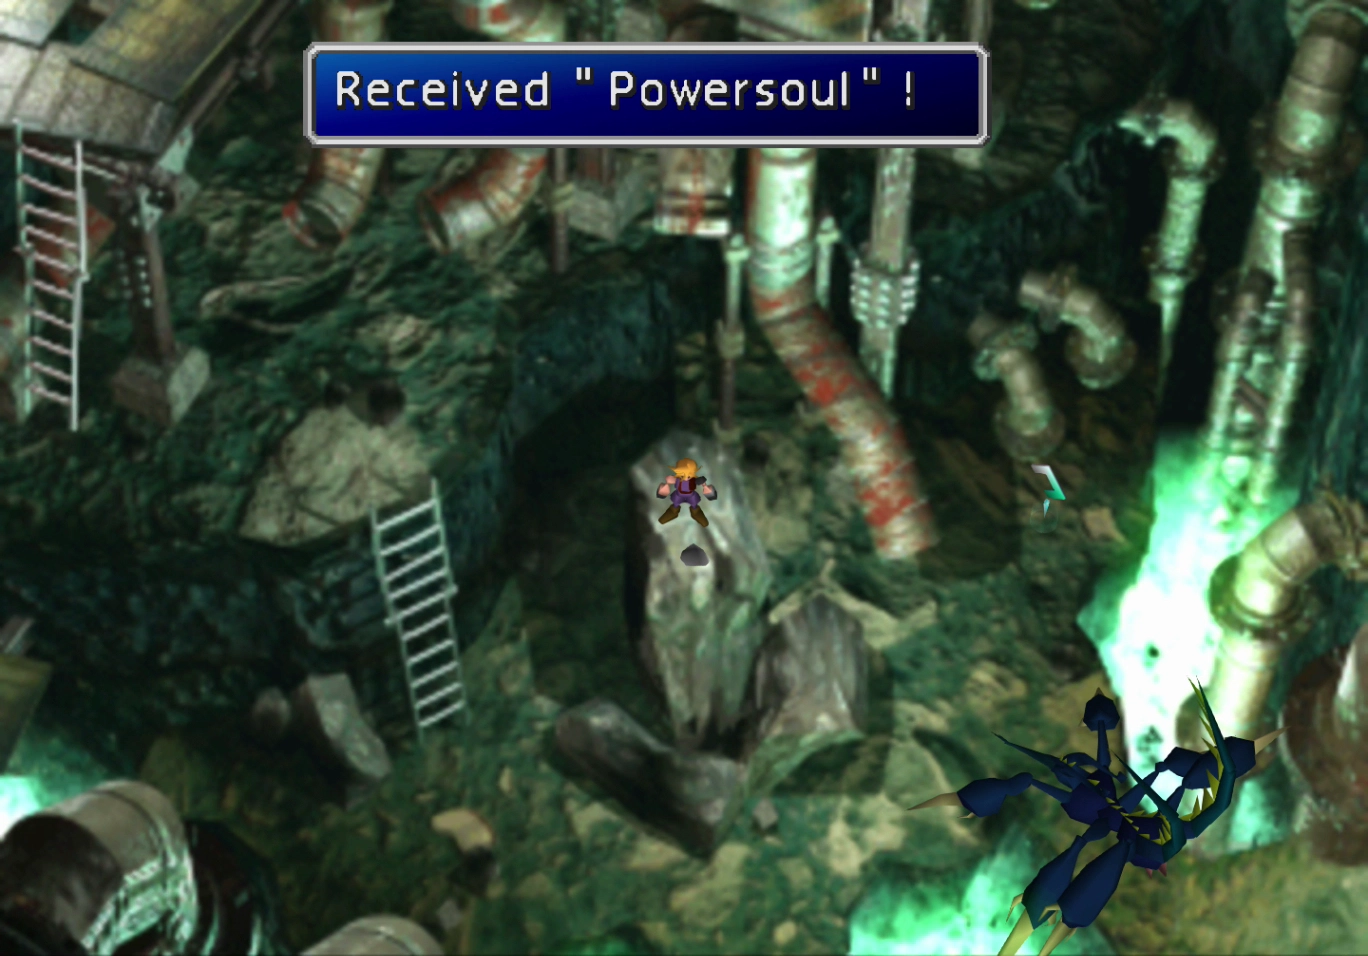
Slide down pipe (2) and pick up the ![]() Powersoul weapon for Tifa, which is sitting on top of the rock.
Powersoul weapon for Tifa, which is sitting on top of the rock.
The ![]() Powersoul is very similar to the
Powersoul is very similar to the ![]() Platinum Fist. It offers double Materia growth rate, though it has less attack power than Platinum Fist. To compensate for this, it will “power up” when Tifa is “near death.” You can tell when a character is “near death” because their character‘s HP bar turns yellow on the screen.
Platinum Fist. It offers double Materia growth rate, though it has less attack power than Platinum Fist. To compensate for this, it will “power up” when Tifa is “near death.” You can tell when a character is “near death” because their character‘s HP bar turns yellow on the screen.
Unfortunately, this mechanic renders the ![]() Powersoul a poor weapon choice for Tifa except in very specific circumstances and tactics.
Powersoul a poor weapon choice for Tifa except in very specific circumstances and tactics.
Make sure you ignore the large scorpion at the bottom-right side of the screen (Materia Keeper), as that is an upcoming boss fight that you will want to prepare for.
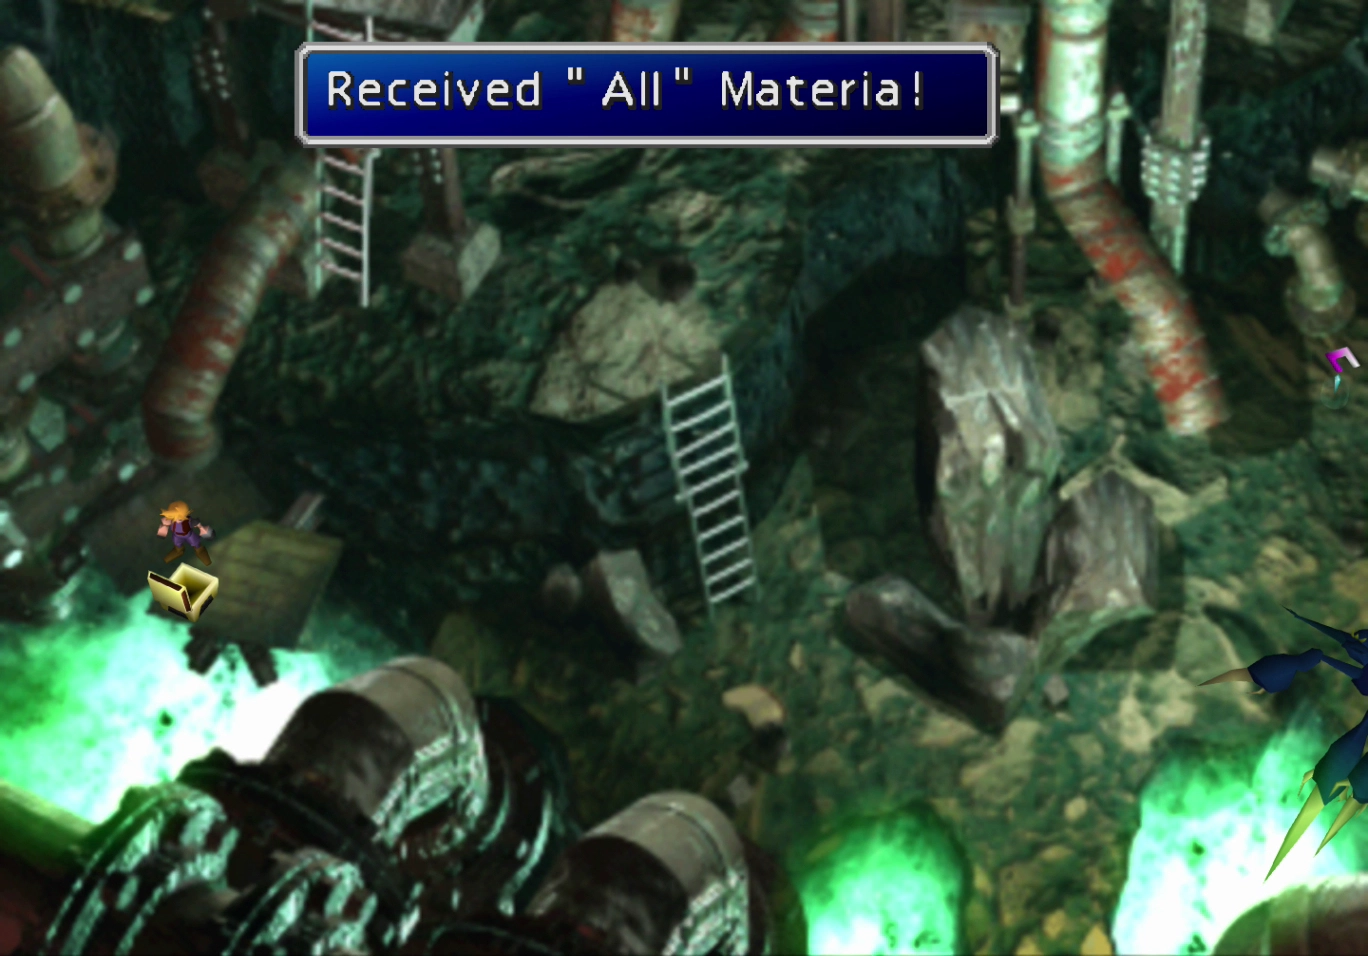
Climb all the ladders back to the top level and then go down pipe (4) to find a treasure chest that contains an ![]() All Materia.
All Materia.
Helpful Hint
Try to continue leveling up and equipping all of your ![]() All Materia even if you are not actively pairing them with other Materia if you have the space for it in your armor or weapons.
All Materia even if you are not actively pairing them with other Materia if you have the space for it in your armor or weapons.
Fully leveled up ![]() All Materia (Mastered) sells for a substantial amount of Gil later in the game and is a great way to earn Gil without cheating.
All Materia (Mastered) sells for a substantial amount of Gil later in the game and is a great way to earn Gil without cheating.
All the other pipes lead to dead ends. Save your game at the ![]() Save Point near the scorpion and prepare for your next boss battle and equip your
Save Point near the scorpion and prepare for your next boss battle and equip your ![]() Enemy Skill Materia before the next fight.
Enemy Skill Materia before the next fight.
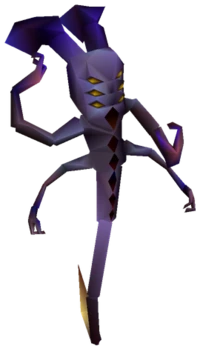
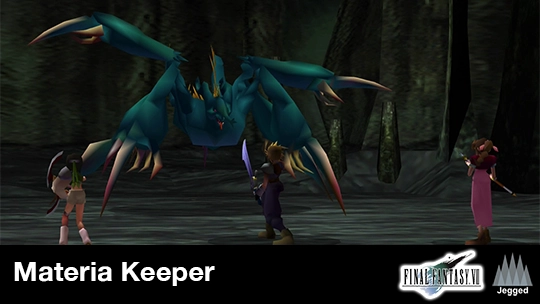
Boss Battle
HP: 8,400
Reward: ![]() Jem Ring
Jem Ring
The Materia Keeper’s hardest-hitting attack is called “Trine.” It does around 500 damage to all of your party members. You can also learn it with your ![]() Enemy Skill Materia, so make sure that you have both of them equipped and that you don’t end the fight before learning it (which should not be a problem).
Enemy Skill Materia, so make sure that you have both of them equipped and that you don’t end the fight before learning it (which should not be a problem).
This boss is susceptible to the Poison status effect, so make sure that you use Bio from your ![]() Poison Materia early on in the fight.
Poison Materia early on in the fight.
Materia Keeper absorbs and will heal itself if you use Fire-based spells, so be sure to stay away from them. You should also avoid using Vincent’s Limit Break, Galian Beast, as it will sometimes use fire magic.
A video demonstration of this battle is included below for reference.
A video demonstration of how to successfully complete the fight against Materia Keeper.
Materia Keeper will drop a ![]() Counter Attack Materia after the fight, which is arguably one of the best Materia in the game. A great combination is to equip Counter Attack Materia and
Counter Attack Materia after the fight, which is arguably one of the best Materia in the game. A great combination is to equip Counter Attack Materia and ![]() Cover Materia on the same character (Cloud makes a great choice).
Cover Materia on the same character (Cloud makes a great choice).
Save your game one more time at the ![]() Save Point and then exit the cave. Go around the corner to come out on the other side of the mountains, still referred to as the Nibel Area on the menu screen.
Save Point and then exit the cave. Go around the corner to come out on the other side of the mountains, still referred to as the Nibel Area on the menu screen.

The next stop is Rocket Town, which you can locate north of the area where you emerge from the cave (and is shown in the screenshot below).