
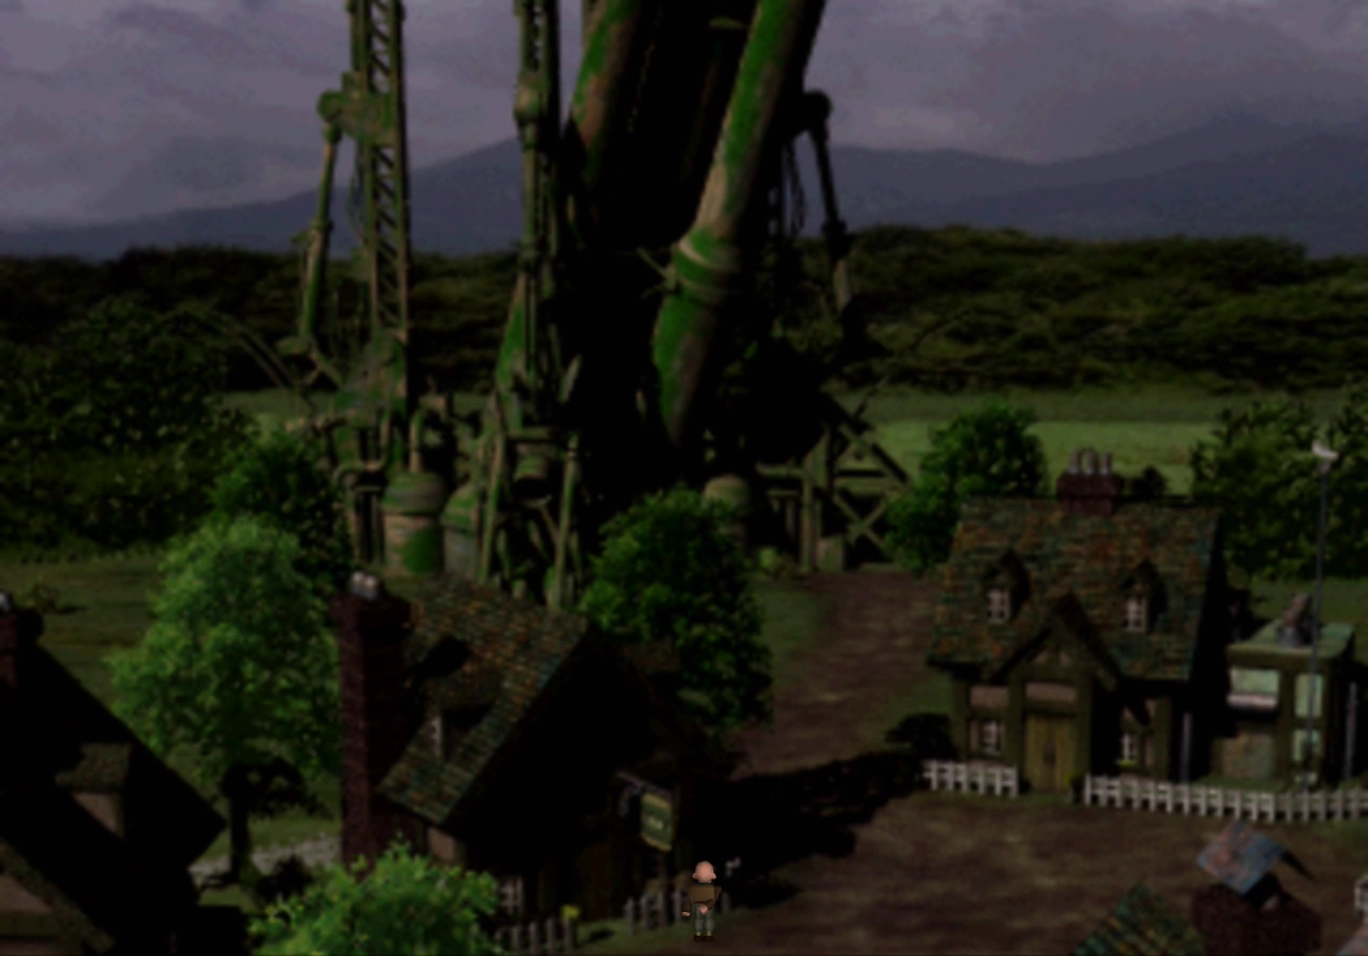
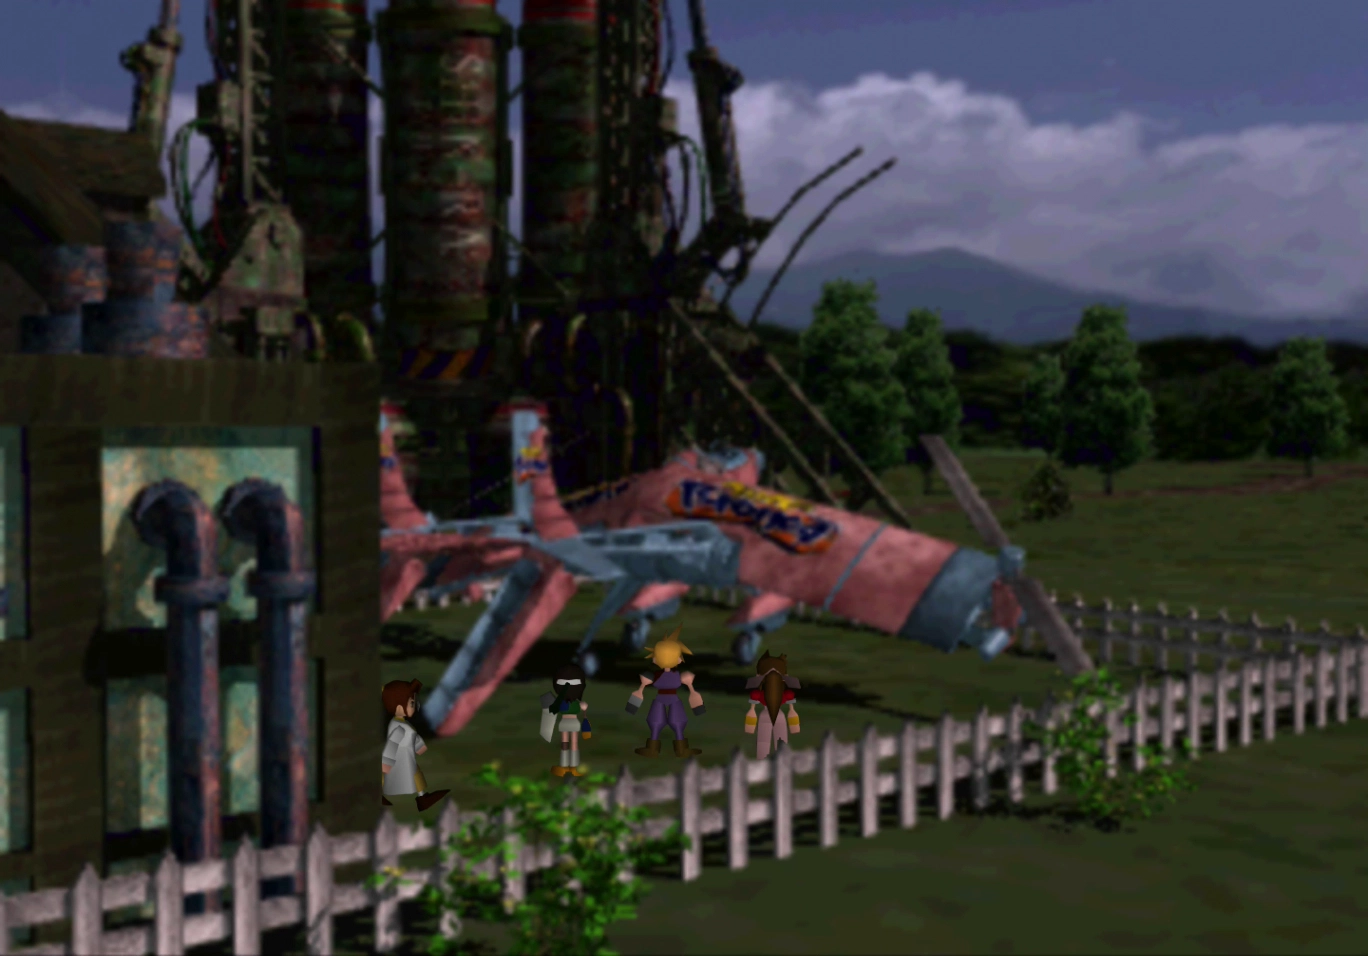
Rocket Town
You can find Rocket Town just to the north of the cave you exited from near Mount Nibel.
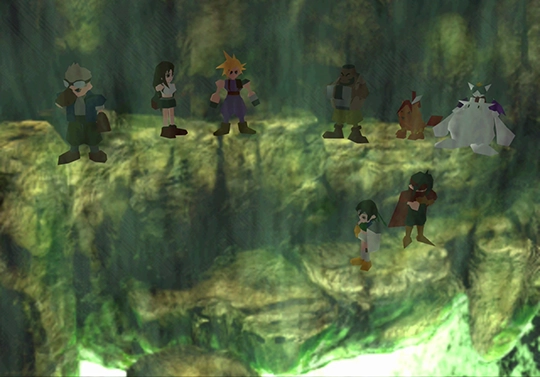
As an aside, now that you have access to all of your party members, including the optional secret characters, you should start to think about which characters you want to use in your party permanently, since you can only use 3 at a time. Check out the Best Party page in the Tips and Tricks section using the link below.
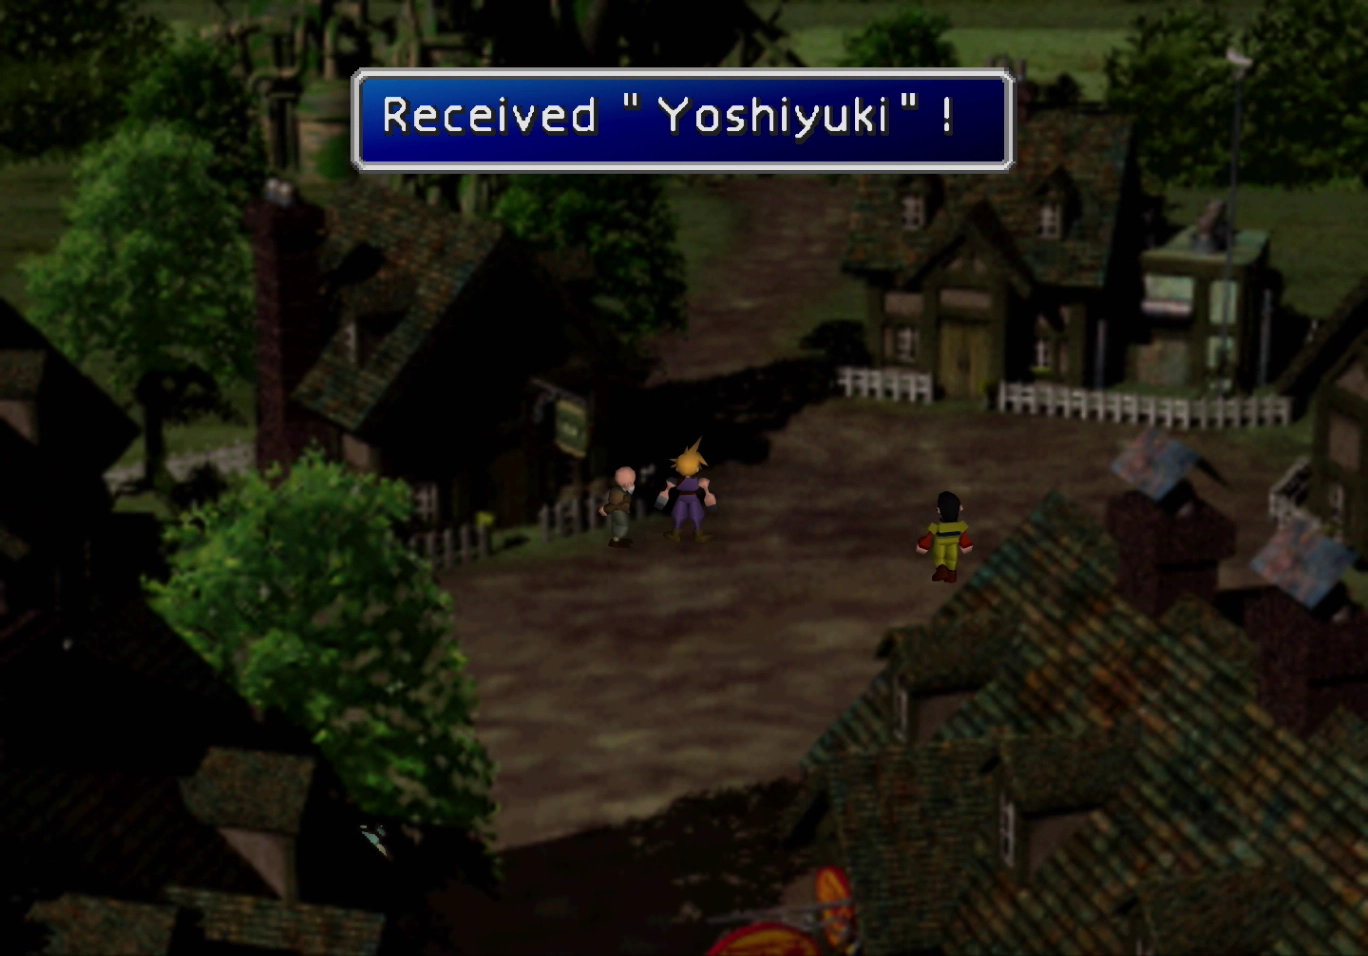
Enter the town and speak to the man in brown who is staring at the rocket. Continue talking to him, and he will tell you more and more about the Shinra No. 26 rocket. Choose to look at the rocket with him, and he will give you a ![]() Yoshiyuki, a new weapon for Cloud.
Yoshiyuki, a new weapon for Cloud.
The ![]() Yoshiyuki has good attack power and is even more powerful when one of your allies is KO’d. Unfortunately, it only has two unpaired Materia slots, so it is of questionable value this early in the game.
Yoshiyuki has good attack power and is even more powerful when one of your allies is KO’d. Unfortunately, it only has two unpaired Materia slots, so it is of questionable value this early in the game.
The Weapon Store is on the left side near the entrance to Rocket Town. The only weapon sold there is the ![]() Shotgun for Vincent, but you can also purchase
Shotgun for Vincent, but you can also purchase ![]() Gold Armlets in case you did not manage to steal 3 of them from Green Dragons in the Mount Nibel cave. He also sells the following accessories:
Gold Armlets in case you did not manage to steal 3 of them from Green Dragons in the Mount Nibel cave. He also sells the following accessories:
The Item Store is in the house near the man who gave you the Yoshiyuki. You can purchase all the regular items, including:
There are also three new Materia available for purchase:
This is the first time you can purchase ![]() Barrier Materia. The “Big Guard” ability through your
Barrier Materia. The “Big Guard” ability through your ![]() Enemy Skill Materia (assuming you have it) is more powerful than a single cast of Barrier, so don’t purchase it if you have “Big Guard.” You can get by skipping all three of these Materia, but feel free to buy some if you have a large amount of Gil lying around.
Enemy Skill Materia (assuming you have it) is more powerful than a single cast of Barrier, so don’t purchase it if you have “Big Guard.” You can get by skipping all three of these Materia, but feel free to buy some if you have a large amount of Gil lying around.
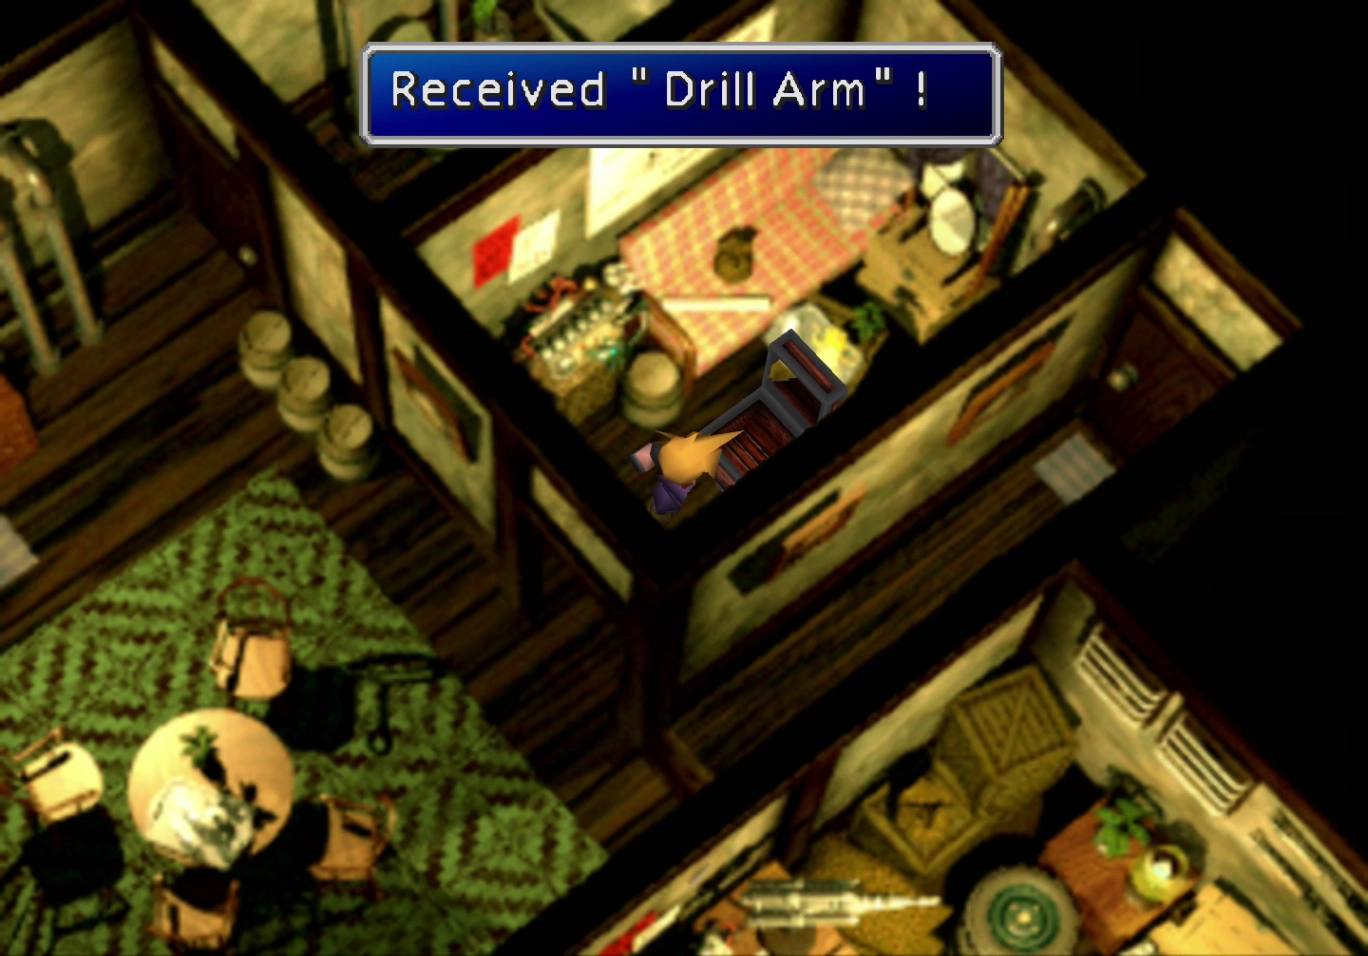
Enter the house on the right side of the screen to find a treasure chest that contains a ![]() Power Source. The house just north of this one at the back of Rocket Town has another chest that contains a
Power Source. The house just north of this one at the back of Rocket Town has another chest that contains a ![]() Drill Arm weapon for Barret.
Drill Arm weapon for Barret.
Proceed out the back door of this house to find the Tiny Bronco and continue the story. Shera will introduce herself and tell you that you will need to speak with the captain if you intend to take the plane.
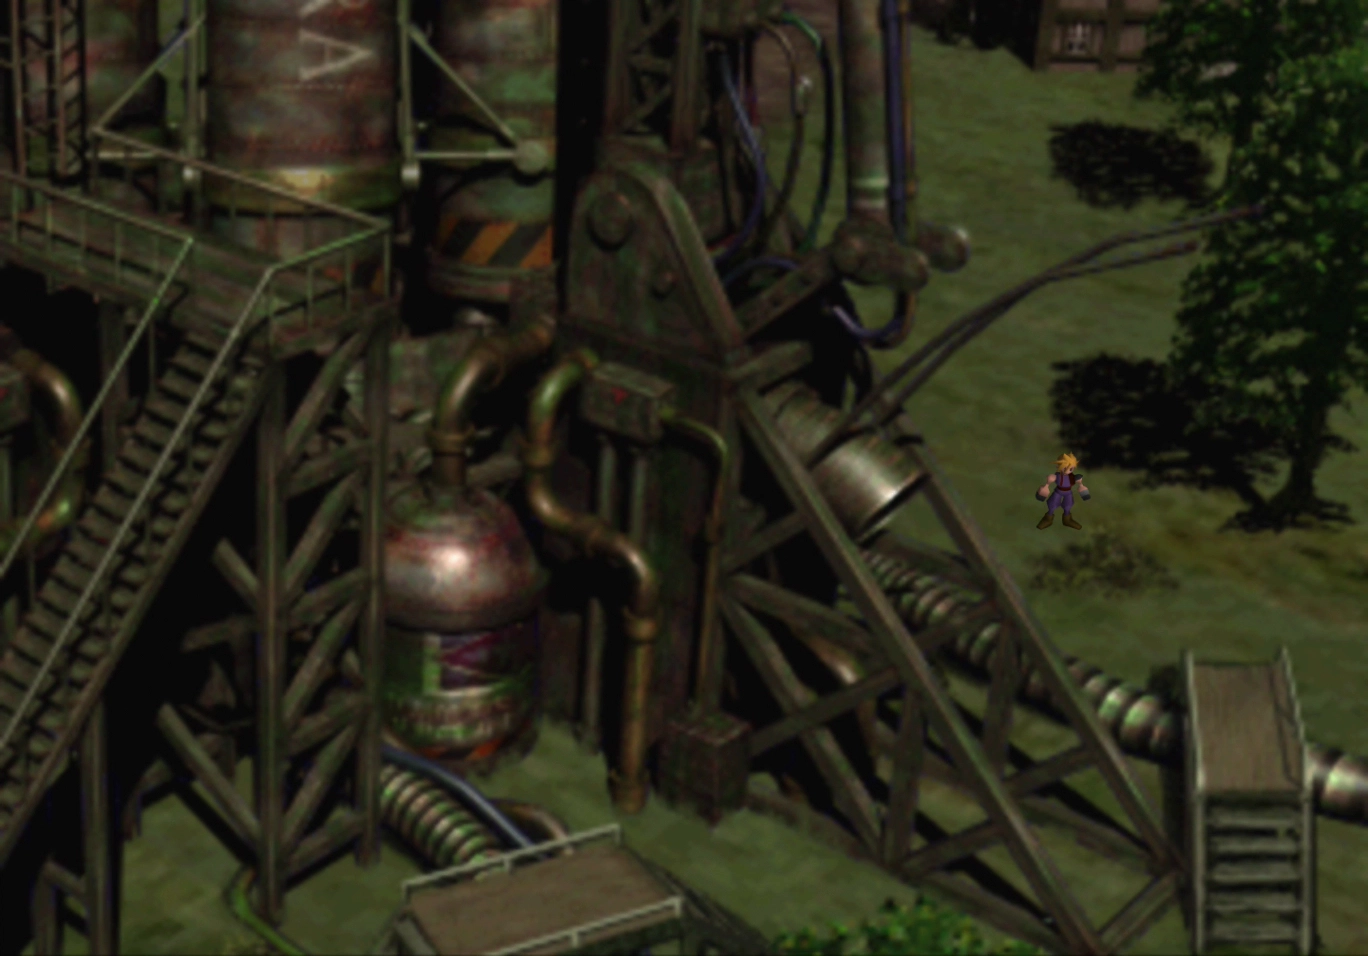
Travel to the very back of town towards the giant rocket and then follow the pathway around to the left side of the screen. Ascend the stairs and then climb the tower to the top of the rocket.
You will meet Cid inside the ship hallway. Speak to him, too, and you will get the opportunity to name him.
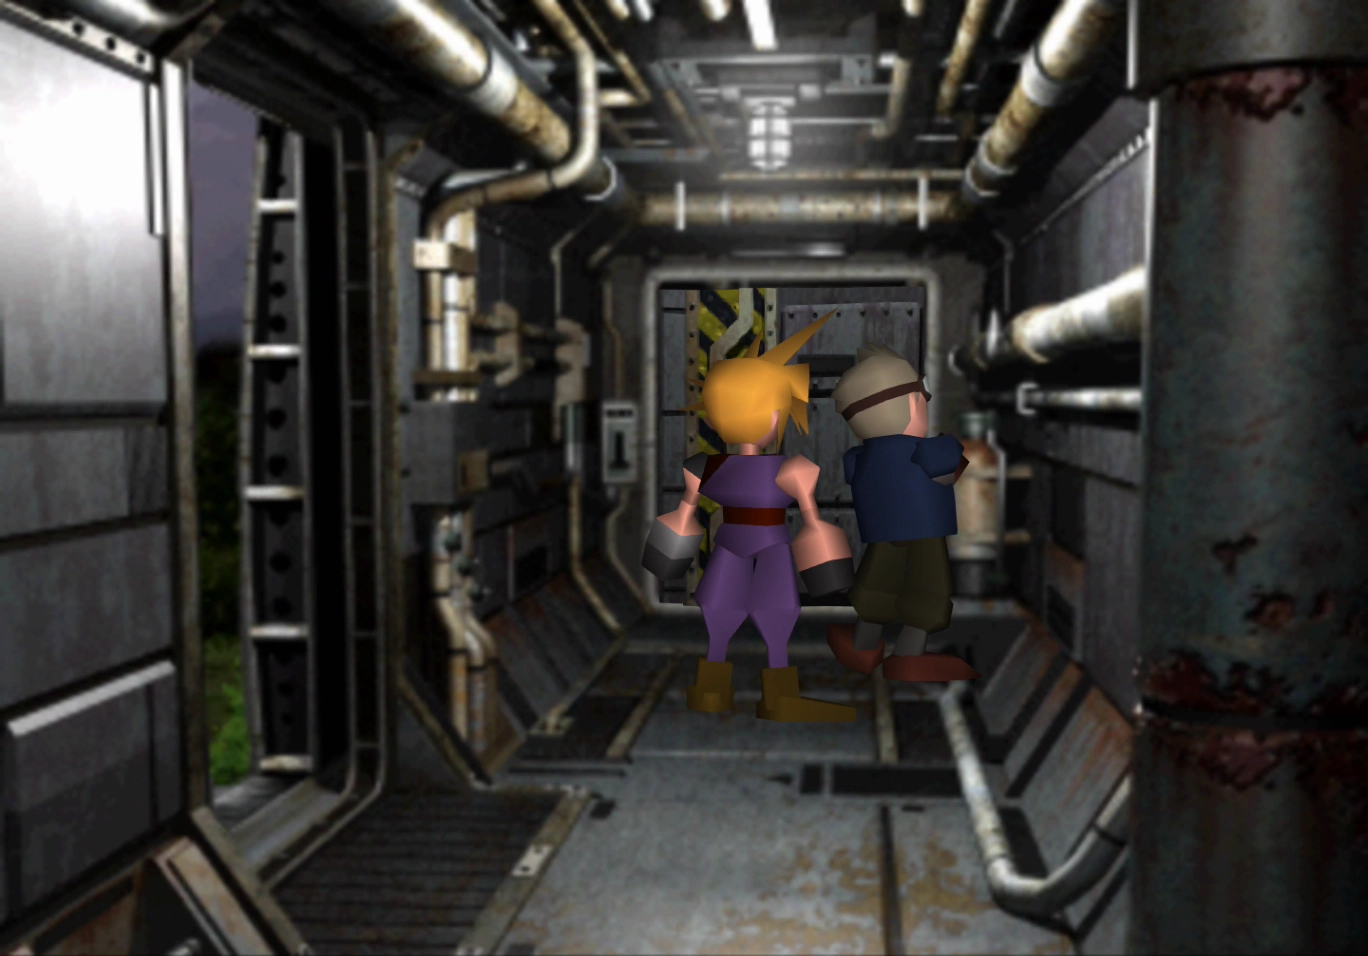
Cid is the newest (and the last) member to join your team.
Make your way back to the Tiny Bronco after Cid finishes telling you his story and mentions that his last hope is to talk to the President. The story will continue once you reach Shera and Cid’s house.
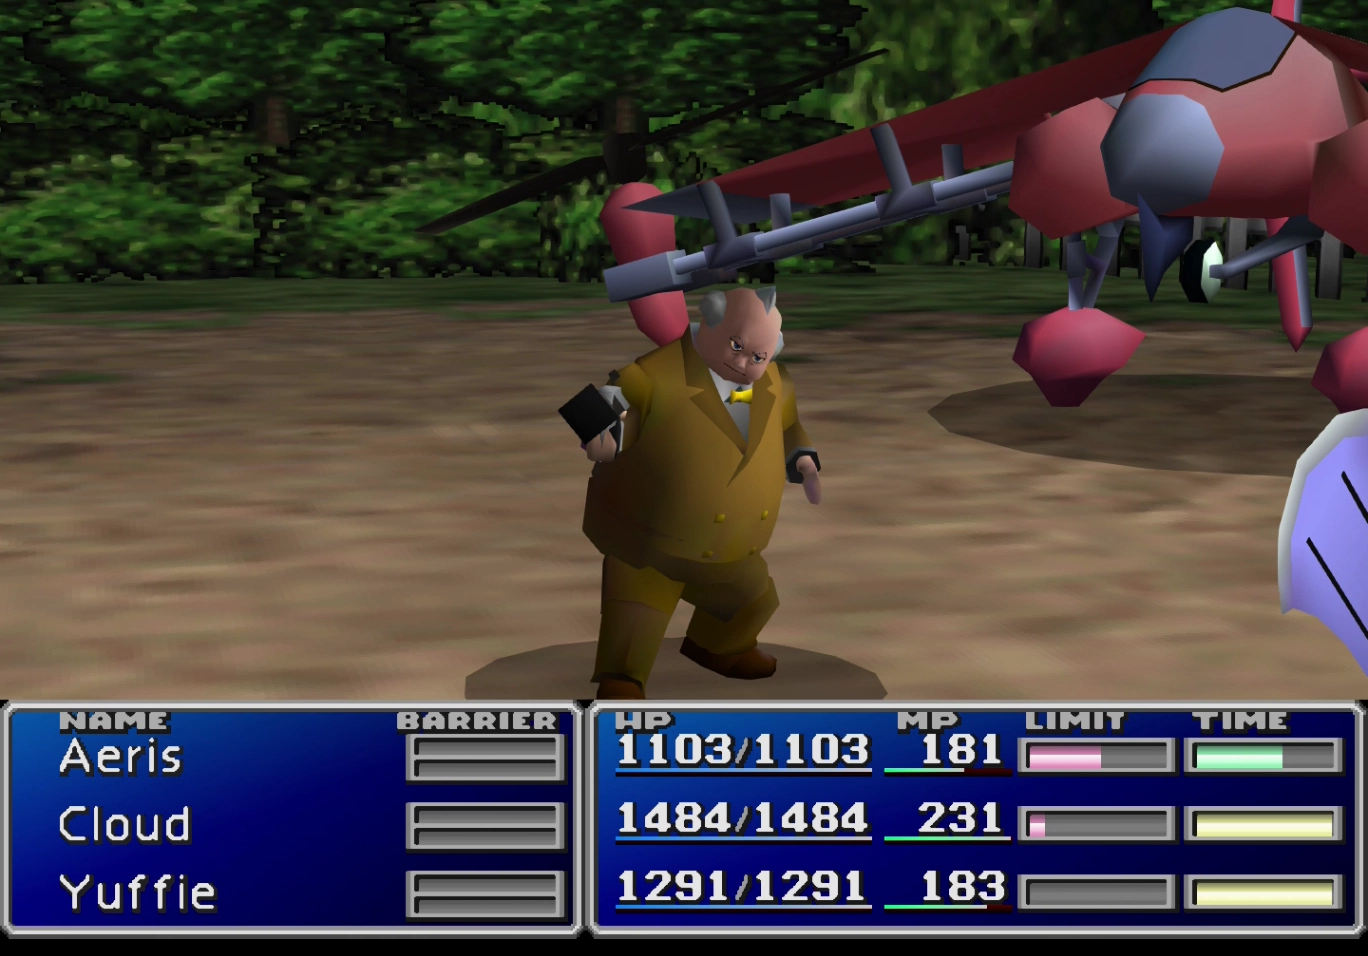
Follow Cid out the front door. Travel out the back door to ‘speak’ with Palmer.
Boss Battle
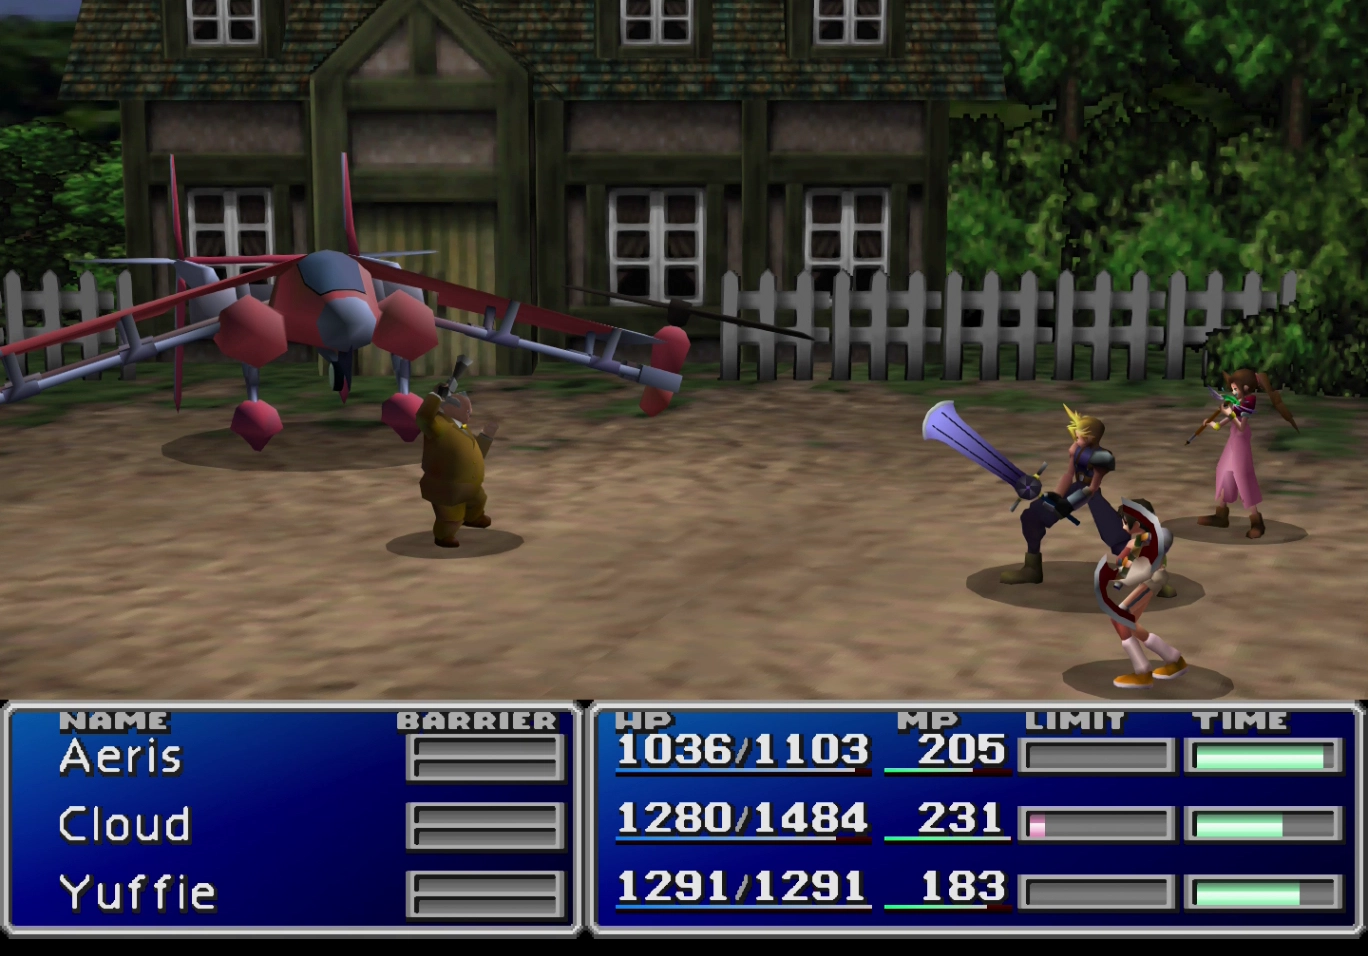
HP: 6,000
Reward: ![]() Edincoat
Edincoat
Palmer is incredibly easy to defeat. No strategy is necessary for this fight. Focus on regular attacks and keep your party members appropriately healed.
A video demonstration of this battle is included below for reference.
A video demonstration of how to successfully complete the fight against Palmer.
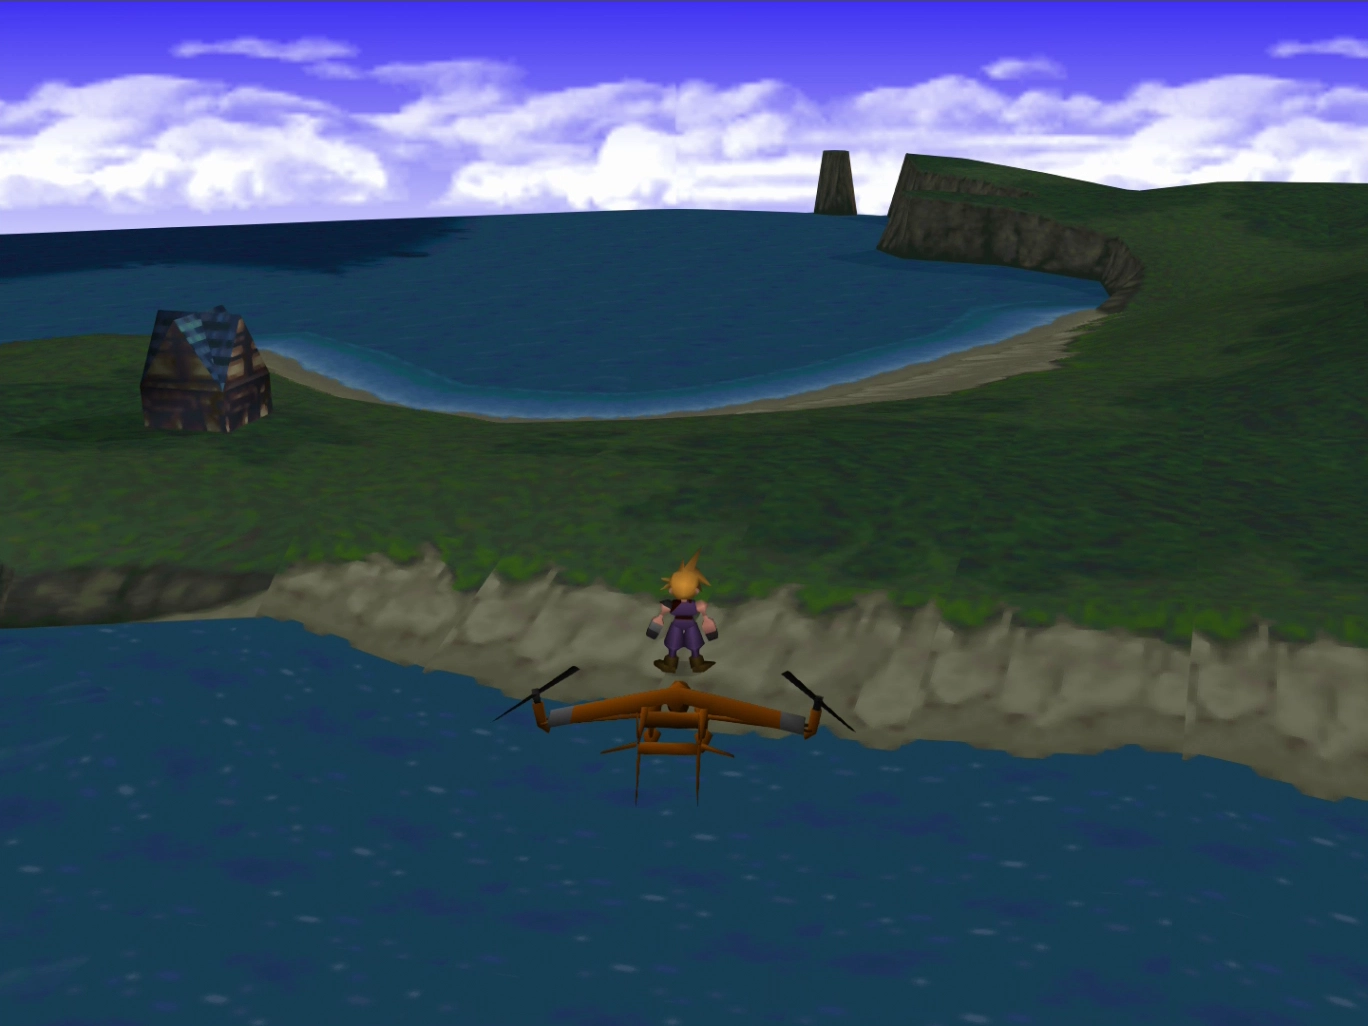
The Tiny Bronco will suddenly take off, allowing Cloud, Cid, and the other two party members to make a hasty escape out of Rocket Town.

You now have access to the Tiny Bronco, which is a plane that essentially functions like a boat. Having access to this craft will enable you to travel to several new areas around the map.

Start considering which party members will be a mainstay in your party, as Cid has now joined your party permanently. For more information about forming your party, check out the “Best Party” section.
The game is not very specific about where you should be going at this point. The suggestion is that you should head to the Temple of the Ancients, which you don’t yet know how to find. However, if you do travel to the Temple, you will find out that you require the Keystone to gain entry.
Helpful Hint
The next section of the guide, which outlines how to track down the Key Stone, is not necessary to actually complete. You can head straight to Gold Saucer at this point or scroll down for information on how to complete some side quests before you get there.
The Key Stone section below is just for completionists who wish to follow the whole story through, from start to finish.
So, where do you find the Keystone?
You can find the Keystone in the Battle Square area of Gold Saucer. The only way to discover its location within the game is to travel to a small house located on the right side of the western continent. Use the screenshot below to help you find it on the map.
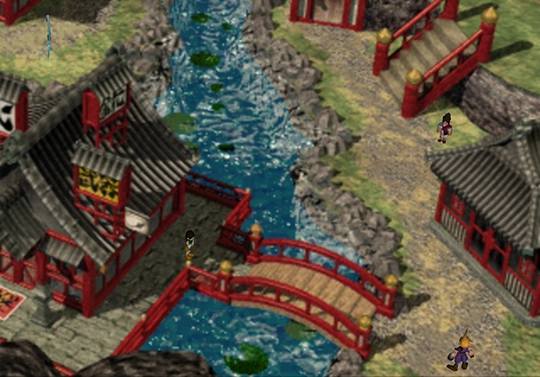
The quickest way to get there is to float the Tiny Bronco through the river that splits the western continent in half. You don’t have to visit the house to proceed with the story, though, so you can skip this step entirely if you’d like to move forward with the story of the game.
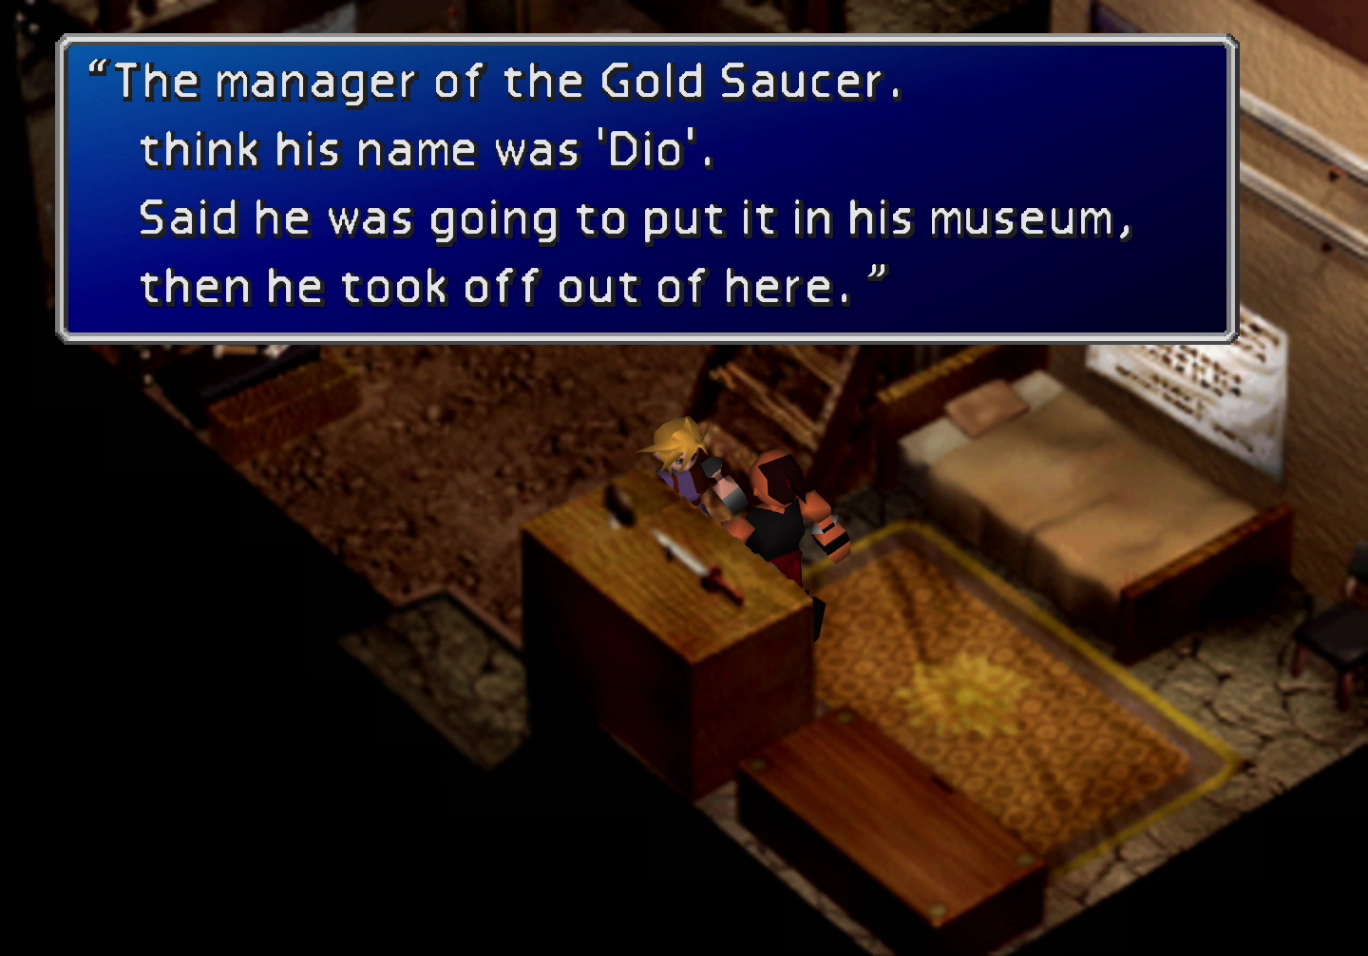
The man inside this house will tell you that he no longer has an item called the Keystone, which he heard can be used to unlock the Temple of the Ancients. If you ask him where the Keystone is now, he will tell you that he sold the Keystone to Dio, the manager of Gold Saucer.
Gold Saucer or Optional Side Quests?
The next destination is to head to Gold Saucer. You can only access Gold Saucer by taking the tram from North Corel. There is no way to enter Gold Saucer through the impassable desert area that surrounds it.
Note that before heading to North Corel and Gold Saucer, you now have the option to complete both the Wutai side quest and the Wutai Pagoda side quest. You will only be able to complete the Wutai side quests on Disc 1 and Disc 2.
The rewards are not bad (![]() MP Absorb Materia,
MP Absorb Materia, ![]() HP Absorb Materia, and a
HP Absorb Materia, and a ![]() Magic Shuriken for Yuffie). If you are interested in completing all aspects of the game, you will have limited opportunities to complete this portion. You can also complete the Turtle’s Paradise side quest now as well (assuming you found all 5 of the flyers outside Wutai).
Magic Shuriken for Yuffie). If you are interested in completing all aspects of the game, you will have limited opportunities to complete this portion. You can also complete the Turtle’s Paradise side quest now as well (assuming you found all 5 of the flyers outside Wutai).
You can try to complete the Wutai side quests now; however, it is much easier to complete these two side quests after you visit the Temple of the Ancients. Many of the items that you obtain in the Temple are extremely helpful for both of these two side quests.
Use the links below for more information, or scroll down if you plan on completing these side quests later. This walkthrough will provide these links and reminders again once you reach that section of the game:
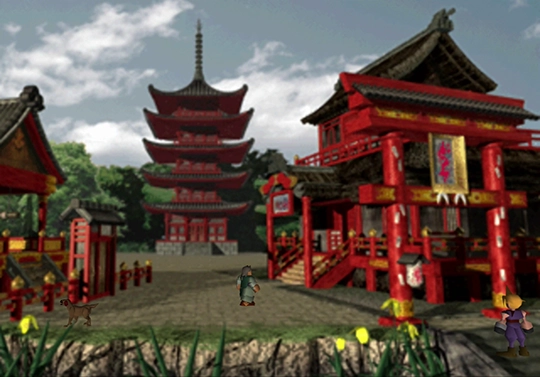
Battling against the five Pagoda guardians to obtain Yuffie’s strongest Limit Break, All Creation.
Use the ‘Next’ button below to continue the regular story, which continues at North Corel / Gold Saucer.