
Gongaga
There are several Enemy Skills that you should seek out to add to your ![]() Enemy Skill Materia at this point in the game. Obtaining them has been made much easier now that you have access to the Buggy.
Enemy Skill Materia at this point in the game. Obtaining them has been made much easier now that you have access to the Buggy.
Some of them have only become available because you also now have access to ![]() Manipulate Materia. Cait Sith joins your party in Gold Saucer with a Manipulate Materia already attached to his equipment.
Manipulate Materia. Cait Sith joins your party in Gold Saucer with a Manipulate Materia already attached to his equipment.
Using this Materia will allow you to cast “Manipulate” on enemies, which will cause them to cast beneficial spells on your party, which you can then learn through your ![]() Enemy Skill Materia.
Enemy Skill Materia.
Skills for Your Enemy Skill Materia
1) Aqualung
The first Enemy Skill is called “Aqualung.” It is a water-based spell that does a fair amount of damage. Use the Buggy to wander around in the sand area just outside Gold Saucer and the Corel Prison. The enemy you are looking for is called a Harpy (shown in the screenshot below).
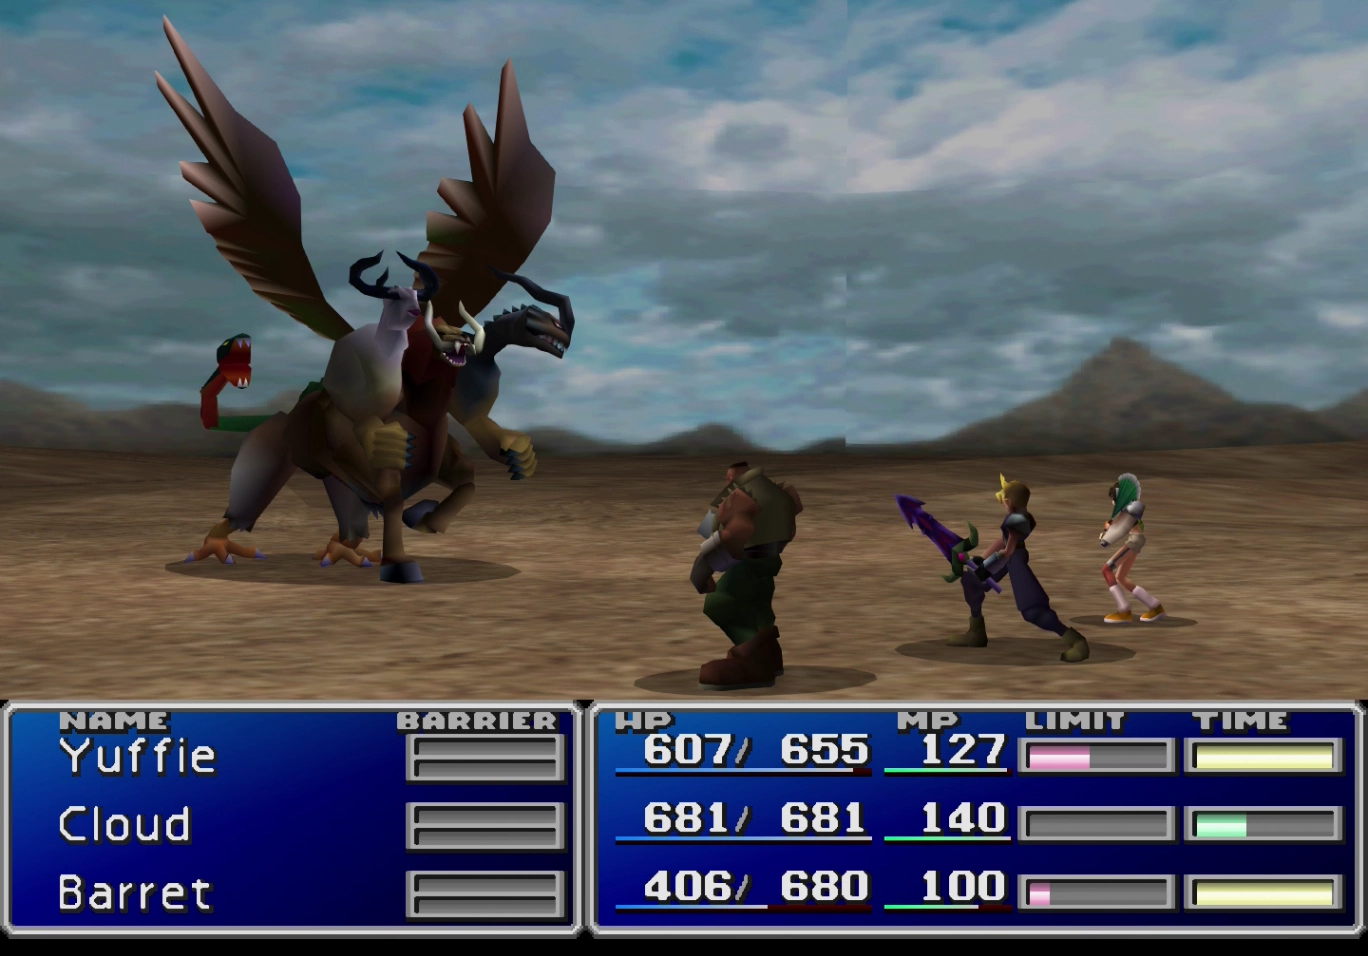
The Harpy will need to use “Aqualung” on your party. It is a particularly devastating attack that deals 400-500 damage to each of your party members, so be sure to keep their HP high throughout the battle.
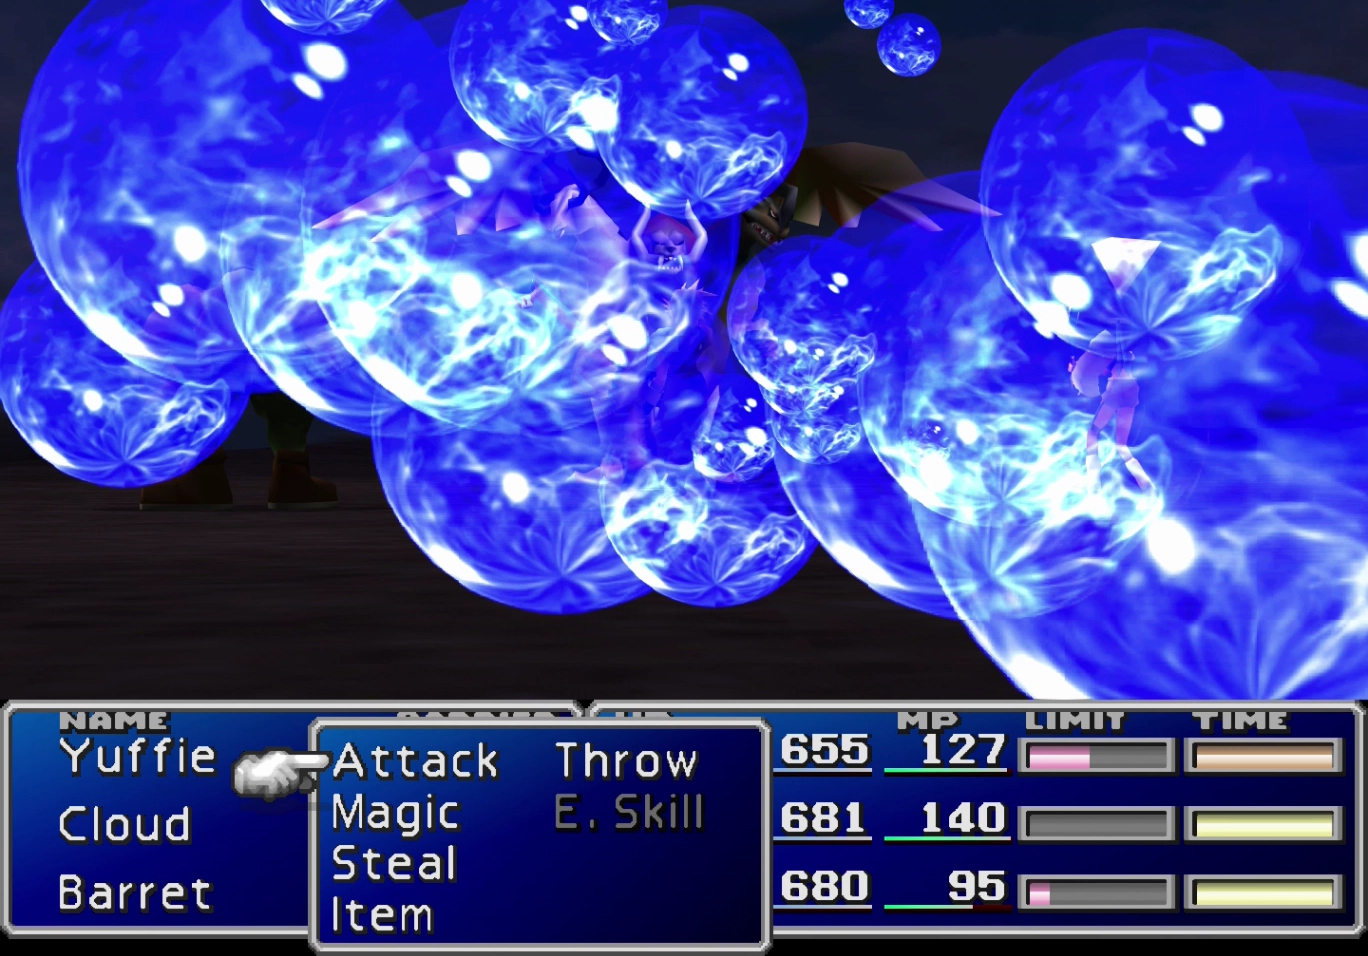
2) Big Guard
“Big Guard” is one of the most powerful spells in the game. Casting it on your party will give them each the Barrier status effect, which reduces physical damage done, the MBarrier status effect, which reduces magic damage done, and the Haste status effect, which causes the time bar to fill faster.
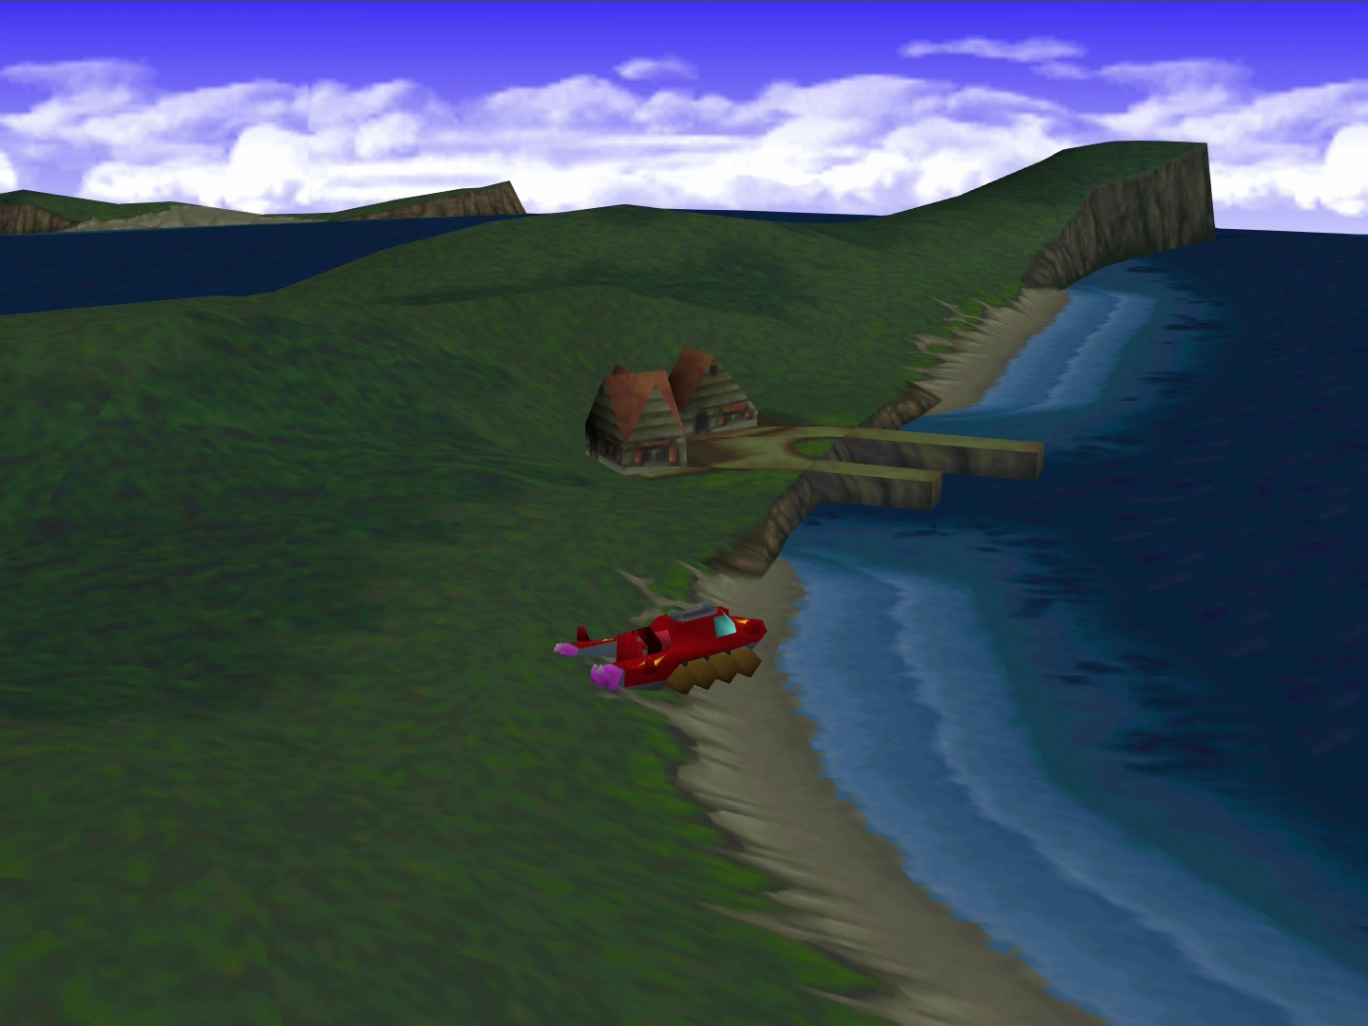
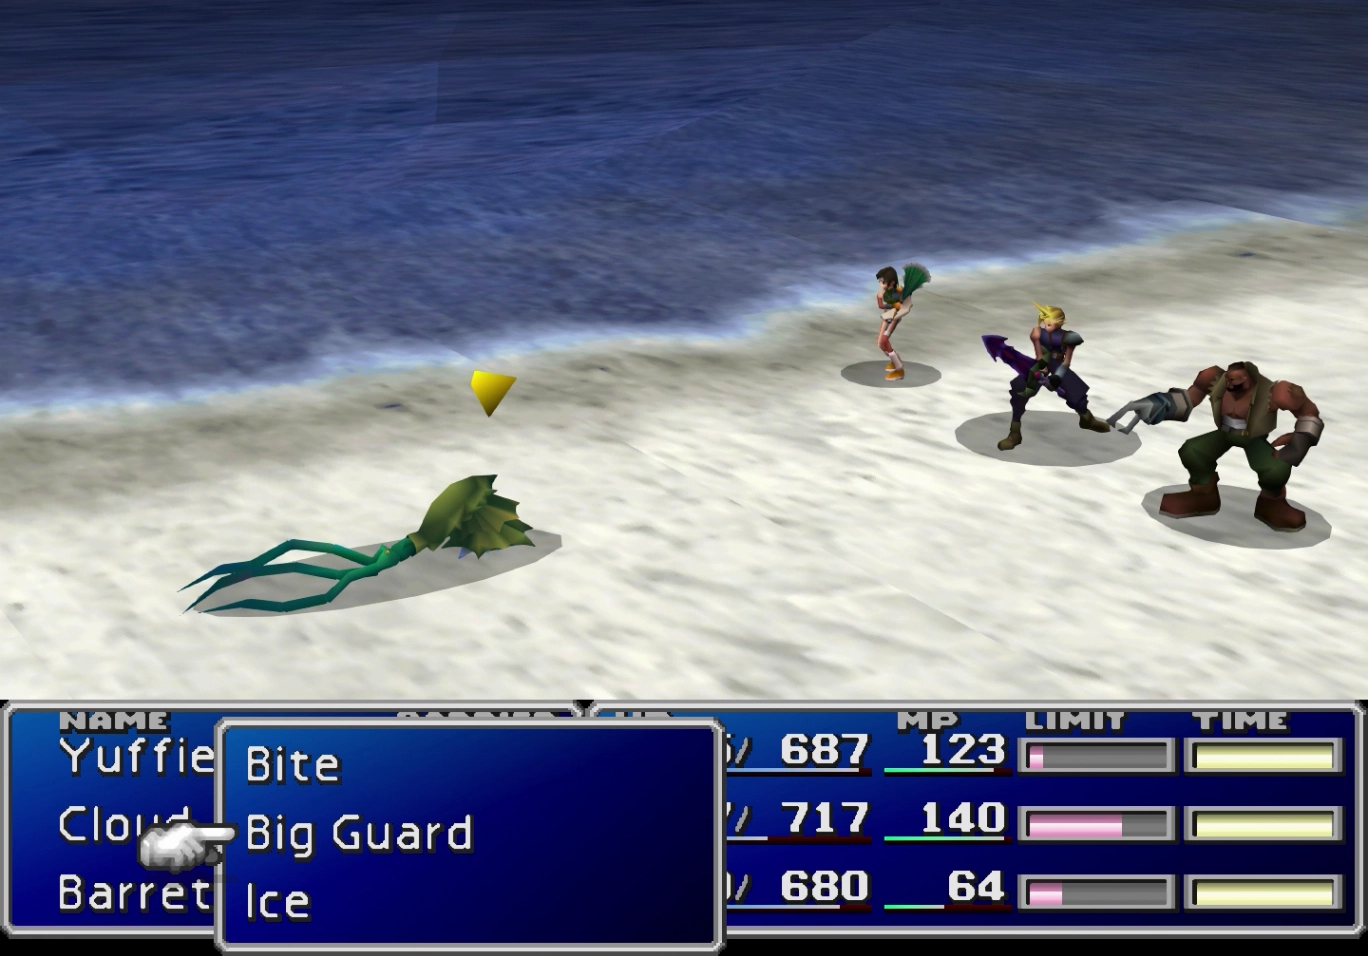
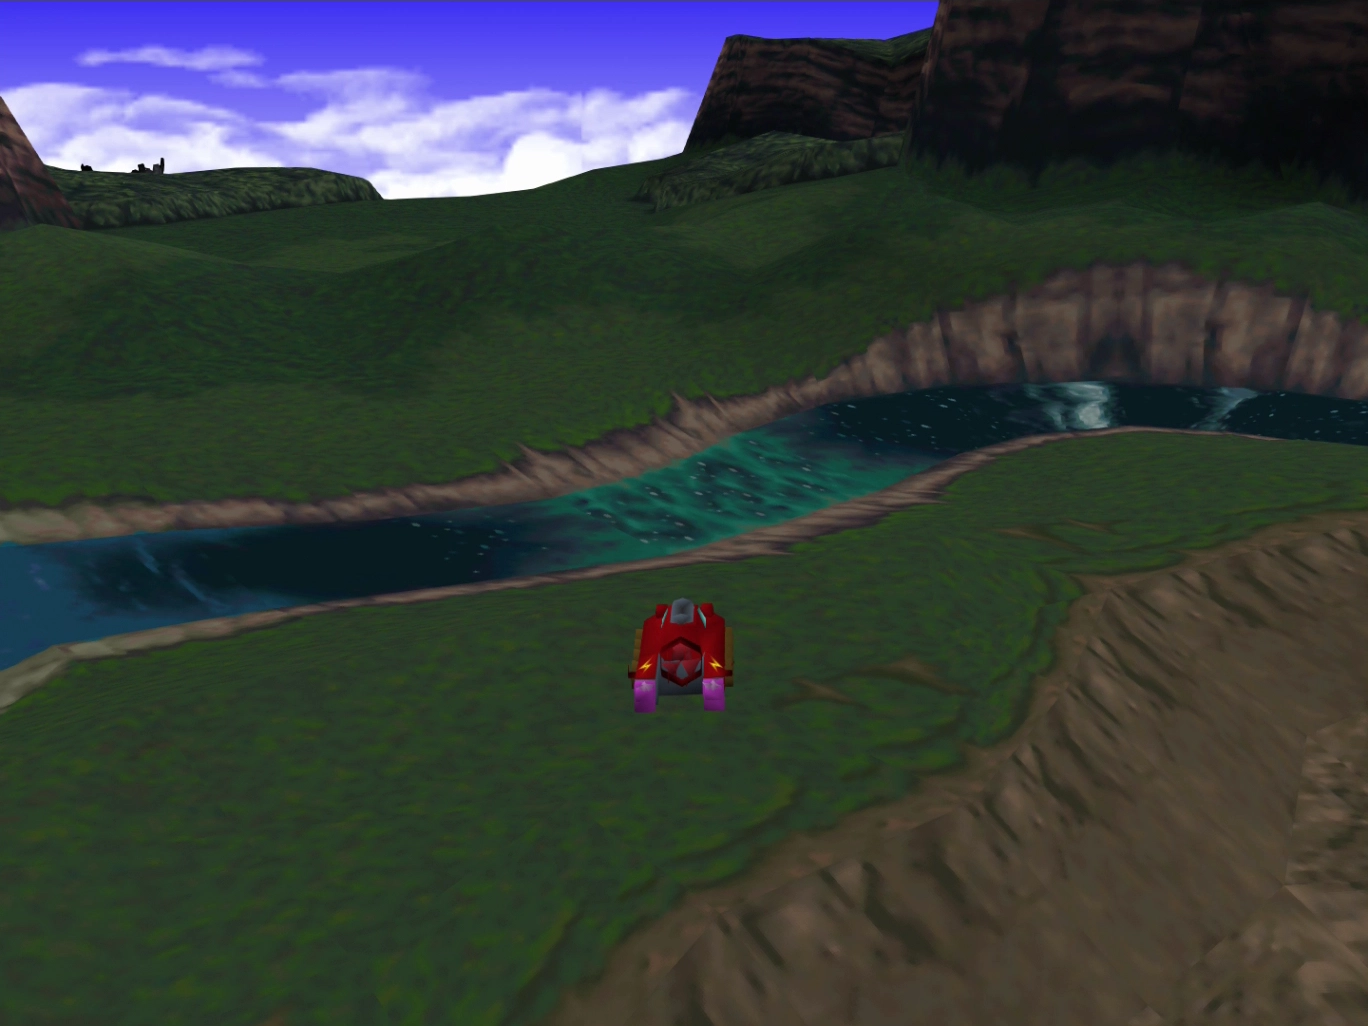
Drive the Buggy north back towards Costa del Sol and cross the river over the light blue portion shown in the screenshot below. The enemy you are looking for is called a Beachplug (also pictured in the screenshot below).
Use the Manipulate command (from your ![]() Manipulate Materia) on the Beachplug and have it use “Big Guard” on your party to pick it up with your
Manipulate Materia) on the Beachplug and have it use “Big Guard” on your party to pick it up with your ![]() Enemy Skill Materia.
Enemy Skill Materia.
3) White Wind
To acquire the “White Wind” ability, you will have to travel back to the other continent. Drive the Buggy straight into Costa del Sol without getting out of the vehicle and then wander over to the Costa del Sol Harbor.
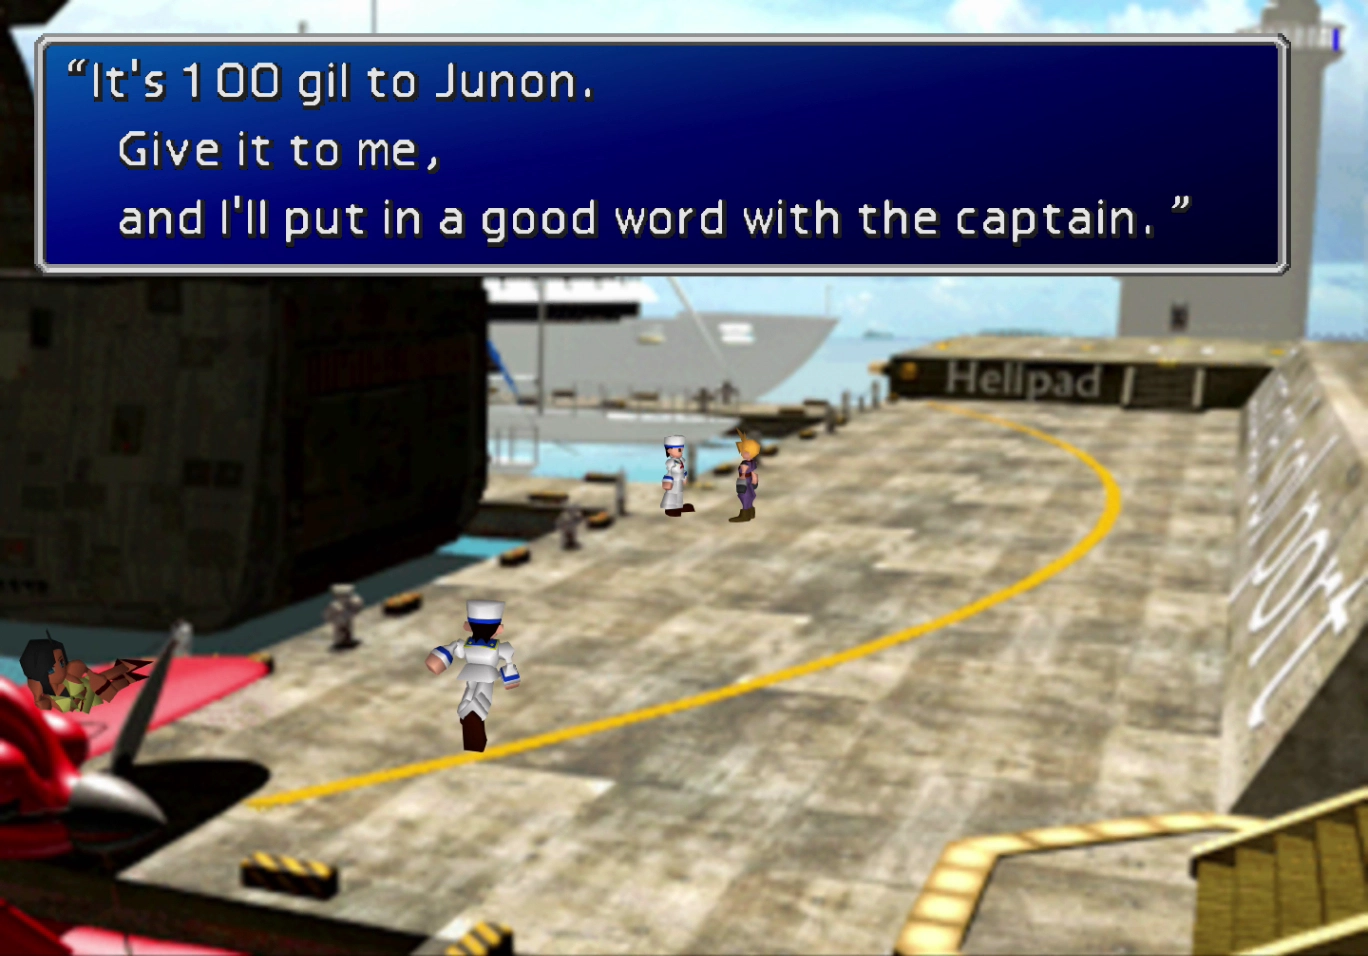
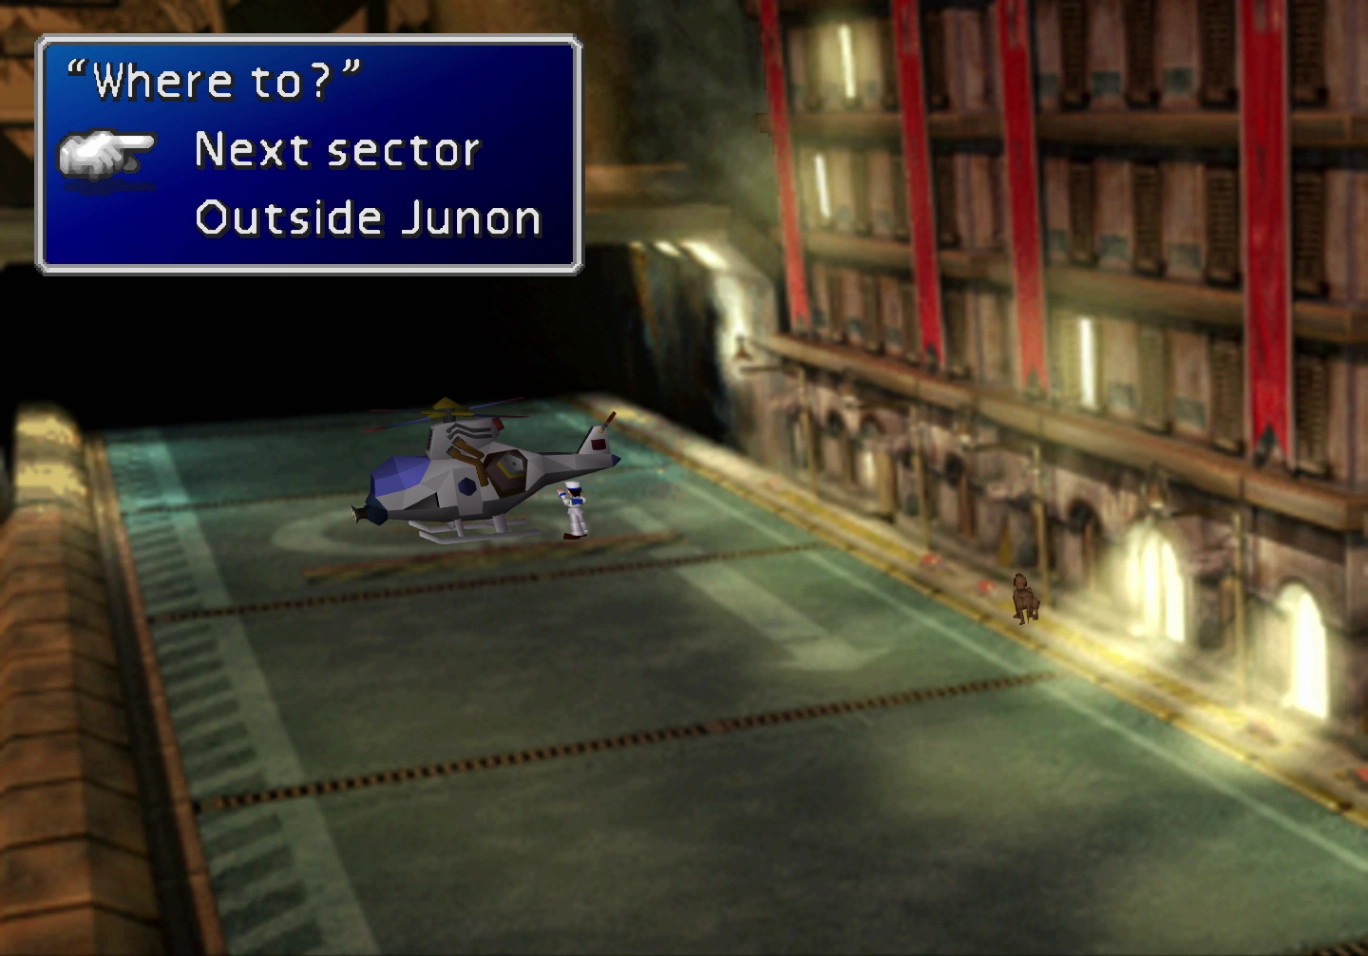
Speak to the man on the docks and pay him 100 Gil to travel back to Junon. Walk through the doorway and speak to the first sailor in white you see to take a ship taxi. The taxi will take you to the entrance of Junon for free and save you from having to walk.
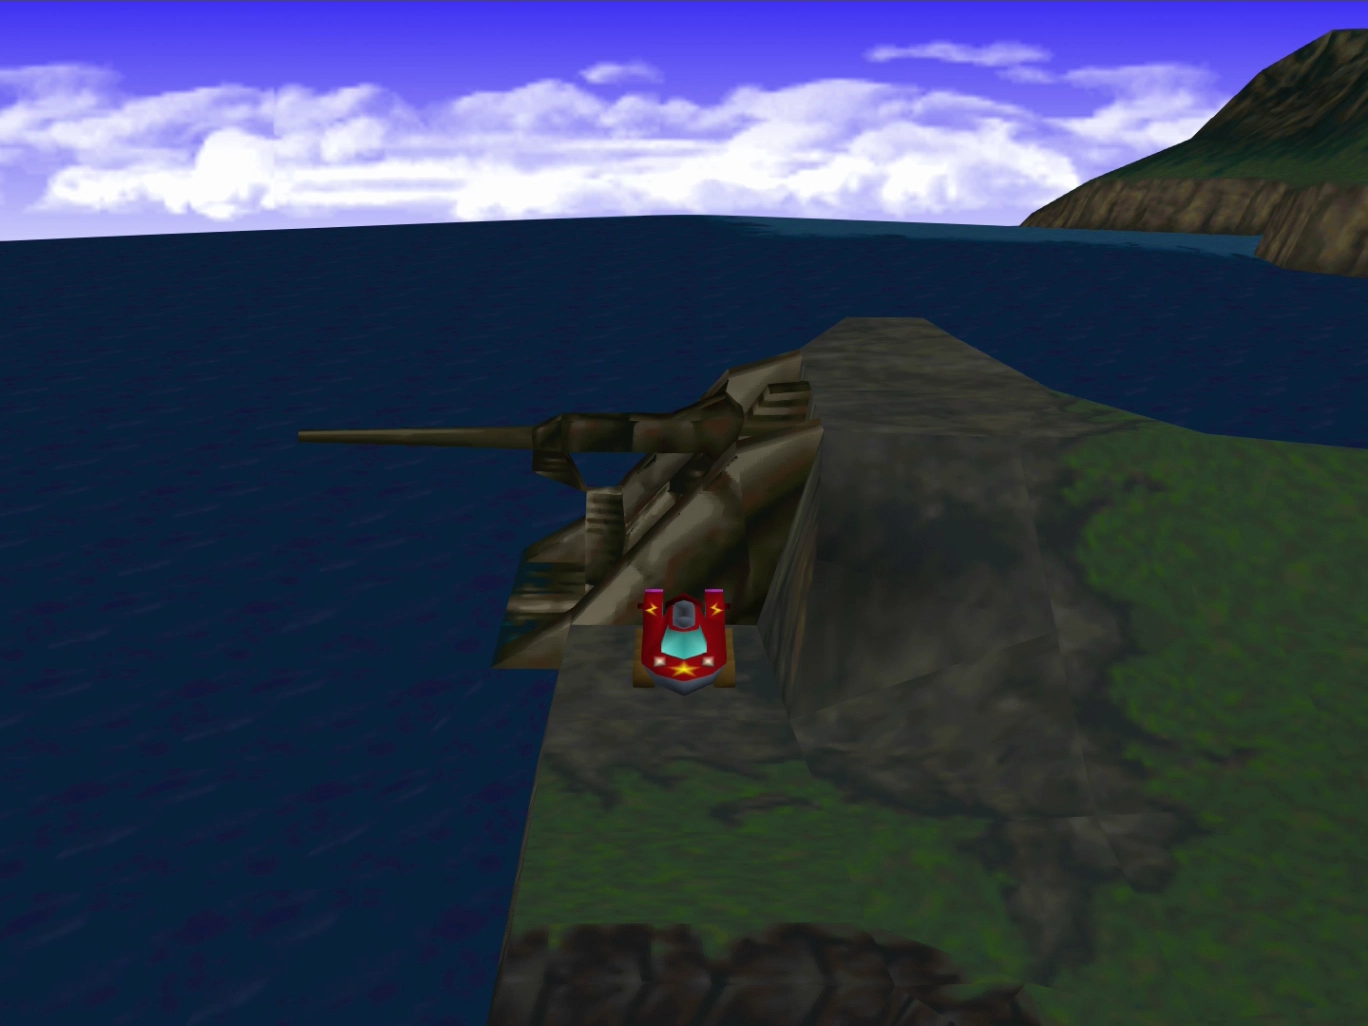
Thankfully, you will still have your Buggy after you exit Junon. The enemy you are looking for is called a Zemzelett. It’s the giant, bird-like creature, shown in the screenshot below, already under the effect of Manipulate (facing backward and highlighted green). You can find them just outside Junon. Use Manipulate on it and have it cast “White Wind” on your party.
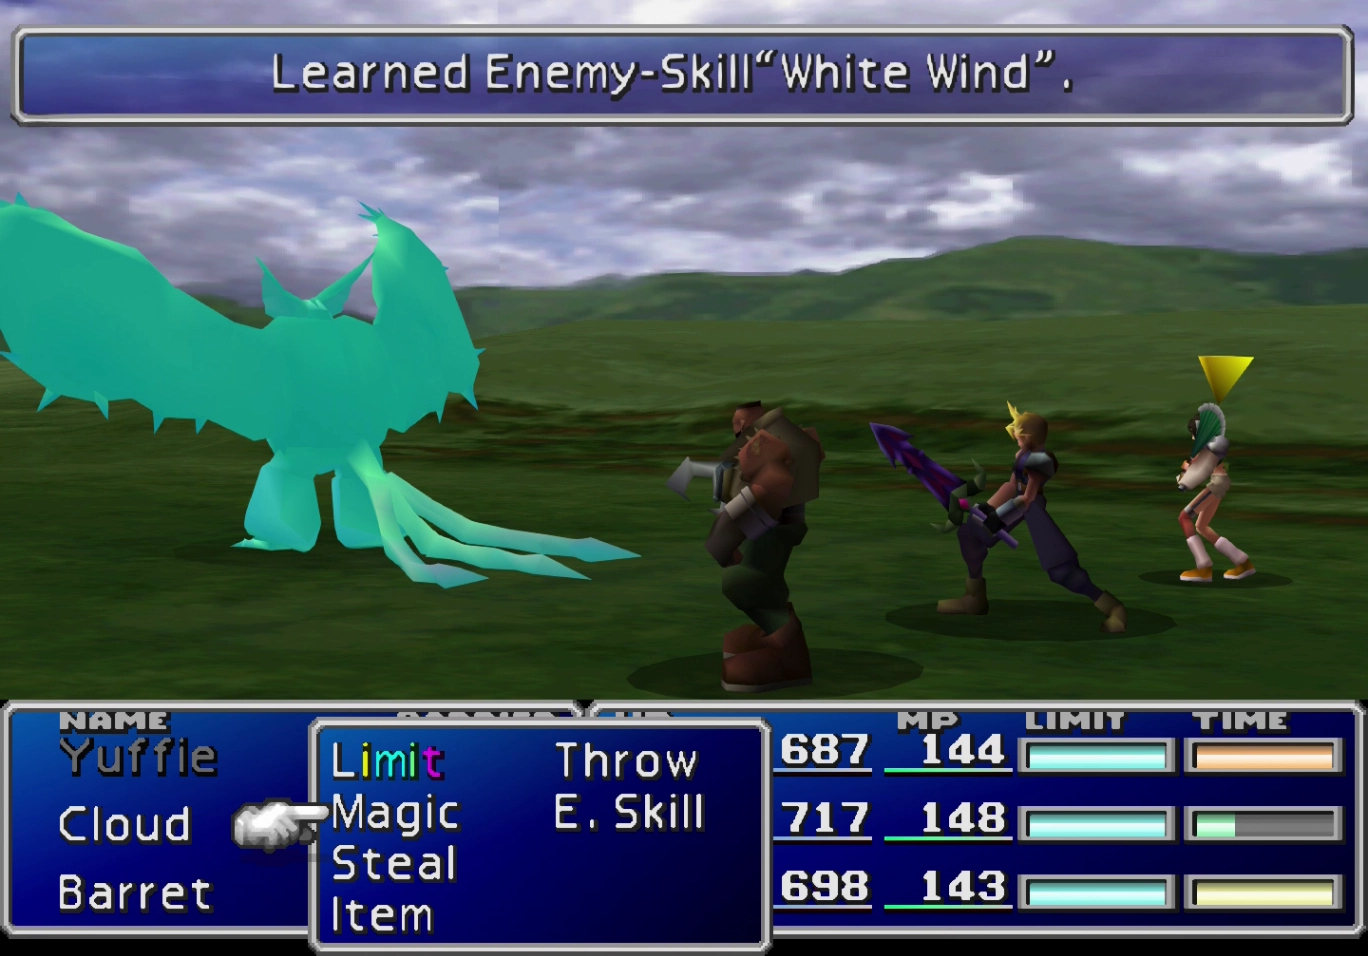
“White Wind” is an excellent spell that heals your party for a considerable amount of HP, effectively allowing you to rely less heavily on ![]() Restore Materia, cure spells, and
Restore Materia, cure spells, and ![]() Potions /
Potions / ![]() Hi-Potions.
Hi-Potions.
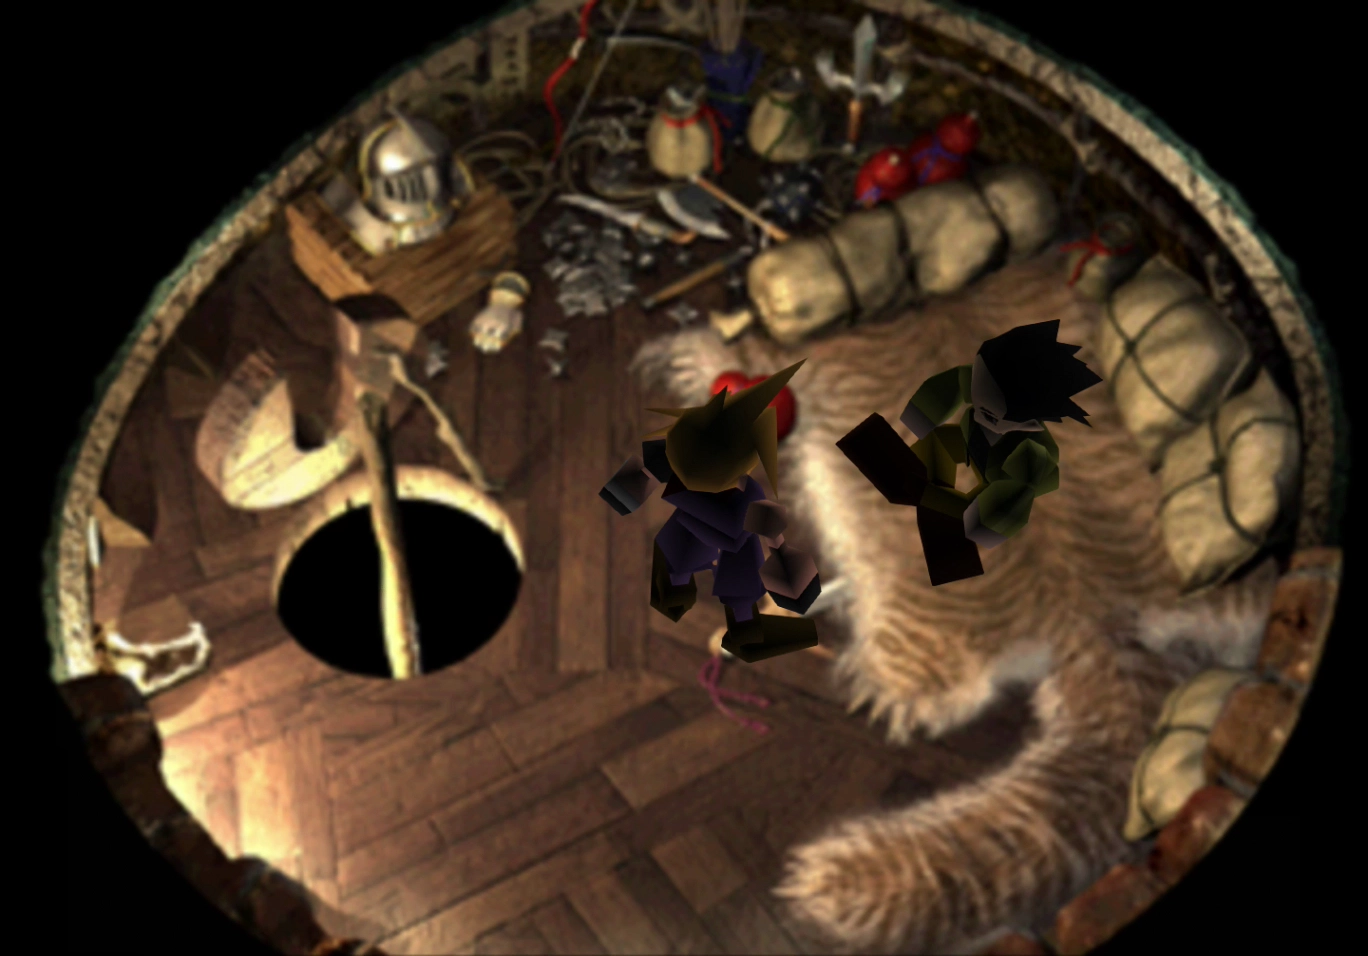
You can also pick up the “Frog Song” ability by battling an enemy called a Touch Me (which looks like a small frog). Touch Me enemies can be found in the areas around Gongaga.
It is now time to travel back to Gongaga if you haven’t already. Drive the Buggy back to Junon, sail back to Costa del Sol, and drive back towards Gold Saucer. Use the Buggy to cross the river (shown in the screenshot below).
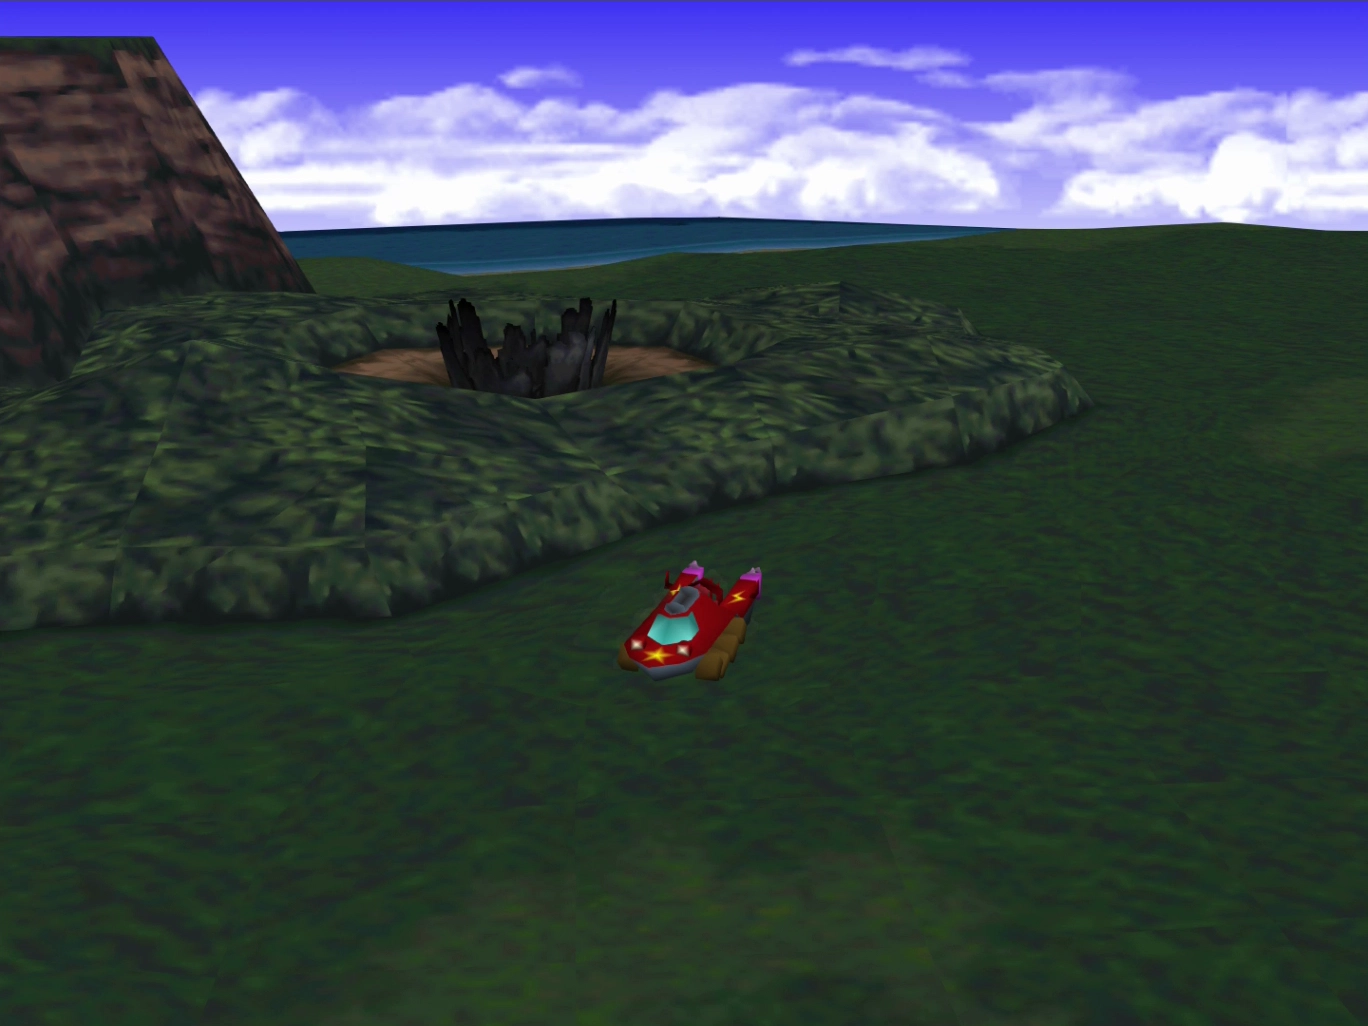
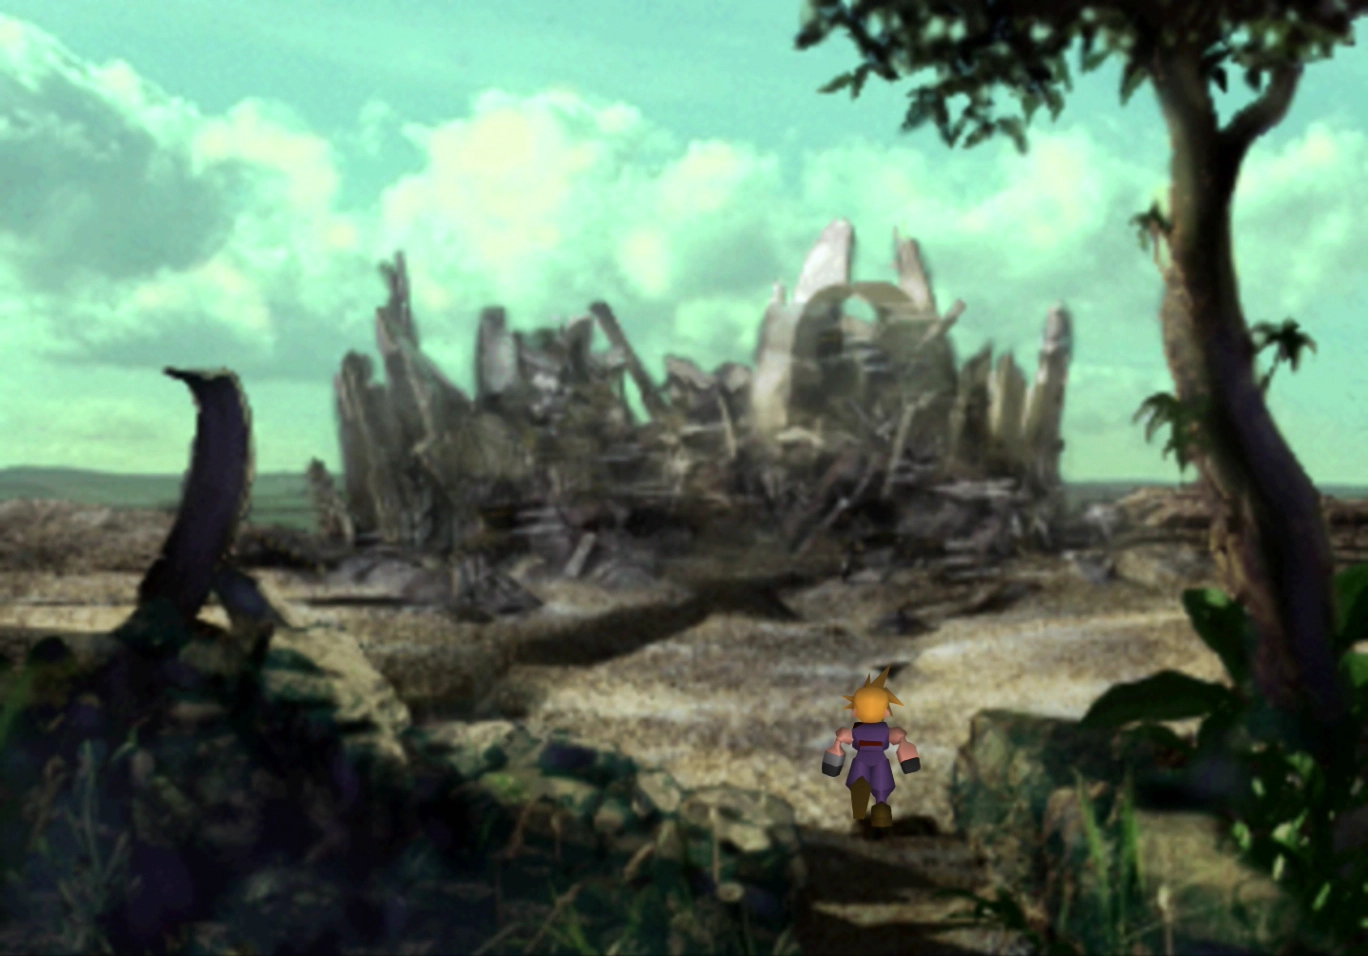
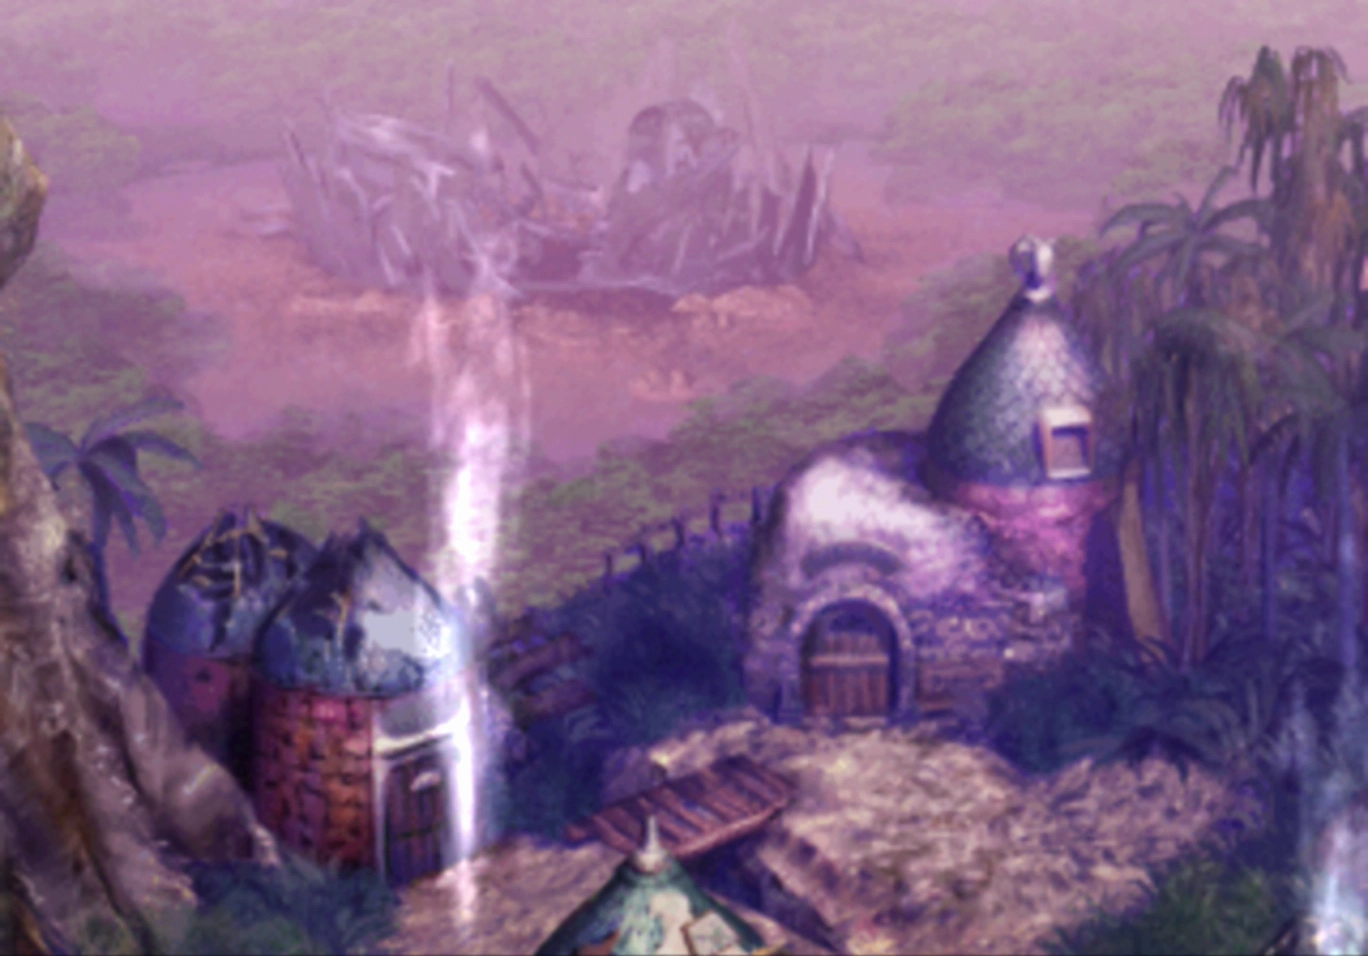
Gongaga is a black structure that looks like ruins in the middle of the forest (screenshot included below).
You can skip the Gongaga area altogether and head straight for Cosmo Canyon, but it’s short and easy, and there are a few items you can pick up while you are there.
Gongaga
Hop out of the Buggy using ![]()
![]()
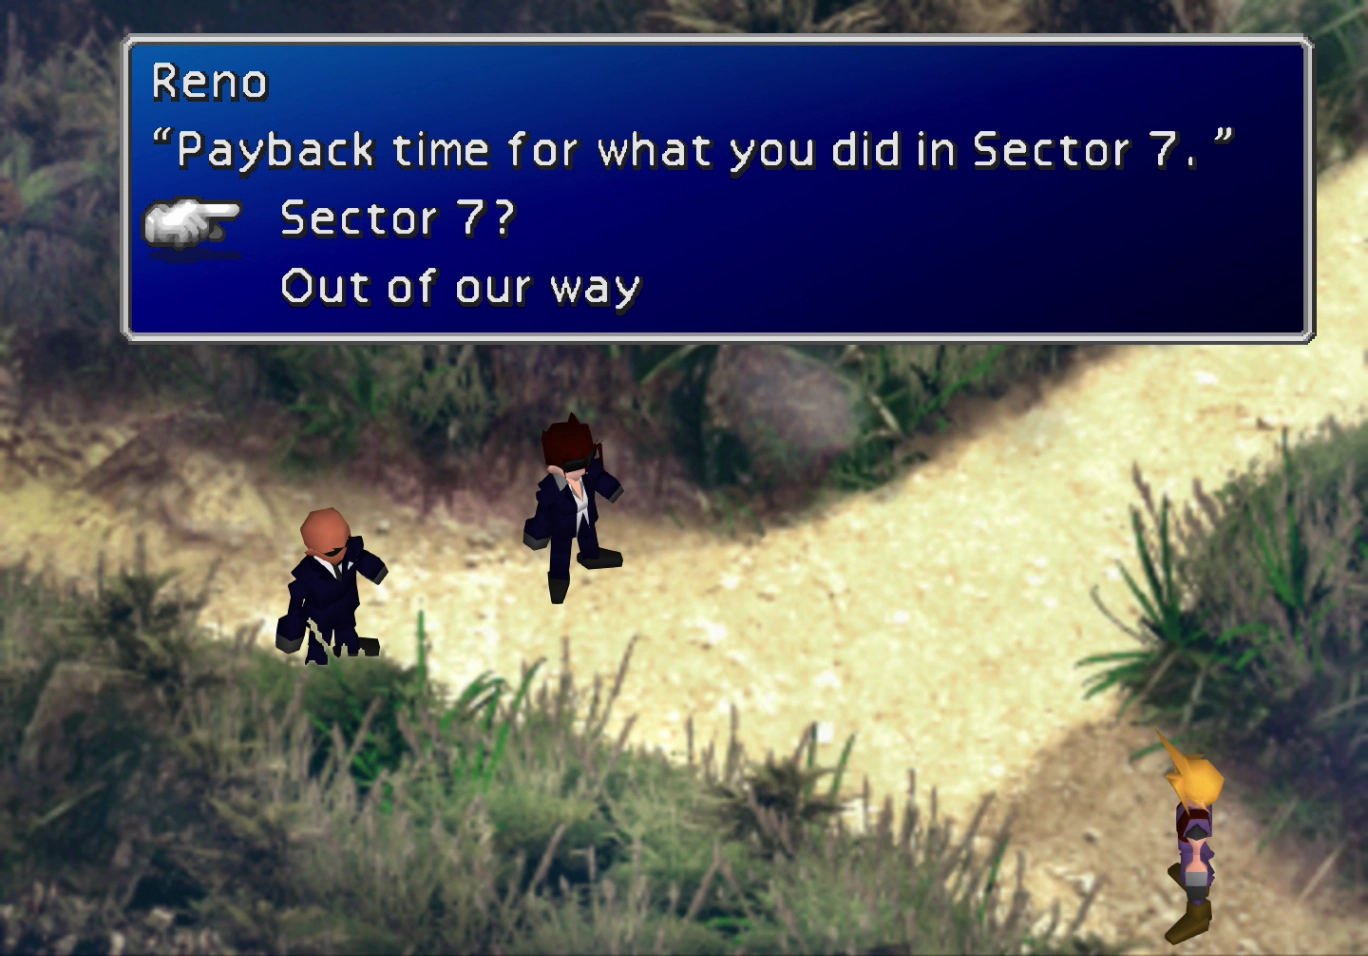
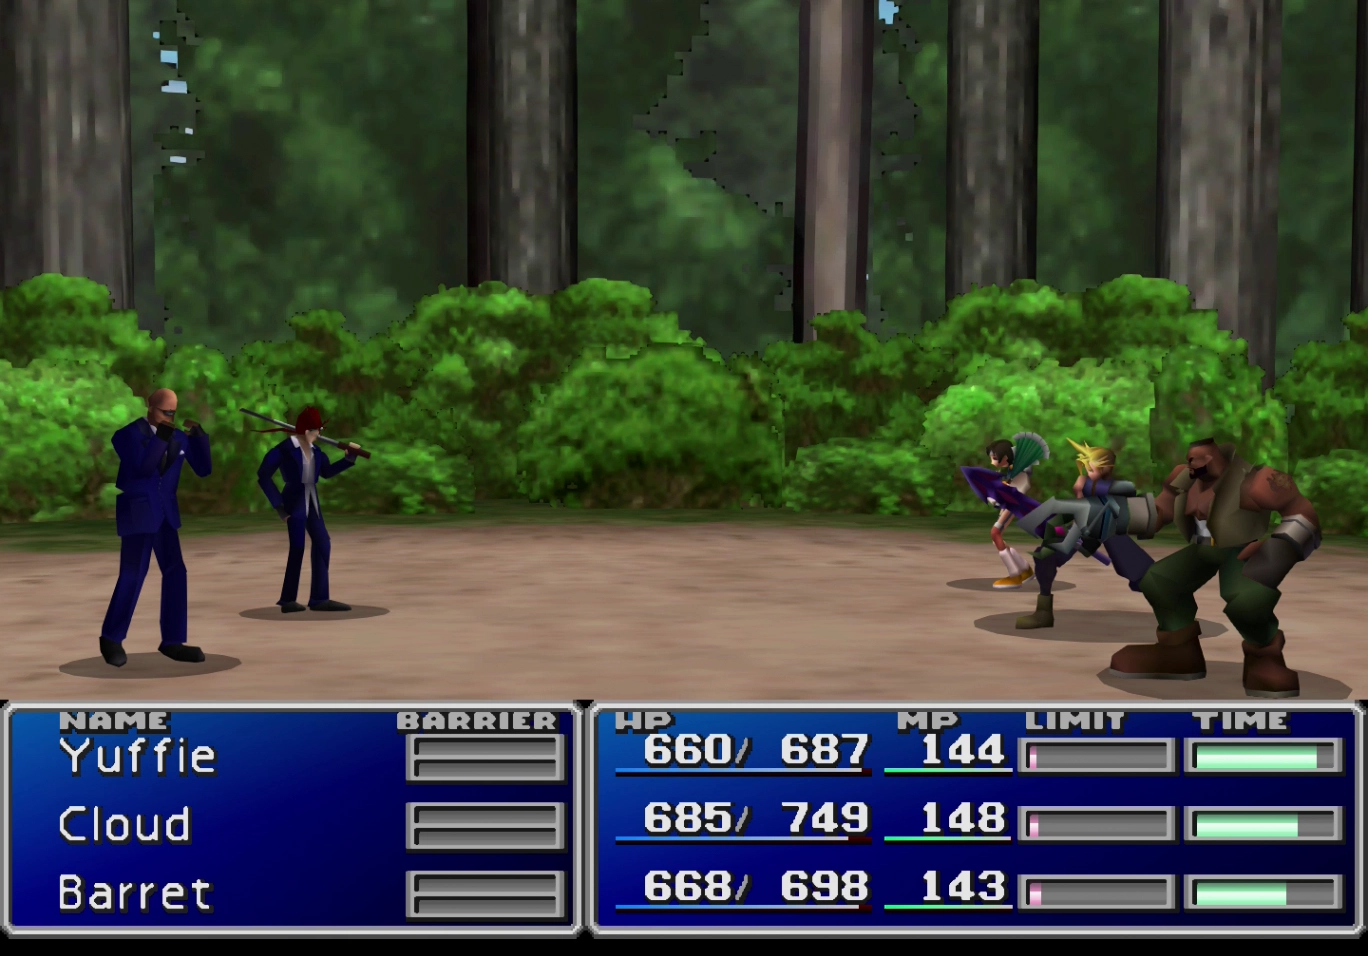
![]() and head into Gongaga. The story will kick up again in the jungle just outside Gongaga. Reno and Rude will engage your party in battle after some dialog.
and head into Gongaga. The story will kick up again in the jungle just outside Gongaga. Reno and Rude will engage your party in battle after some dialog.
Boss Battle
HP: 1,200 (Rude) + 2,000 (Reno)
Reward: ![]() X-Potion (Rude) +
X-Potion (Rude) + ![]() Fairy Tale (Reno)
Fairy Tale (Reno)
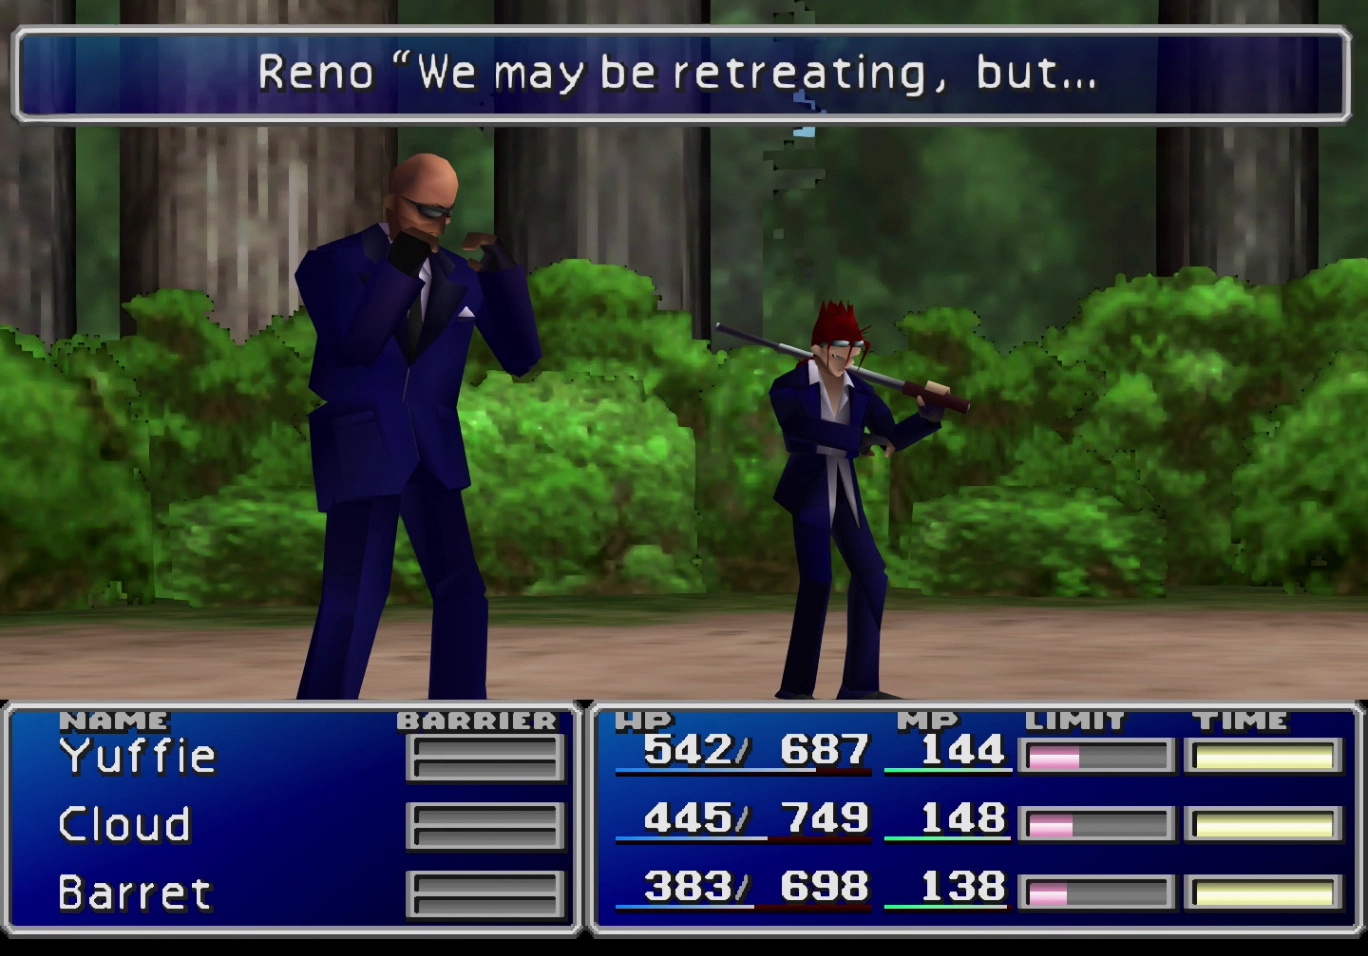
This battle is not particularly difficult. You will want to focus your attacks on Reno as you will only get the item from the Turk you KO first (they will both end up running away from the fight), and Reno undoubtedly has the best item.
Reno’s “Turk Light” attack hits hard, and Rude backs him up with Fire spells and physical attacks while occasionally healing with Cure. Your newly acquired Enemy Skill moves make the fight much easier: “Big Guard” raises Barrier and MBarrier to blunt both Turks’ attacks, and “White Wind” can heal your entire party at once.
A video demonstration of this battle is included below for reference.
A video demonstration of how to successfully complete the fight against Reno and Rude.
Follow the pathway leading northeast to head towards the reactor. Continue down the path toward the Meltdown Reactor (as it’s called on the menu screen).
Scarlet will appear once you reach the end of the trail. She will say a few things to Tseng and then jump back into her helicopter and take off.
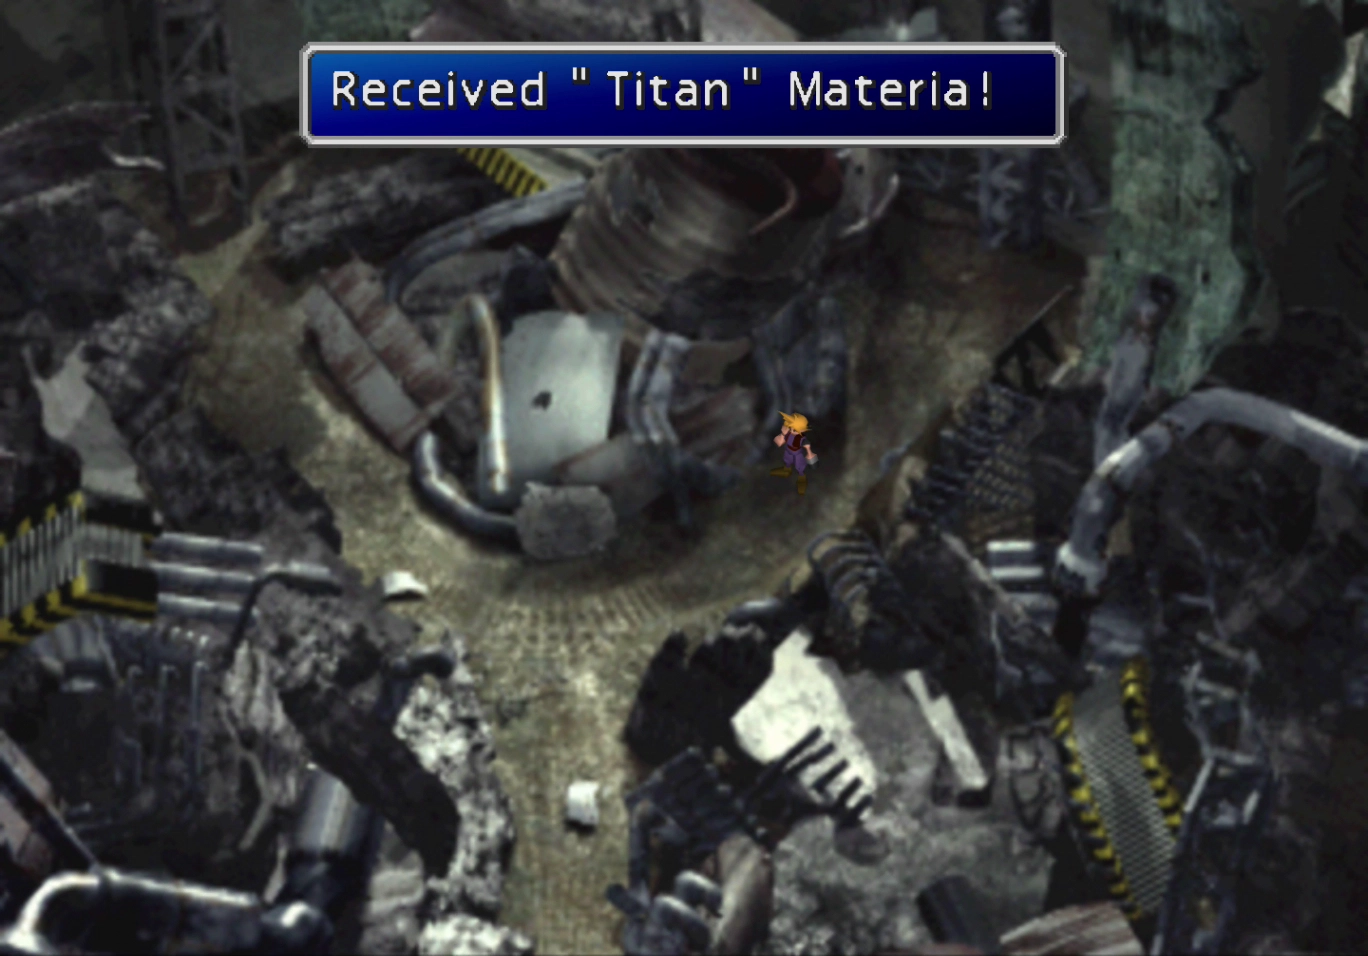
Walk over to the area where Scarlet was standing and where she had peered into the ruined reactor. Cloud will say, “There’s something shiny back there…” and then you can choose whether to reach in and grab it. Doing so will reward you with ![]() Titan Materia, a new summon.
Titan Materia, a new summon.
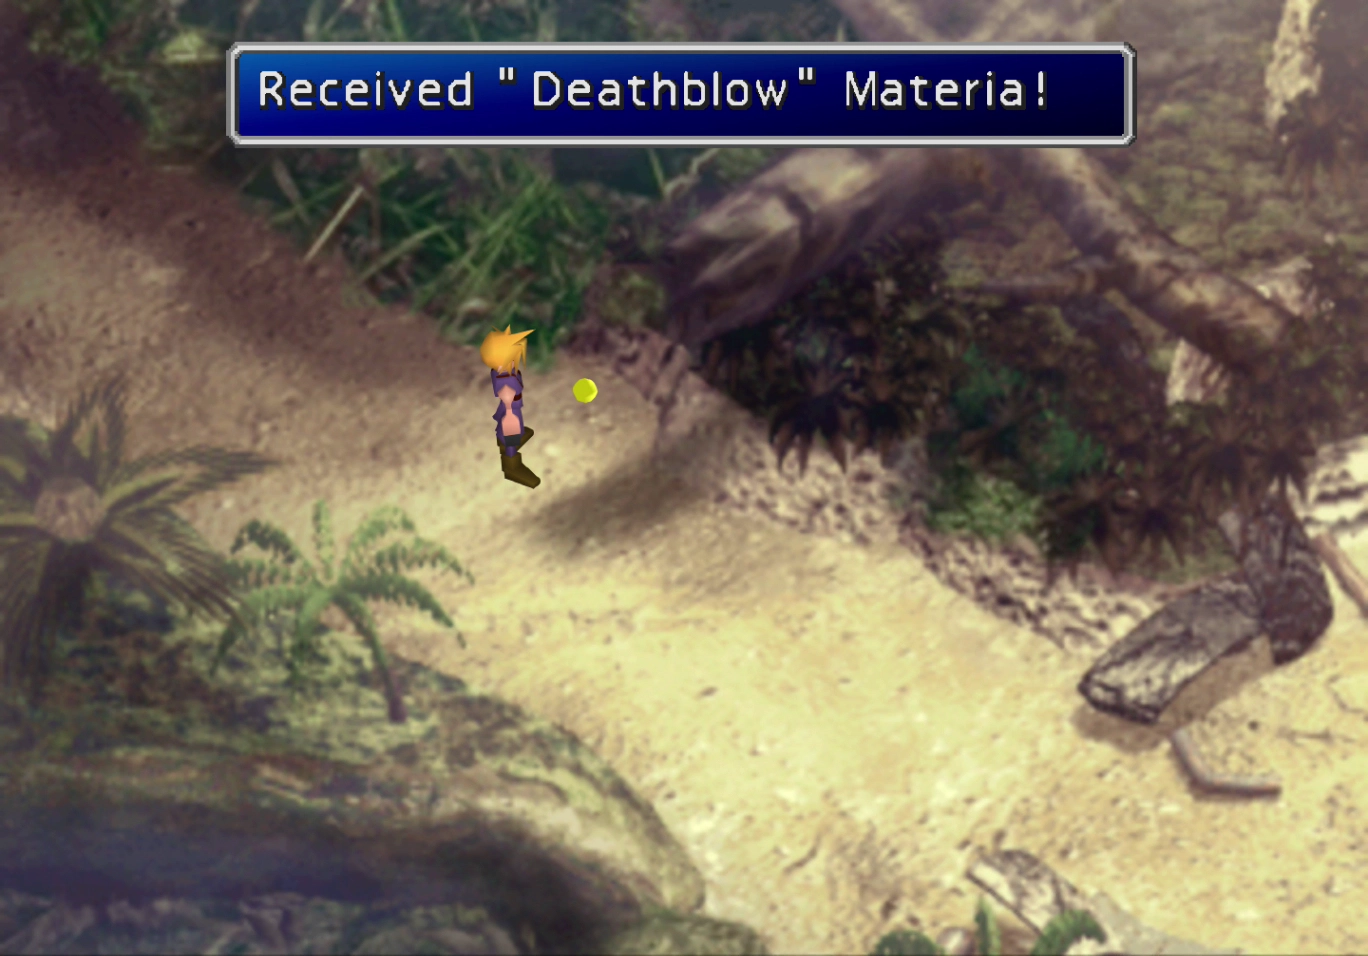
Travel south back to the fork in the road where you met up with and fought the Turks. Take the other pathway that leads off to the left this time.
There is a yellow ![]() Deathblow Materia sitting on the ground on the next screen. Backtrack and take the pathway leading northward.
Deathblow Materia sitting on the ground on the next screen. Backtrack and take the pathway leading northward.
Gongaga Village
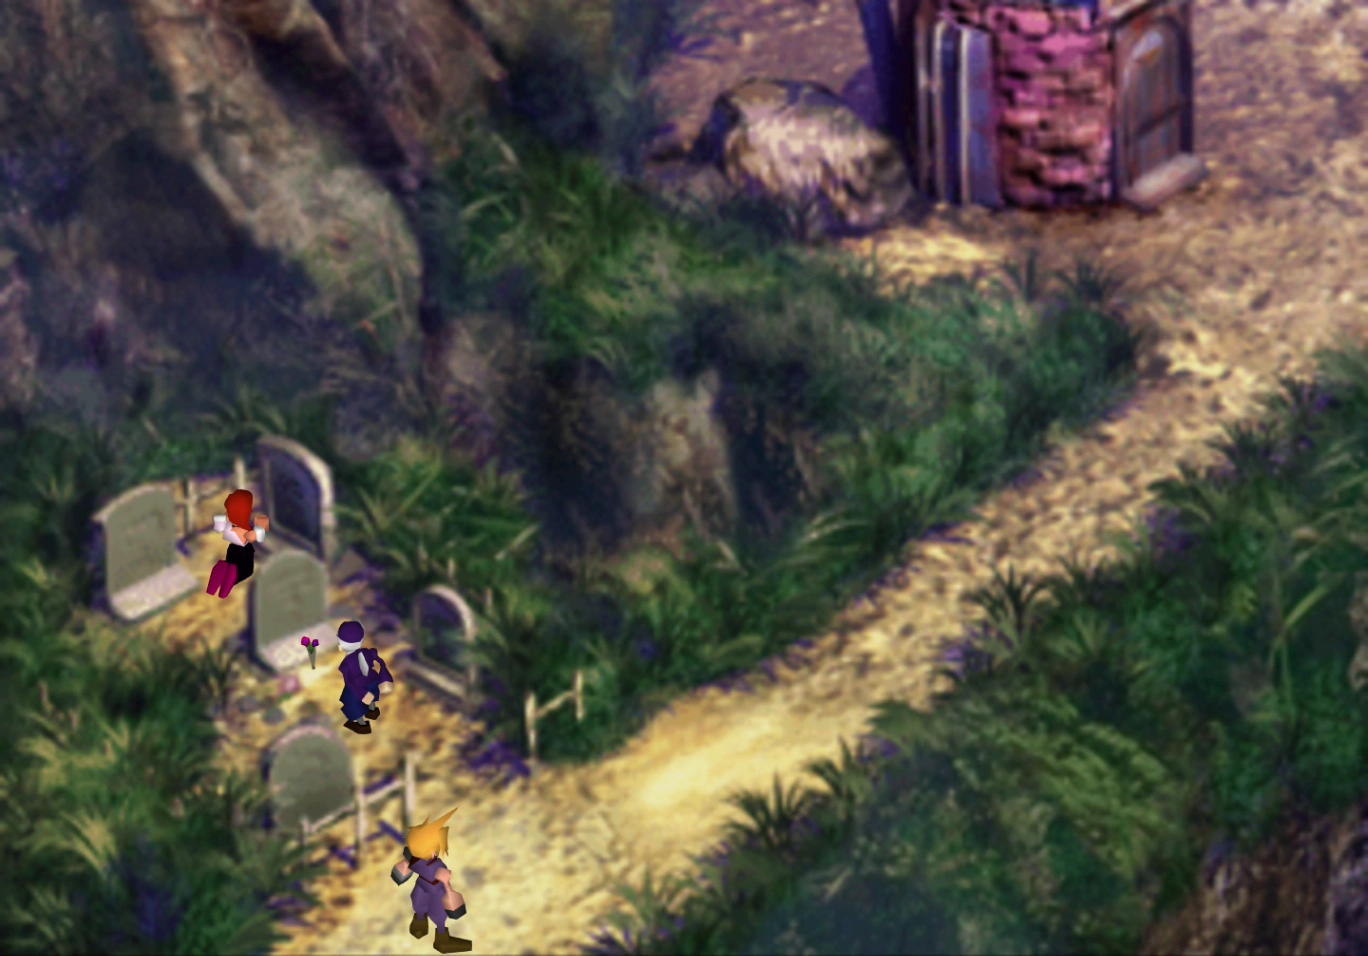
There is a scene that will occur if you enter the southernmost house at the bottom-right of the screen, but only if you have Tifa or Aeris in your party.
Side Quests
Dialog choices in this part of the game will impact the Gold Saucer Date scene.
Aeris and Tifa will need to be in your party when you enter Gongaga Village to trigger this scene. You can take the following actions after having met Zack’s parents:
| Choice | Result |
|---|---|
| “poor guy” | + 1 to Aeris |
| “(… jealous… envious…)” | + 2 to Aeris |
| Ignore Aeris | − 3 to Aeris |
If you speak to Tifa afterward:
| Choice | Result |
|---|---|
| Any answer | + 1 to Tifa |
| Ignore Tifa | − 3 to Tifa |
| Date Affection Score Calculator | |
Your best bet, if you intend to obtain the  Best Bromance achievement/trophy, is to have both Aeris and Tifa in your party and to ignore them both once you leave Zack’s parents’ house.
The house just north of this one is an item shop where you can purchase the following items:
You can also have the shop owner tell you about the town’s history if you listen to his stories.
There is also a Weapon Store on the left side. You can buy accessories and Materia on the bottom floor, including:
The Materia you can purchase includes:
Use the pole on the left side to climb up to the second floor of the store to find the actual weapon salesman. The weapons for sale are nothing special and likely already ones that you possess. They include:
The hut at the top left is the Gongaga Inn. You can choose to stay and rest for 80 Gil, and there is a treasure chest inside that contains an ![]() X-Potion.
X-Potion.
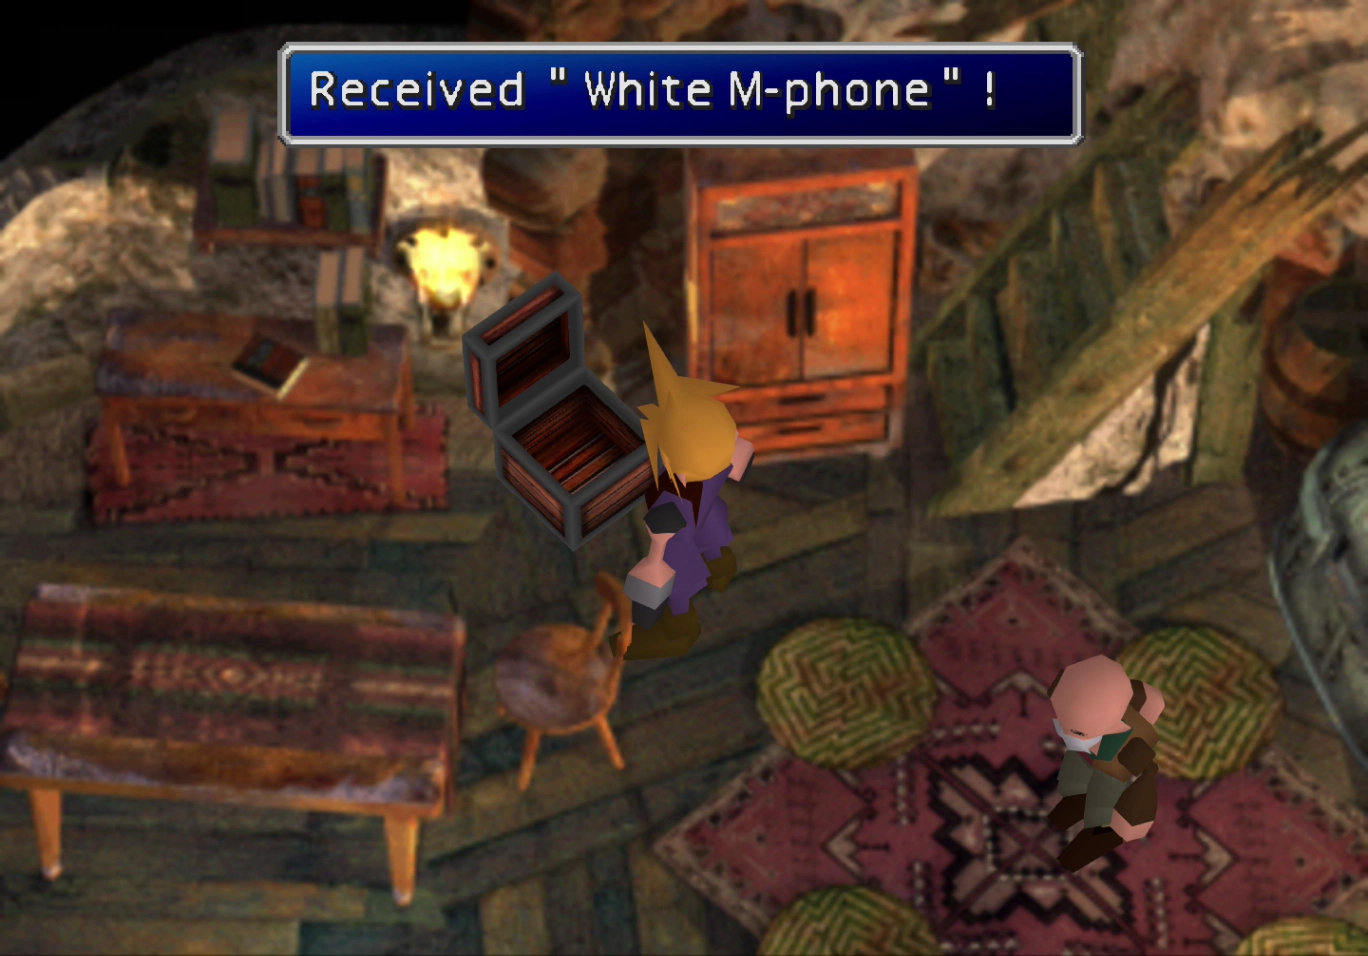
The northernmost hut on the right contains a treasure chest with a ![]() White M-phone weapon for Cait Sith.
White M-phone weapon for Cait Sith.
Travel back to where you found the Deathblow Materia and continue traveling to the right to exit Gongaga. The next stop is Cosmo Canyon.