Gizamaluke’s Grotto
Eunorus Plains
Helpful Hint
Freya automatically starts in the back row, which will make her attacks very weak. Consider moving her to the front row by entering the main menu and selecting the “Order” option. Then, select Freya twice, which should cause her character portrait to move slightly to the left side of the screen (indicating that she is in the front row).
Check out the front and back row mechanics page for more information.
There are several things that you can do in this area after leaving Lindblum before you head to Gizamaluke’s Grotto. The first is to travel to Qu’s Marsh to obtain a new playable character named Quina.
You can obtain Quina later on in the game (after you complete Gizamaluke’s Grotto, Burmecia, and Cleyra) if you skip this section, but adding the fourth member to your party can be hugely beneficial. There is no reason to skip out on it.
Achievement/Trophy
To obtain the  Movie Critic Achievement/Trophy, you will need to have Quina join the party at this point in the game. Quina is involved in a few ATEs that will only activate if Quina is in the party.
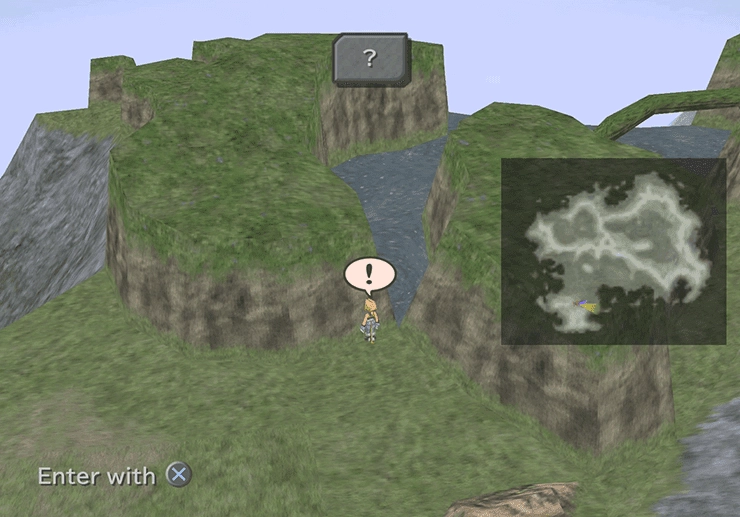
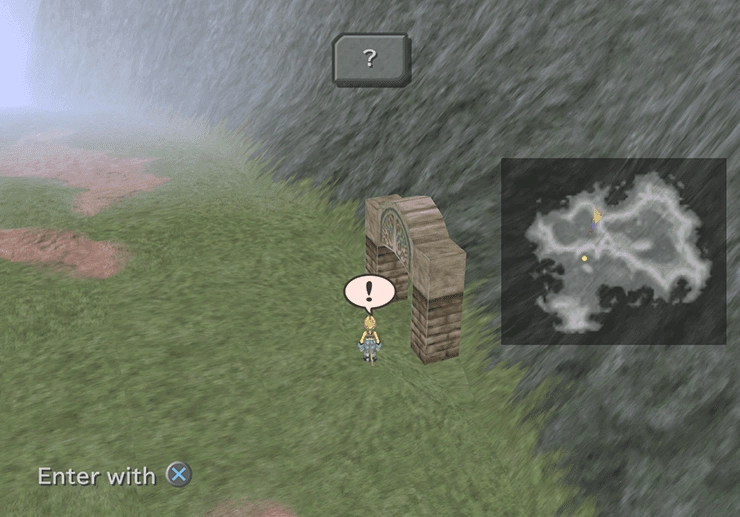
Use the map below to help you find Qu’s Marsh, which you can see just north of Dragon’s Gate. Use the screenshot below to help you identify what you are looking for. Qu’s Marsh looks like a raised area in the middle of the swamp.
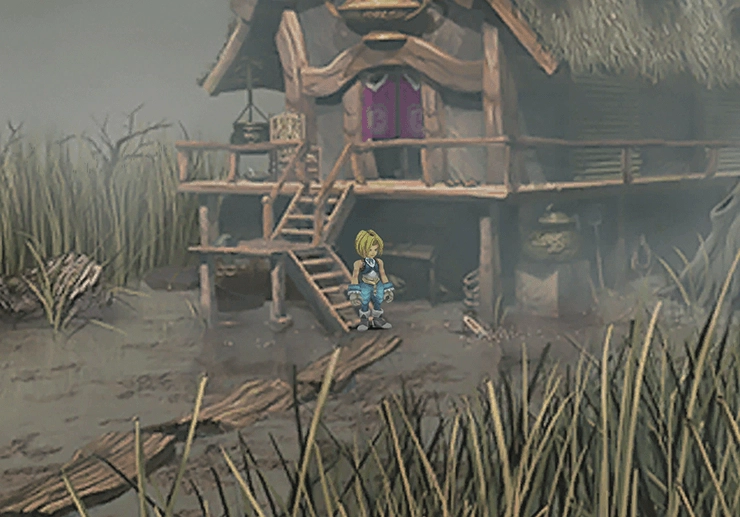
Qu’s Marsh
Enter the marsh and follow the bridge northward. You will run into ![]() Mogster and
Mogster and ![]() Moggy at the end of the docks. These are the two Moogles who provided you with some of the tutorials earlier in the game. Travel down the pathway between the reeds behind them.
Moggy at the end of the docks. These are the two Moogles who provided you with some of the tutorials earlier in the game. Travel down the pathway between the reeds behind them.
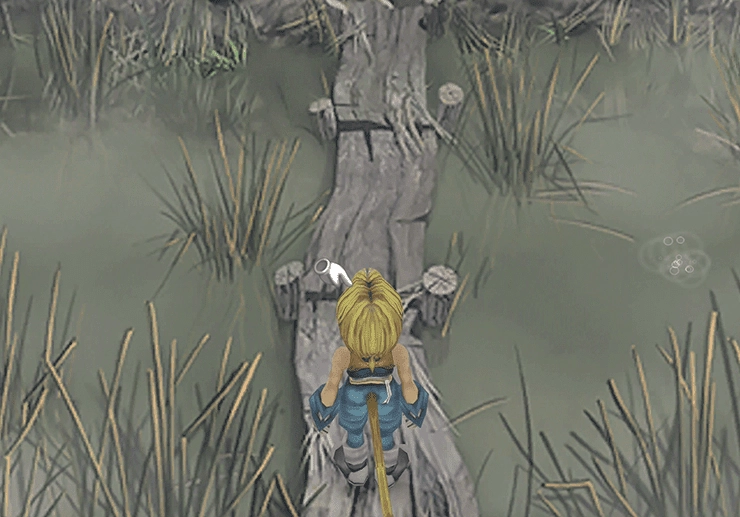
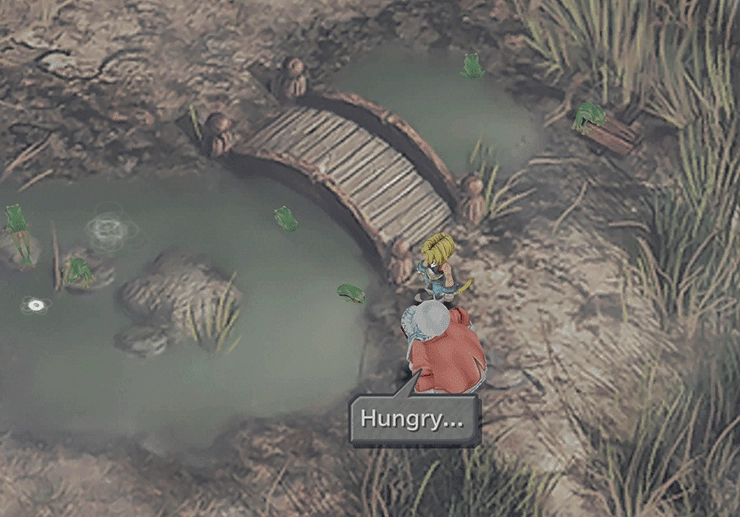
Keep walking north through the tall grass (even though you can no longer see your character on the screen). Quina is the blue character in the red jacket wandering around near the pond.
Capture one of the frogs nearby and speak to the Qu (which is what these blue creatures are called in the game). You’ll receive a prompt in the game to name Quina, who will then join your party after a brief interlude involving Quina’s master.
Note that Quina does not have a gender; it is neither male nor female. Therefore, it will be referred to as either “it” or “s/he” throughout the game and in this guide.
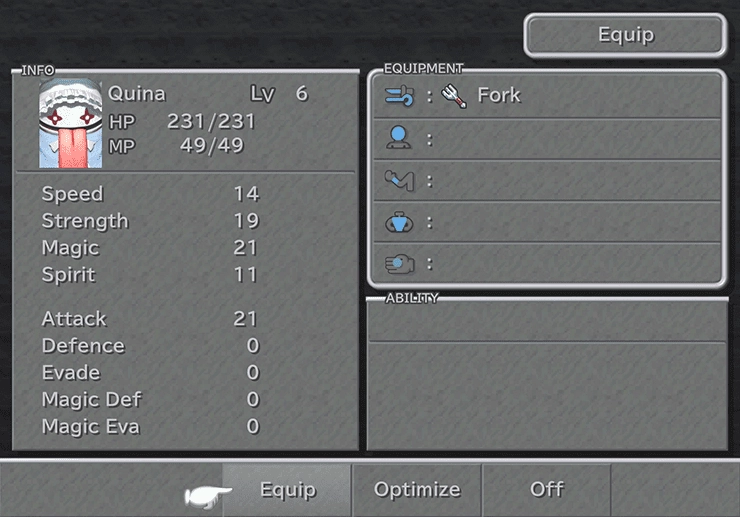
Quina comes pre-equipped with just a ![]() Fork for a weapon and no armor. If you were successful in stealing from the Zaghnol, you should already have a better weapon for Quina, which is the
Fork for a weapon and no armor. If you were successful in stealing from the Zaghnol, you should already have a better weapon for Quina, which is the ![]() Needle Fork. Equip Quina with some better armor as well.
Needle Fork. Equip Quina with some better armor as well.
Quina is capable of learning “Blue Magic,” similar to other Final Fantasy games. For reference, this is similar to Enemy Skill Materia in Final Fantasy VII and similar to Quistis’ Limit Break, Blue Magic in Final Fantasy VIII. Check out the Blue Magic section for more information. Just have Quina eat an enemy when they are below 25% health.
You can have Quina learn the following Blue Magic on the world map:
Near or in Qu’s Marsh
- Eating Serpion (397 HP) teaches
 Mighty Guard
 - Eating Axolotl (211 HP) teaches Aqua Breath
- Eating Gigan Toad (242 HP) teaches Frog Drop
- Eating Hedgehog Pie (295 HP) teaches Pumpkin Head
Near Lindblum Plateau
(travel through Lindblum and exit out of the Hunter’s Gate in the Business District)
- Eating Bomb (526 HP) teaches Mustard Bomb
- Eating Axe Beak (241 HP) near forested areas teaches Limit Glove
- Eating Carve Spider (123 HP) teaches LV3 Def-Less
Near South Gate
- Eating Ironite (889 HP) teaches Angel’s Snack
- Eating Vice (129 HP) teaches Vanish
The most important skill to obtain is “Mighty Guard,” as this ability can be invaluable during the more challenging boss battles in the game.
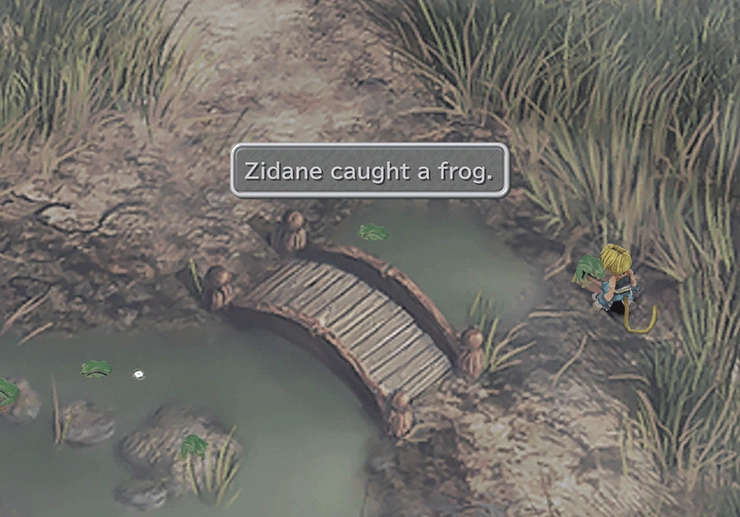
Catching Frogs
You can also take this opportunity to catch frogs in Qu’s Marsh. You can read more about the Catching Frogs side quest in the Side Quests section using the link below.
Side Quests
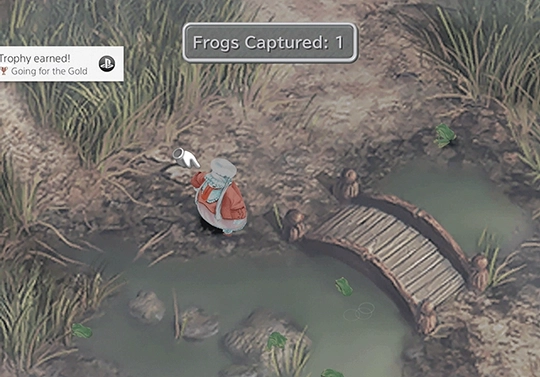
Catching Frogs is a side quest where you net frogs at Qu’s Marsh for rewards. Read the full guide for all the details.
Pinnacle Rocks
Travel through Lindblum through the Dragon’s Gate and take the lift up to the Mid-Level. Take the Air Cab through to the Business District and exit to the world map using the Hunter’s Gate.
The Pinnacle Rocks are shown in the screenshot below. Follow the pathway to the end to find two treasure chests that contain an ![]() Elixir and a
Elixir and a ![]() Phoenix Down.
Phoenix Down.
South Gate
You can find the South Gate on the east side of the map, across the river, and just north of the Chocobo’s Forest. Use the screenshot below to help you identify what you are looking for. The South Gate is also known as the “Bohden Arch.”
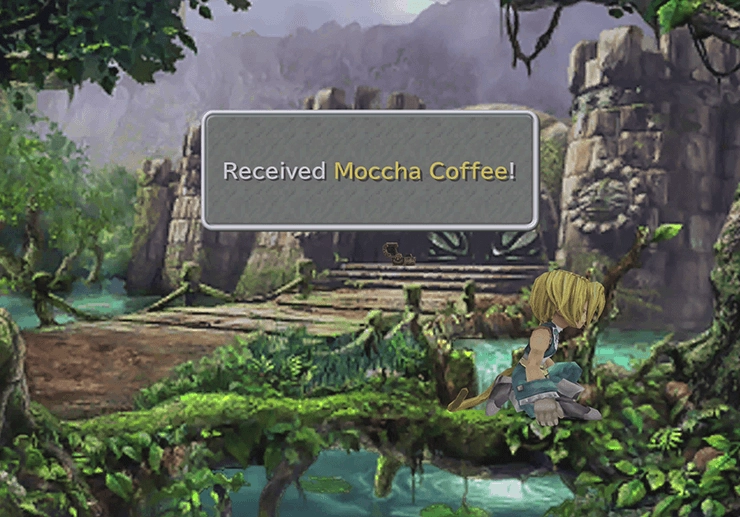
Search near the water to find Moccha Coffee (which is one of the required items for the Rare Coffees side quest), and you can also find an ![]() Ether on the opposite side of the bridge.
Ether on the opposite side of the bridge.
Achievement/Trophy
You must obtain each of the three Rare Coffees for the Rare Coffees side quest to earn the  My Little Airship Achievement/Trophy. Make sure you don’t miss picking up the Moccha Coffee!
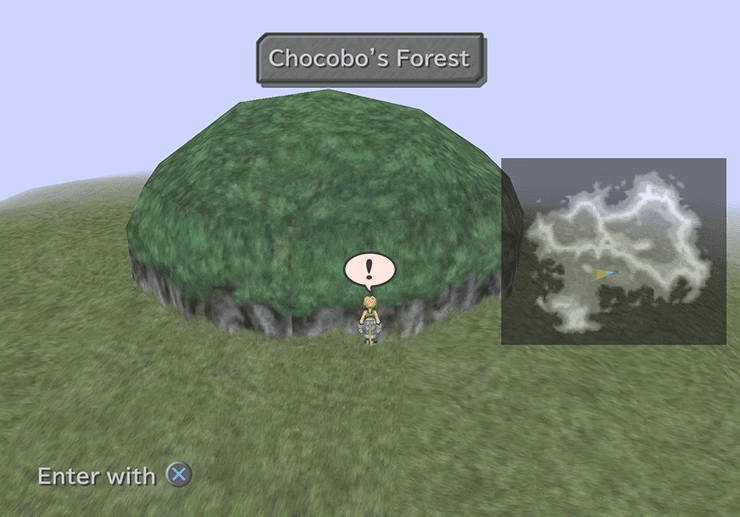
Chocobo’s Forest
You can find the Chocobo’s Forest on the eastern side of the continent near the South Gate amid the King Ed Plains. Use the screenshot below and the map provided to help you find it.
You will meet up with a Moogle named ![]() Mene as soon as you enter the forest.
Mene as soon as you enter the forest. ![]() Mene will ask you if you would like to ride Choco, the Chocobo, to travel through the area without running into any monsters.
Mene will ask you if you would like to ride Choco, the Chocobo, to travel through the area without running into any monsters.
He will provide you with ![]() Gysahl Greens, which you can use to call Choco any time you are near a set of Chocobo footprints on the world map. Leave the Chocobo’s Forest and travel to the Chocobo footprints just outside the forest (to the east), and then select and use the Gysahl Greens out of your item inventory.
Gysahl Greens, which you can use to call Choco any time you are near a set of Chocobo footprints on the world map. Leave the Chocobo’s Forest and travel to the Chocobo footprints just outside the forest (to the east), and then select and use the Gysahl Greens out of your item inventory.

Riding Choco the Chocobo is a nice and easy way to get around the world map, but for now, you should return to the Chocobo’s Forest with Choco. Walk over to ![]() Mene and ask him, “What’s the big secret?” to have him expand on what he had said to Zidane earlier.
Mene and ask him, “What’s the big secret?” to have him expand on what he had said to Zidane earlier.
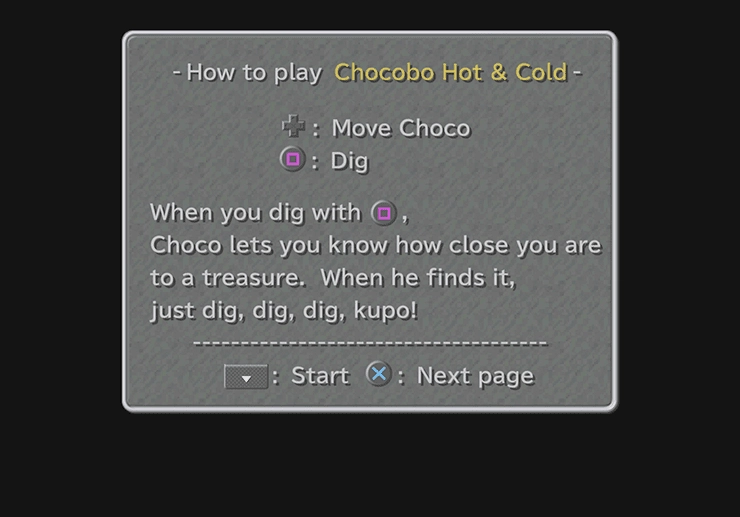
He will explain that Choco can seek out treasures and items hidden underground. Choose to pay the 60 Gil when prompted to play “Chocobo Hot & Cold.”
The object of the game is to dig up Chocographs and Chocograph Pieces in each of the Chocobo locations throughout the world, but you can dig up a variety of other rewards. As indicated in the instructions provided (and shown in the screenshot above), press the ![]()
![]()
![]() button to dig with your Chocobo. It will respond with either:
button to dig with your Chocobo. It will respond with either:
- “Kweh.” which means you are cold
- “Kweh?!” which means you are warm
- “Kewhhh?!” which means you are hot (close to the item)
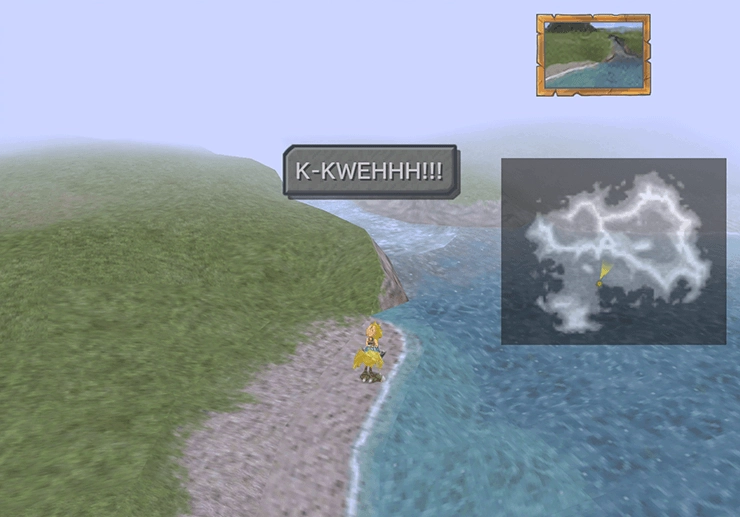
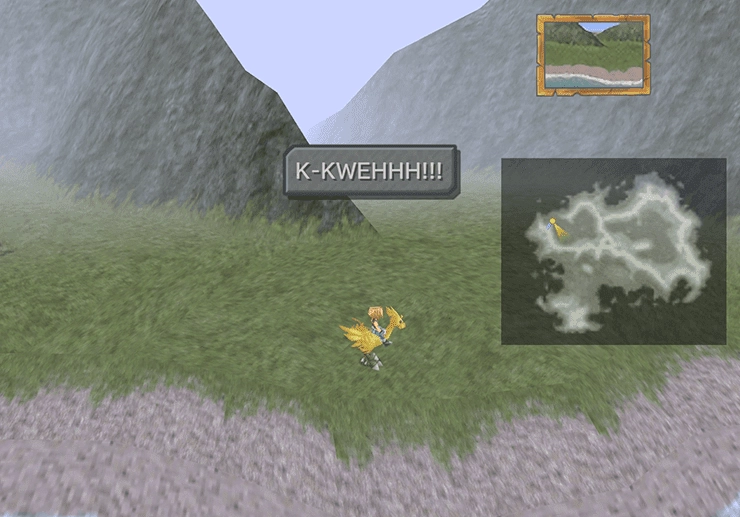
- “K-KWEHHH!!!” means you have found the item
The point system for Chocobo Hot & Cold can be fairly complex, and you can read the full guide using the link below.
Side Quests
Chocobo Hot & Cold is the digging minigame you just started with Choco. Playing it uncovers Chocographs that lead to hidden treasures all over the world, and the guide breaks down the scoring and everything you can find.
There are a ton of Chocographs that you can dig up in the Chocobo’s Forest, though, so don’t be afraid to spend some quality time here. ![]() Mene will inform you when there are no more Chocographs to dig up in this area.
Mene will inform you when there are no more Chocographs to dig up in this area.
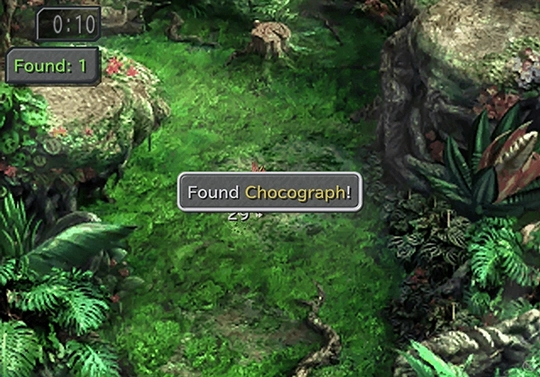
The first Chocograph that you dig up, which will be referred to as “Stone With Patterns” when you first dig it up, will be Chocograph #1: Streamside. ![]() Mene will suggest that you take Choco out of the forest and find the hidden treasure identified by the Chocograph.
Mene will suggest that you take Choco out of the forest and find the hidden treasure identified by the Chocograph.
Press the ![]()
![]()
![]() button near Choco or press the
button near Choco or press the ![]()
![]()
![]() button while riding him and choose to “Take a look at the Chocograph.” Select “Streamside” and add it to your inventory.
button while riding him and choose to “Take a look at the Chocograph.” Select “Streamside” and add it to your inventory.
The Chocograph gives you a hint of where to find the treasure (“Go check where the river meets the ocean, Kupo.”) as well as what ability is required to find the treasure (“Field,” which you have already). Exit the Chocobo’s Forest, and Zidane will automatically jump on Choco.

Chocograph #1 and #2
The location of this Chocograph is fairly straightforward. Find the stream running through the middle of this part of the continent and search near the beach where the river runs out into the ocean (on the west side of the bank). Use the screenshot below to aid you.
This treasure chest contains:
- 2
 Elixirs
 - 3
 Hi-Potions
 - 4
 Ethers
 - 2 pairs of
 Germinas Boots
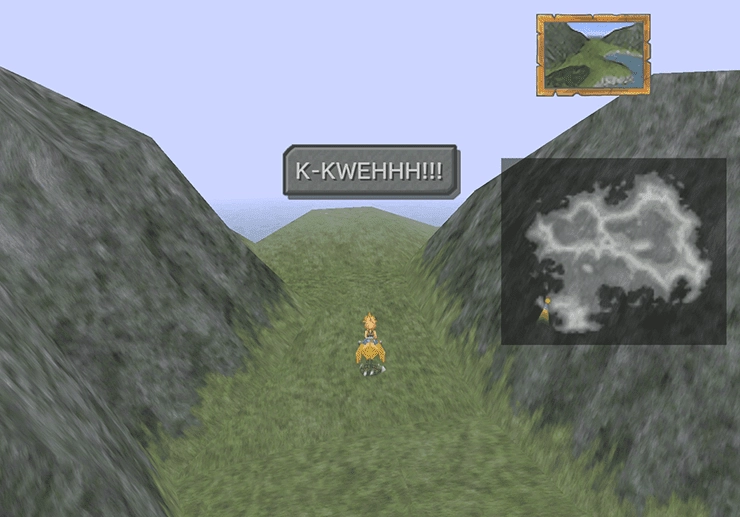
You can search for and find a few more Chocographs in the Chocobo’s Forest, including Chocograph #2: Between Mountains (5 ![]() Potions, 5
Potions, 5 ![]() Hi-Potions, 2
Hi-Potions, 2 ![]() Tents, and 2
Tents, and 2 ![]() Cotton Robes) and Chocographs #3 through #11, but you cannot search for or reach these areas yet, only Chocograph #1 and #2.
Cotton Robes) and Chocographs #3 through #11, but you cannot search for or reach these areas yet, only Chocograph #1 and #2.
For help finding “Chocograph #2: Between Mountains,” use the screenshot below.
It is now time to travel to Gizamaluke’s Grotto, which you can find on the north side of the continent in the Eunorus Plains and is identified on the map if you pull it up. Save your game before you enter.
Helpful Hint
You can remove the Chocograph picture from your screen by hopping on a Chocobo, pressing the ![]()
![]()
![]() button to open the Chocograph Menu, and selecting “Cancel.”
button to open the Chocograph Menu, and selecting “Cancel.”
Gizamaluke’s Grotto
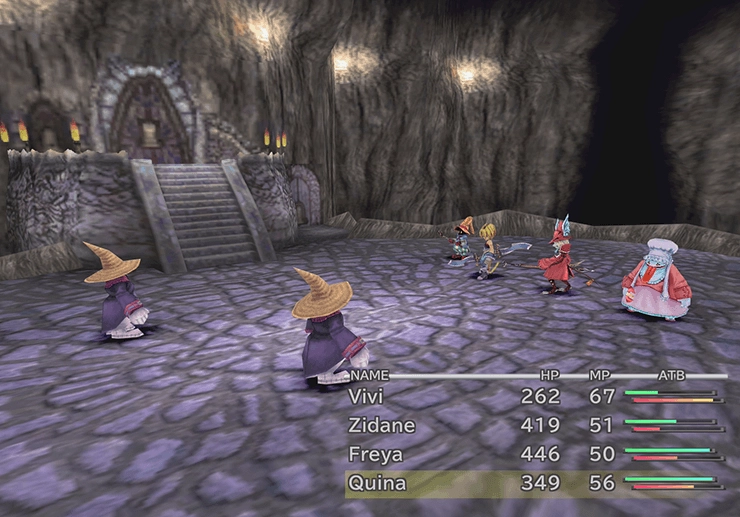
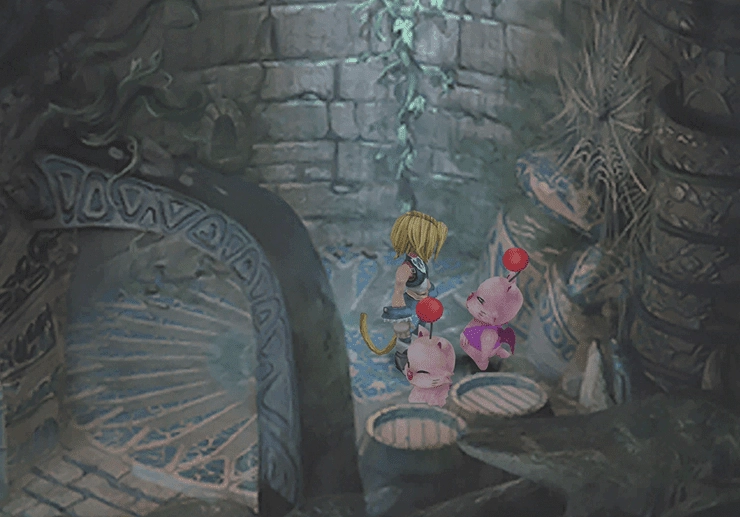
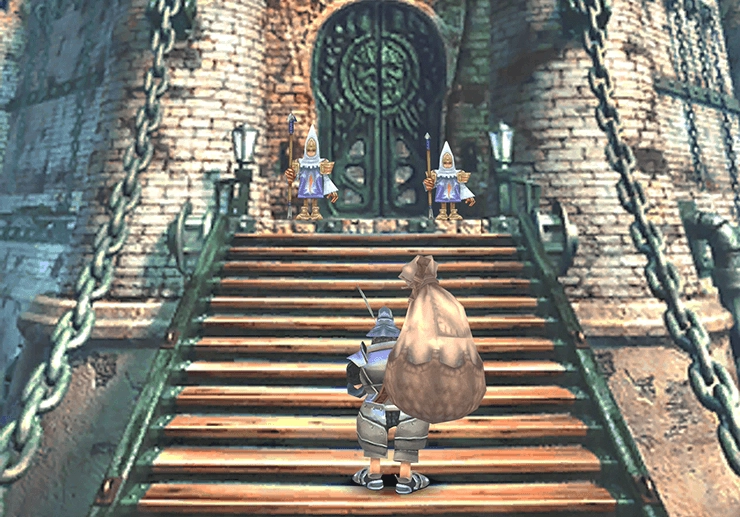
A short scene occurs just outside the entrance to Gizamaluke’s Grotto regarding the guards who have just been killed. Freya, Zidane, Vivi, and Quina (assuming you traveled to Qu’s Marsh, which you should have) will head into the cave.

The cavern has a door on the far wall, but before you enter the Grotto, take the pathway leading off to the right and speak to the Burmecian Soldier.
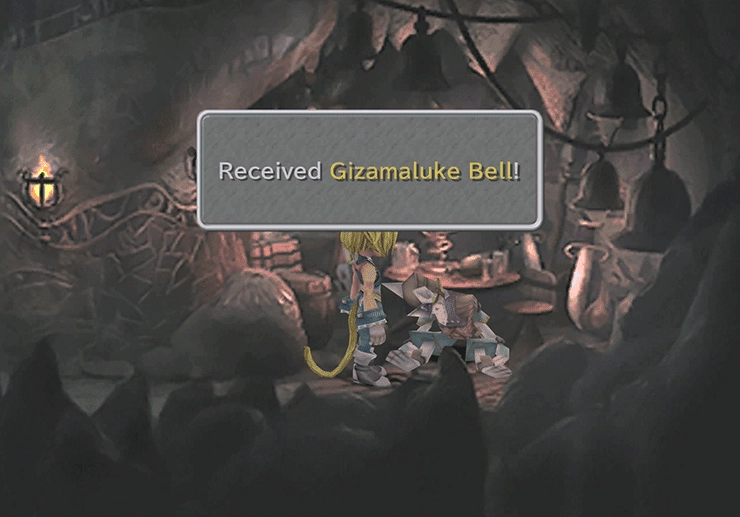
The soldier will tell you about the Black Mages that attacked them and will give you a Gizamaluke Bell. Use the bell to open the large door and proceed through.
Another short scene will unfold involving Zorn, Thorn, and the Black Mages. You will be thrown into a battle against two Black Mages (Type A). They are fairly straightforward to defeat, and you will be fighting quite a few more of them throughout the cavern.
Run through the archway and defeat the other Black Mage (the battle actually involves two of them), wandering around on the other side. You will receive another Gizamaluke Bell after you defeat them.
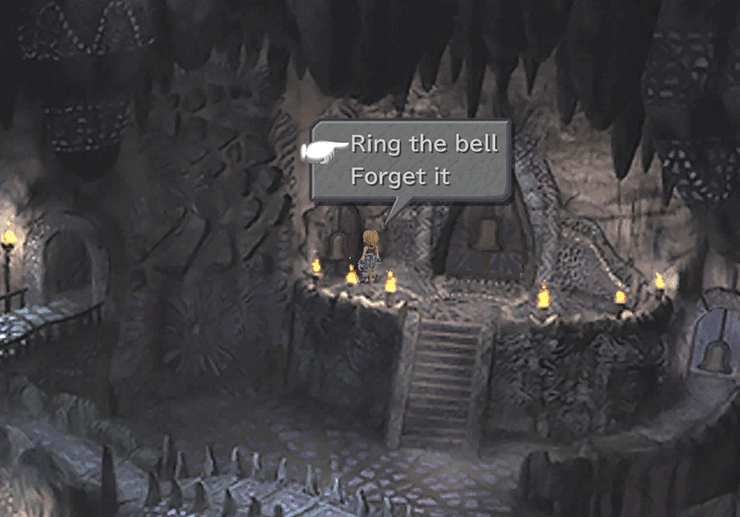
There are three doors with bells on them located at the back wall. Use your Gizamaluke Bell on the door on the left side, the tiny one next to the large door.
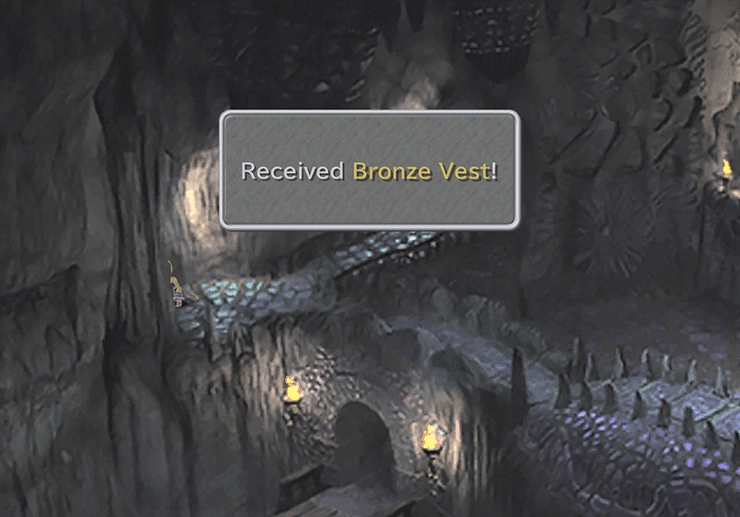
Follow the pathway around until you reach the left side of the room. There is a hidden treasure chest behind the wall of the cave that contains a ![]() Bronze Vest. Follow the pathway along until you reach the Burmecian Soldier who will give you another Gizamaluke Bell.
Bronze Vest. Follow the pathway along until you reach the Burmecian Soldier who will give you another Gizamaluke Bell.
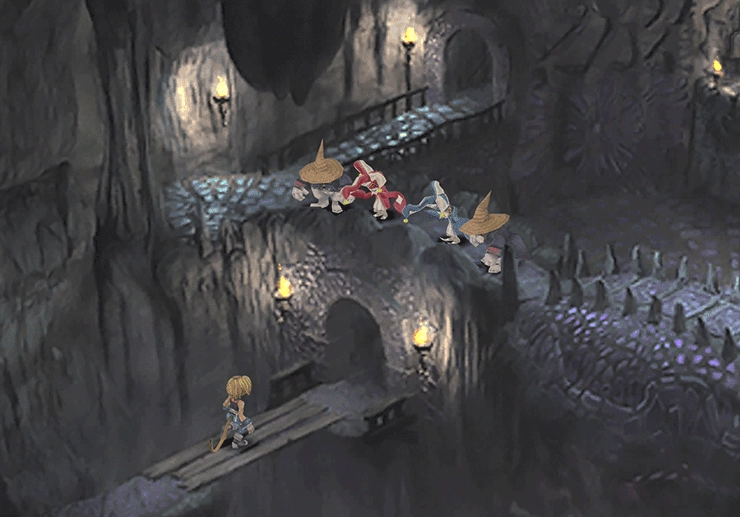
Travel back to the group of locked doors and use this Gizamaluke Bell on the small door to the right side (again, not the large door). This area is called the “Bell Room.”
There is a hidden chest along the back wall as you approach the top of the stairs that contains ![]() Mythril Gloves.
Mythril Gloves.
There is another hidden chest on the piece of the platform that goes underneath the bridge towards the screen, which contains a ![]() Magus Hat. Equip Vivi with the
Magus Hat. Equip Vivi with the ![]() Magus Hat so that he can begin learning
Magus Hat so that he can begin learning ![]() Slow, a new spell that will have many applications throughout the game.
Slow, a new spell that will have many applications throughout the game.
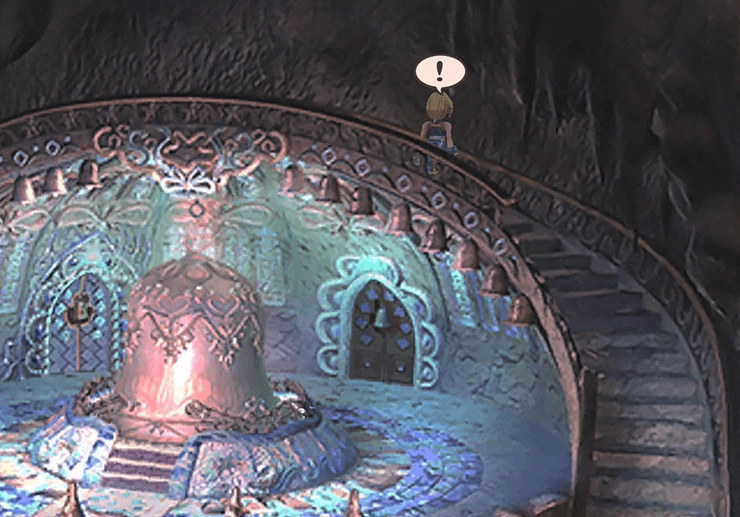
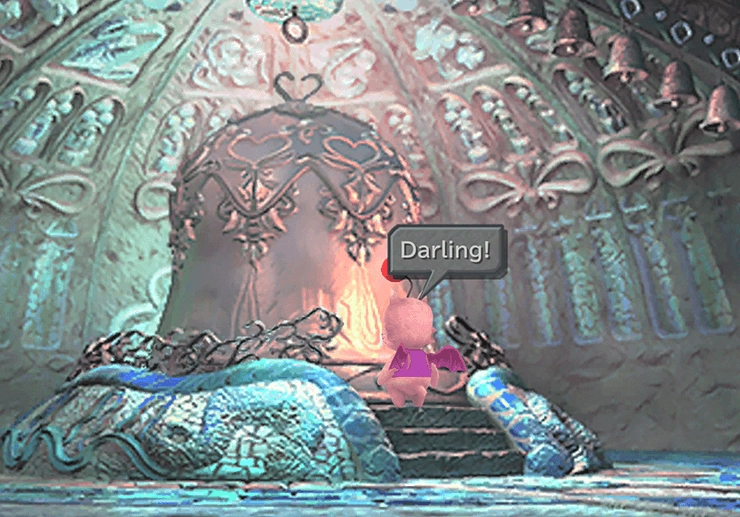
Continue along the pathway until you reach the giant bell in the center. Choose to have Vivi hand over the Kupo Nut to ![]() Moguta when asked and then grab the chest under the bell to receive another Gizamaluke Bell.
Moguta when asked and then grab the chest under the bell to receive another Gizamaluke Bell.
Use the Gizamaluke Bell on the door to the right and enter to find yourself in a room with the Moogle couple. Speak to ![]() Mogmi, and you can save your game and use a
Mogmi, and you can save your game and use a ![]() Tent to refill your party member’s HP and MP.
Tent to refill your party member’s HP and MP.
Don’t forget to select the Mognet option to give the letter from ![]() Moodon to
Moodon to ![]() Mogmi. Try to leave the area, and
Mogmi. Try to leave the area, and ![]() Moguta will follow you to give you a Holy Bell.
Moguta will follow you to give you a Holy Bell.
Leave the room and use the Holy Bell on the second door in the Bell Room. Inside this room is your next boss fight against Gizamaluke.

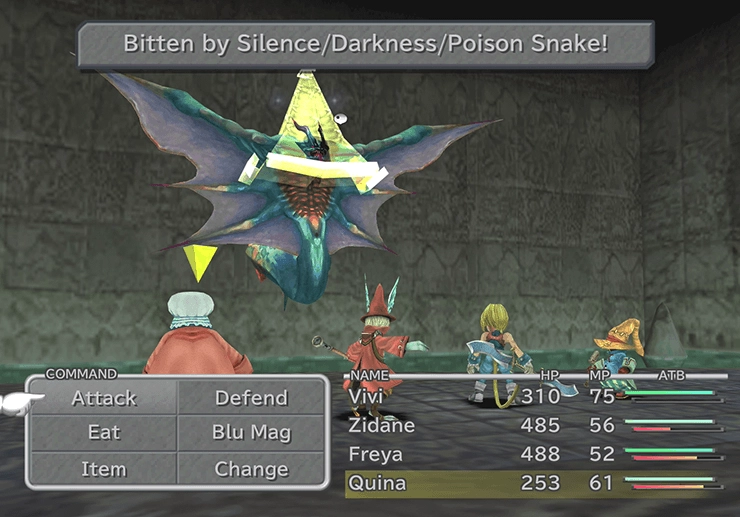
Boss Battle

Level: 16
HP: 3,175
This boss is one of the most difficult ones you have faced so far, which is primarily because you have no healer in your party. You will be stuck using ![]() Potions and
Potions and ![]() Hi-Potions to heal your party members, which is made even more difficult because many of Gizamaluke’s attacks will hit multiple party members (its Water spell specifically).
Hi-Potions to heal your party members, which is made even more difficult because many of Gizamaluke’s attacks will hit multiple party members (its Water spell specifically).
Gizamaluke is vulnerable to several different status effects, including ![]() Blind,
Blind, ![]() Mini,
Mini, ![]() Silence,
Silence, ![]() Sleep, and
Sleep, and ![]() Slow. Start the fight by using one of your
Slow. Start the fight by using one of your ![]() Tent items on it, as this can potentially cause the Darkness or the Silence status effects, significantly reducing the amount of damage that Gizamaluke can do. Following that, ensure that Zidane steals each of the items that it holds (
Tent items on it, as this can potentially cause the Darkness or the Silence status effects, significantly reducing the amount of damage that Gizamaluke can do. Following that, ensure that Zidane steals each of the items that it holds (![]() Magus Hat,
Magus Hat, ![]() Elixir, and an
Elixir, and an ![]() Ice Staff).
Ice Staff).
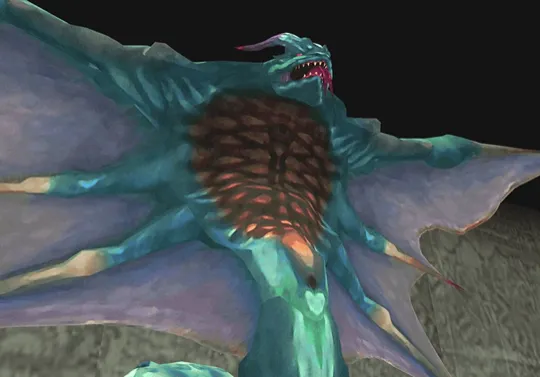
The rest is a fairly standard fight. Keep your party members healed, and have each character use their most powerful attacks. Freya’s Jump ability is very useful for getting her out of the fray, as she cannot be hit with an attack while she is in mid-air. Gizamaluke is weak to Lightning, so Vivi’s ![]() Thunder spell is your hardest-hitting option. Be aware, though, that Gizamaluke responds to damaging magic with a counterattack called “Silent Voice,” which inflicts the Silence status effect on the caster. Vivi will be silenced repeatedly as a result, so keep a stock of
Thunder spell is your hardest-hitting option. Be aware, though, that Gizamaluke responds to damaging magic with a counterattack called “Silent Voice,” which inflicts the Silence status effect on the caster. Vivi will be silenced repeatedly as a result, so keep a stock of ![]() Echo Screens on hand to cure him each time.
Echo Screens on hand to cure him each time.
Steal:
![]() Elixir (common)
Elixir (common)
![]() Magus Hat (uncommon)
Magus Hat (uncommon)
![]() Ice Staff (rare)
Ice Staff (rare)
Drops:
![]() Tent
Tent
A video demonstration of this battle is included below for reference.
Video Guide
A video demonstration of how to successfully complete the fight against Gizamaluke.
The story continues by following up with Steiner and Princess Garnet at the South Gate (Bohden Arch).
South Gate (Bohden Arch)
Have Steiner walk up to the gate and speak to the guards to continue. After a close call at the entrance, you will find yourself back in control of Steiner inside the gate.
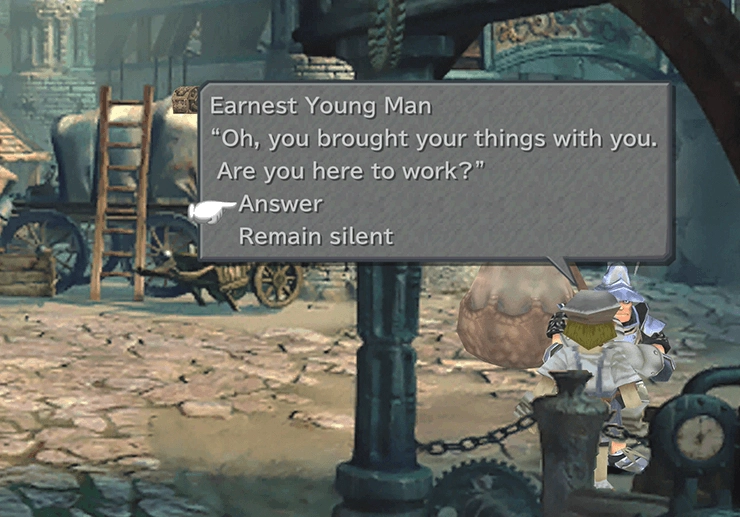
Speak to both workers on the right side of the screen. It does not matter which option you select when speaking with them.
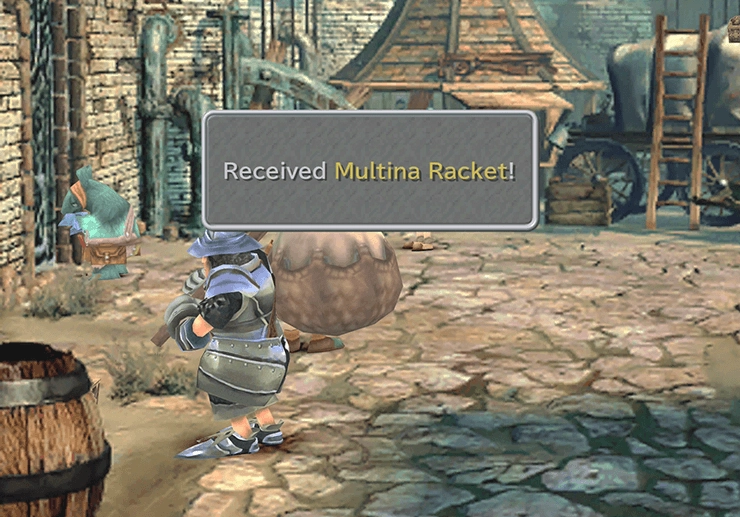
Start by grabbing the treasure chest located on the left side of the screen towards the camera. It contains a ![]() Multina Racket.
Multina Racket.
Go over and speak to the little blue/green fellow on the left side of the screen.
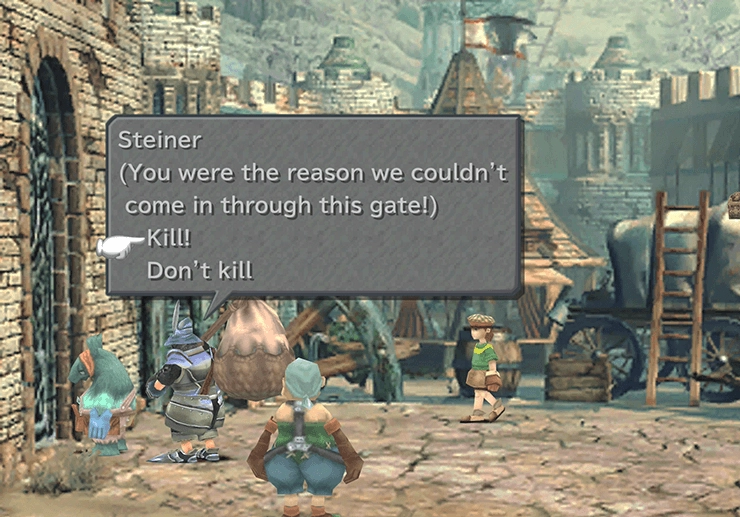
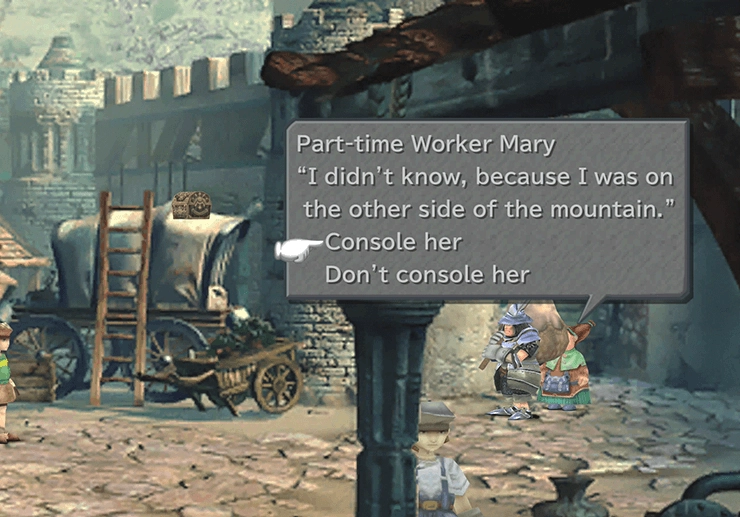
Next, speak to “Part-time Worker Mary” to get her to move out of the way.
Speak to the young man on the right, closest to the screen (the Chief Engineer) which will cause him to move as well and then head down the path off to the right.
A “Short Guard” will appear and beckon Steiner over. He will give Steiner a Gate Pass by leaving it on the ground for him. You cannot obtain the treasure chest on top of the caravan at this point in the game, so do not worry about leaving it behind.
Head around the corner, and Steiner will let Dagger out of the sack. The two will venture into the next area.
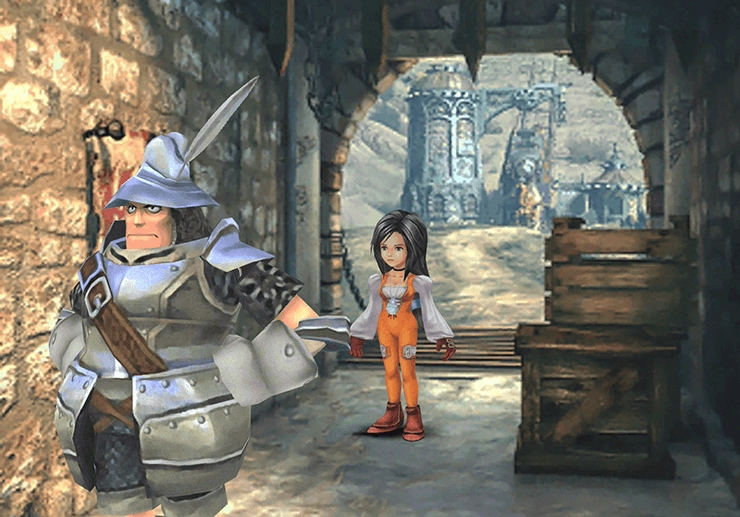
Travel over to the right side of the screen to release Princess Garnet out of the burlap sack. Make sure you take some time to equip Steiner and Dagger with some half-decent armor and weapons for some upcoming fights.

Start by grabbing the treasure chest on the left side of the screen (which contains a ![]() Potion). You can also save your game by speaking to
Potion). You can also save your game by speaking to ![]() Grimo the Moogle on the left side of the screen. Make sure you grab his letter to
Grimo the Moogle on the left side of the screen. Make sure you grab his letter to ![]() Nazna when you speak to him.
Nazna when you speak to him.
You can access the Item Shop by talking to the woman at the counter on the right side of the screen. She sells:
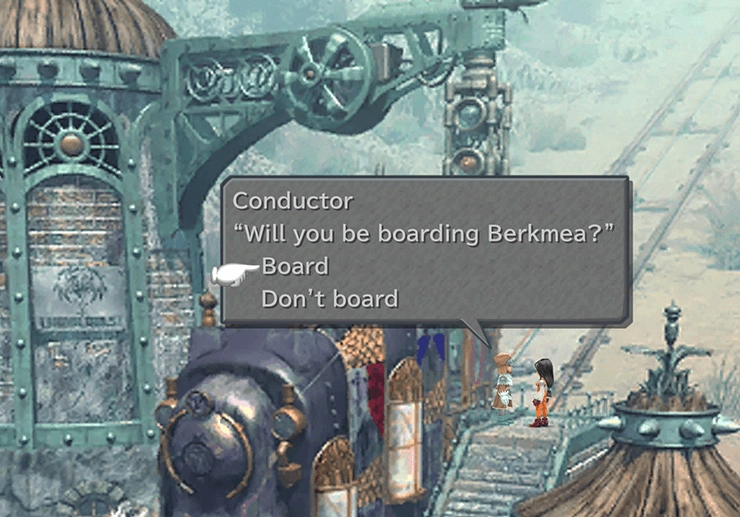
Speak to the Conductor up near the top of the ramp to board the train car. Approach the seats near the back of the train to continue the story. It continues with Zidane, Vivi, Freya, and Quina back in Gizamaluke’s Grotto before they move on to…
Daines-horse Basin - Mist Continent
There are two optional things you can do before going to Burmecia. You can visit the North Gate and search for a Chocograph that is now accessible.
North Gate - Burmecia Arch
You can find the North Gate just east of the exit to Gizamaluke’s Grotto. You can follow the mountain on Zidane’s right side to reach it or use the map below.
Freya and Quina have a few lines of dialog when you reach it, and there are two treasure chests that you can obtain. One contains a ![]() Hi-Potion, and the other contains a
Hi-Potion, and the other contains a ![]() Tent.
Tent.
Chocograph #4 - Healing Water
The Chocobo Tracks are located on the far west side of the Daines-horse Basin through a small crevasse just past the large whirlwind. Take a right once you make it through the passageway, and then use some ![]() Gysahl Greens while standing on the tracks.
Gysahl Greens while standing on the tracks.
The treasure chest is located in the grassy area near the shore, not far from the Chocobo Tracks. It contains a new ability for your Chocobo: “Reef Ability,” which will allow your Chocobo to enter shallow water.
You can also now obtain Chocograph #10: Bird’s-Eye Lagoon if you travel back through Gizamaluke’s Grotto, but that is not recommended at this point.
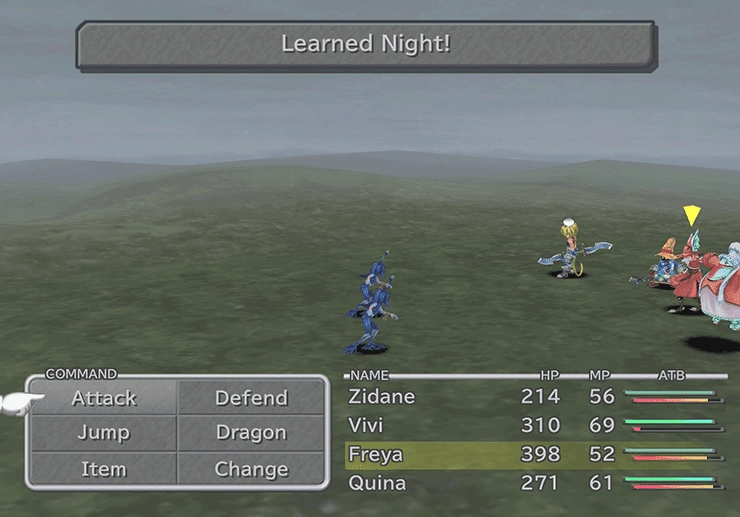
Blue Magic: Night
You can also learn a new Blue Magic ability for Quina from an enemy called a Nymph (shown in the screenshot below). Nymphs have approximately 458 HP.
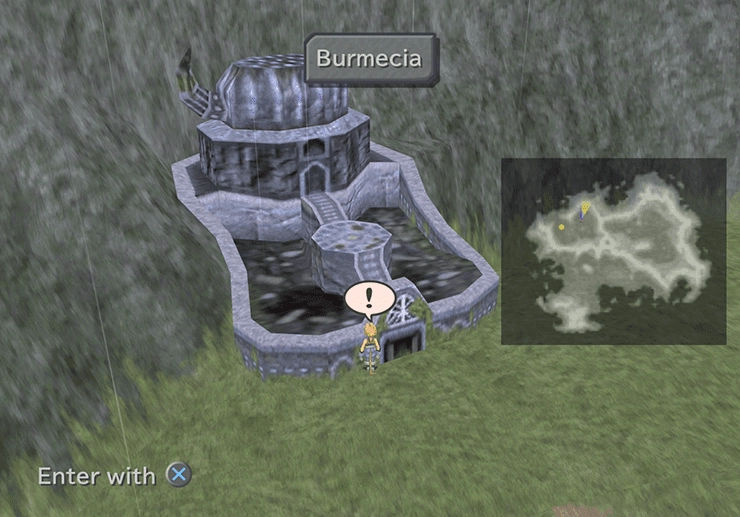
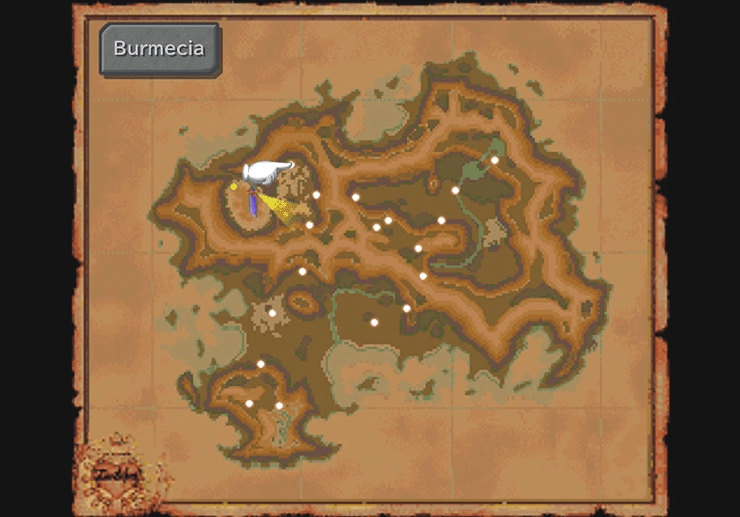
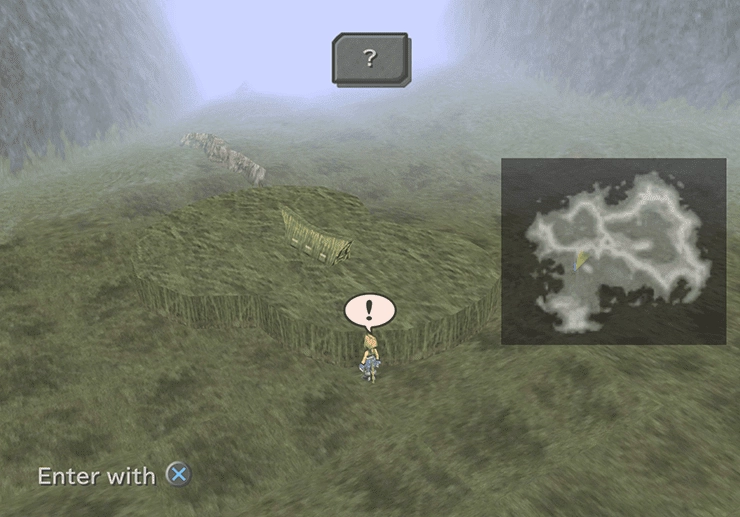
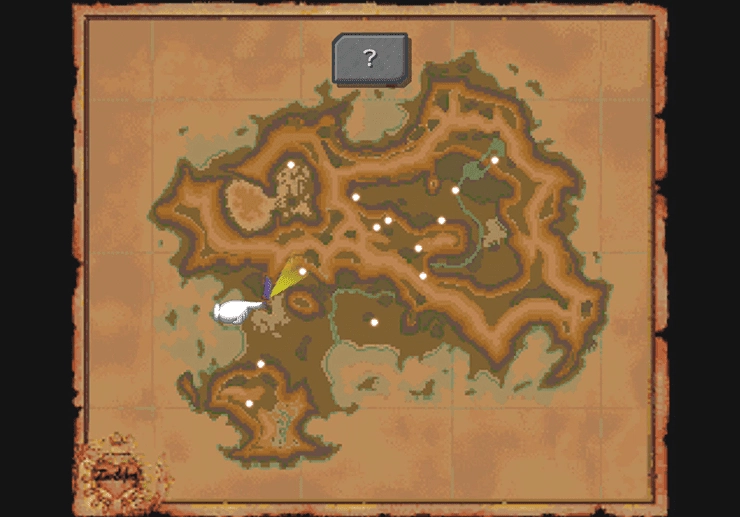
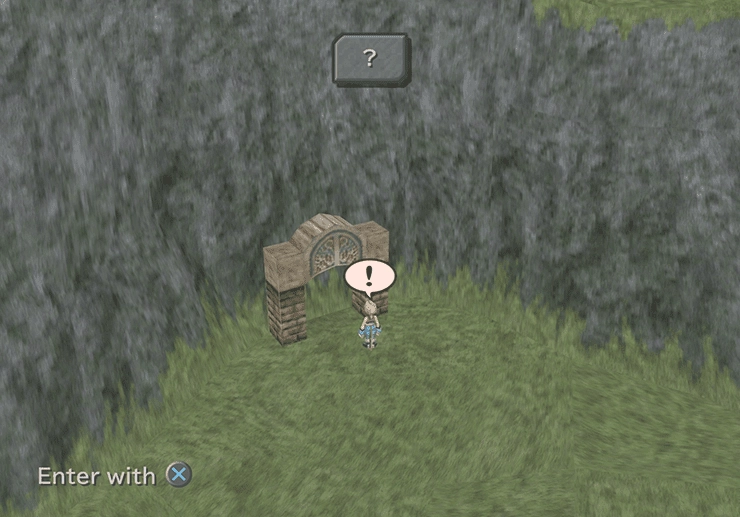
The entrance to Burmecia is located on the north side of the continent. Use the map and screenshot below to help you find it.