Burmecia
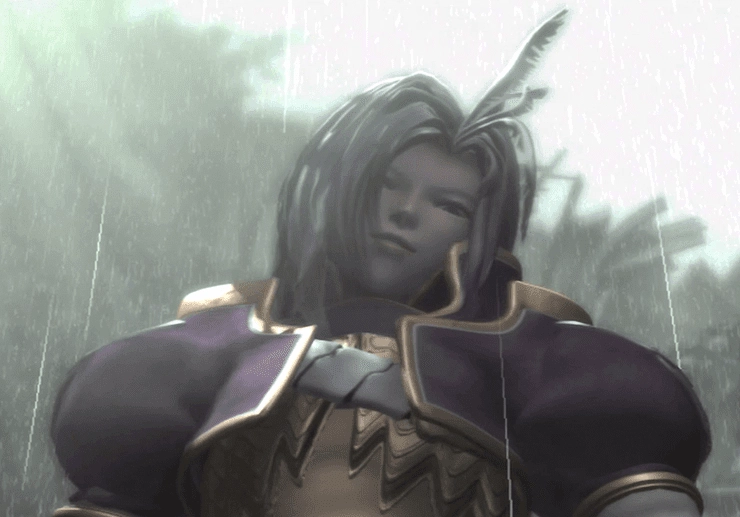
Burmecia is known as the Realm of Eternal Rain.
There are a couple of quick lines before Freya, Zidane, Vivi, and Quina (assuming you picked Quina up in Qu’s Marsh, check the Gizamaluke’s Grotto Walkthrough page for more information) enter Burmecia, the Realm of Eternal Rain.
You can obtain a new Blue Magic ability in Burmecia by having Quina eat a Magic Vice enemy shown below. Eating a Magic Vice will teach Quina the ![]() Magic Hammer ability. Magic Vices have 297 HP.
Magic Hammer ability. Magic Vices have 297 HP.
You can also find an enemy called an Ironite in this area that can teach Quina the ![]() Angel’s Snack ability.
Angel’s Snack ability.

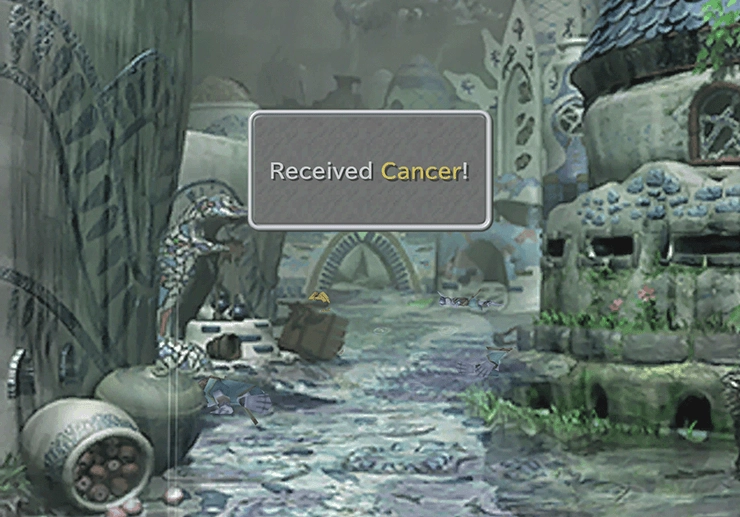
There is an item hidden behind the small wooden box in the middle of the first street. Search behind it to find the Cancer Stellazzio. There’s something kinda funny/morbid about the game telling you that you’ve “Received Cancer!”
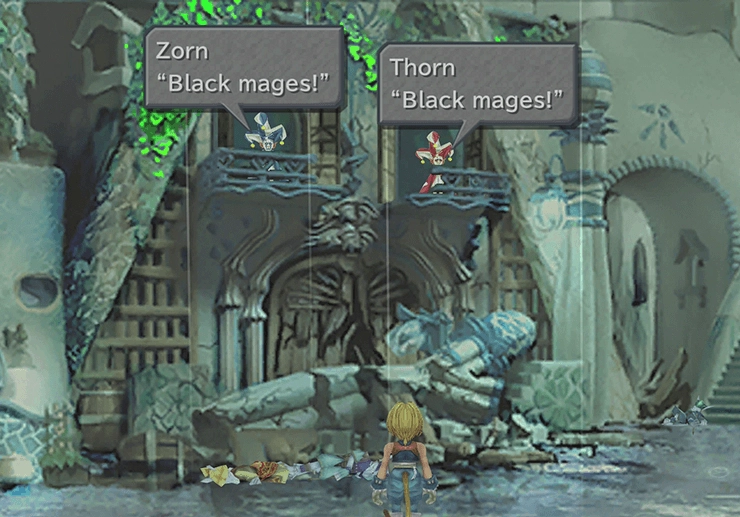
Your party will re-encounter Zorn and Thorn on the next screen. They will throw two more Type A Black Mages at you, which are easy to defeat.
Travel through the doorway on the left side of the stairs (at ground level). There is a chest on the right side of the room that contains a ![]() Soft and another on the left side of the room that contains a
Soft and another on the left side of the room that contains a ![]() Potion. Go back out into the street and take the stairway up to the second level.
Potion. Go back out into the street and take the stairway up to the second level.
Many of the treasure chests in this area are not treasure chests. They transform into an enemy called a ‘Mimic’ as soon as you touch them, and they will force you into a battle.
The treasure chest on the top balcony of this room is a Mimic, so don’t touch it. However, there is a hidden treasure chest on the bottom floor behind the stairwell that contains a ![]() Soft.
Soft.
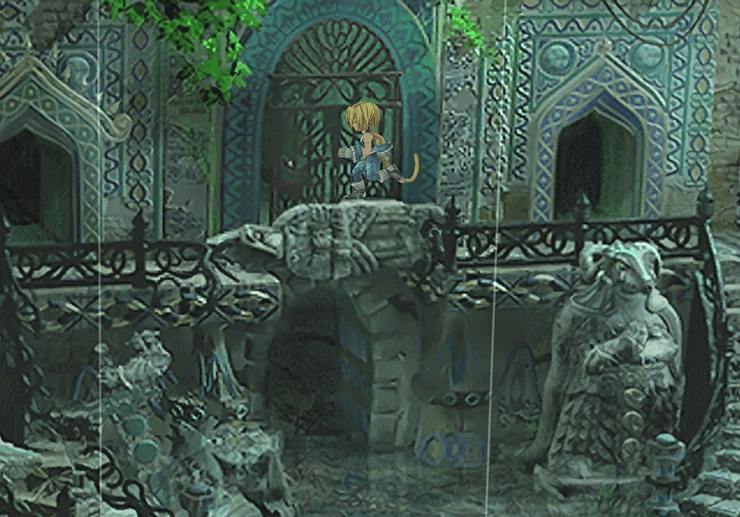
Climb the stairs up to the upper floor and proceed through the doorway on the left side of the screen. The doorway on this outdoor balcony is locked, so walk across to the other side.
Warning
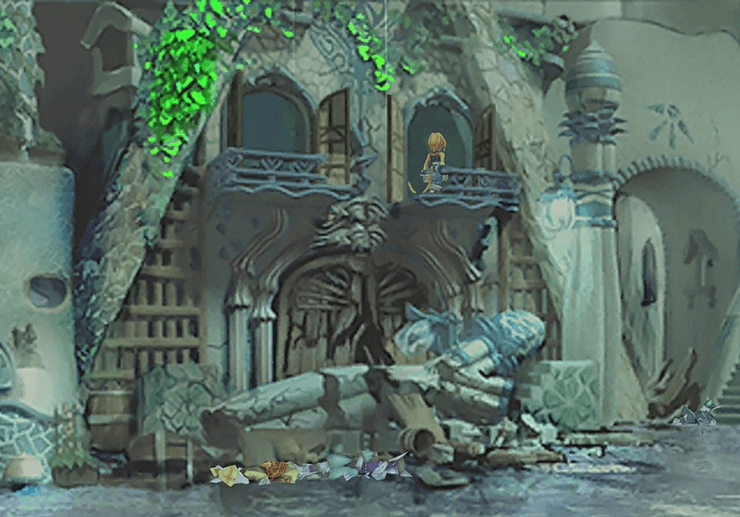
There is a treasure chest on the left side of this upper balcony. To reach it, you must walk, rather than run, across the upper walkway, as the floor will give out, and you will not be able to open it. If you do manage to reach it, you’ll receive a pair of ![]() Germinas Boots. Now, force it to break so that it drops to the lower level.
Germinas Boots. Now, force it to break so that it drops to the lower level.
Travel back outside the house (where you met up with Zorn and Thorn and fought the Black Mages) and take the door on the left side of the screen (the room where you found the ![]() Potion and
Potion and ![]() Soft). Take the stairs up to the second level and cross the platform that you dropped from the floor above.
Soft). Take the stairs up to the second level and cross the platform that you dropped from the floor above.
The treasure chest in this room is another Mimic that you can ignore. You can also pass through the next room, which appears to have several hidden treasures scattered about, but it doesn’t. Zidane will automatically jump from one balcony over to the next.
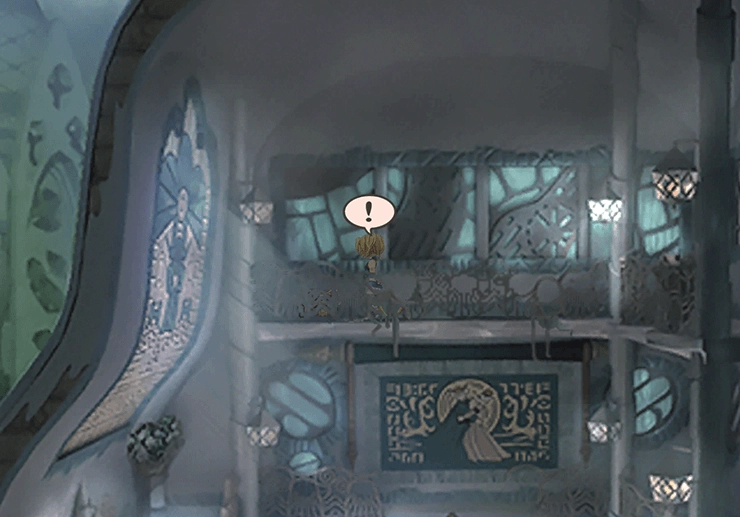
The next room is a bedroom with a wounded soldier lying near the wall on the right. Speak to him to find out that there is a bell hidden underneath the bed.
You have to go around to the far side of the bed, away from the camera, to find the hidden bell (a Protection Bell key item). On the left side of the room is a hidden treasure chest that contains an ![]() Ether.
Ether.
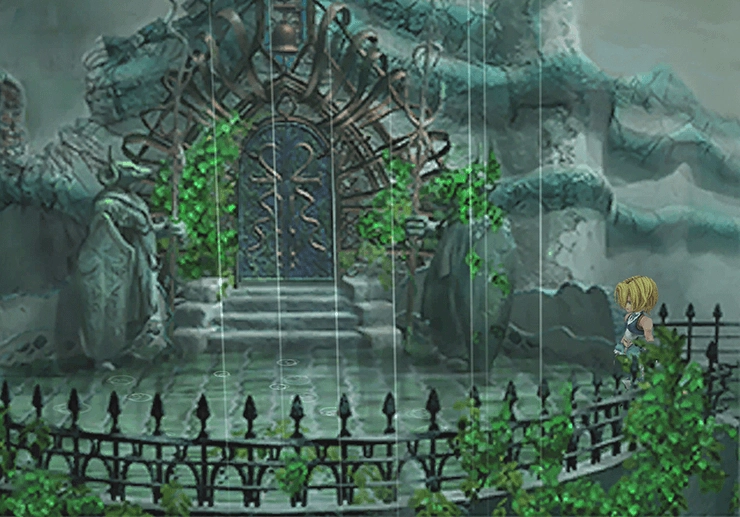
Travel back to the room with the balcony on the right side of the house with the locked door (shown in the screenshot below). You can use the Protection Bell in the next room on the locked doorway at the back.
There are a few more lines of dialog as Freya and the team run into “Burmecian Soldier Dan.” Run past him up the stairway in the next area.

Uptown Burmecia
Go through the doorway on the main level for another short scene involving Wei and Kal. Watching this scene will allow you to watch an Active Time Event later on in the game once you return to Lindblum.
Achievement/Trophy
You must watch this scene involving Wei and Kal to trigger an ATE later on in the game. Watching this ATE is a requirement for obtaining the  Movie Critic Achievement/Trophy. Make sure that you watch Wei and Kal if you intend to get the Achievement/Trophy later on.
Take the stairwell up and use the broken statue to cross between the two balconies over to the left side. There are two treasure chests that you can pick up as soon as you enter: one contains a ![]() Tent, and the other contains a
Tent, and the other contains a ![]() Phoenix Down.
Phoenix Down.
Following the balcony around leads to another treasure chest, which is a Mimic in disguise, so don’t open it. Instead, take the large doorway at the back of the room, which leads to an outdoor Square with a fountain in the middle.
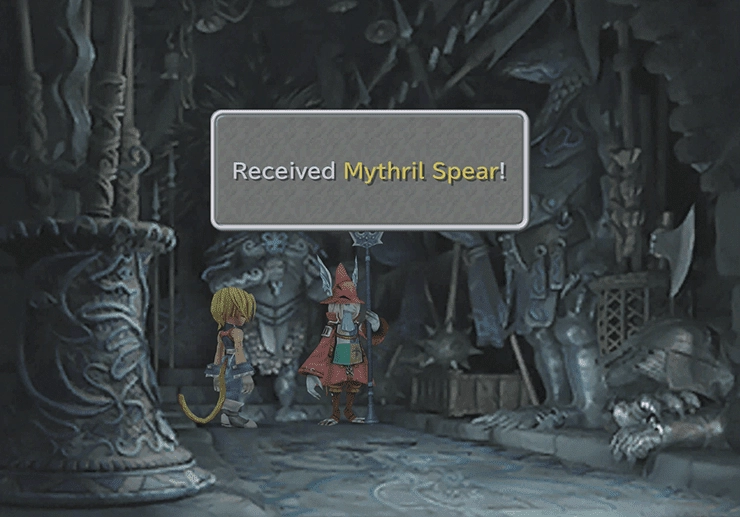
Take the doorway on the left side of the Square to find the Armory. Freya will pull a spear off the large statue at the back of the room: the ![]() Mythril Spear. Don’t forget to equip her with it before you leave. The doorway on the right side of the Square leads to a room called the Vault, where you can find
Mythril Spear. Don’t forget to equip her with it before you leave. The doorway on the right side of the Square leads to a room called the Vault, where you can find ![]() Atla the Moogle.
Atla the Moogle.
You can save your game, provide ![]() Atla with the letter from
Atla with the letter from ![]() Mogki, and use the “Mogshop” to stock up on any items you may be lacking.
Mogki, and use the “Mogshop” to stock up on any items you may be lacking. ![]() Atla will give you a Kupo Nut once you give her the letter. You can purchase the following items from the Mogshop:
Atla will give you a Kupo Nut once you give her the letter. You can purchase the following items from the Mogshop:
 Needle Fork
 Glass Armlet
 Mythril Gloves
 Steepled Hat
 Headgear
- Magus Hat
 Barbut (a good item to pick up for Freya)
 Bronze Vest
 Linen Cuirass
 Potions
 Phoenix Downs
 Echo Screen
 Soft
Soft Antidote
- Eye Drops
- Tents
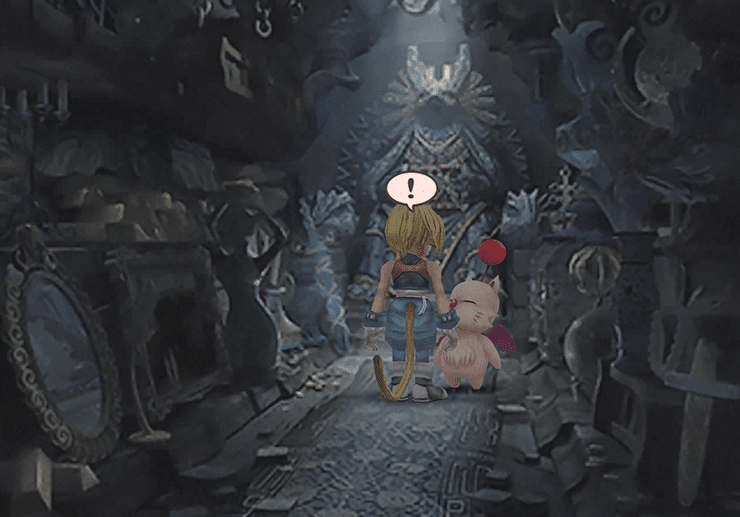
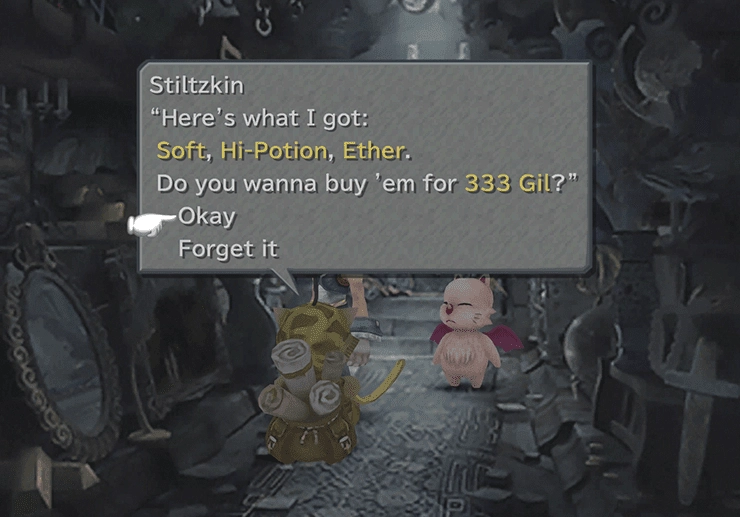
Open the treasure chest at the very back of the room to obtain a ![]() Lightning Staff. Opening the chest will prompt a Moogle named
Lightning Staff. Opening the chest will prompt a Moogle named ![]() Stiltzkin to appear at the entrance to the room.
Stiltzkin to appear at the entrance to the room. ![]() Stiltzkin will offer to sell you three items for 333 Gil: a
Stiltzkin will offer to sell you three items for 333 Gil: a ![]() Soft, a
Soft, a ![]() Hi-Potion and an
Hi-Potion and an ![]() Ether.
Ether.
You should always purchase items from ![]() Stiltzkin whenever he appears, as you can obtain some nice rewards later on in the game for consistently purchasing from him (a
Stiltzkin whenever he appears, as you can obtain some nice rewards later on in the game for consistently purchasing from him (a ![]() Ribbon accessory, specifically). You can read more about Stiltzkin in the Side Quests section using the link below.
Ribbon accessory, specifically). You can read more about Stiltzkin in the Side Quests section using the link below.
Side Quests
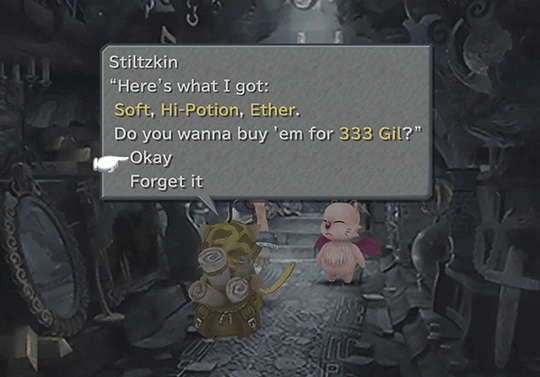
Stiltzkin is a traveling Moogle merchant you run into in towns across the game, like here in Burmecia. Buying his bundle each time he appears eventually earns you a Ribbon.
Achievement/Trophy
You must purchase all the available items from ![]() Stiltzkin each time he appears to obtain the
Stiltzkin each time he appears to obtain the  Driving the Hard Bargain Achievement/Trophy. This Achievement/Trophy is a missable, as you cannot return to some sections of the game to buy items that you have missed.
Optional Helpful Hint
You have the option of taking the Kupo Nut that you received from ![]() Atla and delivering it to
Atla and delivering it to ![]() Moguta in Gizamaluke’s Grotto, the Moogle who freed himself from under the bell to be with his wife. Kupo Nuts are part of the Kupo Nut side quest, and this is your only opportunity to deliver this particular nut back to
Moguta in Gizamaluke’s Grotto, the Moogle who freed himself from under the bell to be with his wife. Kupo Nuts are part of the Kupo Nut side quest, and this is your only opportunity to deliver this particular nut back to ![]() Moguta for a random reward.
Moguta for a random reward.
That said, because the reward you receive is random and of limited value, it is not recommended that you take this Kupo Nut all the way back. This note is intended for those die-hard completionists who are interested in completing it.
Optional Helpful Hint
There are also a few more Chocographs that you can obtain if you decide to travel back through to Gizamaluke’s Grotto and Qu’s Marsh, though this is entirely optional, and the rewards are not critical. Check out the Chocograph side quest page for more information. The two Chocographs that you can obtain are:
Similar to the Kupo Nut optional steps, it is not recommended that you leave to complete these steps, as this involves going way out of your way for things that you can easily complete later on in the game.
Besides the Kupo Nut and the Chocographs, if you do decide to exit Burmecia, you can take this opportunity to return to Qu’s Marsh to catch more frogs. Again, none of this is recommended, but it is an option if you choose to do so.
Side Quests
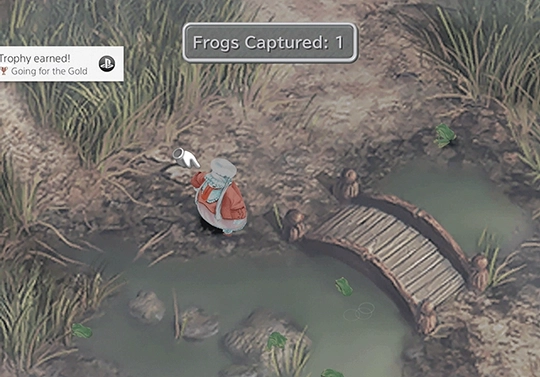
Catching Frogs is a side quest where you net frogs at Qu’s Marsh for rewards. Read the full guide for all the details.
You have an upcoming boss battle, so make sure that your party is fully healed. Use a ![]() Tent by speaking to
Tent by speaking to ![]() Atla if you have enough available. You’ll have three options when you reach the King’s Castle after Freya goes silent: “Talk to her,” “Leave her alone,” or “I wonder if Dagger’s alright…” Select “Leave her alone” to continue the story.
Atla if you have enough available. You’ll have three options when you reach the King’s Castle after Freya goes silent: “Talk to her,” “Leave her alone,” or “I wonder if Dagger’s alright…” Select “Leave her alone” to continue the story.

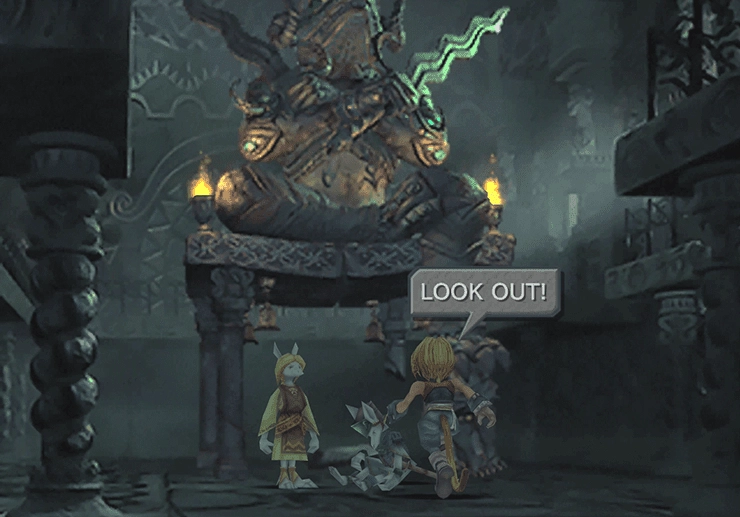
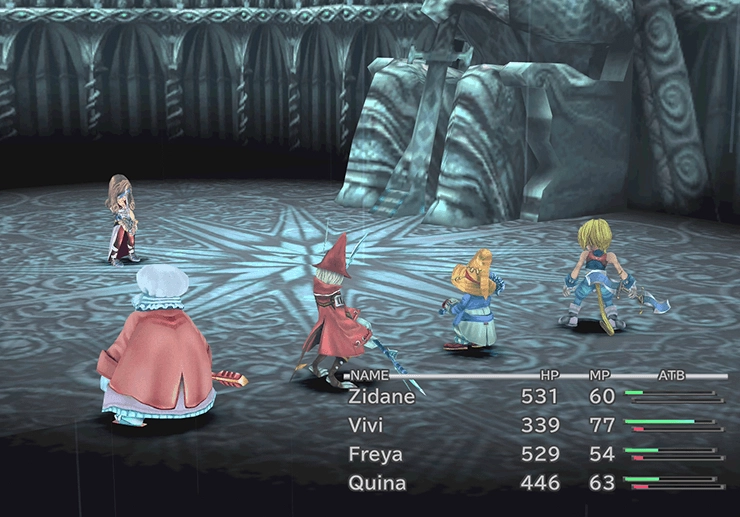
Zidane will follow Freya up into the throne room, and you will get to watch a few flashback scenes involving Freya and Sir Fratley. The whole crew will rush in and ambush Queen Brahne, Kuja, and Beatrix, leading to your next boss battle against just Beatrix.
Boss Battle

Level: 14
HP: 3,630
The goal of this fight is to stay alive. The battle is timed and will automatically end after Beatrix’s 10th turn or if you manage to get her HP down to 0. She will end the battle by using one of two moves: either Stock Break or Climhazzard, which will bring each party member’s HP down to 1 and end the fight.
Use ![]() Potions and
Potions and ![]() Hi-Potions to keep each of your party members alive and move them to the back row (if you left them up front) to ensure that they take minimum amounts of damage. You can move a character to the back row on their turn by holding Left on the control pad and selecting “Change.” You can also change their position from the menu screen. Check out the Front and Back Row Tips and Tricks section. Have Vivi use his
Hi-Potions to keep each of your party members alive and move them to the back row (if you left them up front) to ensure that they take minimum amounts of damage. You can move a character to the back row on their turn by holding Left on the control pad and selecting “Change.” You can also change their position from the menu screen. Check out the Front and Back Row Tips and Tricks section. Have Vivi use his ![]() Slow spell on Beatrix because she is vulnerable to that particular status effect.
Slow spell on Beatrix because she is vulnerable to that particular status effect.
Try to have Zidane Steal each of the items listed above, but note that the ![]() Mythril Sword is incredibly difficult to steal (1⁄256 odds). It is a good weapon, but not worth wasting too much time trying to obtain it.
Mythril Sword is incredibly difficult to steal (1⁄256 odds). It is a good weapon, but not worth wasting too much time trying to obtain it.
If you are having trouble with this fight, make sure to start each character off in the back row and equip a character with the ![]() Coral Ring (to absorb her lightning-based attacks) and
Coral Ring (to absorb her lightning-based attacks) and ![]() Silk Shirt (which reduce lightning-based damage by 1⁄2).
Silk Shirt (which reduce lightning-based damage by 1⁄2).
Steal:
- Phoenix Down (common)
 Chain Plate (uncommon)
 Mythril Sword (very rare)
Drops:
- (Nothing)
A video demonstration of this battle is included below for reference.
Video Guide

A video demonstration of the boss battle against Beatrix in Burmecia.
There are a few more cutscenes after the fight, and then it’s on to Disc 2!