
 Across the Narrow
 The Hideaway
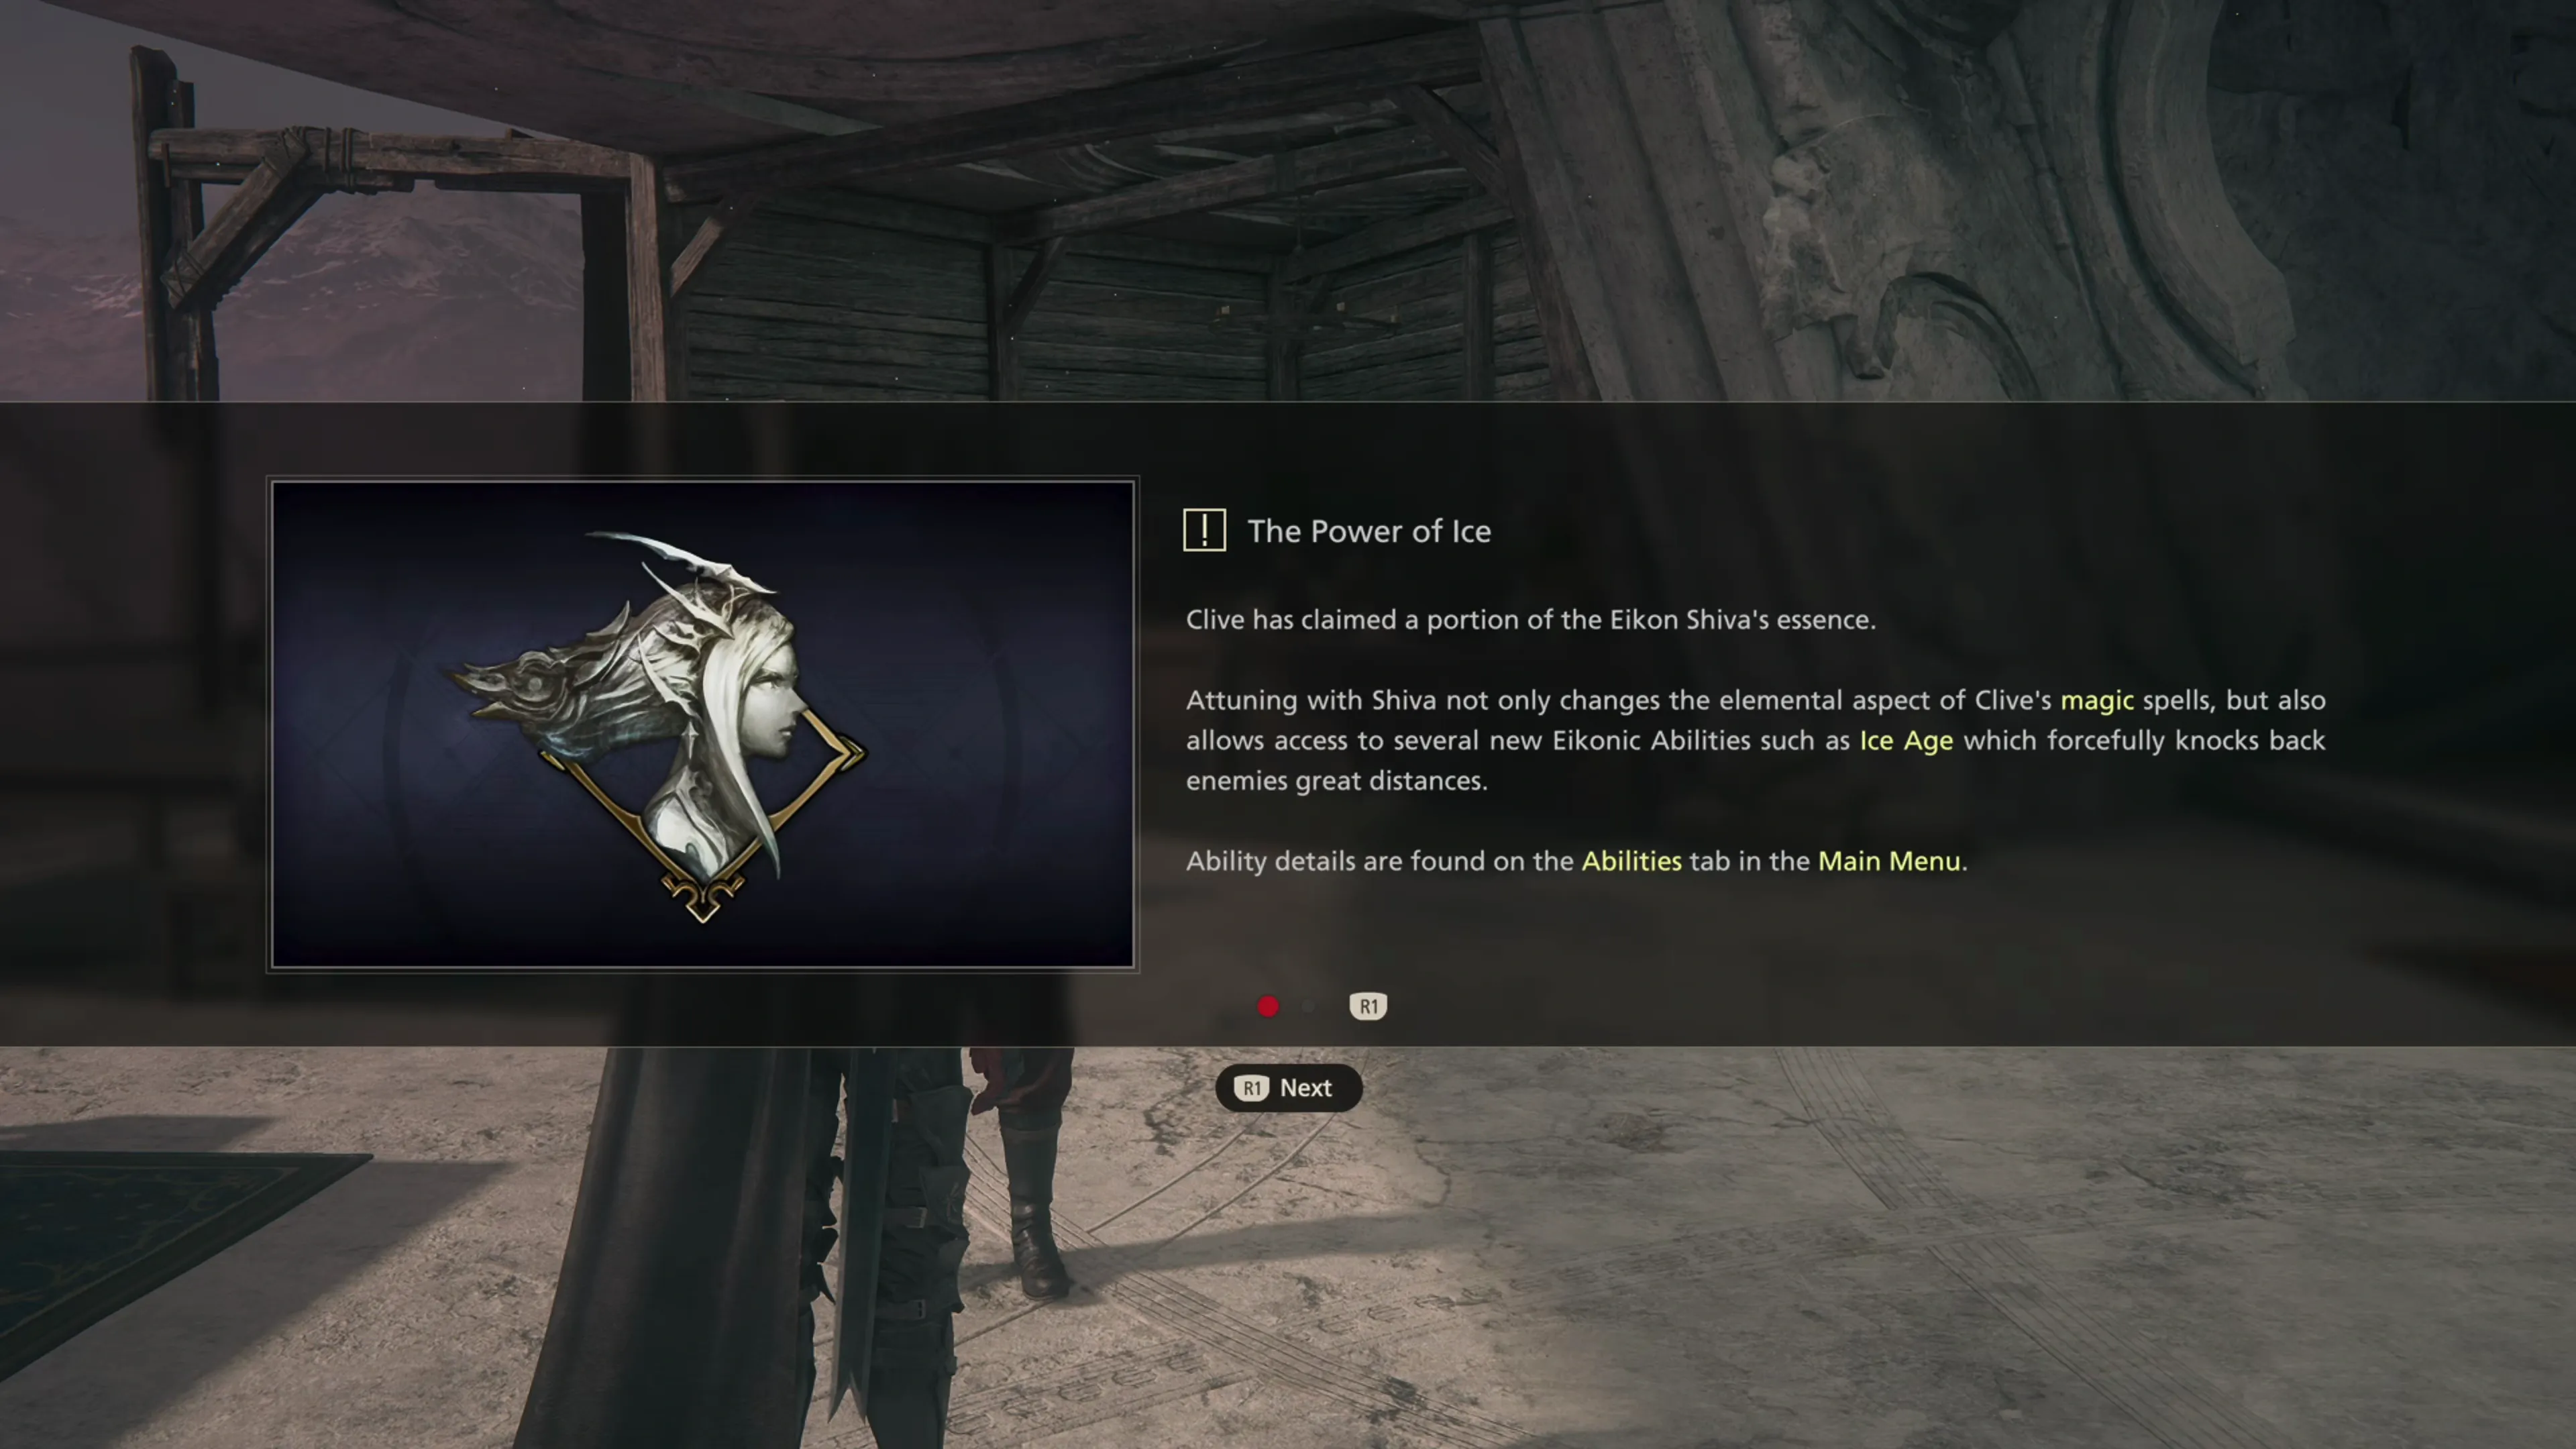
After a short cutscene back at the hideaway, there’s quite a bit to do. You may not have noticed, but the ![]() Ice Shard was automatically placed in your inventory. We can deal with that later, but the first and most important thing to do is have a look at your new abilities now that you have access to “the Power of Ice” through Shiva’s essence.
Ice Shard was automatically placed in your inventory. We can deal with that later, but the first and most important thing to do is have a look at your new abilities now that you have access to “the Power of Ice” through Shiva’s essence.
The link below provides some guidance on the utility and usefulness of the new Eikonic Abilities you have access to through Shiva. You can also find some ![]() Eikonic Ability Set setup tips in the “Ability Recommendations” section listed below.
Eikonic Ability Set setup tips in the “Ability Recommendations” section listed below.
Eikon
A complete list of the Eikonic Feats and Eikonic Abilities for Shiva, including recommendations on which abilities to use and what situations call for their usage.
Tips and Tricks
This section will provide some tips for setting up your single-target and multi-target Eikonic Ability Sets, including covering which Abilities are the most effective and which you should consider avoiding altogether.
Shiva’s Eikonic Feat, ![]() Cold Snap, is an incredibly powerful tool, so the “Helpful Hint” about this ability in the ‘Ability Recommendations’ section is also repeated below.
Cold Snap, is an incredibly powerful tool, so the “Helpful Hint” about this ability in the ‘Ability Recommendations’ section is also repeated below.
Helpful Hint
It can be argued that ![]() Cold Snap is one of the most powerful attacks in the game; however, utilizing it means making some minor adjustments to the play style that you’ve been using up until this point. If you read the description of Cold Snap, it states that this attack allows you to “slide effortlessly across the ground,” which is true, but if you pull up the full description of the attack, its most essential details are as follows:
Cold Snap is one of the most powerful attacks in the game; however, utilizing it means making some minor adjustments to the play style that you’ve been using up until this point. If you read the description of Cold Snap, it states that this attack allows you to “slide effortlessly across the ground,” which is true, but if you pull up the full description of the attack, its most essential details are as follows:
- “Can be used to dodge incoming enemy attacks.”
- “Precisely dodging an enemy attack with Cold Snap freezes all enemies within a radius. This is known as Permafrost.”
- “Permafrost duration is determined by the strength of the enemy attack dodge.”
In other words, if you use ![]() Cold Snap to dodge enemy attacks instead of just a regular
Cold Snap to dodge enemy attacks instead of just a regular ![]() Precision Dodge, you can freeze all enemies in place. Permafrost is an incredibly powerful effect that, when appropriately executed, gives you a window of time to attack the enemy or the boss while they are completely frozen. This attack is so powerful that it is considered overpowered by many players!
Precision Dodge, you can freeze all enemies in place. Permafrost is an incredibly powerful effect that, when appropriately executed, gives you a window of time to attack the enemy or the boss while they are completely frozen. This attack is so powerful that it is considered overpowered by many players!
The challenge that you face is learning to dodge with the ![]()
![]()
![]() button to trigger a
button to trigger a ![]() Cold Snap instead of using the
Cold Snap instead of using the ![]()
![]()
![]() button to activate a
button to activate a ![]() Precision Dodge. It’s not that hard, though, and it’s worth learning this new play style.
Precision Dodge. It’s not that hard, though, and it’s worth learning this new play style.
You also won’t have access to ![]() Phoenix Shift, so if you had been using it to close the distance between Clive and his enemies, you’ll have to switch to an alternative, like
Phoenix Shift, so if you had been using it to close the distance between Clive and his enemies, you’ll have to switch to an alternative, like ![]() Lunge.
Lunge.
Achievement/Trophy
“Inflict Permafrost on 10 enemies by perfectly dodging attacks with Cold Snap (excluding battles in the Hall of Virtue).” The  Oh, Snap! Achievement/Trophy will easily be earned if you plan on using the
 ![]() Cold Snap ability.
Cold Snap ability.
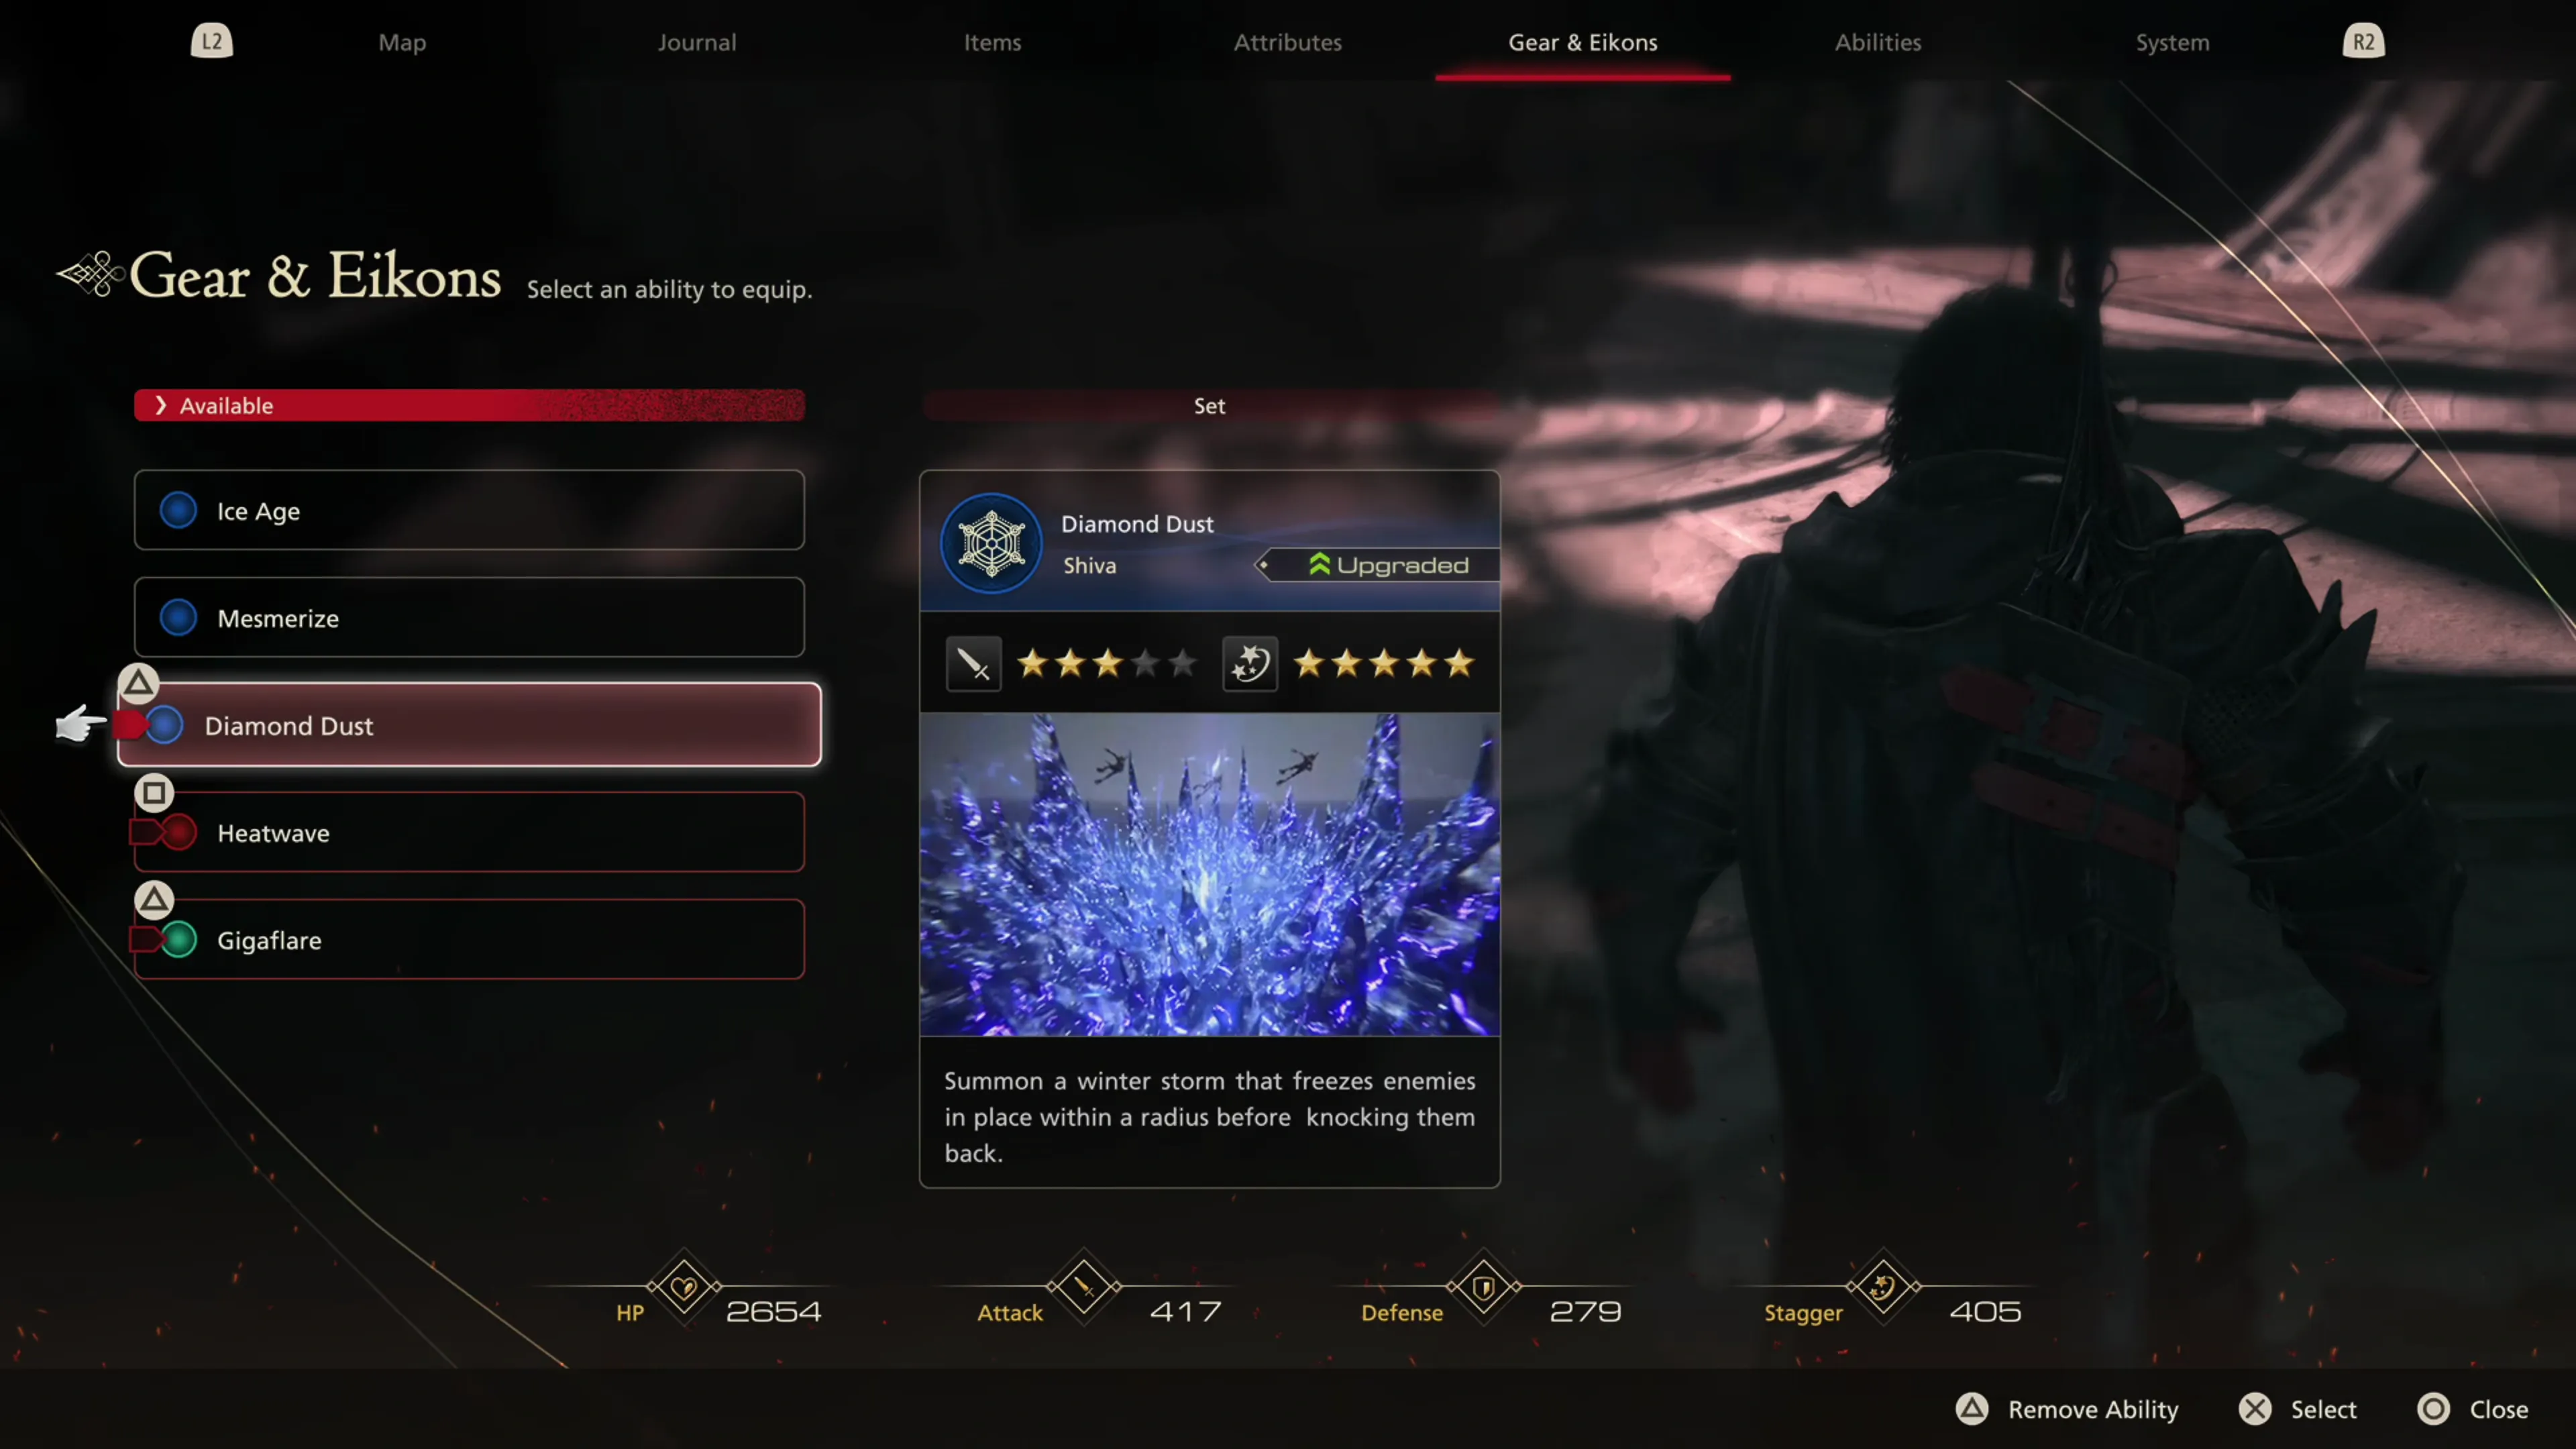
It’s also worth mentioning that ![]() Diamond Dust is also a very, very useful utility, so it’s worth visiting the recommendations page to follow some of the tips mentioned using the link above if you haven’t swapped in some of her abilities. Don’t underestimate Shiva’s powers!
Diamond Dust is also a very, very useful utility, so it’s worth visiting the recommendations page to follow some of the tips mentioned using the link above if you haven’t swapped in some of her abilities. Don’t underestimate Shiva’s powers!
Helpful Hint
As mentioned in the Ability Recommendations section, there’s a good chance that you have significant overlap between your single-target and multi-target ![]() Eikonic Ability Sets. Some abilities, like
Eikonic Ability Sets. Some abilities, like ![]() Diamond Dust, for example, are excellent against both large waves of enemies and high-level bosses. You may not need to switch between two different ability sets anymore to clear through enemies.
Diamond Dust, for example, are excellent against both large waves of enemies and high-level bosses. You may not need to switch between two different ability sets anymore to clear through enemies.
However, not all players will use these specific abilities, so if you do plan to continue utilizing one ability set for groups of enemies and one for single target enemies, this walkthrough will continue to provide recommendations on when to swap between Eikonic Ability Sets, just in case you still want to.
Achievement/Trophy
“Simultaneously defeat three or more enemies frozen using Frostbite, Permafrost, or Diamond Dust (excluding battles in the Hall of Virtue).” You will earn the Cold-blooded Achievement/Trophy pretty quickly if you use ![]() Diamond Dust on large groups of enemies.
Diamond Dust on large groups of enemies.
Head over to ![]() Charon’s Toll if you need to refill your stash of
Charon’s Toll if you need to refill your stash of ![]() Potions and
Potions and ![]() High Potions. Make your way over to
High Potions. Make your way over to ![]() The Black Hammer to pick up your new weapon using this material you’ve been given:
The Black Hammer to pick up your new weapon using this material you’ve been given:
| Materials | |
|---|---|
There are some Optional Quests we can complete before we head to the infirmary:
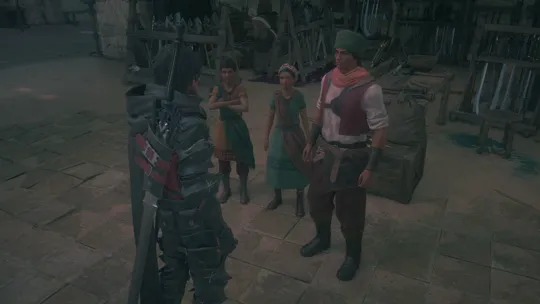
Optional Quest
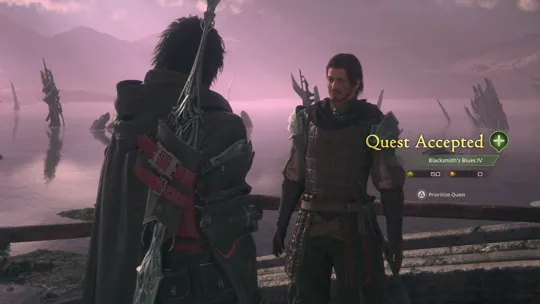
“Blackthorne is upset yet again, and as expected, August has approached Clive to look into it. Will this be the last time? One can only hope so…”
Optional Quest
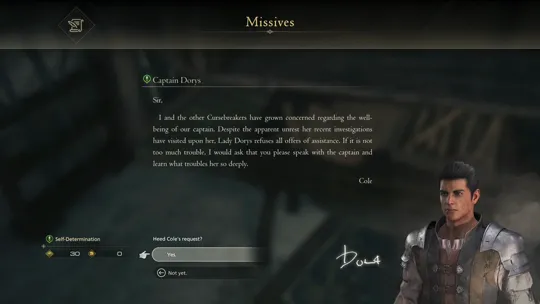
This quest begins from a missive called ![]() Captain Dorys.
Captain Dorys.
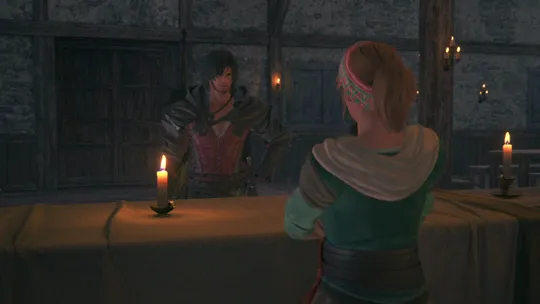
“Clive receives a letter from Cole expressing his concerns about Dorys’s wellbeing, and resolves to speak with her and see what the trouble might be.”
Optional Quest

“Owain asks for Clive’s assistance in obtaining the spherical echoes he needs to complete a new invention. He has only to venture to three Fallen ruins and retrieve them from their bigger, deadlier cousins.”
Optional Quest
“Martha asks that Clive deliver some gysahl greens seeds to Wade in Eastpool, that their new settlement might at length become self-sufficient.”
Optional Quest

“Isabelle requests that Clive speak with the Duke of Oriflamme and convince him of the error of his ways, before his self-interested schemes tear Northreach apart.”
Optional Quest
“L’ubor reports that the bandits who previously attacked Dalimil have formed a ‘League of Outlaws,’ and are steadily recruiting new members. He asks for Clive’s aid in nipping their organizing efforts in the bud.”
Optional Quest
“The rebuilding and restocking of Kasjlok is well underway, but what of the negotiations with the army? Theodore asks Clive to check in with his sister as to when the purchase is likely to be concluded.”
Optional Quest

“Cyril tells Clive that a team of Undying are conducting a survey of a nearby Fallen ruin as part of their investigations into Ultima, and proposes that he make the short journey to Kretov to observe their work.”
After completing all of these quests, you should have enough ![]() Renown to pick up your next reward at The Patron’s Whisper:
Renown to pick up your next reward at The Patron’s Whisper:
| Renown | Crate Contents | |
|---|---|---|
| 1,965 |
It’s now time to complete the next step of the Main Scenario Quest ![]() and finally visit the infirmary. There is quite a bit of dialogue and a cutscene that takes place. Completing this step opens up a brand new high-ranking Hunt that you can complete.
and finally visit the infirmary. There is quite a bit of dialogue and a cutscene that takes place. Completing this step opens up a brand new high-ranking Hunt that you can complete.
Similar to the previous “Rank S” Notorious Mark, you can skip over it and come back later, but this one isn’t as difficult as the last high-rank Hunts, and with access to your new Eikonic abilities through ![]() Bahamut and
Bahamut and ![]() Shiva, these Marks shouldn’t give you as much trouble:
Shiva, these Marks shouldn’t give you as much trouble:
Notorious Mark / Hunt
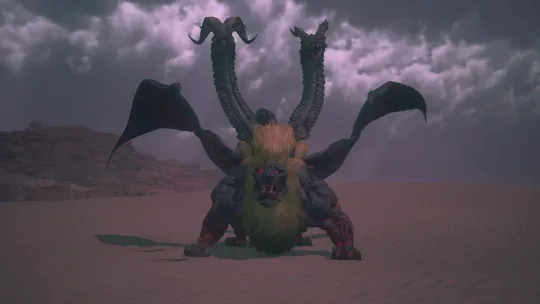
“A caravan of traders traversing the Velkroy told me of a colossal beast they had encountered on their journey. To hear them tell it, it had the aspect of a dragon, a lion, and a scorpion all at once. I contested that it might be naught but a mirage—a phantasm brought about by the desert heat—but the sweat which ran down their foreheads was cold, and the fear in their eyes, real.”
Speak to Vivian in the Map Room of the Hideaway to continue moving the story forward. After a lengthy discussion and some additional exposition, your next step will be to visit the shelves, but before that, one more quest has appeared:
Optional Quest
“Jote confesses her concerns that the medicine Joshua uses to soothe his pain is in short supply.”
Head over to the shelves to speak with Joshua near Harpocrates. Next, visit the ale hall just outside the shelves, and finally, head back to the mess to talk to Otto. Your next destination is the “Shadow Coast.”
