
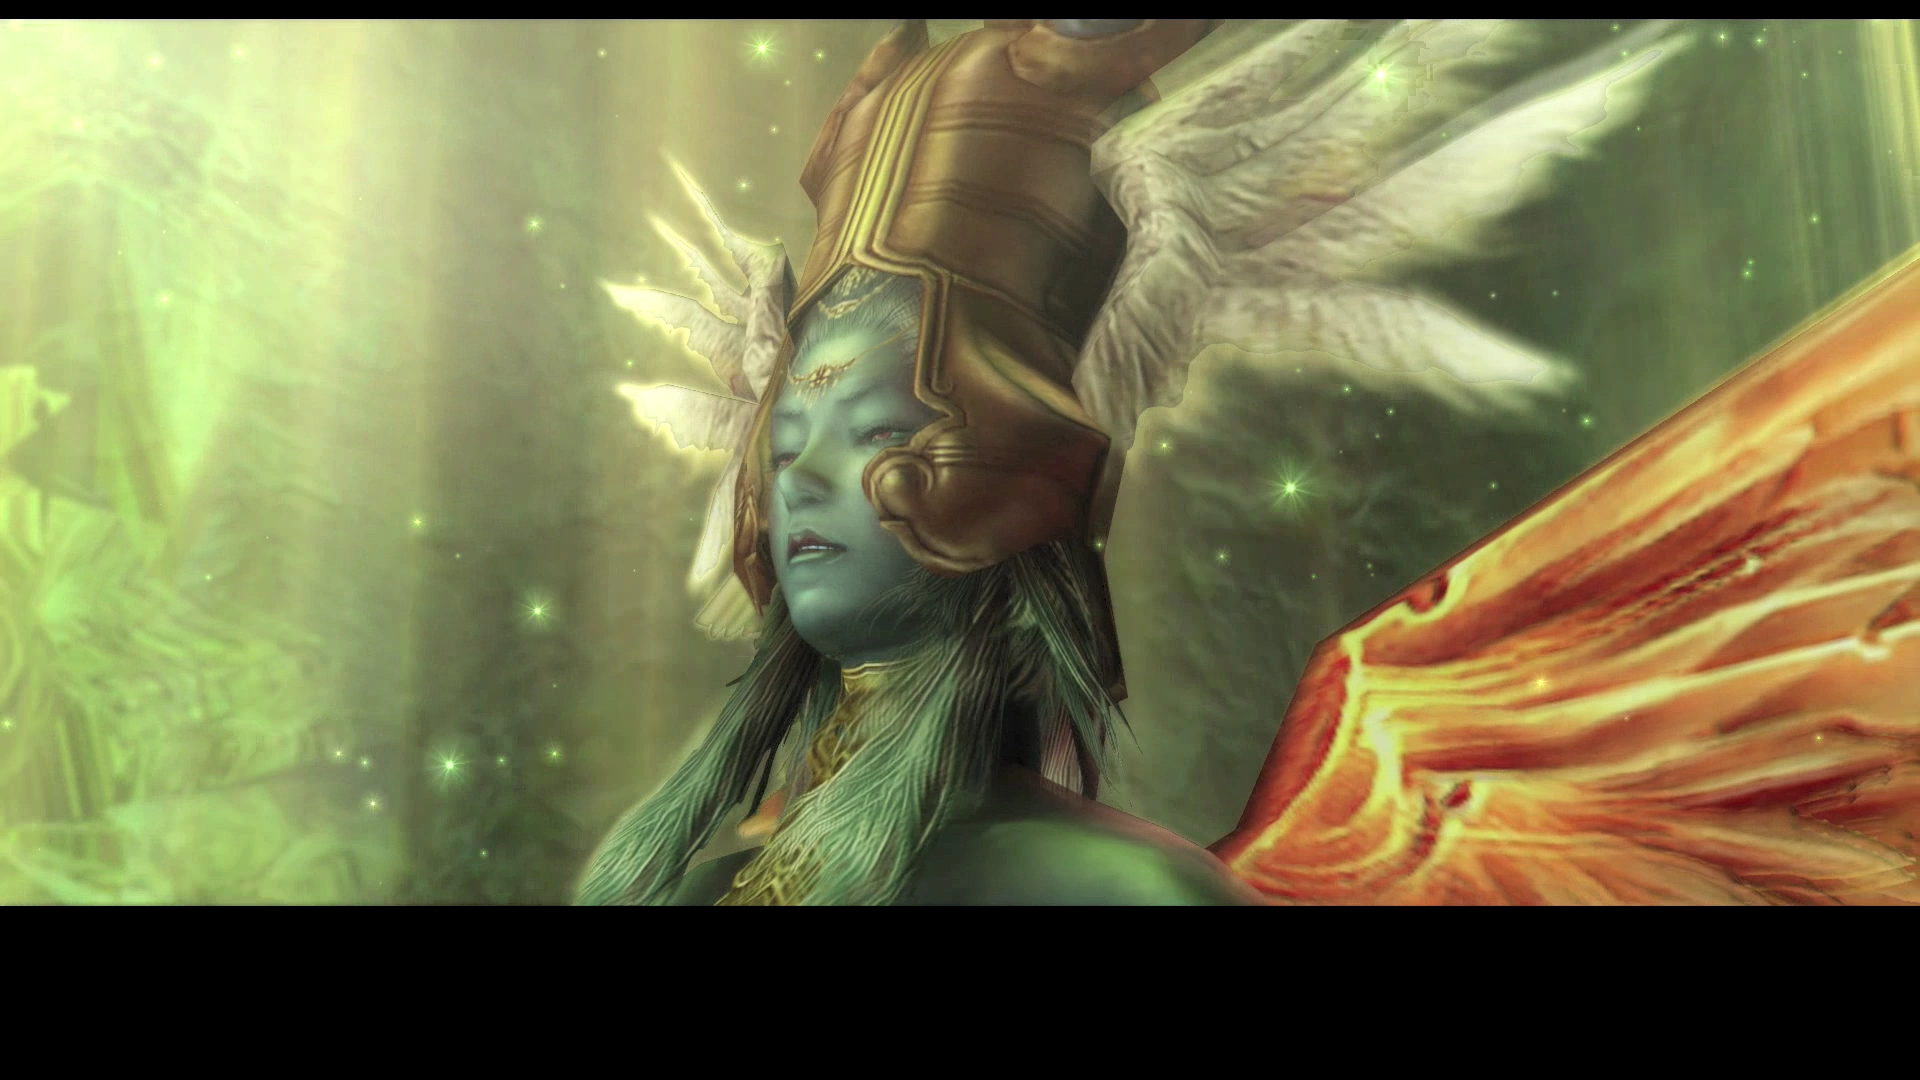
Ultima, the High Seraph
“Masterpiece among the scions created by the gods, and mastermind of the plot to rise against them. Prior to her betrayal, she was tasked with guiding souls to heaven and aiding in their reincarnation.
Called the High Seraph for her angelic wings of glimmering gold, yet it was on wings of deepest black that the tainted angel Ultima rose against the gods. Since her fall, her heart is without light, and impossible to know.”
The quest to find and obtain Ultima can be completed any time after finishing the events at the Ancient City of Giruvegan and the Great Crystal. Obtaining her involves traveling back to the Great Crystal and venturing deep within it (to a completely new section that you have not explored previously). Reaching her can be quite difficult, however, as traveling through the Great Crystal is both tedious and confusing, even with a map.
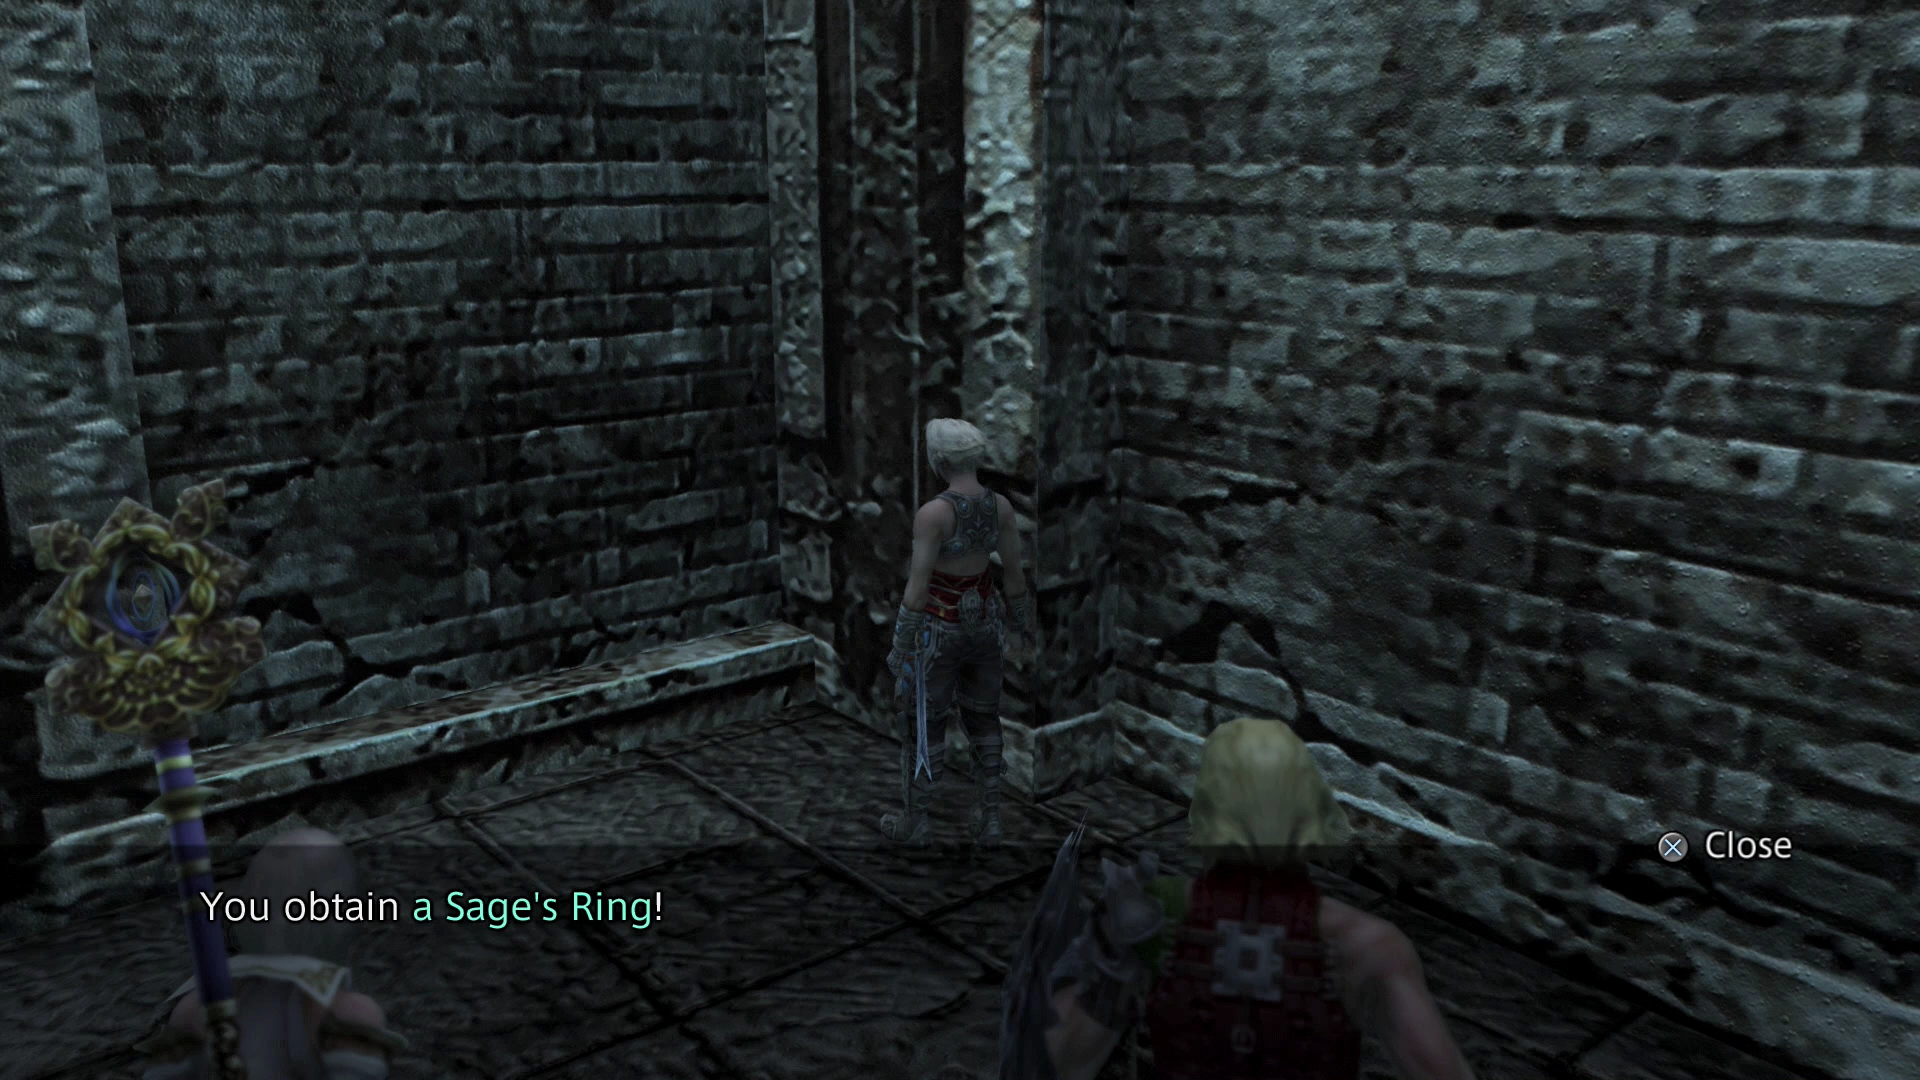
You need to obtain a ![]() White Mask or a
White Mask or a ![]() Sage’s Ring for each of your characters before you head to the Great Crystal. Some of your characters may not be able to wear a White Mask, but they can all wear a Sage’s Ring, so your best bet is to obtain one or two of them in addition to a White Mask.
Sage’s Ring for each of your characters before you head to the Great Crystal. Some of your characters may not be able to wear a White Mask, but they can all wear a Sage’s Ring, so your best bet is to obtain one or two of them in addition to a White Mask.
There are three ways to obtain a ![]() White Masks:
White Masks:
- In the Cerobi Steppe - North Liavell Hills area. This requires getting lucky as the drop from the treasure chest is extremely rare.
- In the Necrohol of Nabudis - Cloister of Distant Song. This is a 100% spawn treasure chest and is the easiest White Mask to obtain in the game.
- Obtaining the ingredients to make the White Vestments appear in the Bazaar.
There are also three ways to obtain a ![]() Sage’s Ring:
Sage’s Ring:
- In the Henne Mines - Phase 2 Shaft. You likely cannot reach this area of the Henne Mines yet (unless you already have 10 Espers), so ignore this option.
- In the Stilshrine of Miriam - Ward of Steel. Since you have already traveled through this area and following this guide, you should already have it, but if not, head back to the Stilshrine of Miriam and pick it up.
- In the Subterra. Check out the Subterra side quest page for more information.
Location
For starters, make your way back to the Great Crystal if you are not there already (that is, if you are crazy enough to attempt this battle before leaving the Great Crystal after obtaining the ![]() Treaty-Blade).
Treaty-Blade).
You can use the full map of the Great Crystal in the Maps section (or use the Treasures in the Great Crystal guide in the Side Quests section) to find your way around the dungeon which can be accessed by using the link, or you can use the map and item guide included in the link below.
Map and guide for traveling through the Great Crystal dungeon.
The guide will provide you with an overview of how the gate systems and Way Stones function whereas the descriptions provided below will mention which area you should be in and will describe which pathway to take based on whether it rises upwards or downwards away.
It is more of a step-by-step guide that does not require an understanding of how the Great Crystal works. To reiterate, use the Great Crystal guide above if you’d like to explore the entire dungeon or use the instructions below if you want to travel directly to Ultima.
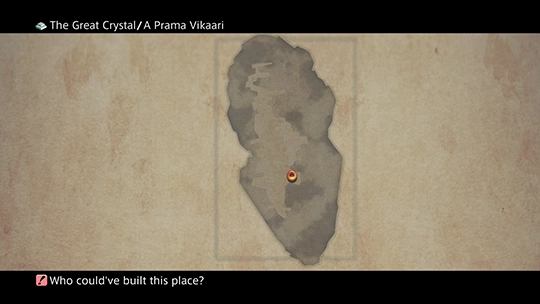
The mini-map will not help you with exploring in this area but you can pull it up at any time to find out which ‘zone’ you are in if you get lost.
A Prama Vikaari
Take the pathway upwards to Sthaana Scorpion.
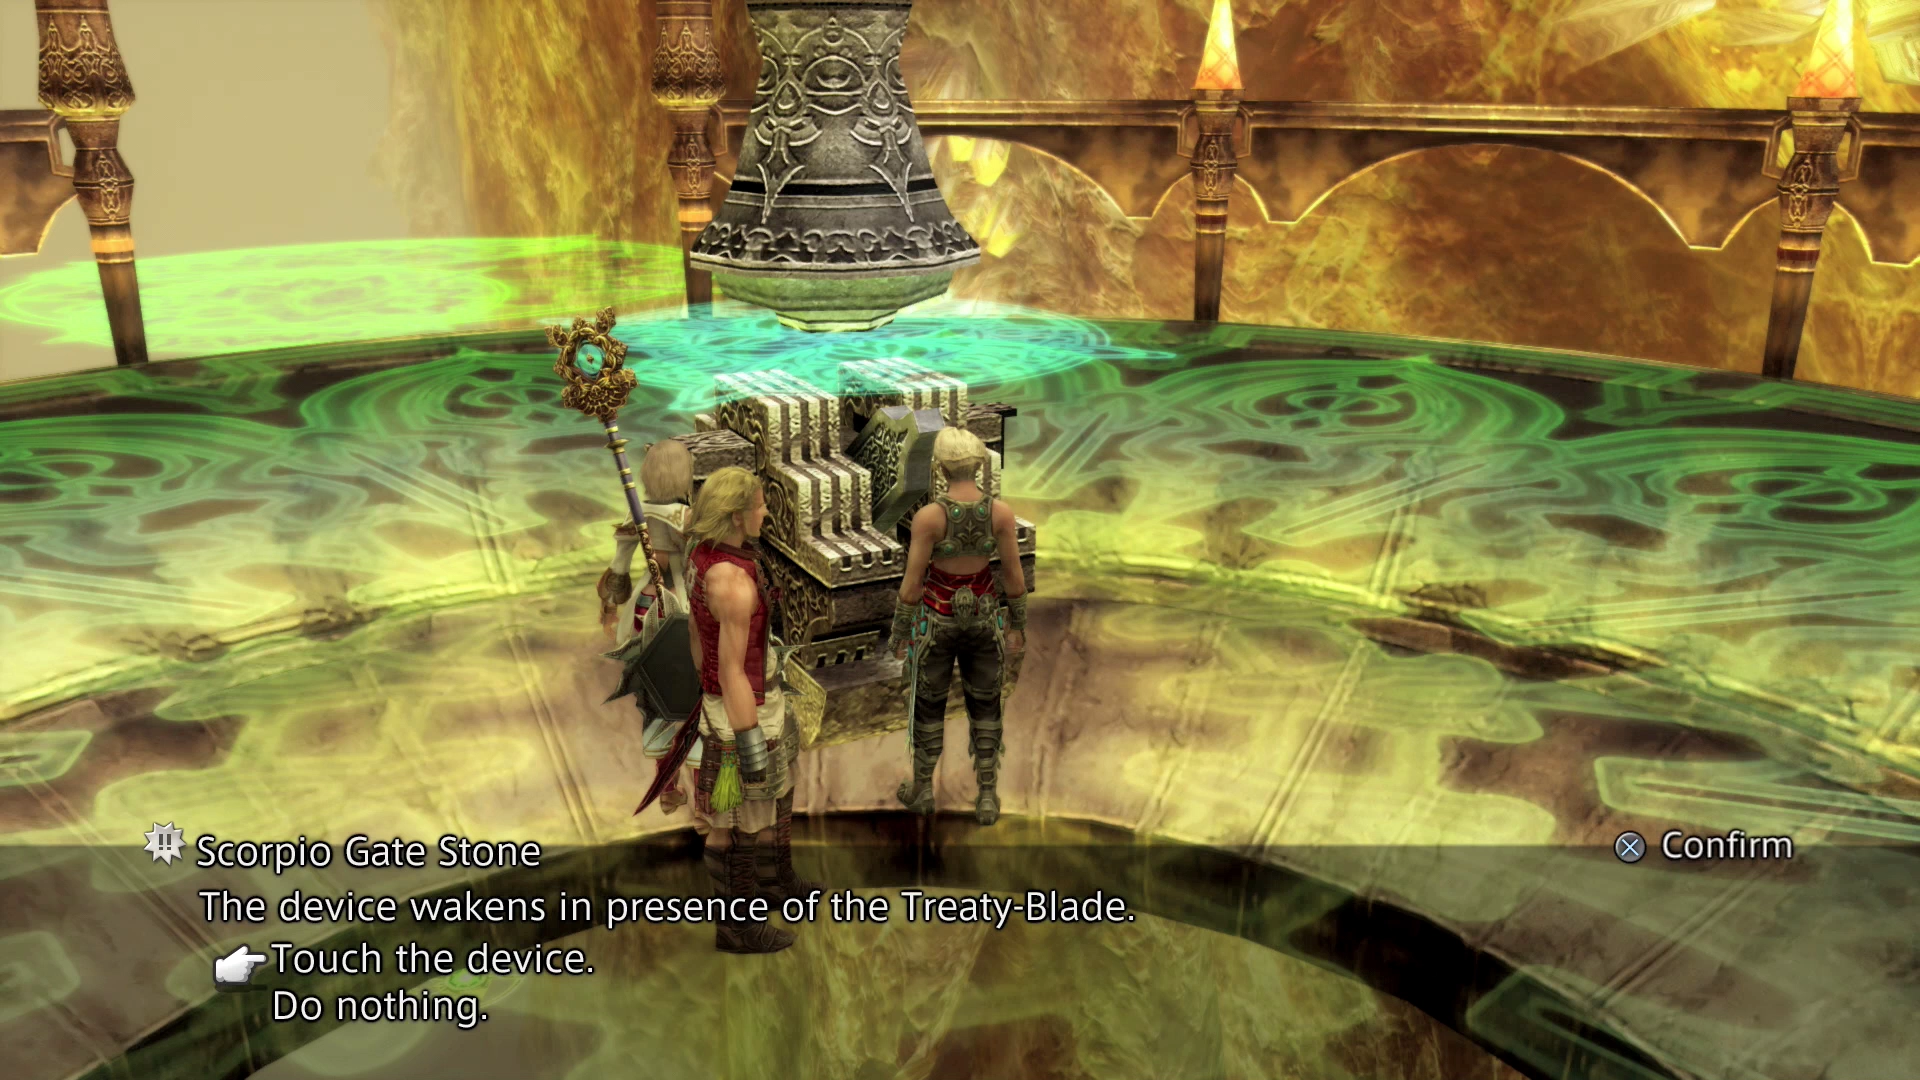
Sthaana Scorpion
Examine the Scorpio Gate Stone in the center of the platform. Previously, you would not have been able to activate this stone but, as mentioned in the game when you examine the stone, the device wakens in the presence of the ![]() Treaty-Blade. Choose “touch the device” to activate it. This will spawn a few Mom Bombs. Defeat them and return to the previous area.
Treaty-Blade. Choose “touch the device” to activate it. This will spawn a few Mom Bombs. Defeat them and return to the previous area.
A Prama Vikaari
The Scorpio Gate will now have disappeared. Do a U-turn and take the pathway leading upward.
A Vikaari Dhebon
Examine Way Stone IX in the center of the platform. Choose to “touch the device” which will warp your party to the next area.
Dha Vikaari Kabonii
You will arrive at the platform that contains Way Stone X. Take the pathway leading upwards into the next area.
A Vikaari Kanbhru Ra
Way Stone XX will be in the center of the platform in this area. You won’t be able to use this Way Stone yet but it can be used later on to easily skip past all the traveling that you’re about to do to get to the ‘top’ of the Great Crystal. Two of the other passageways are blocked by Gate Sagittarius I and Gate Sagittarius II. Take the open pathway that leads downward.
Dhebon Jilaam Prattii’dii
Defeat the Mom Bombs in this area (or run past them) and head down the next pathway into the next area (leading upwards).
Sthaana Sagittarius
Defeat the Mom Bombs in this area and then examine the Sagittarius Gate Stone in the center of the platform. Choose to “touch the device.” This will activate a “Gate Timer” on your screen. You must reach the proper gate before the timer runs out in order to remove the corresponding gate.
Generally speaking, the Gate Timers provide more than enough time for you to reach the appropriate gate, but only if you know where you are going and head straight to that location. Don’t panic trying to get there, but don’t waste time exploring either.

Take the pathway leading upwards.
Dhebon Jilaam Praa’dii
Run past the Mom Bombs on this platform and head downwards back into the next area.
A Vikaari Kanbhru Ra
This is the area with the deactivated Way Stone XX. Defeat the Crystal Knight enemies that spawn and touch Gate Sagittarius I to make it disappear. Follow the pathway behind it leading upwards into the next area.

A Vikaari Sirhru Praa
Examine Way Stone XI in the center of the platform. Choose to “touch the device” to warp to the next area.
Dha Bikaari Dhebon Praa
You will land on the platform with Way Stone XIII on it. Take the pathway leading upward into the next area.
Sthaana Gemini
Defeat the Necrophobe enemies that spawn in this area. Examine the Gemini Gate Stone in the center of the platform and “touch the device” to activate another Gate Timer. Take the pathway leading upwards (the opposite pathway of the one you came in on) into the next area.
Sirhru Jilaam Praa’dii
Run past the Shadonir enemy on this platform and head downwards into the next area.
Sirhru Jilaam Praa
There are two pathways on this platform. One of them is blocked by “Gate Gemini I” which you should ignore. Proceed to the pathway that leads downwards into the next zone.
Sirhru Pis Praa
Proceed past the two Shadonir enemies on this platform and head downwards into the next zone.
Sirhru Pis Avaa
Touch ‘Gate Gemini II’ which blocks the entrance to the actual platform proper. There is an Ash Wyrm enemy wandering around on this platform which you may want to defeat. There is another gate on this platform (‘Gate Leo II’) which blocks the other pathway but you do not need to venture to that side of the Great Crystal. Instead, take the pathway that leads downward.
Sirhru Jilaam Avaapratii
There is a Skulwyrm skulking about on this platform. Take the only other pathway on this platform that leads upwards.
A Vikaari Uldobi
You will now arrive at Way Stone XV. Examine the Way Stone and choose to “touch the device” to be transported to the next area.
Dha Vikaari Sirhru
You will arrive at this platform standing next to Way Stone XVI. Take the middle pathway that lies directly in front of you when you first arrive at this platform – it leads upwards.
Sthaana Libra
A few Forbidden enemies will spawn once you reach the upper platform. Defeat them and then examine the Libra Gate Stone. Choose to “touch the device” to activate another Gate Timer. Head back down the pathway to the previous area.
Dha Vikaari Sirhru
Travel back down to the platform with Way Stone XVI on it and take the other pathway that leads up away from here (not the one that takes you back to Sthaana Libra).
Uldobi Jilaam Pratii’dii
There is another Skulwyrm wandering around the platform when you arrive. Run past it and examine Gate Libra I on the opposite side of the platform. Choose to “touch the gate” to make it disappear and then turn around and defeat the Skulwyrm. Take the pathway behind Gate Libra I afterwards (which leads upwards).
Uldobi Jilaam Praa
There is another Ash Wyrm on the platform in this area. There are four directions that you can take here – take the one that leads upwards.
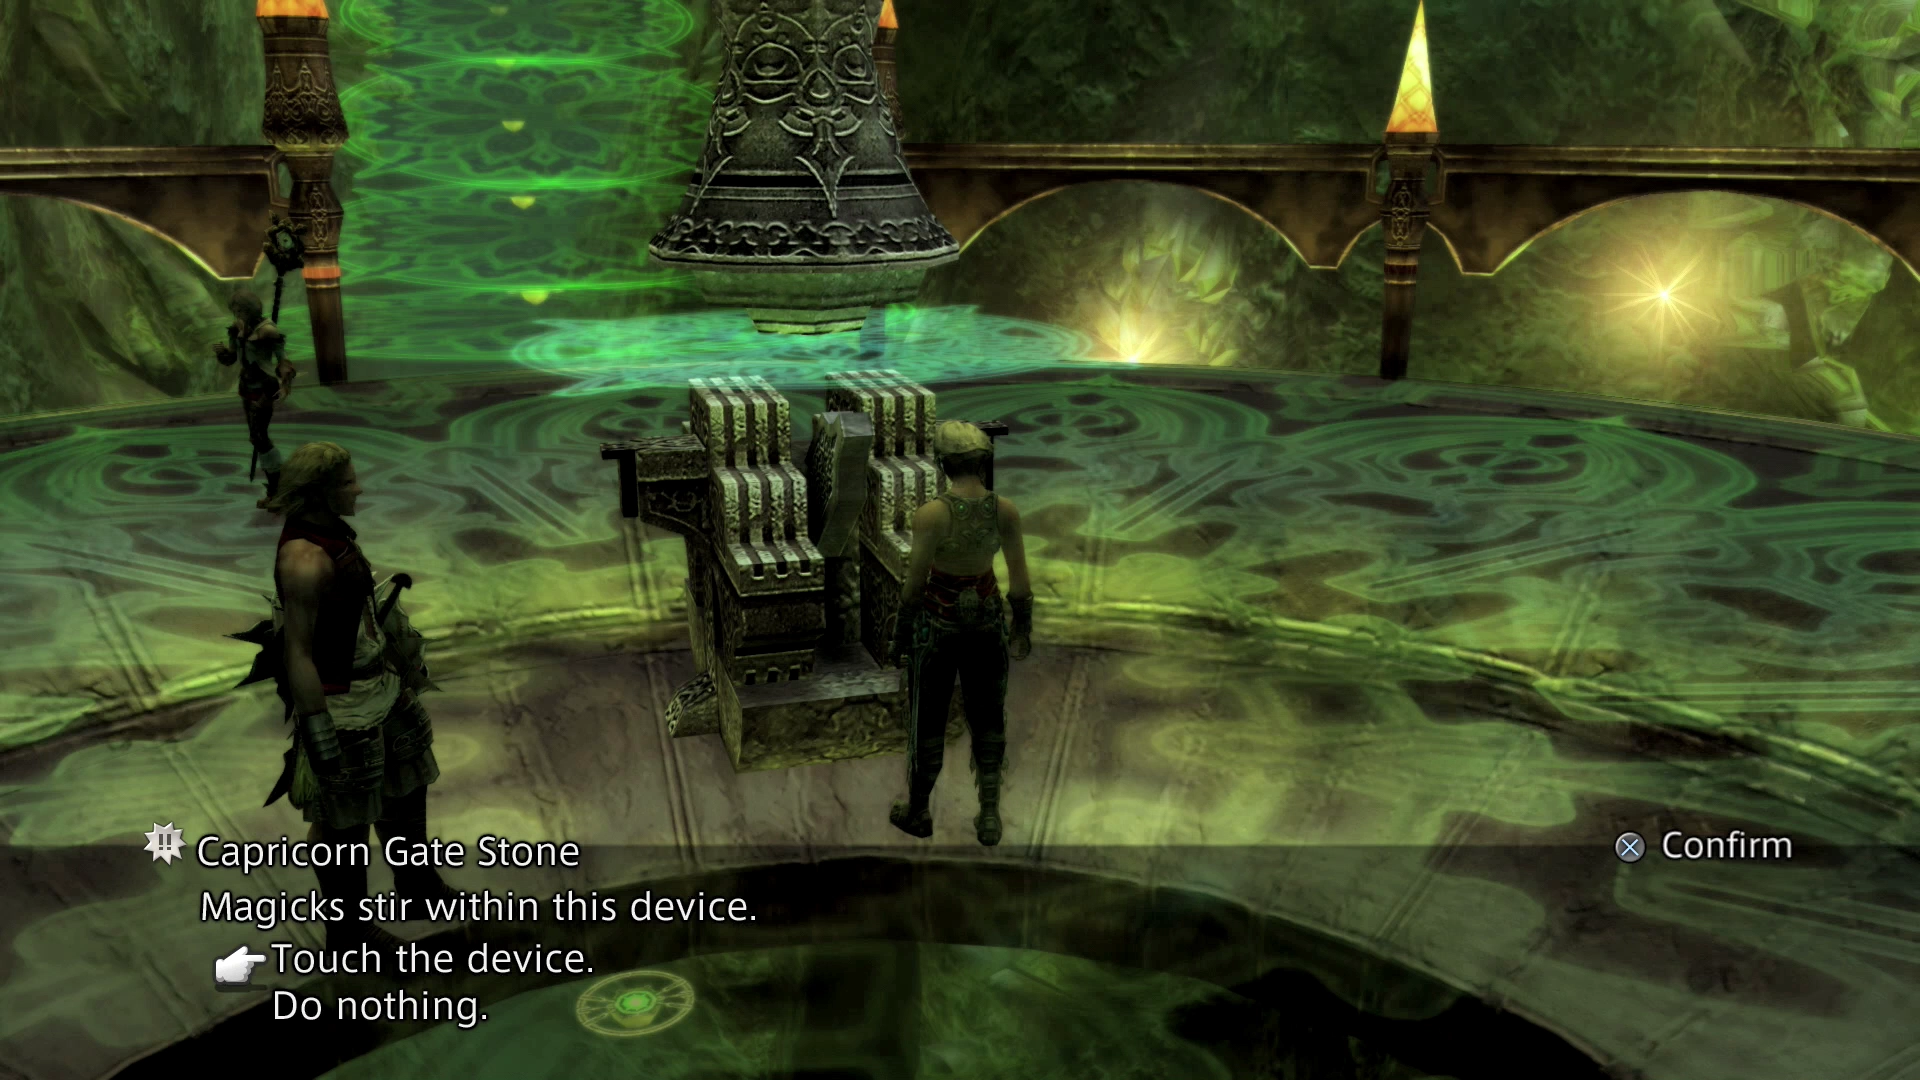
Sthaana Capricorn
A few more Forbidden enemies will spawn when you approach the Capricorn Gate Stone. Examine it and choose to “touch the device” to activate another Gate Timer. Exit this platform by taking the same pathway that you used to arrive leading downward.
Uldobi Jilaam Praa
There are two pathways that lead down away from Uldobi Jilaam Praa. Take the one on the right – it is essentially a U-turn when arriving from Sthaana Capricorn.
Uldobi Jilaam Pratii’dii
Take the only other pathway leading away from this area heading downward.
Dha Vikaari Sirhru
You will arrive back at the starting platform that has Way Stone XVI on it. This time, take the pathway on the opposite side of the platform heading downwards.
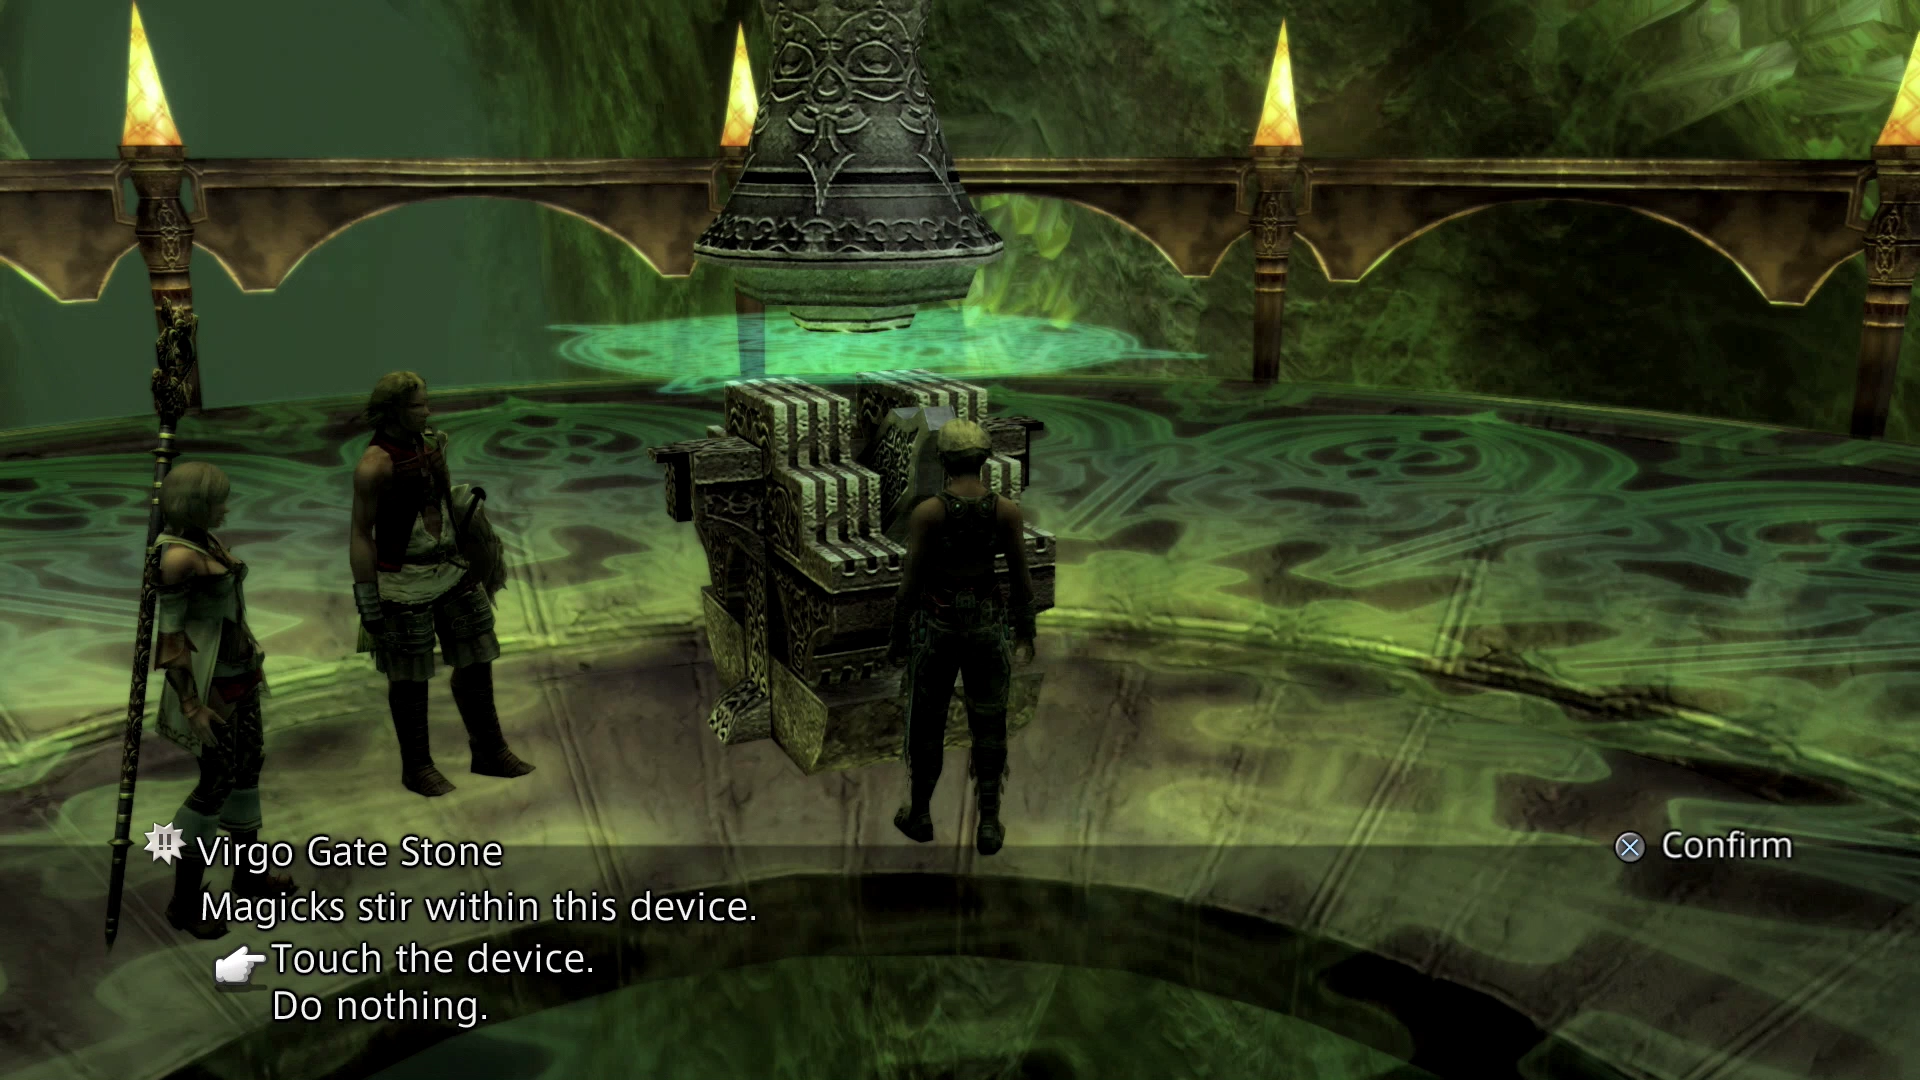
Sthaana Virgo
Approach and touch Gate Capricorn I to remove it. Walk up to the Virgo Gate Stone and a few more Forbidden enemies will spawn. Examine the Virgo Gate Stone after you have defeated them and choose to “touch the device” to activate another Gate Timer. Exit Sthaana Virgo by taking the pathway that you used when you arrived (heading back upwards).
Dha Vikaari Sirhru
This time, take the center pathway that leads upwards into the next area.
Sthaana Libra
Run past the Libra Gate Stone in the center of the pathway and take the pathway on the right that leads downward.
Uldobi Jilaam Pratii’vaa
Head down to the platform and look for Gate Virgo II. Examine and “touch the gate” to make it disappear. Ignore Gate Capricorn II on this platform and take the pathway behind it that leads upward into the next area.
Uldobi Jilaam Avaa
There will be a large Giruveganus enemy lurking around on this platform. Defeat it and then take the pathway leading upwards into the next area.
A Vikaari Kanbhru
This platform has Way Stone XVII on it. Examine it and choose to “touch the device” to warp to the next area.
Dha Vikaari Uldobi
You will arrive at the platform that has Way Stone XVIII on it. Take the pathway leading downwards into the next area.
Kanbhru Pis
This platform contains a much needed Save Crystal. Use it to save your game and refill your character’s HP and MP. There are two pathways leading upwards away from the Save Crystal. Take the one on the right.
Dha Vikaari Dhebon
The platform contains Way Stone XIX. Activate this Way Stone to create a short-cut to Way Stone XX that can be used to get to this area easier if needed. It can also be used as a quick way to exit the zone back out to Giruvegan. Travel back to the Save Crystal.
Kanbhru Pis
This time, take the left pathway that leads upwards.
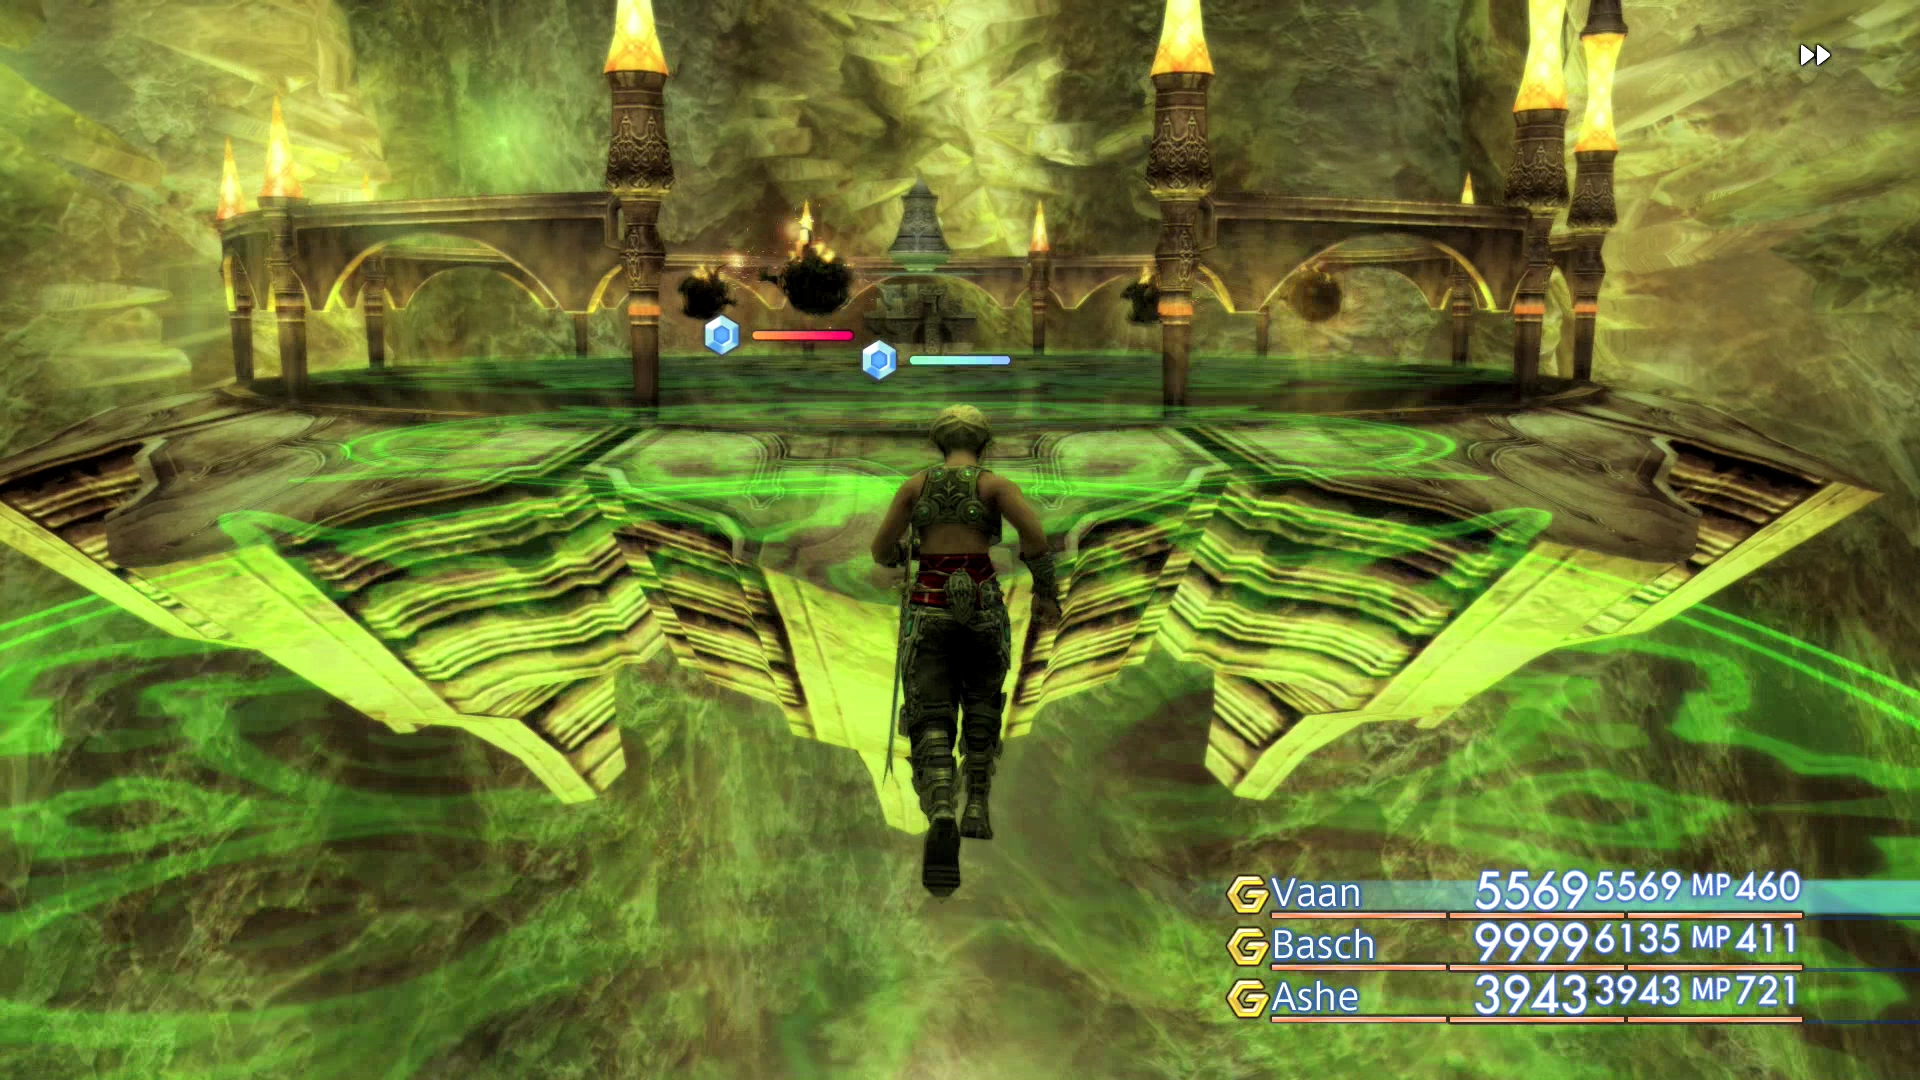
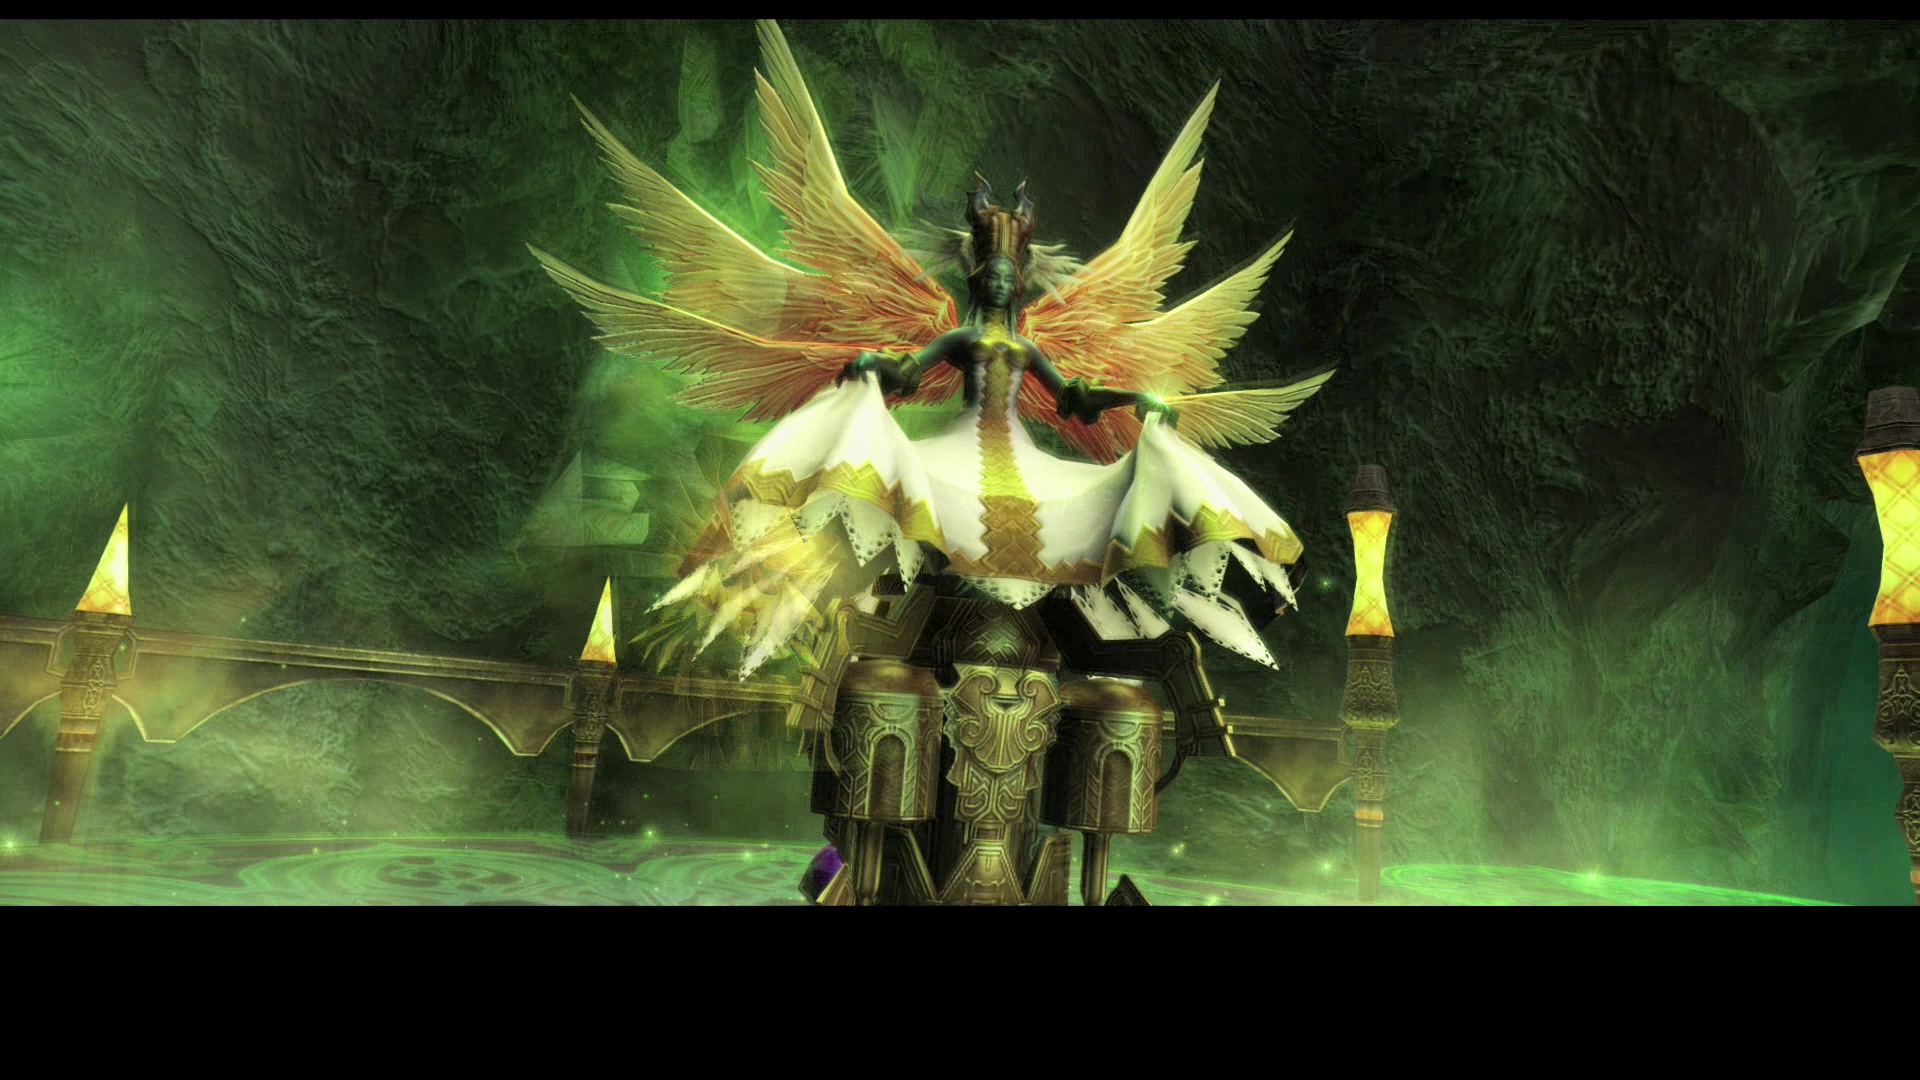
Crystal Peak
Ultima is located on the platform above and the battle will begin when you arrive – take some time to read the information below and prepare.
Esper Battle
Level: 63
HP: 258,001
Steal: ![]() Virgo Gem (55%),
Virgo Gem (55%), ![]() Hi-Ether (10%),
Hi-Ether (10%), ![]() High Arcana (3%)
High Arcana (3%)
Steal (IZJS Version): ![]() Virgo Gem (55%),
Virgo Gem (55%), ![]() Elixir (10%),
Elixir (10%), ![]() High Arcana (3%)
High Arcana (3%)
Your party members will take damage each time they damage Ultima and she has quite a few unique moves at her disposal that will make this a challenging fight.
Firstly, equip each of your characters with items that will absorb Holy-type Magick. This includes ![]() White Masks, which you should have purchased from Balfonheim Port, or
White Masks, which you should have purchased from Balfonheim Port, or ![]() Sage’s Rings. You should also remove any weapons that do Holy-type damage like
Sage’s Rings. You should also remove any weapons that do Holy-type damage like ![]() Excalibur. Instead, switch to weapons that do Dark-type damage if you have them on hand.
Excalibur. Instead, switch to weapons that do Dark-type damage if you have them on hand.
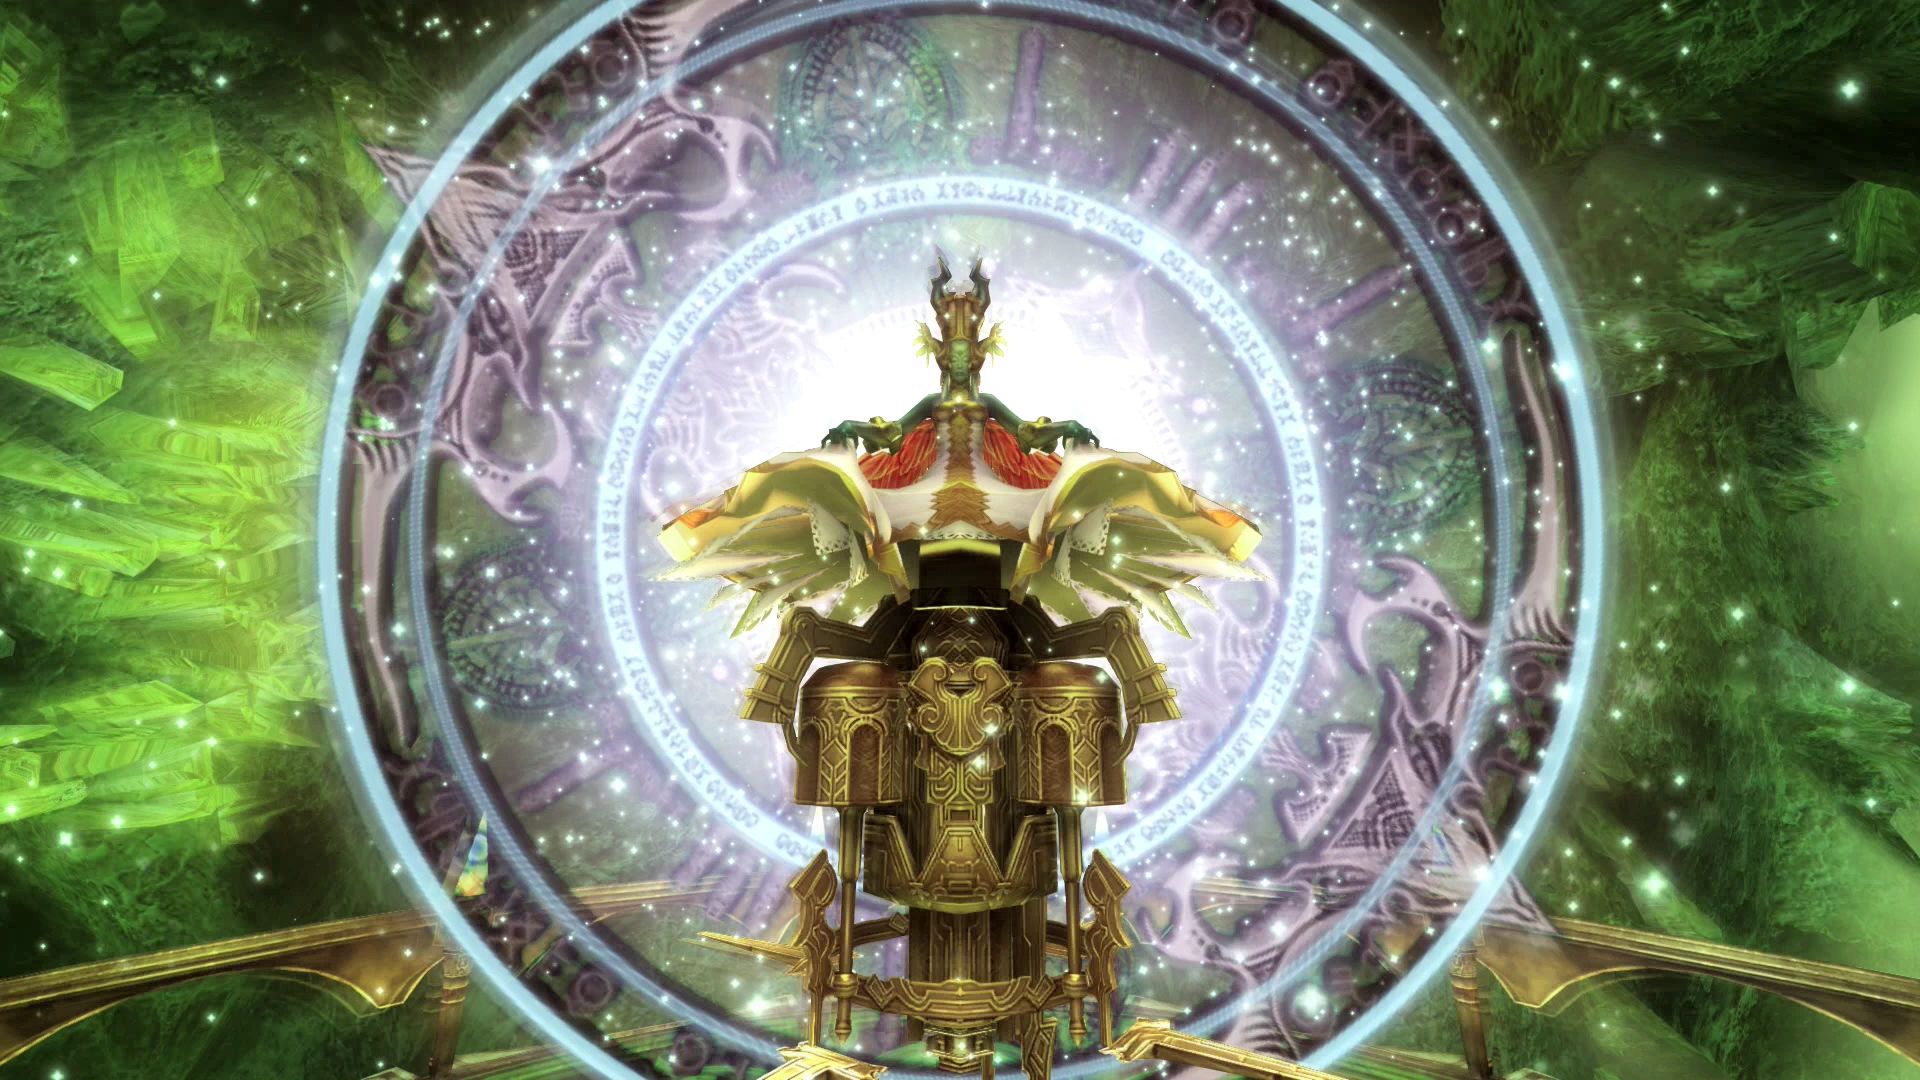
The fight will be pretty easy to begin with, but Ultima will activate a Magick Barrier at 70% HP. This Magick Barrier will rotate every once in a while between causing the following affects:
- HP Drain – will slowly drain the HP of all of your party members (similar to Sap or Poison).
- MP Drain – will slowly drain the MP of your party members.
- No Attack – will prevent the Attack command from working.
- No Magick – will prevent the use of Magick spells.
- No Technicks – will prevent the Technicks command from working.
- No Items – will prevent the Items command from working.
- Gravity Field – will slow down time (similar to casting Slow on all party members).
Keep your status enhancing spells active to deal with HP Drain throughout the fight. This includes ![]() Protect,
Protect, ![]() Bubble and
Bubble and ![]() Shell. MP Drain can be dealt with using Ethers (if required). Switch out the “Attack” command with the
Shell. MP Drain can be dealt with using Ethers (if required). Switch out the “Attack” command with the ![]() Telekinesis to allow your characters to continue doing damage.
Telekinesis to allow your characters to continue doing damage.
Have Gambits setup to use Items instead of Magick to heal when the “No Magick” barrier is active (set them up below the Magick Gambits so that your characters will only use them when Magick is unavailable). The other three Magick Barriers are fairly straightforward and easy to deal with.
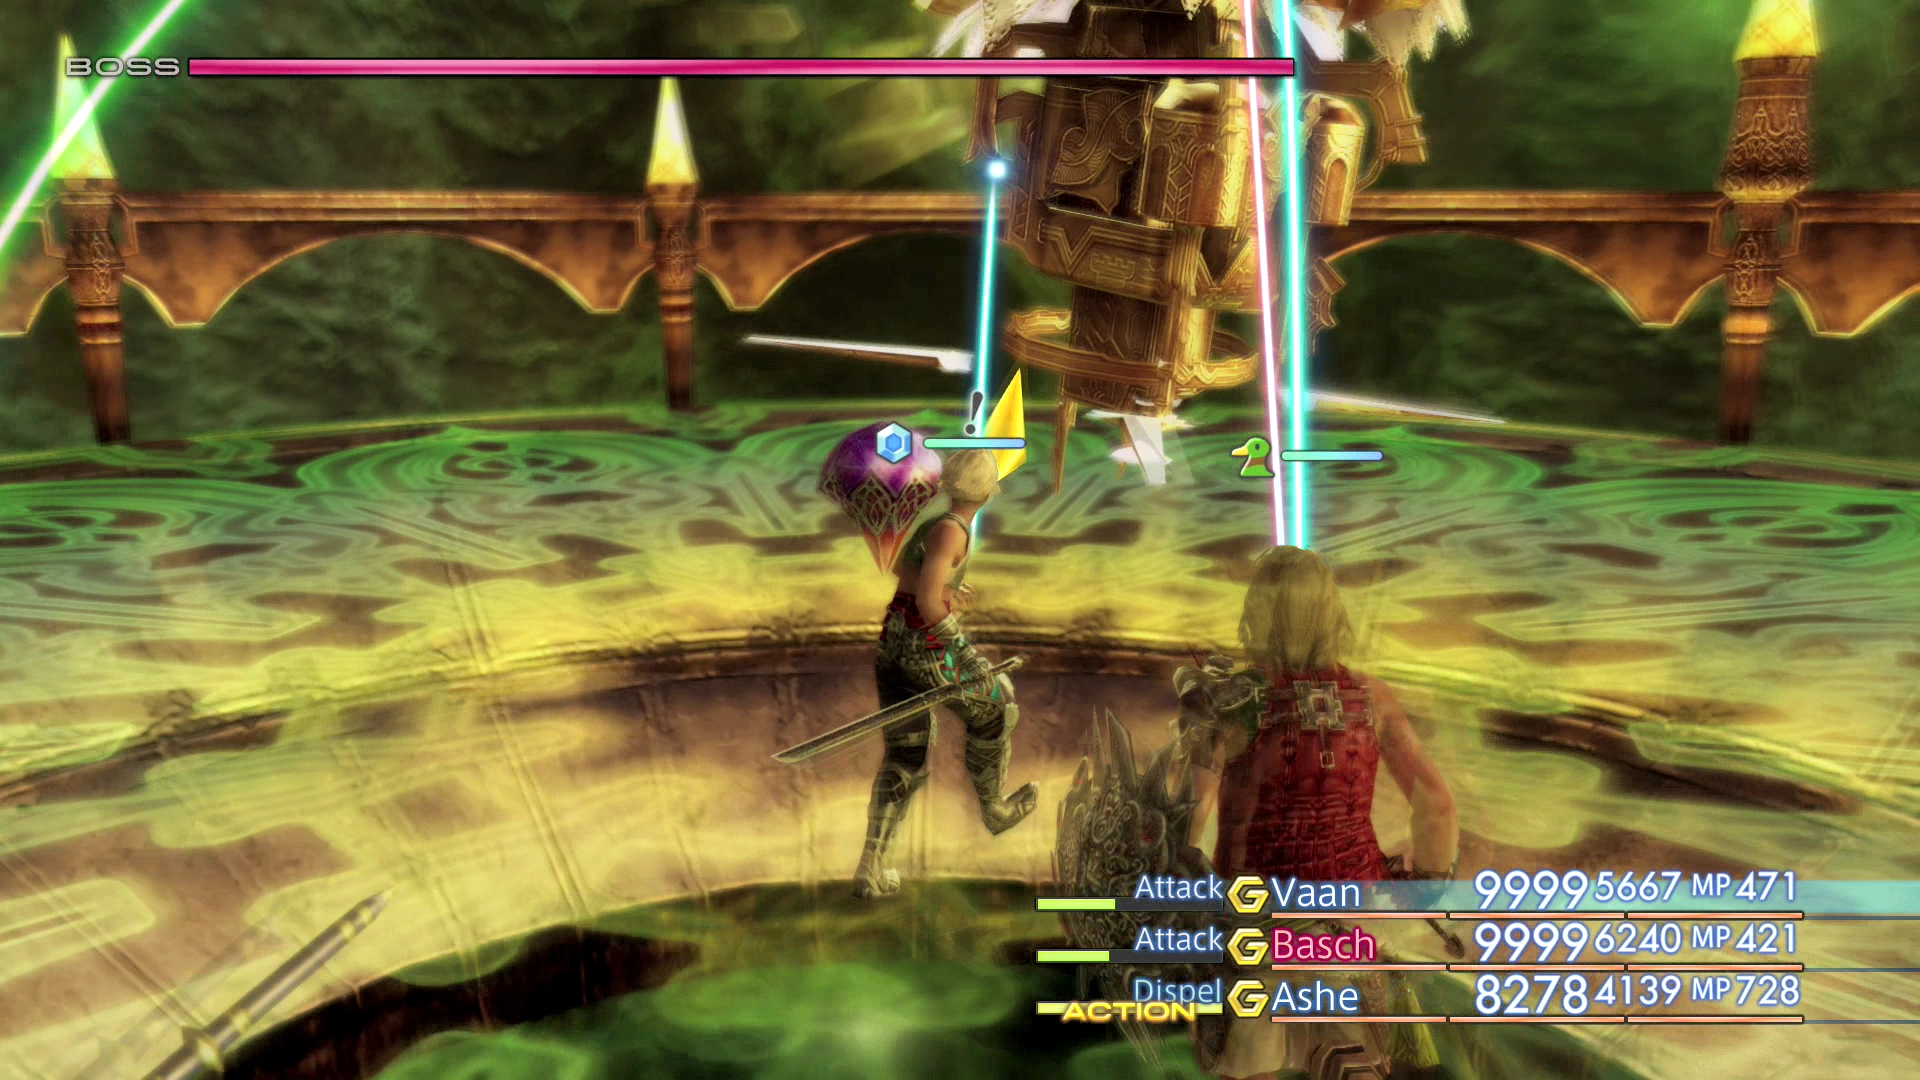
Make sure to ![]() Dispel her and have a Gambit to continue Dispelling active throughout the fight. You will also have to watch for when she casts
Dispel her and have a Gambit to continue Dispelling active throughout the fight. You will also have to watch for when she casts ![]() Reflectga on your party.
Reflectga on your party.
In addition to preventing you from casting healing spells on yourself, Ultima will also cast curative Magick on your party members while Reflect is active allowing her to heal herself. You will have to ![]() Dispel Reverse as well if she casts it on your party members as she will follow it up quickly with
Dispel Reverse as well if she casts it on your party members as she will follow it up quickly with ![]() Renew which will reduce them to 1 HP (and likely cause them to KO themselves with their next attack).
Renew which will reduce them to 1 HP (and likely cause them to KO themselves with their next attack).
Her defensive stats will increase as her HP drops below 25% so be prepared for an even more difficult battle for that portion of the fight.
You can find a video of this battle in the Zodiac Age version below.
Congratulations – you now have Ultima as an Esper which you can use in battle!
Note: While you are at the Great Crystal this is a great time to obtain some of the powerful items hidden in the upper levels of this dungeon. Check out the Treasures in the Great Crystal page for more information.
Achievement/Trophy
The  Fell Angel Achievement/Trophy is automatically obtained when you defeat Ultima.
Ultima can now be summoned during a fight. She will use Redemption as her regular attack which does Holy-type damage. She will also use Eschaton as her ultimate attack which causes Holy-type damage to all enemies, although it requires that both the summoner and Ultima be at critical HP to use.
Esper Locked Licenses
Unlocking Ultima on the License Boards of certain jobs will unlock additional License Boards:
- Archer:
 Infuse, 1000 Needles
 - Black Mage:
Telekinesis - Bushi:
Stamp - Foebreaker:
Swiftness - Knight:
Telekinesis, Battle Lore - Machinist:
Magick Lores (x3) - Monk:
Swiftness (x2) - Red Battlemage:
Greatswords 1 ( Claymore), Greatswords 2 (Defender, Save the Queen)
 - Shikari:
Phoenix Lores 2 - Time Battlemage:
Swords 7 ( Diamond Sword, Runeblade), Swords 8 (Deathbringer, Stoneblade)
 - Uhlan:
Expose
The optimal choice is to make sure that all of your party members can activate all the Swiftness nodes. Make sure to give Ultima to either your Monk or your Foebreaker if they do not have them. You can also give it to your Knight to make sure that it has Telekinesis if it does not.