
Ruins
After the opening sequence in Zanarkand, Tidus will find himself in the Zanarkand Submerged Ruins. Use the mini-map in the top-left corner of the screen to help you navigate around the area. The red arrow ![]() shows you which way to go.
shows you which way to go.

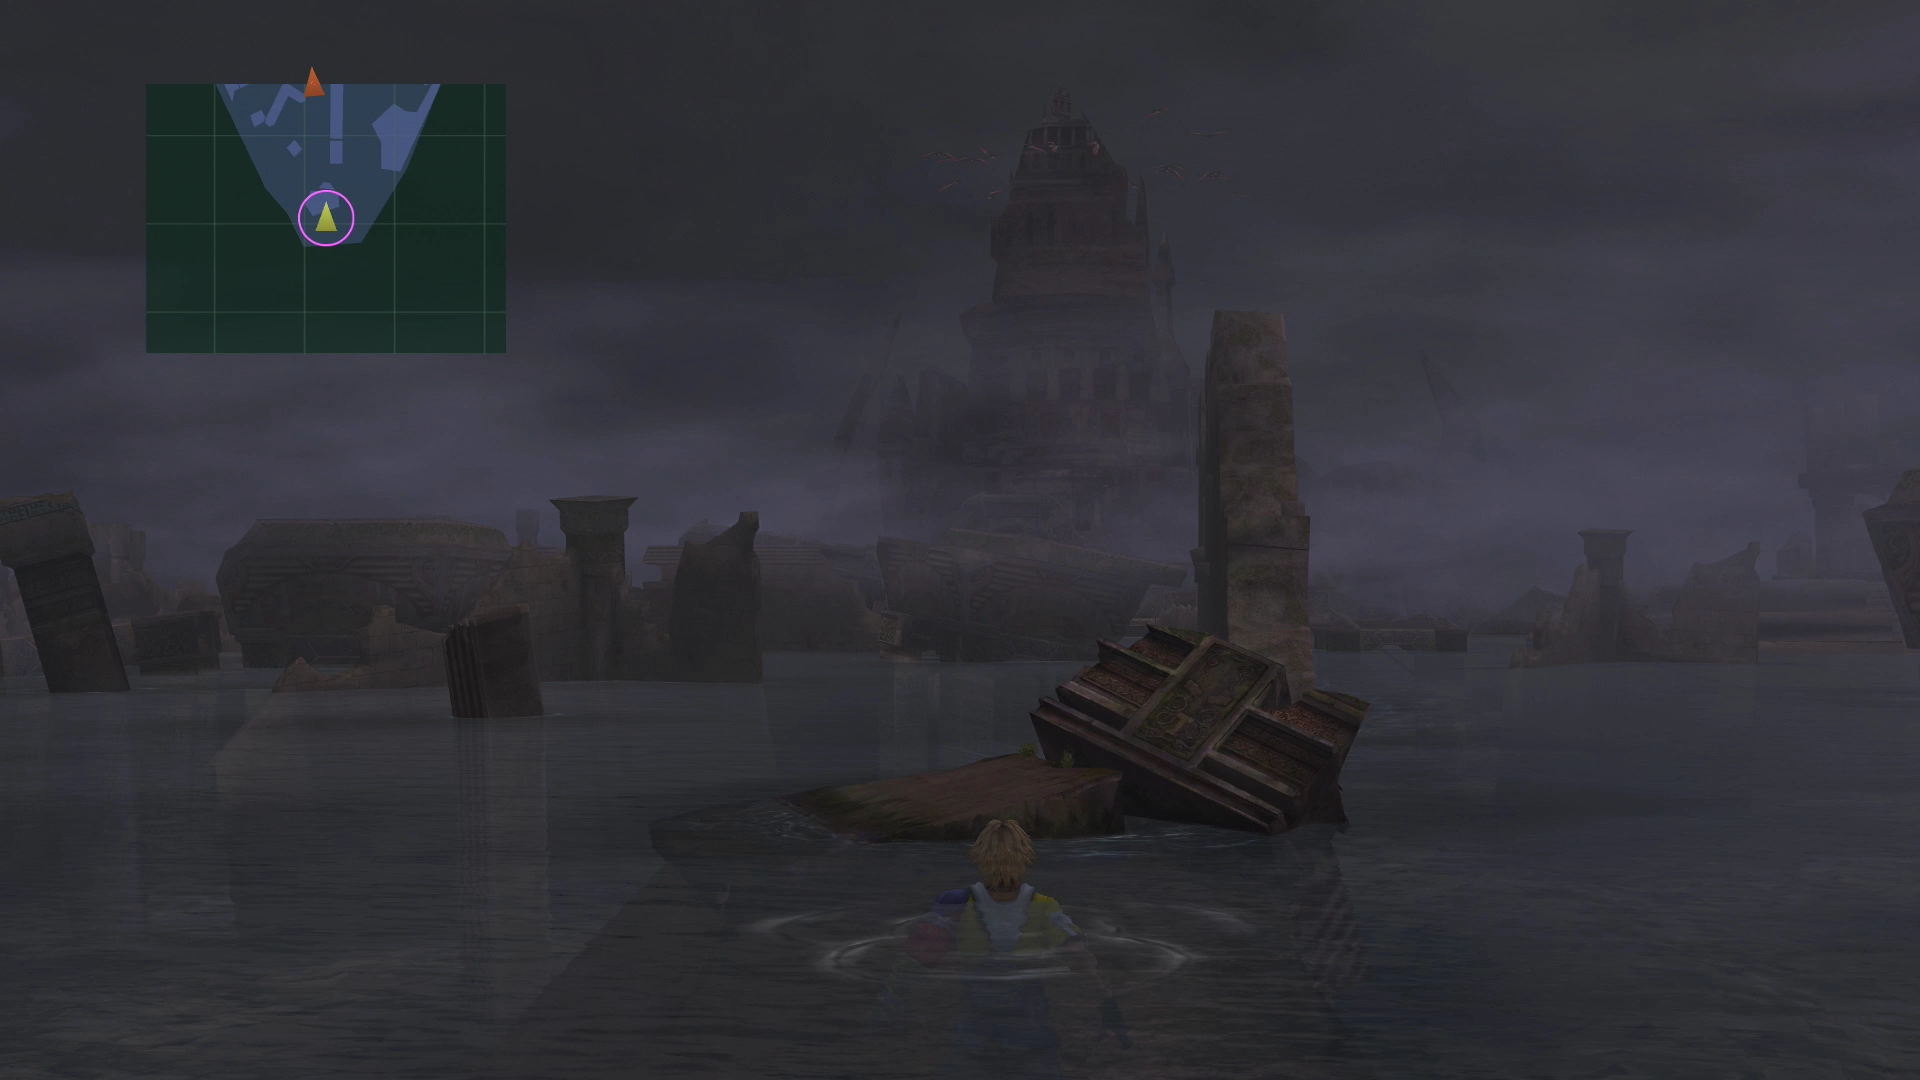
Swim northwest until you find a flight of stairs sticking up out of the water. Climb them to find an Al Bhed Compilation Sphere lying on the ground.

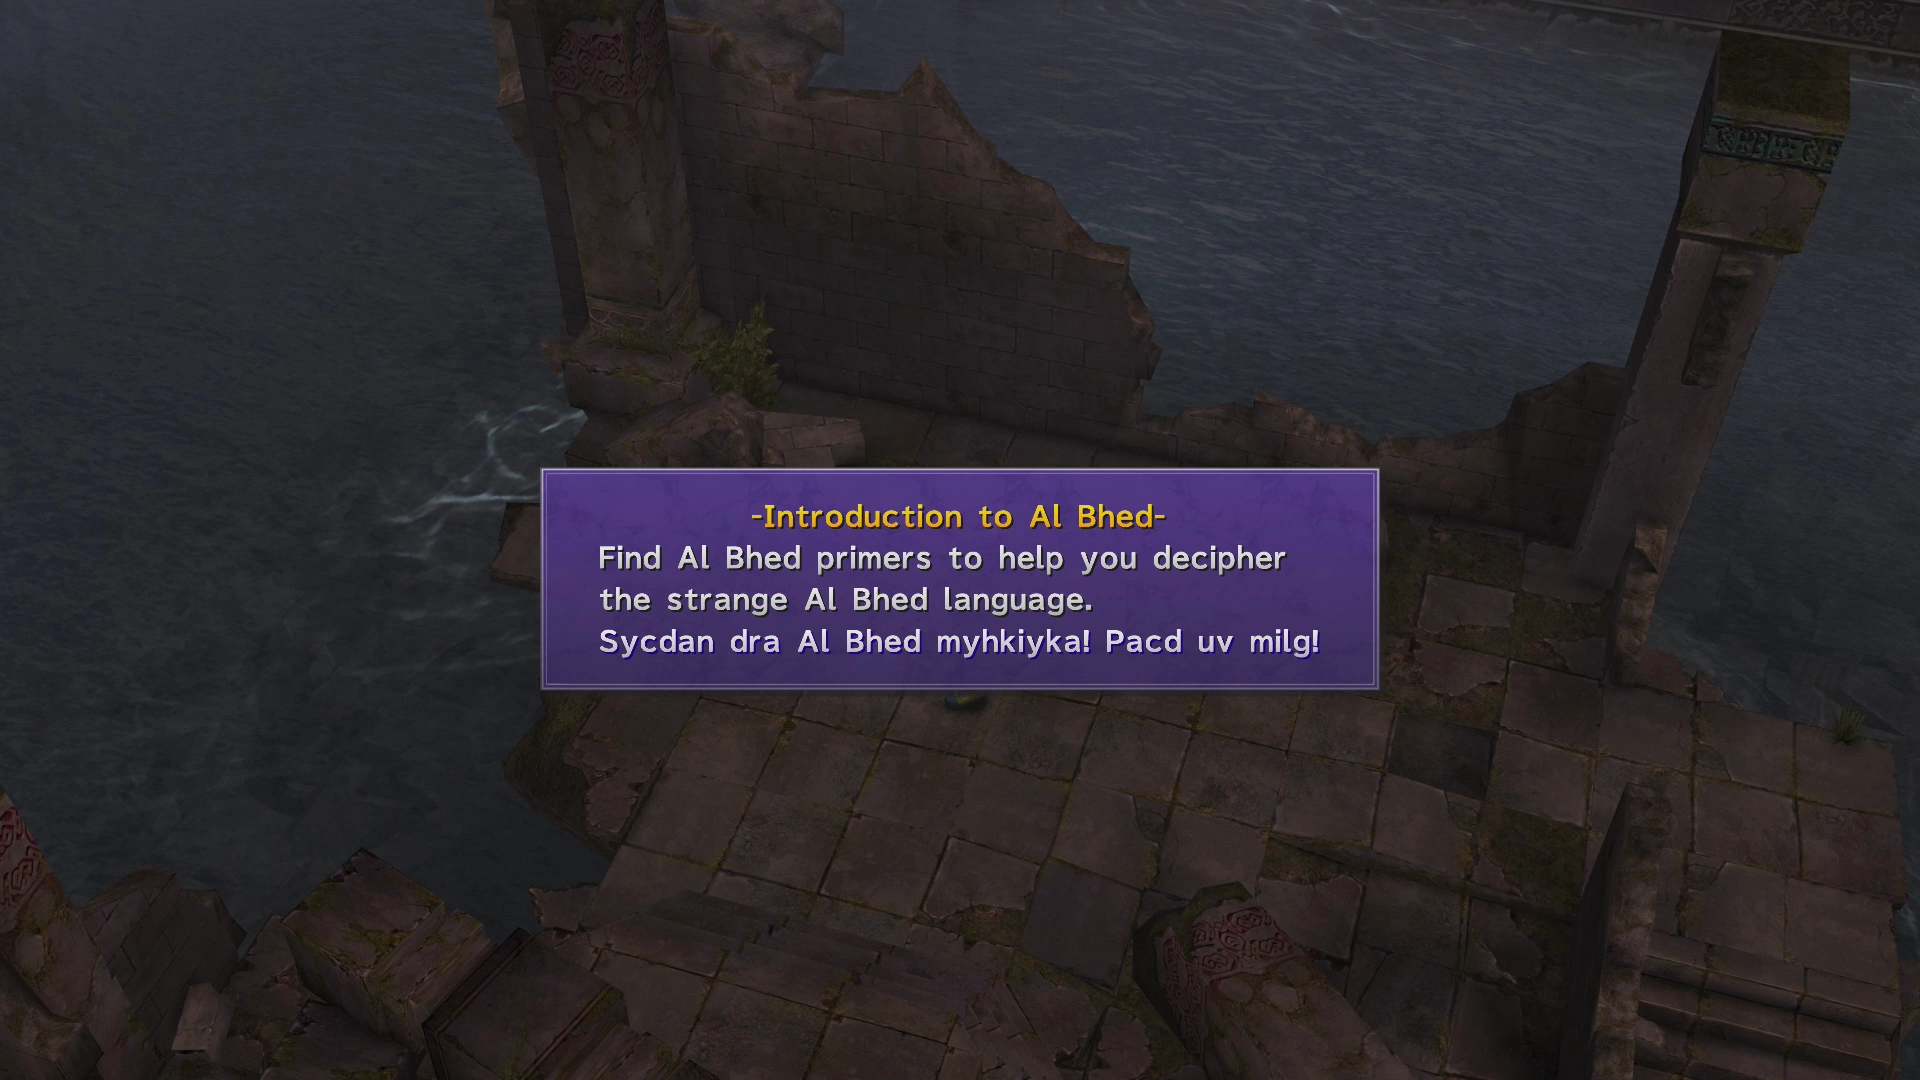
Throughout your travels, you will encounter items called ![]() Al Bhed Primers, which will assist you in deciphering the language of the Al Bhed people whom you will meet later on in the game.
Al Bhed Primers, which will assist you in deciphering the language of the Al Bhed people whom you will meet later on in the game.
If you have previously played through Final Fantasy X, you can use your old save data to automatically load in Al Bhed Primer data from your previous game. Using an old save file will allow you to decipher the Al Bhed language right from the start of the game.
There is also a treasure chest to the south of the Al Bhed Compilation Sphere that contains two ![]() Potions. Jump back into the water after you have collected them.
Potions. Jump back into the water after you have collected them.

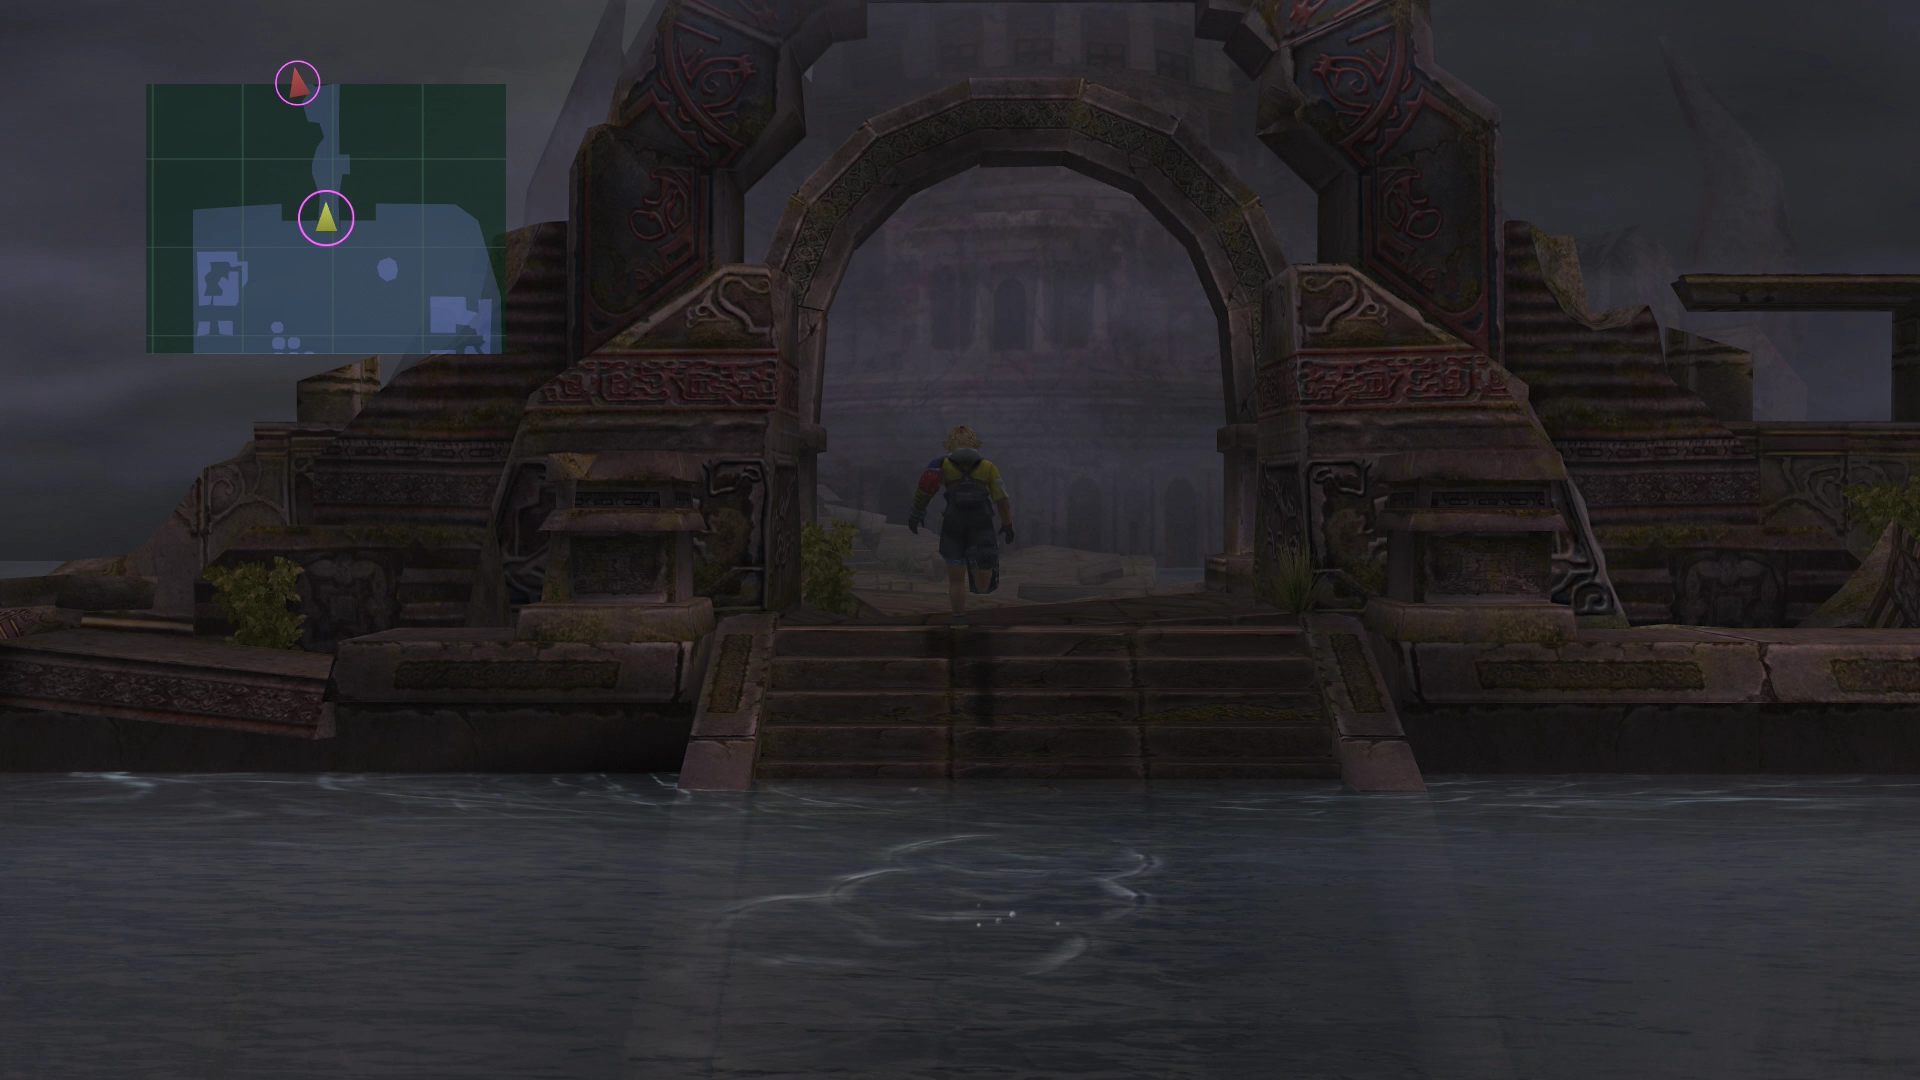
On the right side of the screen (east side of the map) is a treasure chest that contains 200 Gil (near some Al Bhed graffiti). Be sure to grab it before heading north into the next area.
Ruins - Underwater Hall
Use the ![]() Save Sphere to your left, and as one more quick reminder, get into the habit of always saving! You will save yourself a lot of potential grief later on down the line, and the process of touching the Save Sphere will refill your HP and MP.
Save Sphere to your left, and as one more quick reminder, get into the habit of always saving! You will save yourself a lot of potential grief later on down the line, and the process of touching the Save Sphere will refill your HP and MP.

Take the path that goes out and off to the left to find a treasure chest containing a ![]() Hi-Potion.
Hi-Potion.

Then head north and continue along the pathway. Tidus will be thrown into the water by an unseen entity. Swim north towards the Save Sphere to initiate the next boss battle.
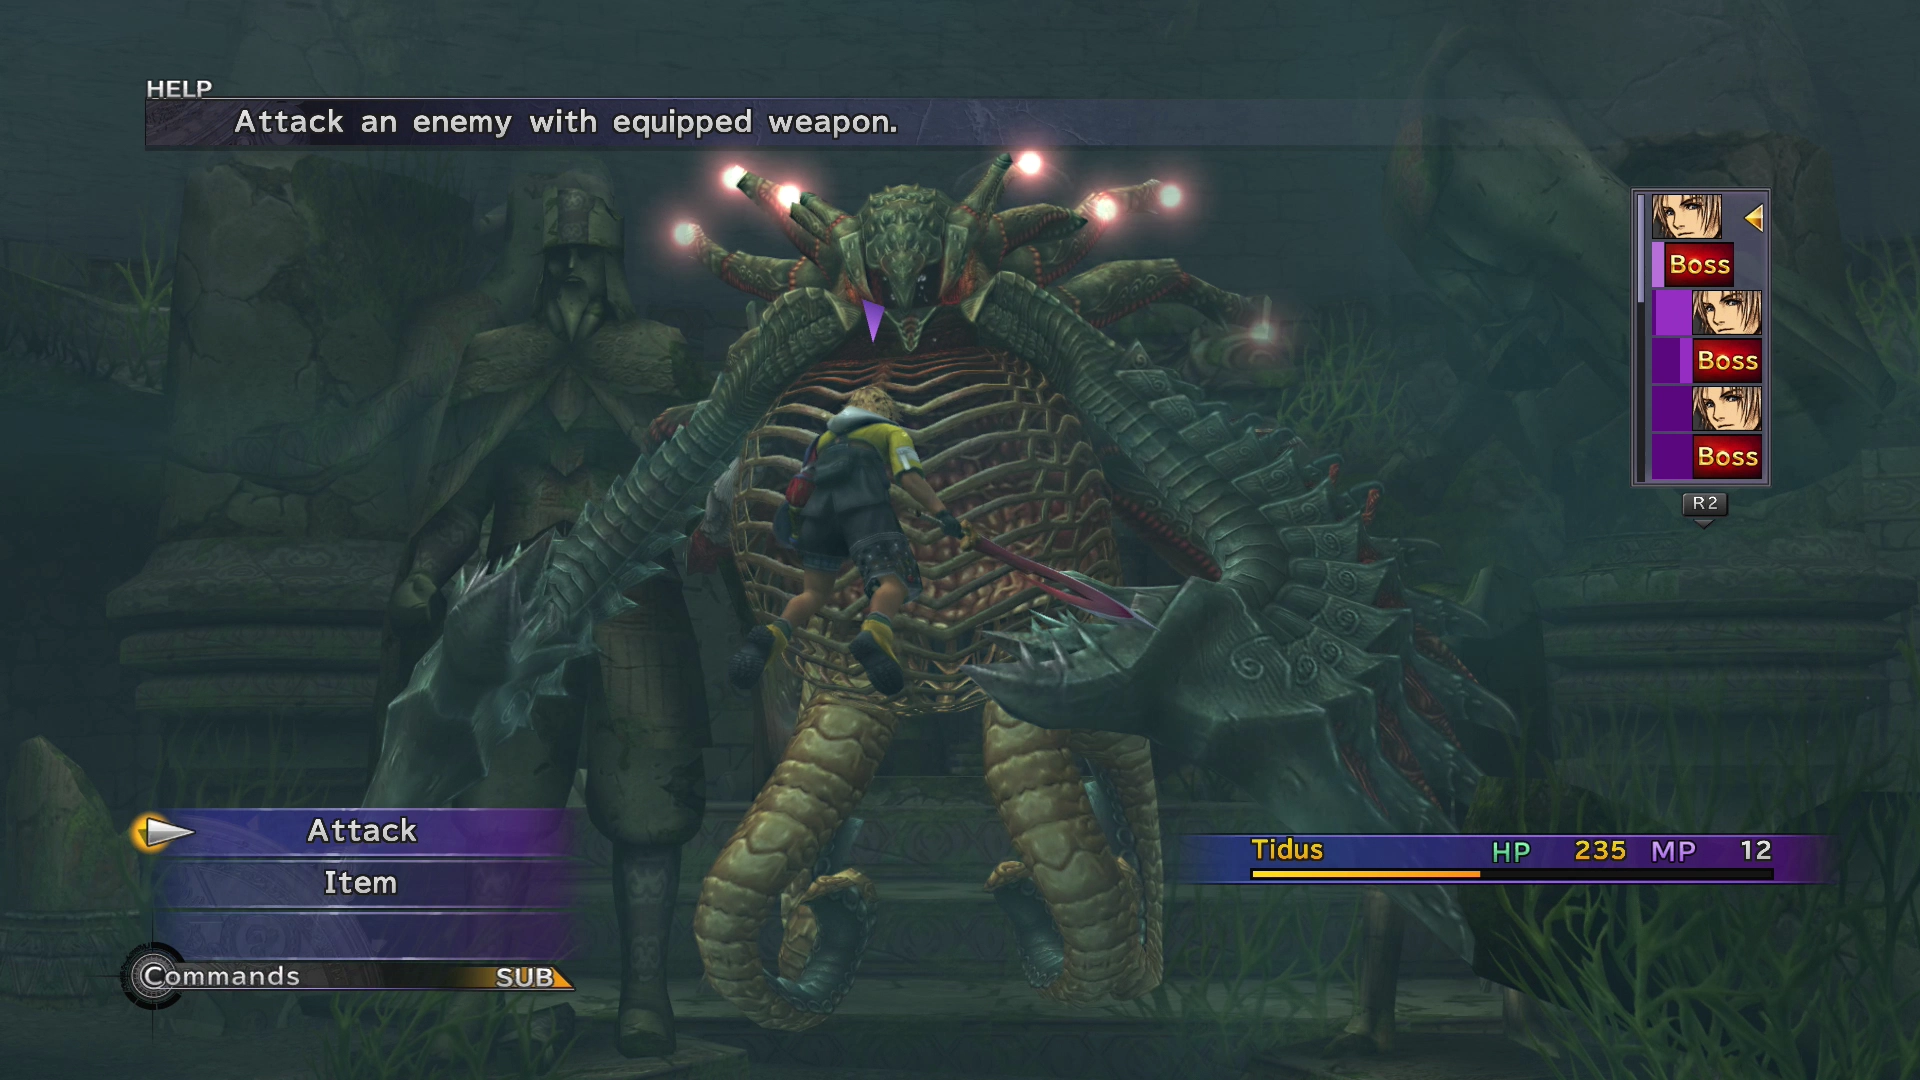
Boss Battle
In Game Description: Covered with thick scales. Vulnerable to magic.

HP: 32,767
This battle begins as a fight against three Sahagin (fish-like creatures). Two quick attacks from Tidus will make easy work of them. The boss will kill the third Sahagin as it enters the battlefield.
This boss battle is another fight where your character cannot be KO’d. Geosgaeno’s attacks will always hit you for 50% of your HP. The battle will end prematurely, though, after a few attacks, so don’t waste any of your ![]() Potions trying to keep yourself alive.
Potions trying to keep yourself alive.
Steal:
Drops:
- (None)
Ruins - Corridor
Tidus will make a frantic escape from Geosgaeno at the end of the battle. The chase will lead him inside the actual Zanarkand Ruins. Head north through the corridor and into the next room.

Corridor Map


Ruins - Hall
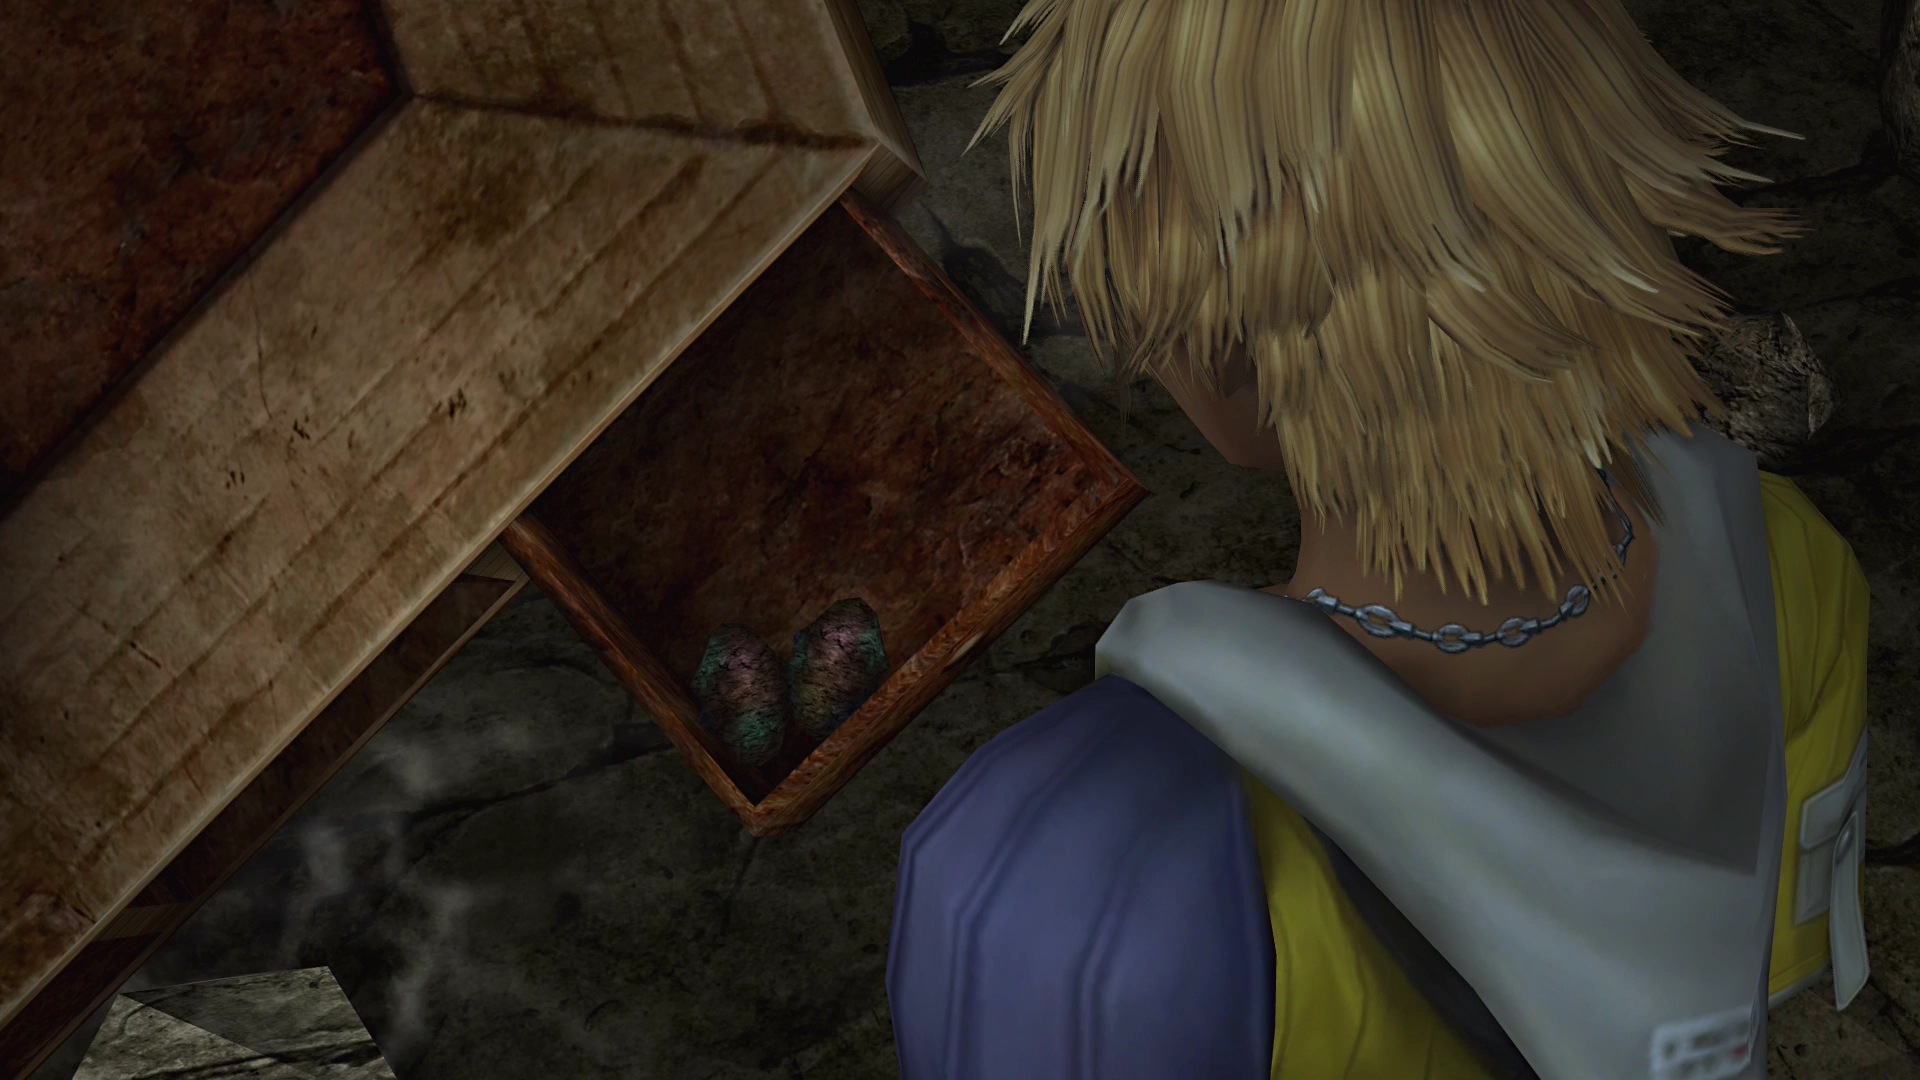
There is a ![]() Save Sphere in the southwest corner of the room, indicated on the mini-map by a white square. Go through the doorway beside the Save Sphere and into the next room. Examine the box on the ground to obtain a
Save Sphere in the southwest corner of the room, indicated on the mini-map by a white square. Go through the doorway beside the Save Sphere and into the next room. Examine the box on the ground to obtain a ![]() Flint.
Flint.

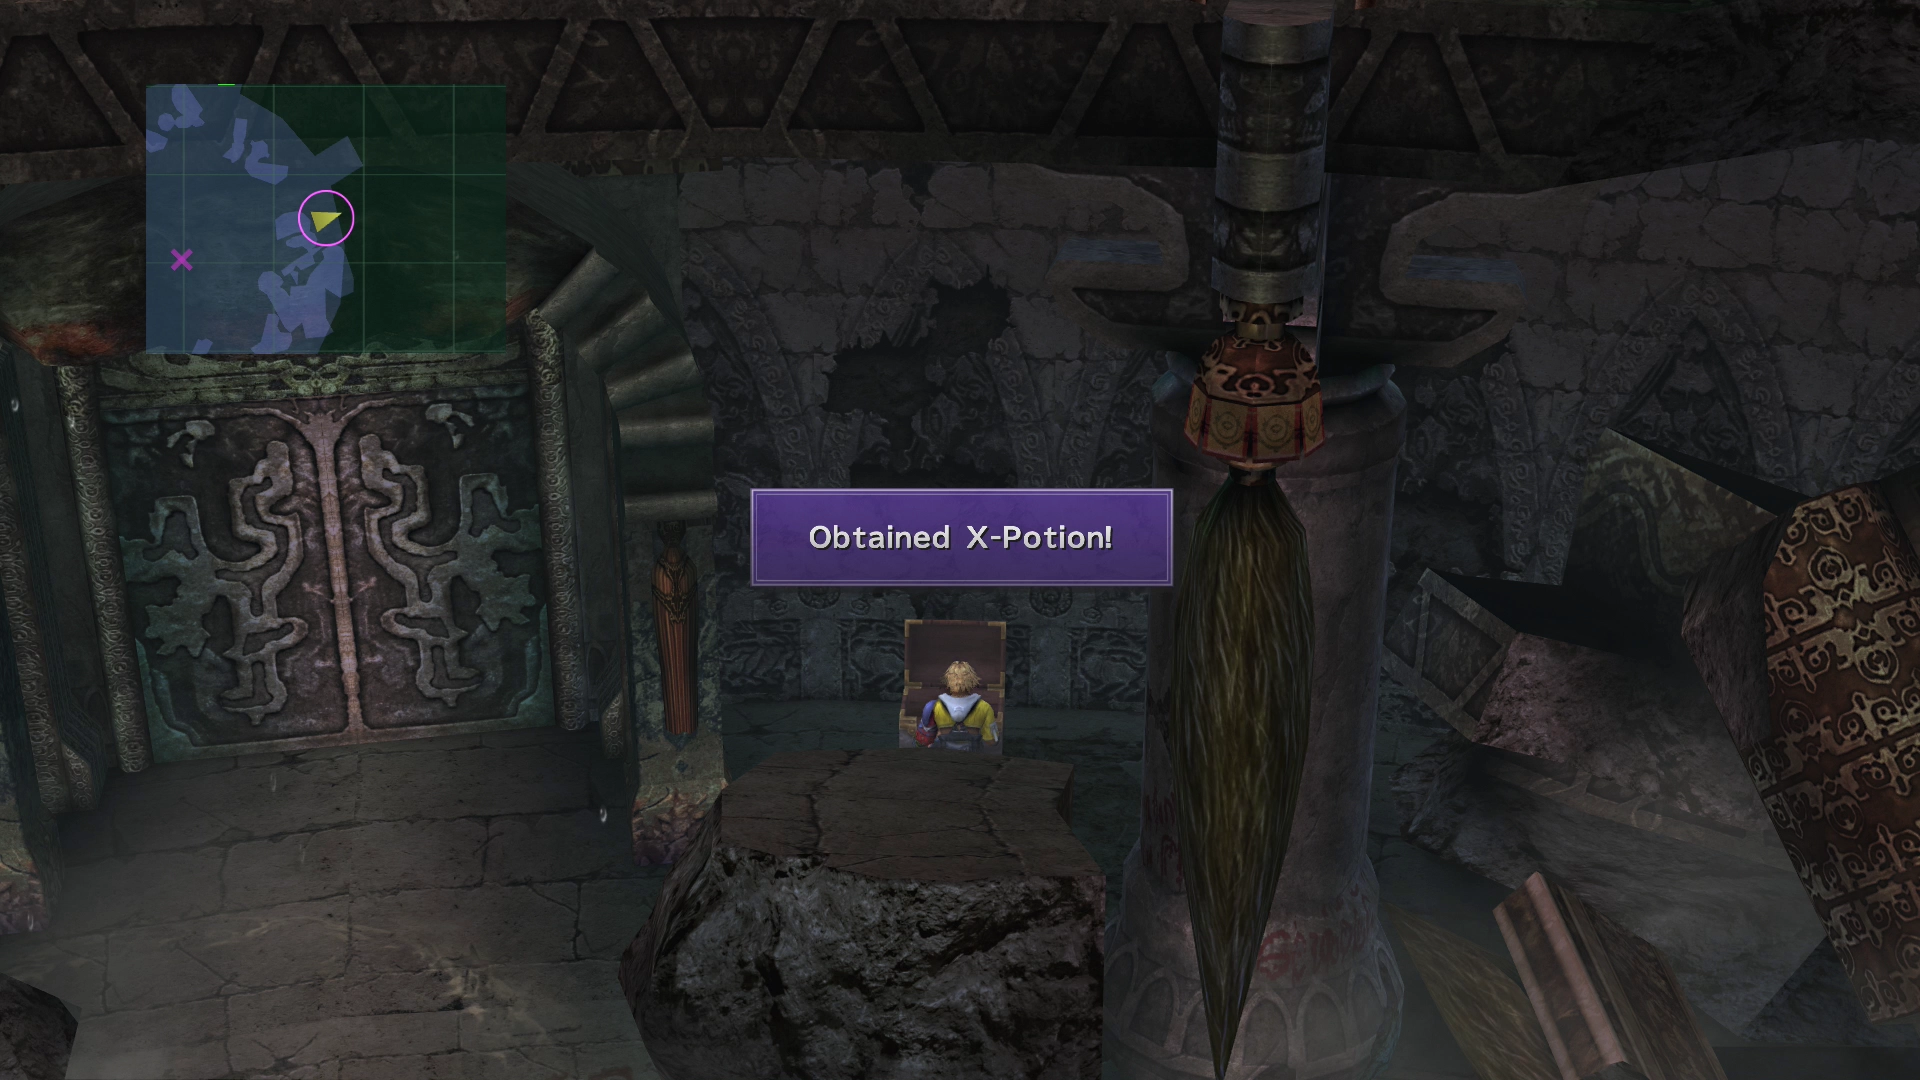
Return to the main room where Tidus started and head east. To the right of the large locked door is a chest containing an ![]() X-Potion.
X-Potion.
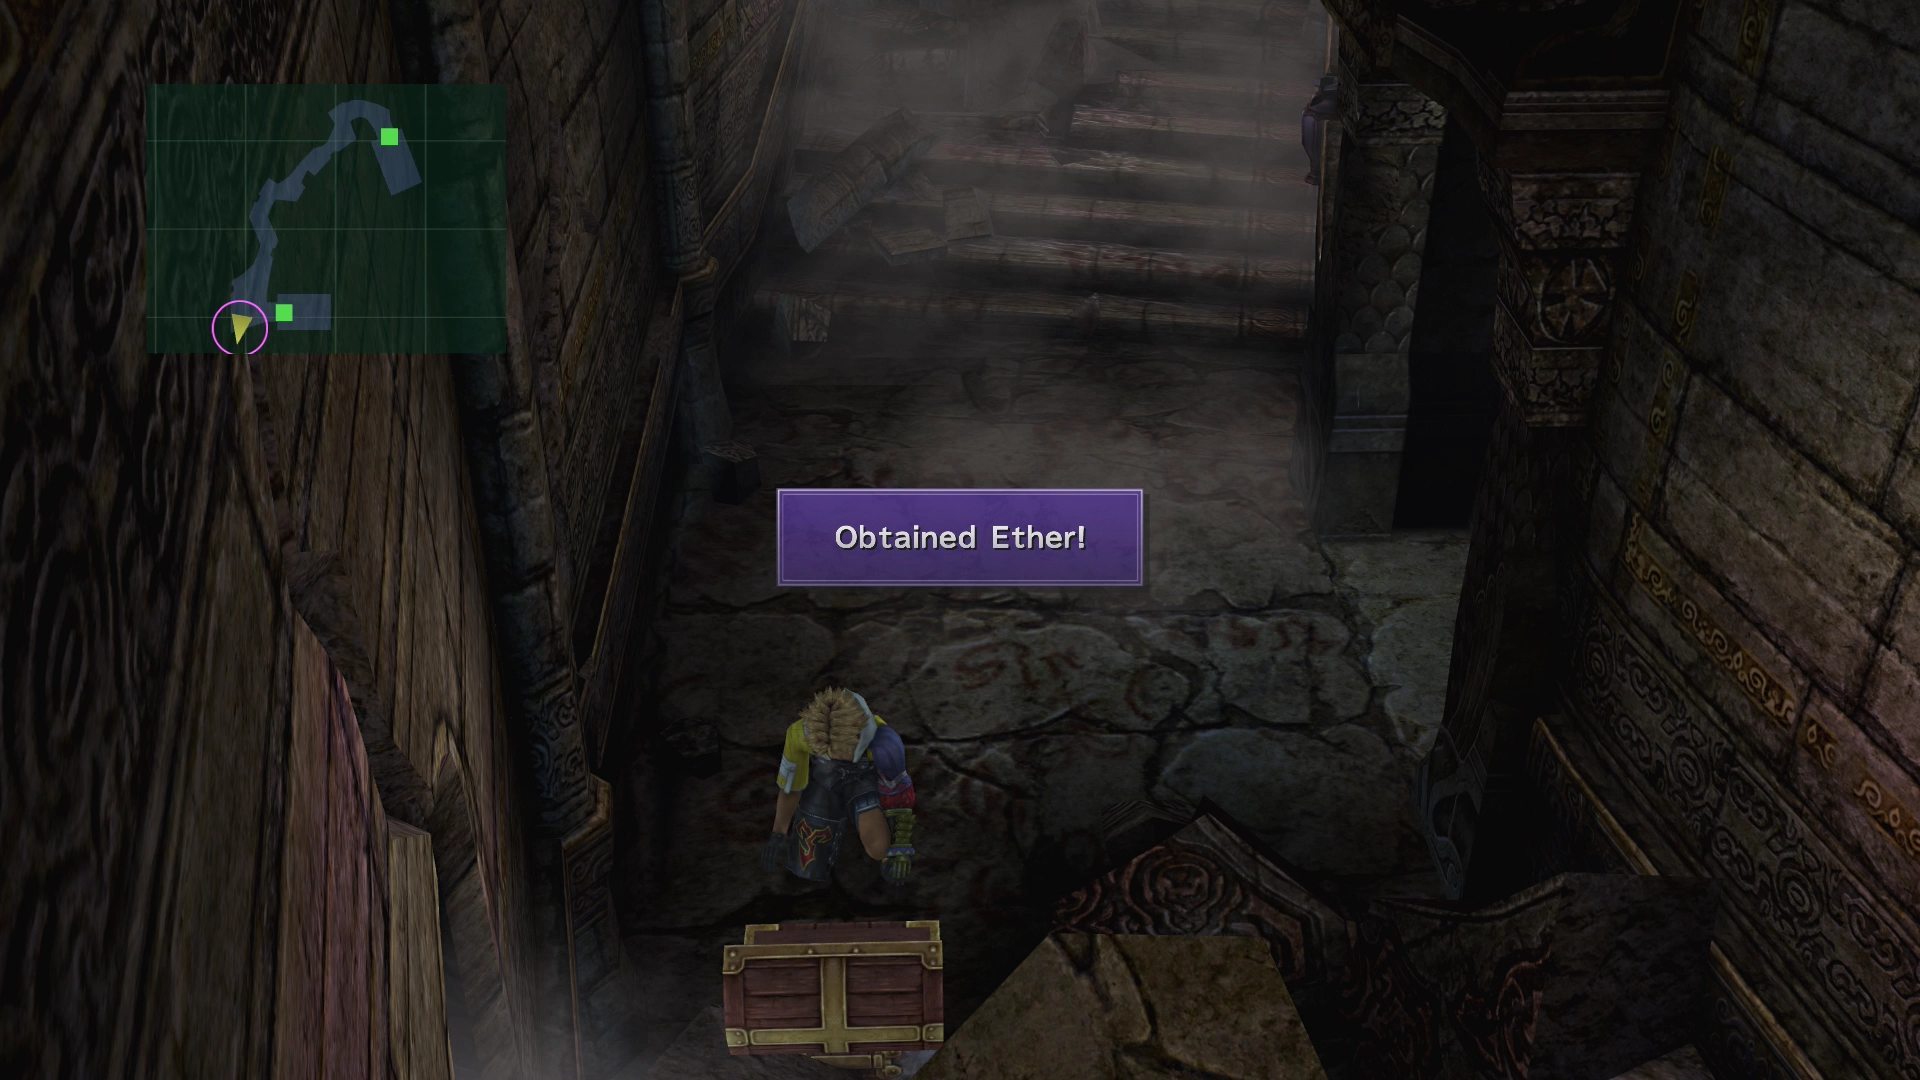
Now go north through the doorway. A treasure chest is located right at the entrance (near the camera), and it contains an ![]() Ether.
Ether.
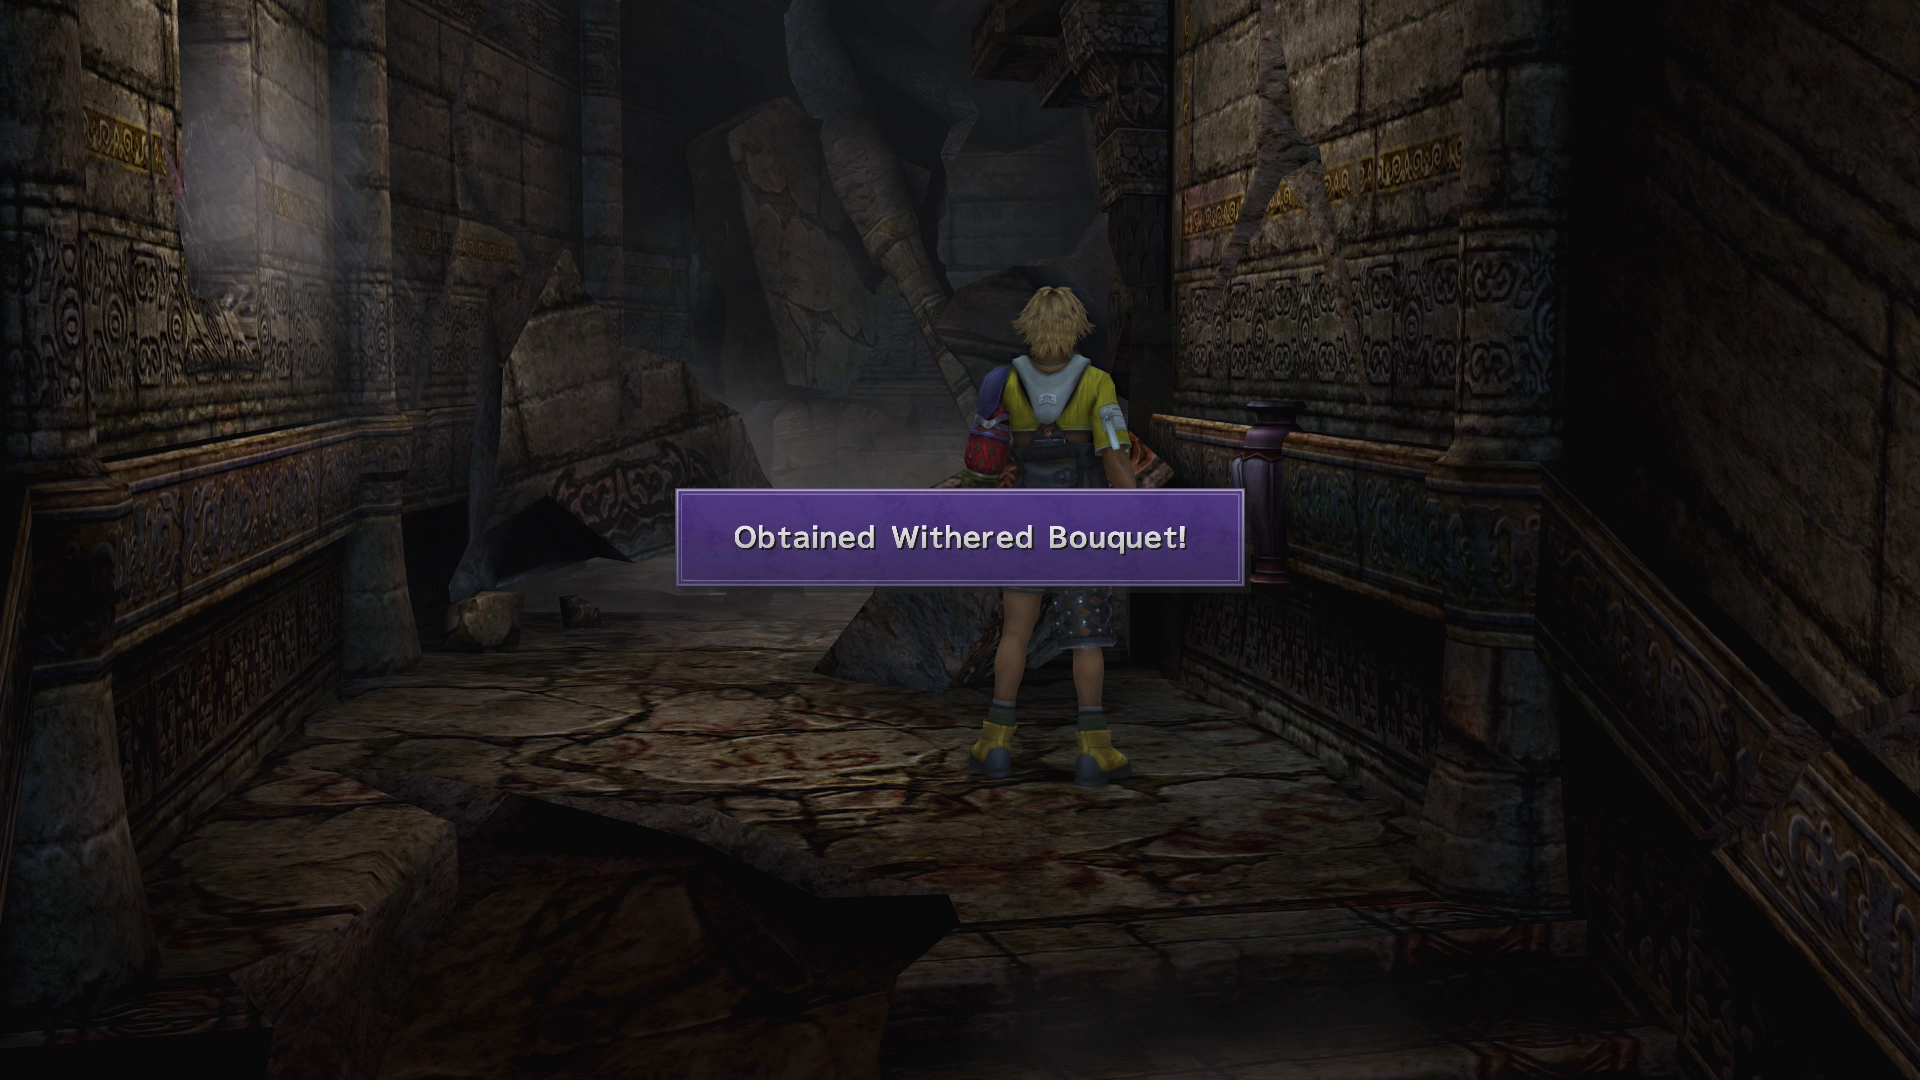
Follow the stairs upwards and grab the ![]() Withered Bouquet at the top of the staircase.
Withered Bouquet at the top of the staircase.
Hallway Map
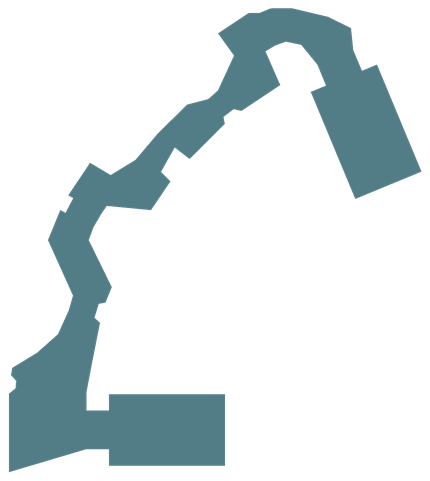
| 2 |
Continue following the hallway along the back into the second floor of the main room to find a treasure chest containing a ![]() Hi-Potion.
Hi-Potion.

Go back to the center of the main room and examine the fire pit to light the fire. Tidus will fall asleep in front of the fire that he sets and will wake up just before the fire goes out. As he looks around the room, he notices a strange creature watching him…

Boss Battle
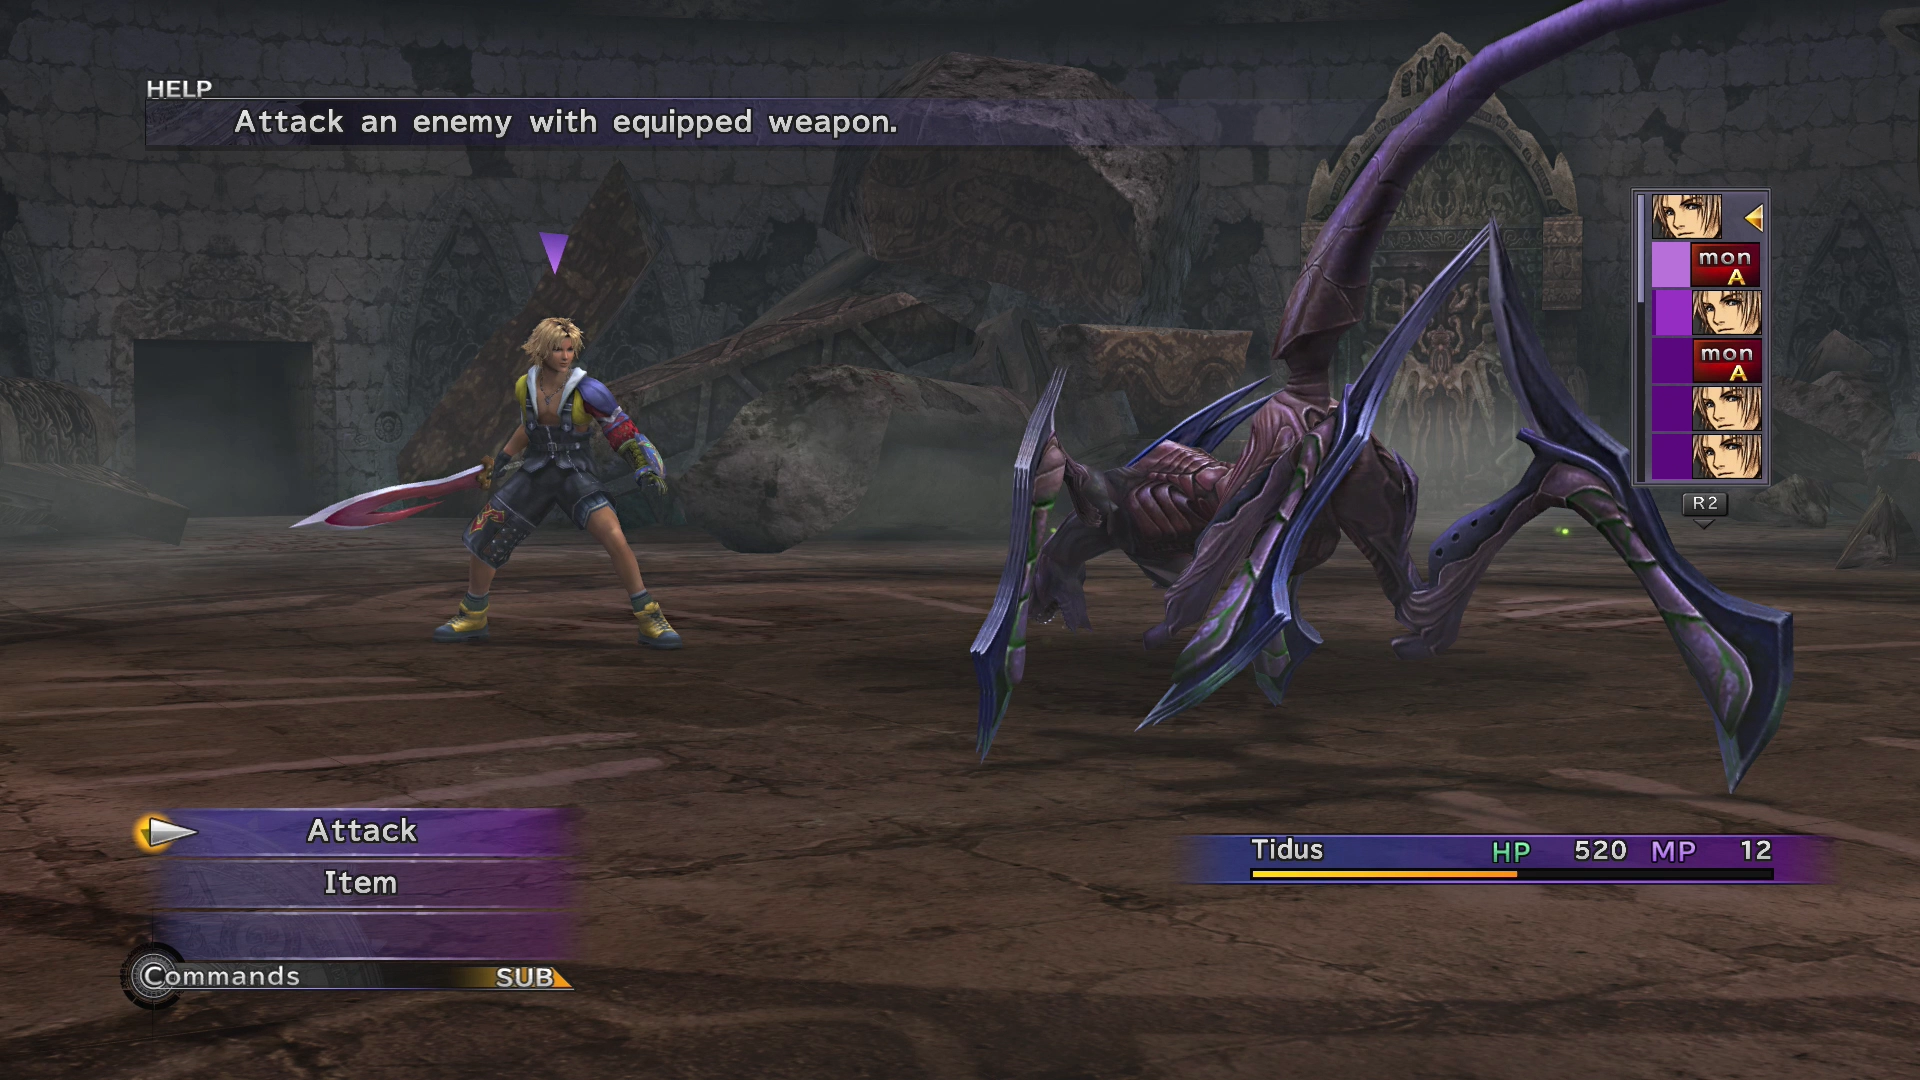
HP: 1,500
This boss battle is another fairly standard fight. The only difference is that this time, you should be prepared to use a few ![]() Potions to stay alive. Klikk is capable of inflicting some damage.
Potions to stay alive. Klikk is capable of inflicting some damage.
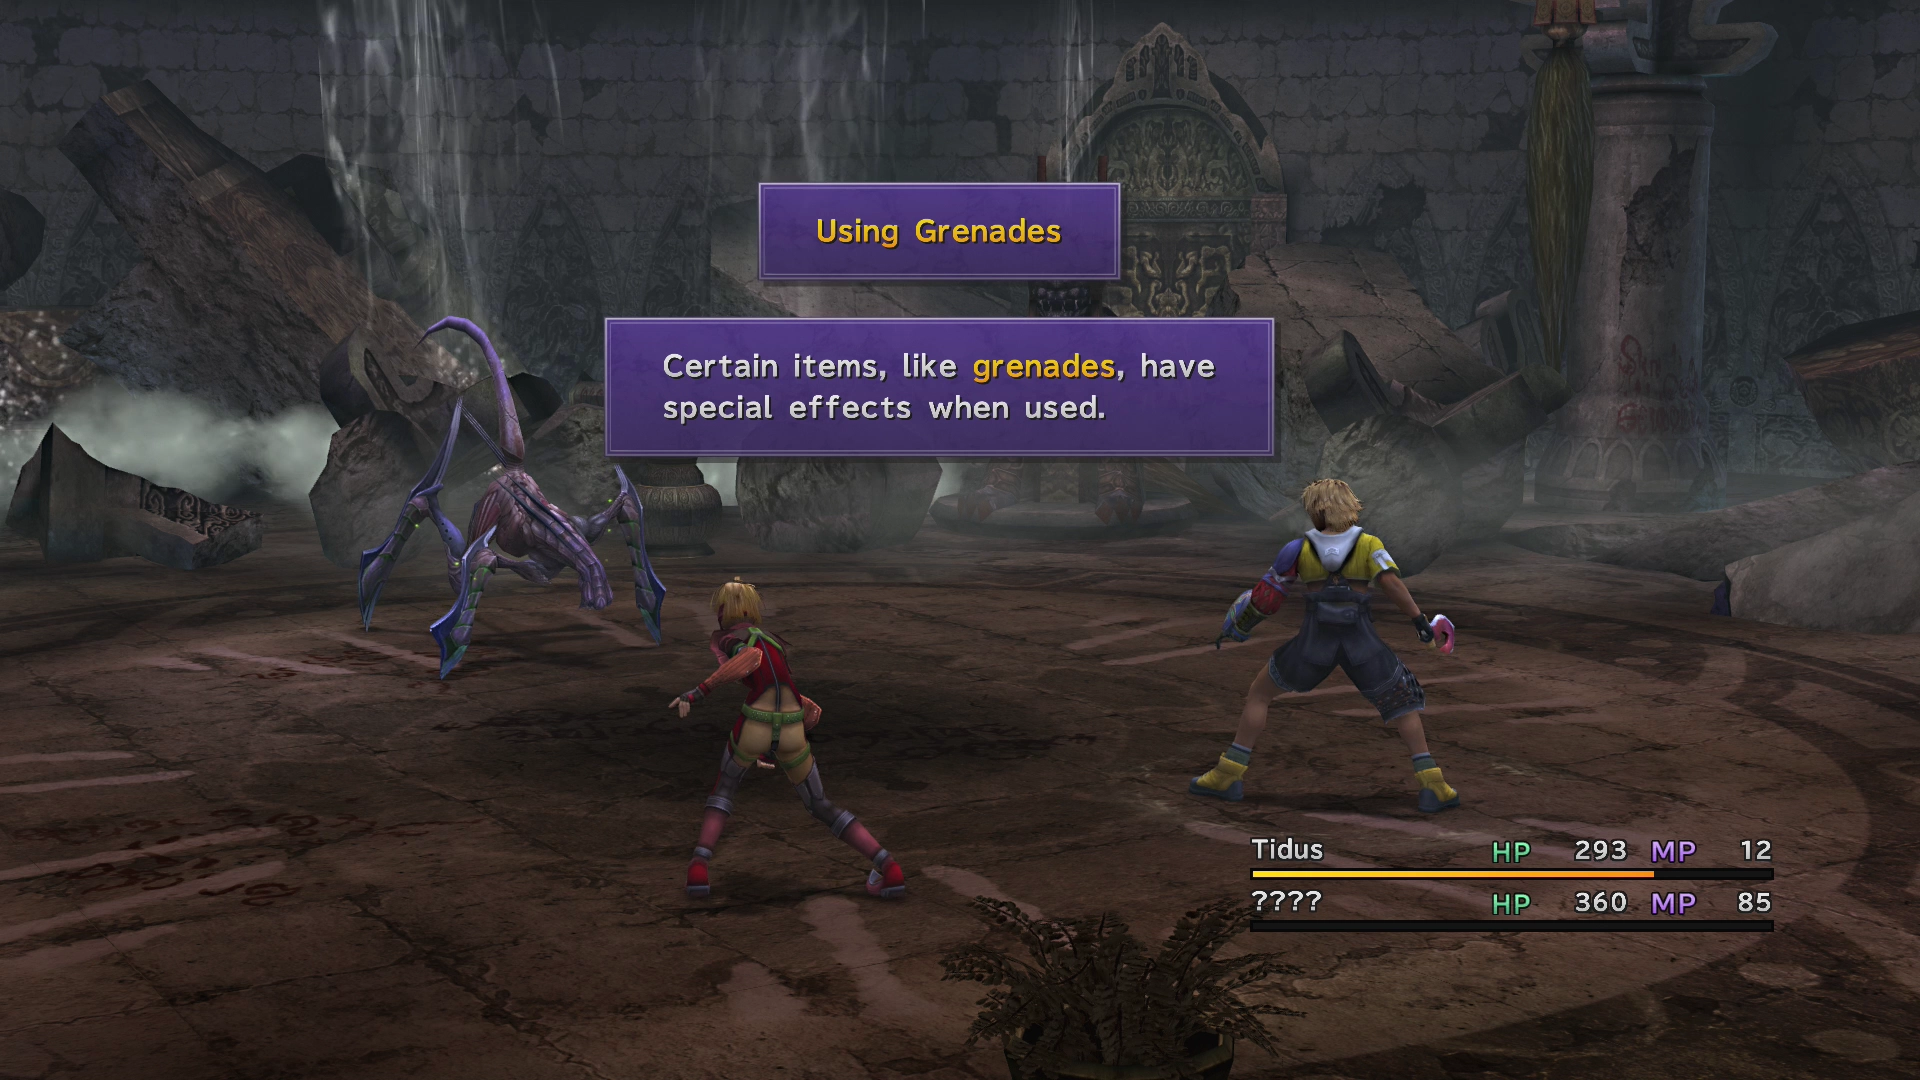
You will be interrupted partway through this fight by some Al Bhed characters. One of them will join the battle and assist Tidus. You’ll get a quick overview of how ![]() Grenades work. Follow the instructions and use a Grenade on Klikk and continue to attack with Tidus until the battle is over.
Grenades work. Follow the instructions and use a Grenade on Klikk and continue to attack with Tidus until the battle is over.
The character that joins Tidus starts with only two ![]() Grenades in her possession, but you can use her
Grenades in her possession, but you can use her ![]() Steal command on Klikk and nab one more from it.
Steal command on Klikk and nab one more from it.
Steal:
Drops:
The strangely dressed people who burst into the Zanarkand Ruins will take Tidus with them as they leave the area. This group of people is known as the “Al Bhed.” The next scene takes place on their ship.
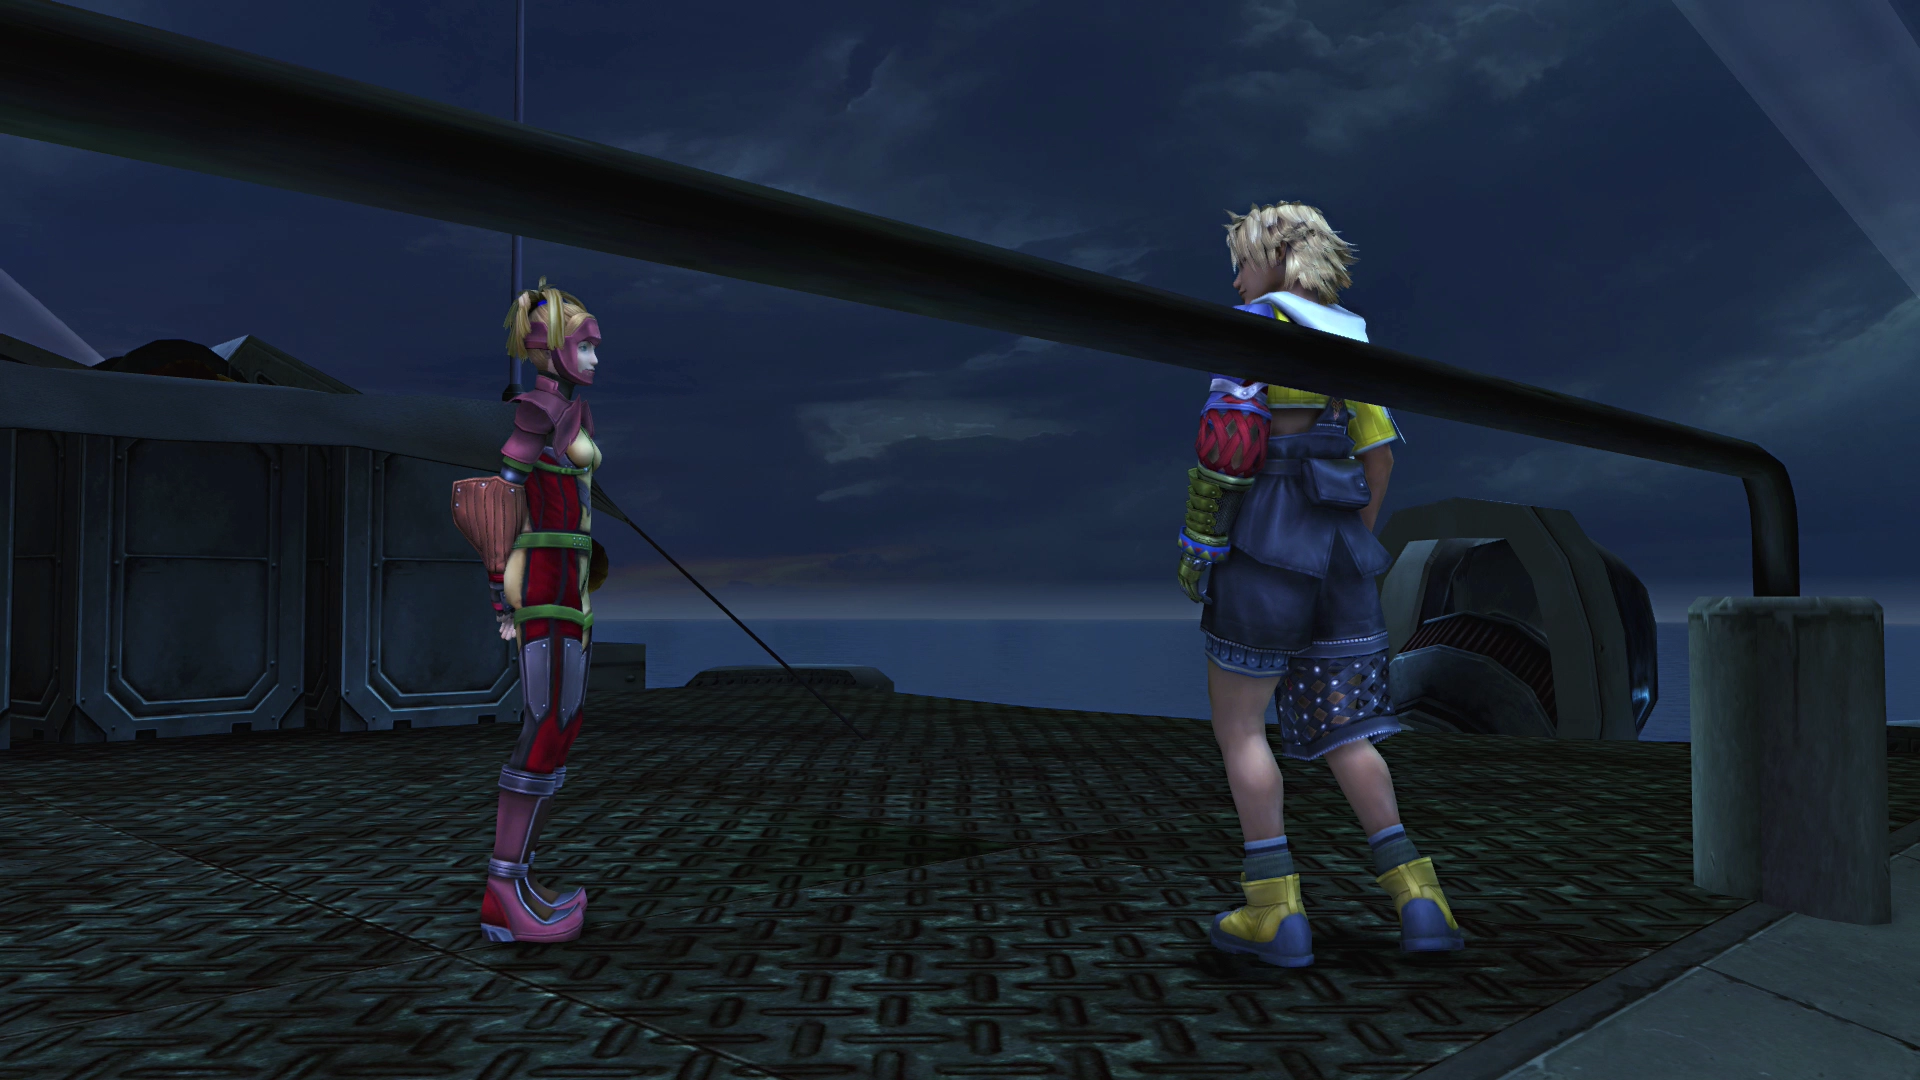
Salvage Ship - Deck
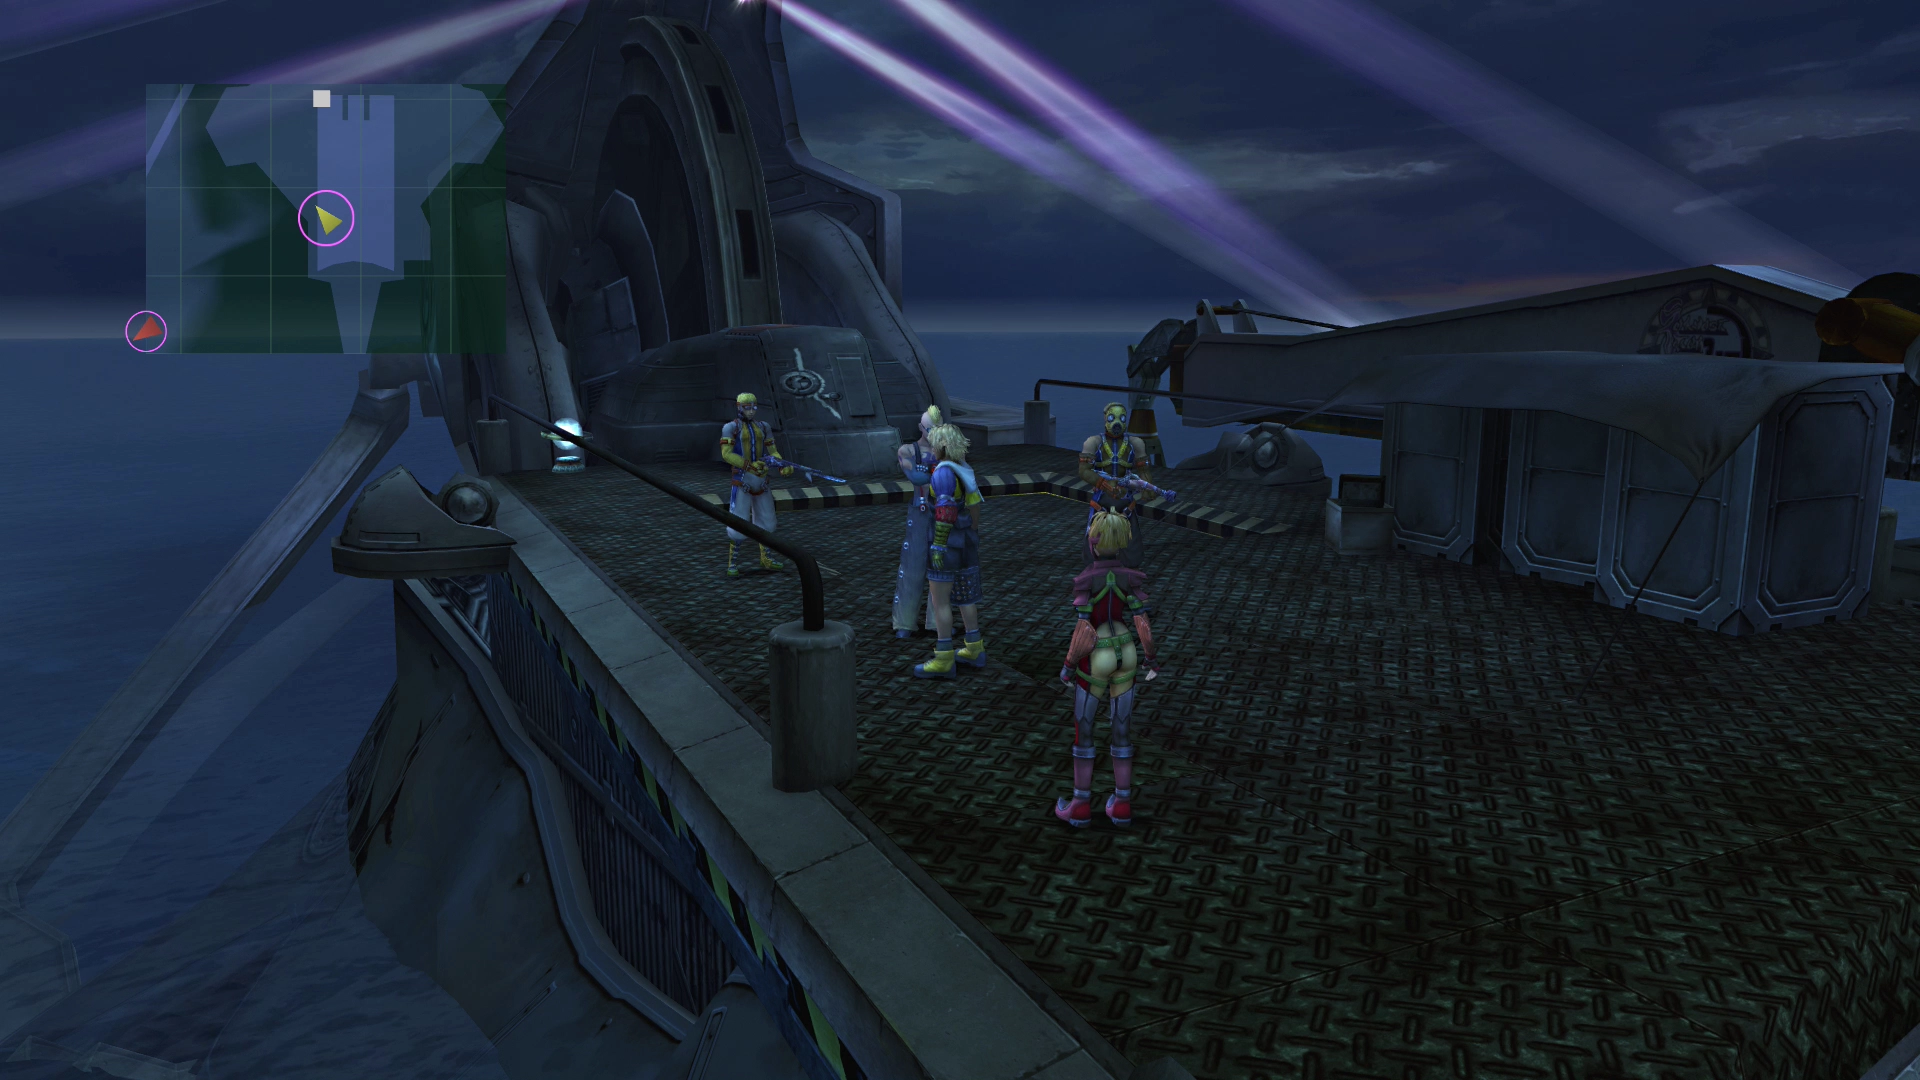
Before you do anything, speak to the girl in the red outfit to get a quick overview of the Sphere Grid system. The Sphere Grid is the leveling-up system used in Final Fantasy X, which teaches characters new abilities and improves their stats. You can learn more about how it works in the Sphere Grid section using the link below.
Sphere Grid Section

The Sphere Grid you are just being introduced to here is how every character learns abilities and raises their stats throughout the game. The full section explains the grid types, spheres, and how to plan your progression.
Go in and use the Sphere Grid after you’ve gone through the tutorial. Use it to move Tidus one space and then use the ![]() Ability Sphere that Klikk dropped to activate the
Ability Sphere that Klikk dropped to activate the ![]() Cheer ability. You can’t do anything else in the Sphere Grid for now.
Cheer ability. You can’t do anything else in the Sphere Grid for now.
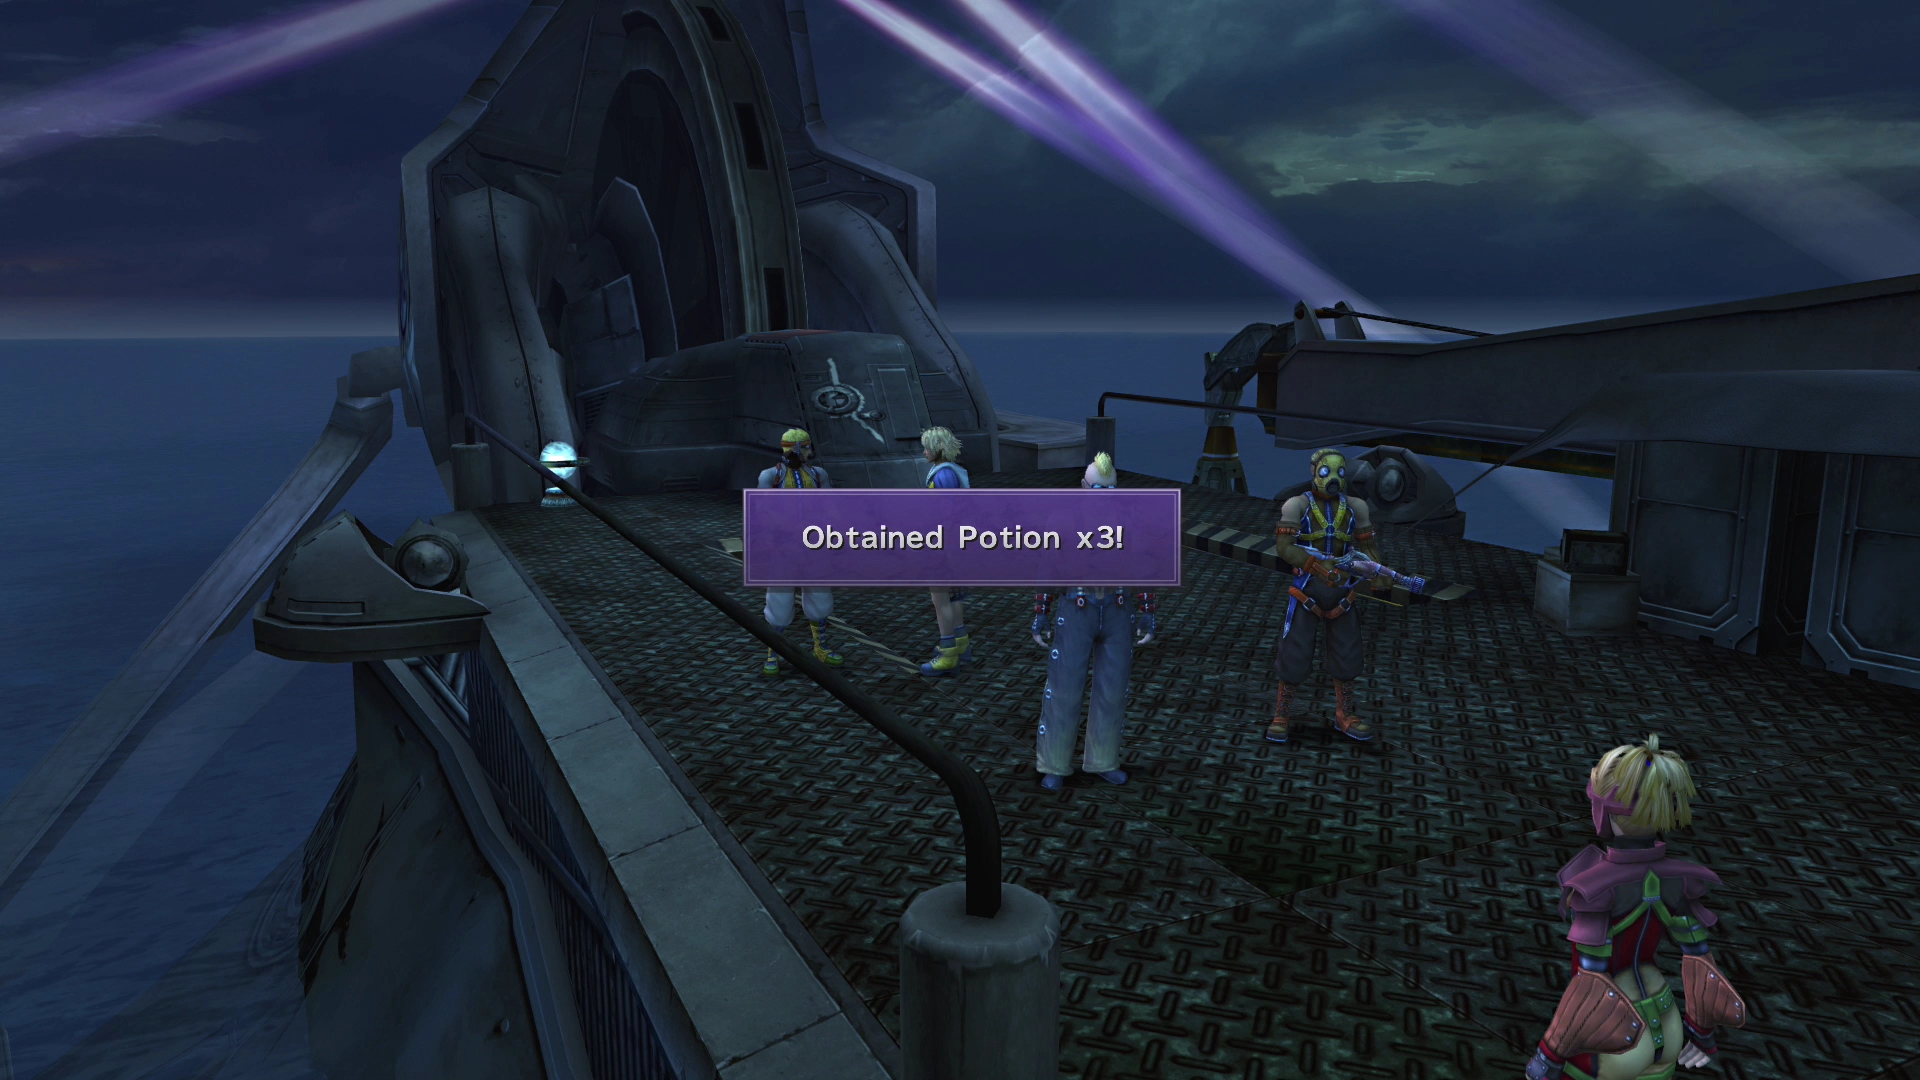
Talk to the Al Bhed on the left to receive three ![]() Potions. There is an
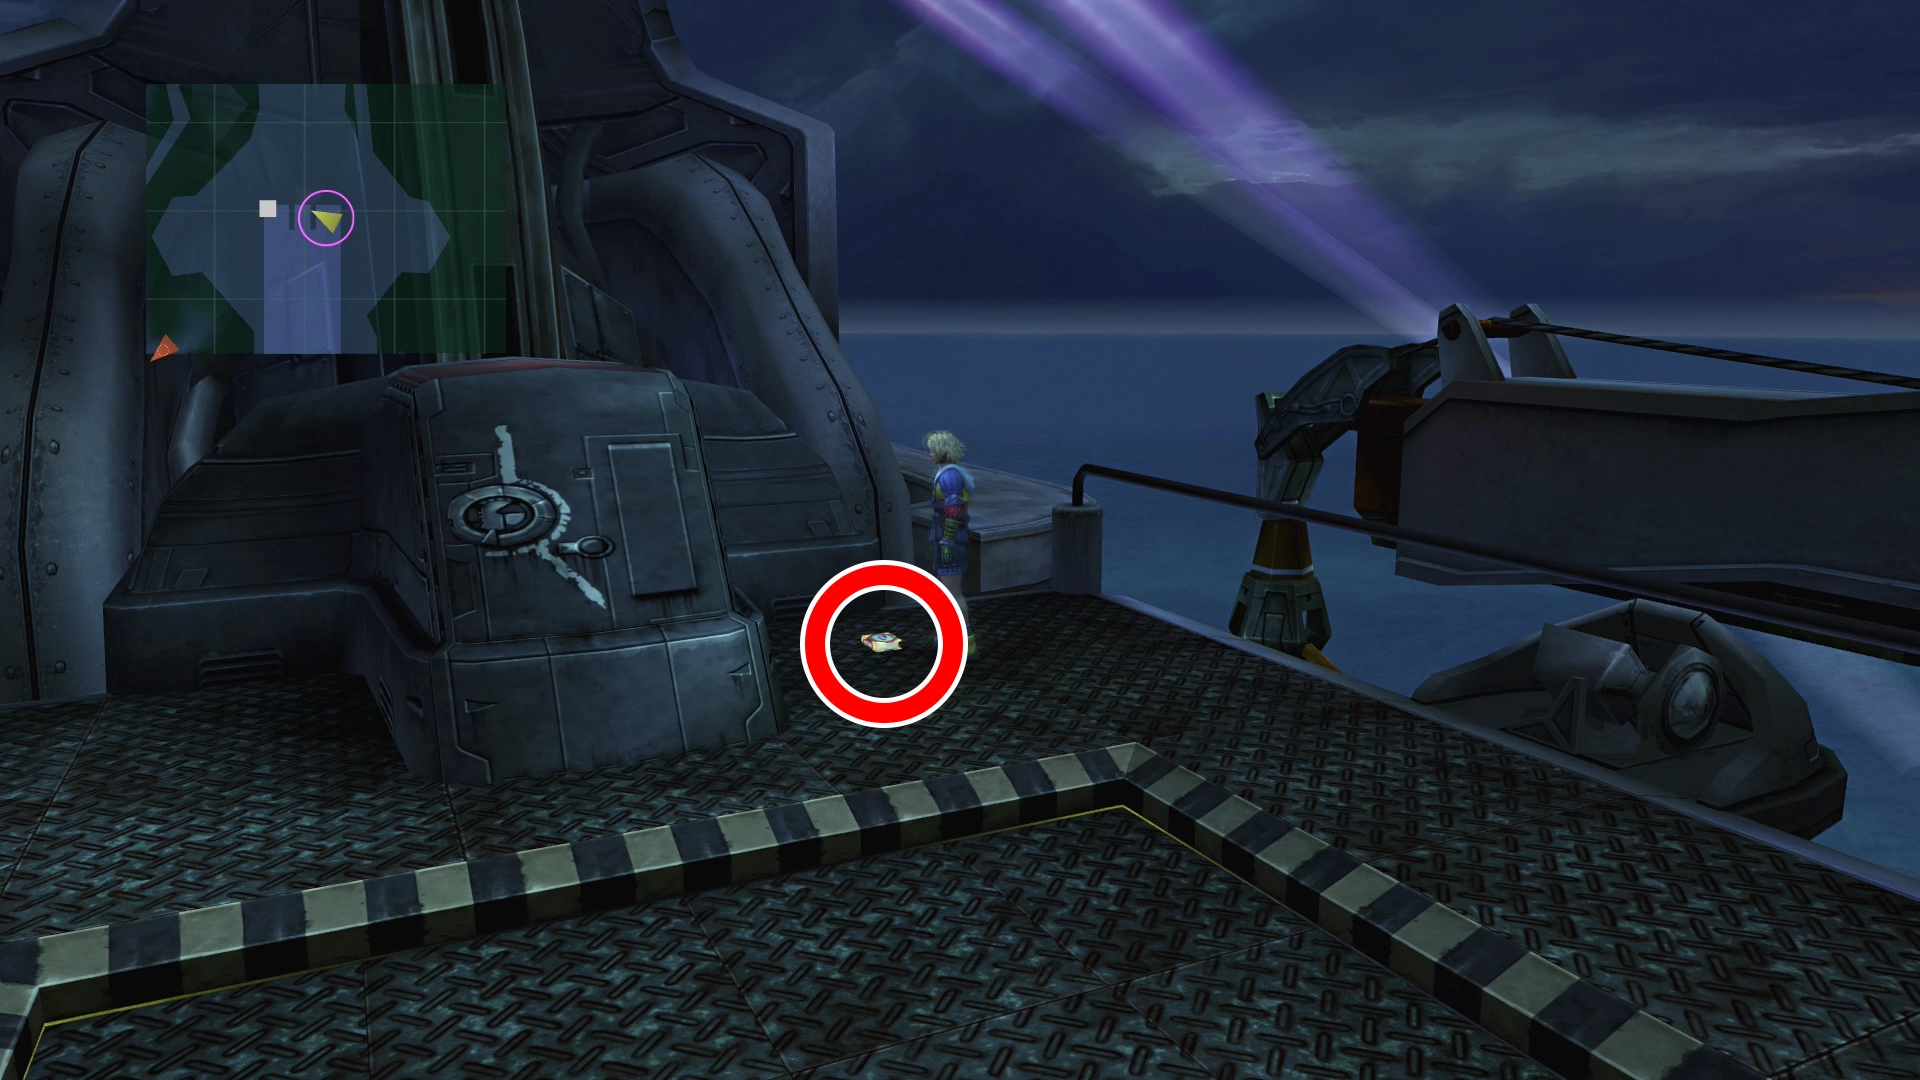
Potions. There is an ![]() Al Bhed Primer (Vol. I) on the ground at the back of the ship. Be sure to grab it and then save your game.
Al Bhed Primer (Vol. I) on the ground at the back of the ship. Be sure to grab it and then save your game.
Throughout the game, you will come across ![]() Al Bhed Primers, which you can use to teach you what the Al Bhed are saying, letter by letter. Letters that you haven’t learned yet will appear as normal white lettering, whereas letters that you have learned will be captioned in pink when characters speak Al Bhed.
Al Bhed Primers, which you can use to teach you what the Al Bhed are saying, letter by letter. Letters that you haven’t learned yet will appear as normal white lettering, whereas letters that you have learned will be captioned in pink when characters speak Al Bhed.
This guide will indicate the locations of all 24 Al Bhed Primers and when you can recover them. You can learn more about the Al Bhed Primer side quest using the link below.
Side Quests

The Al Bhed Primers are collectible volumes scattered across Spira that translate the Al Bhed language, and you pick up your very first one here in the Ruins. The guide maps out all 24 and when each one can be found.
Achievement/Trophy
Obtaining your first Al Bhed Primer will reward you with the  Speaking in Tongues Achievement/Trophy. You can also obtain the
  Master Linguist Achievement/Trophy if you manage to find all 26 of them, so make sure you don’t miss any!
Speak to the girl in red one more time to get an overview of your next mission.
Salvage Ship - Surface
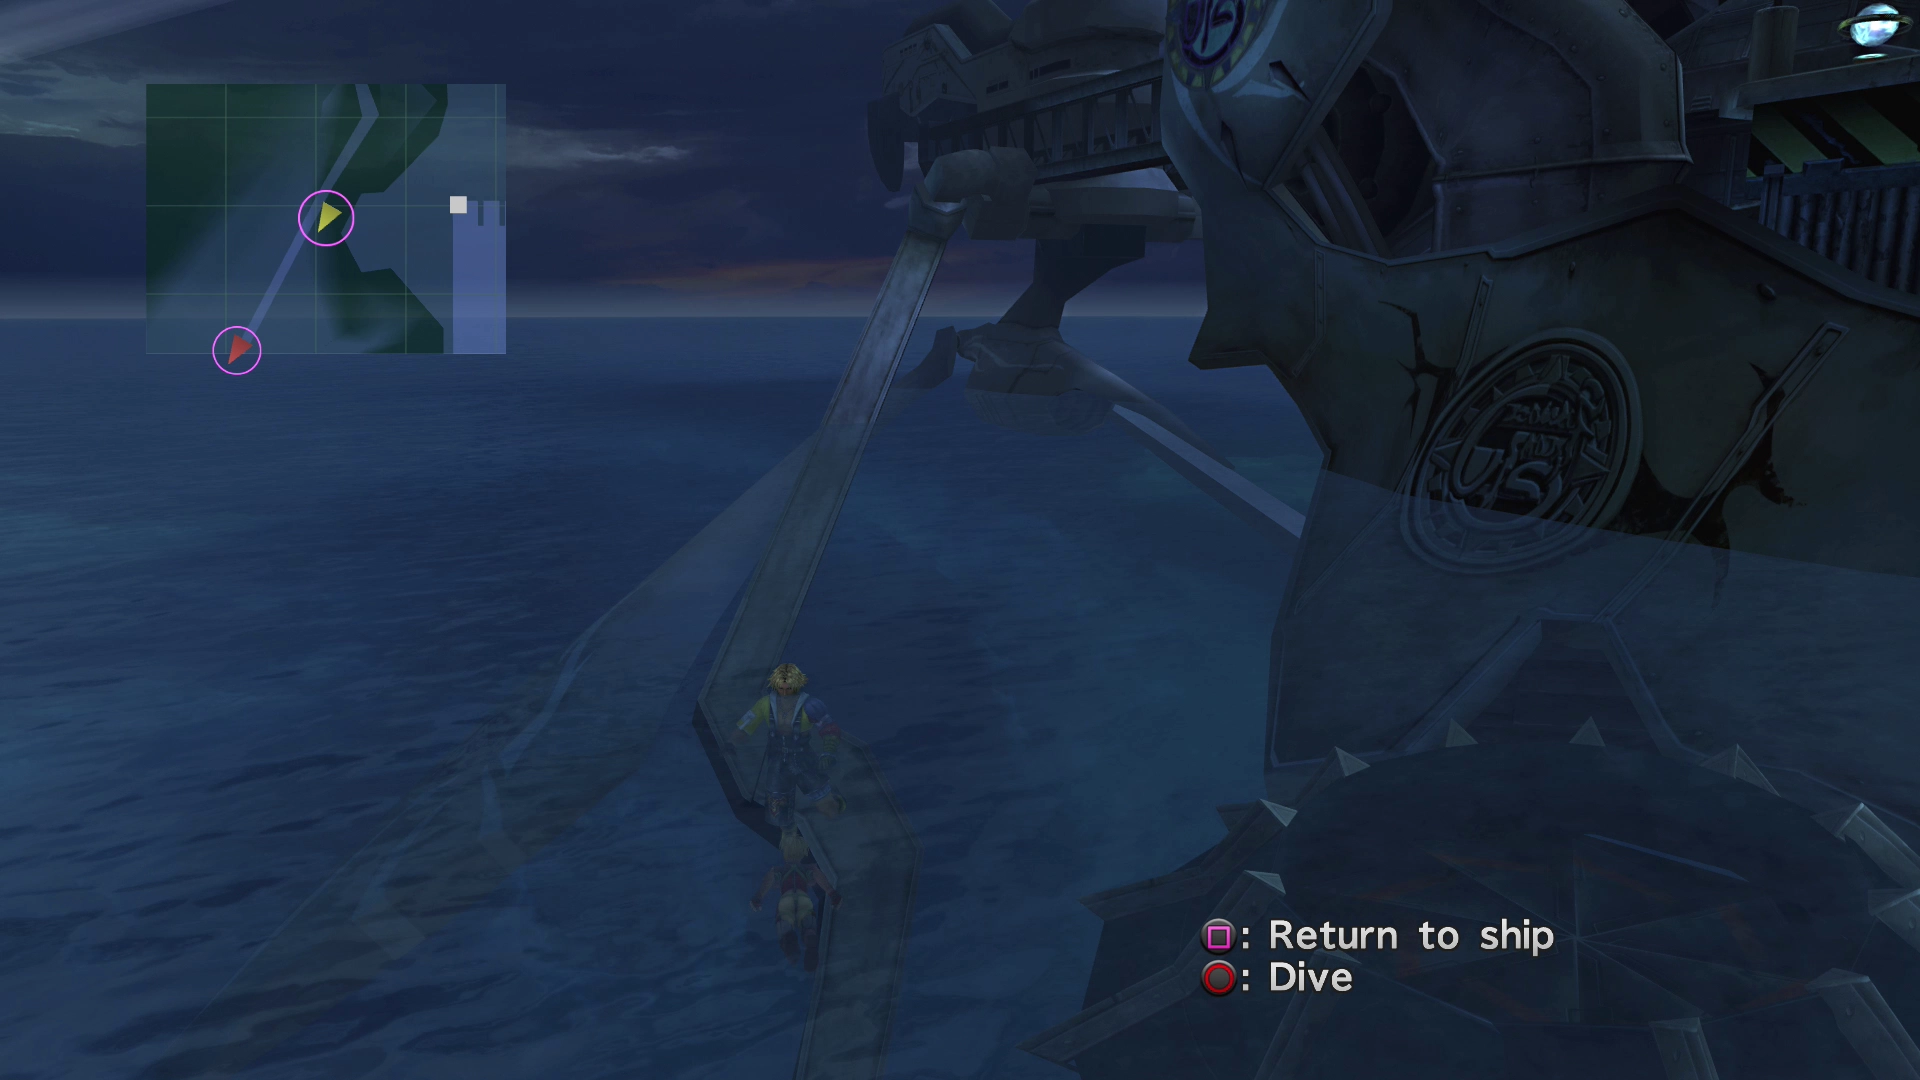
The next part of the game takes place underwater. Swim down and follow the chain downward in the direction of the red arrow ![]() . Use
. Use ![]()
![]()
![]() to dive downward. You and the girl in red are headed down to salvage some wreckage and explore some ancient ruins.
to dive downward. You and the girl in red are headed down to salvage some wreckage and explore some ancient ruins.
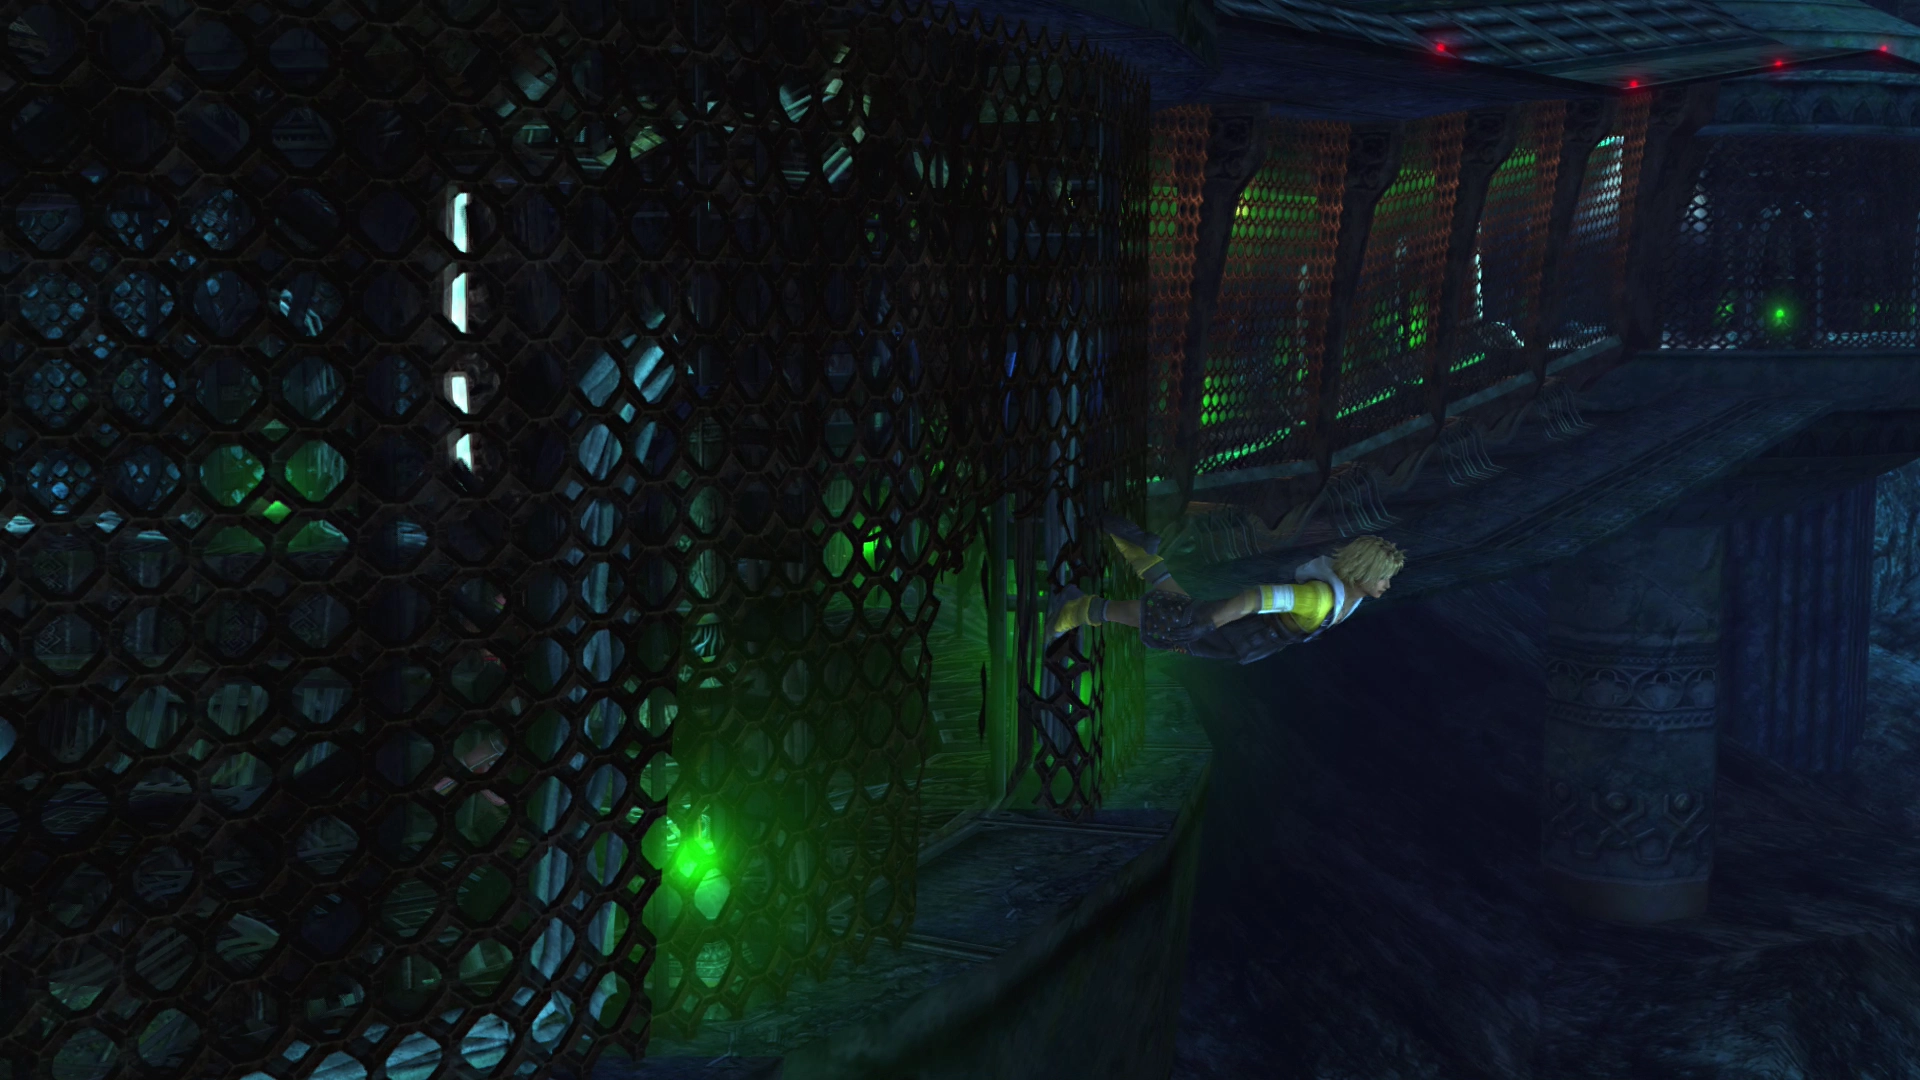
Salvage Ship - Underwater
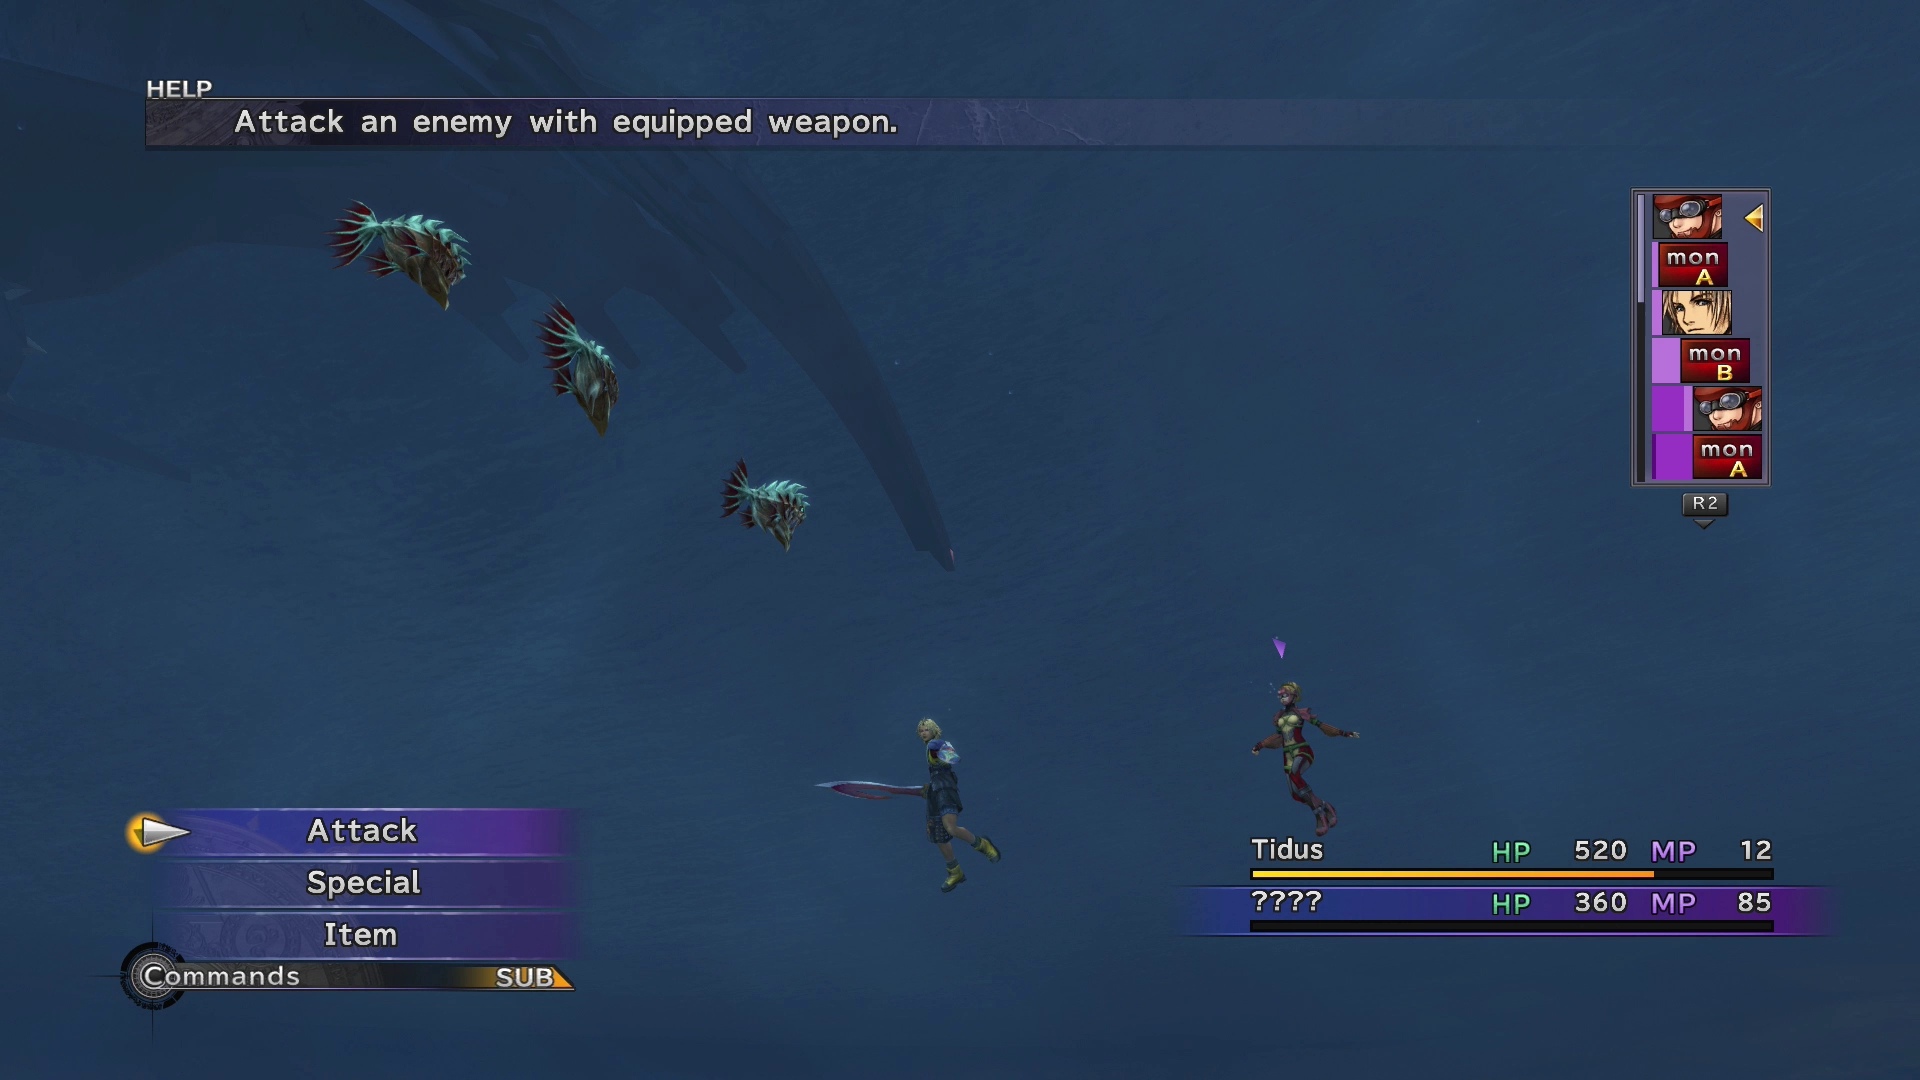
This section of the game marks the first time you will encounter random enemies while exploring, so don’t waste too much time getting to each destination. Thankfully, the enemies that you encounter in this first area are straightforward to defeat.
Underwater Ruins
Use the ![]() Save Sphere to refill your team’s HP and MP in anticipation of some fights that will be coming up.
Save Sphere to refill your team’s HP and MP in anticipation of some fights that will be coming up.
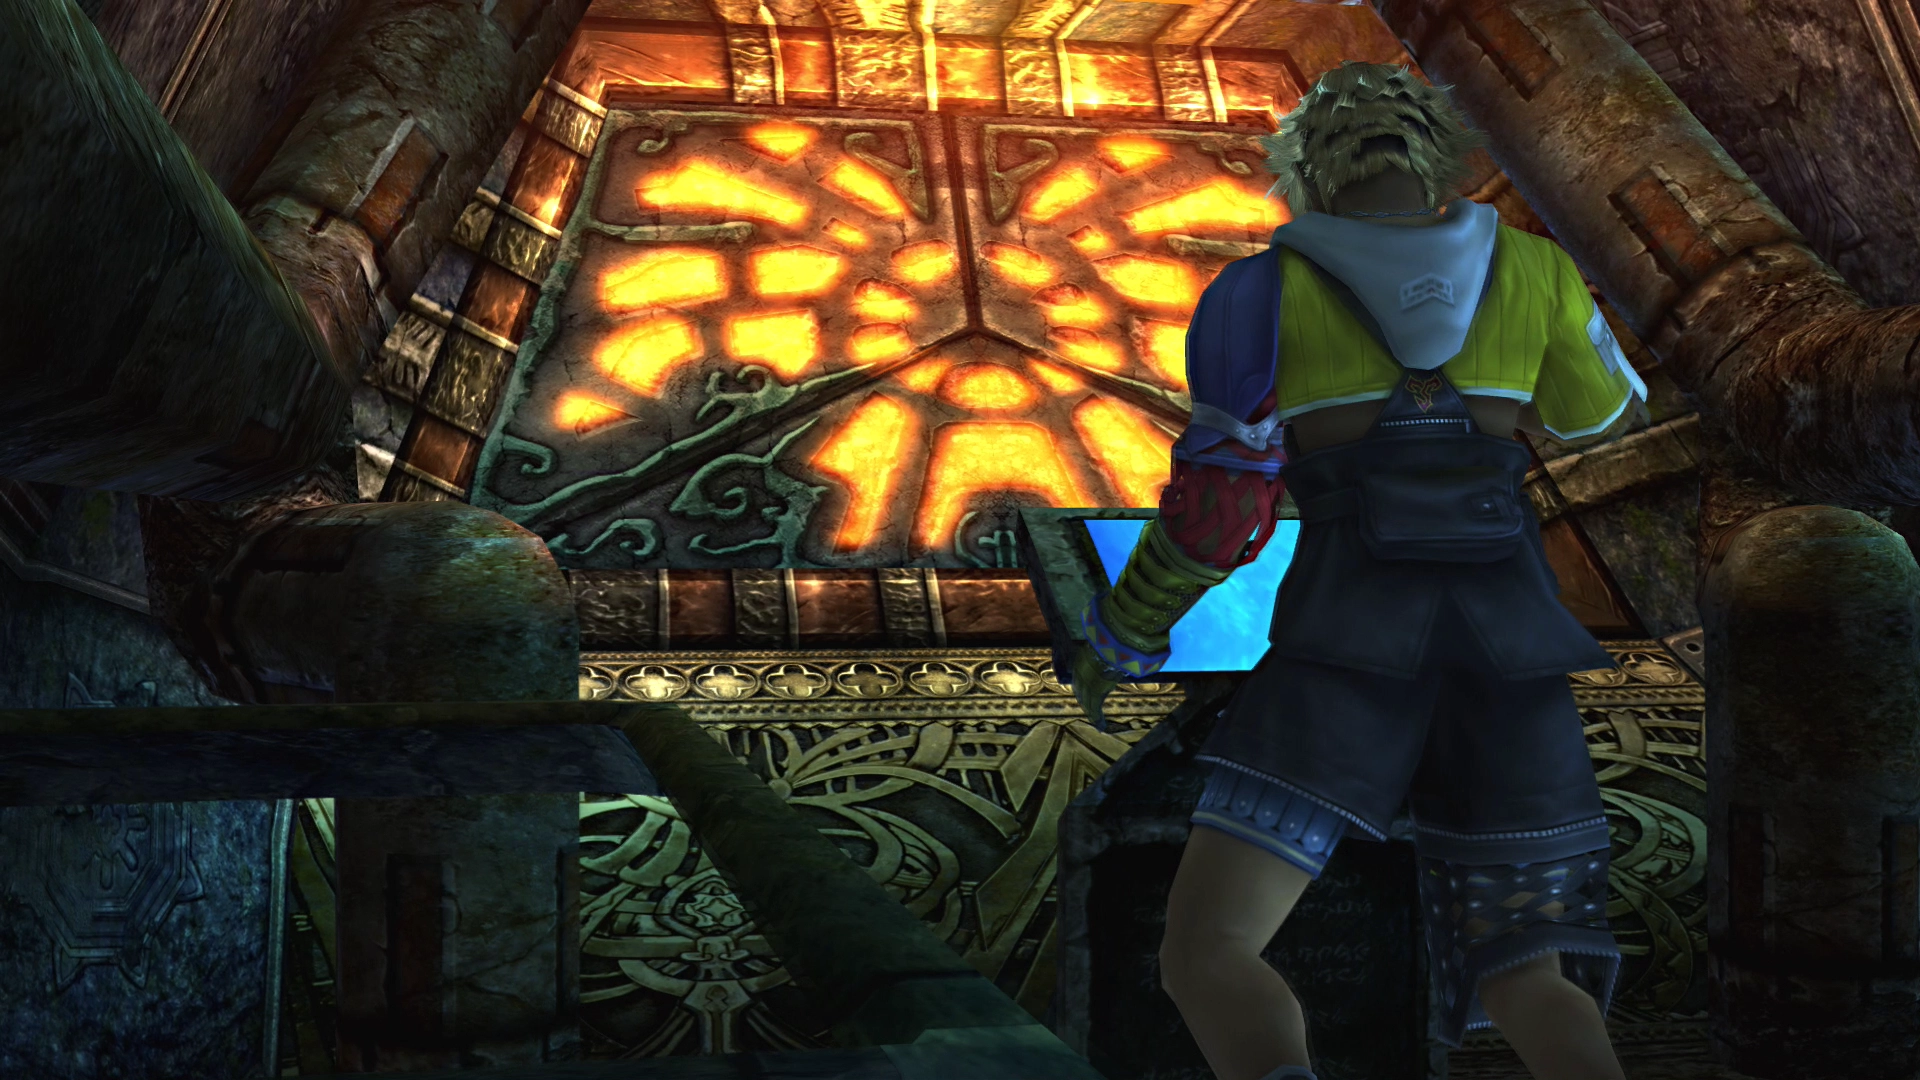
Examine the control grid to watch Tidus start hammering away on it. The girl in the red will now lead you in the proper direction.
Follow her into the next room and then press ![]()
![]()
![]() near her to start the generator. As the two of you exit, you will be ambushed by the next boss.
near her to start the generator. As the two of you exit, you will be ambushed by the next boss.
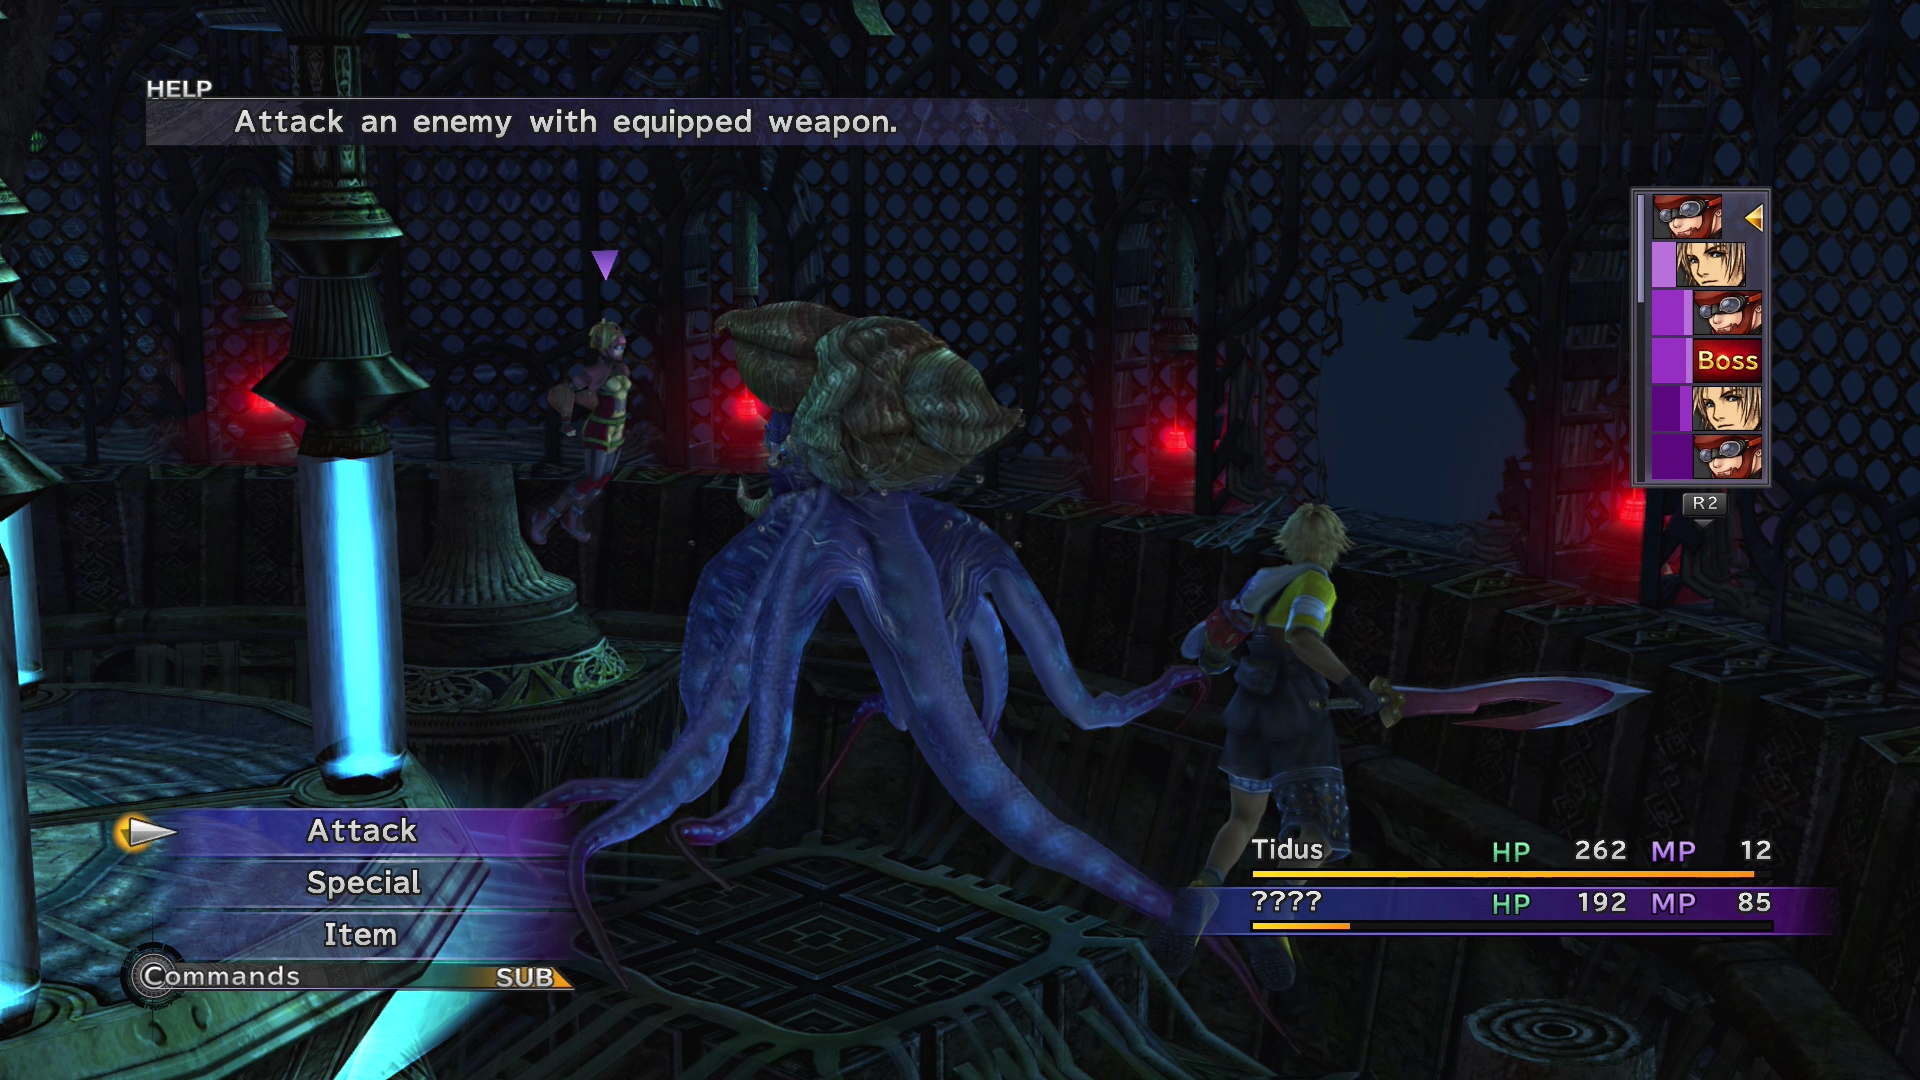
Boss Battle
In Game Description: Retreats behind the column after taking damage, where it cannot be attacked. Hits all targets with Nautilus Charge on the next turn, inflicting great damage. Use trigger commands to stop it from unleashing Nautilus Charge.
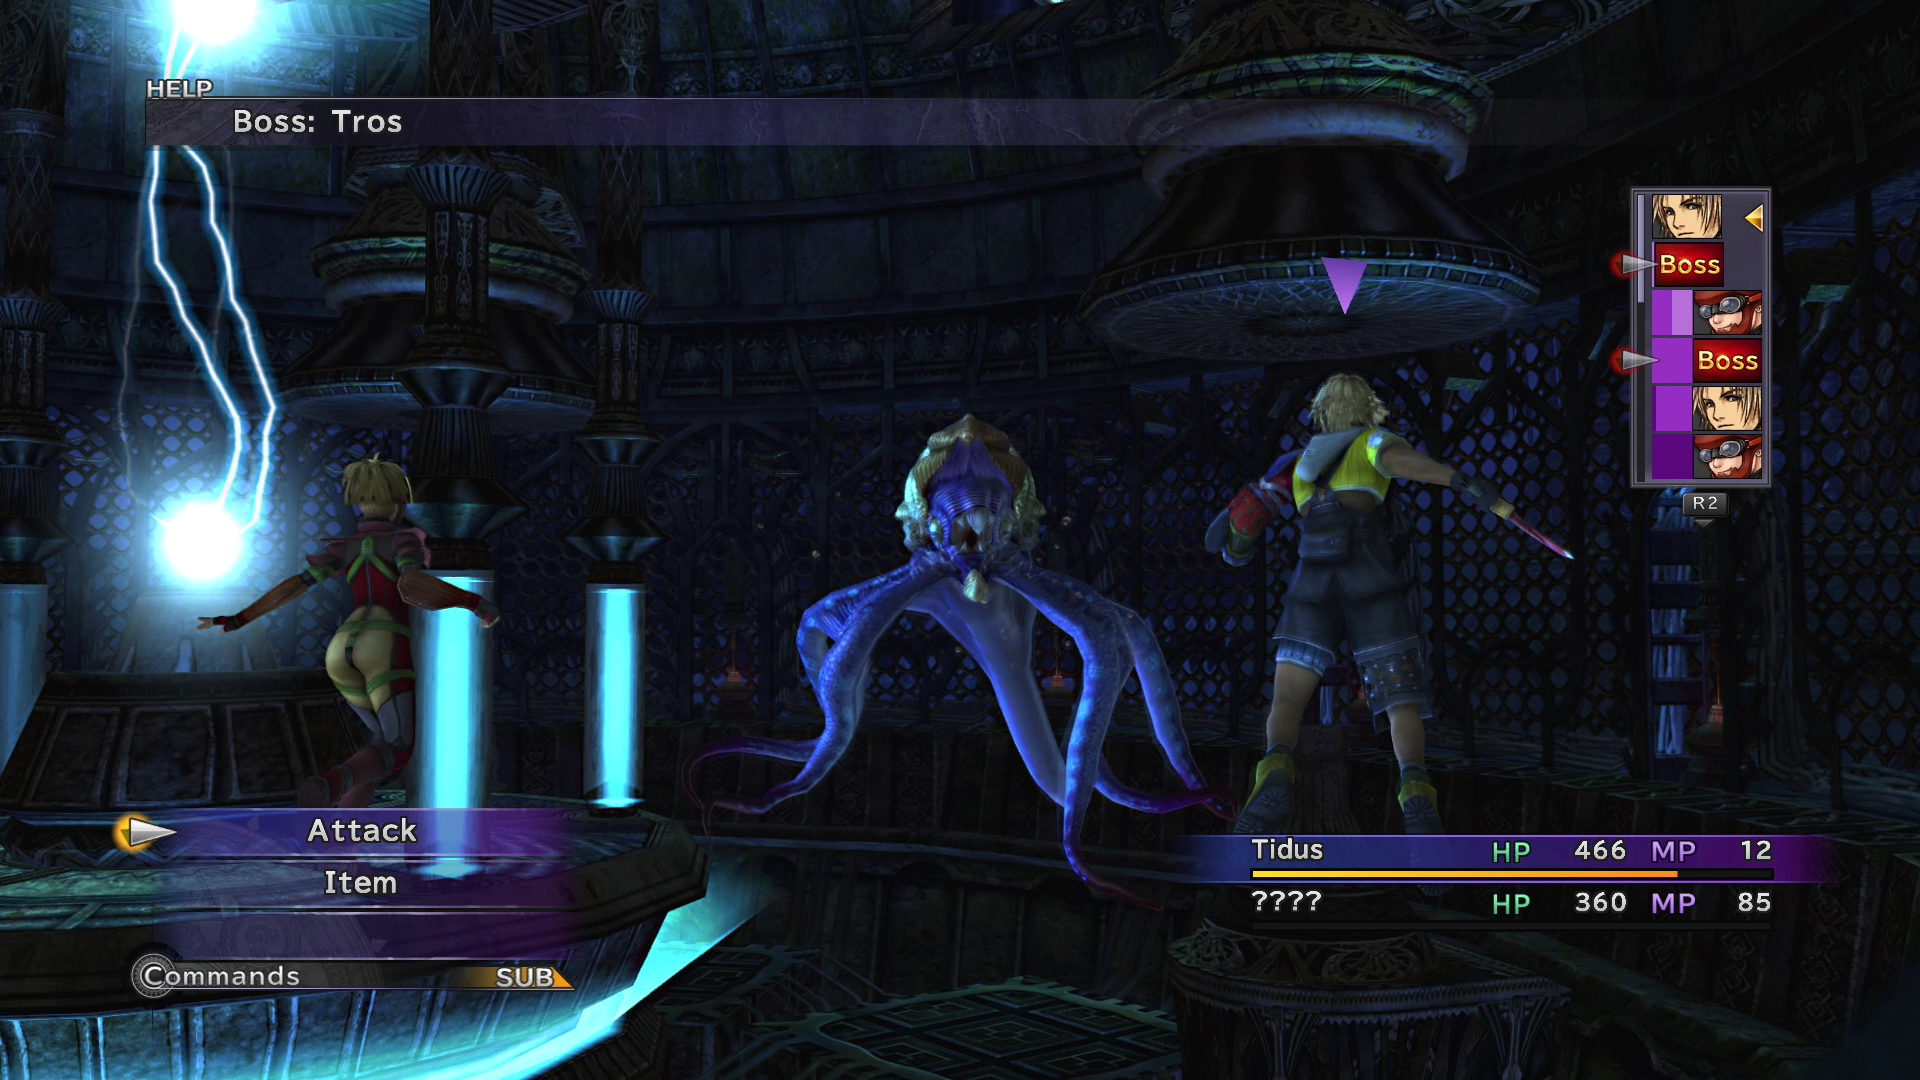
HP: 2,200
Have Tidus use the Attack command for each of his turns and have the girl in red (indicated as “????” in the battle screen) use ![]() Grenades for each of her turns. You can steal more
Grenades for each of her turns. You can steal more ![]() Grenades from Tros using her
Grenades from Tros using her ![]() Steal command if you run out.
Steal command if you run out.
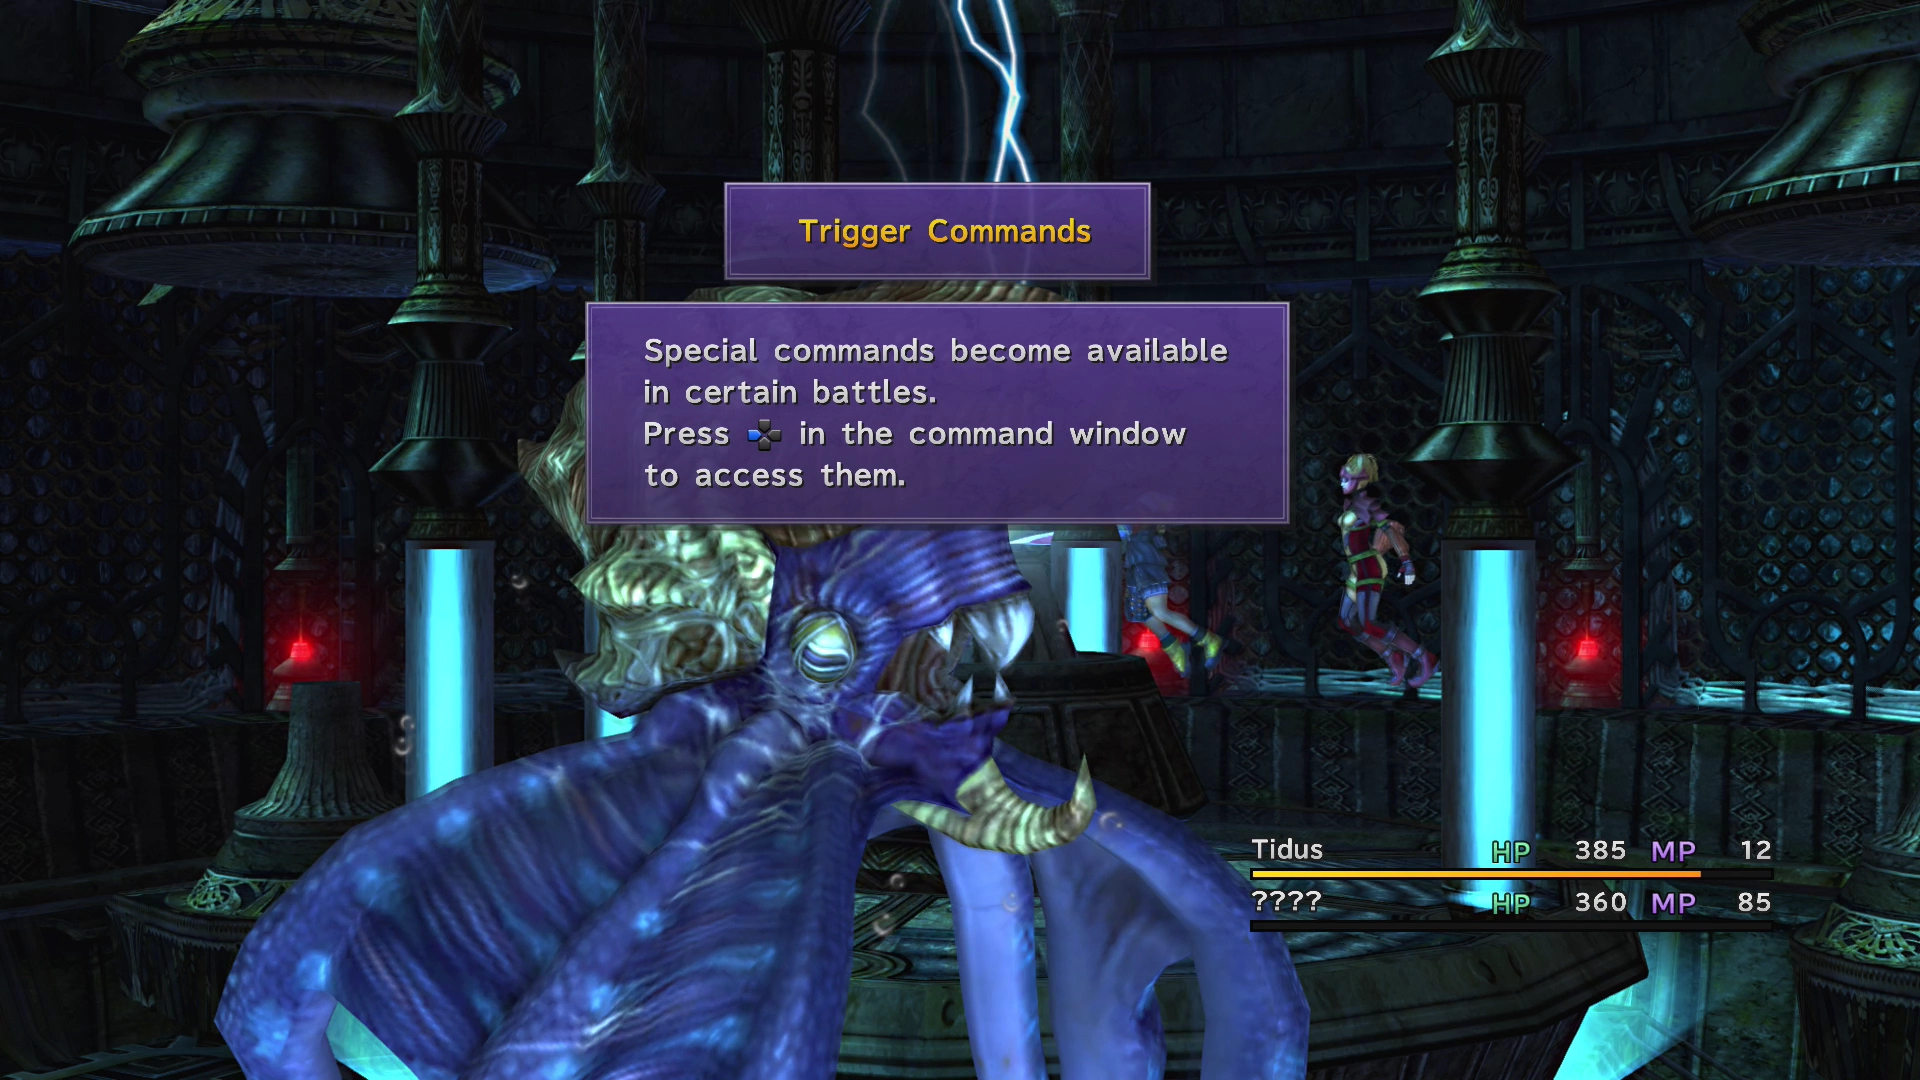
Tros will occasionally go out of range. The game will provide you with a brief overview of Trigger Commands once it does. Press ![]()
![]()
![]() on the directional pad to view Trigger commands the same way you did to use an Overdrive attack.
on the directional pad to view Trigger commands the same way you did to use an Overdrive attack.
You now have the option to use the ‘Stand By’ command. ‘Stand By’ will have the character hold off from attacking and will also cause the character to regain some HP. And because you cannot hit Tros while it’s on the opposite side of the room, this is a perfect time to use the ‘Stand By’ command with both characters.
The second time the boss goes to the opposite side of the screen, you’ll be able to activate another Trigger Command called ‘Pincer Attack’. Choose this option to have Tidus and the girl in red (“????”) attack Tros from both sides.
The boss will no longer be able to escape to the other side of the screen. A few more hits should take it down.
Steal:
Drops:
Swim over to the girl in red (????) indicated by a red arrow ![]() on the mini-map to initiate another cutscene. Follow the girl in red (????) after the cutscene finishes.
on the mini-map to initiate another cutscene. Follow the girl in red (????) after the cutscene finishes.
The Al Bhed will still treat Tidus with disdain once they return to the Salvage Ship. The girl in red will introduce herself as Rikku. She is one of the characters who will be permanently joining your party later on in the game!
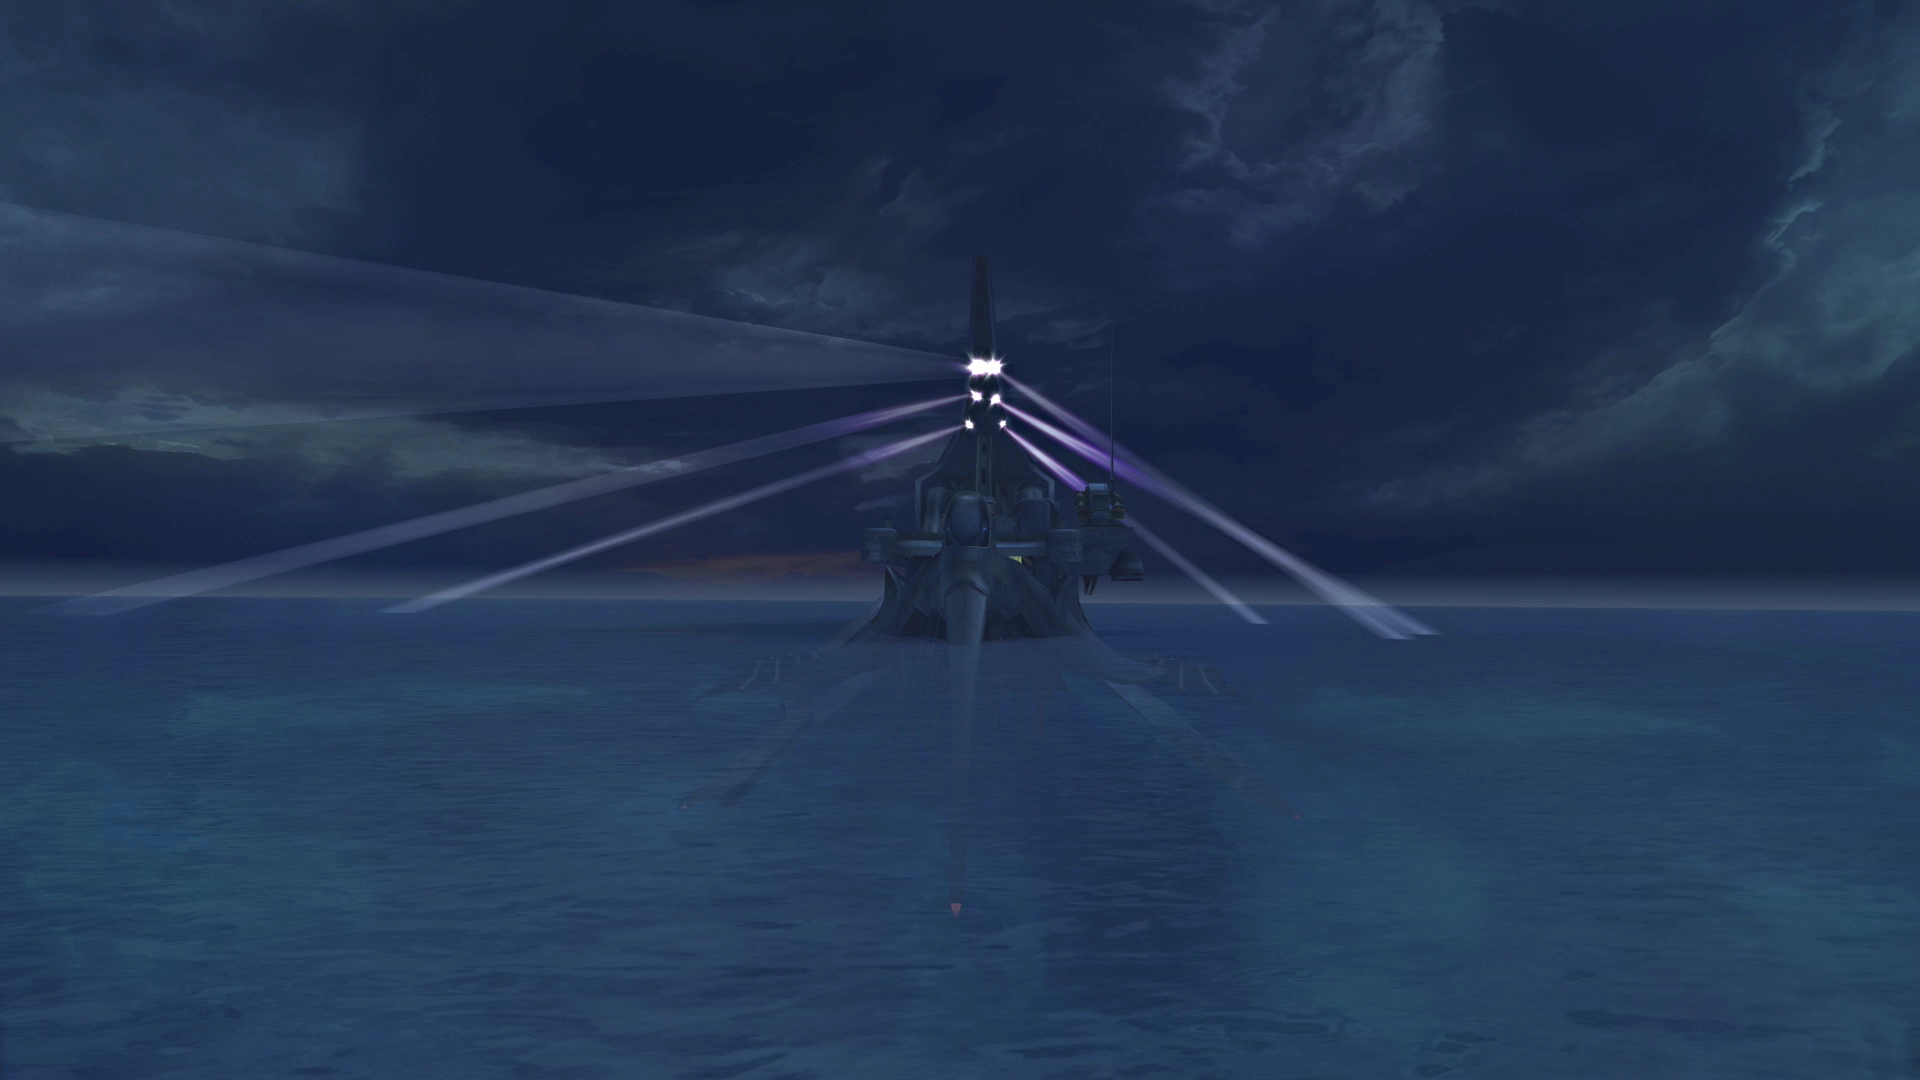
After Tidus and Rikku finish their conversation, Sin will attack the Salvage Ship. Tidus will be thrown into the water during this attack and will be sucked in by Sin again.
This time, Tidus will wake up on the shores of Besaid Island.