
Ultimecia’s Castle
Ultimecia’s Castle is the final dungeon of Final Fantasy VIII. Because we are working our way through the most challenging encounters of the game, and because we are about to come up against the last battles that you will face, don’t be afraid to make use of your high-powered items that you may have been squirrelling away: ![]() Elixirs,
Elixirs, ![]() Megalixirs, etc.
Megalixirs, etc.
Helpful Hint
Hopefully, by utilizing this strategy guide, you haven’t missed picking up any Guardian Forces along this journey. However, if you did, Ultimecia’s Castle offers you the opportunity to pick them up now. All the bosses that you are about to face will potentially be holding one of the missed Guardian Forces, and you can Draw it from them when you face them on your way through the castle.
This guide will point out which bosses have which Guardian Forces, but just remember that you will need to have the ![]() Draw Command assigned to one of your characters.
Draw Command assigned to one of your characters.
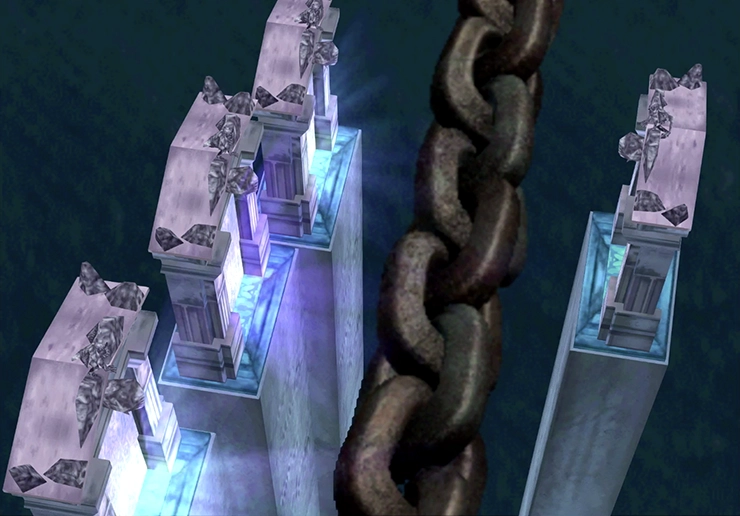
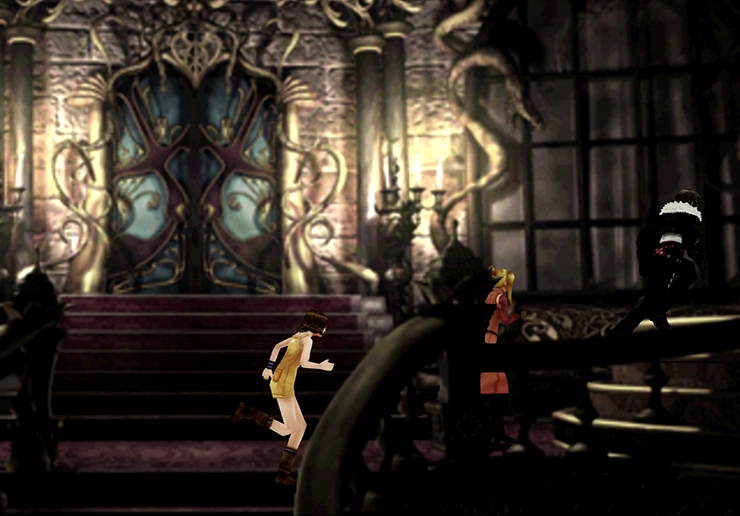
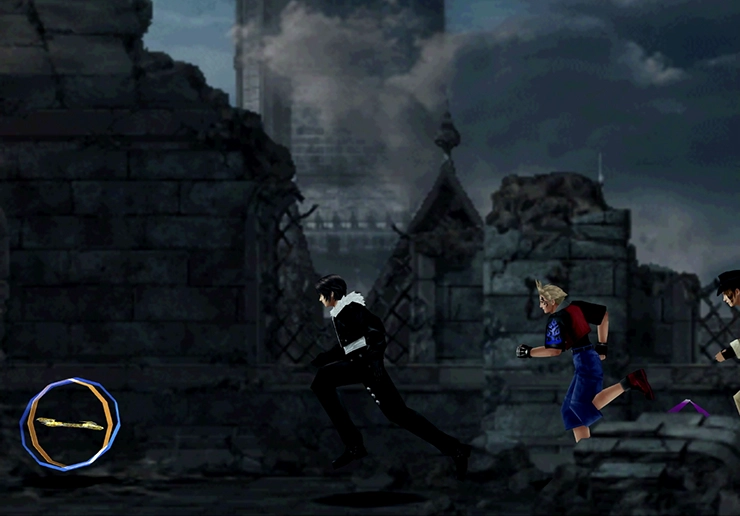
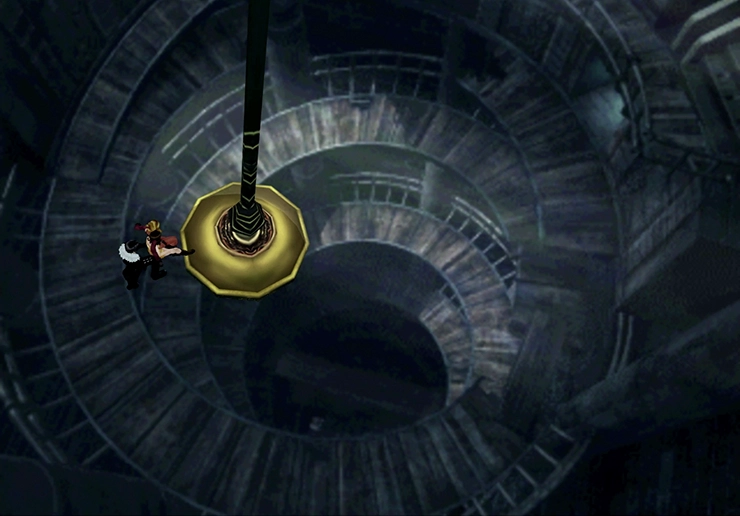
Walk up the chain leading to the flying castle and use the ![]() Save Point on your way past. The rest of your team will join you once you start walking up the stairs.
Save Point on your way past. The rest of your team will join you once you start walking up the stairs.
At this point, you will have to divide the group into two parties, and at certain points during your travels through the castle, you will have to switch to your second party.
But that being said, you still set up your main party and a secondary party of characters that you use less frequently. You can complete a junction switch for one of those characters to make sure that they have Diablos’ ![]() Enc-None ability enabled and won’t have to partake in any battles.
Enc-None ability enabled and won’t have to partake in any battles.
You can swap your party from Team A (main party) to Team B (secondary party) by standing on the green illuminated circles found throughout Ultimecia’s Castle.
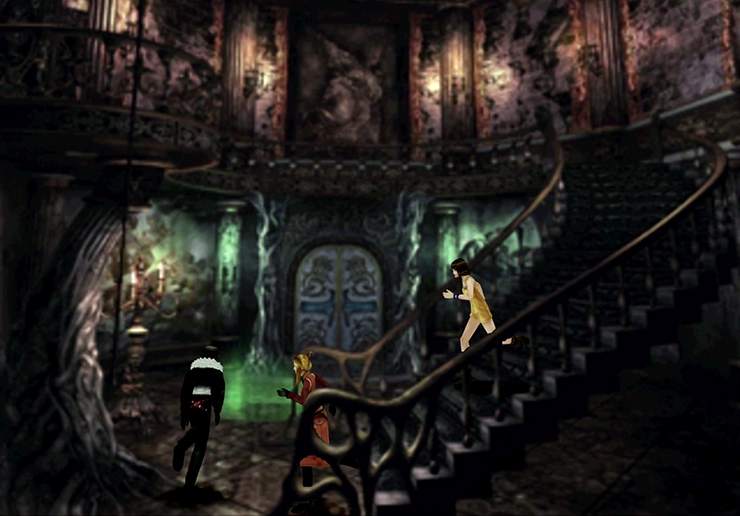
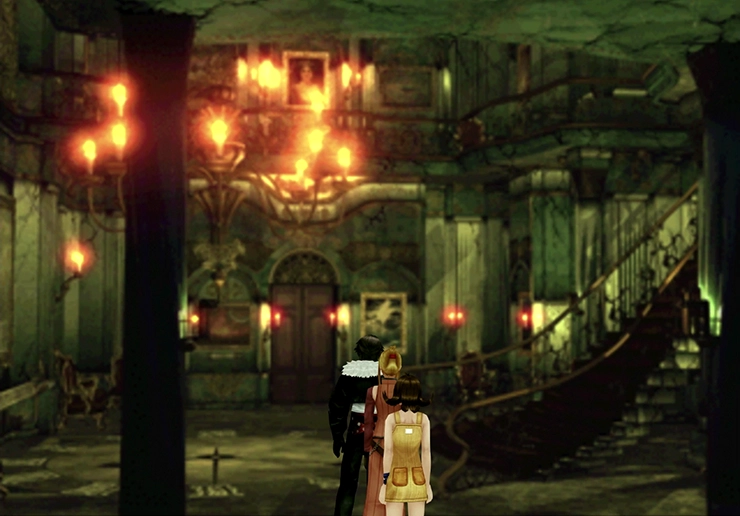
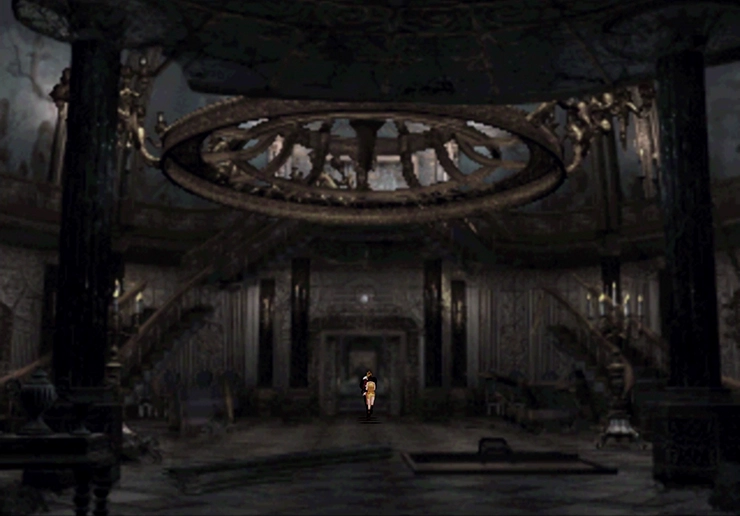
Main Hall
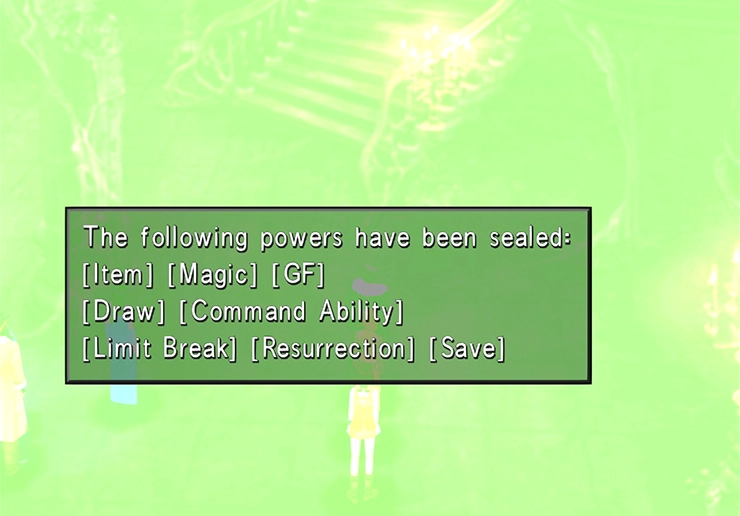
As you walk into the castle, you will get an explanation of how each of the different commands that you would typically have available to you to use are sealed. This includes: ![]() Item,
Item, ![]() Magic,
Magic, ![]() GF,
GF, ![]() Draw, Command Ability, Limit Break, Resurrection, and Save. Each time you defeat one of the bosses, you will get to choose which of these sealed commands to open up (and this guide will provide recommendations).
Draw, Command Ability, Limit Break, Resurrection, and Save. Each time you defeat one of the bosses, you will get to choose which of these sealed commands to open up (and this guide will provide recommendations).
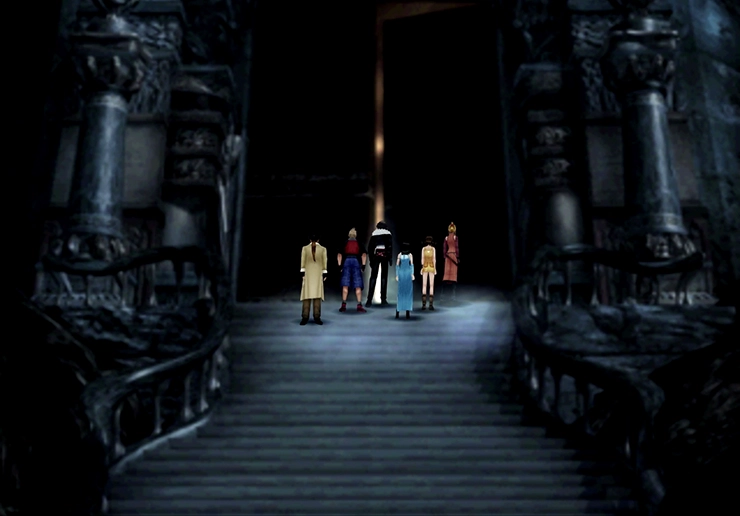
The official name of the first room you enter, according to the menu screen, is “Hall”; however, this guide will refer to it as the “Main Hall” to make it easier to identify this specific area. You will need to return to this area several times.
It can be easy to get lost among the myriad of rooms in the castle, but each area that you need to travel to is outlined by name in this strategy guide according to how it is labeled in the game when you pull up the menu screen (bottom-left corner). Use these labels to help you navigate through this maze.
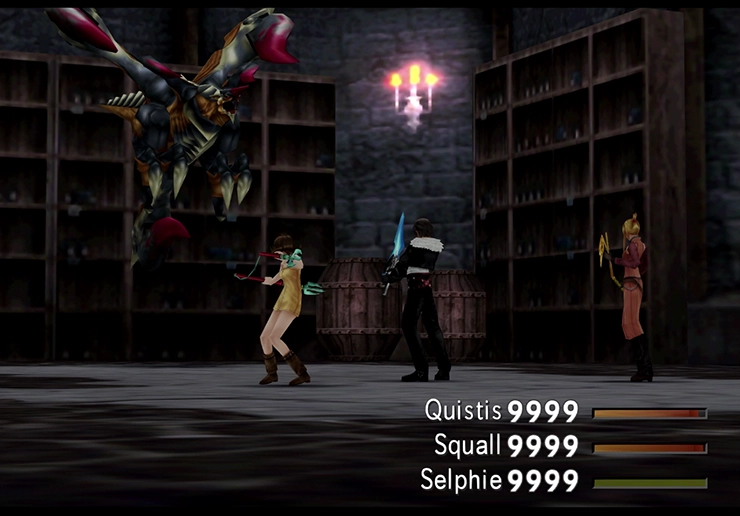
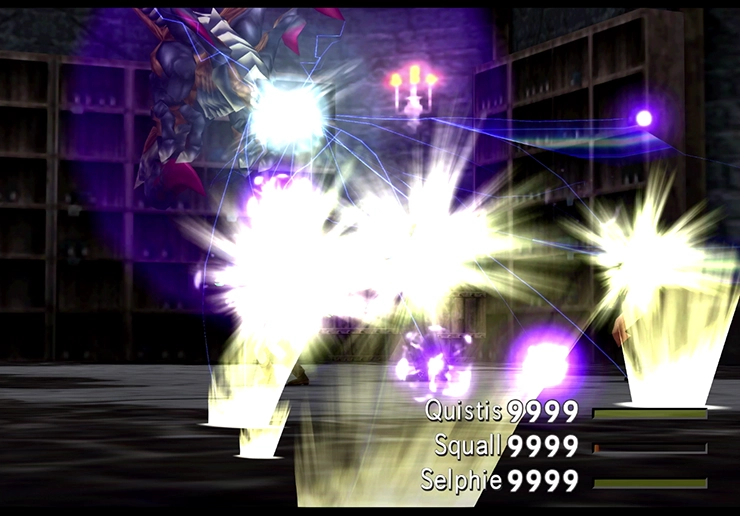
Walk up the stairs and prepare to do battle with your first boss standing at the top.
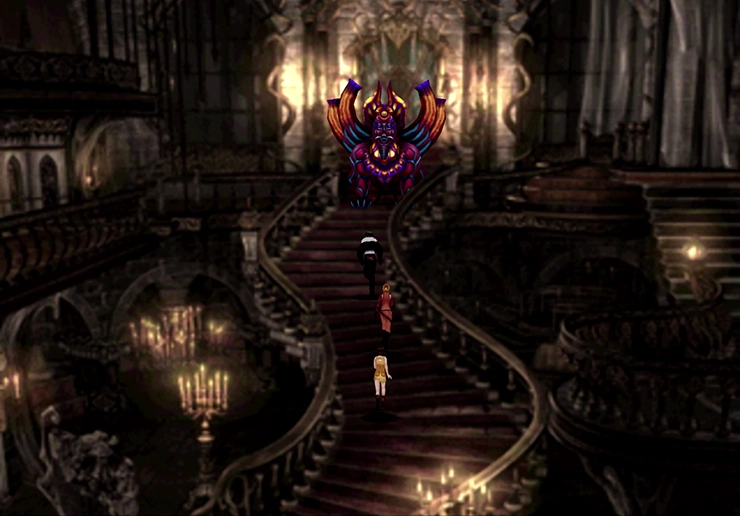
Boss Battle
In Game Description of Sphinxaur: Protects the hall of Ultimecia Castle. Defeated many enemies whose abilities were sealed.
In Game Description of Sphinxara: Sphinx’s true form. Attack tactics change completely in this form. Summons other monsters and uses Doom.
This first battle is extremely easy because, at this stage of the game, you only have access to one command, which is “Attack.” So just use the “Attack” command until you win. There are no Guardian Forces to Draw from this boss, which is a good thing, because you can’t Draw anyway.
Depending on how quickly you kill Sphinxaur, it will drop its mask at some point in the battle to become Sphinxara. No specific strategies are required for either fight.
Release which seal? For this first released seal, you have two options. You can unlock the ![]() Draw command early if you missed picking up the Guardian Force, Siren, during the battle against Elvoret in Dollet way back at the beginning of the game. If you already have Siren, though, you can choose to unlock either
Draw command early if you missed picking up the Guardian Force, Siren, during the battle against Elvoret in Dollet way back at the beginning of the game. If you already have Siren, though, you can choose to unlock either ![]() Magic or
Magic or ![]() Item.
Item.

In preparation for the next boss battle that is coming up, consider junctioning ![]() thunder-based magic to your armor through
thunder-based magic to your armor through ![]() Elem-Def-J. The next boss only attacks with lightning-type spells, and with proper junctions, you can make the fight much easier.
Elem-Def-J. The next boss only attacks with lightning-type spells, and with proper junctions, you can make the fight much easier.
Go through the doors behind the boss that you just defeated.
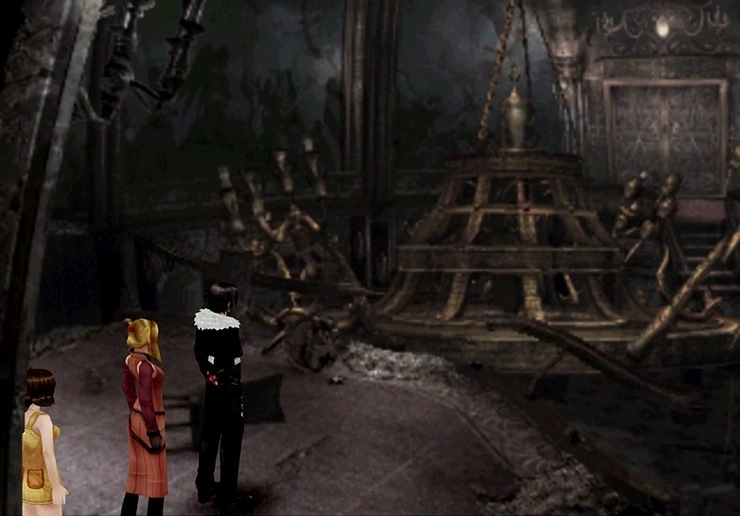
Grand Hall
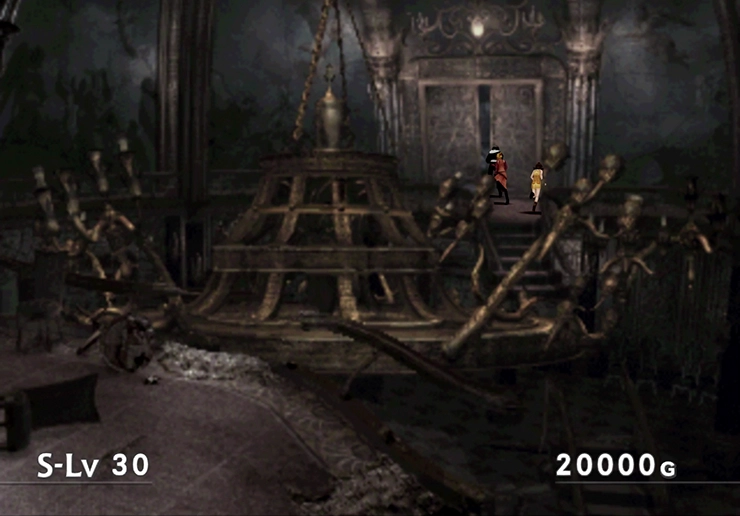
Walk forward, and the chandelier in the next room will fall to the ground as soon as you walk on it, which is what we want (this is just a shortcut to the room below).
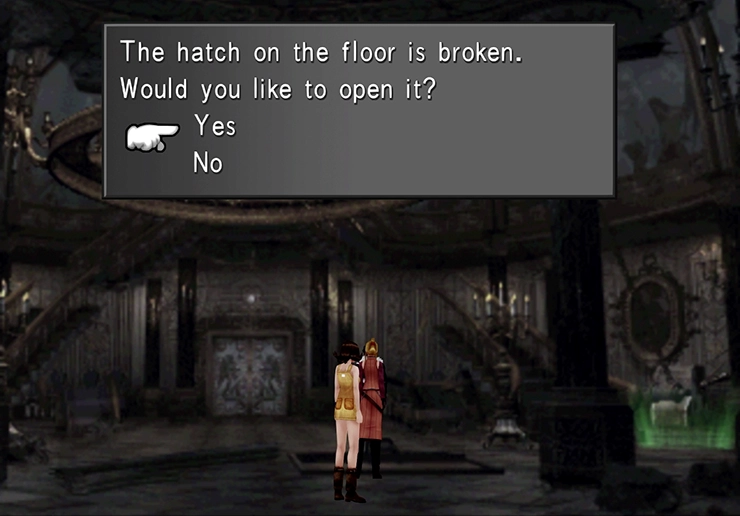
Locate the hatch for the cellar door on the floor and open it to reveal the Wine Cellar room.
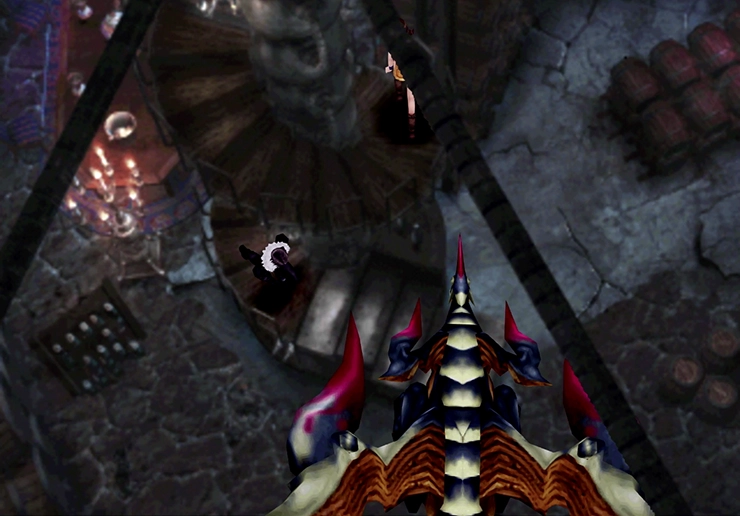
Wine Cellar
Continue down the stairs, and you will already be able to see the next boss, Tri-Point, waiting for you at the bottom. One last reminder, as noted above, that you should junction ![]() thunder-based magic to
thunder-based magic to ![]() Elem-Def-J ahead of this fight.
Elem-Def-J ahead of this fight.
Boss Battle
In Game Description: A living weapon Ultimecia made out of a dragon. Fire or ice are its weak points, but they change when attacked.
You can Draw Siren, the Guardian Force, from this boss if you missed Drawing it from Elvoret during the SeeD exam in Dollet.
The battle against Tri-Point is very easy in general, but it’s even easier if you took the steps noted above to prepare. It is weak to both ![]() Fire and
Fire and ![]() Ice magic if you have access to them, but because of your limited access to tools, this boss was made intentionally straightforward, and it shouldn’t give you much trouble.
Ice magic if you have access to them, but because of your limited access to tools, this boss was made intentionally straightforward, and it shouldn’t give you much trouble.
Release which seal? Choose to unlock Draw now if you are missing the Guardian Force, Leviathan, and if you haven’t already unlocked it. If you still don’t need ![]() Draw, choose to unlock either
Draw, choose to unlock either ![]() Item or
Item or ![]() Magic, whichever one you didn’t unlock above. Try to make sure that you have the “Magic” command unlocked at this point as having access to your spells will be extremely helpful for the next fight coming up.
Magic, whichever one you didn’t unlock above. Try to make sure that you have the “Magic” command unlocked at this point as having access to your spells will be extremely helpful for the next fight coming up.
There is a ![]() Demi Draw Point in the top-right corner of this room, but other than that, there is nothing left to do in the Wine Cellar. From the room where the chandelier fell (“Grand Hall”), go through the doorway on the left side of the screen, and travel down the hallway south, and then go through the door on the right side of the screen. This should put you back in the Main Hall.
Demi Draw Point in the top-right corner of this room, but other than that, there is nothing left to do in the Wine Cellar. From the room where the chandelier fell (“Grand Hall”), go through the doorway on the left side of the screen, and travel down the hallway south, and then go through the door on the right side of the screen. This should put you back in the Main Hall.
Main Hall
That’s two bosses down already. Go upstairs to where you fought the first boss and take the pathway leading off to the right side of the stairs instead of going through the set of double doors that goes to the room with the chandelier (“Grand Hall”).
Stairway Hall
Circle around the upper balcony and go down the stairs. At the bottom you will see one of the illuminated green circles where you can change your party, but don’t change your party just yet.
Note that there is also a large rope leading to a bell in this room. Don’t pull the rope yet either, but we’ll be getting back to this rope towards the end of this guide.
Be aware that a few of the rooms around the castle are named “Stairway Hall.” This guide will make every attempt to help make sure you navigate your way to the correct one, but just something to be aware of.
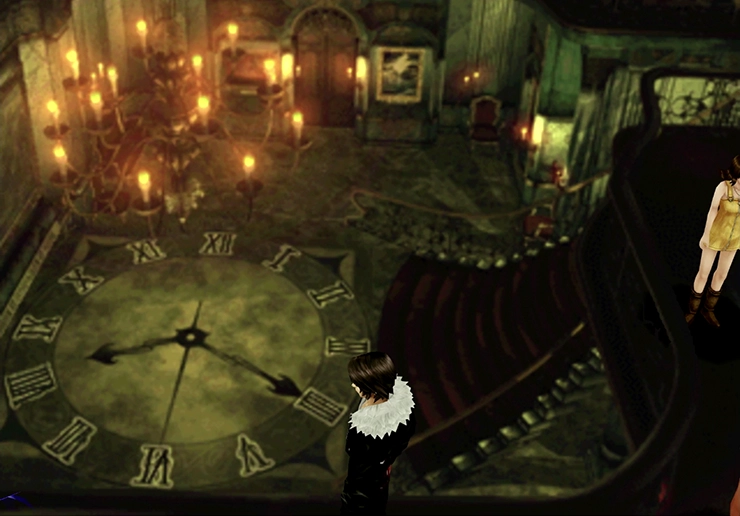
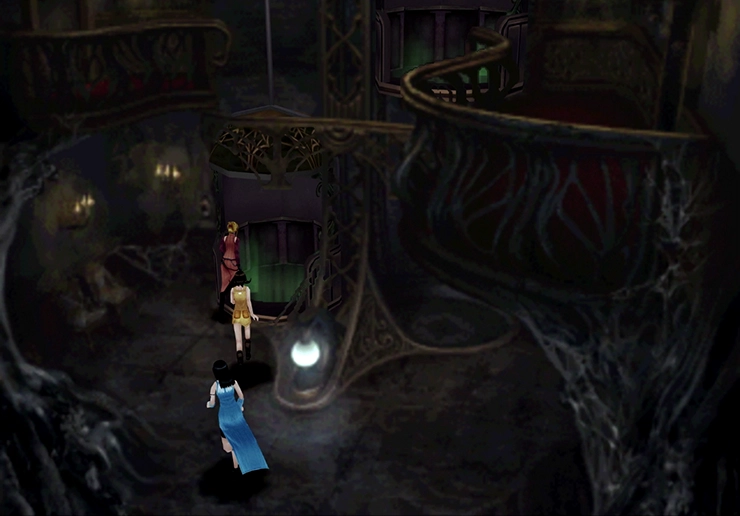
Art Gallery
This room constitutes the first puzzle that you need to solve. The short version of the explanation for this room is that you need to confirm and properly select the name of the painting on the left side of the room (on the main floor) and the clues to determining its name are in this room.
Want the solution?
The way you solve this puzzle has to do with looking at the clock in the middle of the room, which you can only really see from the top level balcony while looking down. The hands of the clock point to IIII, VI and VIII, or 4, 6 and 8. Importantly, the number 4 is written as IIII and not IV.
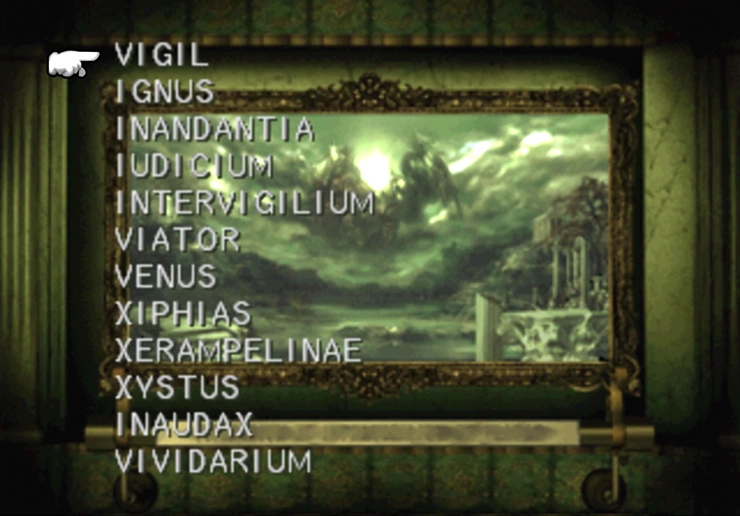
Now you need to look at all the paintings in the room and you need to do this whether you already know the answer to the puzzle or not. You are now looking for the paintings with names that have the same letters that are indicated by the clock.
| Painting Name | Roman Numeral |
|---|---|
| IGNUS (Fire) | I |
| INANDANTIA (Flood) | II |
| IUDICIUM (Judgment) | III |
| INTERVIGILIUM (Sleep) | IIII |
| VENUS (Love) | V |
| VIATOR (Messenger) | VI |
| VIGIL (Watchman) | VII |
| VIVIDARIUM (Garden) | VIII |
| INAUDAX (Cowardice) | IX |
| XYSTUS (Tree-lined Road) | X |
| XERAMPELINAE (Red Clothes) | XI |
| XIPHAIS (Swordfish) | XII |
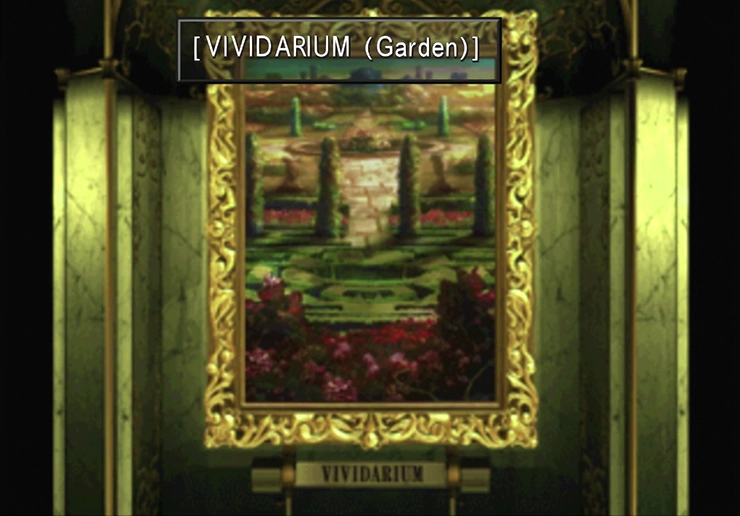
The solution to the puzzle is VIVIDARIUM (Garden), INTERVIGILIUM (Sleep) and VIATOR (Messenger). In other words, “In the Garden Sleeps a Messenger.” Enter the phrase as the title of the painting on the left side of the room by pressing ![]()
![]()
![]() while near it. The next boss will spawn right behind you.
while near it. The next boss will spawn right behind you.
Boss Battle
In Game Description: Ultimecia gave partial life to this weapon of the future. Pulse Cannon destroys any enemies in its way.
You can Draw Leviathan, the Guardian Force, from this boss if you missed Drawing it from Master NORG in the basement of Balamb Garden.
Trauma has an incredibly high Vitality stat, so regular attacks do not work well against it. You can use ![]() Meltdown on Trauma, though, to significantly reduce its Vitality and to make your attacks much more effective. You can Draw
Meltdown on Trauma, though, to significantly reduce its Vitality and to make your attacks much more effective. You can Draw ![]() Meltdown directly from Trauma if you do not have it in your magic inventory, and Draw more than you need, as this spell is incredibly helpful for a number of fights coming up.
Meltdown directly from Trauma if you do not have it in your magic inventory, and Draw more than you need, as this spell is incredibly helpful for a number of fights coming up.
This boss will create small little versions of itself during the fight, little enemies called “Droma.” It will then Draw HP from these little sidekicks, but you can ignore them and focus on the boss directly.
Release which seal? This is the third boss and you should now have ![]() Magic,
Magic, ![]() Item and
Item and ![]() Draw unlocked. Unlock whichever one you are missing.
Draw unlocked. Unlock whichever one you are missing.
Go through the doors at the back of the room.
Stairway Hall
There is another illuminated green circle for changing your party in this room. Ignore it and run straight through it, down the stairs, and in to the next area.
Flood Gate
This room has two doors, one on the left and one on the right. Take the door on the left side, crossing over the waterway.
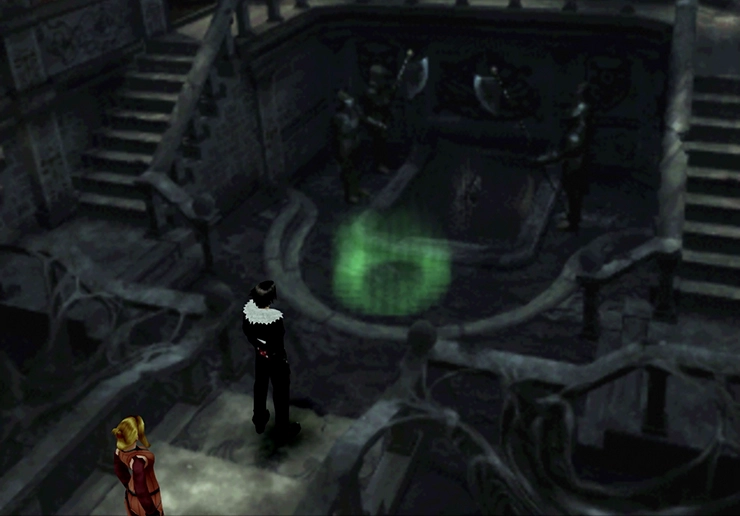
Prison Cell
The door will lock behind your party as they enter this room, but that’s okay, because the key is hanging from the hands of the skeleton at the front of the room. Grab the Prison Key, and you will be thrown into your fourth boss battle.

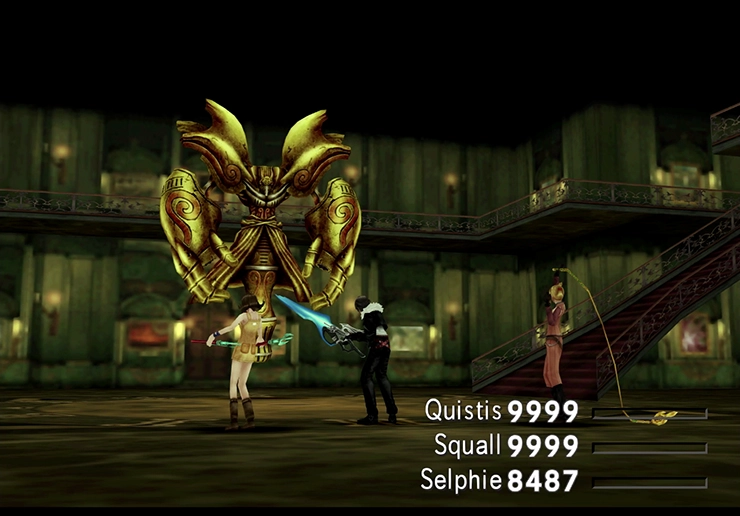
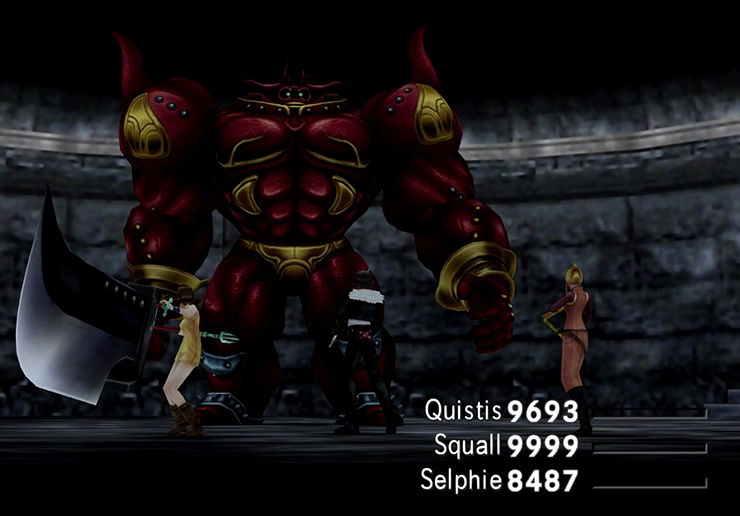
Boss Battle
In Game Description: A giant machine powered by magic. Its high defensive power makes it difficult to damage, except with magic or GF.
You can Draw Pandemona, the Guardian Force, from this boss if you missed Drawing it from Raijin and Fujin at the Balamb Hotel.
Much like the previous boss, Trauma, Red Giant has incredibly high Vitality, making regular attacks next to useless. Casting ![]() Meltdown on Red Giant will be a challenge unless the character you are casting it from is fairly high level, so consider using Squall for this task if possible. It may take a few attempts to get it to take. Red Giant will say “That Magic is Useless!” if it misses, but pay no attention to that message and just keep casting it.
Meltdown on Red Giant will be a challenge unless the character you are casting it from is fairly high level, so consider using Squall for this task if possible. It may take a few attempts to get it to take. Red Giant will say “That Magic is Useless!” if it misses, but pay no attention to that message and just keep casting it.
You should also consider casting ![]() Blind on Red Giant as well. All of this boss’s attacks are physical-based, so this will prevent most of them from landing on your party members. Casting
Blind on Red Giant as well. All of this boss’s attacks are physical-based, so this will prevent most of them from landing on your party members. Casting ![]() Protect on your party also adds a layer of defense and protection.
Protect on your party also adds a layer of defense and protection.
Release which seal? The next three abilities you should consider unlocking are Command Ability, Limit Break, and Guardian Force. Choosing between them just comes down to which you tend to use more in battle.
Use the Prison Key that you picked up to exit this room. Go all the way back to the Main Hall.
Main Hall
It is at this stage where you are going to employ this new mechanic of switching between your two parties, Team A (your main party) and Team B (your secondary party). To make this transition easier though, and because your secondary party is likely quite a bit weaker, make sure that you use Diablos’ ![]() Enc-None ability on your secondary party to prevent them from engaging in any random battles.
Enc-None ability on your secondary party to prevent them from engaging in any random battles.
To do this, open up the menu, select “Switch,” press ![]()
![]()
![]() to back up to the “Junction Exchange” command at the top of the screen, and then select one of your Team B team members and your primary party member that has Diablos equipped as a Guardian Force. You should be all set! The alternative to this is to just run away from any battles that they encounter, but this can be a bit more risky.
to back up to the “Junction Exchange” command at the top of the screen, and then select one of your Team B team members and your primary party member that has Diablos equipped as a Guardian Force. You should be all set! The alternative to this is to just run away from any battles that they encounter, but this can be a bit more risky.
Your secondary party needs to assist you with walking across the chandelier that fell down when you walked on it earlier in this dungeon. Take your second party through the doorway on the left side of the Main Hall, down the hallway, and into the room with the chandelier.
Grand Hall
They should be in the room where the chandelier fell which is the room that also has the entrance to the Wine Cellar. Have Team B stand in the green illuminated circle on the right side of the room, and a message will appear indicating “The lever has been depressed.”
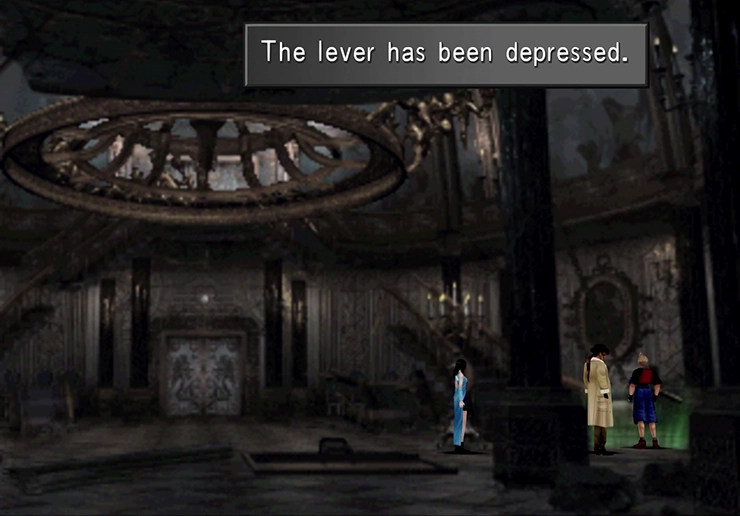
By depressing this lever, the chandelier will no longer fall, allowing Team A to cross to the far side of this room. Switch over to Team A, head up the stairs, go through the double door, and walk across the chandelier through the door in the back of this room.
Terrace
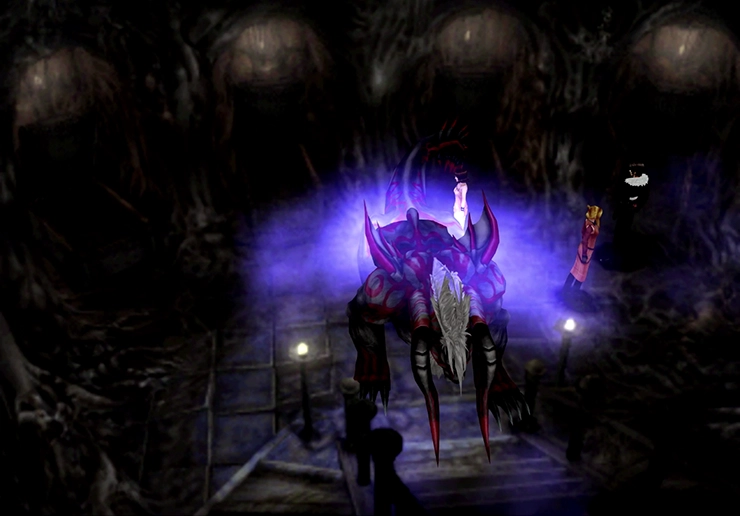
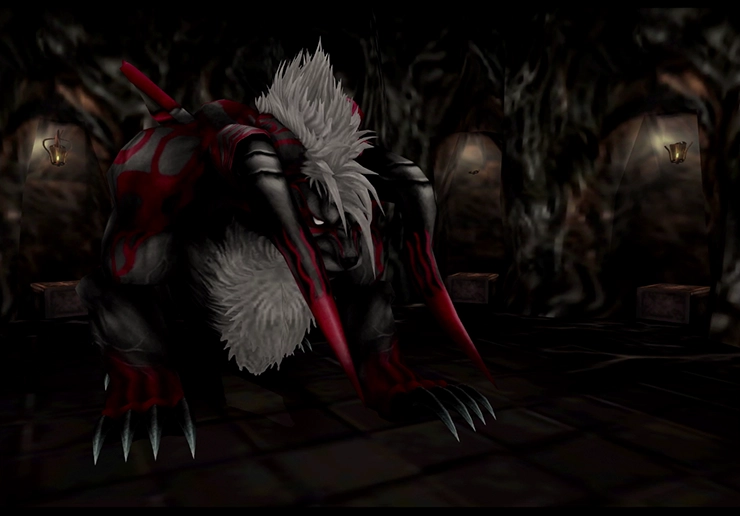
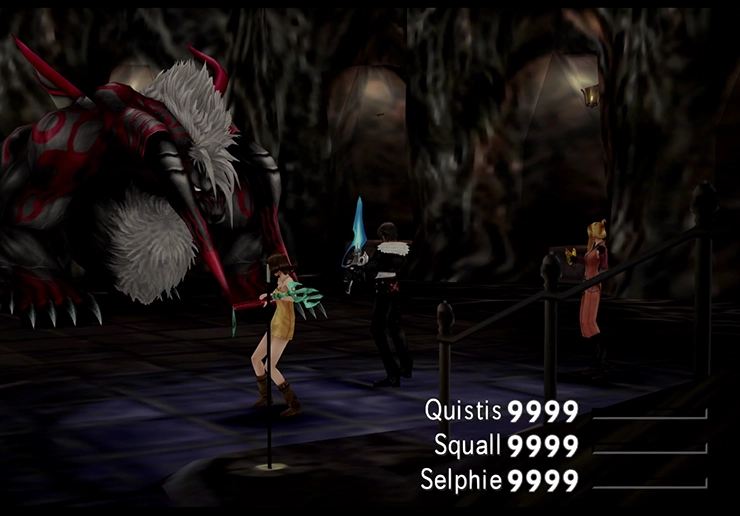
Touch Krysta to begin the fight.
Boss Battle
In Game Description: Born of a jewel in Ultimecia’s Castle. Responds quickly to attacks. Counter-attacks immediately.
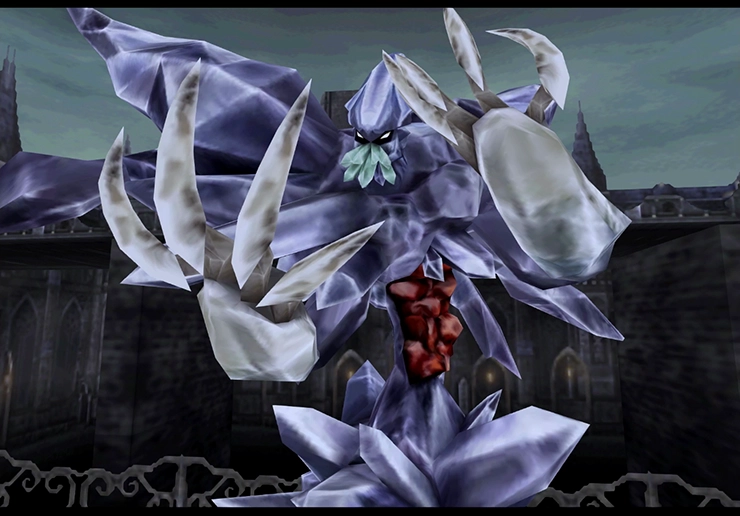
You can Draw Carbuncle, the Guardian Force, from this boss if you missed Drawing it from the Iguions in the room where you fought Edea back in Deling City.
Krysta is another boss that has a very high Vitality stat. This will cause regular attacks to do little to no damage, unless you cast ![]() Meltdown on it. So, cast Meltdown on it as soon as you can!
Meltdown on it. So, cast Meltdown on it as soon as you can!
If you are having trouble dealing with Krysta’s magical attacks, cast ![]() Shell on your party members. Krysta will counterattack your party members for around 1,000 damage after every single attack, so be prepared for that. It will also cast
Shell on your party members. Krysta will counterattack your party members for around 1,000 damage after every single attack, so be prepared for that. It will also cast ![]() Ultima on your party as its last move before it dies, so keep your party member’s HP topped off.
Ultima on your party as its last move before it dies, so keep your party member’s HP topped off.
Release which seal? As noted on the last boss, the next three abilities you should consider unlocking are Command Ability, Limit Break, and Guardian Force. Choose one of the two that are not already unlocked (its personal preference).
Make your way back to the Grand Hall (the room where you left Team B standing around), and go through the door on the back wall.
Courtyard
This is another area with an illuminated green circle for switching party members. Walk around it and grab the Draw Point in the back left corner which contains ![]() Slow. Take the door at the back leading into the Chapel.
Slow. Take the door at the back leading into the Chapel.
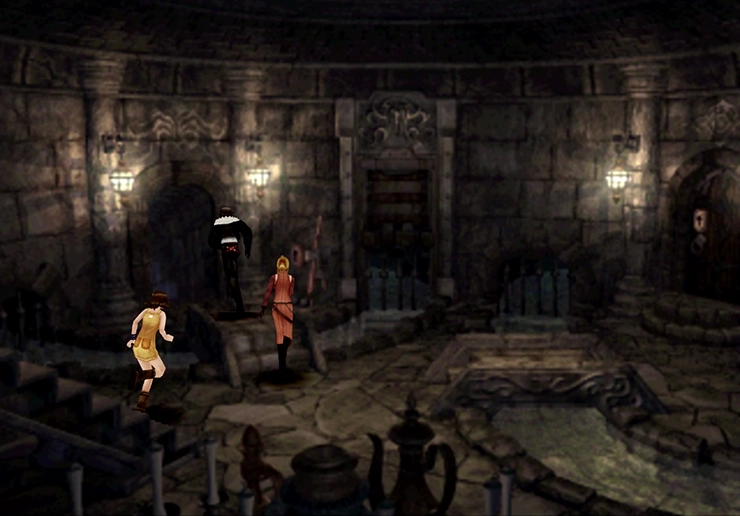
Chapel
The Chapel has an interesting purple cloud when you first enter, but there’s nothing you can do with that cloud just yet, so you can safely ignore it. Instead, walk up the stairs on the right side of the building and into the next area.

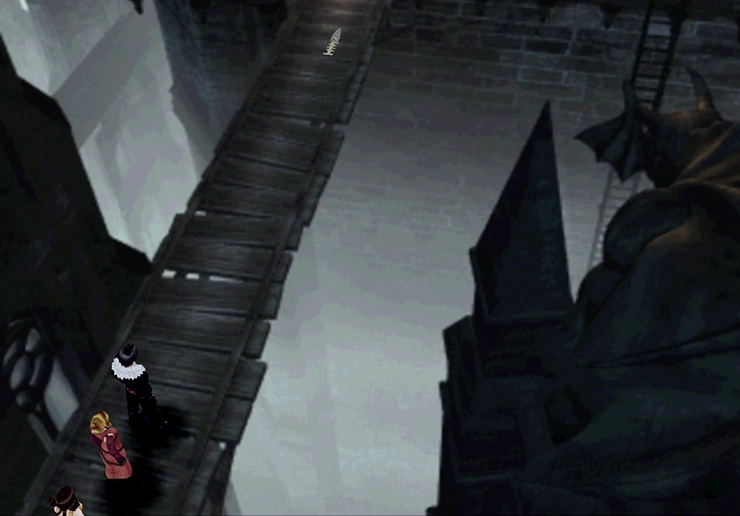
Clock Tower
You will start off on a bridge that will rattle if you run on it. The idea is to have your party walk across this bridge (by holding ![]()
![]()
![]() ) so that the key, which is precariously balanced in the middle of the bridge, doesn’t fall off. But this whole setup is kind of dumb because if the key falls off the bridge it drops into the exact room where you need to use it anyway, so it truly does not matter if you pick up the key or drop it… at all.
) so that the key, which is precariously balanced in the middle of the bridge, doesn’t fall off. But this whole setup is kind of dumb because if the key falls off the bridge it drops into the exact room where you need to use it anyway, so it truly does not matter if you pick up the key or drop it… at all.
With or without the key, make your way back to the Main Hall.
Main Hall
Take the stairs to the upper level and, this time, go to the right again, through the Stairway Hall, through the Art Gallery, and back into the Flood Gate room.
Flood Gate
This room has two doors, one on the left and one on the right. The door on the right is locked, so go through the door on the left (crossing over the waterway). Use the Armory Key on the door on the right. If the key fell off the bridge, search for it in the water first, and then use it on the door on the right.
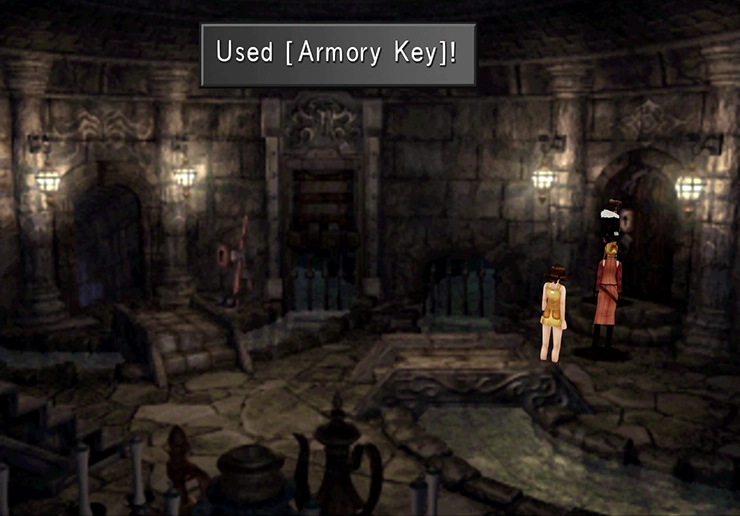
Armory
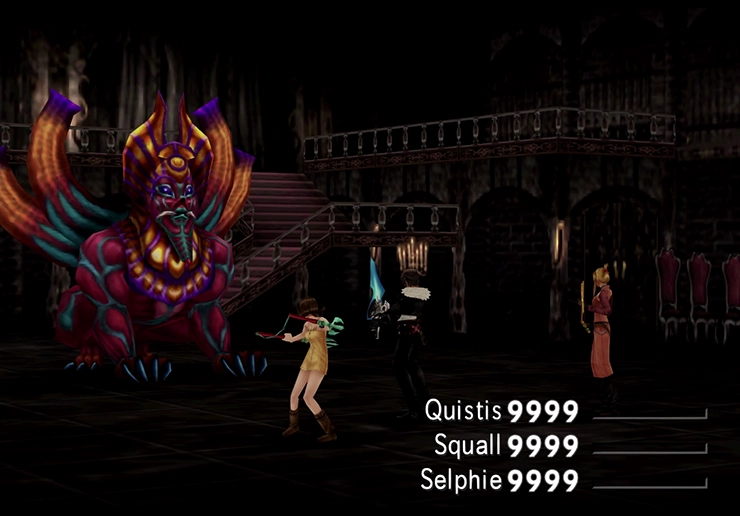
The next boss fight is just up ahead (no preparation is required).
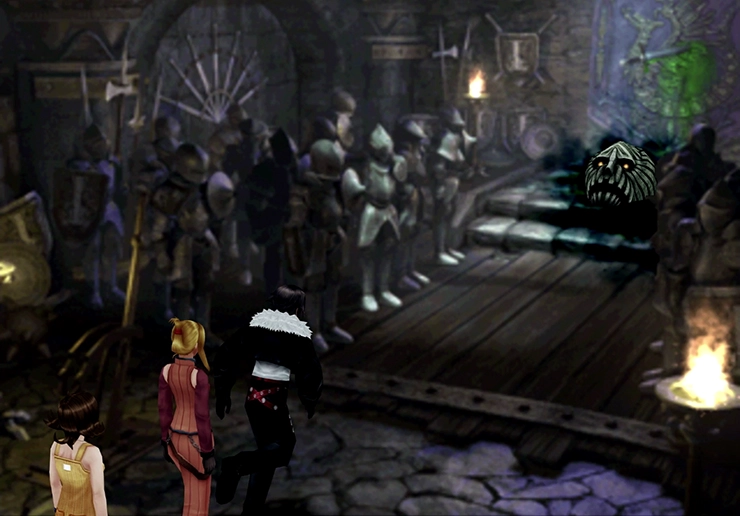
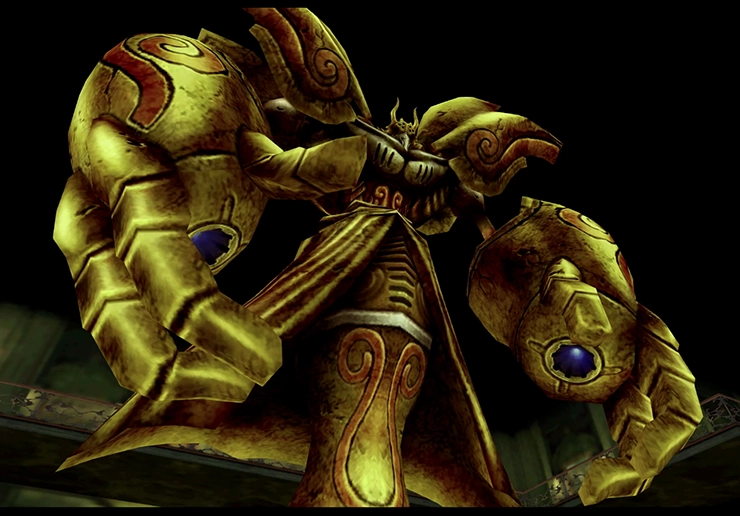
Boss Battle
In Game Description: A large monster, but it mainly uses magic to attack. Physical attacks anger it, and may counterattack.
You can Draw Cerberus, the Guardian Force, from this boss if you somehow missed it while it was sitting there in the center of Galbadia Garden, or if you couldn’t defeat it.
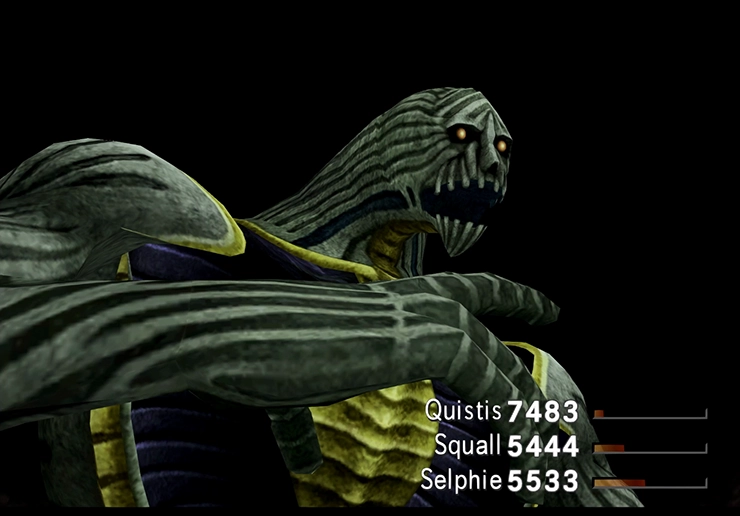
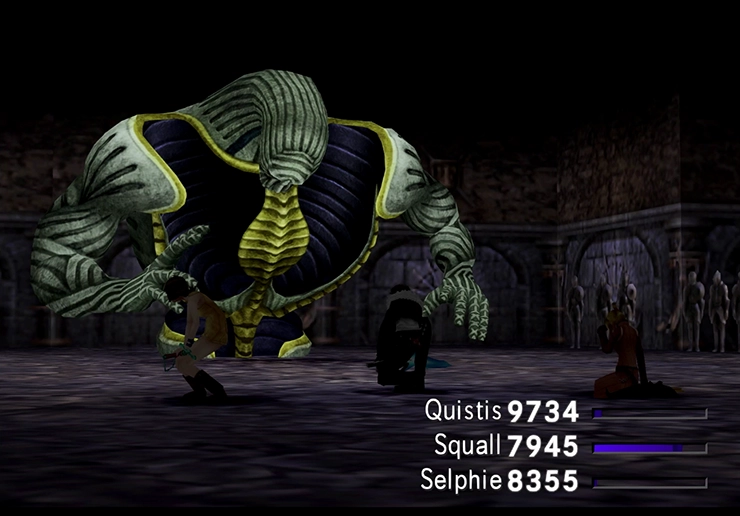
This fight is very similar to the previous fights, except that you will need to take out the two hands on the left and right sides of the face to make the actual, full-sized Gargantua appear.
Once again, use ![]() Meltdown to make your attacks more effective. Gargantua will counter all attacks with a physical attack called “Counter Twist,” so some damage is unavoidable every time you strike it. Keep each of your party members topped off, and use
Meltdown to make your attacks more effective. Gargantua will counter all attacks with a physical attack called “Counter Twist,” so some damage is unavoidable every time you strike it. Keep each of your party members topped off, and use ![]() Protect magic to halve the counter damage if you are finding it overwhelming.
Protect magic to halve the counter damage if you are finding it overwhelming.
Release which seal? As noted on the last two bosses, the next three abilities you should consider unlocking are Command Ability, Limit Break, and Guardian Force. Choose the last one that is not already unlocked.
Now head back to the Grand Hall (the room with the chandelier) and into the Courtyard using the door at the back.
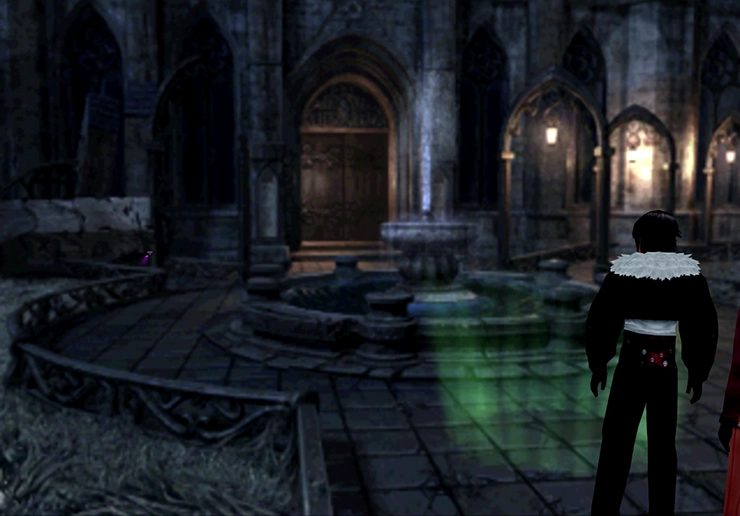
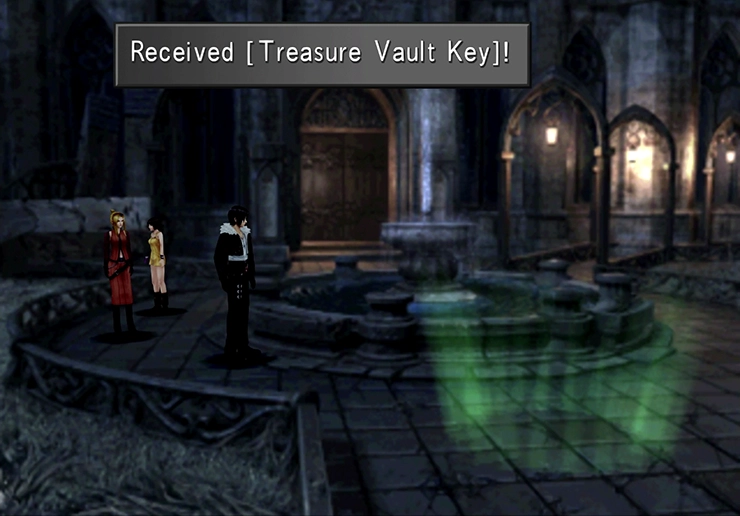
Courtyard
Examine the ground on the left side of the fountain and search for a Treasure Vault Key. It’s not actually in the fountain, and there’s no marker on the ground indicating where it should be, so just wander around the area shown in the screenshot below pressing ![]()
![]()
![]() until you find it.
until you find it.
Head back to the Main hall once you have it.
Main Hall
Go back up the stairs, and this time, instead of going through the double doors or to the right, take a left and go down the left side of the hall. Go around the balcony of this room (which is also called the “Stairway Hall”), down the stairs, and through the door at the bottom (stepping over the illuminated green circle).
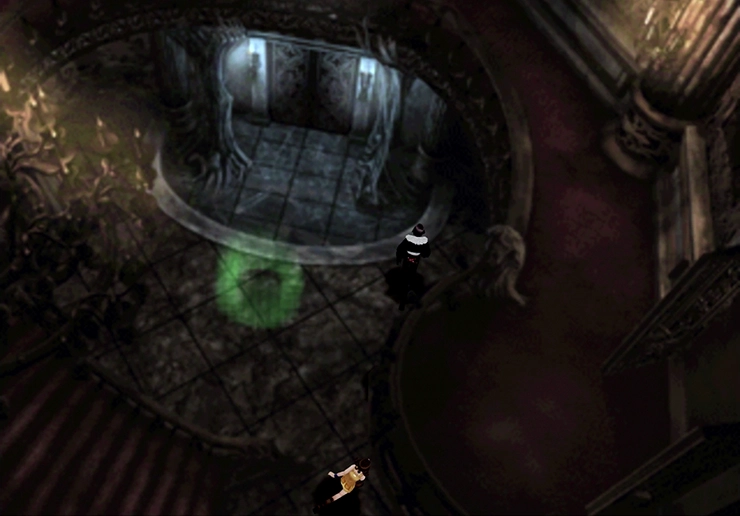
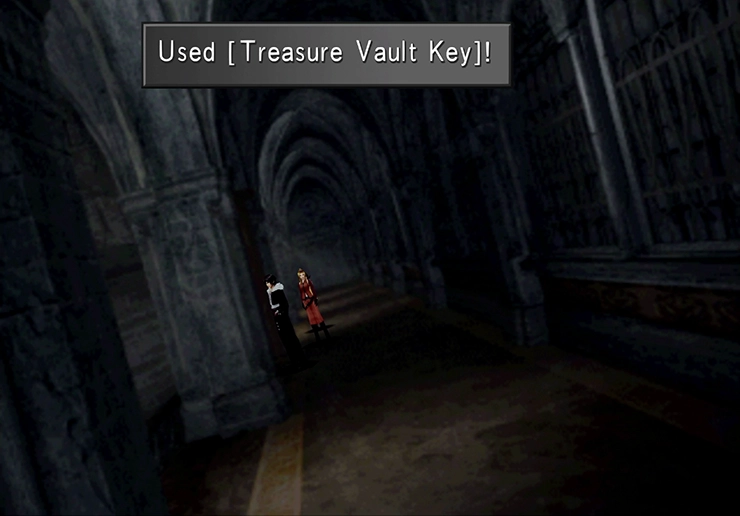
Passageway
This long hallway has a hidden doorway on the left side of it that you need to use the Treasure Vault Key on in order to gain entry. The door is fairly close to where the camera angle is positioned, not quite halfway down the hall. Use the screenshot below to help you find it, and then head in.
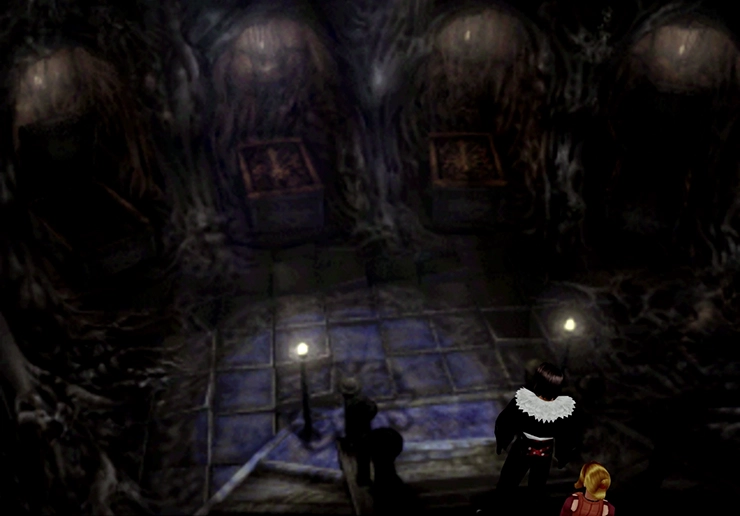
Treasure Room
The four treasure chests in the Treasure Room constitute the next puzzle in Ultimecia’s Castle. In order to get the next boss to show up, you need to get all the treasure chests open. The only problem is each time you close one of the chests it will affect the other chests as well.
Here is how each opening impacts the others:
- Opening or closing the First Box will open or close the first and second boxes
- Opening or closing the Second Box will open or close the first, second, and third boxes
- Opening or closing the Third Box will open or close the second, third, and fourth boxes
- Opening or closing the Fourth Box will open or close the third and fourth boxes
To make it easy though, if you have not touched any of the treasure chests, meaning that the first and the fourth chests are open, while the second and third are closed, just follow these steps:
- Open the first, then second, then third, then fourth, in that order. Way too easy!
Catoblepas will materialize out of the steam in the room. Time for your seventh boss battle.
Boss Battle
In Game Description: Uses magic as well as physical attacks. Its skill with Thunder magic allows it to increase damage.
You can Draw Alexander, the Guardian Force, from this boss if you missed Drawing it from Edea during the second encounter with her at the end of Disc 2.
This battle is the same as all the other boss battles you have faced. Catoblepas has high Vitality, making it take less damage from regular attacks, but you can cast ![]() Meltdown on it to significantly increase the amount of damage it takes.
Meltdown on it to significantly increase the amount of damage it takes.
Catoblepas will cast one final ![]() Meteor magic before you defeat it, so make sure that you keep your party member’s HP topped off.
Meteor magic before you defeat it, so make sure that you keep your party member’s HP topped off.
Release which seal? The last two seals should be Resurrection and Save Game, you can choose either.
Make your way back through the Passageway and into the Stairway Hall, where the illuminated green circle is, and switch your party from Team A to Team B. As a quick reminder, exchange the junctions of your party members to ensure that Team B has ![]() Enc-None activated.
Enc-None activated.
Bring Team B all the way to the Stairway Hall but heading up the Main Hall stairs and heading left. Once you get to the spot where you can swap party members, and you have all 6 party members in the same location, switch up Team B so that it consists of the following party combinations:
- Irvine, Quistis, Selphie
- Quistis, Rinoa, Selphie
- Quistis, Selphie, Zell
This will make your Team A party some combination of Squall, Zell, Irvine and Rinoa. Take Team B and go back into the Passageway, past the Treasure Room, and to the end of the hall.
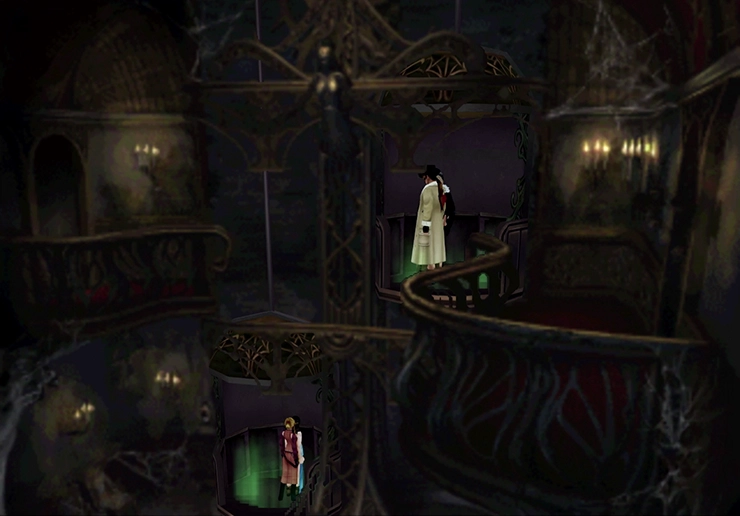
Elevator Hall
Have Team B stand on the elevator on the left side of the room, which is the only one that is down and currently accessible. On this elevator is another illuminated green circle which will allow you to swap back to Team A. As a reminder, Team A should include Squall and some combination of Zell, Irvine, and Rinoa.
Take Team A back to the Main Hall, up the stairs and through the door on the right, through the Stairway Hall, through the Art Gallery, and in this next screen (also called “Stairway Hall” in the menu screen), run past the illuminated green circle but take the stairs on the left instead of going into the Flood Gate. Travel across the passageway, using the ![]() Cura Draw Point if you need to, and into the other side of the Elevator Hall.
Cura Draw Point if you need to, and into the other side of the Elevator Hall.
Have Team A stand on the elevator and, with their additional weight, this will cause their elevator to drop while Team B, on the other side, will be elevated to the second level. Swap back over to Team B and head through the door on the left side of the room.
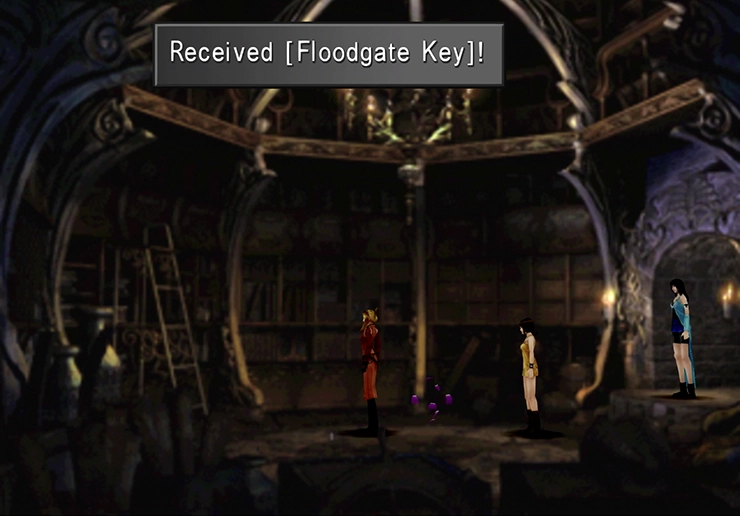
Storage Room
The Storage Room contains two items that you should grab: the Floodgate Key and a Draw Point that contains ![]() Curaga magic. Head back out of this room and use the green illuminated circle to swap back to your primary team, pull them off the elevator, and bring them to the illuminated circle way back out in the Stairway Hall (past the Treasure Room). Then swap to Team B, bring them to the same spot, and re-arrange your party if you need to so that Team A has all of your main party members.
Curaga magic. Head back out of this room and use the green illuminated circle to swap back to your primary team, pull them off the elevator, and bring them to the illuminated circle way back out in the Stairway Hall (past the Treasure Room). Then swap to Team B, bring them to the same spot, and re-arrange your party if you need to so that Team A has all of your main party members.
Have Team A make their way back to the Flood Gate (out to the Main Hall, up the stairs to the right, down the stairs in the Stairway Hall, through the Art Gallery, and down the stairs).
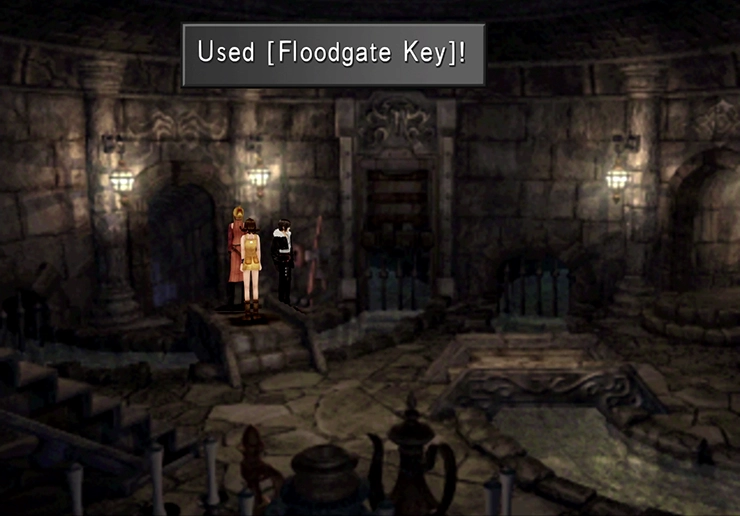
Flood Gate
Use the Floodgate Key on the lever at the back of the room and flip it to drain the waterway. Then head back to the Main Hall, back into the Grand Hall (chandelier room), through the Courtyard and into the Chapel.
Chapel
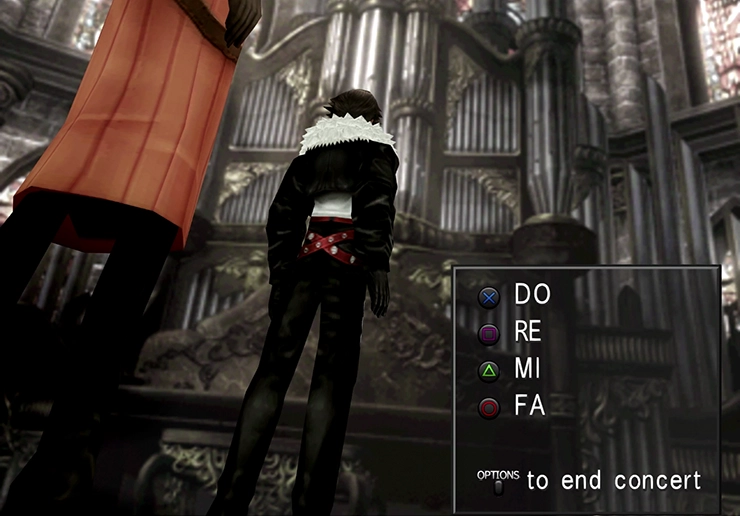
Approach the organ at the back of the room and press ![]()
![]()
![]() near it to play some tunes. All you have to do is press all four buttons simultaneously, which is a lot more difficult than it sounds. Hold these four buttons until the notes stop playing, and then go back out to the Courtyard.
near it to play some tunes. All you have to do is press all four buttons simultaneously, which is a lot more difficult than it sounds. Hold these four buttons until the notes stop playing, and then go back out to the Courtyard.
Courtyard/Waterway
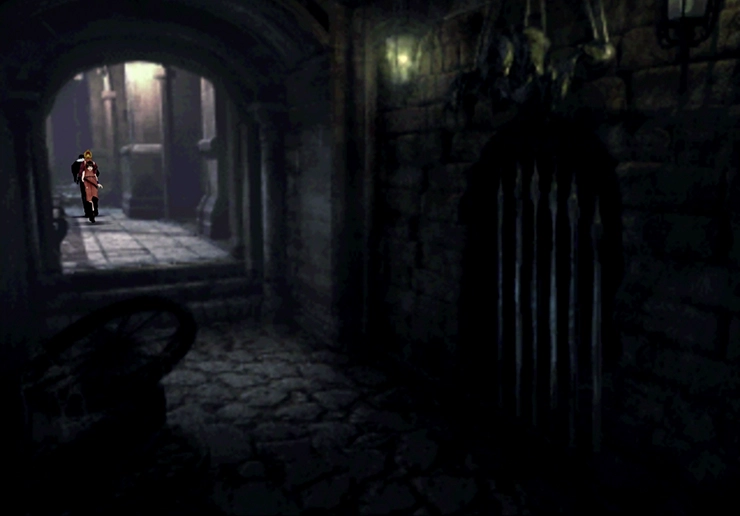
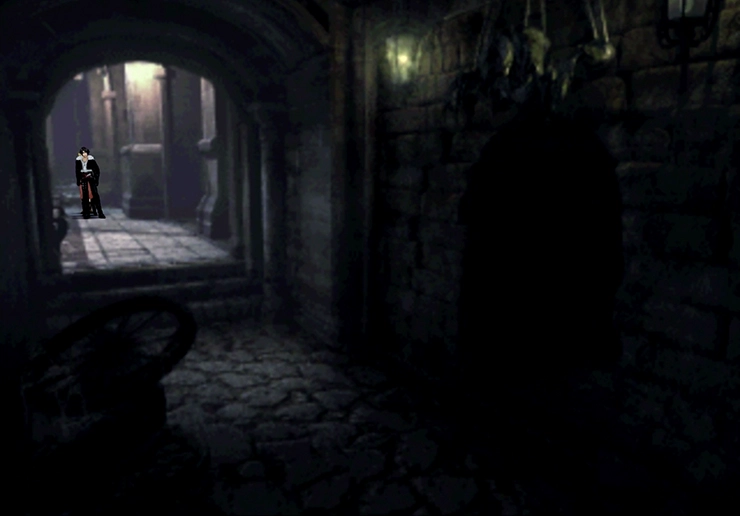
Take the pathway leading off to the right of the Courtyard, which leads into the Waterway. If you played the four notes correctly, the spikes blocking the passageway down here should be removed.
Check out the screenshots below to see what it looks like when they are both up and when they have successfully been lowered. Just go back to the Chapel and try the notes on the organ again if the wall is not down.
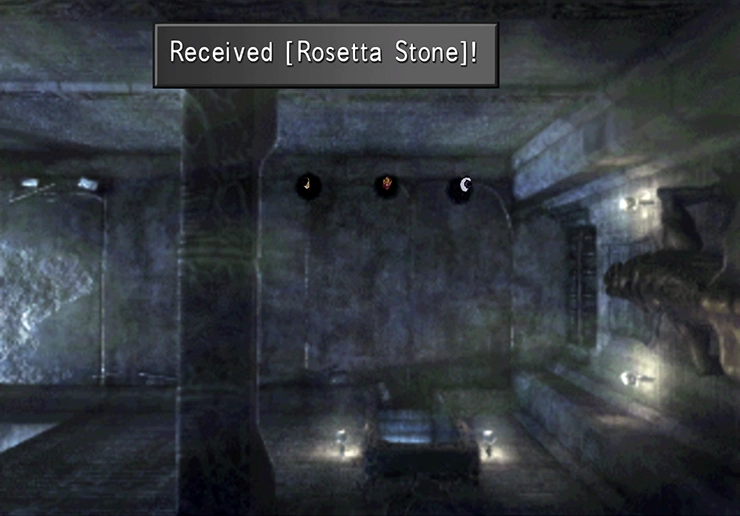
Once you can gain entry to the Waterway, follow the pathway along until you reach a treasure chest at the end of the path, which contains a ![]() Rosetta Stone. Definitely worth all the extra work!
Rosetta Stone. Definitely worth all the extra work!
And you are officially at the end of the game, so don’t be stingy, and use it right now on the Guardian Force of a character that doesn’t currently have access to the ![]() Abilityx4 ability through one of their other GFs.
Abilityx4 ability through one of their other GFs.
Now it’s time to hunt down the last boss.
Main Hall
From the Main Hall, go back into the Grand Hall (the chandelier room) and take the doorway on the back wall into the Courtyard. Go up the stairs in the Chapel, cross the bridge, and go up through the door of the Clock Tower.
Clock Tower
Keep climbing the Clock Tower, following the circular pathway around and upwards, until you reach the bell swaying back and forth from left to right. Position Squall on the left side of the tower and wait for the bell to swing to the left. Press ![]()
![]()
![]() to jump onto the bell and the entire team will ride it across to the other side.
to jump onto the bell and the entire team will ride it across to the other side.
Let’s do some preparation before entering the next area and kicking off the next boss fight. Take some time to junction ![]() Thundaga/
Thundaga/![]() Blizzaga/
Blizzaga/![]() Firaga to your party member’s
Firaga to your party member’s ![]() Elem-Def-J slots, and add all three magics if possible. This will help prevent a significant source of upcoming damage.
Elem-Def-J slots, and add all three magics if possible. This will help prevent a significant source of upcoming damage.
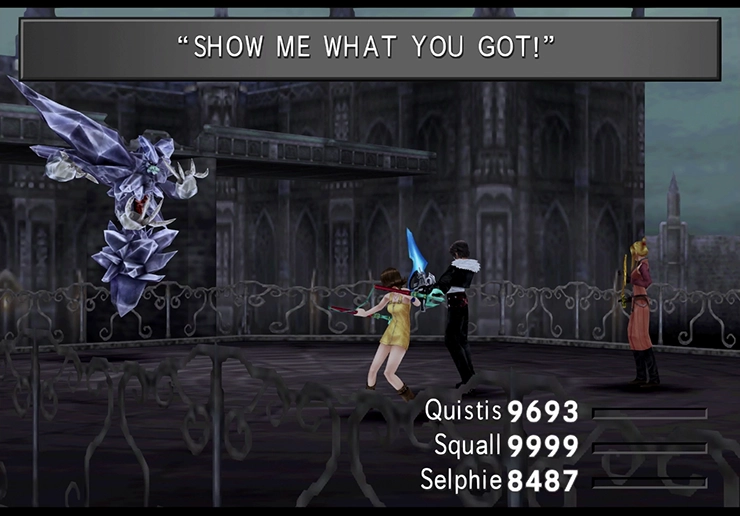
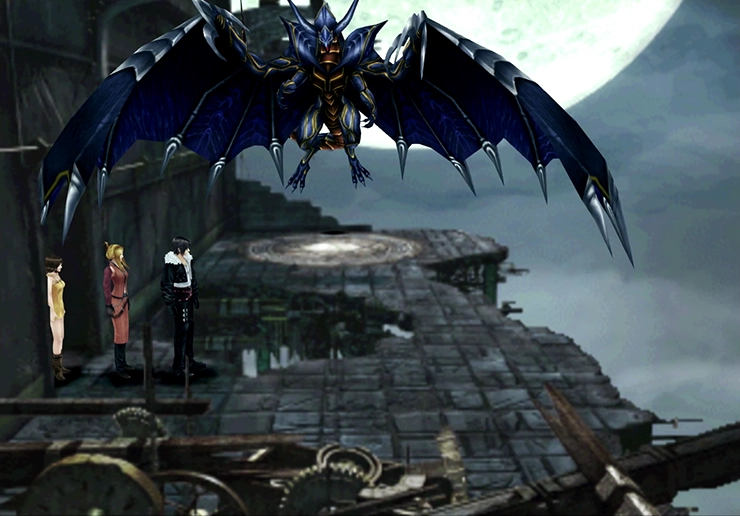
Move forward and engage the flying dragon, Tiamat, when you are ready for the last boss fight.
Boss Battle
In Game Description: Used to be a GF. Became a monster under Ultimecia’s power. Its Dark Flare destroys all enemies.
You can Draw Eden, the Guardian Force, from this boss if you didn’t complete the events at the Deep Sea Research Center or if you opted to keep Ultima Weapon alive.
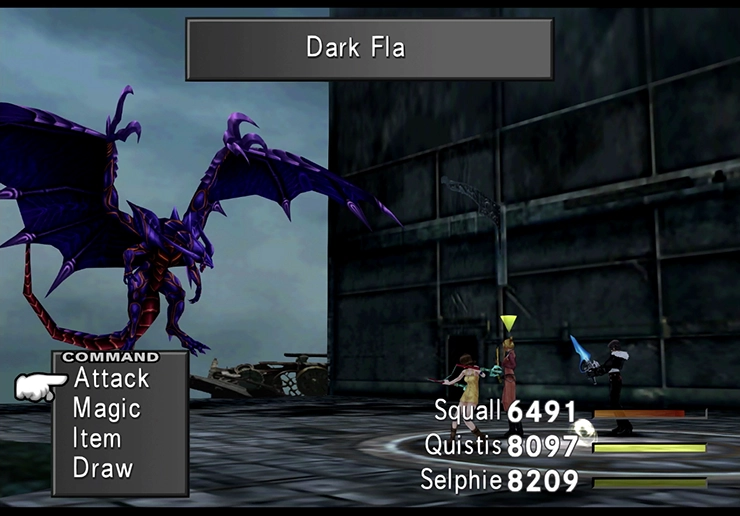
Tiamat has only one attack called Dark Flare. Tiamat will start charging up this attack when the battle begins, and, as the attack charges, it will flash more and more letters across the screen (“D,” “Da,” “Dar,” “Dark F,” etc.). This will help you to know the timing of when it’s about to use the attack.
With ![]() Thundaga/
Thundaga/![]() Blizzaga/
Blizzaga/![]() Firaga junctioned to your party members, this attack will do very little damage (or none at all), which makes the battle a complete pushover.
Firaga junctioned to your party members, this attack will do very little damage (or none at all), which makes the battle a complete pushover.
Use ![]() Meltdown on Tiamat to increase the amount of damage that your attacks do, and there’s a very good chance that you will defeat it before it even gets a chance to use Dark Flare.
Meltdown on Tiamat to increase the amount of damage that your attacks do, and there’s a very good chance that you will defeat it before it even gets a chance to use Dark Flare.
Release which seal? This is the last seal to break, meaning that all of your abilities should now be available to you whilst inside Ultimecia’s Castle.
Are you ready for the final showdown against Ultimecia and the game’s conclusion? There’s actually one more optional boss that you can battle, and it’s the true hardest boss in the game. Check out the section below for more information:
Side Quests
How to summon and defeat the most challenging boss in the game, Omega Weapon, in the Chapel of Ultimecia’s Castle.
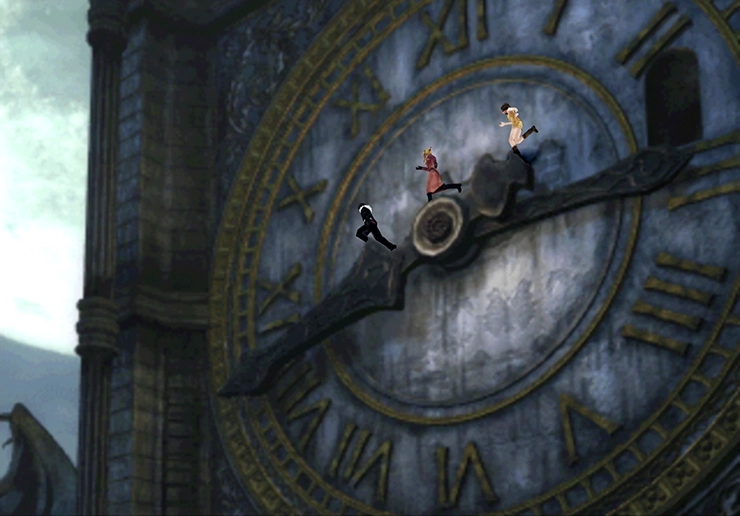
Otherwise, go back inside the Clock Tower and, instead of riding the bell over to where Tiamat was located, continue scaling to the top of the tower. The path will take you across the face of the giant clock and then down two separate sets of ladders.
Master Room
This last walkway is called the “Master Room.” Run down to the ![]() Save Point and consider saving your game. You’ve reached the end of Final Fantasy VIII!
Save Point and consider saving your game. You’ve reached the end of Final Fantasy VIII!
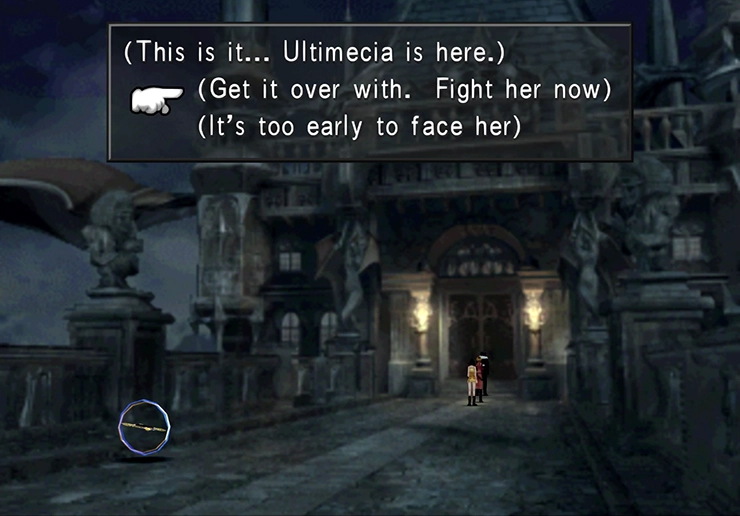
Warning
This is the farthest that you can proceed without turning back. Consider saving your game at the ![]() Save Point and, if you are planning to go back to complete any side quests, leveling, etc., make sure you keep a saved version of the game that you can return to. Once you open the doors at the end of this walkway you will have to proceed to the end of the story and the end of the game.
Save Point and, if you are planning to go back to complete any side quests, leveling, etc., make sure you keep a saved version of the game that you can return to. Once you open the doors at the end of this walkway you will have to proceed to the end of the story and the end of the game.
Final Battle Preparations
Before you open the door at the end of the hall, flip to the next page of the strategy guide for some tips and tricks on how to prepare for the game’s final fights.