
Lunatic Pandora
This section of the guide details your second visit to the Lunatic Pandora (not as Laguna and his team, which occurred earlier) after you have obtained access to the Ragnarok.
Before you take on the next set of boss battles in the Lunatic Pandora, though, there are several side quests that you can complete now that you have access to a ship. These side quests are listed on the previous page. Use the navigation links above or use the link below:
Walkthrough Guide
The previous page contains a full outline of the side quests you can complete before moving forward with the story of the game.
The Lunatic Pandora section of the strategy guide is divided into two parts according to the way that this section of the game was originally divided. Specifically, the first section is on Disc 3 and the second section is on Disc 4. So let’s get started…
There is a battle coming up against Raijin and Fujin as soon as the Ragnarok arrives in the Lunatic Pandora. This fight is extremely easy, but you should prepare for it by removing the ![]() Mug command from any of your characters. You could steal a
Mug command from any of your characters. You could steal a ![]() Power Wrist from Raijin, but this would prevent him from dropping a
Power Wrist from Raijin, but this would prevent him from dropping a ![]() Str Up item, which is much better overall.
Str Up item, which is much better overall.
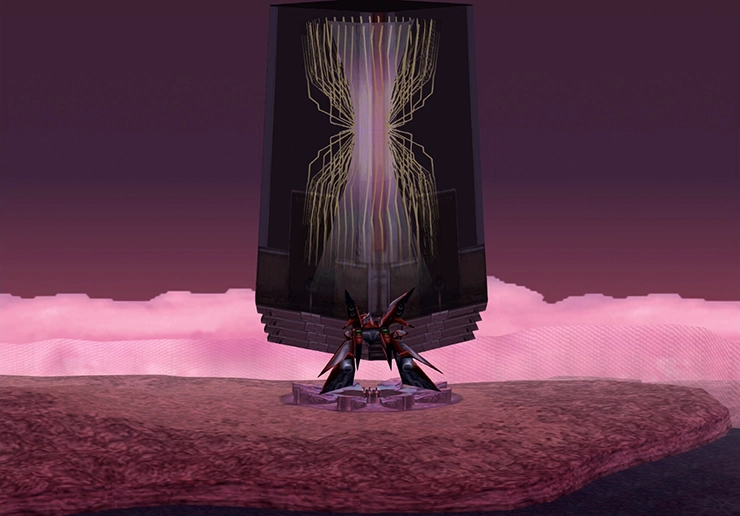
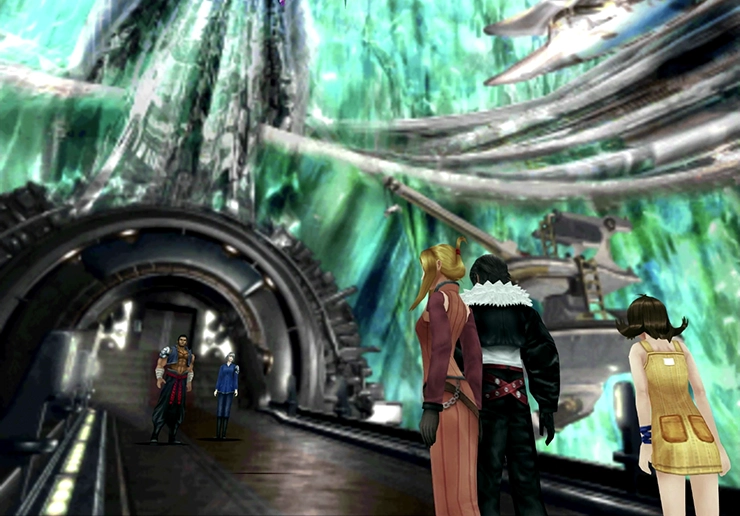
Fly the Ragnarok over to the Lunatic Pandora, which you can find floating over Tear’s Point on the world map. There is a quick scene as the Ragnarok breaks through the structure’s shield and breaks through the wall to create its own opening to get in through the side.
Helpful Hint
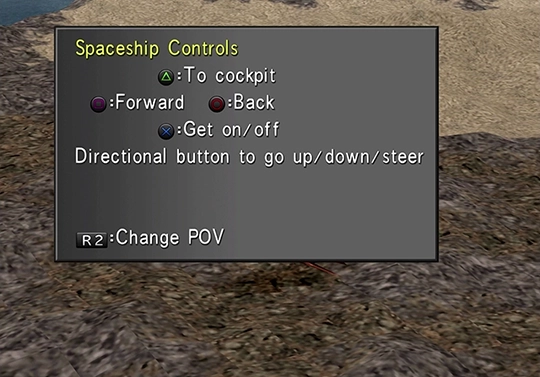
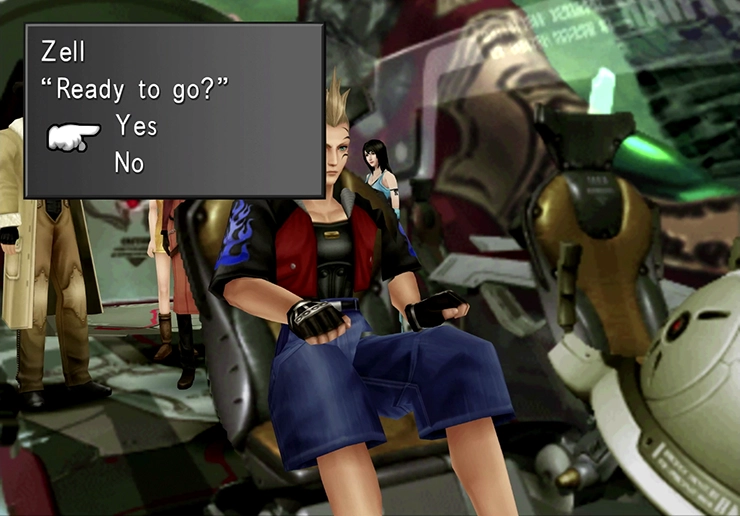
You can leave the Lunatic Pandora at any time by walking back up to the Ragnarok, boarding the ship, and speaking to Zell in the pilot’s chair.
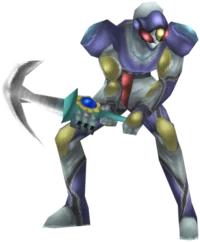
The battle against Fujin and Raijin happens at the bottom of the stairs.
Boss Battle
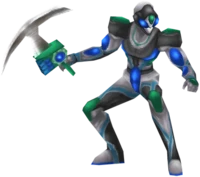
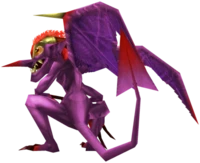
In Game Description of Fujin: Assisting Seifer inside Lunatic Pandora. Uses support magic, as well as attack magic.
In Game Description of Raijin: Works with Fujin and Seifer. Still relies on his strength, but can now use support magic as well.
It could be mentioned that you should have set up your characters with status attacks, given that both Fujin and Raijin are weak to many statuses, but this encounter is just as easy, if not easier, than the previous encounters and requires very little preparation. The fight is even easier if you did any of the side quests mentioned on the previous page.
You can Draw ![]() Curaga magic from Fujin if you need to heal yourself. This is also a great opportunity to stock up on
Curaga magic from Fujin if you need to heal yourself. This is also a great opportunity to stock up on ![]() Full-Life magic from Fujin as well, given how it is one of the Best Magic spells that you can obtain. Cast Protect on your party members if you find that the damage is higher than expected.
Full-Life magic from Fujin as well, given how it is one of the Best Magic spells that you can obtain. Cast Protect on your party members if you find that the damage is higher than expected.
Fujin (Level 1 to 29):
Fujin (Level 30 to 100):
Raijin (Level 1 to 19):
Raijin (Level 20 to 29):
Raijin (Level 30 to 100):
Fujin:
1x
Raijin (Level 1 to 19):
1x
Raijin (Level 29 to 100):
1x
2x
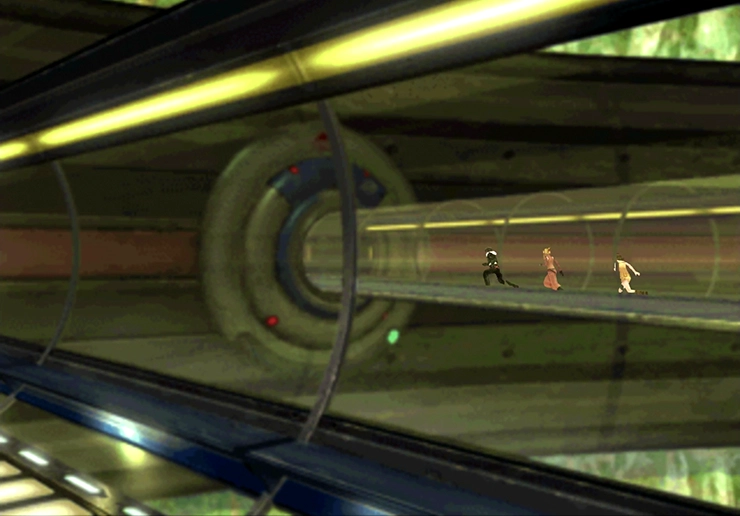
Move to the next screen and continue down the pathway. You can speak with Biggs and Wedge, who are standing off towards the bottom edge of the screen, but they will opt not to fight you this time. Unlike Raijin and Fujin, they seem to have learned their lesson.
Use the ![]() Save Point to save your game and then follow Wedge and Biggs down the tube. Note that all the enemies in this area are extremely low leveled, so no complex strategies are required to defeat them.
Save Point to save your game and then follow Wedge and Biggs down the tube. Note that all the enemies in this area are extremely low leveled, so no complex strategies are required to defeat them.


The Lunatic Pandora is one of the areas where the enemy’s levels follow an exception to the standard calculation method. For more details on enemy level calculations, refer to the Character/Enemy Leveling page in the Tips and Tricks section (linked below):
Tips and Tricks
An explanation of your character’s levels and the relationship to the enemy’s levels.
Take the tube on the left that diverts out of the main tube and follow the pathway along.
Take elevator 03 down to the main floor when you see it. Now take elevator 01 back up to the top level and follow the pathway around the corner. You will pass one more ![]() Save Point, which you should use, as there’s a boss battle coming up.
Save Point, which you should use, as there’s a boss battle coming up.
In preparation for an upcoming boss fight, make sure that you re-equip ![]() Mug to your character(s). You should also junction lightning-based magic to your
Mug to your character(s). You should also junction lightning-based magic to your ![]() Elem-Atk-J.
Elem-Atk-J.

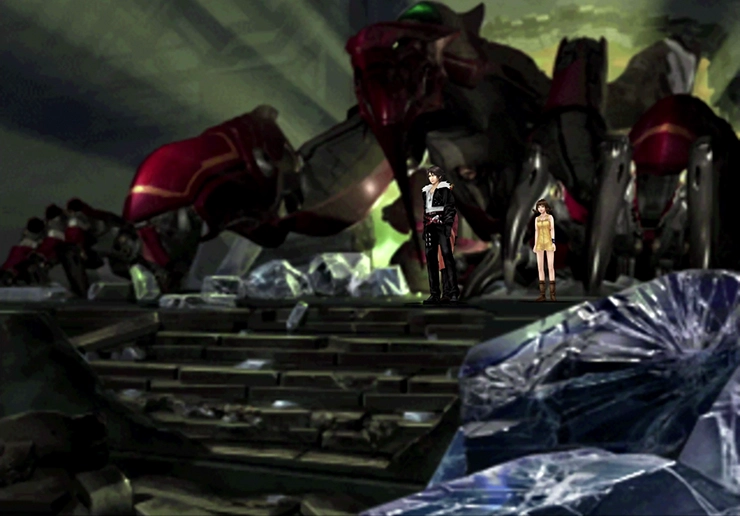
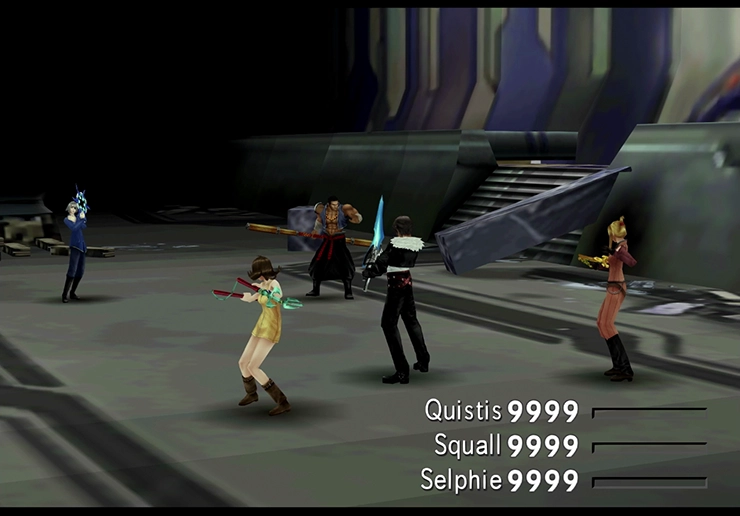
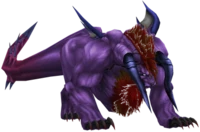
Continue following the pathway until you meet up with Raijin and Fujin again at the same spot where Zell and his team were thrown out of the Lunatic Pandora last time they were here. This time, you will end up actually fighting the monster that showed up…
Boss Battle
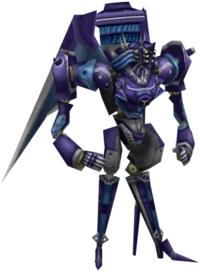
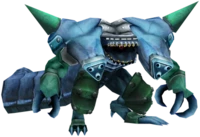
In Game Description: Its beam and laser attacks go far beyond the damage of any modern weapons.
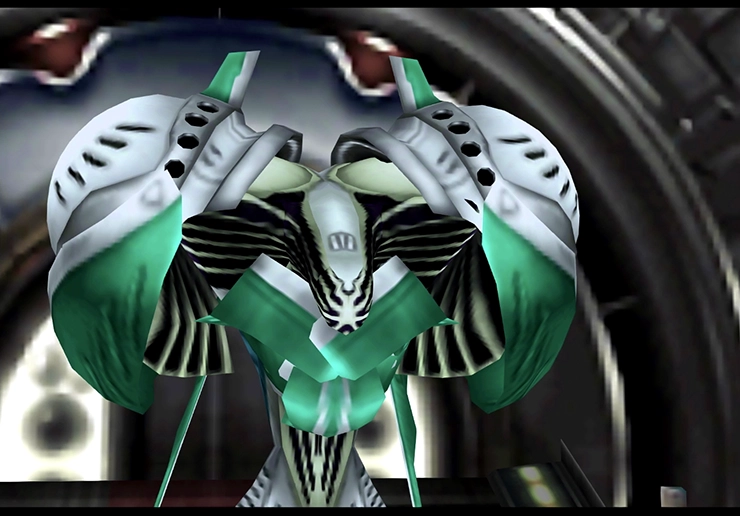
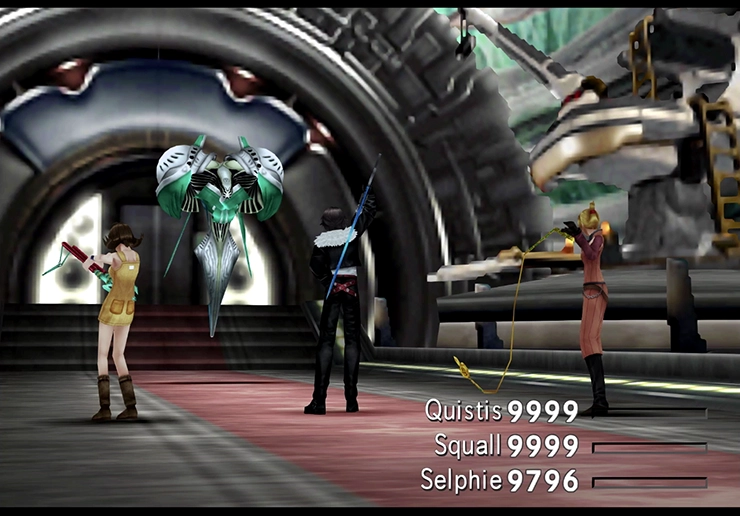
This boss can definitely be one of the more challenging encounters that you have faced so far. Its first form, which is the one that it starts off in, is relatively harmless. Its second form however, when its shoulders split away from the main body, hits a lot harder. It has an attack called Corona that will reduce all of your party member’s HP down to 1, so be prepared to quickly react with some heals.
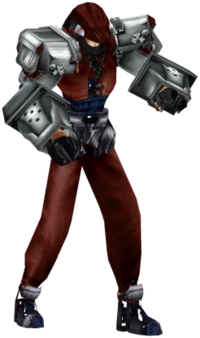
While the shoulders are attached, Mobile Type 8 will counterattack all of your hits, but there’s nothing you can do to counteract this, so just be prepared to heal your characters up from time to time. If you prepared by having ![]() thunder-based magic junctioned to
thunder-based magic junctioned to ![]() Elem-Atk-J, it should go a long way to making this fight easier. You can also use Quezacotl’s attack, which deals a significant amount of damage.
Elem-Atk-J, it should go a long way to making this fight easier. You can also use Quezacotl’s attack, which deals a significant amount of damage.
Make sure that you use Mug on both of the shoulders as they both have very powerful items: one of them has 4 ![]() Vit Ups and the other has 4
Vit Ups and the other has 4 ![]() Str Ups. Other than a quick
Str Ups. Other than a quick ![]() Mug, though, you should not waste any time attacking either of the shoulders, and note that it may take you quite a few attempts to successfully get the items.
Mug, though, you should not waste any time attacking either of the shoulders, and note that it may take you quite a few attempts to successfully get the items.
Level 1 to 19:
Level 20 to 29:
Level 30 to 100:
Level 1 to 19:
2x
3x
4x
Level 20 to 100:
1x
2x
3x
4x
All Levels:
1x
2x
3x
4x
A quick warning before we continue…
Warning
This is the farthest that you can go before you will automatically trigger events that will lead you into Disc 4 of the game. This is probably fine if you have been following this guide all the way through and completing all the side quests along the way, but if not, and if there are any side quests that you still wish to complete, consider stopping here and going back to the Ragnarok.
In Disc 4, you will not be able to access any of the towns, so many of the side quests are no longer available. Check out the “Ragnarok and Side Quests” page to double-check that you have completed them all. Specifically, make sure that you have completed the CC-Group side quest if you refined any Triple Triad cards and want to get them back.
Make your way up through the doorway once you are ready to continue the game. You may want to consider creating a second save file so that you can return to Disc 3 to complete anything that you might have missed later on. Move forward when you’re ready…
Boss Battle
In Game Description: To retain his pride as a Sorceress’ Knight, he is determined to win. His skills are even more deadly.
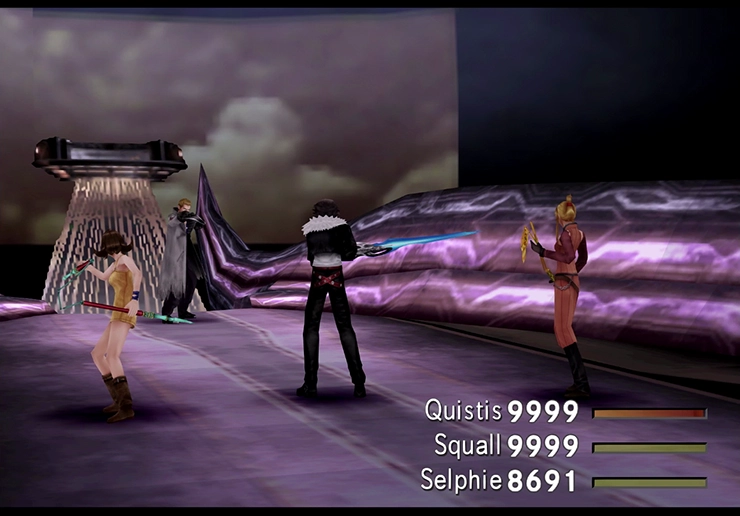
Again, it’s so hard to call these battles against Seifer an actual boss battle because he is so weak.
Note that if you completed the Odin side quest (check out the Odin guide), a cutscene will start as soon as you begin the battle against Seifer, where he will essentially destroy Odin. After the fight, you will receive Gilgamesh as your new “occurs randomly during random battles” Guardian Force. Unlike Odin, who appeared at the end of a battle to finish the enemy off, Gilgamesh can show up at any point during a fight and has a multitude of different moves in his arsenal. He’s really good at interrupting the flow of battle…
As mentioned above, Seifer is just as much of a pushover in this fight as he has been in every other fight. You can Draw ![]() Aura magic from Seifer if you want to, before defeating him, if you’re not already stocked up with 100 on each character.
Aura magic from Seifer if you want to, before defeating him, if you’re not already stocked up with 100 on each character. ![]() Aura is incredibly useful magic, and we will be making use of it for several upcoming side quests.
Aura is incredibly useful magic, and we will be making use of it for several upcoming side quests.
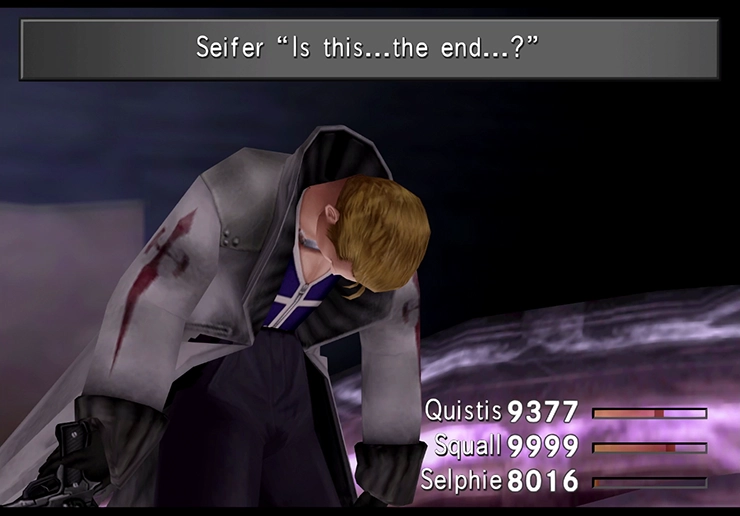
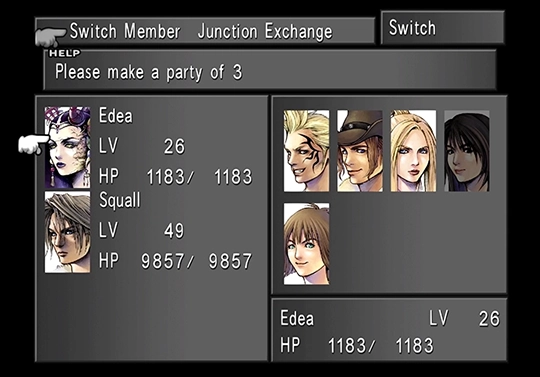
At this point, Seifer will somehow “capture” Rinoa… if you were using Rinoa on your team, you will have to pick a replacement team member for her and junction your Guardian Forces and magic accordingly.
Now it’s time for Disc 4!