
Deep Sea Research Center
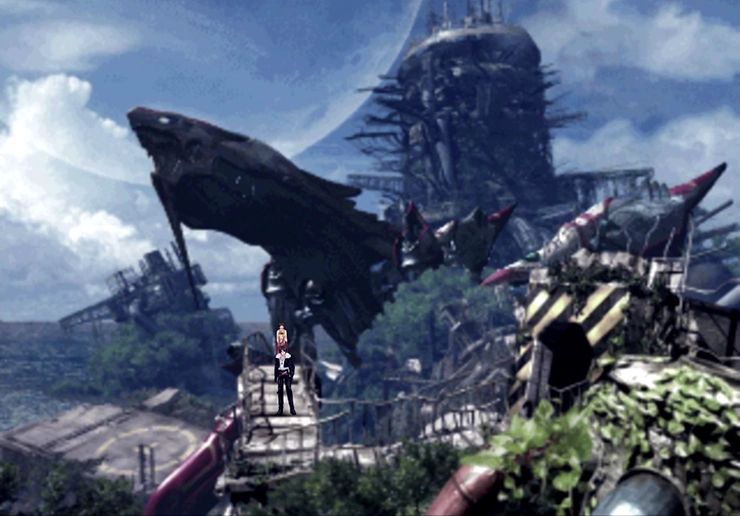
The Deep Sea Research Center is an optional endgame dungeon hiding two of the game’s best Guardian Forces: Bahamut, who must be answered and battled, and Eden, drawn from the mighty Ultima Weapon in the depths below. It also houses some of the toughest random encounters in the game, along with an unlimited supply of Tri-Faces for Curse Spike farming. You can only reach it once you have the Ragnarok:
Walkthrough Guide
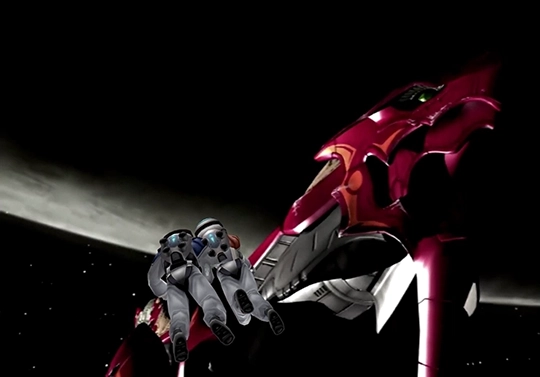
Clearing out and obtaining the Ragnarok with Squall and Rinoa.


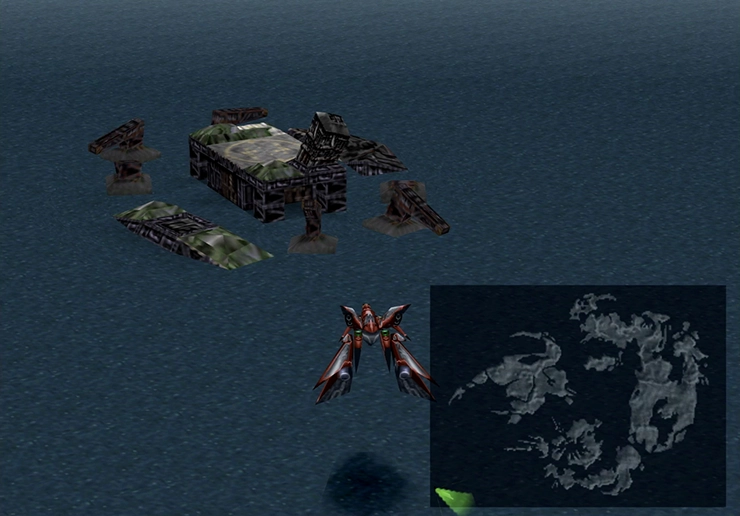
Once you have access to the Ragnarok, it’s time to head out to the middle of the sea. The Deep Sea Research Center does not appear on the world map, but you can find it by flying down to the lower left corner of the map. Use the screenshot and map below to help you find it:
There are a total of two side quests and one area where you can farm for raw materials while you are at this location. Follow the guide below for information on each.
Lab
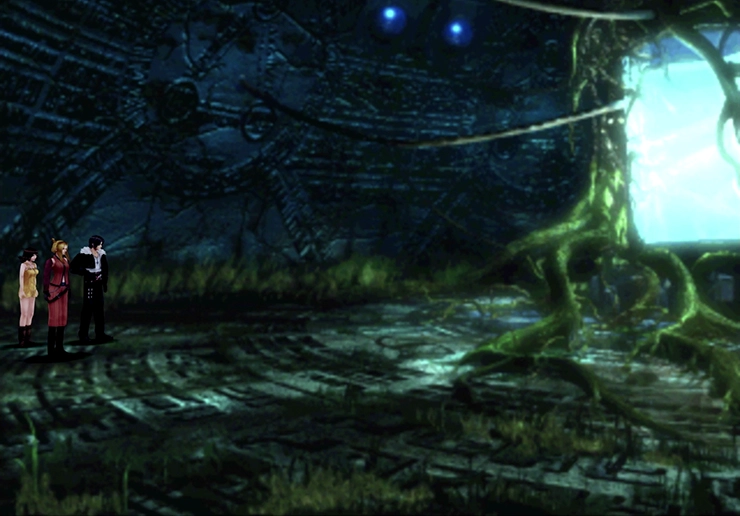
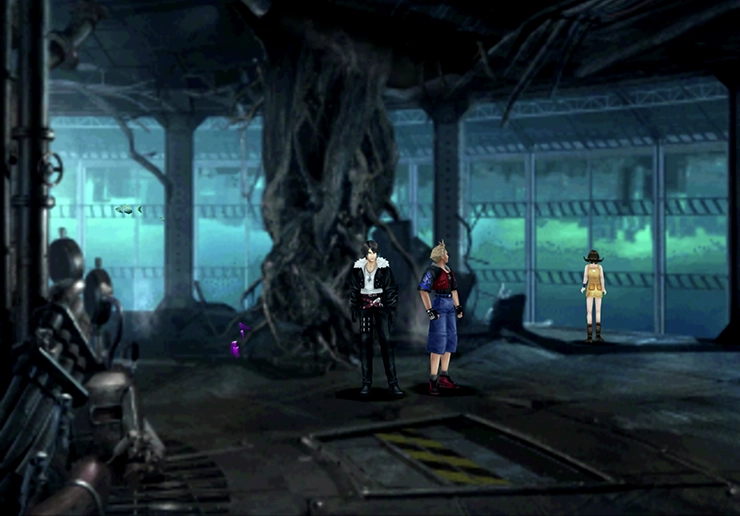
This first level of the Deep Sea Research Center is called the “Lab.” Your team will notice that the location appears to have been abandoned for years and will start to question what the big blue light (the core) is in the center of the room. A voice will say, “The blue light leads all to death. Turn back…” which is your clue on how to navigate through this first room.
All you have to do is walk towards the core whenever the bright blue light goes dim or turns off. If you move while the light is flashing, you will be thrown into an encounter with a random monster.
Helpful Hint
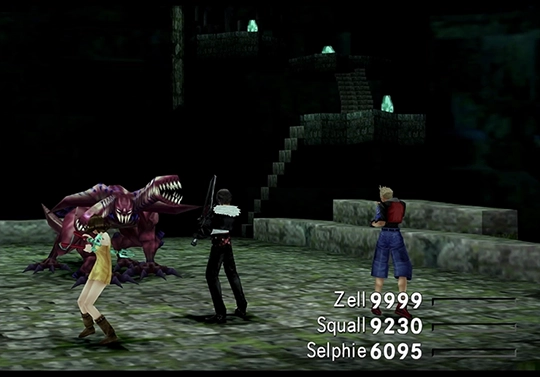
Most of the enemies in these areas are easy to manage and defeat. However, the Ruby Dragons can prove to be a bit more problematic, and you will be fighting quite a few of them, if not during these random encounters, then during a few fixed battles that will be coming up.
You can make the fights against the Ruby Dragons much easier by ensuring that you do not have fire-based magic, such as ![]() Firaga, junctioned to any of your character’s weapons. The game likes to default Firaga as an elemental attack, but attacking a Ruby Dragon with a regular weapon-based attack while you have fire-based magic junctioned will heal it. Instead, junction ice-based magic such as
Firaga, junctioned to any of your character’s weapons. The game likes to default Firaga as an elemental attack, but attacking a Ruby Dragon with a regular weapon-based attack while you have fire-based magic junctioned will heal it. Instead, junction ice-based magic such as ![]() Blizzaga.
Blizzaga.
Additionally, to make things even easier, you can junction fire-base magic (Firaga) and wind-based magic (such as ![]() Tornado) to your character’s armor using
Tornado) to your character’s armor using ![]() Elem-Def-J, and this will negate many of the dragon’s attacks.
Elem-Def-J, and this will negate many of the dragon’s attacks.
Helpful Hint
You should also make some additional preparations for an upcoming boss battle, as once the dialog boxes kick up, you won’t have an opportunity to fix and correct the junctions of your party members.
As mentioned above, consider junctioning wind-based magic (![]() Tornado) to your character’s armor, and also consider junctioning lightning-based magic as well (
Tornado) to your character’s armor, and also consider junctioning lightning-based magic as well (![]() Thundaga). Make sure that, in addition to not junctioning fire-based magic to your weapon, as noted in the helpful hint above, also make sure that you haven’t junctioned lightning, earth, or wind-based magic either.
Thundaga). Make sure that, in addition to not junctioning fire-based magic to your weapon, as noted in the helpful hint above, also make sure that you haven’t junctioned lightning, earth, or wind-based magic either.
Use the ![]() ST-Atk-J ability to junction
ST-Atk-J ability to junction ![]() Blind magic to one or more of your characters as well.
Blind magic to one or more of your characters as well.
You will probably find yourself in a few battles accidentally, but this won’t cause any problems with the side quest; it just means your journey toward the center core will be a little bit slower.
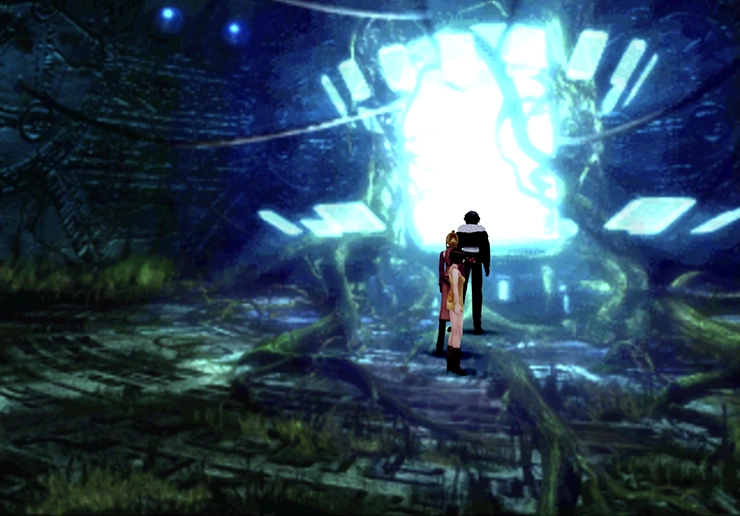
Once you reach the core, a window will prompt you to choose a response to the statements and questions being asked by the voice. The questions and responses are below:
- “So you wish to challenge me…”
The only answer you have available is, “It’s not our will to fight.” Answering this will automatically throw you into a battle against a Ruby Dragon. - “Begging me for mercy?”
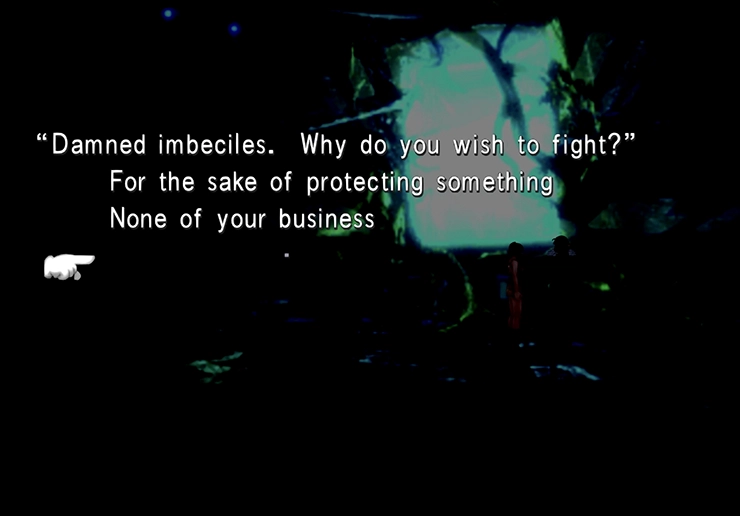
Select “Never.” Selecting this option will kick off the second fight against a Ruby Dragon, but this time, it will automatically be a “back attack.” - “Damned imbeciles. Why do you wish to fight?”
Select a hidden option underneath the two answers that are shown (as shown in the screenshot below). Selecting this option will cause a new answer of “(It’s our nature…)” to appear.
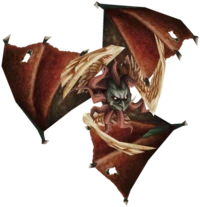
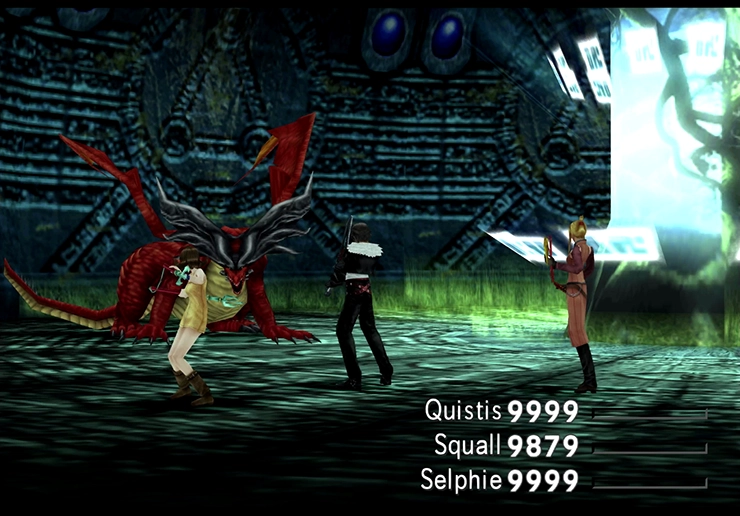
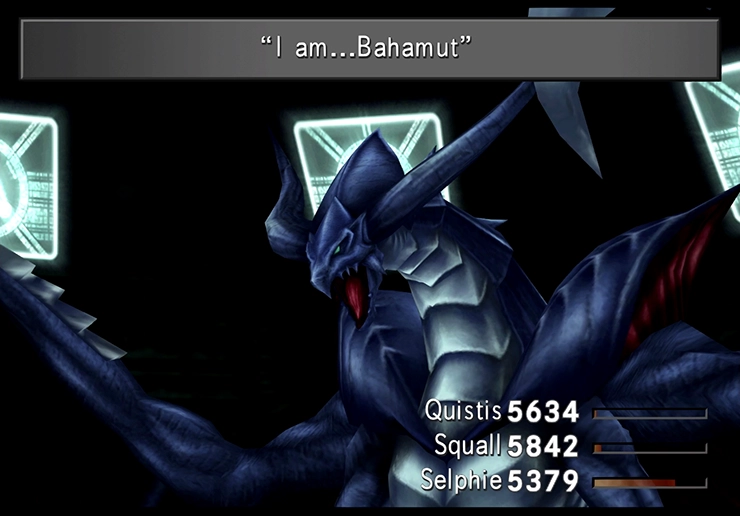
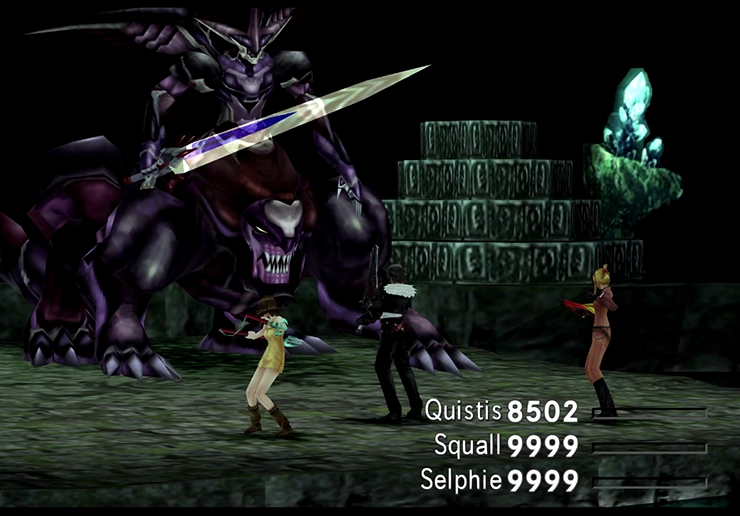
Now it’s time to fight Bahamut, your next Guardian Force!
Guardian Force Battle
In Game Description: Called the King of GF; its Mega Flare ignores all defense. Gives assistance freely to those who show their power.
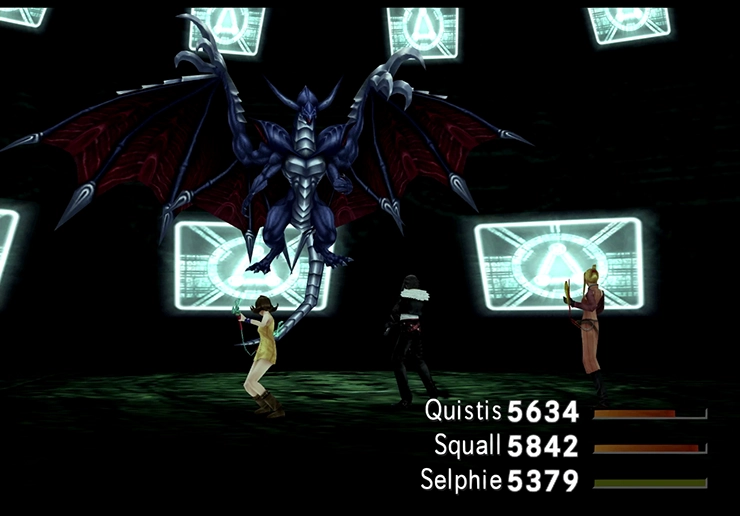
This battle is already fairly straightforward, but if you take steps to complete the preparation noted above in the helpful hints, this battle will be even easier.
Bahamut will attack with ![]() Thundaga and
Thundaga and ![]() Tornado, which won’t do too much damage, and then will hit you with regular physical attacks. It is susceptible to
Tornado, which won’t do too much damage, and then will hit you with regular physical attacks. It is susceptible to ![]() Blind magic, though, so if you’re able to Blind it, none of its physical attacks will hit, nearly negating all the damage it can do.
Blind magic, though, so if you’re able to Blind it, none of its physical attacks will hit, nearly negating all the damage it can do.
It is, however, capable of using an attack called Mega Flare, which will do quite a lot of damage to your party, but you can likely defeat Bahamut before it gets a chance to use this attack.
Other tips that will help speed up the battle include using ![]() Meltdown on Bahamut and casting
Meltdown on Bahamut and casting ![]() Aura /
Aura / ![]() Haste on your party members. You can also cast
Haste on your party members. You can also cast ![]() Slow on Bahamut if you need to.
Slow on Bahamut if you need to.
Achievement/Trophy
You will receive the  Bahamut Achievement/Trophy once you defeat Bahamut at the core, and it joins your team as a Guardian Force.
Guardian Forces

Bahamut is one of the most powerful Guardian Forces in the game, dealing massive non-elemental damage to all enemies. It comes with Abilityx4 already learned, letting a character equip four abilities at once, and provides access to Forbid Mag-RF for refining the strongest magic in the game.
Have Bahamut focus on learning the following abilities:
Helpful Hint
Bahamut also has an ability that it can learn called ![]() Rare Item. At a casual glance, this ability looks like it should be extremely beneficial, offering you a higher likelihood of receiving a rare item at the end of a fight.
Rare Item. At a casual glance, this ability looks like it should be extremely beneficial, offering you a higher likelihood of receiving a rare item at the end of a fight.
Unfortunately, with the way that the loot tables in Final Fantasy VIII are structured, this ability will actually have a net negative impact on the rarity of the items you receive. It’s time for some charts:
The typical enemy loot table looks like this:
- Common item: ~70%
- Uncommon item: ~20%
- Rare item: ~5%
- Very rare item: ~5%
Equipping the Rare Item ability changes the table to this:
- Common item: 50%
- Uncommon item: ~45%
- Rare item: ~5%
- Very rare item: 0%
So this ability has the potential to increase the chances of you obtaining a more uncommon item but will actually reduce your chances of potentially receiving the most rare of items. This ability is viewed as a net loss when you use it. So don’t!
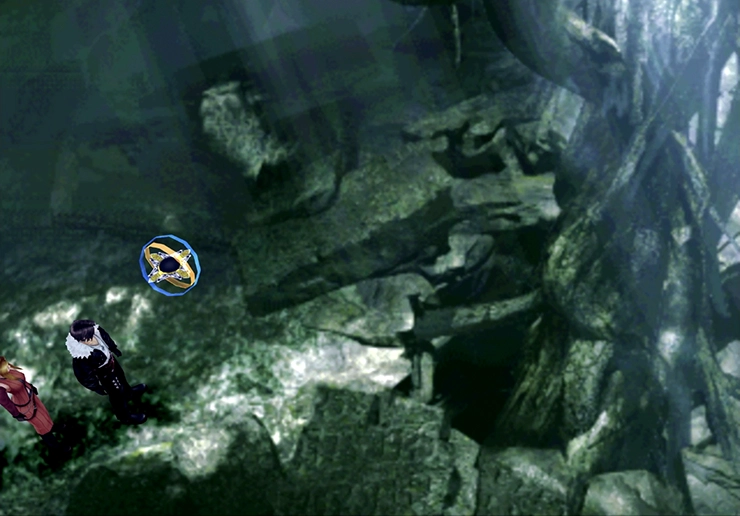
Exit the Lab section of the Deep Sea Research Center and then re-enter this area, and a ![]() Save Point will appear. Use the
Save Point will appear. Use the ![]() Save Point to save your game before you continue.
Save Point to save your game before you continue.
Explanation: Fixed Encounters with Tri-Faces
Before we proceed with the remaining side quests in the Deep Sea Research Center, it’s important to spend a bit of time explaining why a player may or may not want to proceed to the bottom and obtain their last Guardian Force, and this has to do with Tri-Faces and, more importantly, the item that they drop, ![]() Curse Spikes.
Curse Spikes.
Check out the Fixed Encounters with Tri-Faces Section below for more information:
Tips and Tricks
How to initiate infinite battles against Tri-Face enemies in the Deep Sea Research Center to stock up on Curse Spikes.
The remainder of this guide is going to explain how to get to the bottom of the Deep Sea Research Center, defeat Ultima Weapon, and obtain your last Guardian Force, Eden (and the ![]() Eden Card). Completing these steps is something you should do under the assumption that you are okay with no longer being able to farm Tri-Faces for
Eden Card). Completing these steps is something you should do under the assumption that you are okay with no longer being able to farm Tri-Faces for ![]() Curse Spikes.
Curse Spikes.
Warning
Once you defeat Ultima Weapon (to obtain the Eden Guardian Force), you will no longer be able to trigger automatic encounters with Tri-Faces to obtain ![]() Curse Spikes. That may be completely okay, and you can farm a fair number of them before you decide to continue with the game. However, perfectionists and completionists will often avoid defeating Ultima Weapon because you can obtain Eden elsewhere in the game (from a boss in disc 4 in Ultimecia’s castle).
Curse Spikes. That may be completely okay, and you can farm a fair number of them before you decide to continue with the game. However, perfectionists and completionists will often avoid defeating Ultima Weapon because you can obtain Eden elsewhere in the game (from a boss in disc 4 in Ultimecia’s castle).
For many players, retaining a method to farm Curse Spikes is completely unnecessary. Still, it’s important to note that defeating Ultima Weapon permanently removes this extremely efficient farming method, and you technically don’t have to kill Ultima Weapon for any in-game purpose (i.e., nothing will be missed or lost other than you won’t get Eden as early).
The choice is yours!
It’s time to begin working our way to the bottom of the Research Center. As noted above, make sure you have saved your game, but also make sure that you have Zell in your party as you go down these next sections.
Warning
Make sure Zell is in your party. Whether you plan to defeat Ultima Weapon or skip this section of the game for now, you’ll want to have Zell in your party to make sure that you have enough steam at the bottom of the Deep Sea Research Center.
Once you reach the area with the fixed encounters with Tri-Faces, you’ll find a Save Point where you can swap Zell back out of your party before you begin farming ![]() Curse Spikes.
Curse Spikes.
Continuing: Deep Sea Research Center - Lv
The game will give you a brief explanation of how the “Current Research Steam Pressure” system works, but it’s pretty straightforward, so don’t worry if the game’s explanation doesn’t make much sense.
The general idea is that you want to reserve as much of the Steam Pressure as you can as you go down each level, and having Zell in your party is going to give you an added extra bit of steam that you will need to activate the machine at the end of the path and initiate the fight against Ultima Weapon.
Helpful Hint
This sequence presents another great opportunity to utilize Diablos’ ![]() Enc-None Ability. Having this ability equipped on one of your characters will ensure that you don’t encounter too many random battles while you’re traveling through each of the areas of the Research Center.
Enc-None Ability. Having this ability equipped on one of your characters will ensure that you don’t encounter too many random battles while you’re traveling through each of the areas of the Research Center.
You start with 20 out of 20 Reserve Steam Pressure, and each time you open a door, it will cost you some of that steam pressure.
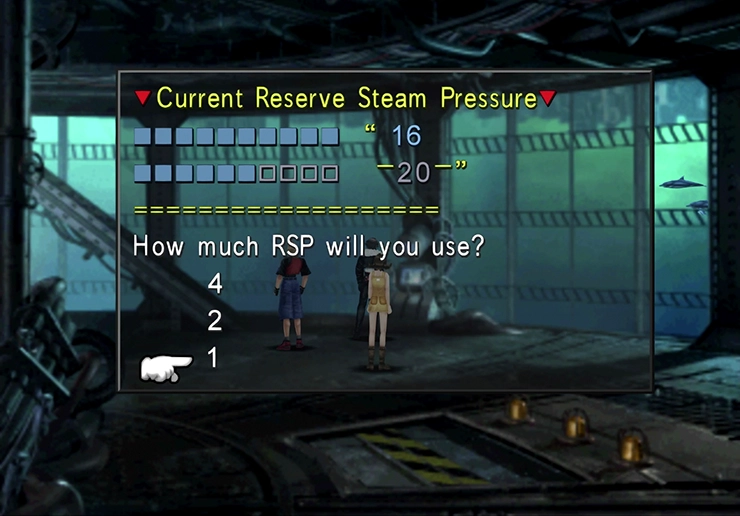
Open the first gate and move down to the second level. Examine the terminal on the second level and choose to use 1 Reserve Steam Pressure (RSP). Go down to level 3 and, once again, choose to use 1 RSP. Continue using 1 RSP for each level until you reach the bottom.
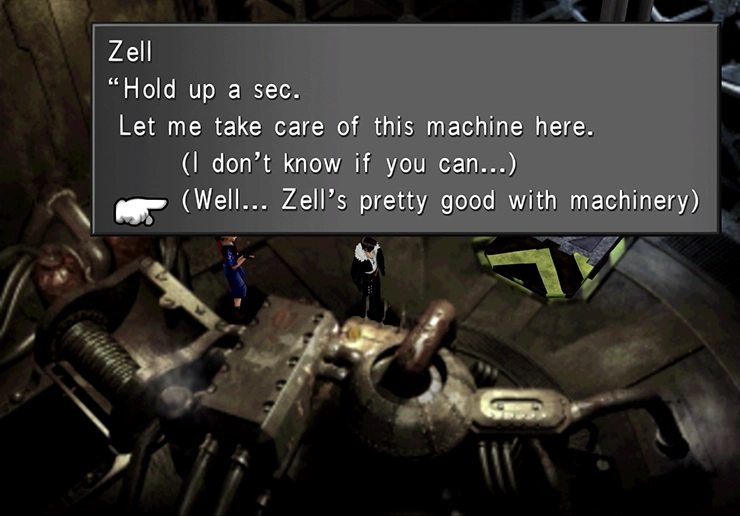
When you reach the bottom level, Zell will offer to “take care of this machine” for you. Choose to allow him to by selecting the (“Well… Zell’s pretty good with machinery”) option. Zell will then begin fidgeting with and eventually just outright beating the crap out of the machinery.
He will manage to open the last door for you and save you some RSP (as you’re going to need at least 10 at the bottom if you wish to engage Ultima Weapon).
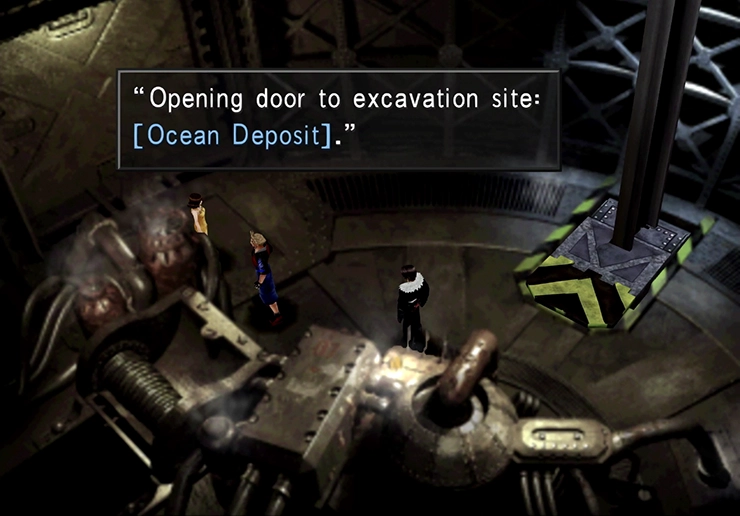
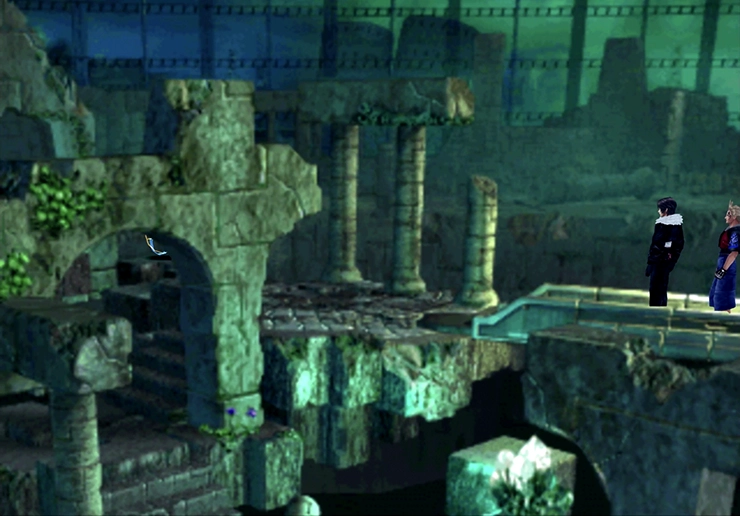
Deep Sea Deposit
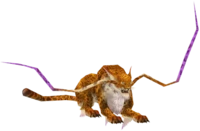
Walk towards the Save Point, and you will immediately be thrown into a battle against a Tri-Face, even if you have Diablos ![]() Enc-None equipped. This is the very first fixed encounter of the Deep Sea Research Center.
Enc-None equipped. This is the very first fixed encounter of the Deep Sea Research Center.


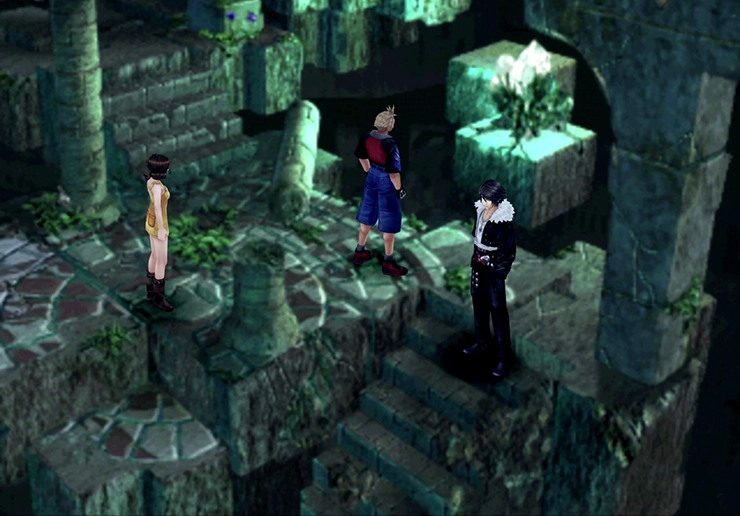
There are quite a few more coming, but this is where you would farm Curse Spikes if you wish to, and this is highly recommended even if you aren’t planning on trying to perfect all of your characters and their stats.
Use the ![]() Save Point to swap Zell out of your party if needed.
Save Point to swap Zell out of your party if needed.
Warning
This is as far as you will need to go if you are not planning on defeating Ultima Weapon and obtaining Eden at this stage of the game. Read the warning above for more information, but you can stop here and stay in this area before eventually heading back up. Check out the Fixed Encounters with Tri-Faces (Curse Spikes) section for more information.
Check out the Fixed Encounters with Tri-Faces (Curse Spikes) section below for some useful tips on how to procure Curse Spikes more efficiently (if you are planning to pick some up):
Tips and Tricks
How to initiate infinite battles against Tri-Face enemies in the Deep Sea Research Center to stock up on Curse Spikes.
For players who are not planning on playing a perfect game or maxing out character stats and want to see Ultima Weapon and get their new Guardian Force, continue on…
The remaining levels of the Deep Sea Deposit also have fixed encounters that you will have to deal with. The second level has Grendels and Imps, the third level has Behemoths, the third level has Ruby Dragons, and the last level has Iron Giants. Here are some tips for the upcoming battles:
Grendels and Imps
No advice or strategy is required for these enemies. They are very easy to defeat.
Behemoths
The Behemoths deal quite a bit of damage with some of their attacks, but they are completely susceptible to status effects such as ![]() Blind,
Blind, ![]() Silence, and
Silence, and ![]() Bio. Consider using these to make the fights very easy.
Bio. Consider using these to make the fights very easy.
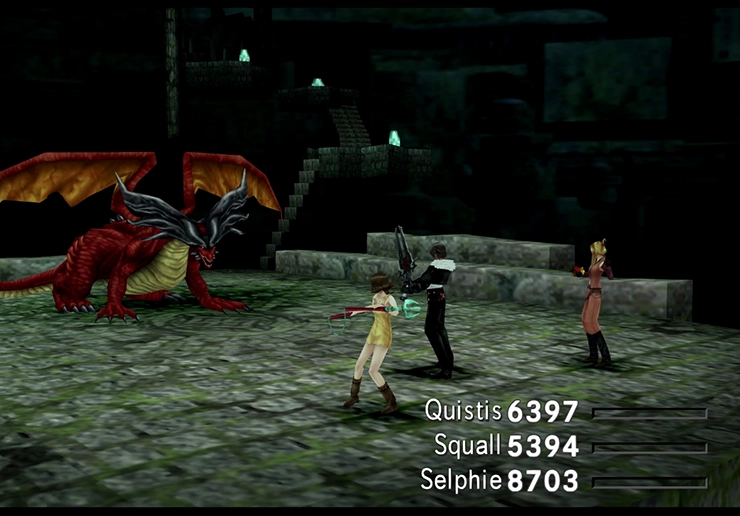
Ruby Dragons
These are probably the hardest battles, but the strategy is the same as what you’ve faced before. Just be extra cautious because they have an attack called “Breath” that deals a ton of damage to all of your party members.
You can use ![]() Shell to significantly reduce the damage that this deals. Also, use
Shell to significantly reduce the damage that this deals. Also, use ![]() Meltdown to reduce Ruby Dragon’s high armor so that your attacks hit much harder. Finally, you probably don’t need this reminder, but make sure that you don’t have fire-based magic equipped to
Meltdown to reduce Ruby Dragon’s high armor so that your attacks hit much harder. Finally, you probably don’t need this reminder, but make sure that you don’t have fire-based magic equipped to ![]() Elem-Atk-J.
Elem-Atk-J.
Iron Giants
Battles against these enemies are a true fight of attrition just due to how much HP they have. Start by using ![]() Meltdown on both of them and casting
Meltdown on both of them and casting ![]() Blind on both of them. This will have the effect of reducing their armor and increasing the amount of damage that they take, while Blind will entirely prevent them from doing any damage to you at all (since all their attacks are physical).
Blind on both of them. This will have the effect of reducing their armor and increasing the amount of damage that they take, while Blind will entirely prevent them from doing any damage to you at all (since all their attacks are physical).
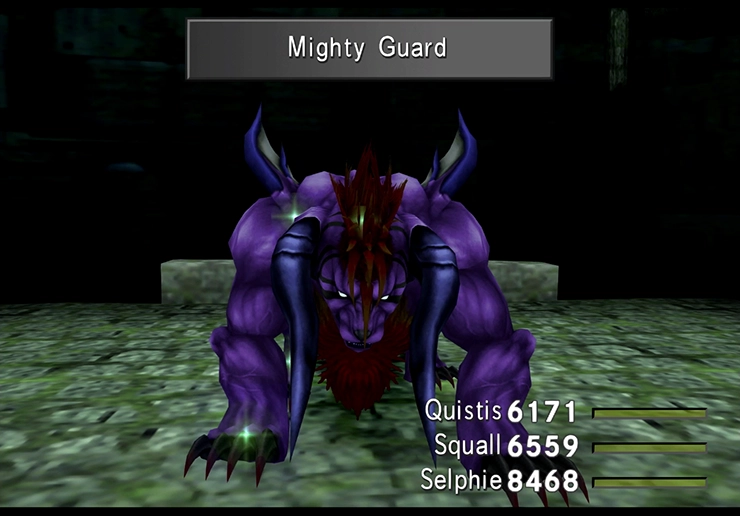
They will sometimes cast a magic spell called Mighty Guard. You can use ![]() Dispel to get rid of this if it’s reducing your character’s damage too much.
Dispel to get rid of this if it’s reducing your character’s damage too much.
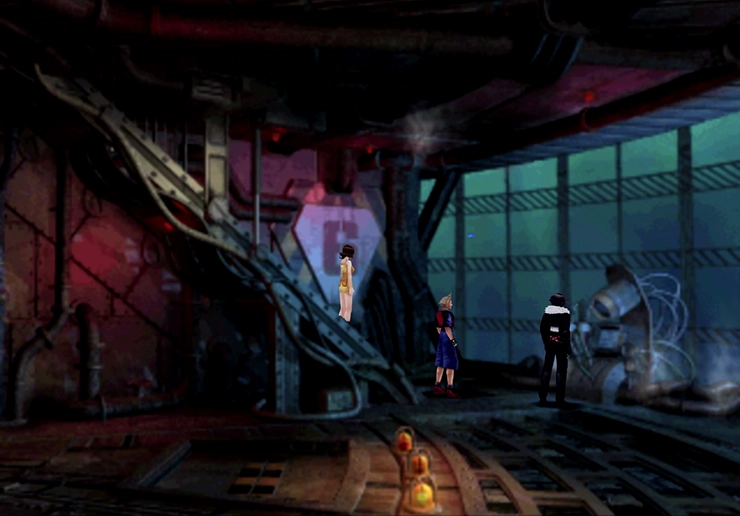
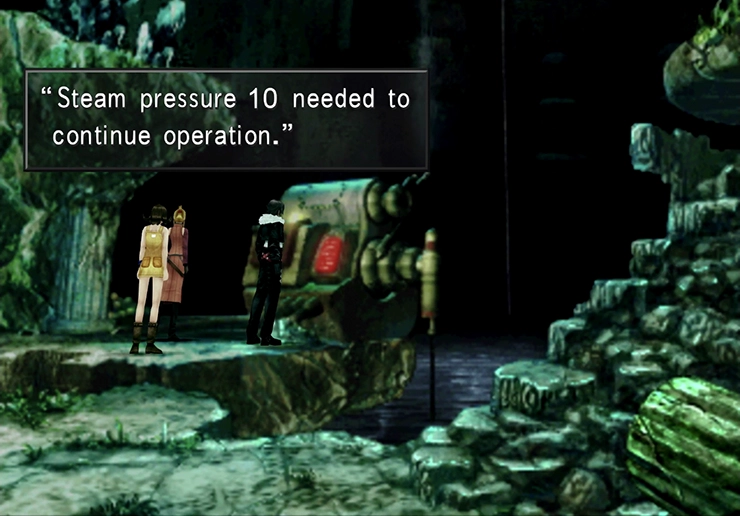
Ultima Weapon
At the bottom of the Deep Sea Deposit is a mechanical device with a red screen perched above the water. You will need to have 10 or more RSP to activate the device. As soon as you do, you will be thrown into battle against Ultima Weapon. To prepare for this fight, consider adding the ![]() Revive Ability to one of your characters.
Revive Ability to one of your characters.
Optional Boss Battle
In Game Description: Strongest, ultimate monster. It is said to be impossible to defeat.
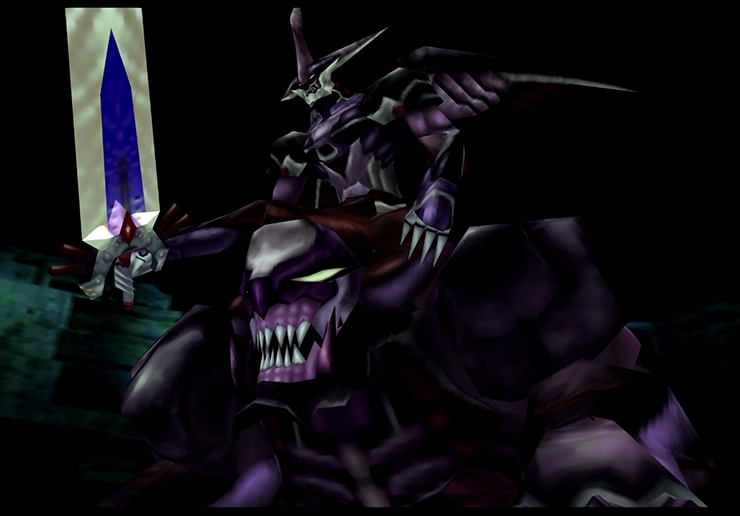
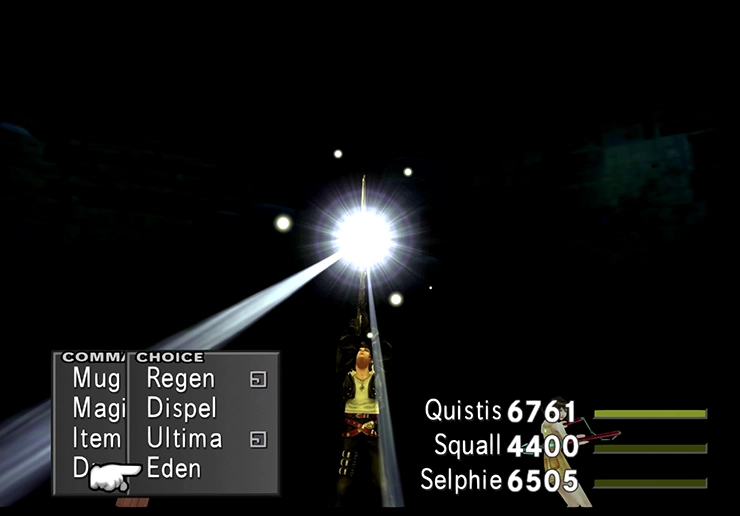
The first and most important thing to remember to do is to use the Draw command and grab your new Guardian Force, Eden.
Ultima Weapon’s most powerful attack is called “Light Pillar.” This attack deals 9,999 damage to whomever it hits, and there is no way to reduce or mitigate this damage. So, in other words, “Light Pillar” is an instant KO that you cannot prevent. It can also cast a spell called “Gravija,” which deals damage equal to 75% of a character’s HP (just like ![]() Demi, it cannot KO a character).
Demi, it cannot KO a character).
Set yourself up so that you can revive your party members easily. Use the ![]() Revive command, as mentioned above, or
Revive command, as mentioned above, or ![]() Full-Life magic, to bring your KO’d character back into the battle.
Full-Life magic, to bring your KO’d character back into the battle.
Here are some tips to help bring Ultima Weapon down:
- Use
 Aura magic on your party members so that they can use Limit Breaks without having low health. Specifically, Squall’s Renzokuken attack is extremely powerful.
 - Cast Meltdown on Ultima Weapon to reduce its defenses to zero, subsequently increasing the damage inflicted by each of your party member’s attacks.
Be liberal in your use of ![]() Megalixirs,
Megalixirs, ![]() Elixirs,
Elixirs, ![]() Mega Phoenix, and any other items that you have available. You can also cast Cerberus to give each of your players
Mega Phoenix, and any other items that you have available. You can also cast Cerberus to give each of your players ![]() Haste (although once they get KO’d by “Light Pillar,” you will have to recast it) and use
Haste (although once they get KO’d by “Light Pillar,” you will have to recast it) and use ![]() Protect and
Protect and ![]() Shell (or
Shell (or ![]() Auto-Protect and
Auto-Protect and ![]() Auto-Shell) to increase your character’s defenses if you need it).
Auto-Shell) to increase your character’s defenses if you need it).
Achievement/Trophy
You will receive the  Eden Achievement/Trophy once you have successfully drawn Eden from Ultima Weapon and then defeated Ultima Weapon.
Guardian Forces

Eden is the most powerful Guardian Force in the game, capable of dealing the highest summon damage of any GF. It provides the unique Devour command ability and access to GFAbl Med-RF, which refines items that teach GFs new abilities.
Congratulations! You’ve defeated Ultima Weapon! Your prize for coming out victorious? Having to climb all the way back up out of the Deep Sea Research Center. Enjoy the trip back up… I guess.
This concludes the side quests that you can complete in this subsection of the game. If you completed this side quest as soon as it became available after you obtained access to the Ragnarok, use the link below to return to that section of the strategy guide:
Walkthrough Guide

The final preparations for the end of the game and rescuing Rinoa from the Sorceress Memorial.