
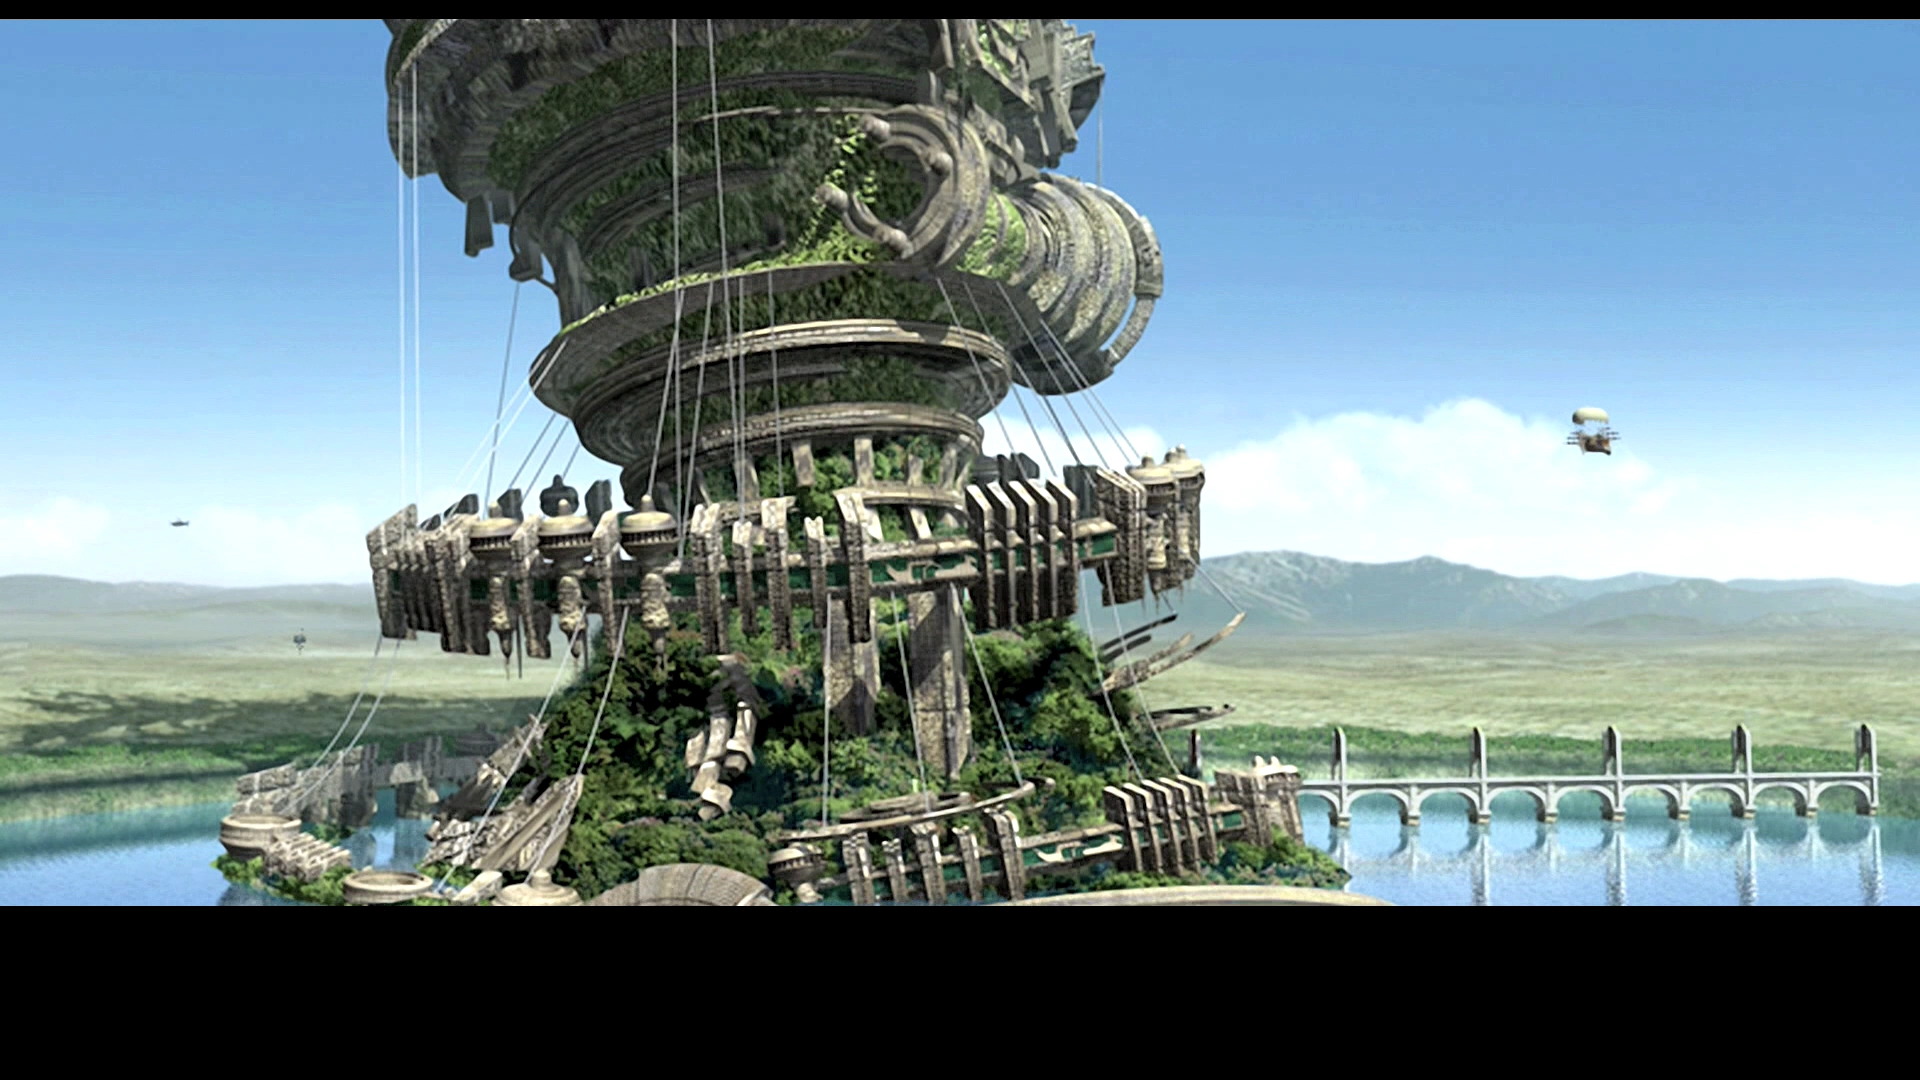
Sky Fortress Bahamut
“No. 1 Sky Fortress Class Airship Belonging to the Western divisions of the Archadian Imperial Army, a mobile fortress and tactical base, under the control of the commandant of the Archadian forces, Lord Vayne.
This was the last sky fortress designed by Dr. Cid, powered both by ordinary skystone and manufacted nethicite, the latter absorbing Mist from its surroundings to generate the massive amounts of energy the fortress requires to function.”
The Sky Fortress Bahamut is the last and final chapter of Final Fantasy XII. There are numerous endgame side quests and hunts that you can take part in that are more difficult than the final battles faced in this chapter (use this link to go to the Endgame Side Quests and Preparations Walkthrough page) so these will not be the hardest battles per se, but they do conclude the story and the events of the game which is what most players are interested in.
To travel to the Sky Fortress Bahamut and begin the final events, approach one of the Anchors which are located throughout Ivalice and choose to board the Strahl. You can also head in to any of the Aerodromes and speak to the NPC at the counter labeled “Private Airships.”
The Strahl can now be used to transport your team all across Ivalice, but for now, select “Bahamut” as your destination.
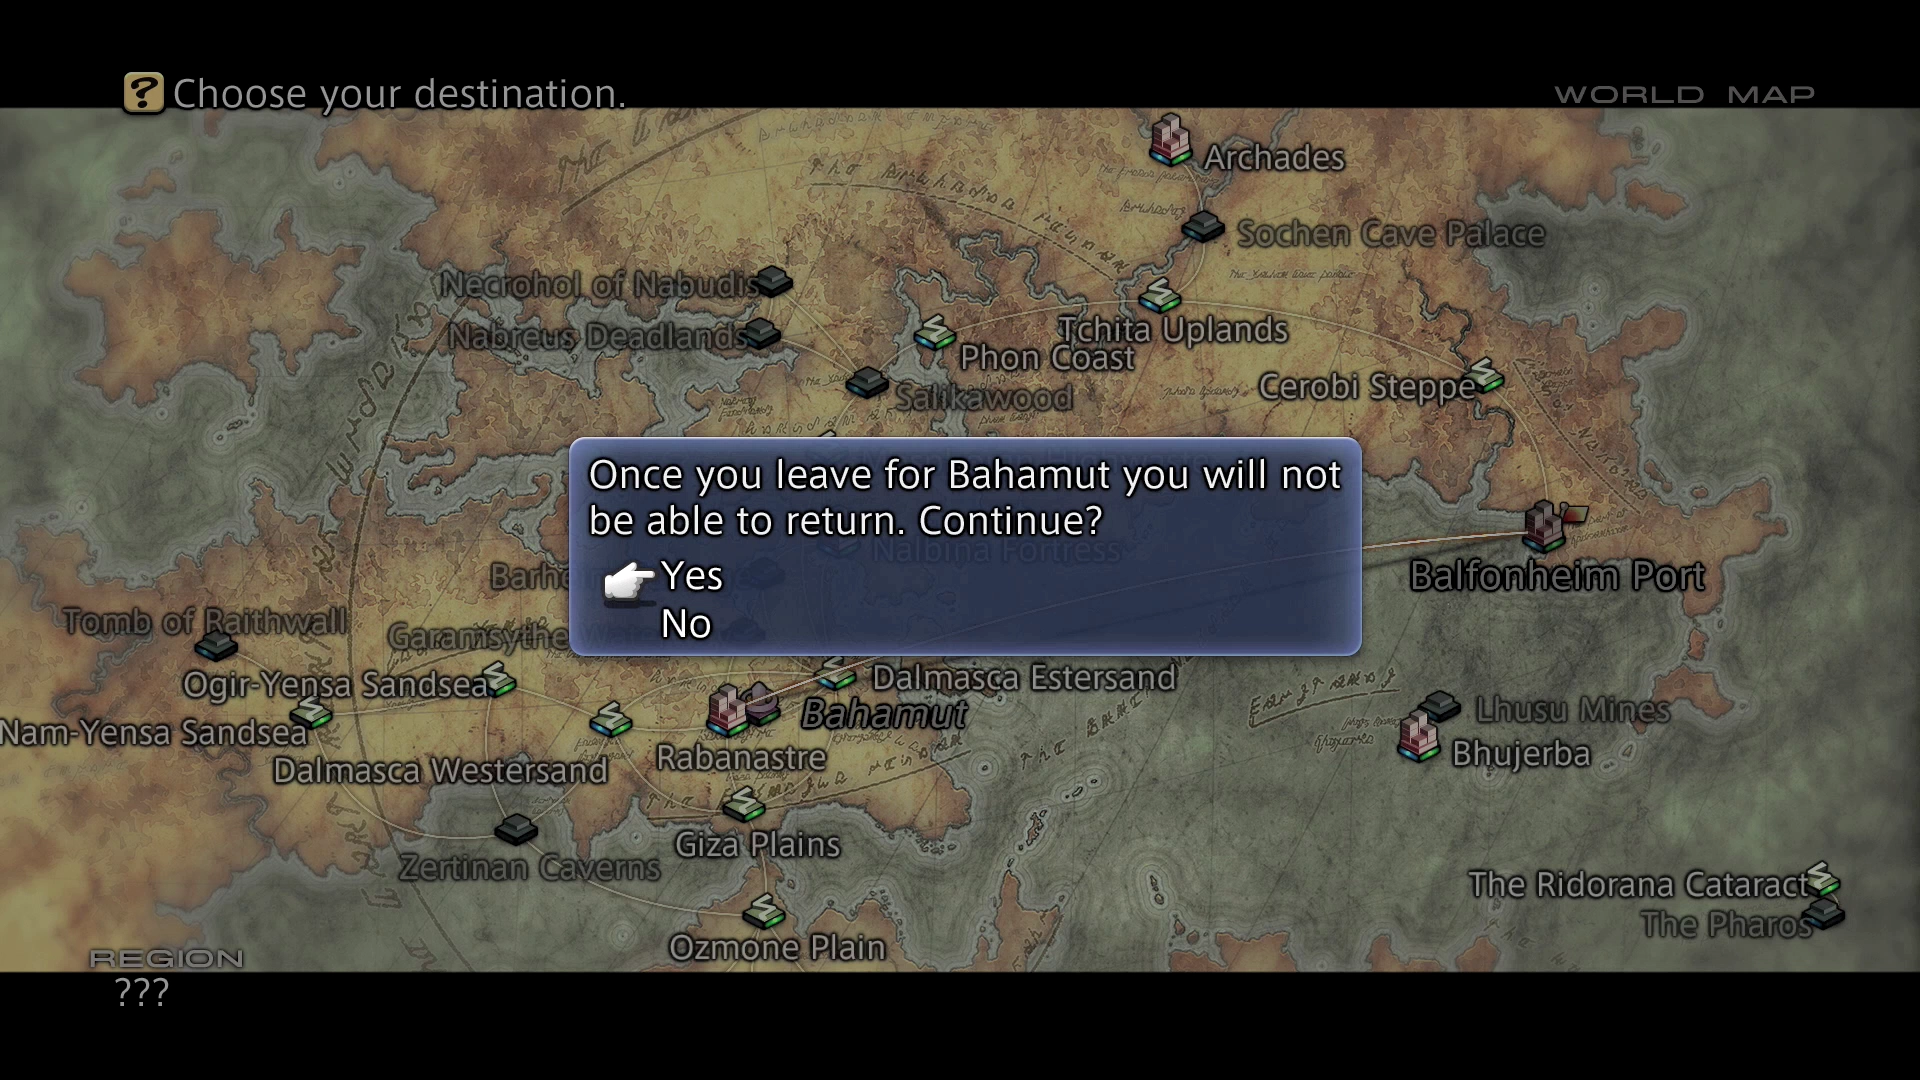
Final Warning: As mentioned right in the game, there is no turning back once you have flown to the Sky Fortress Bahamut. Make sure you have saved your game at a Save Crystal so that you can return if you decide to come back and attempt any of the endgame content.

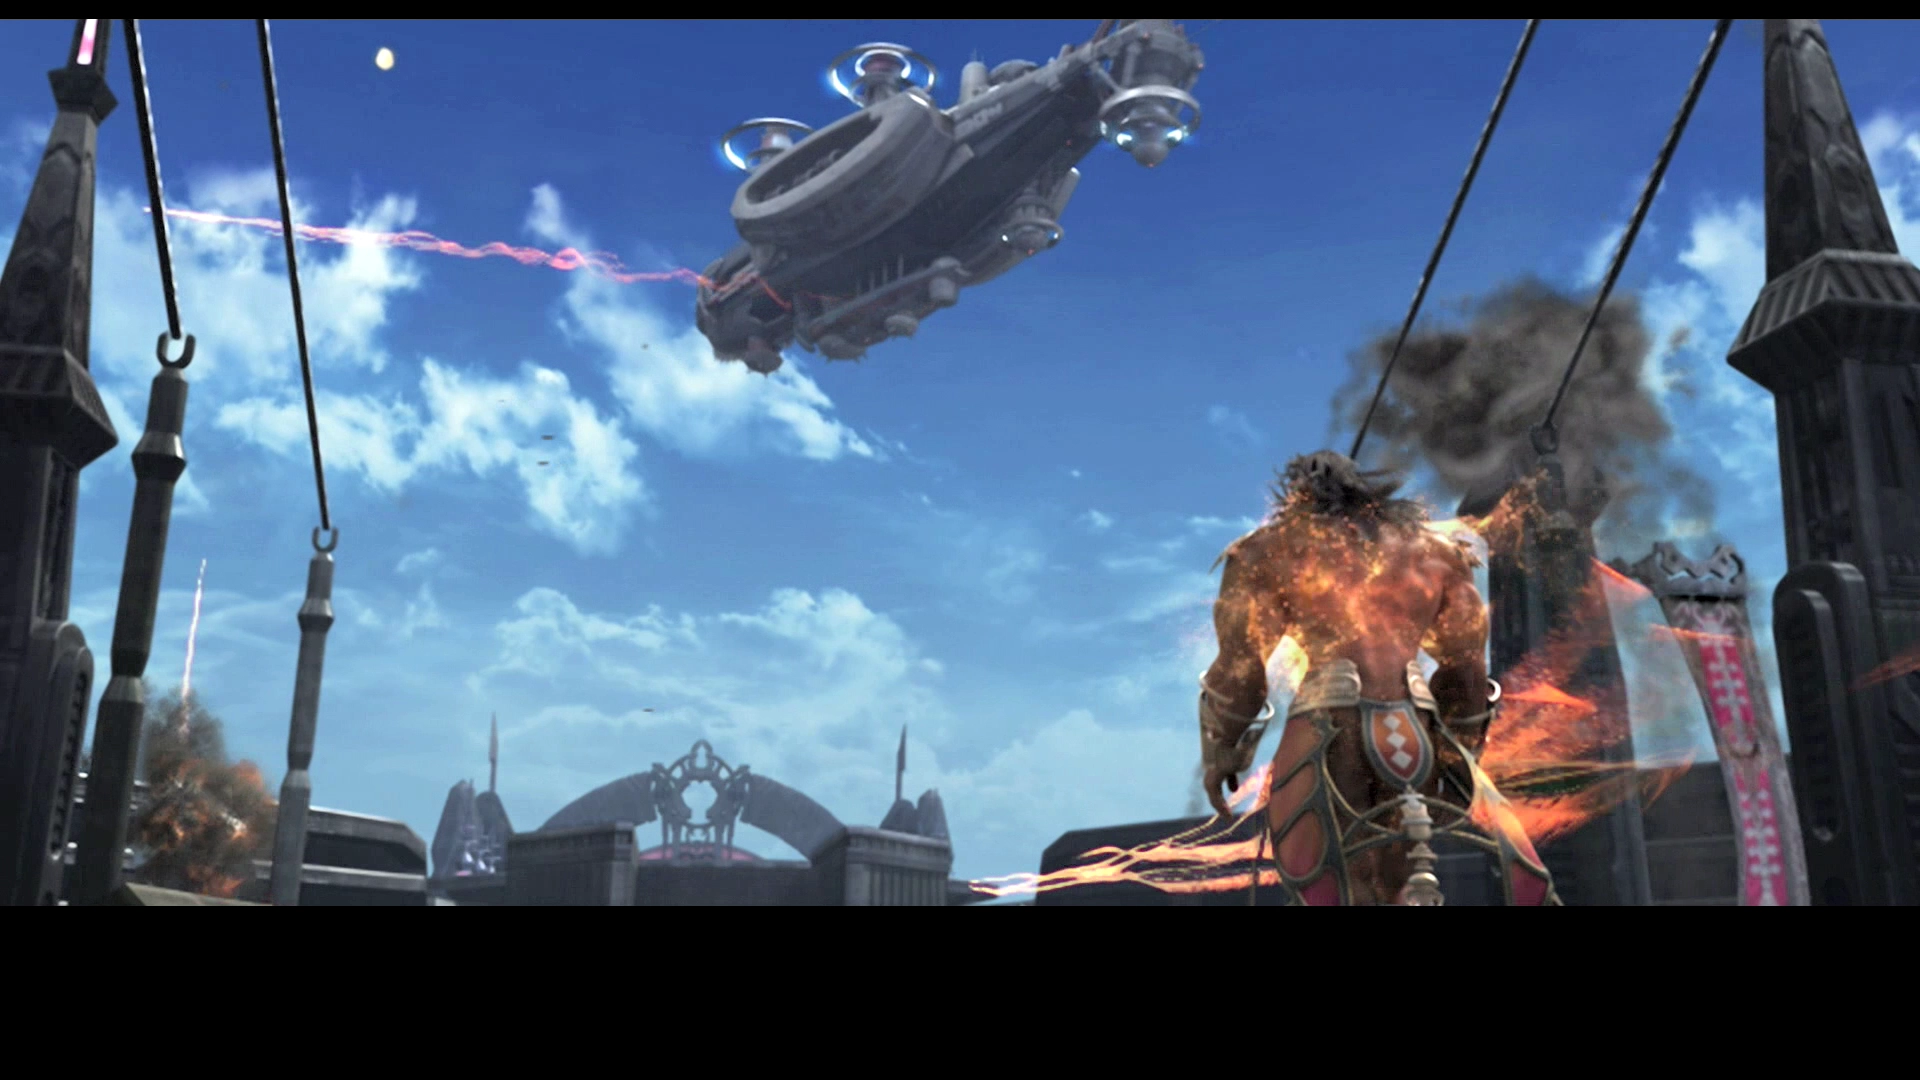
There are a few cutscenes that will take place as you approach the huge ship in the distance. Lord Larsa will plead with Vayne to break off the attack but Vayne will ignore his pleas. The Sky Fortress Bahamut will fire on one of the resistance ships completely destroying it.
An intense air battle will take place between the two sides with the Strahl rushing in to the middle of the fray. The Strahl will land on the Sky Fortress Bahamut and the team will rush in to attack.
Antechamber
The main map will not work while you are onboard the Sky Fortress Bahamut. Similar to its behavior inside the Great Crystal, you can press the ![]()
![]()
![]() button to pull the map up, but it will only show a picture of the ship itself.
button to pull the map up, but it will only show a picture of the ship itself.

It will, however, still give you the name of the room that you are in which will be useful for navigating through the halls.
Go through either of the two doorways to the north or south – they both lead to the Periphery.
Periphery
As a quick reminder, because there is no returning to previous points of the game, you should consider equipping your characters with their most powerful weapons, armor and accessories. Equipment such as ![]() Thief’s Cuffs,
Thief’s Cuffs, ![]() Golden Amulets and
Golden Amulets and ![]() Embroidered Tippets have limited use while aboard the Sky Fortress Bahamut.
Embroidered Tippets have limited use while aboard the Sky Fortress Bahamut.
You should also feel free to use some of your more powerful items and inventory, including ![]() Elixirs,
Elixirs, ![]() Megalixir, etc. when required.
Megalixir, etc. when required.
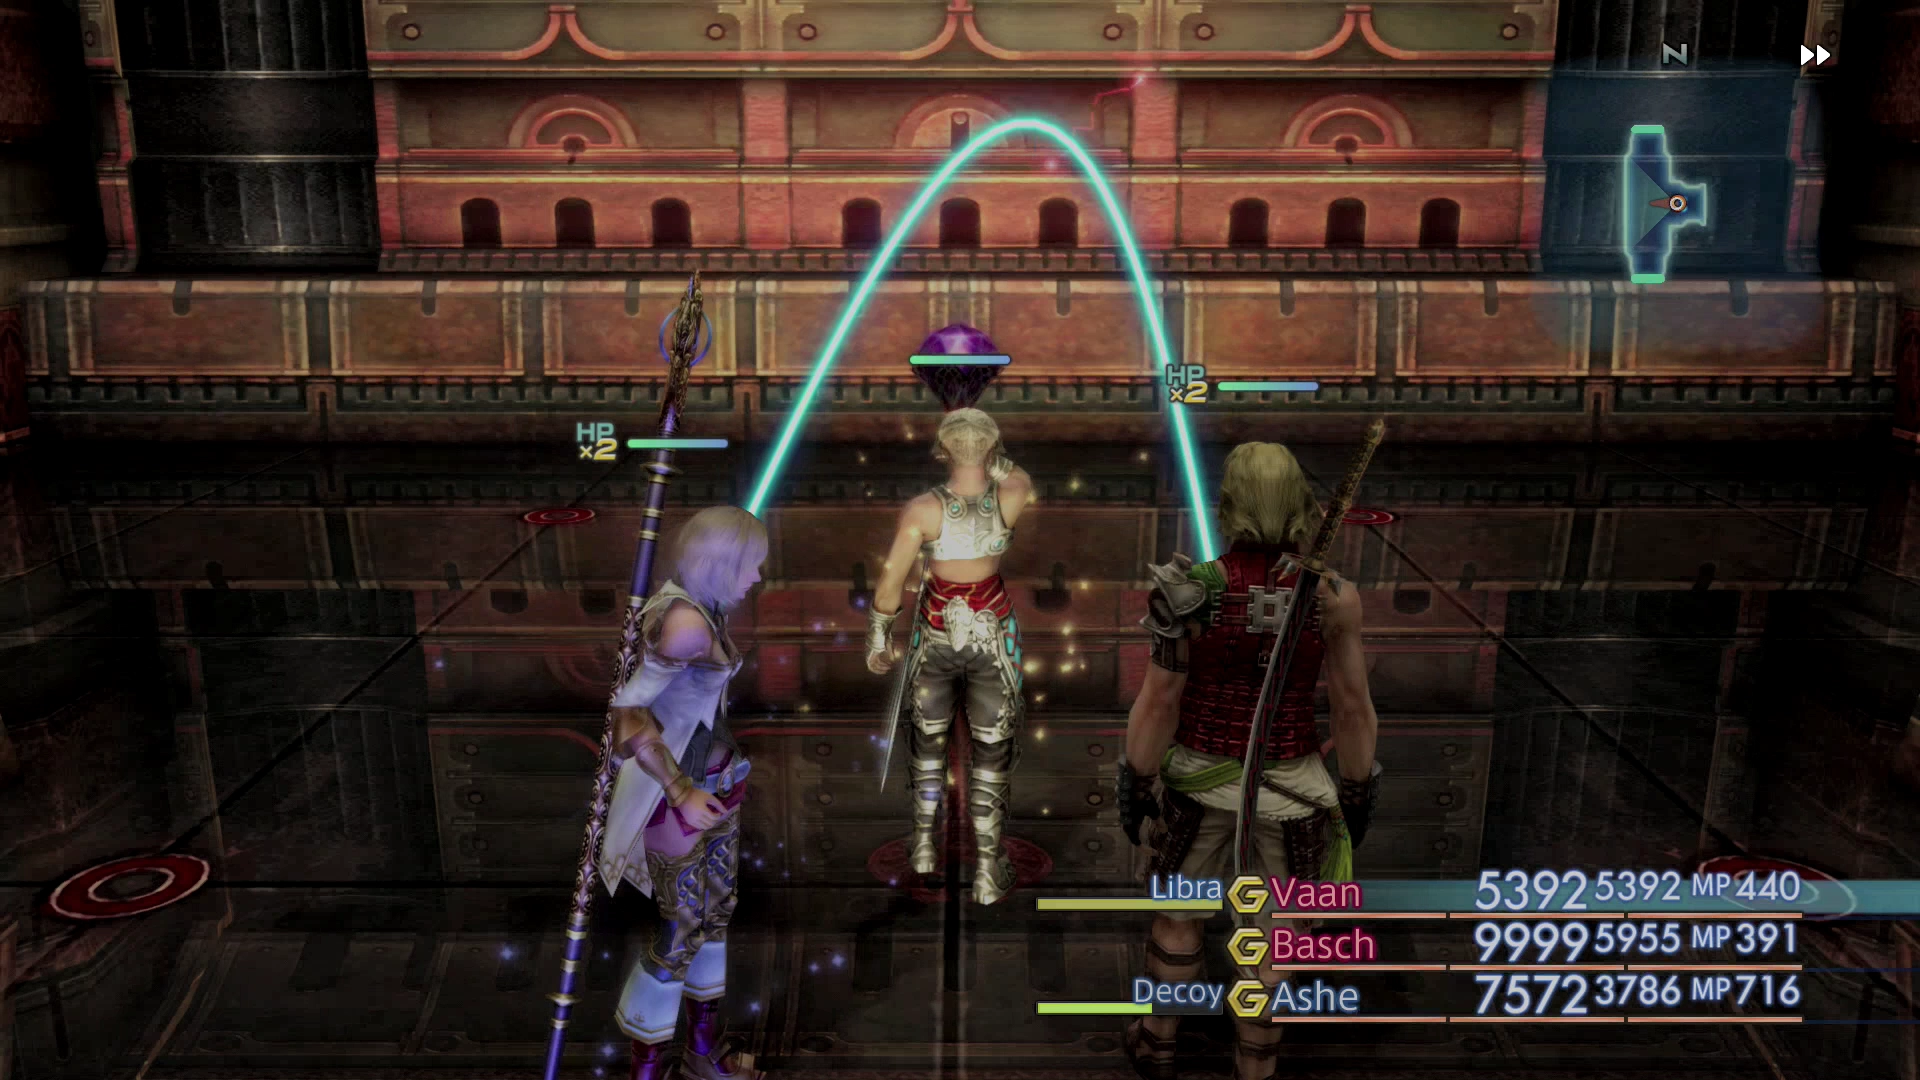
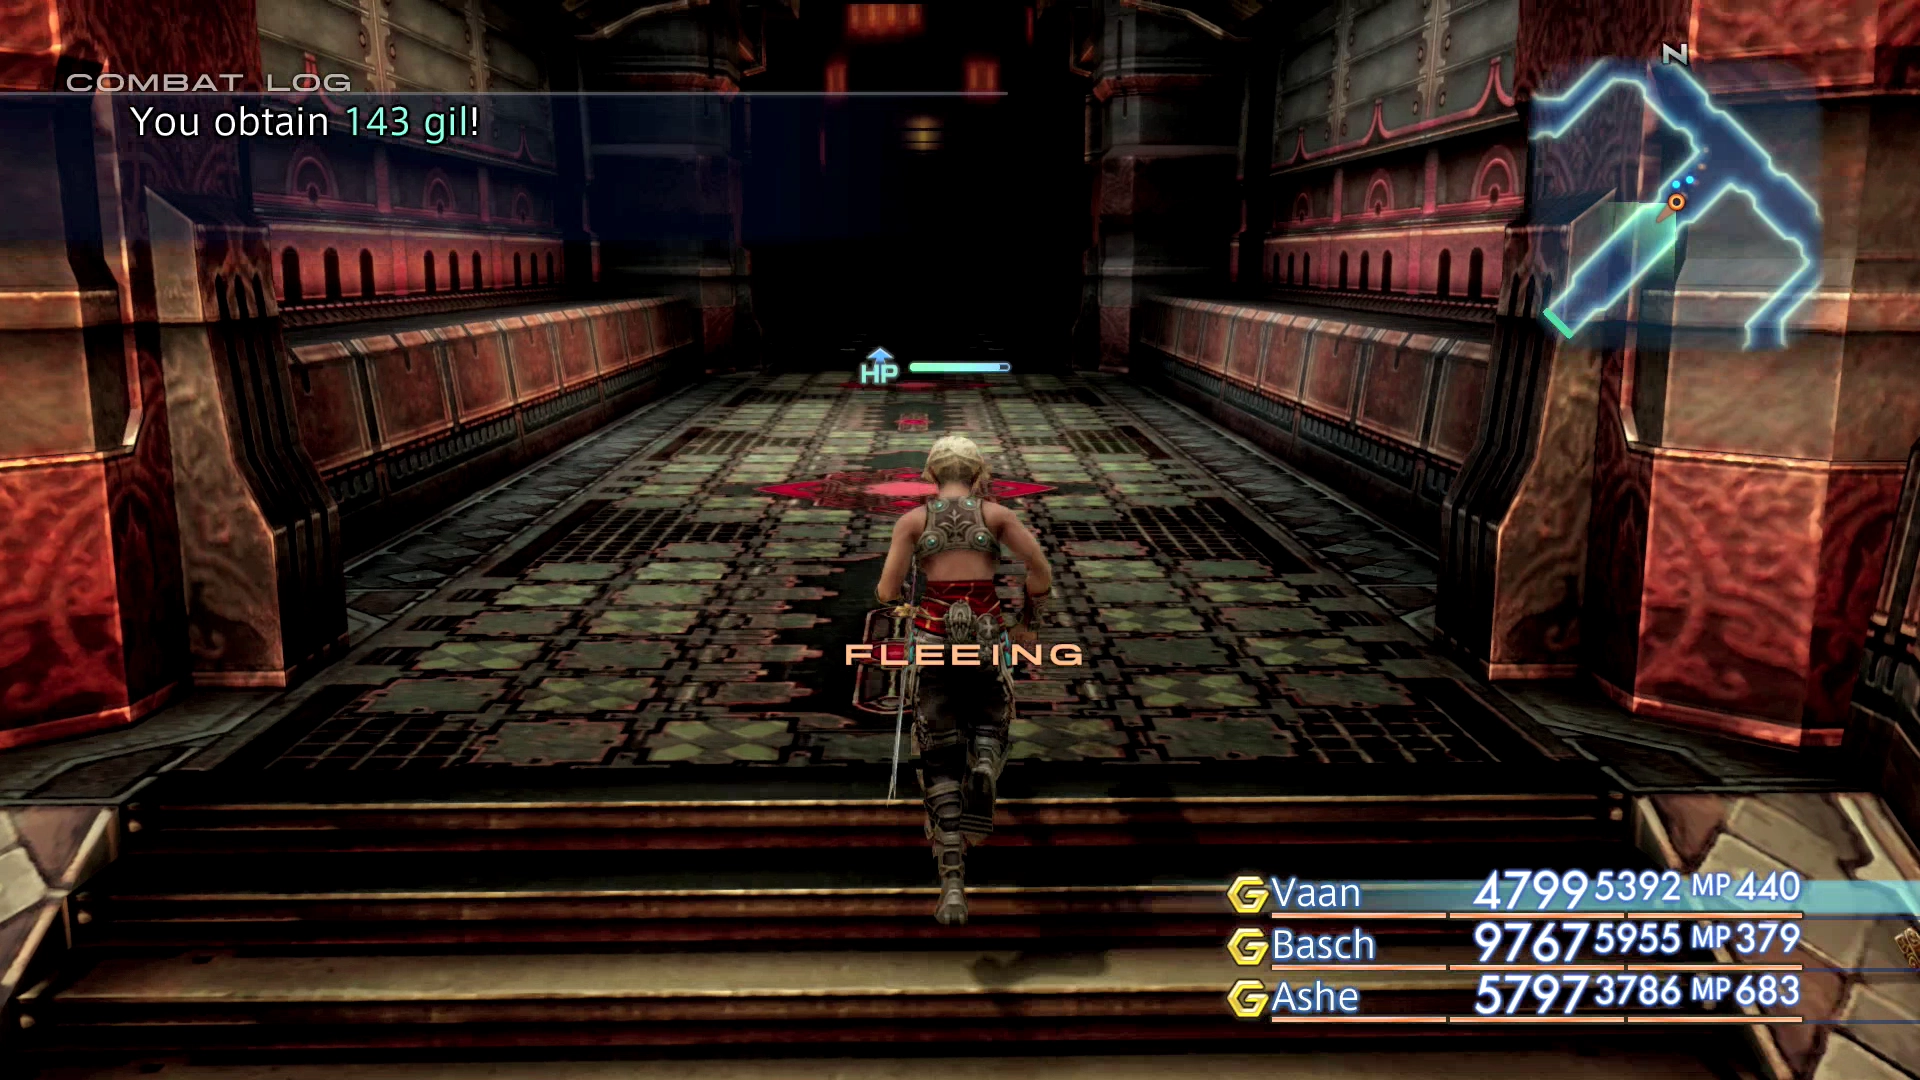
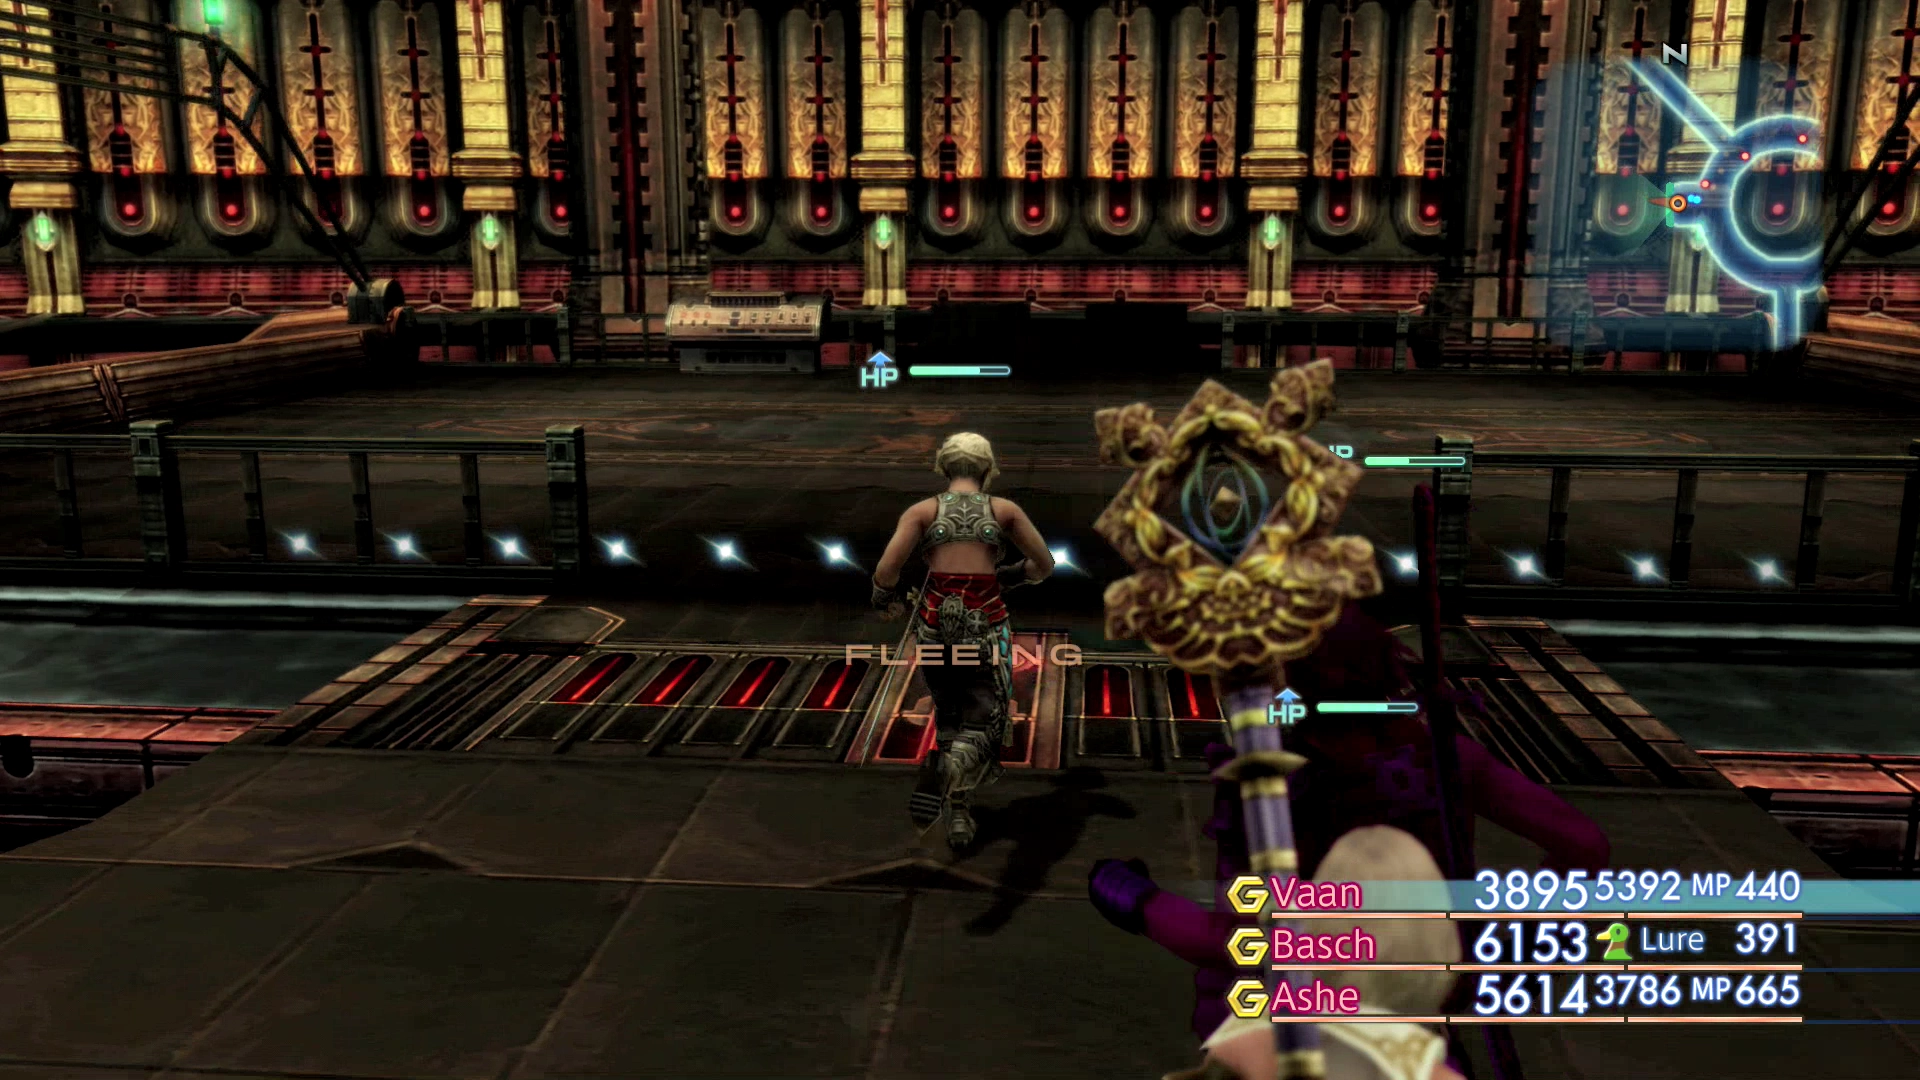
No matter which direction you chose, all the pathways lead to the center of the ship. Deal with the Imperial Soldiers that attack you as you make your way through the halls. They are very easy to defeat.
Catwalk
There are another few cutscenes that take place as you enter the Catwalk area. Resistance Airships will continue to bombard the Imperial Fleet and the Sky Fortress Bahamut but things are not going in their favor (despite what Fran says). Vaan, Penelo, Fran, Balthier, Basch and Ashe will discuss the plan one last time before continuing.
Rush through the Catwalk and past the enemies that appear. The Spinner-Rook and Helm-Rook enemies will continuously spawn and are difficult to defeat. Run past them and head to the central lift area which can be seen in the mini-map.
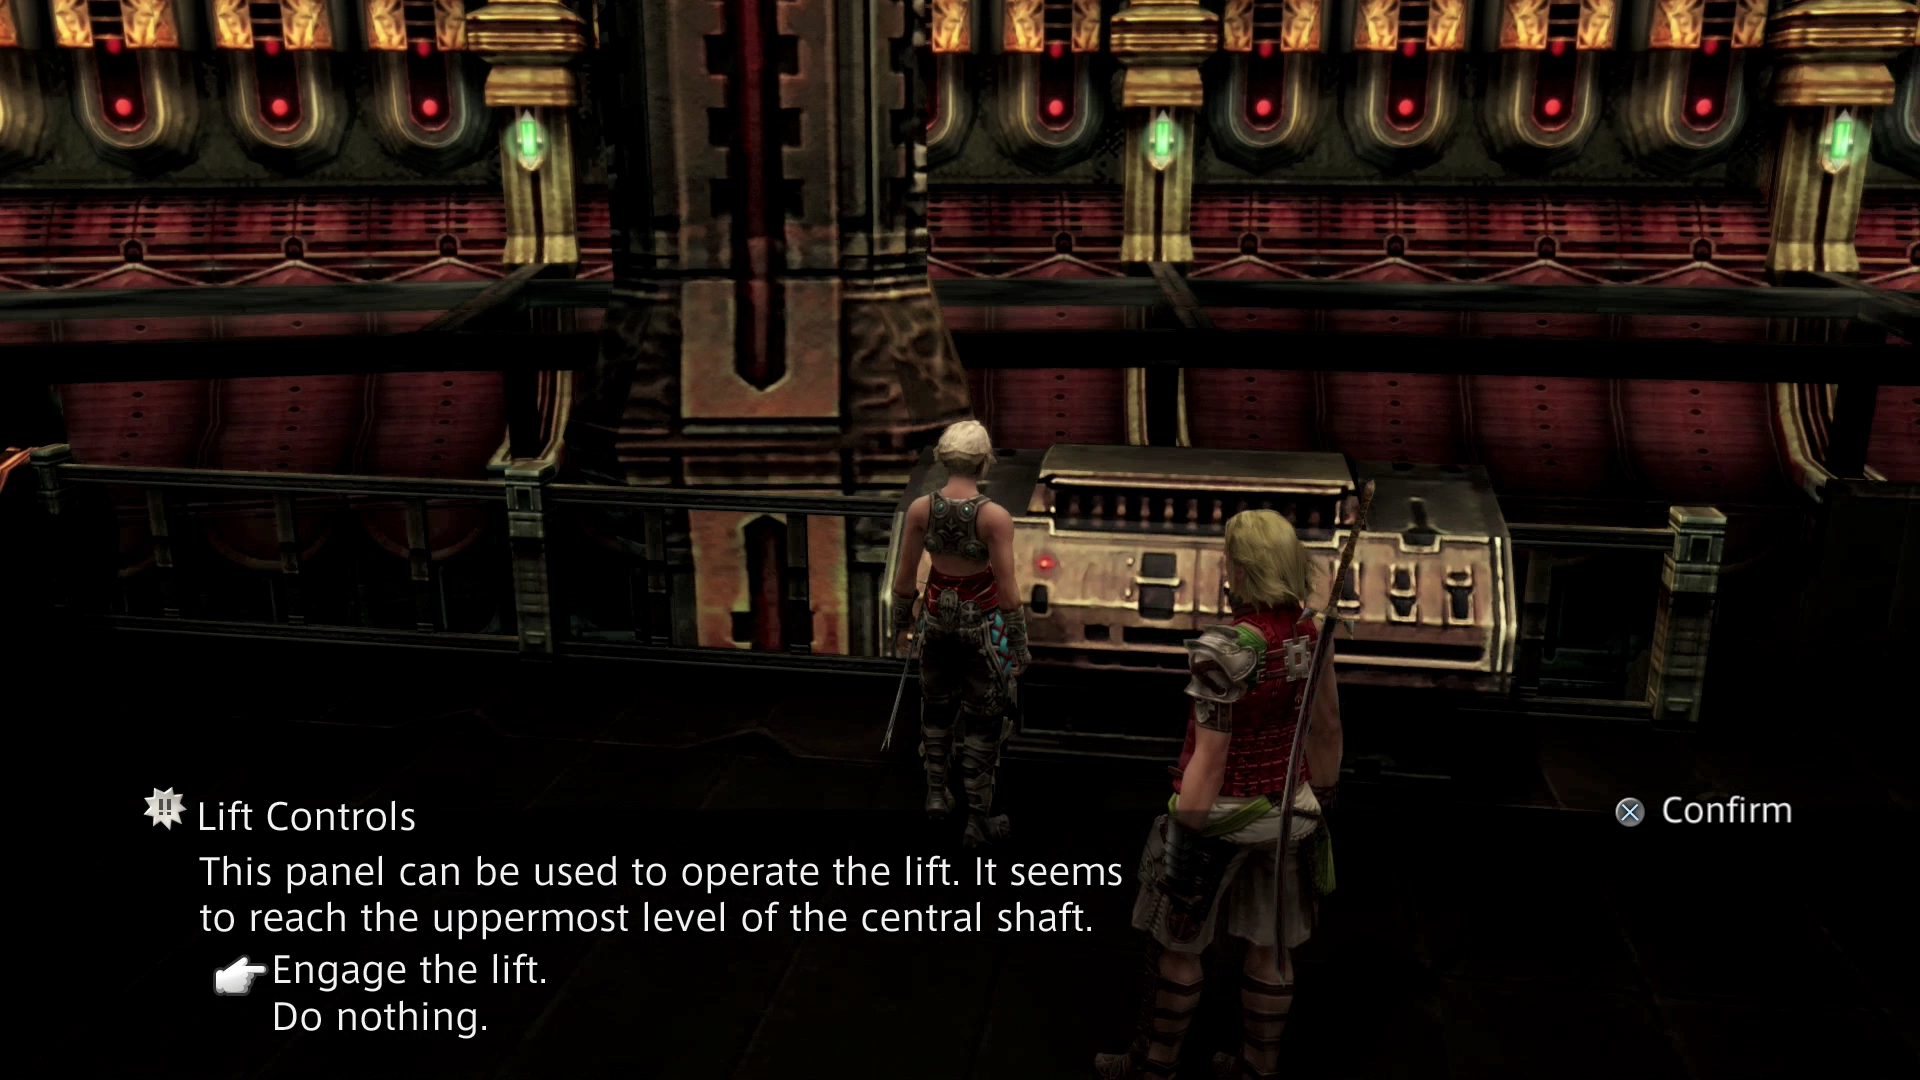
Central Lift
Another boss battle is coming up and will begin as soon as you touch the Lift Controls. Another reminder for this upcoming boss battle, as well as the ones that follow, is that you have reached the final chapter of the game; there is no point in holding on to your most powerful items. Make use of any ![]() Elixirs or
Elixirs or ![]() Megalixirs as you see fit and as needed.
Megalixirs as you see fit and as needed.
Boss Battle

Level: 49
HP: 70,719
Steal: ![]() Hi-Potion (55%),
Hi-Potion (55%), ![]() X-Potion (10%),
X-Potion (10%), ![]() Elixirs (3%)
Elixirs (3%)
The second battle against Gabranth is very similar to the first battle. Buff your party with the standard assortment of spells including ![]() Protect,
Protect, ![]() Shell,
Shell, ![]() Bubble and
Bubble and ![]() Haste. Judge Gabranth can do more damage during this fight using an attack called “Innocence,” but this damage is manageable.
Haste. Judge Gabranth can do more damage during this fight using an attack called “Innocence,” but this damage is manageable.
Set up a ![]() Dispel Gambit to get rid of Gabranth’s Haste and
Dispel Gambit to get rid of Gabranth’s Haste and ![]() Protect status and be ready to heal when Gabranth starts doing more damage. You can inflict him with
Protect status and be ready to heal when Gabranth starts doing more damage. You can inflict him with ![]() Silence and with
Silence and with ![]() Blind in order to reduce the amount of damage that he does.
Blind in order to reduce the amount of damage that he does.
You can find a video of this battle in the Zodiac Age version below.
There is another boss battle the takes place once Gabranth falters in his attack. Use ![]() Elixirs or
Elixirs or ![]() Megalixirs to restore your party before activating the Lift Controls to head up to the next level.
Megalixirs to restore your party before activating the Lift Controls to head up to the next level.
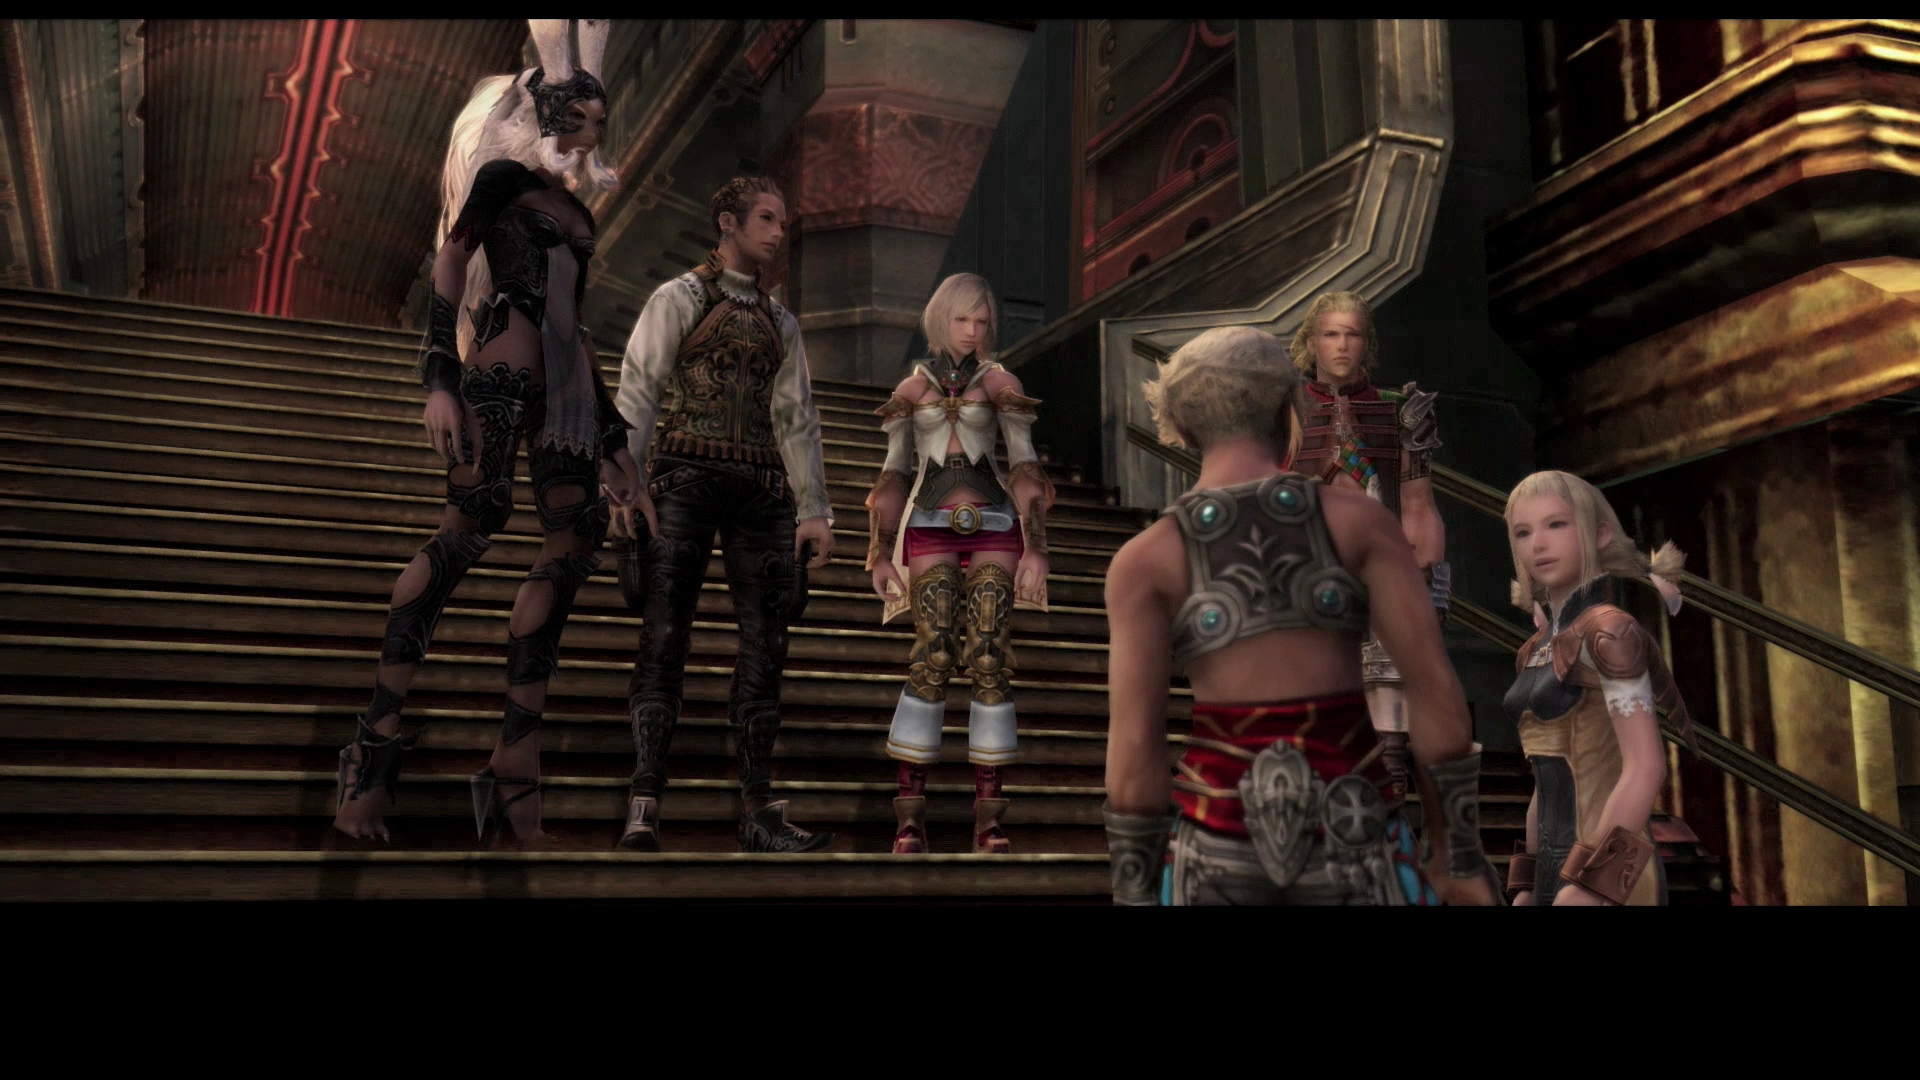
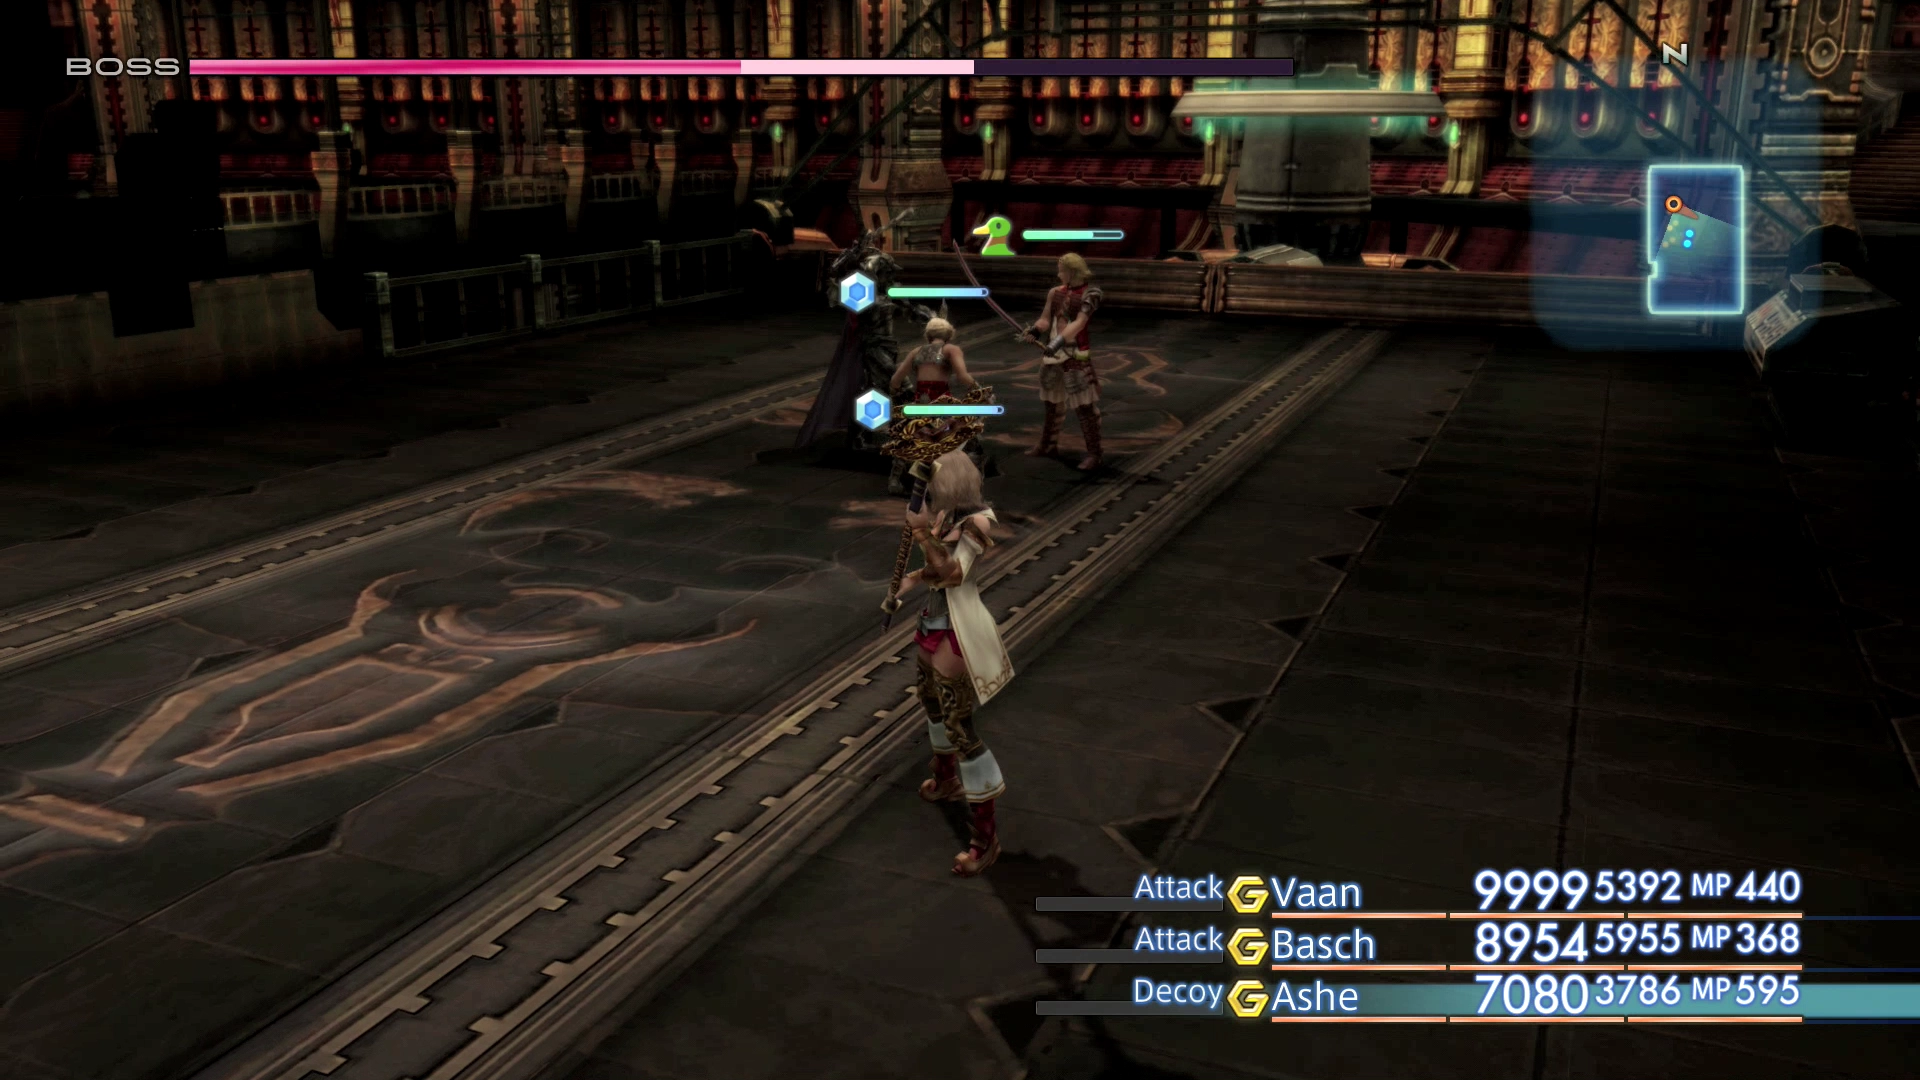
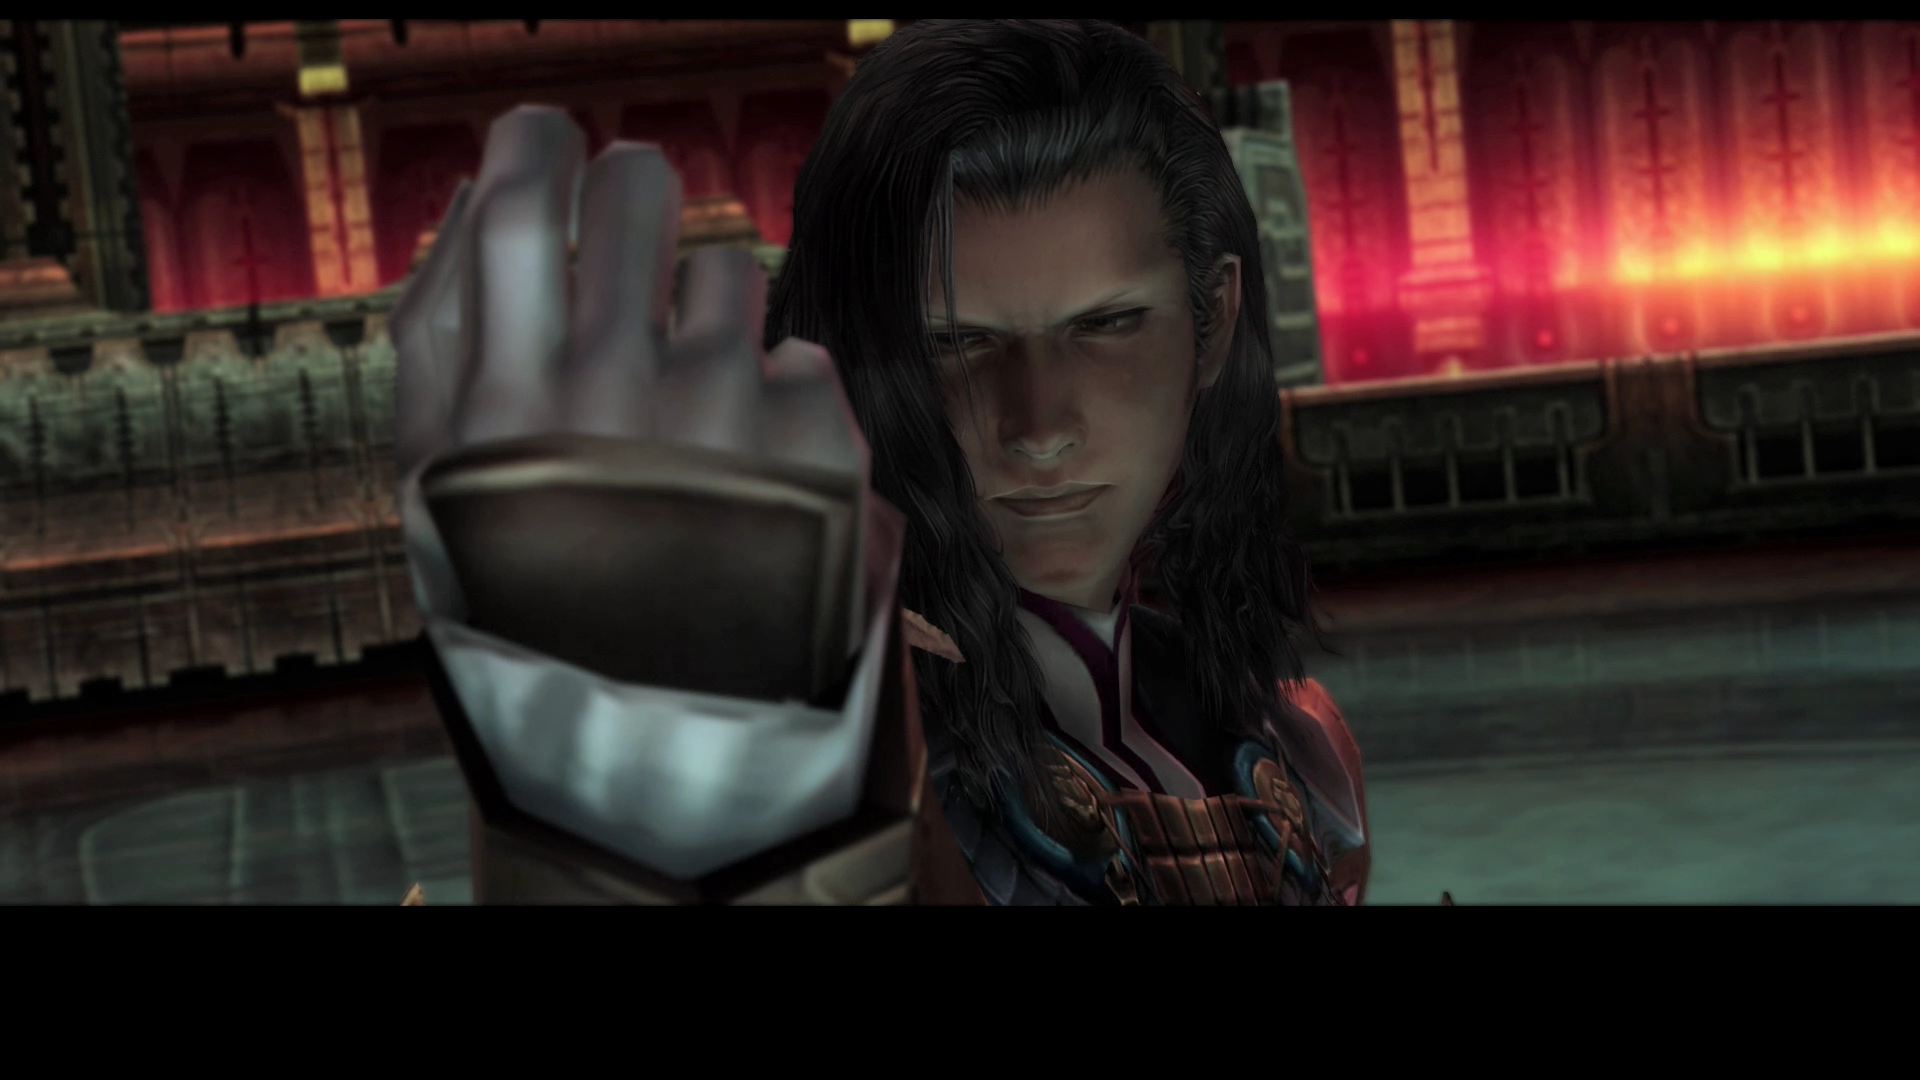
The team will arrive to find Lord Larsa and Vayne speaking in the center of a large circular area. Vayne will tell Larsa to “watch” the battle but Larsa will challenge his brother and join in the attack. The next boss battle begins shortly thereafter.
Boss Battle
Level: 50
HP: 76,755
Steal: (nothing)
Larsa will join you for this battle but his power and abilities have not changed since the last time that he joined your party. His attacks are very mild but he will throw out the odd ![]() Potion and
Potion and ![]() Hi-Potion.
Hi-Potion.
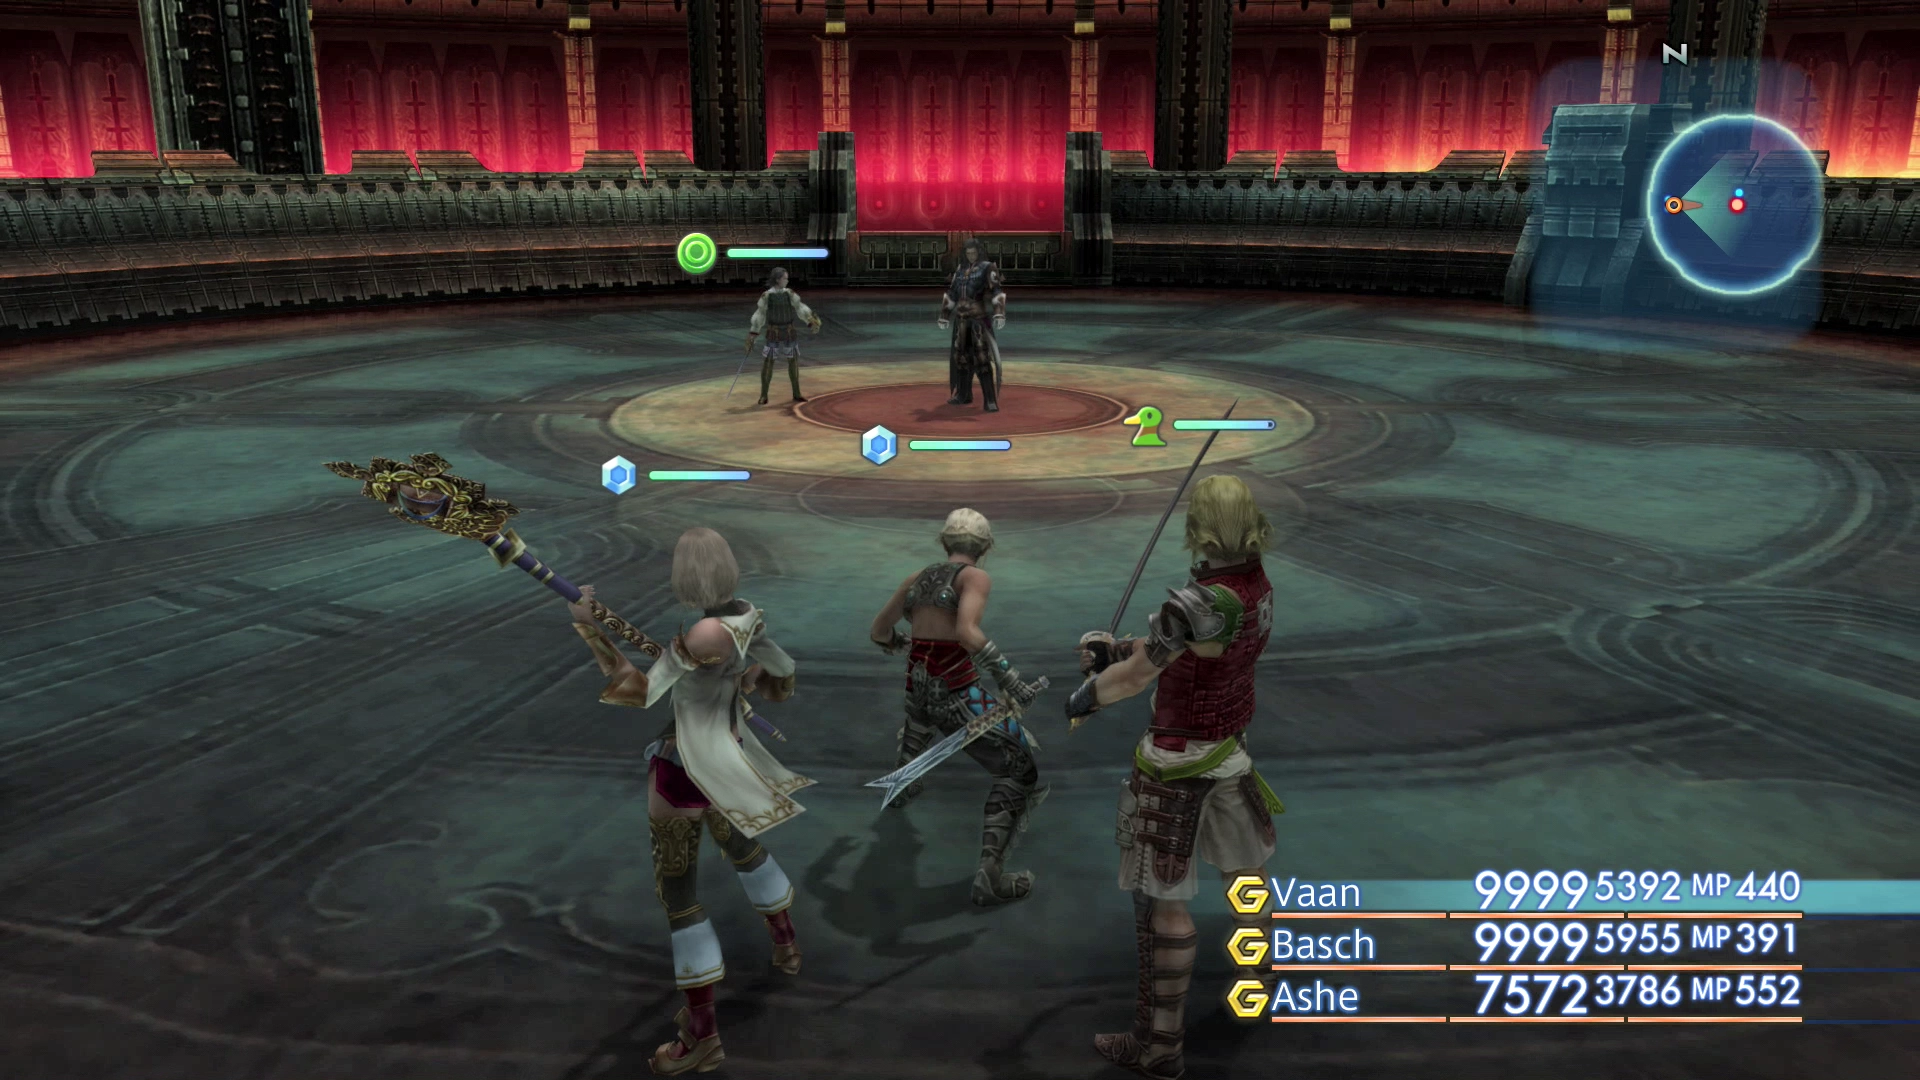
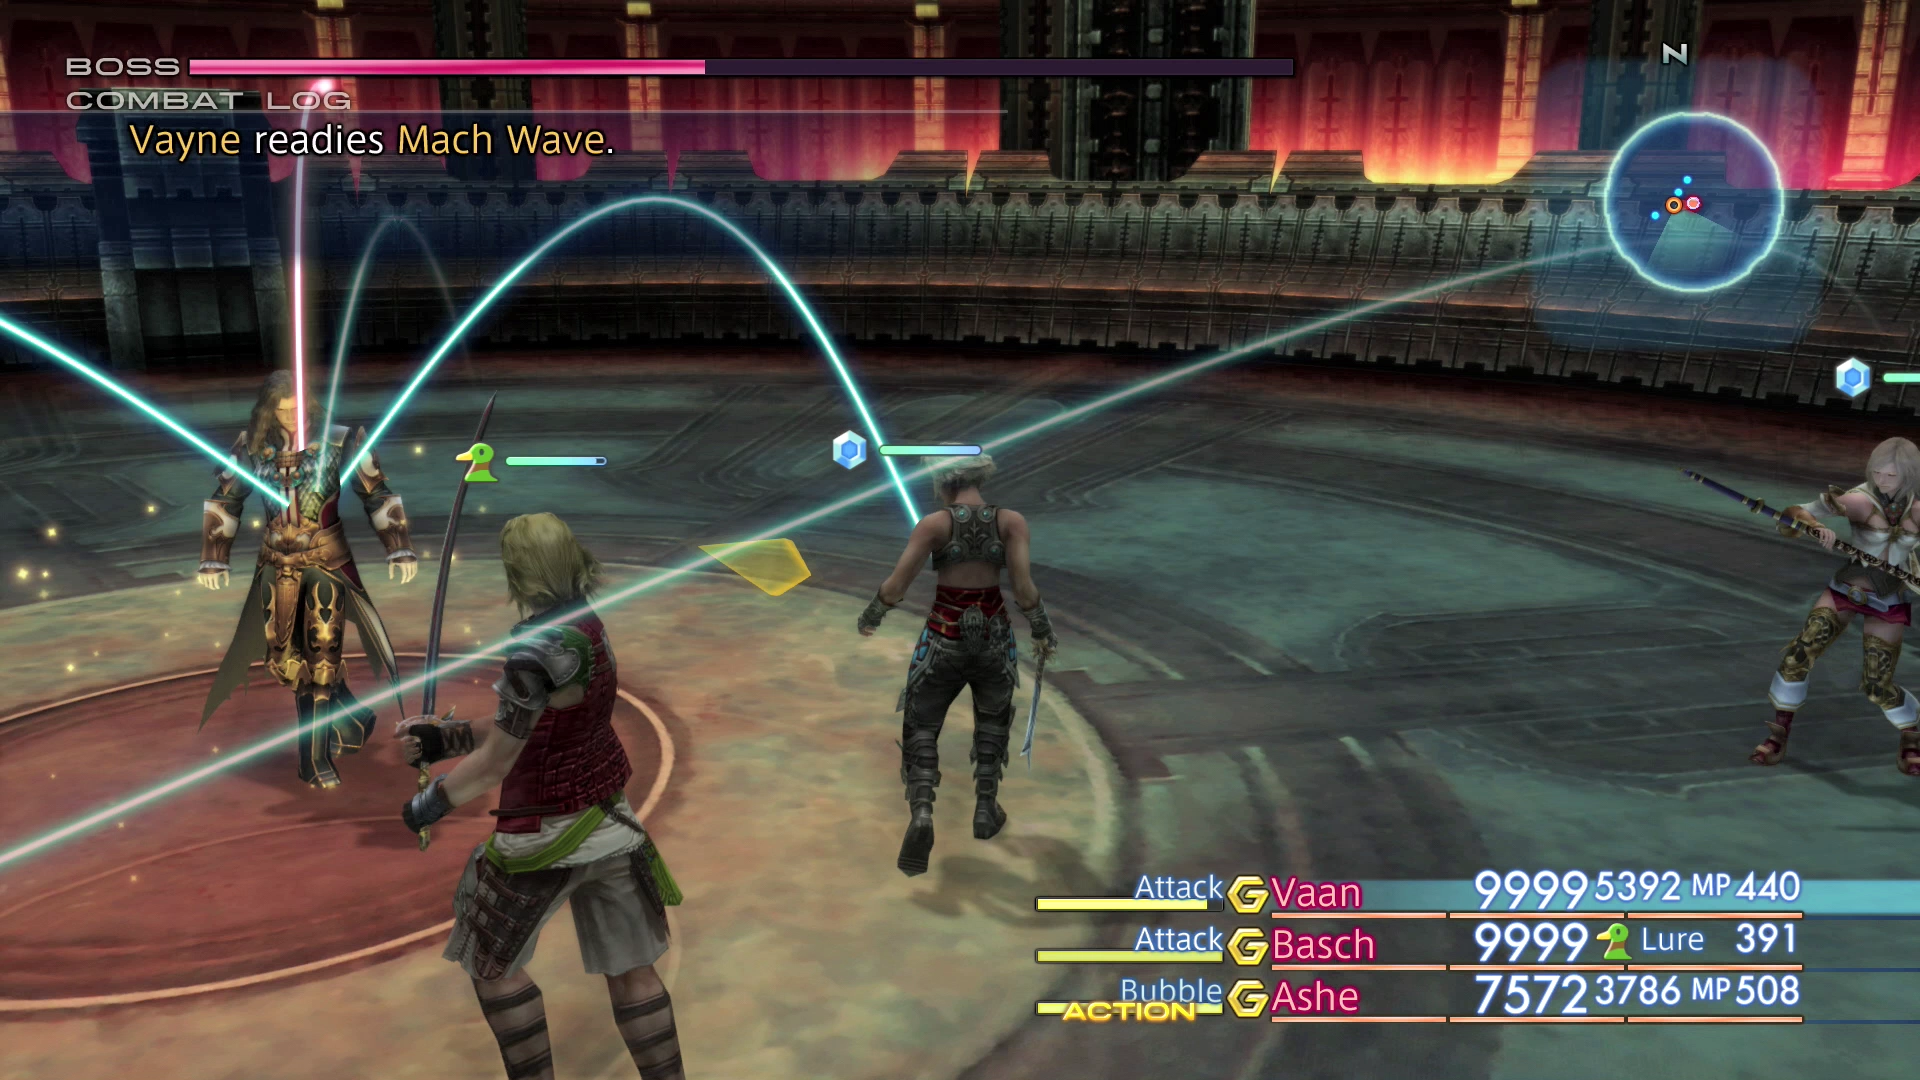
Vayne himself is not very powerful during this fight. He will focus on using physical attacks that can potentially chain but they do not do very much damage. His “Force of Will” move does around 1,500 damage and he will only use it when he is low on HP and he will use an attack called “Mach Wave,” which does around 800 damage throughout the fight.
Keep ![]() Protect,
Protect, ![]() Shell and
Shell and ![]() Bubble active on your characters throughout the fight, and you should have no issues dealing with Vayne’s attacks.
Bubble active on your characters throughout the fight, and you should have no issues dealing with Vayne’s attacks.
You can find a video of this battle in the Zodiac Age version below.
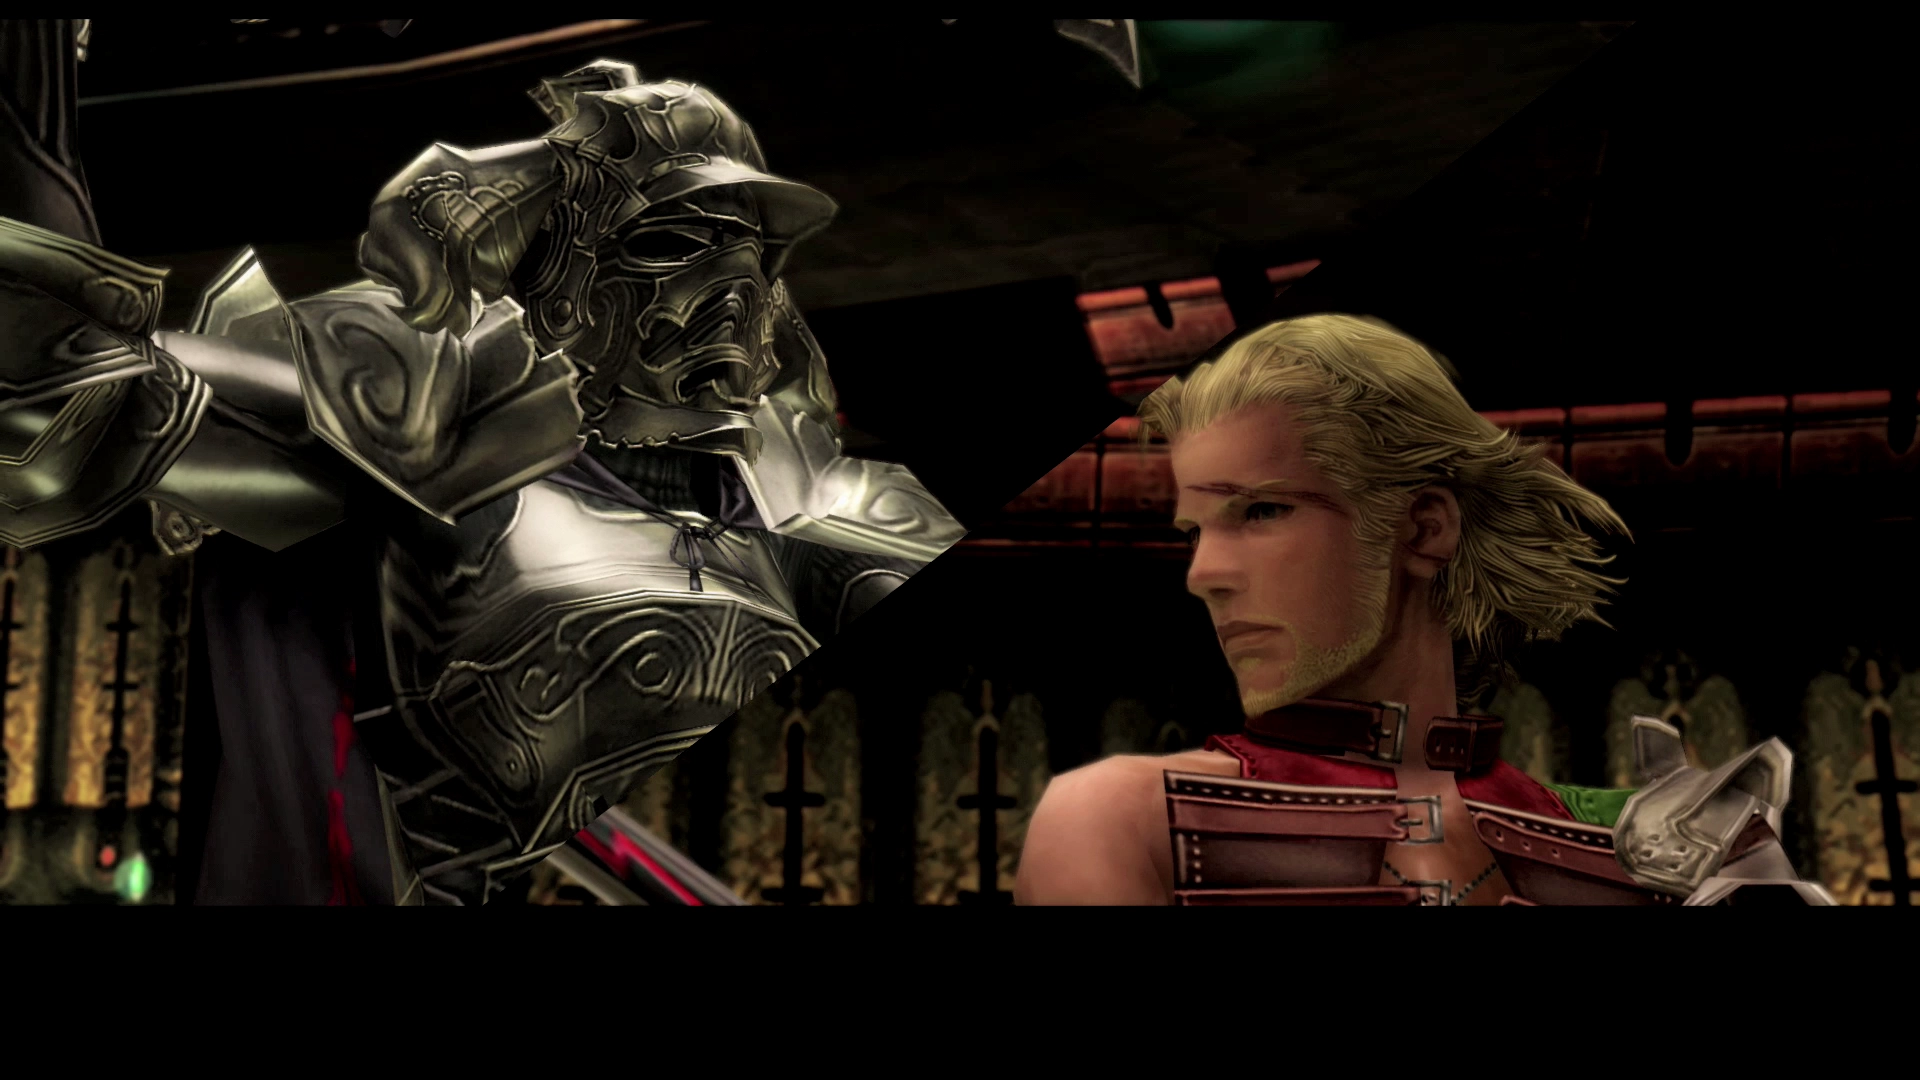
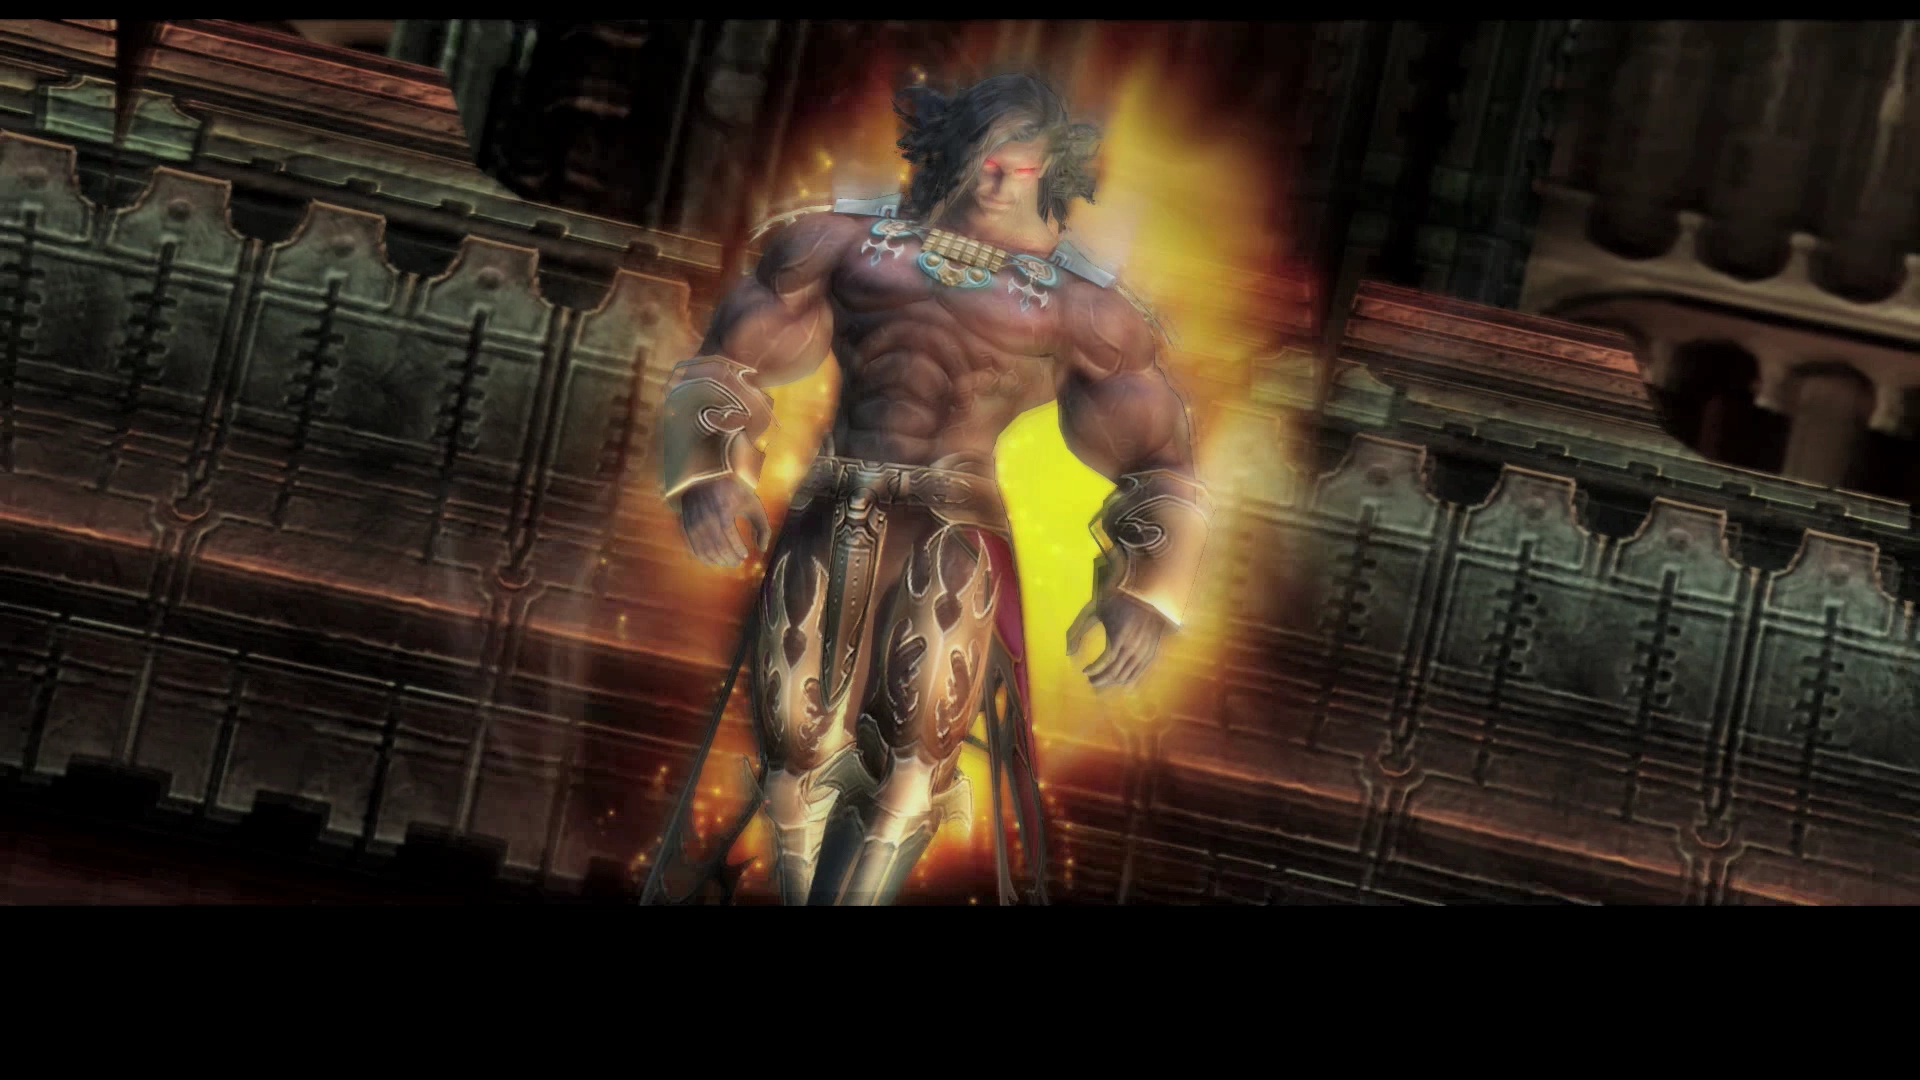
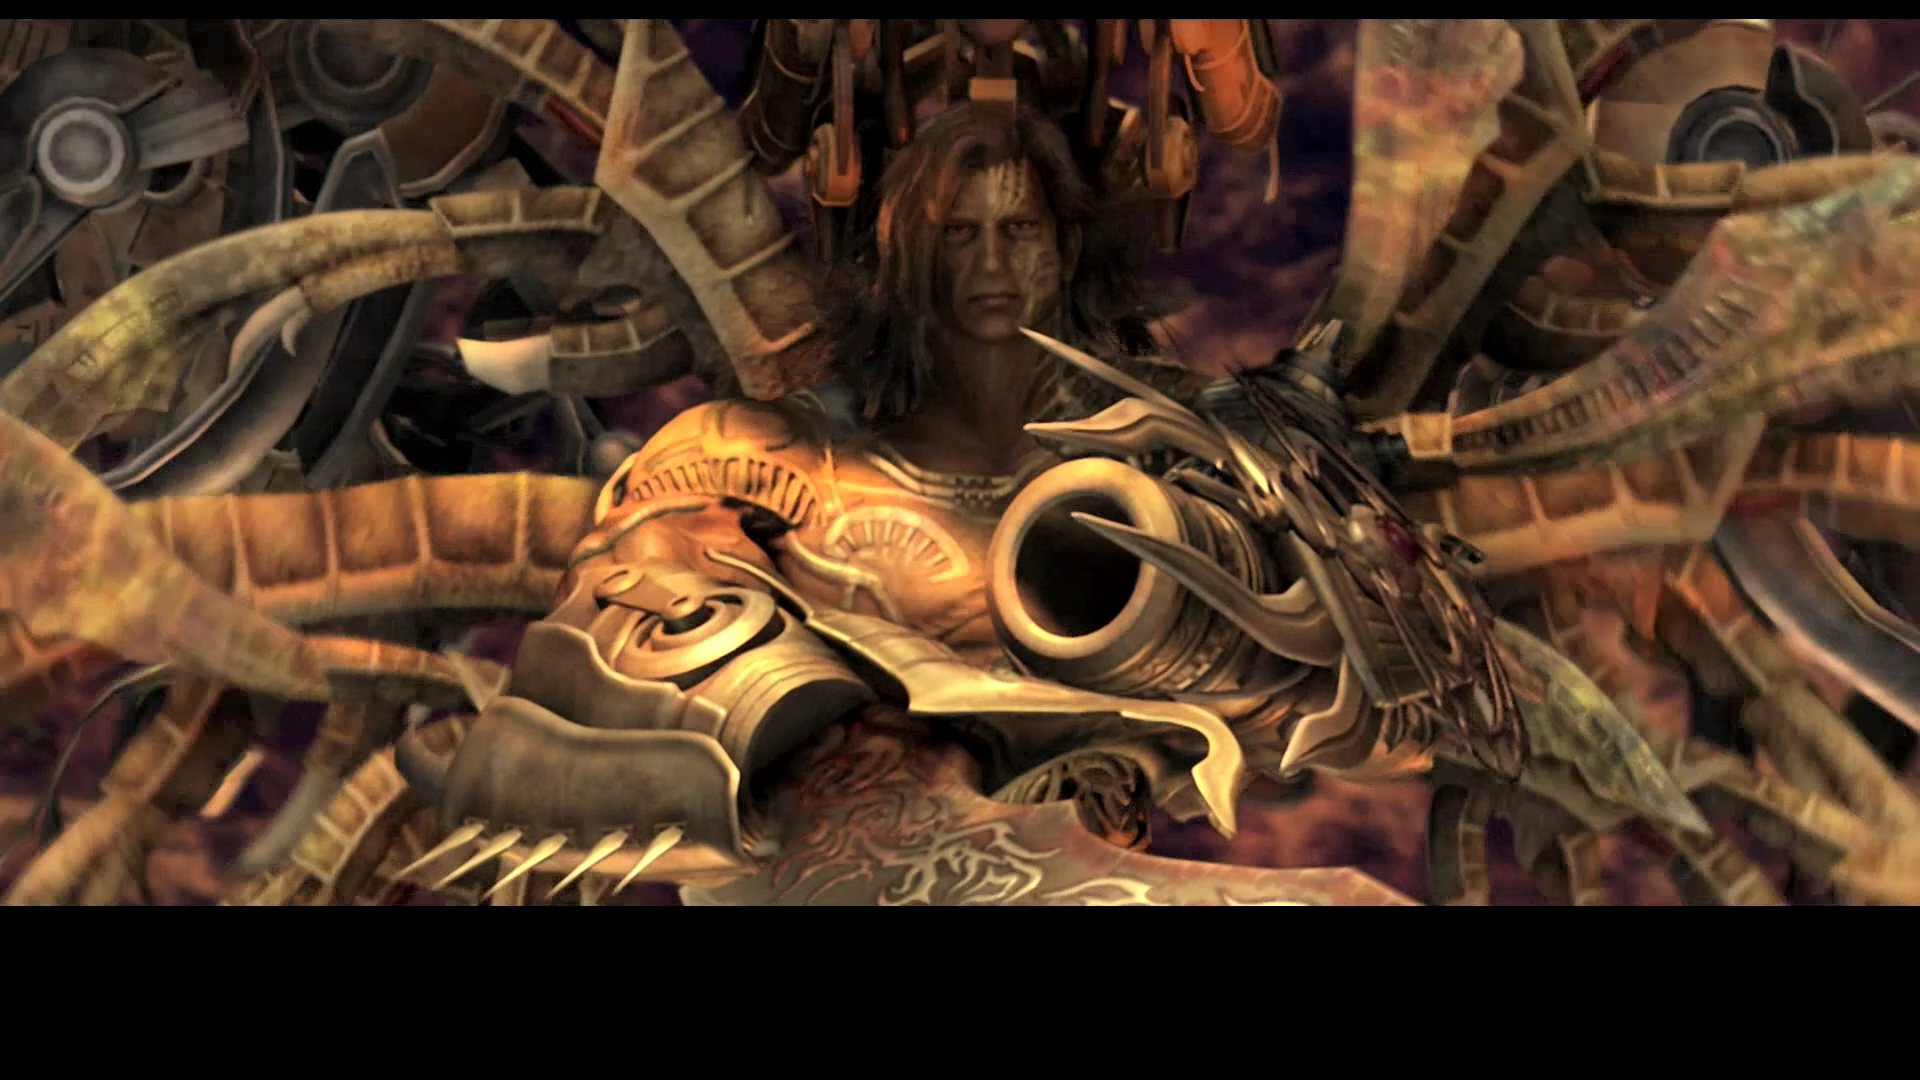
The next boss battle begins as soon as the previous battle ends. Vayne’s manufacted Nethicite will bestow him with new powers.
Boss Battle
Level: 50
HP: 104,210
Steal: ![]() Hi-Ether
Hi-Ether
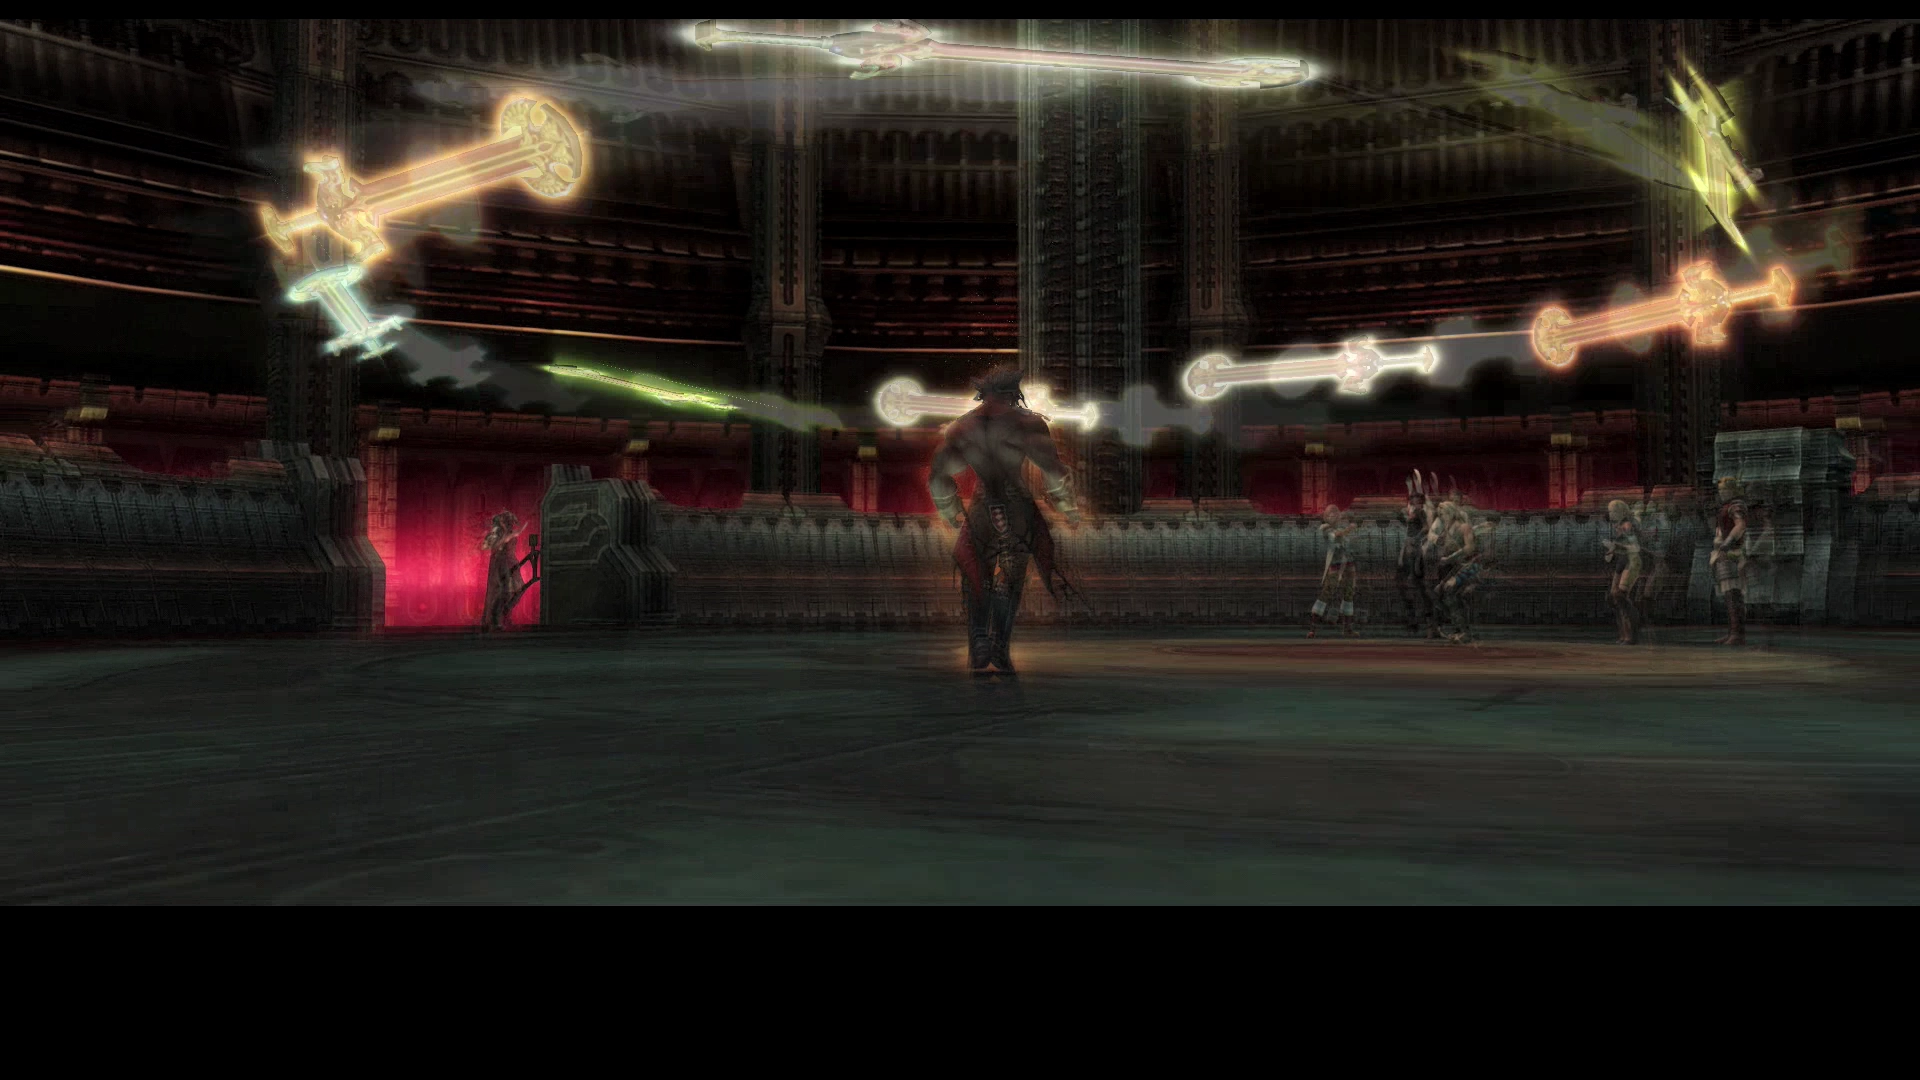
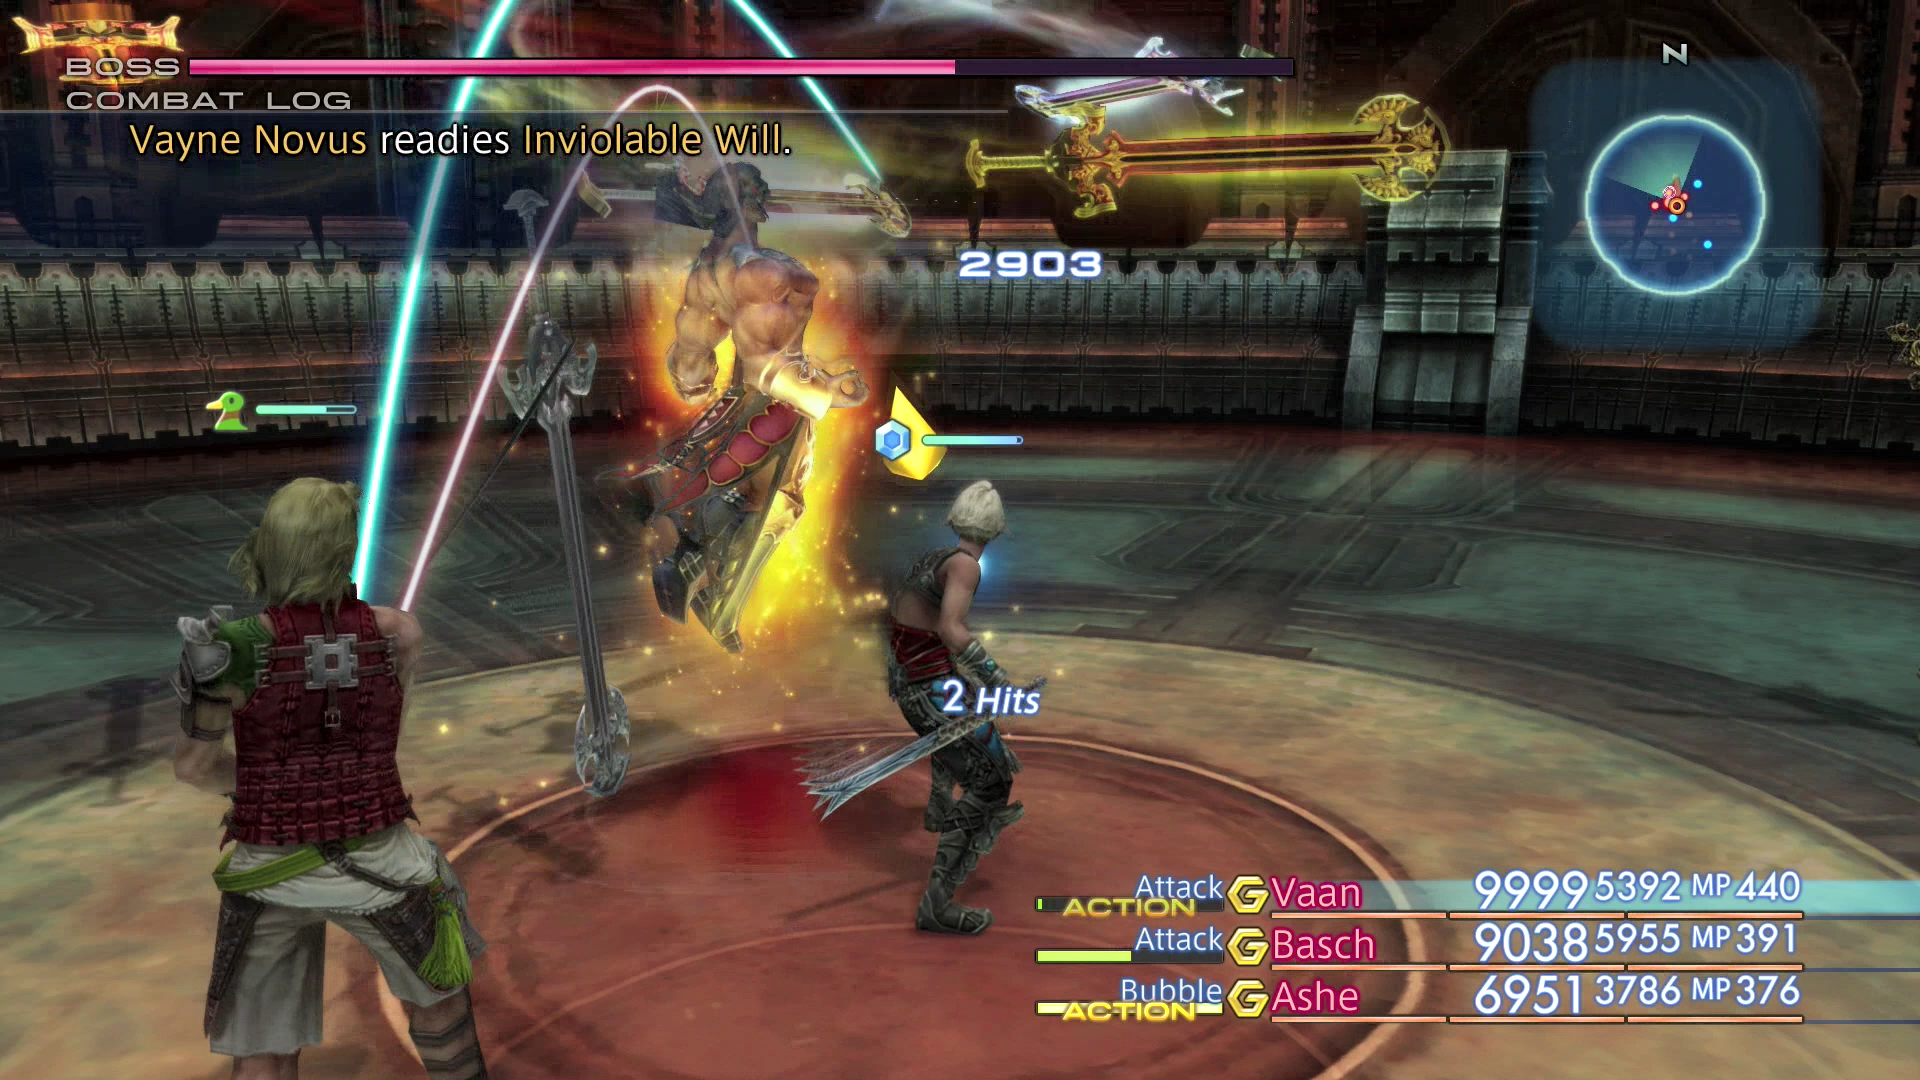
Vayne will cast an assortment of regular spells as well as two special moves. Those two moves are Azure Vortice and Contempt, both of which will initiate a short cinematic. They will do around 500 to 1,500 damage.
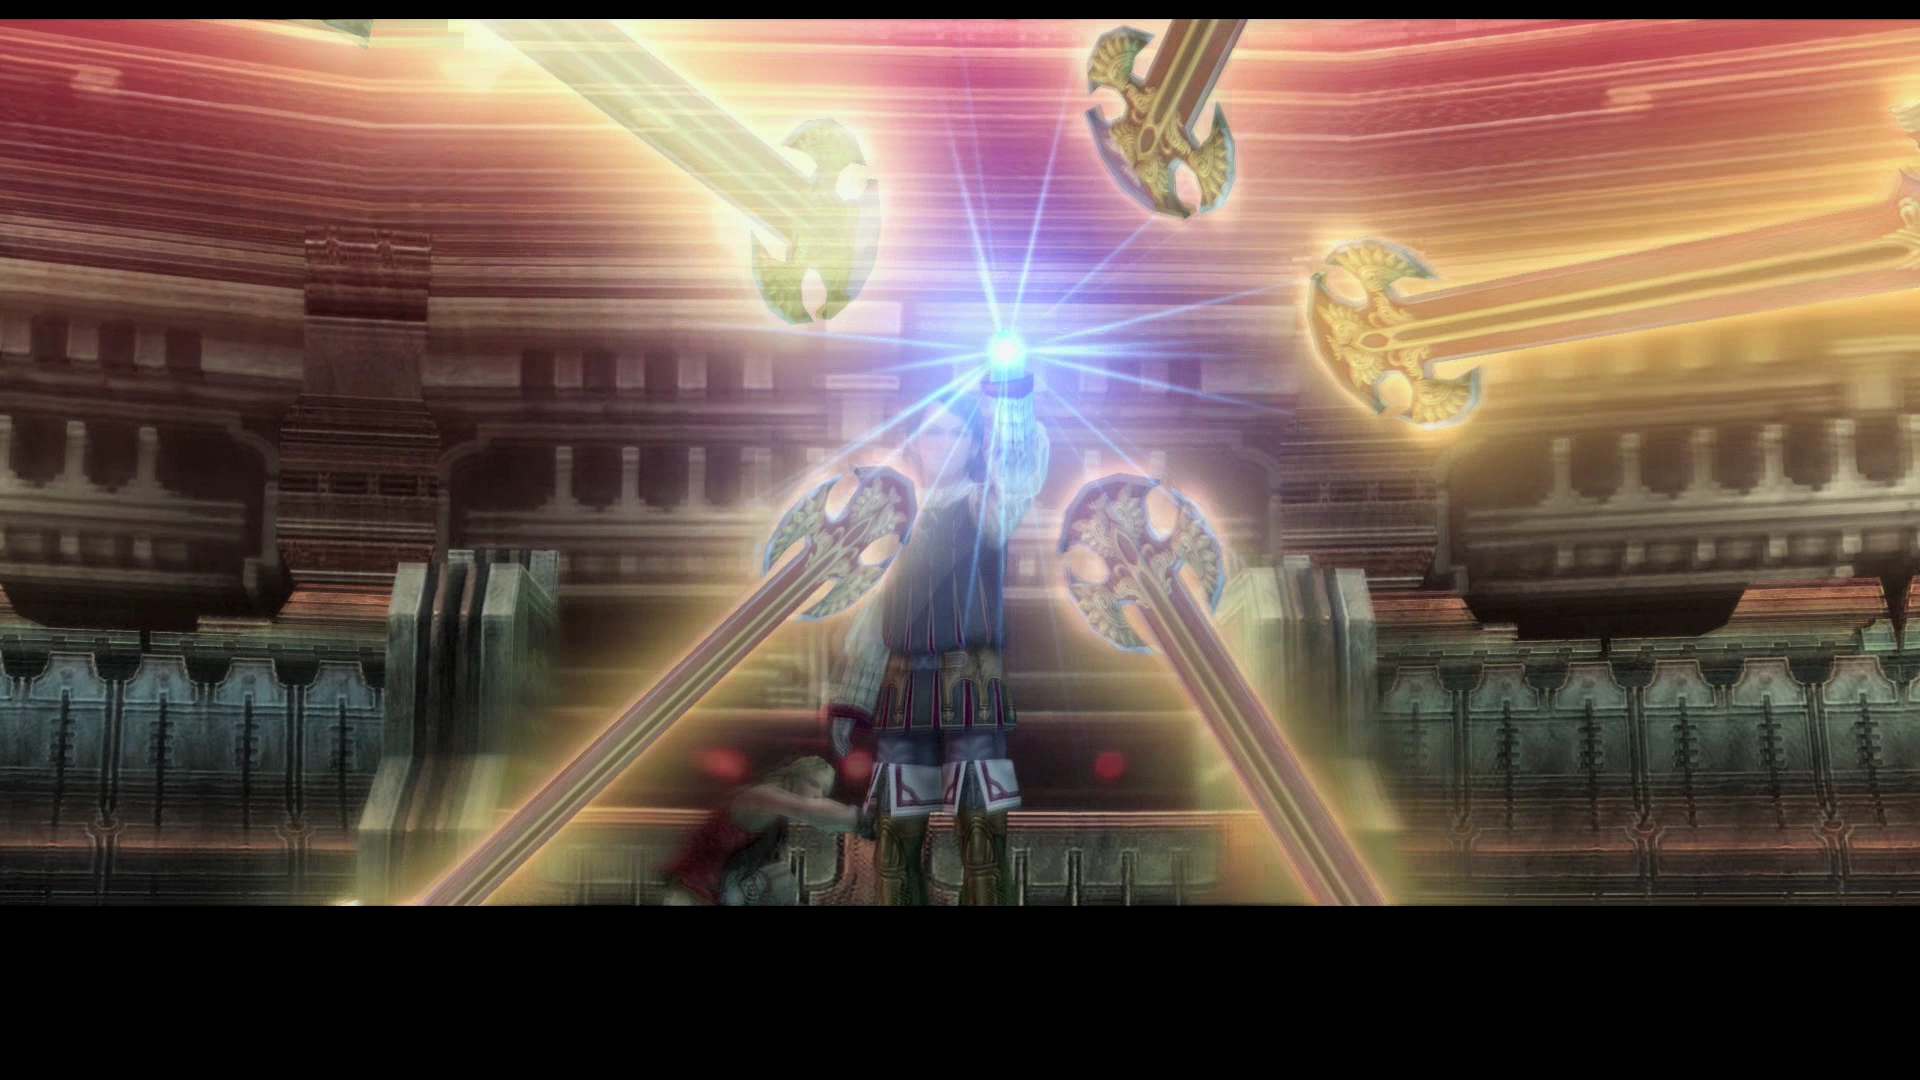
Vayne will also be surrounded by Sephira Swords that fly all around the battle zone. You can have your characters focus on attacking them first, if preferred, but they are hard to hit due to the speed at which they move. Gabranth will also attempt to take them down for you when he joins the battle.
![]() Dispel Vayne at the beginning of the battle. He will regain his enhancement buffs after the cinematic that occurs when he reaches 50%. Either
Dispel Vayne at the beginning of the battle. He will regain his enhancement buffs after the cinematic that occurs when he reaches 50%. Either ![]() Dispel him again or set up a
Dispel him again or set up a ![]() Dispel Gambit so that one of your characters does this automatically.
Dispel Gambit so that one of your characters does this automatically.
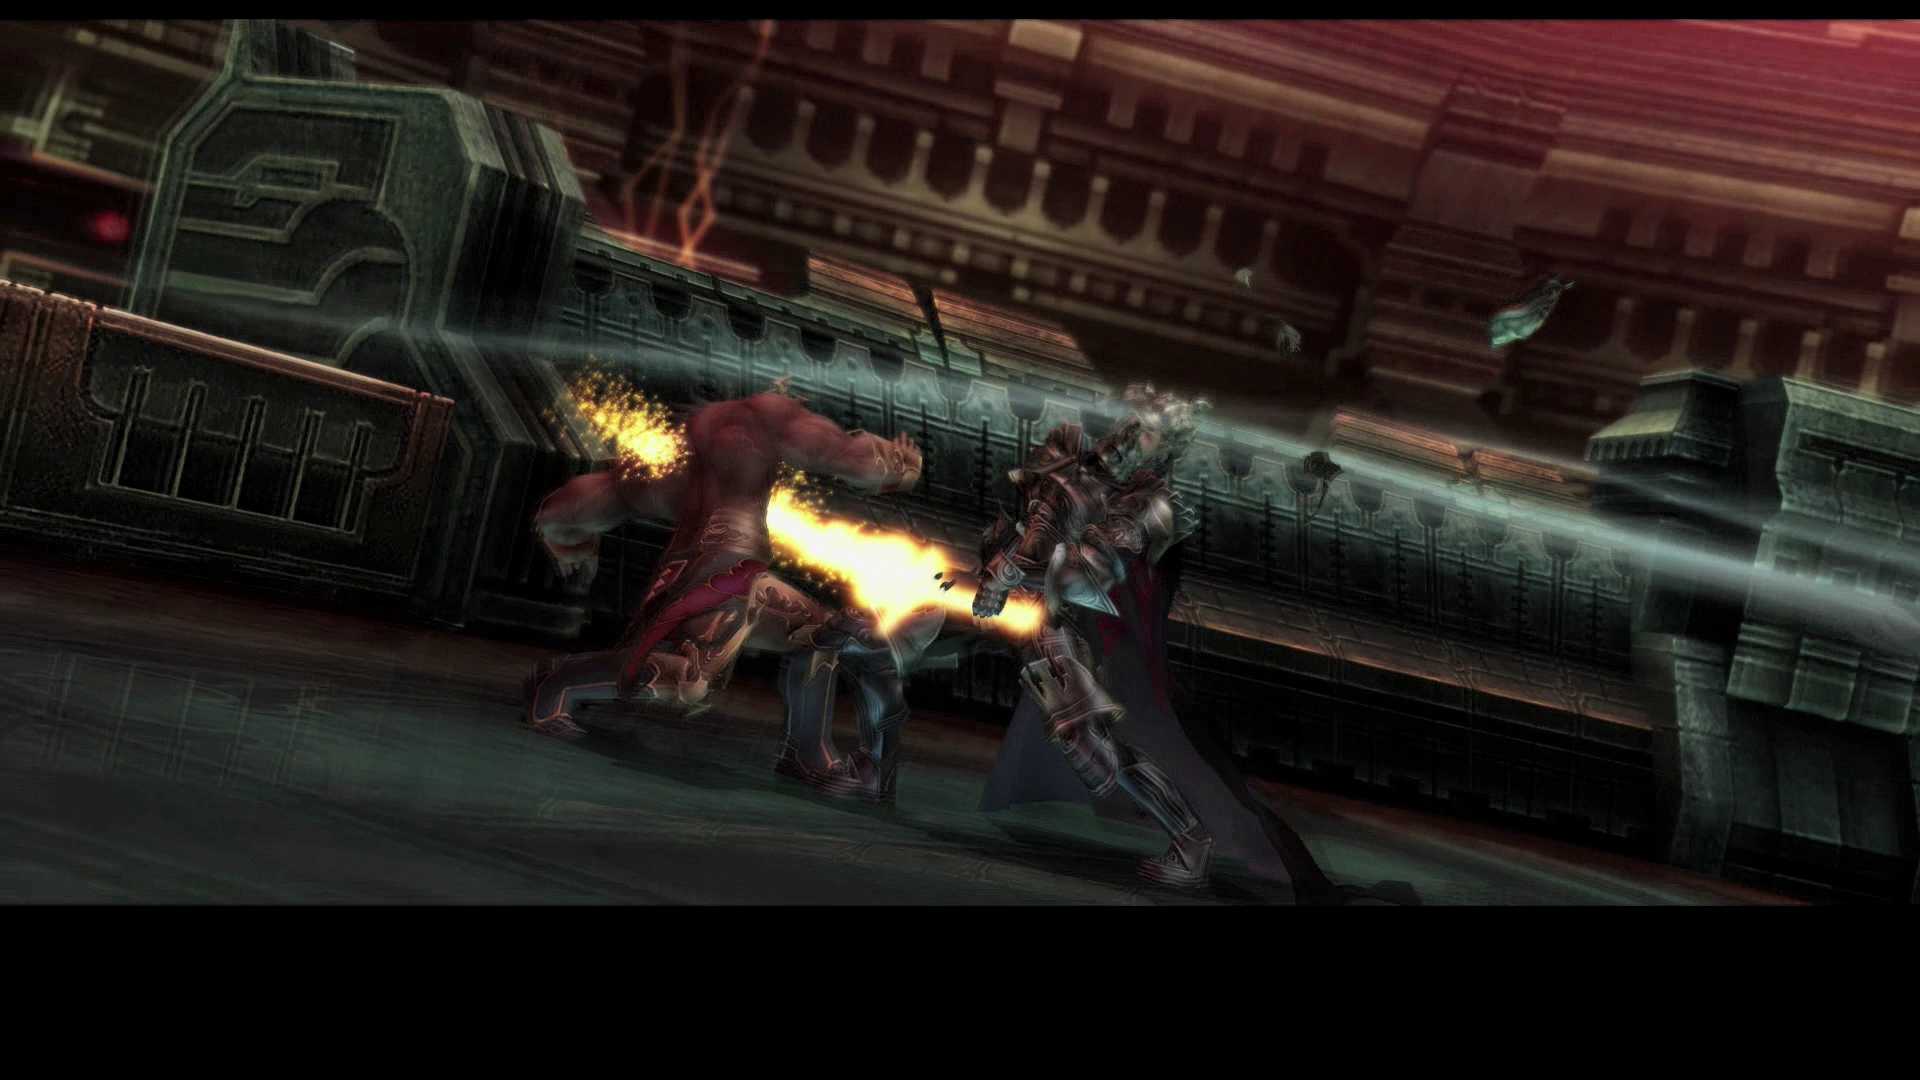
Near the end of the battle, Vayne Novus will begin using an attack called “Tree of Sephira,” which can cause up to 2,500 damage to each person. Be prepared to deal with these attacks with any healing Magicks or items you have.
Gabranth will deal the final blow at the conclusion of the battle. Vayne is not quite defeated and will attempt one final attack against the team with his Sephira Swords. Lord Larsa will protect the team from the attack with his Nethicite.
You can find a video of this battle in the Zodiac Age version below.
A few more cutscenes will take place before the final battle begins on a platform on the outside of the Sky Fortress Bahamut.
Cannon Superstructure
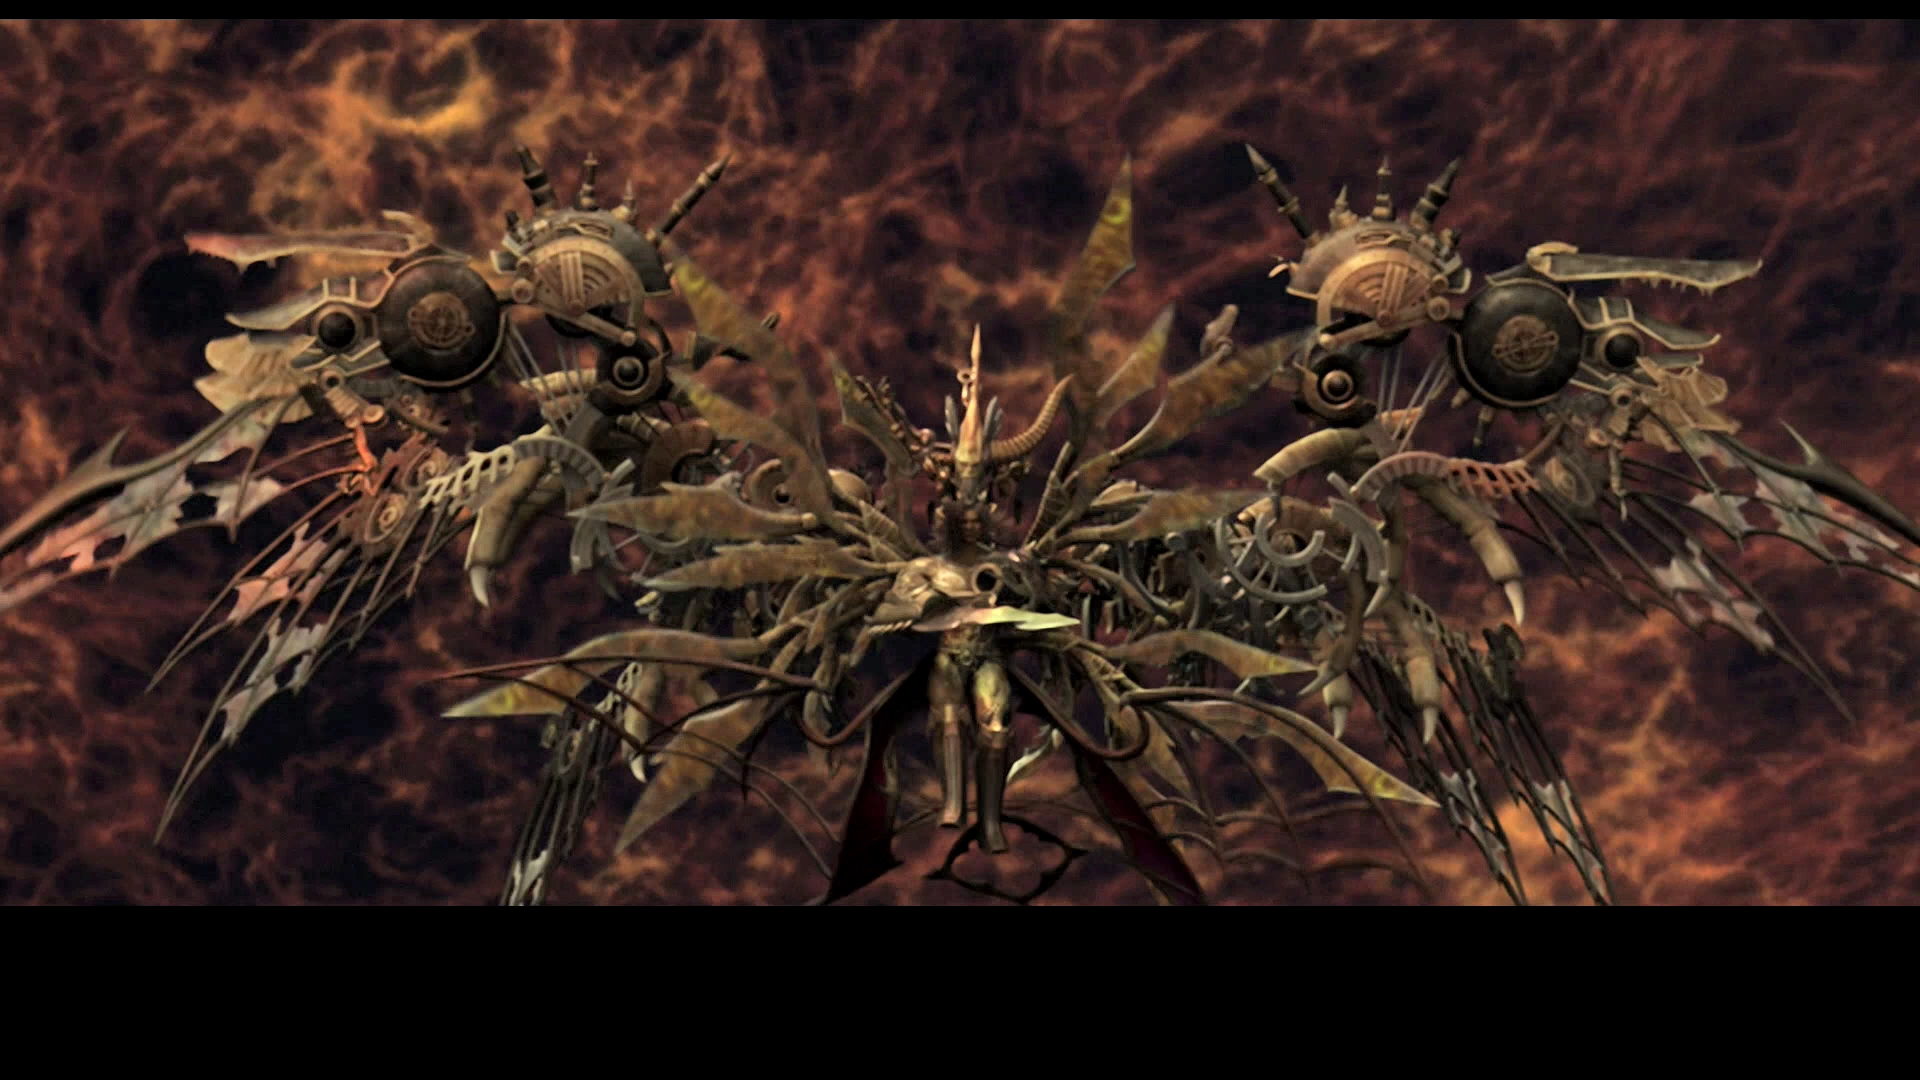
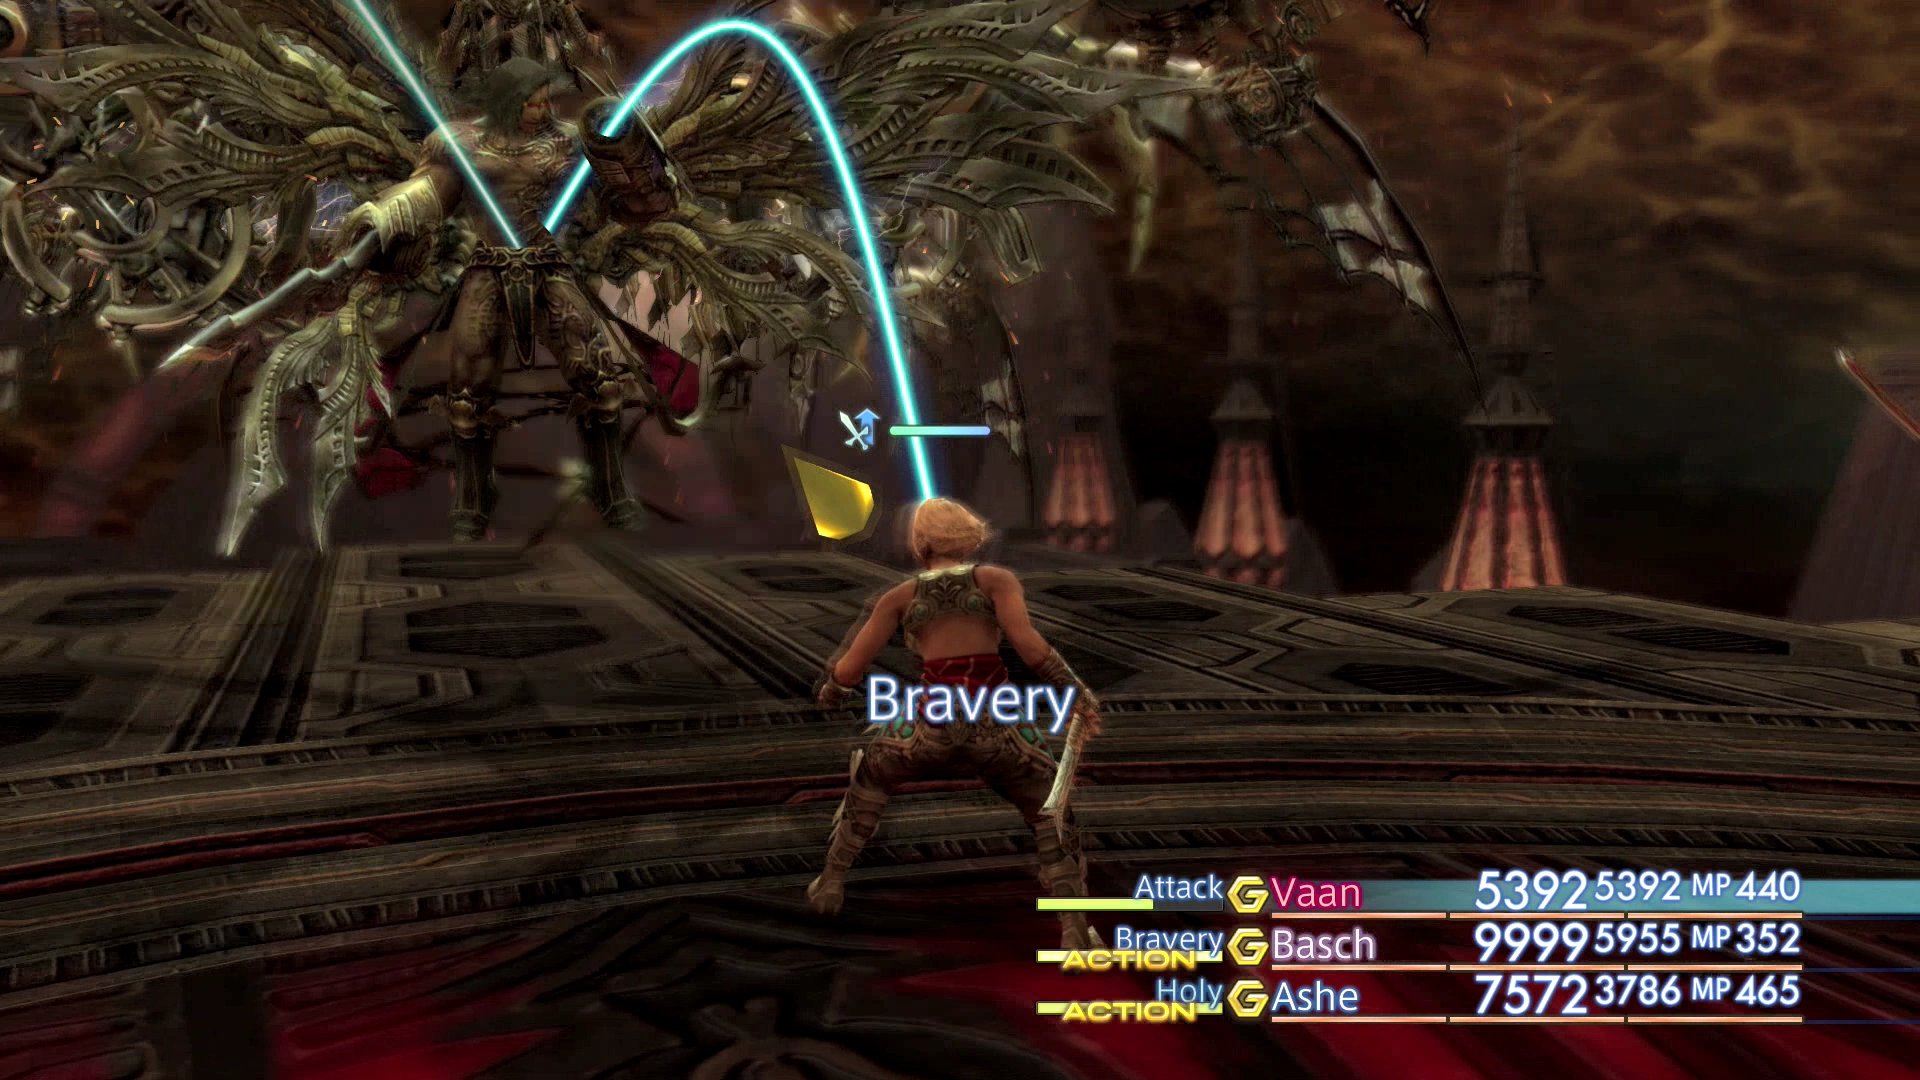
Final Boss Battle
Level: 55
HP: 228,299
Steal: (Nothing)
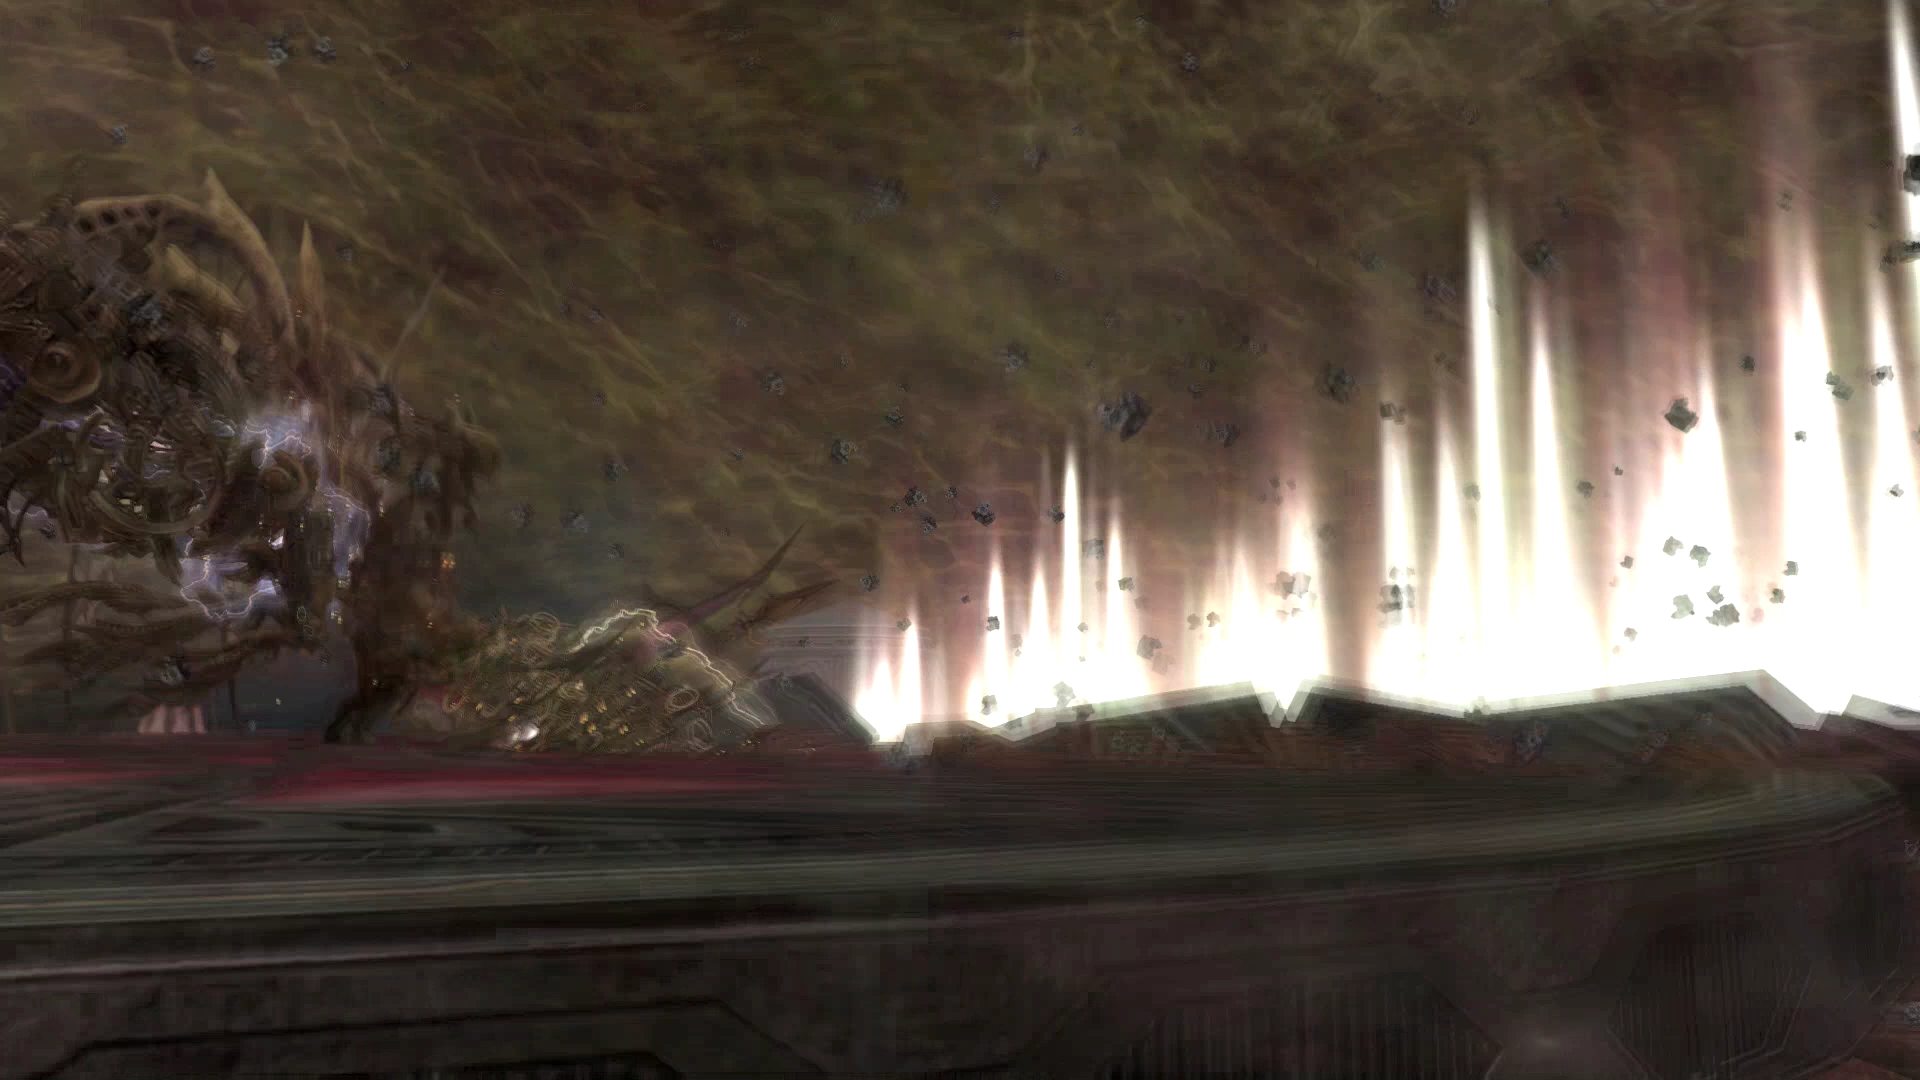
You have reached the final boss battle of Final Fantasy XII! This battle is not as difficult as some of the final Hunts in the game and will be less difficult depending on how many of the side quests you completed, but it can still be quite difficult if you are not prepared.
The Undying can and will cast ![]() Dispelga throughout this fight which will remove all of your status buffs (
Dispelga throughout this fight which will remove all of your status buffs (![]() Protect,
Protect, ![]() Shell,
Shell, ![]() Haste,
Haste, ![]() Bubble,
Bubble, ![]() Bravery,
Bravery, ![]() Faith). As such, you should switch your Gambits so that your characters are not recasting these spells every time they have
Faith). As such, you should switch your Gambits so that your characters are not recasting these spells every time they have ![]() Dispel cast on them.
Dispel cast on them. ![]() Protect and
Protect and ![]() Shell are important to keep up, but you can do without the others. Equip each of your characters with a
Shell are important to keep up, but you can do without the others. Equip each of your characters with a ![]() Bubble Belt to keep that status active throughout the fight.
Bubble Belt to keep that status active throughout the fight.
The Undying will cast Piercing Firaga, Piercing Blizzaga, Piercing Thundaga and Megaflare. Each of these Magick-based attacks will go right through any ![]() Reflect status that your characters have (hence why they are called ‘Piercing’). He will also attack with a glowing sword-arm type attack that deals around 2,000 for each hit.
Reflect status that your characters have (hence why they are called ‘Piercing’). He will also attack with a glowing sword-arm type attack that deals around 2,000 for each hit.
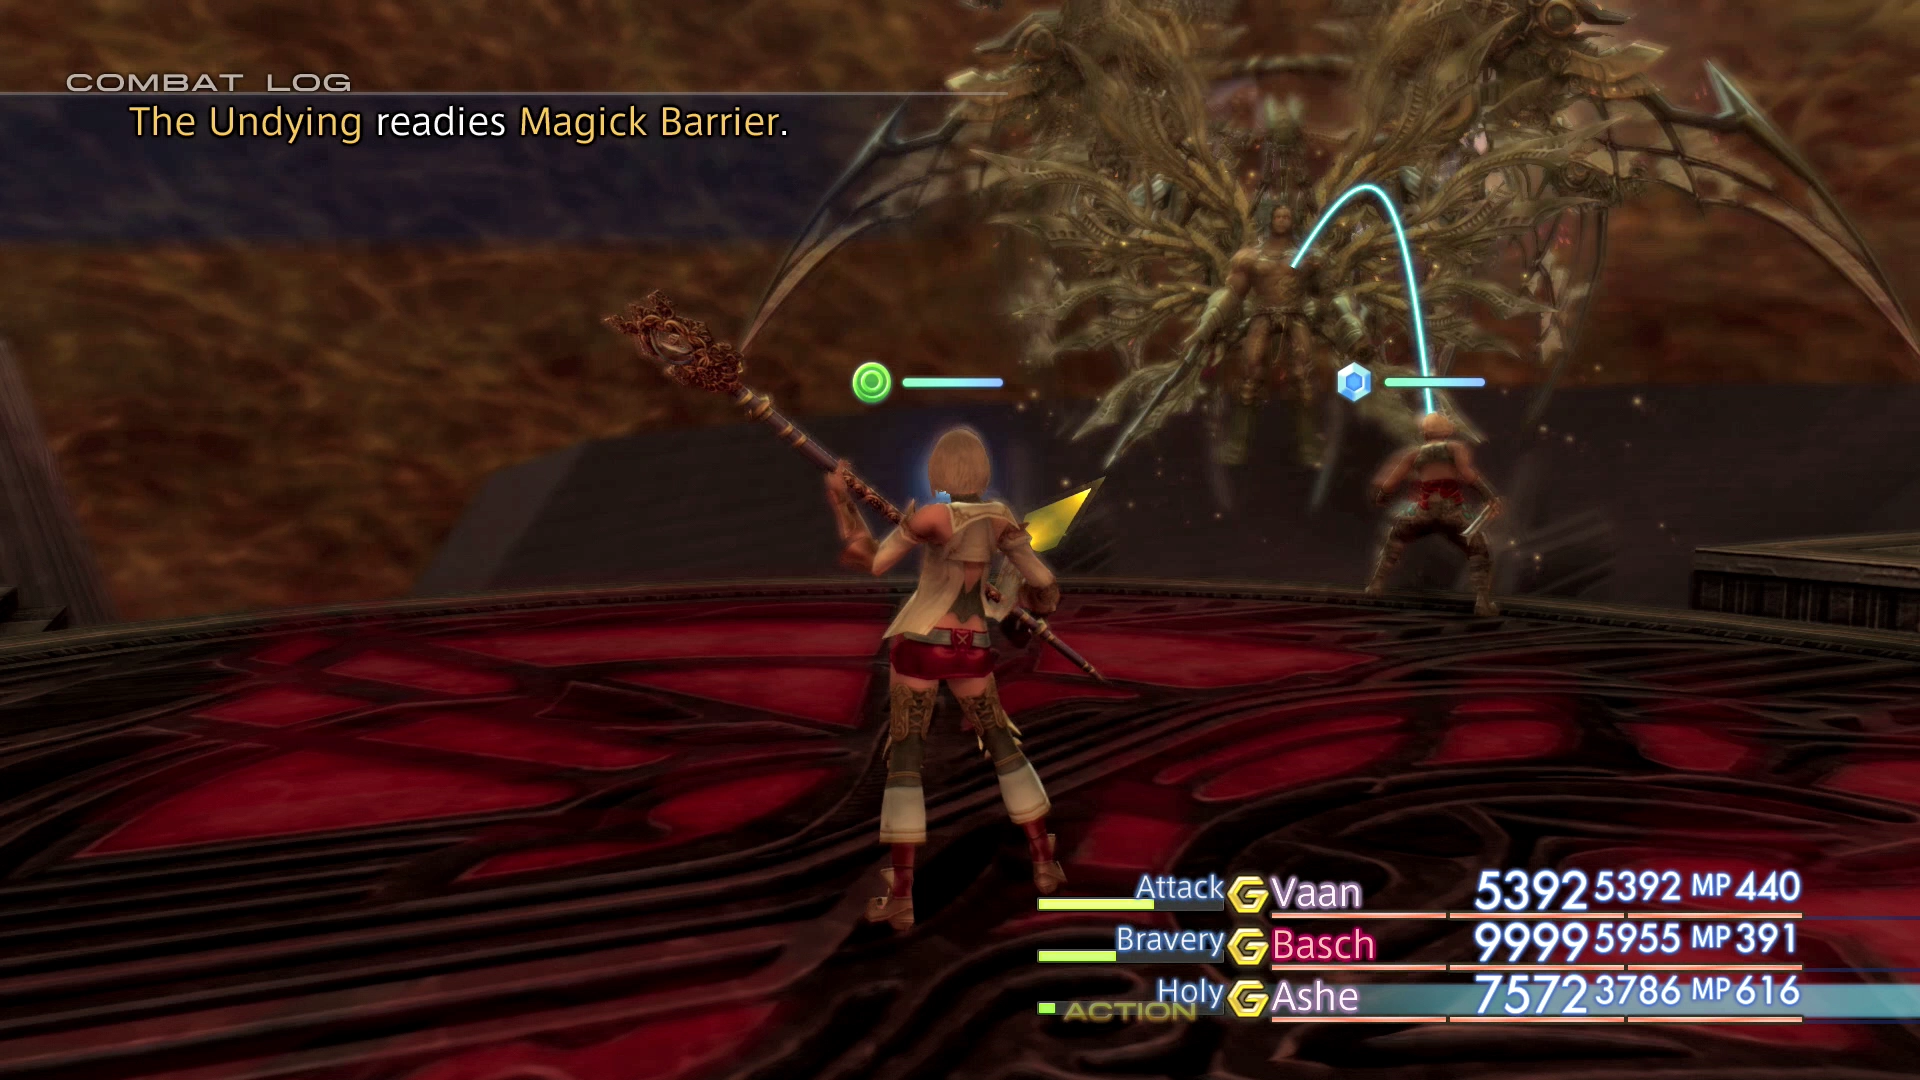
He will put up a Magick Barrier to negate Magick-based attacks and will activate Perfect Defense once you get him down to 25% HP. This will make him immune to all attacks so you will just have to wait out this status. Run away from him as much as possible to avoid ![]() Dispelga attacks. There is no health bar during this fight so it will be difficult to tell how much HP The Undying has left.
Dispelga attacks. There is no health bar during this fight so it will be difficult to tell how much HP The Undying has left.
The most difficult aspect of this fight is withstanding all the firepower that The Undying throws your direction. As mentioned above, don’t be afraid to use ![]() Elixirs,
Elixirs, ![]() Megalixirs,
Megalixirs, ![]() X-Potions, etc. and spread out your healing so that more than one party member is helping. Keeping healed and keeping
X-Potions, etc. and spread out your healing so that more than one party member is helping. Keeping healed and keeping ![]() Bubble active is critical for this fight.
Bubble active is critical for this fight.
Good luck!
You can find a video of this battle in the Zodiac Age version below.
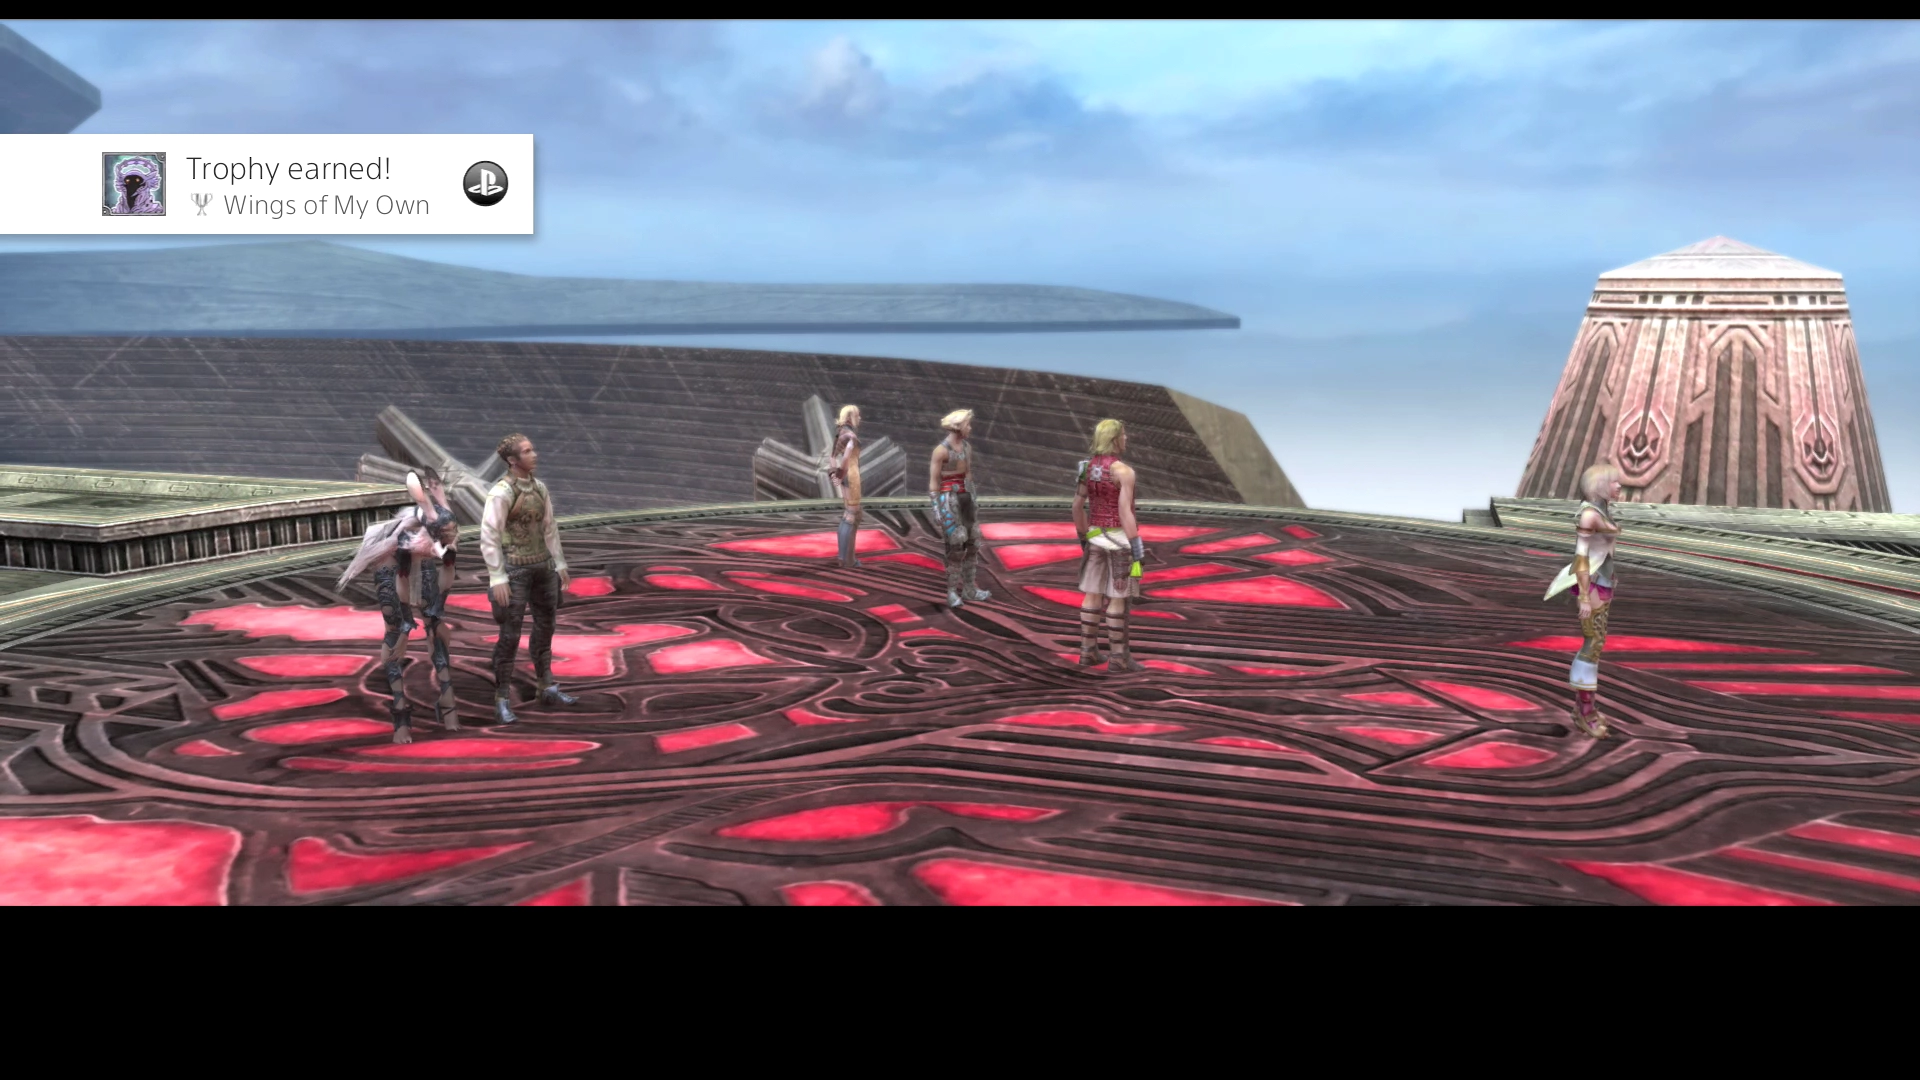
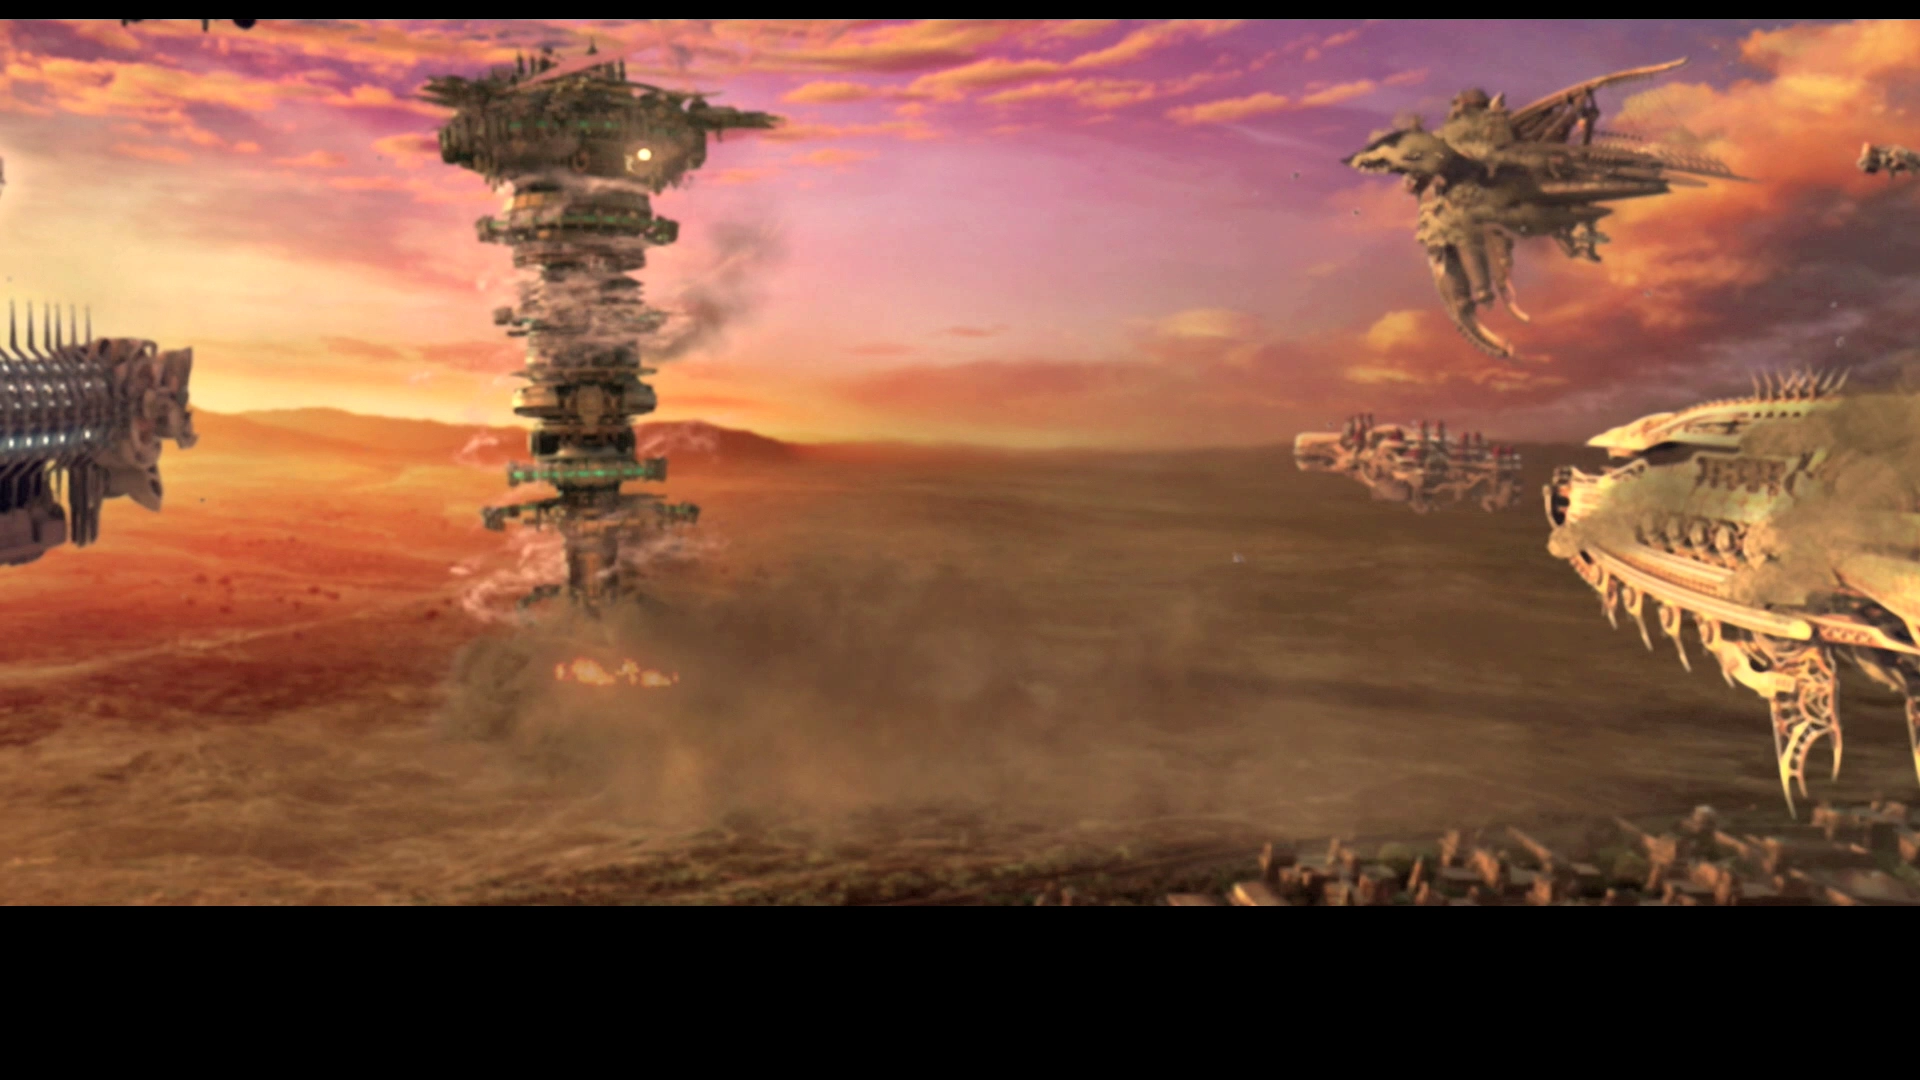
Congratulations, you have completed Final Fantasy XII! The final cinematic is included below for your enjoyment:
Achievement/Trophy
The  Wings of My Own Achievement/Trophy is automatically obtained after you have completed the game.
And a few screenshots:


I certainly hope that you have enjoyed and got good use out of the walkthrough and strategy guide. If you have any comments, suggestions or improvements for this guide, please feel free to send them to me using the Contact section. Thanks for reading!