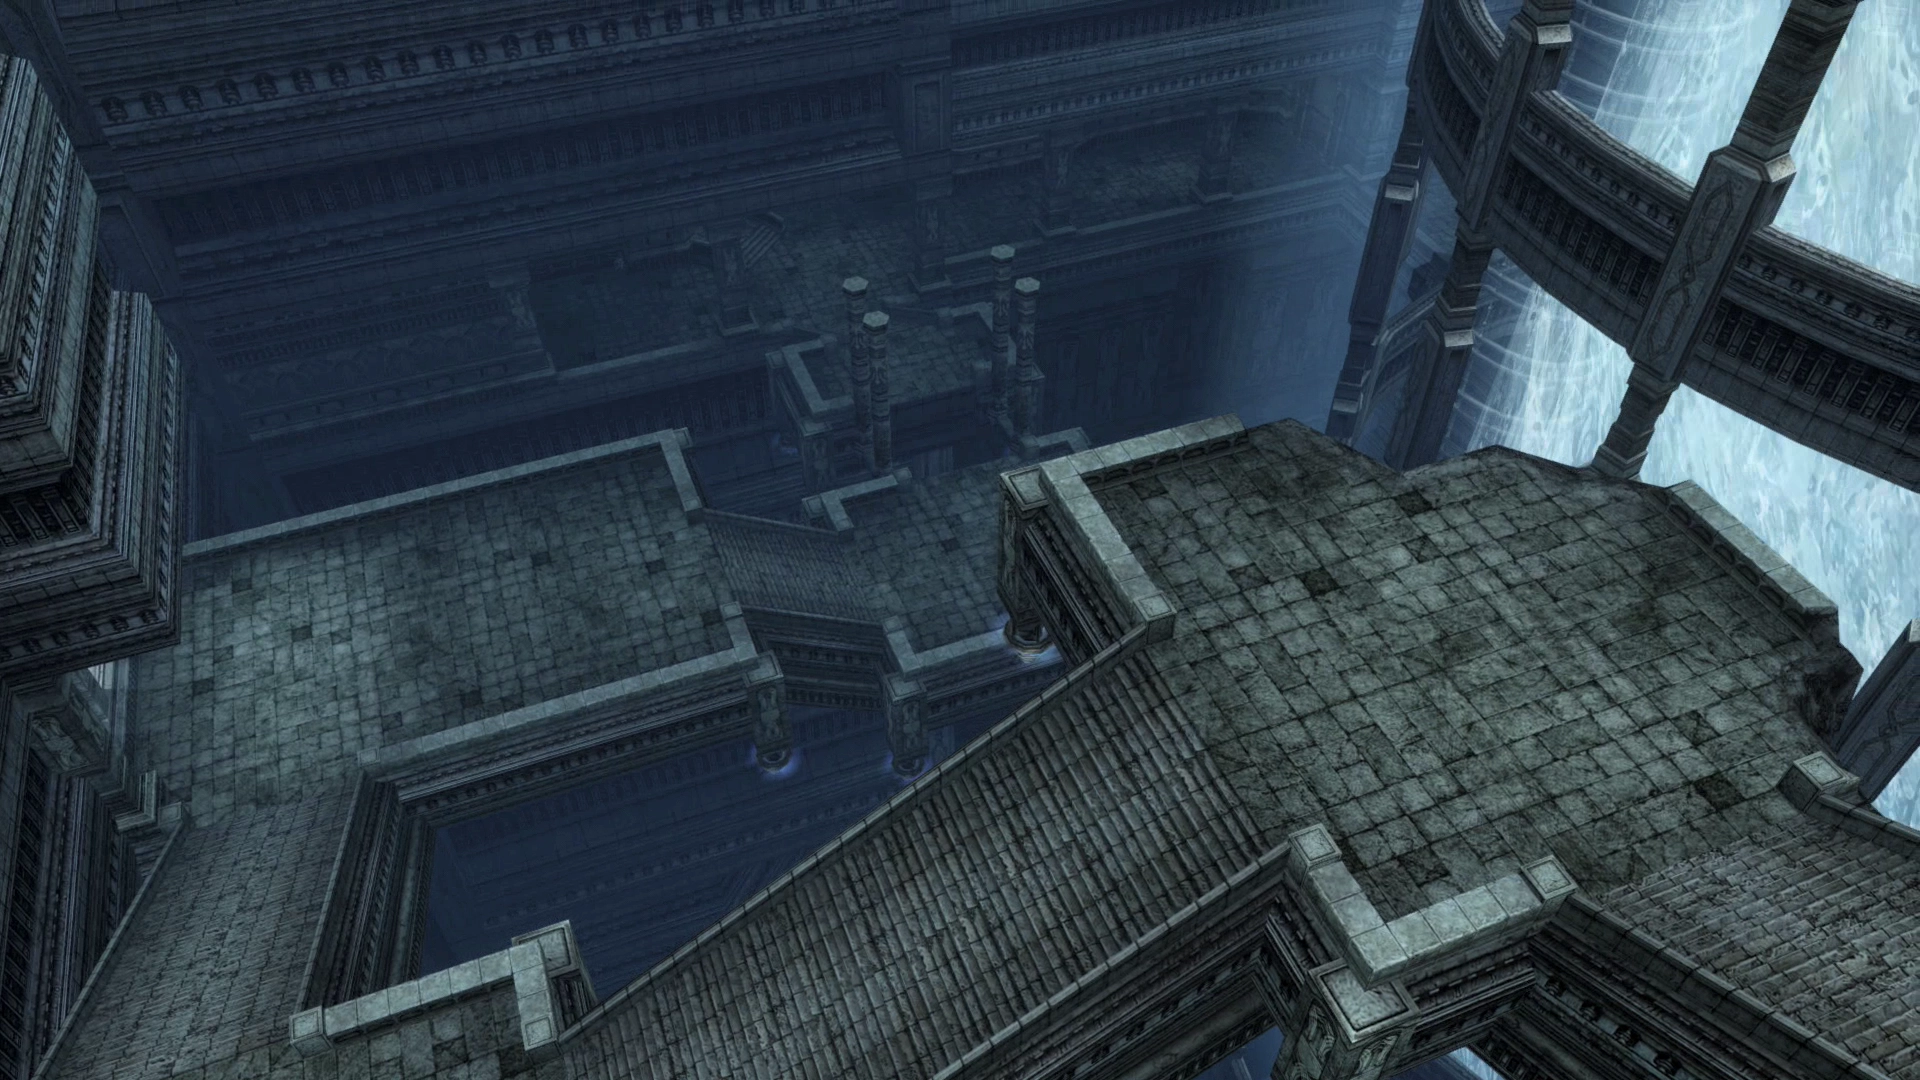
The Pharos - First Ascent
Horizon of First Light
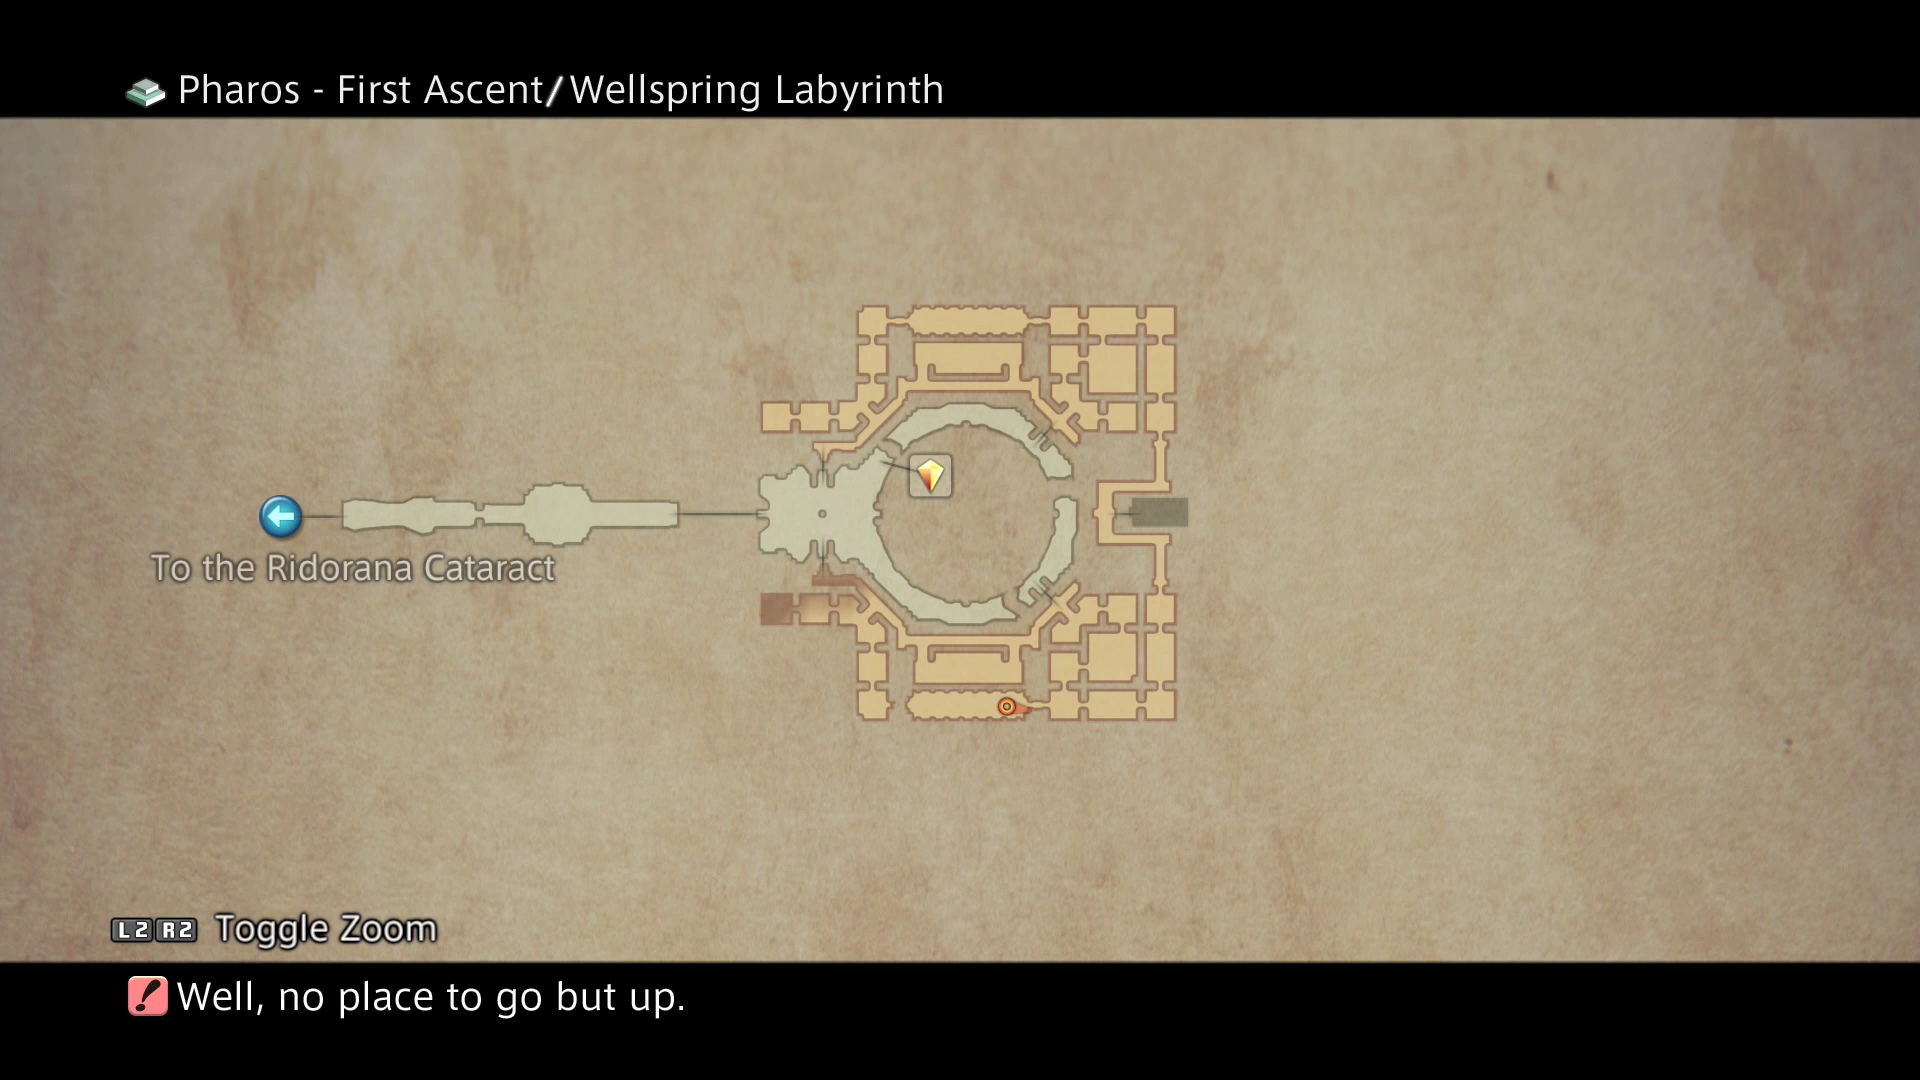
Scroll down to the bottom of the page to find a map to help you navigate through the Pharos.
The Wellspring
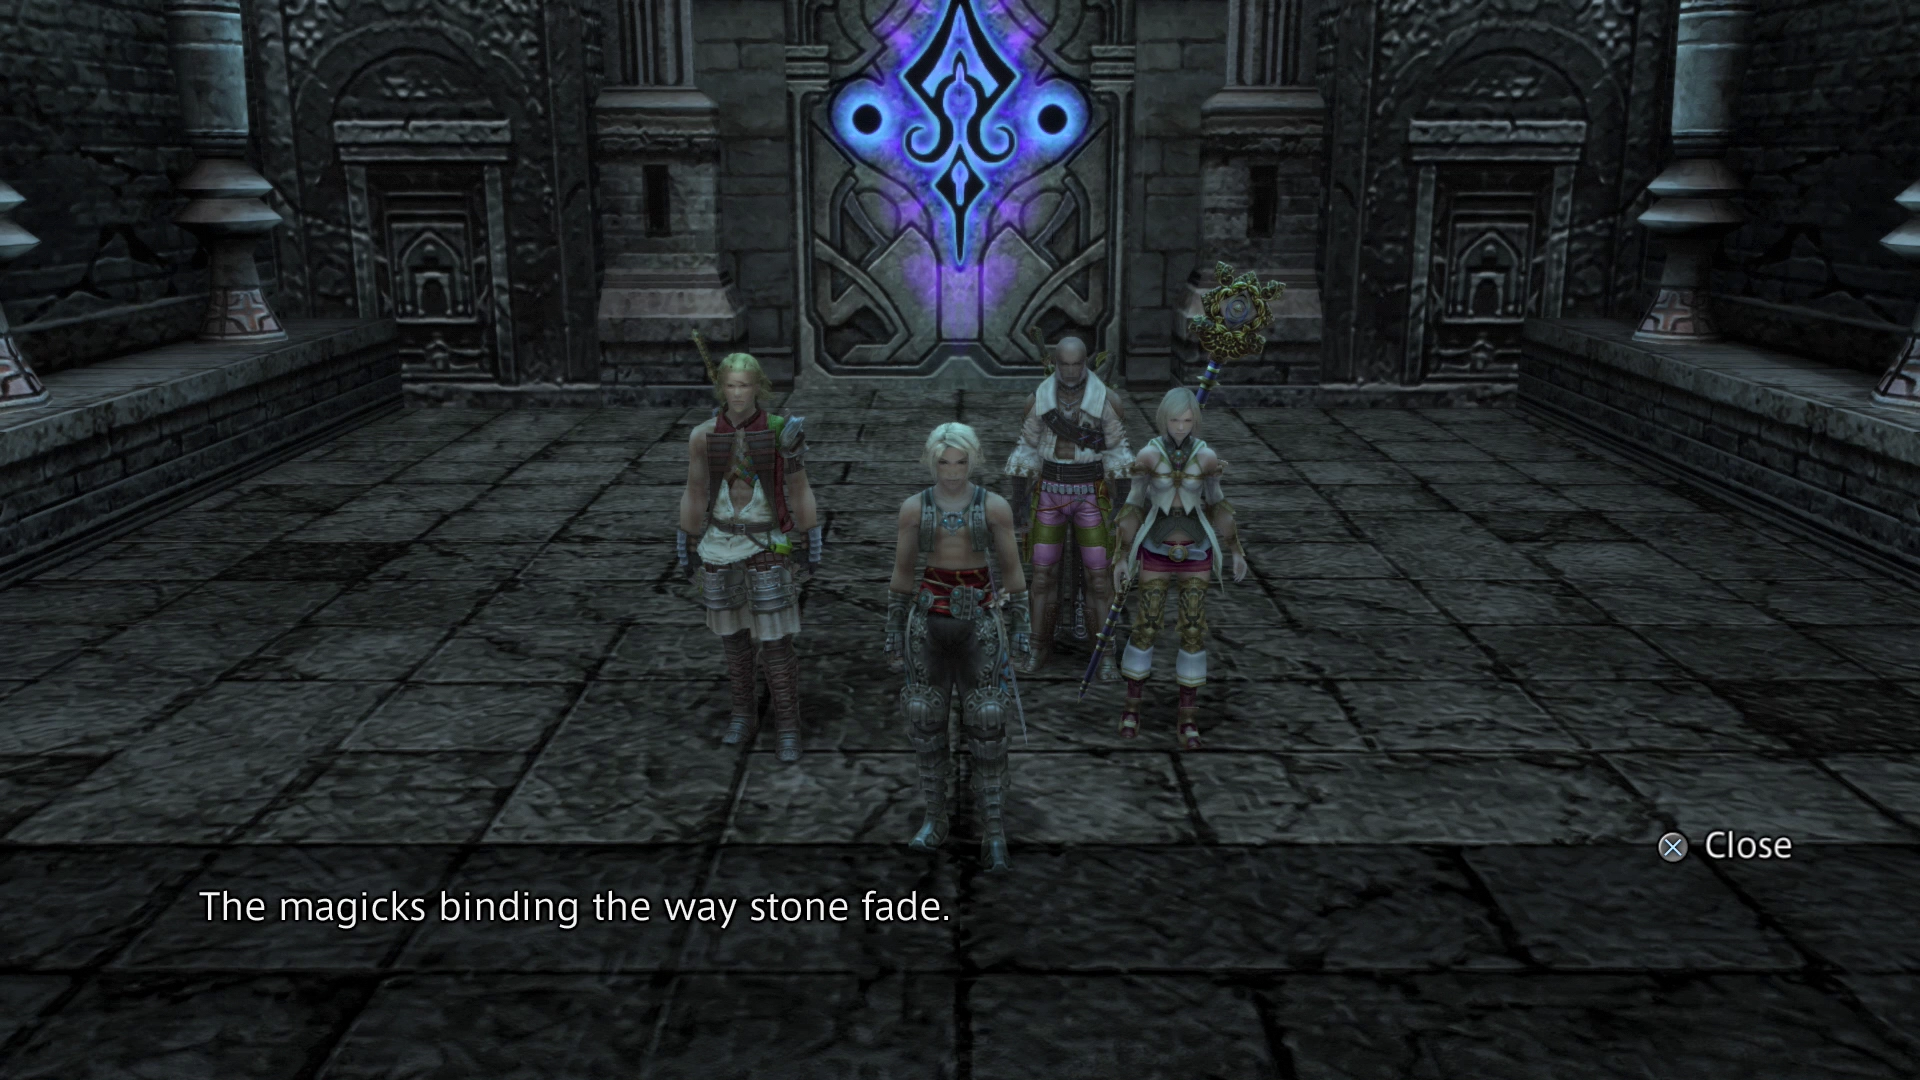
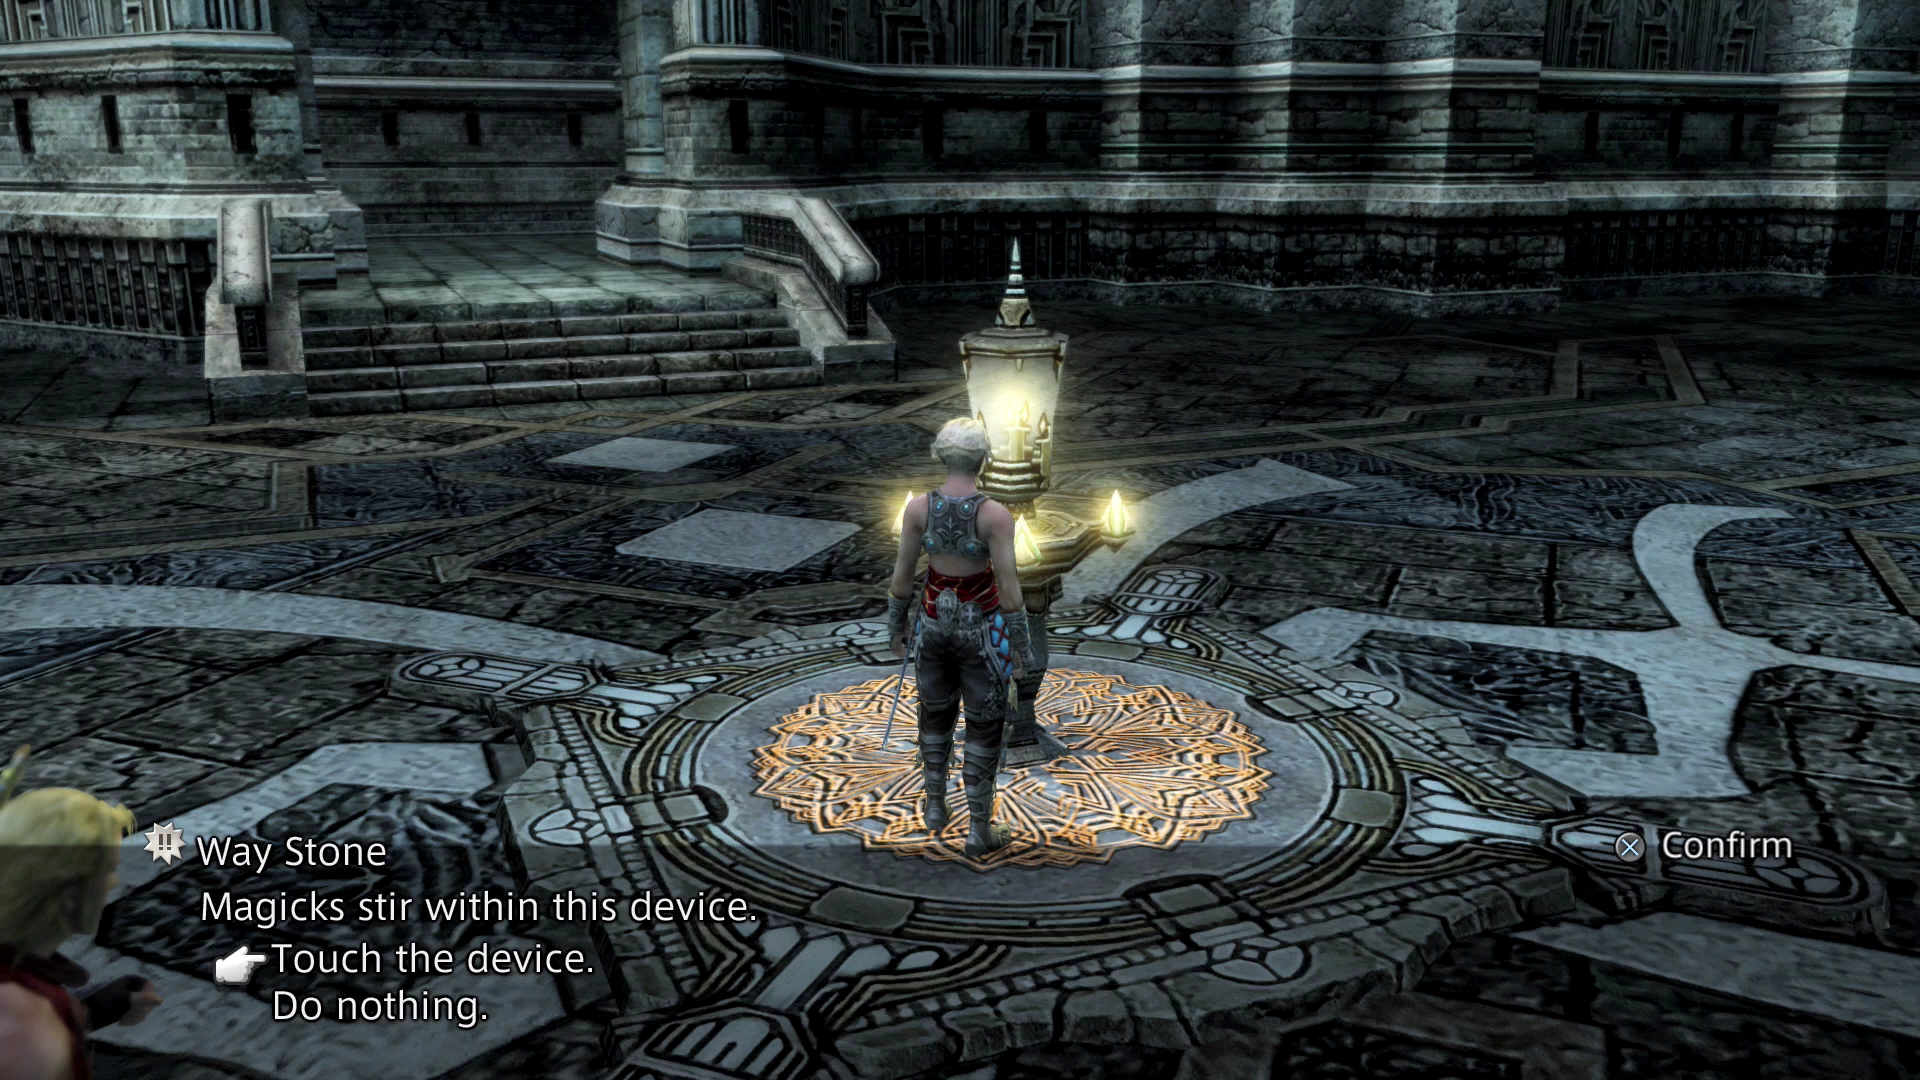
Head forward and look to the left – there is an orange Save Crystal in the northwest corner of the circular Wellspring area at the bottom floor of the Pharos. The Way Point near the entrance is currently non-functional and a boss will need to be defeated on this floor in order to activate it.
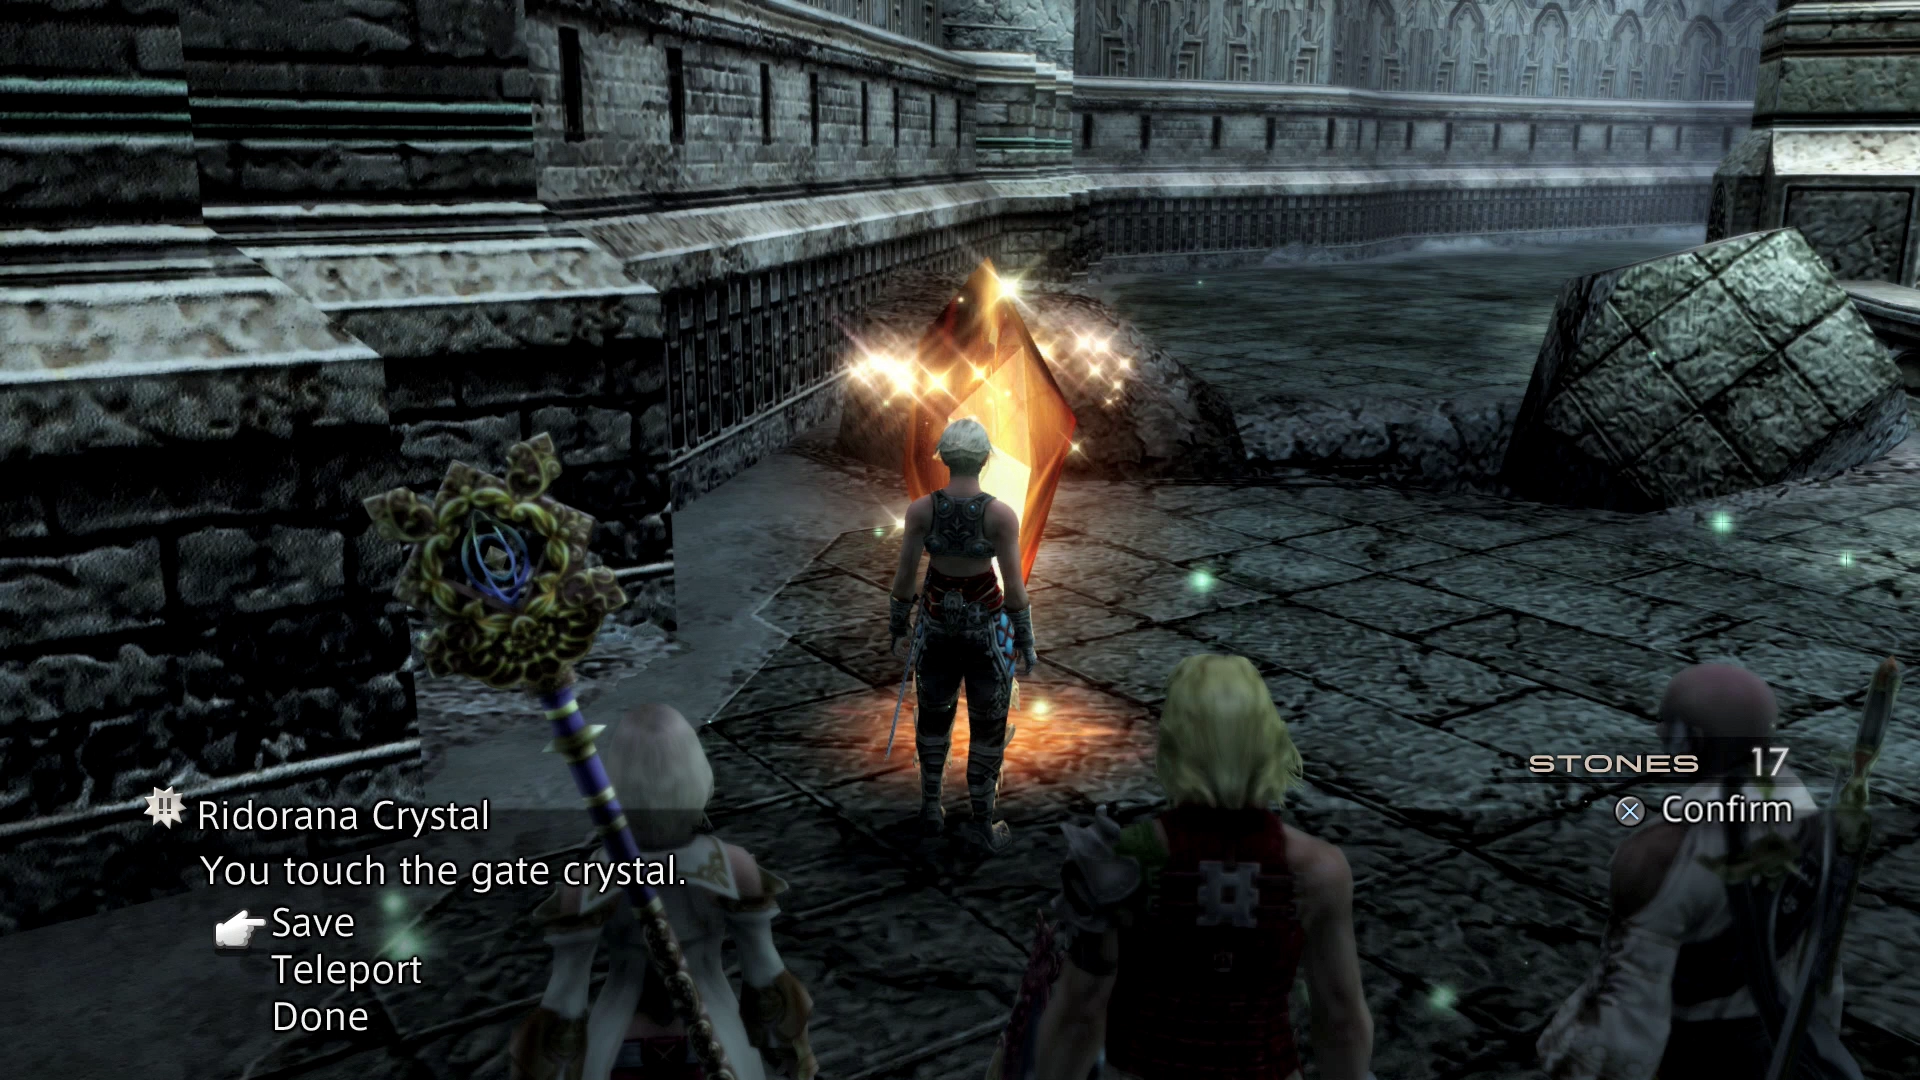
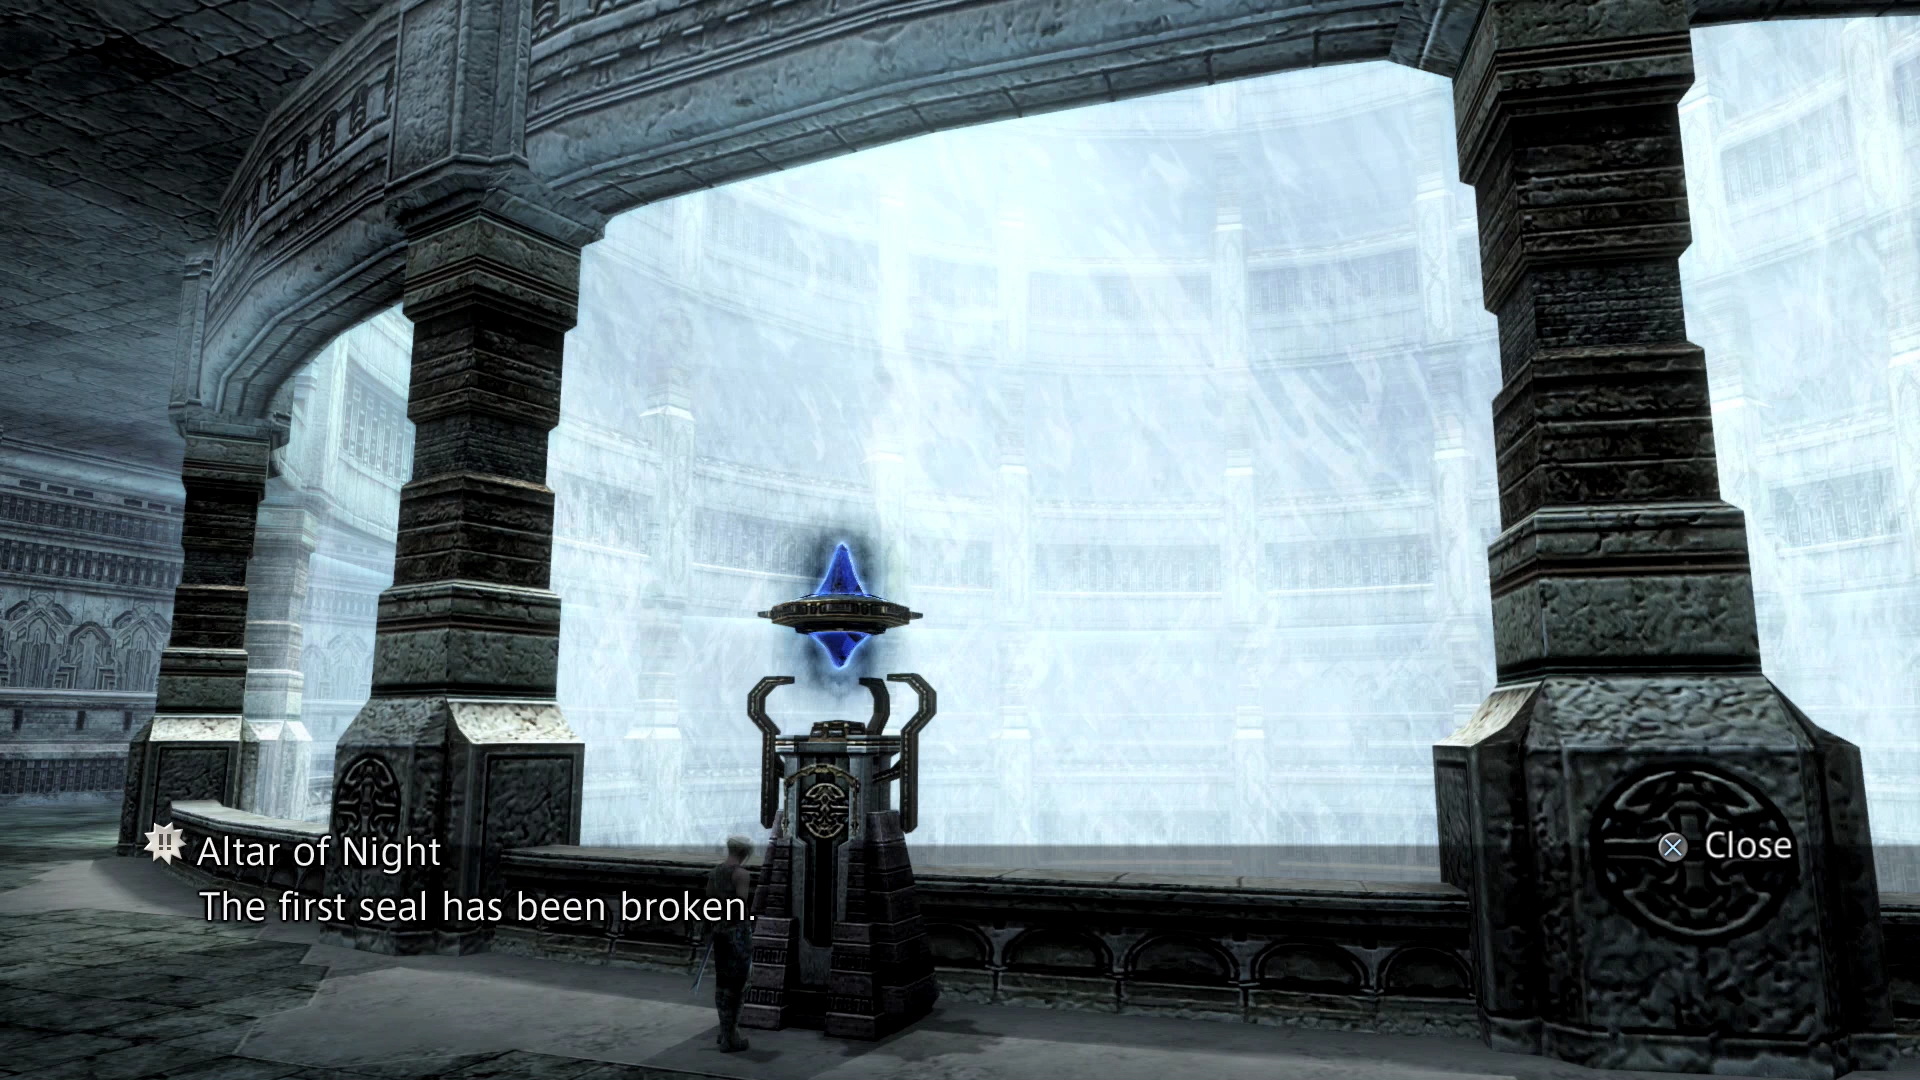
There are three “Altars of Night” located around the central circle of the Wellspring room. You can access one of them now, but the other two can only be accessed by proceeding into the Wellspring Labyrinth room that encircles the Wellspring.
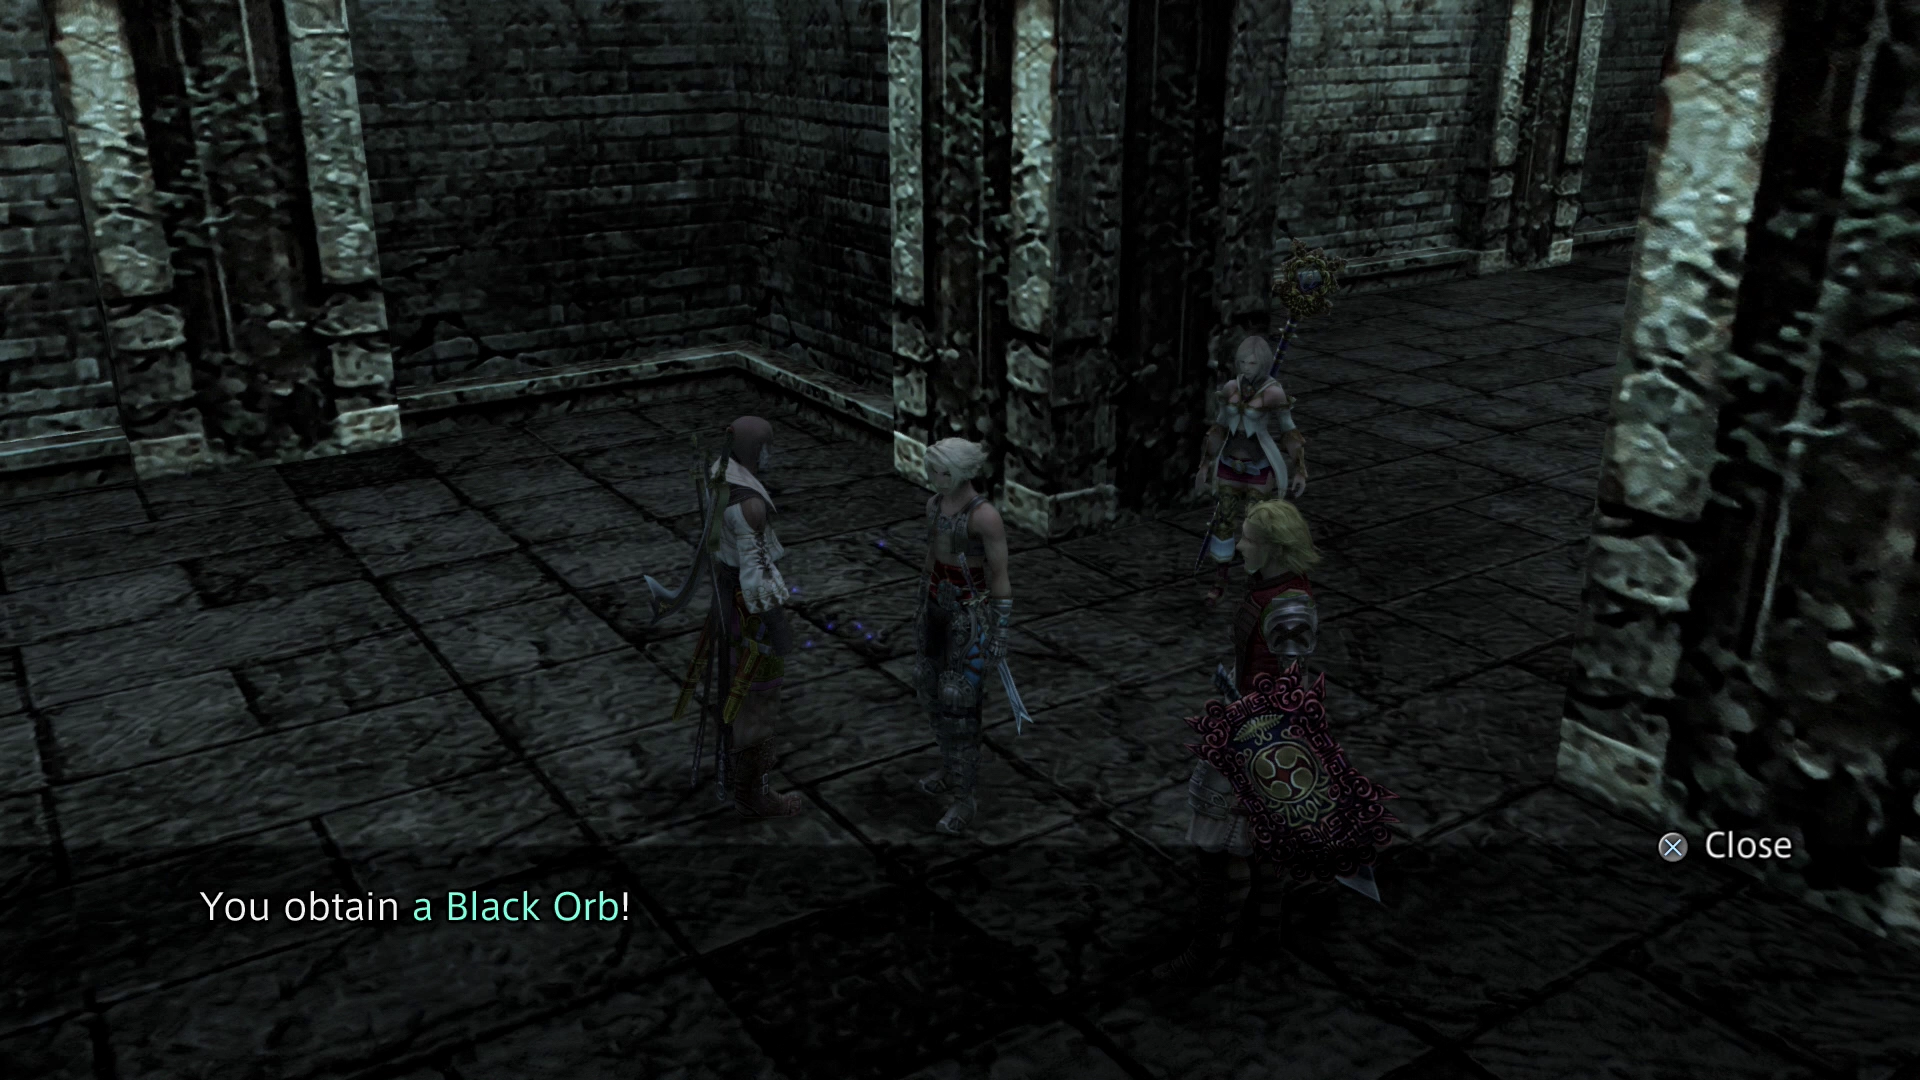
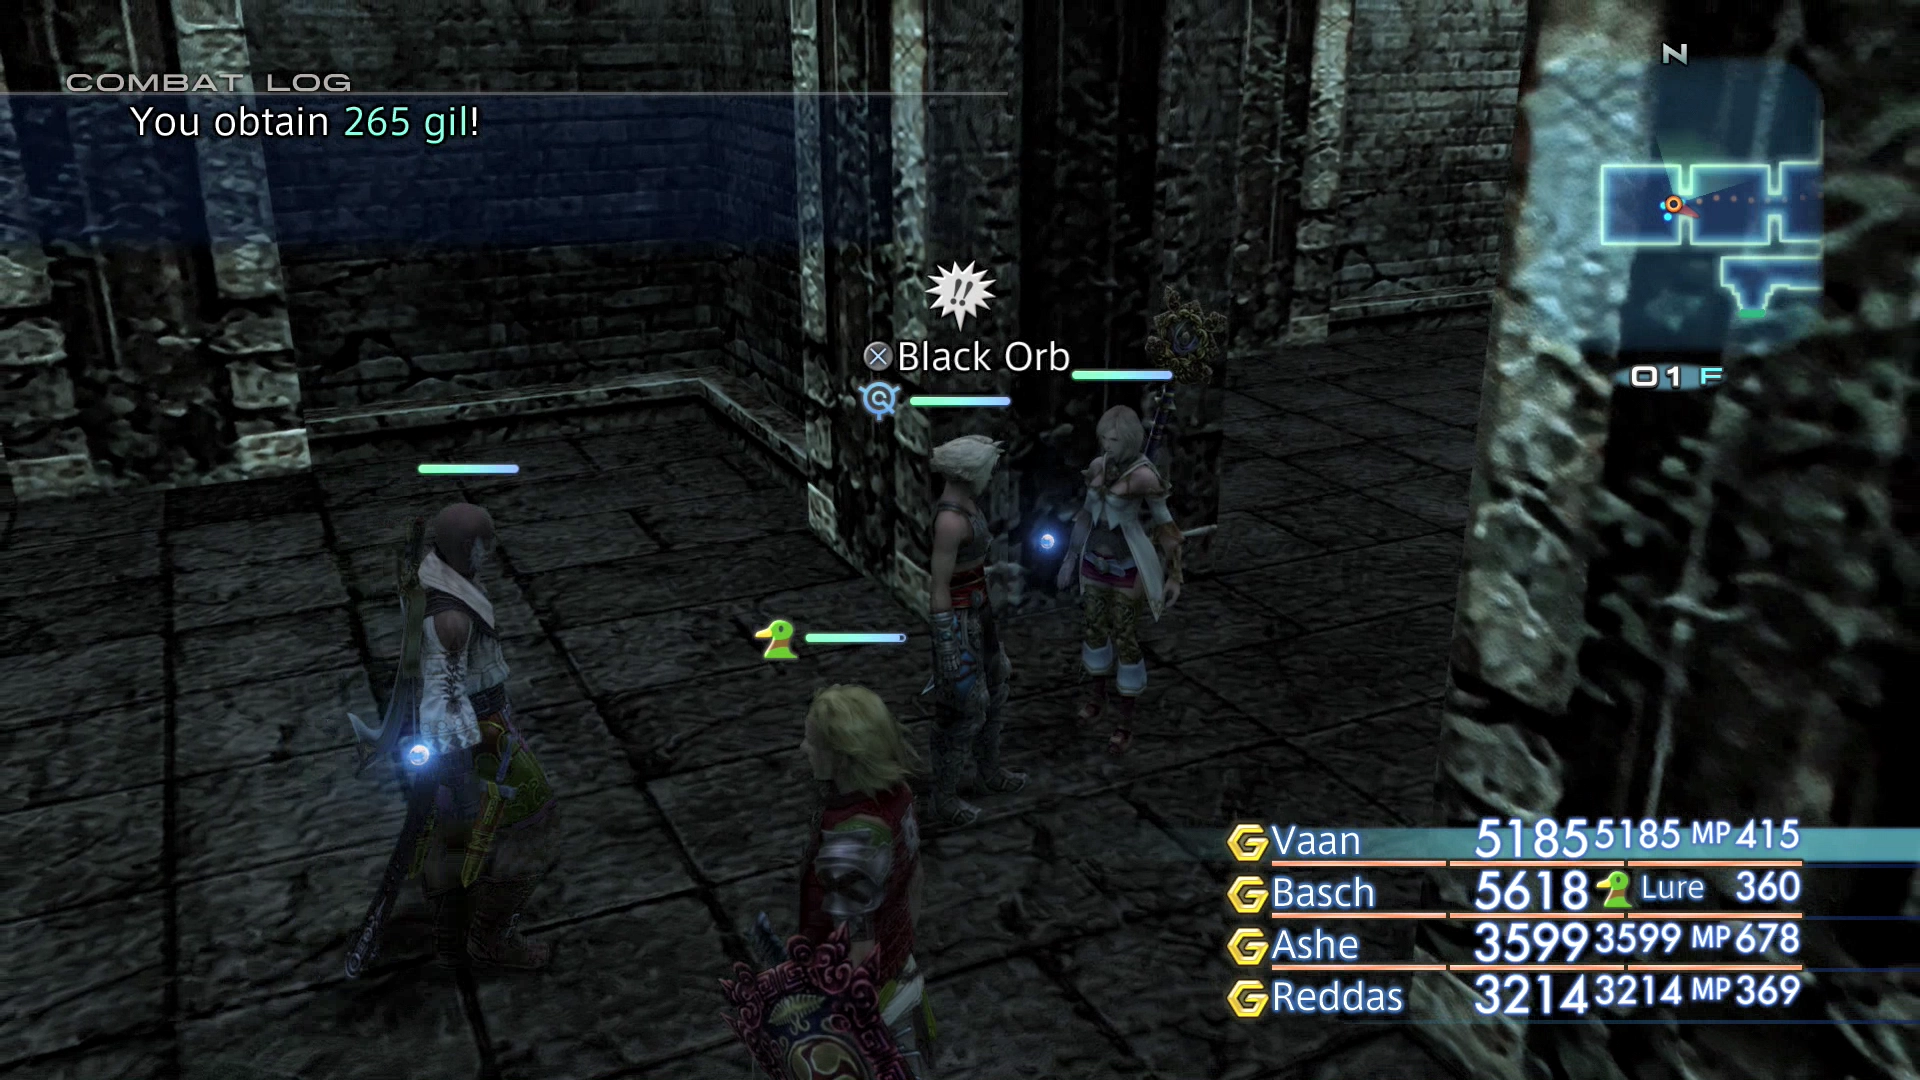
In order to open the locked door on the eastern side of the Blackrock Vault shown in the map below, you must locate Black Orb items inside the Wellspring Labyrinth that drop after you defeat enemies. It sounds confusing, but the premise is fairly straightforward.
The Carven Pillars located throughout the Pharos offer clues on what to do for each step, but they are extremely cryptic and you will not need them with this walkthrough at your disposal.
Make your way back to the Way Point and travel south (both the north and south doorways lead into the Wellspring Labyrinth).
Wellspring Labyrinth
Keep an eye out for Black Orbs that appear as you defeat enemies in this area. The screenshot below will give you an idea of what you are looking for.
The green Urn that contains the map of the Pharos: First Ascent is located along the southern wall the Wellspring Labyrinth (you will have to circle around to the southwest corner and travel back west to obtain it).
The goal of this first level is to place a Black Orb in each of the three Altar of Nights located in the central Wellspring. There is an Altar of Night near the Save Crystal that you have already seen, there is one in the southwest corner and there is one in the northeast corner.
Once you have placed a Black Orb in each of the Altars, the doorway leading into the Blackrock Vault room on the east side of the map will open up. Travel through the doorway and into the room.
Dunes of Profaning Wind
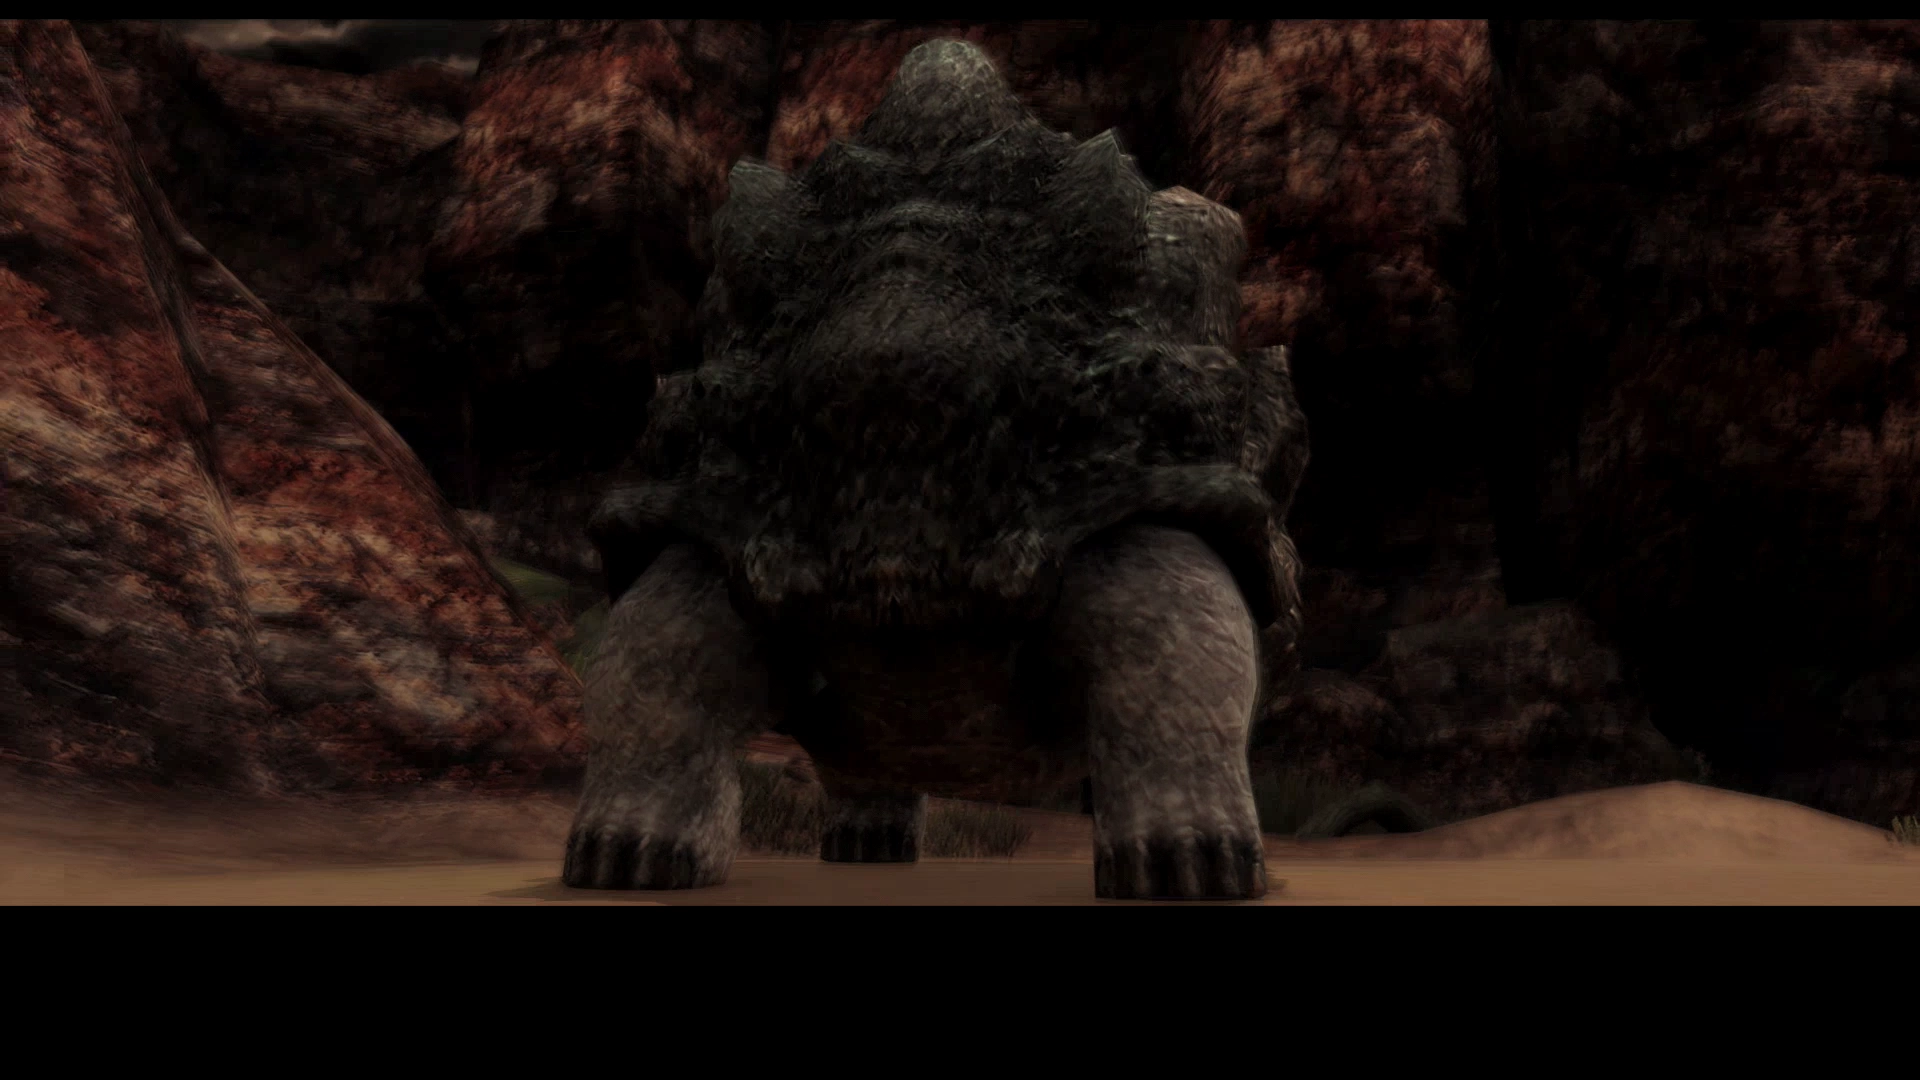
The team will be transported into a strange looking area that appears to be on a cliff with a dirt road. This is an illusion that will disappear once you defeat the upcoming boss.
The boss battle will be initiated once you approach the proper boulder along the trail; otherwise, you will be transported back to the beginning of this pathway to restart and try again. The correct “boulder” is the one furthest away from where you start. Travel up the cliff to the right.
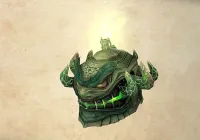
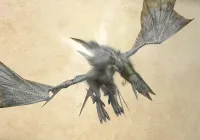
Boss Battle
Level: 45
HP: 116,678
Steal: ![]() Ancient Turtle Shell (55%),
Ancient Turtle Shell (55%), ![]() Aries Gem (10%),
Aries Gem (10%), ![]() Scarletite (3%)
Scarletite (3%)
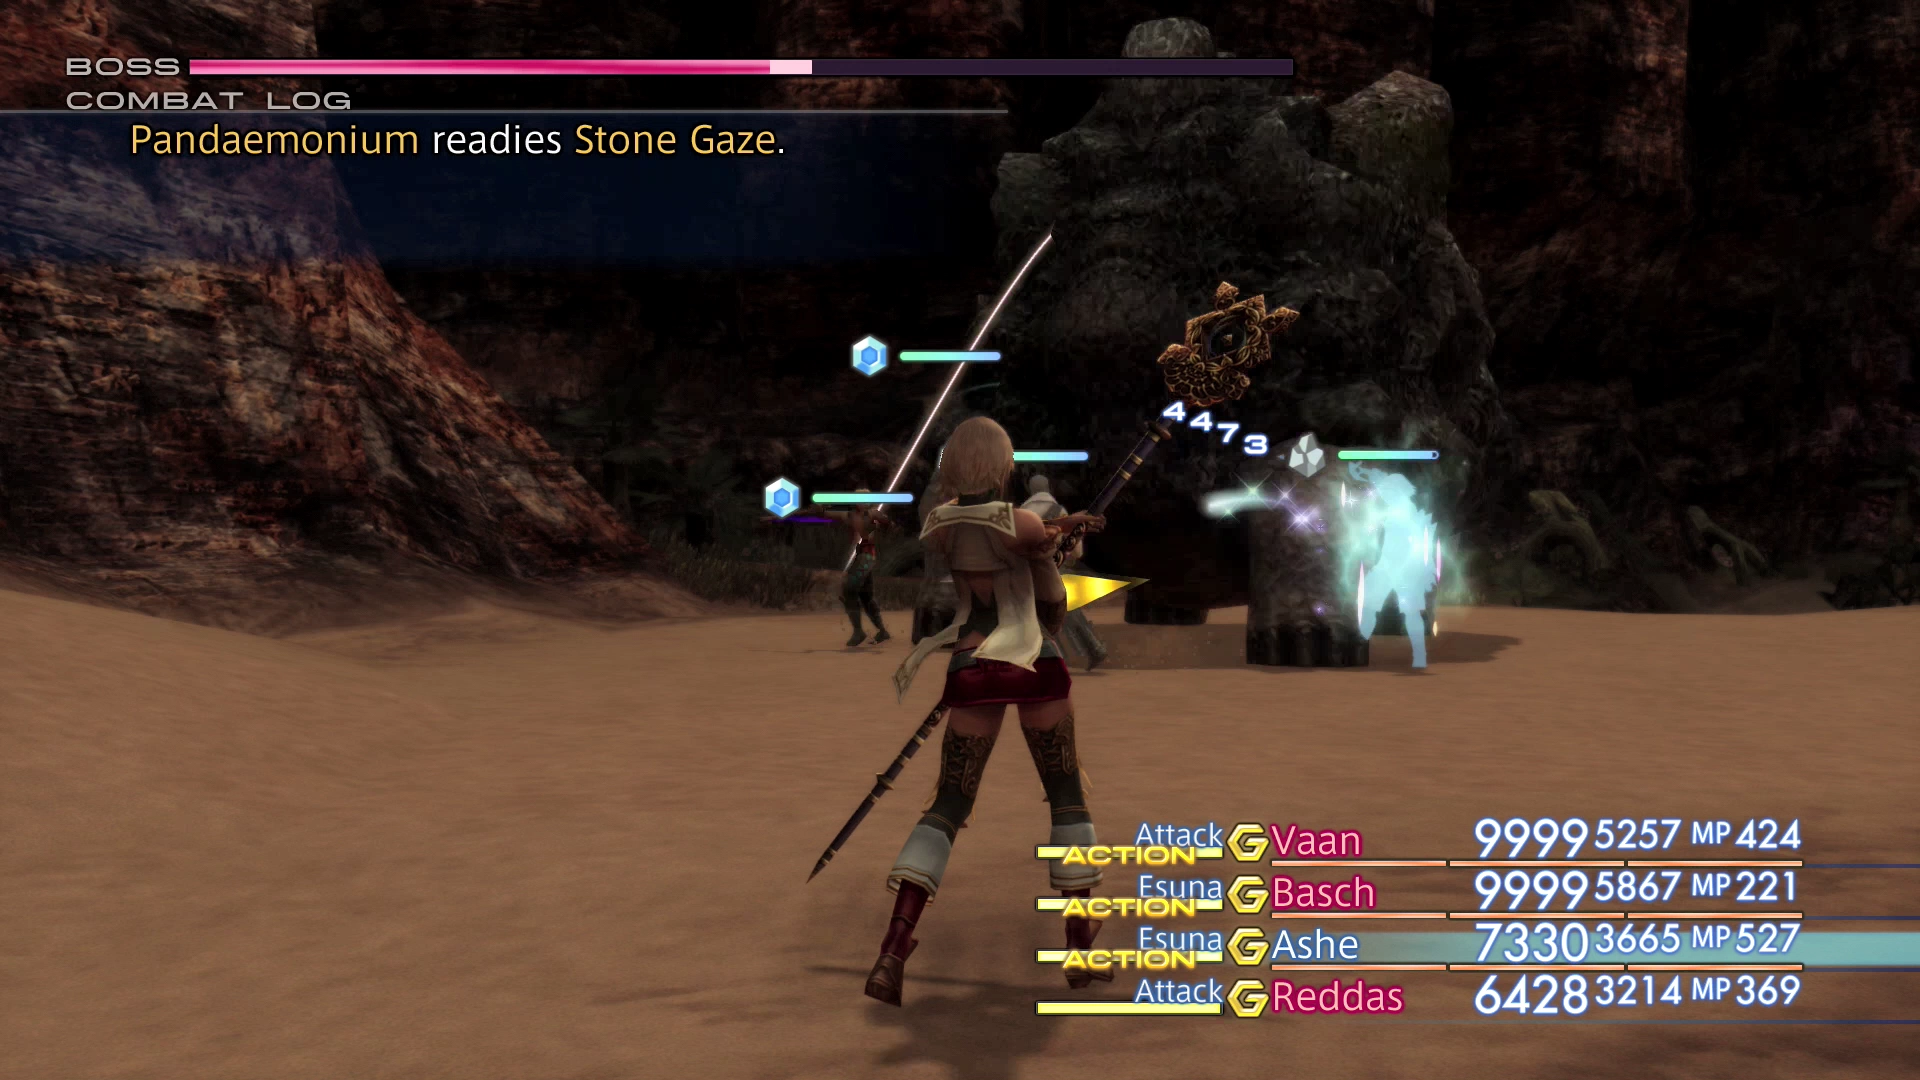
Pandaemonium has two attacks that can cause negative status effects. It can use Flash which causes ![]() Blind and Stone Gaze which causes Petrify. You can either equip your characters with
Blind and Stone Gaze which causes Petrify. You can either equip your characters with ![]() Fuzzy Miters and/or
Fuzzy Miters and/or ![]() Argyle Armlets to deal with those status effects or have your characters all set up with
Argyle Armlets to deal with those status effects or have your characters all set up with ![]() Esuna or
Esuna or ![]() Esunaga Gambits.
Esunaga Gambits.
Make sure to use ![]() Dispel on Pandaemonium as soon as the battle begins to get rid of its
Dispel on Pandaemonium as soon as the battle begins to get rid of its ![]() Protect status buff. You should also set up a
Protect status buff. You should also set up a ![]() Protect or
Protect or ![]() Protectga Gambit to keep on your characters for the duration of the fight as this boss/mark can combo its attacks fairly frequently.
Protectga Gambit to keep on your characters for the duration of the fight as this boss/mark can combo its attacks fairly frequently.
Pandaemonium has extremely high defense. Use the ![]() Expose Technick if you have it to lower its defense and increase the amount of damage done by your physical attacks.
Expose Technick if you have it to lower its defense and increase the amount of damage done by your physical attacks.
It will use an attack called “Perfect Defense” once it reaches 50% of its HP which will make it immune to physical and Magick-based attacks; just wait out the timer until Perfect Defense wears off and continue your attack. It will hit much harder as well when it drops below 20% so keep your party member’s HP topped off.
You can find a video of this battle in the Zodiac Age version below.
Blackrock Vault
The illusion will have been removed at the conclusion of the fight leaving nothing behind but an empty room.
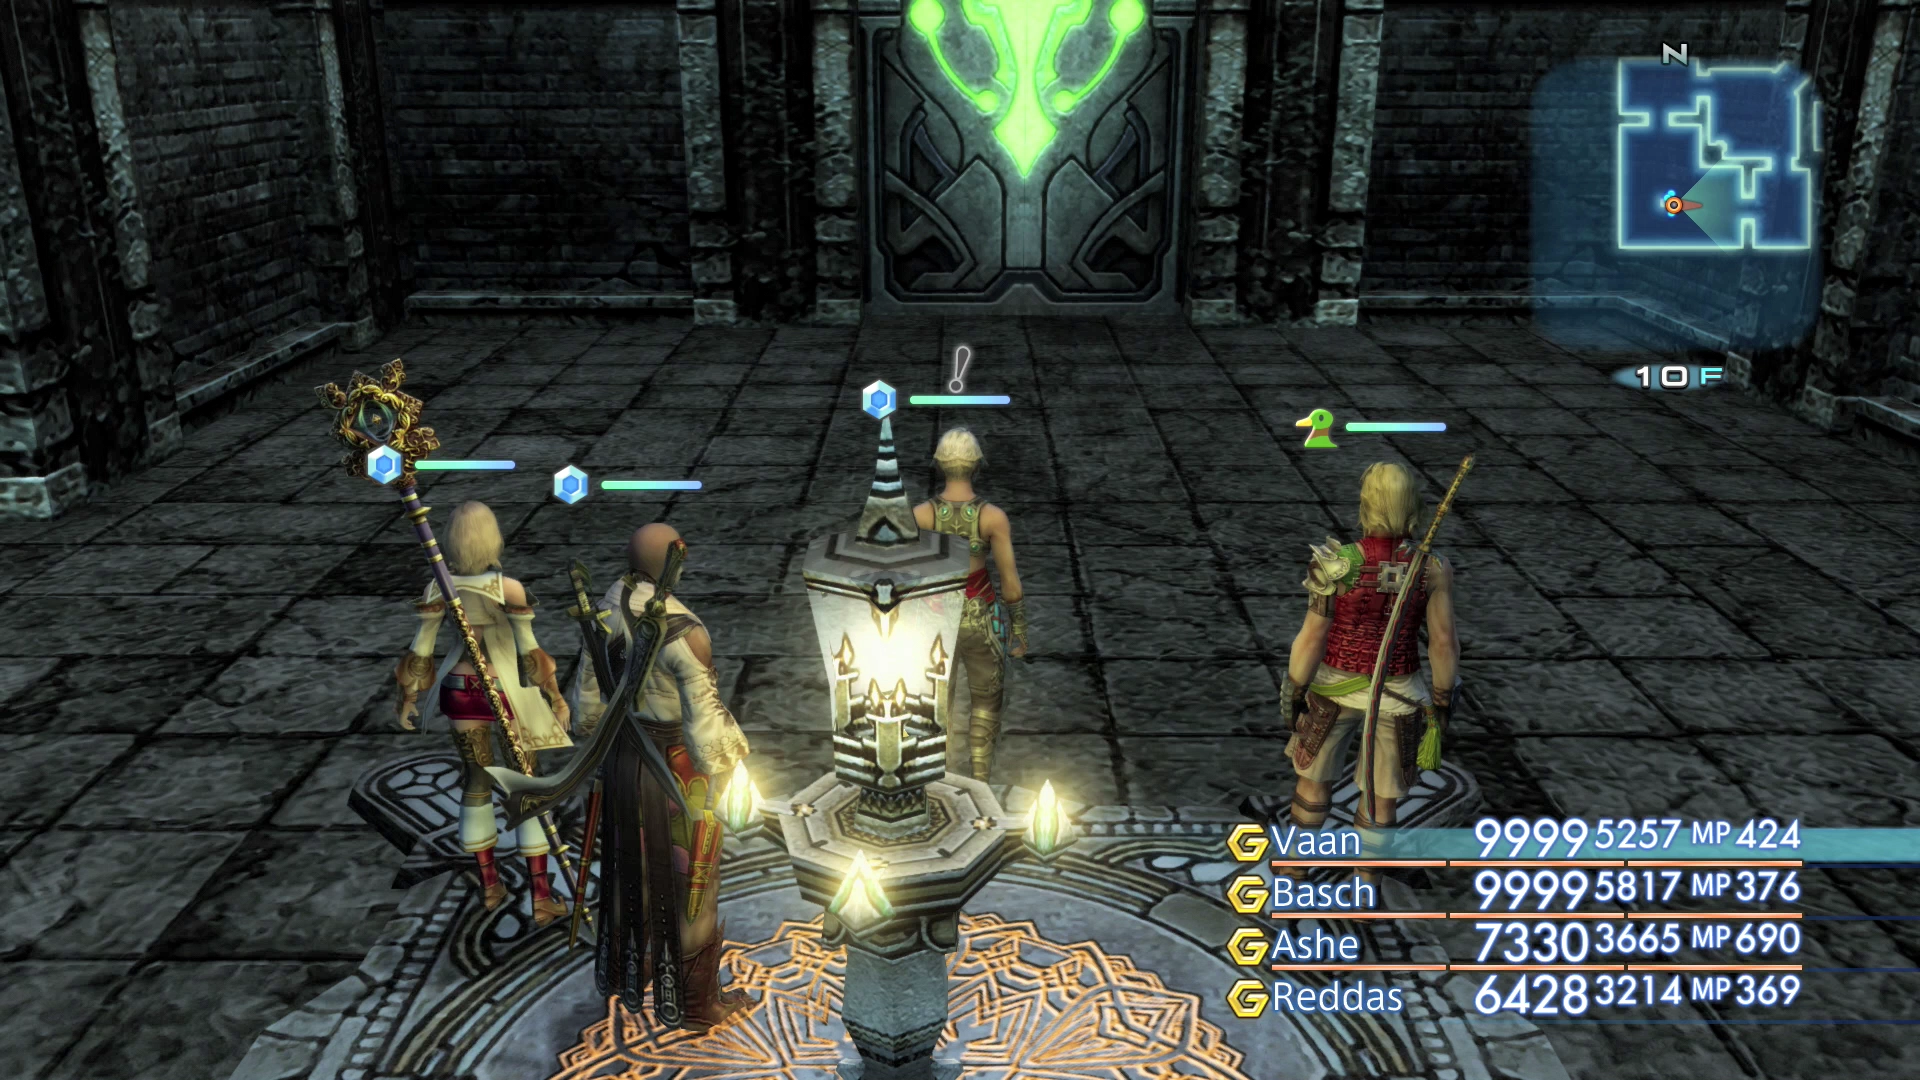
Travel back to the west side of the dungeon, consider saving your game at the orange Save Crystal when you arrive and touch the Way Point to move up to the next floor of the First Ascent.
Wellspring Ravel – 1st Flight
There is a new indicator that appears underneath the mini-map when you reach this floor which will indicate what ‘level’ or floor you are on as you continue up the Flights of the Wellspring Ravel.
You start on 10F and need to get up to 90F in order to move on to the next area. The floor numbers are not really that important but they can be helpful for keeping track of what point of this guide you are on and will be referred to throughout.
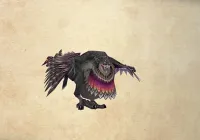
Take the pathway leading east to find to Brainpan enemies. As you defeat them, a group of translucent green blocks will materialize from the sky creating a bridge that you can use to cross heading eastward.

Continue eastwards following the pathway along into the next area. There will be another gap that requires you to defeat four Brainpan enemies.
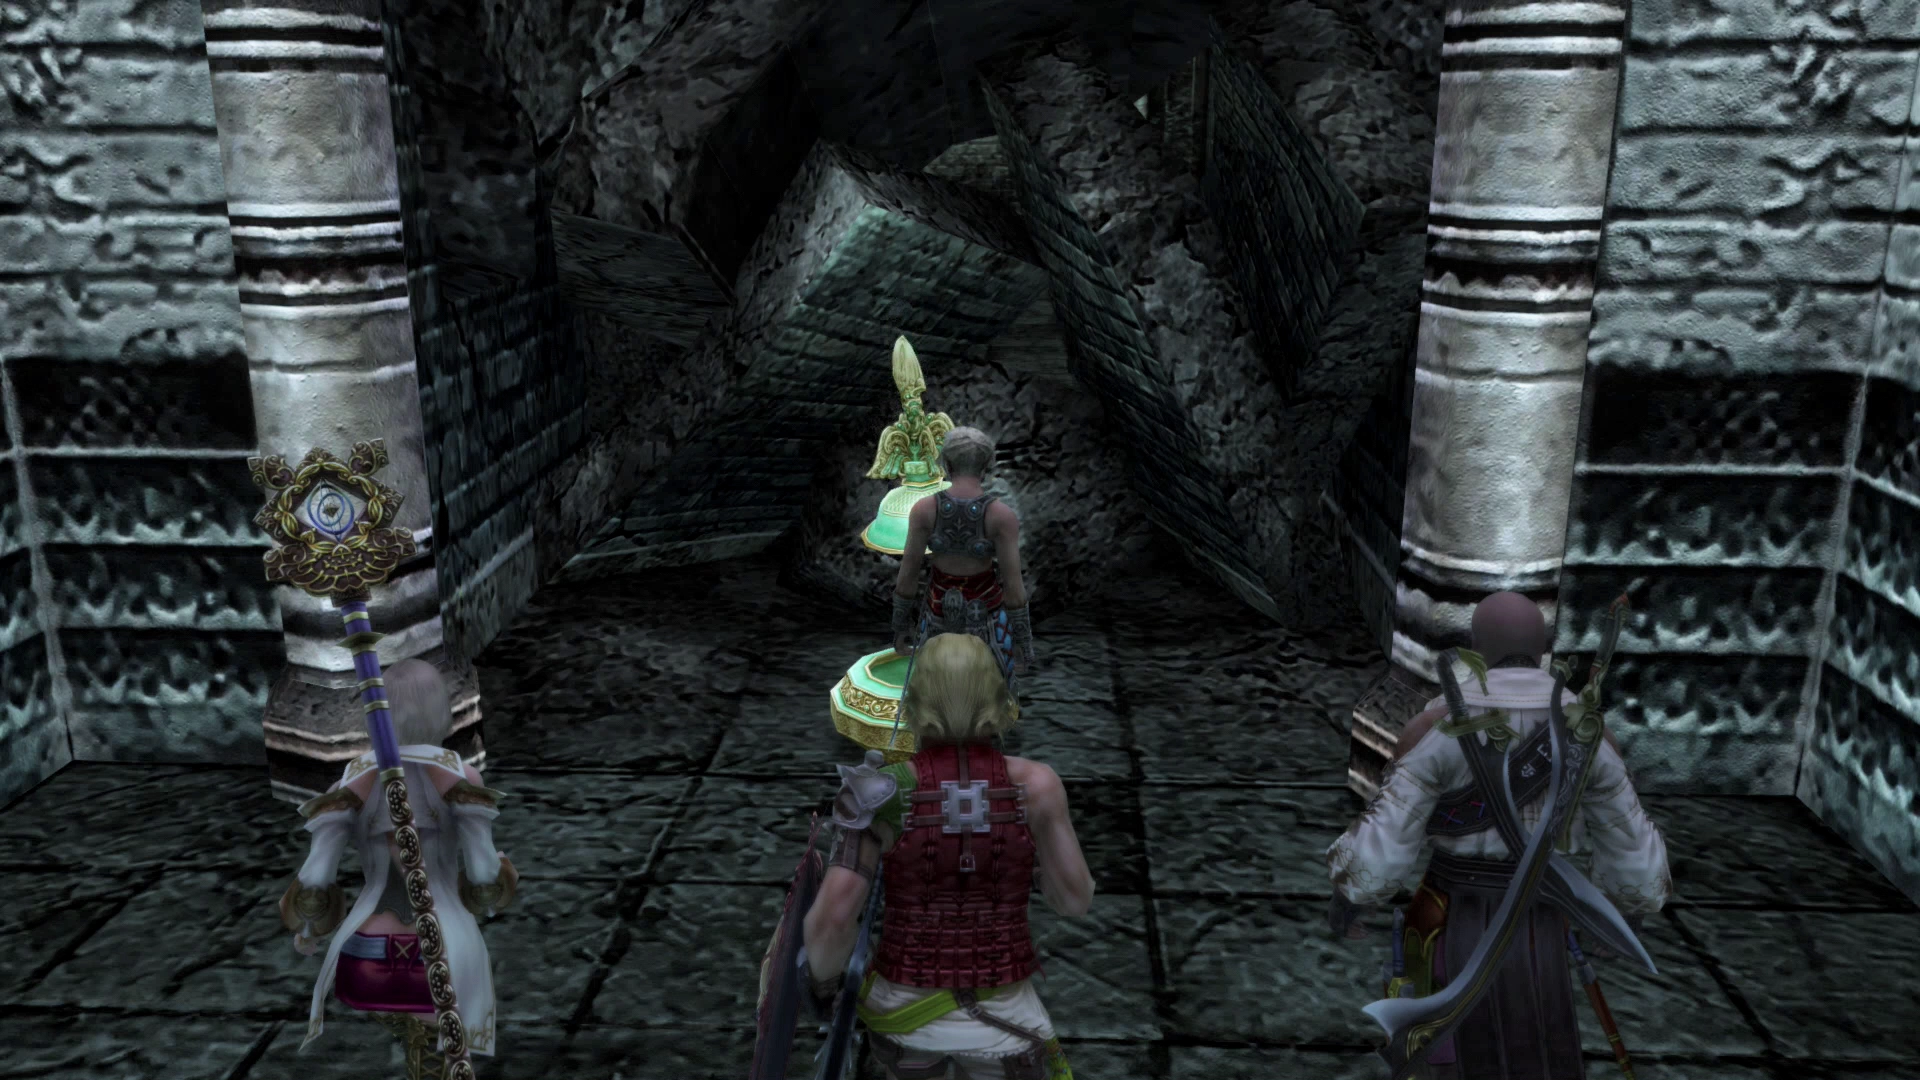
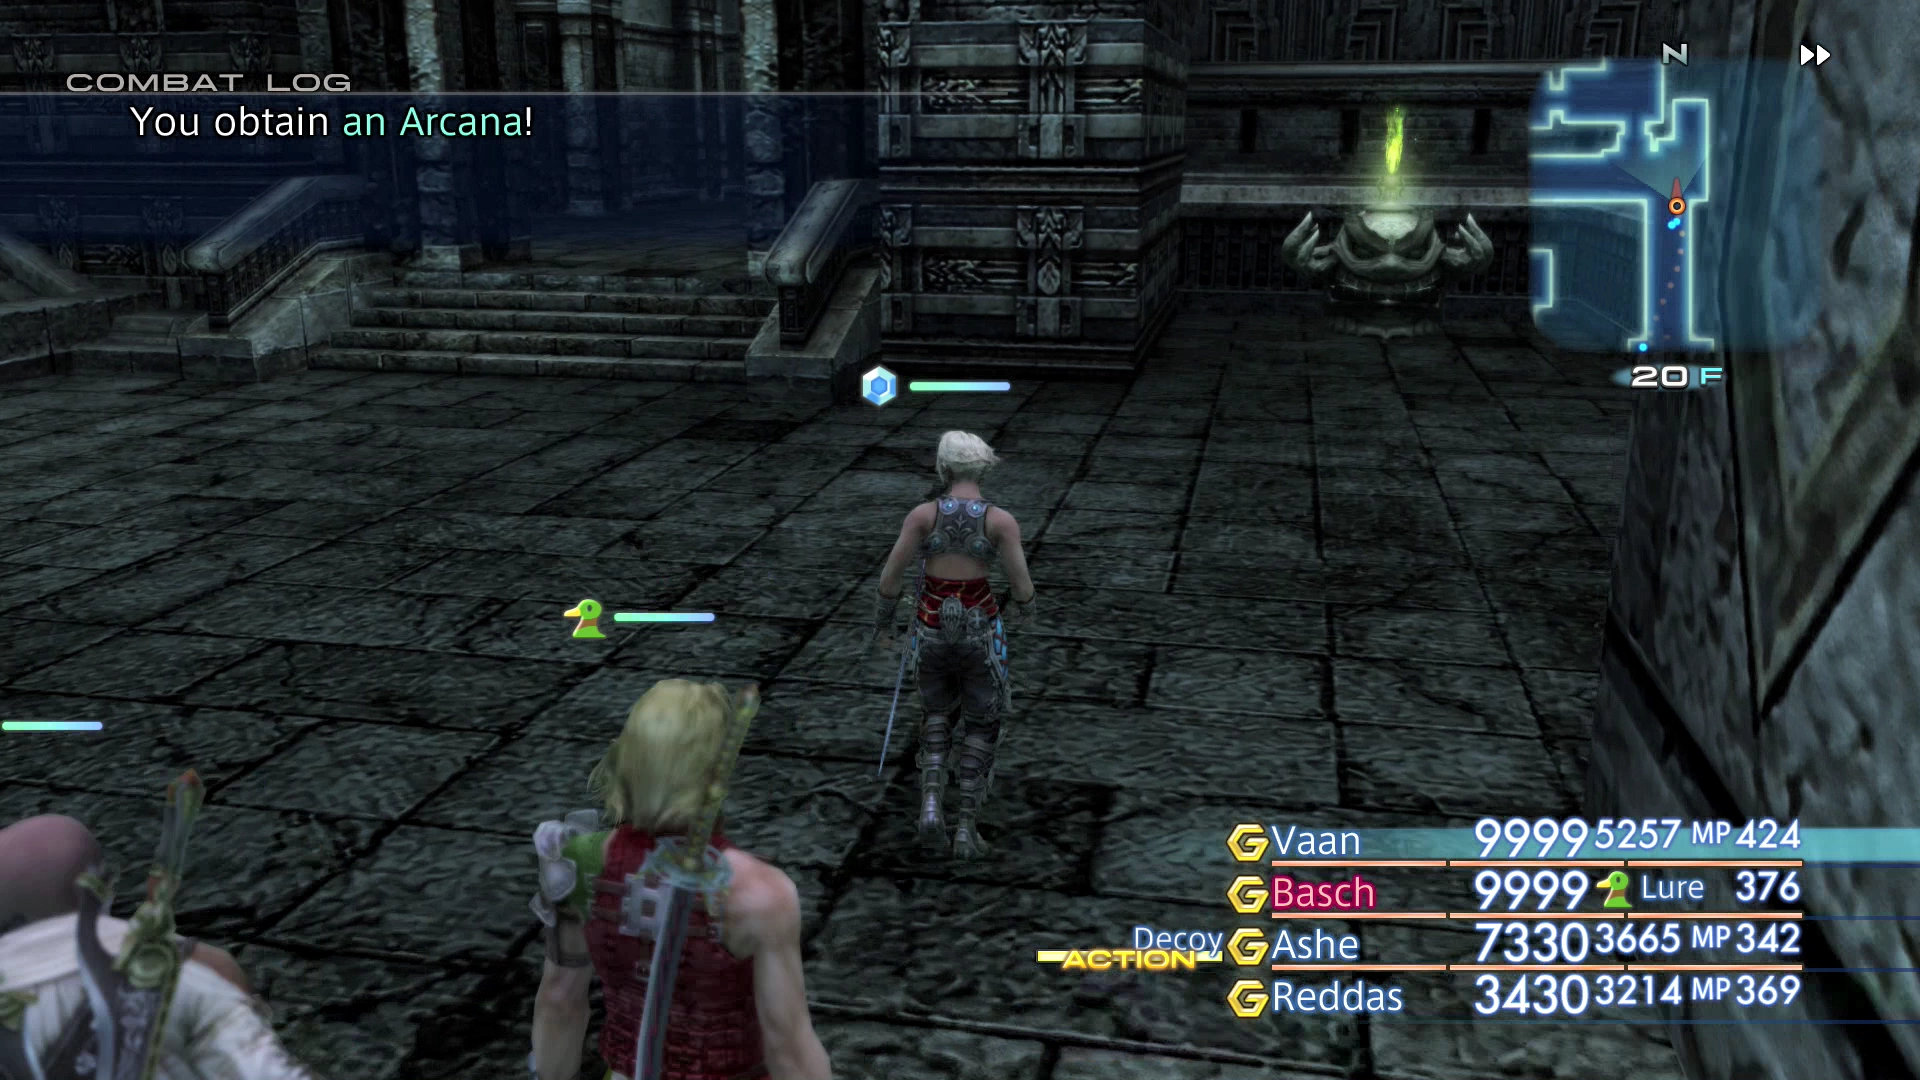
There is one that is a little bit harder to find which is located just south of the stairs on 15F (shown in the screenshot below). Continue along the pathway until you reach the next Flight.
Wellspring Ravel – 2nd Flight
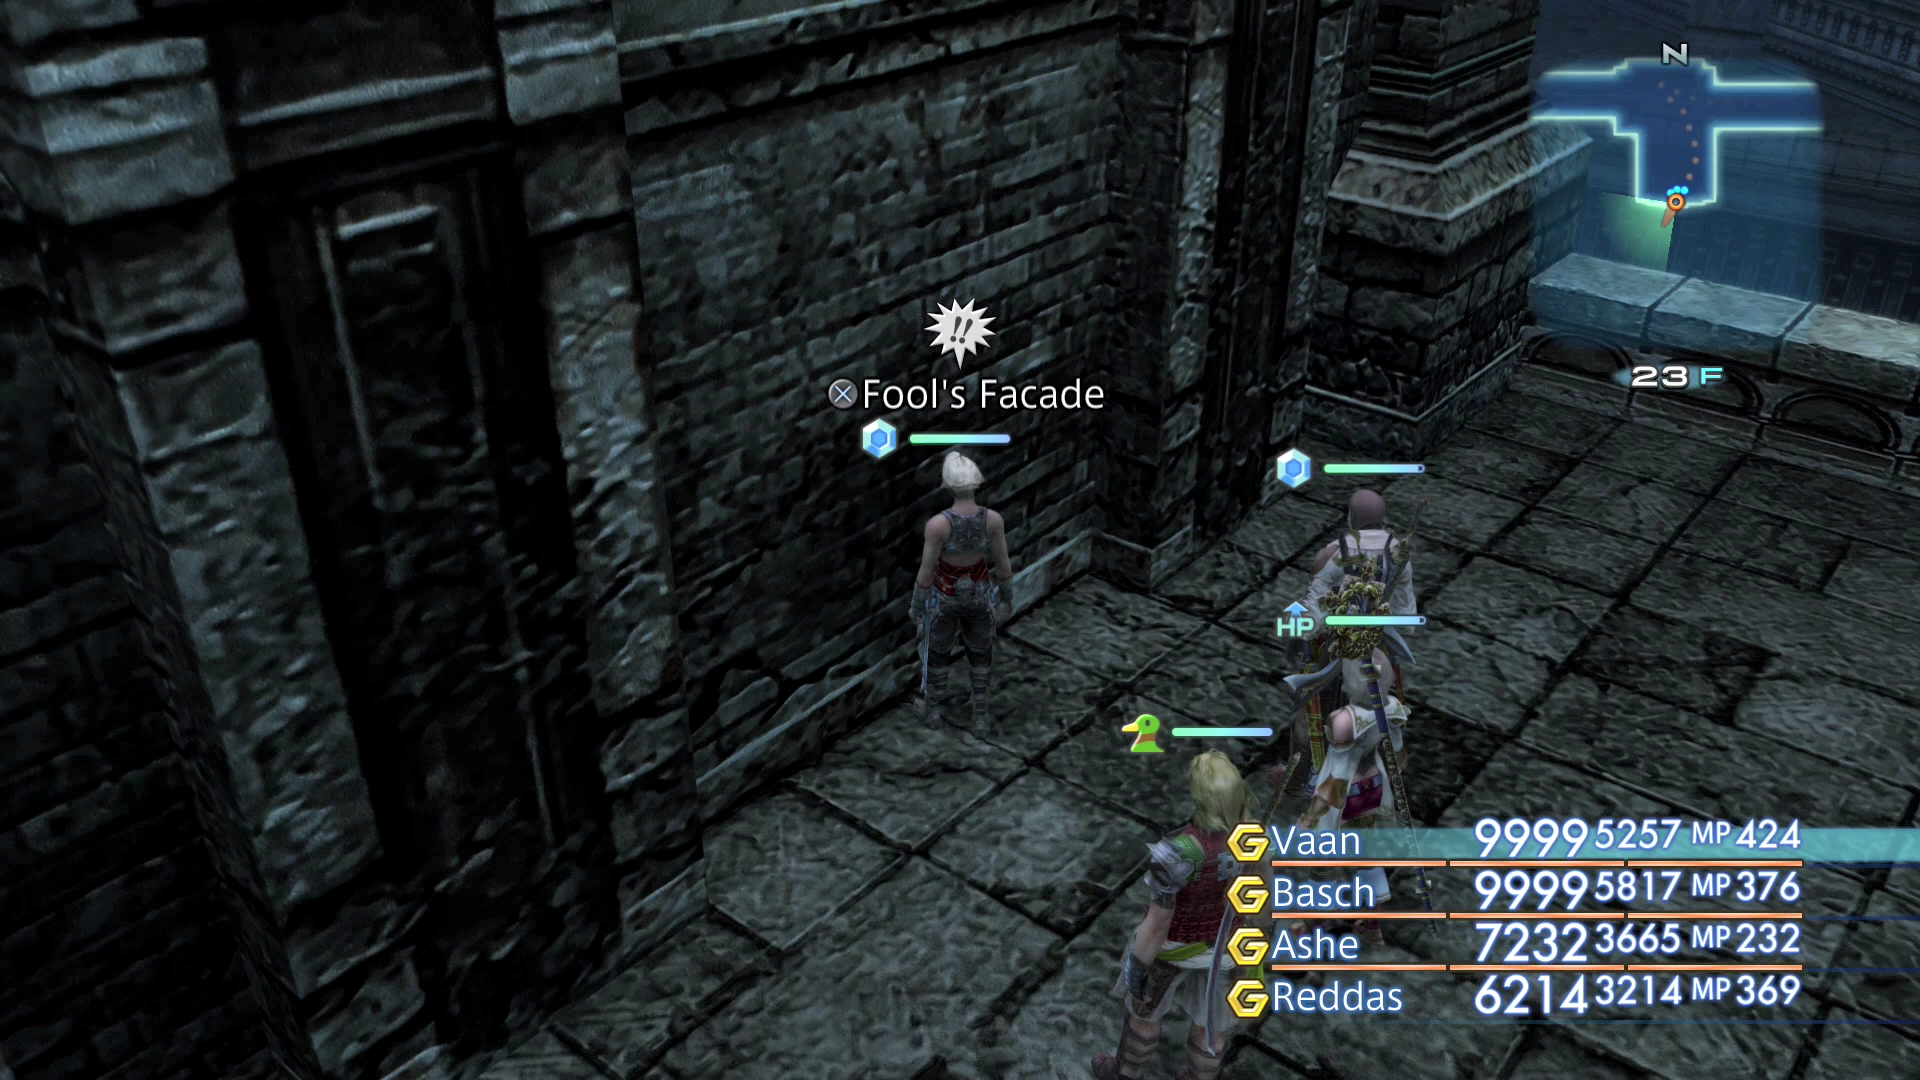
Keep climbing the stairs up to 20F defeating each of the Chimera Brains as you pass. There is a Brainpan at the top of the stairs to the right of the doorway and another one inside the doorway and to the west. Head up the stairs going west and then north defeating the third Brainpan in the corner of the hallway.
Continue climbing the stairs until you reach 23F. There are two Chimera Brains on this level and a ‘wall’ on the south side of the platform. This wall is a “Fool’s Façade.” Press the ![]()
![]()
![]() button near the wall to examine it and select the “strike the wall” option when presented with the option to do so.
button near the wall to examine it and select the “strike the wall” option when presented with the option to do so.
Climb up the stairs to the next level (24F) and search for a treasure chest in the corner. There is a chance for this treasure chest to contain a ![]() Chaperon. There is another Fool’s Façade wall on 24F that you can use to get back out to the main pathway.
Chaperon. There is another Fool’s Façade wall on 24F that you can use to get back out to the main pathway.
Climb the next set of stairs up to 25F and defeat all three of the Brainpans at the top. This should complete the bridge on the corner of this platform allowing you to cross heading south.
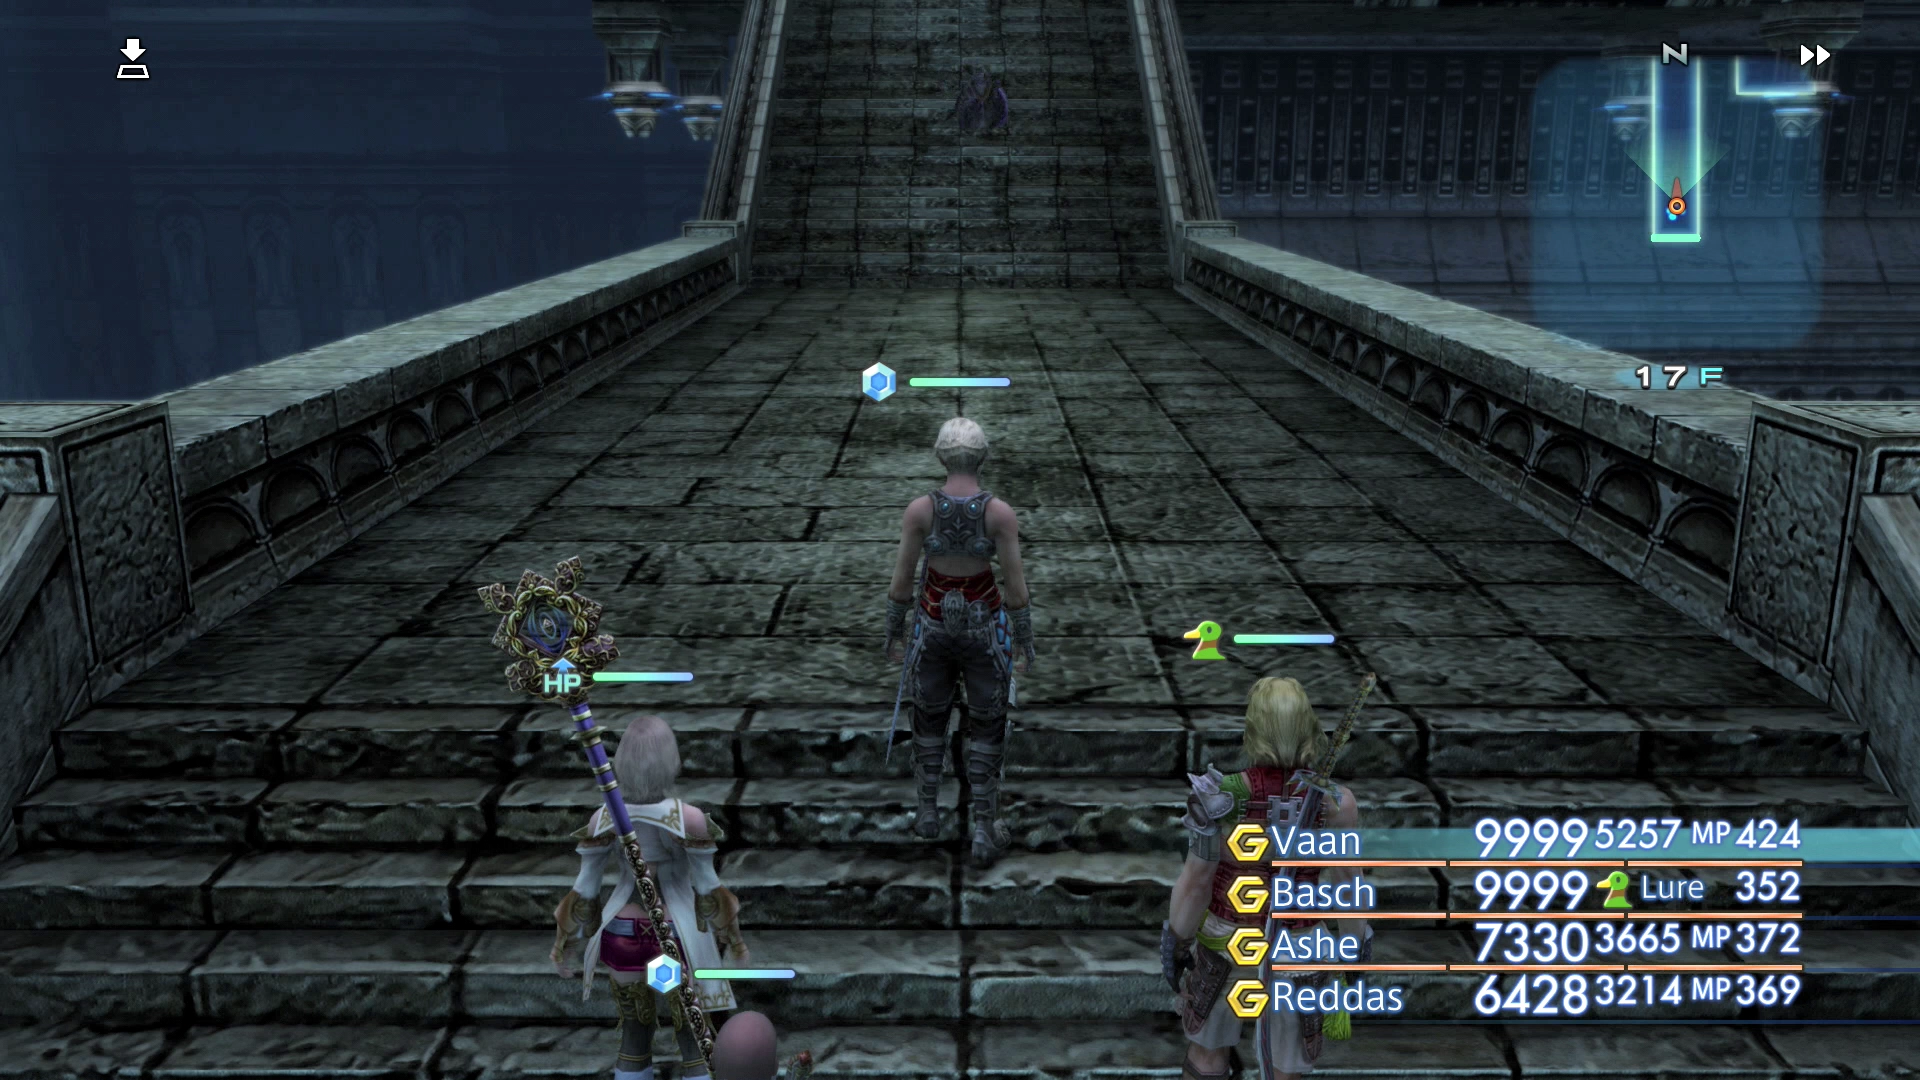
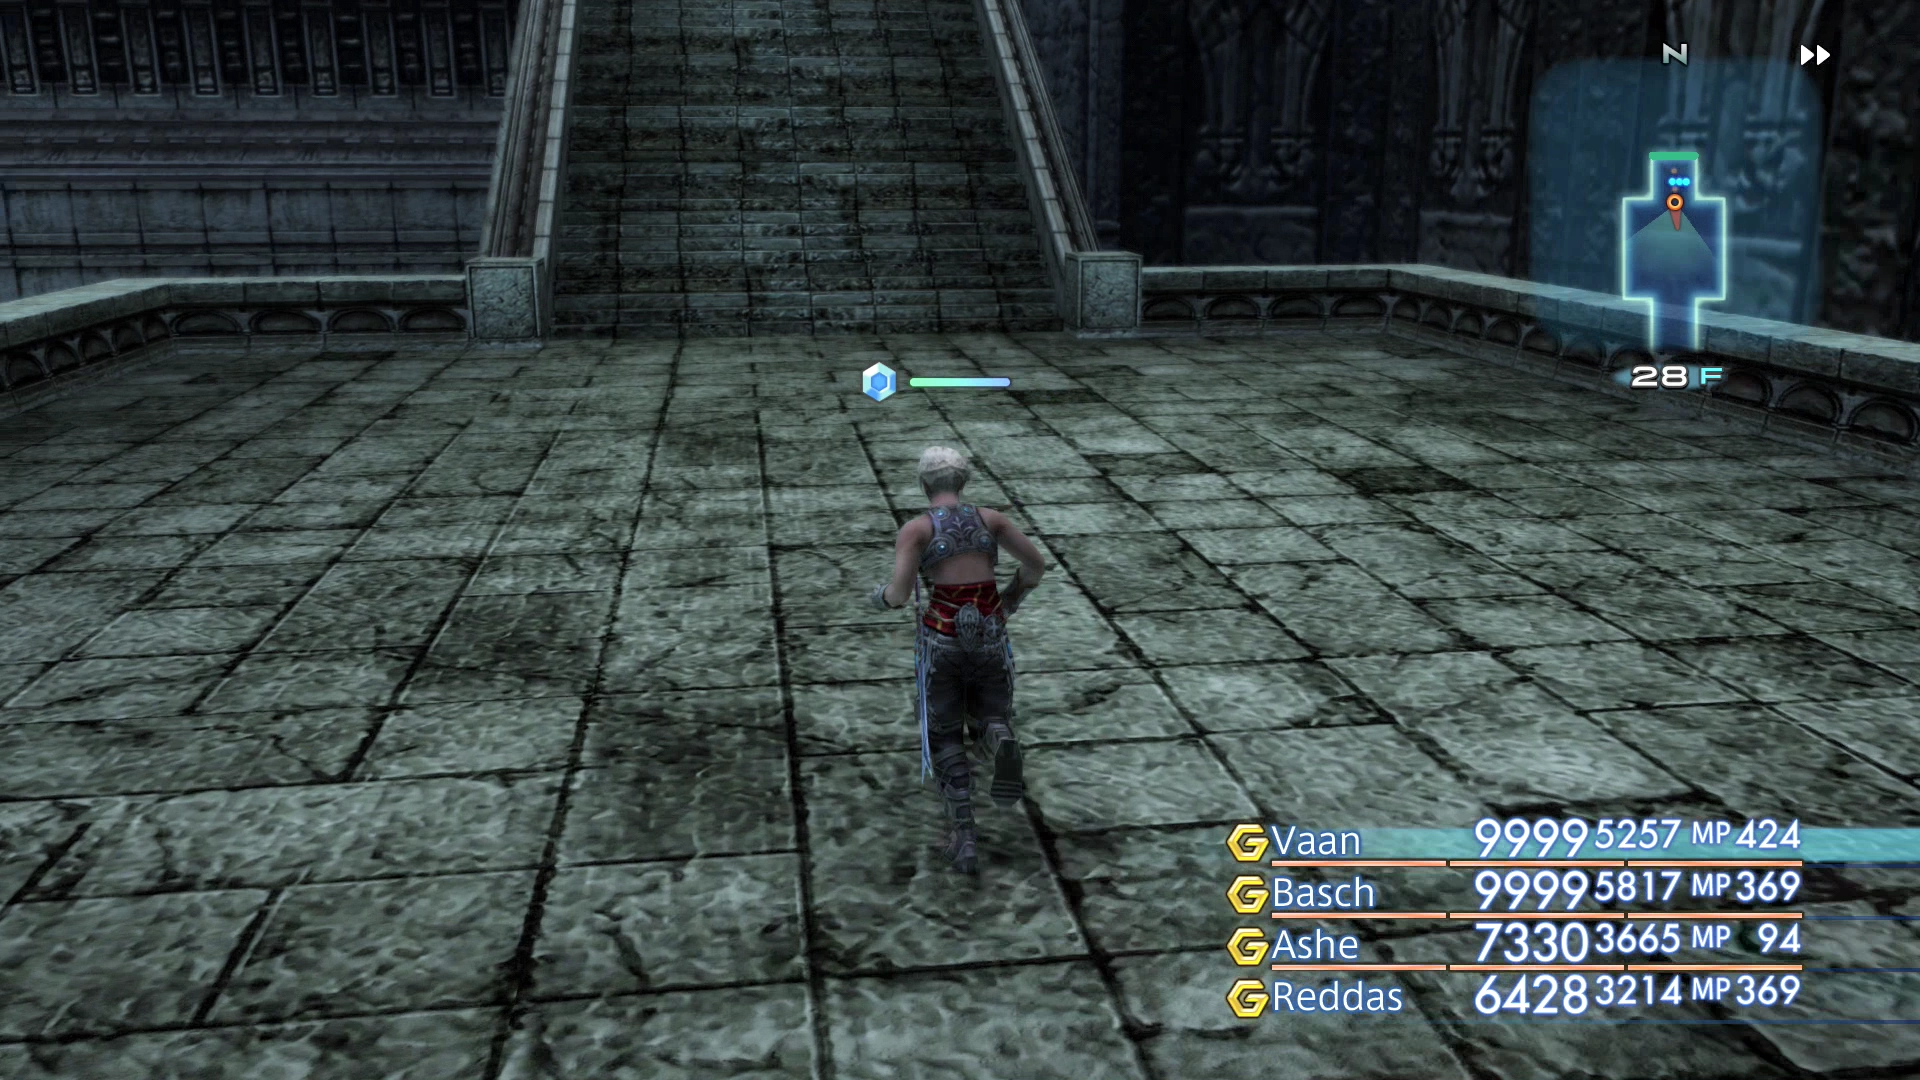
Take note of this next platform and check the mini-map. You will notice that there is a platform that you cannot reach yet to the west – we will come back to this spot momentarily. Head up to the next floor.
Wellspring Ravel – 3rd Flight
The third flight begins on 28F climbing to 29F where you will find two more Brainpan enemies. Defeat them both and continue up to the next level (30F).
Do a U-turn and go through the Ancient Door heading west and defeat the Brainpan inside the room.

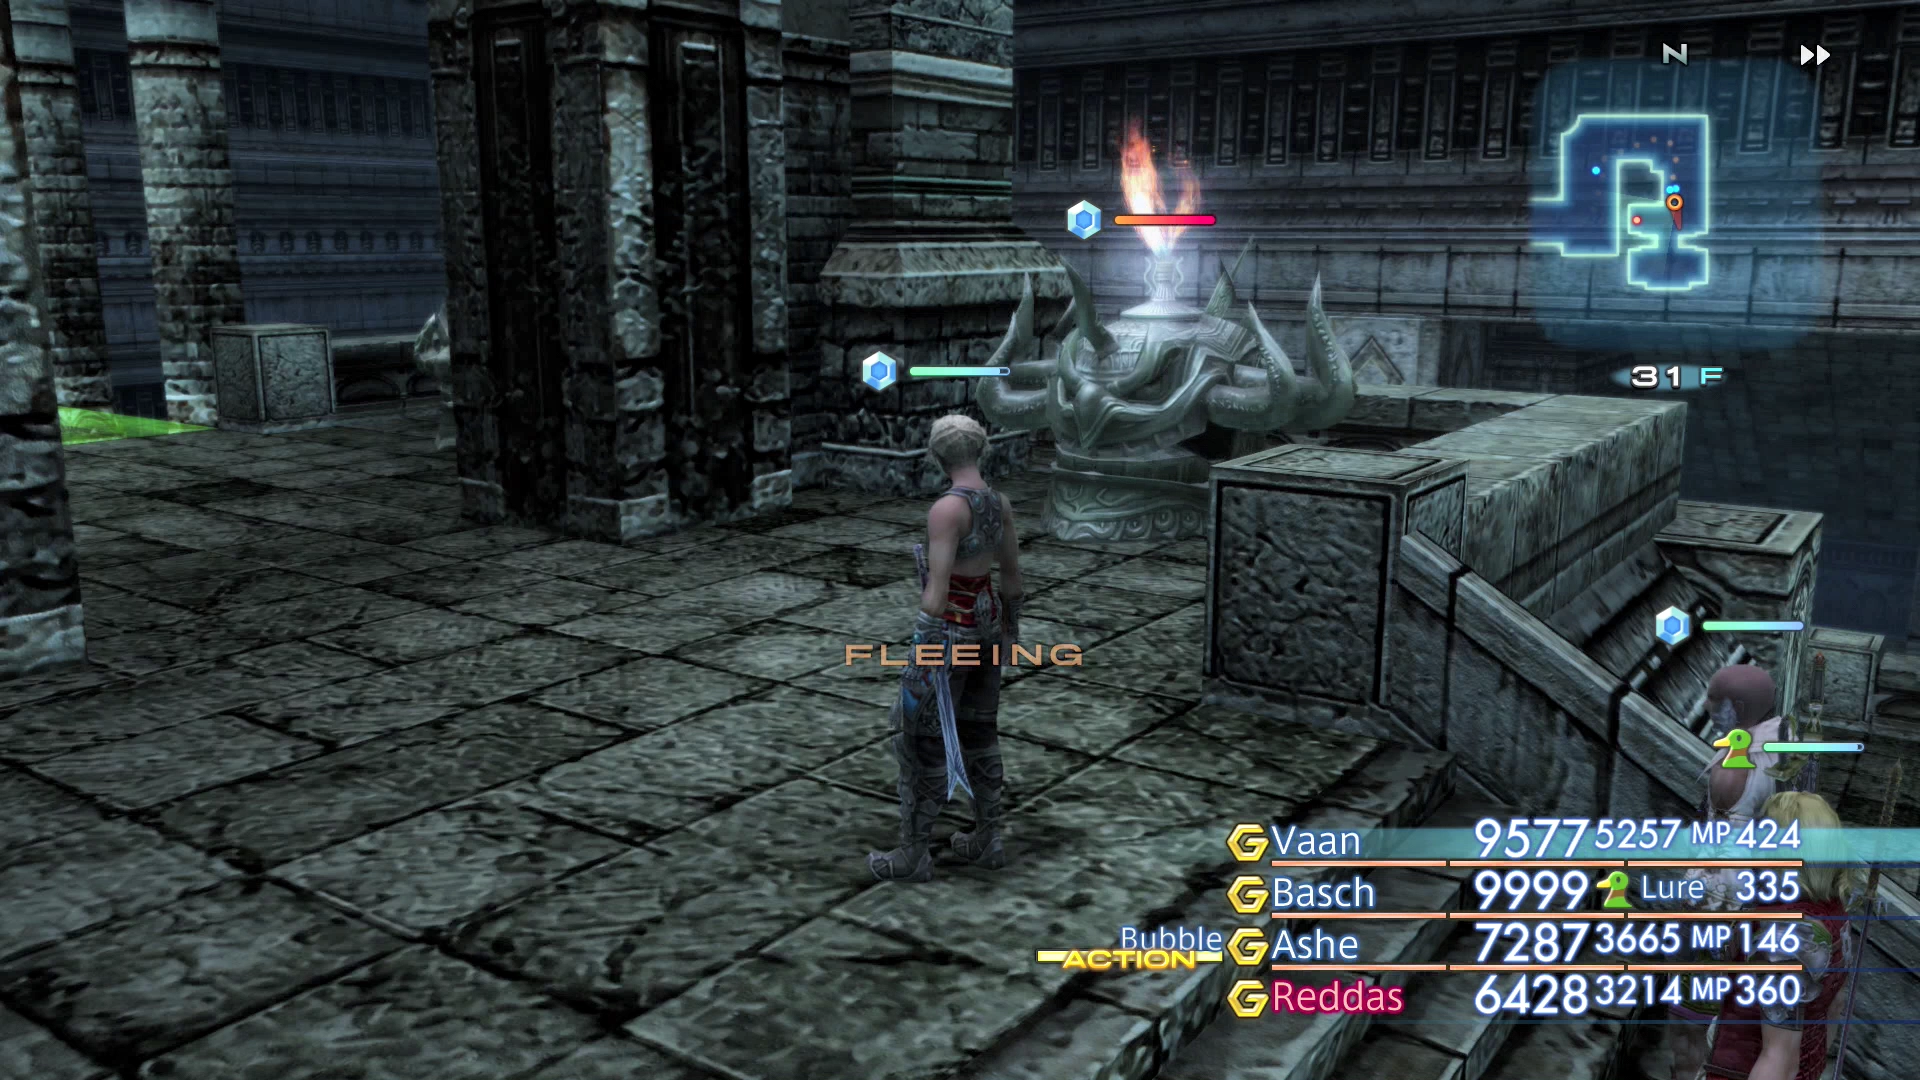
There is another Brainpan up the stairs leading south from 30F. Travel eastward until you reach the next area which will contain an enemy to the right of the top of the stairs called a Deidar.
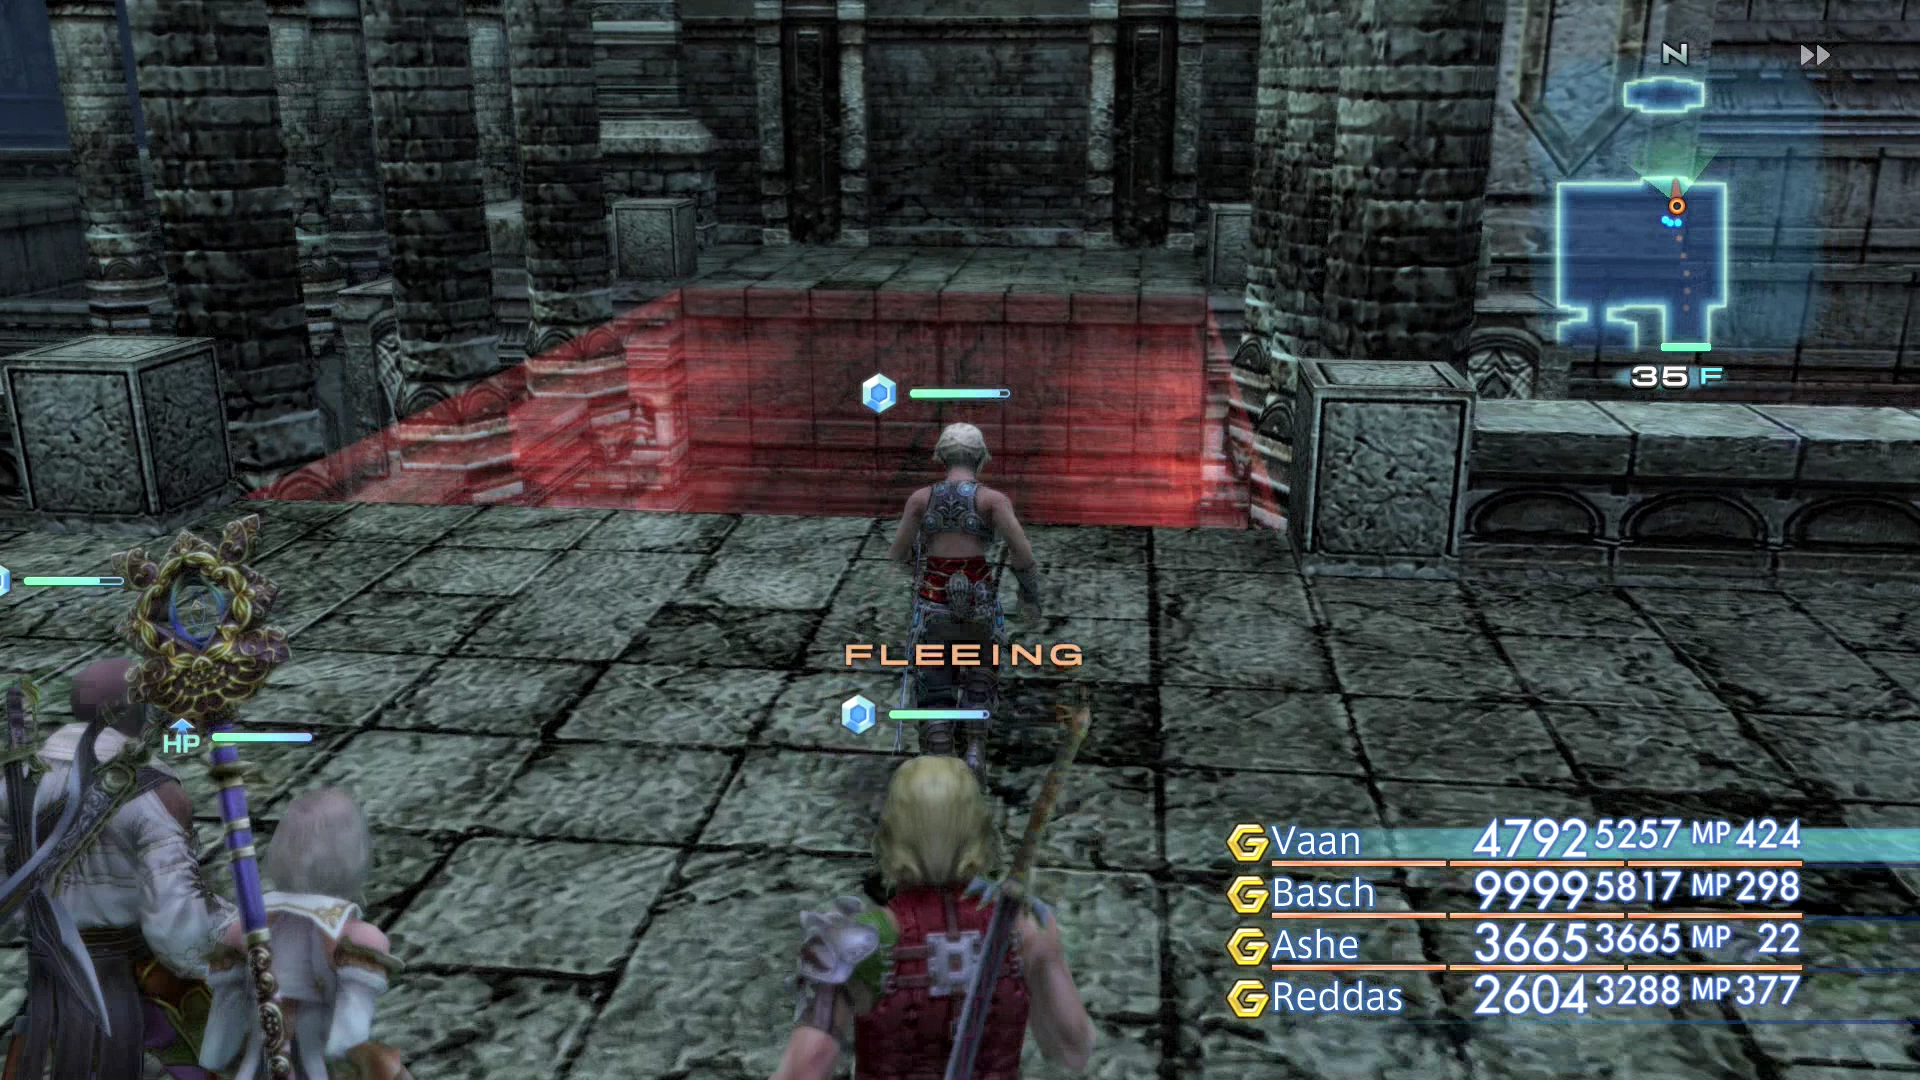
Deidar enemies look and behave very similar to Brainpans except that the flames coming out of the top of their heads are red instead of green. Defeating a Deidar will negate the effects of defeating a Brainpan and will actually remove the green pieces of bridge that the Brainpan enemies have been adding.
It will be important to kill these Deidar enemies later to reach two secret areas that require red bridge pieces that they spawn but we will take care of that later.
Proceed across the bridge on 31F. If you accidentally defeated the Deidar, return down the stairs and locate another Brainpan enemy as they will respawn in various areas around the Wellspring Ravel.
You will have to use the flee command (![]()
![]()
![]() ) to prevent Reddas from accidentally attacking Deidars on the way by.
) to prevent Reddas from accidentally attacking Deidars on the way by.
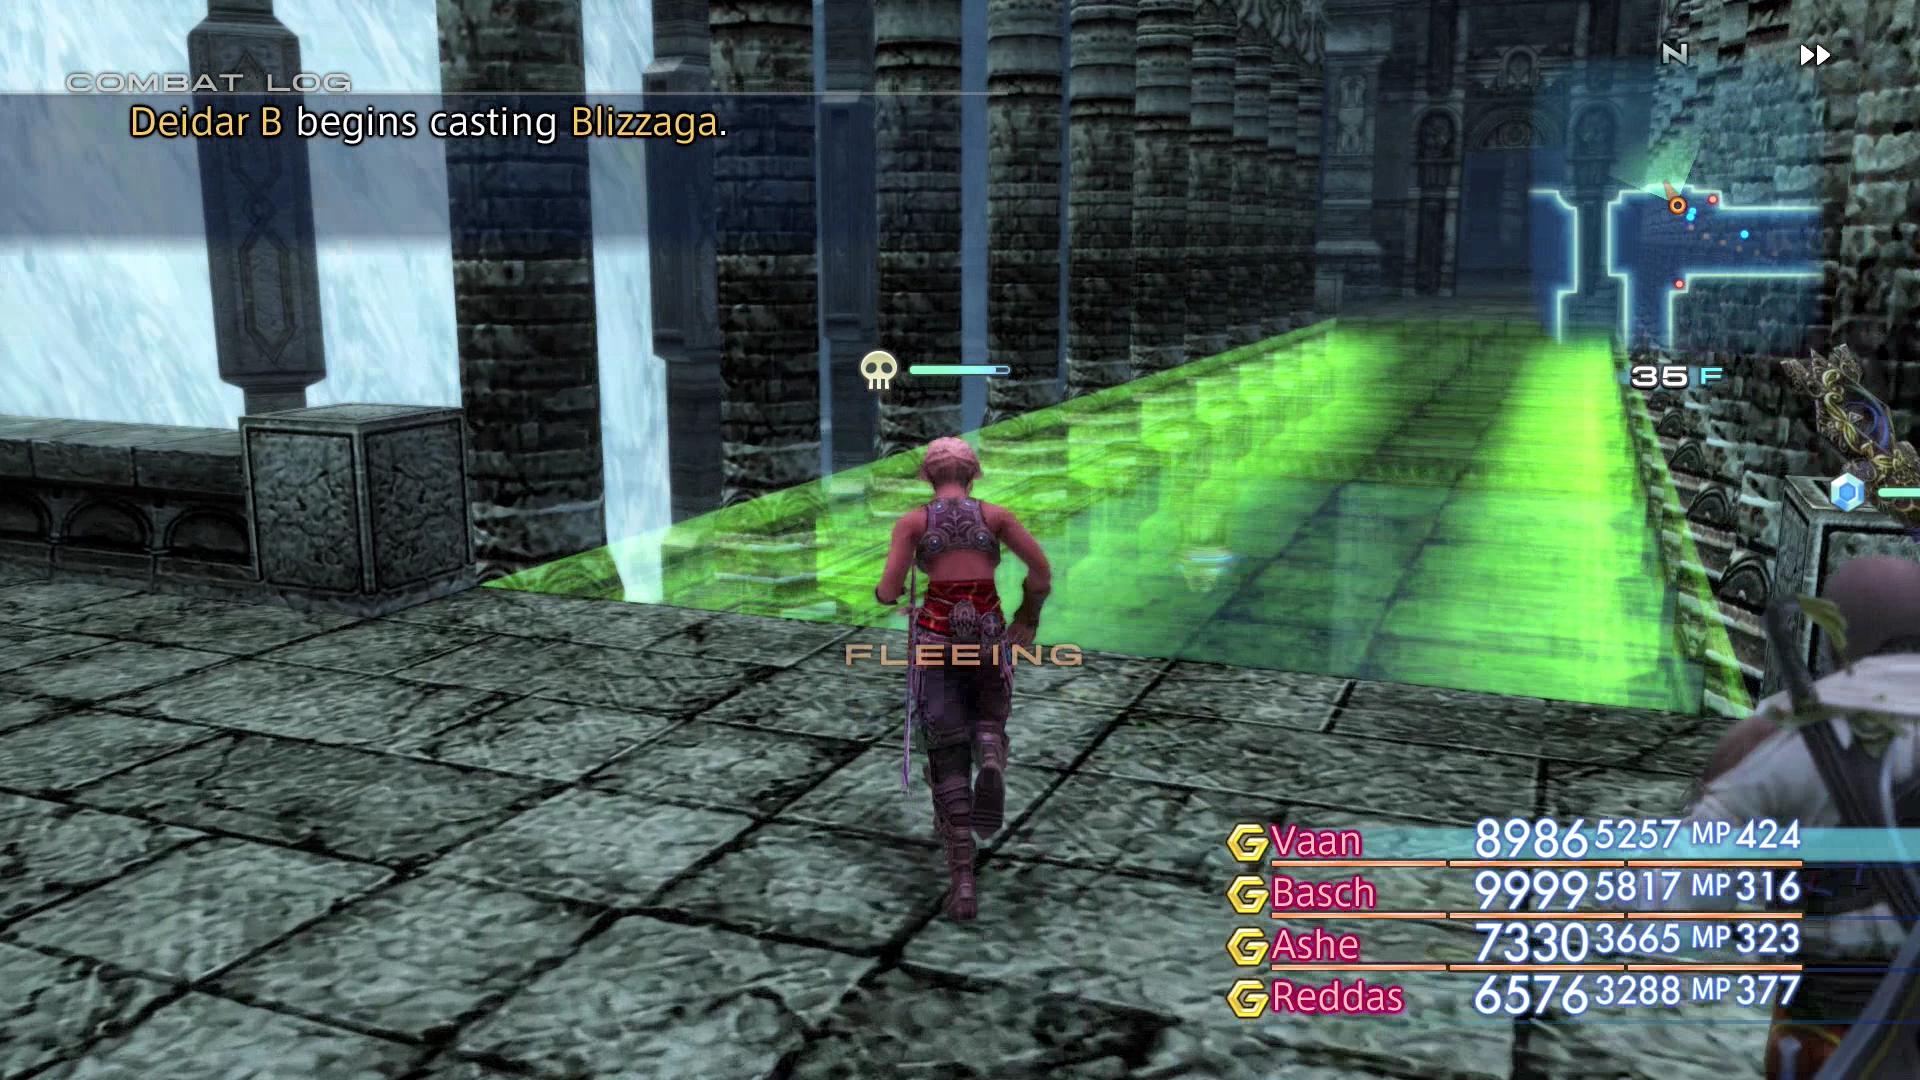
Continue heading westward and skip past the Deidar enemies for now, defeating all the Brainpans on the way up and around the circular part of the map on 35F.
There is a large bridge that forms from all the Brainpans up at the top of 35F – continue until the bridge is completed and then walk across.
There is a Fool’s Façade doorway located across the bridge that you can knock down. At this point, you should now begin killing Deidar enemies as they will help form a red bridge across this pathway.
Travel south into the next area (Wellspring Ravel – 4th Flight) to find a Deidar at the top of the stairs (you will have to run past two Brainpans). There are two more Deidars a little bit further up.
Then turn around and head back to all the previous Deidar enemies that you passed on your way up and defeat them too.
Continue defeating Deidars until the bridge forms all the way across both spans, resetting them as necessary by leaving the zone. One bridge goes north and one goes west and you can use them to reach the furthest platform.
The treasure chests there (if they spawned) contains a ![]() Gungnir spear and the second chest on the furthest platform contains the Magick spell
Gungnir spear and the second chest on the furthest platform contains the Magick spell ![]() Holy, one of the most powerful Magick spells in the game (and well worth your time to obtain).
Holy, one of the most powerful Magick spells in the game (and well worth your time to obtain).
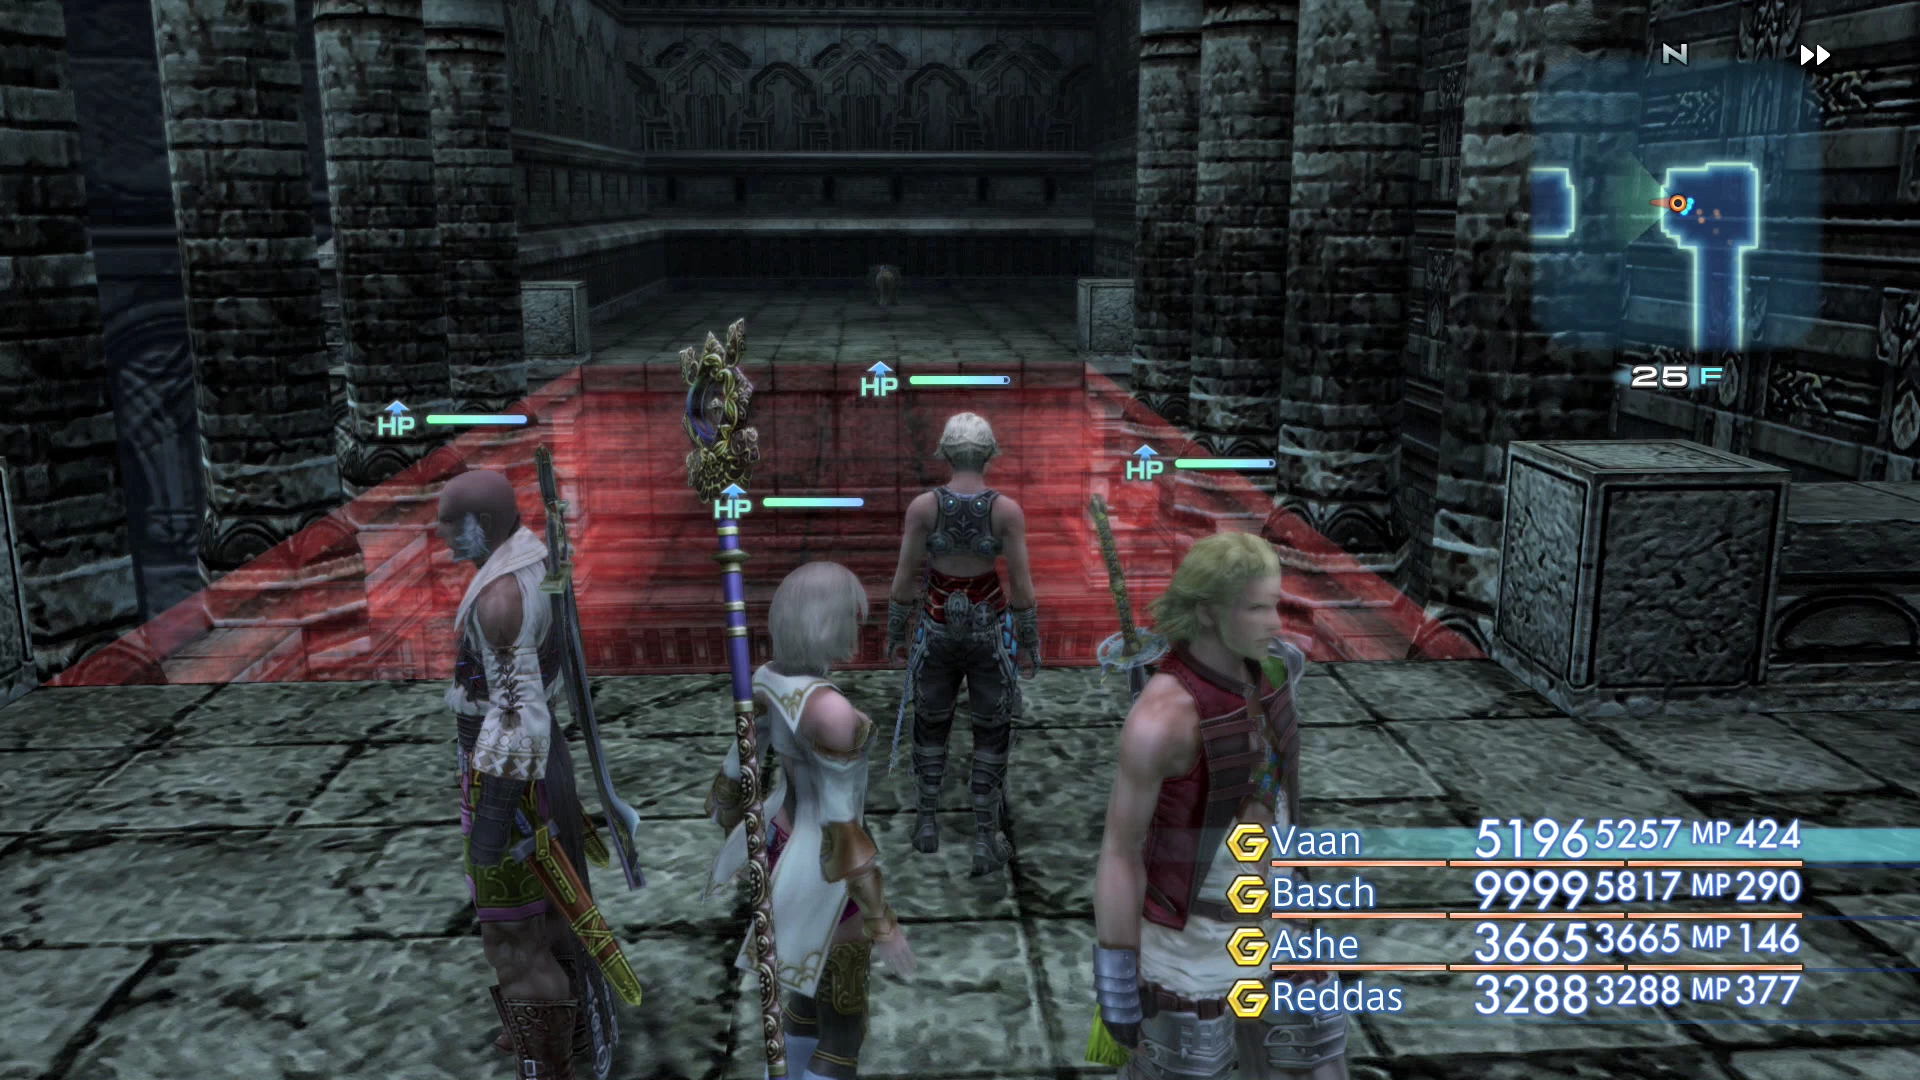
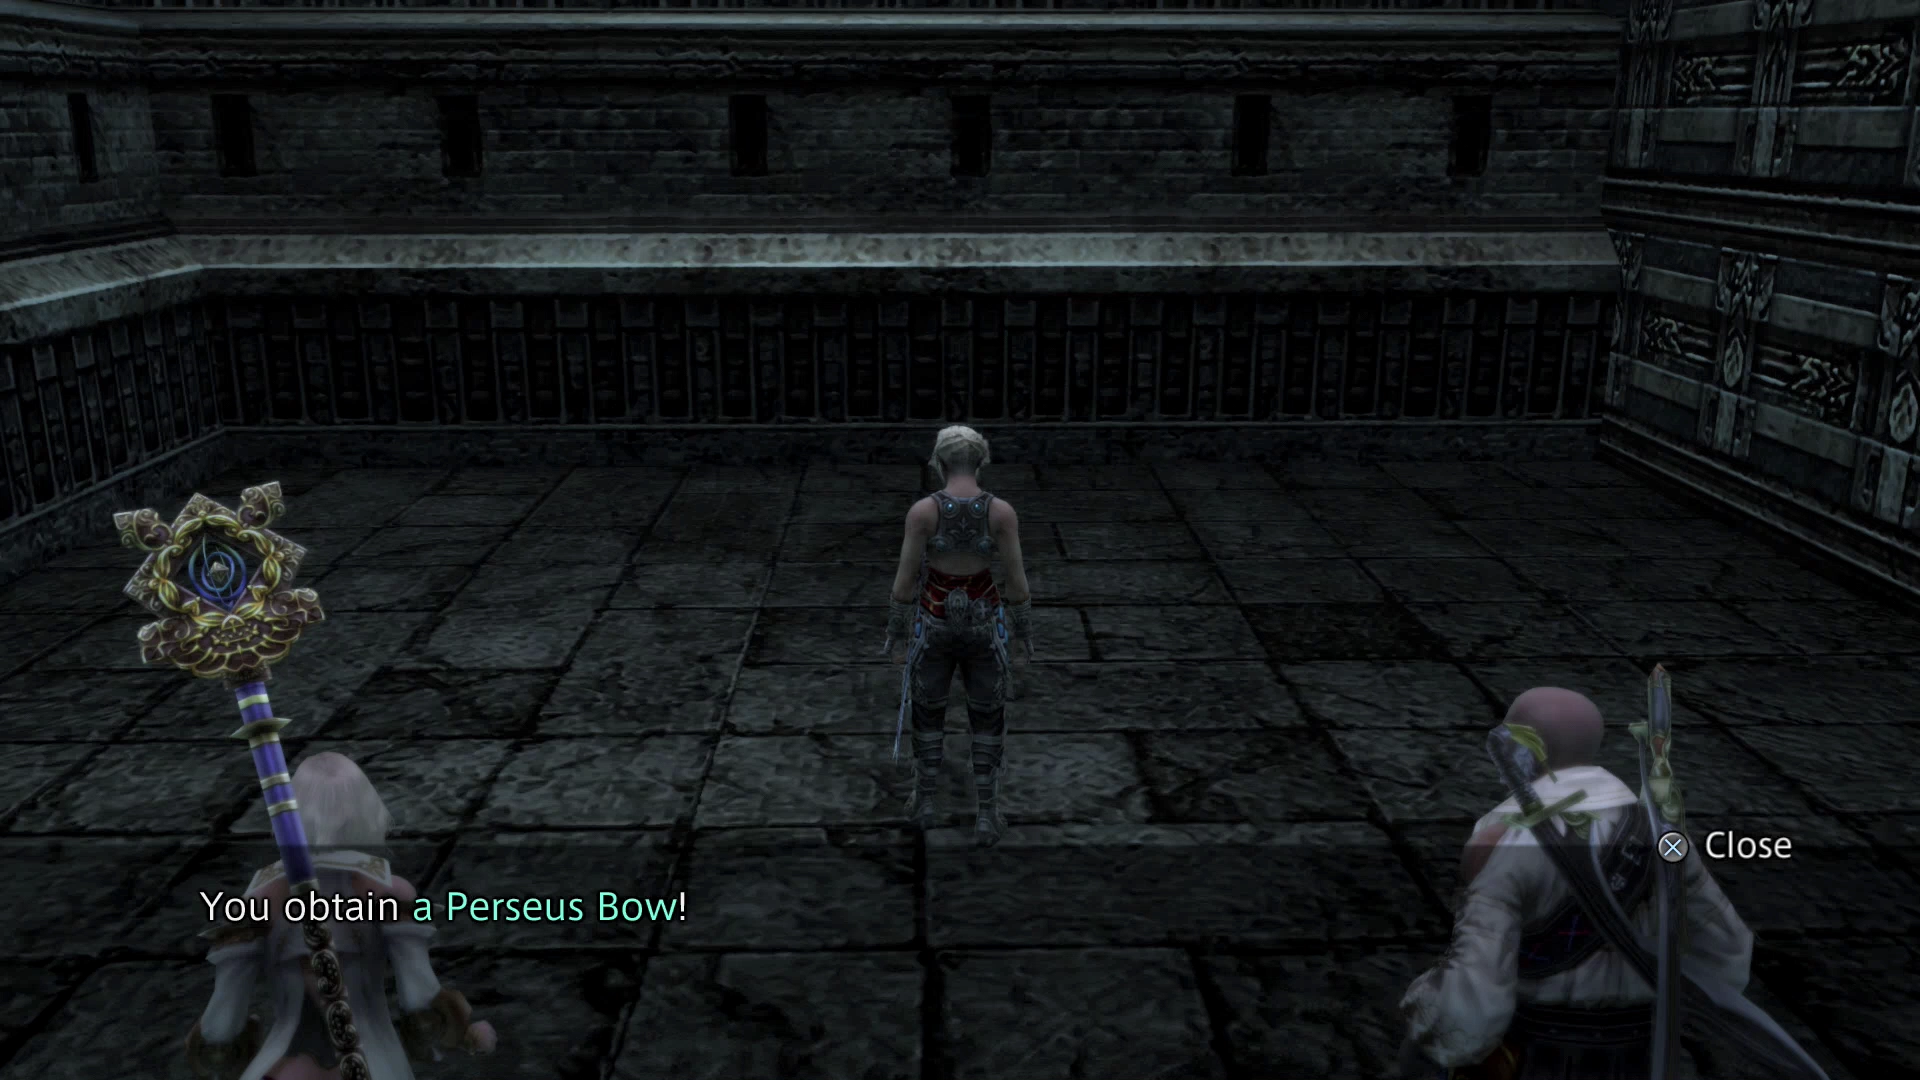
There is one more secret area that you can reach back on the “Wellspring Ravel - 2nd Flight” which can only be accessed by killing Deidar enemies. Shown in the screenshot below, you can use this pathway to reach a treasure chest that contains a ![]() Perseus Bow, one of the strongest Bows in the game.
Perseus Bow, one of the strongest Bows in the game.
Wellspring Ravel – 4th Flight
In the northwest corner of the 4th Flight there is a “Fool’s Façade” doorway that can be broken open to reveal a treasure chest that contains an ![]() Elixir.
Elixir.
Make sure that you defeat at least 10 Deidars before you proceed up the remainder of the 4th Flight in order to make a rare monster appear named Vishno. Vishno has a chance of dropping a ![]() Ribbon accessory, although the chance is relatively small.
Ribbon accessory, although the chance is relatively small.
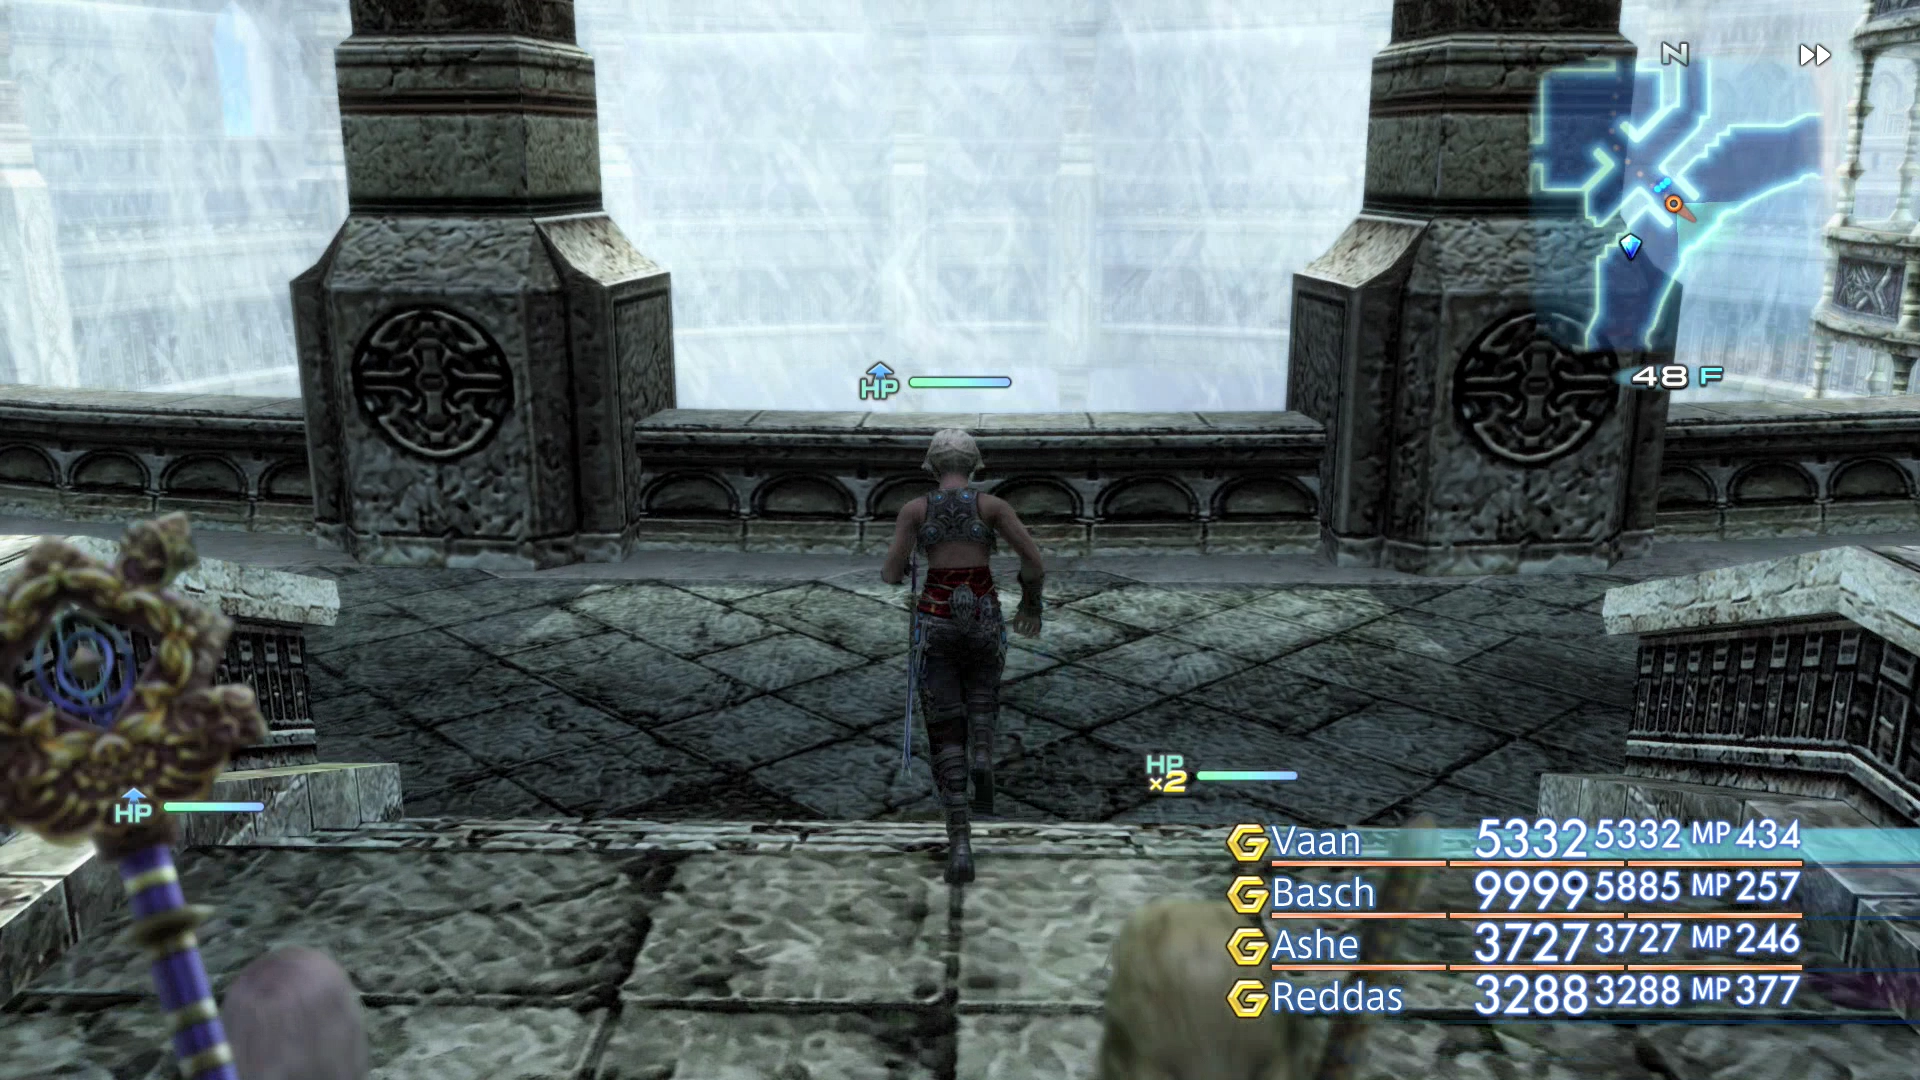
The 4th Flight contains one more pathway that requires defeating Brainpans in order to get past. Continue all the way up to 48F and into the next zone.
Horizon’s Break
There is a Save Crystal around the corner to the right once you reach Horizon’s Break. Save your game and head to the southwest portion of the circle to find another set of stairs leading up.
Horizon’s Cusp
There is another boss battle coming up. There is also treasure chest in front of the doorway that contains a ![]() Black Mask which is an incredibly important item for fights later on in the game.
Black Mask which is an incredibly important item for fights later on in the game.
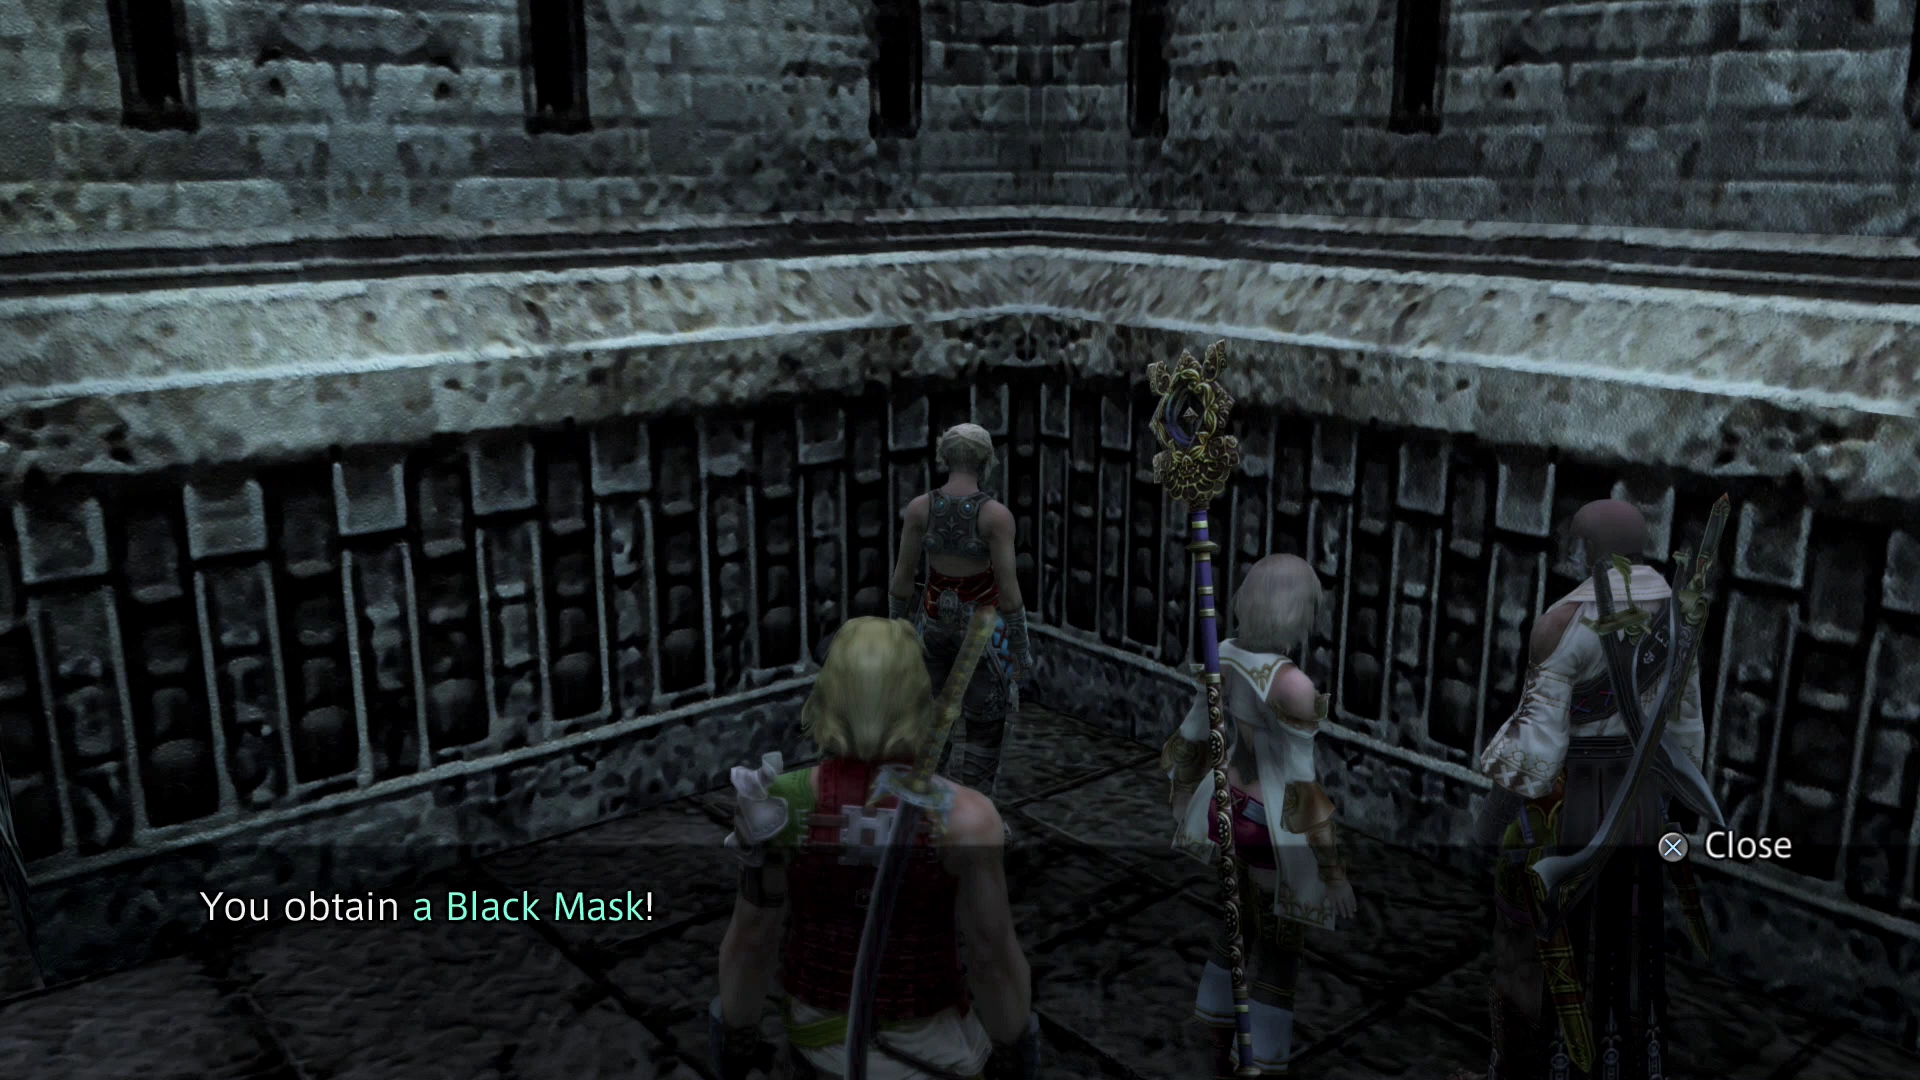
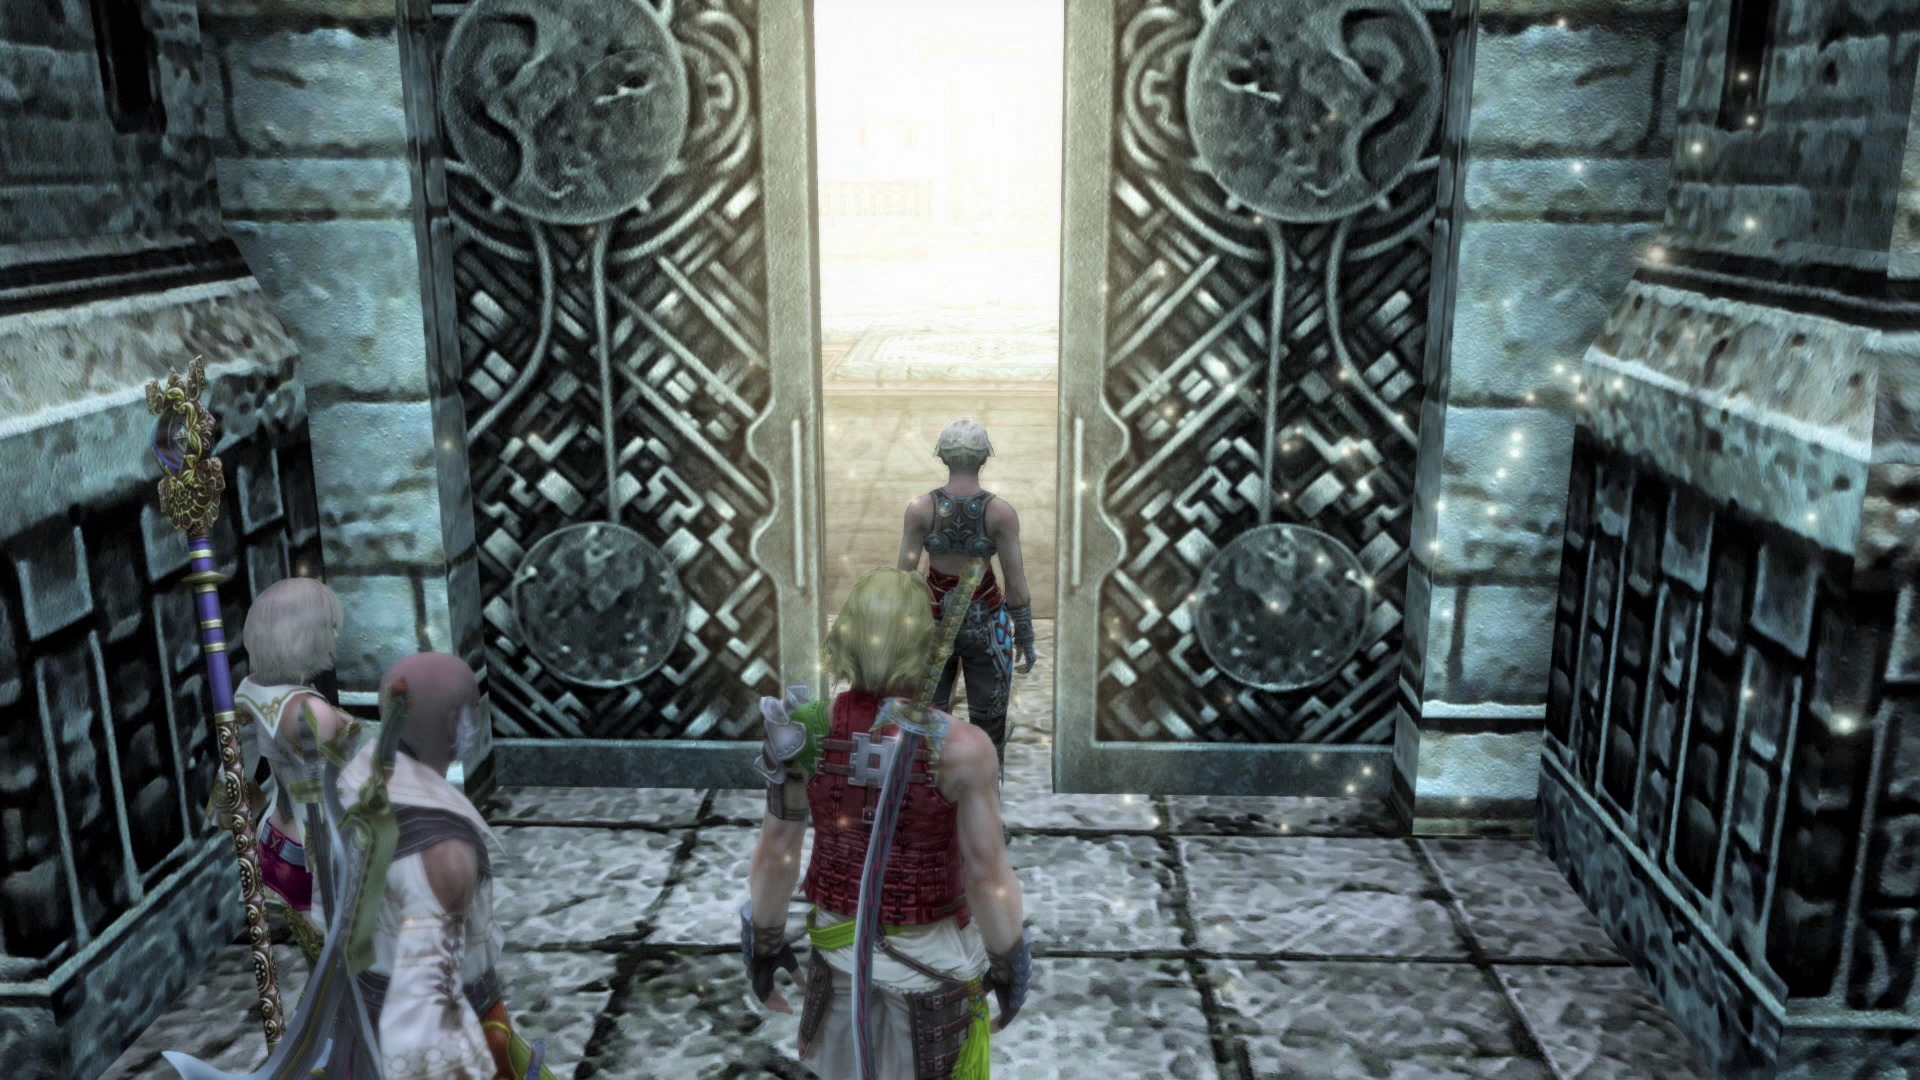
Make sure that you grab it and then make sure that your characters are prepared before you open the Ancient Door at the end of the hallway.
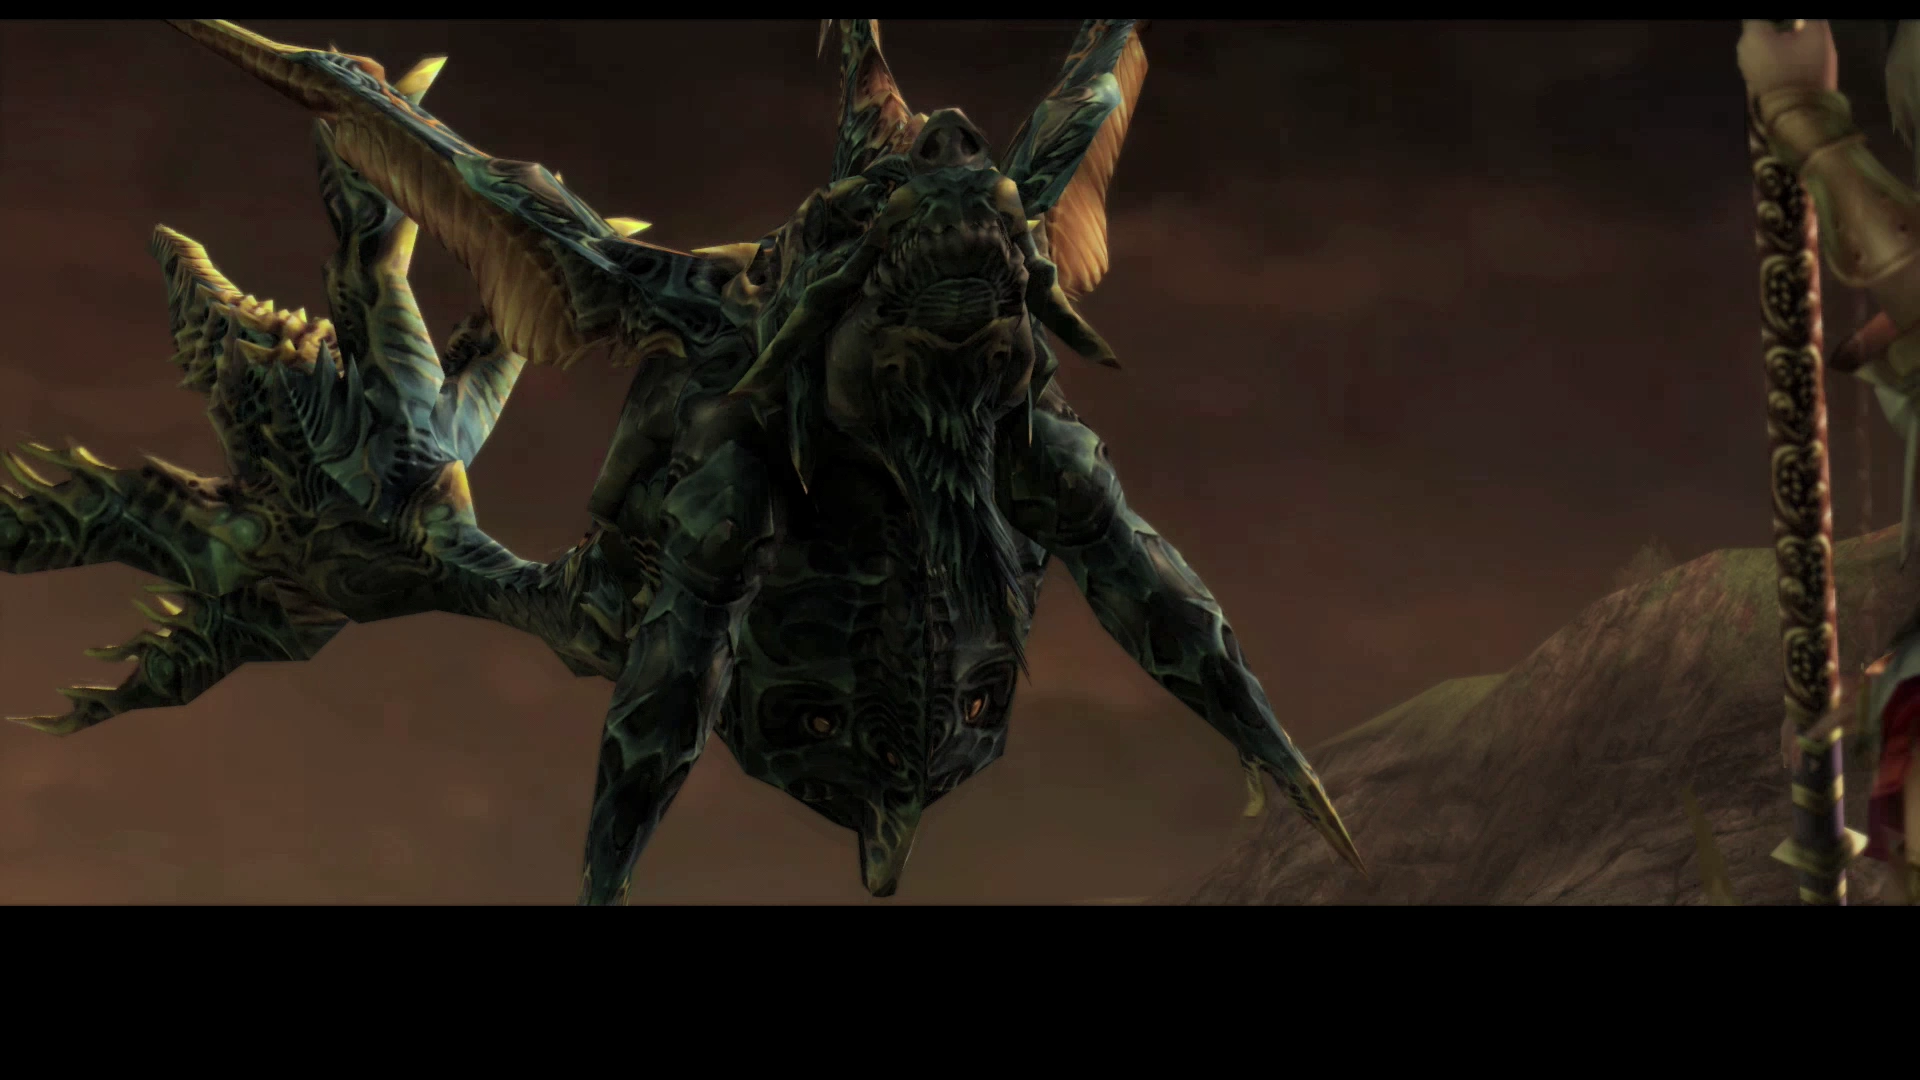
Marsh of Profaning Wind
This is another illusion style room similar to the one in the Blackrock Vault where you fought Pandaemonium. Walk forward to initiate the boss battle.
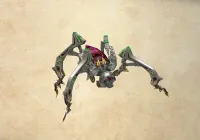
Boss Battle
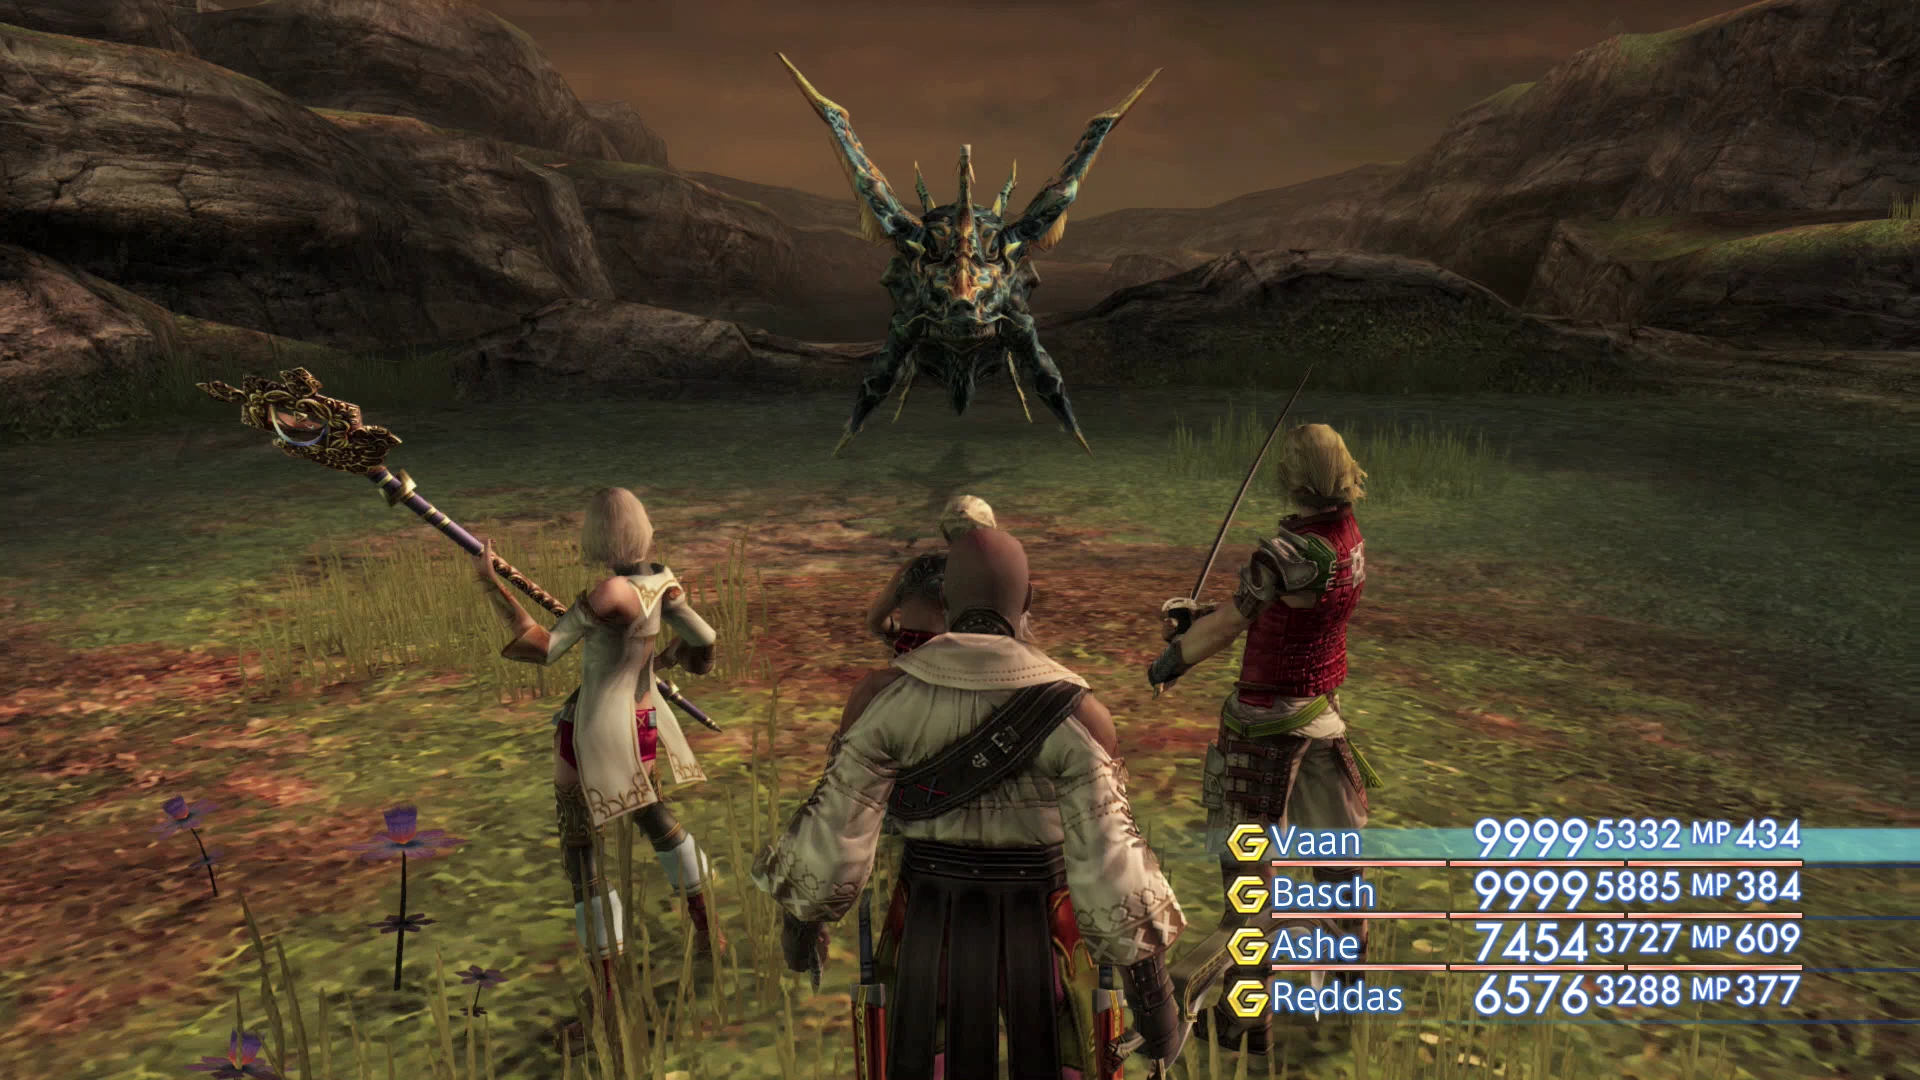
Level: 47
HP: 66,505
Steal: ![]() Yensa Scale (55%),
Yensa Scale (55%), ![]() Pisces Gem (10%),
Pisces Gem (10%), ![]() Yensa Fin (3%)
Yensa Fin (3%)
Make sure you cast all of your enhancement Magicks before the battle begins. This includes ![]() Protect,
Protect, ![]() Shell,
Shell, ![]() Bubble and potentially
Bubble and potentially ![]() Haste,
Haste, ![]() Bravery and
Bravery and ![]() Faith, although the last three are less needed in this battle.
Faith, although the last three are less needed in this battle.
Slyt opens the fight with “Enrage,” buffing itself so that its attacks need no charge time, and it gains further augments (including Regen) whenever it hovers over water, so keep the fight on land where possible. Set up a ![]() Dispel Gambit to remove these beneficial status buffs, which it will recast. This may seem unnecessary but it wastes the boss’s time giving you more time to inflict damage while it is busy casting Magick.
Dispel Gambit to remove these beneficial status buffs, which it will recast. This may seem unnecessary but it wastes the boss’s time giving you more time to inflict damage while it is busy casting Magick.
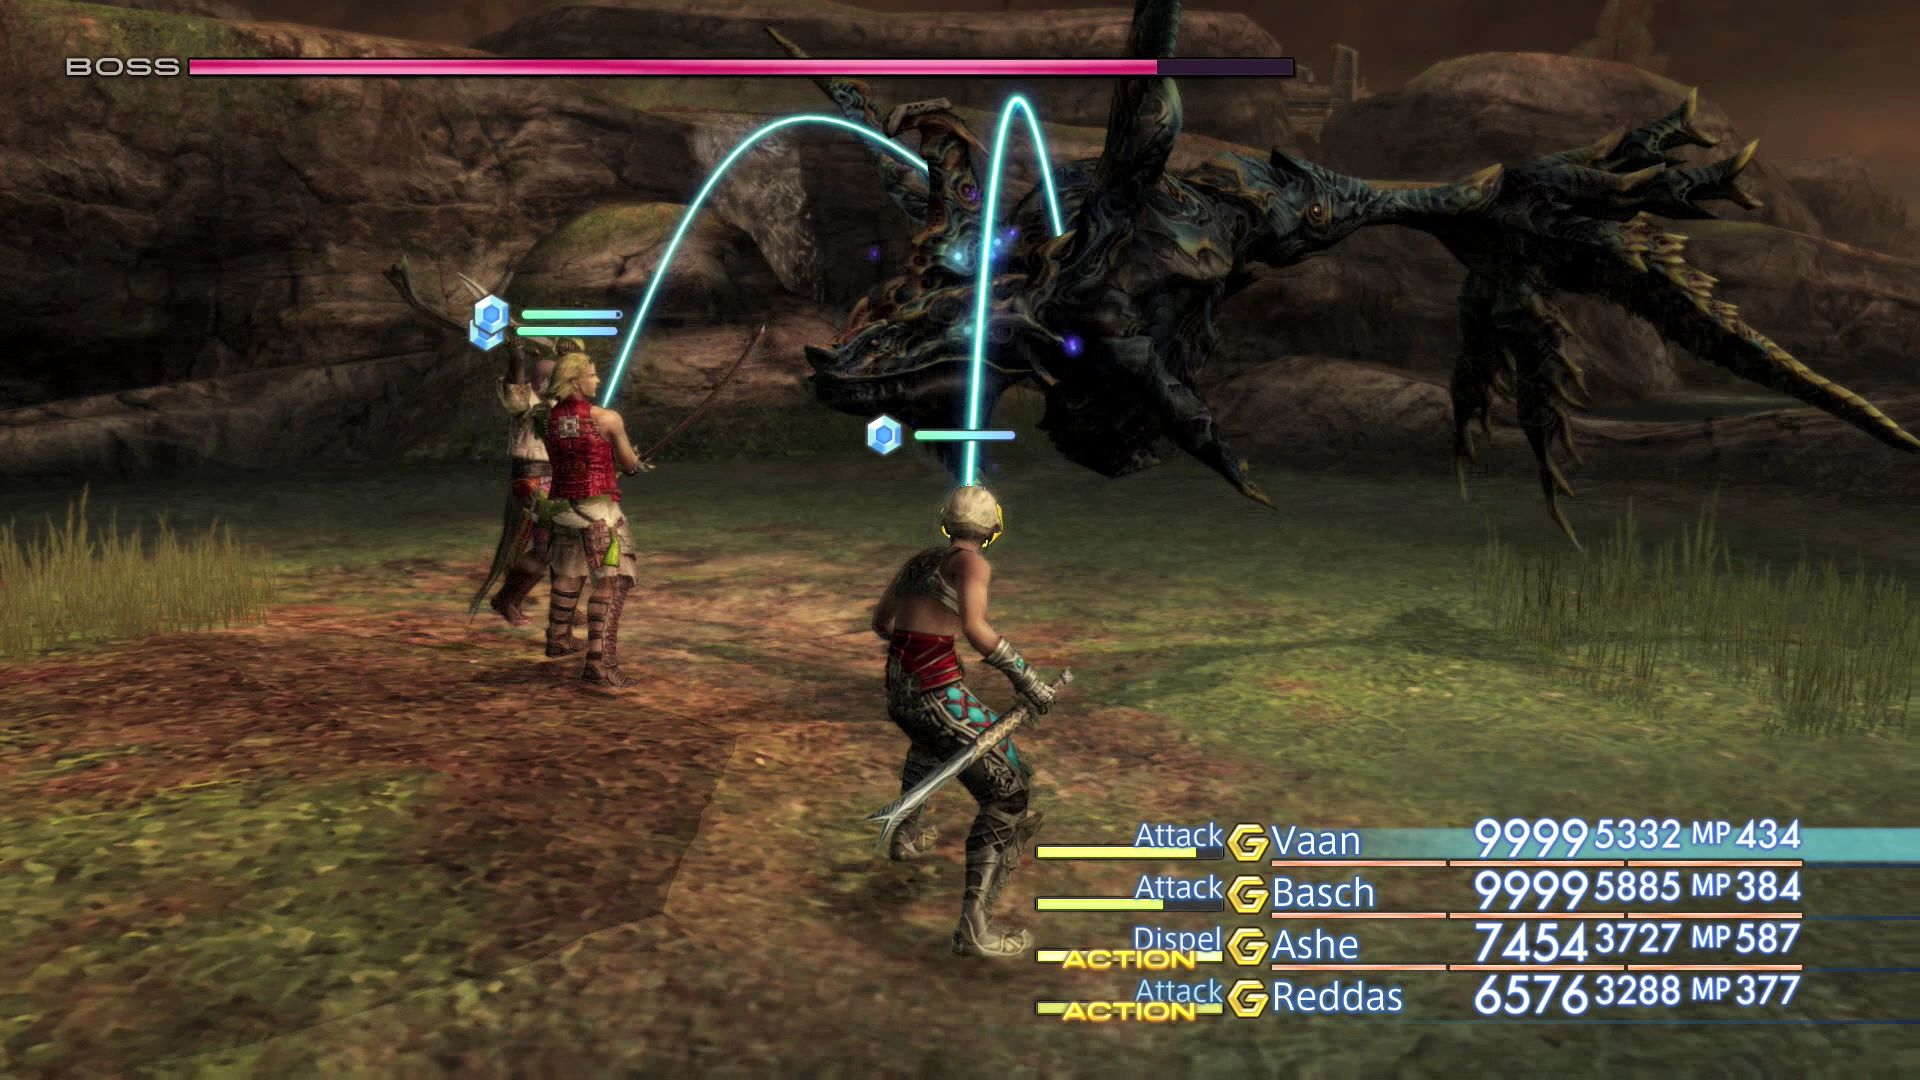
In the original version of the game, Slyt is susceptible to ![]() Sleep Magick; not the case in the International Zodiac Job System version. It is also susceptible to
Sleep Magick; not the case in the International Zodiac Job System version. It is also susceptible to ![]() Slow Magick which is helpful in reducing the amount of damage done. It is weak to Fire-based Magick, so use
Slow Magick which is helpful in reducing the amount of damage done. It is weak to Fire-based Magick, so use ![]() Oil Magick to increase the damage done and have your party members spam
Oil Magick to increase the damage done and have your party members spam ![]() Firaga or
Firaga or ![]() Ardor to bring Slyt down quickly.
Ardor to bring Slyt down quickly.
You can find a video of this battle in the Zodiac Age version below.
There is no need to go back to save your game as there is another Save Crystal on the next level. Continue circling Horizon’s Cusp until you reach the Way Point and use it to transport your team into the next area – the Second Ascent.
The Pharos Map (First Ascent)
