
Omega Mark XII
Omega Mark XII is the most challenging boss battle that can be fought during a regular playthrough of the game. The only fight that is arguably more difficult than Omega is the battle against the Judges in Trial 100 of the Trial Mode feature.
Omega Mark XII will remain dormant until you have accepted the hunt for Yiazmat, which requires completing all other hunts and defeating Hell Wyrm. You can reach Omega's platform before this, but it will not be fightable.
Omega can be found in the Great Crystal. The guide below will assume that you have already traveled through to the top of the Great Crystal to obtain the Esper, Ultima. Before you set out for Giruvegan to make your way into the Great Crystal, make sure that you have the following:
 Reverse
 Renew
Renew Hastega
 Bubble Belts (x3)
- High quality armor (check the Armor equipment page)
It helps to be fairly high level but there are strategies included below that can make this battle easy even for a lower leveled party.
The following instructions provide a step-by-step walkthrough of how to reach the platform where Omega Mark XII resides. An alternative approach, if you are comfortable reading the maps, would be to head over to the “Treasures in the Great Crystal” page and use the maps and guide to access the area. Otherwise, follow these steps:
The Great Crystal - A Prama Vikaari
There are two pathways leading up – take the pathway on the left.
A Vikaari Dhebon
Examine Way Stone IX and choose to “touch the device.” This will warp you to Way Stone X.
Dha Vikaari Kabonii
There is only one pathway leading off the platform. Take the pathway upward to the next platform.
A Vikaari Kanbhru Ra
Approach Way Stone XX and choose to “touch the device.” This will warp you to Way Stone XIX at the top of the crystal.
Dha Vikaari Dhebon Ra
Take the only pathway leading off the platform going downward.
Kanbhru Pis
There is a Save Crystal in the center of the platform. You should definitely consider saving your game before attempting the battle against Omega Mark XII. There are two pathways leading off this platform: the one you came in through (on the left) and the one on the right. Take the one on the right.
Dha Vikaari Uldobi
Approach Way Stone XVIII and choose to “touch the device.” This will warp you to Way Stone XVII.
A Vikaari Kanbhru
Take the only pathway off the platform leading downward.
Uldobi Jilaam Avaa
Take the pathway on the right, beyond the Giruveganus, leading upward. Note that if you run into a Virgo Gate along this pathway you can also take the long way around to reach the next platform as shown in the map below.
Uldobi Jilaam Praa’vaa
Take the pathway on the opposite side of the platform leading upward. You may run into a Libra Gate along this pathway – if so, you can head back to Sthaana Libra and activate the Gate Switch and open the Libra Gate. Use the map below to help you navigate to the Libra Gate.
Uldobi Jilaam Praa
Take the pathway directly across from the side that you entered, traveling past the Ash Wyrm, heading upward to the next platform.
Sthaana Capricorn
Travel up to the top of the platform and activate the Capricorn Gate Switch. Head back down to the previous platform.
Uldobi Jilaam Praa
Go straight across the platform again (past the Ash Wyrm) and head down to the next platform.
Uldobi Jilaam Praa’vaa
There are two pathways on the opposite side of the platform – take the pathway on the right leading downward.
Sthaana Libra
There is a Libra Gate Switch on this platform but don’t activate it. Take the pathway on the left leading downward.
Uldobi Jilaam Pratii’vaa
Ignore the Gate and run past the Skulwyrm down the open pathway leading downward.
Uldobi Jilaam Pratii
Touch the Capricorn Gate to open it and then turn around and head back up.
Uldobi Jilaam Pratii’vaa
Take the pathway on the left, past the Skulwyrm again, leading upward to the next platform.
Sthaana Libra
Run past the Libra Gate Switch and take the platform on the right leading upward.
Uldobi Jilaam Praa’vaa
Travel to the top of the platform and take the pathway on the right leading downward. If there is a Virgo Gate blocking your path, take the long way around as shown in the map previously and shown in the map below:
Uldobi Jilaam Praa
Run past the Giruveganus and take the pathway on the left leading upward.
A Vikaari Kanbhru
Head up to the top of the platform and examine Way Stone XVII. Choose to “touch the device” and it will transport you to Way Stone XVIII.
Dha Vikaari Uldobi
Take the only pathway off the platform leading downward.
Kanbhru Pis
There is a Save Crystal on this platform which you can use again. Take the pathway on the left leading downward when you are ready.
Sthaana Aquarius
Head down to the platform and examine Aquarius Gate Stone and “touch the device” to activate the timer. Head back up to the previous platform.
Kanbhru Pis
Take the pathway on the right side of the Save Crystal.
Dha Vikaari Uldobi
Head up to the top of the platform and examine Way Stone XII and “touch the device.” It will transport you to Way Stone XVII.
A Vikaari Kanbhru
Take the pathway on the right past the Giruveganus (unless there is a Virgo Gate, in which case you will need to use the map below to go around) leading upward.
Uldobi Jilaam Praa’vaa
Head up to the platform and past the Skulwyrm and up the walkway on the other side.
Uldobi Jilaam Praa
Head past the Ash Wyrm and take the pathway on the right leading down – touch the Aquarius Gate to remove it and continue along the pathway.
Uldobi Phullam Praa’vaa
Take the only other pathway leading downward.
Sthaana Taurus
Examine the Taurus Gate Stone and “touch the device” to activate the timer. Take the pathway back up to the previous platform.
Uldobi Phullam Praa’vaa
Head up to the platform and take the platform on the opposite side leading upward.
Uldobi Jilaam Praa
Run past the Ash Wyrm and take the pathway on the left heading down.
Uldobi Jilaam Praa’vaa
Run past the Skulwyrm and take the pathway on the right heading down again.
Sthaana Libra
Ignore the Libra Switch and take the pathway on the left leading downward.
Uldobi Jilaam Pratii’vaa
Run past the Skulwyrm taking the pathway on the right leading downward.
Uldobi Jilaam Pratii
Take the pathway on the opposite side of the platform, past the Ash Wyrm, leading downward.
Uldobi Phullam Pratii’dii
Remove the Taurus Gate and take the other pathway leading downward.
Dha Vikaari Sirhru Si
Approach Way Stone XXI and choose to “touch the device.” This will transport you to Way Stone XXII.
A Vikaari Uldobi Si
Take the only pathway down away from this platform into the next area.
Dha Vikaari Dhebon Si
Approach Way Stone XXIII and choose to “touch the device.” This will transport you to Way Stone XXIV.
A Vikaari Sirhru Si
Omega Mark XII is located on the next platform (Dhebon Jilaam Avaa).
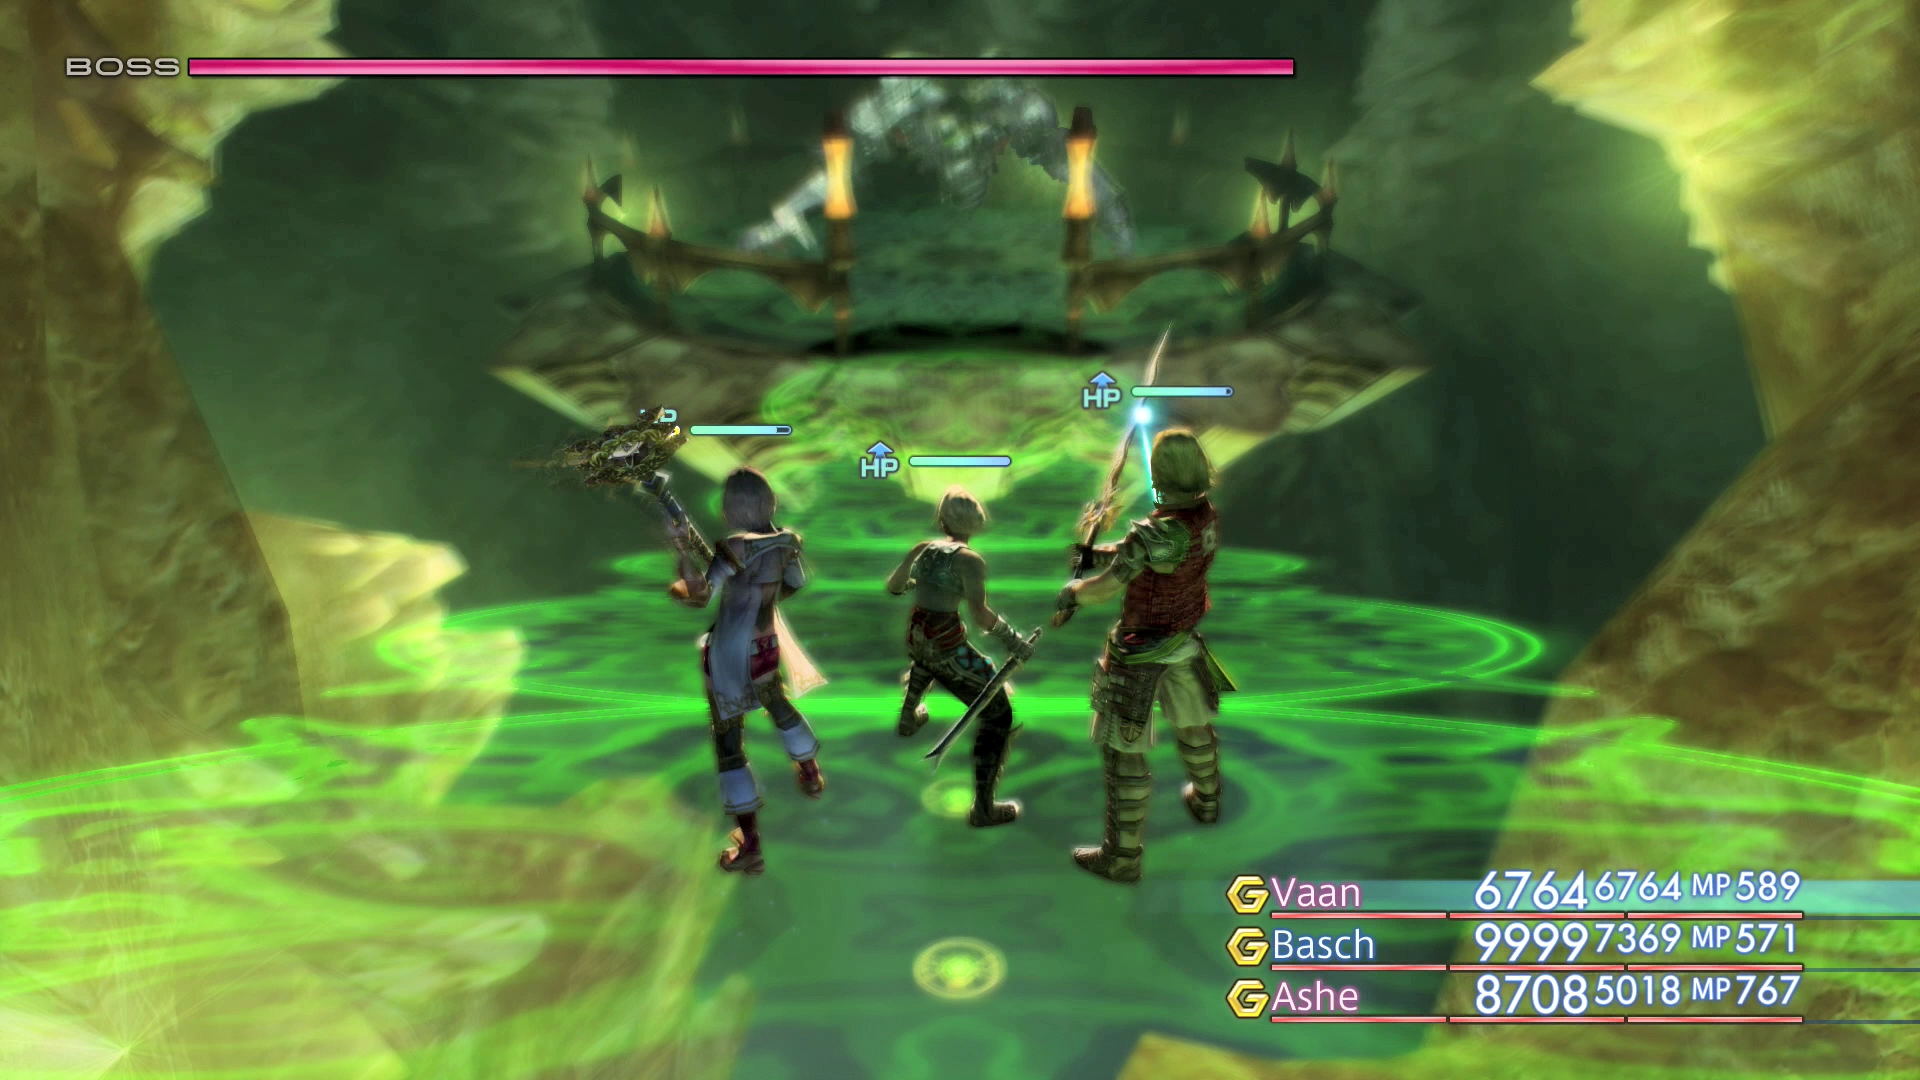
There are now two strategies that you can use to defeat Omega Mark XII. The first strategy involves using the ![]() Reverse spell to cause Omega’s damaging attacks to heal your party members.
Reverse spell to cause Omega’s damaging attacks to heal your party members.
Omega only has one attack that it will use but that attack is extremely strong. This strategy nullifies the strength of Omega’s attacks and can allow even a low-leveled party to defeat the boss.
The downside to this strategy is that there is a random element to whether it will be successful. Omega’s strong attacks also have a chance to inflict the Berserk status effect which can cause a chain reaction and wipe your entire party. There are also brief instances while ![]() Reverse is being recast where a party member can be KO’d.
Reverse is being recast where a party member can be KO’d.
The second strategy is essentially a brute force attack. It involves withstanding a few of Omega’s heavy attacks while one of your party member applies the ![]() Wither Technick (as well as the other break Technicks afterwards). Each of these strategies is detailed further below.
Wither Technick (as well as the other break Technicks afterwards). Each of these strategies is detailed further below.
Superboss Battle
Level: 99
HP: 1,037,069
Steal: ![]() Knot of Rust (3%)
Knot of Rust (3%)
Reverse Strategy
Set up one of your characters with some Gambits to automatically cast ![]() Reverse on each of your party members. Ideally though, you want this party member to cast Reverse on themselves before casting it on other party members. The Gambits should be:
Reverse on each of your party members. Ideally though, you want this party member to cast Reverse on themselves before casting it on other party members. The Gambits should be:
Self > ![]() Reverse
Reverse
Ally: any > ![]() Reverse
Reverse
Ally: any > ![]() Arise
Arise
Ally: status = Berserk > ![]() Dispel (or
Dispel (or ![]() Dispel Mote)
Dispel Mote)
You may also want some other helpful Gambits such as:
Self: MP < 10% > ![]() Hi-Ether
Hi-Ether
Ally: Vaan > ![]() Hastega
Hastega
You should also consider setting up your other characters with a ![]() Dispel or
Dispel or ![]() Dispel Mote Gambit as well in case your main ‘Reverse’ party member is inflicted with the Berserk status. There are no other parts to this strategy other than to slowly take Omega Mark XII now that its damage is completely nullified.
Dispel Mote Gambit as well in case your main ‘Reverse’ party member is inflicted with the Berserk status. There are no other parts to this strategy other than to slowly take Omega Mark XII now that its damage is completely nullified.
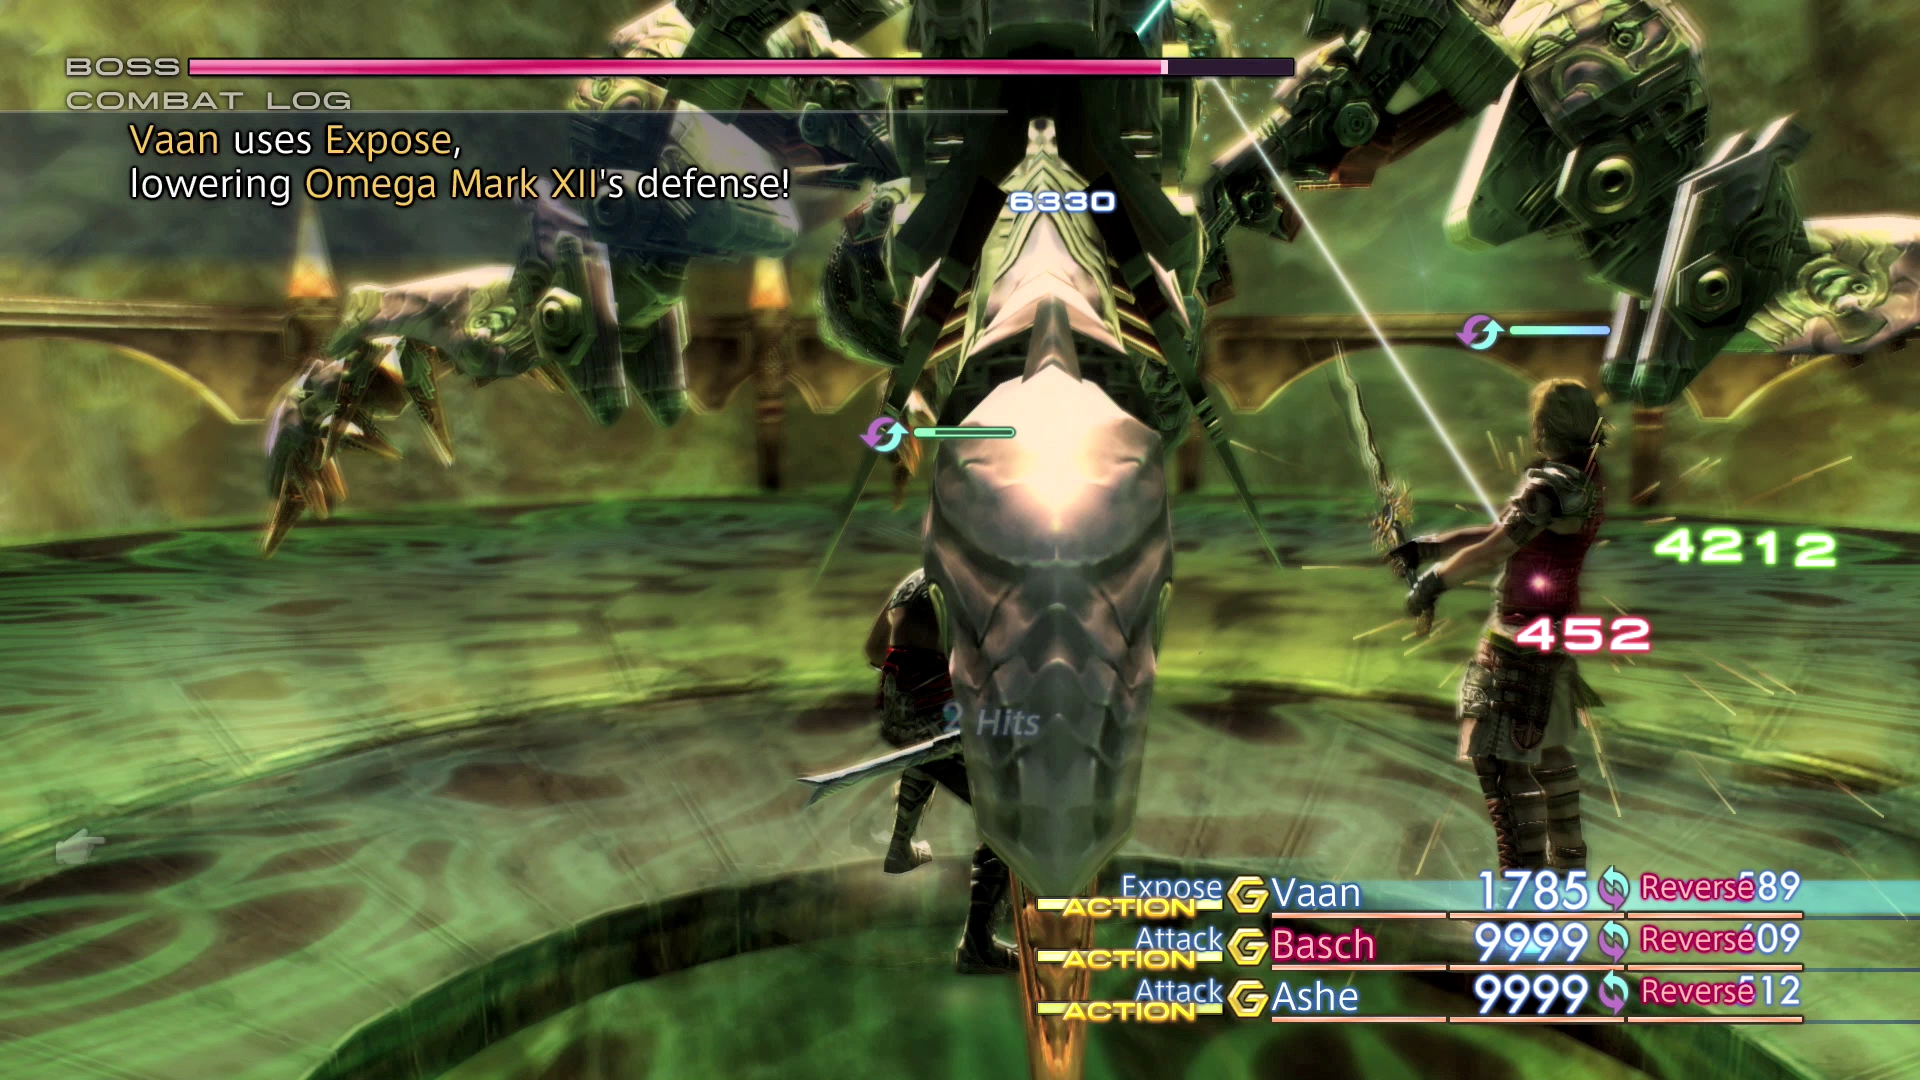
Brute Force Strategy
This strategy involves surviving a few of Omega’s attacks while one of your party members uses ![]() Wither to reduce Omega’s strength. Eventually, you can get its attacks down to less than 1,000 damage which becomes much easier to manage.
Wither to reduce Omega’s strength. Eventually, you can get its attacks down to less than 1,000 damage which becomes much easier to manage.
Prepare all three of your party members for the initial onslaught, including preparing their gear, the initial spells and their Gambits. Let’s start with gear:
Equip all three of your party members with a ![]() Bubble Belt. Casting
Bubble Belt. Casting ![]() Bubble Magick is a much less effective route of increasing each of their HP because it will need to be recast each time that party member is KO’d, which will potentially be quite a few times using this strategy.
Bubble Magick is a much less effective route of increasing each of their HP because it will need to be recast each time that party member is KO’d, which will potentially be quite a few times using this strategy.
You should also equip all their strongest armor and equip all three party members with a Shield if possible. You should focus on surviving the first portion of the battle rather than trying to do damage.
Set up Gambits so that 1 (or more) of your party members are casting ![]() Renew or
Renew or ![]() Curaja as often as possible. Setting up an Ally: HP < 70% >
Curaja as often as possible. Setting up an Ally: HP < 70% > ![]() Renew is ideal. Having two party members that can cast healing spells, while the third focuses on using
Renew is ideal. Having two party members that can cast healing spells, while the third focuses on using ![]() Wither, will increase the odds of your party surviving. Make sure that they have an
Wither, will increase the odds of your party surviving. Make sure that they have an ![]() Arise Gambit or a
Arise Gambit or a ![]() Phoenix Down Gambit set up as well.
Phoenix Down Gambit set up as well.
One party member should continue to use Wither until Omega Mark XII’s attacks become manageable. Once you reach this stage, switch out your party member’s equipment for equipment that has higher attack damage (removing the Shields previously mentioned above) and reduce threshold used for your party members casting healing spells so that they can all start damaging the boss.

You can find a video of this battle in the Zodiac Age version below.
The rewards for defeating Omega Mark XII (the loot dropped) include the Omega Badge. The badge drops as a loot bag on the ground rather than being added to your inventory automatically, so make sure that you pick it up before leaving the room or it will be lost forever. This badge is one of the ingredients used to create the ![]() Wyrmhero Blade, the most powerful sword in the game.
Wyrmhero Blade, the most powerful sword in the game.
This is also one of the enemies that most players leave until last but is required to complete the Bestiary and obtain the Scrivener Achievement/Trophy.
This side quest battle is one of the last portions of the endgame content available in Final Fantasy XII. Use the link below to return to that section of the walkthrough:
Walkthrough

A complete guide to all endgame content available before the final battle including Hunts, side quests, and preparation tips for the Sky Fortress.
Alternatively, you may wish to switch over to completing the Trial Modes available in the game, as some of these battles are even more difficult than the battle against Omega.