
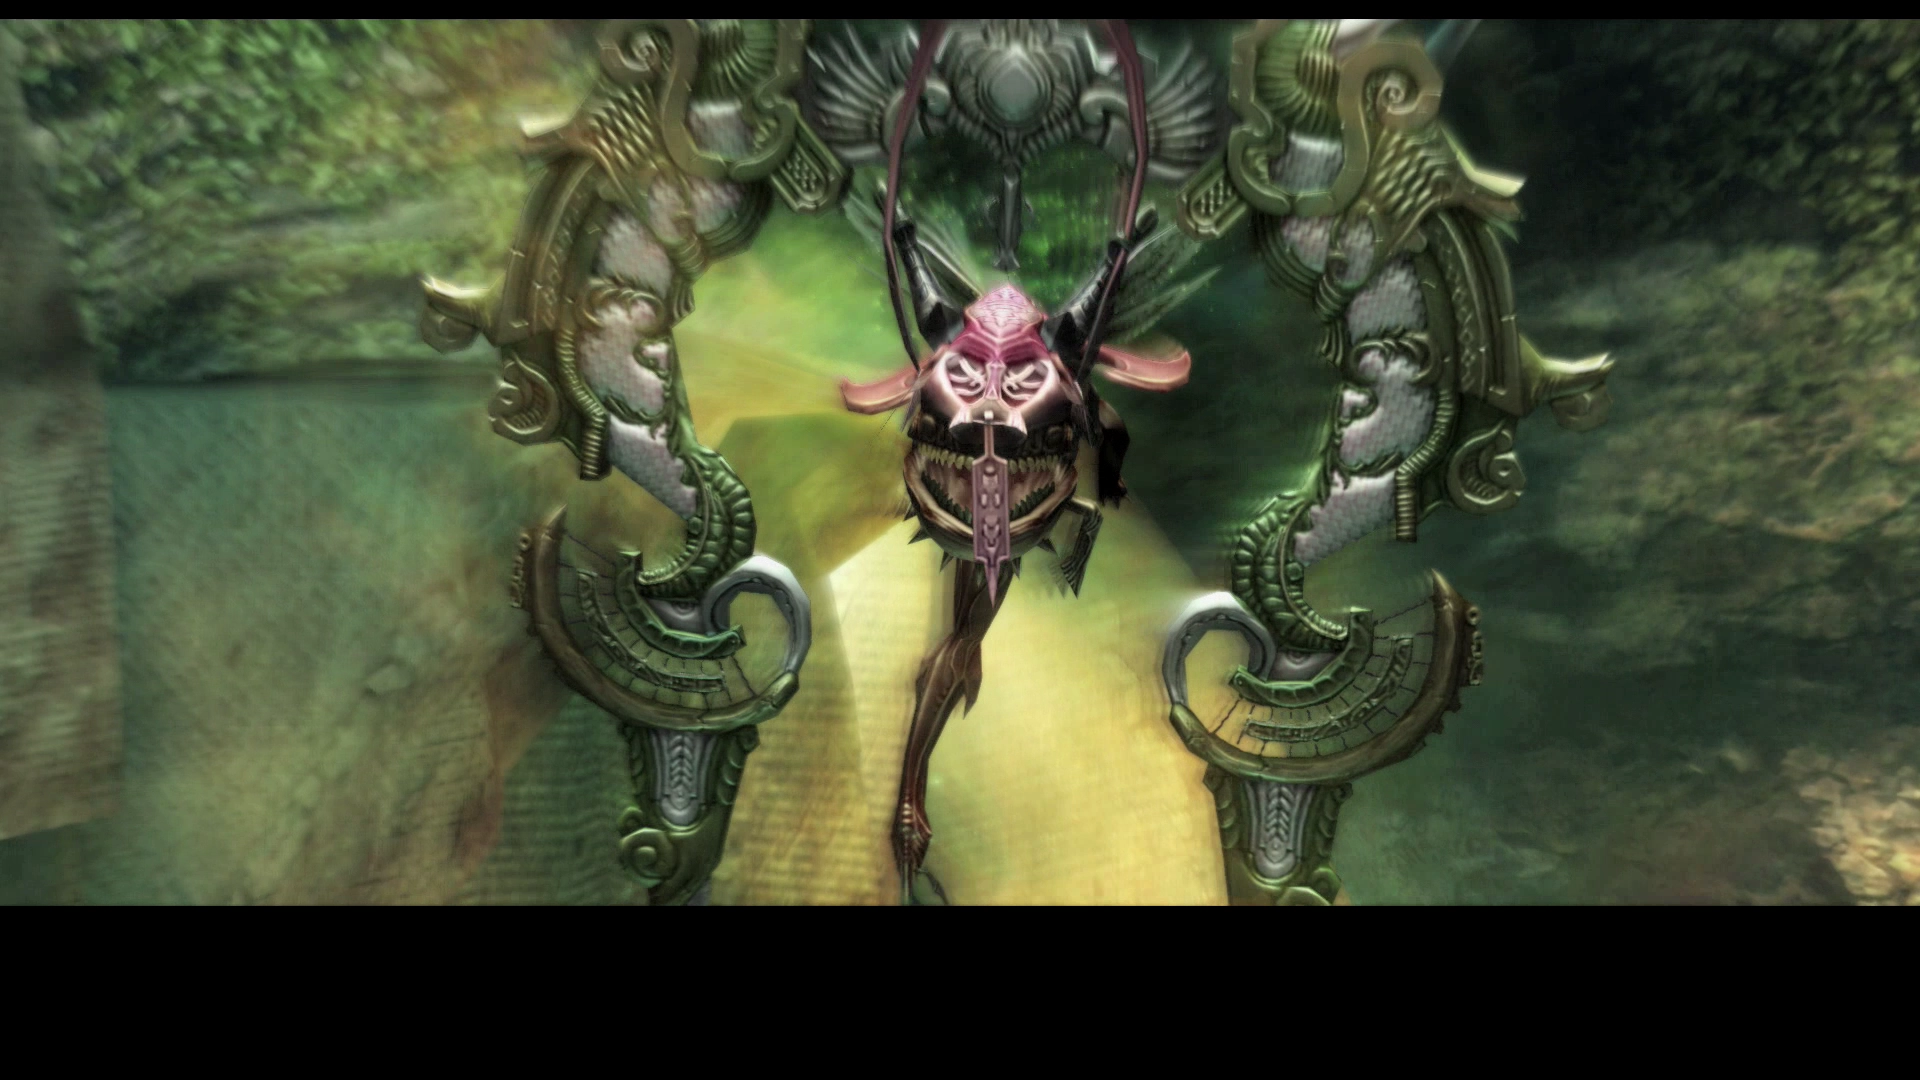
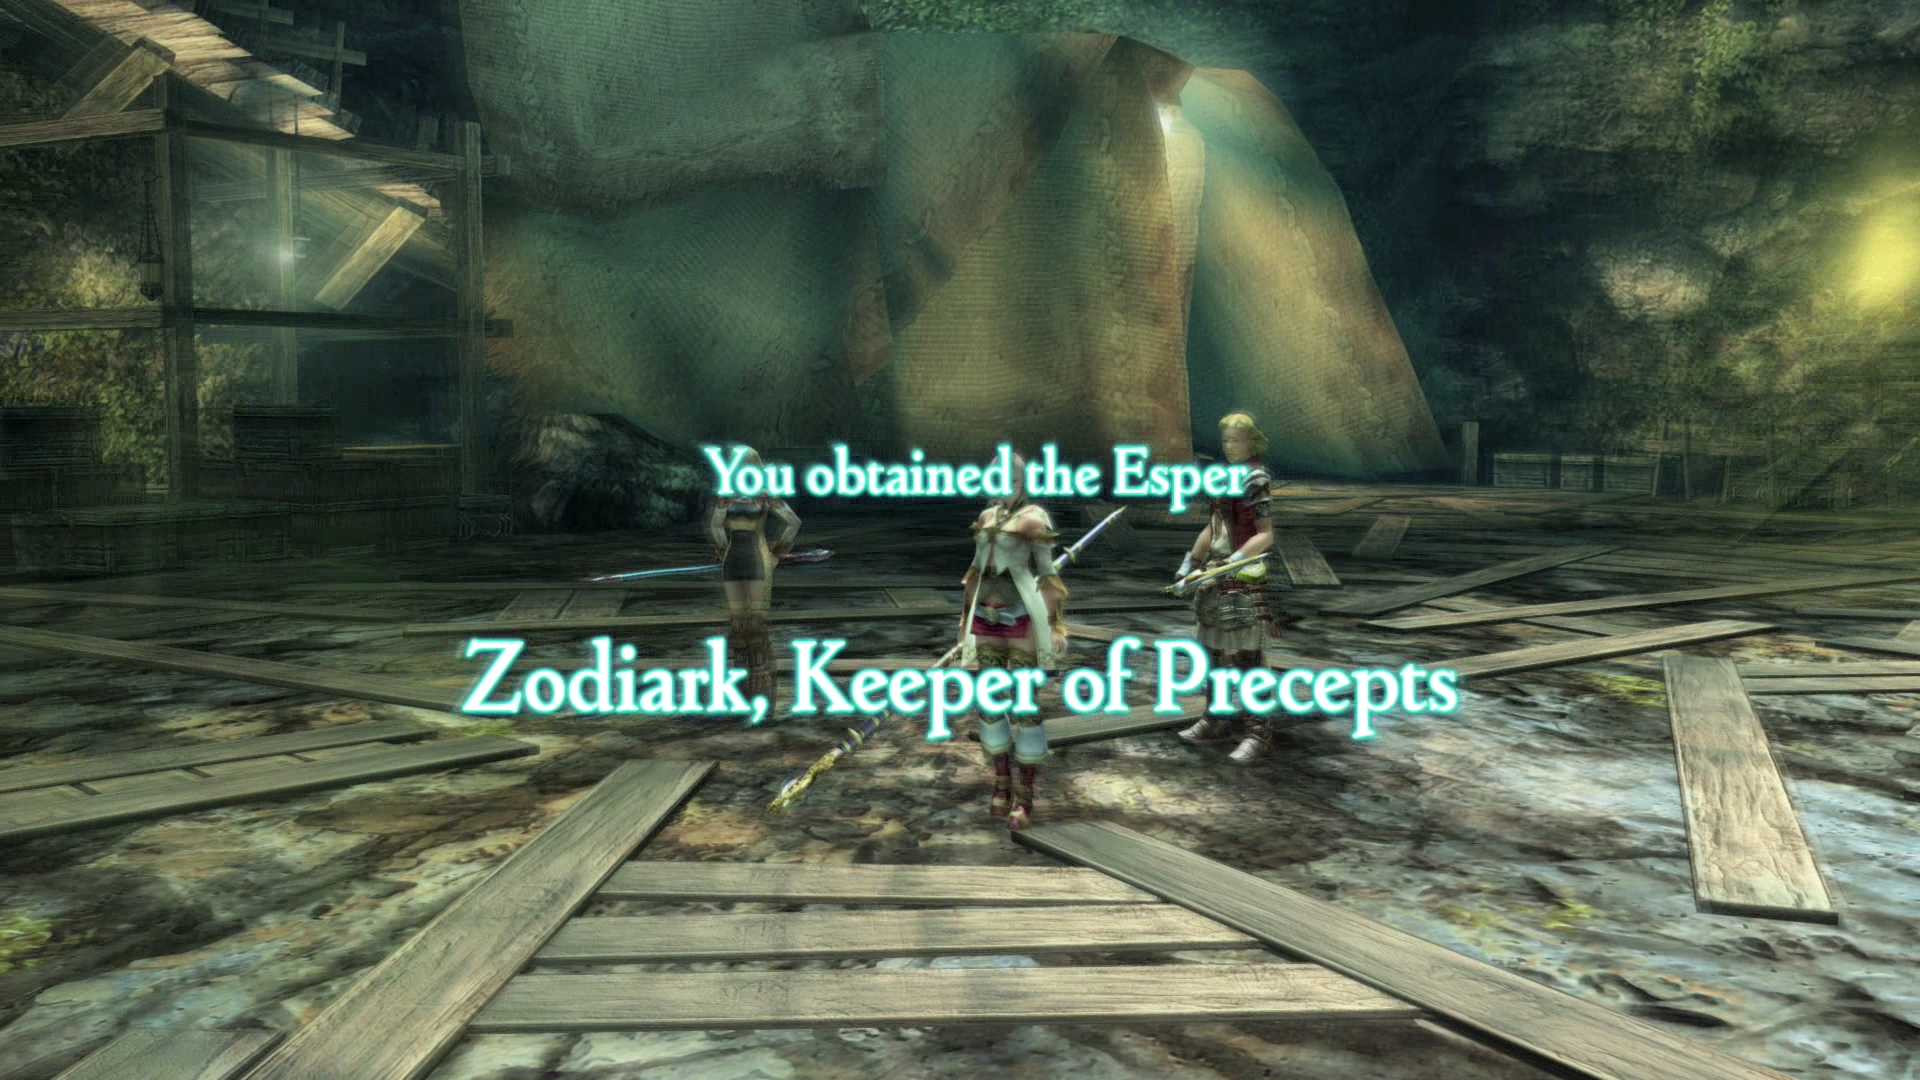
Zodiark, Keeper of Precepts
“Strongest of the scions created by the gods, they feared his growth, and so kept him a child. So indomitable is his strength that all things are by him twisted and pressed into oblivion.
He alone fashions the laws governing all things, and administers punishment in place of the gods. So is he Keeper of Precepts, and his authority is absolute.”
Obtaining Zodiark, the thirteenth and final Esper in the game, and last of the optional Espers, is one of the most challenging endeavors in the game for a few reasons:
- Both Zodiark and the minions in the dungeon leading to him are very high-leveled and difficult to defeat.
- There is no Save Crystal outside the room where you battle Zodiark to allow you to recharge. This means that you need to be prepared to complete the dungeon and the battle all in one swing.
- Zodiark’s attacks can devastate your party as his most prominent attack, Darkja, has a chance of KO’ing your players and there is no way to prevent this.
Set your expectations appropriately: there is a very good chance that it will take you several attempts to defeat and obtain Zodiark. This battle can be a frustrating one, but follow the steps below and you will have a better chance of defeating him.
Preparations
First and foremost, you should ensure that your party is around level 65 or higher. The enemies leading up to Zodiark, as well as Zodiark himself, are around level 65. Being any lower will make this battle incredibly difficult.
Take some time to complete some of the Hunts that you have left or complete sections of the Bestiary in the Clan Primer to help raise your level up if needed.
Both reaching Zodiark and defeating him requires that you have a few items in your inventory. While not necessarily required, it is highly recommended that you obtain two or three ![]() Ribbon accessories to deal with the negative status effects that will be inflicted by some of the monsters on the way to Zodiark. Check out the section below for more information on how and where to find them:
Ribbon accessories to deal with the negative status effects that will be inflicted by some of the monsters on the way to Zodiark. Check out the section below for more information on how and where to find them:
Tips and Tricks
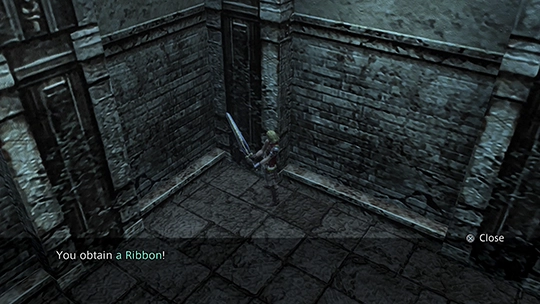
There are numerous places to obtain a Ribbon throughout the game. Check out this page for more information.
You may also want to obtain the ![]() Excalibur greatsword weapon as well. Zodiark, as well as many of the enemies leading up to Zodiark, are weak to Holy attacks, and the Excalibur is a Holy-based weapon that will do heavy amounts of damage to all them (usually 9,999 damage).
Excalibur greatsword weapon as well. Zodiark, as well as many of the enemies leading up to Zodiark, are weak to Holy attacks, and the Excalibur is a Holy-based weapon that will do heavy amounts of damage to all them (usually 9,999 damage).
Side Quests
Obtaining the Excalibur and the Zodiac Escutcheon from the upper areas of the Great Crystal.
Other items that you will need to purchase include:
 Black Masks for all six of your characters
 Bubble Belts for as many of your characters as you can afford
- A fairly good stock of
 Phoenix Downs, Serum, Remedies,
  Hi-Ethers
 - An
 Opal Ring for your healer
 - High-level Magick spells like
 Scathe; alternatively, Scourge and Flare will work
![]() Hi-Ethers are not exactly a requirement, but as mentioned above, there is no Save Crystal close to Zodiark like there were for other optional battles (like Zalera and the second battle against Gilgamesh) so there is a good chance that you will run into MP issues. Check out the guide below for stocking up on Hi-Ethers:
Hi-Ethers are not exactly a requirement, but as mentioned above, there is no Save Crystal close to Zodiark like there were for other optional battles (like Zalera and the second battle against Gilgamesh) so there is a good chance that you will run into MP issues. Check out the guide below for stocking up on Hi-Ethers:
Tips and Tricks
Repeatedly visiting some treasure chests in the Feywood that have a high chance of obtaining a Hi-Ether.
Many of the suggestions below are suggested as a means of ensuring that MP is conserved and that healing is spread around to your various party members. Some guides also suggest leveling your secondary party members so that they can withstand an attack or two if you need to use them (which will be discussed further below). You may want to consider leveling some of your lower leveled party members.
Location
The first step to reaching Zodiark is gaining access to the blocked off areas of the Henne Mines where he is hiding. In order to open these sections of the Henne Mines you will need to have obtained at least 10 of the 12 other Espers that are obtainable in the game (refer to the full list of Espers on the Espers list). That said, Zodiark should be the last Esper you attempt to obtain anyway, so there is a good possibility that you are already at 12.
Travel to Jahara and search for Geomancer Yugelu in the Lull of the Land. He is seated on the right-hand side when you enter. He will offer to “guide you to the depths of the Henne Mines” where a great power lies sleeping.
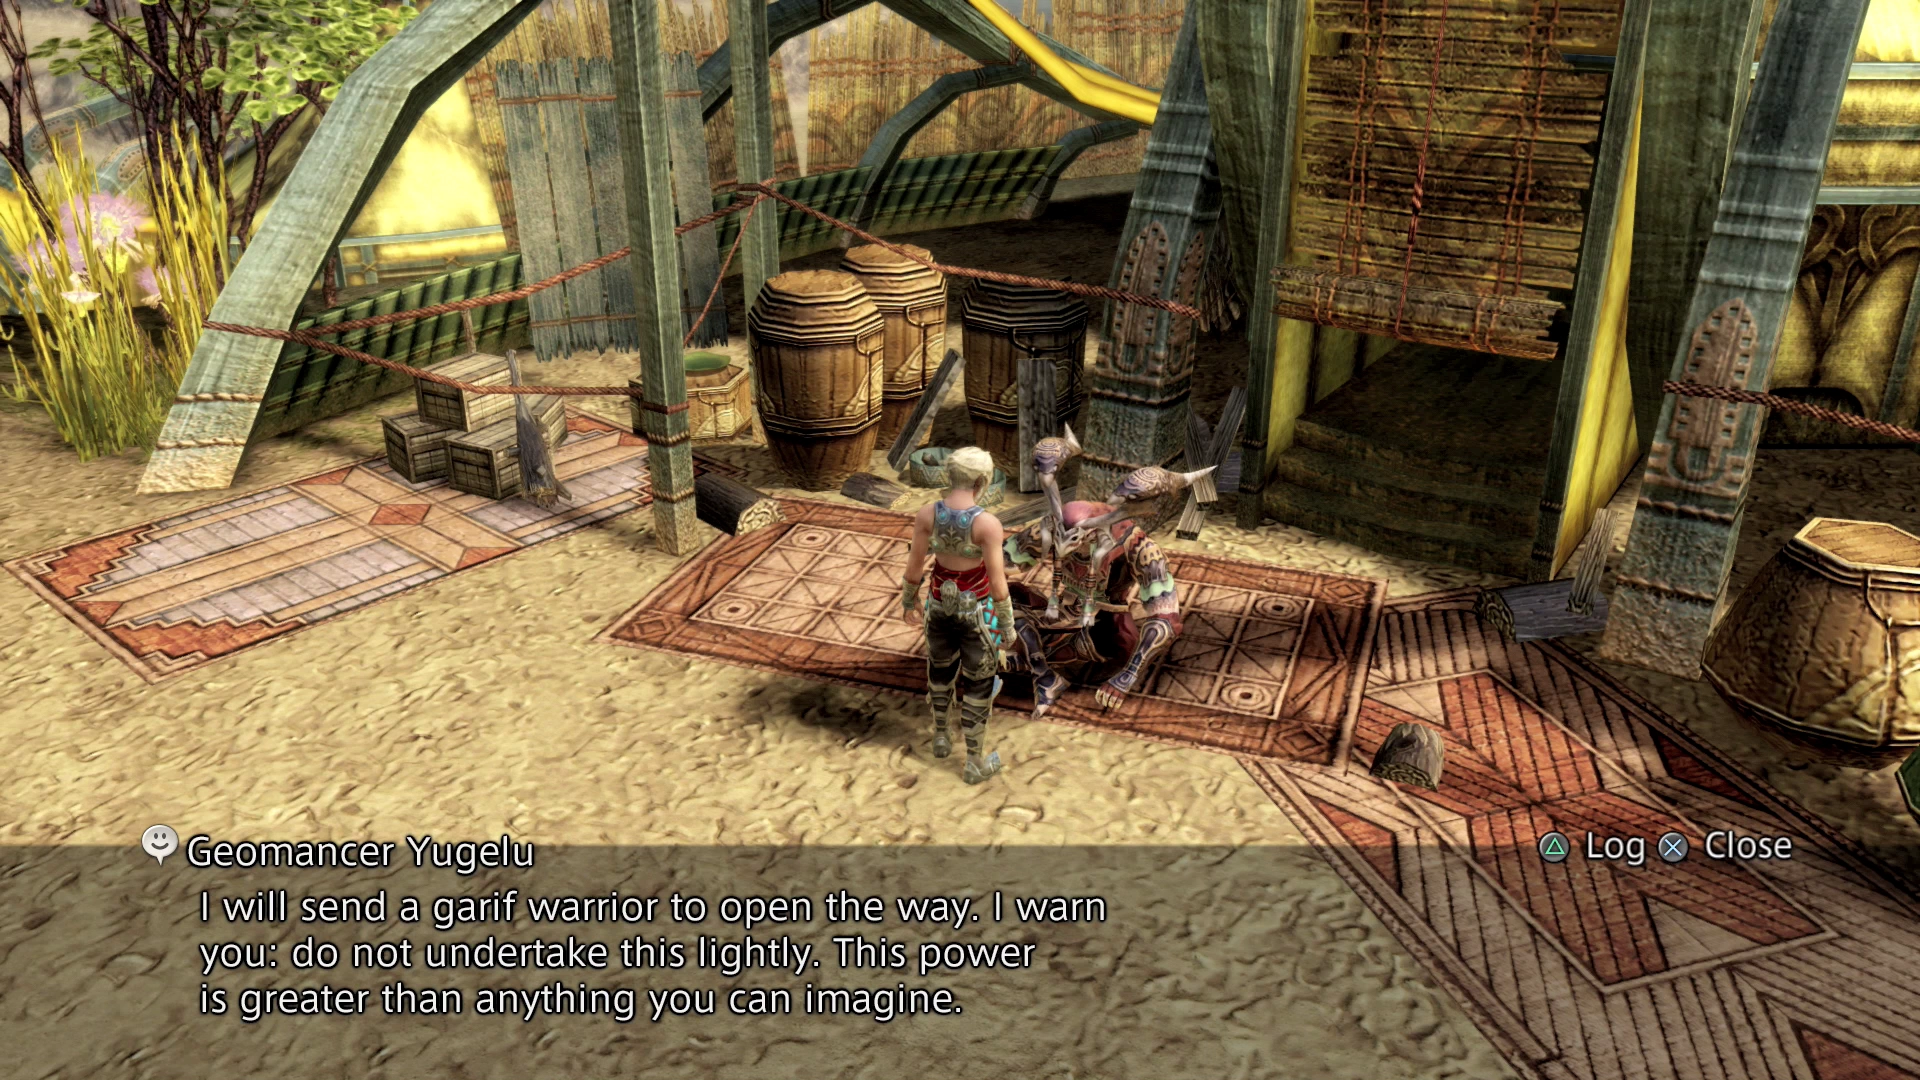
In actuality, he will be sending a Garif Warrior to open the way for you. You now have access to a new area of the Henne mines. Head back to the orange Save Crystal and warp to the Henne Mines.
Here are some tips on how to set up your characters for traversing through the Henne Mines. Some of the following Gambits may prove helpful:
| Tank (Vaan) | Damage Dealer (Basch) | Healer (Ashe) | |||
|---|---|---|---|---|---|
| Ally: any | Ally: any | Ally: any | |||
| Ally: any | Ally: any | Ally: HP < 40% | |||
| Ally: any | Ally: any | Ally: HP < 60% | |||
| Foe: lowest HP | Attack | Self | Ally: Vaan | ||
| Foe: nearest visible | Attack | Ally: any | Foe: party leader’s target | Attack | |
| Self: HP < 100% | Foe: party leader’s target | Attack | |||
| Self | Foe: lowest HP | Attack | |||
| Ally: status = Doom | Ally: HP < 100% | ||||
Equipment for this setup:
Vaan (or the tank) should be equipped with a ![]() Bubble Belt. The other two party members should be equipped with
Bubble Belt. The other two party members should be equipped with ![]() Ribbons if possible (refer to above) or one with a
Ribbons if possible (refer to above) or one with a ![]() Black Belt to prevent Disable and one with a
Black Belt to prevent Disable and one with a ![]() Power Armlet to prevent Stop. Set up an additional Gambit on those two characters if needed to use
Power Armlet to prevent Stop. Set up an additional Gambit on those two characters if needed to use ![]() Esuna /
Esuna / ![]() Chronos Tears to cure other characters as required.
Chronos Tears to cure other characters as required.
The ![]() Bubble Gambits will ensure that all three of your party members go into the Henne Mines with the maximum amount of HP. Ideally, all three characters would be equipped with a
Bubble Gambits will ensure that all three of your party members go into the Henne Mines with the maximum amount of HP. Ideally, all three characters would be equipped with a ![]() Ribbon accessory, but unfortunately the Ribbon accessory also makes your tank immune to the “Lure” status effect from
Ribbon accessory, but unfortunately the Ribbon accessory also makes your tank immune to the “Lure” status effect from ![]() Decoy (which is likely a flaw in the game’s programming).
Decoy (which is likely a flaw in the game’s programming).
You should have all three of your party members equipped with strong weapons in this area. Do not equip them with shields. Ideal weapons include ![]() Excalibur, the
Excalibur, the ![]() Zodiac Spear, and
Zodiac Spear, and ![]() Masamune (for your healer).
Masamune (for your healer). ![]() Save the Queen,
Save the Queen, ![]() Gungnir and the
Gungnir and the ![]() Defender are not ideal but can be substituted. Having your healer equipped with a high damage weapon will help them recover MP more easily using the Inquisitor License (Gain MP after dealing damage) and the Headsman License (Gain MP after defeating a foe).
Defender are not ideal but can be substituted. Having your healer equipped with a high damage weapon will help them recover MP more easily using the Inquisitor License (Gain MP after dealing damage) and the Headsman License (Gain MP after defeating a foe).
The rest of your equipment should be optimized for damage-dealing.
Commentary regarding the Gambit setup listed above:
All characters should have an ![]() Arise Gambit if they have it available. Your tank will be getting hit by a few status effects due to them not being equipped with a
Arise Gambit if they have it available. Your tank will be getting hit by a few status effects due to them not being equipped with a ![]() Ribbon which is why you will need to have some Gambits setup to deal with Stop (
Ribbon which is why you will need to have some Gambits setup to deal with Stop (![]() Chronos Tears), Confuse (
Chronos Tears), Confuse (![]() Esuna), and Doom (
Esuna), and Doom (![]() Remedies). Make sure that whoever is using Remedies to cure Doom has Remedy Lore 3 enabled otherwise Remedies will not cure the status properly.
Remedies). Make sure that whoever is using Remedies to cure Doom has Remedy Lore 3 enabled otherwise Remedies will not cure the status properly.
Healing and positive status effects are spread out amongst your party members. One party member will be casting ![]() Protectga, one will be casting
Protectga, one will be casting ![]() Hastega and you can set up a third Gambit to have one cast
Hastega and you can set up a third Gambit to have one cast ![]() Shellga as well. This ensures that you are not draining all the MP away from your healer.
Shellga as well. This ensures that you are not draining all the MP away from your healer.
The ![]() Regen Gambits are set up this way for the same reason. Your healer will be conserving heals as much as possible, so your other two party members will be casting
Regen Gambits are set up this way for the same reason. Your healer will be conserving heals as much as possible, so your other two party members will be casting ![]() Bubble and
Bubble and ![]() Regen (outside of battle) on themselves. Both of them should be setup with the Inquisitor and Headsmen Licenses as well which will help them quickly recover MP.
Regen (outside of battle) on themselves. Both of them should be setup with the Inquisitor and Headsmen Licenses as well which will help them quickly recover MP.
The ![]() Decoy Gambit may or may not be needed as you make your way to Zodiark depending on how strong your party is. Keep
Decoy Gambit may or may not be needed as you make your way to Zodiark depending on how strong your party is. Keep ![]() Libra active during your travels through the Mines as well as they are full of traps.
Libra active during your travels through the Mines as well as they are full of traps.
One last checklist before you start traveling through the Henne Mines:
- Black Masks for all characters
- Hi-Ethers
- Serum / Phoenix Downs
- One Opal Ring
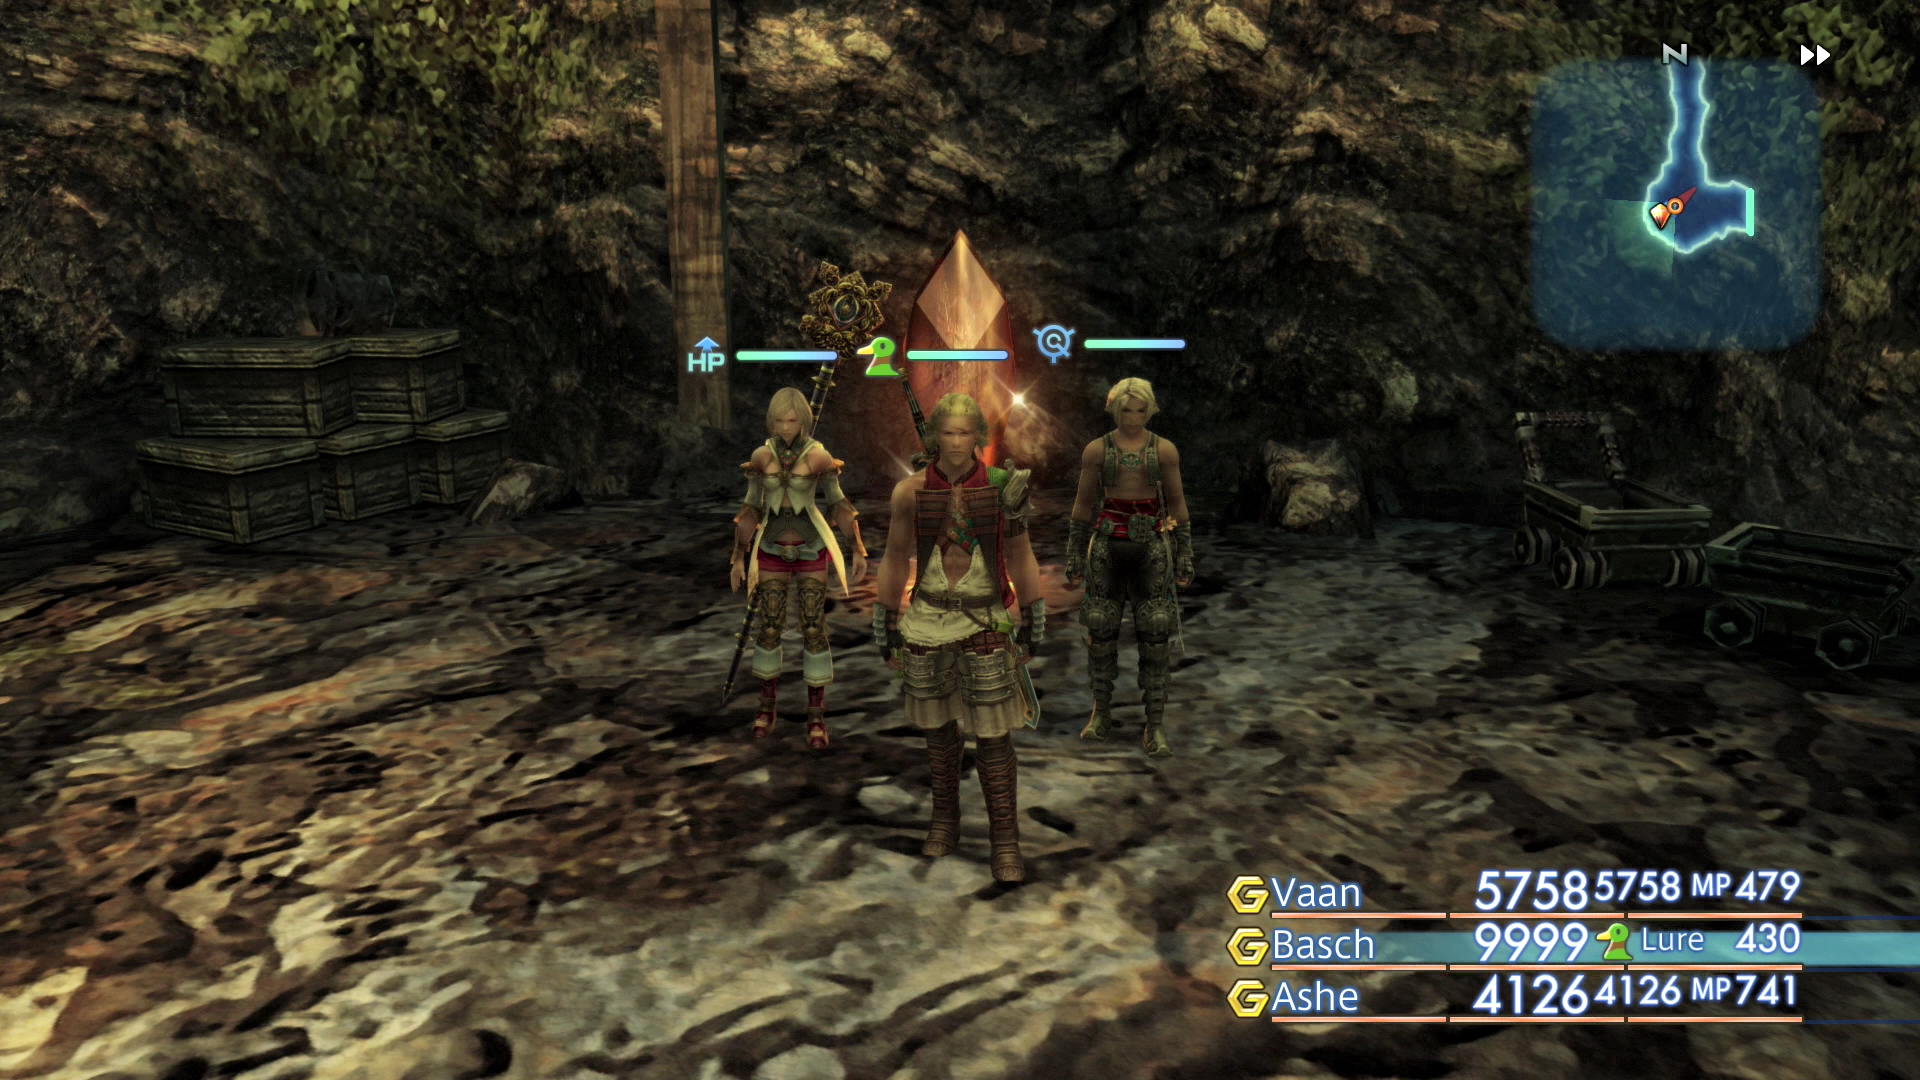
Henne Mines – Staging Shaft
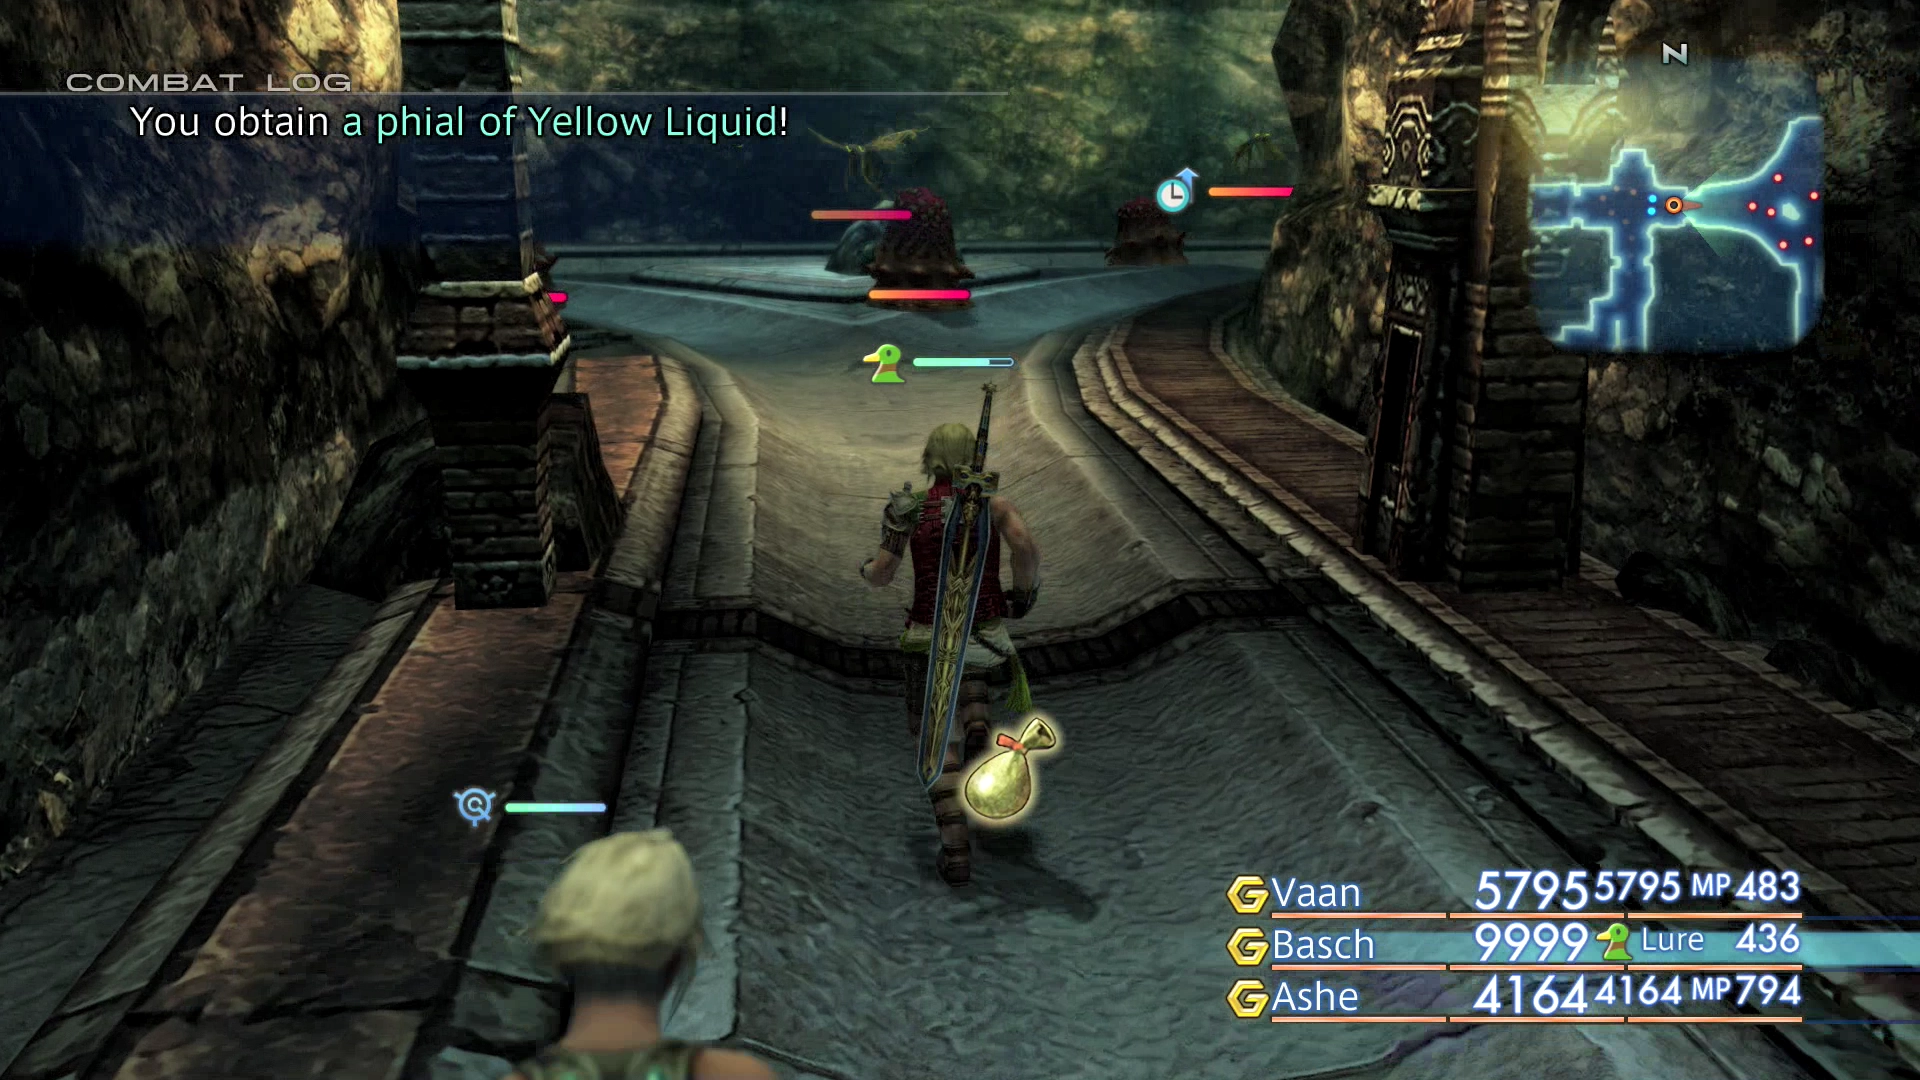
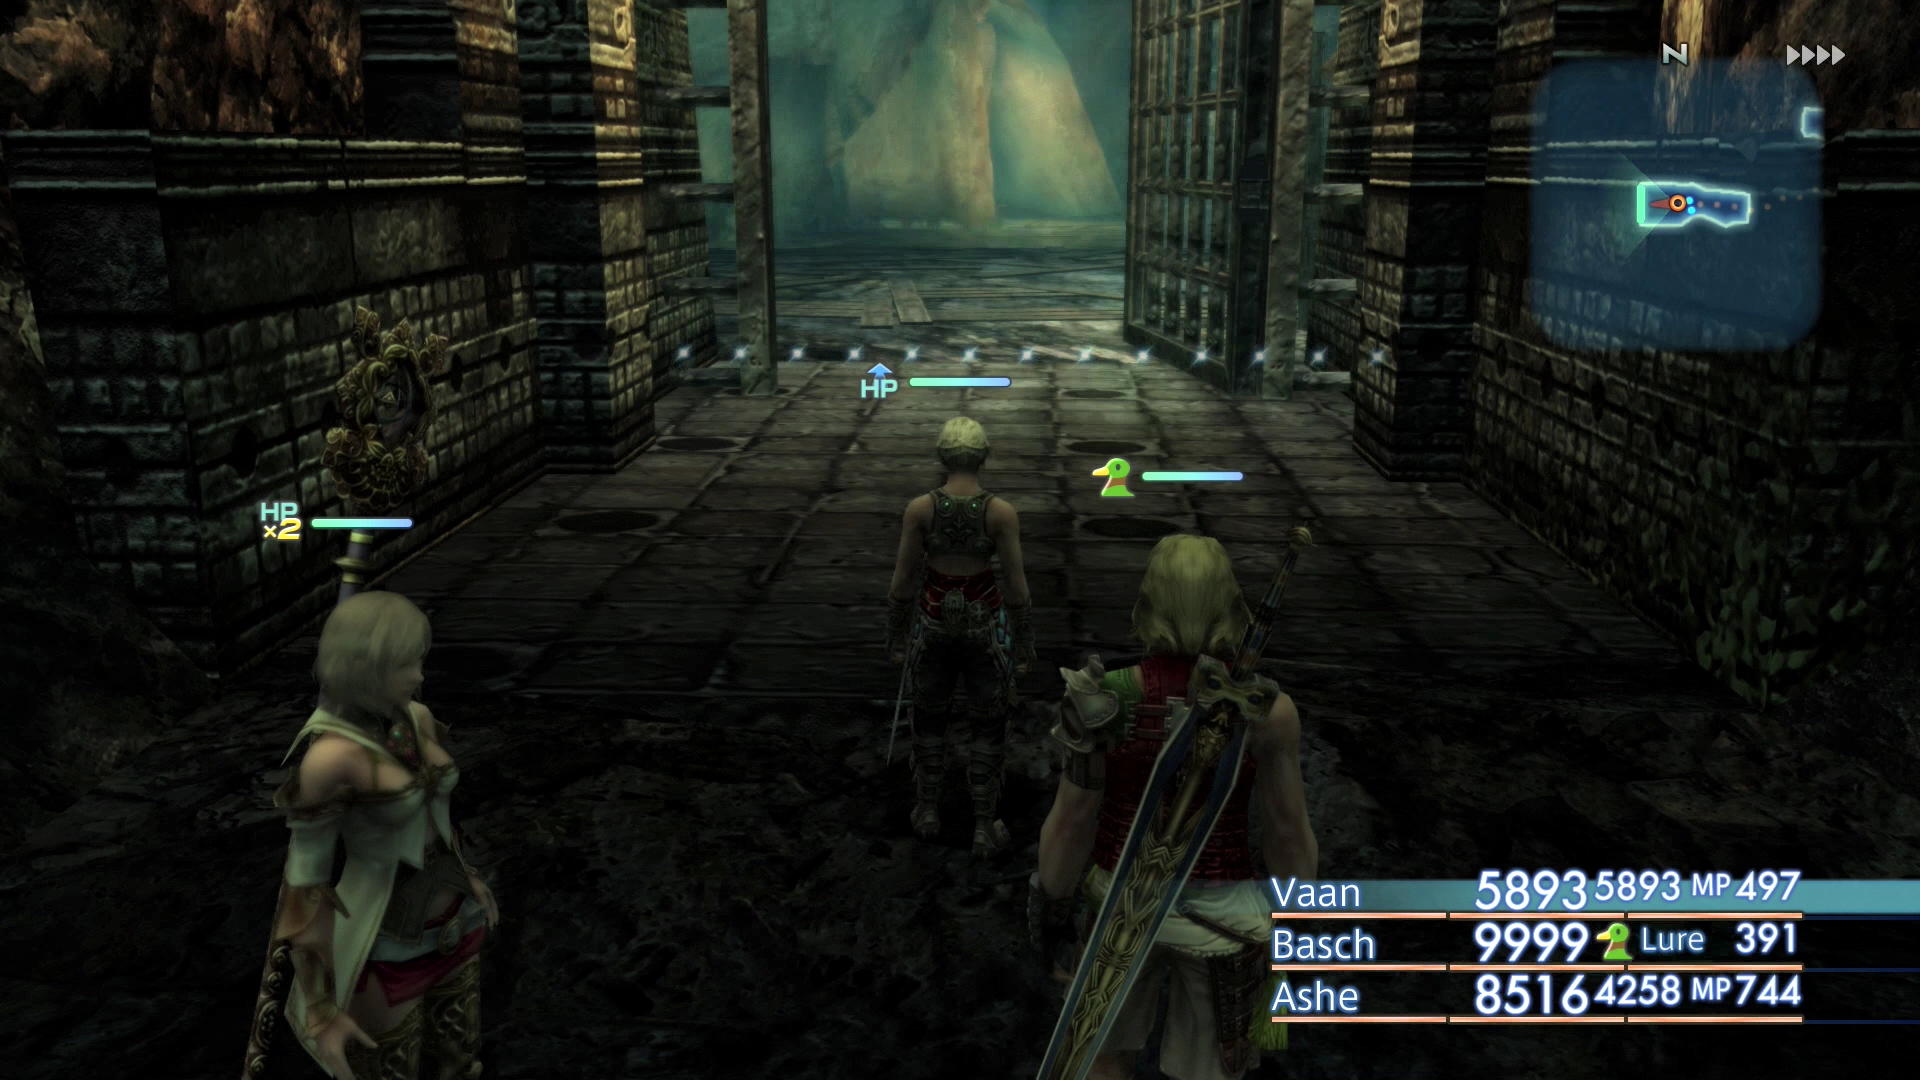
You will arrive in the Staging Shaft area of the Henne Mines. Allow your characters to cast their status enhancing Magick spells and then take one last opportunity to touch the orange Save Crystal to refill their MP. Head north into the next area.
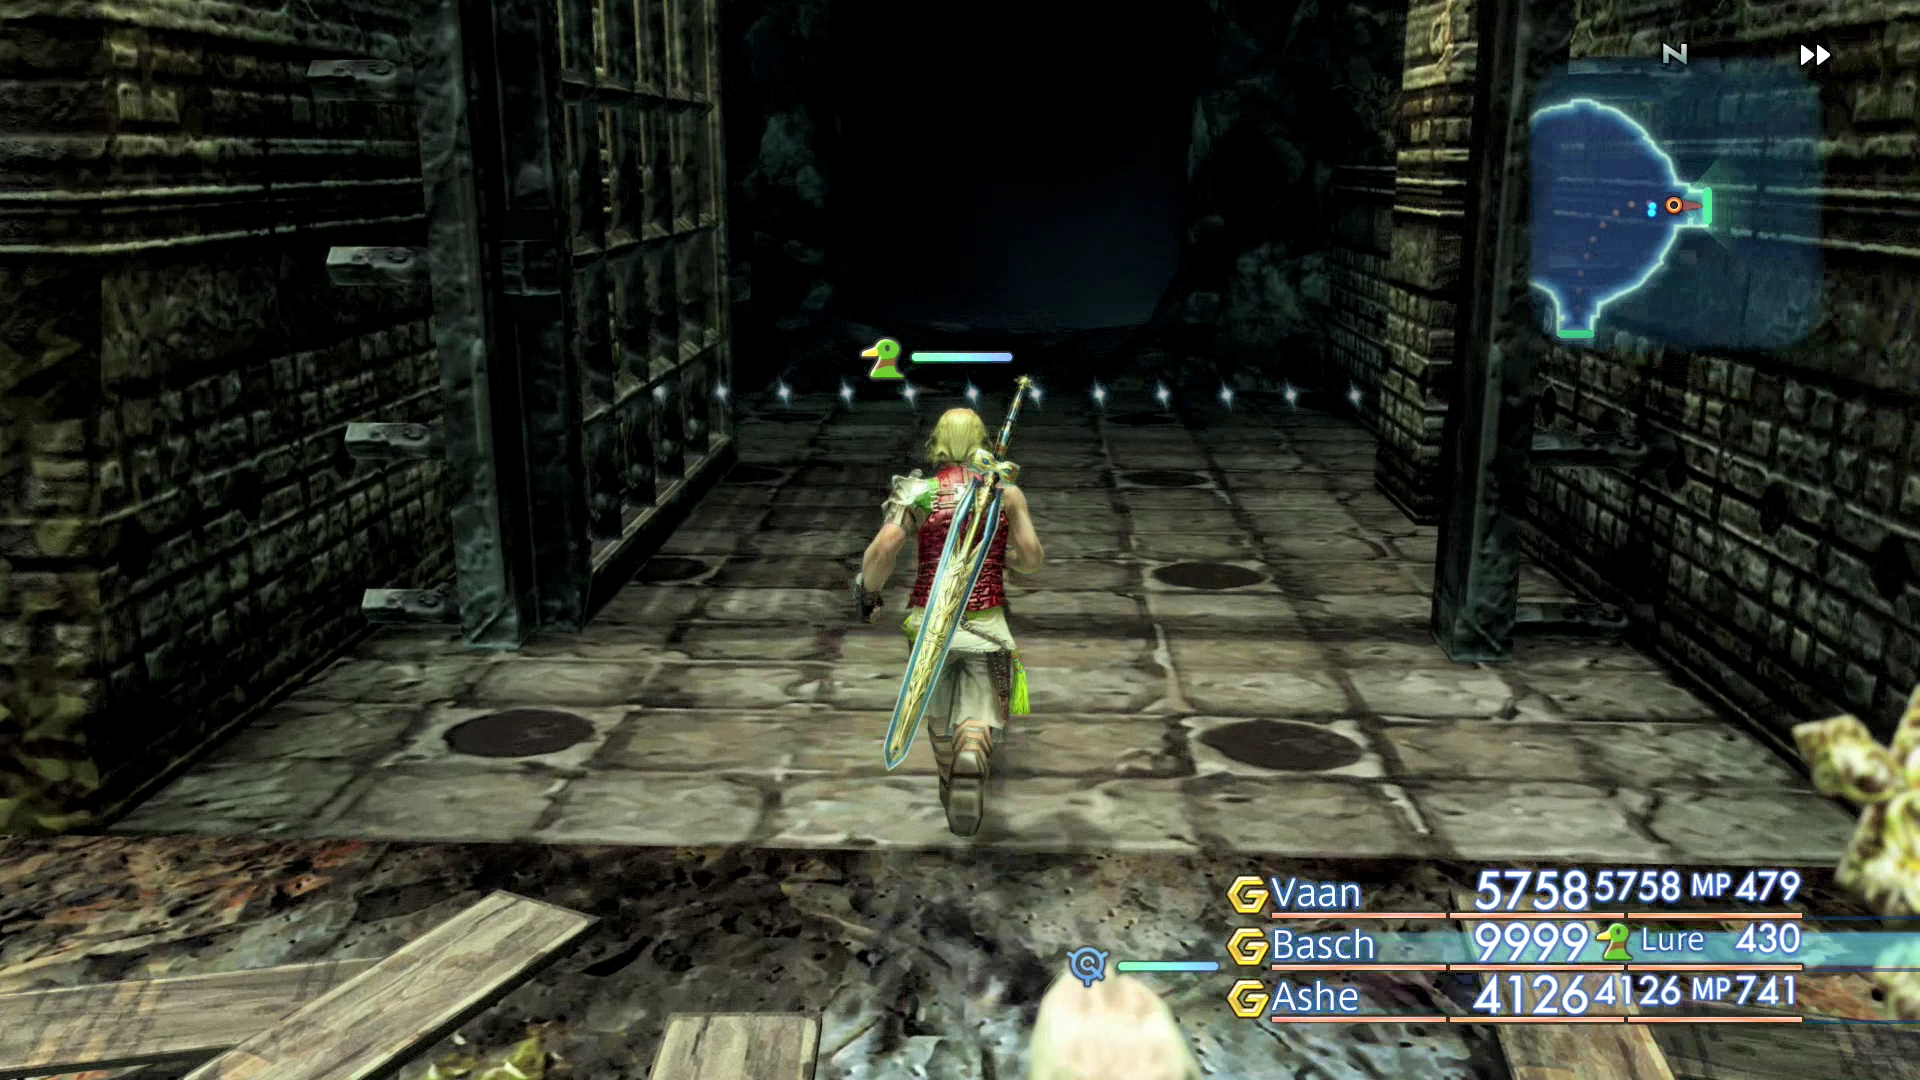
Ore Separation
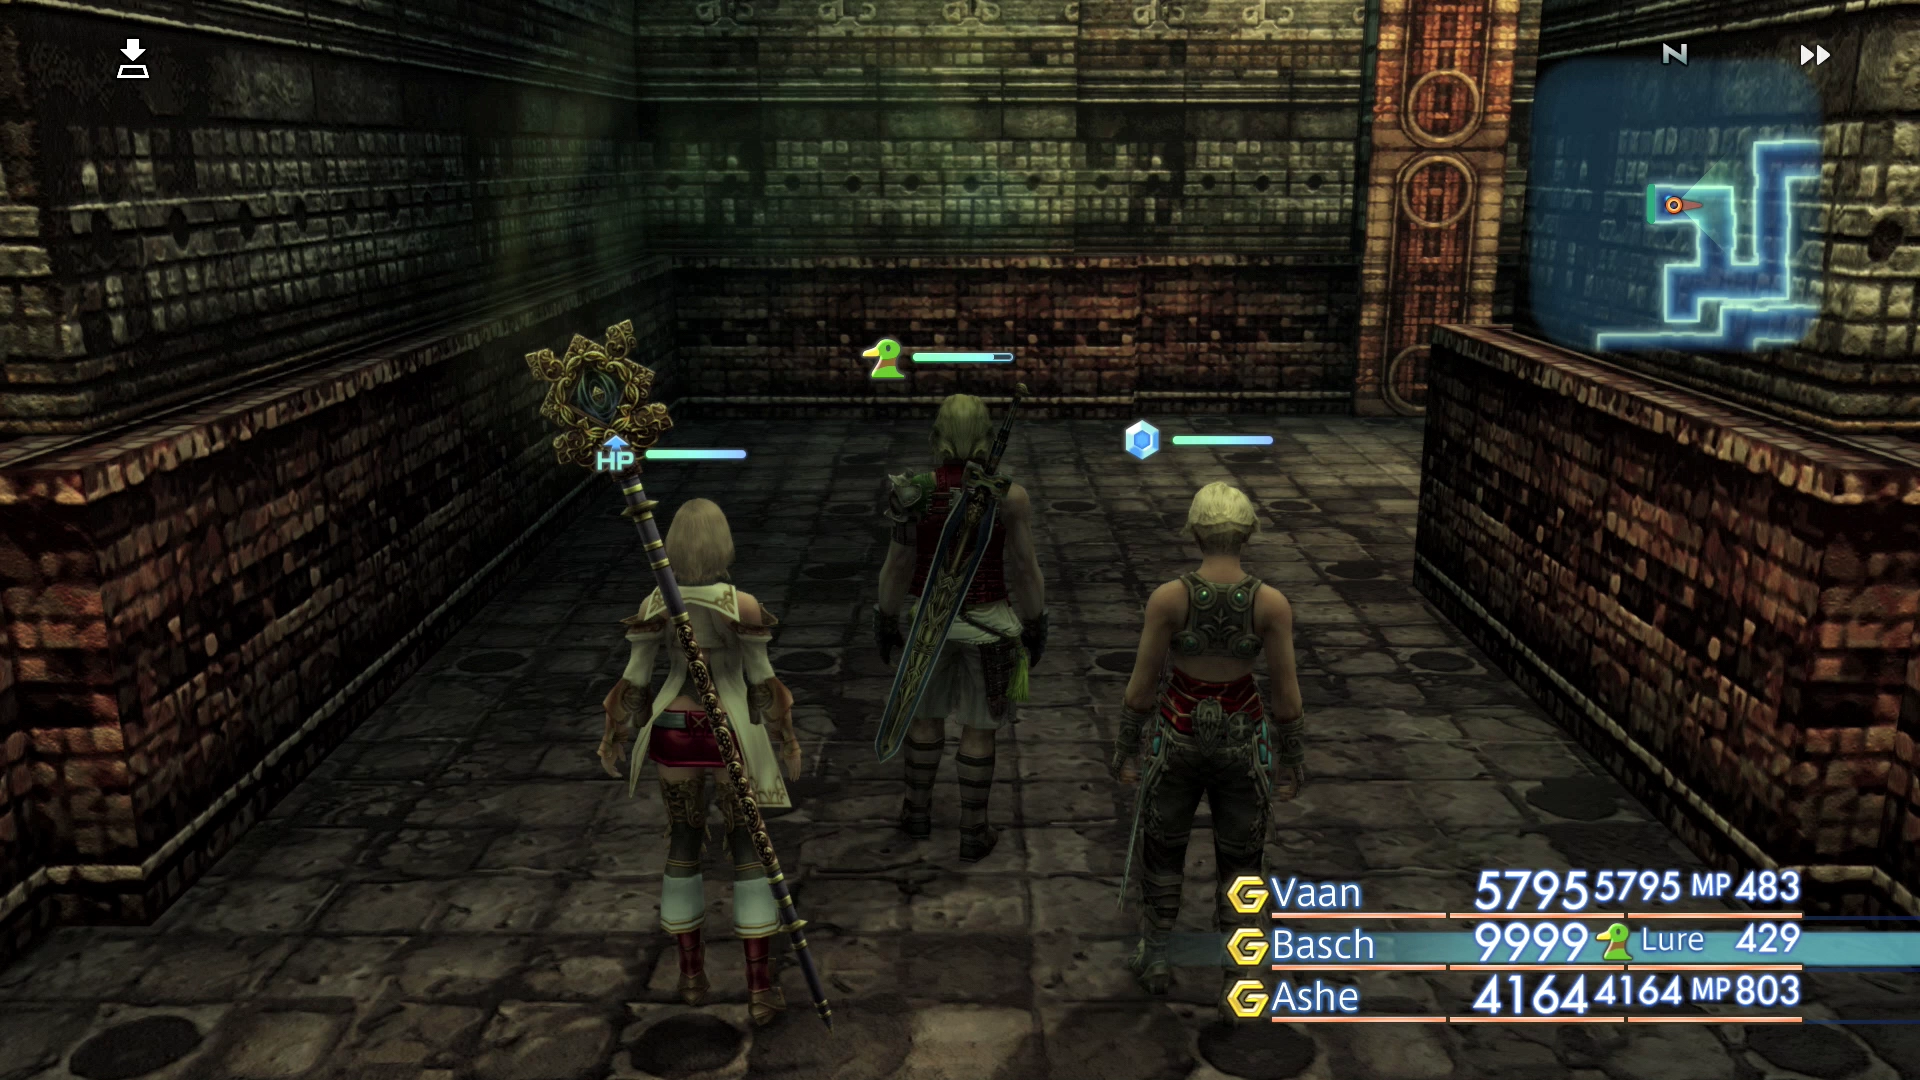
This is the room where you fought Tiamat during the first travels through the Henne Mines. The doorway on the right side of the room is now unlocked allowing you access into the new areas of the Henne Mines.
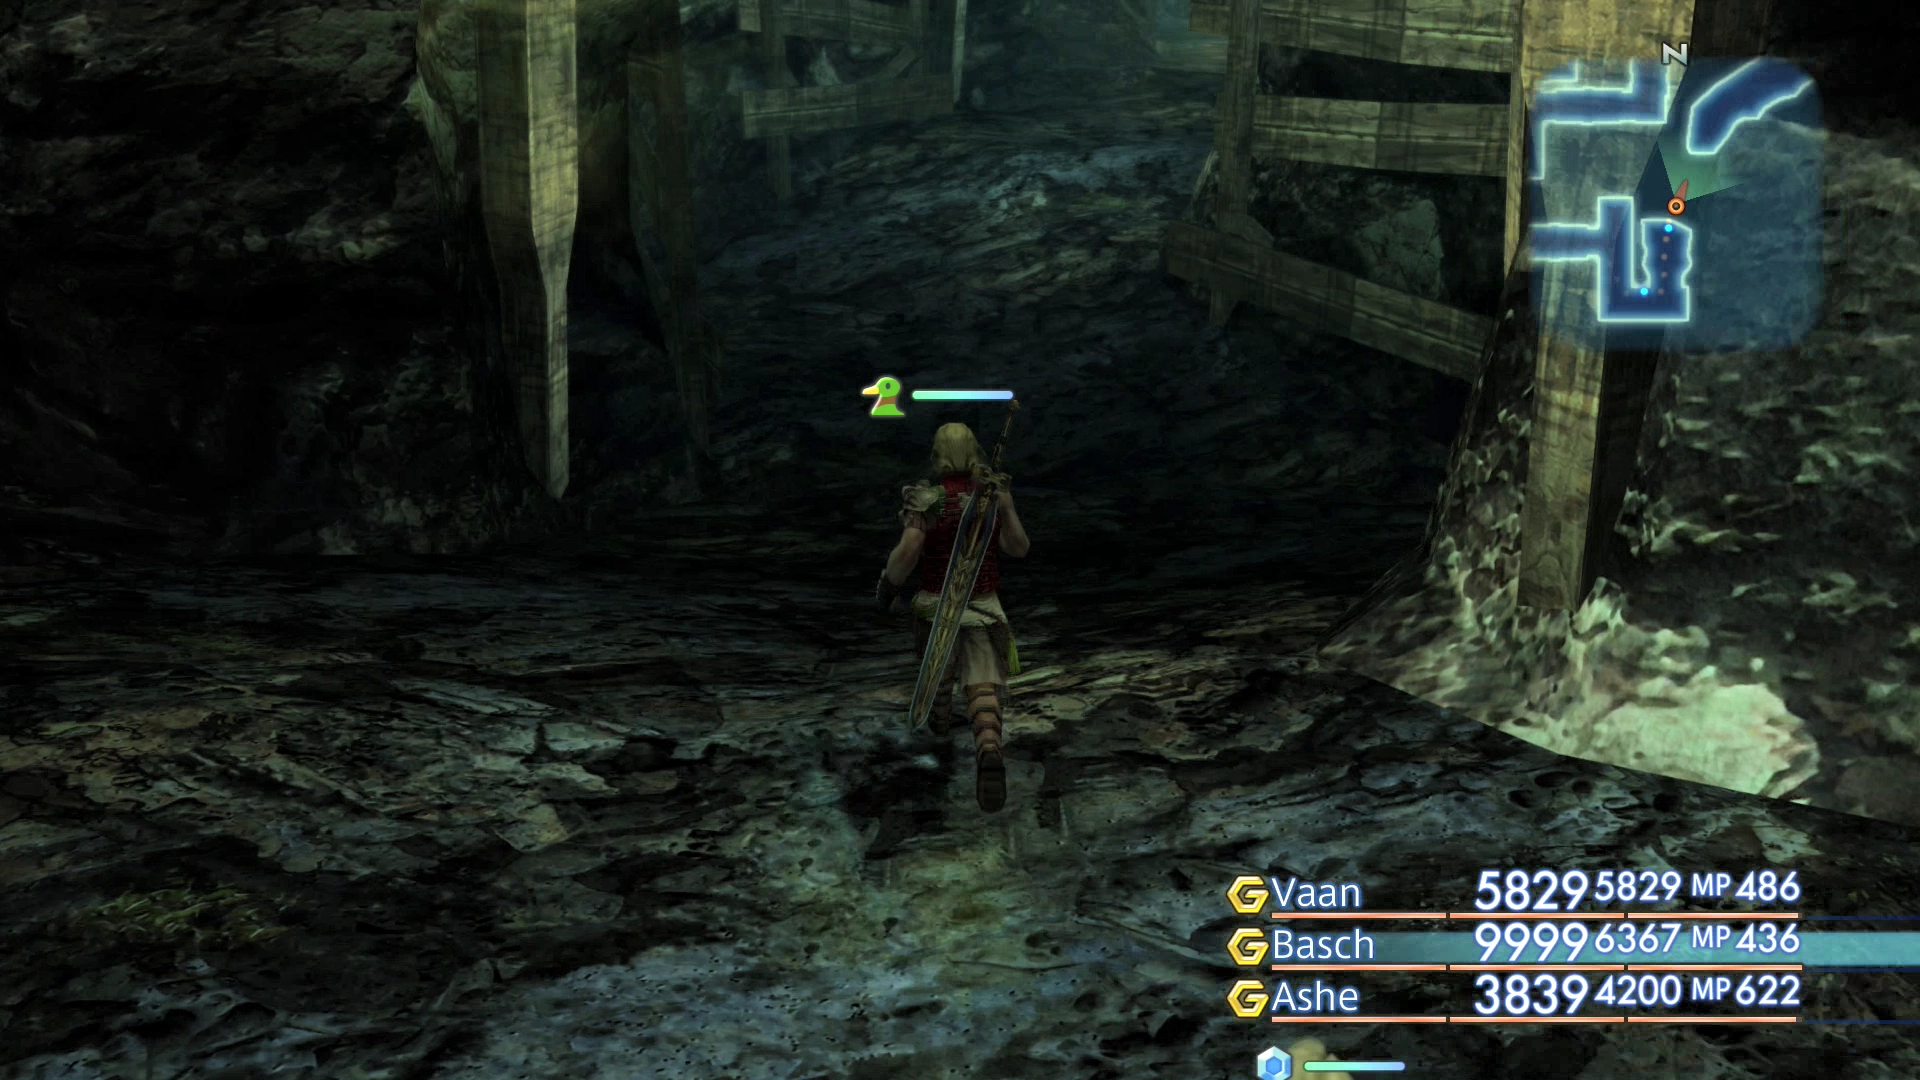
Phase 2 Dig
Be careful traveling through this area too quickly. The Abysteel enemies are not difficult to take down one or two at a time, but can be really difficult if you end up taking on more than that. They can combo their attacks easily and their Leech attack does quite a bit of damage.
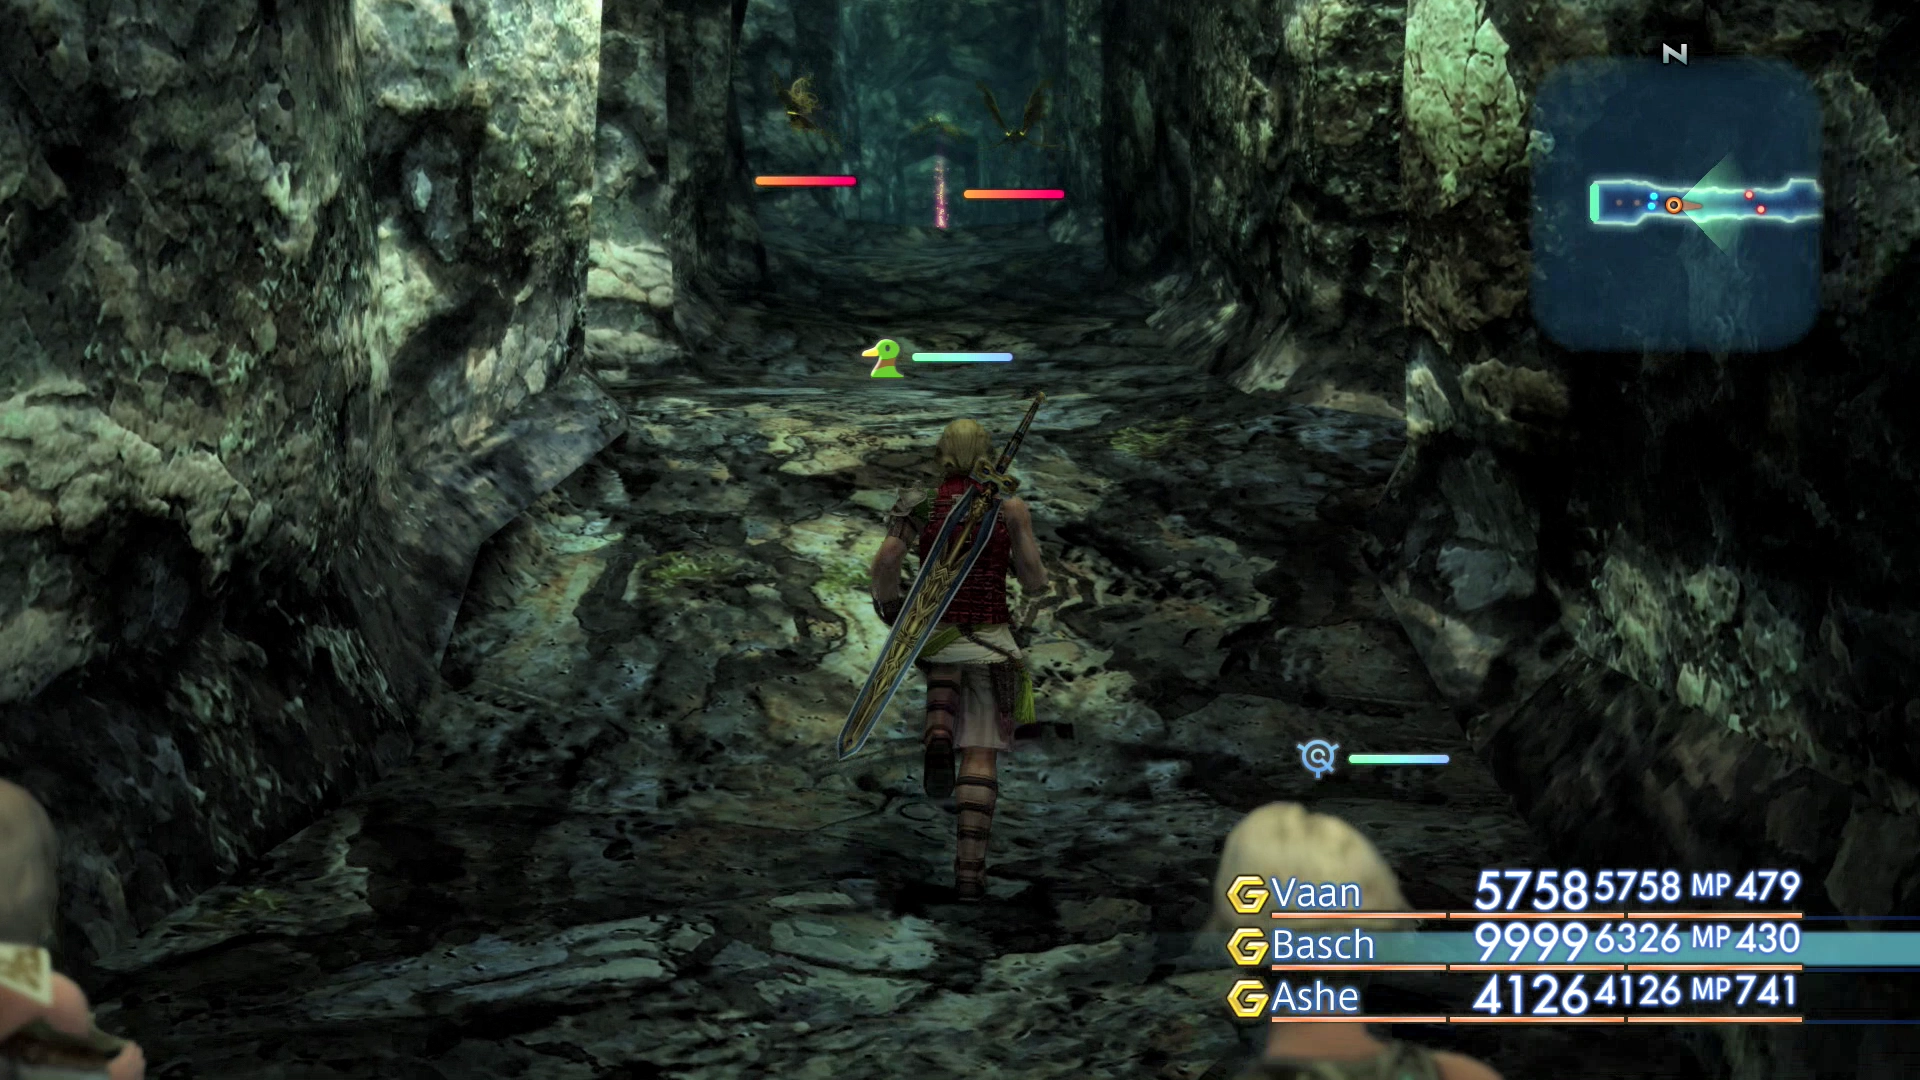
Have one of your party members cast ![]() Float on your party to allow them to walk over the traps in the center of the hallways. The placement of these traps makes them extremely difficult to maneuver around without triggering them.
Float on your party to allow them to walk over the traps in the center of the hallways. The placement of these traps makes them extremely difficult to maneuver around without triggering them.
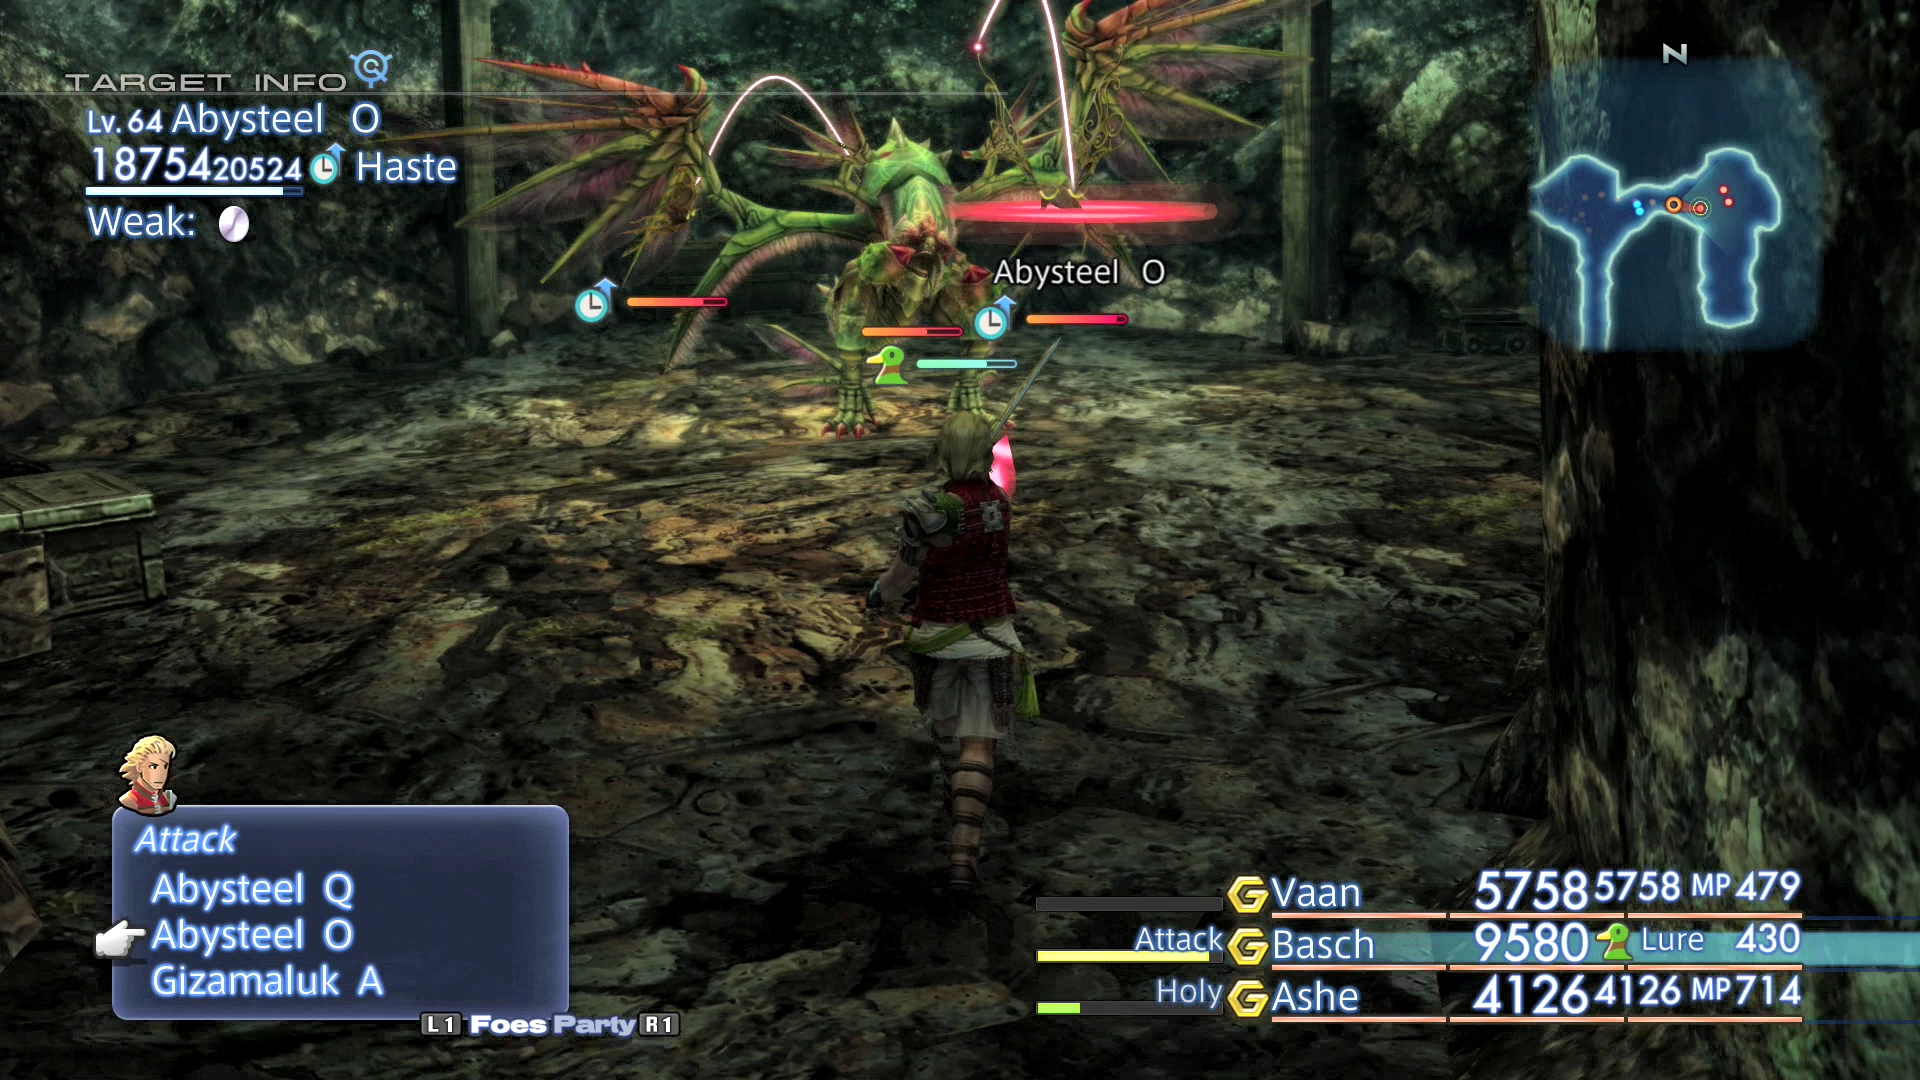
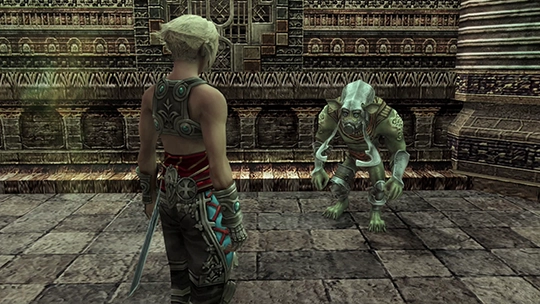
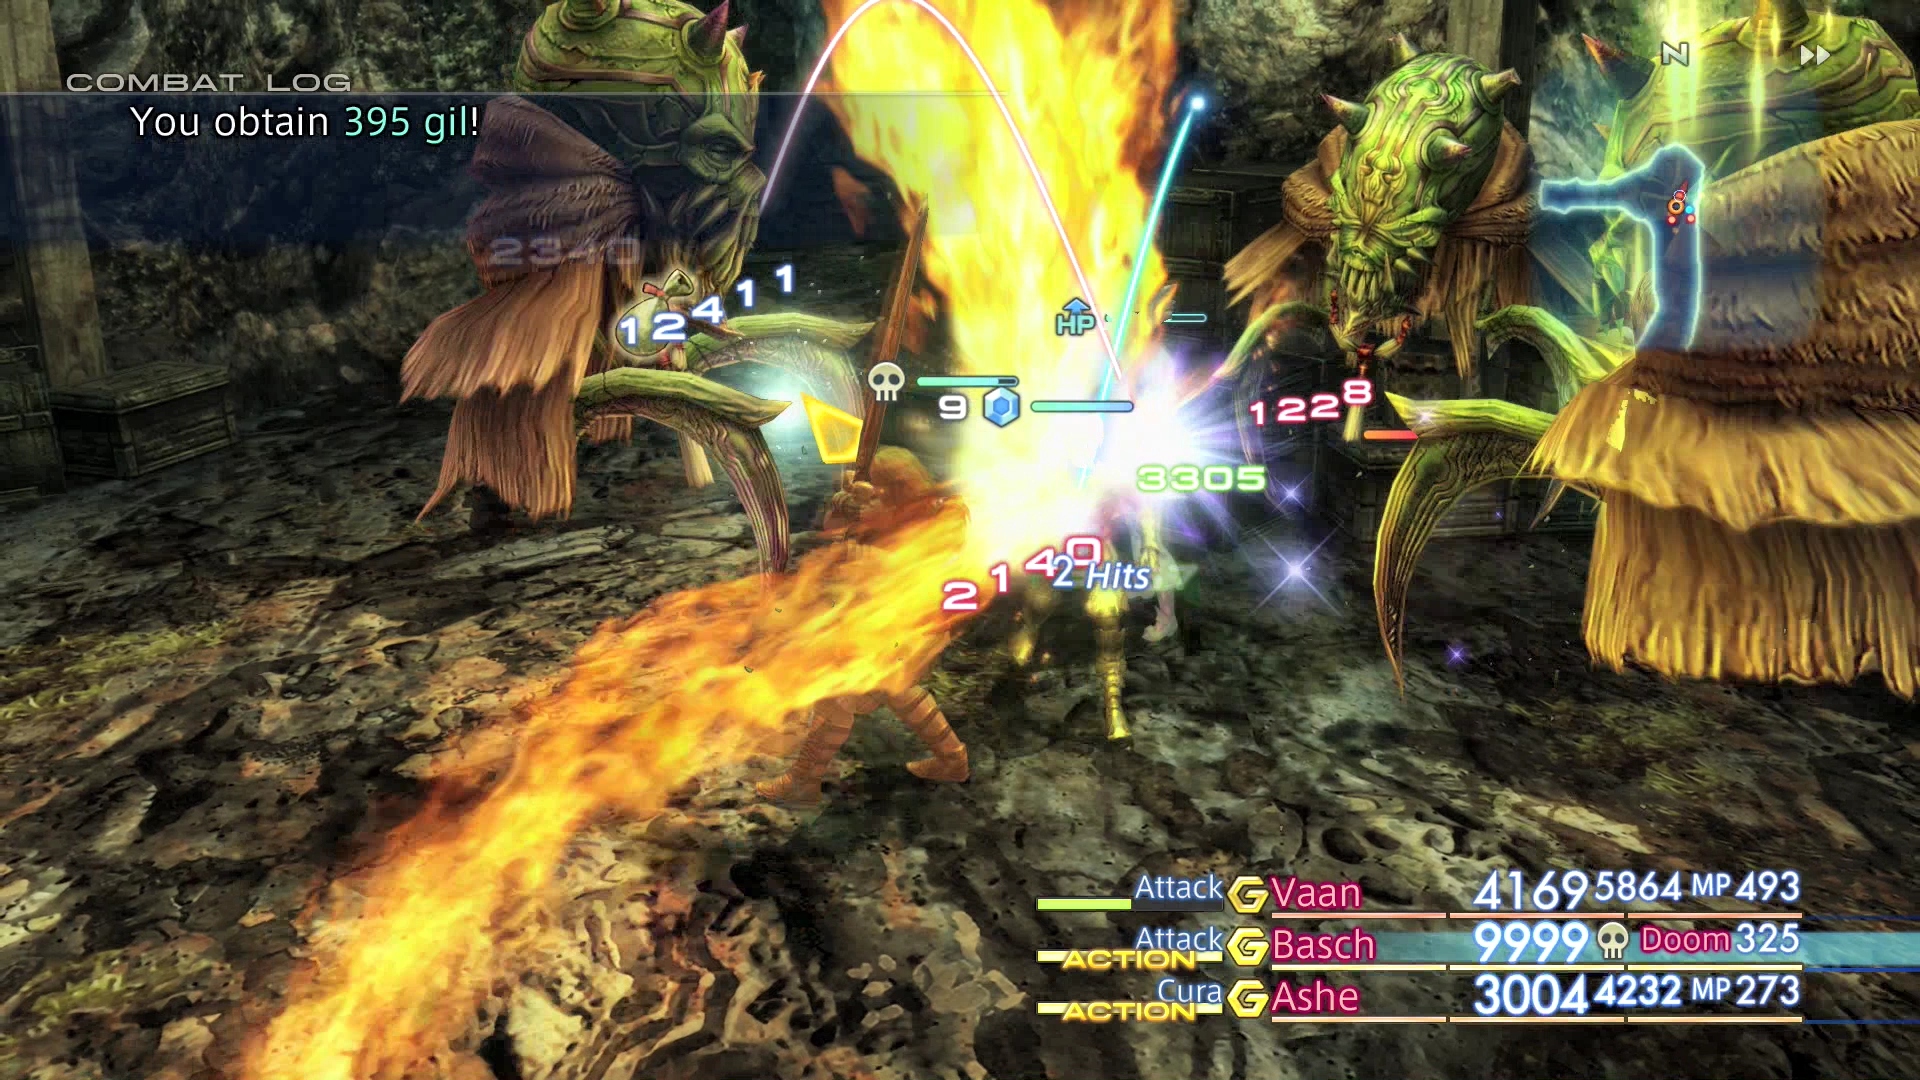
In the far east section of Phase 2 Dig (and in several other areas further into the Henne Mines) you will see a few Abysteel bats attacking a large Gizamaluk enemy (long time players of the Final Fantasy series will recognize that name from the boss in Gizamaluke’s Grotto in Final Fantasy IX).
Be careful approaching this large group of enemies. Focus on taking out the Abysteel bats first and then attacking the Gizamaluk. The Gizamaluk can cast Crushing Fangs which can instantly KO a party member.
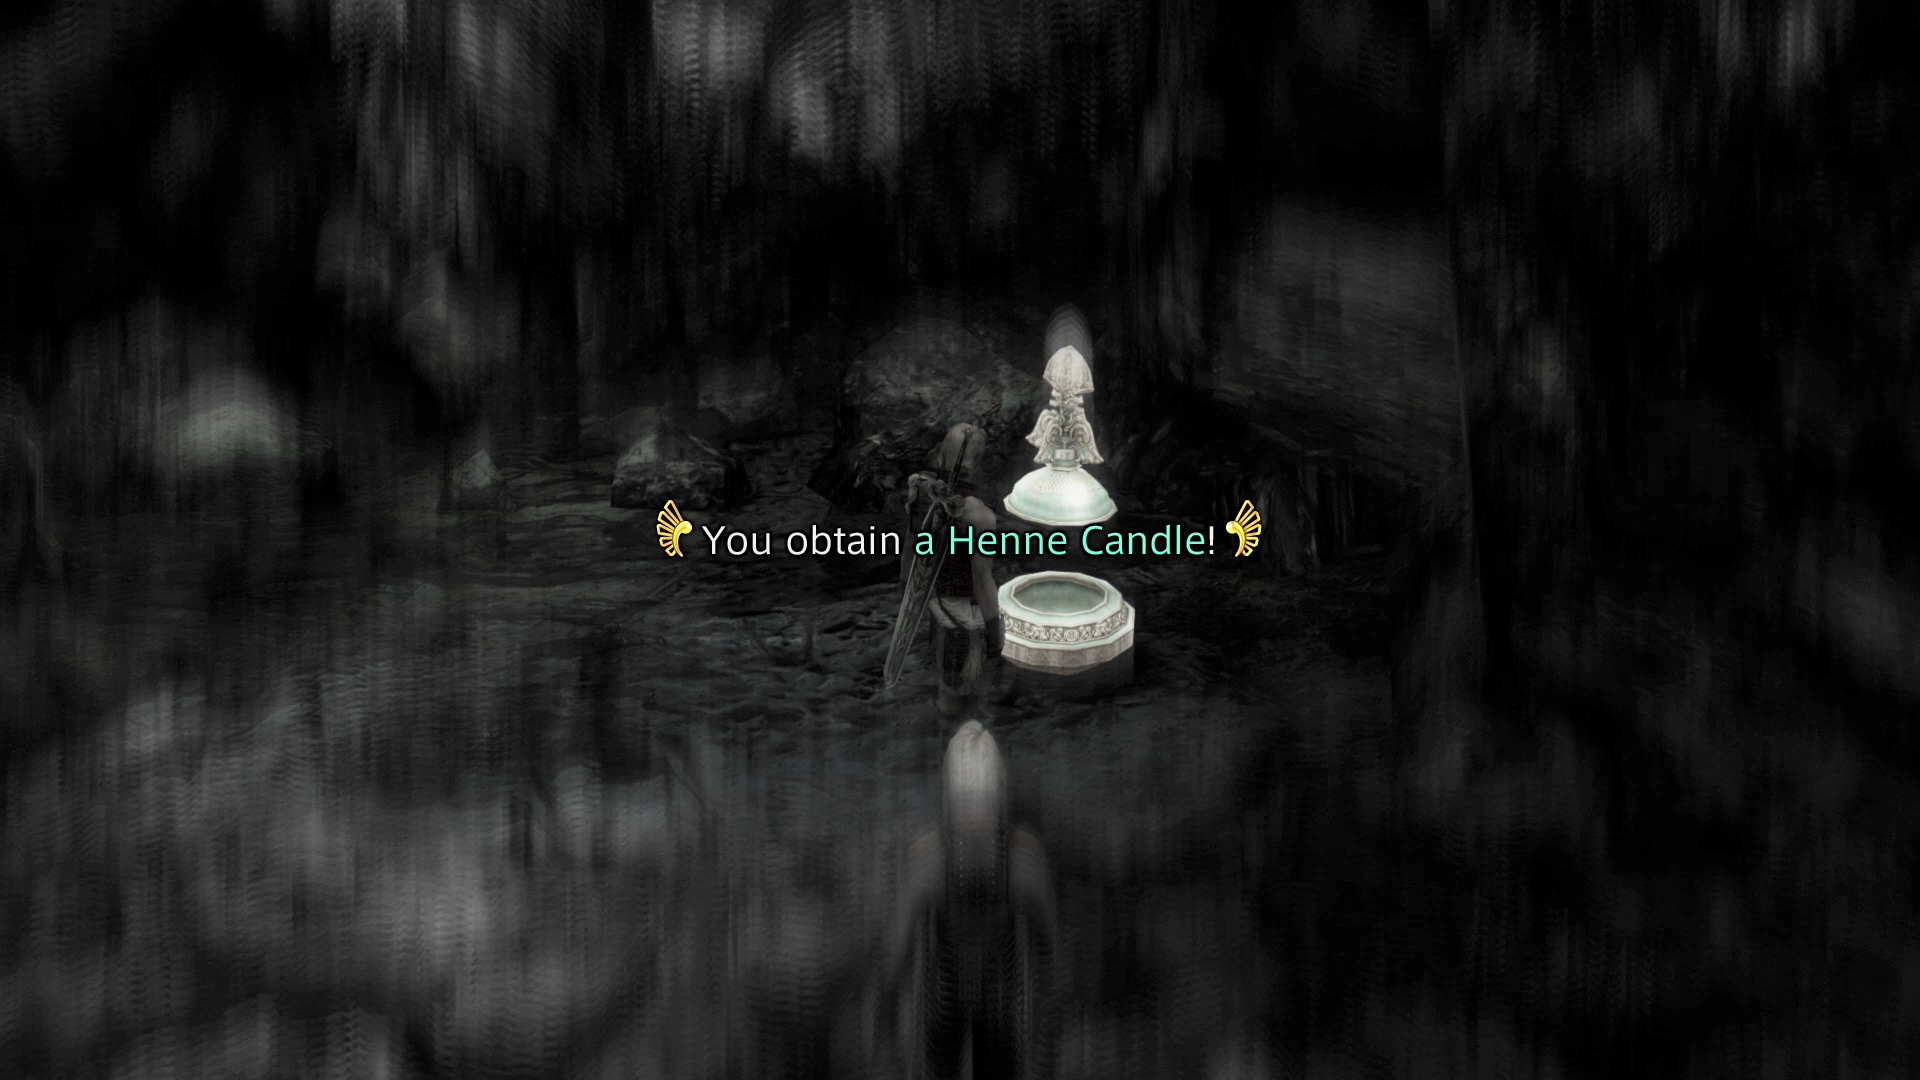
Just south of where the Gizamaluk/Abysteel battle takes place is a green Urn that contains the Henne Mines candle. This candle will illuminate the new sections of the Henne Mines that you are now in.
Checking the map, you will notice that many of the sections of the mine to the south of where you are standing are not filled in, but there are hidden pathways and mine sections that are not recorded on the map. Head south and then east until you reach the next area.
Crossover C
You will be faced with a new enemy as you work your way south in this area. Hecteyes will drop from the ceiling and ambush your party in a few spots in this section of the Henne Mines. They cast an abundance of negative status effects (which will be negated by the ![]() Ribbon accessories).
Ribbon accessories).
There is also a chance that you will be ambushed by a Glaring Eye or Necrofiend enemy. Every time you kill an enemy in this area (and in every area after this in the Henne Mines) there is a chance that one of these two enemies will spawn shortly afterwards.
Take your time working your way through this dungeon and be prepared for these enemies to spawn before you move further on down the tunnels.
Take the pathway leading south into the next area.
Pithead Junction C
Go straight south into the next area.
Phase 2 Shaft
Continue defeating enemies and working your way east.
Special Charter Shaft
Take this time to equip the three ![]() Black Masks that you brought with you on all three of your characters. The Etém enemies in this area will cast a number of elemental spells including Darkra – the
Black Masks that you brought with you on all three of your characters. The Etém enemies in this area will cast a number of elemental spells including Darkra – the ![]() Black Mask will help them absorb some of these attacks.
Black Mask will help them absorb some of these attacks.
There are numerous treasures that can be found in this area including an ![]() Ensanguined Shield,
Ensanguined Shield, ![]() Lordly Robes,
Lordly Robes, ![]() Sage’s Ring,
Sage’s Ring, ![]() Judicer’s Staff,
Judicer’s Staff, ![]() Brave Suit,
Brave Suit, ![]() Renewing Morion, more
Renewing Morion, more ![]() Ribbons and a
Ribbons and a ![]() Fomalhaut.
Fomalhaut.
Your final destination is in the top left corner of this area (which can be somewhat hard to spot due to the mines not appearing on the mini-map). Take some time to prepare your party members before entering the next zone by reading further below before you start the battle.
Special Charter Dig
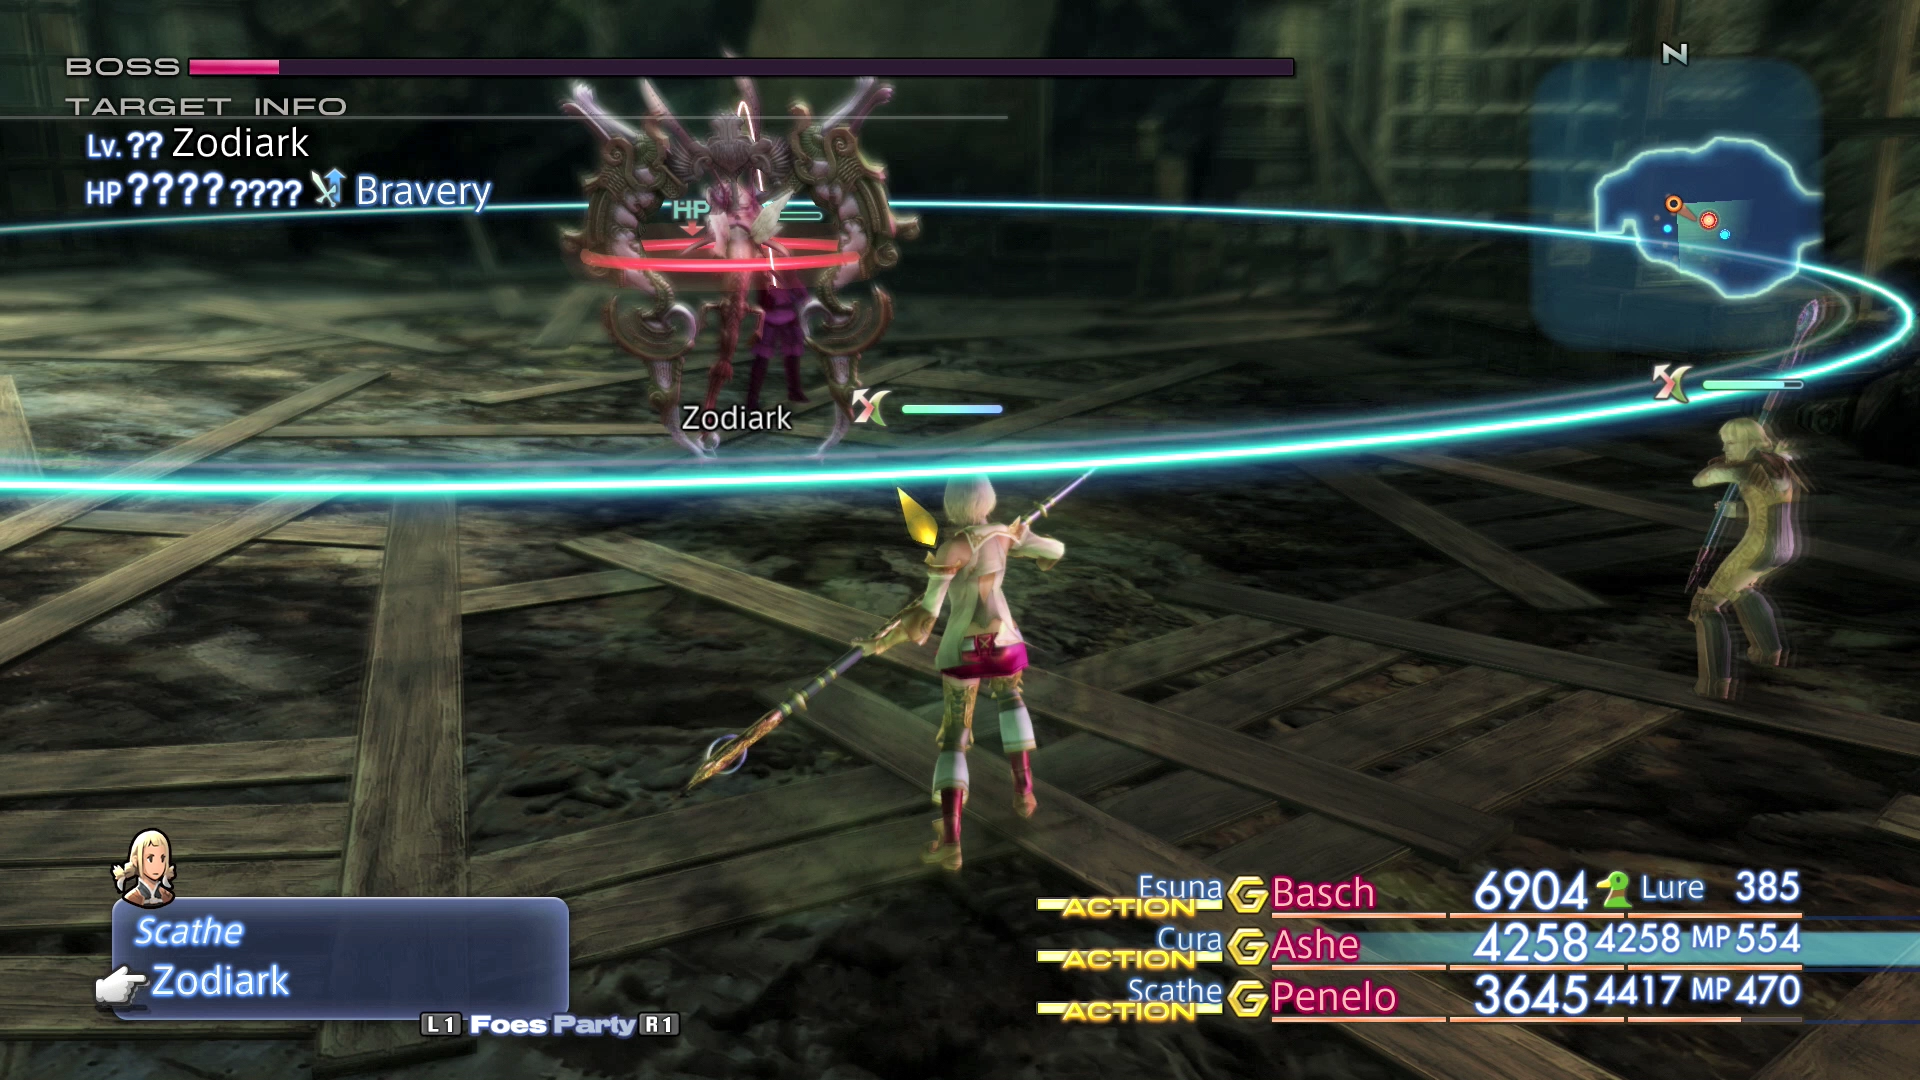
The battle begins as soon as you enter.
Esper Battle
Level: 66
HP: 336,847
Steal: ![]() Serpentarius (55%),
Serpentarius (55%), ![]() High Arcana (10%),
High Arcana (10%), ![]() Megalixir (3%)
Megalixir (3%)
First things first, you should make some adjustments to your game configuration if required before initiating this battle. Open up the Game Menu and go into the Config section. Switch the Battle Mode from “Active” to “Wait” which will give you more time to react and input commands in the later stages of the fight which become much more hectic.
You should also adjust the Battle Speed from “Slow” to “Fast” as having a slow battle speed negatively affects you as the player. It increases the amount of time between turns for your party members and for Zodiark, but it does not reduce casting times and durations which will impact you over Zodiark disproportionately.
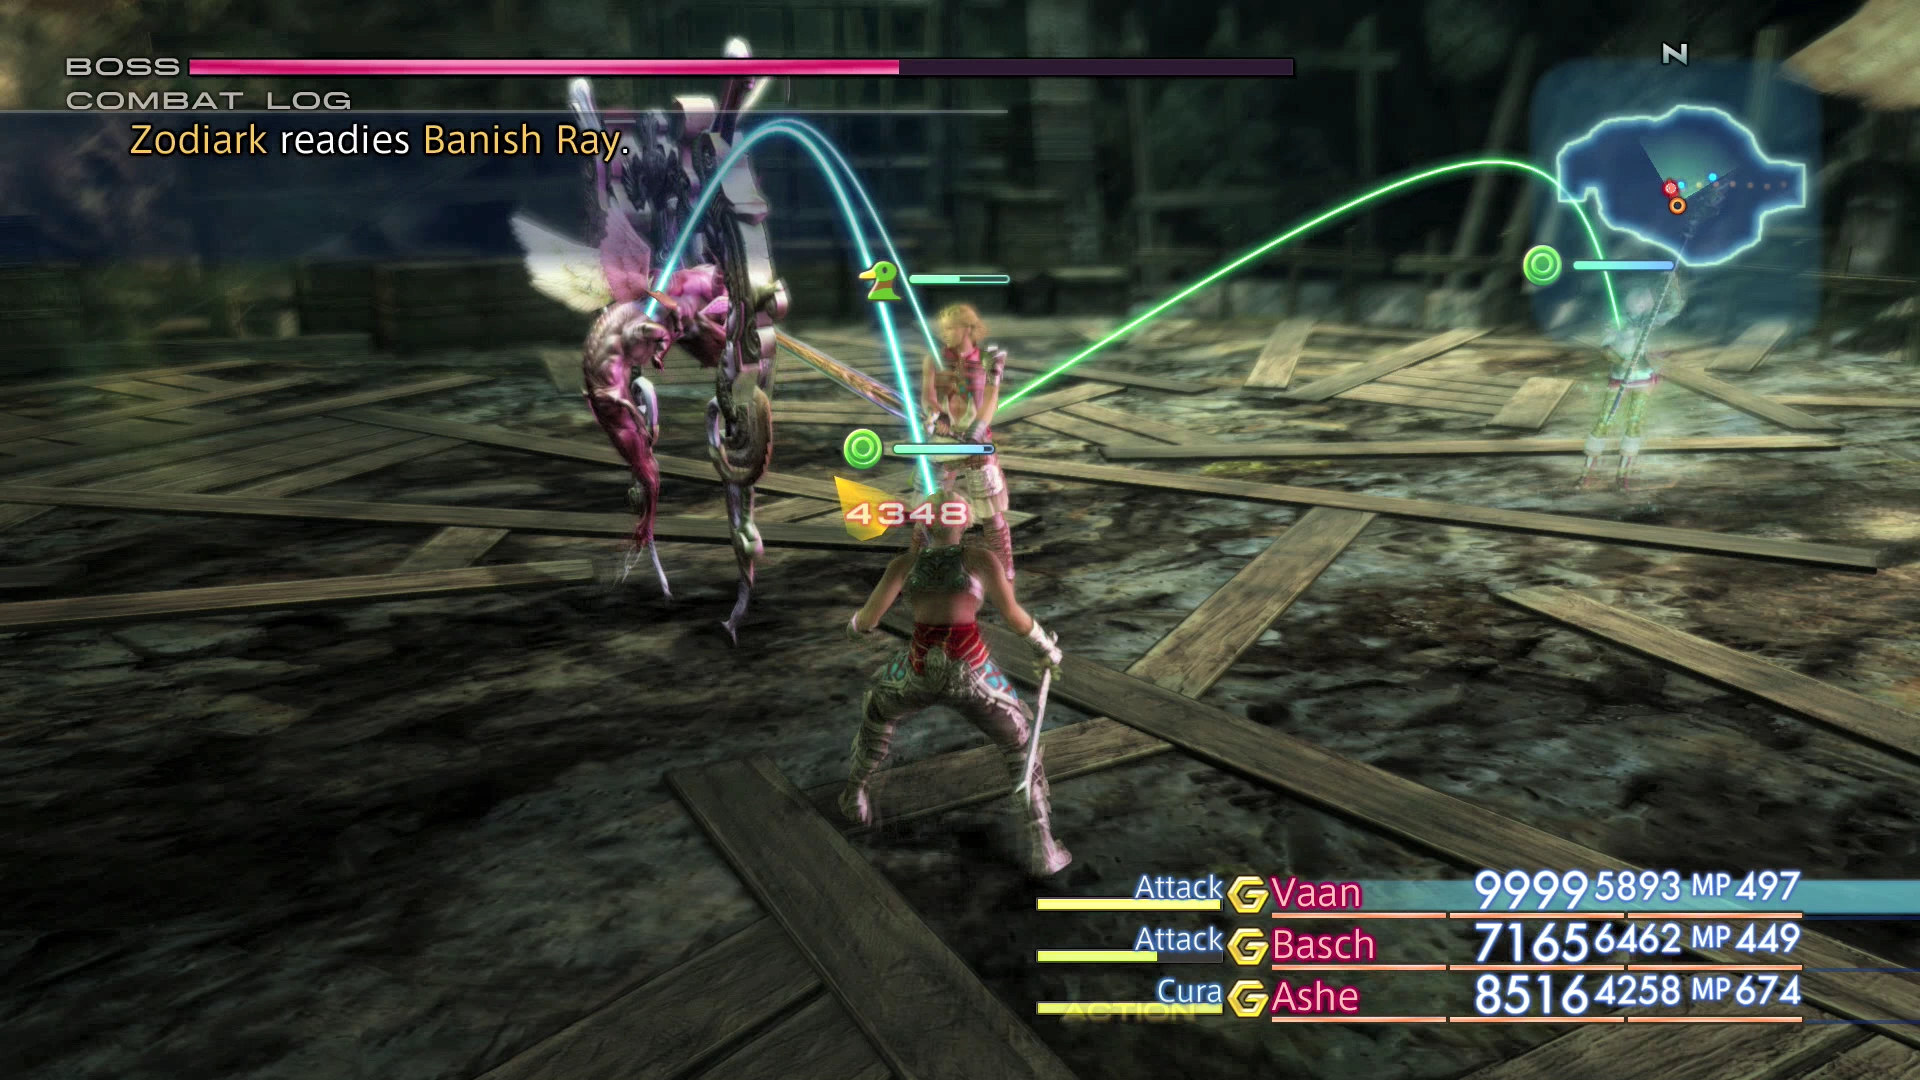
Let’s talk about the Zodiark’s most frustrating attack: Darkja. Zodiark will cast Darkja as its first attack as soon as the battle begins (no matter what). It will start off using the attack every 20 commands (a ‘command’ is any move, such as regular attacks, Magick spells being cast, etc.), then moving to every 14 commands, then every 16 commands, and finally every 8 commands towards the end of the fight.
Darkja does Dark-type damage, which means that the damage effects can be completely negated by having each of your characters wear a ![]() Black Mask. The devastating part of this attack, however, is the fact that it has a chance of instantly KO’ing your characters. This starts off at a 50% chance which can be reduced by casting
Black Mask. The devastating part of this attack, however, is the fact that it has a chance of instantly KO’ing your characters. This starts off at a 50% chance which can be reduced by casting ![]() Shell on your characters, but regardless of what you do, there is a chance that your characters will be instantly KO’d whenever this attack is used. Where this can become particularly frustrating is if all three of your characters are KO’d – it can be nearly impossible to recover if this happens (not fully impossible, just really hard, which will be discussed more further down).
Shell on your characters, but regardless of what you do, there is a chance that your characters will be instantly KO’d whenever this attack is used. Where this can become particularly frustrating is if all three of your characters are KO’d – it can be nearly impossible to recover if this happens (not fully impossible, just really hard, which will be discussed more further down).
As such, there is a huge element of luck and randomness when it comes to this fight. There is no controlling how many or how often you party members will be instantly KO’d. You may have to attempt this fight a few times.
Zodiark will also use three other moves that will cause problems depending on what level your party members are: Lv. 2 Sleep, Lv. 3 Disable and Lv. 4 Break similar to the second battle against Gilgamesh. This battle is much easier if your characters are a level that is not a multiple of 2, 3 or 4. Specifically, if they are levels such as 47, 49, 53, 55, 59, 61, 65, 67, 71, etc.
If your three main party members are all KO’d, you may be able to recover by switching in your alternative party members and having them quickly revive your main party using ![]() Phoenix Downs. Set up your alternative party members with optimized equipment so that they can hopefully survive one or two attacks and set them up with a Gambit to use a Phoenix Down on any party members. Ideally, equip them with a
Phoenix Downs. Set up your alternative party members with optimized equipment so that they can hopefully survive one or two attacks and set them up with a Gambit to use a Phoenix Down on any party members. Ideally, equip them with a ![]() Bubble Belt if you have extras.
Bubble Belt if you have extras.
Make sure to split your enhancement status buffs between your various party members. Have one party member cast ![]() Protectga, one party member cast
Protectga, one party member cast ![]() Shellga, and one party member cast
Shellga, and one party member cast ![]() Hastega.
Hastega.
For this fight you will want to keep ![]() Decoy on your strongest party member, but do not equip that party member with a shield, as Zodiark completely ignores the Evasion stat with its attacks, so there is no benefit to equipping a shield.
Decoy on your strongest party member, but do not equip that party member with a shield, as Zodiark completely ignores the Evasion stat with its attacks, so there is no benefit to equipping a shield.
You should also focus on high-level healing spells such as ![]() Curaja and use them before party members get too low. The casting animations can make healing very slow in this battle, so it is recommended that your healer start casting healing spells at Ally <50% HP or even higher (<60% or <70%). You should also set up a Gambit to use
Curaja and use them before party members get too low. The casting animations can make healing very slow in this battle, so it is recommended that your healer start casting healing spells at Ally <50% HP or even higher (<60% or <70%). You should also set up a Gambit to use ![]() Eye Drops on party members that are Blinded as there is a chance that characters hit with Darkja will be revived with the
Eye Drops on party members that are Blinded as there is a chance that characters hit with Darkja will be revived with the ![]() Blind status effect.
Blind status effect.
Various strategy guides are also split on whether to ![]() Dispel Zodiark of its status enhancing buffs. Using this strategy, it is recommended that you do not cast
Dispel Zodiark of its status enhancing buffs. Using this strategy, it is recommended that you do not cast ![]() Dispel and remove any Gambits that you have. It has the effect of triggering more Darkja attacks and causing it to cast a Magick Shield in addition to Magick Barrier.
Dispel and remove any Gambits that you have. It has the effect of triggering more Darkja attacks and causing it to cast a Magick Shield in addition to Magick Barrier.
Fully buff your party members with ![]() Protect,
Protect, ![]() Shell,
Shell, ![]() Haste,
Haste, ![]() Bravery and
Bravery and ![]() Faith before initiating the battle. The goal is to reduce Zodiark’s HP down to 20% as quickly as possible to reach the final phase of the fight which requires another strategy listed below. You should also begin the battle by having one of your alternate party members run in on their own.
Faith before initiating the battle. The goal is to reduce Zodiark’s HP down to 20% as quickly as possible to reach the final phase of the fight which requires another strategy listed below. You should also begin the battle by having one of your alternate party members run in on their own.
As mentioned above, Zodiark will begin the battle by using Darkja. There is no reason to expose your entire main party to a Darkja attack right off the bat potentially resulting in a KO and then having to recast status enhancing spells on them if it can be avoided. Start off by having the alternate party member initiate the battle and then immediately switch them out after Darkja has been cast.
The last phase of the fight, when Zodiark reaches 20% HP, is the most difficult. At this point, Zodiark will cast a Magick Barrier making it immune to physical attacks. There will be brief periods after it wears off where you can get a few attacks in, but Zodiark will immediately recast the spell once it comes down, so we need to use another method to attack him.
At this point, the strategy changes to attacking Zodiark with Magick spells. The best way to do this is to have one of your party members cast ![]() Reflect on your entire party (using
Reflect on your entire party (using ![]() Reflectga) and to equip your healer with an
Reflectga) and to equip your healer with an ![]() Opal Ring to allow them to continue casting healing spells. Have your other two party members, that were previously attacking Zodiark with regular attacks, switch to casting Magick spells or using Magick spell casting items (such as
Opal Ring to allow them to continue casting healing spells. Have your other two party members, that were previously attacking Zodiark with regular attacks, switch to casting Magick spells or using Magick spell casting items (such as ![]() Scathe Motes).
Scathe Motes).
Good spells to use during this phase include ![]() Bio (to inflict the Sap status effect which will slowly drain Zodiark’s HP) and
Bio (to inflict the Sap status effect which will slowly drain Zodiark’s HP) and ![]() Scourge.
Scourge. ![]() Scathe and
Scathe and ![]() Flare will also work, but they have particularly long casting times. You should also remove the
Flare will also work, but they have particularly long casting times. You should also remove the ![]() Eye Drops or
Eye Drops or ![]() Esuna Gambits that remove the Blind status effect; it is a waste of time to cure that status ailment as your party members will not be using regular attacks. And remember,
Esuna Gambits that remove the Blind status effect; it is a waste of time to cure that status ailment as your party members will not be using regular attacks. And remember, ![]() Shellga is incredibly important during this last phase as Zodiark will cast Darkja very frequently.
Shellga is incredibly important during this last phase as Zodiark will cast Darkja very frequently.
You can find a video of this battle in the Zodiac Age version below.
Congratulations – you now have Zodiark! The most powerful Esper in the game!
Achievement/Trophy
The  Zodiac Knight Achievement/Trophy is obtained automatically after you’ve defeated Zodiark.
Zodiark can now be summoned during any battle. Zodiark will use Banish Ray in battle which deals 9,999 damage to all enemies (unless they have resistance or immunity to Dark-type Magick attacks). It will also use Final Eclipse which will deal 50,000 damage (other than to Yiazmat). It is one of the most powerful attacks in the game.
Once you defeat Zodiark, a new section of the Henne Mines will open up from the Special Charter Dig area allowing a shortcut back to Crossover C area.
You can also open up the gateway in the southern section of Phase 2 Shaft that permits entry and exit to the Feywood from the Henne Mines.
Esper Locked Licenses
Unlocking Zodiark on the License Boards of certain jobs will unlock additional License Boards:
- Archer:
 Infuse, 1000 Needles
 - Bushi:
Heavy Armor 9 ( Giant’s Helmet,
  Carabineer Mail), Heavy Armor 10 (Dragon Helm, Dragon Mail), Heavy Armor 11 (Magepower Shishak, Maximillian)
 - Knight:
390 HP,Revive,  Excalipur
 - Machinist:
390 HP - Monk:
White Magick 13 ( Renew)
 - Red Battlemage:
Greatswords 4 (Ragnarok) - Time Battlemage:
Swords 9 ( Durandal, Simha)
 - White Mage:
Greatswords 1 (Claymore)
There are a ton of optimal selections. You can give Zodiark to your Bushi so that it can equip Heavy Armor 9, 10 and 11 if it cannot already, you can give it to your Monk so that it can cast Renew on your Party or you can give it to your Battlemages so that they can equip different sets of swords.