
Galbadia D-District Prison
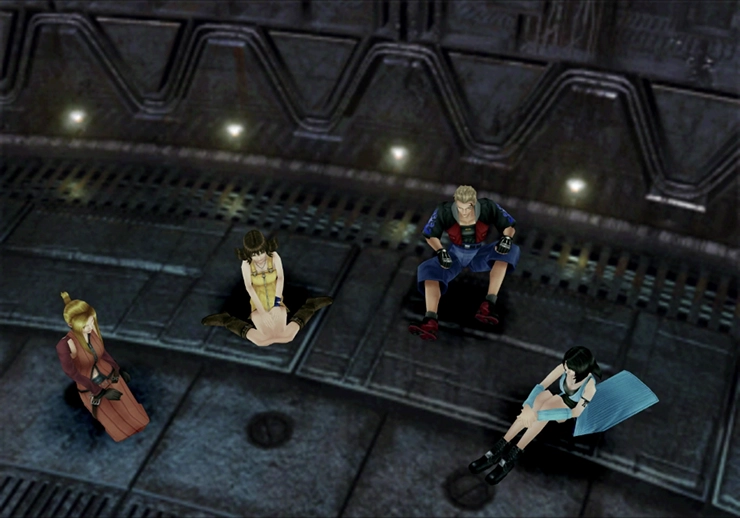
The next section of the game takes place in the Galbadia D-District Prison. Zell will wake up from the ‘dream world’ again, but it becomes clear fairly quickly that he was not with Laguna and Kiros during their adventures in Winhill. Instead, he was watching Ward, who was working in the same prison that the team has found themselves in.
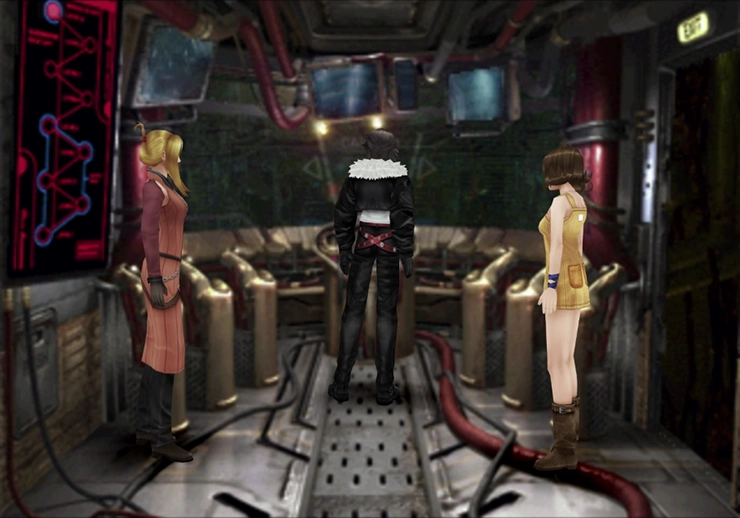
Talk to all three team members once you have regained control of Zell. Talk to Rinoa twice to move on to the next part of the story. There are a few cutscenes involving Squall in another area of the dungeon before the story returns to Zell and the team.
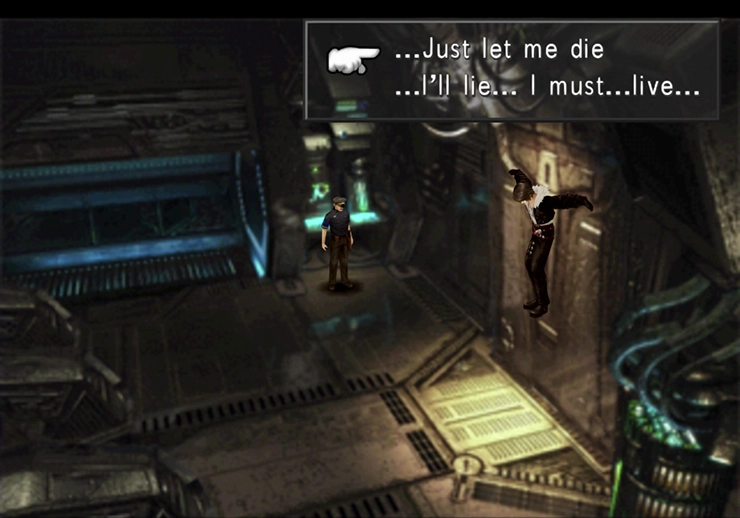
Zell will have the option to interject when one of the guards (“Mean Guy”) starts beating up the clumsy Moomba. Choose the “I’ll stop him!” option when it pops up on the screen. There are a few more cutscenes involving Squall after this. Select “… Just let me die” when given the option.
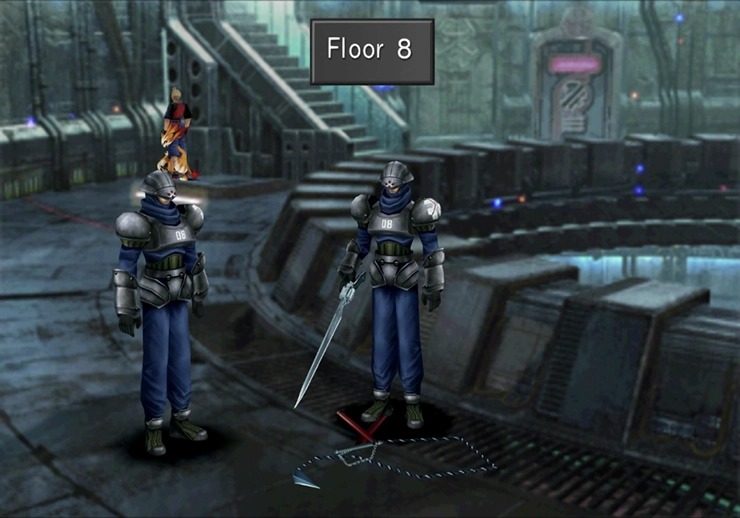
Zell will trick the guards into entering the cell and then make his escape with the Moomba. Take the stairs up to Floor 8 to find two of the Galbadian Soldiers examining the team’s weapons.
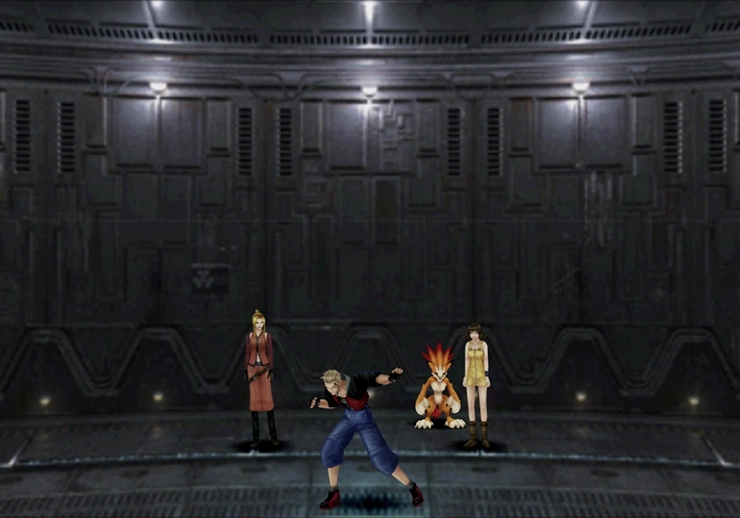
The battle between Zell and the two Galbadian Soldiers is extremely easy. Zell will return to the team and give them their weapons back (initiating a strange scene where each of them turns gigantic as they show off their weapons).


Spend some time junctioning the team with Guardian Forces and magic, as the team will have to battle their way through each of the floors.
Equip one of your characters with the ![]() Mug command, which Diablos should have learned by now. Otherwise, switch Diablos over to learning it straight away! Time for your next battle…
Mug command, which Diablos should have learned by now. Otherwise, switch Diablos over to learning it straight away! Time for your next battle…
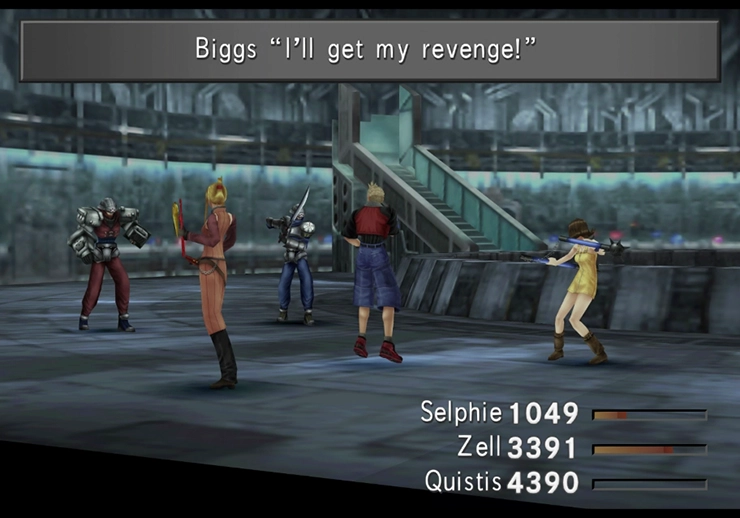
Boss Battle
In Game Description of Biggs: He was a major during the Dollet communication tower operation, but was demoted after the operation failed. Hated SeeD.
In Game Description of Wedge: Demoted along with Biggs for his part in the Dollet Communication tower operation. Unfortunately, still works under Biggs.
This battle against Biggs and Wedge is just as easy as the last one. The only way it could be made more difficult is if you forgot to equip your character’s Guardian Forces before starting, but even then, it’s a fairly simple fight.
Biggs and Wedge have several magic spells that are worth Drawing before you end the battle, including ![]() Haste,
Haste, ![]() Regen,
Regen, ![]() Reflect, and
Reflect, and ![]() Shell. You can also Mug some important items from them, including a
Shell. You can also Mug some important items from them, including a ![]() Strength Love and
Strength Love and ![]() Regen Ring.
Regen Ring.
You can now go up and down floors and explore the entire D-District Prison. The story continues when you reach the top floor. However, it’s worth adventuring to the bottom floor to obtain ![]() Combat King 001 and pick up several strong items along the way.
Combat King 001 and pick up several strong items along the way.
Each floor of the prison has a door on the left and a door on the right; however, many of these doors are either locked or contain no items of interest. Additionally, not all the floors have a barrier between the two sets of stairs; only certain floors require you to go all the way around the circle. Use the map below to obtain all the items.
| Floor | Left Cell | Right Cell | Hallway |
|---|---|---|---|
| 13 | Squall | ||
| 12 | |||
| 11 | Card Player (200 Gil) | ||
| 10 | Save Point | Card Player (300 Gil) | |
| 9 | |||
| 8 | Shop | No Barricade | |
| 7 | No Barricade | ||
| 6 | Save Point | ||
| 5 | Card Player (500 Gil) | ||
| 4 | |||
| 3 | |||
| 2 | |||
| 1 | Save Point* | No Barricade |
* The ![]() Thundaga Draw Point and Save Point are hidden, but you can still activate them even when they are invisible. Use Siren’s
Thundaga Draw Point and Save Point are hidden, but you can still activate them even when they are invisible. Use Siren’s ![]() Move-Find ability to make them appear visible.
Move-Find ability to make them appear visible.
The Card Players will charge you different amounts to play them. If you win, you get to keep the cards, but you’ll also receive a random item from them from a select list of rewards included below:
| Odds | Card Player (200 Gil) | Card Player (300 Gil) | Card Player (500 Gil) |
|---|---|---|---|
| 50.39% | Customized Battle Meter* | ||
| 25.00% | |||
| 12.50% | |||
| 6.25% | |||
| 3.13% | |||
| 3.13%* | |||
| 1.56% | |||
| 1.17% |
* You can use the Customized Battle Meter to show you how many kills and how many KOs each of your characters has had. You can only obtain this if you picked up the Battle Meter from Headmaster Cid back in Balamb Garden.
** You can only obtain the ![]() HP Up and
HP Up and ![]() Luck Up one time each.
Luck Up one time each.
Helpful Hint
Note that the highly valued items that you can obtain from the card players are extremely rare. Other than by manipulating the RNG (Google: Infinite Rosetta Stones), it is not worth spending time trying to obtain these items. You should make sure to win the Customized Battle Meter by playing one game against the 300 Gil Card Player, but it is recommended that you skip over the other prizes.
Helpful Hint
This is another good opportunity to remind you that, if you are playing a modern remaster, you can press the ![]()
![]()
![]() button to increase the speed of the game (including the dialog and scenes) by up to three times.
button to increase the speed of the game (including the dialog and scenes) by up to three times.
The speed-up feature does not impact in-game timers, but it can help you skip unnecessarily long portions of the game, especially if you have seen them already and died, forgot to save, or just aren’t interested in watching them.
After you have obtained ![]() Combat King 001, the Customized Battle Meter, and any of the other items you wish to obtain, head up to the top level of the Galbadia D-District Prison.
Combat King 001, the Customized Battle Meter, and any of the other items you wish to obtain, head up to the top level of the Galbadia D-District Prison.

Head through the doorway past the Moombas into the torture chamber where Squall was being kept prisoner. You will regain control of Squall, but before you leave this room, speak to each Moomba, and they will offer to remove one of the barricades throughout the prison. It doesn’t matter which of the three barricade options you select; any of the three that you remove will save you some time later on in the game.
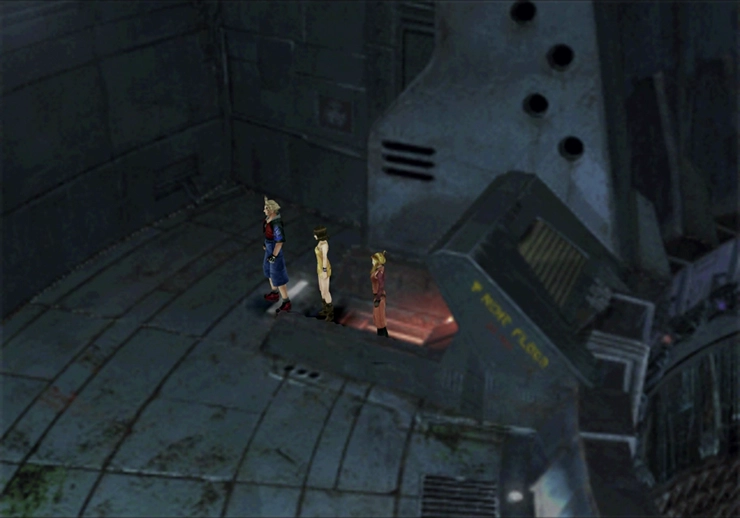
Squall and the team (except for Zell) will choose to ride the elevator to the bottom floor of the prison. Press the large red button inside the elevator to reach the bottom. The team will quickly realize that there is no escape from the prison on the bottom floor, as the prison is buried underground.
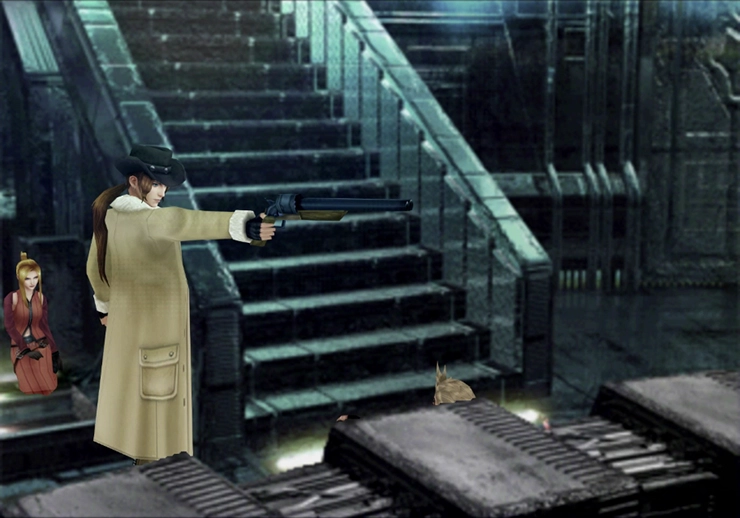
Zell will have to engage in a couple more battles against Galbadian Soldiers. These battles are easy whether or not you use Guardian Forces and magic junctions. He will be rescued from the Prison Warden by Squall, who jumps in to save the day once he gets partway around the prison floor. Lastly, Rinoa and Irvine will reappear at the top of the staircase to rejoin the team.
Select a team of 3 (including Squall), and this team will have the task of reaching the top floor of the prison again. Continue around the stairs until they reach Floor 13. The game will then jump back to Irvine and his team.
As a reminder, at this point, you should be leaning into building up a dedicated party of characters that you will use most often. Consider reading through the Character and “Best Party” sections if you want help choosing which party members to use more frequently:
Tips and Tricks
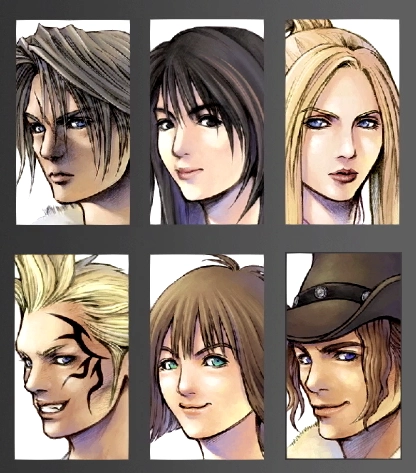
You can beat the game using any of the selectable characters in your party, but some characters are more optimal to include and are more powerful than their teammates. Check out this section for more information.
Irvine (and whoever is with him) will likely not have any Guardian Forces or magic junctioned at this point, but once again, the battles against the prison guards are fairly easy to deal with. Regular attacks should be enough to win each of the battles, and you can use potions as needed to heal up any low party member’s HP. Irvine and his team need to make it down to Floor 3.
The game will once again return to Squall and his team up on Floor 13. Speak to the Moomba nearest to the stairs to receive a ![]() Cottage. The Moomba near the bottom of the screen will give Squall a
Cottage. The Moomba near the bottom of the screen will give Squall a ![]() Rename Card if you talk to him.
Rename Card if you talk to him.
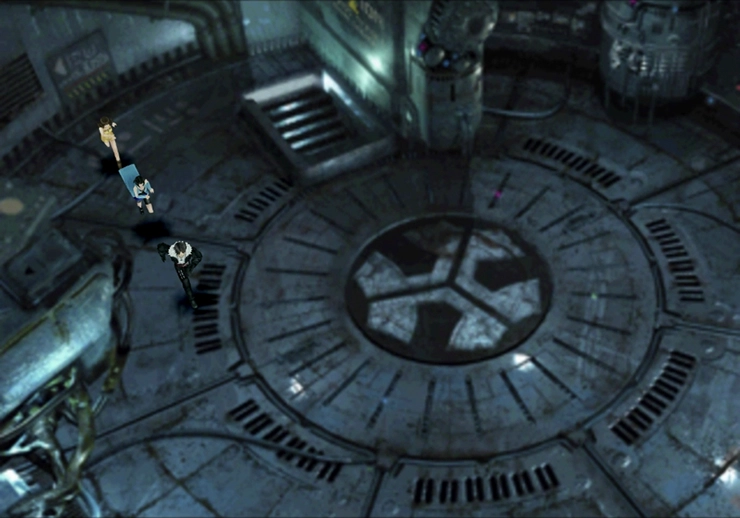
Head into the next screen and up the stairs. There is a ![]() Save Point on the right side of the screen and another set of stairs located at the back of the room that you can climb (behind the control panel in the center of the room). Finally, take the exit in the bottom-right corner of the screen, which leads outside the Galbadia D-District Prison.
Save Point on the right side of the screen and another set of stairs located at the back of the room that you can climb (behind the control panel in the center of the room). Finally, take the exit in the bottom-right corner of the screen, which leads outside the Galbadia D-District Prison.
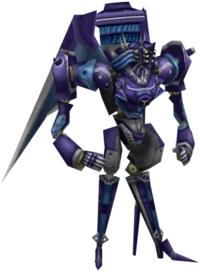
Boss Battle
In Game Description of GIM52A: A Galbadian machine that attacks with magic and missiles. The more advanced models use high-powered beams.
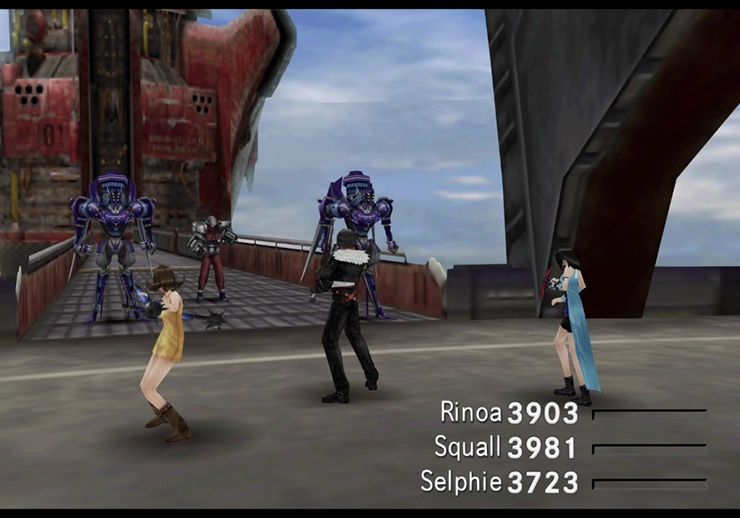
This battle is fairly challenging compared to the previous encounters within the prison, but it is still relatively easy, considering the difficulty of boss fights.
The first thing you will want to do is defeat the Elite Soldier standing behind the two GIM52A bots. The Elite Soldier can cast Haste and other support abilities on its two team members, which will make the ensuing battle much more difficult than it needs to be.
Take some time to Draw ![]() Dispel from them if you are not full on that particular magic already. Their attacks can hit for quite a bit of HP; Micro Missiles specifically will hit for 50% of a target character’s HP, so be prepared to heal up your party members as required. Other than that, this is a fairly straightforward battle.
Dispel from them if you are not full on that particular magic already. Their attacks can hit for quite a bit of HP; Micro Missiles specifically will hit for 50% of a target character’s HP, so be prepared to heal up your party members as required. Other than that, this is a fairly straightforward battle.
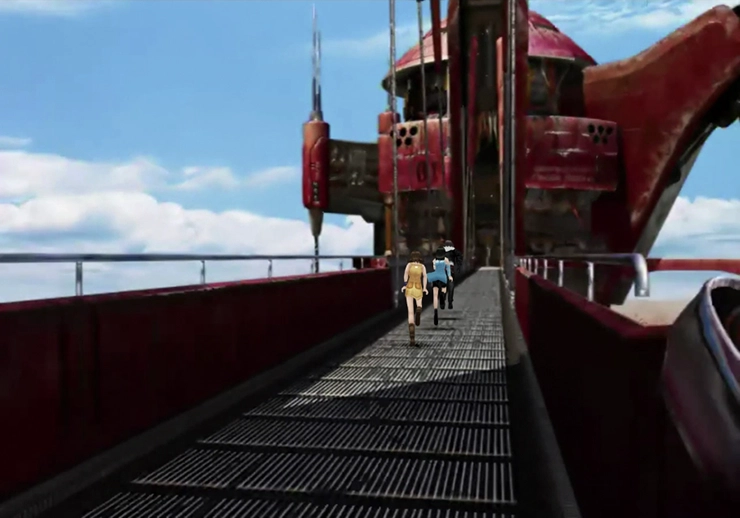
The team will head back into the prison after the battle. Head back out of the prison and head across the bridge for a short cinematic. Press and hold ![]()
![]()
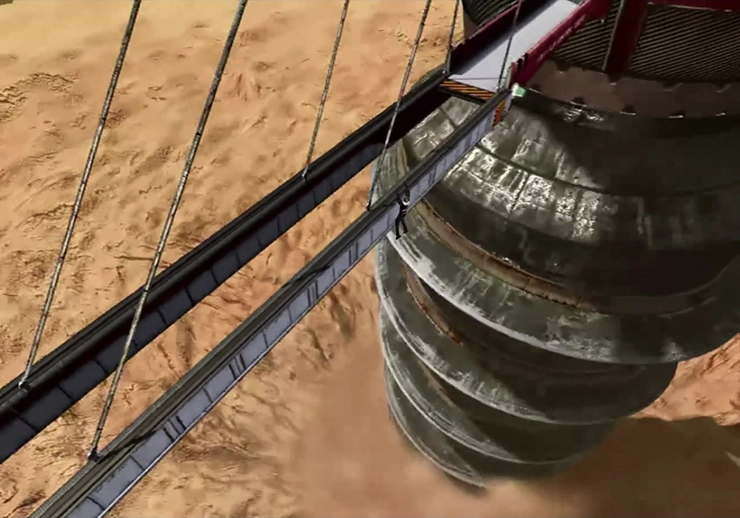
![]() on the directional pad after the bridge collapses to have Squall slowly slide his way across the bridge to safety. You are now all done with the Galbadia D-District Prison!
on the directional pad after the bridge collapses to have Squall slowly slide his way across the bridge to safety. You are now all done with the Galbadia D-District Prison!
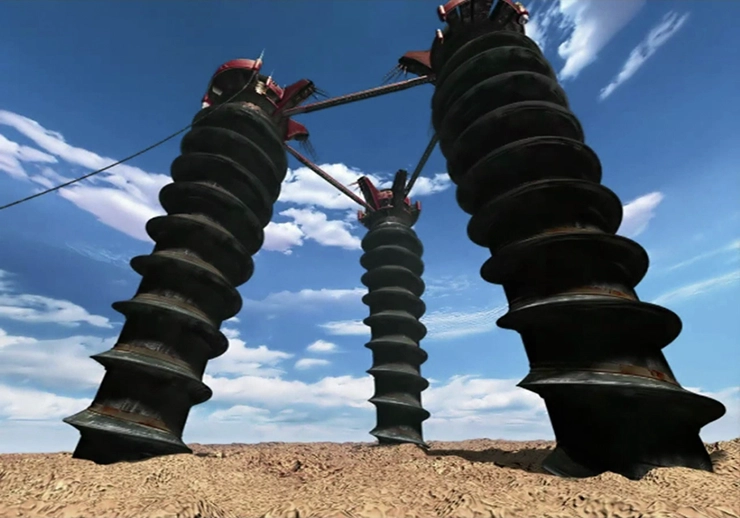
Dingo Desert
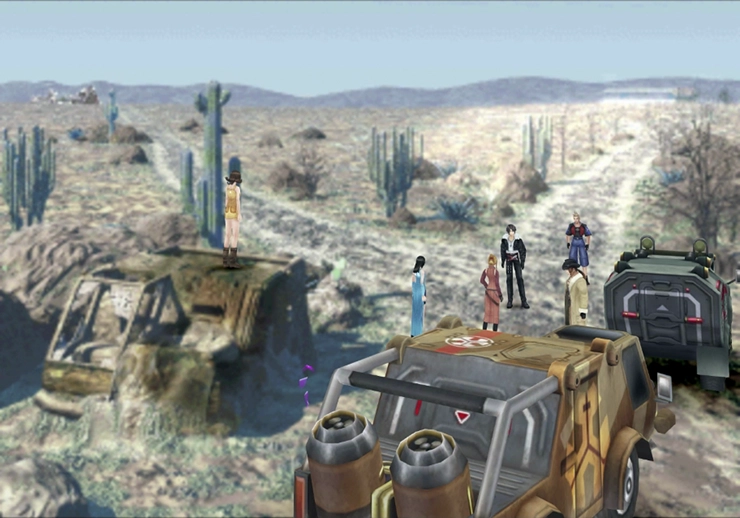
The game continues with a conversation outside the vehicles in the Dingo Desert. The group of six will watch the missiles launch heading towards Balamb Garden and opt to split into two teams, with one team going to the Galbadia Missile Base and the second team going to Balamb Garden.


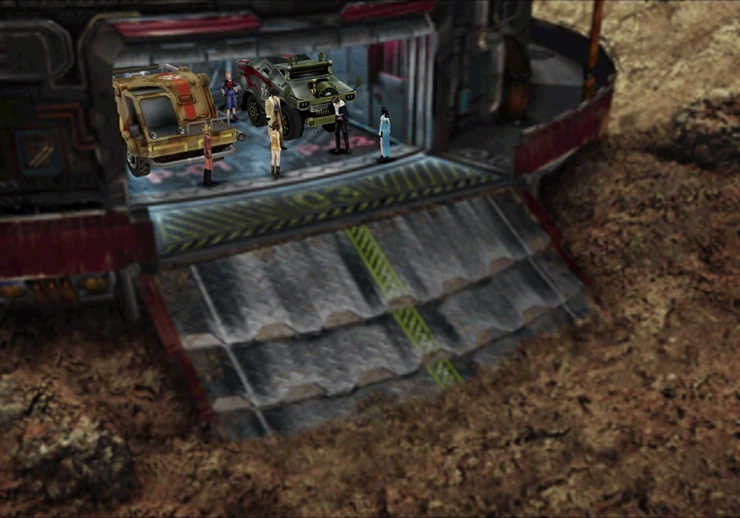
Selphie will be headed to the Galbadia Missile Base, so you won’t be able to choose her, whereas Squall and the two team members you select will be heading to Balamb Garden.
It doesn’t really matter which team members you choose to go to each location, but if you choose to put Zell in Squall’s party (heading to Balamb Garden), you will receive a ![]() Mega Phoenix (instead of a
Mega Phoenix (instead of a ![]() Remedy).
Remedy).
The game continues with Selphie and her crew in the vehicle in the Dingo Desert and on the next page of the guide.