Dollet Mission
Helpful Hint
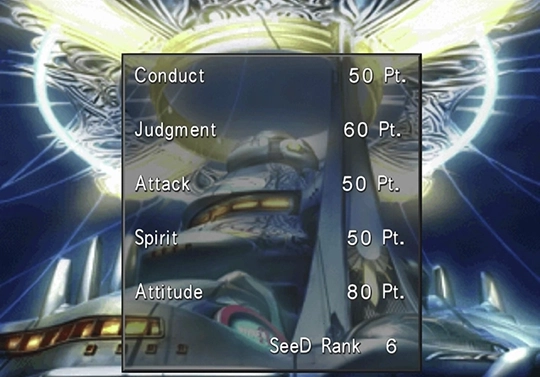
You will receive a scorecard based on your performance and the actions you take during the next part of the game. Your score is based on five categories: Conduct, Judgment, Attack, Spirit, and Attitude.
Don’t stress too much about getting a perfect score. Your resulting SeeD Rank isn’t that important in the grand scheme of things, and you can easily work your way up to the top SeeD Ranks later through other means, even if you get a bad score here.
That said, if you’d like to maximize your score, be aware that the guide below contains details about what happens during the mission in Dollet. If this is your first playthrough, you may want to skip it and just give the exam a try on your own. There are no negative repercussions for getting a low score.
Check out the link below for a full breakdown of how your SeeD Rank Exam Score will be calculated during the upcoming Dollet Mission:
Tips and Tricks
Want to earn the highest SeeD rank possible? Check out the Dollet SeeD Field Exam Scoring guide for a full breakdown of how your performance is graded. This page contains spoilers for what happens during the mission.
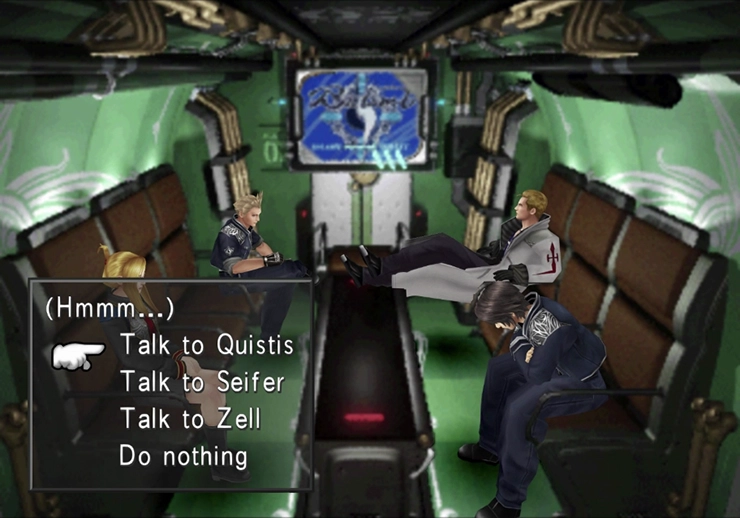
Quistis and Xu will give you an overview of the mission while the team is aboard the ship. The client is the Dollet Dukedom Parliament, which is under siege from the G-Army and has requested SeeD’s assistance.
Squall will have the option of talking to Quistis, Seifer or Zell. Talk to all three of them to keep the story moving forward. Seifer will tell Squall to go look and see what’s going on outside.
Choose “…… Ok” from the available options and then exit to the upper deck. A cinematic will take place showing the SeeD army’s arrival on the beach outside Dollet.
Lapin Beach
The first step, as mentioned in the mission debriefing, is to head to the square and secure it. Make sure that each of your party members is ready by equipping one Guardian Force to each of them (Squall, Zell, and your new party member, Seifer).

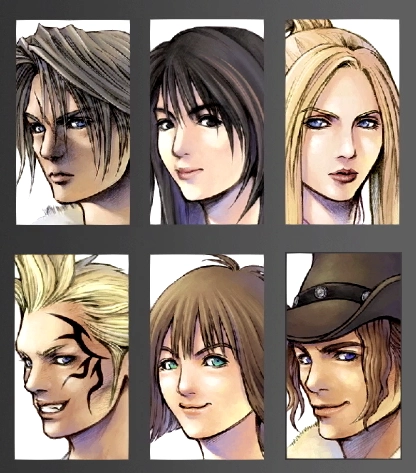
Characters

Seifer is a temporary party member who joins for the Dollet SeeD exam. He is Squall’s rival and the self-appointed leader of the squad.
Seifer and Zell don’t currently have any magic spells, so make sure that they have the Draw command available so that you can start stocking up.
Warning
Seifer is a temporary character who will not be with your party for long; however, all the magic that he Draws will be transferred to another character that will be joining your party. Don’t hesitate to have Seifer stock up on key magic spells (like ![]() Cure).
Cure).
You can also transfer all the magic that Quistis has over to one of your current team members. Head into the next area.
Town Square
Note: The game refers to each of the next few areas as the “Town Square,” but we have a few screens to go before we reach the actual town square.
Climb the stairs and save your game at the ![]() Save Point. As you walk near Seifer and towards the archway, you will be thrown into battle against two Galbadia Soldiers.
Save Point. As you walk near Seifer and towards the archway, you will be thrown into battle against two Galbadia Soldiers.
The Soldiers have ![]() Cure magic, so consider having Zell and Seifer stock up on these two magic spells before you defeat either of the Soldiers. There’s no such thing as having too much Cure magic on hand, as it can significantly increase your character’s stats through junctioning.
Cure magic, so consider having Zell and Seifer stock up on these two magic spells before you defeat either of the Soldiers. There’s no such thing as having too much Cure magic on hand, as it can significantly increase your character’s stats through junctioning.
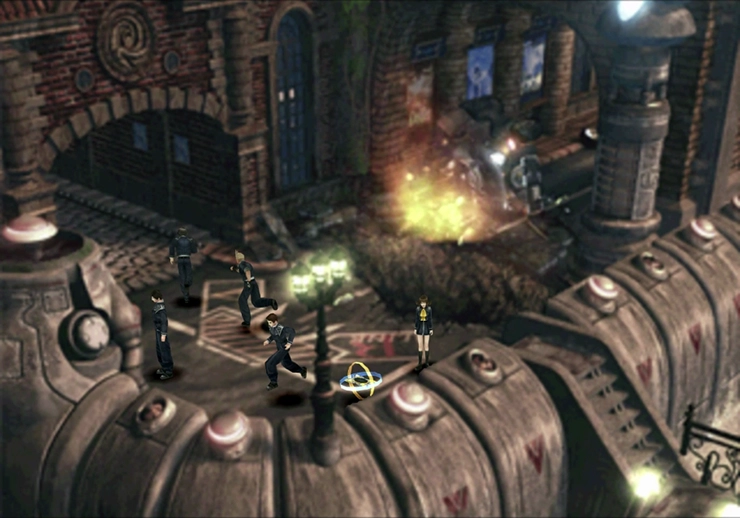
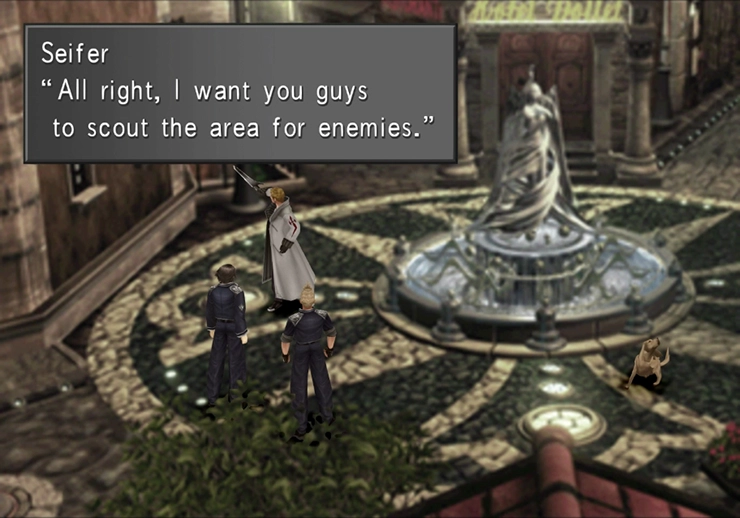
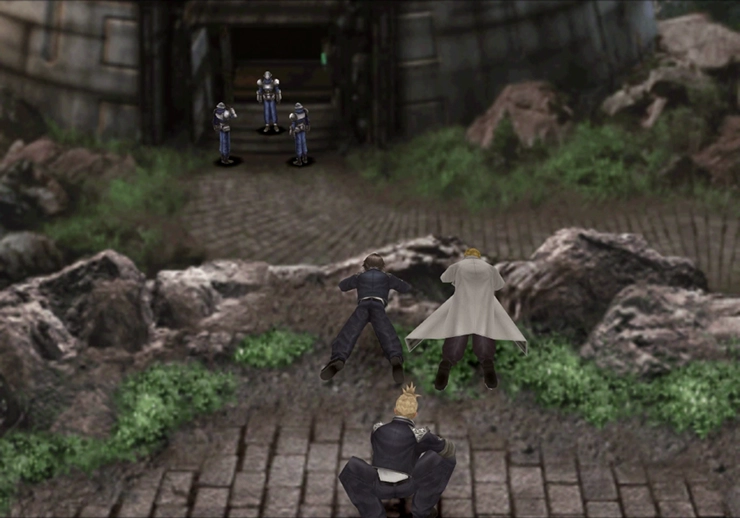
Follow the pathways until you reach the large central square with the fountain in the middle and the dog wandering around. Seifer will tell Squall and Zell to scout the area for enemies. Search the top-right corner of the screen for a Galbadia Soldier hiding behind a car. Defeat the soldier and then talk to Seifer again.
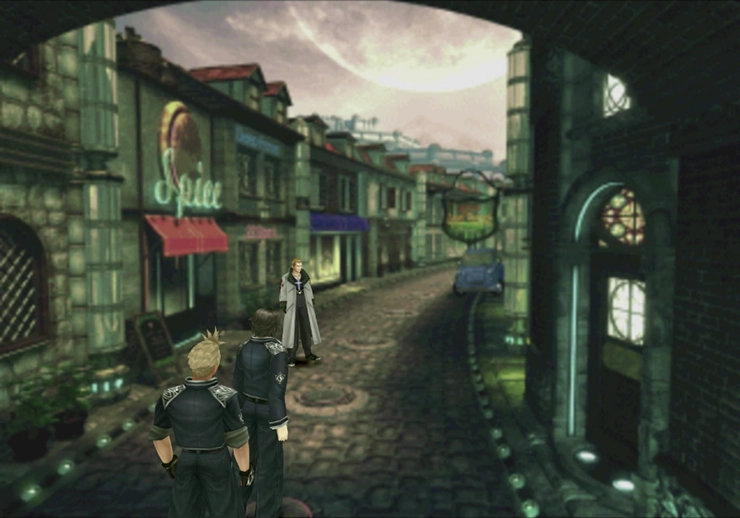
Seifer will moan about having to be on standby. Wait a few more minutes, and the view will change from an overhead to one much closer to the characters. More Galbadia Soldiers will rush past on their way to the Communications Tower. Follow Seifer as he leaves the square and enters the next area.
Cross the bridge into the next section of Dollet. Note that from this point forward, you will encounter enemies, and you will be thrown into random battles for each of the next areas.
Mountain Hideout
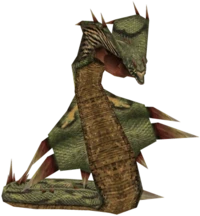
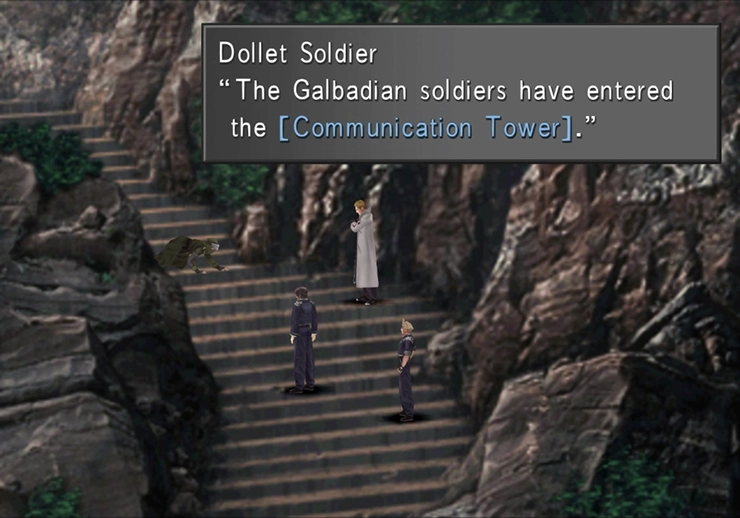
Continue along the pathway and up the stairs. A cutscene will begin once you get close to Seifer involving a Dollet Soldier. Next, the team will be thrown into a battle against an Anacondaur. Anacondaurs are not too tough to defeat, though, and they don’t do too much damage, but they do have quite a bit of HP and can take quite a few of attacks to bring down.
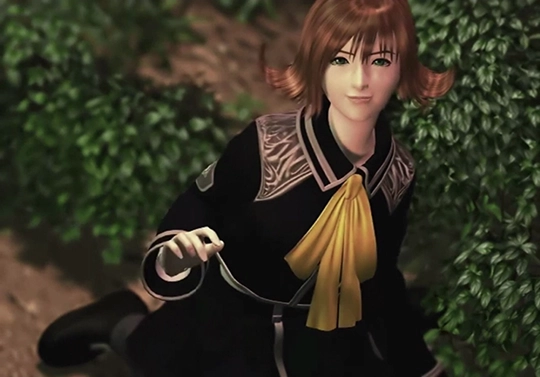
The team will re-encounter Seifer, who is spying on some Galbadia Soldiers near the Communications Tower. Seifer will run off towards the Tower, leaving Squall and Zell behind. Replacing him, though, is Selphie, the newest member of your party.
Check out the Characters section for more information about each of the individual party members you have access to, but in short, Selphie makes a great addition to your team as a permanent member.
Characters
Check out the Characters section of the walkthrough for more information about Selphie, who officially joins your party in this section of the game.
As a reminder, you can also check out the “Best Party” section for more information on which characters you should consider adding to your main party when you have the option to pick and choose.
Tips and Tricks
You can beat the game using any of the selectable characters in your party, but some characters are more optimal to include and are more powerful than their teammates. Check out this section for more information.
Selphie will have all the magic that Seifer obtained while he was on your team, but you will need to equip her with a Guardian Force. You now have three Guardian Forces, so make sure that each of your party members has one equipped.
Selphie will jump down the ledge; do not follow her down! Take the pathway around towards the entrance of the Communications Tower. Jumping down will deduct points from your SeeD ranking. It’s not a huge deal, but you may as well keep it as high as possible, and a few extra battles with some extra EXP never hurt anything.
Zell will ask Squall whether one would “normally jump off a cliff.” Head into the Communications Tower and, again, make sure that you have your Guardian Forces (GFs) equipped.
Communication Tower
Save your game at the ![]() Save Point, Draw
Save Point, Draw ![]() Blind magic from the Draw Point on the left side of the screen, and then take the elevator to the top of the Communications Tower.
Blind magic from the Draw Point on the left side of the screen, and then take the elevator to the top of the Communications Tower.
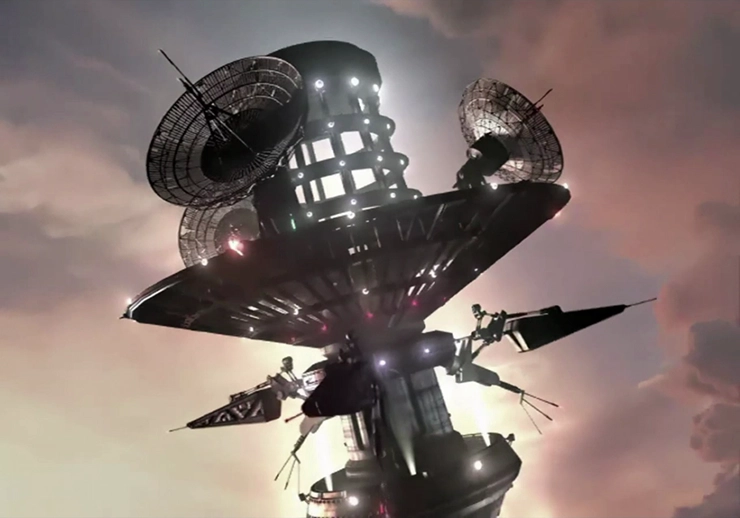
There is a short cutscene involving Biggs and Wedge, whose names appear in nearly every Final Fantasy game there is, as they try to fix the Communication Tower. The next battle coming up is against Biggs all by himself (to start).
Boss Battle
In Game Description for Biggs: A Galbadian Major. Activated the Dollet Communication Tower. Very short-tempered.
In Game Description for Wedge: A Galbadian soldier assigned to Dollet Communication tower. Always picked on by his superior, Major Biggs.
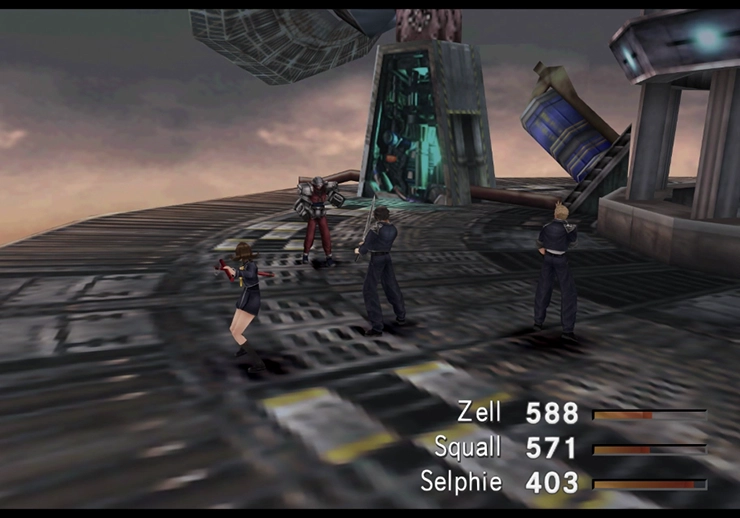
Biggs and Wedge are a very easy fight. While Biggs is by himself, you should draw as much ![]() Esuna magic from him as you can for all your characters. Drawing may be tough to do, though, depending on how low or high-leveled your characters are. Sometimes, the Draw command may fail outright. However, Esuna magic is extremely powerful when junctioned, and it serves to replace the Remedy item, which makes it very useful. Remedies are very costly and difficult to come by.
Esuna magic from him as you can for all your characters. Drawing may be tough to do, though, depending on how low or high-leveled your characters are. Sometimes, the Draw command may fail outright. However, Esuna magic is extremely powerful when junctioned, and it serves to replace the Remedy item, which makes it very useful. Remedies are very costly and difficult to come by.
Defeat both Biggs and Wedge, and they will be blown away into the distance by the next boss that you have to do battle with.
Boss Battle
In Game Description: A monster that lives in the abandoned Dollet Communication Tower. No one knows where it came from.
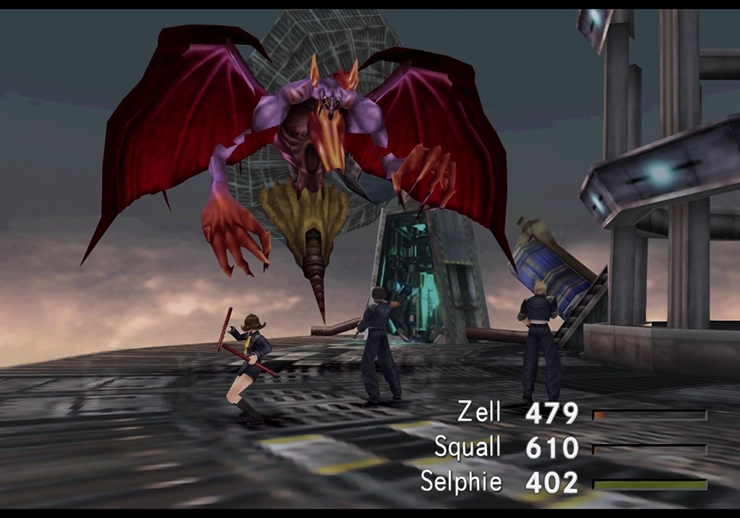
Unlike Biggs and Wedge, Elvoret is a bit more of a challenge. It can use an attack called “Storm Breath” (every third attack), which hits all of your characters for ~150 damage. Make sure to keep your characters healed up in preparation for this attack. You can Draw ![]() Cure magic off of Elvoret if you need to.
Cure magic off of Elvoret if you need to.
Most importantly, though, make sure that you Draw Siren, your next Guardian Force (GF), before you defeat Elvoret in battle. Siren appears at the bottom of the Draw list, and this is how you will typically go about obtaining most of the Guardian Forces in the game, by Drawing them from major bosses that you fight along the way.
Restart your game if you defeat Elvoret without obtaining Siren. The benefits of having Siren as a GF far outweigh the pain of having to go through the introductory screens again up to this point (even if you have to restart from the very beginning!).
You should also take some time to Draw the magic spell ![]() Double. This spell is fairly powerful for magic users as it allows them to cast two spells at once, but even more importantly, it’s very powerful when junctioned to certain character stats.
Double. This spell is fairly powerful for magic users as it allows them to cast two spells at once, but even more importantly, it’s very powerful when junctioned to certain character stats.
6x
3x
4x
5x
6x
Achievement/Trophy
You will receive the  Siren Achievement/Trophy once you have successfully drawn Siren from Elvoret before the conclusion of the battle.
You now have your fourth Guardian Force! Make sure that you take some time to select the abilities that each of your Guardian Forces is learning. If they complete an ability, they will default back to the ability that they normally learn first (which is usually the useless ![]() SumMag+10% ability).
SumMag+10% ability).
Guardian Forces

Siren is a support-oriented Guardian Force best known for its ST-Atk-J ability, which allows you to junction status magic to your attacks, and the Move-Find ability, which reveals hidden Save Points and Draw Points.
Have your Guardian Forces focus on the following abilities in the order listed below as priority:
After the battle, Selphie will deliver the new orders to Seifer. She explains that all SeeD members and candidates are to withdraw by 1900 hours and are to assemble back at the shore. Seifer will take off, leaving the group behind, while Squall, Zell, and Selphie will be left on their own to find their way down to the beach. A 30:00 minute timer will start as soon as you gain control of your characters.
While 30 minutes is plenty of time to complete the remaining tasks in Dollet, don’t waste too much time completing the next steps. The timer continues to move forward even while you are in the menu screens.
Save your game at the ![]() Save Point at the bottom of the Communications Tower in case you run into any trouble escaping Dollet or if you would like to try any of the following steps again. You should also junction
Save Point at the bottom of the Communications Tower in case you run into any trouble escaping Dollet or if you would like to try any of the following steps again. You should also junction ![]() Thunder magic to
Thunder magic to ![]() Elem-Atk-J, if possible, on one of your characters in preparation for the next boss battle.
Elem-Atk-J, if possible, on one of your characters in preparation for the next boss battle.
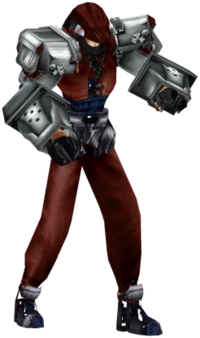
Boss Battle
In Game Description: Galbadia’s mobile attack, AKA “Black Widow.” Doesn’t stop until it kills all enemies in its path.
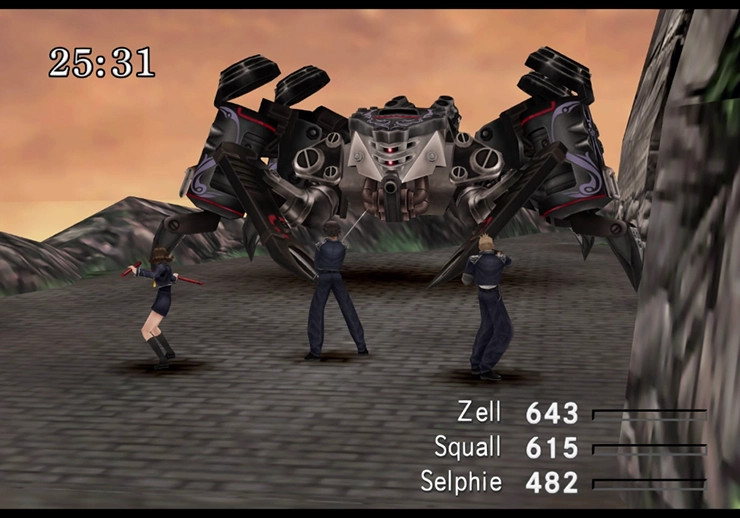
Your party will be ambushed by a machine called X-ATM092 as soon as they exit the Communications Tower. This boss is weak to ![]() Thunder magic, as mentioned above, so any party member with
Thunder magic, as mentioned above, so any party member with ![]() Thunder junctioned to their
Thunder junctioned to their ![]() Elem-Atk-J stat will automatically do 150% of their normal damage.
Elem-Atk-J stat will automatically do 150% of their normal damage.
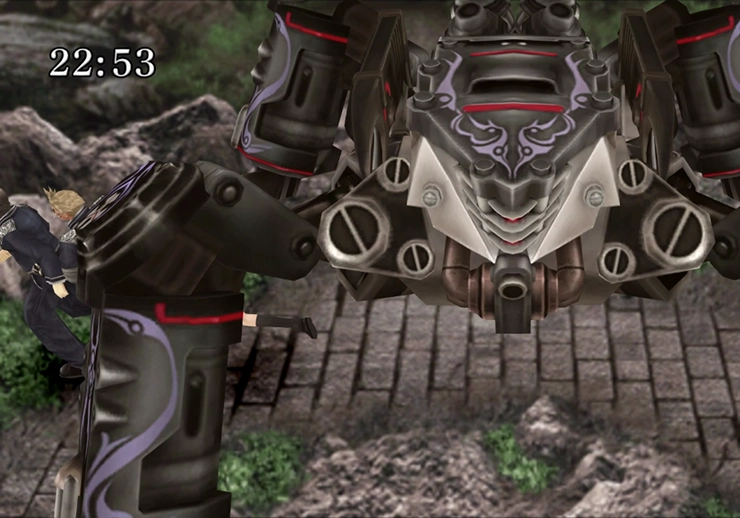
The purpose of this battle is not to defeat X-ATM092 (which is good, because the robot repairs itself each time it collapses, making it impractical to destroy during a timed escape) but to reduce its overall HP by 20% and effectively disable it so your team can escape. After that, your party members will be given a chance to escape the battle by pressing the ![]()
![]()
![]() and
and ![]()
![]()
![]() buttons simultaneously.
buttons simultaneously.
2x
Head into the next area by traveling to the right after you have defeated X-ATM092 the first time. There are now some steps that you can follow in each of the following screens that will allow you to avoid engaging the boss in another battle again. But you have to be quick!
Helpful Hint
Since there is a need to act quickly in the next few areas, it may be beneficial to review the next few sections of the guide to familiarize yourself with what is to come.
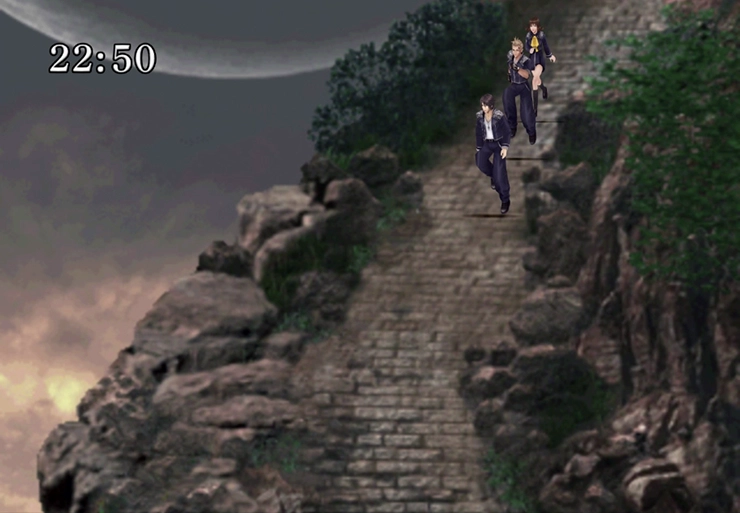
On the next screen (the one where Selphie jumped off the cliff), run immediately to the left as quickly as possible. If you delay at all, you will have to fight X-ATM092 again.
The next screen is a pathway leading south. Walk, don’t run, to the bottom of the screen.
Continue running as quickly as possible on the next screen.
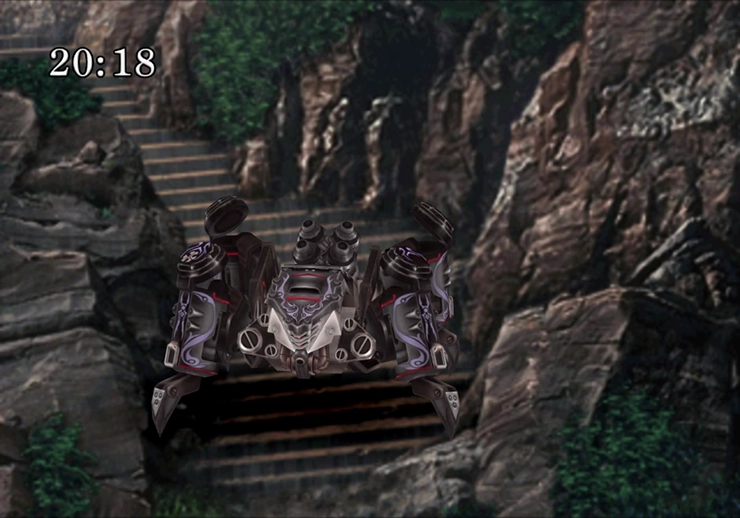
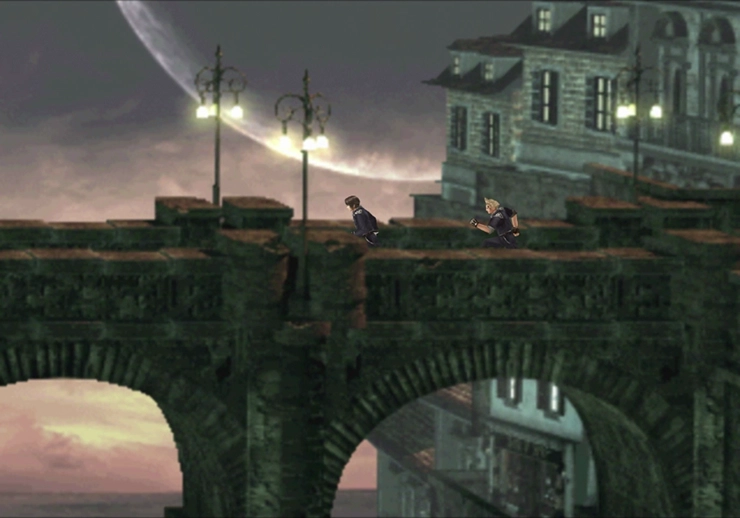
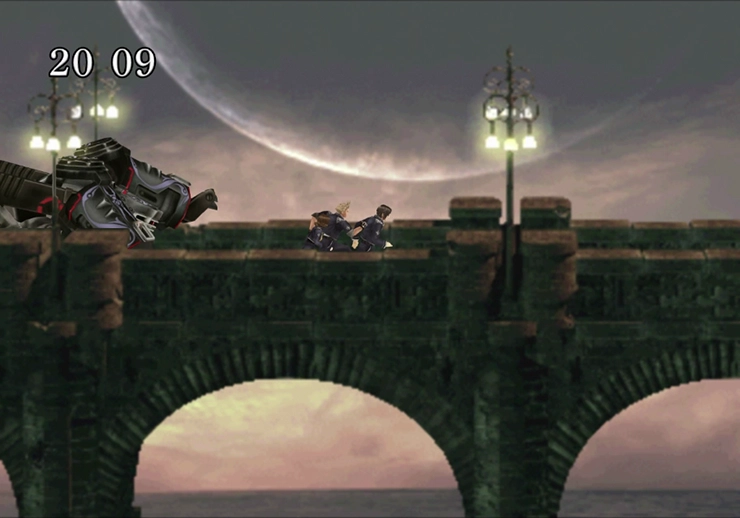
On the bridge, run to the right, but wait until you hear X-ATM092 jump over you. Once it does, spin back around and run to the left. X-ATM092 will jump over you one more time so that it is back behind you again. Flip around again and go to the right, and the boss won’t jump over you again, so you are free to run to the end of the bridge.
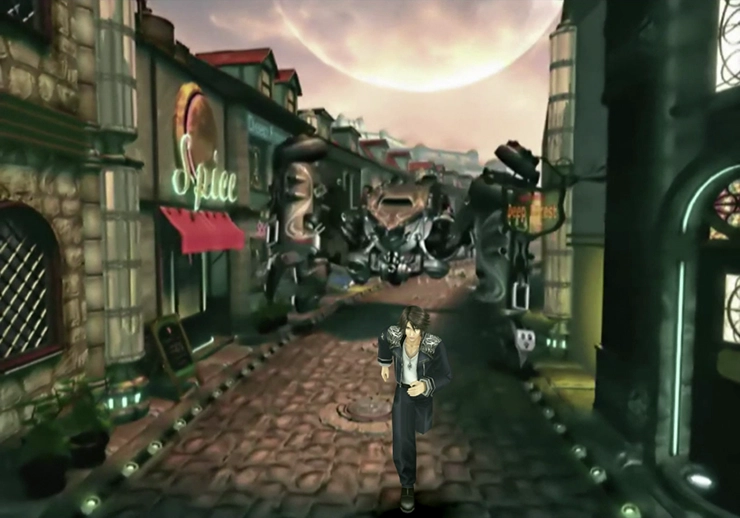
Run into the center of the town square and save the dog by interacting with it (for bonus SeeD ranking points). Run along the pathway that you used to reach this area when you first entered Dollet. Continue running along the path, and do not hide in the pub when you’re presented with the option to (hiding will lower your SeeD ranking).
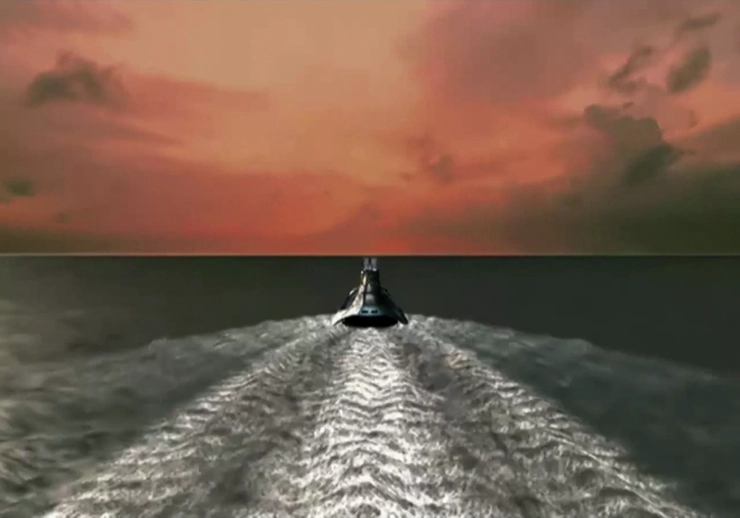
The Dollet SeeD Field Exam ends with a cool cutscene of Quistis saving the day before the entire team sails off into the sunset back to Balamb.