
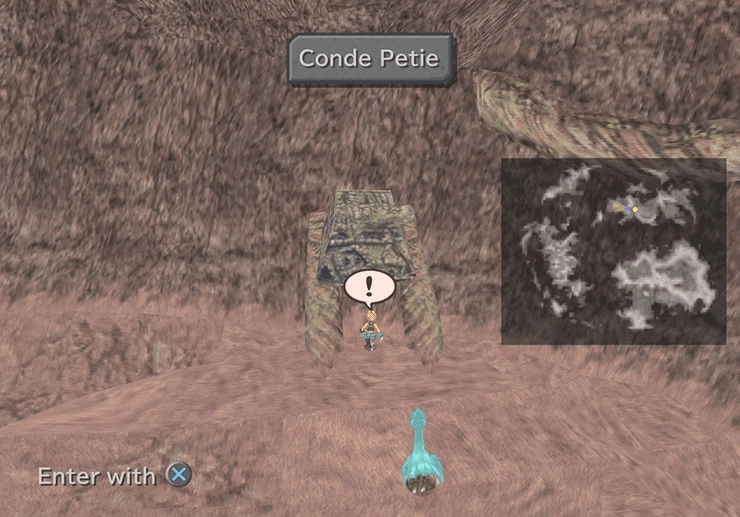
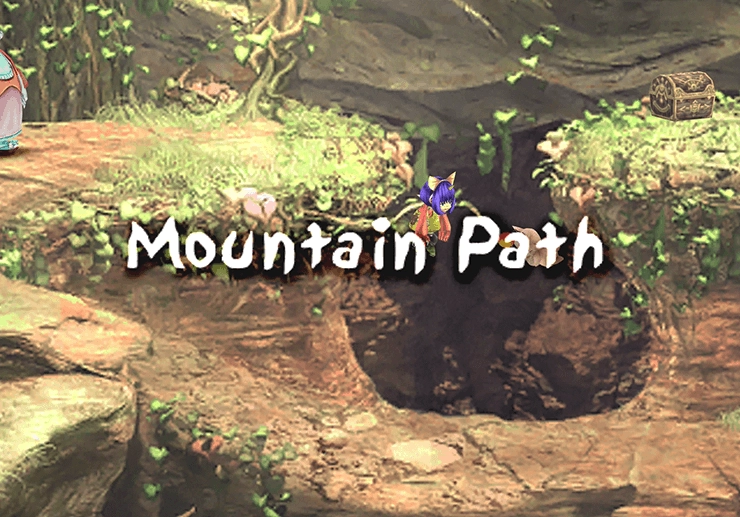
Conde Petie Mountain Path
Use the map and screenshot below to help you find your way back to Conde Petie. Note that this is the second visit through Conde Petie after you have been to the Black Mage Village. Check out the earlier Conde Petie walkthrough page if this is your first visit to the town and if you navigated to this page by accident.
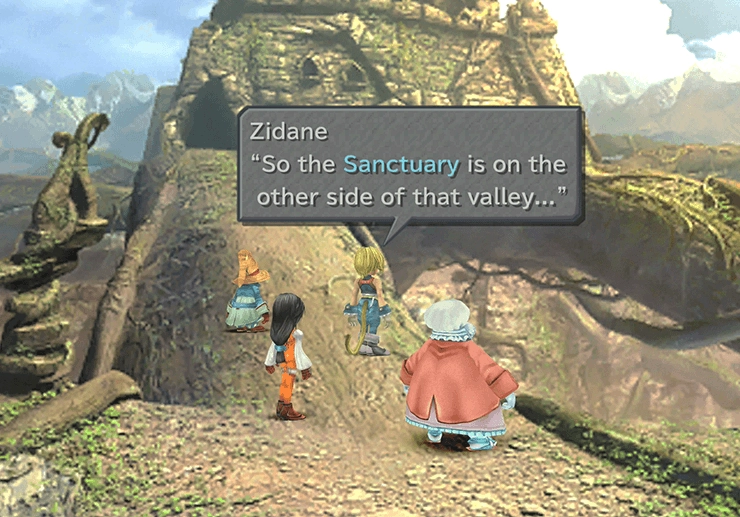
Conde Petie Town
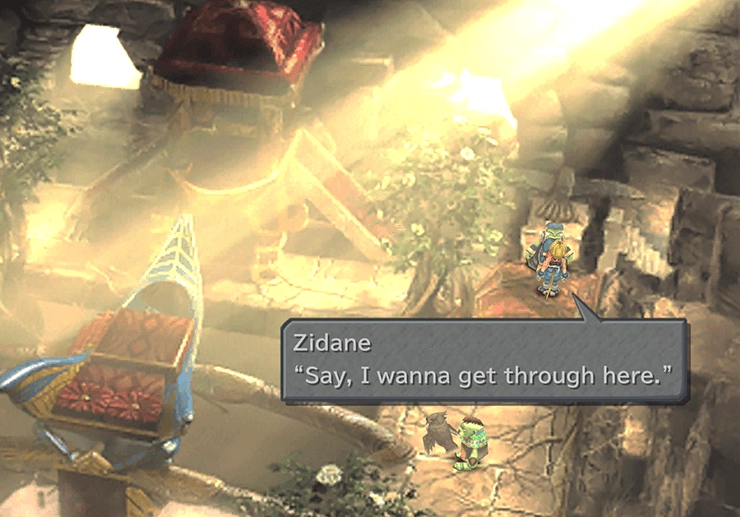
Enter Conde Petie, and the dialog will kick back up right at the entrance. Zidane will mention that the Sanctuary you are trying to reach is on the opposite side of the village. Your goal now is to get past the dwarf guarding the door.
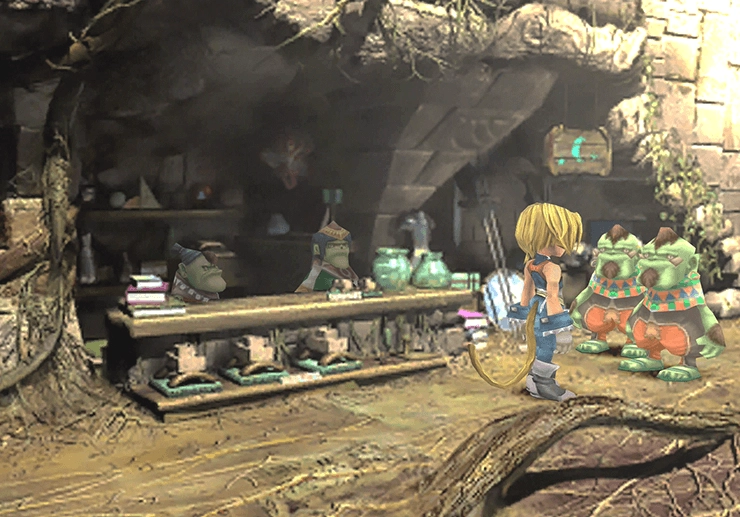
There are a few different dwarves that you can speak with to get things started. You can either talk to the dwarves guarding the pathway near the Weapon Shop on the second level, or you can talk to the gatekeeper on the upper floor. Both sets of guards are included in the screenshots below to help you find them.
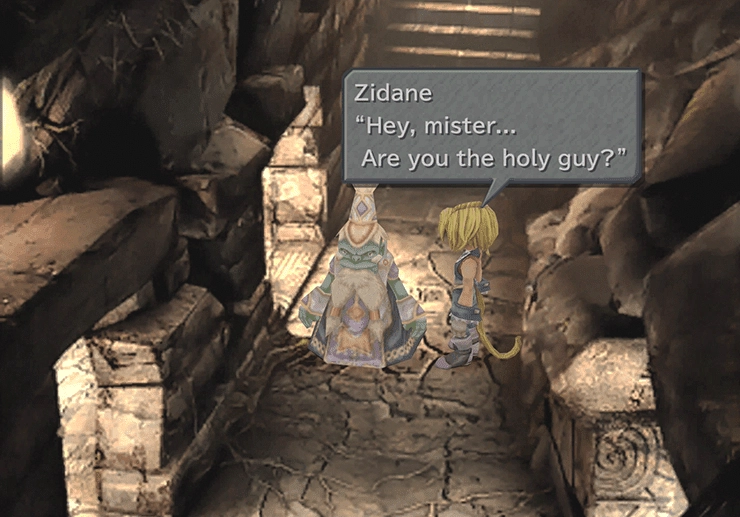
No matter who you speak to, they will tell you that only those who have received the ceremony can pass and that you must talk to “His Holiness!” His Holiness is a dwarf named “David Heavenguard,” whom you can find pacing the hallway outside the Inn.
There are several cutscenes and dialog that follow after you speak to him that you must complete before you can proceed.
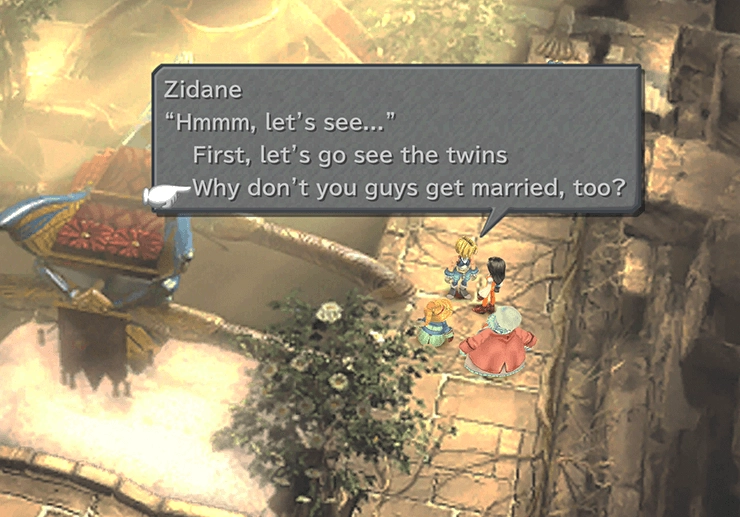
The ceremony involves Zidane and Princess Garnet being wed in holy matrimony by His Holiness. You will have the option to determine the next steps, which may involve visiting the twins or suggesting that Vivi and Quina get married as well.
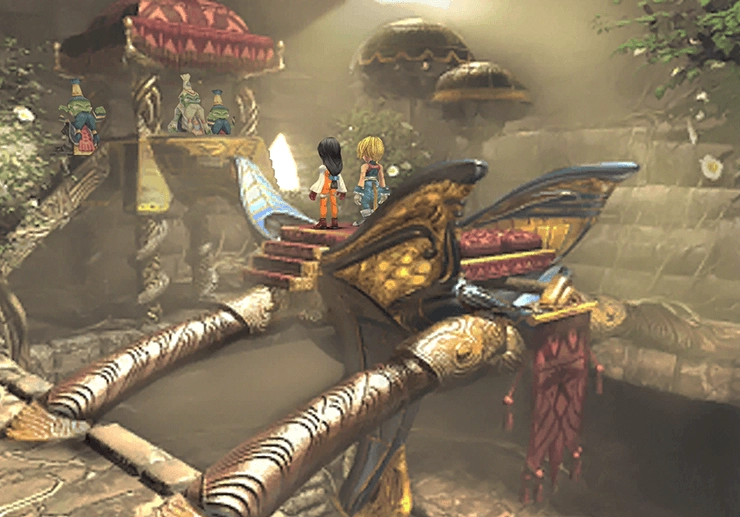
It does not matter which option you select. Watching Vivi and Quina get married leads to an Active Time Event called “Nuptial Joy.” There is another scene where you get to see Eiko go running past (the girl with the purple hair).
Achievement/Trophy
To watch the ATE in Conde Petie and obtain the  Movie Critic Achievement/Trophy, you need to select the “Why don’t you guys get married, too?” option.
Continue down the pathway and exit the village…
Conde Petie Mountain Path
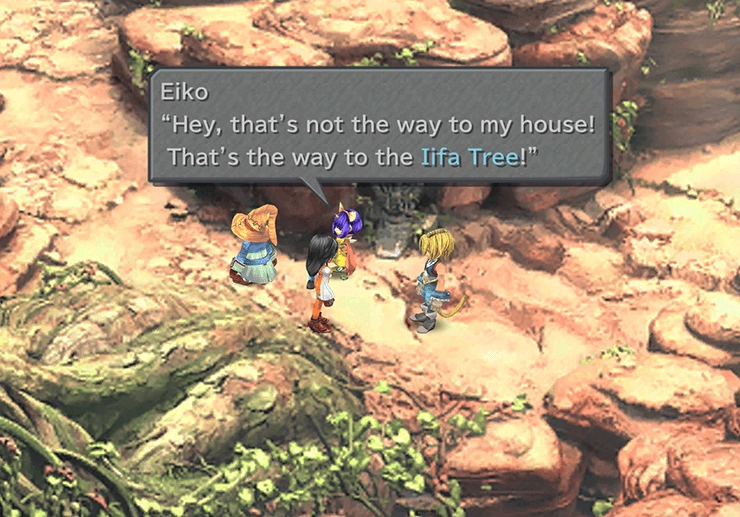
There is a short cutscene involving Eiko and her Mog as Zidane, Dagger, Vivi, and Quina approach her on the pathway. You will get the chance to choose her name, but she will be referred to by her default name of “Eiko” for the remainder of this walkthrough.

Quina will automatically leave the party to chase after the Moogle, allowing Eiko to act as a fill-in. Equip her with a better weapon and some better armor, as she comes pre-equipped with some very low-level items. She is a magic user, just like Vivi and Dagger, which makes utilizing her in this team setup rather painful.
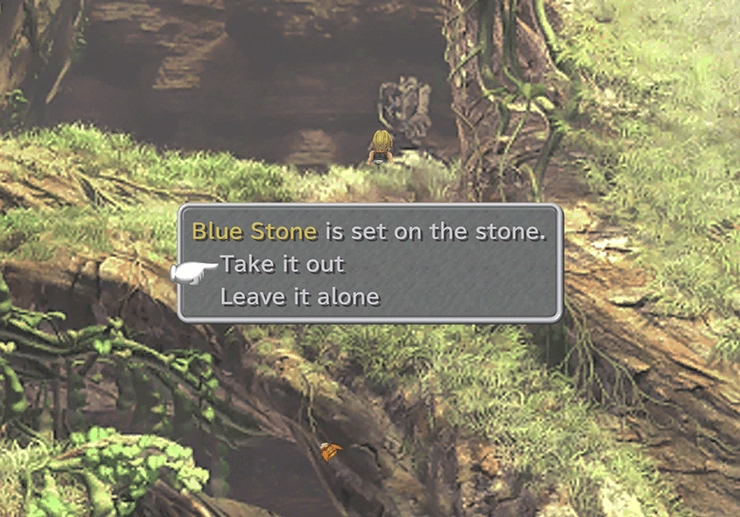
Travel back towards the left side of the screen and use the vine on the side of the cliff to climb up and grab the treasure chest, which contains a ![]() Remedy. Take the pathway leading to the right to reach a statue with a Blue Stone set inside it.
Remedy. Take the pathway leading to the right to reach a statue with a Blue Stone set inside it.
Choose “Take it out” when prompted and then return to the previous screen. Take the vine back down to the lower level and follow the bottom pathway to the right.
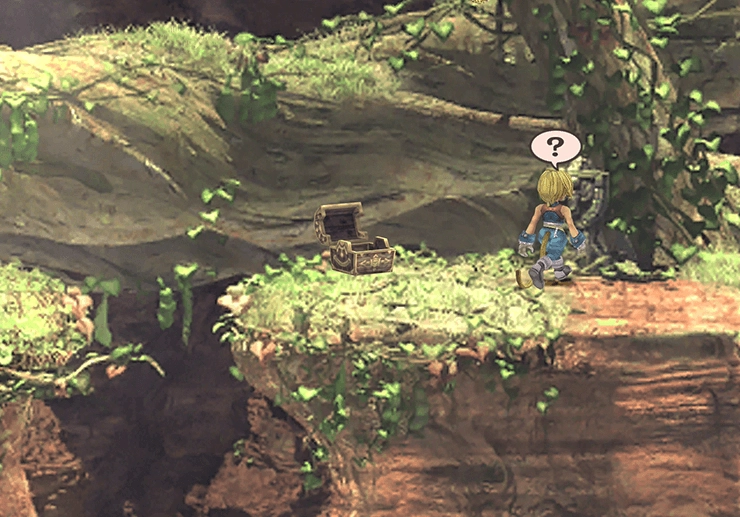
Climb up the small set of stairs, jump on the vine on the side of the cliff, and then take the pathway leading back to the previous screen. Open the treasure chest to receive a free ![]() Tent and then examine the statue to take out the “Red Stone.”
Tent and then examine the statue to take out the “Red Stone.”
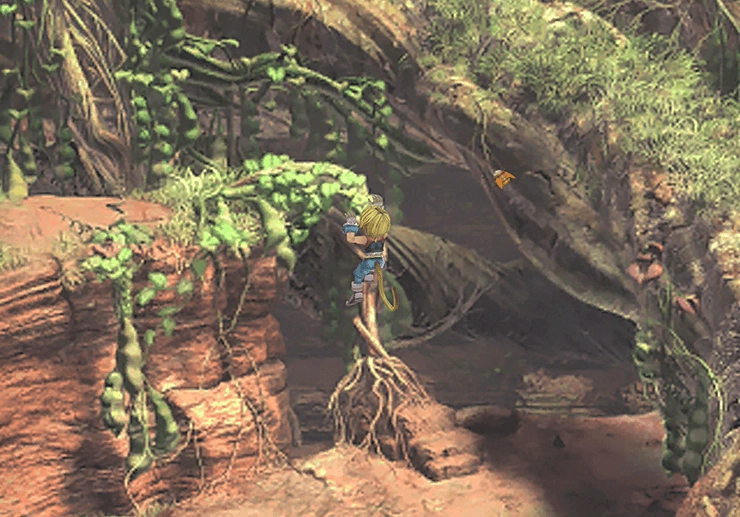
Return to the previous screen and climb back down the vine. Continue down the path to the next screen.
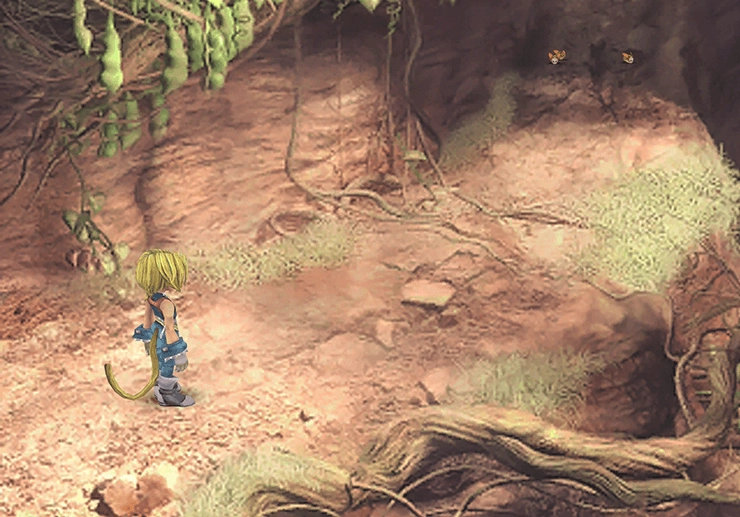
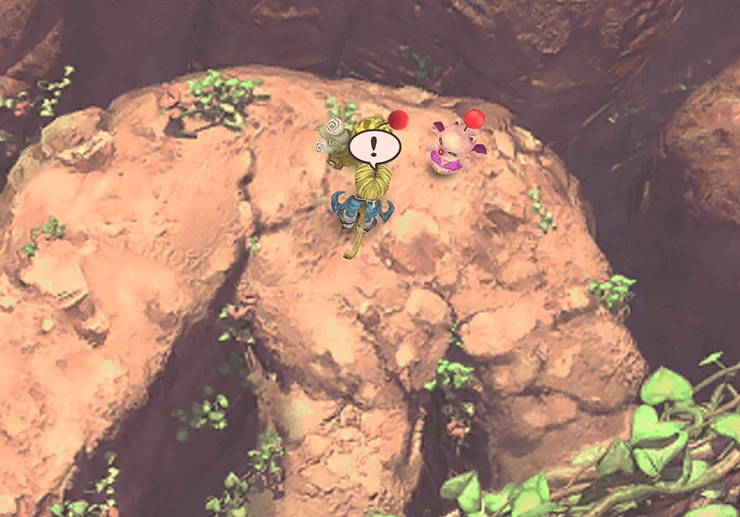
As you run down the pathway, you will see a group of three Oglops on the ground. Try to capture one as you approach them by tapping the Action button. If you manage to capture one, you can return it to Bryan Rootrunner at the Item Shop for a free ![]() Oglop Card.
Oglop Card.
The Card Game side quest (Tetra Master) in Final Fantasy IX is pretty pointless, making this side quest pretty pointless as well, so don’t worry about it if you are not having luck catching the Oglops.
Stiltzkin is standing on the cliffs on the next screen. Make sure that you purchase his collection of items from him again. This time, he is selling a ![]() Magic Tag,
Magic Tag, ![]() Tent, and
Tent, and ![]() Ether for 666 Gil. Buying items from him is part of the
Ether for 666 Gil. Buying items from him is part of the ![]() Stiltzkin side quest, which allows
Stiltzkin side quest, which allows ![]() Stiltzkin to continue appearing later on in the game to sell you more beneficial items.
Stiltzkin to continue appearing later on in the game to sell you more beneficial items.
Check out the ![]() Stiltzkin guide in the Side Quests section for more information about what you can obtain from
Stiltzkin guide in the Side Quests section for more information about what you can obtain from ![]() Stiltzkin throughout the game. Speak to
Stiltzkin throughout the game. Speak to ![]() Suzuna the Moogle as well, and be sure to select the Mognet option to give her the letter from
Suzuna the Moogle as well, and be sure to select the Mognet option to give her the letter from ![]() Mogmatt.
Mogmatt.
Achievement/Trophy
You must purchase all the available items from ![]() Stiltzkin each time he appears to obtain the
Stiltzkin each time he appears to obtain the  Driving the Hard Bargain Achievement/Trophy. You can miss this Achievement/Trophy entirely if you’re not careful, as you cannot return to some sections of the game to buy items that you have missed.
A boss battle is coming up shortly, so make sure you properly equip each of your party members with weapons, armor, and abilities. Take this opportunity to heal them up as well. You can use a ![]() Tent by speaking to
Tent by speaking to ![]() Suzuna.
Suzuna.
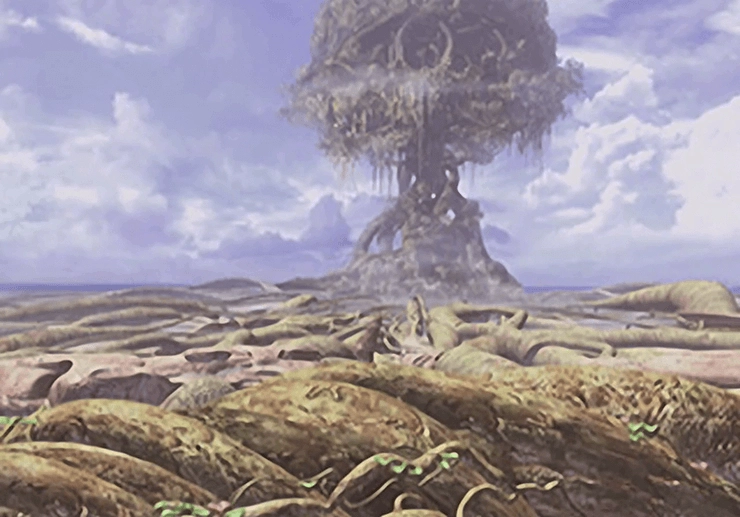
Travel to the left of ![]() Stiltzkin and
Stiltzkin and ![]() Suzuna, climb the ladder, and follow the vine and root pathway to the right side of the screen. You will get to watch a cool cinematic of the Iifa tree before the next battle.
Suzuna, climb the ladder, and follow the vine and root pathway to the right side of the screen. You will get to watch a cool cinematic of the Iifa tree before the next battle.
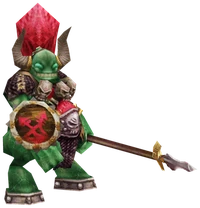
Boss Battle

Level: 28
HP: 8,106
There are two primary aspects of the fight against Hilgigars that you have to prepare and be ready for: the amount and types of damage that it can deal to your party members and its ability to cast ![]() Curaga on itself.
Curaga on itself.
Start by having Vivi cast ![]() Slow and have Eiko cast
Slow and have Eiko cast ![]() Silence on Hilgigars as it is vulnerable to both statuses. Ensure that these negative status effects remain active throughout the battle. These will help to prevent Hilgigars from healing itself with
Silence on Hilgigars as it is vulnerable to both statuses. Ensure that these negative status effects remain active throughout the battle. These will help to prevent Hilgigars from healing itself with ![]() Curaga and reduce the amount of damage that it does, but it won’t prevent it from casting its most powerful spell: Earthquake (which is not affected by Silence).
Curaga and reduce the amount of damage that it does, but it won’t prevent it from casting its most powerful spell: Earthquake (which is not affected by Silence).
Use Dagger’s ![]() Float spell to prevent Earthquake from hitting your party members. Remember to use the
Float spell to prevent Earthquake from hitting your party members. Remember to use the ![]()
![]()
![]() button when casting Float to switch the spell to “Group-Cast” mode and affect all party members with a single casting.
button when casting Float to switch the spell to “Group-Cast” mode and affect all party members with a single casting.
Be aware that the ![]() Fairy Flute, while certainly an excellent weapon, is very difficult to steal due to it being in the “Very Rare” slot. Don’t waste too much time if you’re unable to steal it, as it could potentially take hours.
Fairy Flute, while certainly an excellent weapon, is very difficult to steal due to it being in the “Very Rare” slot. Don’t waste too much time if you’re unable to steal it, as it could potentially take hours.
Have Zidane focus on stealing while Vivi focuses on Black Magic spells to do damage (especially Bio, which is incredibly helpful for this fight) and summons from Dagger’s and Eiko’s Eidolons.
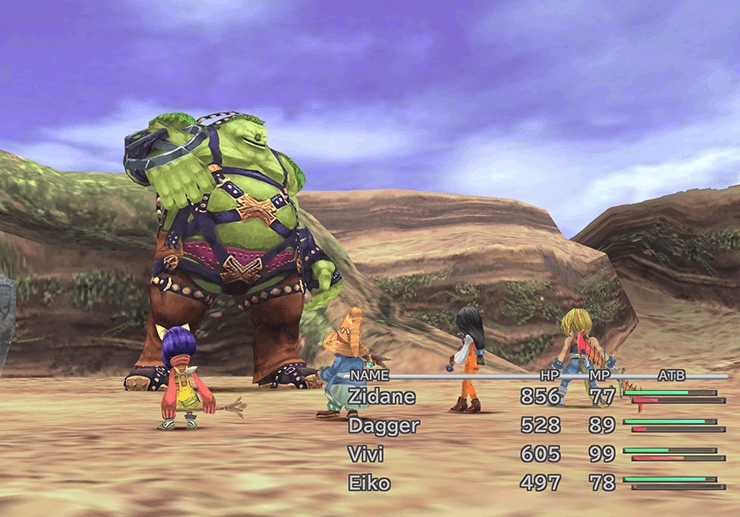
Steal:
 Phoenix Down (common, 70%)
 Mythril Fork (uncommon, 23%)
 Fairy Flute (very rare, 0.4%)
These are the odds each time a steal connects. The ![]() Master Thief ability raises a very rare steal to 12.5%. Check out the How Stealing and Enemy Drops Work page for more information.
Master Thief ability raises a very rare steal to 12.5%. Check out the How Stealing and Enemy Drops Work page for more information.
Drops:
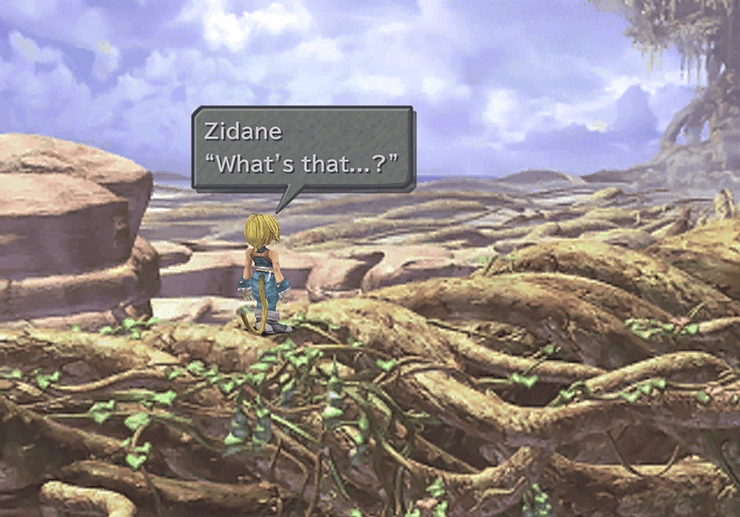
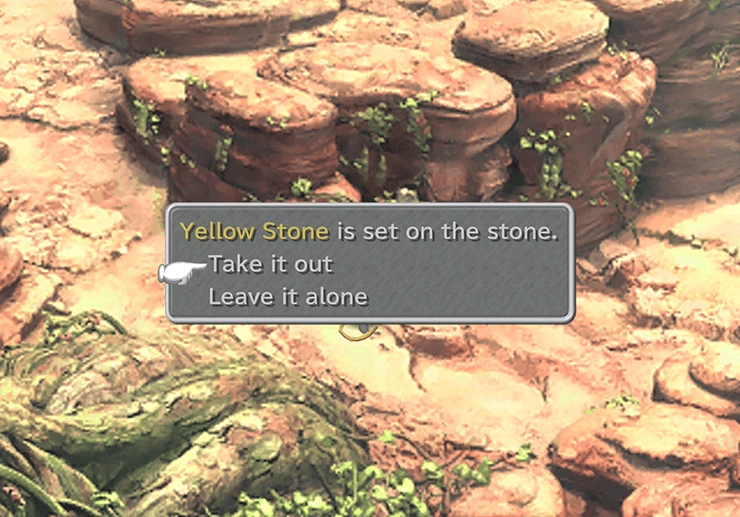
Eiko will inform the team that the Sanctuary is only referred to as such by the dwarves of Conde Petie and that it is known as the Iifa Tree to everyone else. Examine the statue before you leave this area to pick up the “Yellow Stone” item.
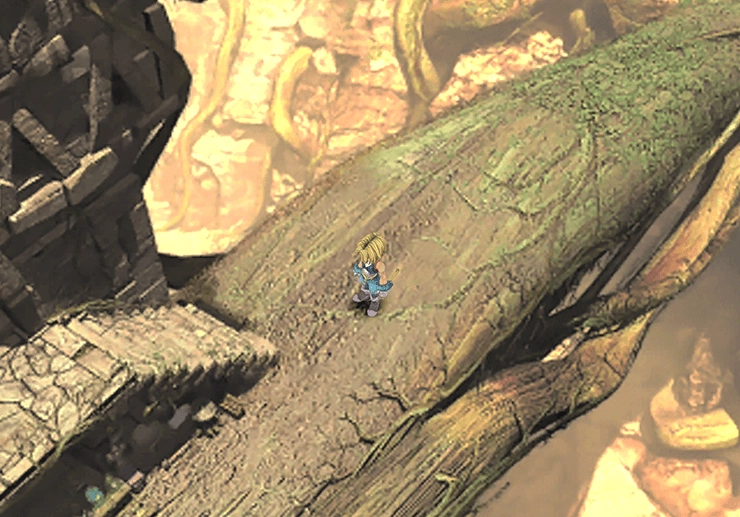
Travel to the right of the statue to find more vines along the mountain path that break into a fork, with one path leading upward and the other leading off to the right. Take the pathway leading to the right (the lower pathway, as they both sort of lead off to the right, shown in the screenshot below).
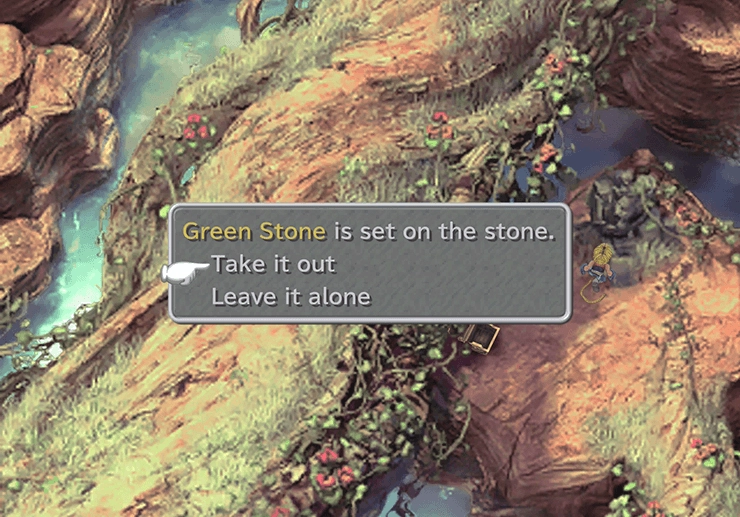
There is a treasure chest in this next area that contains an ![]() Ether, but more importantly, there is one last statue that you can examine to pick up the “Green Stone.”
Ether, but more importantly, there is one last statue that you can examine to pick up the “Green Stone.”
Now, travel back to where ![]() Suzuna and
Suzuna and ![]() Stiltzkin were standing. You have to travel back up the roots when you reach the area where you picked up the “Yellow Stone.” The other pathway leads back to the world map (which is not the way that you should be going yet).
Stiltzkin were standing. You have to travel back up the roots when you reach the area where you picked up the “Yellow Stone.” The other pathway leads back to the world map (which is not the way that you should be going yet).

Take the pathway to the right side of Suzuna once you reach that area and examine the large statue at the end of the path. You can put each of the colored stones that you collected into the statue. Add the Red, Blue, Yellow, and Green Stones back into the statue to receive a ![]() Moonstone item.
Moonstone item.
Achievement/Trophy
To obtain the  Over the Moon Achievement/Trophy, you will need to obtain all four
 ![]() Moonstones that are available in the game. You need to complete this mini-quest to earn the trophy.
Moonstones that are available in the game. You need to complete this mini-quest to earn the trophy.
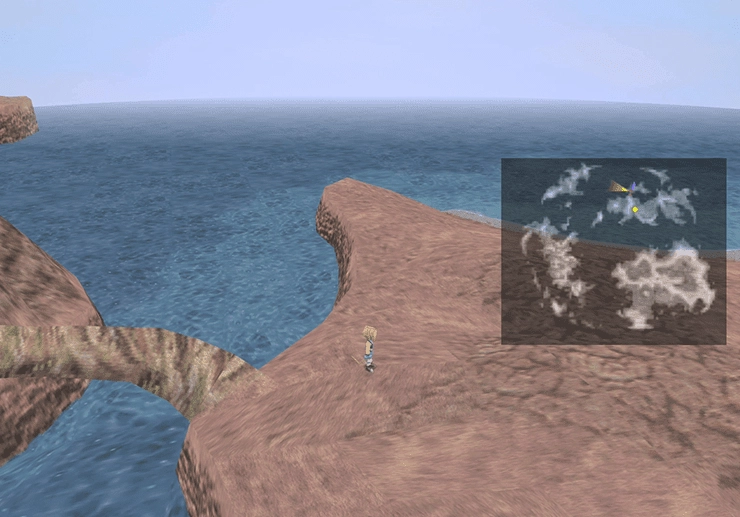
Travel back to the fork in the road (where the “Yellow Stone” was found after you finished fighting Hilgigars). Take the pathway to the right and follow the large vine that heads northeast, rising up and out of the area (as shown below).
World Map - Lucid Plains
Helpful Hint
If you are, it means that you have taken a wrong turn back on the Conde Petie Mountain Path. You can check your menu screen to be sure. If you are in the “Pualei Plains” area, you are in the wrong location. Travel pack to the pathway and back to where you picked up the “Yellow Stone” after the battle against Hilgigars.

Take the pathway that leads to the right and climb the large vine up and out of the area (as shown again below). You should wind up on the world map in the area, also shown in the screenshot below.
Helpful Hint
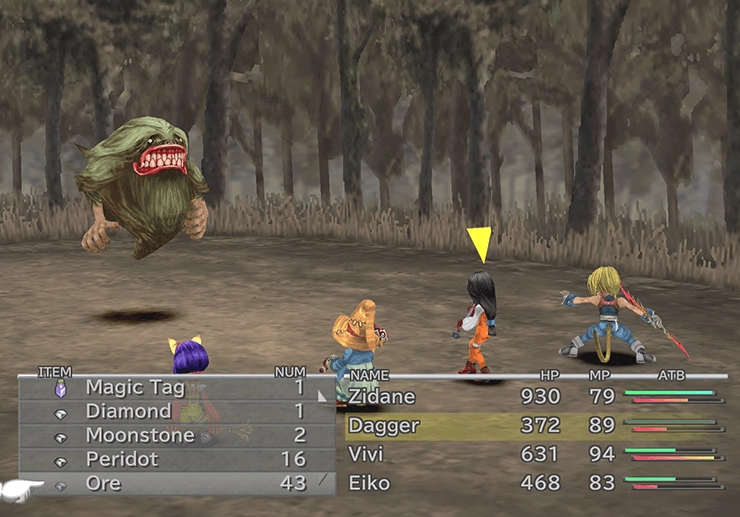
You can find a friendly monster in this area called the Yeti. Provide it with two ![]() Ores if you see it, and it will give you 20 AP and a free
Ores if you see it, and it will give you 20 AP and a free ![]() Elixir. Check near the large forested area outside Madain Sari, as you cannot find it in the actual plains themselves.
Elixir. Check near the large forested area outside Madain Sari, as you cannot find it in the actual plains themselves.
There are several friendly monsters that you can find throughout the game. Check out the Friendly Monsters guide in the Side Quests section for more information.
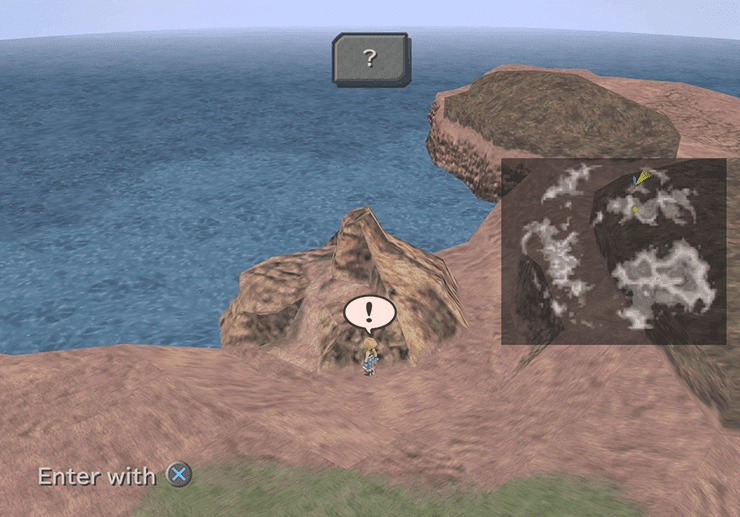
You can find the Village of Madain Sari directly across from the Conde Petie Mountain Path, and it looks like a small mound near the beach. Use the screenshot below and the mini-map to help you find it.
Achievement/Trophy
There are many ATEs that you need to watch in Madain Sari to obtain the Movie Critic Achievement/Trophy. Unfortunately, some of these ATEs are easily missed. Be sure to save your game outside Madain Sari so that you can reset and retry if you miss any.
Welcome to Eiko’s home, Madain Sari, The Village of the Lost Summoners.