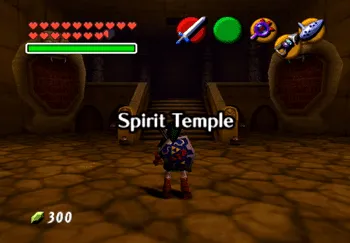
Spirit Temple
The Spirit Temple requires you to start off as young Link and you need to have acquired the Requiem of Spirit from Sheik after entering the Spirit Temple as adult Link and then exiting. Sheik will meet up with adult Link as he exits the temple.
Young Link
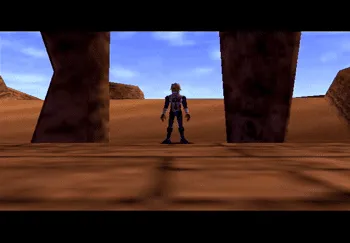
Warp to the Desert Colossus using the Requiem of Spirit and head into the temple. Head up the stairway and take a left to find a Gerudo Thief standing there. Speak to her and select the “Nothing, really” option.
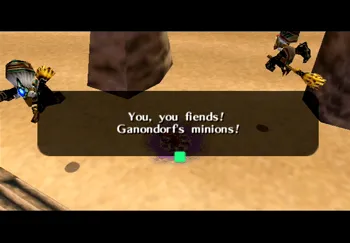
She will introduce herself as Nabooru and will ask you to do her a favor. Specifically, she will ask you to go through the small hole and obtain the Silver Gauntlets. Crawl through the small hole and into the next room.

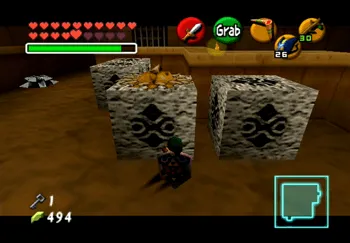
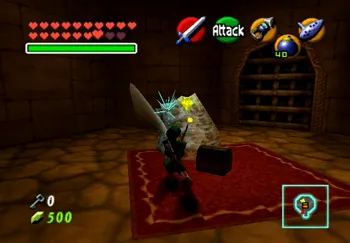
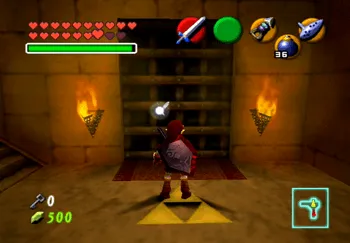
Start things off by killing the three Keese Bats. You then have to destroy the Armos in the center of the room as well. Throw a ![]() Bomb at it while it is immobile and then another Bomb directly at it once it starts moving. This will open up the two doors on the far wall. Go through the doorway on the left side of the screen.
Bomb at it while it is immobile and then another Bomb directly at it once it starts moving. This will open up the two doors on the far wall. Go through the doorway on the left side of the screen.
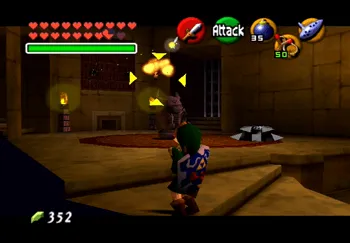
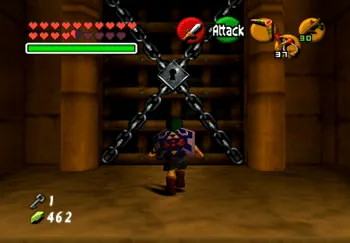
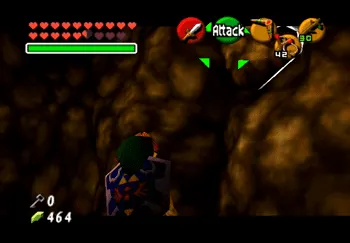
You will be ambushed by a Stalfos in the next room. Recall that Stalfos enemies are slightly harder to kill as young Link. Cower behind your ![]() Hylian Shield until the Stalfos attacks and then counterattack with the Kokiri Sword. You can also defeat the large Green Bubble (the flying green skull creature) by hitting it with your
Hylian Shield until the Stalfos attacks and then counterattack with the Kokiri Sword. You can also defeat the large Green Bubble (the flying green skull creature) by hitting it with your ![]() Fairy Slingshot while it is not awash with green flame.
Fairy Slingshot while it is not awash with green flame.
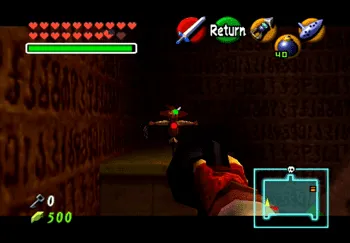
Pull out your ![]() Boomerang and use it to hit the crystal switch behind the fence on the other side of the room by targeting just to the left of the crystal. The
Boomerang and use it to hit the crystal switch behind the fence on the other side of the room by targeting just to the left of the crystal. The ![]() Boomerang will loop around and hit the crystal from behind.
Boomerang will loop around and hit the crystal from behind.
Open up the treasure chest to receive a Blue Rupee (worth 5 Rupees) or a Deku Shield if you do not have one in your inventory. Go through the doorway on the other side.
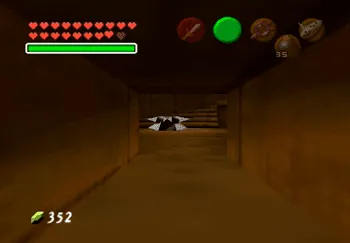
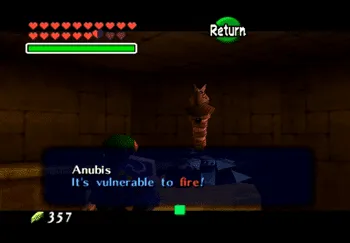
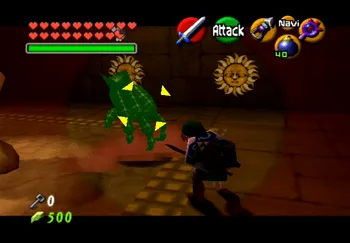
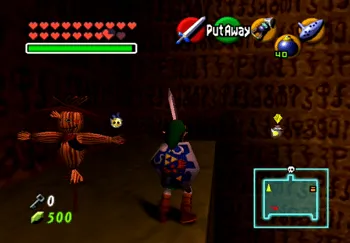
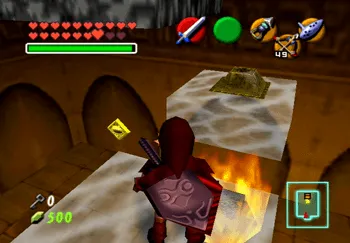
There is an enemy in this room called an Anubis. The shape of this room makes a large “S” and the Anubis will mirror your position on the opposite side of the “S” (mirrors being part of the theme of this dungeon).
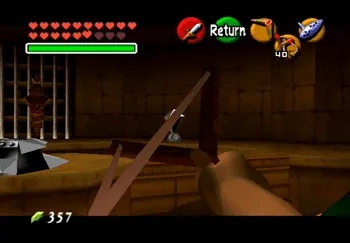
Run to the opposite side of the room (you may take some damage from Anubis in the process) and stand on the far side of the “S” shape as shown in the screenshot below.
Aim for the crystal switch and the flames will rise up and destroy Anubis. This will release the lock on the door on the far wall. Walk across to the opposite side of the room and go through the door.
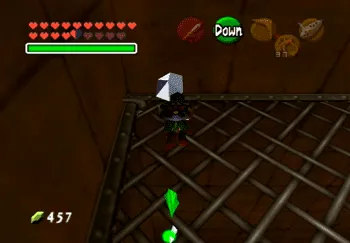
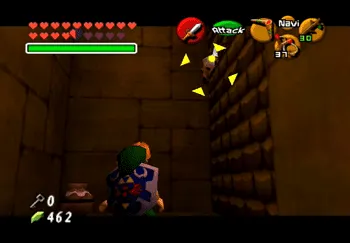
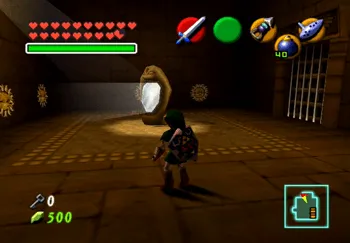
As soon as you enter the next room Navi will give you a heads-up that there are monsters on the ceiling in this room (Wallmasters, which you have dealt with before). Start off by moving far enough in the room to cause the Wallmaster to try and drop down on you.
You will hear the sound effect when it is approaching for its attack. Dodge it when it falls and then destroy the Wallmaster with the Kokiri Sword. Kill the Keese Bat as well.
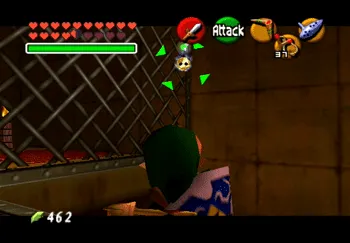
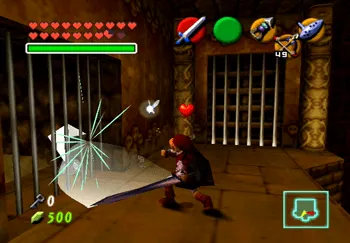
The objective of this room is to obtain the five Silver Rupees. Two of the Silver Rupees are up near the top of the chain link fence. You will need to kill the ![]() Gold Skulltula first before trying to get around it as it can attack Link right through the fence.
Gold Skulltula first before trying to get around it as it can attack Link right through the fence.
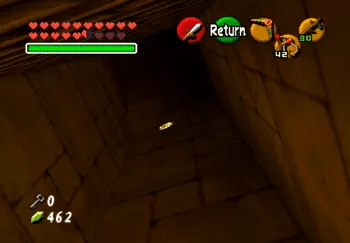
Use the ![]() Boomerang to obtain the token after the fence drops (number 95 of 100). Pull out a Deku Stick and light the two unlit torches to cause a small treasure chest to drop. Open up the treasure chest to obtain your first Small Key in the Spirit Temple.
Boomerang to obtain the token after the fence drops (number 95 of 100). Pull out a Deku Stick and light the two unlit torches to cause a small treasure chest to drop. Open up the treasure chest to obtain your first Small Key in the Spirit Temple.
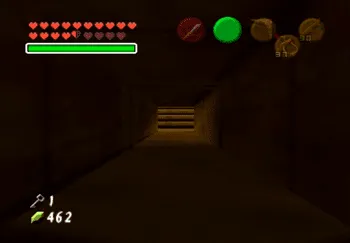
Exit the room using the opposite doorway to the one you came in through. Go through the small tunnel in this room to find a large locked door. Use the Small Key to open the door and then proceed through.
There are two Skulltulas hanging from the climbable wall a little way up. Use your ![]() Boomerang to destroy both of them. There is also a
Boomerang to destroy both of them. There is also a ![]() Gold Skulltula on the opposite wall.
Gold Skulltula on the opposite wall.
You can reach the Gold Skulltula from the bottom but it is actually easier to reach it from up top. Kill it with your ![]() Boomerang and then grab the token (number 96 of 100). Climb up the wall into the next room.
Boomerang and then grab the token (number 96 of 100). Climb up the wall into the next room.
There are two Skulltulas on the wall which you can kill and two Lizalfos which will ambush you as you wander around the room. Kill all four enemies and then hit the crystal switch on the far wall with the ![]() Boomerang to cause a treasure chest to drop. Open both treasure chests in this room to pickup some Bombchus and a Blue Rupee (worth 5 Rupees).
Boomerang to cause a treasure chest to drop. Open both treasure chests in this room to pickup some Bombchus and a Blue Rupee (worth 5 Rupees).
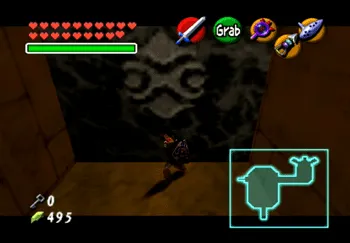
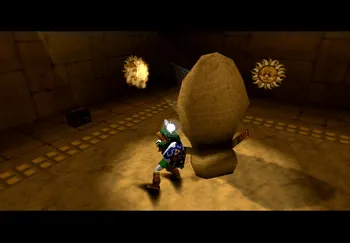
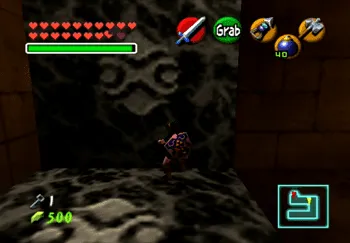
Look up to where the Skulltulas where attached and you will notice a rock formation that has some light peeking through. You need to hit this with a ![]() Bomb or a Bombchu. Targeting the boulder and then releasing a Bombchu is extremely effective. Destroying the boulder will allow the sun to shine through and will release the lock on the door.
Bomb or a Bombchu. Targeting the boulder and then releasing a Bombchu is extremely effective. Destroying the boulder will allow the sun to shine through and will release the lock on the door.
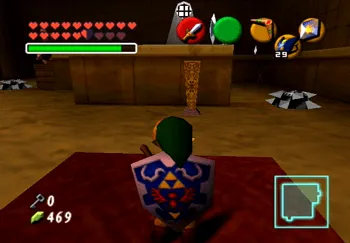
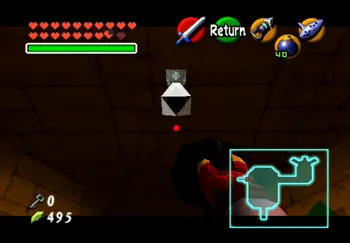
Going through this doorway will take you into the large, main room of this dungeon. There is a huge deity on the far wall made of stone and stairs on both sides of the room. Push the statue near the door that you came in through off the ledge and down onto the blue switch.
Stand on the center platform between the two unlit torches and use ![]() Din’s Fire to cause a treasure chest to appear. Open up the treasure chest to obtain the Dungeon Map for the Spirit Temple.
Din’s Fire to cause a treasure chest to appear. Open up the treasure chest to obtain the Dungeon Map for the Spirit Temple.
You can now make your way up to where the locked doorway opened. Climb up the climbable wall beside the statue that you pushed off the ledge, go up the stairs, and go through the doorway into the next room. Follow the circular staircase around and go through the next door.

The Beamos in this room can be taken care of with either regular ![]() Bombs or Bombchus. Bombchus make it extremely easy because you can L or
Bombs or Bombchus. Bombchus make it extremely easy because you can L or ![]() Target the Beamos and launch your Bombchus from a distance.
Target the Beamos and launch your Bombchus from a distance.
Collect all the Silver Rupees next. There are no secrets to obtaining any of them as most of them are on the ground level. There is one Silver Rupee that you have to jump off a block or a ledge to obtain. Gather all them and one of the torches will light up.
Use a Deku Stick to light up all three of the remaining torches in the room. This will cause a small treasure chest to drop on the south side of the room. Open it to pick up another Small Key.
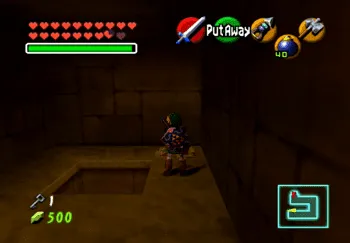
The next puzzle involves getting the sun face on the block into the actual sunlight in the northern corner of the room. Grab one of the blocks and pull it out of the way and then grab the block with the sun face on it and push it into the light. This will unlock the door on the south side of the room. Go through the newly unlocked door.
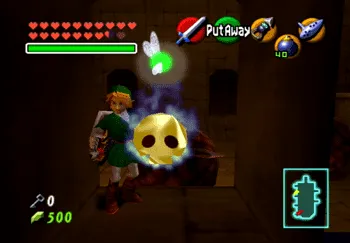
Walk part way up the stairwell and turn around. You probably heard it already, but there is a ![]() Gold Skulltula just above the doorway. Hit it with your
Gold Skulltula just above the doorway. Hit it with your ![]() Boomerang and then grab the token (number 97 of 100).
Boomerang and then grab the token (number 97 of 100).
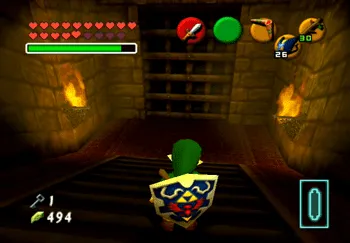
The pots in this stairwell contain hearts – you should grab them if you are not at full health as there is a mini-boss fight coming up. Go through the locked door using the Small Key and into the next room.
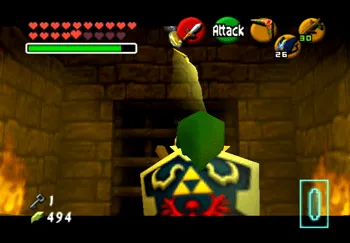
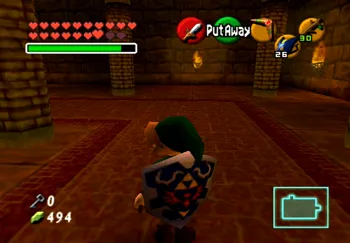
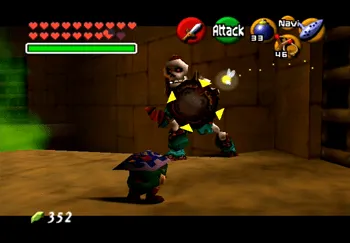
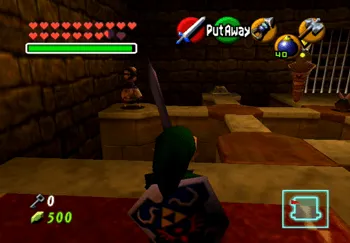
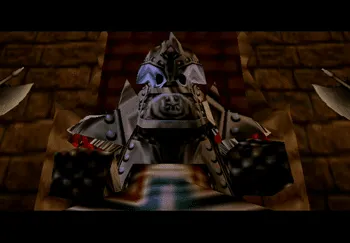
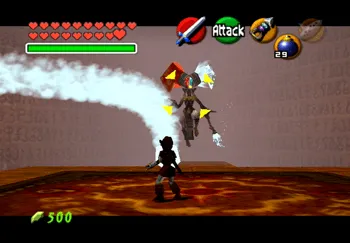
Iron Knuckle
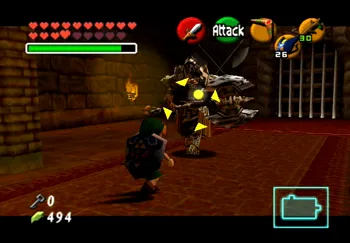
This is one of the mini-bosses in the Spirit Temple and you will actually face this enemy more than once. Whack Iron Knuckle with your Kokiri Sword to initiate the battle.
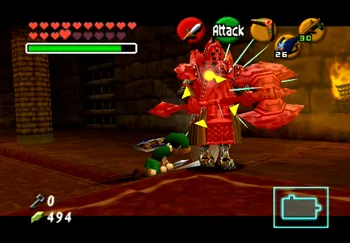
The difficulty in defeating Iron Knuckle has to do with how much damage its attacks do. It is actually very slow and fairly easy to dodge, but it doesn’t take many hits before you will be staring at a Game Over screen. Iron Knuckle has two primary attacks: one which is a double horizontal slash and one which is an overhead smash.
Avoid the attack and then strike at Iron Knuckle immediately afterwards. L or ![]() Targeting and using the jumps with the
Targeting and using the jumps with the ![]() button is extremely effective if you are good with the controls.
button is extremely effective if you are good with the controls.
Check out this video below (not my finest battle against an Iron Knuckle but it will give you the general principles behind dodging its attacks).
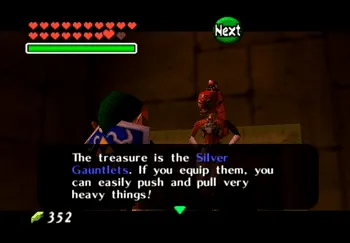
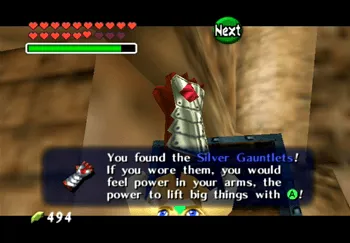
Exit the room and you will run into the Owl again offering more sage wisdom. Open the large treasure chest to obtain the Silver Gauntlets. The Gauntlets cannot be worn by young Link however, just as Nabooru suggested.
Once you pick up the Silver Gauntlets a short cinematic will play involving Nabooru. She will be kidnapped by the two witches that the Owl spoke of. On the plus side, this will free Link of his promise to give the Silver Gauntlets back.

Use the Prelude of Light to warp back to the Temple of Time and pull out the ![]() Master Sword to become adult Link again.
Master Sword to become adult Link again.
Adult Link
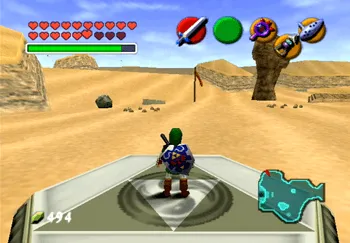
Warp back to the Desert Colossus using the Requiem of Spirit. Take this time to ride the Magic Bean Plant if you did not do so before (it should be just out front of the Spirit Temple if you planted a Magic Bean there as young Link). Enter through the front entrance of the Spirit Temple. You do not have to equip the Silver Gauntlets as they remain equipped by default.
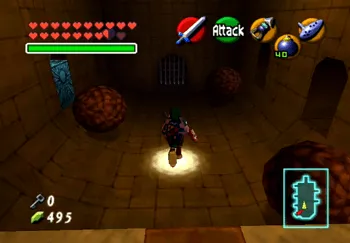
Go up the stairs and approach the grey wall on the right side of the screen. This is a huge grey block that Link can move now that he has the Silver Gauntlets in his possession. Push the large grey block all the way backwards until it falls into a crevice and then proceed forward.
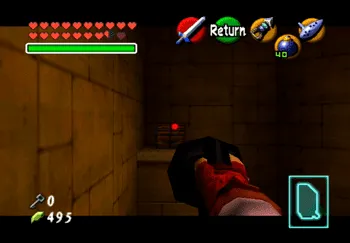
Enter the room and use a ![]() Bomb to blow up the Beamos. Aim upward with the
Bomb to blow up the Beamos. Aim upward with the ![]() Hookshot in this room to see a crystal switch on the roof. Hit it to unlock the doors on the left and right side of the room. Go through the doorway on the left side.
Hookshot in this room to see a crystal switch on the roof. Hit it to unlock the doors on the left and right side of the room. Go through the doorway on the left side.
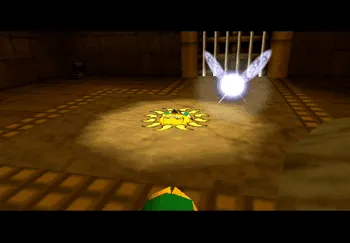
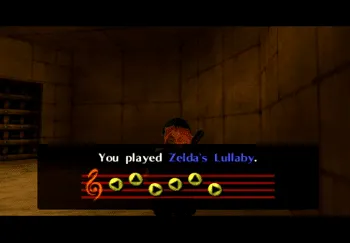
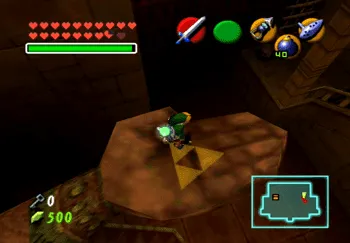
Defeat the Wolfos that spawns and then stand on the Triforce. Pull out your ![]() Ocarina of Time and play Zelda’s Lullaby to make a large treasure chest appear on the far side of the room.
Ocarina of Time and play Zelda’s Lullaby to make a large treasure chest appear on the far side of the room.
Use the ![]() Longshot to reach the platform with the chest. Open it up to obtain the Compass. Exit this room and then go through the other doorway that opened up on the right side.
Longshot to reach the platform with the chest. Open it up to obtain the Compass. Exit this room and then go through the other doorway that opened up on the right side.
The next room contains a number of Silver Rupees that you have to obtain in order to unlock the door. The first one, directly in front of Link but floating in the air, can be obtained by equipping the ![]() Hover Boots. The other four Silver Rupees are on the ground level and are easy to obtain as long as you dodge the rolling boulders.
Hover Boots. The other four Silver Rupees are on the ground level and are easy to obtain as long as you dodge the rolling boulders.
Stand near the blue stone and play the Song of Time to move the blue block. This will reveal another crevasse with a ![]() Gold Skulltula hiding in it (that you likely heard already). Kill the Gold Skulltula and pick up the token (number 98 of 100).
Gold Skulltula hiding in it (that you likely heard already). Kill the Gold Skulltula and pick up the token (number 98 of 100).
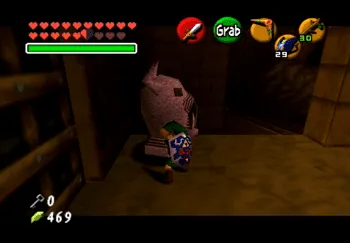
Be cautious in the next room! A Like Like enemy will drop down on you as soon as you move forward and will attempt to swallow Link and steal some of his equipment. Destroy the Like Like and then open up the small treasure chest to obtain a Small Key. Return to the previous room (with the Beamos) and use the Small Key to proceed through.
Another Like Like will drop down in the middle of this hallway. Kill it and watch out for the pots which will come flying at you. Climb the wall at the end of the hallway (or ![]() Hookshot to the top) and then activate your
Hookshot to the top) and then activate your ![]() Lens of Truth. There is an invisible Floormaster in this room that you should destroy first and foremost.
Lens of Truth. There is an invisible Floormaster in this room that you should destroy first and foremost.
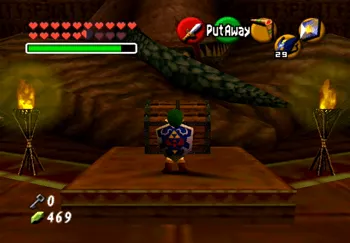
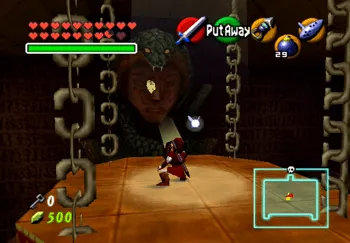
Grab onto the stone snake in the middle of the room with the mirror on it and rotate it around to each of the sun faces. Two of the sun faces will burn away when the sun beams touch them and treasure chests will drop down.
The first treasure chest contains a Recovery Heart but the second treasure chest will freeze you (and damage you) if you open it, so ignore it. Rotate the snake statue to face the third sun face and the door will unlock. Go through the door into the next room.
Link will find himself back out in the main room of the Spirit Temple. Jump down the ledge and travel to the west side of this room. Climb the stairs and look northward.
Pull out the ![]() Ocarina of Time and play the Scarecrow’s Song to make Pierre the Scarecrow appear and then
Ocarina of Time and play the Scarecrow’s Song to make Pierre the Scarecrow appear and then ![]() Longshot over to that side of the room. Kill the
Longshot over to that side of the room. Kill the ![]() Gold Skulltula on the wall and pick up the second last Gold Skulltula token (number 99 of 100). Almost there!
Gold Skulltula on the wall and pick up the second last Gold Skulltula token (number 99 of 100). Almost there!
Go back to the platform on the east side of the room where you entered and look upwards near the statue to find a target that you can ![]() Longshot to.
Longshot to.
Use the ![]() Hover Boots to walk out onto the left hand of the statue and stand on the Triforce. Play Zelda’s Lullaby to make a small treasure chest appear on the deity’s opposite hand. Open the chest to receive a Small Key.
Hover Boots to walk out onto the left hand of the statue and stand on the Triforce. Play Zelda’s Lullaby to make a small treasure chest appear on the deity’s opposite hand. Open the chest to receive a Small Key.
Travel back up to the platform where you used the ![]() Hover Boots and this time use the
Hover Boots and this time use the ![]() Longshot to target a treasure chest on the northern platform. Open the treasure chest to receive a Blue Rupee and then use the
Longshot to target a treasure chest on the northern platform. Open the treasure chest to receive a Blue Rupee and then use the ![]() Megaton Hammer to trigger the rusty switch in the back corner of the platform. This will release the doorway in the center of the room.
Megaton Hammer to trigger the rusty switch in the back corner of the platform. This will release the doorway in the center of the room.
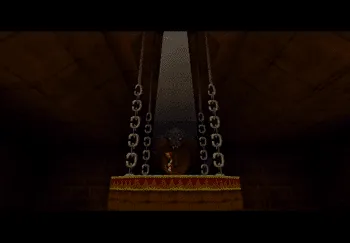
Go through the doorway to find a large grey stone that you can push back, followed by another, and followed by another rusty switch in the corner of the room. Hit this rusty switch and the platform in the center of the hallway will drop down.
It actually drops to the front of the Spirit Temple. This acts as a shortcut to help you get to the main, large room of the temple easily if you need to.
Return to the main room and ![]() Longshot back up to the platform on the east side. Go up the stairs and use the Small Key on the locked door to go through. Go through the hallway dodging the Beamos and into the next room.
Longshot back up to the platform on the east side. Go up the stairs and use the Small Key on the locked door to go through. Go through the hallway dodging the Beamos and into the next room.
The first thing you will want to do is destroy the Beamos off in the northeast corner of the room. A well targeted ![]() Bomb can reach the Beamos from the entrance. The next course of action is to take care of the two Anubis enemies.
Bomb can reach the Beamos from the entrance. The next course of action is to take care of the two Anubis enemies.
You can take care of them easily with ![]() Fire Arrows or you can jump around to different areas of the room to try and burn up the Anubis. You can also make a Stone of Time appear by playing the Song of Time near the locked doorway.
Fire Arrows or you can jump around to different areas of the room to try and burn up the Anubis. You can also make a Stone of Time appear by playing the Song of Time near the locked doorway.
You need to stand on this Stone of Time in order to burn up one of the Anubis – again though, ![]() Fire Arrows make this much easier. Go through the unlocked door once you have killed all three Anubis.
Fire Arrows make this much easier. Go through the unlocked door once you have killed all three Anubis.

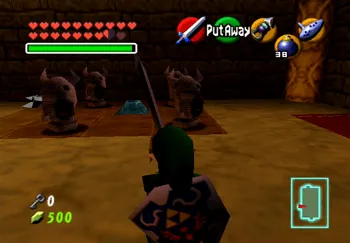
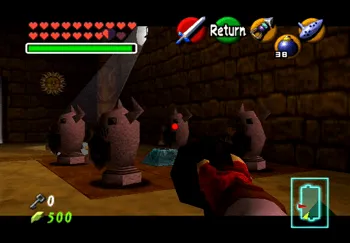
The next room contains four Armos enemies and a blue switch in between all four of them that needs to be held down to release the locked door. Unfortunately though this time all the Armos enemies will come alive as Link approaches, so this becomes a precarious game of tag trying to get one of the Armos to stand on the switch.
There is an easy method of doing this though. Stand near the door and then target the Armos furthest away either with the ![]() Longshot or the
Longshot or the ![]() Fairy Bow and it will step toward Link (and on the switch). Go through the door quickly and into the next room.
Fairy Bow and it will step toward Link (and on the switch). Go through the door quickly and into the next room.
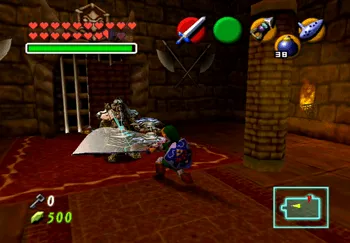
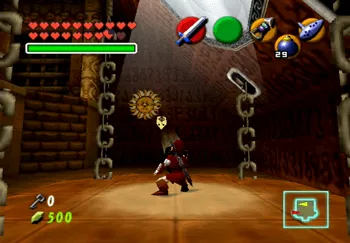
Go up the hallway and prepare to fight another Iron Knuckle mini-boss. The strategy is exactly the same, except that with the ![]() Biggoron’s Sword the fight is actually much easier.
Biggoron’s Sword the fight is actually much easier.
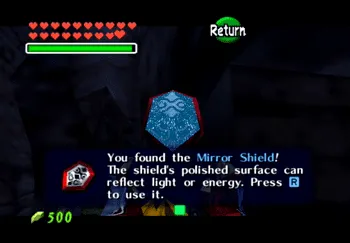
Go through the unlocked door and back out onto the statue to find a treasure chest that contains the ![]() Mirror Shield, a new shield for Link that replaces the
Mirror Shield, a new shield for Link that replaces the ![]() Hylian Shield! Go into your equipment screen and equip the new shield.
Hylian Shield! Go into your equipment screen and equip the new shield.
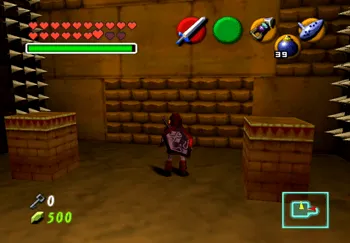
Travel back to the room that had the four Armos enemies in it and look for a spot where the sun comes through from outside. You can now use the ![]() Mirror Shield to reflect the sun in other directions.
Mirror Shield to reflect the sun in other directions.
Press the ![]() Button while standing in the sun spot and then aim the reflected light up at the sun face on the wall to unlock the door. Enter the room and grab the Small Key from the treasure chest. Go back one more room to the room with the three Anubis enemies and use the Small Key to go through the locked door.
Button while standing in the sun spot and then aim the reflected light up at the sun face on the wall to unlock the door. Enter the room and grab the Small Key from the treasure chest. Go back one more room to the room with the three Anubis enemies and use the Small Key to go through the locked door.

There are two Beamos enemies which need to be taken out with ![]() Bombs. Look upwards onto the moving wall and kill the Skulltula hanging from the halfway point up the wall. Begin climbing the wall once you are ready but be careful as they slide from side to side into spiked walls on either side of the room.
Bombs. Look upwards onto the moving wall and kill the Skulltula hanging from the halfway point up the wall. Begin climbing the wall once you are ready but be careful as they slide from side to side into spiked walls on either side of the room.
Try to climb on to the climbable portions of the walls at the earliest possible time. For example, on the middle non-movable section, stick to one of the outer edges and begin climbing as soon as the wall reaches you, giving you as much time as possible. Destroy the two Beamos at the top and then go through the doorway.

Stand on the Triforce in the hallway and play Zelda’s Lullaby to open the door. Go through the door to find it infested with Torch Slugs. Kill all four and then place ![]() Bombs in front of the doors to destroy them (they are all fake).
Bombs in front of the doors to destroy them (they are all fake).
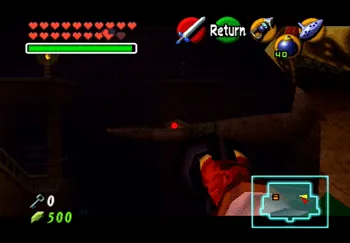
The door to the left of the flaming treasure chest has an eye behind it. Hit the golden eye with a shot from the ![]() Fairy Bow and then use the
Fairy Bow and then use the ![]() Longshot to get up onto the platform that appears.
Longshot to get up onto the platform that appears.
Jump over to the switch to stop the fire and then drop down to pick up the Boss Key. Exit the room and then continue down the hallway (to the west). Go through the doorway and into the next room.
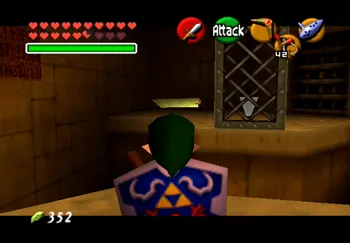
This is a rather complex room that involves reflecting the sun a number of times to get it to hit the sun face in this first room. Smash the crystal switch through the iron bars. A ![]() Bomb or a strong hit with the
Bomb or a strong hit with the ![]() Master Sword or
Master Sword or ![]() Biggoron’s Sword will release it.
Biggoron’s Sword will release it.
Go through the doorway that opens up and destroy all the enemies in this room (one Lizalfos and two White Bubbles). Drop a Bomb near the stone wall in the room with the snake statue and then go through to find another Lizalfos to defeat.
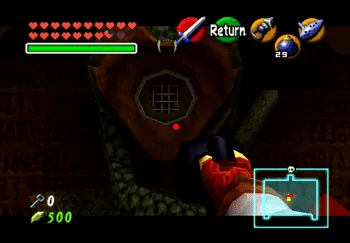
Rotate the first snake statue that is sitting in the sun already so that it faces the second one in the other room (through the tunnel that you Bombed earlier). Twist the second statue once so that the sun beam travels through the iron bars and the crystal out into the mirror on the roof of the previous room.
Travel out to this room and stand under the large mirror (as shown in the screenshot) and use the ![]() Mirror Shield to reflect the sun beams towards the sun face on the wall. This will automatically cause the platform to lower into the main room.
Mirror Shield to reflect the sun beams towards the sun face on the wall. This will automatically cause the platform to lower into the main room.
Use the ![]() Mirror Shield to reflect the sun beams directly at the face of the deity and it will dissipate away revealing a fenced doorway. Use the
Mirror Shield to reflect the sun beams directly at the face of the deity and it will dissipate away revealing a fenced doorway. Use the ![]() Longshot to zoom over to the gate and it will automatically slide out of the way revealing the Boss Door. Use the Boss Key and go inside.
Longshot to zoom over to the gate and it will automatically slide out of the way revealing the Boss Door. Use the Boss Key and go inside.
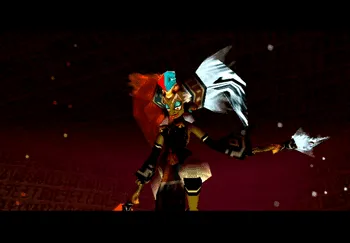
It is nearly time to do battle against the two witch sisters, Koume and Kotake. The two witches will summon one last Iron Knuckle to challenge you to a fight. The same strategy applies to this one.
The Iron Knuckles armor will disappear revealing that it was actually Nabooru in disguise. Go through the doorway at the back of the room to initiate the actual boss battle. Climb up onto the central platform to get started.

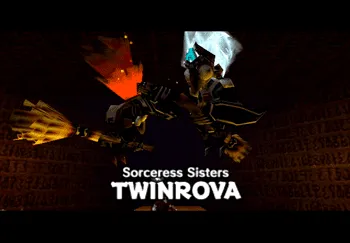
Twinrova
Sorceress Sisters
This boss is made up of the two witch sisters, Koume and Kotake. Just like the Owl mentioned, you need to use one witch’s power against the other witch. Each witch has a different element: Koume is the Sorceress of Flame and Kotake is the Sorceress of Ice.
You have to make use of L or ![]() Targeting extensively during this battle. Wait for one witch to target you with an attack (that looks like a beam of colored energy) and then reflect it back at the other witch.
Targeting extensively during this battle. Wait for one witch to target you with an attack (that looks like a beam of colored energy) and then reflect it back at the other witch.
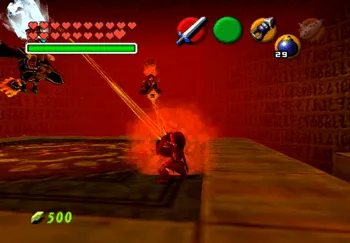
The two witches will combine after a while to form one entity that contains both elements. At this point you need to still use your ![]() Mirror Shield, but rather than reflect beams of energy back at one of the witches, you have to absorb magic into the Shield.
Mirror Shield, but rather than reflect beams of energy back at one of the witches, you have to absorb magic into the Shield.
Absorb three of the same types of magic – so if you absorb ice magic, you need to dodge the fire magic shots rather than absorb them or it will cancel them out.
Absorb one magic type three times and the ![]() Mirror Shield will start firing a beam of its own. Shoot the beam at the combined sisters to stun them and then attack them with your
Mirror Shield will start firing a beam of its own. Shoot the beam at the combined sisters to stun them and then attack them with your ![]() Master Sword or
Master Sword or ![]() Biggoron’s Sword.
Biggoron’s Sword.
Twinrova will be defeated after you attack her enough times. Grab the Heart Container on the far platform and then jump into the portal. Nabooru, the final sage, will present you with the ![]() Spirit Medallion. It is now time for you to challenge Ganondorf! The story continues at the Temple of Time.
Spirit Medallion. It is now time for you to challenge Ganondorf! The story continues at the Temple of Time.