Shadow Temple
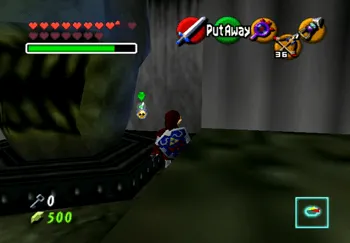
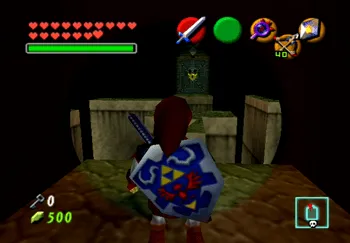
The entrance to the Shadow Temple can be found in the Kakariko Village Graveyard after you have completed the Water Temple and refilled Lake Hylia.
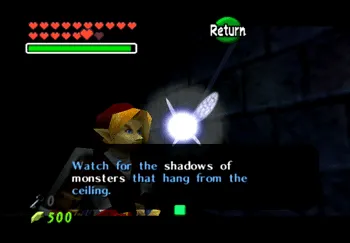
Note though that you need to return to Kakariko Village as young Link and complete the Bottom of the Well dungeon and obtain the ![]() Lens of Truth to get through the Shadow Temple. Play the Nocturne of Shadow when you are ready to go.
Lens of Truth to get through the Shadow Temple. Play the Nocturne of Shadow when you are ready to go.
You will need to make extensive use of the ![]() Lens of Truth throughout the Shadow Temple to see through walls and to see invisible objects. It is actually possible to complete this dungeon without the
Lens of Truth throughout the Shadow Temple to see through walls and to see invisible objects. It is actually possible to complete this dungeon without the ![]() Lens of Truth but it is much more difficult (and nearly impossible if you have not completed it previously and know what to do).
Lens of Truth but it is much more difficult (and nearly impossible if you have not completed it previously and know what to do).
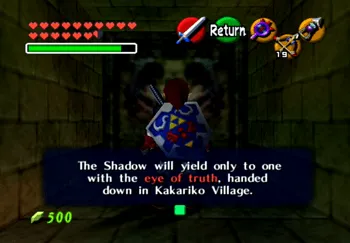
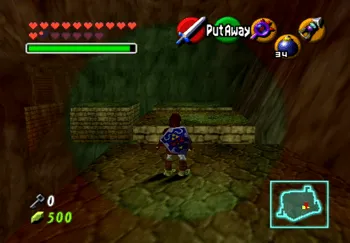
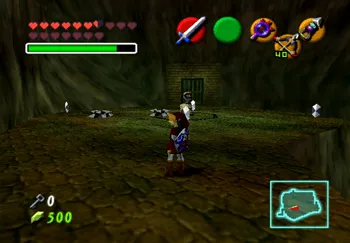
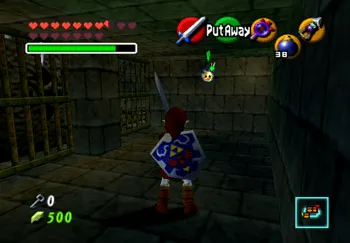
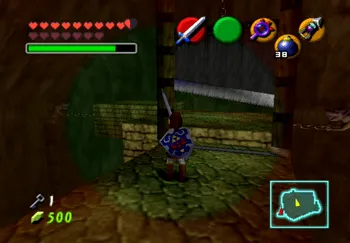
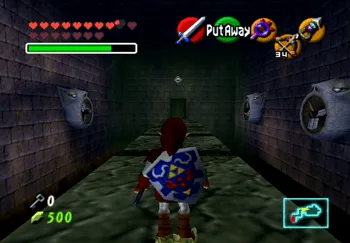
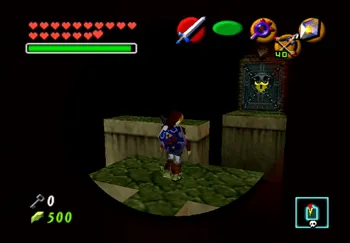
Walk forward from the entrance. Turn to the right and use the ![]() Longshot to get across the chasm and the approach the face on the wall. The Shadow will tell you what was mentioned above – “The Shadow will yield only to one with the eye of truth, handed down in Kakariko Village.”
Longshot to get across the chasm and the approach the face on the wall. The Shadow will tell you what was mentioned above – “The Shadow will yield only to one with the eye of truth, handed down in Kakariko Village.”
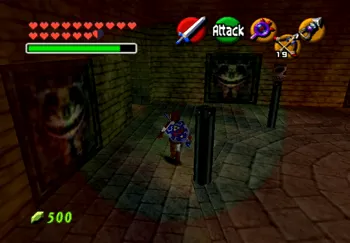
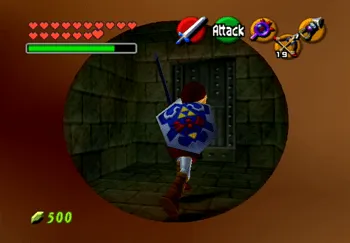
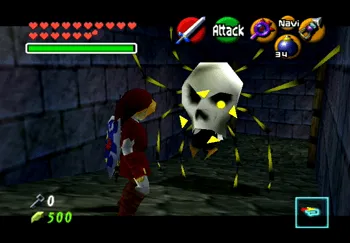
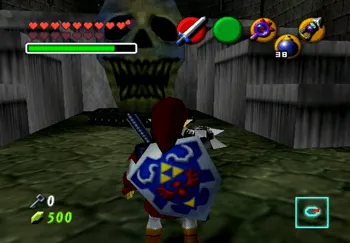
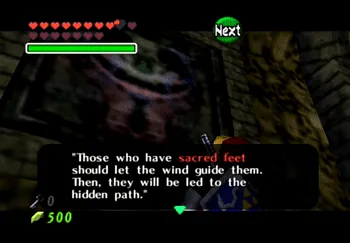
Go through the face and take an immediate left. Use the ![]() Lens of Truth to see that the face on the wall in the corner leads through to a corridor with a door at the end. Go through the door and approach the skull and it will tell you again that you need the
Lens of Truth to see that the face on the wall in the corner leads through to a corridor with a door at the end. Go through the door and approach the skull and it will tell you again that you need the ![]() Lens of Truth, stating: “One who gains the eye of truth will be able to see what is hidden in the darkness.” Go through the wall with the skull and into the next room.
Lens of Truth, stating: “One who gains the eye of truth will be able to see what is hidden in the darkness.” Go through the wall with the skull and into the next room.
There is another secret doorway that you can go through directly to the opposite side of the room that you entered – it has two pots in front of it. Proceed through it into the next room and then find another secret doorway in the corner that leads to a corridor with a door.
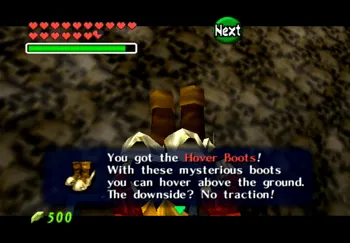
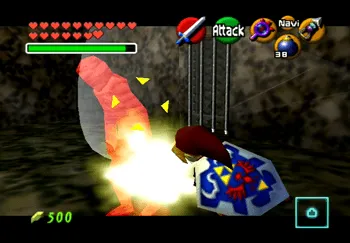
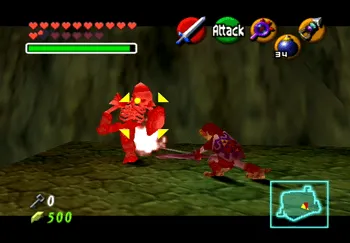
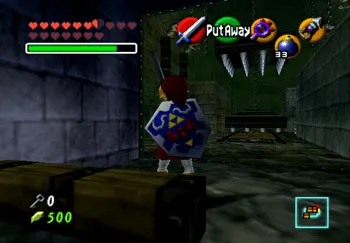
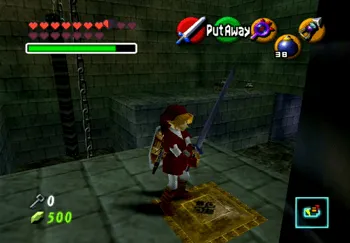
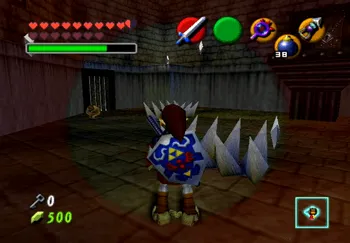
Go through this door to find another Dead Hands mini-boss that you need to defeat. Follow the same strategies used to defeat the one in the Bottom of the Well. A treasure chest will appear after you destroy it which contains the ![]() Hover Boots item which you will need to make extensive use of throughout this dungeon.
Hover Boots item which you will need to make extensive use of throughout this dungeon.
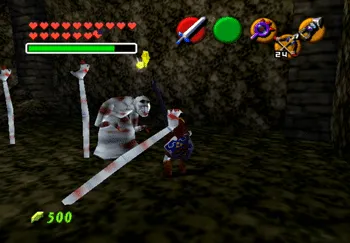
The ![]() Hover Boots allow you to float on the air for a few seconds once you run off of a ledge, but the disadvantage to using them is the extreme loss of traction that Link experiences while wearing them.
Hover Boots allow you to float on the air for a few seconds once you run off of a ledge, but the disadvantage to using them is the extreme loss of traction that Link experiences while wearing them.
Continue back into the previous room and then back into the room previous to that. This time, instead of taking the door that had the pots in front of it, go to the opposite side of the room to find another secret passage way with another door in front of it.
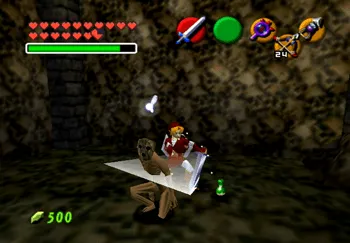
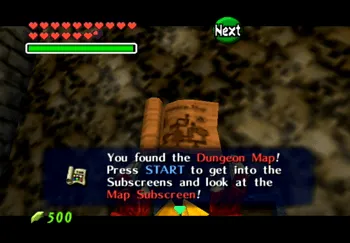
Go through the door to find a Redead enemy and two Keese Bats flying around. Defeat all three enemies and a treasure chest will appear that contains the Dungeon Map.
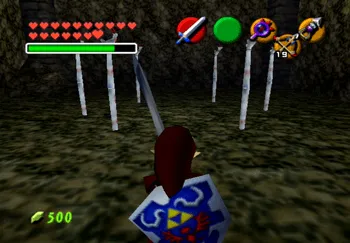
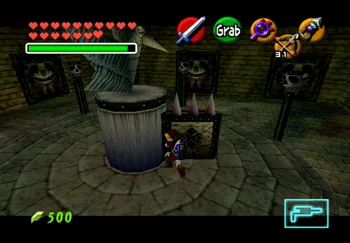
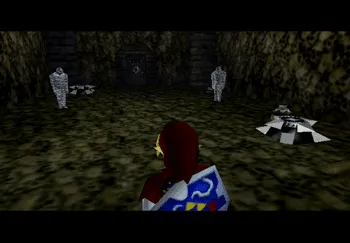
Return to the large room with the statue and the skulls. You can use the ![]() Lens of Truth to reveal that only one of the skulls on the pillars is the true skull – it is the one that does not disappear when you look at it through the
Lens of Truth to reveal that only one of the skulls on the pillars is the true skull – it is the one that does not disappear when you look at it through the ![]() Lens of Truth.
Lens of Truth.
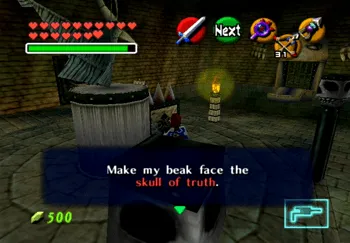
Approach the statue and it will tell you to “Make my beak face the skull of truth.” Push the statue until it faces the proper skull and the blocked gateway on the east side of the room will open up.
Equip the ![]() Hover Boots and use them to walk across the open pit area onto the tongue to reach the open doorway. Make sure that you take a good run at it. Remember to remove your
Hover Boots and use them to walk across the open pit area onto the tongue to reach the open doorway. Make sure that you take a good run at it. Remember to remove your ![]() Hover Boots whenever you do not need them.
Hover Boots whenever you do not need them.
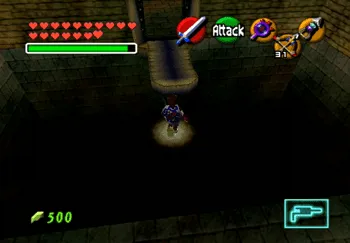
Travel down the hallway and destroy the Beamos in the center of the room at the end of the hall. There is a doorway on the left and a doorway on the right that can only be seen with the ![]() Lens of Truth. Take the pathway leading to the right and go through the doorway.
Lens of Truth. Take the pathway leading to the right and go through the doorway.
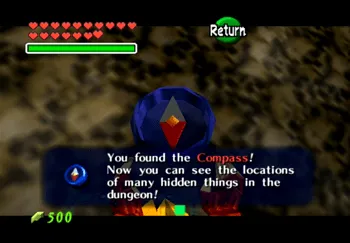
This next room has two Gibdos in it that behaves exactly like a Redead. Destroy both of the Gibdos and another treasure chest will appear. Open this one to obtain the Compass. Travel back to the room where the Beamos was located and travel directly across the room on the northern wall.
This room has another spinning structure similar to the ice propeller that was in the Ice Cavern, except that this one has two large ghouls wielding scythes. You can roll under the scythes in order to dodge them. The goal is to obtain all the Silver Rupees in this room. Four out of five of the Silver Rupees are on the ground level and are easy to obtain.
The last Silver Rupee requires you to ![]() Longshot up to the wooden platform and jump off the platform to reach it. There is also a room with a small treasure chest (which can be seen on the Dungeon Map). Find the room and open the treasure chest to obtain a Small Key.
Longshot up to the wooden platform and jump off the platform to reach it. There is also a room with a small treasure chest (which can be seen on the Dungeon Map). Find the room and open the treasure chest to obtain a Small Key.
Return to the room with the Beamos where the pathways split. The Beamos will have reappeared so destroy it by throwing a ![]() Bomb at it. Use a
Bomb at it. Use a ![]() Bomb on the wall on the east side of the room and then proceed through the locked doorway using the Small Key that you obtained.
Bomb on the wall on the east side of the room and then proceed through the locked doorway using the Small Key that you obtained.
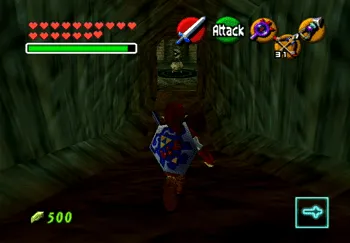
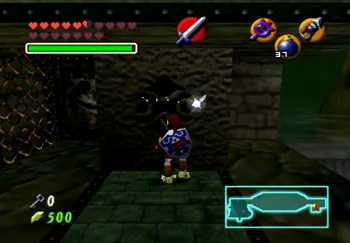
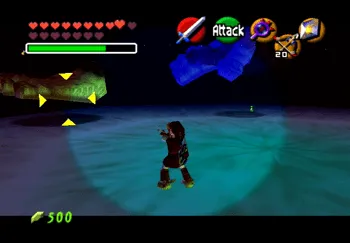
Continue down the hallway but be careful of Skulltulas hanging from the ceiling and the guillotines further down the path. There are also Wallmasters that will jump down towards the end of hall. Wait for it to drop and then kill it before you continue.
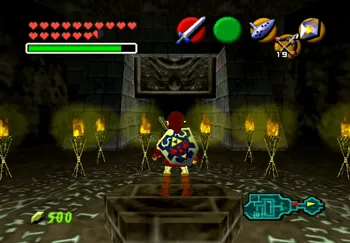
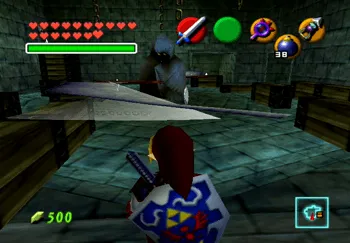
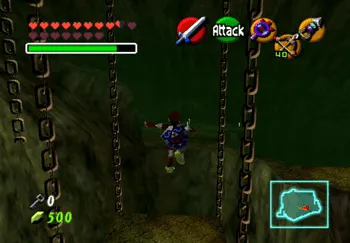
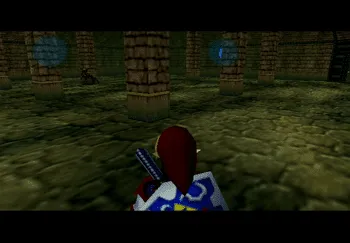
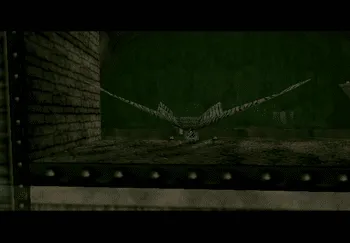
You will eventually reach a large open area with a ton of guillotines and moving platforms off in the background (shown in the screenshot below). Watch out for a Red Bubble that jump out near the third guillotine. There will be another Stalfos that you will have to do battle with on the platform following the third guillotine.
Look to the left and use the ![]() Lens of Truth to see that there are two secret platforms that you can reach. Equip the
Lens of Truth to see that there are two secret platforms that you can reach. Equip the ![]() Hover Boots and walk across the platforms. Go through the doorway after you reach the last platform and continue down the hallway.
Hover Boots and walk across the platforms. Go through the doorway after you reach the last platform and continue down the hallway.
The next room has a large circle in the center of it. Use the ![]() Lens of Truth to see that there is another set of ghouls with scythes that have to be dodged. Kill the three Keese Bats and the Like Like in this room to open the doorway on the east side of the room.
Lens of Truth to see that there is another set of ghouls with scythes that have to be dodged. Kill the three Keese Bats and the Like Like in this room to open the doorway on the east side of the room.
Kill the ![]() Gold Skulltula on the wall and obtain the token using the
Gold Skulltula on the wall and obtain the token using the ![]() Longshot (number 84 of 100).
Longshot (number 84 of 100).
Open up the treasure chest to obtain a Blue Rupee. Use the ![]() Lens of Truth in this small room to see that there is another treasure chest that you can open up – it contains a bundle of arrows. Travel all the way back out of the room and into the large room and onto the platform where you fought the Stalfos.
Lens of Truth in this small room to see that there is another treasure chest that you can open up – it contains a bundle of arrows. Travel all the way back out of the room and into the large room and onto the platform where you fought the Stalfos.

There is a large rising and lowering platform to the west of the platform with the Stalfos which you need to reach. Wait until the platform drops and then use the ![]() Hover Boots to run out and land on it.
Hover Boots to run out and land on it.
Wait until the platform rises and then run off to the west towards the spikes, the Beamos and the Silver Rupees. Grab all four Silver Rupees that you can see and then blow up the Beamos using a ![]() Bomb to reveal the fifth and final Silver Rupee. Continue down the hallway that opens up.
Bomb to reveal the fifth and final Silver Rupee. Continue down the hallway that opens up.
The next room that you reach has a number of spiked racks on chains rising and lowering along a platform. Use the ![]() Lens of Truth and look at the wall on the right side of the room to see a secret area where there is a red block that you can pull out. Pull out the block and then push the block westward under the spikes coming down.
Lens of Truth and look at the wall on the right side of the room to see a secret area where there is a red block that you can pull out. Pull out the block and then push the block westward under the spikes coming down.
Push the red block far enough down that it blocks both of the spikes and then head into the room on the north side to find a ![]() Gold Skulltula. Destroy it and pick up the token (number 85 of 100).
Gold Skulltula. Destroy it and pick up the token (number 85 of 100).
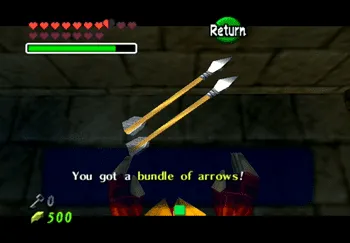
Enter the cell on the south side of the room and open the treasure chest to obtain a bundle of arrows. Continue pulling (not pushing, or you will get hit by the spikes on the back as you push it forward) the red block and then climb onto the block.
Jump onto the platform to the left and then walk across the top of the spike racks. There is a treasure chest that contains a Blue Rupee. There is also a switch on the opposite side of the platform. Press the switch to make another treasure chest appear which contains another Small Key.
Exit this room and go back out to the large room (with the Beamos and Silver Rupees). Follow the pathway along northward until you reach the edge of the path with the guillotine.
Use the ![]() Lens of Truth to see the hidden platforms up ahead and equip your
Lens of Truth to see the hidden platforms up ahead and equip your ![]() Hover Boots so that you can run across to each of the platforms. Run across and use the Small Key to go through the door.
Hover Boots so that you can run across to each of the platforms. Run across and use the Small Key to go through the door.
This next room has some spikes that only appear if you are using the ![]() Lens of Truth, so you may want to keep it activated as you wander through the room. Destroy each of the enemies in the room to start things off by killing the two Redeads to make a treasure chest appear which contains another Blue Rupee.
Lens of Truth, so you may want to keep it activated as you wander through the room. Destroy each of the enemies in the room to start things off by killing the two Redeads to make a treasure chest appear which contains another Blue Rupee.
You have to make extensive use of the ![]() Longshot and the targets on the walls to reach each of the Silver Rupees. Many of the ledges and targets can only be seen with the
Longshot and the targets on the walls to reach each of the Silver Rupees. Many of the ledges and targets can only be seen with the ![]() Lens of Truth. Go through the doorway on the west wall once you have obtained all five.
Lens of Truth. Go through the doorway on the west wall once you have obtained all five.
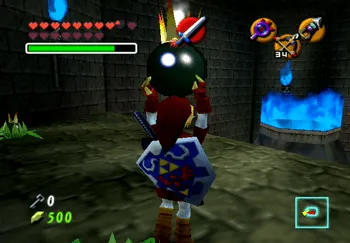
There is a large skull in the center of the room with blue fire coming out of it. There are also two Fire Keese Bats roaming around the room – kill them first to make things easier. There is a ![]() Gold Skulltula hiding behind the large skull. You can attack it with your sword and then pick up the token (number 86 of 100).
Gold Skulltula hiding behind the large skull. You can attack it with your sword and then pick up the token (number 86 of 100).
The doorway leading back out will open up once you have killed all four of the bats, but you are not quite finished in this room. Throw a ![]() Bomb into the large skull (using the Bomb Flowers since they are free) to blow the skull up and release another Small Key.
Bomb into the large skull (using the Bomb Flowers since they are free) to blow the skull up and release another Small Key.
Return to the previous room and ![]() Longshot up onto the upper platform on the north wall and go through the locked doorway. The next hallways contain large fans which will blow you backwards as you try to walk down them. Use the
Longshot up onto the upper platform on the north wall and go through the locked doorway. The next hallways contain large fans which will blow you backwards as you try to walk down them. Use the ![]() Iron Boots to prevent the fans from blowing you backwards and run past each of the spikes.
Iron Boots to prevent the fans from blowing you backwards and run past each of the spikes.
You will reach a pit that can only be crossed by using the ![]() Hover Boots – the problem is making sure that you run right when the fan stops blowing. Use the
Hover Boots – the problem is making sure that you run right when the fan stops blowing. Use the ![]() Button to look at the fan and then quickly run across. You can also use the
Button to look at the fan and then quickly run across. You can also use the ![]() Longshot and aim for the chunk of wood.
Longshot and aim for the chunk of wood.
The next room has a number of fans on the left and right sides of the room. Continue down the pathway past the silver eye which will actually shoot flames at you as you try to pass.
There are two Redeads which need to be killed in this room. A treasure chest will appear that contains a bundle of arrows – you need to use the ![]() Lens of Truth. The face in the room will provide you with an explanation of what to do next.
Lens of Truth. The face in the room will provide you with an explanation of what to do next.
Exit the room, equip the ![]() Hover Boots, use the
Hover Boots, use the ![]() Lens of Truth and look northward to see a secret passageway. The goal here is to stand in front of the fan, wait for it to blow and then hover across to the other platform.
Lens of Truth and look northward to see a secret passageway. The goal here is to stand in front of the fan, wait for it to blow and then hover across to the other platform.
Go through the doorway to reach another room with enemies to kill. Destroy the two Gibdos and then use a ![]() Bomb on the stone blocks and then use the
Bomb on the stone blocks and then use the ![]() Lens of Truth to find another treasure chest with another Small Key. Go through the locked doorway and into the next room.
Lens of Truth to find another treasure chest with another Small Key. Go through the locked doorway and into the next room.

The next room has a large ship docked to the platform above. Locate the brown block in the southwest corner and drag it over under the ladder.
Climb the ladder and then immediately turn around. Pull out the ![]() Ocarina of Time and play the Scarecrow’s Song to make Pierre the Scarecrow appear on the ledge just west of here. Use the
Ocarina of Time and play the Scarecrow’s Song to make Pierre the Scarecrow appear on the ledge just west of here. Use the ![]() Longshot to launch Link over to Pierre and then kill the
Longshot to launch Link over to Pierre and then kill the ![]() Gold Skulltula nearby and grab the token (number 87 of 100).
Gold Skulltula nearby and grab the token (number 87 of 100).
Jump onto the boat and stand on the Triforce. Pull out the ![]() Ocarina of Time and play Zelda’s Lullaby. The ship will begin traveling forward. During the journey forward, Link will be ambushed by two Stalfos. Defeat them as quickly as possible and be prepared for when the ship reaches the other end of this huge room.
Ocarina of Time and play Zelda’s Lullaby. The ship will begin traveling forward. During the journey forward, Link will be ambushed by two Stalfos. Defeat them as quickly as possible and be prepared for when the ship reaches the other end of this huge room.
Navi will warn you but you won’t have much time – the ship will drop from underneath Link, so jump across to the platform on the south side as quickly as possible. Go through the doorway on the west side of the room.
The next room appears to be entirely open but there are actually a number of hidden walls preventing your passage through the area. Watch out for the Floormasters as you wander through it. Use the ![]() Lens of Truth to find your way around. Go through the doorway on the west side of the room.
Lens of Truth to find your way around. Go through the doorway on the west side of the room.
This room has another three skulls with blue fire in them but these ones are rotating. Use the Bomb Flowers and throw the Bombs into the different skulls. The last skull will explode into a bunch of Rupees, but the true reward is the ![]() Gold Skulltula which appears on the wall. Destroy it and pick up the token (number 88 of 100).
Gold Skulltula which appears on the wall. Destroy it and pick up the token (number 88 of 100).

Exit this room and return to the room with the Floormasters. Go through the doorway on the south side of the room. Use your ![]() Lens of Truth as soon as you enter the room as there is an invisible Floormaster that you need to destroy.
Lens of Truth as soon as you enter the room as there is an invisible Floormaster that you need to destroy.
A treasure chest will appear after you defeat it that contains a Small Key. Exit back out to the room with the Floormasters and go through the doorway on the north side of the room.
The last room contains two wooden spiked walls that will approach Link as soon as he enters. Equip ![]() Din’s Fire and use it to destroy the wooden platforms with the spikes.
Din’s Fire and use it to destroy the wooden platforms with the spikes.
There are two Redeads in this room as well as a treasure chest that contains a Blue Rupee. More importantly though, the Boss Chest is in this room – open it up to pick up the Boss Key. Exit back out to the landing area where the ship sunk.
Look for the Bomb Flowers near the statue on the left side of the screen. Shoot an arrow using the ![]() Fairy Bow at the Bomb Flowers to cause them to explode which will cause the large statue of the bird to drop down across the chasm. Go through the locked door and into the next room.
Fairy Bow at the Bomb Flowers to cause them to explode which will cause the large statue of the bird to drop down across the chasm. Go through the locked door and into the next room.
The last room – you can see the Boss Door on the opposite side of the room. Equip the ![]() Hover Boots and use the
Hover Boots and use the ![]() Lens of Truth to see where the hidden platforms are.
Lens of Truth to see where the hidden platforms are.
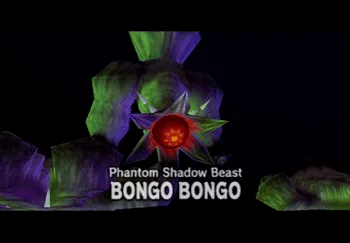
There are a couple of different paths that you can take and it is not too difficult to make it across. Time for the next boss – jump onto hole to begin the fight.
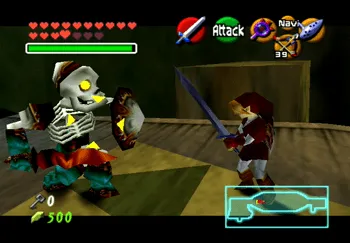
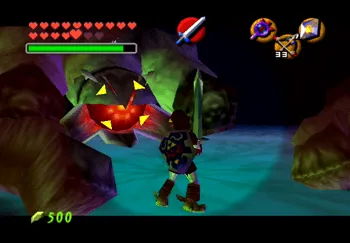
Bongo Bongo
Phantom Shadow Beast
Equip your ![]() Hover Boots to start things off. Bongo Bongo will slam the drum/floor with its hands causing you to bounce up and down.
Hover Boots to start things off. Bongo Bongo will slam the drum/floor with its hands causing you to bounce up and down.
You have to dodge the hands as they attempt to attack you – they will slide forward, attempt to grab you, form a fist and try to punch you, and slam down on you. The hands rotate around the screen so make sure to keep them in view at all times so that you are not surprised by any attacks.
Have your ![]() Fairy Bow ready and shoot arrows at the hands. The hand will turn blue and drop an item, such as a Magic Pot or arrows (both of which you need). Hit the other hand as quickly as you can after you hit the first and then use the
Fairy Bow ready and shoot arrows at the hands. The hand will turn blue and drop an item, such as a Magic Pot or arrows (both of which you need). Hit the other hand as quickly as you can after you hit the first and then use the ![]() Lens of Truth. Bongo Bongo’s body should be visible and its eye should now be open.
Lens of Truth. Bongo Bongo’s body should be visible and its eye should now be open.
Aim an arrow directly at Bongo Bongo’s eye to stun it allowing you to attack it with the ![]() Master Sword or the
Master Sword or the ![]() Biggoron’s Sword. Swing as many times as you can in succession as you can get multiple hits in while it is stunned.
Biggoron’s Sword. Swing as many times as you can in succession as you can get multiple hits in while it is stunned.
Good luck!
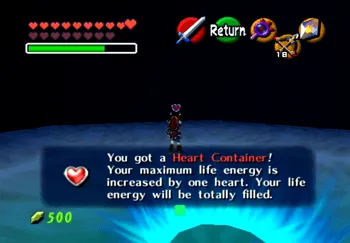
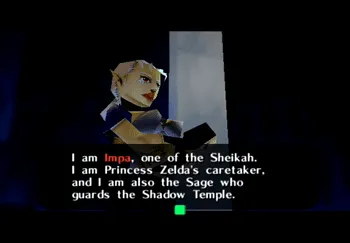
Pick up the Heart Container and then jump into the portal once you’ve defeated it. Impa will reveal herself as the Sage who guards the Shadow Temple. She will also provide Link with the ![]() Medallion of Shadow.
Medallion of Shadow.
The next destination is a place that you have never been to – the Gerudo Fortress!