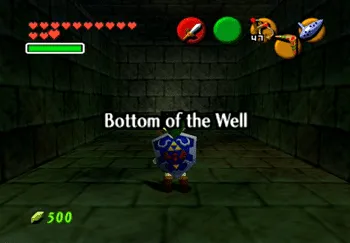
Bottom of the Well
Travel back to Kakariko Village as young Link (return to the Temple of Time after completing the Forest Temple and place the ![]() Master Sword back into the Pedestal of Time).
Master Sword back into the Pedestal of Time).
You need to have obtained the Song of Storms by visiting Kakariko Village and entering the windmill as adult Link. Re-enter the windmill as young Link and play the Song of Storms. This will cause the windmill to speed up heavily and will drain all the water out of the well.
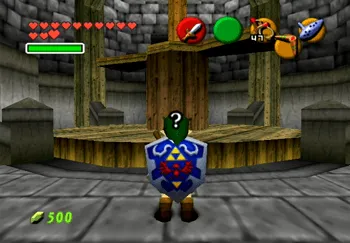
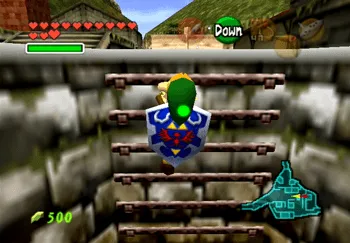
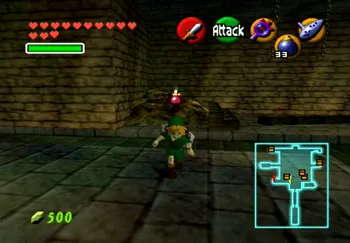
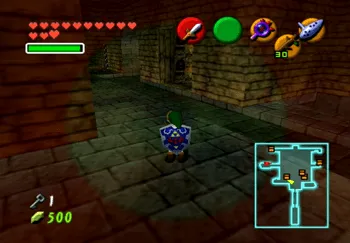
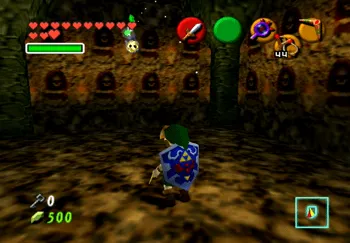
Leave the windmill and travel down to the Bottom of the Well to begin the dungeon. Crawl through the hole leading into the dungeon and then climb down the ladder at the end of the platform. This will lead to a corridor with a Skulltula blocking the path.
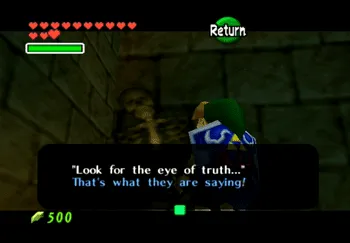
Navi will fly over to a skeleton nearby and explain that she can hear the spirits talking in the room – you need to “find the Eye of Truth!.” Walk straight through the wall beside the skeleton – the wall is fake and you can walk right through it.
This is the main room of the dungeon – it is a largest room and it’s in the shape of a circle. There is a large, green, flaming skull that circles the corridor so be careful not to get hit by it as you travel through the dungeon.
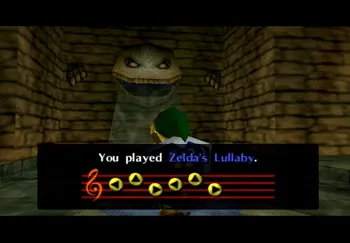
Travel around the circle to the opposite side (following the water pathway) until you reach an area with a large, yellow Triforce on the ground. Use the ![]() Ocarina of Time to play Zelda’s Lullaby which will lower the water level in the entire dungeon.
Ocarina of Time to play Zelda’s Lullaby which will lower the water level in the entire dungeon.

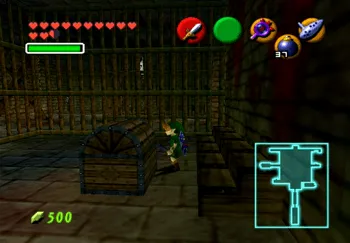
Return to the opposite side of the dungeon and jump into the hole in the ground that was previously filled with water. Grab the treasure chest to pick up some free ![]() Bombs and then crawl through the tiny hole on the opposite side of the treasure chest. Destroy the Skulltula that drops down and then climb up onto the ledge and enter the next room.
Bombs and then crawl through the tiny hole on the opposite side of the treasure chest. Destroy the Skulltula that drops down and then climb up onto the ledge and enter the next room.
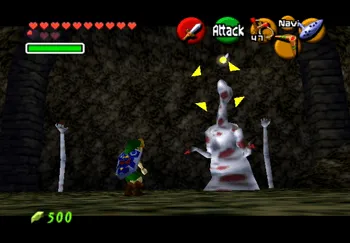
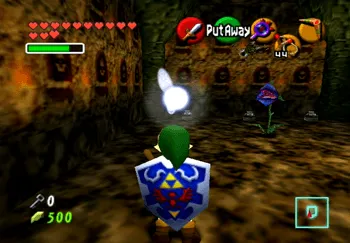
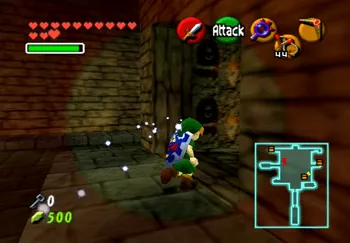
This room has a number of creepy looking white hands floating in various places around the room. The hands will try to grab you if you get so close – use the analog stick to wiggle free if they grab a hold.
You have to allow one of the hands to grab you though in order to make the mini-boss (named Dead Hands) in this room appear so be prepared to wiggle free. The boss will attempt to approach Link to leech life from him – be ready to swing at its face when it gets close enough to attack.
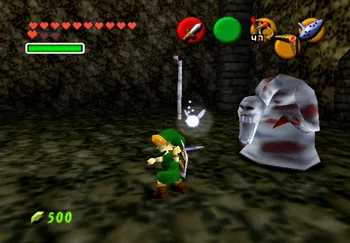
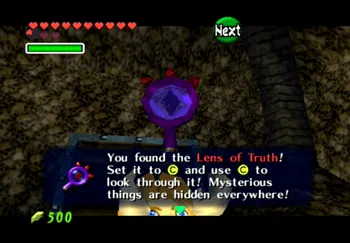
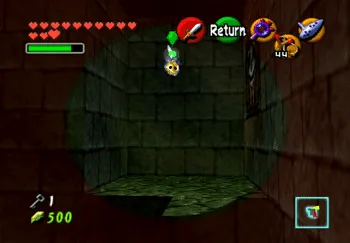
A treasure chest will appear after you defeat Dead Hands. Open it up to receive the ![]() Lens of Truth. Looking through the
Lens of Truth. Looking through the ![]() Lens of Truth will allow you to see through hidden walls and passageways however it will come at the cost of some magic power which slowly drains while you use it.
Lens of Truth will allow you to see through hidden walls and passageways however it will come at the cost of some magic power which slowly drains while you use it.
This is technically the only item you truly need to obtain out of the Bottom of the Well so you could exit the dungeon at this point and return to Kakariko Village. The remainder of this page will cover all the additional treasures and side quest items that you can obtain.
Return to the main room of the dungeon and proceed into the center of the circle through one of the hidden passageways. There is a hidden trap door between the two wooden pillars in the center of this room that sit in the shape of an X, but for now, let’s intentionally drop down into it.
Grab all the Blue Rupees on this bridge and then drop down to the lower level. The first thing that you should do is take care of the Redead enemy off in the corner. Pull out your ![]() Ocarina of Time and play the Sun’s Song to freeze the Redead in place and then attack it with your Kokiri Sword.
Ocarina of Time and play the Sun’s Song to freeze the Redead in place and then attack it with your Kokiri Sword.
Find the two lit torches in this room and travel down that pathway to find that, like the other pathways, it is blocked by two huge boulders. ![]() Bomb the boulders to find another Redead hiding back here (use the Sun’s Song again to take care of it). There is a large treasure chest beside this Redead that contains the Dungeon Map.
Bomb the boulders to find another Redead hiding back here (use the Sun’s Song again to take care of it). There is a large treasure chest beside this Redead that contains the Dungeon Map.

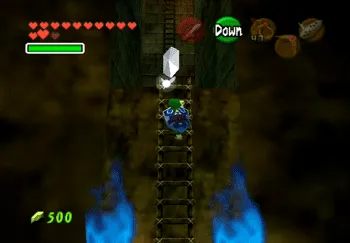
In order to escape this area, you must collect each of the 5 Silver Rupees. Grab the three that are floating above the wooden planks on the green acidic pond and then proceed up the ladder near the two blue flames.
There is another Silver Rupee at the top of this ladder and another Silver Rupee at the top of the next one. Grabbing the last Rupee will cause the door to unlock allowing you to get out of this pit.
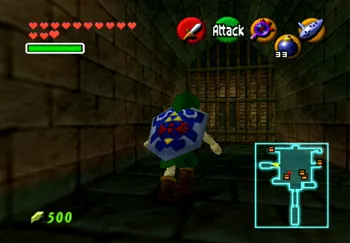
Take a left as you exit this next room back into the main corridor and use your ![]() Lens of Truth to spot a hidden doorway on the right side of the screen (shown in the screenshot below). Grab the treasure chest in this room to obtain the Compass and be careful not to fall down the hole near the chest.
Lens of Truth to spot a hidden doorway on the right side of the screen (shown in the screenshot below). Grab the treasure chest in this room to obtain the Compass and be careful not to fall down the hole near the chest.
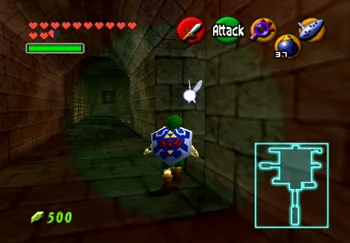
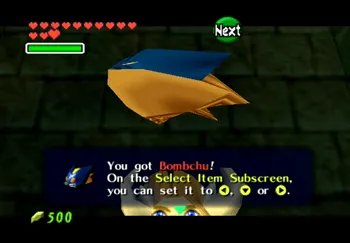
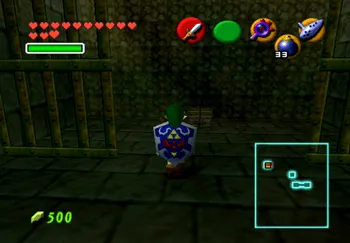
Return to the entrance to the main room and look for a pile of brown rubble with a crack in it (shown in the screenshot below). Use a ![]() Bomb to blow up the mound and drop down into the hole that appears. Open the treasure chest to pick up some Bombchus. Use the vines on the side of the room to climb back up and out of the hole.
Bomb to blow up the mound and drop down into the hole that appears. Open the treasure chest to pick up some Bombchus. Use the vines on the side of the room to climb back up and out of the hole.
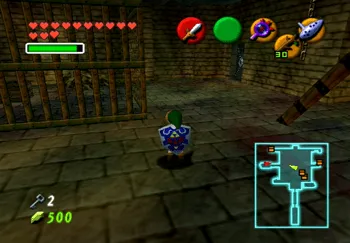
Head to the westernmost side of the dungeon and travel down the corridor. Now that the water has been removed you can drop down to the lower level and obtain a treasure chest which contains a Recovery Heart. Climb up the wall and go through the doorway leading into the next room.
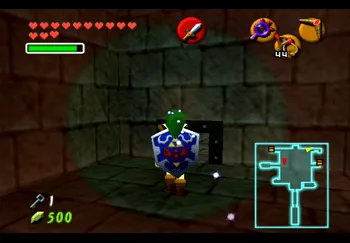
There is a creature in the center of this room called a Gibdo which behaves very similarly to a Redead. It will scream when it is facing you causing Link to be frozen in place. Attack it a few times with your sword from behind to destroy it.
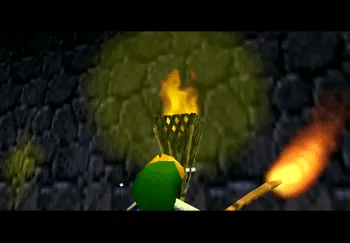
Use a Deku Stick to light each of the torches in the room. Each time you light one the closest coffin will open up, usually leading to an enemy ambushing you. Open each of the coffins to find that one of them has a Small Key inside.
Go back to the entrance to the main room one more time and look left down the corridor with the ![]() Lens of Truth. You should see another small opening on the inside wall (use the Dungeon Map and Compass to help you locate it). This is the southwestern most chest identified on the Dungeon Map. Open it up to obtain another Small Key.
Lens of Truth. You should see another small opening on the inside wall (use the Dungeon Map and Compass to help you locate it). This is the southwestern most chest identified on the Dungeon Map. Open it up to obtain another Small Key.
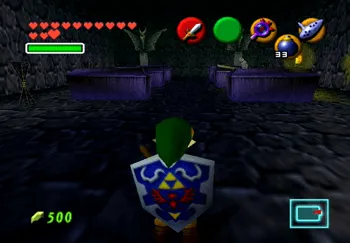
Use the ![]() Lens of Truth and re-enter the center area of the dungeon. There are a number of trap doors in this area (including the one in-between the two wooden posts) so you may want to leave your
Lens of Truth and re-enter the center area of the dungeon. There are a number of trap doors in this area (including the one in-between the two wooden posts) so you may want to leave your ![]() Lens of Truth on in this area. Don’t forget to watch out for the Wallmasters which will try to grab you from the roof.
Lens of Truth on in this area. Don’t forget to watch out for the Wallmasters which will try to grab you from the roof.
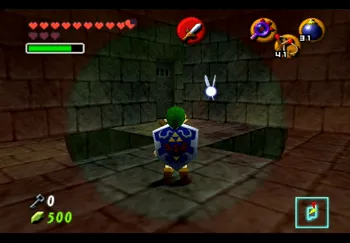
Enter the cell on the southwest side of this center area and kill the Skulltula that drops down. The treasure chest in this area just contains a Deku Nut. Go through the doorway just north of this chest to find a room full of Keese Bats.
Kill all the Keese Bats using your ![]() Fairy Slingshot and then use the
Fairy Slingshot and then use the ![]() Lens of Truth to help you see the passageway around the outer rim of the pit. Use your
Lens of Truth to help you see the passageway around the outer rim of the pit. Use your ![]() Boomerang to kill the
Boomerang to kill the ![]() Gold Skulltula here and to obtain the token (number 62 of 100).
Gold Skulltula here and to obtain the token (number 62 of 100).
Travel across the west side of the center room and use the Small Key to go through the locked door on this side. This room contains a Deku Baba in the center of the room and a ![]() Gold Skulltula on the back wall.
Gold Skulltula on the back wall.
Kill the Deku Baba and then use the ![]() Boomerang to kill the Gold Skulltula and retrieve the token (number 63 of 100). Beware of the pots in this room as they will come flying at you once you get too close.
Boomerang to kill the Gold Skulltula and retrieve the token (number 63 of 100). Beware of the pots in this room as they will come flying at you once you get too close.
Go back out into the main, circular corridor and search the east side corridor for another hidden alcove with another treasure chest inside. Open the chest to pick up another Small Key.
Travel to the northeast corner of the dungeon and crawl through the small hole. Go through the locked doorway and into the next room which is full of fire Keese Bats. Be very cautious as well as there are huge traps in the middle of the floor of this room so you will need to use the ![]() Lens of Truth before you approach the Beamos in the center of the room.
Lens of Truth before you approach the Beamos in the center of the room.
Grab the treasure chest in the corner which will either contain a Blue Rupee or an extra Deku Shield if you accidentally had yours burned up by one of the Keese Bats.
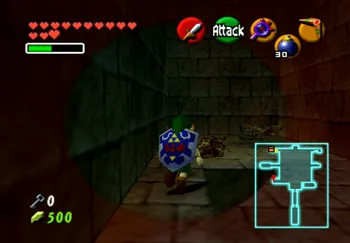
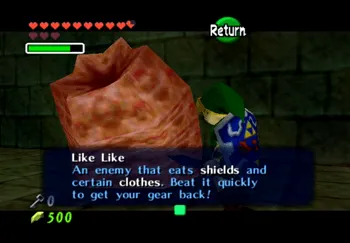
Go through the doorway on the other corner of the room and be prepared to do battle with an enemy called a Like Like. Like Likes can steal your items, certain clothing which you may or may not have yet, and even your Shields. Attack it quickly!
Open the treasure chest for yet another Blue Rupee (or shield if you lost yours) and use your ![]() Boomerang to destroy the
Boomerang to destroy the ![]() Gold Skulltula on the wall and obtain another token (number 64 of 100).
Gold Skulltula on the wall and obtain another token (number 64 of 100).

The last treasure chest can be seen on the Dungeon Map (though for full disclosure, the reward for obtaining it is terrible). Travel to the northwest corner of the dungeon and use your ![]() Lens of Truth as you get close to make sure that you don’t fall down into the pits below. Use a Bomb to blow up the brown rubble and reveal the treasure chest. Open it to obtain some Deku Nuts.
Lens of Truth as you get close to make sure that you don’t fall down into the pits below. Use a Bomb to blow up the brown rubble and reveal the treasure chest. Open it to obtain some Deku Nuts.
You have now fully completed the Bottom of the Well dungeon!
This dungeon can technically be completed anytime after you have completed the Forest Temple all the way up until just before you enter the Shadow Temple. You may have to return to the Walkthrough main page to return to the correct point in the strategy guide.