
Stages 91 to 97
Tips on how to complete each of the Stages and a list of the items that can be picked up from treasure chests or stolen from the enemies. Note that you need to have ![]() Diamond Armlet equipped in order to obtain the treasure listed. Opening the treasure chest without a Diamond Armlet will result in you receiving consumable and expendable items.
Diamond Armlet equipped in order to obtain the treasure listed. Opening the treasure chest without a Diamond Armlet will result in you receiving consumable and expendable items.
Magick Pot
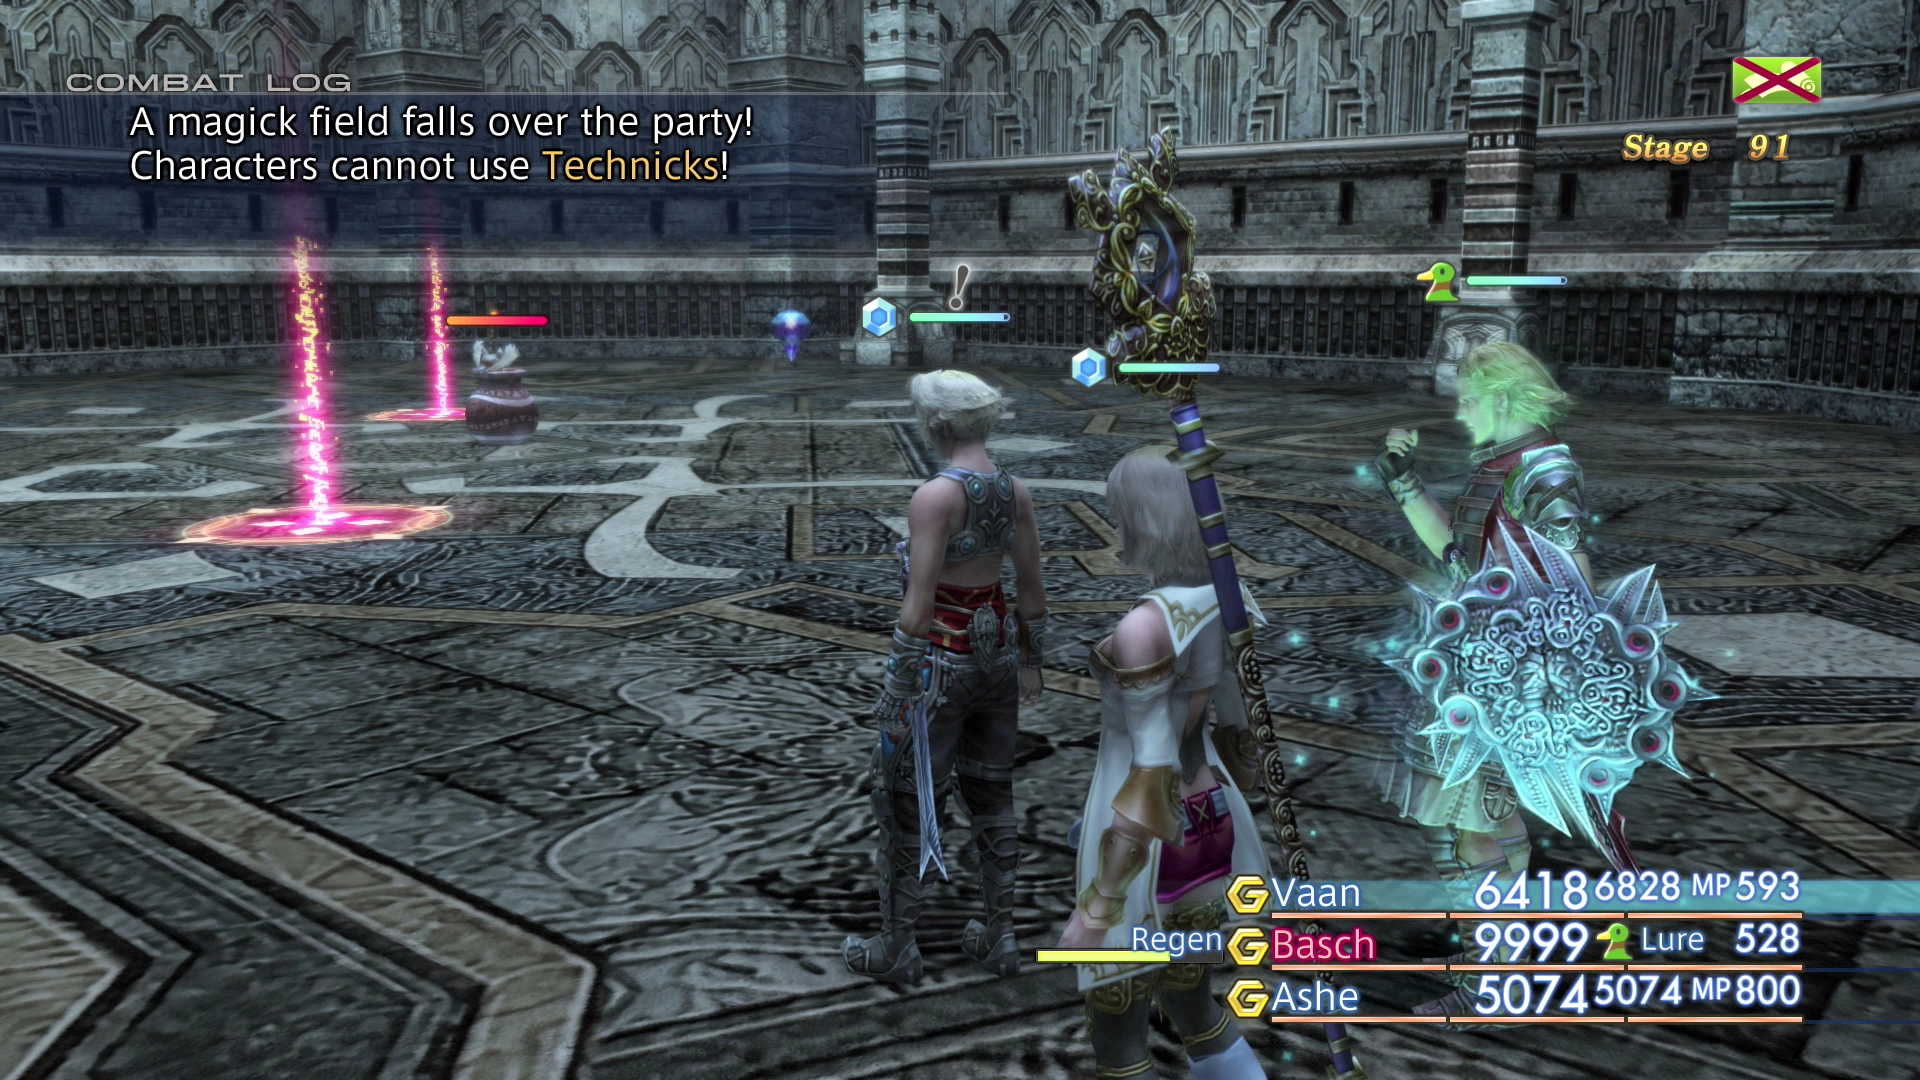
Technicks will be disabled for this battle. Open up the treasure chest on the opposite side of the Magick Pot to receive an ![]() Elixir if you do not have one already, and then feed the Elixir to the Magick Pot by selecting the item, pressing the
Elixir if you do not have one already, and then feed the Elixir to the Magick Pot by selecting the item, pressing the ![]()
![]()
![]() button to switch from targeting allies to targeting foes, and using the Elixir on the Magick Pot. This will cause the Magick Pot to run around the zone frantically dodging your party members. Track and down and defeat it quickly as it will start targeting your party with powerful Magick spells if you take too long
button to switch from targeting allies to targeting foes, and using the Elixir on the Magick Pot. This will cause the Magick Pot to run around the zone frantically dodging your party members. Track and down and defeat it quickly as it will start targeting your party with powerful Magick spells if you take too long
Treasure Chests:
Shadowseer, Fenrir, Slyt, Pandaemonium, Phoenix
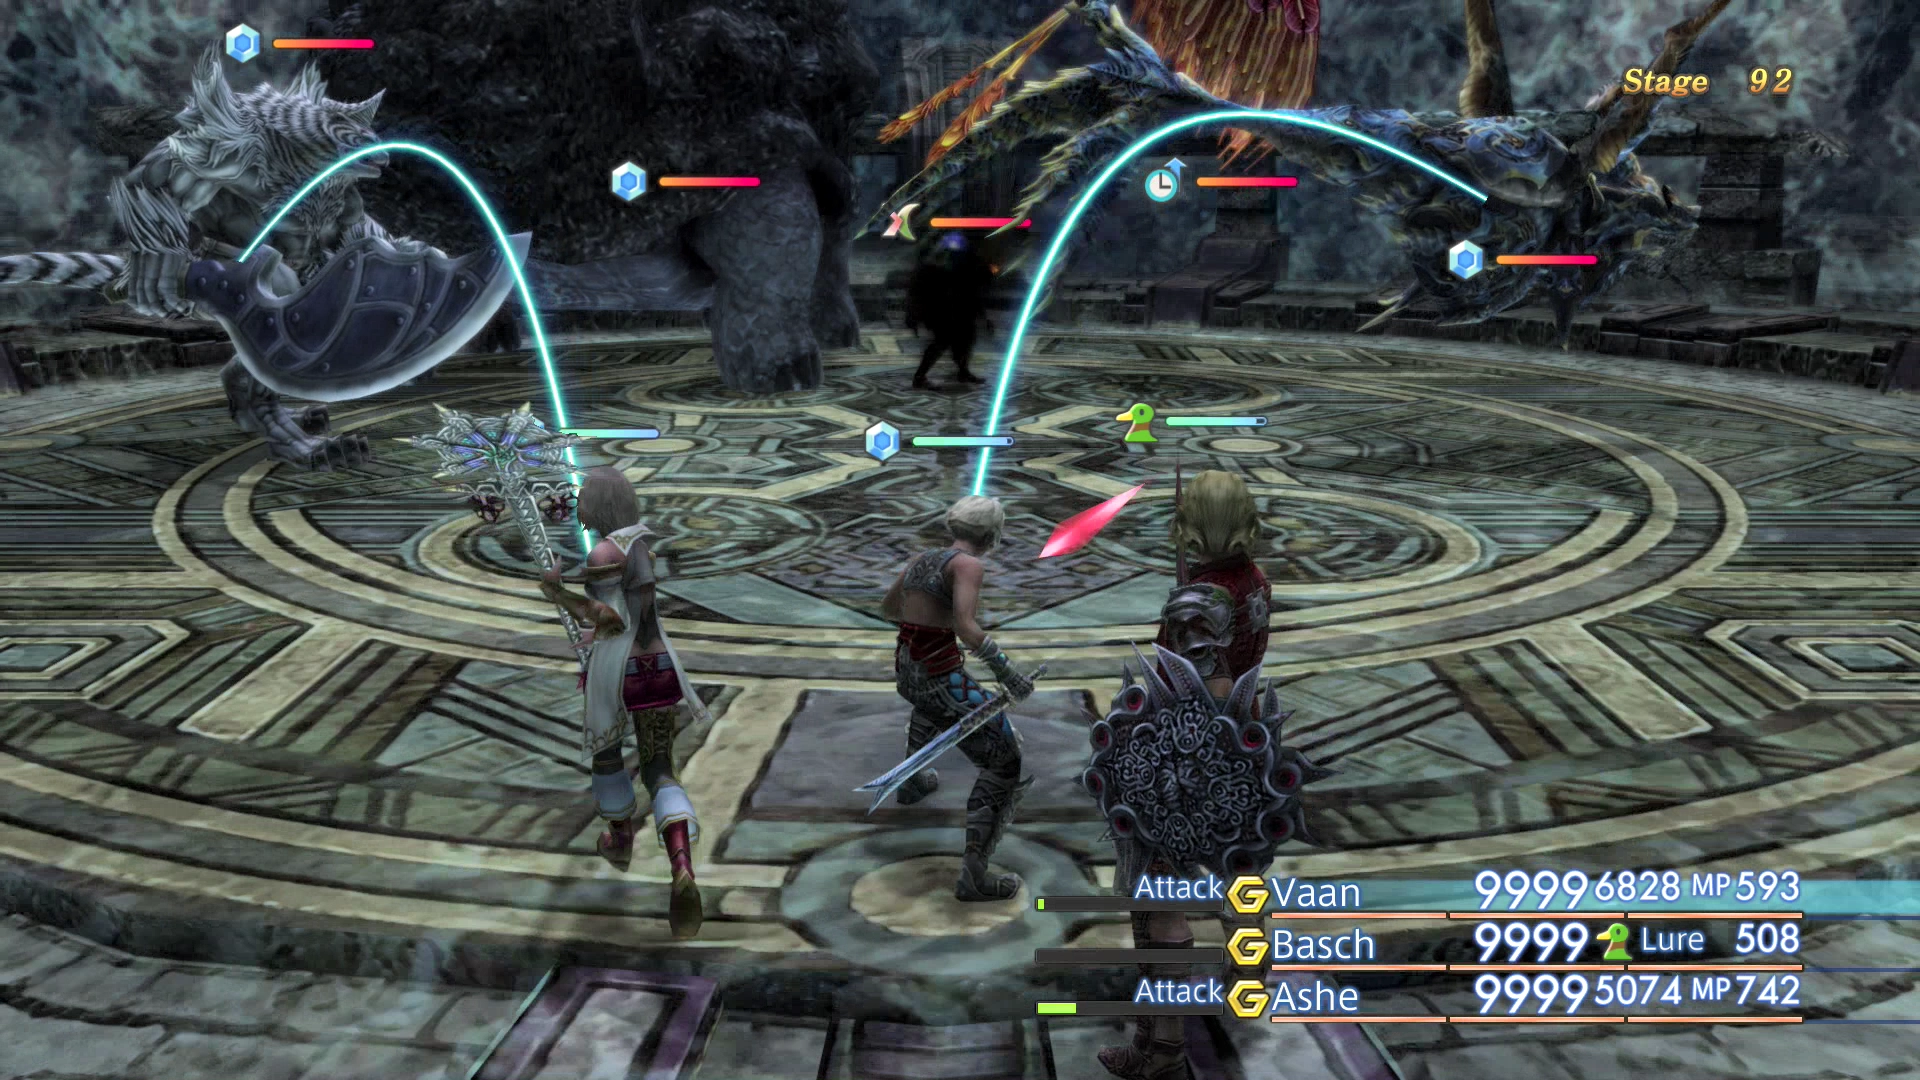
This battle is similar to the battle against Shadowseer in the Subterra during Hunt 44: God or Devil? Except that you will have to fight all of Shadowseer’s protectors at the same time as well as Phoenix.
Set up a Gambit for your party members to target the foe with the lowest HP. Start off by taking out Phoenix with either Magick attacks or using the ![]() Telekinesis Technick. The other summoned enemies are fairly easy to take out. Just be careful not to cast spells on Shadowseer until you have removed its Reflect status. You can also equip
Telekinesis Technick. The other summoned enemies are fairly easy to take out. Just be careful not to cast spells on Shadowseer until you have removed its Reflect status. You can also equip ![]() Black Masks to your party members if you are having trouble withstanding the damage done to your party.
Black Masks to your party members if you are having trouble withstanding the damage done to your party.
Stolen from Shadowseer:
- Rare:
 Elixir
Treasure Chests:
Lv.99 Red Chocobo (x3)
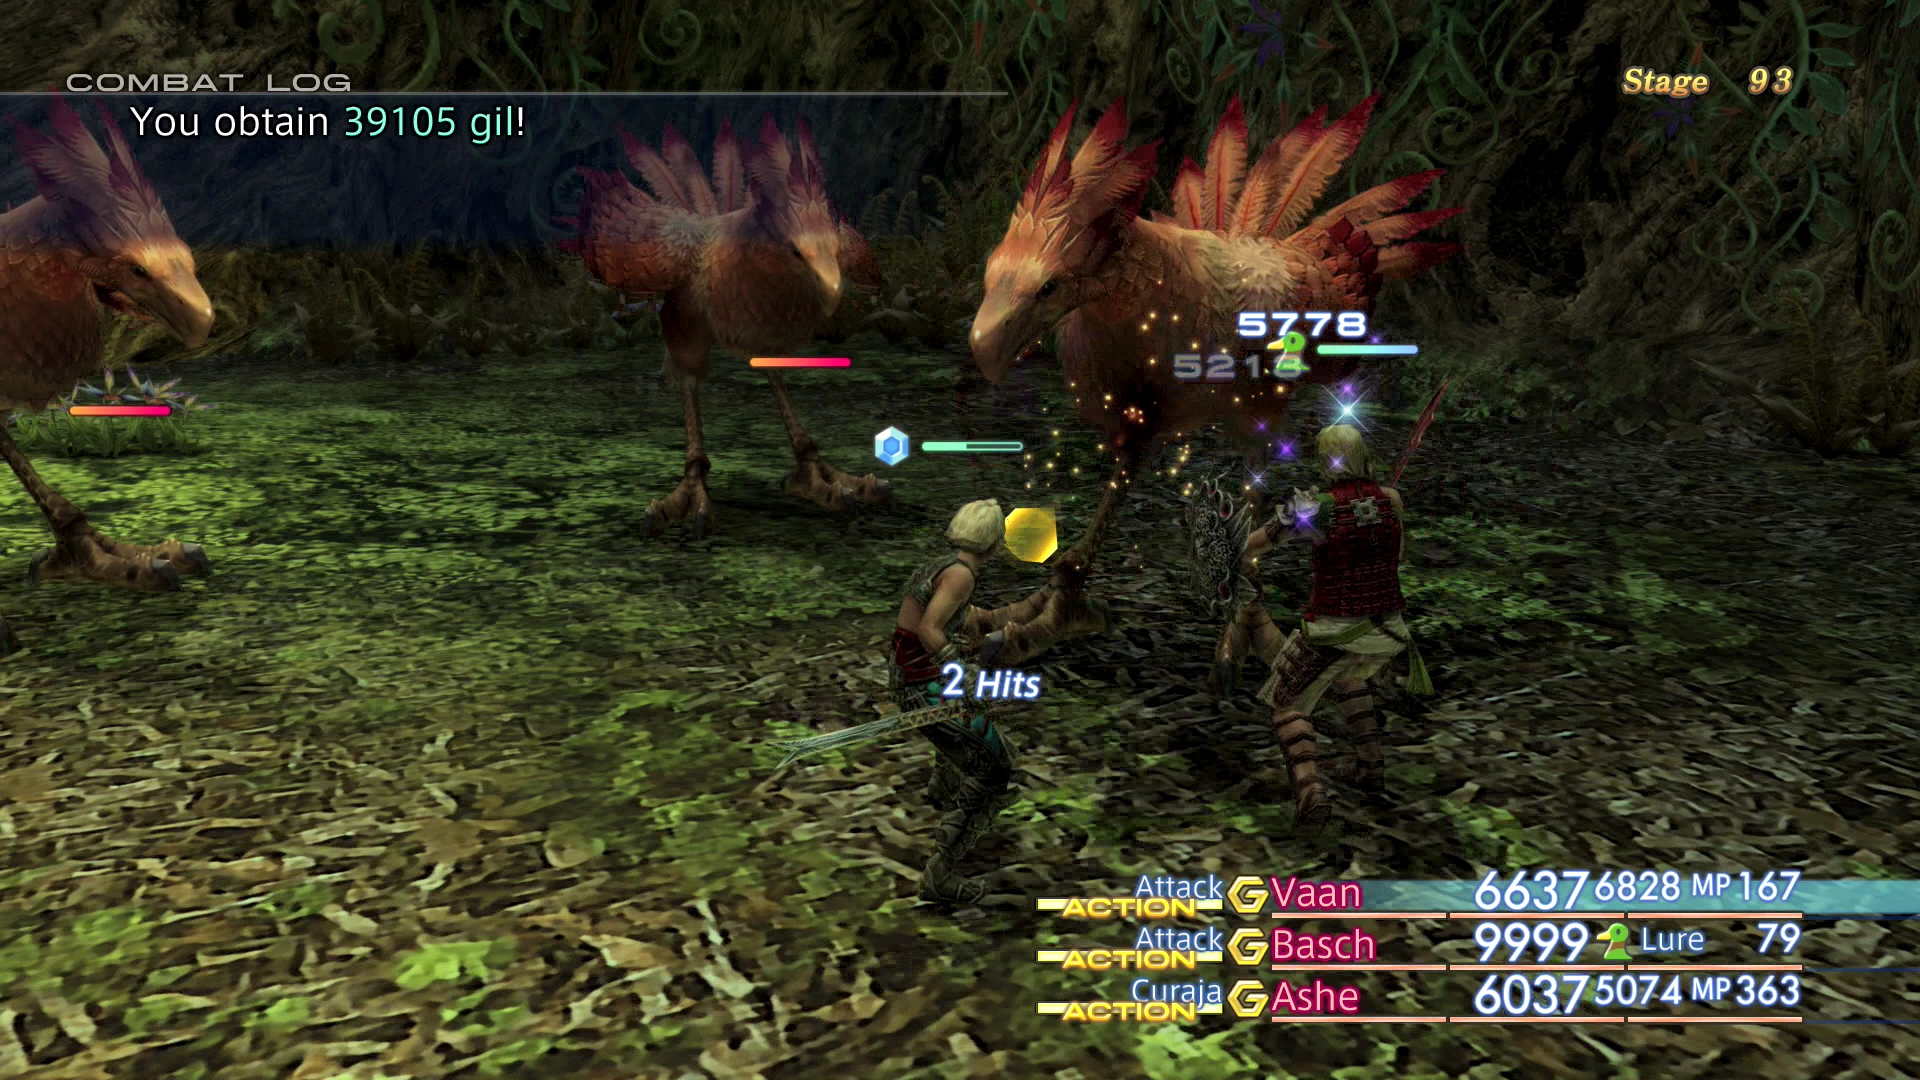
This battle is against three very strong Chocobos. They are weak to a number of Magicks including Thunder, Water and Holy element. Just be sure to keep your party members healed up and focus on taking them down one at a time.
Stolen:
Treasure Chests:
Gilgamesh and Enkidu
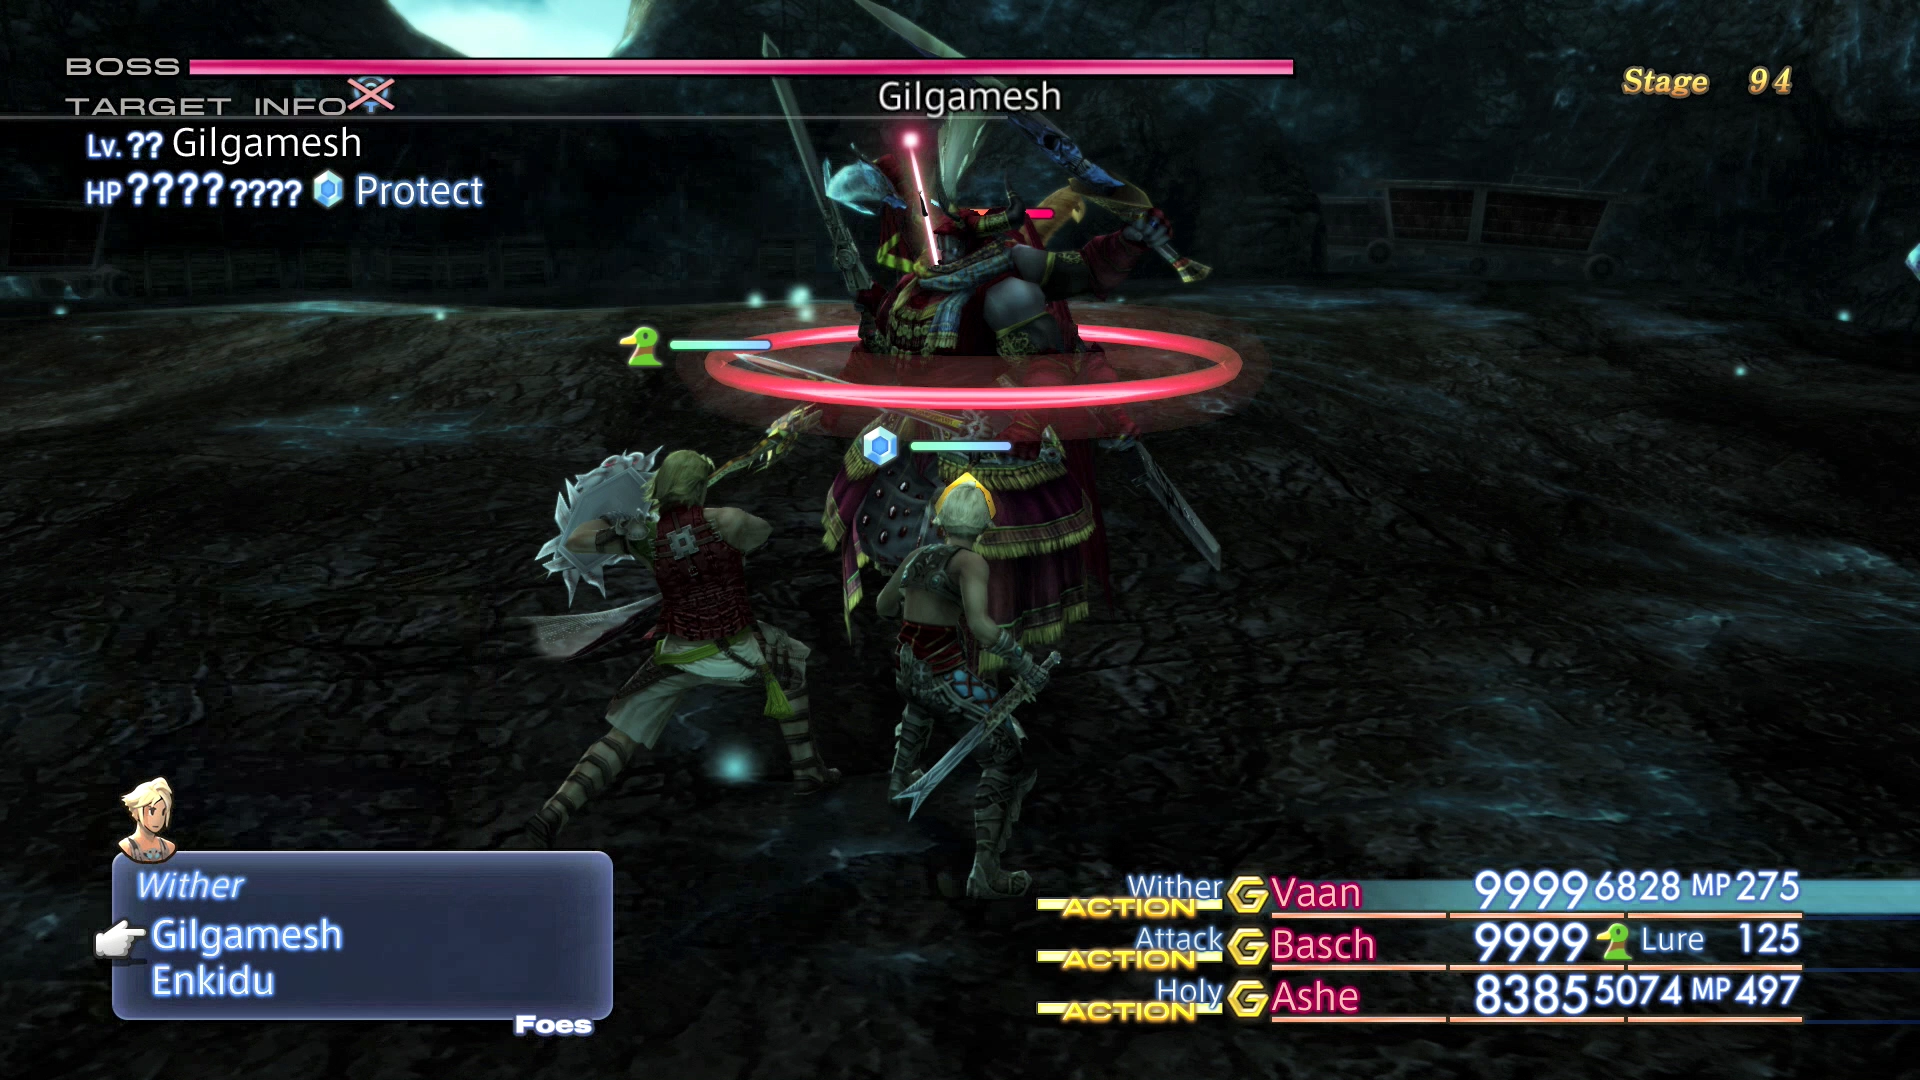
This battle is similar to the second battle against Gilgamesh and Enkidu in the Lhusu Mines. Gilgamesh will cast the same status effect moves that he did before – Lv. 2 Sleep, Lv. 3 Disable and Lv. 4 Break, which means that depending on what level your party members are, this could be an easy or a difficult fight. Either way, equip one of your party members with a ![]() Ribbon accessory and set them up with Gambits to remove the status effects from other party members.
Ribbon accessory and set them up with Gambits to remove the status effects from other party members.
Keep ![]() Protect,
Protect, ![]() Shell,
Shell, ![]() Bubble,
Bubble, ![]() Haste and
Haste and ![]() Bravery and/or
Bravery and/or ![]() Faith active on your party members and focus on taking out Enkidu first.
Faith active on your party members and focus on taking out Enkidu first. ![]() Dispel both Enkidu and Gilgamesh and keep them Dispelled throughout the fight.
Dispel both Enkidu and Gilgamesh and keep them Dispelled throughout the fight.
Gilgamesh will start combing attacks more and more frequently as his HP drops lower and lower. Unfortunately there is no way to prevent this, so be prepared to have to revive your party members and turn off your beneficial status effect Gambits if you are finding that your party members are spending too much time recasting Protect, Shell, etc.
Stolen from Gilgamesh:
- Common:
 Masamune
 - Uncommon:
 Kumbha
 - Rare:
 Wyrmhero Blade
Stolen from Enkidu:
- Common:
 Genji Helm
 - Uncommon:
 Genji Shield
 - Rare:
 Grand Armor
Treasure Chests:
Ultima
This battle is the same as the battle against Ultima at the top of the Great Crystal when you go to obtain her as an optional Esper. Equip your party members with ![]() White Masks and
White Masks and ![]() Sage’s Ring accessories to greatly reduce the amount of damage done, specifically by Ultima’s Holyja attack. Use Dark-type weapons and Magick if you have access to them.
Sage’s Ring accessories to greatly reduce the amount of damage done, specifically by Ultima’s Holyja attack. Use Dark-type weapons and Magick if you have access to them.
The fight will be pretty easy to begin with, but Ultima will activate a Magick Barrier at 70% HP. This Magick Barrier will rotate every once in a while between causing the following affects:
HP Drain – will slowly drain the HP of all of your party members (similar to Sap or Poison)
MP Drain – will slowly drain the MP of your party members
No Attack – will prevent the Attack command from working
No Magick – will prevent the use of Magick spells
No Technicks– will prevent the Technicks command from working
No Items – will prevent the Items command from working
Gravity Field – will slow down time (similar to casting Slow on all party members)
These effects are chosen at random which means that you can try this fight multiple times, and it may be easier sometimes than others. Keep her Dispelled during the fight and set up the Gambit to ![]() Dispel your own party members if they are hit with the Reverse status effect. The fight becomes more difficult once she reaches 25% (her stats increase) so be ready for that as well.
Dispel your own party members if they are hit with the Reverse status effect. The fight becomes more difficult once she reaches 25% (her stats increase) so be ready for that as well.
Stolen:
- Common:
 White Mask
 - Uncommon:
 White Robes
 - Rare: Lordly Robes
Treasure Chests:
Abysteel (x36-72)

This is a very easy battle in the midst of much more difficult battles. It can be easy to be overwhelmed in the beginning, but make sure that you have a tank taking the majority of the damage and over-heal your party members. The Abysteel enemies are weak to Holy-type damage, so equip one of your party members with the ![]() Excalibur and use the
Excalibur and use the ![]() Holy spell. You will fight a random amount of Abysteel bats; somewhere between 36 and 72.
Holy spell. You will fight a random amount of Abysteel bats; somewhere between 36 and 72.
Poached from Glaring Eye:
Treasure Chests:
Zodiark

This battle is the same as the battle against Zodiark in the Henne Mines when you go to obtain it as an optional Esper. Make sure that you Configure your Battle Speed settings to “Fast” for this battle.
Zodiark’s most frustrating attack is called Darkja. Zodiark will cast Darkja as its first attack as soon as the battle begins (no matter what). It will start off using the attack every 20 commands (a ‘command’ is any move, such as regular attacks, Magick spells being cast, etc.), then moving to every 14 commands, then every 16 commands, and finally every 8 commands towards the end of the fight.
Darkja does Dark-type damage, which means that the damage effects can be completely negated by having each of your characters wear a ![]() Black Mask. The devastating part of this attack, however, is the fact that it has a chance of instantly KO’ing your characters. This starts off at a 50% chance which can be reduced by casting
Black Mask. The devastating part of this attack, however, is the fact that it has a chance of instantly KO’ing your characters. This starts off at a 50% chance which can be reduced by casting ![]() Shell on your characters, but regardless of what you do, there is a chance that your characters will be instantly KO’d whenever this attack is used. Where this can become particularly frustrating is if all three of your characters are KO’d – it can be nearly impossible to recover if this happens (albeit, not impossible, which will be discussed further down).
Shell on your characters, but regardless of what you do, there is a chance that your characters will be instantly KO’d whenever this attack is used. Where this can become particularly frustrating is if all three of your characters are KO’d – it can be nearly impossible to recover if this happens (albeit, not impossible, which will be discussed further down).
As such, there is a huge element of luck when it comes to this fight. There is no controlling how many or how often you party members will be instantly KO’d. You may have to attempt this fight a few times.
Zodiark will also use three other moves that will cause problems: Lv. 2 Sleep, Lv. 3 Disable and Lv. 4 Break similar to the second battle against Gilgamesh. This battle is much easier if your characters are a level that is not a multiple of 2, 3 or 4. Specifically, if they are levels such as 47, 49, 53, 55, 59, 61, 65, 67, 71, etc.
If your three main party members are all KO’d, you may be able to recover by switching in your alternative party members and having them quickly revive your main party using ![]() Phoenix Downs. Set up your alternative party members with optimized equipment so that they can hopefully survive one or two attacks and set them up with a Gambit to use a Phoenix Down on any party members. Ideally, equip them with a
Phoenix Downs. Set up your alternative party members with optimized equipment so that they can hopefully survive one or two attacks and set them up with a Gambit to use a Phoenix Down on any party members. Ideally, equip them with a ![]() Bubble Belt if you have extras.
Bubble Belt if you have extras.
Make sure to split your enhancement status buffs between your various party members. Have one party member cast ![]() Protectga, one party member cast
Protectga, one party member cast ![]() Shellga, and one party member cast
Shellga, and one party member cast ![]() Hastega. For this fight you will want to keep Decoy on your strongest party member, but do not equip that party member with a shield, as Zodiark completely ignores the Evasion stat with its attacks, so there is no benefit to equipping a shield. You should also focus on high-level healing spells such as
Hastega. For this fight you will want to keep Decoy on your strongest party member, but do not equip that party member with a shield, as Zodiark completely ignores the Evasion stat with its attacks, so there is no benefit to equipping a shield. You should also focus on high-level healing spells such as ![]() Curaja and use them before party members get too low. The casting animations can make healing very slow in this battle, so it is recommended that your healer start casting healing spells at Ally <50% HP or even higher (< 60% or <70%). You should also set up a Gambit to use
Curaja and use them before party members get too low. The casting animations can make healing very slow in this battle, so it is recommended that your healer start casting healing spells at Ally <50% HP or even higher (< 60% or <70%). You should also set up a Gambit to use ![]() Eye Drops on party members that are Blinded as there is a chance that characters hit with Darkja will be revived with the Blind status effect.
Eye Drops on party members that are Blinded as there is a chance that characters hit with Darkja will be revived with the Blind status effect.
Various strategy guides are also split on whether to ![]() Dispel Zodiark of its status enhancing buffs. Using this strategy, it is recommended that you not cast Dispel and remove any Gambits that you have. It has the effect of triggering more Darkja attacks and causing it to cast a Magick Shield in addition to Magick Barrier.
Dispel Zodiark of its status enhancing buffs. Using this strategy, it is recommended that you not cast Dispel and remove any Gambits that you have. It has the effect of triggering more Darkja attacks and causing it to cast a Magick Shield in addition to Magick Barrier.
Fully buff your party members with ![]() Protect,
Protect, ![]() Shell,
Shell, ![]() Haste,
Haste, ![]() Bravery and
Bravery and ![]() Faith before initiating the battle. The goal is to reduce Zodiark’s HP down to 20% as quickly as possible to reach the final phase of the fight which requires another strategy listed below. You should also begin the battle by having one of your alternate party members run in on their own. As mentioned above, Zodiark will begin the battle by using Darkja. There is no reason to expose your entire main party to a Darkja attack right off the bat, potentially resulting in a KO and then having to recast status enhancing spells on them, if it can be avoided. Start off by having the alternate party member initiate the battle and then immediately switch them out after Darkja has been cast.
Faith before initiating the battle. The goal is to reduce Zodiark’s HP down to 20% as quickly as possible to reach the final phase of the fight which requires another strategy listed below. You should also begin the battle by having one of your alternate party members run in on their own. As mentioned above, Zodiark will begin the battle by using Darkja. There is no reason to expose your entire main party to a Darkja attack right off the bat, potentially resulting in a KO and then having to recast status enhancing spells on them, if it can be avoided. Start off by having the alternate party member initiate the battle and then immediately switch them out after Darkja has been cast.
The last phase of the fight, when Zodiark reaches 20% HP, is the most difficult. At this point, Zodiark will cast a Magick Barrier making it immune to physical attacks. There will be brief periods after it wears off where you can get a few attacks in, but Zodiark will immediately recast the spell once it comes down, so we need to use another method to attack him.
At this point, the strategy changes to attacking Zodiark with Magick spells. The best way to do this is to have one of your party members cast ![]() Reflect on your entire party (using
Reflect on your entire party (using ![]() Reflectga) and to equip your healer with an
Reflectga) and to equip your healer with an ![]() Opal Ring to allow them to continue casting healing spells. Have your other two party members, that were previously attacking Zodiark with regular attacks, switch to casting Magick spells or using Magick spell casting items (such as
Opal Ring to allow them to continue casting healing spells. Have your other two party members, that were previously attacking Zodiark with regular attacks, switch to casting Magick spells or using Magick spell casting items (such as ![]() Scathe Motes).
Scathe Motes).
Good spells to use during this phase include Bio (to inflict the Sap status effect which will slowly drain Zodiark’s HP) and ![]() Scourge. Scathe and
Scourge. Scathe and ![]() Flares will also work, but they have particularly long casting times. You should also remove the
Flares will also work, but they have particularly long casting times. You should also remove the ![]() Eye Drops or
Eye Drops or ![]() Esuna Gambits that remove the Blind status effect; it is a waste of time to cure that status ailment as your party members will not be using regular attacks. And remember,
Esuna Gambits that remove the Blind status effect; it is a waste of time to cure that status ailment as your party members will not be using regular attacks. And remember, ![]() Shellga is incredibly important during this last phase as Zodiark will cast Darkja very frequently.
Shellga is incredibly important during this last phase as Zodiark will cast Darkja very frequently.
Stolen:
- Common:Black Mask
- Uncommon: Black Robes
- Rare: Lordly Robes
Treasure Chests: