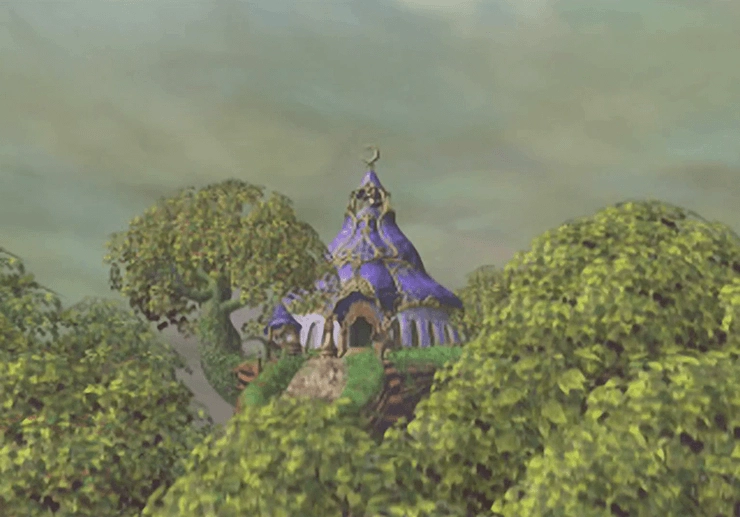
Cleyra
Cleyra’s Trunk
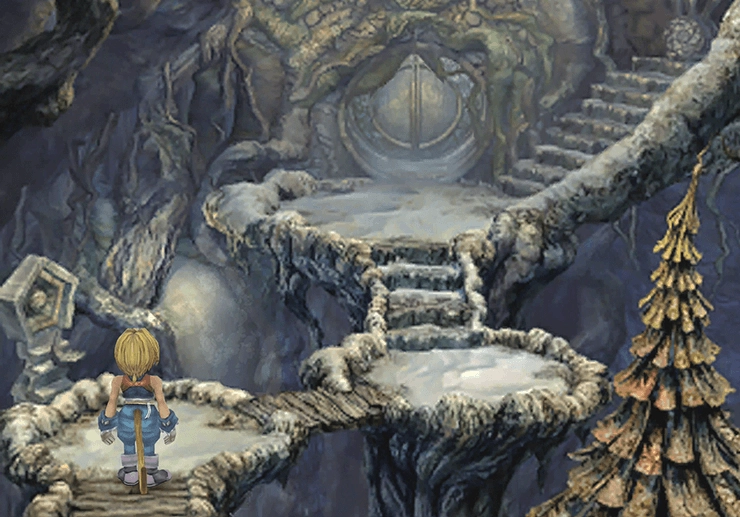
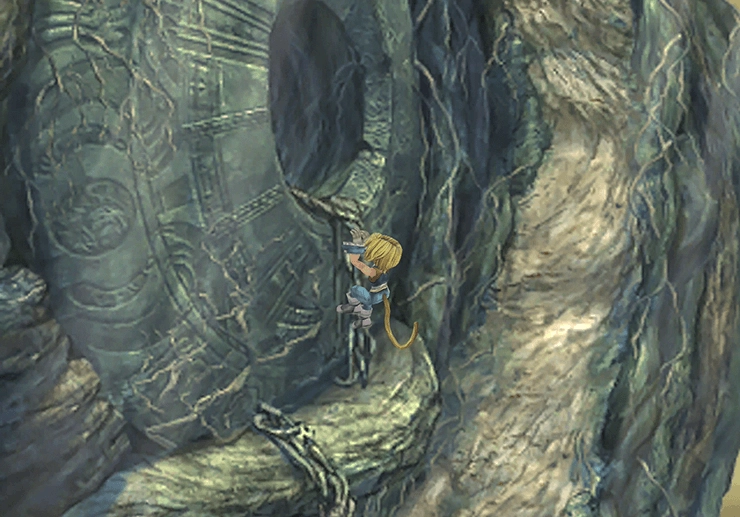
Before you reach the actual city of Cleyra, you will need to climb up “Cleyra’s Trunk.” Start by equipping each of your characters with any new equipment you might have obtained in Treno.


There are three new abilities that Quina can learn while scaling the trunk:
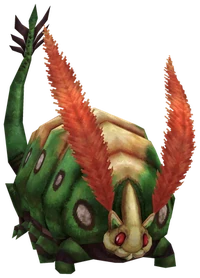
- Eating Zuu (1,149 HP) teaches
 White Wind
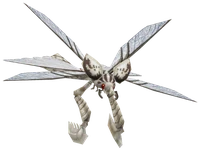
 - Eating Dragonfly (348 HP) teaches Matra Magic
- Eating Carrion Worm (259 HP) teaches Auto-Life
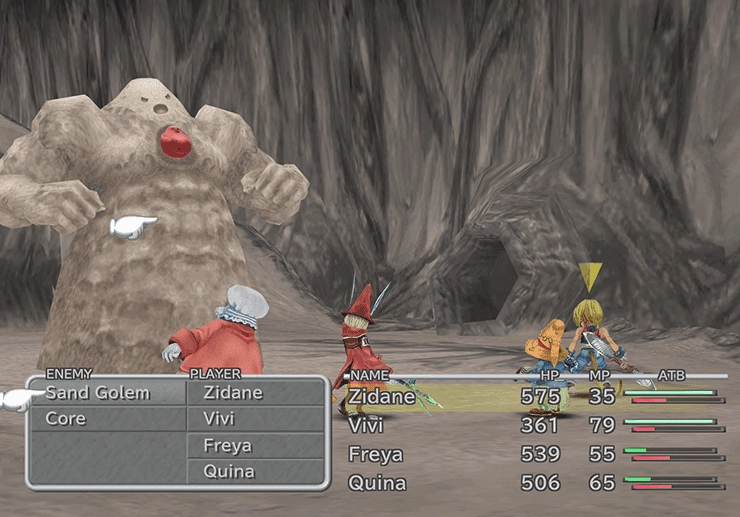
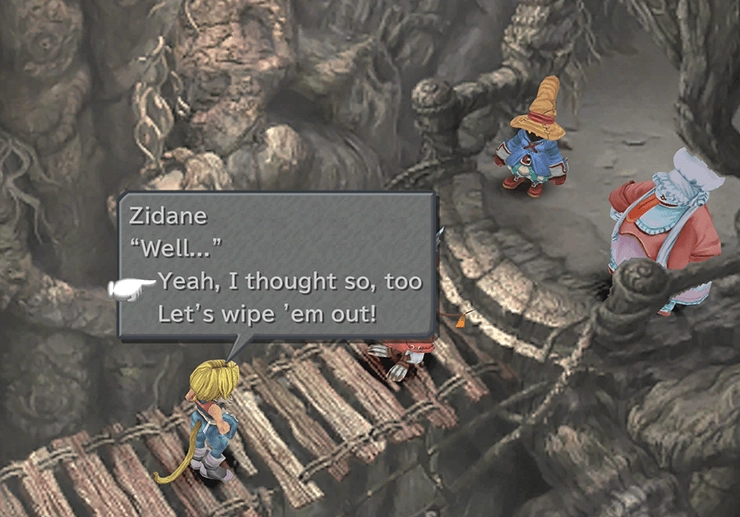
The Sand Golem encounters in the trunk are a nuisance if you fight them straight on and without adjusting the target/pointer. Target the Gem instead (you have to select it specifically) and hit it with magic to end the fight quickly.
Follow the pathway along into the next area. The doorway in the next area is locked, but you can open it by pulling a lever up the stairs to the right of the door. Travel through it to continue.
The next area contains a treasure chest with another ![]() Phoenix Down in it. Continue into the next area after you have obtained it.
Phoenix Down in it. Continue into the next area after you have obtained it.
The next room has sand pouring out of holes in the walls into a large sand pool in the center of the room. Start by grabbing the treasure chest at the bottom of the screen, which contains ![]() Magician Shoes.
Magician Shoes.
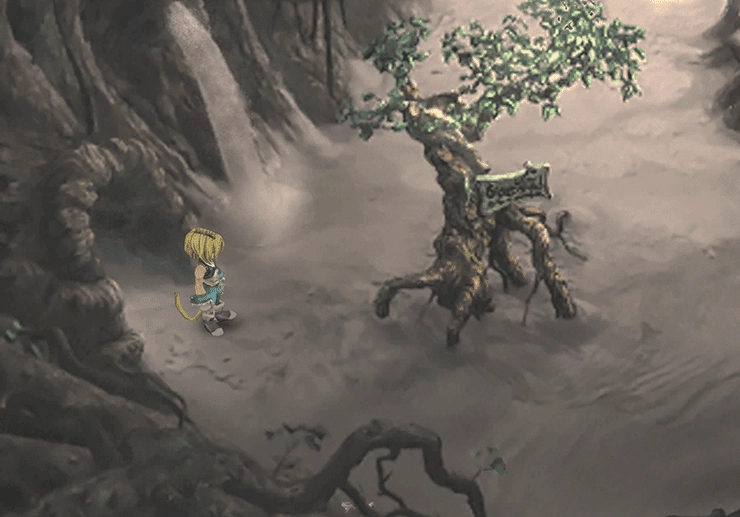
There is another treasure chest hidden behind the tree on the back wall that contains an ![]() Ice Staff. Exit this room on the right side.
Ice Staff. Exit this room on the right side.
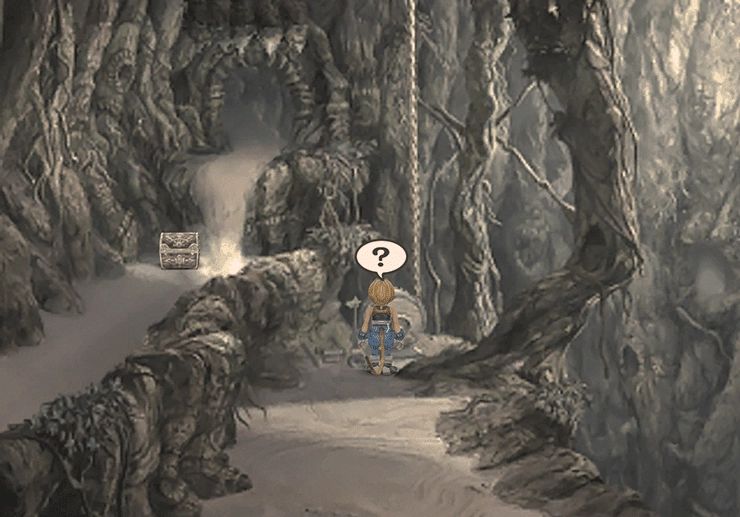
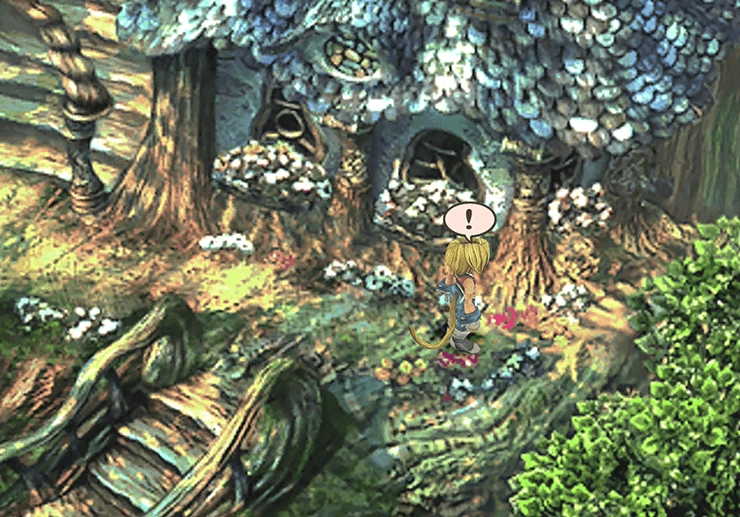
The next area is on the exterior of the trunk, and you can see the whirlwind in the background. Follow the pathway up (ignoring the vines for now) and take the doorway back into the trunk to find a small room with another treasure chest. It contains an ![]() Ether.
Ether.
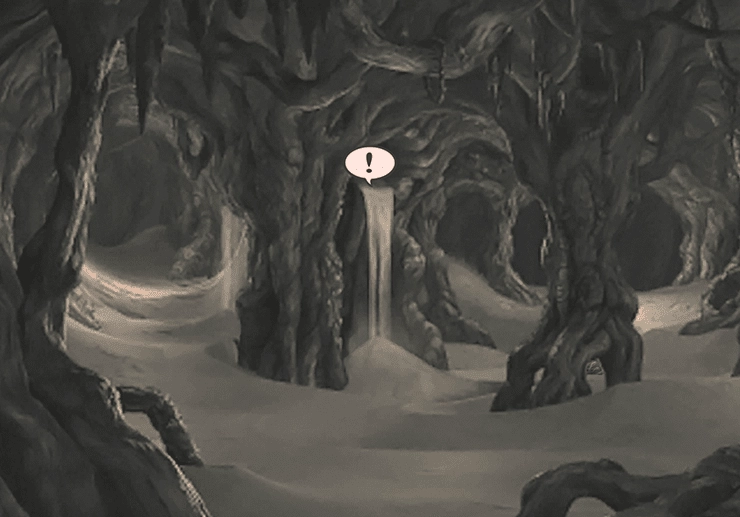
There is also a hole in the bottom right side of the trunk. Examine it and put your hand into it to release a flow of sand down into the room below.

Travel back to the exterior of the trunk and climb the vines leading to the upper level. Take the second set of vines up through the hole in the stone structure. The hole will lead you back into the previous room, which has now flooded with sand.
There are treasure chests on the upper pathways, which you cannot reach at this point. Travel through the doorway on the left side of the room.
There is a treasure chest on the left side of the room (at the base of the river of sand) that contains a ![]() Needle Fork. You should already have stolen this weapon from Zaghnol during the Festival of the Hunt in Lindblum.
Needle Fork. You should already have stolen this weapon from Zaghnol during the Festival of the Hunt in Lindblum.
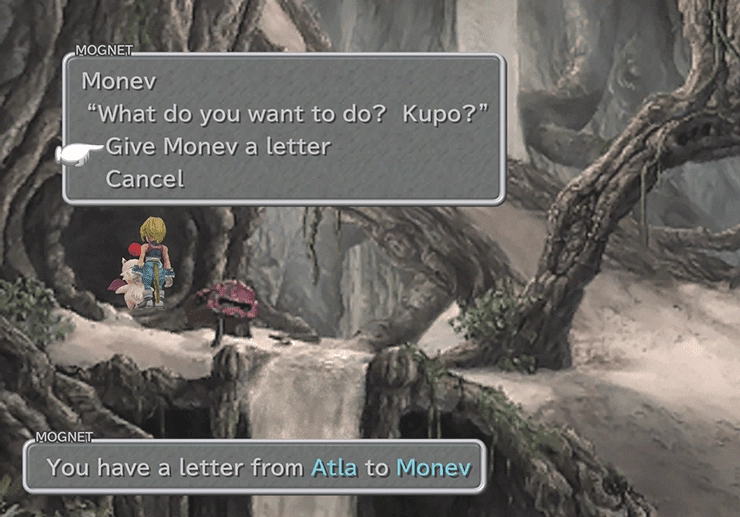
Go up one level and grab the next treasure chest for a free ![]() Tent. Speak to
Tent. Speak to ![]() Monev the Moogle on the left side of this room to save your game and to deliver the letter from
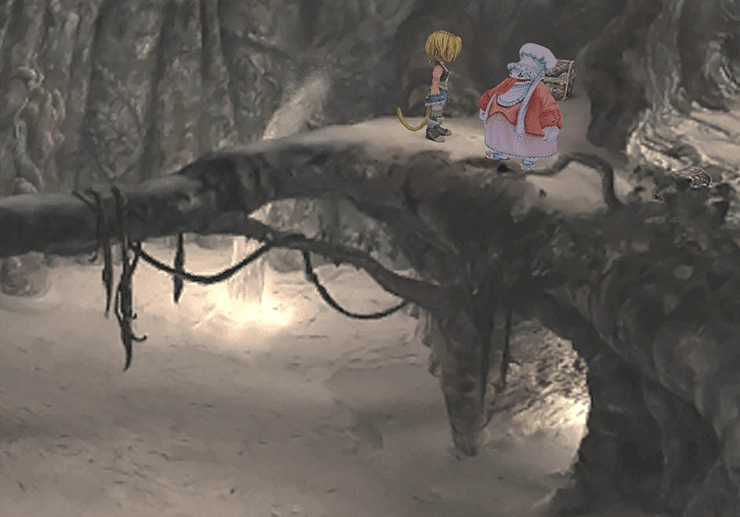
Monev the Moogle on the left side of this room to save your game and to deliver the letter from ![]() Atla. Continue up the sandy pathway that leads up the tree trunk.
Atla. Continue up the sandy pathway that leads up the tree trunk.
Take the left pathway at the fork in the road and pick up the ![]() Flame Staff in the treasure chest at the end of the path. Take the other pathway up the stairs to the right and then cross the bridge.
Flame Staff in the treasure chest at the end of the path. Take the other pathway up the stairs to the right and then cross the bridge.
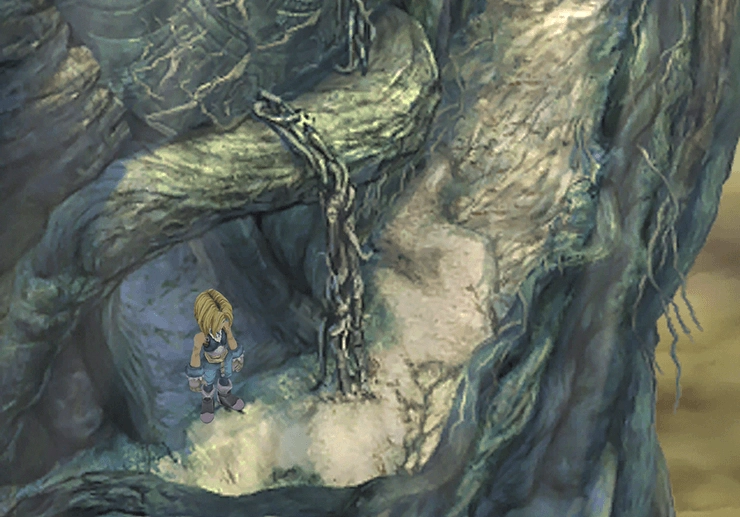
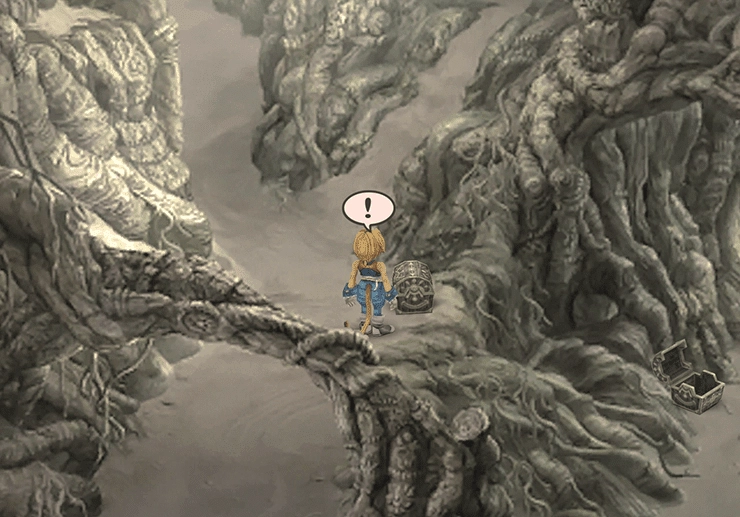
In the large cavernous room, there is a treasure chest on the far right side of this room that contains a ![]() Remedy. There is another treasure chest hidden behind the root in the middle of the room that contains a pair of
Remedy. There is another treasure chest hidden behind the root in the middle of the room that contains a pair of ![]() Desert Boots (a great pair of boots for Dagger later on in the game).
Desert Boots (a great pair of boots for Dagger later on in the game).
There is one final treasure chest hidden in behind and to the left of the one that contains the Desert Boots. Use the screenshot below to help you find it. The last treasure chest contains a ![]() Mythril Vest. Exit the room by walking through the cave at the very back.
Mythril Vest. Exit the room by walking through the cave at the very back.
You will emerge in front of a treasure chest that contains a pair of ![]() Mythril Gloves. Grab the gloves and then continue past the chest until you reach a lever that Zidane can pull. Choose to pull the lever and then return to the previous room in the cave and take the exit out the left side.
Mythril Gloves. Grab the gloves and then continue past the chest until you reach a lever that Zidane can pull. Choose to pull the lever and then return to the previous room in the cave and take the exit out the left side.
Grab the treasure chest with the ![]() Potion on your way by, and then walk up the pathway on the right side. This pathway leads back to the area with the lever, where you can now open the treasure chest to pick up an
Potion on your way by, and then walk up the pathway on the right side. This pathway leads back to the area with the lever, where you can now open the treasure chest to pick up an ![]() Elixir. Return to the previous room and continue walking along the upper-left pathway.
Elixir. Return to the previous room and continue walking along the upper-left pathway.
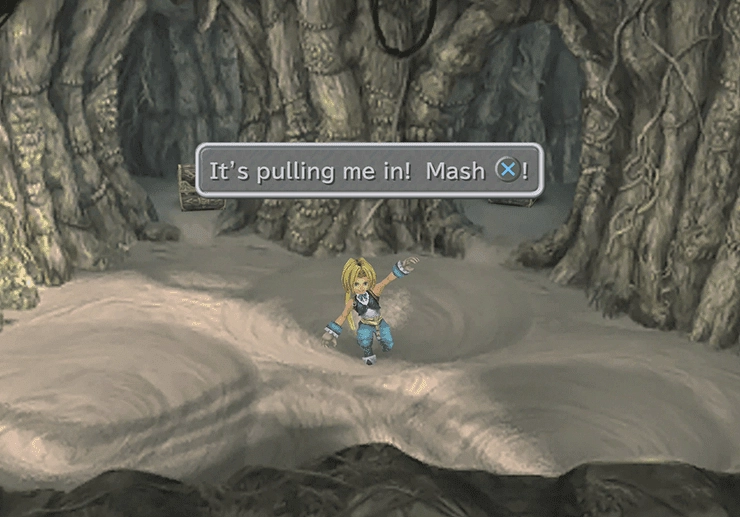
The whirlpool room: the whirlpools will suck Zidane into the center when he gets too close. Press the ![]()
![]()
![]() button as quickly as you can whenever you get too close.
button as quickly as you can whenever you get too close.
You can try to retrieve the two treasure chests from this room if you want to; one contains a ![]() Hi-Potion, and the other contains 900 Gil.
Hi-Potion, and the other contains 900 Gil.
The items are not very valuable, so don’t worry about obtaining them if you are having trouble getting past the whirlpools. Zidane will jump out of the whirlpool in the direction he is facing whenever you push the ![]()
![]()
![]() button enough times, so you can time this to aim for the treasure chests. Exit the room on the west side to continue.
button enough times, so you can time this to aim for the treasure chests. Exit the room on the west side to continue.
This is the area of Cleyra’s Trunk where you can battle against a Zuu (1,149 HP) to teach Quina the ![]() White Wind ability. White Wind is an extremely useful healing ability for Quina and is worth picking up while you are in this area.
White Wind ability. White Wind is an extremely useful healing ability for Quina and is worth picking up while you are in this area.
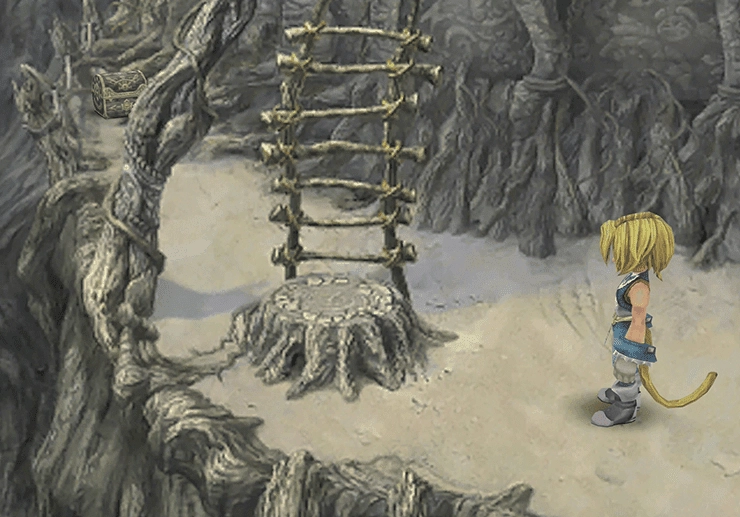
Follow the pathway along and grab the treasure chest before climbing up the ladder for some free ![]() Gysahl Greens.
Gysahl Greens.
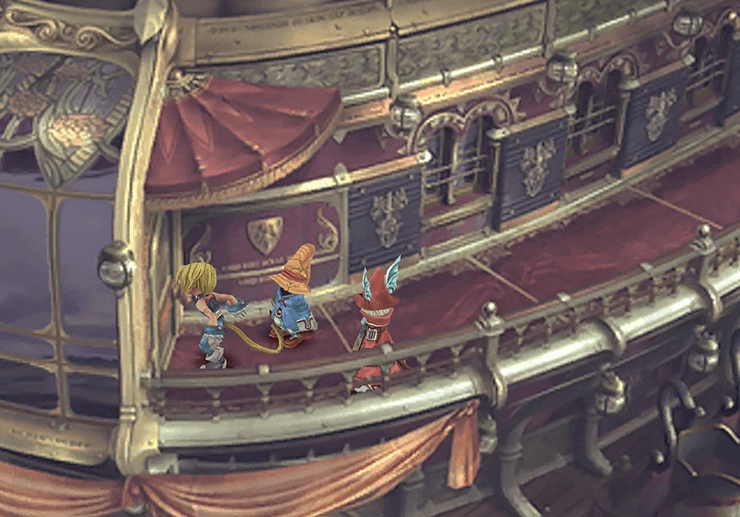
Climb the ladder and go up the stairs to initiate a short cutscene as you enter Cleyra Settlement.
Cleyra Settlement
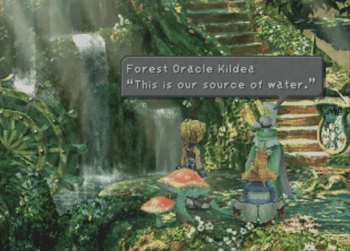
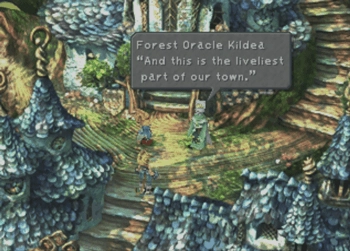
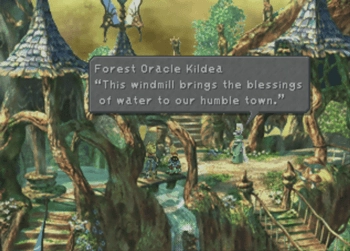
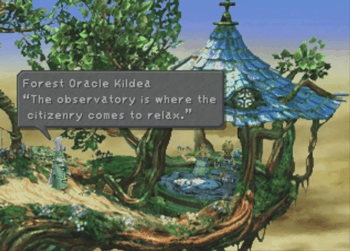
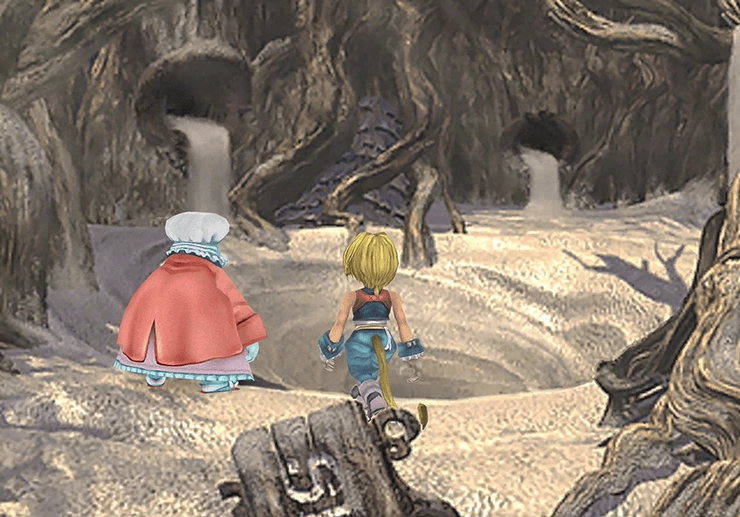
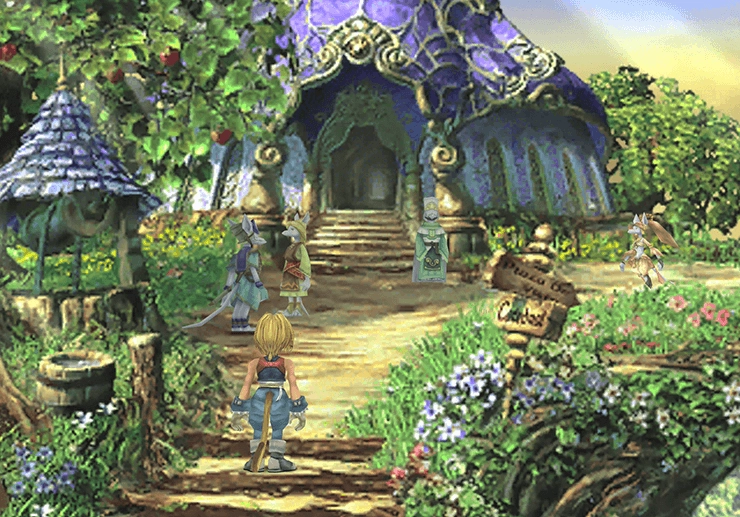
Sand Oracle Satrea will take Freya to meet with the King of Burmecia. Meanwhile, Forest Oracle Kildea will offer to be your guide and show you around the town. Even if you are unfamiliar with the town of Cleyra, you should decline the tour and choose “No thanks.”
The tour is far too long and provides excessive detail about each area. Some pictures of the tour have been included below in case you think you will be missing anything:
As you travel through the town, you will have the opportunity to watch several Active Time Events (ATEs). These include “No Yummy-Yummies!,” “There A Mushroom!,” “Don’t Hate Me” and “I-I Haven’t Hurt Anyone.”
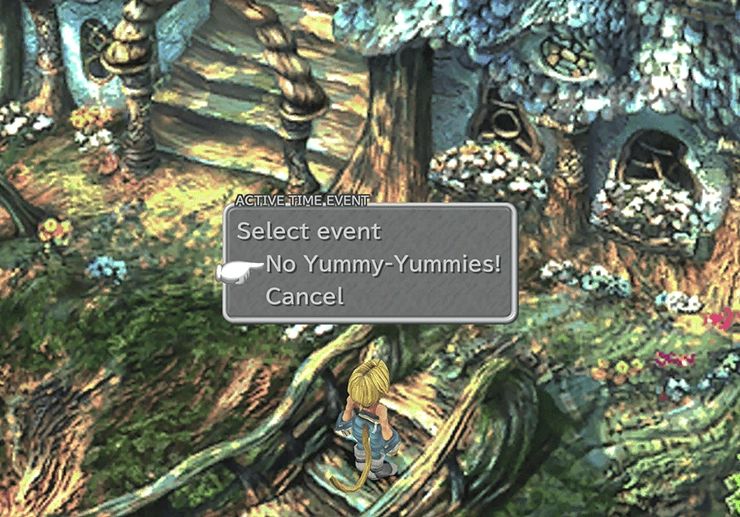
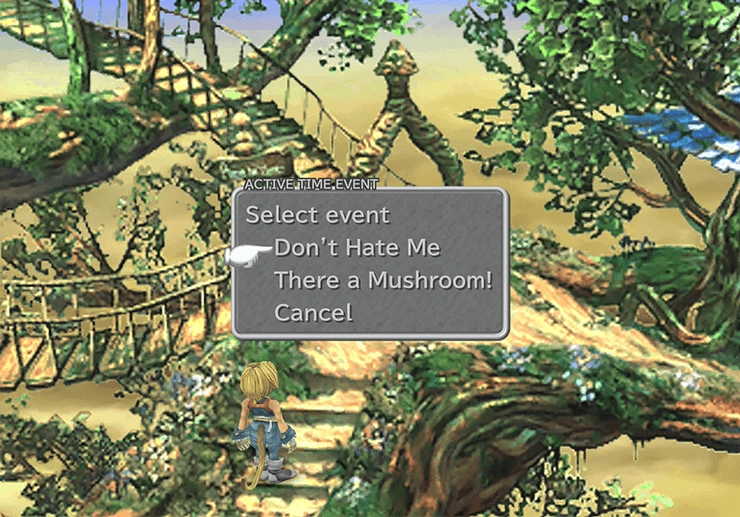
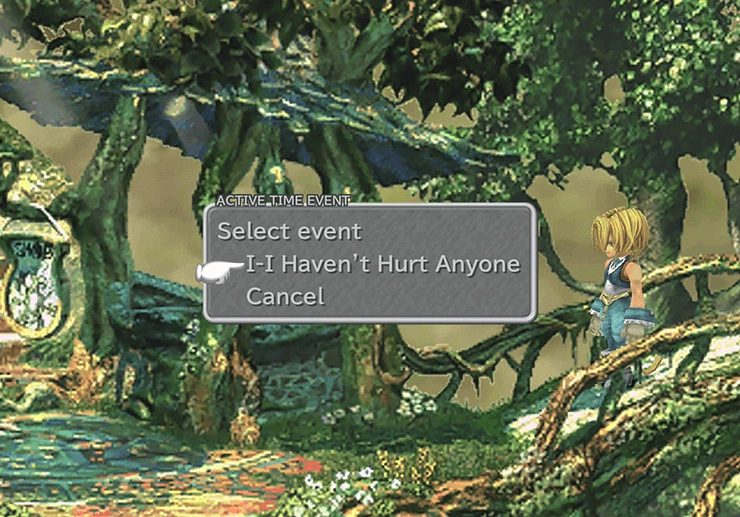
There are a few areas of the town that you can check out, including the Inn and Shopkeep (Star Maiden Nina). The four ATEs will pop up as you navigate between the different areas of Cleyra Settlement.
Watch all four ATEs and then travel back down to where Sand Oracle Satrea and Forest Oracle Kildea were standing near the entrance. Walk past them to find Quina standing there at the sandpit. Speak to Quina for a quick scene that leads Zidane and Quina back down into Cleyra’s Trunk.
Grab the two treasure chests for a free ![]() Silk Robe and a pair of
Silk Robe and a pair of ![]() Magician Shoes.
Magician Shoes.
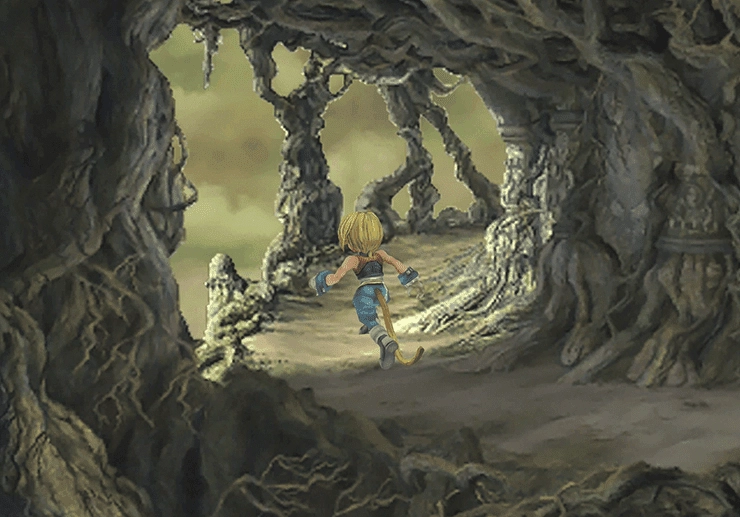
You now have to travel back up to Cleyra Settlement with just Zidane and Quina in your party. Start by climbing down the vines to the lower level and then head left through the tunnel. Follow the same pathway that you did before and run away from battles if you need to as you make your way back up to the top.
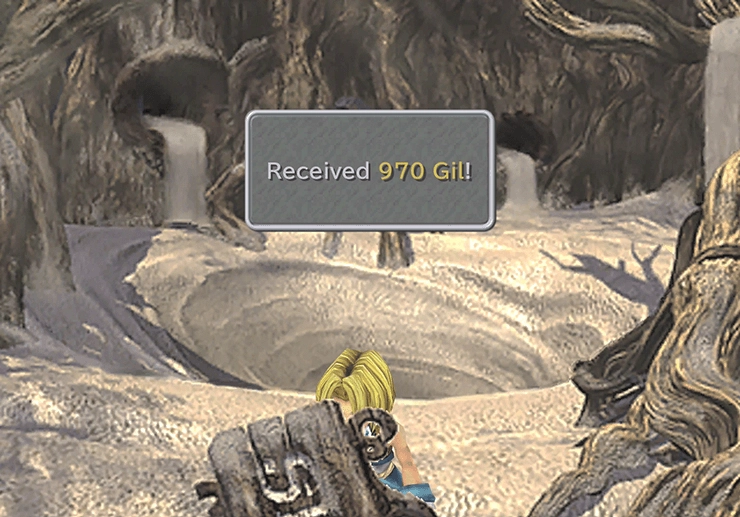
There is another hidden treasure chest near the sandpit that contains 970 Gil.
Travel up the first stairway past Forest Oracle Kildea (but not through to the next screen) and search the right side of the landing for another treasure chest that contains a ![]() Phoenix Pinion. Continue up the stairs and take the left pathway leading to the Water Mill Area.
Phoenix Pinion. Continue up the stairs and take the left pathway leading to the Water Mill Area.
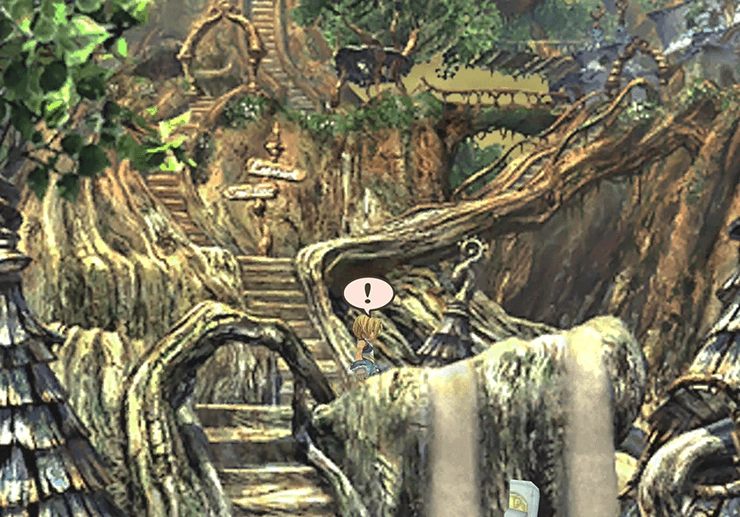
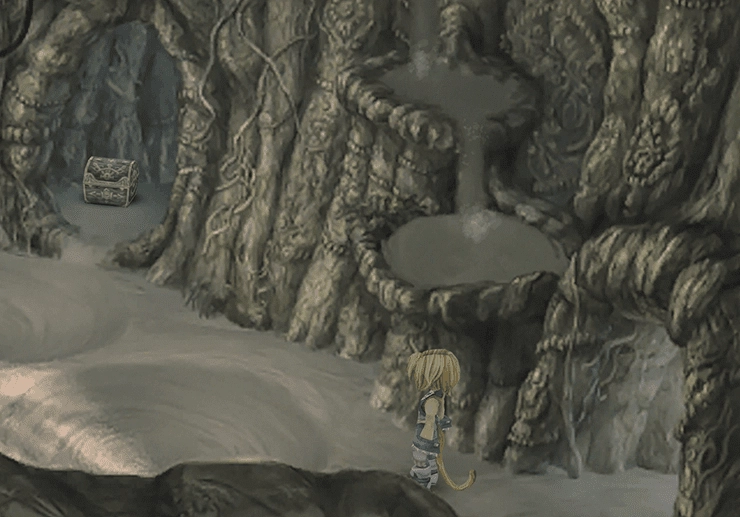
There is another hidden item in the center of the platform of the Water Mill Area. Use the screenshot below to help you find it. Searching that area will reward you with some ![]() Thunder Gloves.
Thunder Gloves.
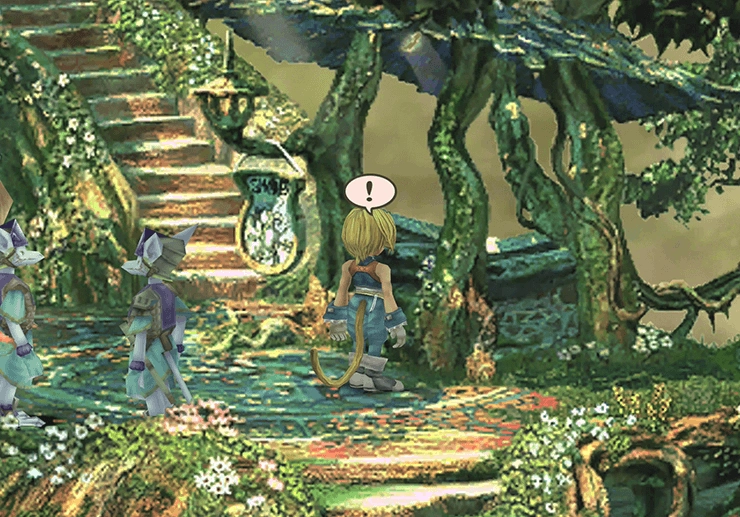
Take the pathway to the right leading to the Town Area and search the right side of the screen to find a hidden ![]() Ore among the flowers.
Ore among the flowers.
You can find Burmecian Soldier Dan one platform up standing out front of the Inn. Speak to him a few times, and he will offer to sell you an assortment of weapons and armor:
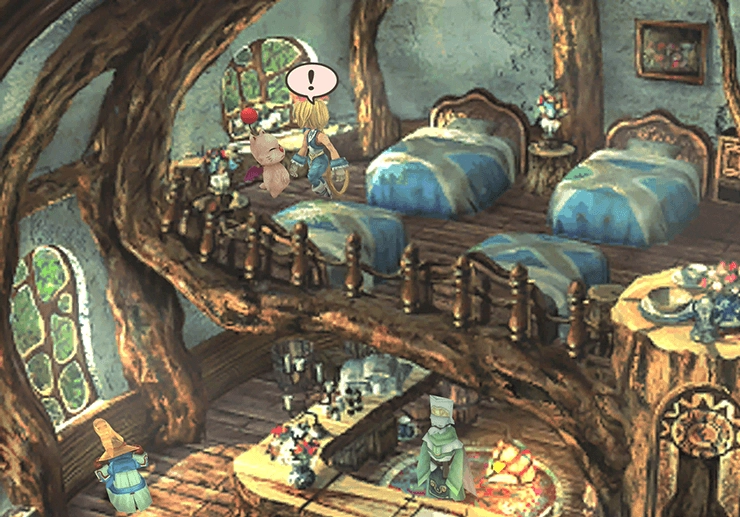
Swing inside the Inn as well and speak to ![]() Mopli the Moogle on the second floor. You can save your game and pick up a letter from Ruby to Zidane.
Mopli the Moogle on the second floor. You can save your game and pick up a letter from Ruby to Zidane.
You can also find an ![]() Ether in the nightstand near the beds, a stash of 1,250 Gil under the table near the bottom of the stairs, and an
Ether in the nightstand near the beds, a stash of 1,250 Gil under the table near the bottom of the stairs, and an ![]() Echo Screen near the barrel behind Vivi.
Echo Screen near the barrel behind Vivi.
Exit the Inn and find the stairway on the right side of the Inn leading upwards. There is one more hidden ![]() Remedy on the far right side of the stairs behind the tree. Take the pathway leading off to the left on the left side of the Inn.
Remedy on the far right side of the stairs behind the tree. Take the pathway leading off to the left on the left side of the Inn.
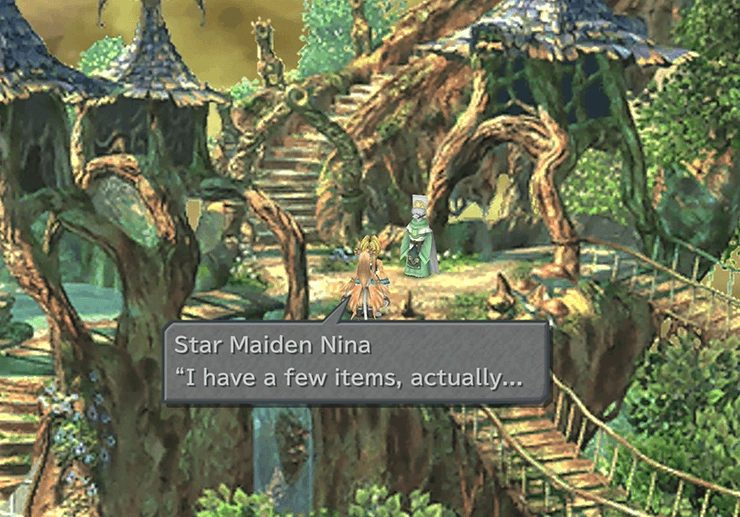
This area is known as the Windmill Area (which you can verify by opening the Menu screen). There is a hidden ![]() Phoenix Pinion just to the right of Sand Oracle Satrea (the one wearing blue). The woman in red is known as Star Maiden Nina, and you can access an item shop by speaking to her.
Phoenix Pinion just to the right of Sand Oracle Satrea (the one wearing blue). The woman in red is known as Star Maiden Nina, and you can access an item shop by speaking to her.
She sells all the regular items that you find at most shops, but, more importantly, she also sells ![]() Annoyntment, which you can use to cure the Trouble status effect. Purchase a few of these, as you will need them for some upcoming fights. Travel up the flight of stairs leading to the Cathedral.
Annoyntment, which you can use to cure the Trouble status effect. Purchase a few of these, as you will need them for some upcoming fights. Travel up the flight of stairs leading to the Cathedral.
There are some ![]() Gysahl Greens hidden in the grass near the signpost outside the Cathedral and an
Gysahl Greens hidden in the grass near the signpost outside the Cathedral and an ![]() Echo Screen in the flowers to the right side of the entrance. Enter the Cathedral and search the left side of the room to find a
Echo Screen in the flowers to the right side of the entrance. Enter the Cathedral and search the left side of the room to find a ![]() Yellow Scarf.
Yellow Scarf.
Achievement/Trophy
To obtain the  Movie Critic Achievement/Trophy, make sure that you have viewed the following ATEs:
- No Yummy-Yummies! (entering the pond area)
- Don’t Hate Me (entering the pond area)
- I-I Haven’t Hurt Anyone (re-entering the pond)
- There A Mushroom! (enter the town observatory)
You need to have added Quina to your party on the way to Gizamaluke’s Grotto to view No Yummy-Yummies! and There A Mushroom! There is no way to view these two ATEs without him.
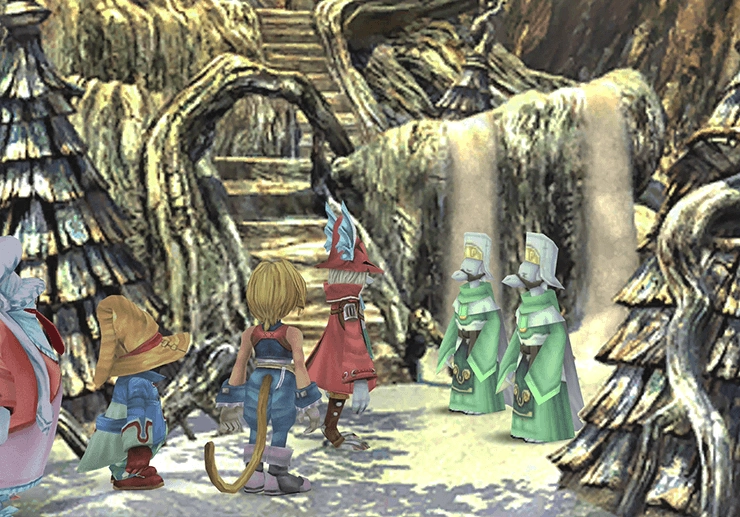
Speak to the Sky Oracle / Tree Oracle near the stairs in the Cathedral to continue the story. They will tell you that you cannot pass and will deliver a message from Freya asking you to return to the Inn and wait.
The next boss battle will initiate as soon as you reach the entrance of the Inn and after you follow ‘Burmecian Soldier Dan’ down to the sandpit.
There is a short bit of dialog outside the Inn. Follow Dan down to the entrance and head right.
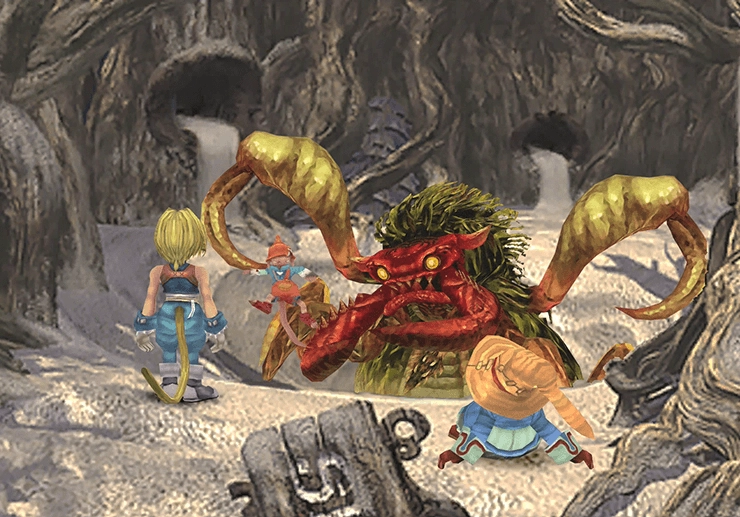
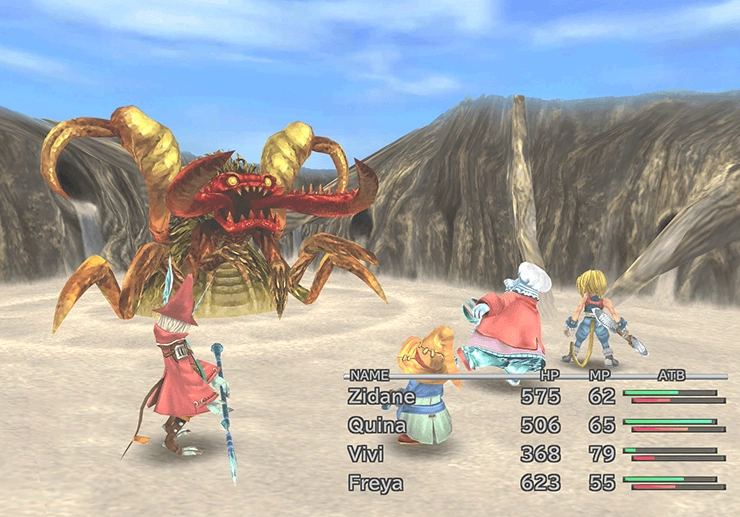
Boss Battle
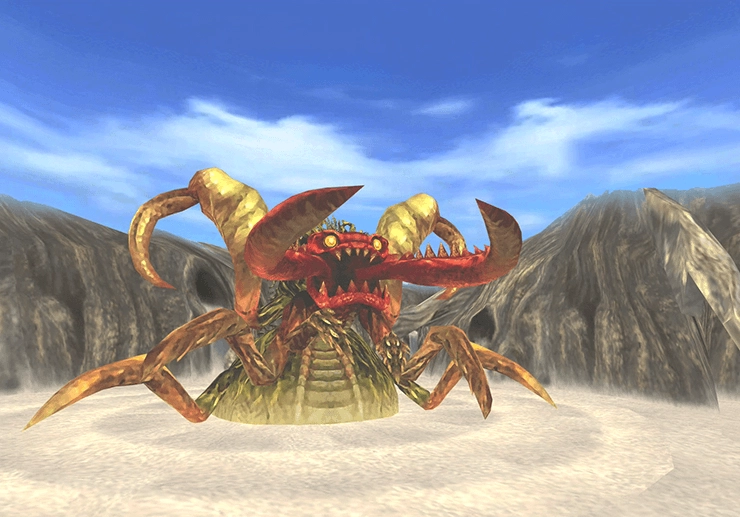
Level: 16
HP: 3,938
Make sure that Zidane steals the ![]() Gold Helm from the Antlion before the fight ends. Stealing it can take a fair bit of time, which means that the actual difficulty of this fight is trying to keep your party alive until then.
Gold Helm from the Antlion before the fight ends. Stealing it can take a fair bit of time, which means that the actual difficulty of this fight is trying to keep your party alive until then.
Have Vivi use his status-inflicting spells if he has them (![]() Slow and
Slow and ![]() Sleep). Make use of Quina’s
Sleep). Make use of Quina’s ![]() White Wind ability (if you obtained it) to keep the party healed up, which can be fairly difficult due to Antlion’s Sandstorm ability. Sandstorm will reduce each party member’s HP down to between 1 and 10.
White Wind ability (if you obtained it) to keep the party healed up, which can be fairly difficult due to Antlion’s Sandstorm ability. Sandstorm will reduce each party member’s HP down to between 1 and 10.
It has another move called “Trouble Mucus,” which will inflict the Trouble status effect (causing other party members to take damage when the afflicted character is attacked). Use ![]() Annoyntments to rid party members of the Trouble status effect.
Annoyntments to rid party members of the Trouble status effect.
Vivi’s ![]() Blizzara spell is incredibly effective against Antlion, which is weak to ice-based magic attacks.
Blizzara spell is incredibly effective against Antlion, which is weak to ice-based magic attacks.
Steal:
 Annoyntment (common, 70%)
 Mythril Vest (uncommon, 23%)
 Gold Helm (rare, 6%)
These are the odds each time a steal connects. The ![]() Master Thief ability raises a very rare steal to 12.5%. Check out the How Stealing and Enemy Drops Work page for more information.
Master Thief ability raises a very rare steal to 12.5%. Check out the How Stealing and Enemy Drops Work page for more information.
Drops:
- Annoyntment (common, always)
 Ether (uncommon, 37.5%)
A video demonstration of this battle is included below for reference.
Video Guide

A video demonstration of how to successfully complete the fight against Antlion.
There are quite a few cutscenes after the battle involving Prince Puck and Freya joining in the ceremony to strengthen the sandstorm protecting Cleyra. Enjoy the dance! The sandstorm protecting Cleyra will disappear at the end of the ritual.
It’s time for a few more cutscenes involving Steiner and Dagger back in Alexandria.
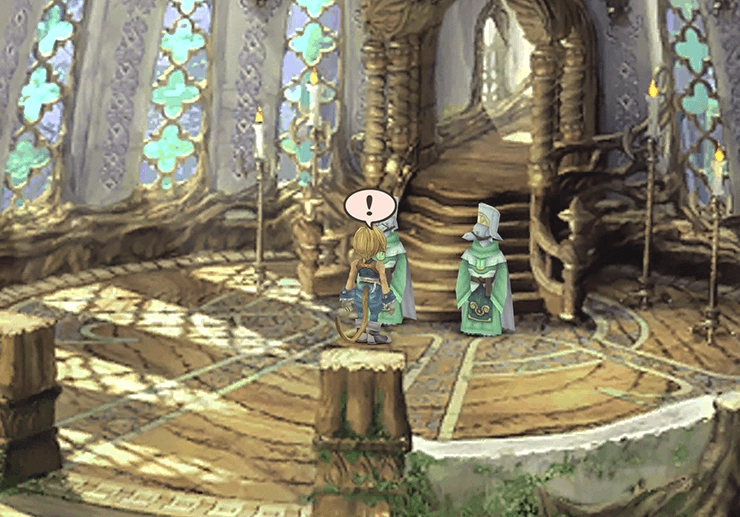
You continue the game in control of Freya. Travel back to the Cathedral and go back into the chamber with the Harp, the Cleyran High Priest, and the King of Burmecia.
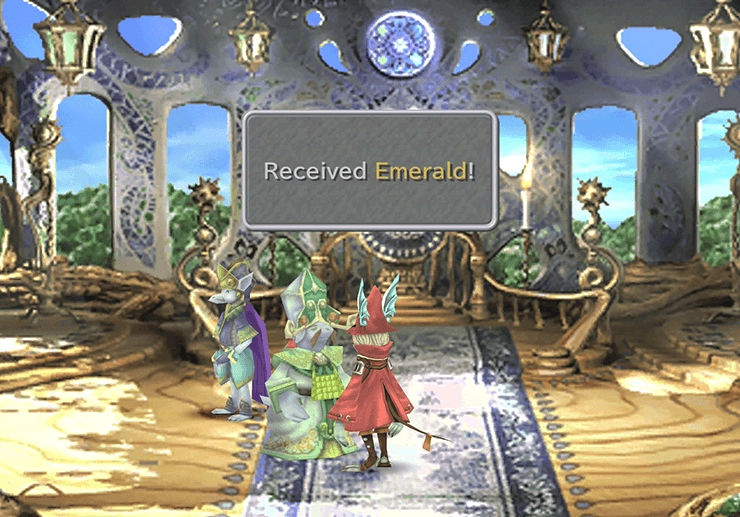
Speak to the High Priest to receive an ![]() Emerald. Search the back wall to find an
Emerald. Search the back wall to find an ![]() Ore, the wall on the right side for a
Ore, the wall on the right side for a ![]() Phoenix Pinion, and the pillar on the left side for an
Phoenix Pinion, and the pillar on the left side for an ![]() Ether.
Ether.
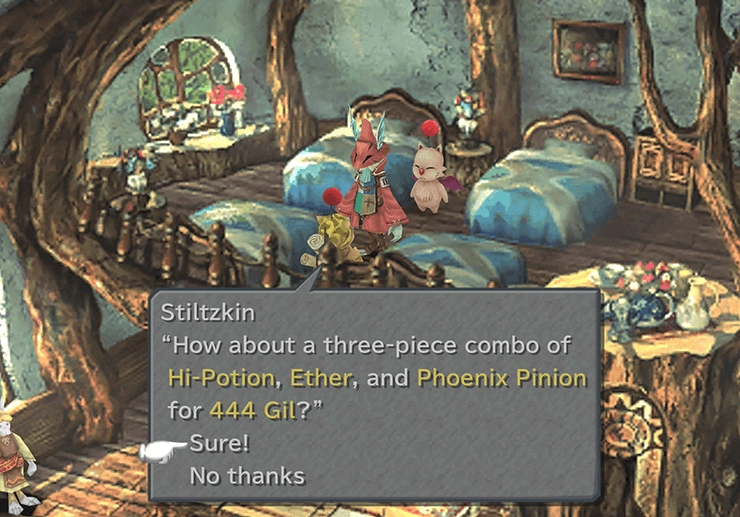
Travel to the Inn and speak to ![]() Stiltzkin to pick up your next set of items. This time, he is selling a
Stiltzkin to pick up your next set of items. This time, he is selling a ![]() Hi-Potion,
Hi-Potion, ![]() Ether, and
Ether, and ![]() Phoenix Pinion for 444 Gil.
Phoenix Pinion for 444 Gil.
Remember that you have to buy from him each time that he appears to see him again later on in the game. Speak to ![]() Mopli and select the Mognet option again to pick up a letter from
Mopli and select the Mognet option again to pick up a letter from ![]() Monev.
Monev.
Warning
This is your last chance to explore Cleyra. Once you return to the Settlement entrance and continue the story, you will not be able to visit the town or its Trunk again for the remainder of the game, and anything left behind is lost forever.
Before you continue, make sure that you have picked up every treasure chest listed above, received the ![]() Emerald from the High Priest, and purchased the 444 Gil bundle from Stiltzkin. Check out the Missable Items and Events page for a full list.
Emerald from the High Priest, and purchased the 444 Gil bundle from Stiltzkin. Check out the Missable Items and Events page for a full list.
Don’t forget to save your game! Travel back to the entrance to Cleyra Settlement to find Zidane, Quina, and Vivi and continue the game.
Achievement/Trophy
You must purchase all the available items from ![]() Stiltzkin each time he appears to obtain the
Stiltzkin each time he appears to obtain the  Driving the Hard Bargain Achievement/Trophy. This Achievement/Trophy is missable, as you cannot return to some sections of the game to buy items that you have missed.
Cleyra’s Trunk
Start by properly equipping each of your characters. This point in the game is the first time you have an opportunity to equip Vivi with items, so take some time to do so. You should have some new items for him from Burmecian Soldier Dan. Go back and buy some if you don’t.
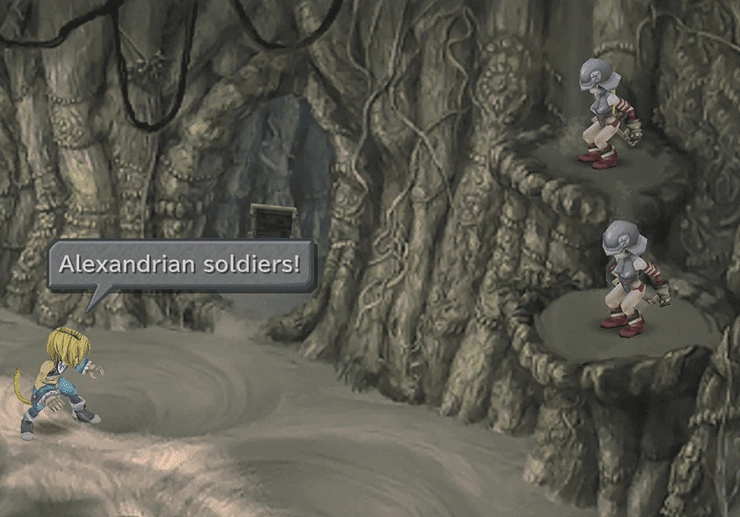
Travel down the stairs and the rope ladder. Don’t worry; you won’t be going all the way back down to the bottom of Cleyra’s Trunk. Travel to the right and follow the pathway back into the cave.
You will be forced into battle against some Alexandrian Soldiers when you reach the whirlpool area. The whirlpools are not active, and the Alexandrian Soldiers are ridiculously easy to defeat.
Continue south for another battle against two Alexandrian Soldiers that will ambush you from the other two pathways. Head into the adjoining cave to battle another two Soldiers.
The next area leads to a bridge, which transitions into a cutscene. The group decides to return to the town after Prince Puck tells them that the town is in trouble. You won’t have to manually go back through the previous screens, though.
Cleyra Settlement
The party is automatically returned to the entrance of Cleyra Settlement and will automatically be thrown into battle against a Black Mage (Type B). These Black Mages are just as easy as the Type A Black Mages that you had previously fought.

Go back to the sandpit to find ![]() Mopli and
Mopli and ![]() Stiltzkin. Speak to
Stiltzkin. Speak to ![]() Mopli to pick up another letter from
Mopli to pick up another letter from ![]() Mopli to
Mopli to ![]() Serino. Return to the entrance and attempt to climb the stairs, and three Alexandrian Soldiers will ambush you.
Serino. Return to the entrance and attempt to climb the stairs, and three Alexandrian Soldiers will ambush you.
Another battle will commence immediately after that one, where you will have to fight two Black Mages (Type B). This battle is another very easy fight. Zidane will automatically run up to the Water Mill Area after the fight.
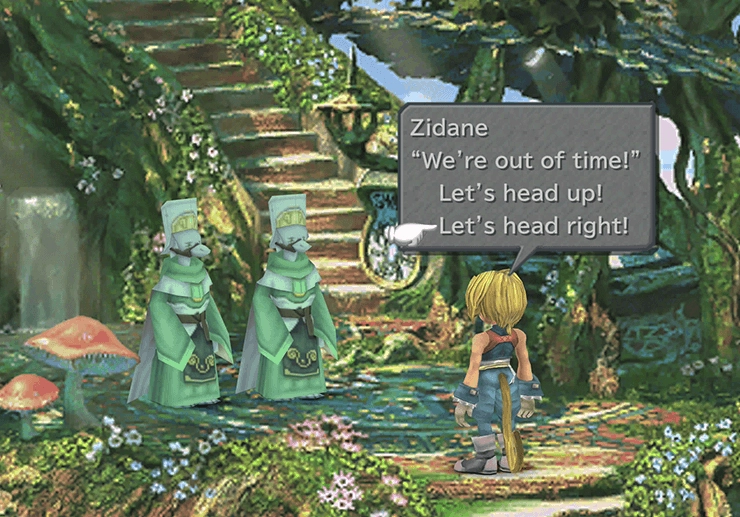
Zidane will have the option of deciding which direction to head by selecting either “Let’s head up!” or “Let’s head right!” You can pick up some extra items near the Cathedral if you save more of the townsfolk.
Choose to head to the right by selecting “Let’s head right!” and Zidane will automatically follow.
Walk towards the Inn and tell Burmecian Soldier Dan’s family to take the pathway leading to the left by selecting “Let’s go Left!.”

One more battle against two Alexandrian Soldiers and a Black Mage (Type B).
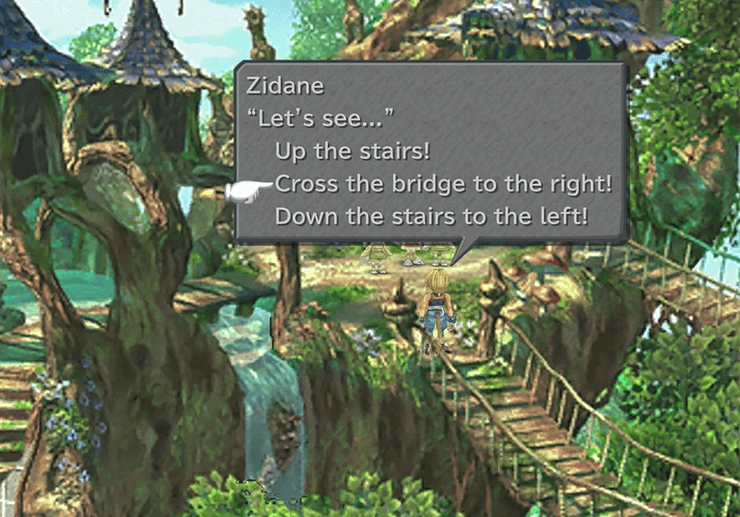
Follow the Burmecian Kids and Dan’s Wife, and this time, have them “Cross the bridge to the right!” into the next areas.
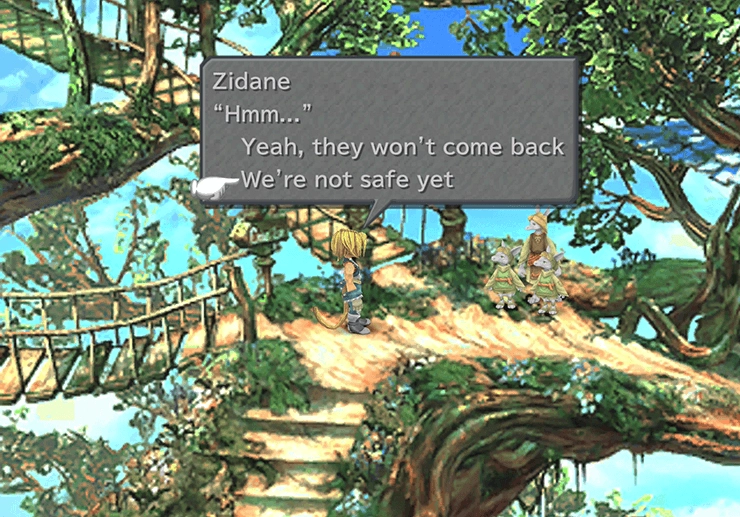
One last battle against three Alexandrian Soldiers. Finally, when asked if the village is safe yet, select the “Not Yet” option.
Achievement/Trophy
You need to follow these steps exactly if you wish to obtain the Out of Harm’s Way Achievement/Trophy. The first choice is “Right,” the second choice is “Left,” the third choice is “Right,” and the final option is to select “Not Yet.” This Achievement/Trophy is missable, so restart if you do not obtain it once you’ve saved all of the villagers.
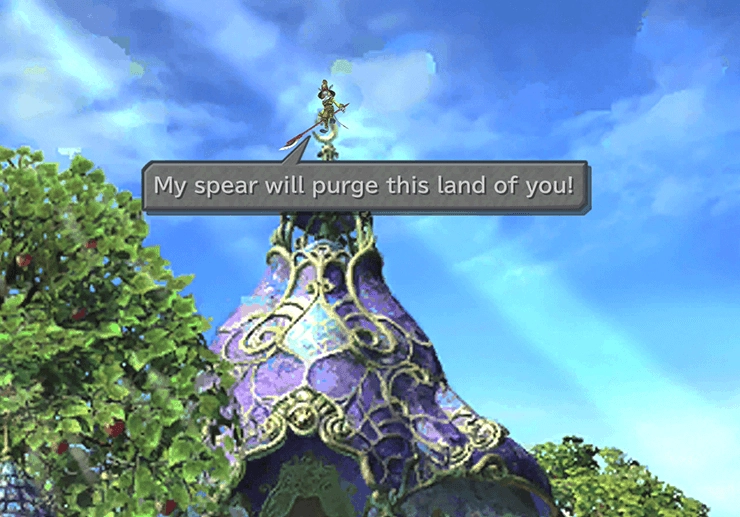
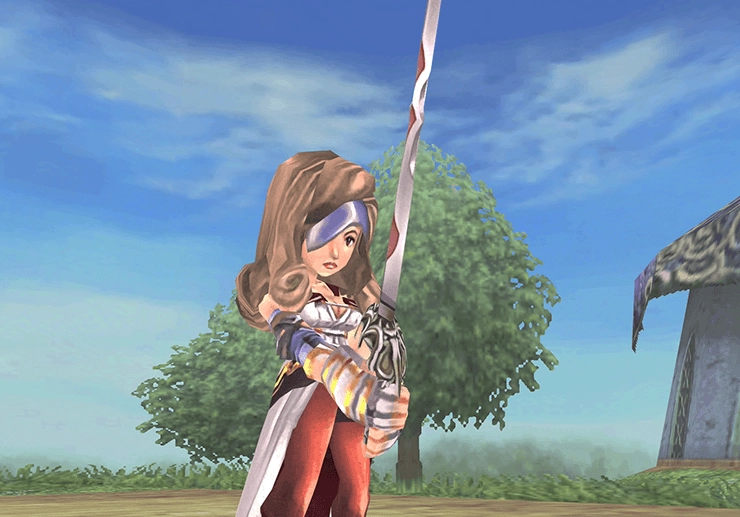
There is a short cutscene in front of the Cathedral where a stranger (Sir Fratley) saves the team. Freya will speak to him inside the Cathedral, but, unfortunately, he does not remember her. The scene ends with an interruption from Beatrix stealing the magic stone in the harp.
Before you exit the Cathedral, you should speak to all the townsfolk that you saved. You will receive:
Speak to ![]() Mopli and save your game in preparation for an upcoming boss fight. You can also prepare by equipping any thunder damage reducing equipment to your characters, such as:
Mopli and save your game in preparation for an upcoming boss fight. You can also prepare by equipping any thunder damage reducing equipment to your characters, such as:
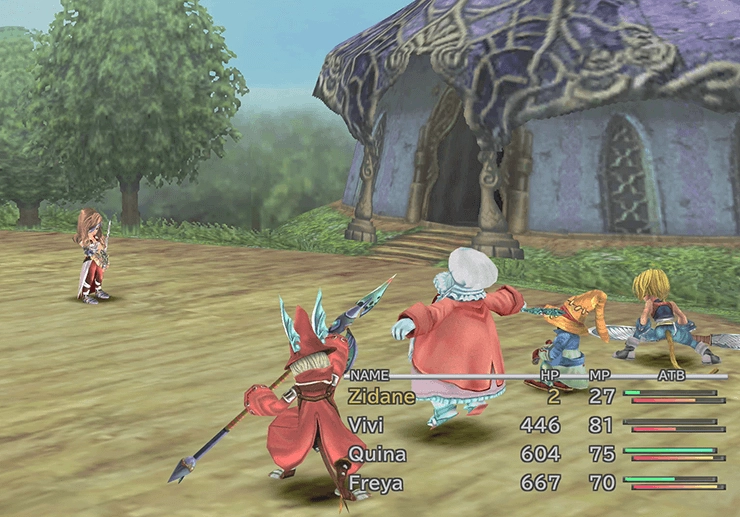
You should also move all of your characters to the back row. This battle is another one where staying alive is the primary objective because you cannot defeat Beatrix. Exit the Cathedral when you are ready for the fight.
Boss Battle
Level: 17
HP: 4,736
Stealing from Beatrix is not nearly as hard this go-around, which is great because the fight follows very similar mechanics as the fight against Beatrix at the end of Disc 1. You cannot actually defeat her, and the fight will automatically end after 10 turns.
The strategy should be to keep your party alive for the duration of the fight because Beatrix is very strong. Equipping thunder-resistant equipment (as mentioned above) can greatly help, and have Vivi cast ![]() Slow on Beatrix as early as possible. With all of your characters in the back row (as mentioned above as well), her damage should be relatively easy to deal with.
Slow on Beatrix as early as possible. With all of your characters in the back row (as mentioned above as well), her damage should be relatively easy to deal with.
Use ![]() Potions,
Potions, ![]() Hi-Potions, and Quina’s Blu Mag abilities (
Hi-Potions, and Quina’s Blu Mag abilities (![]() White Wind and
White Wind and ![]() Mighty Guard) to keep the team alive.
Mighty Guard) to keep the team alive.
Steal:
 Phoenix Down (common, 70%)
 Thunder Gloves (uncommon, 23%)
 Ice Brand (rare, 6%)
These are the odds each time a steal connects. The ![]() Master Thief ability raises a very rare steal to 12.5%. Check out the How Stealing and Enemy Drops Work page for more information.
Master Thief ability raises a very rare steal to 12.5%. Check out the How Stealing and Enemy Drops Work page for more information.
Drops:
- (Nothing)
A video demonstration of this battle is included below for reference.
Video Guide

A video demonstration of the boss battle against Beatrix in Cleyra.
Red Rose - Cabin
The story continues in the Cabin of the Red Rose airship. Quina will no longer be in your party as he does not follow the rest of the team through the portal. Travel up the stairs to continue the cutscenes and to listen in on the conversation on the other side of the ship.
Follow Vivi back down to the lower level, and as you reach the bottom of the stairs, you will see a Moogle appear on the upper level. Travel back up and speak to ![]() Serino the Moogle to save your game and give him the letter from
Serino the Moogle to save your game and give him the letter from ![]() Mopli.
Mopli.
Pick up the letter from ![]() Serino to
Serino to ![]() Moodon as well. Travel down to the lower levels and speak to Vivi when you are ready to continue the game.
Moodon as well. Travel down to the lower levels and speak to Vivi when you are ready to continue the game.