
Alexandria Castle
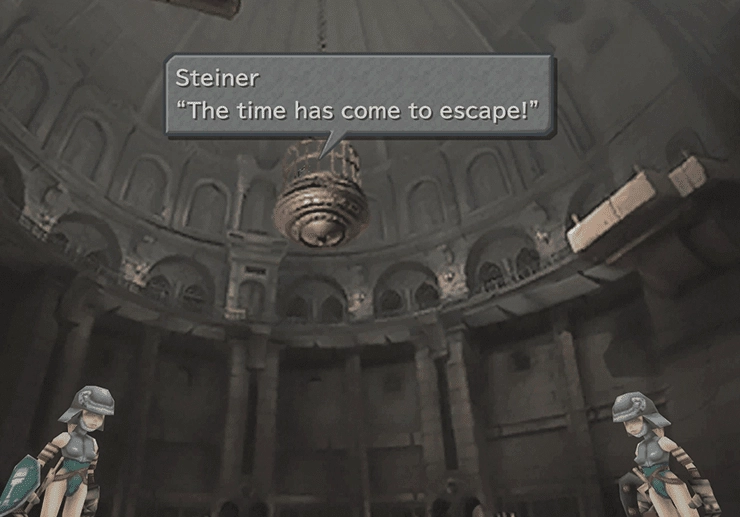
The game returns to Steiner and Marcus, who are in the suspended cage in Alexandria Castle, where the Alexandrian Soldiers are still holding them in jail. Follow the instructions when prompted and press ![]()
![]()
![]() and
and ![]()
![]()
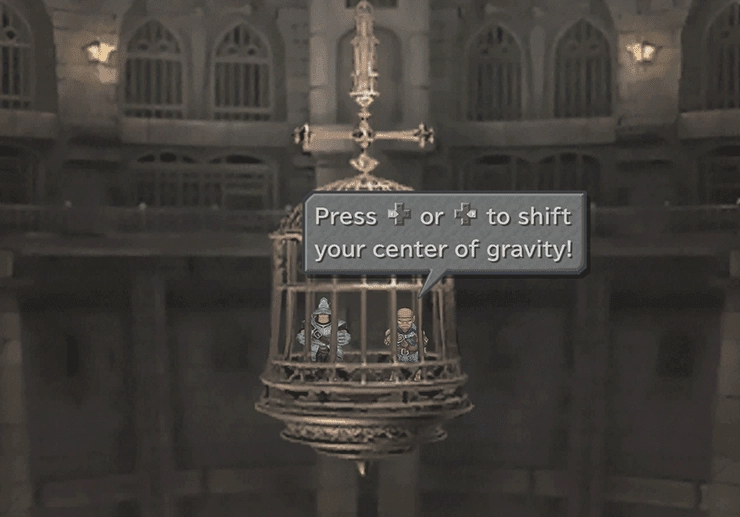
![]() on the control pad to shift their center of gravity.
on the control pad to shift their center of gravity.
Continue holding down the directional pad in whichever direction the cage is moving to cause it to move faster until it finally breaks. Press the button every time Marcus yells to shift your weight.
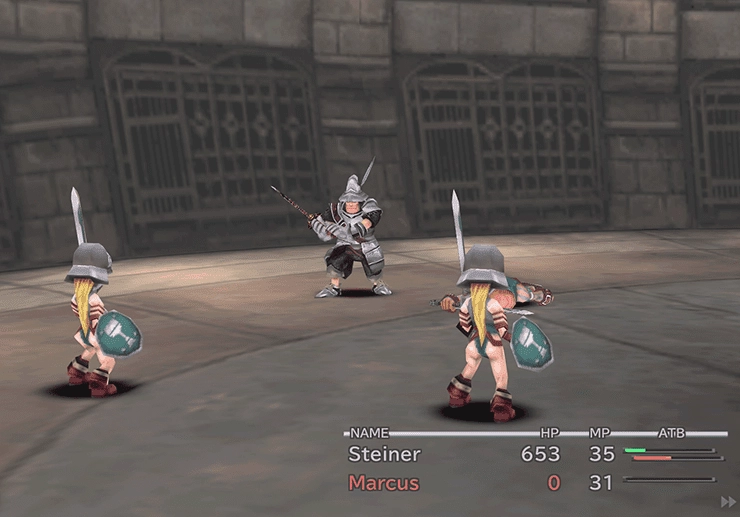
Start by equipping Steiner with the best equipment that you have on hand, and do the exact opposite for Marcus. Marcus will be leaving your party shortly. A ![]() Broadsword or an
Broadsword or an ![]() Iron Sword are your best choices.
Iron Sword are your best choices.

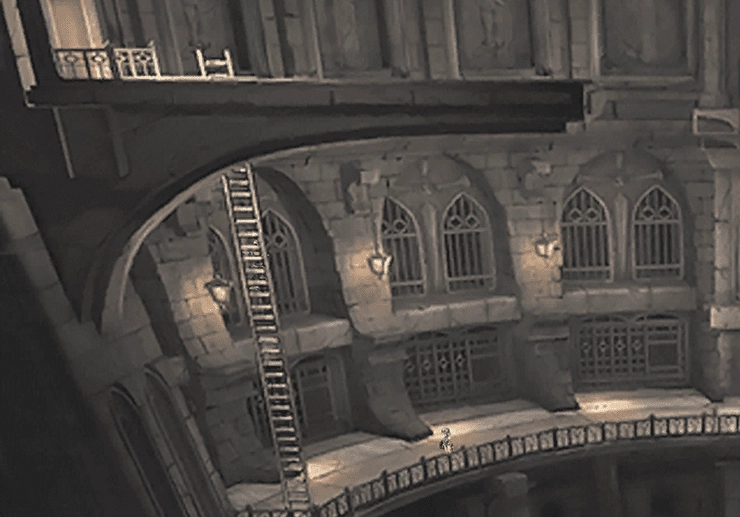
Travel to the left side of the screen towards the ladder (not the one in the center of the screen, but the one past it). You will have to deal with a couple of relatively easy battles against Alexandrian Soldiers.
Steiner Leveling Trick
Note that you can utilize a leveling trick at this point in the game to level Steiner up to level 99 if you choose. You can find more information in the Tips and Tricks section below:
Tips and Tricks

Battling the infinitely spawning Alexandrian Soldiers to level up Steiner in Alexandria Castle.
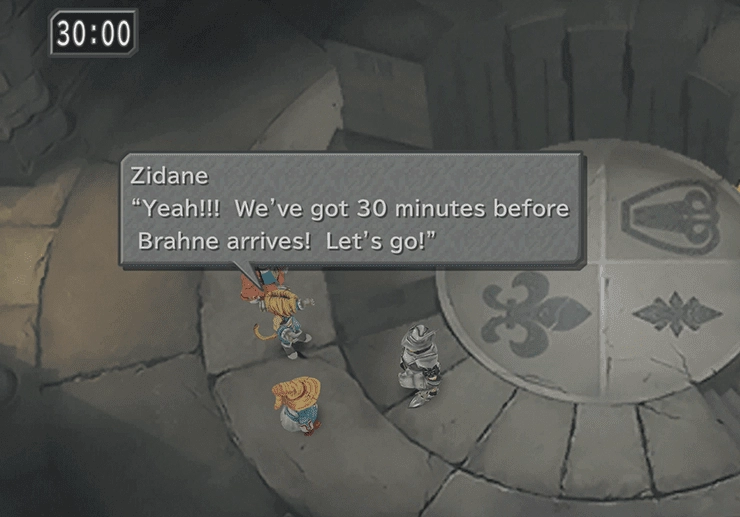
Climb the ladder and take the exit on the left side of the screen. Marcus will make a hasty exit, leaving Steiner all by himself. Zidane, Vivi, and Freya will land close by though leaving you with a full four party members. Ensure that you equip all of them with appropriately high-level weapons and armor.
You are now faced with a 30:00 minute timer to find Princess Garnet. You have the choice of fighting an optional boss named Tantarian at this point in the game. However, due to the difficulty of the fight and the added issues of dealing with the 30:00 minute timer, it is highly recommended that you skip this optional boss until later on in the game.
Alexandria Castle
Travel away from the East Tower through the Courtyard. The Alexandrian Soldiers (the female ones) will chase you down as you run past them. You can avoid an extra fight as long as you do not let them make contact with you.
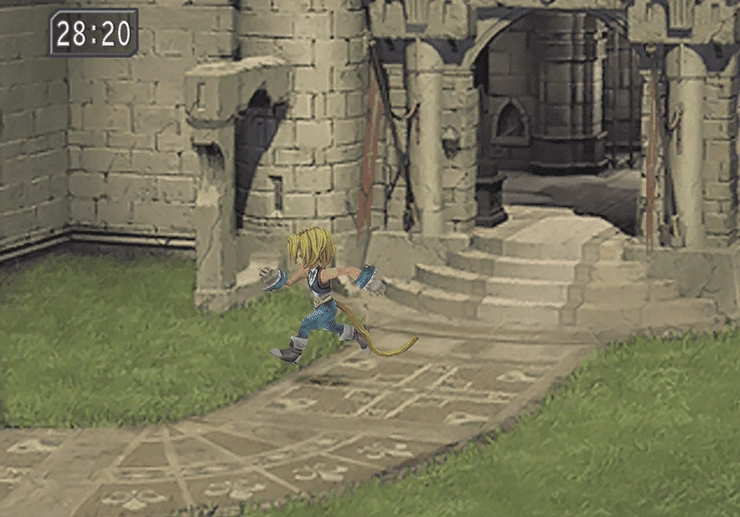
Run north into the main castle, ignoring the other guard house on the far left side. You will have to run past two more Alexandrian Soldiers.
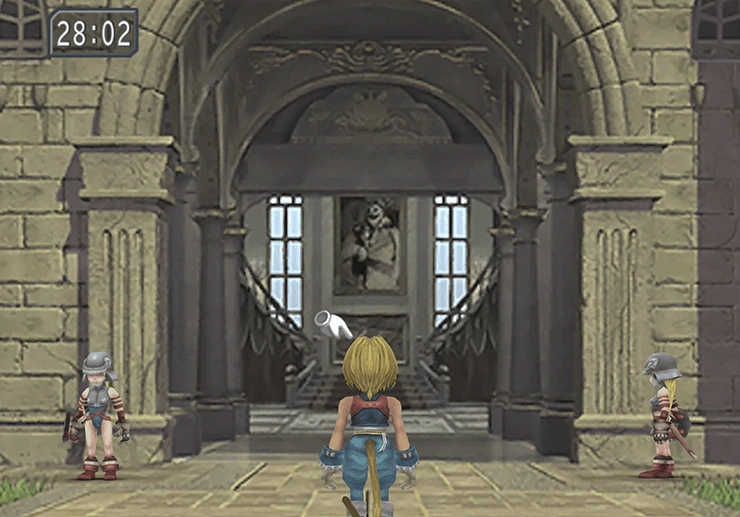
Run over to the far side of the main entrance and go up the balcony. Travel around the balcony and take the bottom-left exit on the opposite side of the staircase. Go up the circular staircase to the area where you first met Princess Garnet.
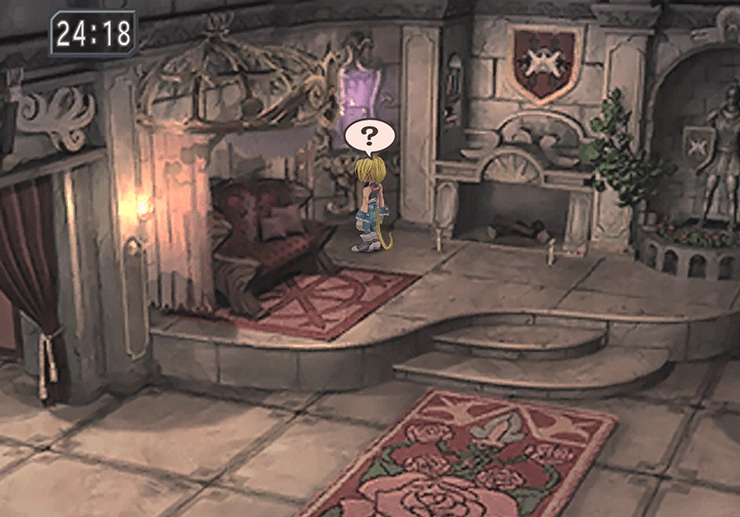
Go through the large double doors on the north side of the hallway that were previously locked. Travel to the back of this room to reach the Queen’s Chambers.
You need to find a secret passageway to proceed, which can be discovered by inspecting the candles near the bed and opting to “Try and move it…” Travel down the secret passage to continue.
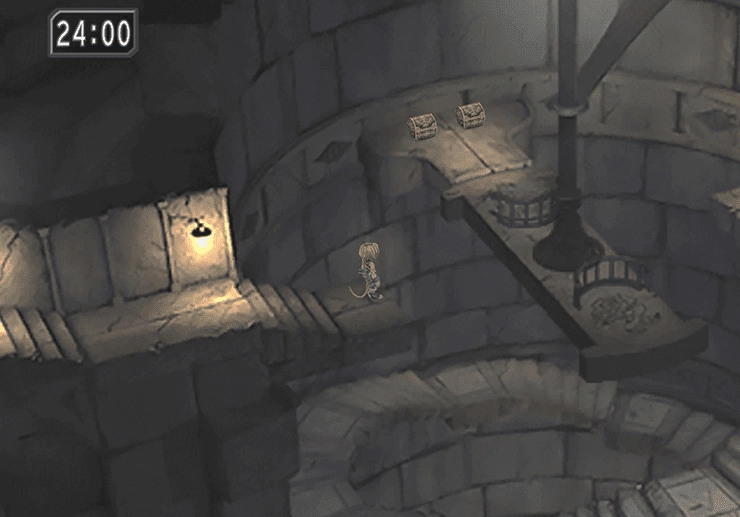
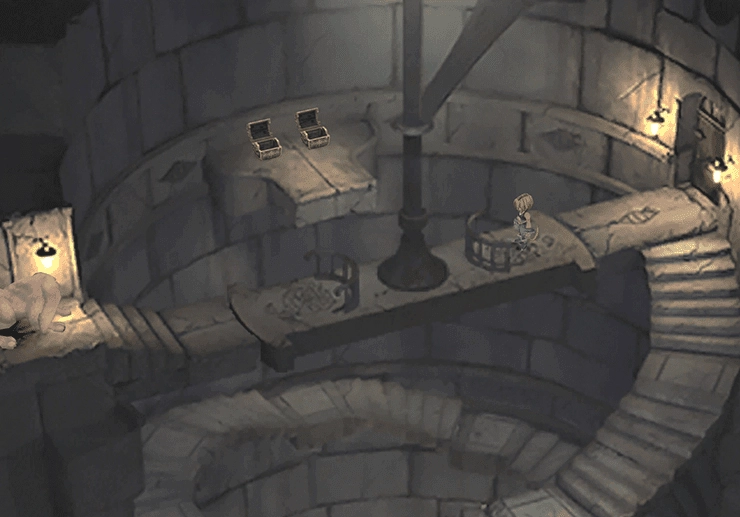
There are two fairly obvious treasure chests that you can see, and both of them can be accessed by timing your movements properly on the swiveling platform. One chest contains a ![]() Tent, and the other contains an
Tent, and the other contains an ![]() Ice Brand.
Ice Brand.
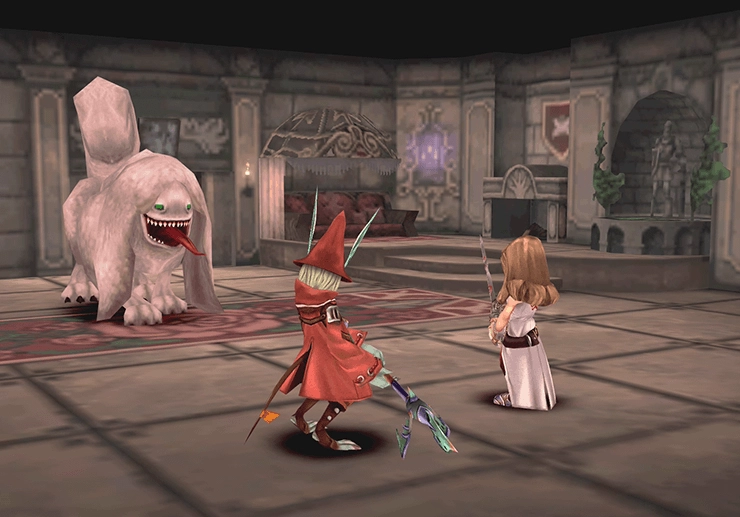
Follow the staircase down into the Underground and take the doorway you see on the north side of the room (shown in the screenshot below). You will be thrown into a boss battle against Zorn and Thorn.

Boss Battle

Level: 16 (Zorn) and 16 (Thorn)
HP: 4,896 (Zorn) and 2,984 (Thorn)
The most important part of this boss fight is making sure that you successfully steal the ![]() Stardust Rod from Zorn.
Stardust Rod from Zorn.
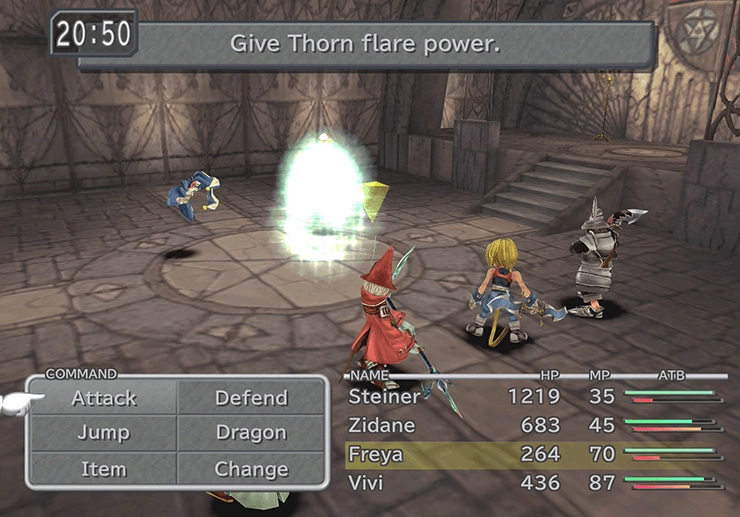
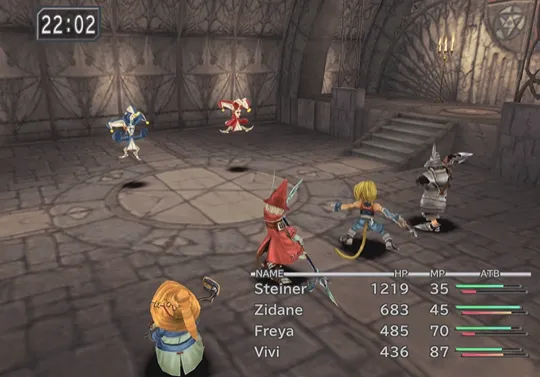
Zorn and Thorn can only attack after one of them “gives power” to the other. You can then attack whoever “received the power” to prevent them from attacking your party members. Attacking the right target can come in extremely handy as Zorn and Thorn‘s attacks are relatively powerful, and not having a healer makes recovering from their attacks all the more difficult. Zorn and Thorn are both susceptible to ![]() Slow magic, so cast it on both of them.
Slow magic, so cast it on both of them.
The battle will end as soon as you fully deplete the HP of either of the clowns.
Steal:
 Partisan (common)
 Stardust Rod (uncommon)
Drops:
 Mythril Armlet (common)
 Mythril Armor (uncommon)
A video demonstration of this battle is included below for reference.
Video Guide
A video demonstration of how to successfully complete the fight against Zorn and Thorn.
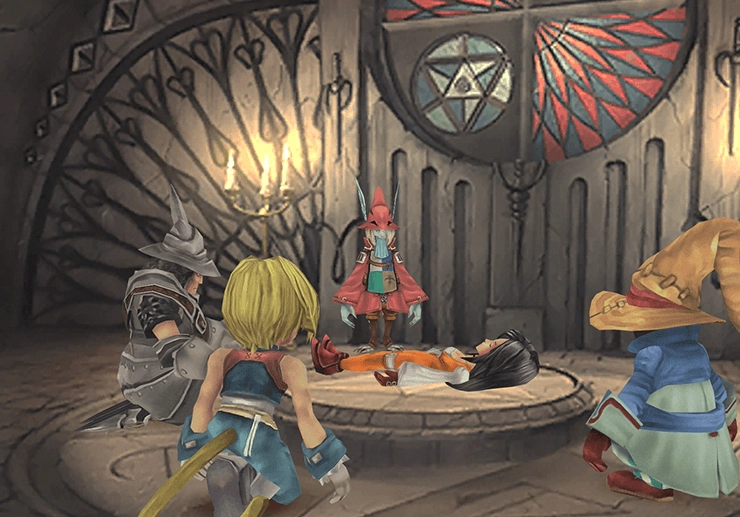
Zorn and Thorn will hastily exit the area at the end of the battle. Run up to the altar to save Dagger after the battle ends. There is an Active Time Event that triggers (and is mandatory) called “Friendship,” which takes the story briefly back to Marcus in the Evil Forest.
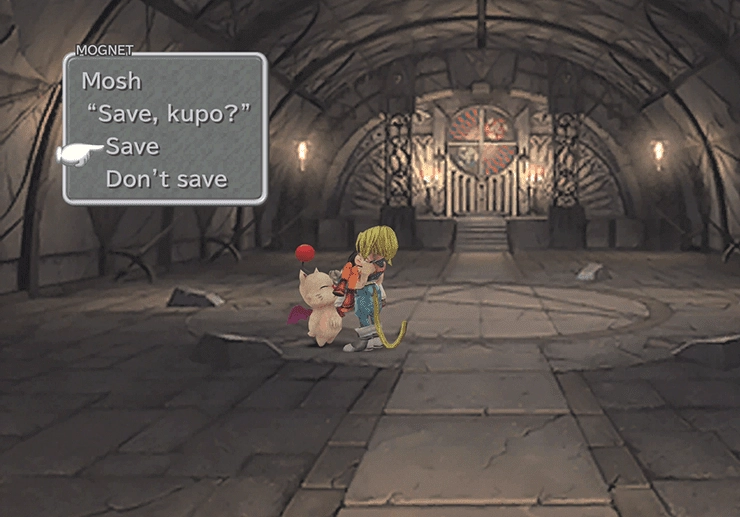
Run back towards the entrance to the Chapel / Alter area and speak to ![]() Mosh the Moogle to save your game. Don’t forget to select the Mognet option to read some new letters including, “Jump-rope Champion Appears!” and “Rumor About Princess Garnet.”
Mosh the Moogle to save your game. Don’t forget to select the Mognet option to read some new letters including, “Jump-rope Champion Appears!” and “Rumor About Princess Garnet.”
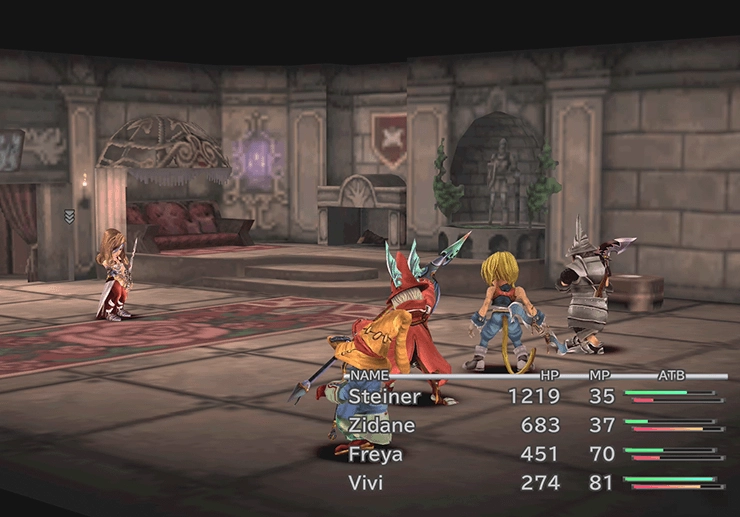
Carry Princess Garnet out of the room and back up to the Queen’s Room. A few more lines of dialog before you move into the next boss battle which is the third fight against Beatrix.
Boss Battle

Level: 19
HP: 5,709
This battle operates similarly to the first and second battles against Beatrix. You cannot actually defeat her, and the battle will automatically end after a set number of turns. It can be difficult to effectively steal all three items from Beatrix before the fight ends, but that should be your primary goal.
Have Vivi use ![]() Slow magic on Beatrix as early as possible in the fight to prologue the battle and improve your chances of successfully stealing. Then just focus on keeping your party members alive through Beatrix’s bombardment of attacks.
Slow magic on Beatrix as early as possible in the fight to prologue the battle and improve your chances of successfully stealing. Then just focus on keeping your party members alive through Beatrix’s bombardment of attacks.
Steal:
 Phoenix Down (common)
 Ice Brand (uncommon)
 Survival Vest (rare)
Drops:
- (Nothing)
A video demonstration of this battle is included below for reference.
Video Guide

A video demonstration of the boss battle against Beatrix at Alexandria Castle.
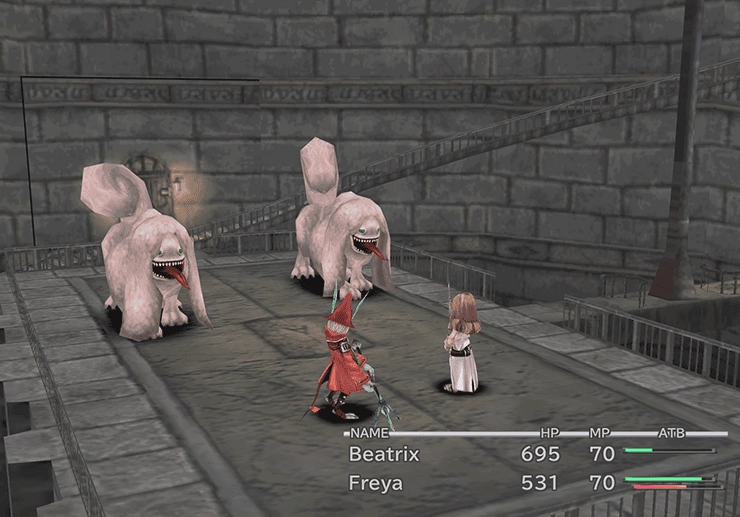
Beatrix realizes her mistakes at the end of the battle and casts a counteractive spell to help Princess Garnet. After reviving her, the team (excluding Freya) will leave through the trap door. You will have to complete the battle involving Freya and Beatrix against the Bandersnatch.
Defeating the Bandersnatch is relatively easy with Beatrix in your party. One attack from each of Freya and Beatrix should defeat it, and you’ll be back in control of Zidane and his party.
Equip Dagger with items if needed, as you have not fought with her for quite a while. A Bandersnatch will appear behind you after you jump on the moving platform. You have the option to fight it if you would like, but there is no reason to waste your time.
Continue down the pathway, and three Black Mages will ambush you in the next screen. The Black Mages (Type C) are also quite easy to defeat. Use Dagger’s healing spells if you need to.
One more battle against two Bandersnatch enemies once you get past the mages. Steiner will leave the party on the next screen and then you will be thrown into battle against another Bandersnatch. The game then jumps back to Beatrix and Freya at the top of the pathway.
Battles against Bandersnatch are much easier with Beatrix in the party. Just have her hammer away at them with regular attacks and use ![]() Cura to keep both hers and Freya’s HP up.
Cura to keep both hers and Freya’s HP up.
Warning
Before you continue downwards as Zidane again, go back into the altar room and speak to ![]() Mosh one more time to pick up another letter for
Mosh one more time to pick up another letter for ![]() Monty and take the opportunity to save your game.
Monty and take the opportunity to save your game.
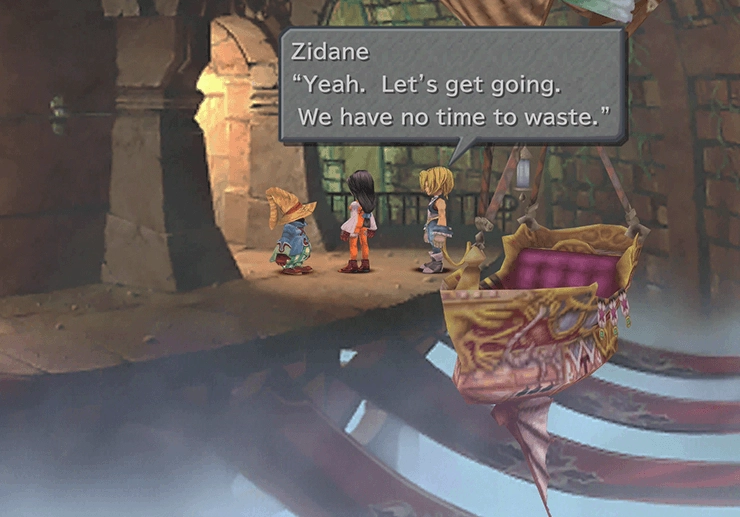
Continue downward, and another trap will spring once you reach the end of the secret pathway, and Zorn and Thorn will jump out. This time, Marcus and Blank will rush out to save the day.
The whole party will jump onto another Gargant and will be thrown into the next boss battle as they travel back to Treno.
Boss Battle
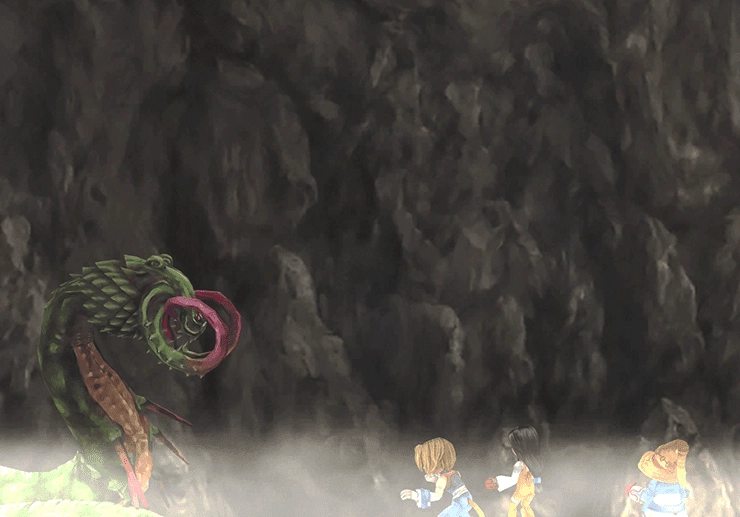
Level: 18
HP: 3,352
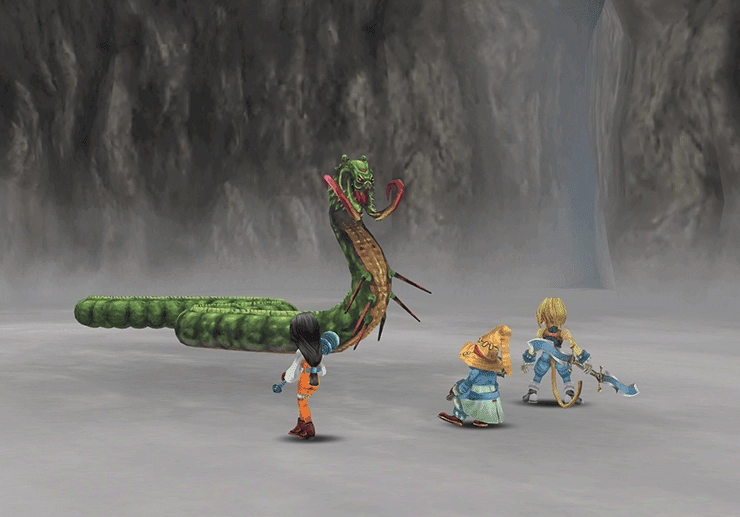
Make sure that you steal all three items from Ralvuimago, especially the ![]() Oak Staff as you can use this to teach Vivi the
Oak Staff as you can use this to teach Vivi the ![]() Bio spell, which is incredibly important later on in the game. You can make this easier by having Vivi cast
Bio spell, which is incredibly important later on in the game. You can make this easier by having Vivi cast ![]() Slow until it sticks.
Slow until it sticks.
Ralvuimago can cast an attack called “Ultra Sound Wave” that can inflict the Mini status effect, which reduces a character’s physical attack power. The only way to remove Mini at this point in the game is to use a ![]() Remedy on the afflicted character.
Remedy on the afflicted character.
When Ralvuimago becomes more compact, it will stop attacking and only counterattack after you hit it. It will only counter physical attacks, which means that you can still hit it with spells (from Vivi) when it is counterattacking. Use Vivi’s ![]() Blizzara spell, as Ralvuimago is weak to ice-based attacks.
Blizzara spell, as Ralvuimago is weak to ice-based attacks.
You can essentially switch between a regular attack and a spell to keep the boss going from compact to non-compact and never actually attacking.
Steal:
- Phoenix Down (common)
- Adaman Vest (uncommon)
 Oak Staff (rare)
Drops:
A video demonstration of this battle is included below for reference.
Video Guide
A video demonstration of how to successfully complete the fight against Ralvuimago.
There are a few more cutscenes involving Zidane, Dagger, and Vivi in the Gargant, and then back at the castle involving Queen Brahne and two assassins before the story moves on to the next area.