Note that the sections of this walkthrough are broken up into the various chapters and overviews given by Marquis Halim Ondore IV.
These walkthrough sections are full of spoilers. Do not read ahead if this is your first time playing through the game.
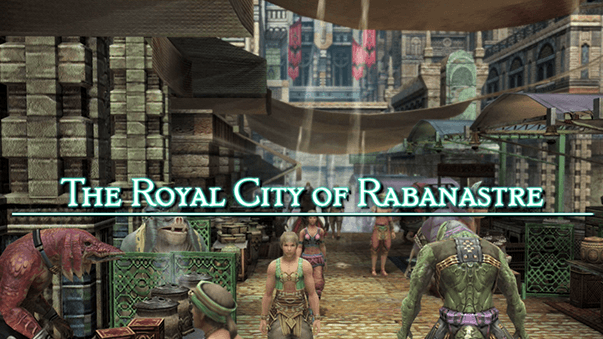
3) Rabanastre
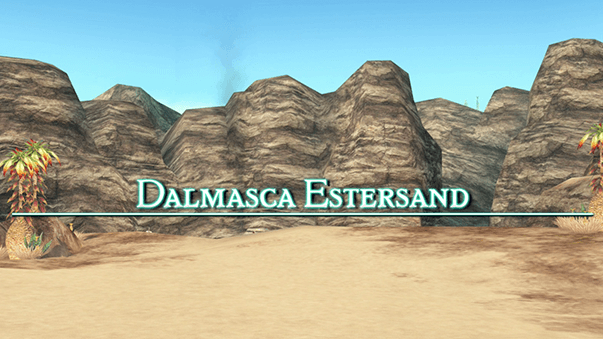
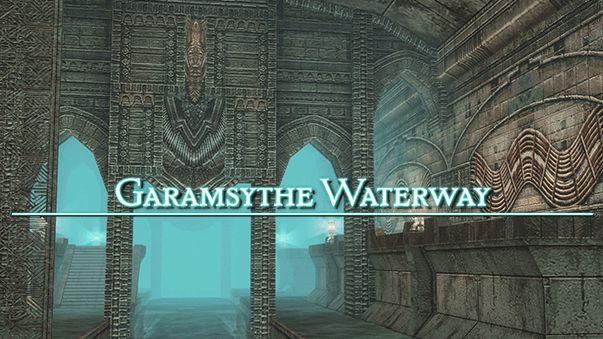
Beginning in the Garamsythe Waterway, Vaan then helps Migelo run errands and completes the first Hunt of the game to track down the Rogue Tomato in the Dalmasca Estersand.
4) Dalmasca Estersand
Tracking down and defeating the Rogue Tomato and collecting the Galbana Lilies that it leaves behind.
5) Rabanastre
Returning to the city to pick up a few new Hunts, access the Clan Hall for the first time and head into Lowtown to meet with Old Dalan.
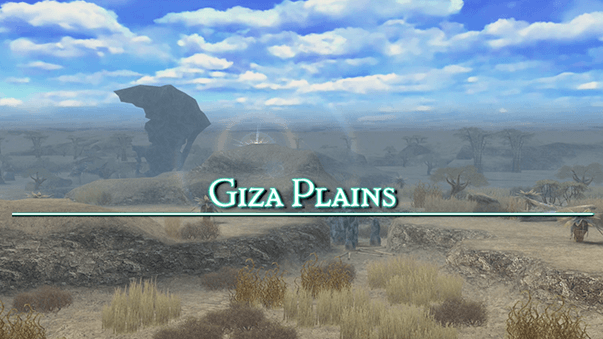
6) Giza Plains
Charging the Shadestone in the Giza Plains using the Dark Crystals scattered throughout the zone to create a Sunstone for Old Dalan.
7) Garamsythe Waterway
Navigating through the under ground waterways so that Vaan can sneak into the Royal Palace.
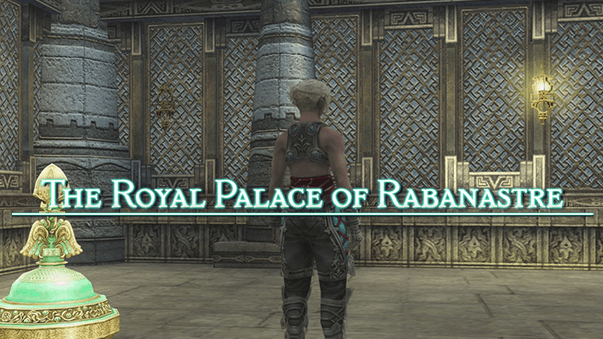
8) Royal Palace
Sneaking past the Imperial Soldiers through the cellars and meeting Balthier and Fran for the first time. The newly formed team obtain the Goddess’s Magicite before retreating back to the Garamsythe Waterway
9) Garamsythe Waterway
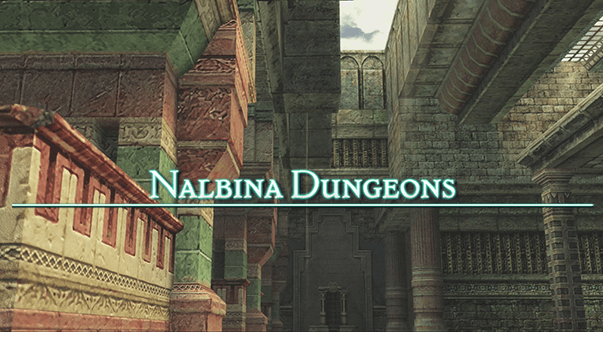
Traversing through the waterways again and running into Amalia/Ashe being chased by some Imperial Soldiers. The team is captured by Lord Vayne shortly after and thrown into the Nalbina Dungeons.
10) Nalbina Dungeons
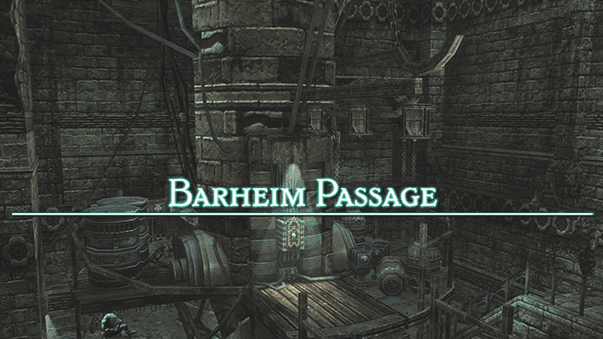
Waking up in the Stockades, battling a Seeq gang and quietly escaping through the Confiscatory by following a Judge down into the Barheim Passage.
11) Barheim Passage
Rescuing Basch from his prison cell; Basch joins the party and helps them escape from Nalbina by traveling through the darkest reaches of the passage defeating Battery Mimics along the way to keep the lights on.
12) Dalmasca Estersand
Traveling with Basch back to Rabanastre after leaving the Barheim Passage.
13) Rabanastre
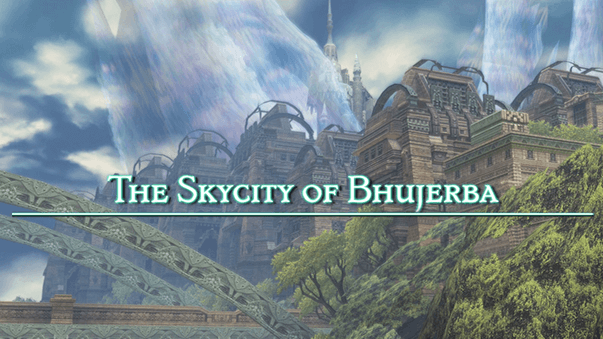
Picking up new Hunts, purchasing new items and equipment and completing a few of the side quests before heading to the Aerodrome and using the Strahl to head to Bhujerba.
14) The Skycity of Bhujerba
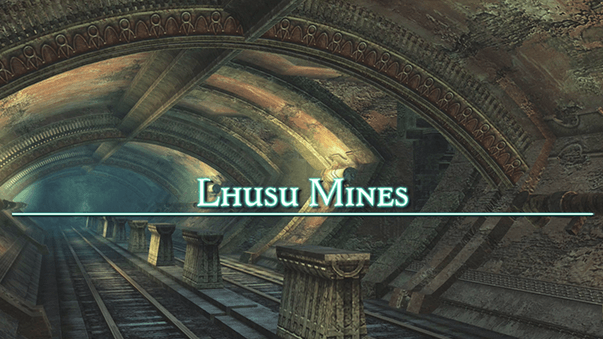
Meeting up with Lamont / Lord Larsa for the first time, exploring the town for new items and equipment and heading to Lhusu Square to find the entrance to the Lhusu Mines.
15) The Lhusu Mines
Heading through the Lhusu Mines with Larsa, grinding for License Points and EXP on the Shunia Twinspan and reaching the Nethicite mines in Site 2 to rescue Penelo. The team escapes by either defeating or running from Ba’gamnan and his associates.
16) The Skycity of Bhujerba
Traveling through the city trying to increase Basch’s notoriety and completing a few of the available Hunts and side quests.
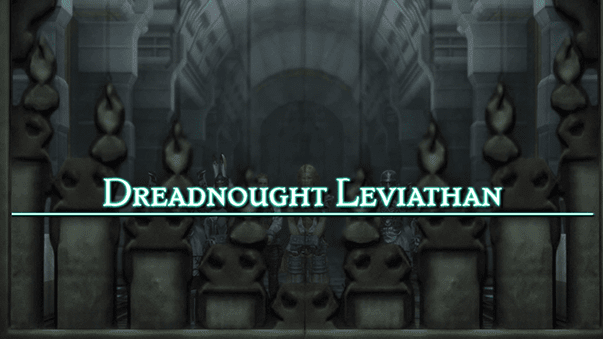
17) Dreadnought Leviathan
Assisting Vossler with tracking down and freeing Princess Ashe in one of the cells on the ship. The team then makes their way back through the ship to escape, narrowly avoiding disaster.
18) Interlude
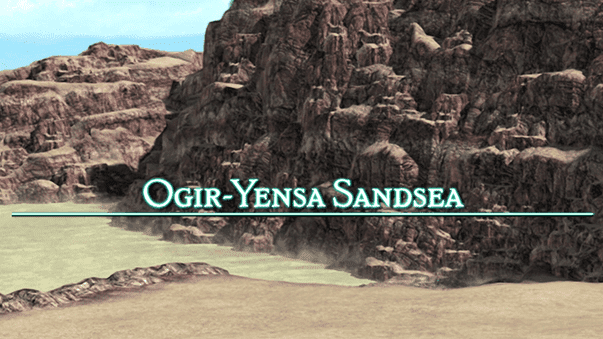
Returning to the Aerodrome in Bhujerba and then the Dalmasca Westersand. There are a number of side quests and Hunts that can be completed before heading into the Ogir-Yensa Sandsea.

19) Ogir-Yensa Sandsea
Traveling across the tanks and platforms on the way towards the Nam-Yensa Sandsea and then the Tomb of King Raithwall. The team will have to battle with the Urutan-Yensa along the way.
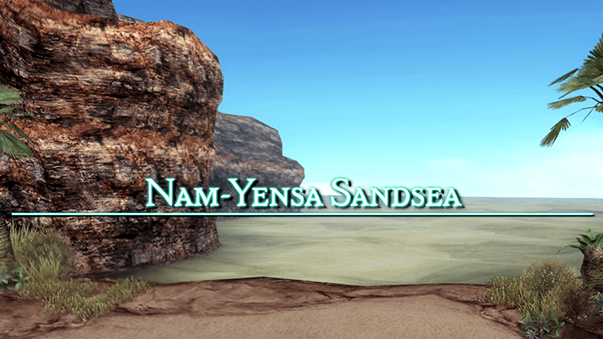
20) Nam-Yensa Sandsea
Completing a small side quest involving the Sandsea Moogle and defeating the Urutan Eater before continuing on to the Tomb of King Raithwall.
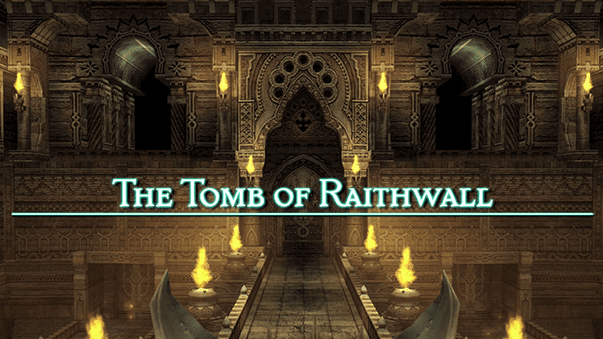
21) The Tomb of King Raithwall
Venturing through the tomb, battling against the Demon Wall bosses and the first Esper named Belias, to obtain the Dawn Shard in the Chamber of First Light.
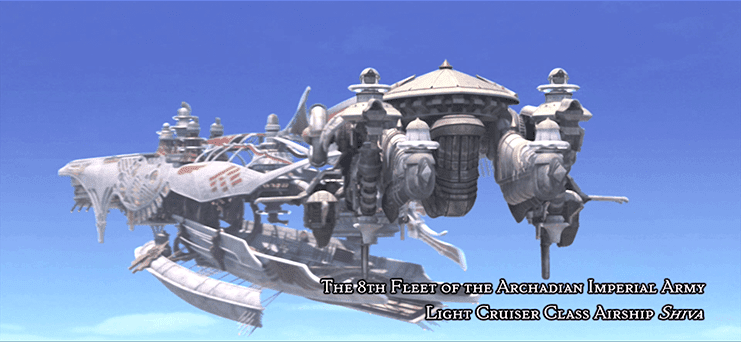
22) The Shiva
A final showdown against a former ally just before the ship explodes.