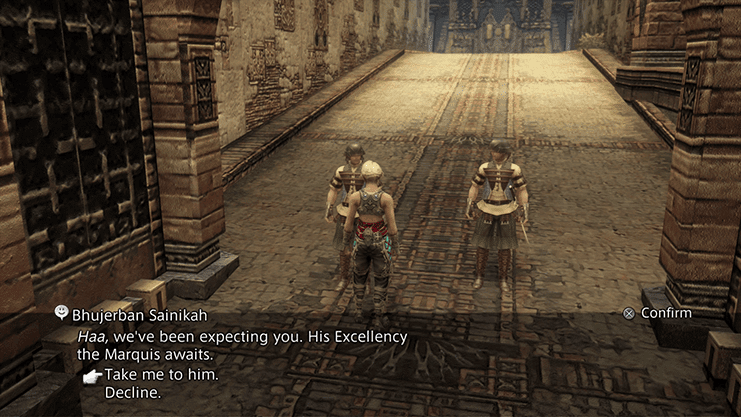
Speak to the Bhujerban Sainikah in the northern section of Travica Way in Bhujerba when you are ready to continue into the next section of the game. There are a number of cutscenes that take place before the gameplay continues aboard the ship.
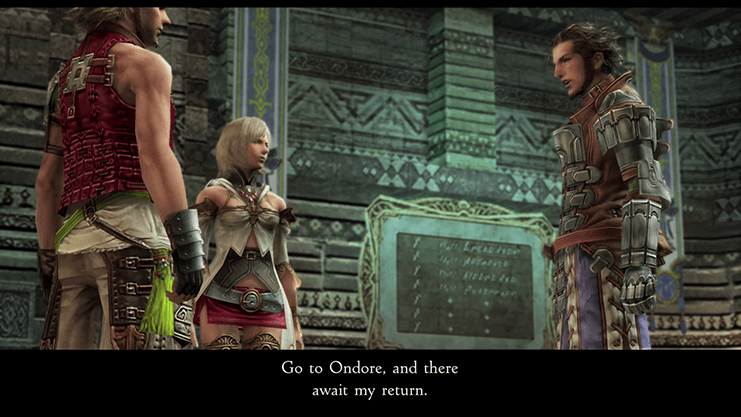
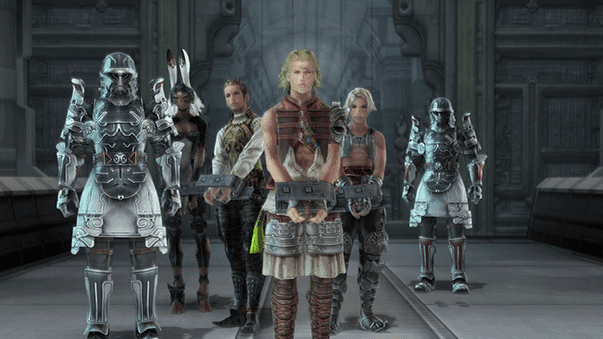
The first scene involves Basch and the rest of the team speaking to the Marquis. He pleads with the Marquis to help him rescue Amalia, the girl that Vaan met in the Garamsythe Waterways. The Marquis will arrest the entire party and order that they be taken to Judge Ghis.
There is another cutscene involving Lord Vayne Solidor speaking to a Judge named Gabranth in his chamber discussing the fact that Basch has been captured.
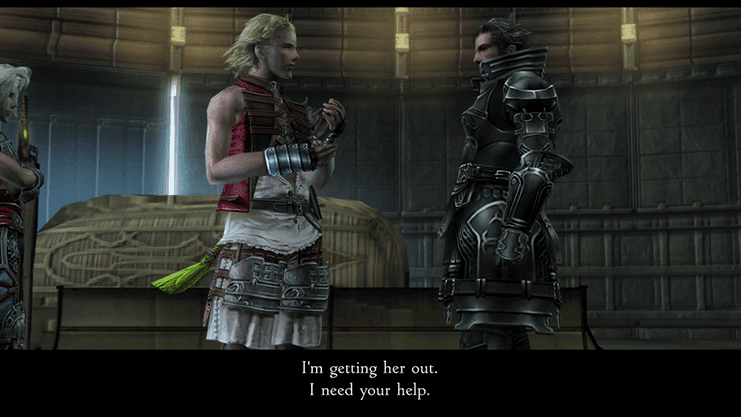
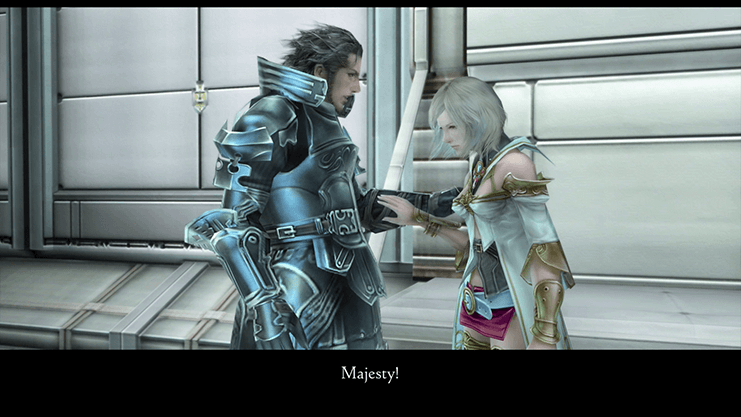
Vaan, Balthier, Fran and Basch will fly to and arrive aboard the Dreadnought Leviathan where they will meet up with “Amalia”, also known as Ashelia B’Nargin Dalmasca, or Ashe. Vaan will give the stone to Judge Ghis just before the entire team escapes their captors.
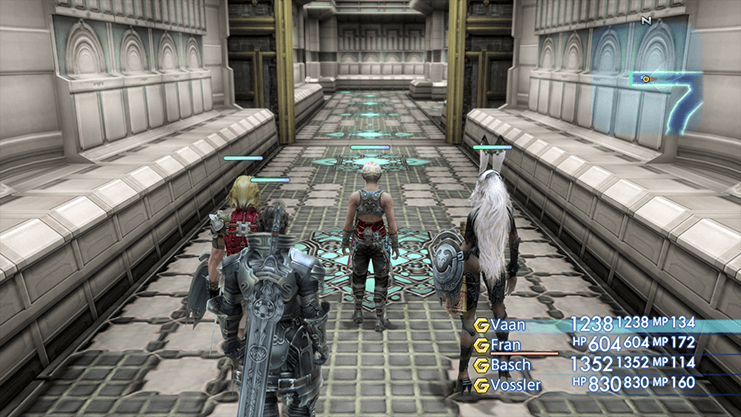
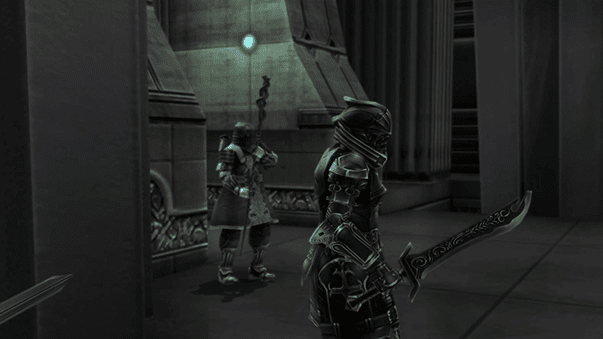
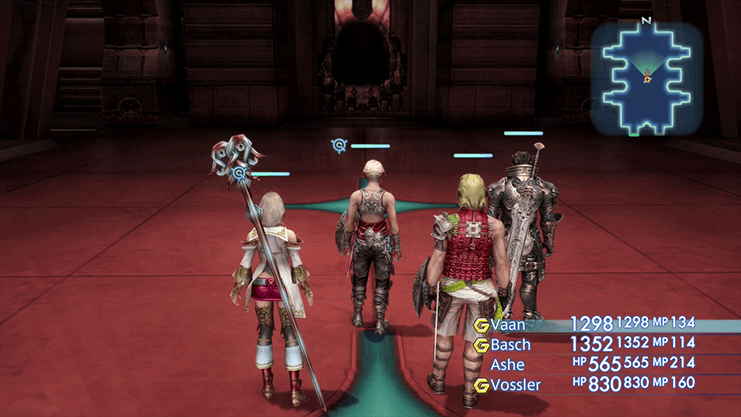
Vossler will join your party as a guest as you travel through the ship with your party. He sports a two-handed sword and is extremely powerful.
You will also receive a Map of the Leviathan which will be helpful for navigating through the ship. The next objective is to locate Princess Ashe.
Use the Save Crystal to save your game and then proceed through the doorway heading eastward.
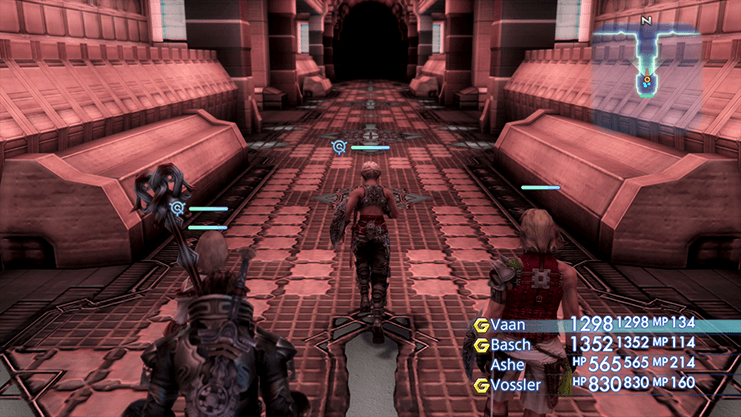
Vossler will give you a word of caution before you set out. There are numerous webs of red laser lighting that you will encounter as you travel through the ship. Some of them are fairly obvious and you can see them well in advance as you approach.
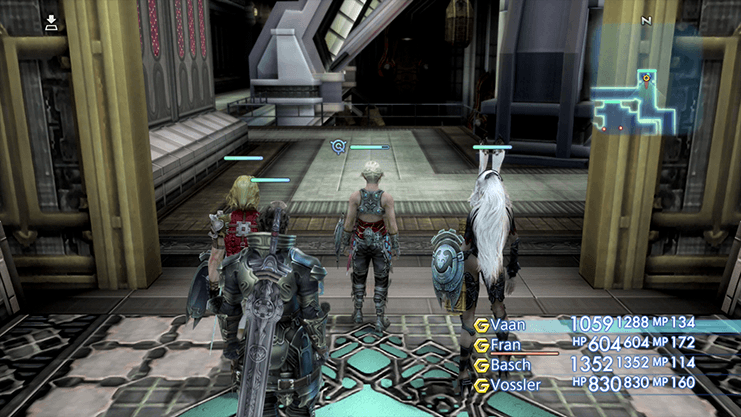
Others don’t appear until you are very close or will appear behind you after you have entered a particular tunnel. Crossing them will alert all of the guards in the area.

You will have to defeat each of the guards that appear, but aside from that, there are no other negative consequences to walking through the lasers. Be careful as your party members will sometimes run through the laser walls in order to attack nearby guards depending on which Gambits you have set up for them.
Use the map below to help you navigate through the ship:

You can choose to go two directions from this room.
You can either take the stairwell down into the center of the room and fight your way through a heavy guard which is a slightly shorter route. The alternative, and easier route, is to take the slightly longer way around to the back (recommended). Take the doorways on the east side of the room to take the easier route.

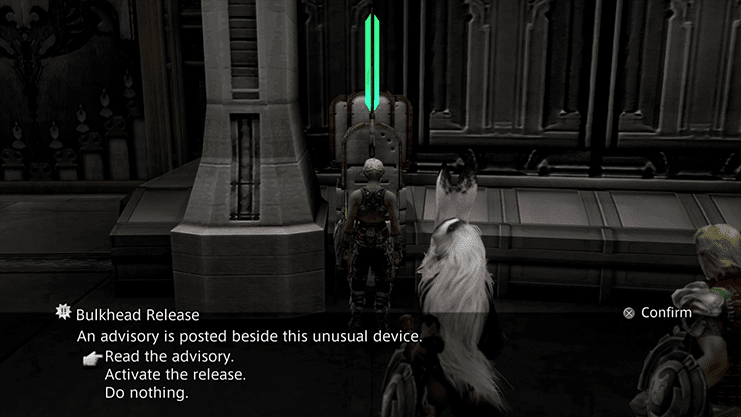
Travel all the way north through the Starboard Section until you reach the northernmost wall and you will find a Bulkhead Release mechanism on the wall (shown in the screenshot below). Choose to “Activate the release” which will open the Bulkhead Door.
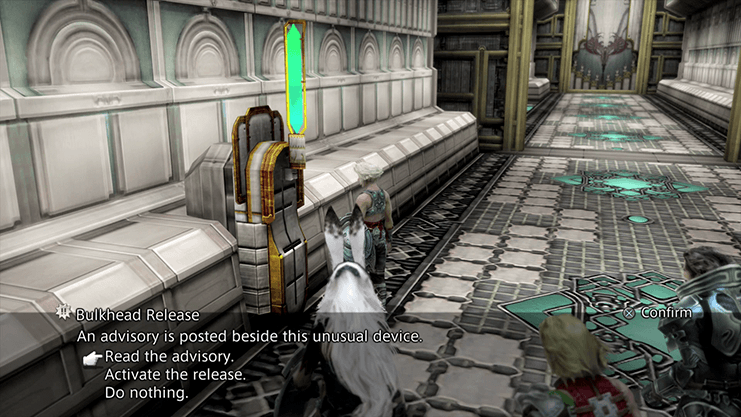
Note that you cannot activate the release while the alarm is going off. Wait until the alarm has turned off before attempting to Activate the Release and then go through the door.
All of the Imperial Guards need to be defeated in this room before you can activate the Bulkhead Release mechanism. The mechanism can be found on the north wall and it activates a Bulkhead Door in the center of the room which can be reached by approaching from the north side of the room, walking directly south from the Bulkhead Release.
Go directly south and ignore the pathway leading to the left/right or west/east.
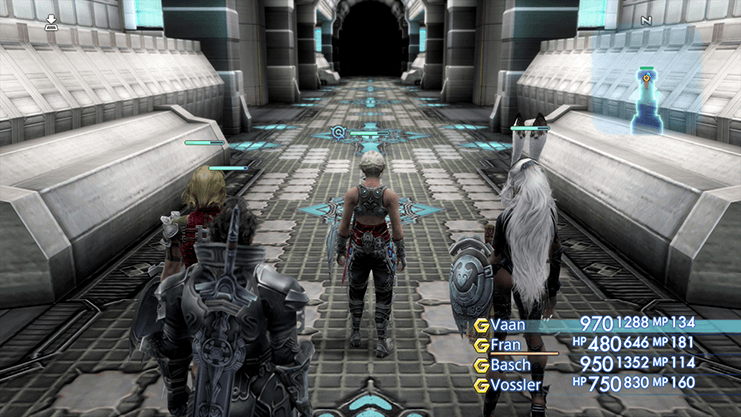
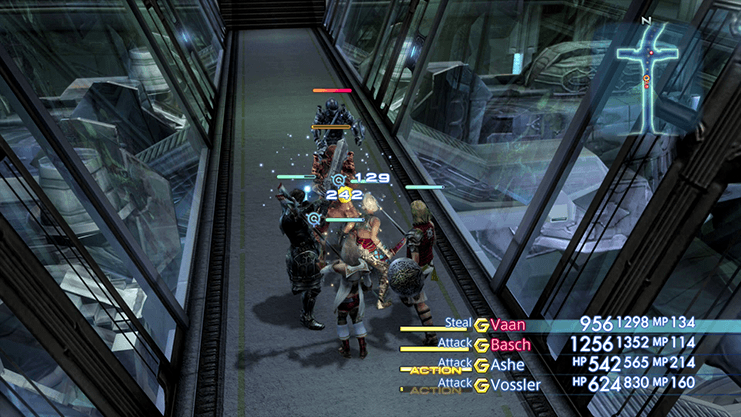
All pathways lead to the Central Block and a short cutscene will take place as soon as Vaan, Basch, Balthier, Fran and Vossler enter the room. This is a mini-boss fight that can be a little difficult.
Follow Vossler’s advice and focus your attacks on the two “leaders”, the Judges, and the fight will end automatically. The other Imperial Guards do a hefty amount of damage – switch more than one of your party members to healing if needed and toss out a few ![]() Potions or
Potions or ![]() Cure Magick.
Cure Magick.
The Judges will use a fairly powerful attack when they get low on HP (called Tri-Attack) so make sure you take them all the way out once they start to get low. You can use Blind on all of the enemies if you are having difficulties with this fight.
The reward for defeating the judges is the No. 1 Brig Key. Take the southwest exit into Brig No. 1.
There are four cells in this room. Cell C-201 leads to a Save Crystal and an Urn which contains the Systems Access Key. This key will allow you to access the security systems throughout the Dreadnought Leviathan and temporarily disable the security systems.
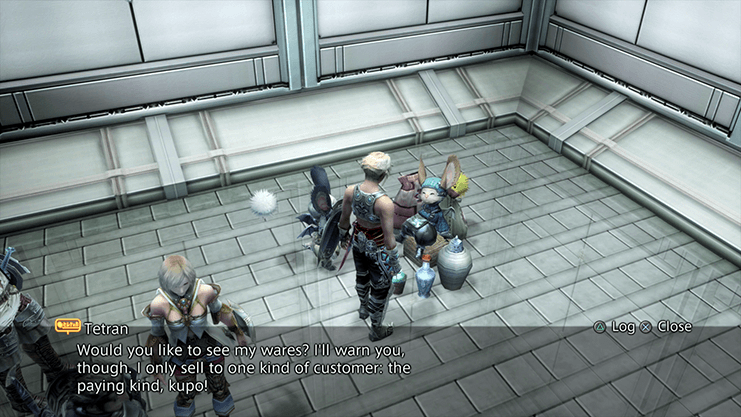
C-203 leads to a Moogle named Tetran who sells all kinds of interesting wares, including:
There are no weapons, armor, accessories, Magick, Technicks or Gambits that you should not already have, but make sure that you have purchased the ![]() Blind and
Blind and ![]() Immobilize Magicks and that you have as many of the Gambits that you can afford (including Self).
Immobilize Magicks and that you have as many of the Gambits that you can afford (including Self).
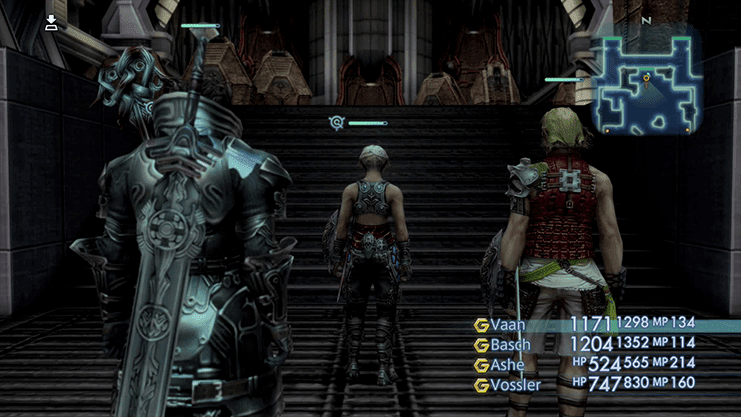
Open up C-202 to find Princess Ashe. Ashe will agree to join your party despite the fact that she will have to team up with Basch.
You now have your fifth party member with just one party member left to rescue: Penelo.
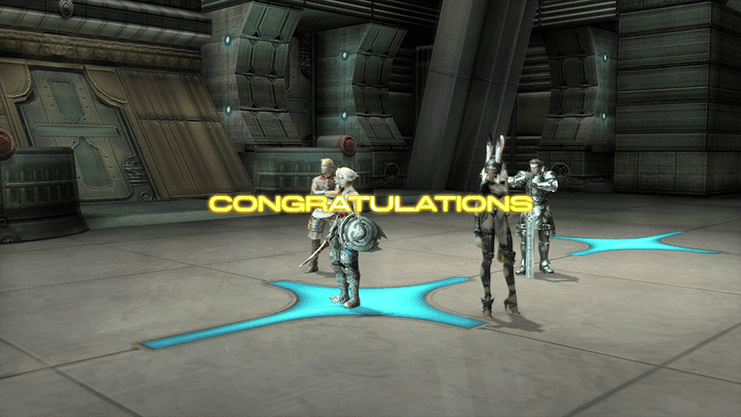
The Fated Meeting Trophy is automatically obtained once you rescue Princess Ashe from cell C-202 on board the Dreadnought Leviathan.
Ashe joins the party at the same level as the average level of all of the other party members. She comes with a completely clean slate worth of License Points allowing you to fully customize her.
In the original PlayStation 2 release of the game, Ashe has very high MP growth and Magick Power, with average growth for other stats including Strength, Speed, Vitality and HP. This makes her quite well suited to being a Black/White/Red Mage but she can function successfully in any role (including both damage dealer or tank if you decided to).
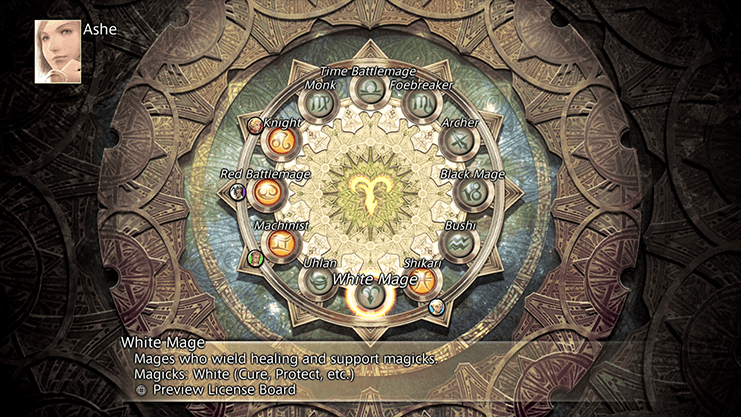
Depending on which version of the game you are playing you can take several different approaches. Check out the Party Setup page of the Tips and Tricks section for more information.
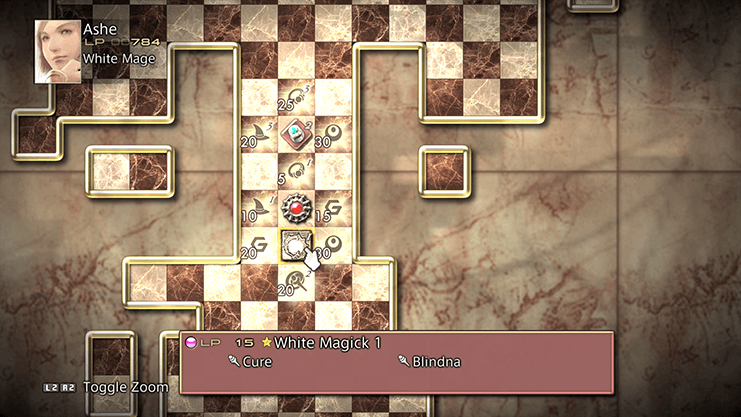
No matter which setup you use for Ashe (if you plan on using her that is) make sure that you attempt to get her to two Quickening locations on the License Board if you are playing the original PlayStation 2 version.
These will double her MP in addition to giving her access to extremely powerful moves. Use the License Board map to help you locate those spots – License Board information can be found in the License Board section of the strategy guide.
If you are playing the Zodiac Age version of the game, take some time to set up a strategy and select the right Job for her as well.
You may still find yourself running out of MP as you continue through the game. There are a few other strategies you can employ to conserve and regain MP that are detailed in the MP Conservation section of the General Playthrough Tips.
Take some time to set Ashe up with Gambits and proper equipment for her class (which can be purchased from Tetran in the other cell). Head north leaving the room once you have Ashe all ready to go and you are ready to continue with the game.
An alarm will sound and a short cutscene will take place when you leave Brig No. 1. Ashe will complain about teaming up with Basch again but will decide to stay with the team in order to escape the Dreadnought Leviathan.
You now have to travel all the way back to where you started: the Port Launch area. But you can take a shortcut to get there. Travel north through the Central Brig Access into the next room.
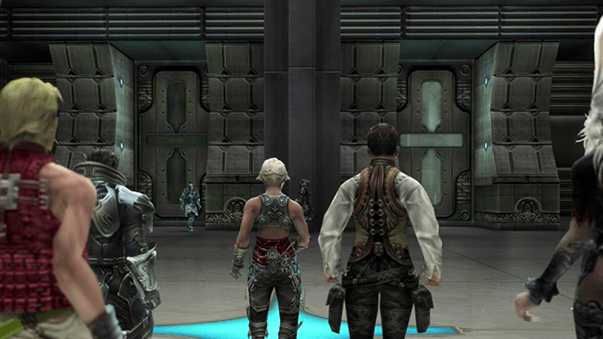
Instead of traveling directly north the way you came, take either the left or right pathway which circles back around to the south. You can see one of these paths in screenshot and mini-map below.
Take the doorway on the southern wall to travel directly back to the bottom level of the Large Freight Stores room.
Defeat the enemies on the lower level when you first enter and then examine one of the Security Stations on either side of the room.
The Systems Access Key can be inserted into the station which will give you the option to either “View Security Report” or “Reset Alarm”. Choose to reset the alarm.
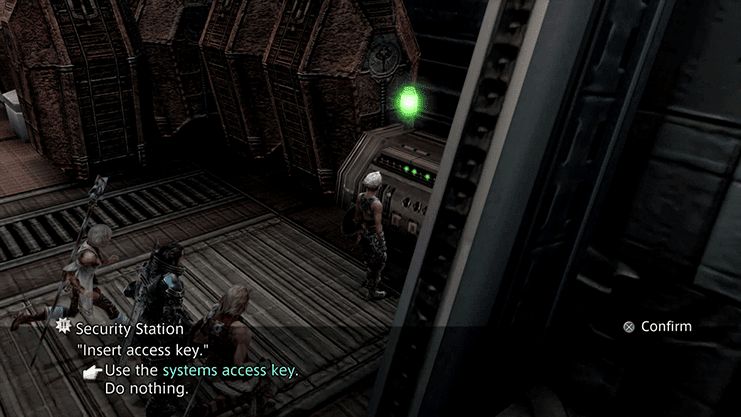
This will give you a 60 second timer which will prevent additional Imperial Soldiers from spawning as you work your way back to the Port Launch area. Climb the stairs and head north through the door.
Follow the pathway to the west side of the Port Section and a cutscene will start up. Vaan and his party will run into Lord Larsa and Penelo.
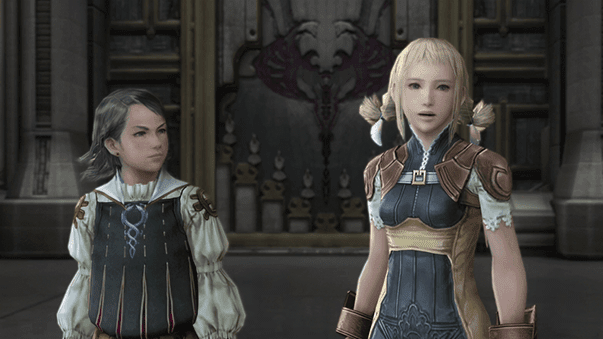
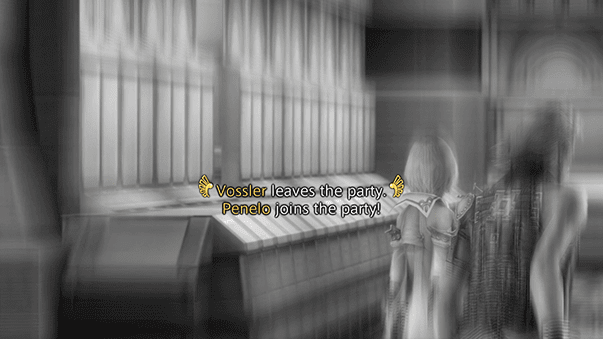
Lord Larsa will allow the team to leave and to take Penelo with them while Vossler will leave the team to attend to Larsa. You now have the option of adding Penelo to your party (by removing one of the other three team members).
Larsa will also give Penelo the piece of ![]() Manufactured Nethicite. This is both a Key Item and an accessory that you can equip.
Manufactured Nethicite. This is both a Key Item and an accessory that you can equip.
Manufactured Nethicite is an interesting accessory. It will reduce damage taken from all elemental attacks but it permanently Silences the character that equips it preventing them from casting any Magick.
While this can appear useful for a physical attack based character, the reduced utility of a character that cannot use Magick spells is generally not worth the increased defense.
There is an upcoming boss fight in the next room. This boss has a number of additional enemies that will join the battle. You may want to prepare your party by creating some Gambits to cast ![]() Blind and
Blind and ![]() Slow on the main boss and/or Disable on the enemies that join the fray.
Slow on the main boss and/or Disable on the enemies that join the fray.
The final move that the boss casts is Magick-based; much of this damage can be prevented by casting ![]() Shell Magick on your party members if you have that spell available.
Shell Magick on your party members if you have that spell available.
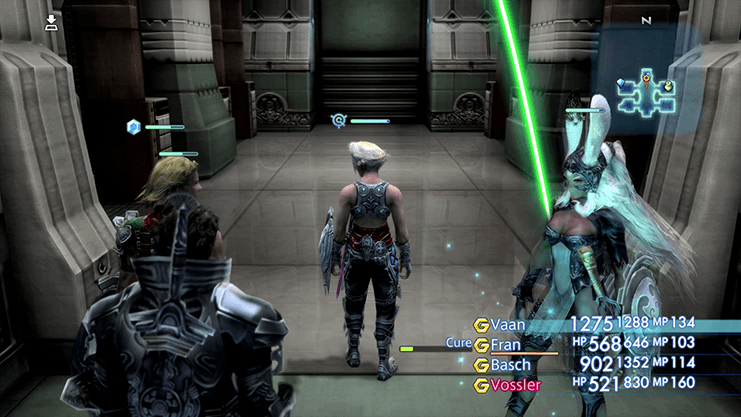
The battle begins as soon as you enter the room.
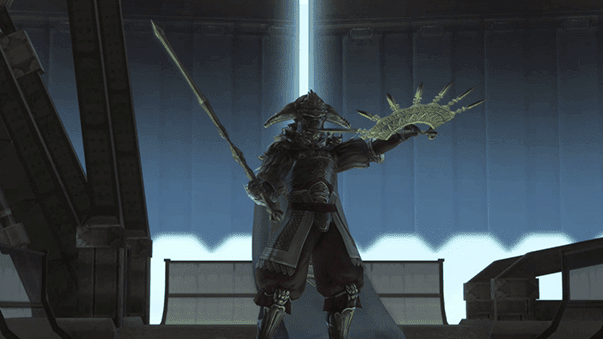
Level: 14
HP: 4,120
Steal: ![]() Potion (55%),
Potion (55%), ![]() Dark Mote (10%),
Dark Mote (10%), ![]() Germinas Boots (called Jackboots in the original version) (3%)
Germinas Boots (called Jackboots in the original version) (3%)
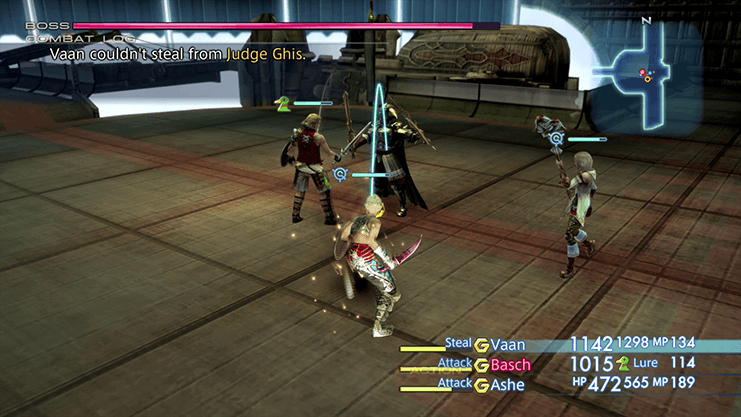
You should start off this fight by focusing on and killing each of the three Imperial Soldiers that join the fight from behind. The lackeys are fairly easy to defeat early on but can cause some serious damage to your party members later on in the fight as Judge Ghis starts to lose HP.
As mentioned above, you can cast ![]() Blind and
Blind and ![]() Slow on Judge Ghis and you can also cast
Slow on Judge Ghis and you can also cast ![]() Disable on the Imperial Soldiers to make them easier to defeat. Conversely, Judge Ghis has a chance of inflicting
Disable on the Imperial Soldiers to make them easier to defeat. Conversely, Judge Ghis has a chance of inflicting ![]() Blind on whomever he is attacking, so make sure to have either a
Blind on whomever he is attacking, so make sure to have either a ![]() Blindna or
Blindna or ![]() Eye Drops Gambit set up to deal with this negative status effect.
Eye Drops Gambit set up to deal with this negative status effect.
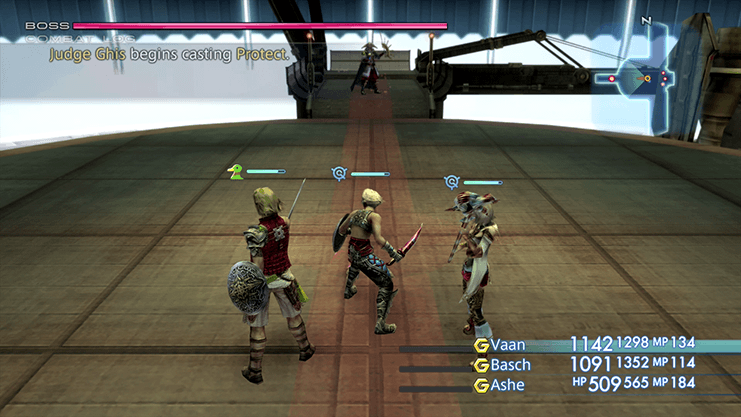
Judge Ghis will cast ![]() Protect and
Protect and ![]() Shell on himself and there is no way to remove either of these buffs. He also has very high damage reduction (up to 30%) making him hard to take down. He also has some heavy hitting attacks (which can combo easily) and Magick spells. You can reduce the impact of these attacks by casting
Shell on himself and there is no way to remove either of these buffs. He also has very high damage reduction (up to 30%) making him hard to take down. He also has some heavy hitting attacks (which can combo easily) and Magick spells. You can reduce the impact of these attacks by casting ![]() Protect and
Protect and ![]() Shell on your party members (or setting up Gambits to take care of this for you).
Shell on your party members (or setting up Gambits to take care of this for you).
A video of this battle in the Zodiac Age version is included below:
The battle ends before Judge Ghis loses all of his HP. The team will stun Judge Ghis, rather than actually defeating him, allowing them to make a hasty escape. Vossler secures an Atomos ship for them to get away in.

Fran will fly the ship away from the Dreadnought Leviathan subtly enough not to be noticed and the team will return to the Aerodrome in Bhujerba.