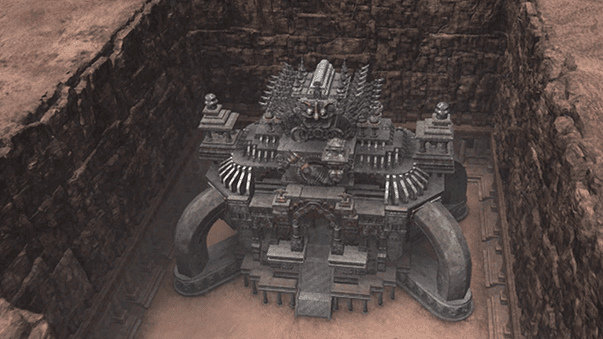
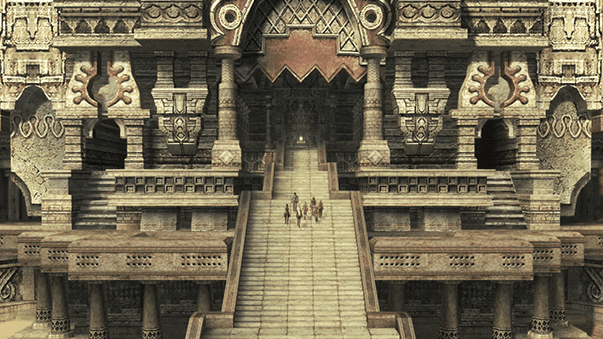
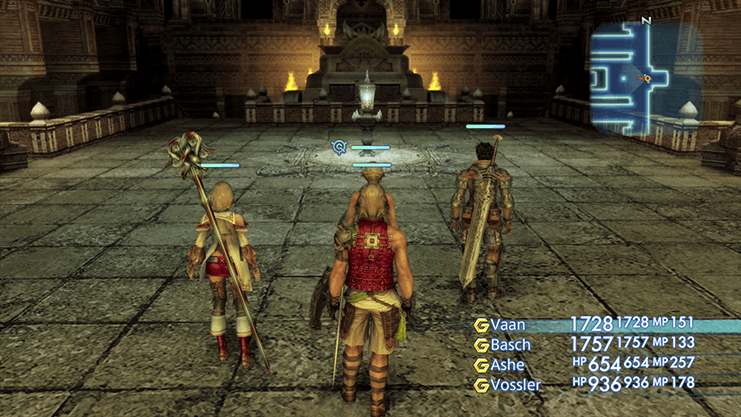
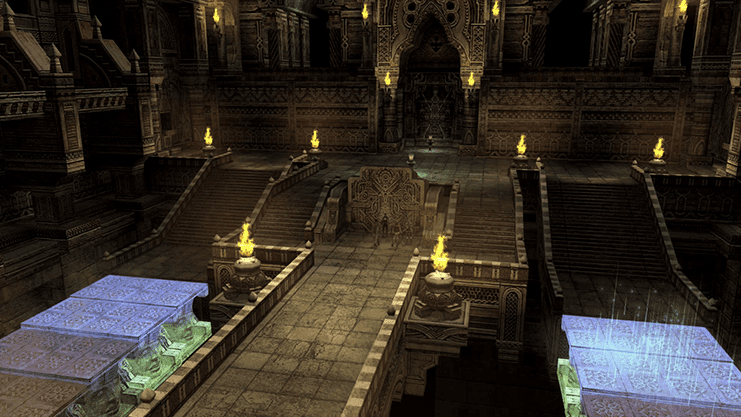
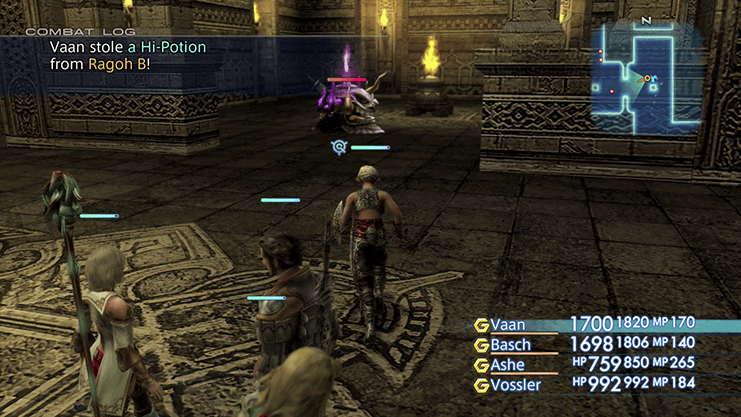
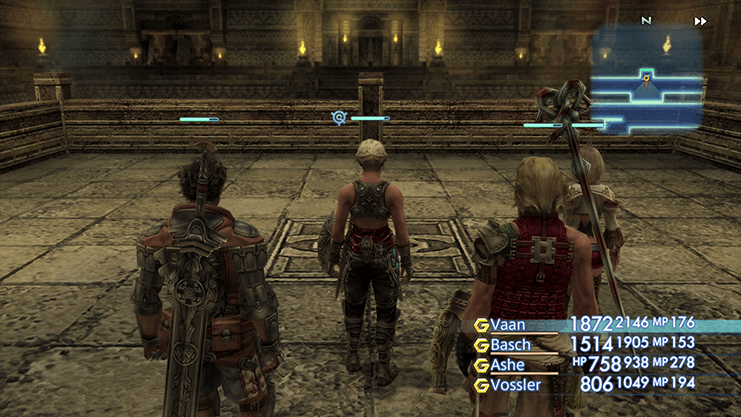
The party enters the Tomb of Raithwall from the Nam-Yensa Sandsea coming from the west. As soon as you enter the area you will be given the option to save your progress without needing a Save Point.
Save your game in preparation for an upcoming boss fight. The boss fight will not begin until you approach the stairway.
You should prepare for the upcoming boss battle by pre-emptively casting ![]() Protect on all of your party members. Having the
Protect on all of your party members. Having the ![]() Eksir Berries on hand from the short side-quest in Nam-Yensa will make this battle much easier, so make sure that you complete that side quest if you are having trouble.
Eksir Berries on hand from the short side-quest in Nam-Yensa will make this battle much easier, so make sure that you complete that side quest if you are having trouble.
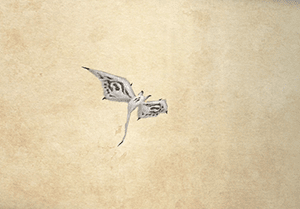
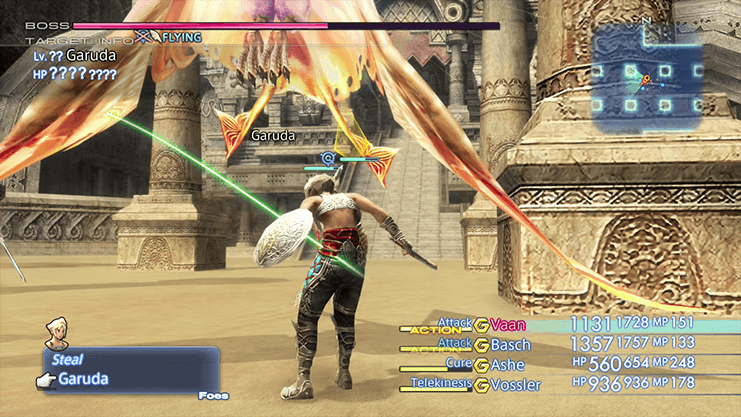
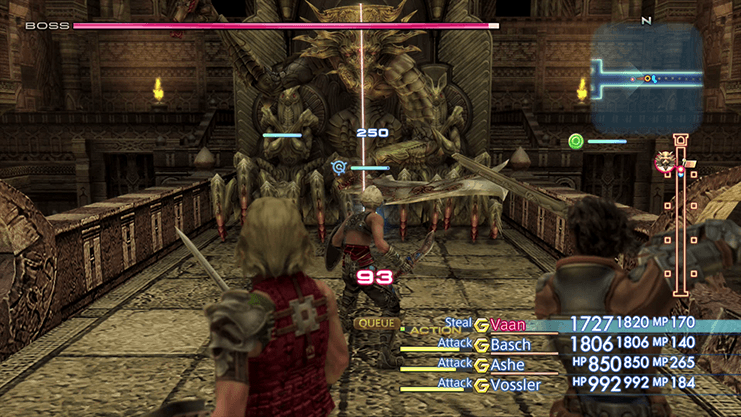
You should also set up all of your characters with some type of ranged attack, such as Magick or ranged weaponry, as the boss is a flying-type enemy that cannot be hit with regular melee attacks.
Level: 16
HP: 6,754
Steal: ![]() Gold Needle (55%),
Gold Needle (55%), ![]() Giant Feather (10%),
Giant Feather (10%), ![]() White Fang (3%)
White Fang (3%)
Make sure that each of your characters are using ranged attacks for the duration of this boss fight. It may appear as though your melee, regular attacking characters are attacking the boss, but none of their hits will be landing and they will not be doing any damage to Garuda.
The boss is susceptible to ![]() Blind Magick, but it is much more susceptible to the use of the
Blind Magick, but it is much more susceptible to the use of the ![]() Eksir Berries which you should have in your inventory. The Eksir Berries can be used to lower Garuda’s attack power and to dispel its enrage effects (which kick in causing it to do more damage once its HP gets low).
Eksir Berries which you should have in your inventory. The Eksir Berries can be used to lower Garuda’s attack power and to dispel its enrage effects (which kick in causing it to do more damage once its HP gets low). ![]() Dark Magick is particularly effective against Garuda.
Dark Magick is particularly effective against Garuda.
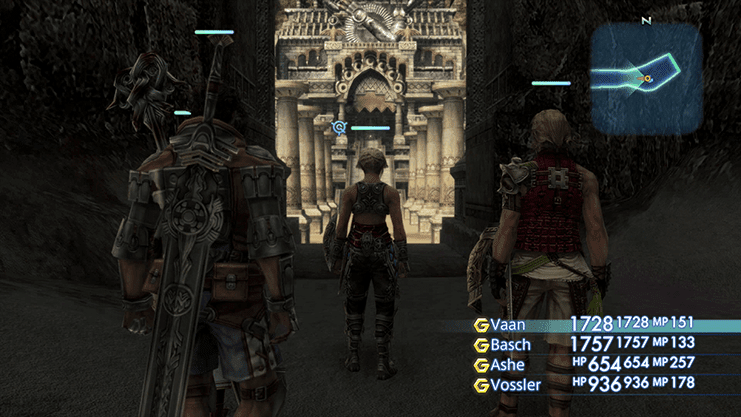
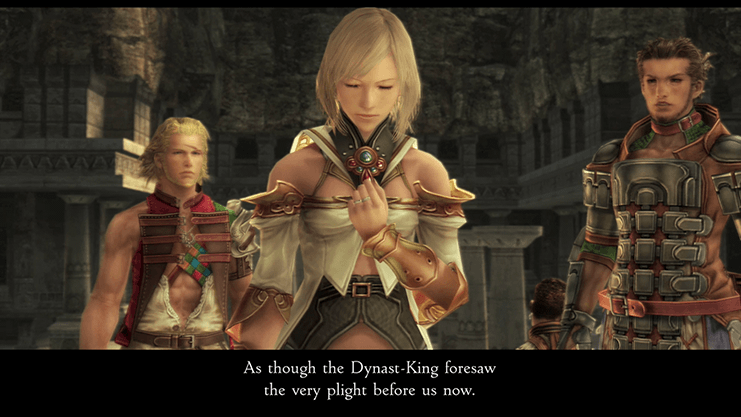
Climb up to the top of the stairs on the west side of the zone for another short cutscene. Ashe will give an explanation to the team about the Galtean Alliance and the Dynast King. There is an orange Save Crystal that you should use at the top of the stairs to save your game.
It should be noted that at this point in the game you have the option of completing another Hunt back in the Nam-Yensa Sandsea (made easier now by the fact that you have access to the Save Crystal and Item Shop at the entrance to the Tomb).
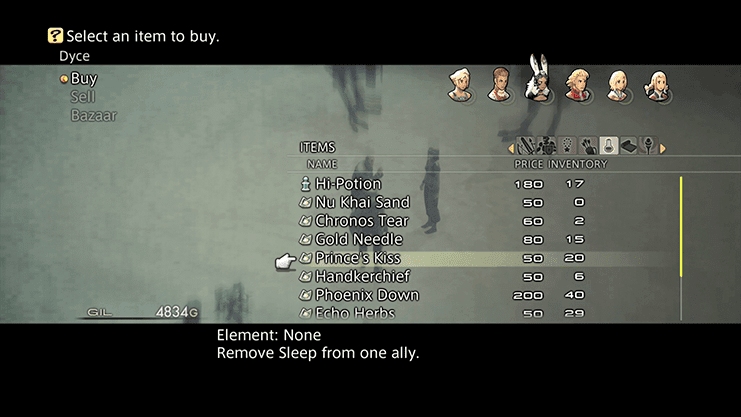
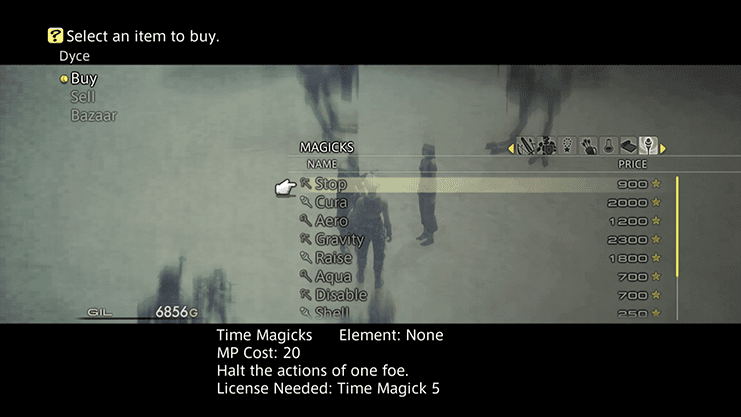
There is an NPC at the bottom of the stairs named Dyce who will sell you all kinds of weapons, armor, Magick and items. Once you have stocked up, consider taking on the following Hunt:
Travel back to the entrance to the Tomb of King Raithwall and save your game one last time at the Save Crystal. You should also purchase some Alarm Clock / ![]() Prince’s Kiss items from Dyce at the bottom of the stairs (have 10 in your inventory total).
Prince’s Kiss items from Dyce at the bottom of the stairs (have 10 in your inventory total).
Note that this item has been renamed to Prince’s Kiss in The Zodiac Age version of the game.
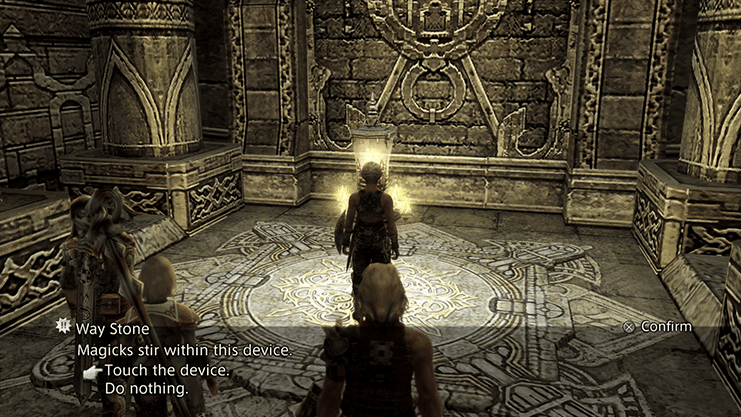
Examine the Ancient Device at the top of the stairs (on the west side of the zone) and select the option to “touch the device”.
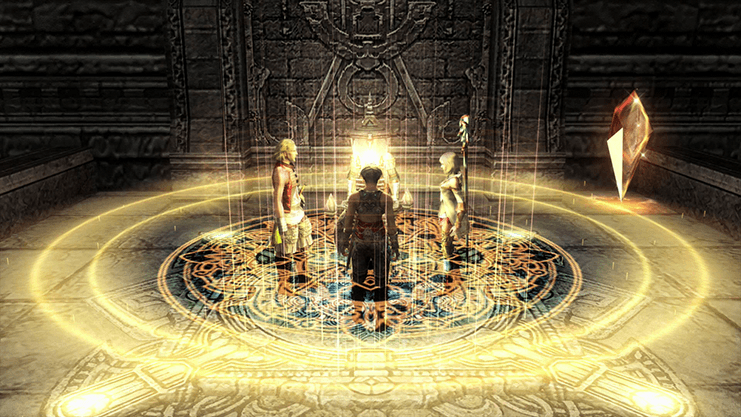
The entire team will be transported down into the Tomb.
Balthier will give you a quick explanation about the “contraption” that you just used. They can be used to transport you and your party to various parts of the dungeon quickly.
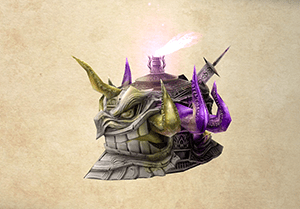
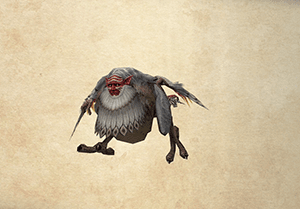
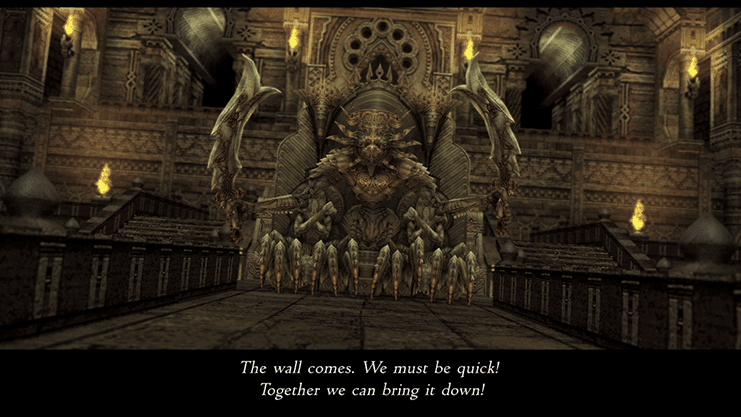
There are two bosses coming up that are going to attack you once you descend the steps into the lower section of the Hall of the Destroyer. They are both referred to as Demon Walls.
As you are ambushed by the first Demon Wall, Vann will announce that you can either “Fight or Run” and this is entirely correct as the first Demon Wall is an optional fight. The second Demon Wall, which is a much easier fight, is not optional.
Defeating the first optional Demon Wall can be very difficult especially if you do not prepare for the battle before you head down the stairs, but there is a reward for defeating the first Demon Wall.
The reward is definitely worth taking the time to attempt in the original PlayStation 2 version of the game, but in the Zodiac Age version of the game, the value of the reward has been significantly reduced, almost to the point of it not being worth the extra effort.
The reward for defeating the optional first Demon Wall in the original PlayStation 2 version of the game is the ![]() Demonsbane Sword. The reward has been replaced with a
Demonsbane Sword. The reward has been replaced with a ![]() Scathe Mote in the PlayStation 4 Zodiac Age version.
Scathe Mote in the PlayStation 4 Zodiac Age version.
Start off by ensuring that two or three of your characters have a Gambit setup to use an Alarm Clock / ![]() Prince’s Kiss on any Ally. You should also have one character set up to remove the
Prince’s Kiss on any Ally. You should also have one character set up to remove the ![]() Blind Magick status effect from any party members as well (Ally: Any >
Blind Magick status effect from any party members as well (Ally: Any > ![]() Blindna).
Blindna).
Go into the configuration options menu and set the Battle Speed to “High”. This will not cause the Demon Wall to attack faster but it will cause your party members to get more attacks in throughout the duration of the fight.
Having ![]() Shell cast on your party members before the fight starts is also highly beneficial as it will help prevent negative status effects from working when used on your characters (a 50% increased chance of it failing to hit your party members).
Shell cast on your party members before the fight starts is also highly beneficial as it will help prevent negative status effects from working when used on your characters (a 50% increased chance of it failing to hit your party members).
Head down the stairs when you are ready to begin the battle. Remember, the first Demon Wall is optional and you can run away from it towards the door on the far side of the bridge if you are having trouble defeating it.
Level: 18
HP: 22,187
Steal: ![]() Gold Needle (55%),
Gold Needle (55%), ![]() Solid Stone (10%),
Solid Stone (10%), ![]() Quality Stone (3%)
Quality Stone (3%)
The quickest and easiest way to defeat the Demon Wall is to stack up a Quickening Chain and do a lot of damage very early on in the fight. Additional valuable sources of damage include spells such as ![]() Aero Magick or
Aero Magick or ![]() Dark Magick. Dark normally does more damage but Demon Wall is weak to wind-based damage so Aero is the preferred choice.
Dark Magick. Dark normally does more damage but Demon Wall is weak to wind-based damage so Aero is the preferred choice.
You should avoid having your characters spend too much time healing when characters are above 50% health as time is of the essence. Time spent casting a healing spell like ![]() Cura is time that could be put to better use damaging the Demon Wall. You do need to make sure that Gambits have been set up to use an Alarm Clock /
Cura is time that could be put to better use damaging the Demon Wall. You do need to make sure that Gambits have been set up to use an Alarm Clock / ![]() Prince’s Kiss on party members who have been put to sleep and to use
Prince’s Kiss on party members who have been put to sleep and to use ![]() Blindna Magick or
Blindna Magick or ![]() Eye Drops on any characters with the Blind status effect.
Eye Drops on any characters with the Blind status effect.
Demon Wall will also use a move called X-Zone which will instantly kill a character. This is a strange instant-kill move though, as any character that is sent to the X-Zone cannot be revived during the battle, so they will have to be replaced with another character.
Make sure to watch the meter on the right side of the screen to keep track of how much time you have left. The amount of HP that this Demon Wall has is your biggest challenge.
One last reminder that this battle is entirely optional and you can run away from the first Demon Wall if you are having trouble.
A video of the battle in the Zodiac Age version is included below:
Defeating the first Demon Wall will reveal an Azure Jewel in the wall in behind where the Demon Wall ambushed you. You cannot do anything with the Azure Jewel though until you have defeated the second Demon Wall. The second Demon Wall appears when you go through the doorway and in to the next hall.
Go back and save your game at the Save Crystal before you proceed to the next zone and then head back in and start the second battle.
The second Demon Wall will approach you and your party as soon as you enter the Hall of the Sentinel. This Demon Wall is not optional but it is significantly easier to defeat than the first wall.
Level: 18
HP: 10,332
Steal: ![]() Gold Needle (55%),
Gold Needle (55%), ![]() Solid Stone (10%),
Solid Stone (10%), ![]() Quality Stone (3%)
Quality Stone (3%)
The first thing you should notice is that this Demon Wall has half the HP as the previous Demon Wall. Additionally, there is a significantly larger bridge span meaning that you have a lot more time to defeat this one. Many of the following notes are the same as in the previous boss walkthrough section.
There are a few Altar of Contemplation objects on the left and right side of the bridge that you can select (or may select accidentally). Touching these braziers sometimes slows the Demon Wall down for a short time but has a chance to increase its speed as well. You should be able to defeat this Demon Wall with enough time to spare, so ignore these items and focus on doing as much damage as possible.
As with the first Demon Wall, the quickest and easiest way to defeat the this one is to stack up a Quickening Chain and do a lot of damage very early on in the fight, but you can easily defeat this Demon Wall without resorting to Quickenings.
Additional valuable sources of damage include spells such as ![]() Aero or
Aero or ![]() Dark. Dark normally does more damage but Demon Wall is weak to wind-based damage so Aero is the preferred choice.
Dark. Dark normally does more damage but Demon Wall is weak to wind-based damage so Aero is the preferred choice.
You should avoid having your characters spend too much time healing when characters are above 50% health as time is of the essence. Time spent casting a healing spell like ![]() Cura is time that could be put to better use damaging the Demon Wall. You do need to make sure that Gambits have been set up to use an Alarm Clock /
Cura is time that could be put to better use damaging the Demon Wall. You do need to make sure that Gambits have been set up to use an Alarm Clock / ![]() Prince’s Kiss on party members who have been put to sleep and to use
Prince’s Kiss on party members who have been put to sleep and to use ![]() Blindna Magick or
Blindna Magick or ![]() Eye Drops on any characters with the Blind status effect.
Eye Drops on any characters with the Blind status effect.
Demon Wall will also use a move called X-Zone which will instantly kill a character. This is a strange instant-kill move though as any character sent to the X-Zone cannot be revived during the battle, so they will have to be replaced with another character.
Make sure to watch the meter on the right side of the screen to keep track of how much time you have left. The amount of HP that this Demon Wall has is your biggest challenge.
A video of the battle in the Zodiac Age version is included below:
Once the second Demon Wall has been defeated, you can go back and claim your reward for defeating the first optional Demon Wall if you did. Whether you did or did not defeat the first wall, go back to the entrance to the Tomb and save your game at the Save Crystal.
Make sure to save at this point as you may need to reset your game shortly depending on how lucky you get while attempting to obtain a ![]() Demonsbane sword - but only in the original version of the game (continue reading for more details). Again, the reward is a
Demonsbane sword - but only in the original version of the game (continue reading for more details). Again, the reward is a ![]() Scathe Mote in the Zodiac Age version.
Scathe Mote in the Zodiac Age version.
Check out Dyce’s shop one more time while you are back in the Valley of the Dead. In the original PlayStation 2 version of the game there are two new Magick spells which have become available. ![]() Regen and
Regen and ![]() Confuse can now be purchased.
Confuse can now be purchased.
Regen is a very effective spell which can be used to keep your party members HP up during and outside of battle and can be much more effective than casting ![]() Cure or
Cure or ![]() Cura or using items to top off HP.
Cura or using items to top off HP.
Check the ![]() Regen section of the Magick page for more information but note that these spells do not become available at this time in the Zodiac Age version of the game (so ignore all of this).
Regen section of the Magick page for more information but note that these spells do not become available at this time in the Zodiac Age version of the game (so ignore all of this).
Skip down to the Royal Passage section if you did not kill the optional Demon Wall (after going through the doorway on the east wall of the Hall of the Sentinel). Otherwise, follow the steps below to pick up the reward.
Return to the Hall of the Destroyer and search the wall at the bottom of the stairs where the first Demon Wall ambushed the party. There is a luminous Azure Jewel set in the wall. Choose to “touch the jewel” and two previously inaccessible pathways will appear on the north and south sides of the bridge.
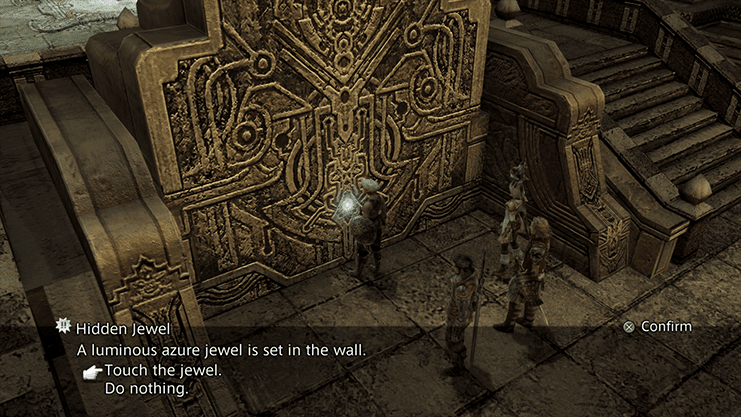
Take either of the two pathways west – it does not matter which you choose as they both lead to the same area.
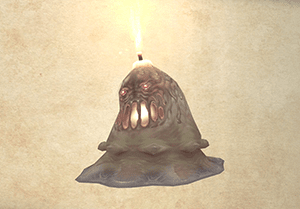
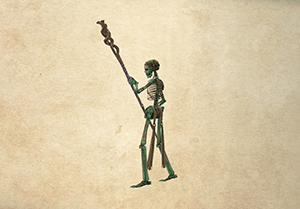
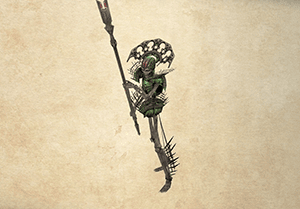
Pass through the Hall of the Sentinel and down the stairways in the Royal Passage. There are a few Seekers flying near the stairs that you may have to defeat. You will then be ambushed by Tallow (a green, slime-type enemy) when you reach the bottom platform.
The Tallows tend to keep spawning so it is recommended that you run past them and go straight for the treasure chest in the middle of the platform.
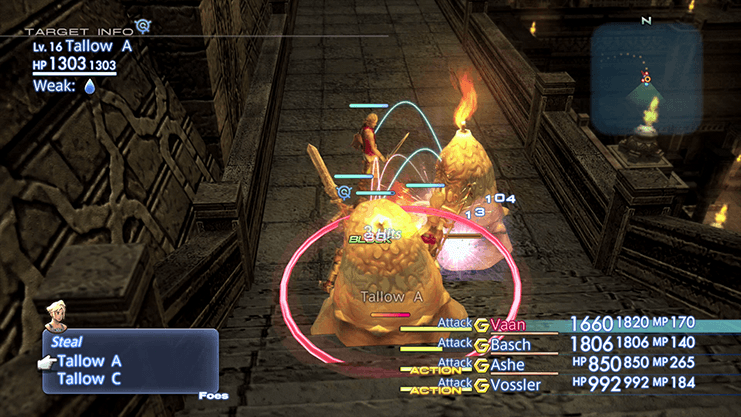
The treasure chest has a chance of containing a ![]() Demonsbane /
Demonsbane / ![]() Scathe Mote but may just contain some gil. Reset your game if the treasure chest does not contain a Demonsbane / Scathe Mote and try again until you receive one (it shouldn’t take too many tries).
Scathe Mote but may just contain some gil. Reset your game if the treasure chest does not contain a Demonsbane / Scathe Mote and try again until you receive one (it shouldn’t take too many tries).

The Demonsbane sword is an extremely powerful one-handed weapon and a great reward for defeating the Demon Wall. Travel back to where you fought the second Demon Wall and go through the door into the Royal Passage.
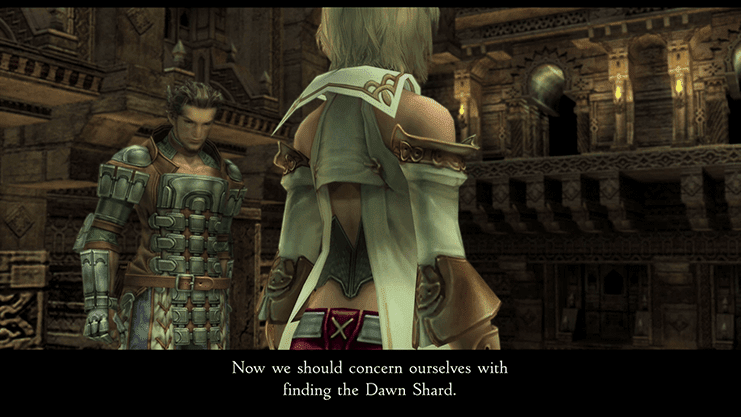
There is a short cutscene involving Vossler and Ashe as the team enters the Royal Passage through the main entrance.
Vossler will question the allegiance of Balthier and Fran and voice his distrust of the two of them, but Ashe ignores his concerns and reminds him of their primary purpose – to find the Dawn Shard.
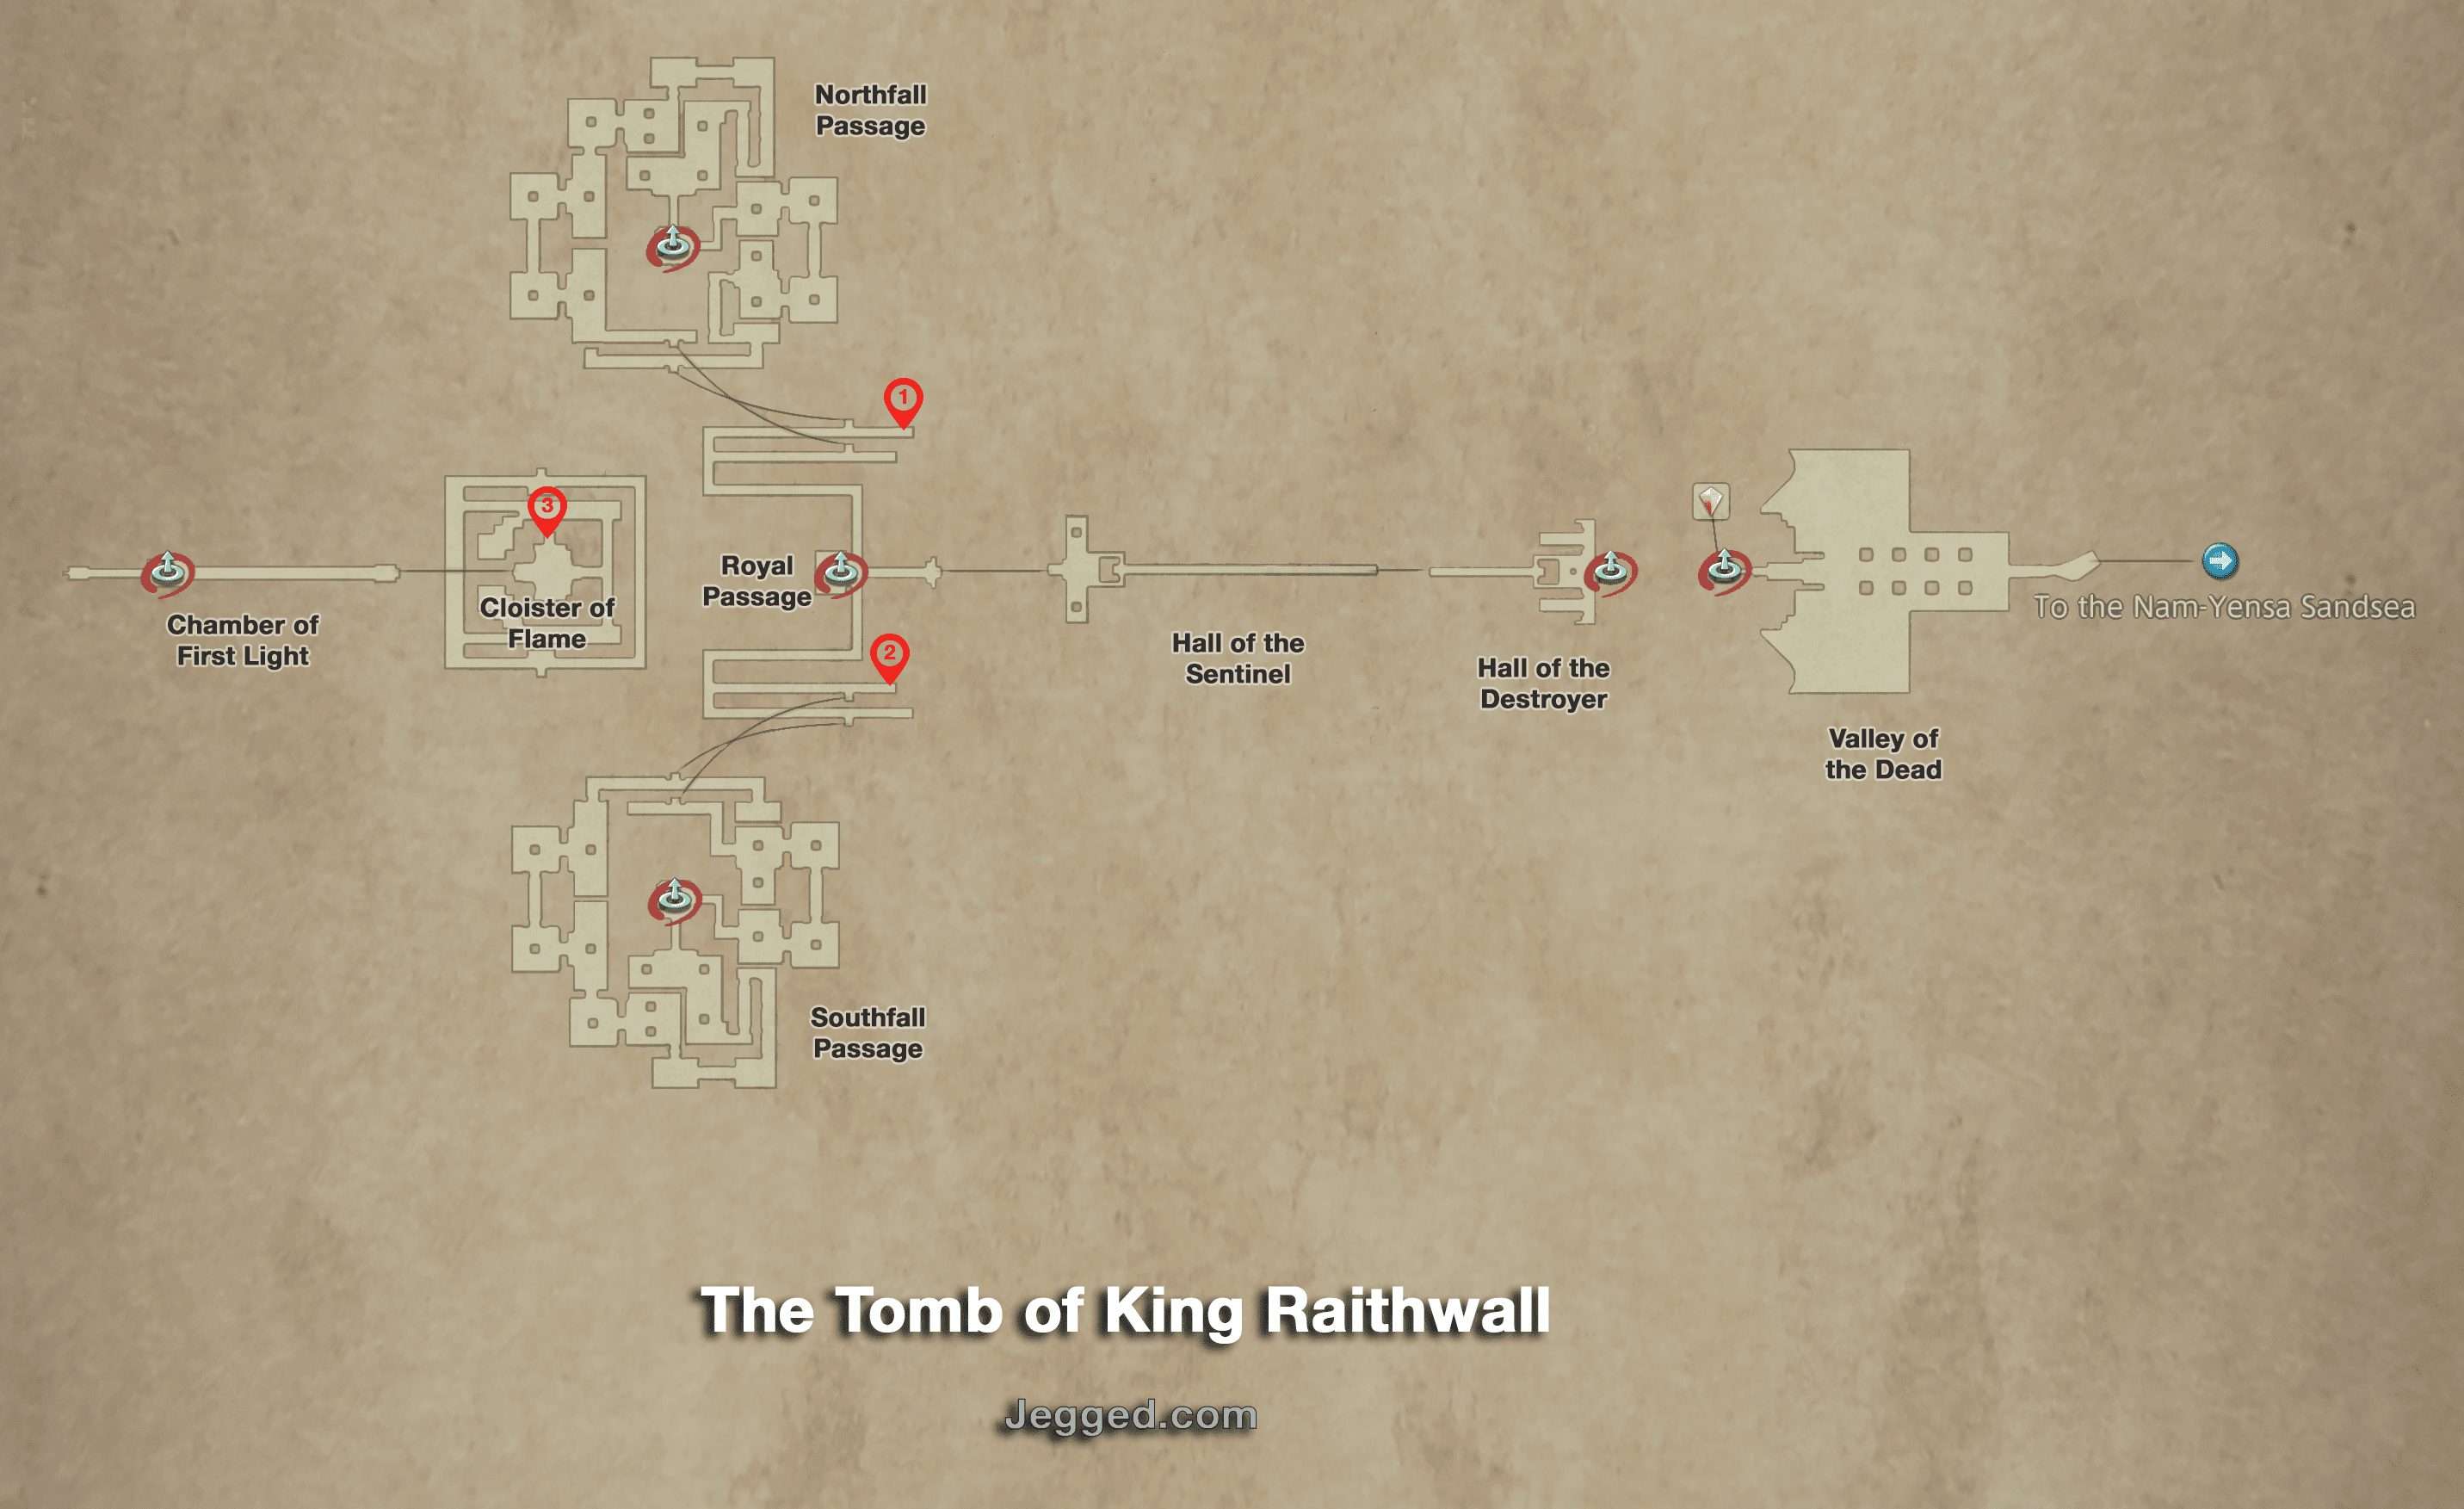
Travel down into the middle of the Royal Passage and open up the green Urn to receive a map of the Tomb of King Raithwall. The goal now is to travel to both the Northfall Passage and the Southfall Passage and activate a switch in each. This will allow the team to continue onward into the Cloister of Flame.
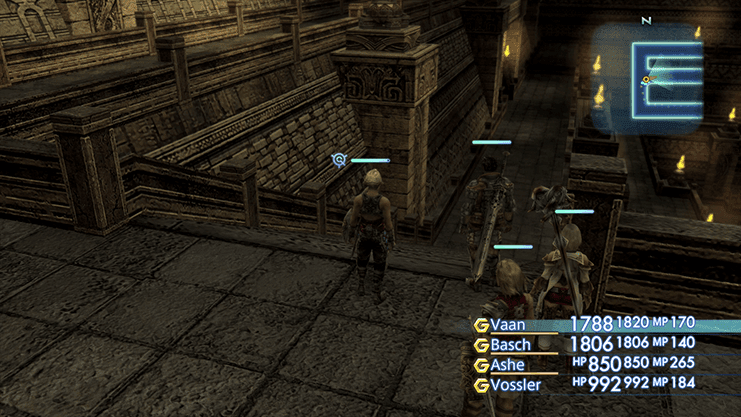
It does not matter whether you travel north or south first, but for the purposes of this guide, we will describe the steps for traveling north first.
Go north and down the stairs heading west until you reach the bottom platform. There will be two pathways leading east – a middle passage which goes down a set of stairs and the northernmost passage which stays level.
(Click on the map to enlarge)
Take the middle passage which leads down the stairs and go through the doorway at the end of the path, but before you do, if you are playing the Zodiac Age version of the game, take the northernmost pathway (not the one that goes down the stairs) and follow the pathway to the end.
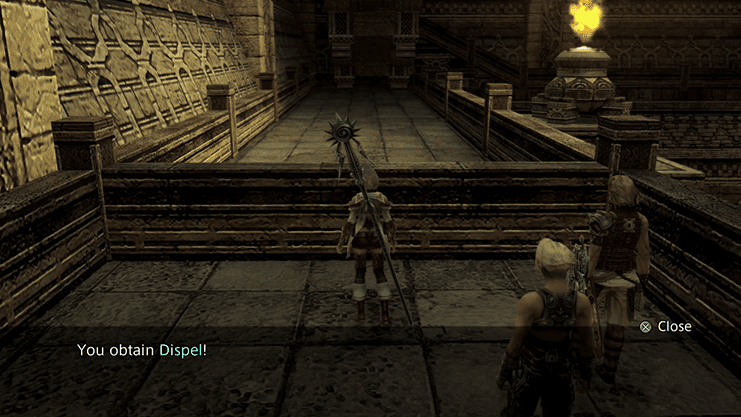
There should be a treasure chest at the end of the pathway that contains ![]() Dispel Magick (marked by a “1” on the map at the bottom of the page). If it’s not there, go in a doorway, return out to the Royal Passage way to reset the treasure chests and try again. Make sure not to leave without this spell!
Dispel Magick (marked by a “1” on the map at the bottom of the page). If it’s not there, go in a doorway, return out to the Royal Passage way to reset the treasure chests and try again. Make sure not to leave without this spell!
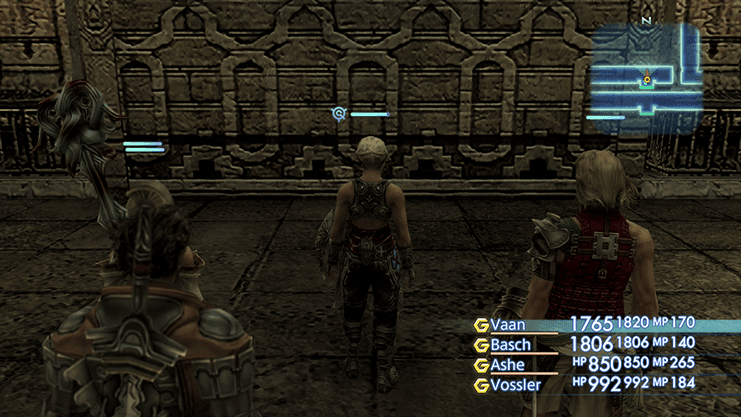
The pathway through the Northfall Passage is extremely linear. Follow it around defeating enemies as you proceed through and pick up any chests that you see along the way.
This is the longer pathway to the switch in the Northfall Passage but you will receive 3 extra chests by going this way and the extra Experience Points (EXP) and License Points (LP) are always helpful.
The last room will contain another teleportation device and a switch on the wall. Examine the “Northfall Pedestal” with the luminous Crimson Jewel set in it and choose to “touch the jewel” again.
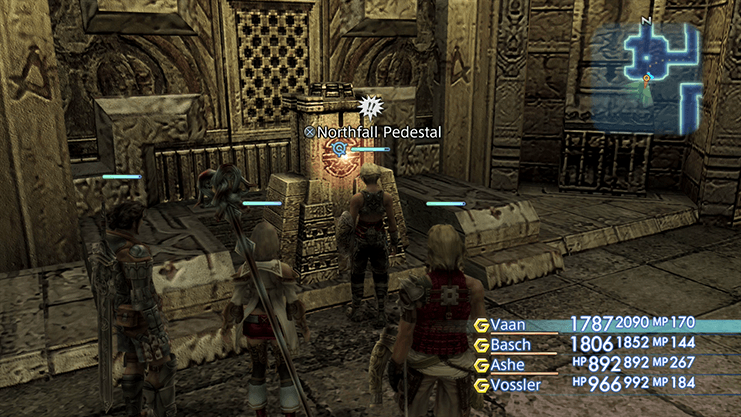
This will cause the stone block to drop half way and will cause a number of Zombies to ambush your party. Defeat the Zombies and then travel back to the middle of the Royal Passage by using the Way Stone teleportation device.
Travel south this time towards the Southfall Passage and take the southernmost passage when the path splits (meaning you should not go down the stairs this time).
Before you take the pathway and continue with the story, you should actually head down the stairs first and open the treasure chest at the bottom which contains the ![]() Vanish Magick spell (Zodiac Age version only).
Vanish Magick spell (Zodiac Age version only).
Again, the pathway through the Southfall Passage is very linear. Follow it through to the end until you reach the “Southfall Pedestal” with the luminous Beryline Jewel and touch that one as well.
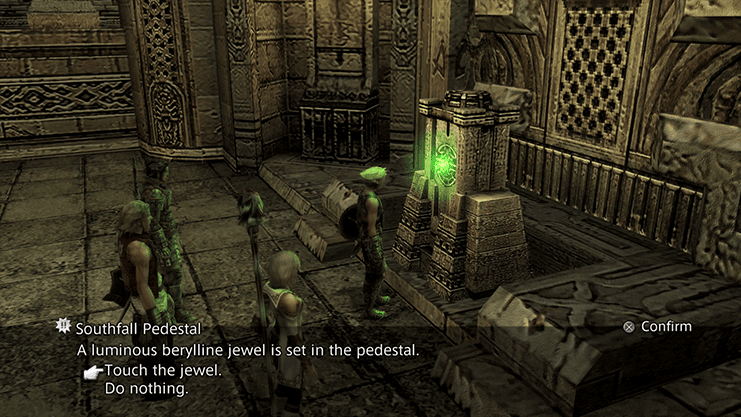
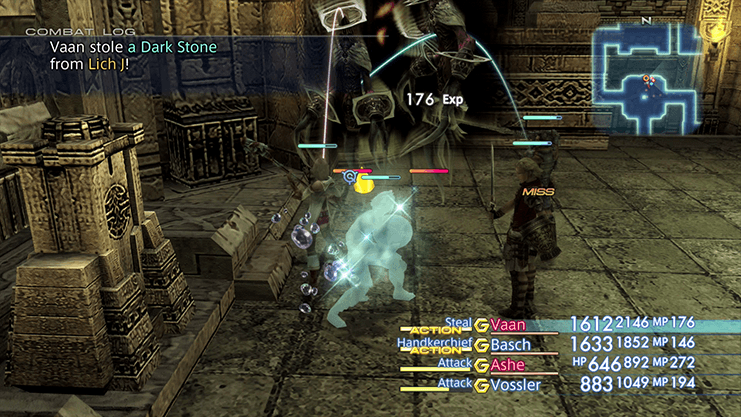
You will be ambushed by a number of Lich enemies so be prepared for a fairly lengthy battle.
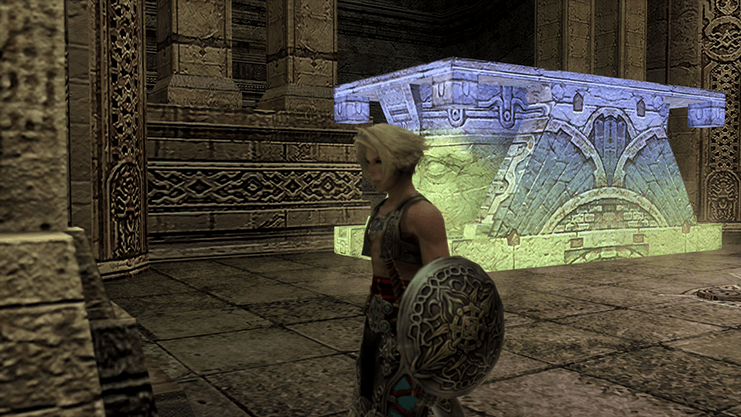
The stone block in this room will now lower all the way to the floor allowing you to travel into the next area. You should take this opportunity to go back and save your game using the Save Crystal one last time. Use the Way Stones to help get you there much faster.
Before you re-enter the Tomb you should purchase some ![]() Handkerchiefs and set up a Gambit, similar to the Alarm Clock /
Handkerchiefs and set up a Gambit, similar to the Alarm Clock / ![]() Prince’s Kiss Gambit, to use a Handkerchief on any Allies who need it.
Prince’s Kiss Gambit, to use a Handkerchief on any Allies who need it.
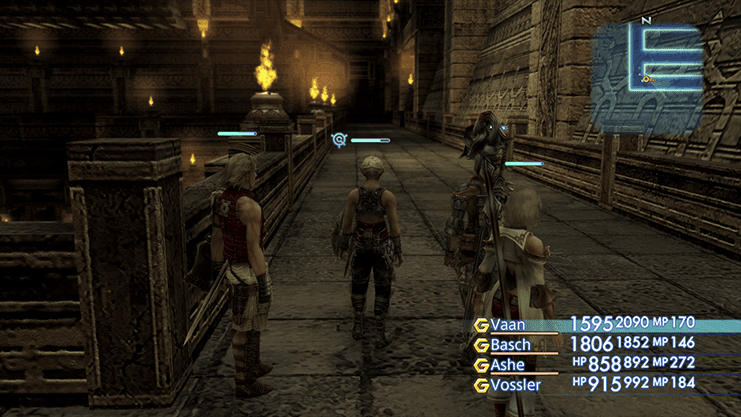
Travel through one of the newly opened pathways, either in the Northfall or Southfall Passage, that have opened up. They both lead to the same area: the Cloister of Flame.
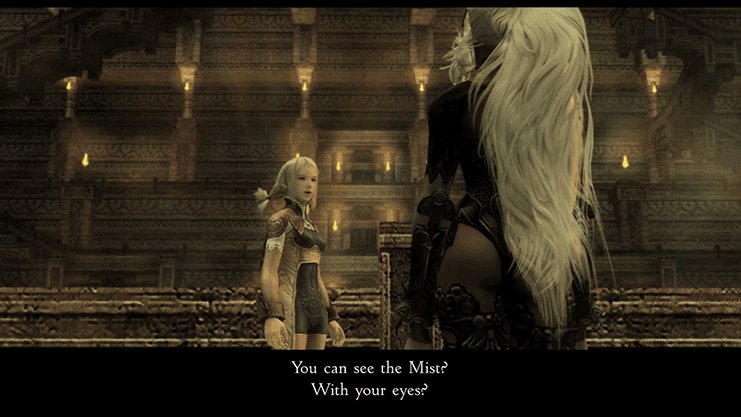
There is a quick cutscene that takes place when you enter the Cloister. Fran and Penelo will have a brief discussion about the Mist that circles the area.
Make sure you have set up a Gambit to use ![]() Handkerchiefs on your party members before wandering down into the center of the Cloister as you need to make sure that your party members do not have the
Handkerchiefs on your party members before wandering down into the center of the Cloister as you need to make sure that your party members do not have the ![]() Oil status effect on them. Oil will greatly increase the amount of damage done by fire-based attacks.
Oil status effect on them. Oil will greatly increase the amount of damage done by fire-based attacks.
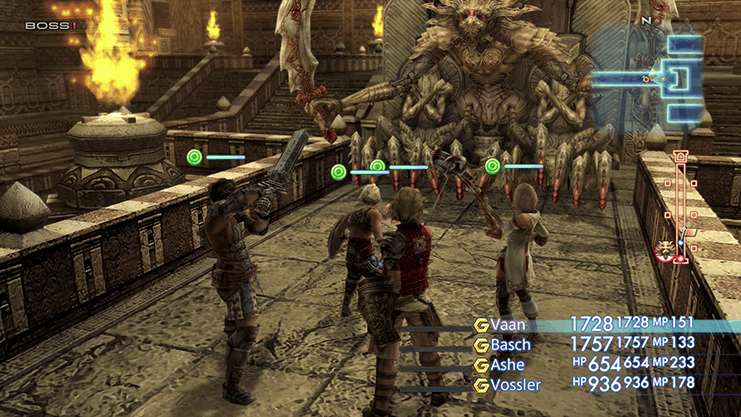
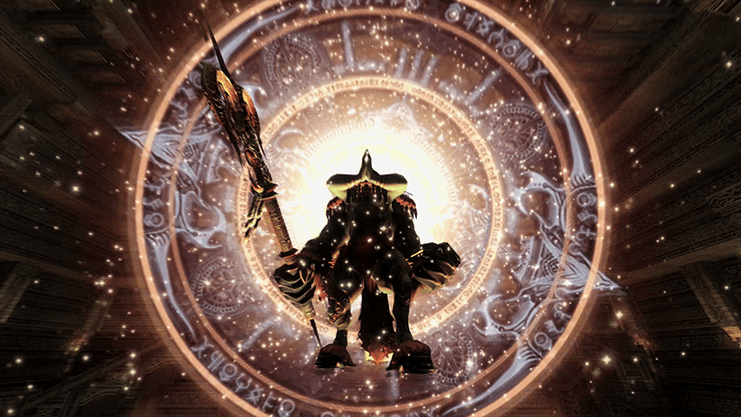
Head down to the bottom of the Cloister of Flame to initiate the next boss battle.
Level: 20
HP: 15,943
Steal: ![]() Aries Gem (55%),
Aries Gem (55%), ![]() Ether (10%),
Ether (10%), ![]() High Archana (3%)
High Archana (3%)
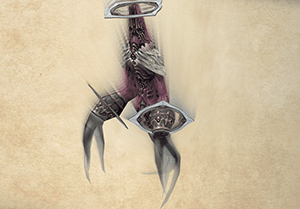
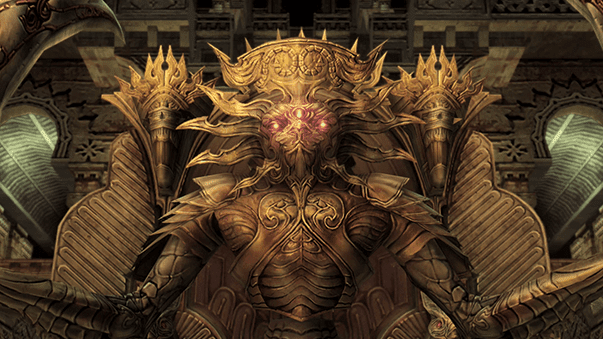
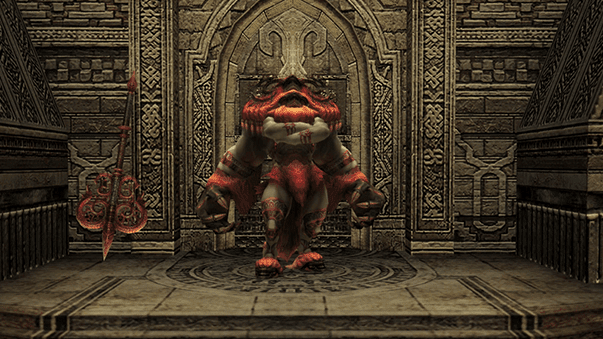
Belias is an Esper, the first one that you have encountered so far and he is responsible for guarding the Dawn Shard.
He is a fire-based Esper and most of his damage will come from fire-based Magick spells. Do not use fire-based Magick such as ![]() Fire on him as it will heal him instead of inflicting damage. The most effect spell to use against him is
Fire on him as it will heal him instead of inflicting damage. The most effect spell to use against him is ![]() Aqua. Belias is susceptible to the
Aqua. Belias is susceptible to the ![]() Slow so be sure to try and inflict it early on in the fight.
Slow so be sure to try and inflict it early on in the fight.
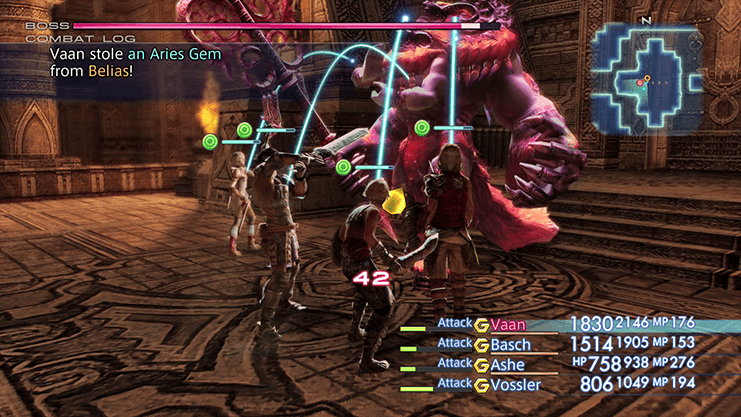
You should also cast ![]() Shell on each of your party members to minimize the amount of damage done and be sure to remove the Oil status effect if any of your party members are afflicted with it as this will cause increased damage from fire-based attacks. His Firaja spell has a chance to inflict the Oil status effect.
Shell on each of your party members to minimize the amount of damage done and be sure to remove the Oil status effect if any of your party members are afflicted with it as this will cause increased damage from fire-based attacks. His Firaja spell has a chance to inflict the Oil status effect.
A video of the battle in the Zodiac Age version is included below:
Defeating Belias will allow you to obtain him as your first Esper. Check out the Esper section for more details. Belias will appear as a spot on the License Board. Only one party member can activate him so be sure to choose wisely.
Be especially careful in the Zodiac Age version of the game where the Esper spots on the License Board block off important spells and abilities for some classes. Check out the Jobs Section for more information.
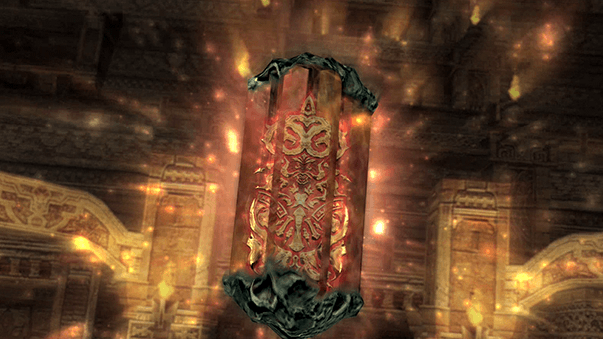
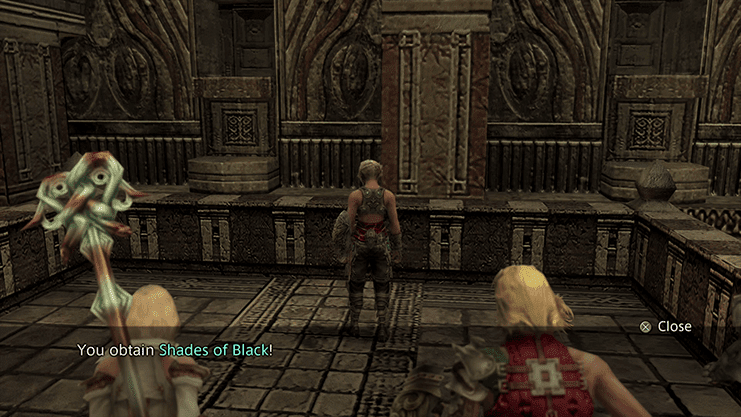
There is a short cutscene that starts after you defeat Belias. Search around the lower floor of the Cloister of Flame for some treasure chests before proceeding through the doorway behind where the Esper was standing, including one that contains the ![]() Shades of Black Technick.
Shades of Black Technick.
In the Zodiac Age vesion of the game you now have access to a Second Job Board for each of your characters. Check out the Jobs Section and make sure that you plan out your jobs accordingly.
Walk down the lengthy stairwell, past the Way Stone and proceed up the stairs to the far west side of the room to initiate another cutscene.
Ashe will proceed up the final set of steps where she will see an apparition of Rasler appear before she obtains the Dawn Shard. Walk back to the Way Stone and use it to travel back to the entrance of the Tomb.
Save your game at the Save Stone before you enter the Valley of the Dead. Check out the next page for information on how to prepare for an upcoming boss battle and then proceed to the east side of the Valley to initiate another cutscene.
(Click on the map to enlarge)