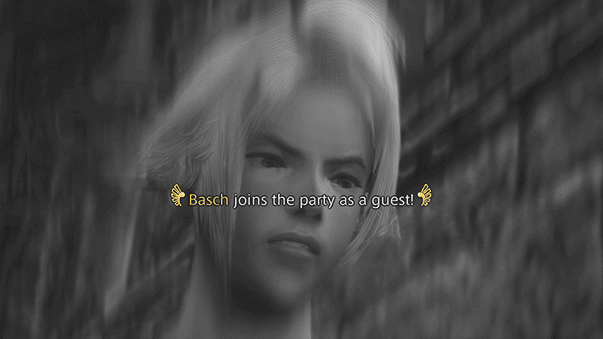
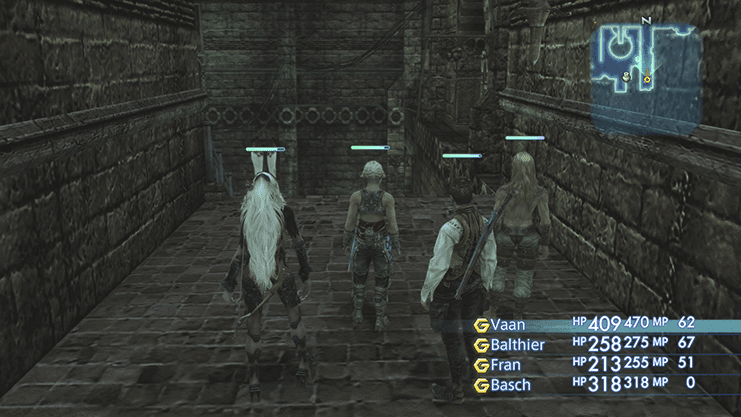
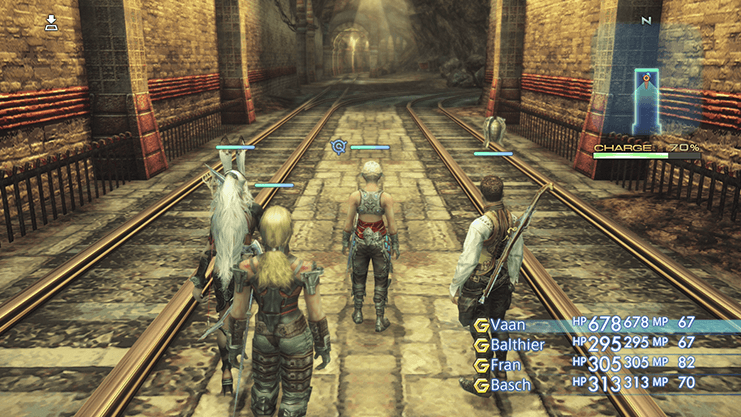
Basch will now join the party as a guest as the team attempts to travel through the Barheim Passage.
As a guest, you will not have full control over Basch’s actions. His actions instead are determined by the Gambits he has automatically been set up with which are:
This means that Basch will target the same enemy as the party leader if the party leader is targeting an enemy. If not, he will target whichever enemy is closest to him at the time.
Note though that, similar to the last Guest, in the Zodiac Age verion of the game you can make changes to Basch’s Gambits.
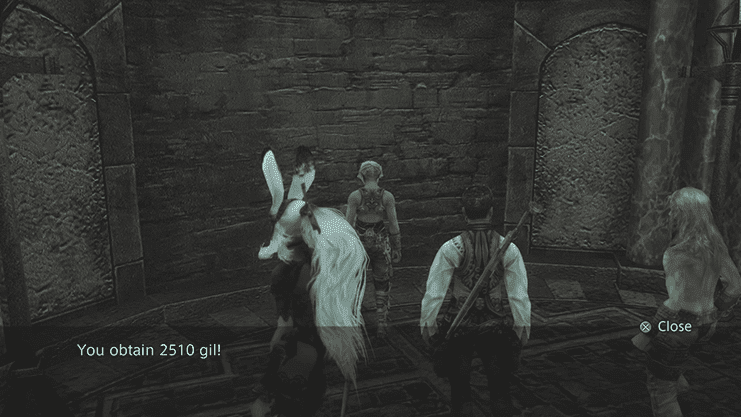
Travel down one level in the first section of the passage and take a right into a small corridor on the east side of the room.
There are three treasure chests which contain quite a bit of gil in each of them.
Leave the small room and, before heading down to the bottom level, search for a wooden bridge that leads south towards the large pillar in the center of the room.
Approach the pillar and choose to activate the Timeworn Device by pressing the switch when the Action Icon appears.
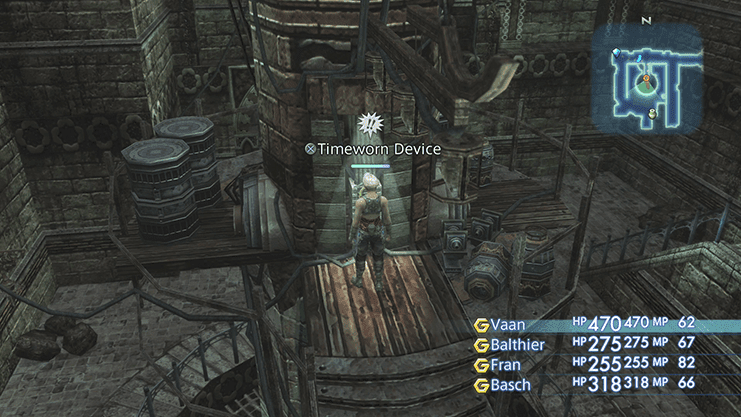
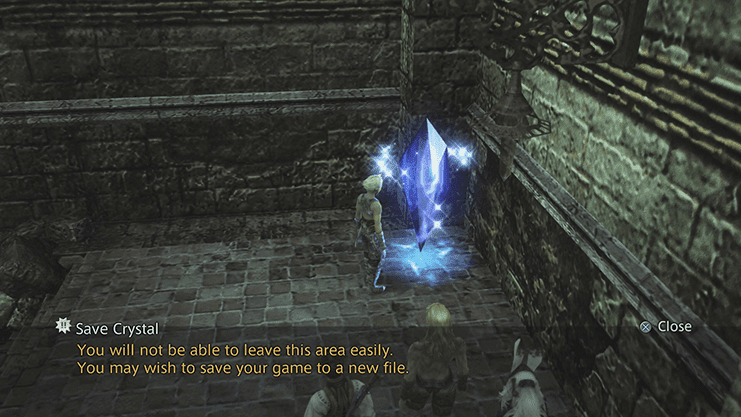
Vaan will mention that it doesn’t seem to be working. Continue down the stairs towards the Save Crystal and save your game.
Walk down to the bottom floor and speak with the blue Bangaa named Burrogh who is sitting near the gate. Burrogh will provide you with a Tube Fuse that he found in the tunnels which can be used on the Timeworn Device to convert it into a Power Relay allowing the electricity to flow in the area once more.
Go back down and speak to Burrogh and take this opportunity to purchase items and Magick from him. He sells:
It is at this time that you should begin planning on which characters you will have performing which actions in the party at a later state in the game. This can vary heavily depending on which version of the game you are playing (the original vanilla version of the game on PS2 or the Zodiac Job system) but this is the first time that you can start to purchase equipment specific to certain jobs, such as a shield.
Certain characters are good for certain jobs – be sure to check the Character section for more information. Vaan, however, is good at nearly every job in the game. In the original PlayStation 2 version of the game, Fran is terrible at almost every job.
She has the worst stats in the game, so be careful about planning on using her during your playthrough. You can certainly complete the game with any of the six characters, but some will be easier than others.
You want to ensure that you have an optimal party setup with someone that can take damage, someone that can deal damage and someone that can heal your characters. Check out the Party Setup guide in the Tips and Tricks section.
It may be a good idea to purchase the ![]() Leather Shield and have one character (most likely Vaan) equip it as you progress through this dungeon. Purchase any of the Magicks that you do not already have and the Gambits that you are missing.
Leather Shield and have one character (most likely Vaan) equip it as you progress through this dungeon. Purchase any of the Magicks that you do not already have and the Gambits that you are missing.
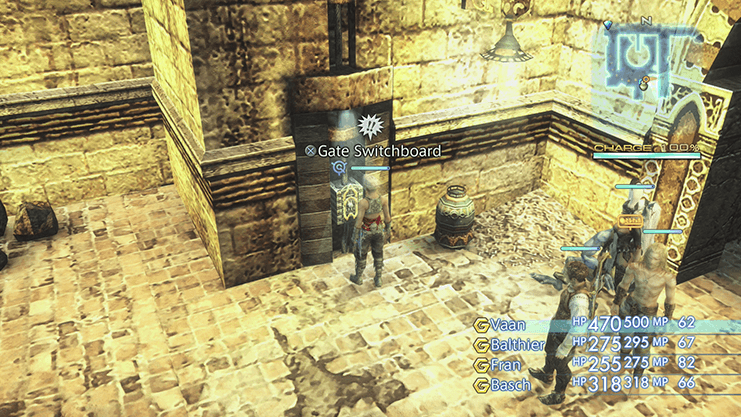
Take the Tube Fuse and place it in the Timeworn Device if you have not done so already and then head back down to the bottom level. Flip the switch using the Gate Switchboard on the left side of Burrogh to open the Wrought Iron Gate.
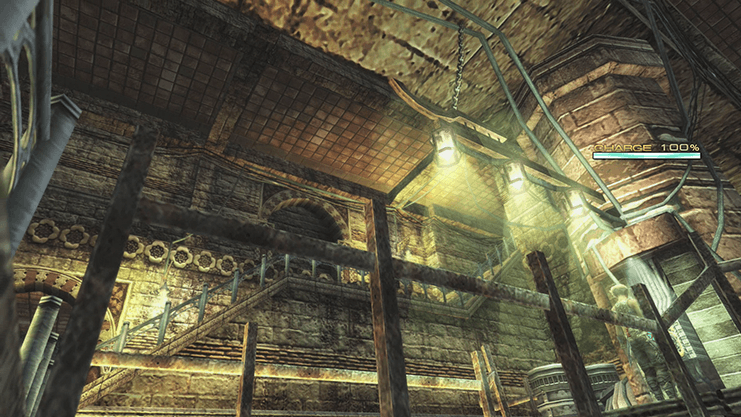
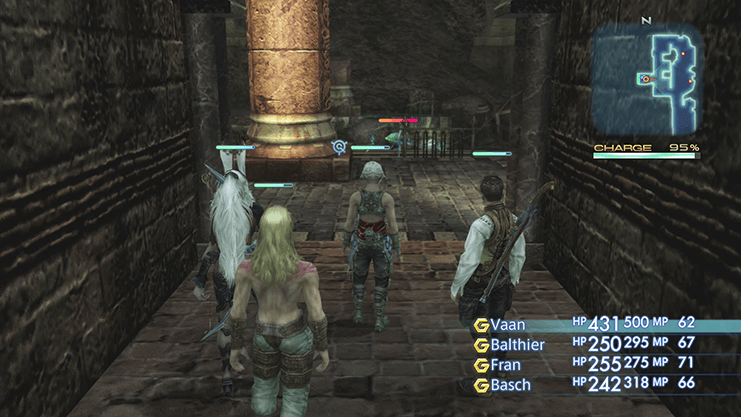
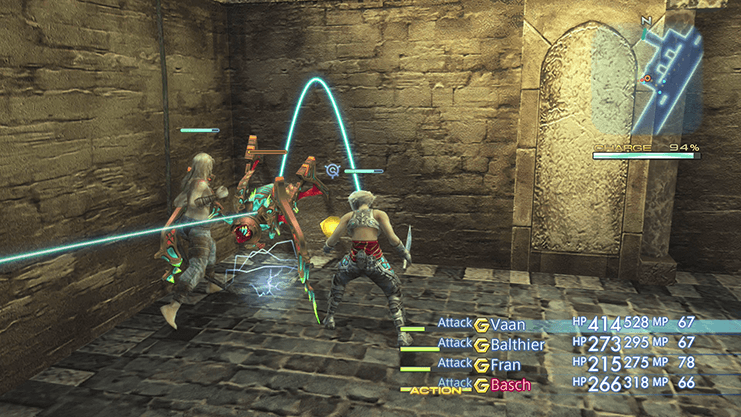
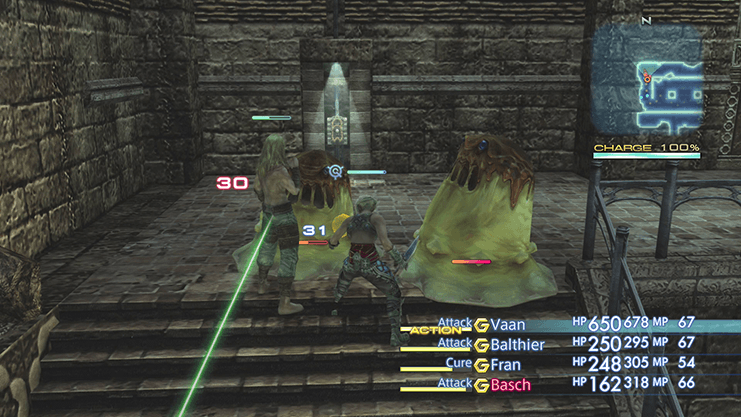
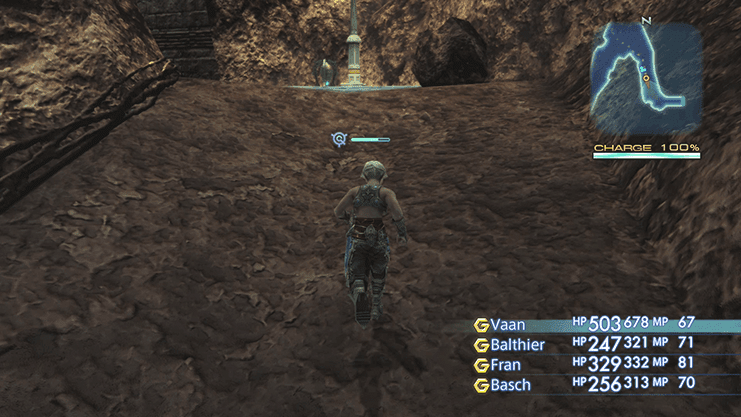
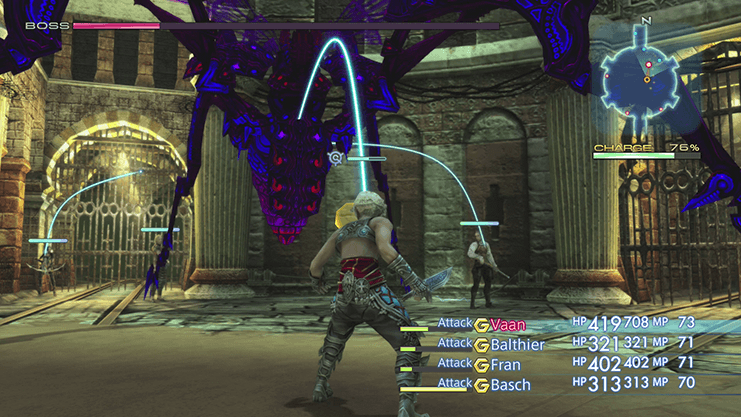
Burrogh will give you a brief explanation of how the Charge Gauge works (the status bar and percentage on the top right corner of the screen).
You need to have some charge left in order to keep the lights in the passageway on. Your party will be ambushed by much tougher enemies if the lights turn off while you are working your way through the dungeon. Opening a gate requires a certain percentage of charge (30%).
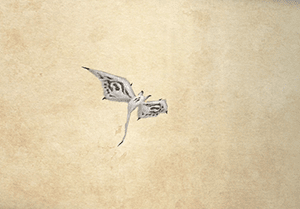
There are creatures called Mimics which will drain both energy and charge from the wires which need to be destroyed as quickly as possible to prevent them from taking too much. You will regain some of the stolen charge and refill the gauge after you kill the Mimics.
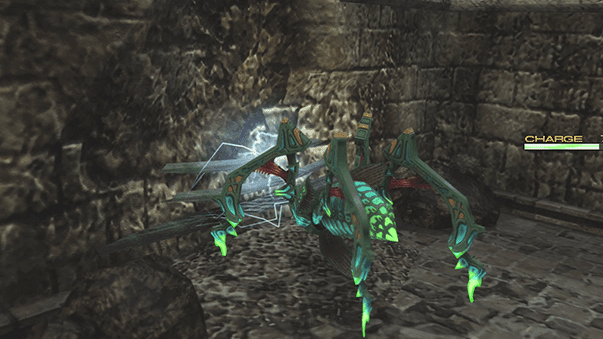
It should be noted that Mimic enemies are extremely weak to Ice-based attacks. You can kill them much easier by setting up a Gambit to have one of your characters use ![]() Blizzard Magick, however this can cause problems if that character is using Magick too often and running out of MP.
Blizzard Magick, however this can cause problems if that character is using Magick too often and running out of MP.
An alternative is to switch to your support characters (normally Balthier and Fran) by pressing left or right on the D-Pad and manually selecting the ![]() Blizzard Magick spell so that it does not get used as often.
Blizzard Magick spell so that it does not get used as often.
Keep an eye on your Charge meter as there are quite often Mimic enemies way off in the distance that you have to find your way to in order to stop them from leeching power.
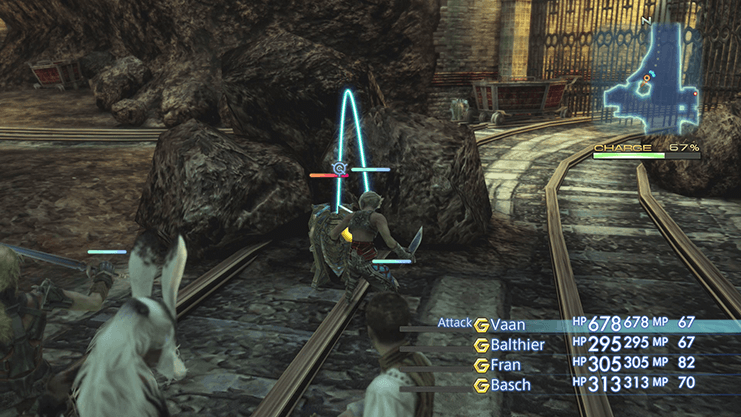
Destroy the very first Mimic and then proceed through the doorway and continue westward as there is another Mimic down at the bottom of the stairs who is leeching power from one of the exposed wires.
It is a good idea to run past both of the Tiny Mimics in order to get to the Battery Mimic faster and destroy it. Proceed eastward into the next room.
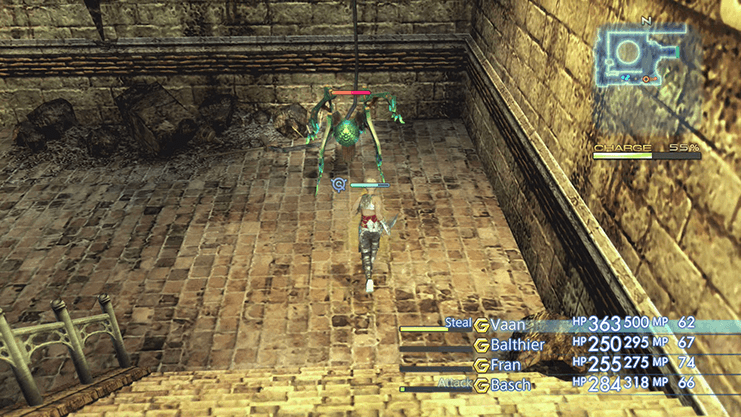
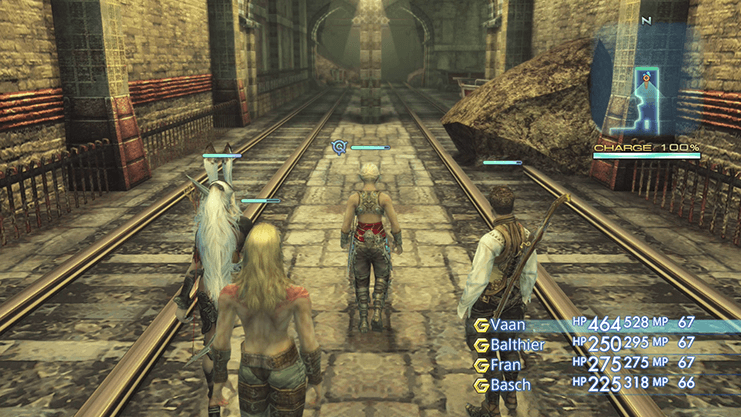
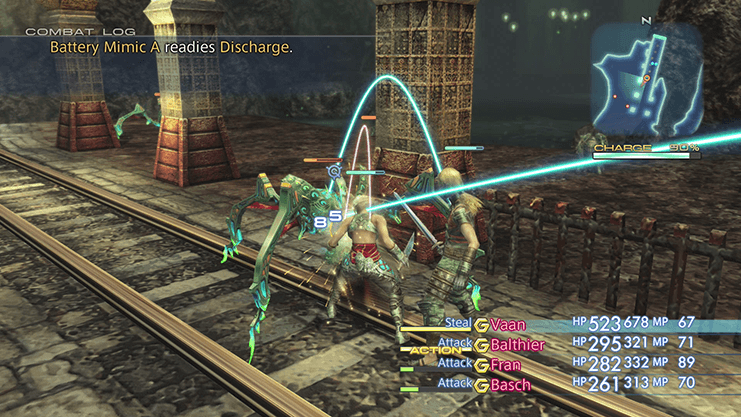
This area has a set of train tracks leading through the tunnels. Run down to the lower level and attack the Battery Mimic chewing on the wires. There is a second Battery Mimic that could be seen running away further down on into the tunnels.
Run past all of the other enemies heading south until you reach a fork in the road. Take the pathway on the right (you may already be able to see the Mimic at the end of the pathway) and destroy the next Battery Mimic. After killing it, focus on taking out any of the other enemies that you ran past earlier.
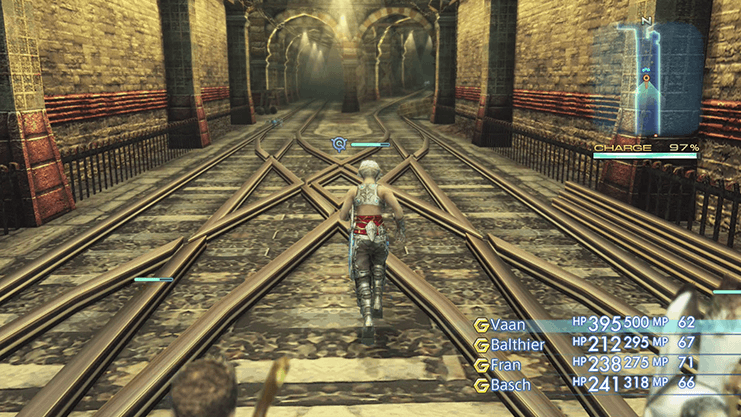
Travel back to the forked pathway and take the pathway on the left (leading directly southward). There are a few smaller enemies that you will need to destroy and then you will reach another fork in the pathway.
Start walking down the pathway on the right and a Mimic will run past your party going down the left pathway (southeast). Follow the Battery Mimic around the curved pathway and destroy it.
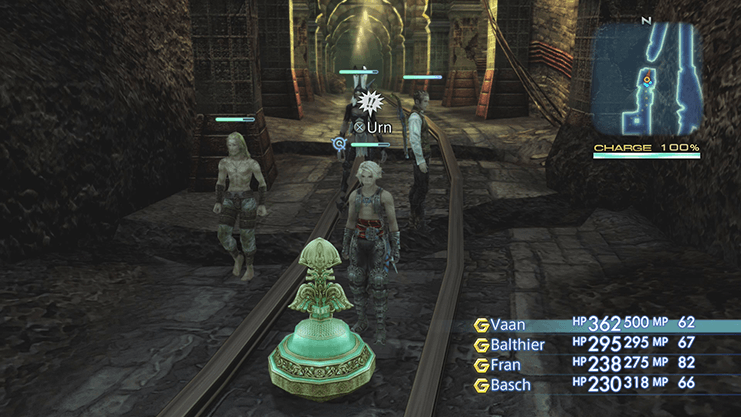
Go back to the fork in the road and take the pathway on the right side leading through the middle of the Great Eastern Passage (the room you are in). There will be train tracks heading off to the right – do a hard U-turn to find an Urn which contains the map of the Barheim Passage.
Continue southward to find another Battery Mimic in the large open area. You can open up your map (by pressing the  Button) to see exactly where the Battery Mimic is located and you can do this for all of the remaining Battery Mimics in the Barheim Passage if you are having trouble locating them.
Go through the doorway on the west side of the passageway (on the right side) by checking your map to make sure that you are headed towards Op Sector 36.
Go immediately around the corner to your right and destroy the Battery Mimic feasting on the power cables. There is another Battery Mimic on the bottom floor so quickly make your way down the pathway and down the stairs to the bottom floor and kill it. There may be a treasure chest at the end of the pathway.
Go back out to the Great Eastern Passage and continue southward until you reach the next area. There are a few smaller enemies that you will need to take care of.
Once again, you can use your map by pressing the Button to show you exactly where the Battery Mimics are located. There is one that appears immediately as you enter the room. Follow it as it runs southward and destroy it.
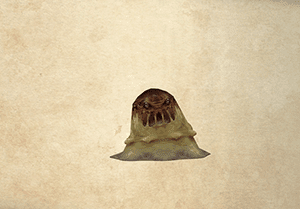
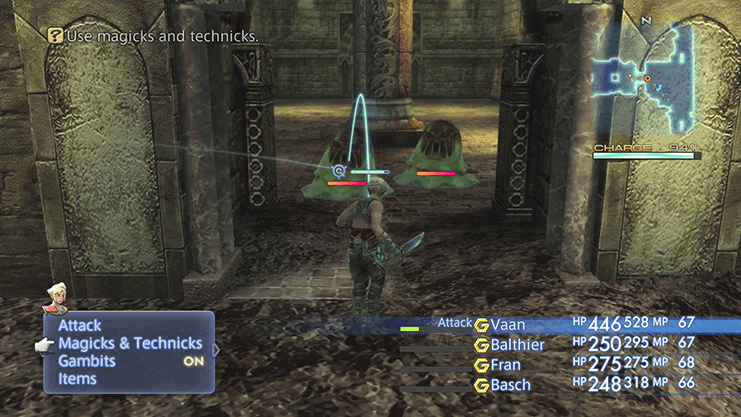
The second Battery Mimic in this area is located to the west. Travel backwards and go through the doorway to do battle with two Flans that drop from the roof. One more Flan will drop as you continue through the room but run past it and take care of the Battery Mimic that is draining power, first and foremost.
Continue westward into the next area (and use the map at the bottom of the page if you’re getting lost).
There are two more Battery Mimics in this area which need to be killed. Start off by destroying the one right near the entrance to the room. Go south and follow the stairs up. Another Flan will drop from the ceiling.

There is normally a treasure chest at the top of these stairs which could contain a fairly nice item.
Take the stairs to the bottom of the room. Power will be draining from the second Battery Mimic still but you do have enough time to kill the monsters you encounter as you pass through this area on your way to the Mimic.
Follow the path on the east side of the room which turns northward and you will find the second Battery Mimic draining power.
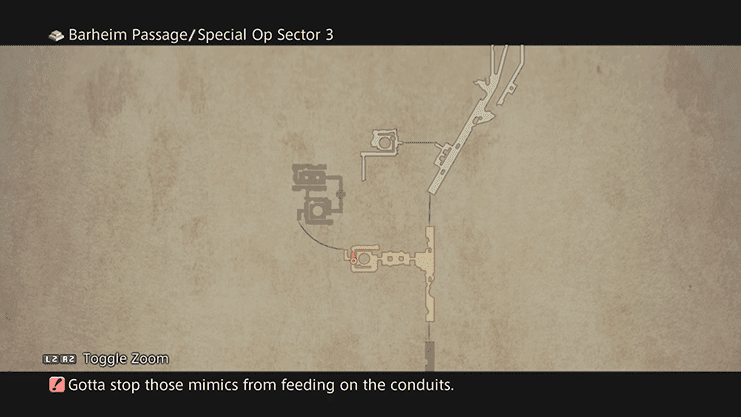
Continue westward after you have defeated it past the two large pillars and up the stairs on the west side of the room. There are a number of Flans on this upper pathway to contend with. Destroy all of them and then flip the switch on the wall (northwest section of the map) to raise the gate back in Special Op Sector 3.

Note that the switch will stay lit up on your map even if it has already been activated. Travel back to Special Op Sector 3 and head to the south and into the next area.
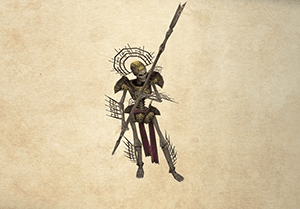
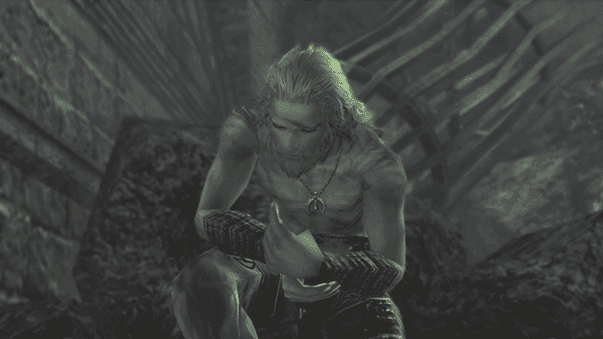
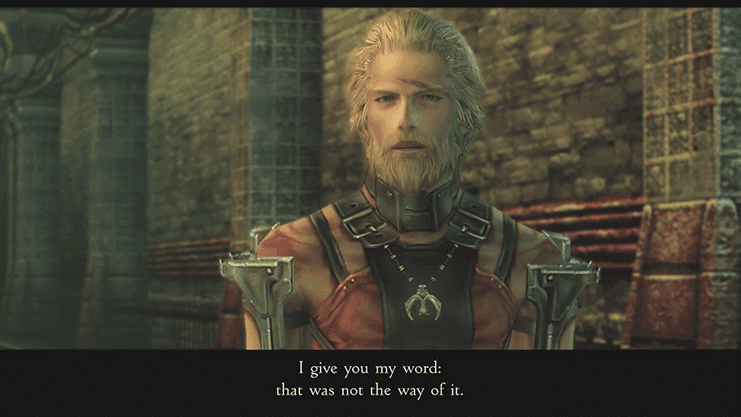
There is a short cutscene in this room. Basch will steal some armor and a sword from one of the fallen soldiers. He will do much more damage from this point of the dungeon onward now that he no longer has to use his fists.
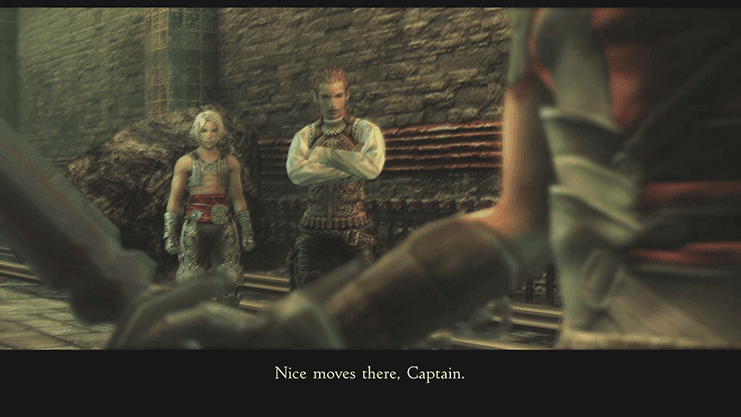
Vaan and Basch will argue about whether or not Basch is a traitor. Basch will reassure the group that he was not the one responsible for killing the King, rather that it was his twin brother. Save your game using the Save Crystal and then proceed into the next room.
This is the first area of the game where you will find Mimics disguised as treasure chests. These Mimics are not too difficult to defeat, so don’t be hesitant to try to open chests on account of them potentially being a Mimic. Your party could use the experience points anyways so attempt to open each of the treasure chests you come across.
That being said, you can tell the difference between a real and a fake treasure chest according to whether or not the chest has a blue glow around it. The blue glowing light indicates that it is a Mimic in disguise.
There is a Battery Mimic on the east wall which needs to be destroyed after you kill the “treasure chest” Mimic. Continue southward and into the next area. There is a treasure chest at the end of this pathway that has a chance of containing an ![]() Oaken Pole.
Oaken Pole.
This whole area is full of Tiny Mimics, Mimics and Battery Mimics. You need to move through quickly as the three Battery Mimics can do some serious damage to your Charge Gauge if you do not act quickly.
Follow the pathway southward and keep an eye on your mini-map. The terrain appears to end but you can actually cross over the water and continue southward.

Continue northward, after reaching the secret area, up the rock pathway and destroy the final Battery Mimic. Follow the pathway along and into the next area.
This room contains a Save Crystal which will allow you to save your game. There is an upcoming boss fight in the next room which you should prepare yourself for.
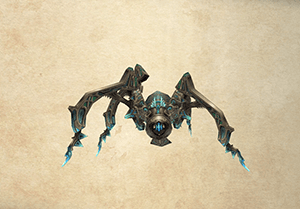
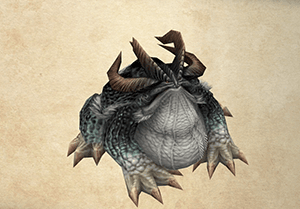
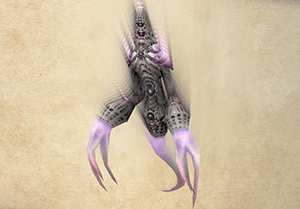
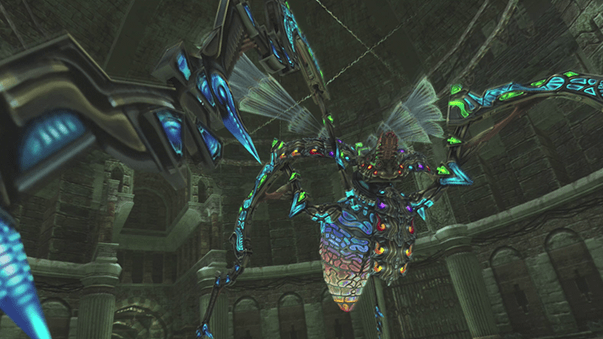
The boss has strengths and weaknesses similar to the Mimics that you have been fighting. She is extremely weak to Ice-based Magick, so stick to having your characters use ![]() Blizzard Magick to attack until they run out of MP.
Blizzard Magick to attack until they run out of MP.
Set up your Gambits so that your characters will use ![]() Potions to heal so as to save as much MP as you can.
Potions to heal so as to save as much MP as you can.
Level: 10
HP: 4,073
Steal: ![]() Knot of Rust or
Knot of Rust or ![]() Rose Corsage (55%),
Rose Corsage (55%), ![]() Storm Magicite (10%),
Storm Magicite (10%), ![]() Rose Corsage (3%)
Rose Corsage (3%)
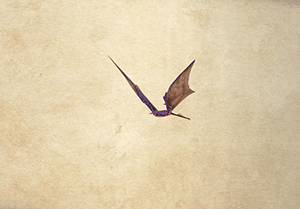
The Mimic Queen will immediately spawn a number of Tiny Mimics that will join her in battle. These Tiny Mimics should be completely ignored as you focus your attacks on the Queen. The Queen will respawn more Tiny Mimics if you defeat them all anyway.
Utilize ![]() Blizzard Magick with all of the characters who have it available and be sure to use
Blizzard Magick with all of the characters who have it available and be sure to use ![]() Potions and
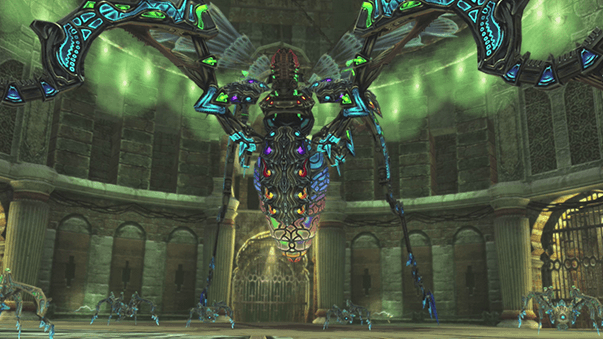
Potions and ![]() Hi-Potions as necessary to keep your characters fully healed. There isn’t too much more strategy involved in this fight and the fight can be made much easier by not moving your camera angle around too much and attacking the main body of the Queen directly.
Hi-Potions as necessary to keep your characters fully healed. There isn’t too much more strategy involved in this fight and the fight can be made much easier by not moving your camera angle around too much and attacking the main body of the Queen directly.
Have one of your characters cast ![]() Slow Magick on the boss if you are having difficulty defeating her.
Slow Magick on the boss if you are having difficulty defeating her.
A video of the battle in the Zodiac Age version is included below:
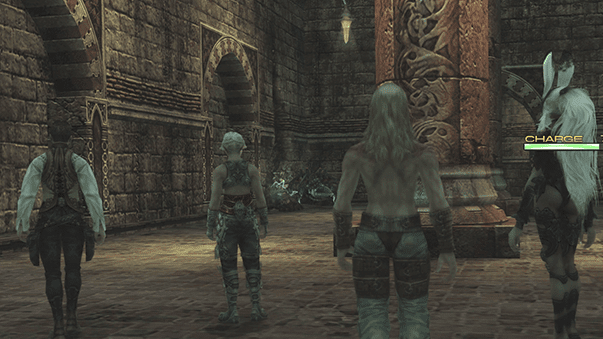
The room containing the Mimic Queen will collapse after she is defeated with Vaan, Balthier, Fran and Basch making a hasty exit back out to the Dalmasca Estersand.
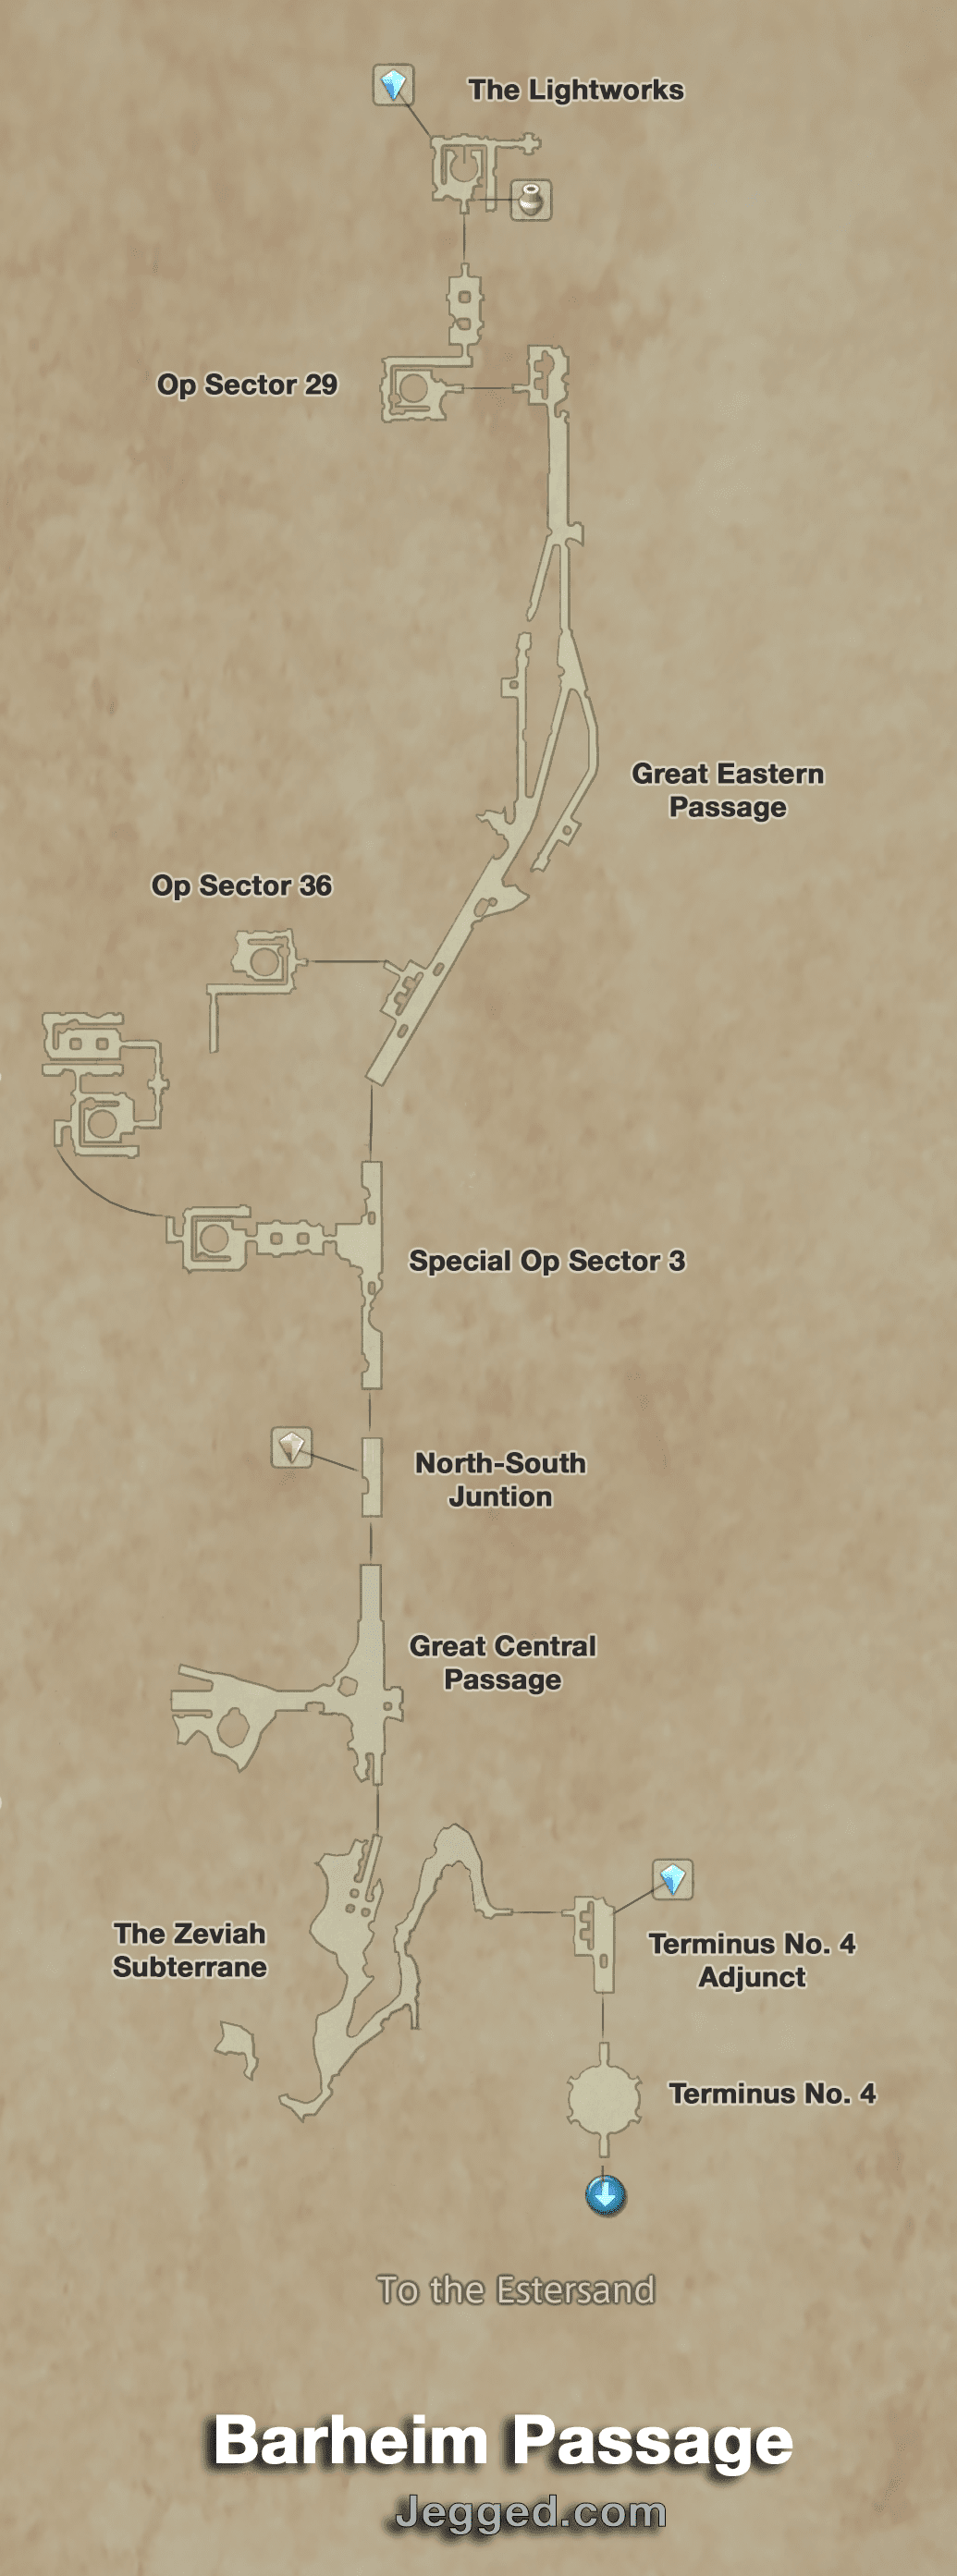
(Click on the map to enlarge)
Note that some sections of the Barheim Passage cannot be accessed at this point in the game.
Balthier will suggest that the entire team head back to Rabanastre as a group.
The game will automatically move you into the World Map view to give you a better idea of where you are. Save your Game at the Save Crystal before heading out.
A Traitor Redeemed Trophy is automatically obtained after you exit the Barheim Passage with Basch in your party.